29 Fridge Cleaning and Organization Ideas That Stop Waste

I opened the fridge one morning and found a tub at the back I could not name.
It sat behind the jam and the sauces, and I had no idea when I put it there. I knew then that my fridge needed a fresh start, not just a quick wipe.
A clean fridge makes cooking feel calm, and it helps you see what you have. You waste less food when you can see it all. You also feel good each time you open the door.
I learned this by making small changes, one shelf at a time.
This post shares simple steps that work in a real home. You do not need fancy tools or long hours to get a fresh fridge.
I will show you how I empty it, wash it, and sort it so food stays easy to find. Each idea is short and plain, and you can pick the ones that fit your home. You can do one idea today and one more tomorrow if you like.
All 29 ideas are in this one post, and nothing is split into a later post. Nothing is held back, so you can read it all today and start with the first idea.
1. Empty the Fridge Before You Start
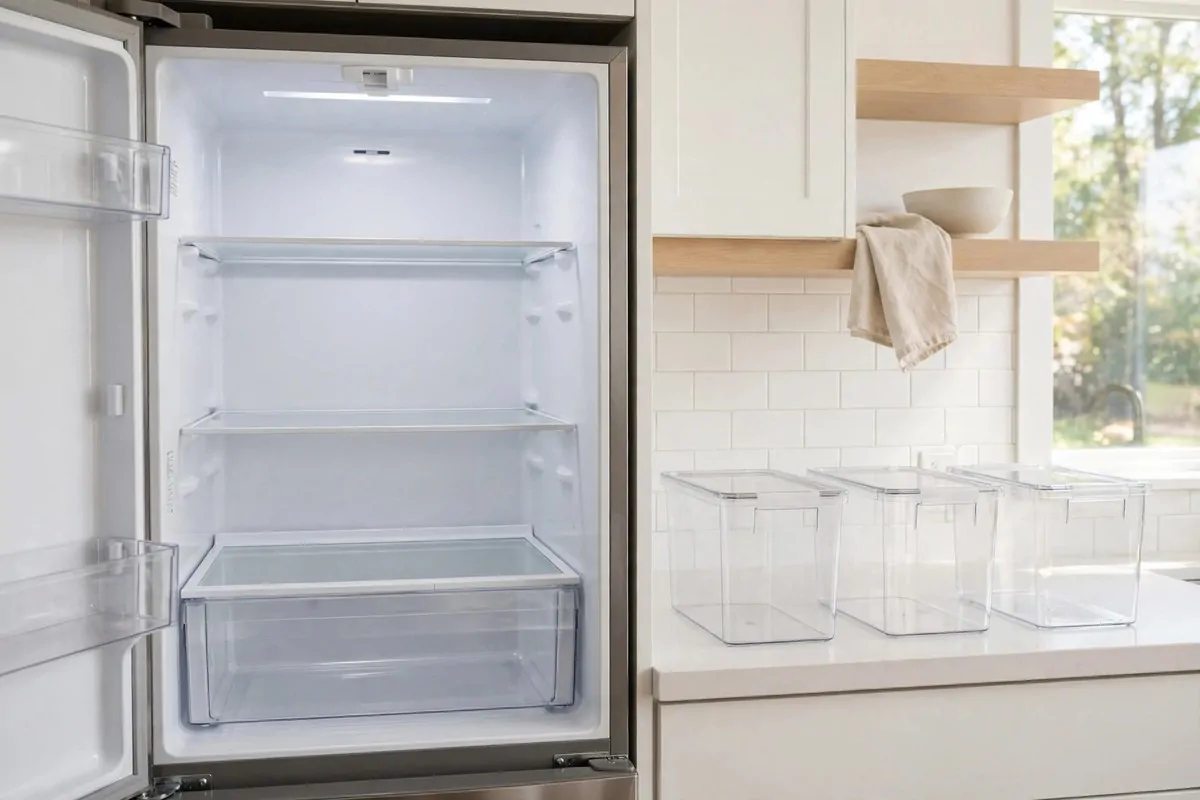
Take everything out before you wash a single shelf.
Put the food on the counter in groups, so you can see it all at once. Keep the milk and cheese in a cool spot while you work, and keep the door shut as much as you can.
Look at each tub as you lift it out. Toss it if it smells off or looks past its best. Put the food you still want in a neat pile to go back in later.
A pack of plain cloths costs $3 to $5, and you can wash them and use them again.
Wipe the empty shelves with a dry cloth first, so crumbs and bits come off fast. This takes only a few minutes, and it makes the wash much easier.
Do not rush this step, because a clear fridge is much easier to clean.
Ask someone in your home to help you lift the heavy drawers if you need a hand. Work shelf by shelf from the top down, so drips fall on shelves you still need to wash. Keep a tub near you for food that needs to go.
When the fridge is empty, you can see the marks and spills you missed for weeks. You can also see how much space you really have.
Start with an empty fridge, and the rest of the job feels light.
2. Wipe the Shelves With Warm Soapy Water
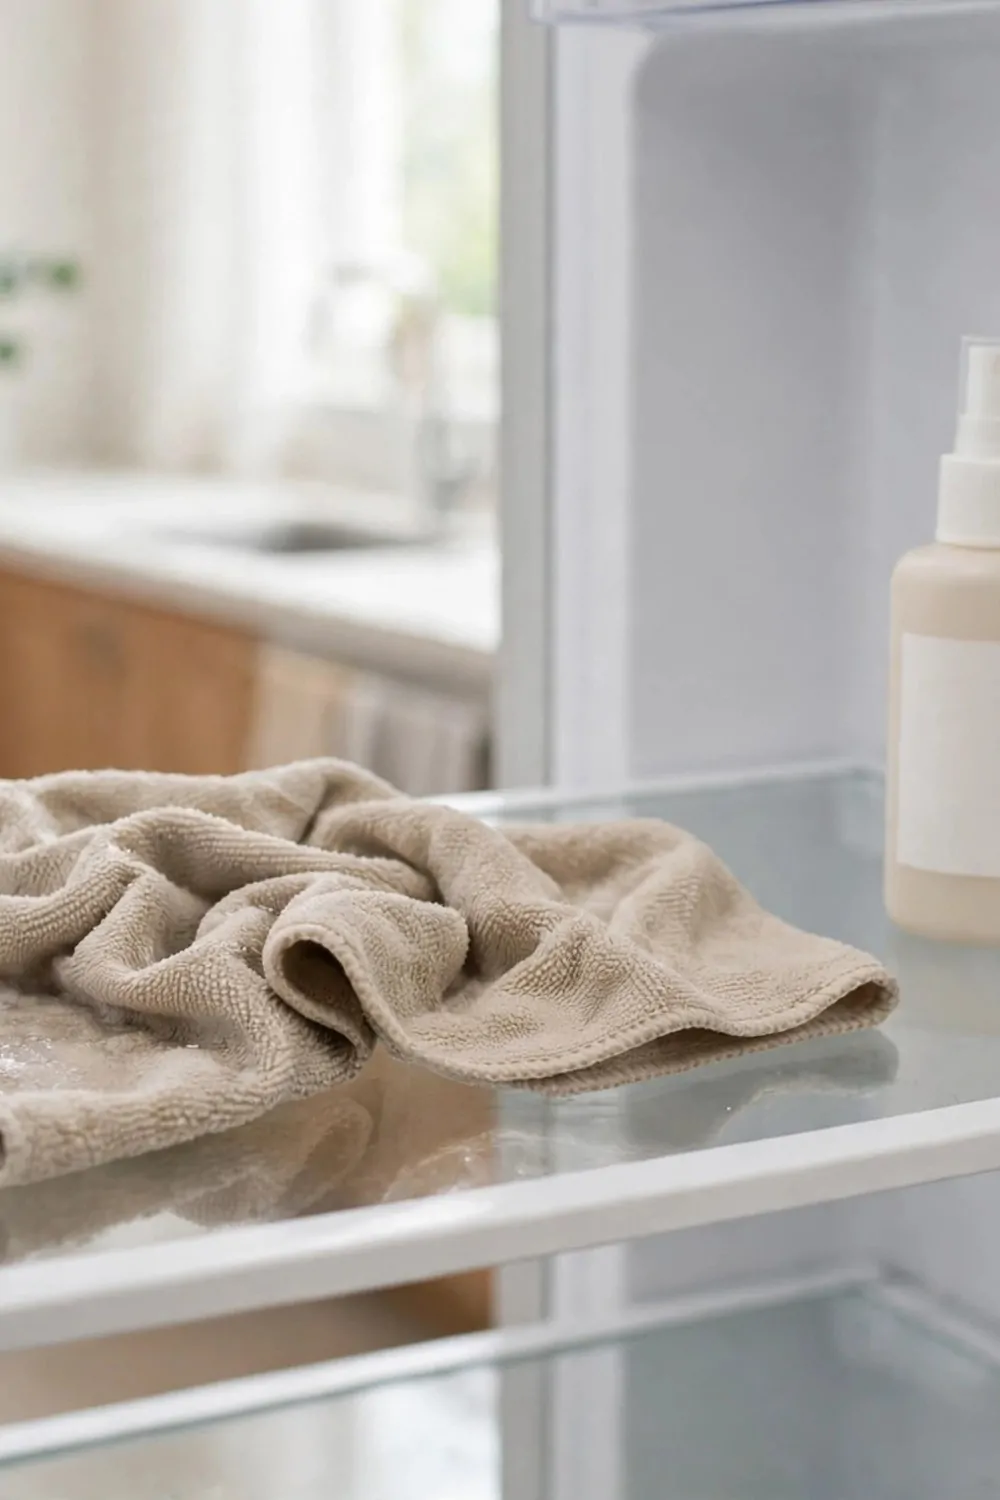
Fill a bowl with warm water and add a drop of plain soap. Stir it with your hand until you see a few soft bubbles.
Dip a plain cloth in the water and wring it out well.
Wipe each shelf from the back to the front, and rinse the cloth often. Take your time around the edges, where spills like to hide. Go over the shelf twice if it still feels sticky.
A bottle of plain dish soap costs $2 to $4, and one bottle lasts for many washes. You only need a small drop each time, so do not pour in a lot.
Dry each shelf with a second plain cloth before you put food back.
Warm water lifts food marks much better than cold water. It also feels nicer on your hands while you work. If a mark will not move, lay the damp cloth on it for a few minutes and try again.
Wash the shelf edges and the small lip at the front too. Those spots hold crumbs you cannot see at first.
A clean shelf helps your food stay fresh and easy to see.
Go through the shelves one by one, and take a short rest if you need it. A slow, steady wash beats a fast, messy one.
3. Wash the Drawers and Crisper Bins
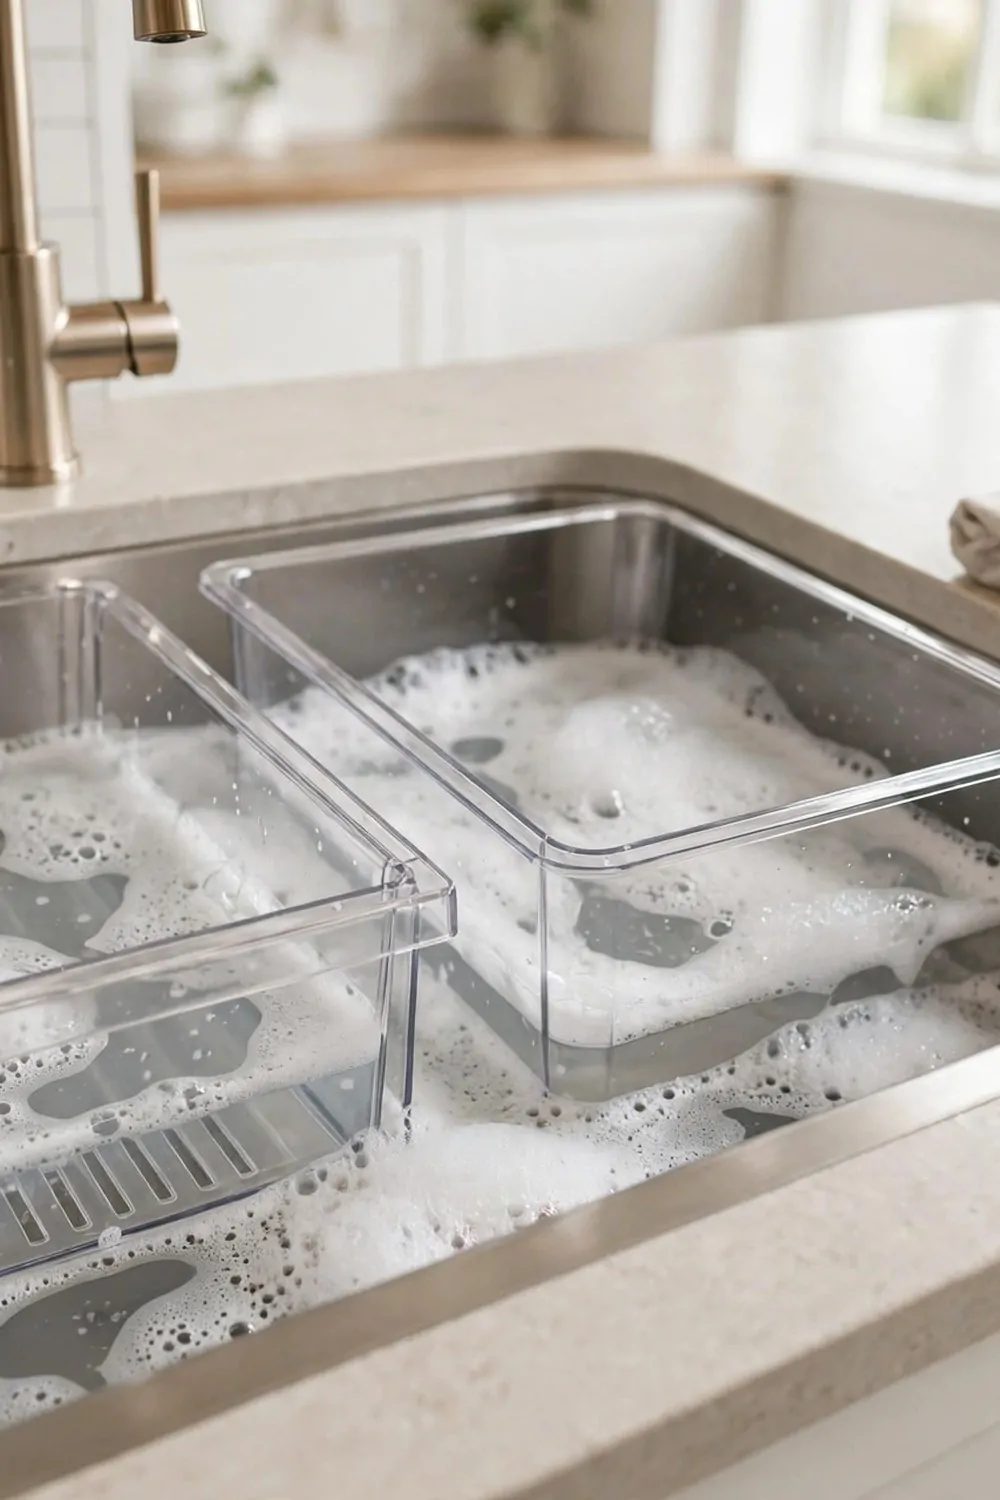
Pull the drawers out all the way and lift them free.
Take them to the sink and rinse them with warm water. Add a drop of plain soap and wash the inside and outside with a plain cloth. Rinse them well so no soap stays on the plastic.
Dry the drawers with a plain cloth, or let them air dry on the counter. Make sure they feel dry before you slide them back in.
A spare tub for the drawer costs $3 to $6, and it helps you keep small foods in one place.
Wipe the space where the drawers sit, because crumbs fall there too. A damp cloth works well for that small space.
Vegetables stay nicer in a clean drawer, and you can see them at a glance. Put the vegetables in first, in their own tub. Keep the drawer neat, so nothing gets squashed at the back.
Do not force a drawer back in if it sticks, lift it a little and guide it in.
Wash the small bins in the same way, with warm soapy water. Rinse and dry them well before you fill them again.
I wash my drawers when I do a big fridge clean, and it keeps the whole fridge smelling fresh. It takes a few extra minutes, but it is worth it. Clean drawers make the rest of the fridge feel new again.
4. Clean the Door Seals and Gaskets
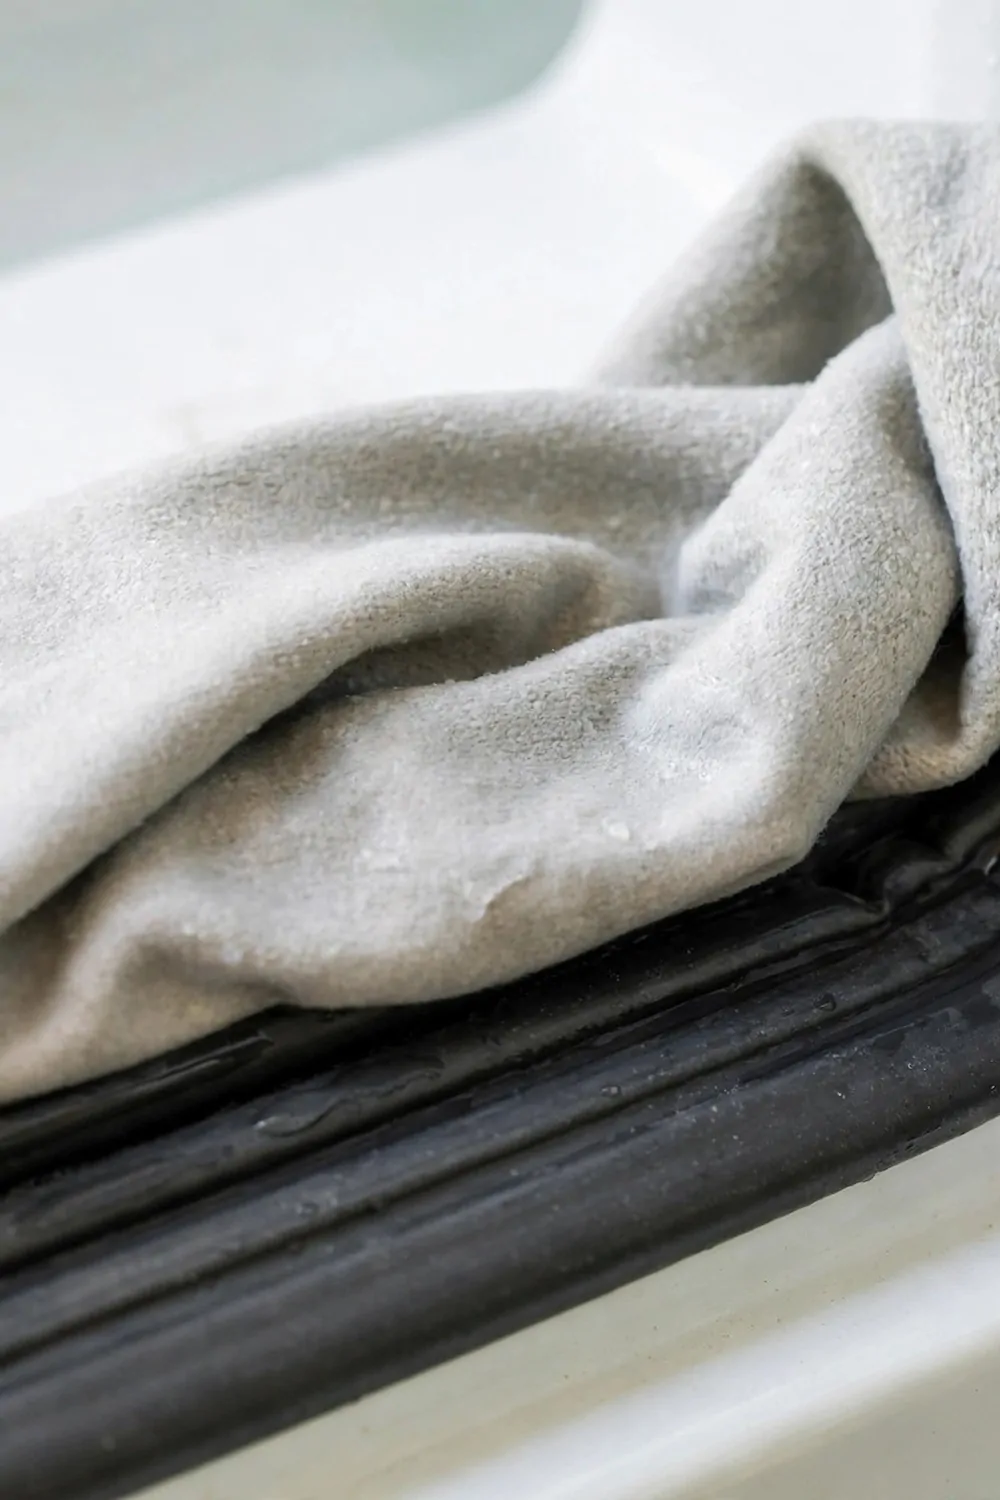
Open the door wide and look at the soft seal all around the edge. It bends and folds, and crumbs can hide in each fold.
Wipe the seal with a soft cloth dipped in warm soapy water.
Pull each fold open gently with your fingers, and wipe inside it. Rinse the cloth often, so you do not push dirt back in.
A soft brush for the seals costs $2 to $4, and it reaches into the small folds. Use it with warm soapy water, and rinse it well after. Dry the seal with a plain cloth when you finish.
A clean seal helps the door close tight and keeps cold air inside.
Check the bottom of the seal too, because drips run down there. Wipe it twice if it still looks dull with dirt.
Do not pull the seal hard, or it may come loose from the door. Work with soft hands, and go slow around the corners. If the seal feels dry after washing, wipe it with a damp cloth and leave it to dry.
I clean the seals each time I do a deep fridge clean. It only takes a few minutes, and the door feels much better after.
A tight, clean seal keeps your fridge cold and your food fresh for longer.
5. Wipe the Outside Door and Handle
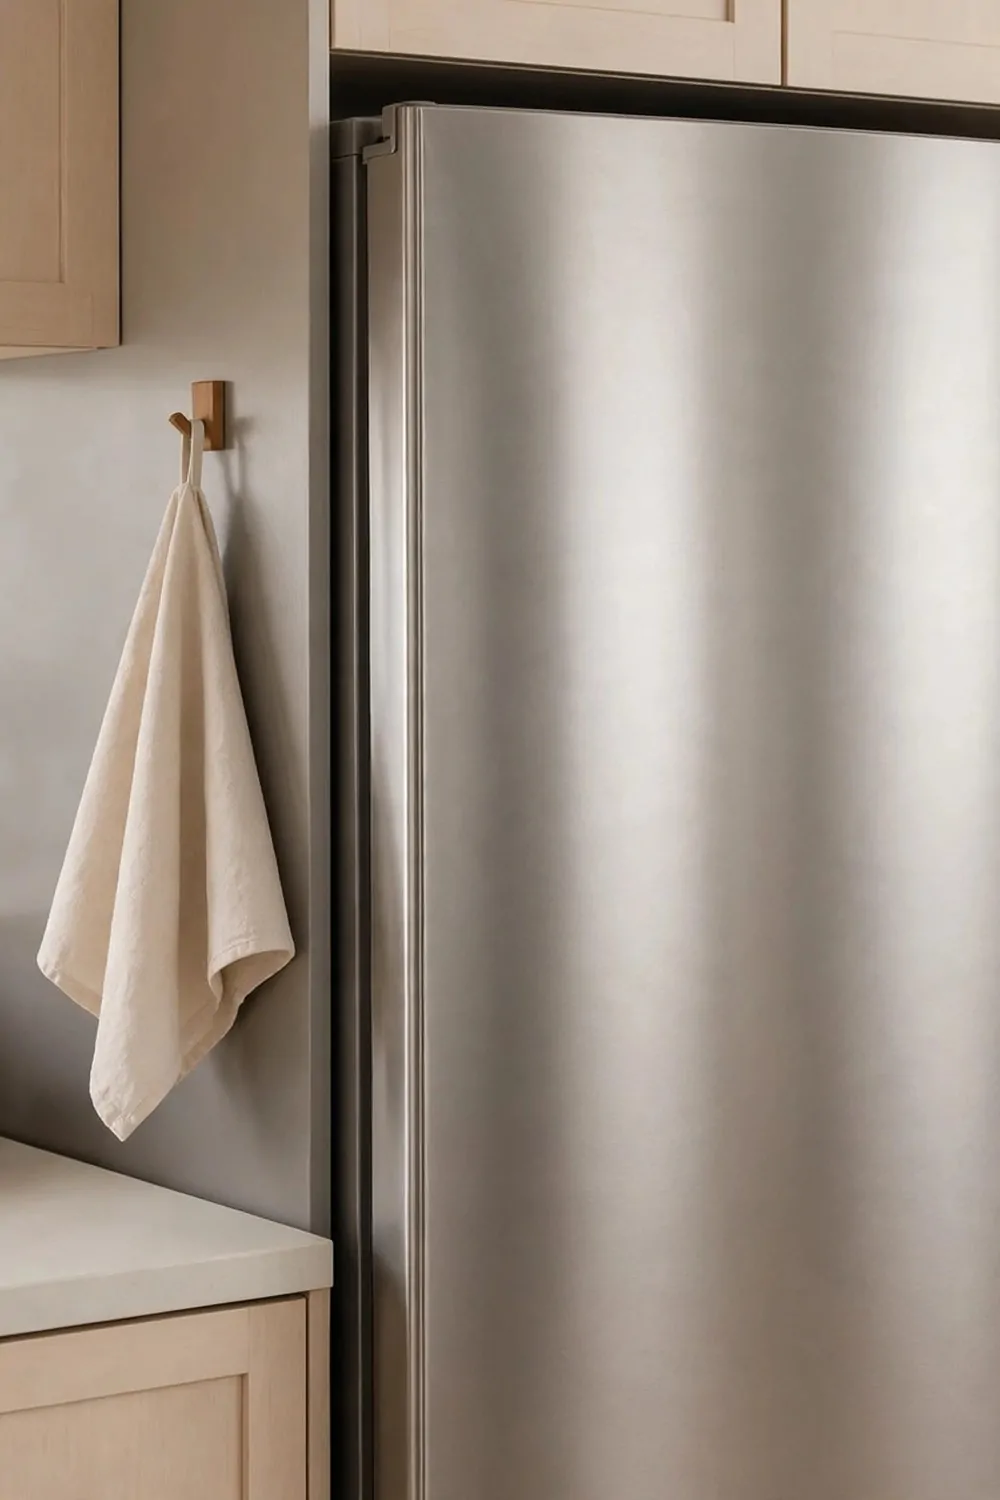
Set one day each week for a full wash of the fridge front.
Start at the top of the door and work down to the floor, so drips fall on spots you still need to wash. Use warm water with a drop of plain soap, and wring your cloth out well.
Wipe the whole front in slow lines, not quick dabs. Go over the handle last, because it picks up marks from hands all week. Pay extra care to the small join where the handle meets the door.
A soft drying cloth costs $4 to $6, and you can keep one just for the fridge front.
Rinse the cloth in clean warm water and wipe the door again to lift the soap off. Dry it with a second plain cloth, so no water marks stay behind. Step back and look at the door in the light to check for missed spots.
Wipe the sides of the fridge too, if you can reach them. Dust and marks sit there, and a quick wipe makes the whole kitchen look neat.
This weekly wash keeps the front fresh, even when the kitchen gets busy.
I keep a small cloth near the fridge for this one job. When the day comes, I fill a bowl, wash the front, and dry it in a few minutes.
Do not use a rough pad on the door, because it can leave marks. A soft plain cloth is all you need, and it is kind to the surface. Your fridge will look cared for, and you will smile each time you walk past it.
6. Use Baking Soda to Take Away Fridge Smells
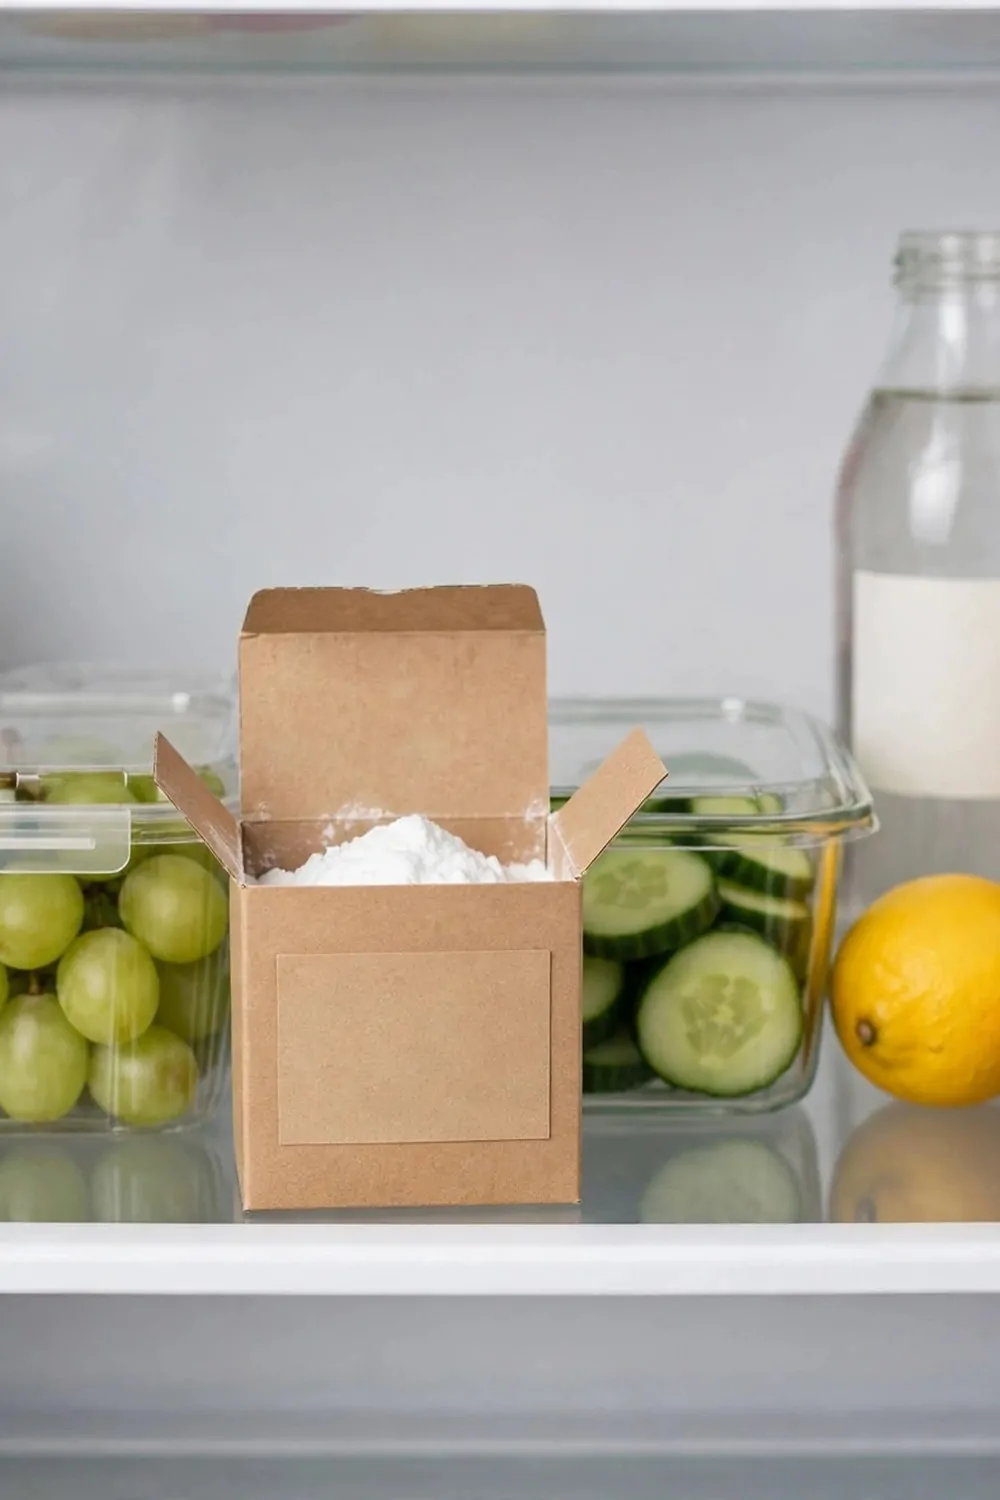
Open a small box of baking soda and put it at the back of a middle shelf. It takes in smells from the air, and it needs no plug or power.
Leave the box open, so the air can reach the powder inside.
Change the box each month, so it keeps working well. Write the date on the box with a pen when you put it in. That way you know when it is time for a fresh one.
A box of baking soda costs $1 to $3, and one box is enough for a month. It is one of the cheapest ways to keep a fridge smelling fresh.
Do not put baking soda on food, keep it in its box on the shelf.
If a smell stays strong, wash the shelves with warm soapy water first. Then put in a fresh box, and the smell should fade.
Check the food as well, because old food can cause a strong smell. Toss any food that smells off, and wipe the spot where it sat. A clean fridge plus a fresh box works much better than a box alone.
I keep a spare box in the cupboard, so I never run out.
This one small step makes opening the door a much nicer moment. You will notice the change the next morning, when the air inside smells plain and clean.
7. Sort Food Into Zones by Shelf
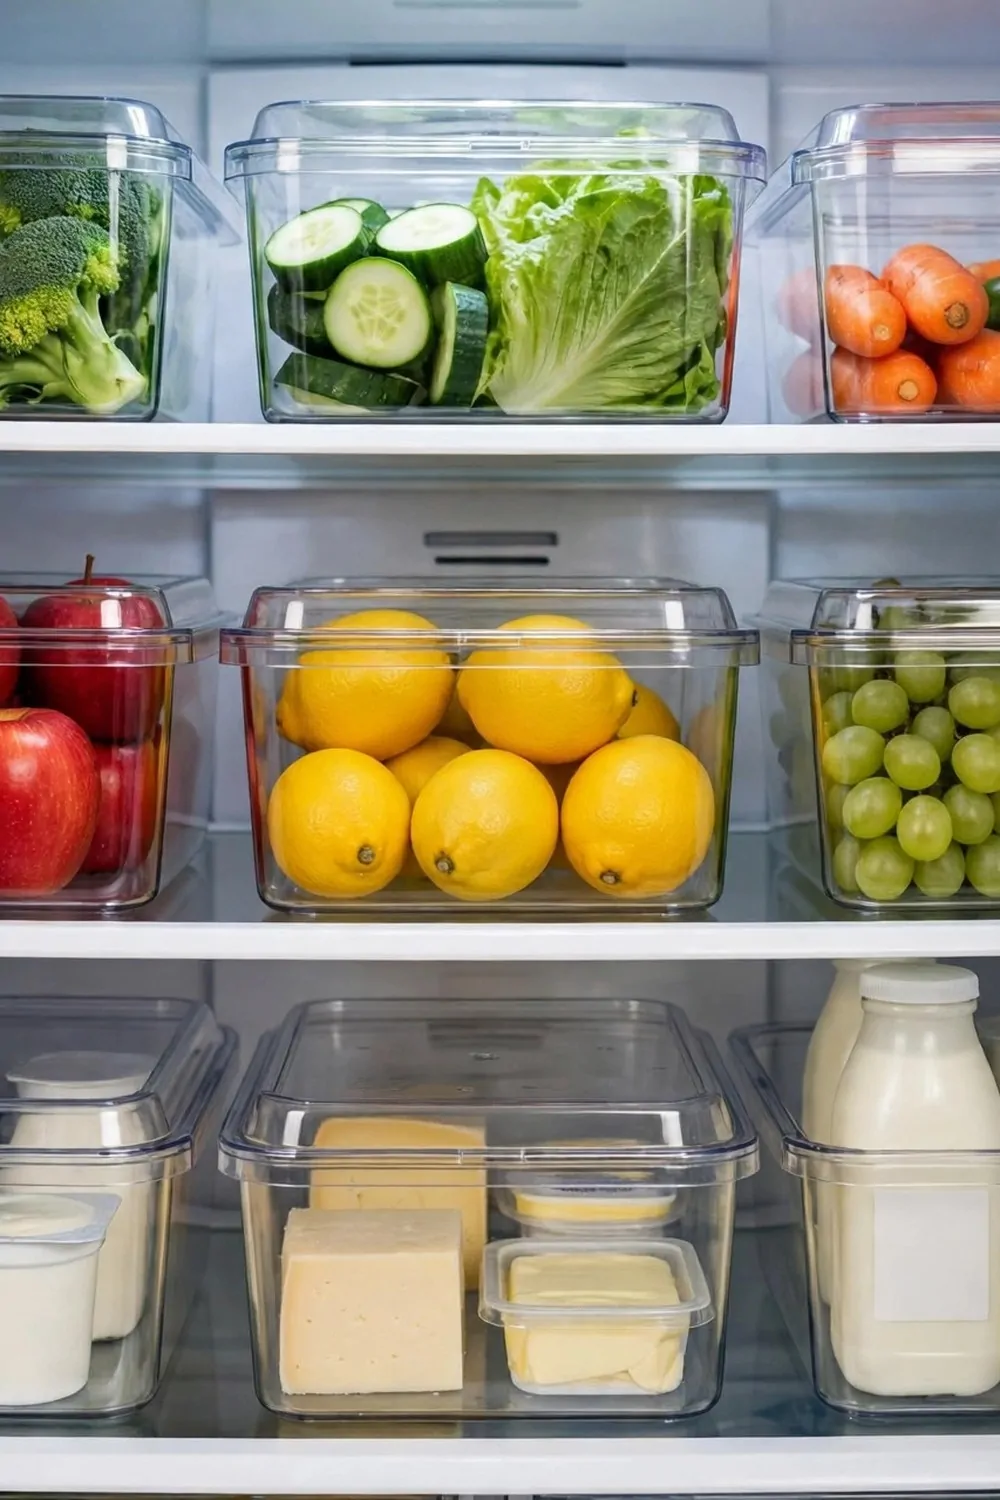
Give each shelf a job, and keep the same job each week. Put milk and yoghurt on one shelf, and keep sauces together on another. When each food has a home, you find it fast.
Start with the top shelf for foods you eat soon.
Use the middle shelves for milk, cheese, and eggs. Use the lower shelves for chicken and other foods that need to stay cold.
A set of small tubs costs $5 to $8, and it helps you keep each zone neat.
Label each zone in your head, or tell the people at home where things go. When all of you know the plan, the fridge stays neat for longer.
Put vegetables and fruit in the drawers at the bottom, where they stay fresh. Keep bread in a bag on a shelf where it will not get squashed. Keep jam and sauces in one spot, so you do not hunt for them at breakfast.
Move a food back to its zone each time you use it. This takes only a second, and it stops the fridge from turning messy again.
Zones make cooking faster, because you know where to reach first.
Try the zones for a week and see how they feel. Move one zone if it does not work for your home. A plan that fits you is the one that will last.
8. Keep Leftovers in Clear Tubs With Dates
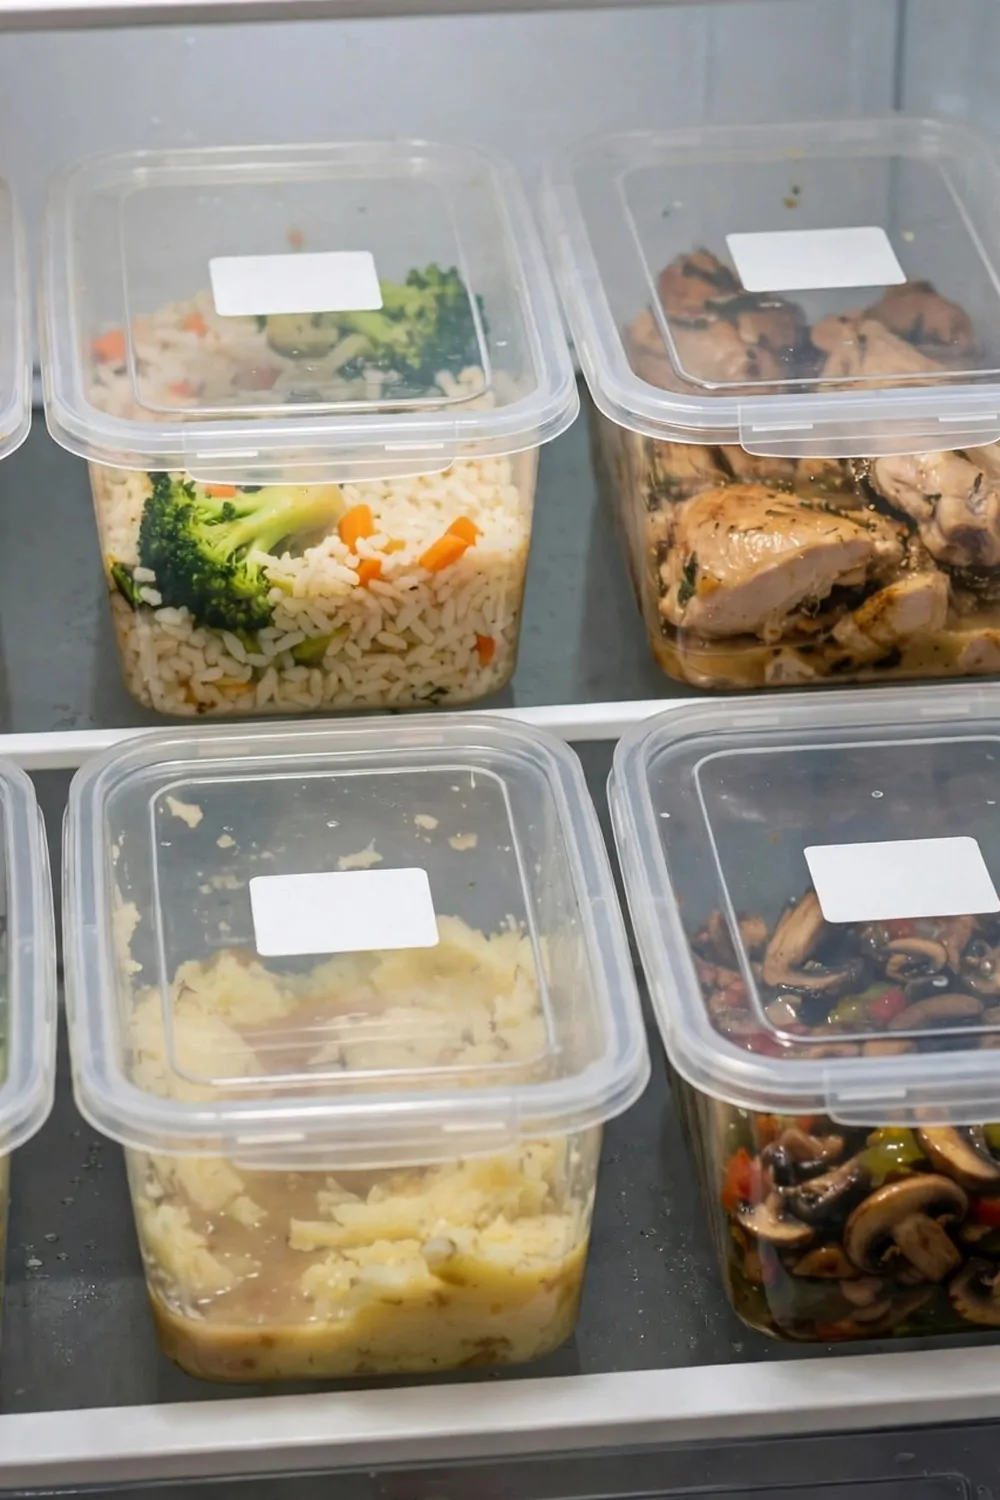
Put leftovers in clear tubs, so you can see what is inside.
Write the day on a small label, or on a strip of tape on the lid. That way you know when you made it, and you can eat it soon.
Use tubs that stack well, so they do not take up too much space. Put the newest tub at the back and the older one at the front. Eat the front tub first, before you open a new one.
A pack of clear tubs with lids costs $6 to $9, and you can wash them and use them again. Pick tubs that fit your shelves, not tubs that are too tall.
Keep the lids tight, so smells stay inside the tub.
Rice and pasta keep well in a tub with a good lid. Beans and vegetables also sit well in a clear tub, and you can see them at a glance. Put a spoonful out for lunch, and save the rest for the next meal.
Toss leftovers if they smell off, or if you are not sure about them. It is better to let one tub go than to risk a sore tummy.
Clear tubs stop food from hiding at the back of the fridge.
I check my leftover tubs each morning, and I plan lunch from what I see. That one look saves food, time, and money.
9. Put the Foods to Eat First in a Front Tray
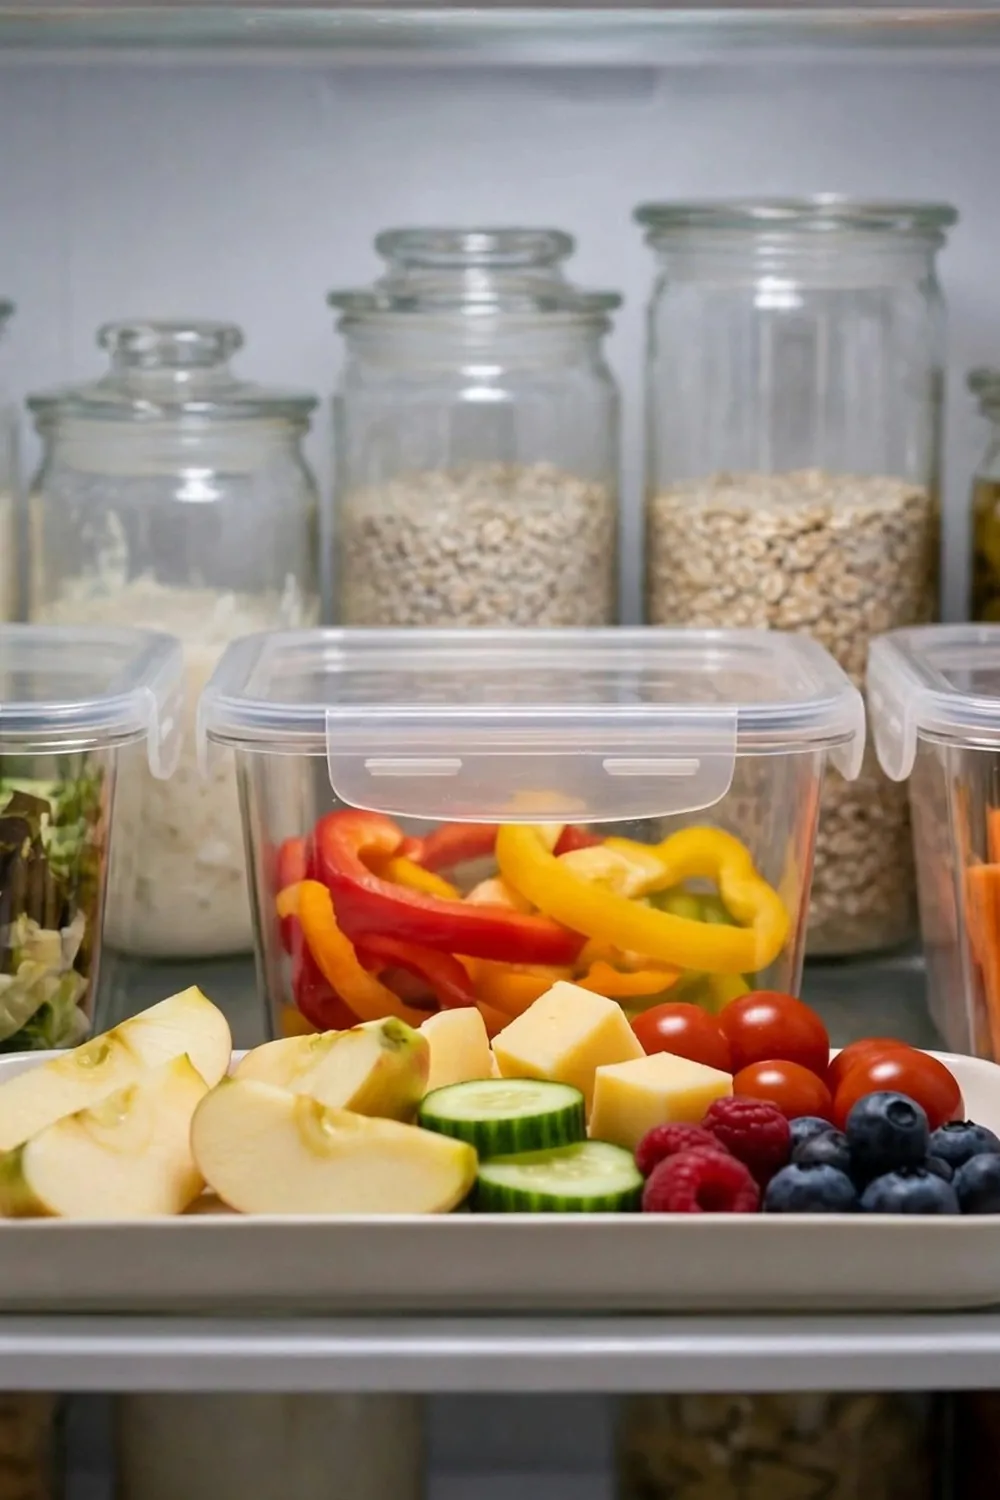
Pick a small tray and keep it at the front of a middle shelf. Put the foods you need to eat first inside that tray.
The tray makes those foods easy to see and easy to grab.
Put yoghurt, cheese, and eggs that you plan to use soon in the tray. Add fruit that needs eating first, and keep the tray neat. When you open the door, your eyes go straight to that tray.
A small front tray costs $4 to $7, and it fits most fridge shelves.
Check the tray each morning and move new foods in as old ones go out. If a food sits in the tray for a couple of days, plan a meal around it soon.
Tell the people at home that food in the tray comes first. That way no one picks a new tub when the tray still has food in it. The tray helps the whole home waste less food.
A front tray turns a busy shelf into a clear plan.
Keep the tray clean, and wipe it when you wash the shelves. A clean tray makes the food inside look fresh and ready.
I started this tray last month, and it changed how I cook. I look at the tray first, then I plan the meal. Nothing good gets lost behind a tall tub now.
10. Line the Shelves With Washable Mats
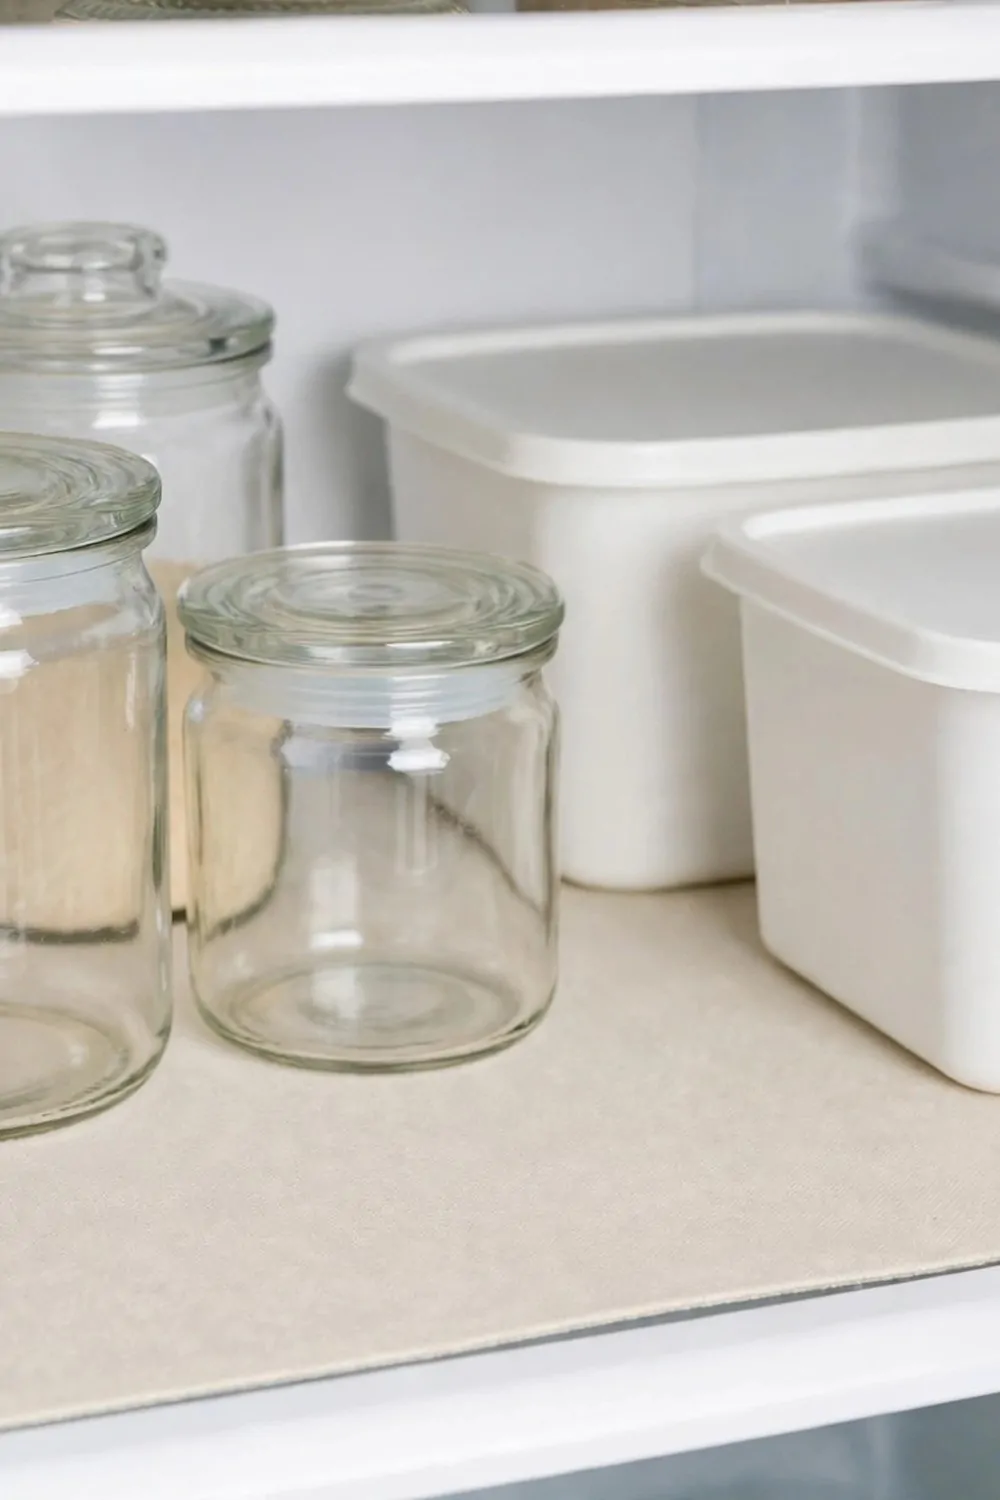
Cut washable mats to fit each shelf, and lay them flat.
The mats hold spills, so the shelf below stays clean. When a mat gets dirty, lift it out and wash it in the sink. Dry it well before you put it back on the shelf.
Measure the shelf first, so the mat does not curl up at the edges. A flat mat looks neat and stays in place.
A set of washable shelf mats costs $5 to $9, and you can wash them many times.
Wipe the mats with warm soapy water when you do a weekly clean. Rinse them well, and let them dry on the counter.
Mats help with jam and sauces most of all, because those jars can leave sticky rings. Put the mats under the jars, and the rings stay on the mat. Lift the mat out, wash it, and the shelf looks new again.
Do not use mats that slip, pick ones that grip the shelf.
I wash my mats when I wash the shelves, and it takes only a few extra minutes. The fridge stays neat, and spills feel less of a worry.
Try one mat first if you are not sure you will like them. See how it feels for a week, then add mats to the other shelves. Small steps like this make the fridge easy to care for.
| Area | Main change | Typical Cost |
|---|---|---|
| A pack of plain cloths | wipes the empty shelves clean | $3 to $5 |
| A bottle of plain dish soap | washes the shelves with warm soapy water | $2 to $4 |
| A spare tub for the drawer | keeps small foods in one place | $3 to $6 |
| A soft brush for the seals | reaches into the small folds | $2 to $4 |
| A soft drying cloth | dries the outside door and handle | $4 to $6 |
| A box of baking soda | takes away fridge smells for a month | $1 to $3 |
| A set of small tubs | keeps each shelf zone neat | $5 to $8 |
| A pack of clear tubs with lids | holds leftovers you can see | $6 to $9 |
| A small front tray | holds the foods to eat first | $4 to $7 |
| A set of washable shelf mats | lines the shelves and washes clean | $5 to $9 |
11. Keep Eggs in Their Carton on a Middle Shelf
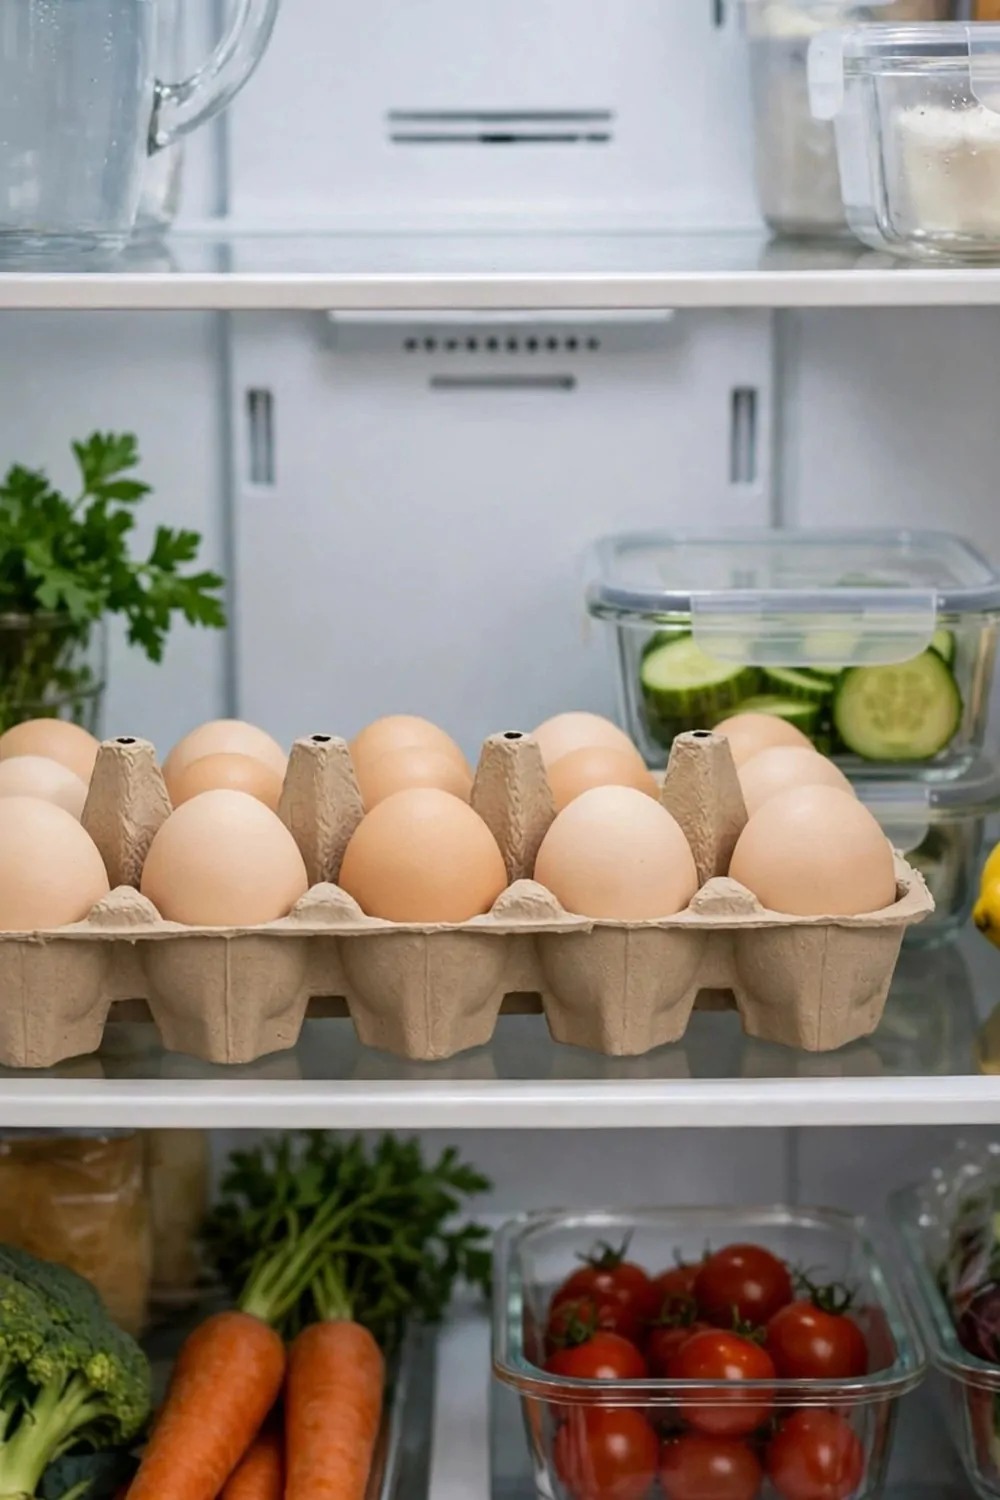
Keep eggs in their carton, and put the carton on a middle shelf. The carton keeps them safe, and the middle shelf stays at a steady cold.
Do not move eggs to the door, because the door warms up each time you open it.
Check the eggs when you put them in, and toss any that are cracked. Put the carton with the lid shut, so nothing falls on the eggs. Keep the carton flat, so the eggs do not roll around.
A small egg tray costs $3 to $5, and it can hold the carton in place on the shelf.
Use the eggs you have first before you buy more. That way you do not end up with two open cartons at once.
Eggs are easy to reach on a middle shelf, and you can see how many are left. Put the carton back in the same spot each time you use it. A fixed spot stops you from hunting for eggs at breakfast.
A carton also stops eggs from picking up smells from other foods.
Wipe the shelf under the carton when you clean the fridge. A clean spot keeps the carton dry and neat.
I learned to keep eggs in the middle after I kept them in the door for years. The door was too warm, and the eggs did not stay fresh. The middle shelf made a clear change, and I have kept them there since.
12. Store Milk and Dairy Where It Stays Coldest
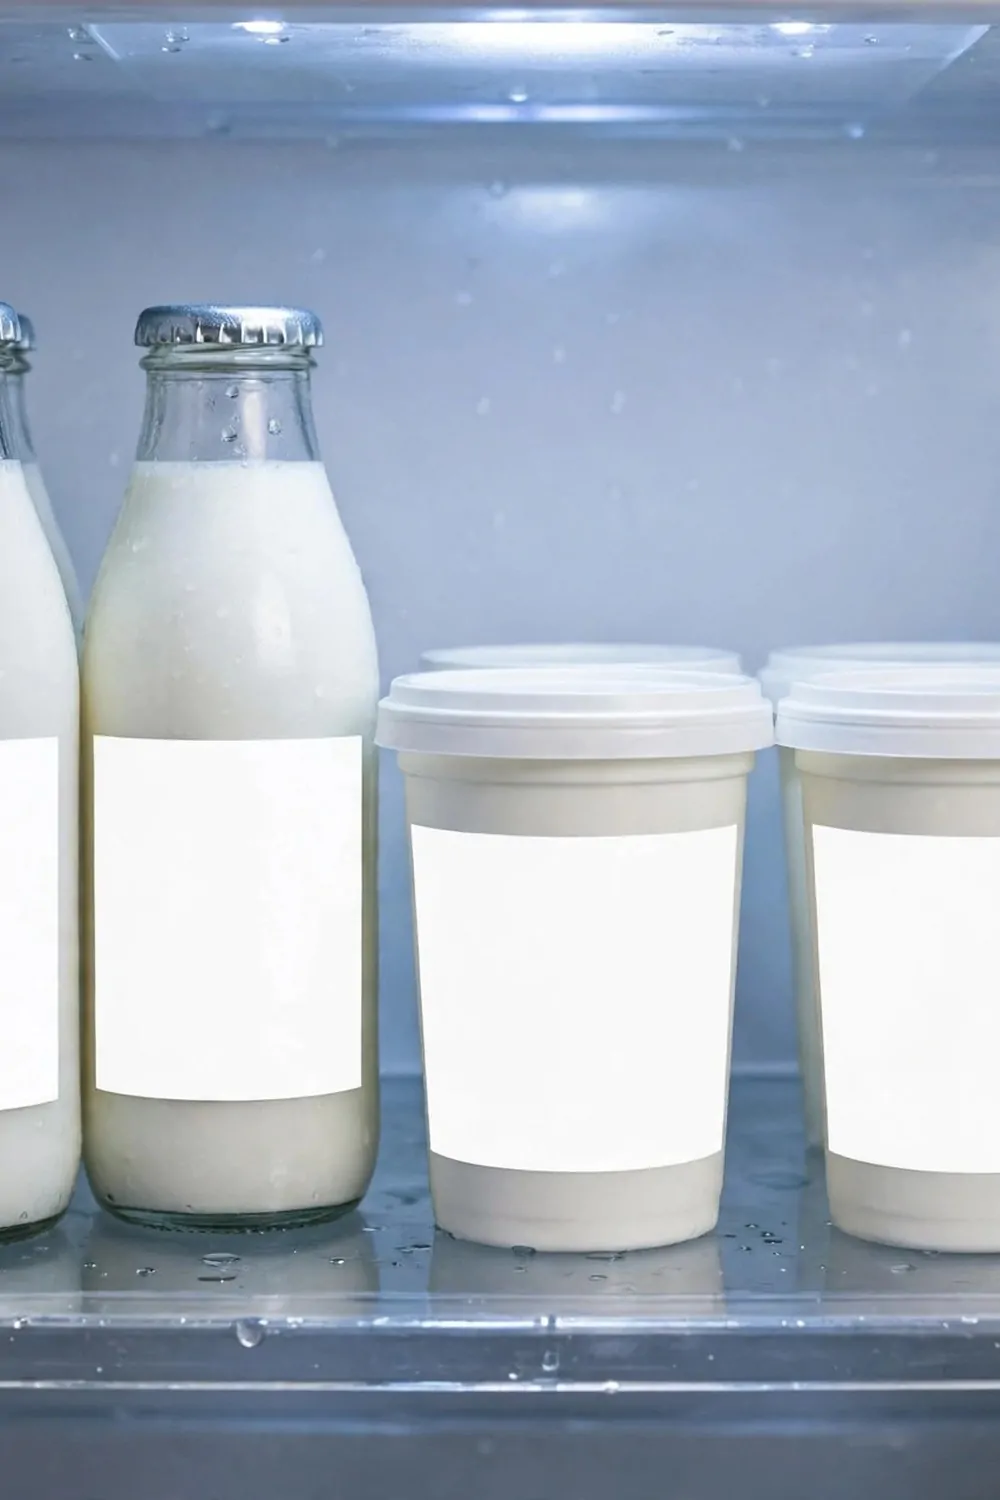
Put milk and dairy at the back of a shelf, where the cold air stays strong.
The back of the fridge stays colder than the front, and the door is the warmest spot of all. Keep milk away from the door, and it will stay fresh for longer.
Put cheese and yoghurt beside the milk, so all the dairy sits in one cold spot. Close each tub well after you use it, so it does not pick up smells. Check the dairy each morning, and use what needs eating first.
A fridge thermometer costs $4 to $7, and it shows you the coldest spot in your fridge. Put it on a shelf for a day, then move your milk to the coldest place you find.
Do not leave milk out on the counter while you cook.
Pour what you need, then put the milk straight back in the fridge. This small habit keeps milk cold and safe to use. It also stops the milk from warming up and cooling down again and again.
Keep the dairy shelf neat, so you can see each tub at a glance. A neat shelf helps you use the oldest tub first.
Cold, steady air is the best friend of milk and dairy.
I moved my milk to the back last year, and the change was clear. It stayed fresh, and I threw away much less milk than before.
13. Keep Sauces and Jars in the Door
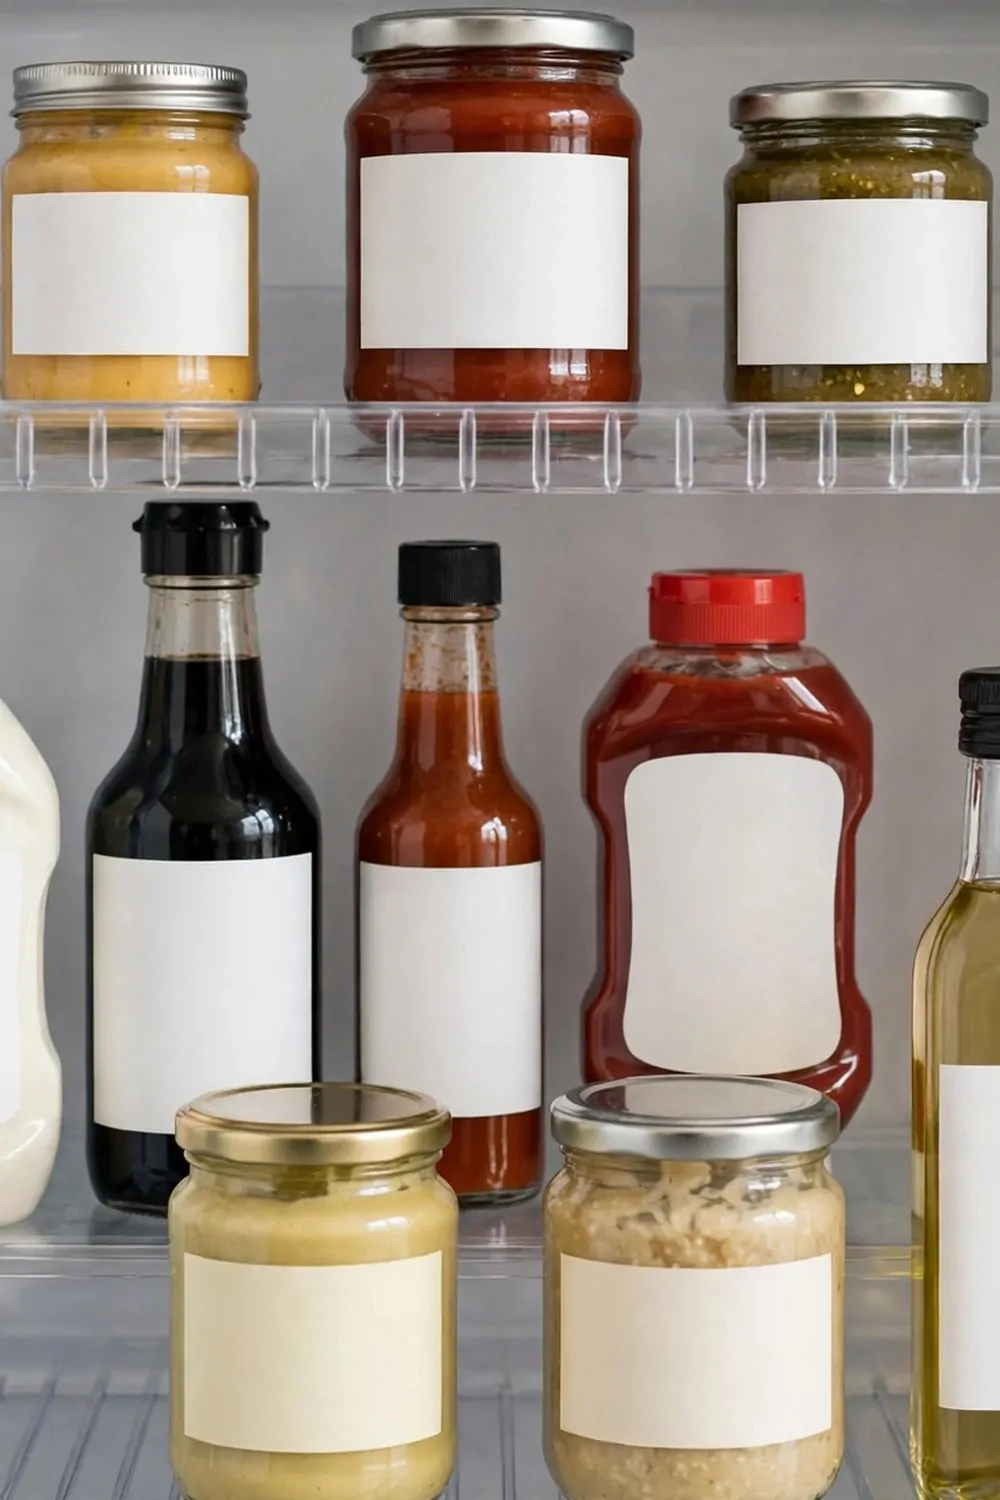
Use the door shelves for sauces and jam, because those foods cope well with a little warmth. Put the tall jars at the back of the door shelf, and the small ones at the front. Keep the lids tight, so nothing leaks when you open and close the door.
Wipe the door shelves each week, because jars can leave sticky marks.
Group the sauces you use most at the front, so you reach them fast. Put the ones you use less often at the back, where they stay out of the way.
A small door shelf basket costs $4 to $6, and it keeps small jars from tipping over.
Check the jars when you put them in, and toss any that smell off. Wipe the outside of each jar before it goes back, so the shelf stays clean. A clean jar is much nicer to pick up at meal time.
Do not put milk or eggs in the door, because they need a colder spot. Save the door for sauces, jam, and other foods that keep well there.
A neat door makes the whole fridge feel tidy when you open it.
I keep my sauces in the door, and I can see them all in one look. Cooking feels faster when I do not need to hunt for a jar.
Try this plan for a week, and see if it fits your home. Move a jar if it does not sit well, and keep the plan simple. The door is a handy spot, once each jar has a home.
14. Wash the Ice Tray and Water Dispenser Area
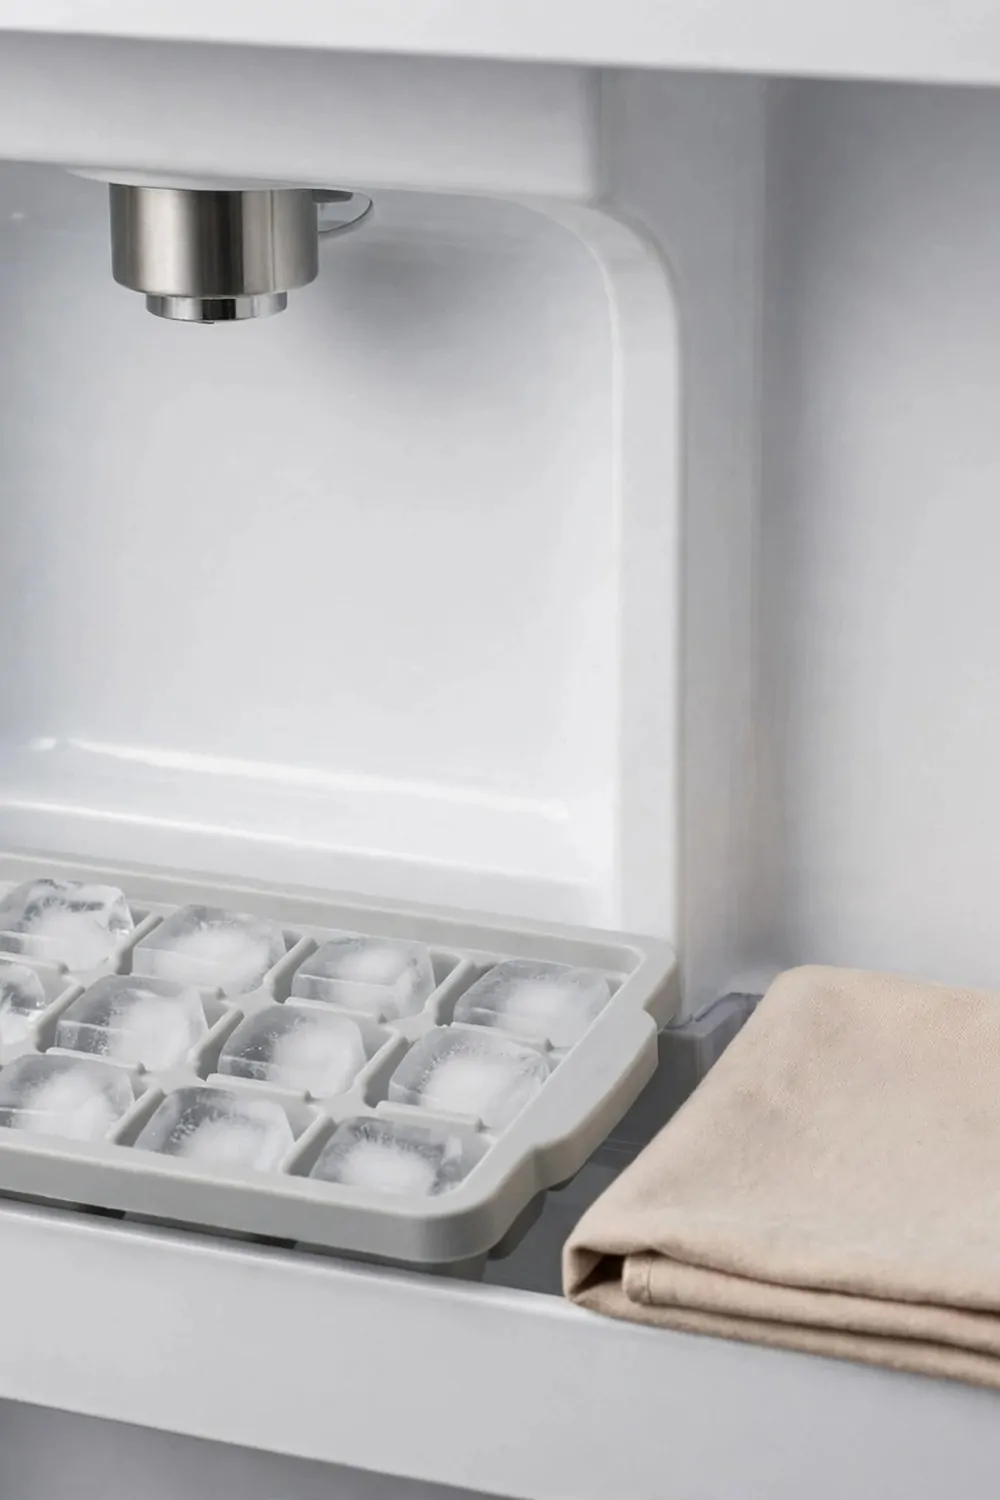
Lift the ice tray out and wash it with warm soapy water. Rinse it well, so no soap stays in the small cubes.
Dry the tray well before you fill it with fresh water.
Wipe the area around the water dispenser with a damp plain cloth. Rinse the cloth often, and wipe again with clean water. Dry the area, so water marks do not stay behind.
A new ice tray costs $2 to $4, and it is worth it if your old tray looks worn.
Wash the tray when you do a big fridge clean, or when it looks dull. A clean tray makes ice that tastes plain and fresh.
Do not use a rough pad on the tray, because it can leave marks that hold dirt. Use a soft plain cloth, and go slow around each small cup. Rinse the tray twice if you used a lot of soap.
A clean dispenser area makes each glass of water feel fresh.
I wash my ice tray each month, and I wipe the dispenser area each week. Those two small jobs keep the water side of the fridge neat.
Fill the tray with clean water, and put it back flat on its shelf. Make sure it sits level, so the water does not spill to one side. Your next ice will be clean, and your water will taste fresh.
15. Freeze Bread and Leftovers Before They Go Off
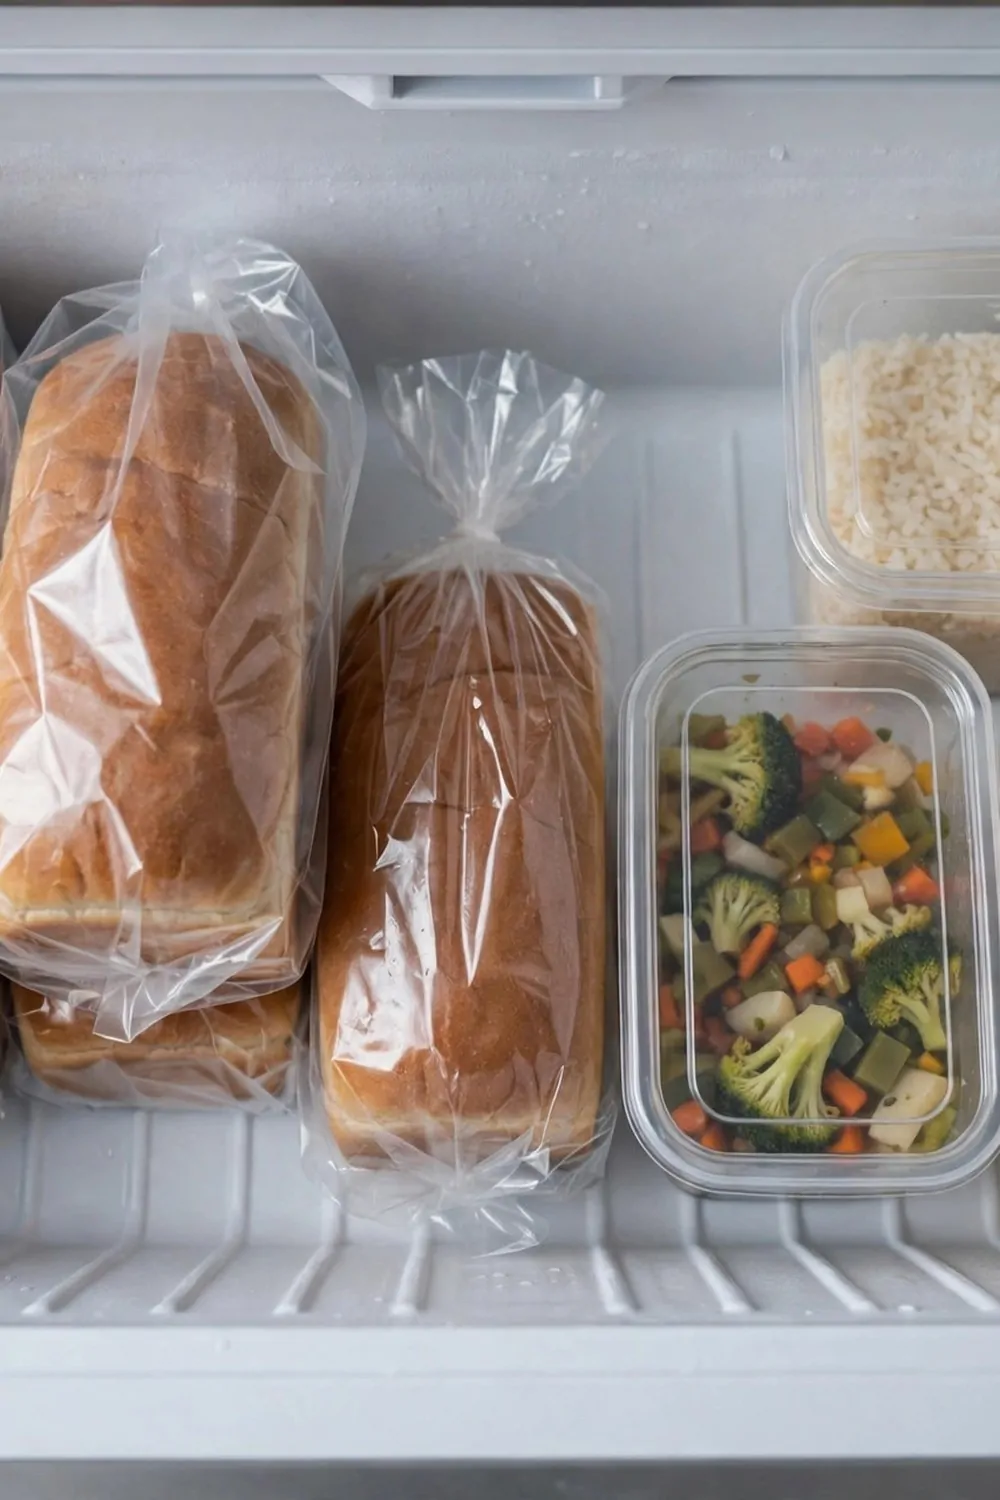
Freeze bread and leftovers while they are still fresh, not after they start to turn.
Put bread in a freezer bag and press the air out gently before you seal it. Put leftovers in a clear tub with a lid, and write the day on the lid. Freeze small amounts, so you can take out only what you need.
Put the bags flat in the freezer, so they stack well. Label each bag, so you know what is inside without opening it.
A pack of freezer bags costs $3 to $5, and one pack lasts for many weeks. Pick bags that seal well, so air stays out and food stays fresh.
Use frozen bread within a short time, and eat it soon after you thaw it.
Rice and pasta freeze well in small tubs, and beans freeze well too. Put one meal in each tub, so you can heat just one tub at a time. That way you waste less food, and lunch is ready in a few minutes.
Check the freezer each week, and use the oldest bag first. A quick look stops food from sitting in the freezer for too long.
Freezing food at the right time is one of the best ways to stop waste.
I freeze half a loaf of bread when I buy it, and I freeze leftovers the same day I cook them. That one habit has saved a lot of food in my home. Try it this week, and see how much less you throw away.
16. Keep a Use First Box on One Shelf
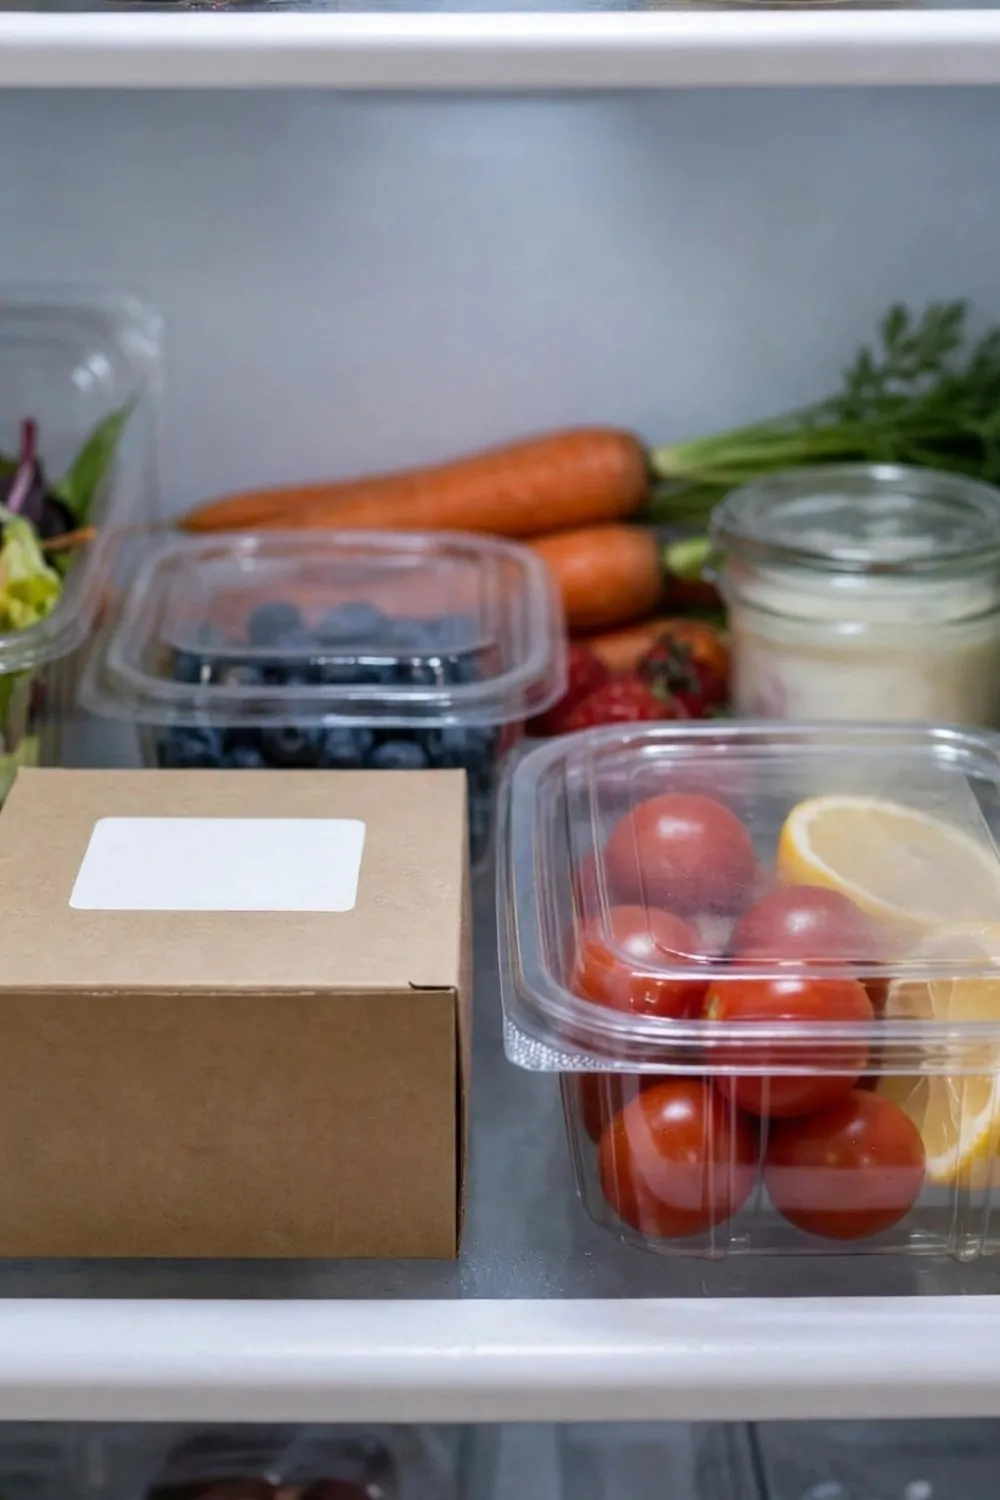
I keep one small box on a middle shelf for food I need to use first.
It saves me from digging through the back of the fridge each day. I can see what needs eating soon in one glance.
Leftovers go in the box first. Open jam and sauces go there too. Small packs of cheese sit at the front of the box.
I put the box where I see it every time I open the door. That one spot reminds me to plan a meal around what is inside.
A small open box for the use first shelf costs $4 to $8.
You can use any plain box you already have at home. A low tub works well because you can see over the sides.
I check the box before I cook. I pick one thing from it for the next meal. The rest stays neat and easy to reach.
Kids in the house can learn the rule fast. They know the box means eat this first.
This one box has cut down how much food I throw away. My fridge feels calmer and my meals feel simpler.
17. Label Jars With Plain Stickers and Dates
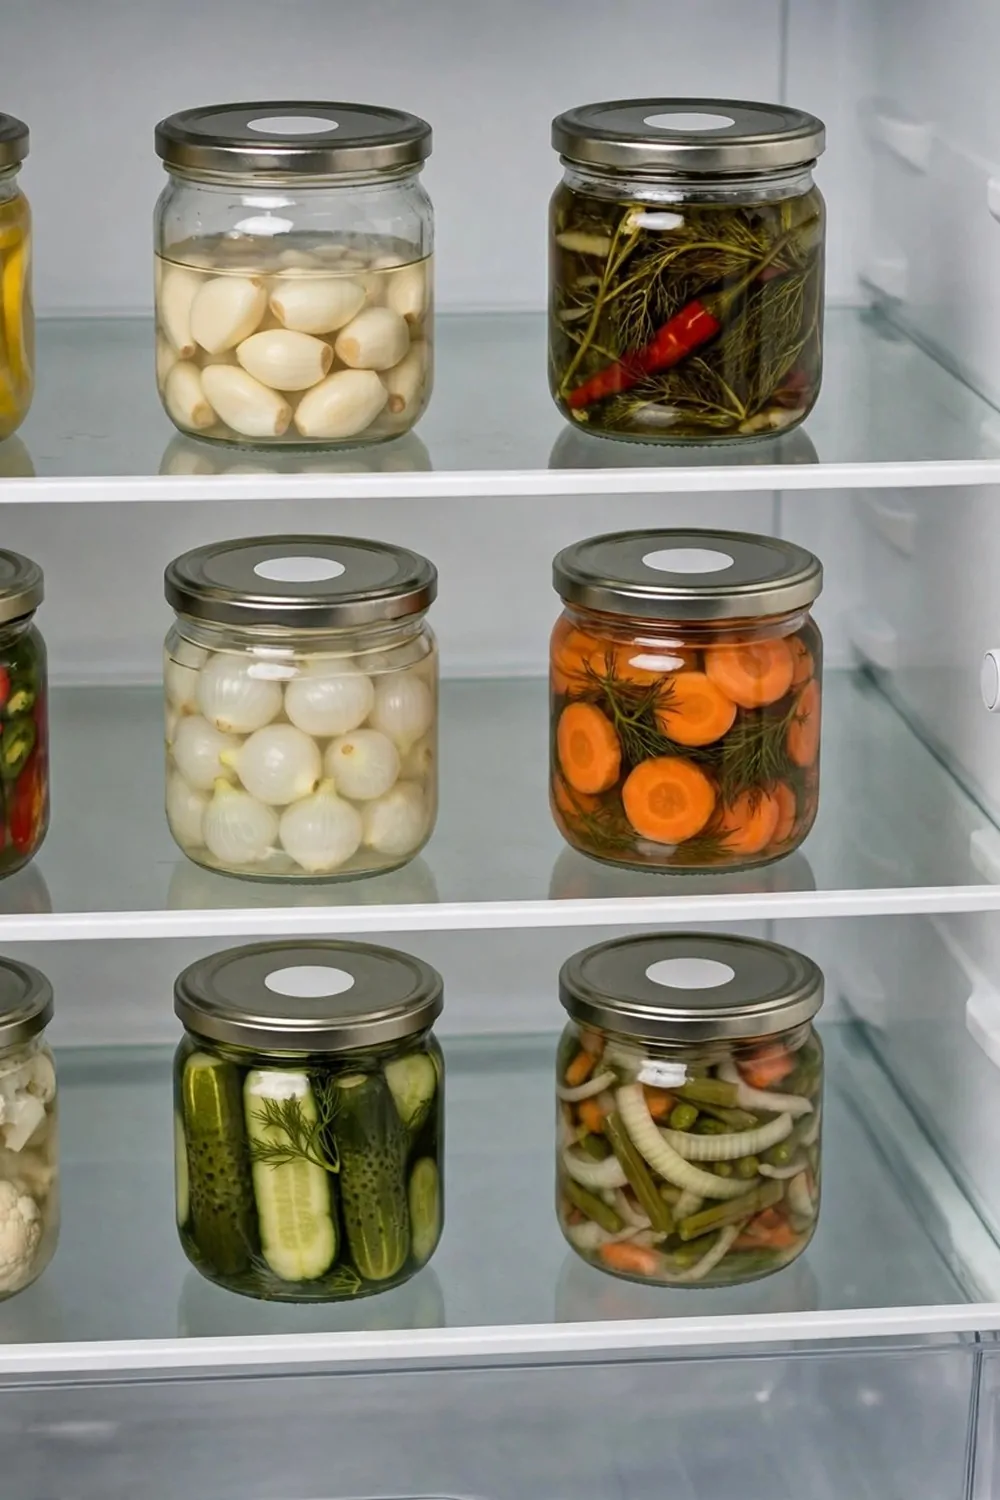
I stick a plain label on every jar I open in the fridge.
I write the date I opened it on the sticker. I also write what is inside if the jar looks like another one.
The label takes ten seconds to write. It saves me from sniffing jars and guessing later. I feel sure about what is still good to use.
I keep a pen near the fridge for this job. I write big and clear so I can read it fast.
A fine pen for fridge labels costs $2 to $4.
You can label jam and sauces the same way. You can label leftover rice and pasta too.
I put the newest jar at the back. I move the older jar to the front where I see it first.
If a label looks smudged I write a fresh one. A clear label is worth more than a guess.
This small habit keeps my fridge honest. I know what I have and I use it in good time.
18. Clean Spills the Moment They Happen
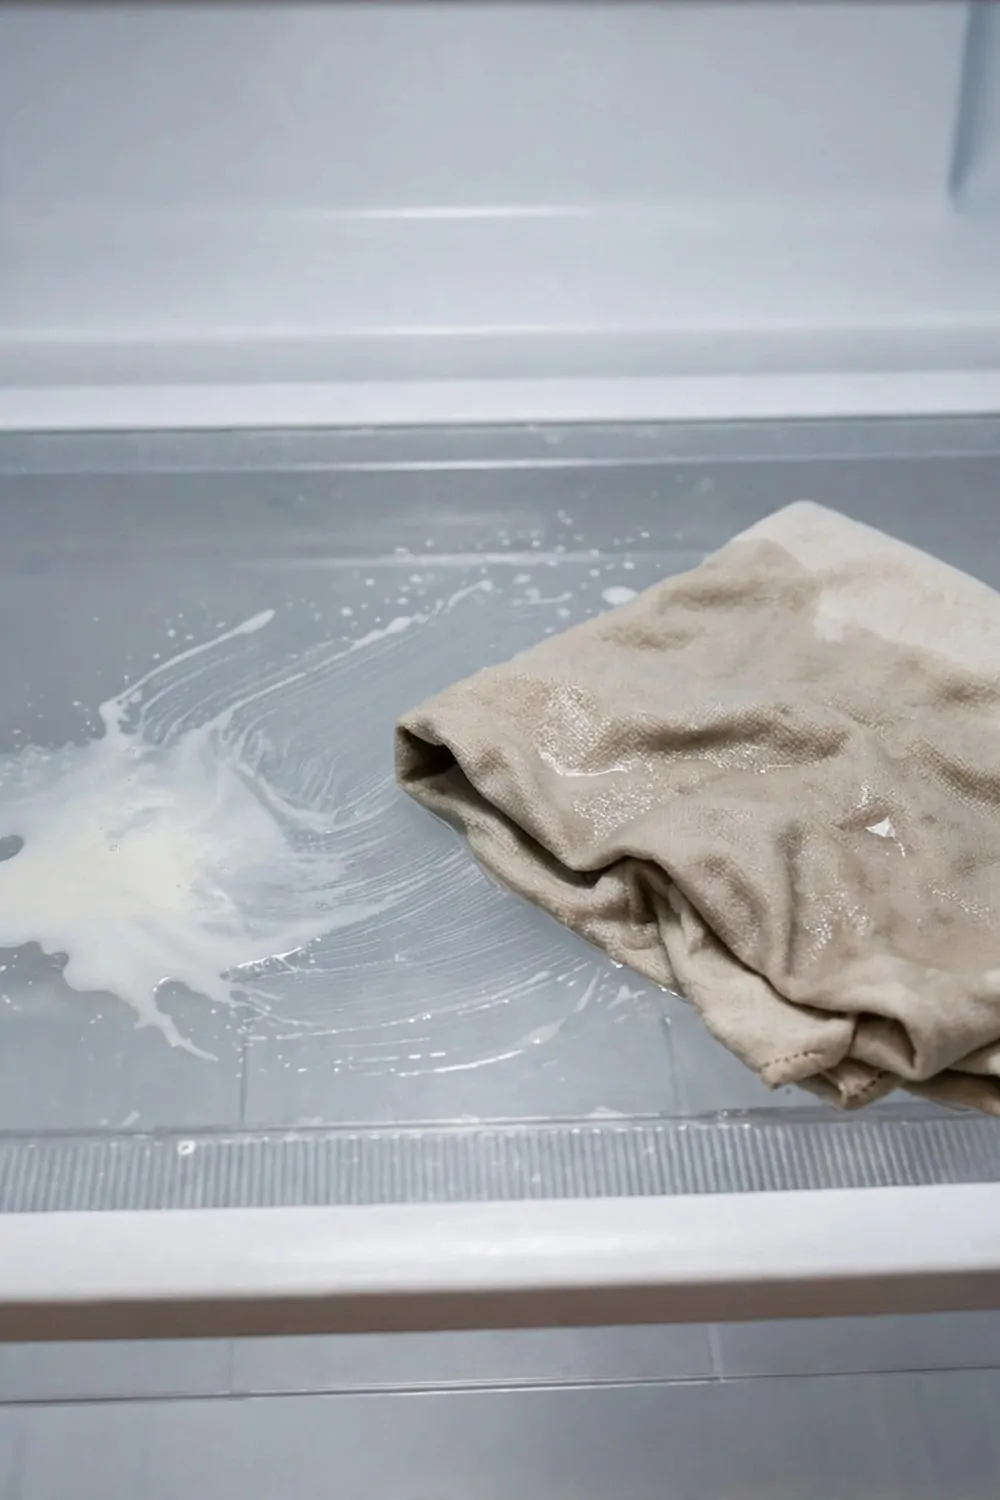
I wipe a spill in the fridge the moment I see it.
A small spill is easy to clean when it is fresh. It turns into a sticky mess if I leave it for days.
I keep a plain cloth near the fridge for this job. I damp it with warm water and a drop of plain soap. I wipe the shelf and dry it right away.
Jam drips are the worst if they dry out. Sauce drips run down the shelf and stick to jars below.
A pack of plain cloths costs $3 to $5.
I do not wait for a big clean to fix a spill. I fix it now and the fridge stays fresh between deep cleans.
I lift the jar that leaked and wipe under it too. I check the shelf below for drips I missed.
Milk spills need a quick wipe as well. I dry the shelf so the next jar does not slide around.
This quick habit takes less than a minute. My fridge smells fresh and the shelves stay clean.
19. Keep Vegetables Dry in the Crisper
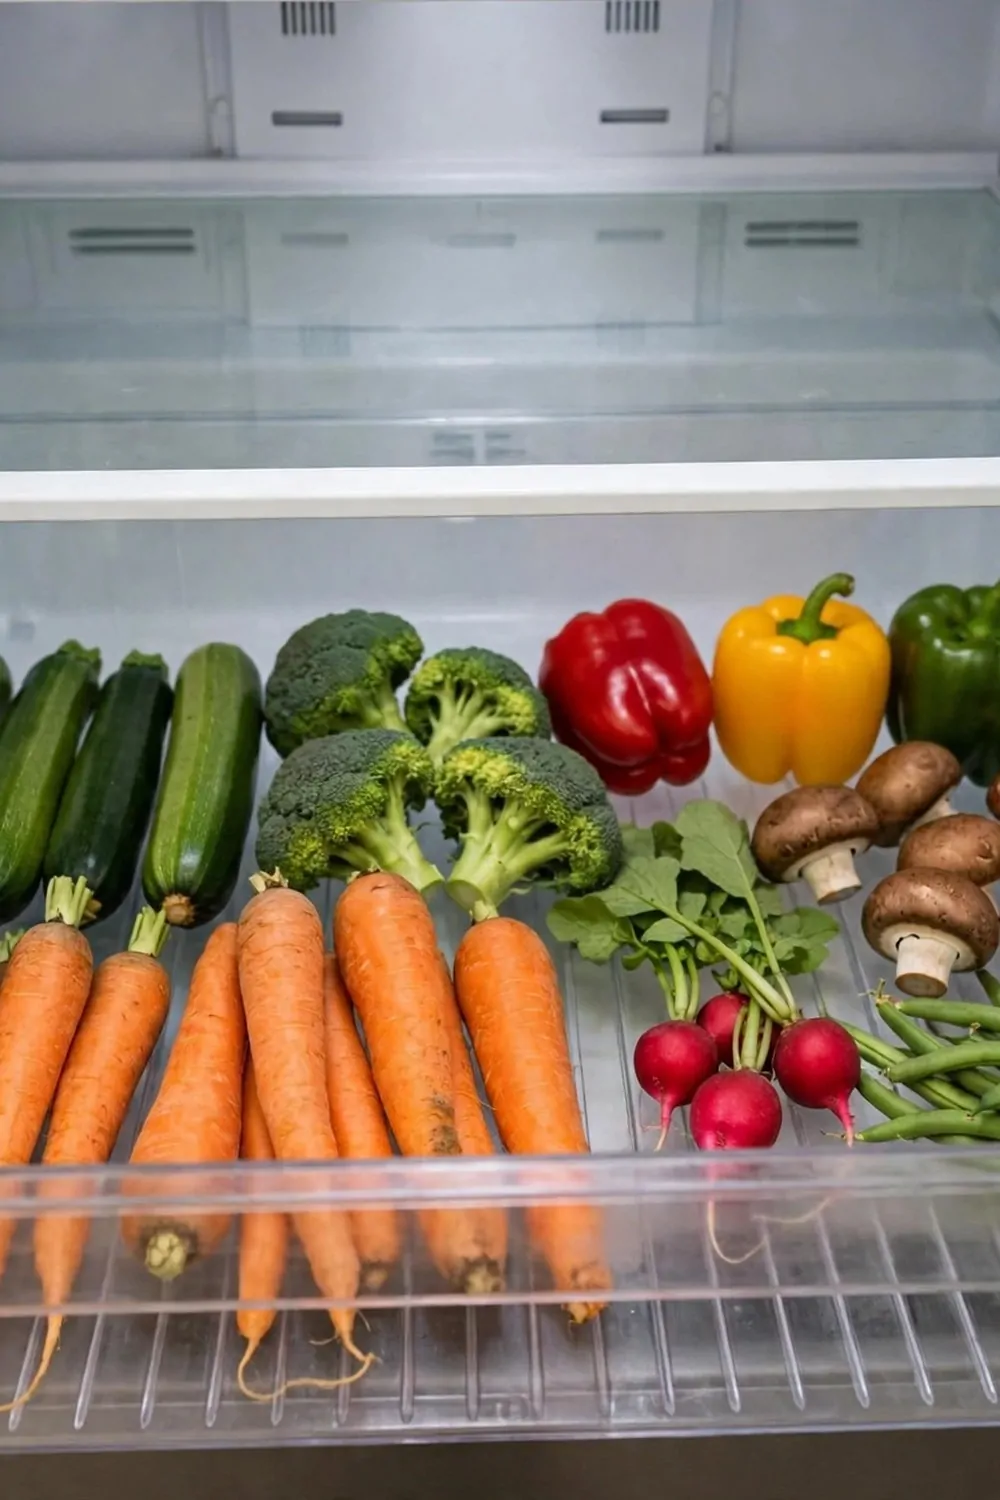
I keep my vegetables dry in the crisper drawer.
Wet vegetables go soft fast in the fridge. Dry vegetables stay crisp and last longer for me.
I shake off extra water after I wash them. I pat them dry with a plain cloth before they go in the drawer. I leave a little space so air can move around them.
I do not pack the drawer too full. A full drawer traps damp air and the vegetables turn limp.
A set of plain food bags costs $4 to $7.
I store vegetables in a plain bag if they came loose. The bag keeps them together and keeps the drawer clean.
I check the drawer when I cook. I use the softest vegetables first and leave the firm ones for later.
If I see water in the drawer I wipe it dry. A dry drawer is the best home for vegetables.
This one change made my vegetables last better. I waste less and I cook with fresher food.
20. Store Fruit Apart From Vegetables
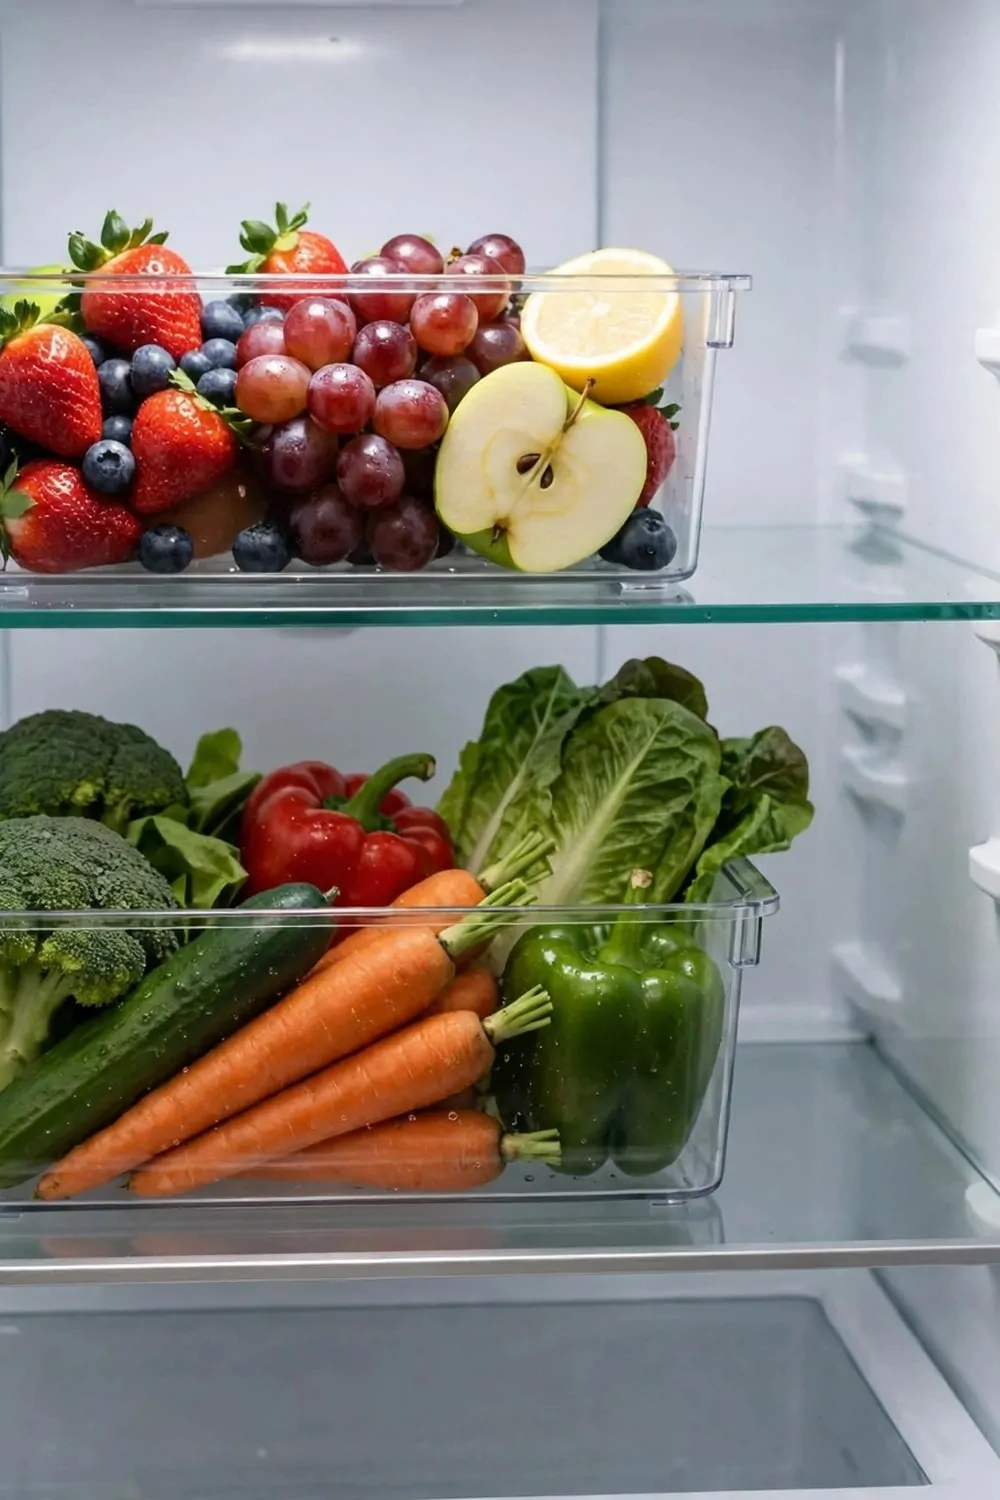
I store fruit apart from vegetables in my fridge.
Fruit and vegetables do better in their own spots. They stay fresh longer when they are not piled together.
I give fruit one drawer or one shelf. I give vegetables the crisper drawer. Each group has room to breathe.
I keep fruit where I can see it. I reach for it more when it sits at eye level.
A pair of plain fridge boxes costs $6 to $10.
You can use one tub for fruit and one tub for vegetables. The tubs stop loose pieces from rolling around.
I wash fruit just before I eat it. I do not wash a whole tub at once and put it back wet.
Soft fruit goes on top so it does not get squashed. Firm fruit can sit below it in the same tub.
This simple split keeps both groups fresher. My fridge looks neat and my fruit gets eaten instead of forgotten.
21. Wipe the Freezer Door and Handle
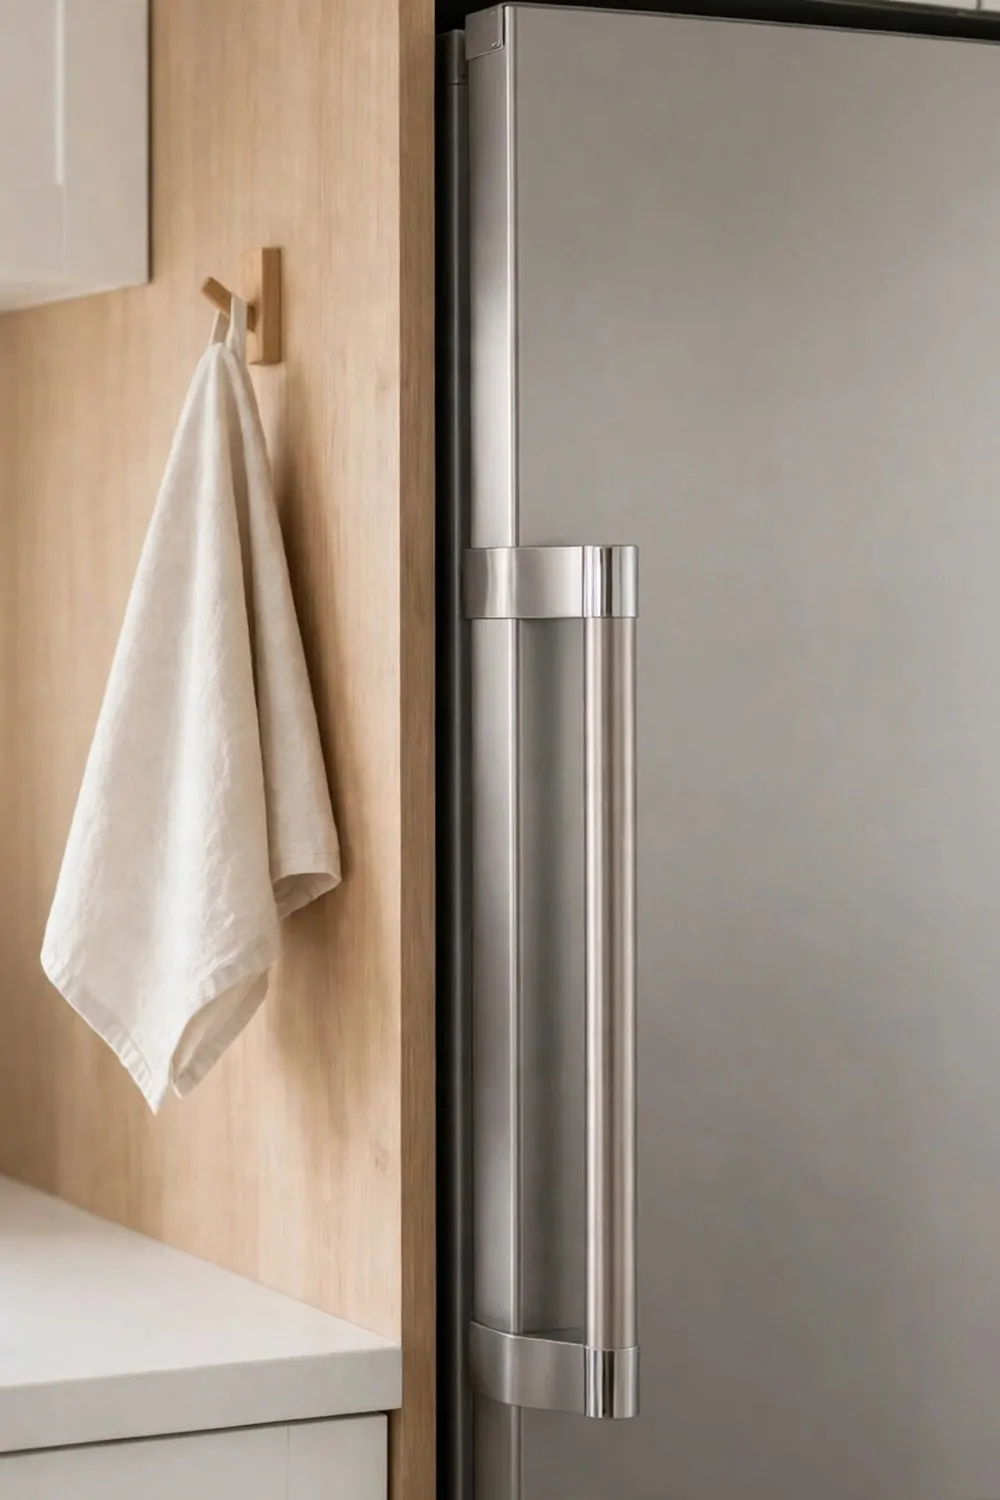
I wipe the freezer door and handle once a week.
Hands touch the handle many times a day. The door picks up marks and drips from busy hands.
I damp a plain cloth with warm water and a drop of plain soap. I wipe the handle first and then the door front. I dry it with a second plain cloth so no marks stay behind.
I wipe around the edge of the door too. Crumbs and dust hide in that thin line.
A pack of plain wipes for the freezer door costs $3 to $5.
I check the seal while I wipe. I run the cloth along it and look for crumbs stuck in the fold.
A clean seal helps the door close tight. A tight door keeps the cold air inside where it belongs.
I do this wipe on the same day I clean the fridge shelves. It fits into my week without extra fuss.
The freezer looks cared for from the outside. It feels good to open a clean door each time.
| Area | Main change | Typical Cost |
|---|---|---|
| A small egg tray | holds the egg carton in place | $3 to $5 |
| A fridge thermometer | shows the coldest spot in the fridge | $4 to $7 |
| A small door shelf basket | keeps small jars from tipping over | $4 to $6 |
| A new ice tray | replaces a worn tray | $2 to $4 |
| A pack of freezer bags | seals bread and leftovers flat | $3 to $5 |
| A small open box for the use first shelf | holds food to use first | $4 to $8 |
| A fine pen for fridge labels | writes dates on jar stickers | $2 to $4 |
| A pack of plain cloths | wipes spills the moment they happen | $3 to $5 |
| A set of plain food bags | keeps vegetables dry in the crisper | $4 to $7 |
| A pair of plain fridge boxes | holds fruit and vegetables apart | $6 to $10 |
| A pack of plain wipes for the freezer door | wipes the freezer door and handle | $3 to $5 |
22. Defrost the Freezer When Ice Builds Up
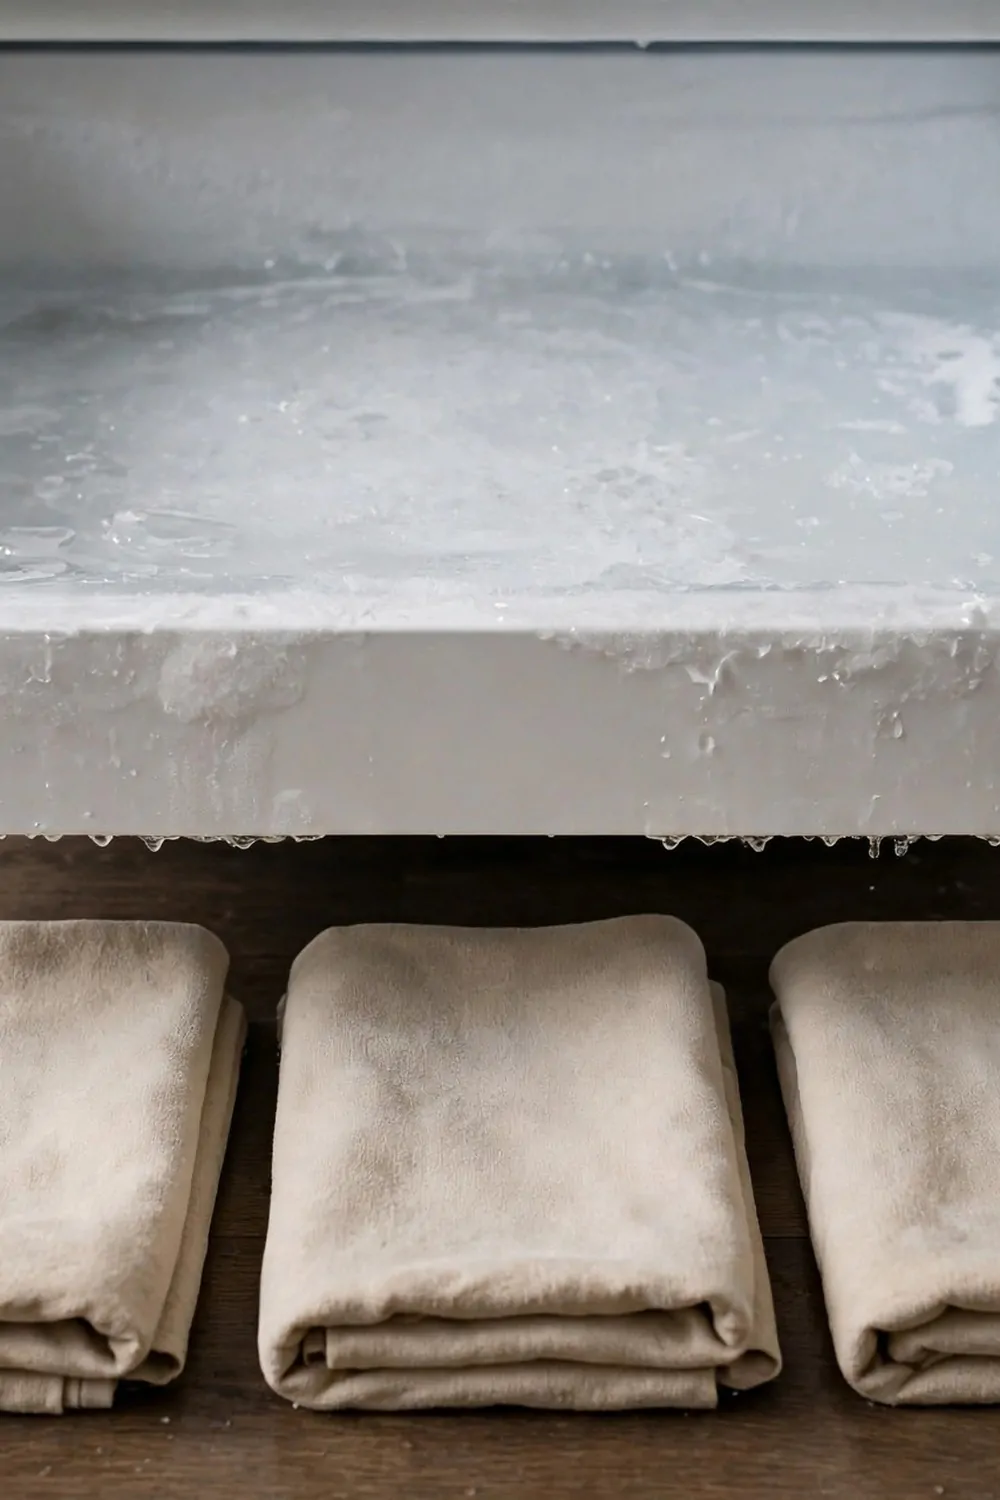
I defrost my freezer when ice builds up thick on the walls.
Thick ice takes up space I need for food. It also makes the freezer work harder than it should.
I plan this job for a day when the freezer is low. I move frozen food into a cool box with ice packs. I switch the freezer off and let the ice melt on its own.
I put plain towels on the floor to soak up the melt water. I wipe the inside as the ice loosens.
A pack of plain towels for melt water costs $5 to $9.
I never chip at ice with a sharp tool. I let warm water in a bowl sit inside and soften the ice instead.
I wipe the walls dry once all the ice is gone. I switch the freezer back on and wait for it to get cold again.
I put the food back in neat rows. I label anything that lost its label in the move.
A clear freezer holds more and runs better. I do this job a few times a year and it is worth the effort.
23. Keep a Small Bin for Fridge Rubbish by the Fridge
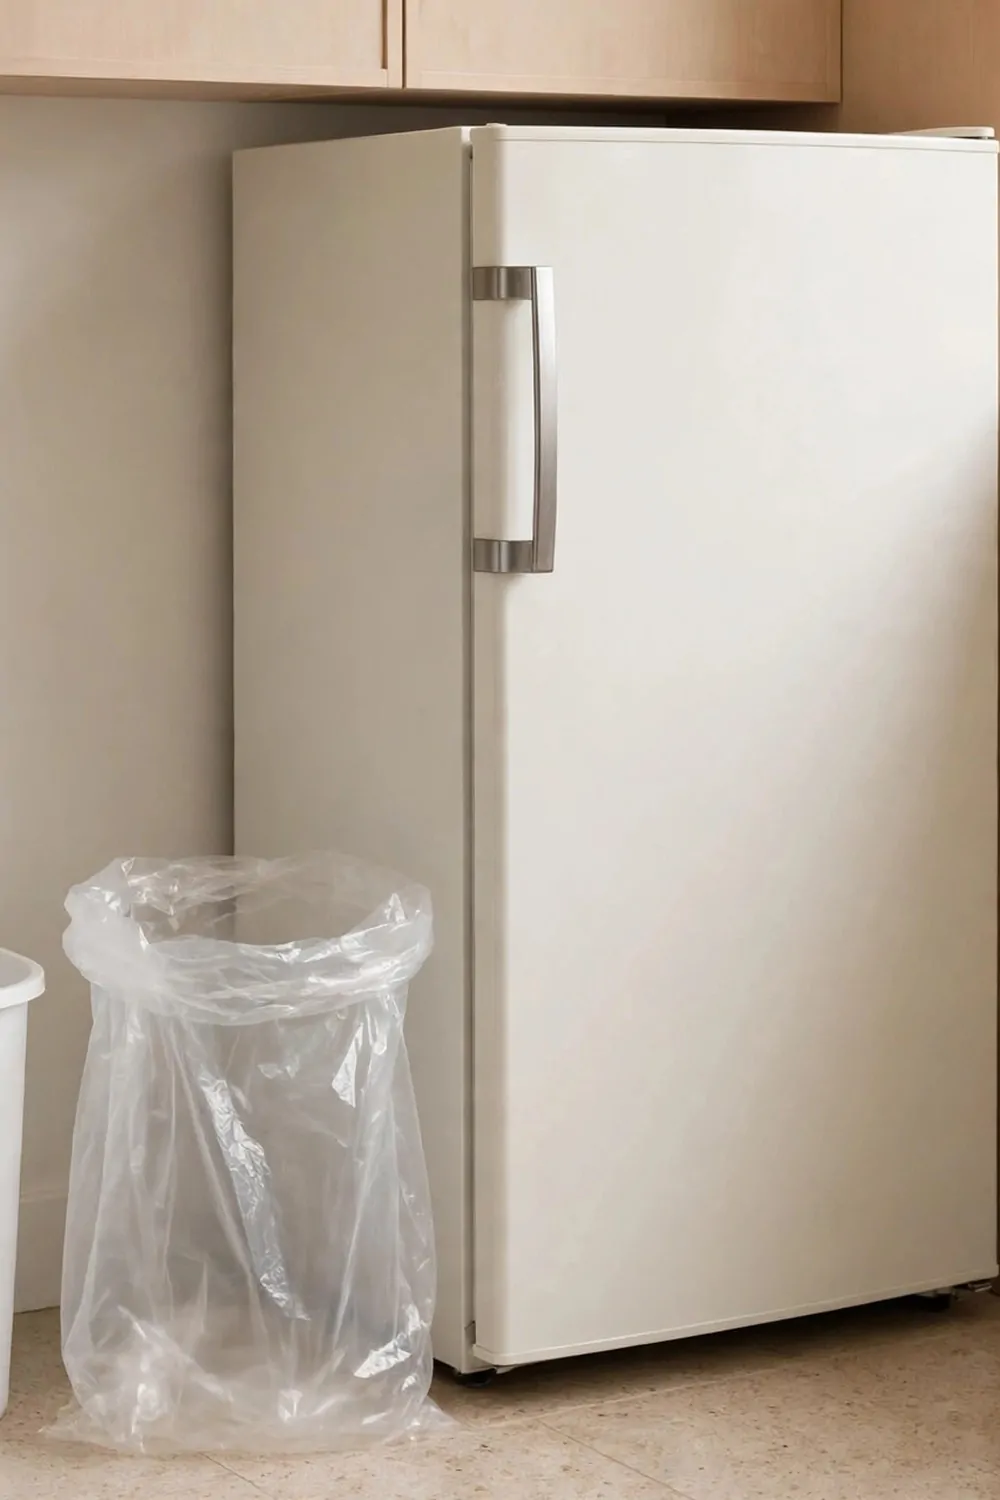
I keep a small bin by the fridge for fridge rubbish.
Old wrappers and empty packs pile up fast when I clean the fridge. A small bin right there makes the job easy.
I toss empty jam jars and torn lids straight into the bin. I drop old labels and bits of paper in it too. I do not walk across the kitchen with a handful of mess.
The bin is small on purpose. It fits in the gap beside the fridge and stays out of the way.
A small open bin for the fridge corner costs $5 to $8.
I empty the bin after each fridge clean. I wipe it out with warm soapy water so it stays fresh.
You can use the bin when you unpack food too. You can drop the outer wrap in it as you put food away.
I keep a spare bag in the bottom of the bin. I can line it again in seconds when I take the full bag out.
This small bin keeps my kitchen floor clear. My fridge clean feels quick because the mess has a place to go.
24. Check the Fridge Temperature Dial
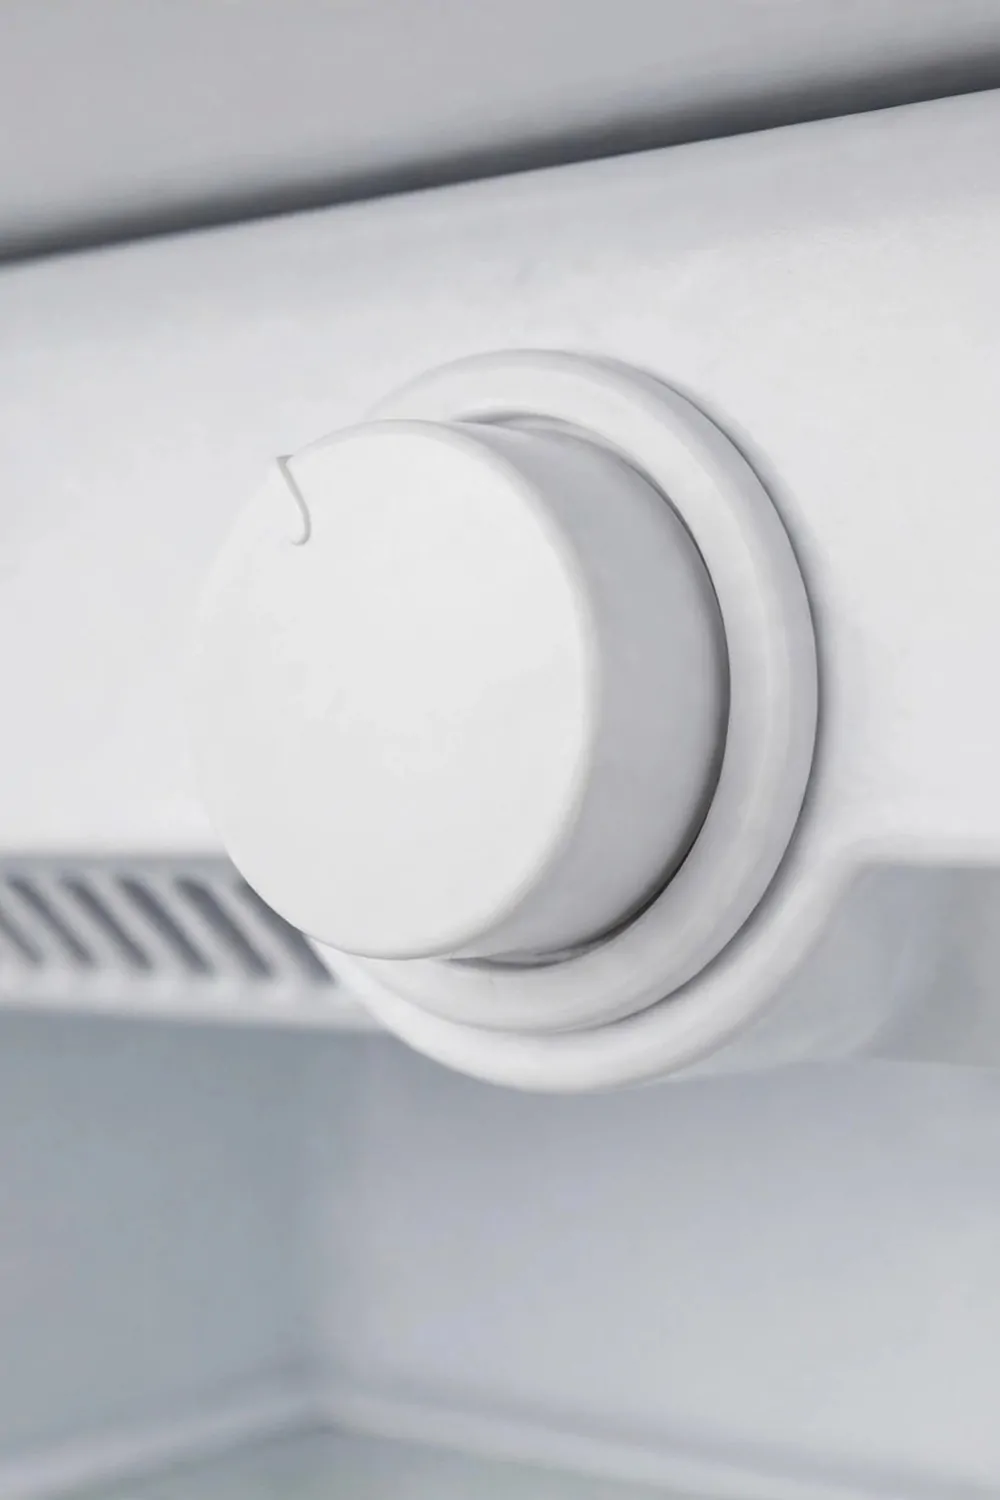
I check the fridge temperature dial once a month.
The dial can get knocked when I move food around. A small knock can change how cold the fridge feels.
I find the dial inside the fridge at the back or on the top. I look at where it sits and I check it has not moved. I set it back to the middle if it has shifted.
I do not turn the dial all the way to the coldest end. The middle keeps food cold without freezing the milk and vegetables.
A fridge thermometer for a quick check costs $4 to $8.
I keep a small thermometer on a middle shelf. I glance at it when I check the dial and I feel sure the cold is right.
If the fridge feels warm I check the door seal first. I make sure the door shuts flat all the way round.
I also check that food is not blocking the vents inside. Cold air needs a clear path to move around the shelves.
This monthly check takes a minute. My food stays cold and fresh and I worry less about waste.
25. Keep Herbs Fresh in a Jar of Water
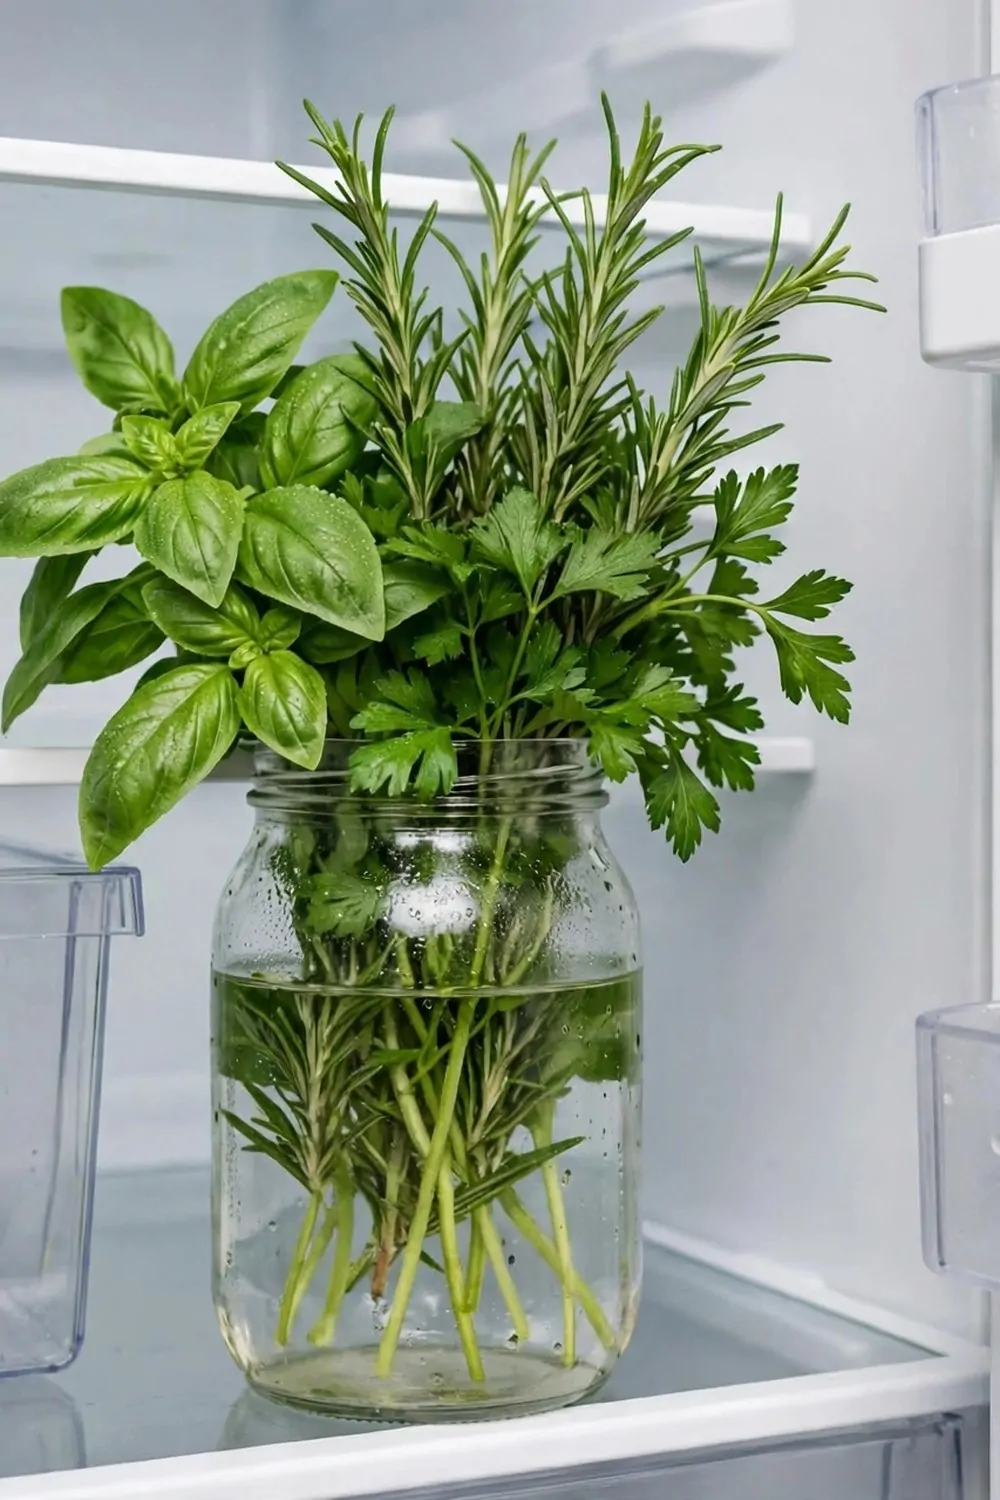
I keep fresh herbs in a jar of water in the fridge.
Herbs go limp fast when they sit dry in a bag. A jar of water keeps them crisp for much longer.
I trim the stems a little with plain scissors. I stand the stems in a small jar with cool water. I cover the tops loosely with a plain bag so they do not dry out.
I change the water every couple of days. Fresh water keeps the herbs bright and clean.
A small jar for herbs costs $3 to $6.
I keep the jar at the front of a shelf. I can see the herbs and I remember to use them in my cooking.
You can keep a few kinds of herbs in one jar. You can keep each kind in its own jar if you like them apart.
I use the herbs in rice and pasta dishes. I add them to beans and vegetables too.
This jar trick saves herbs from the bin. My meals taste fresh and my fridge smells lovely.
26. Store Cheese Wrapped in Cloth or Paper
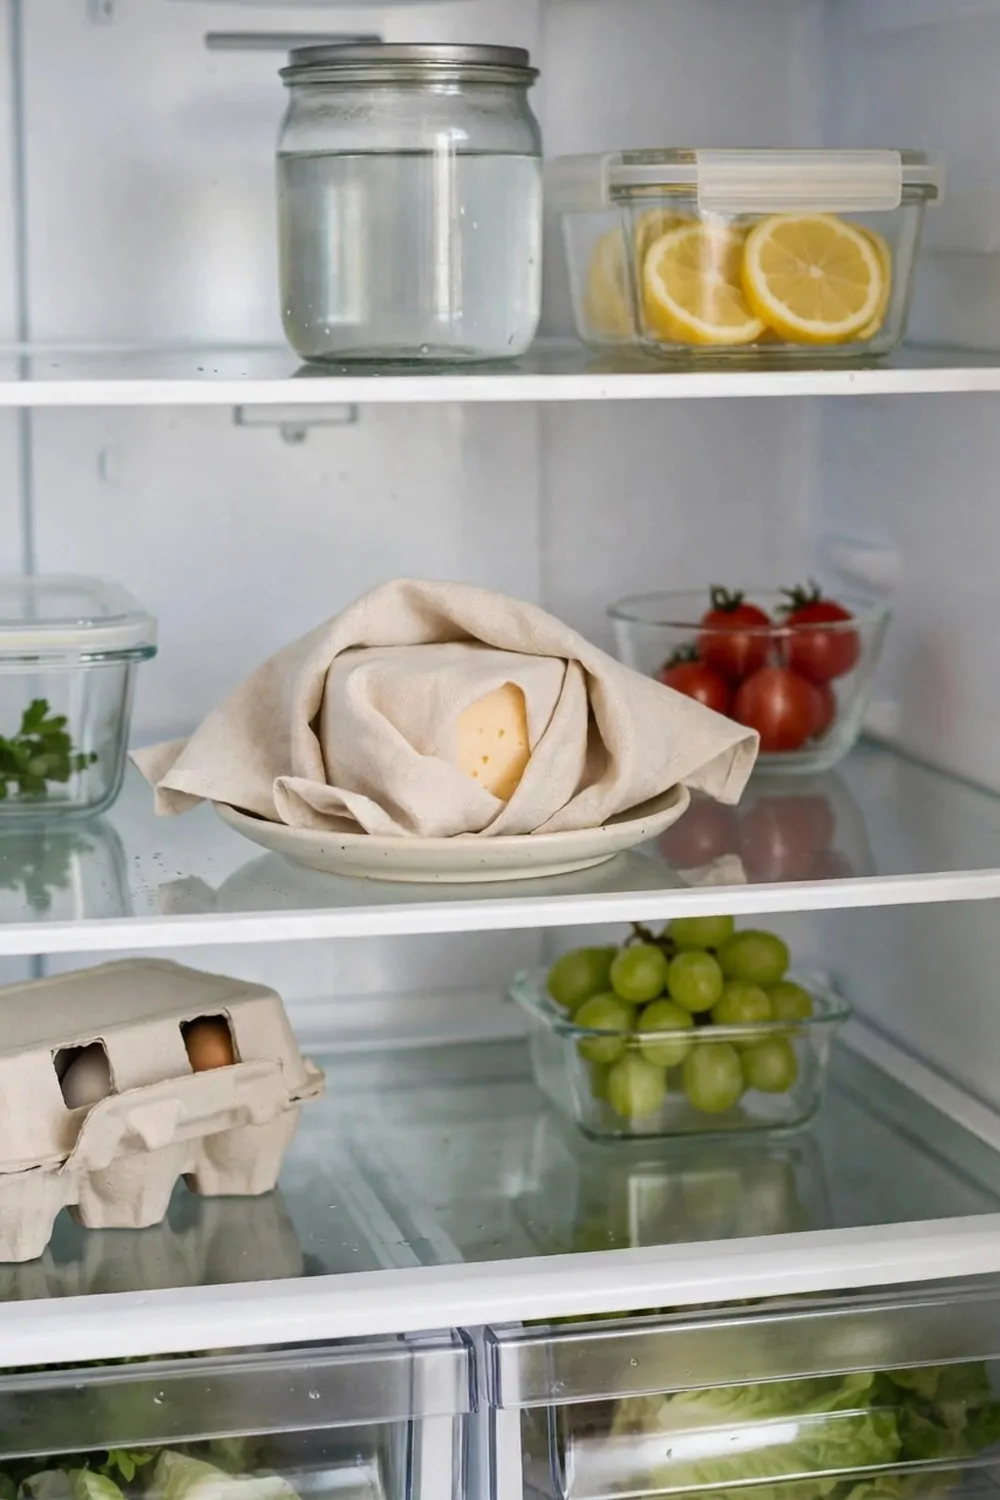
I store cheese wrapped in cloth or paper in the fridge.
Cheese needs to breathe a little to stay fresh. A tight plastic wrap can make it damp and soft.
I wrap the cheese in a piece of plain paper first. I fold the ends in so the cheese stays covered. I put the wrapped cheese in a small tub for extra care.
I write the date I opened the cheese on the tub. I use the oldest cheese first when I cook.
A roll of plain paper for wrapping cheese costs $3 to $5.
You can use a plain cotton cloth for the same job. You can wash the cloth and use it again for the next block.
I keep cheese on a middle shelf where the cold stays steady. I do not leave it in the door where the air warms up.
I cut only what I need for one meal. I wrap the rest back up straight away.
This wrap keeps my cheese firm and tasty. I throw away far less cheese than I used to.
27. Keep a Weekly Fridge Check on the Same Day
I keep a weekly fridge check on the same day each week.
I picked one day that fits my week and I stick to it. A set day means the check never slips my mind.
I start with a quick look at every shelf from top to bottom. I note what needs using soon and what needs a wipe. I make a short list on paper so I do not forget a job.
I plan two meals from what I find in the fridge. I use chicken or vegetables that need eating first. I add the missing bits to my shopping list for the week.
A small notepad and pen for the weekly check costs $2 to $4.
I wipe one shelf and the door pockets during the check. I toss anything that smells off or looks past its best.
I move jars and tubs back to their right spots. I put sauces together and I put cheese back in its tub.
I end the check with a quick look in the freezer too. I note what is low and what I need to buy next.
This weekly check keeps my fridge calm all week. I shop with a clear list and I waste far less food.
28. Clean Under and Behind the Fridge
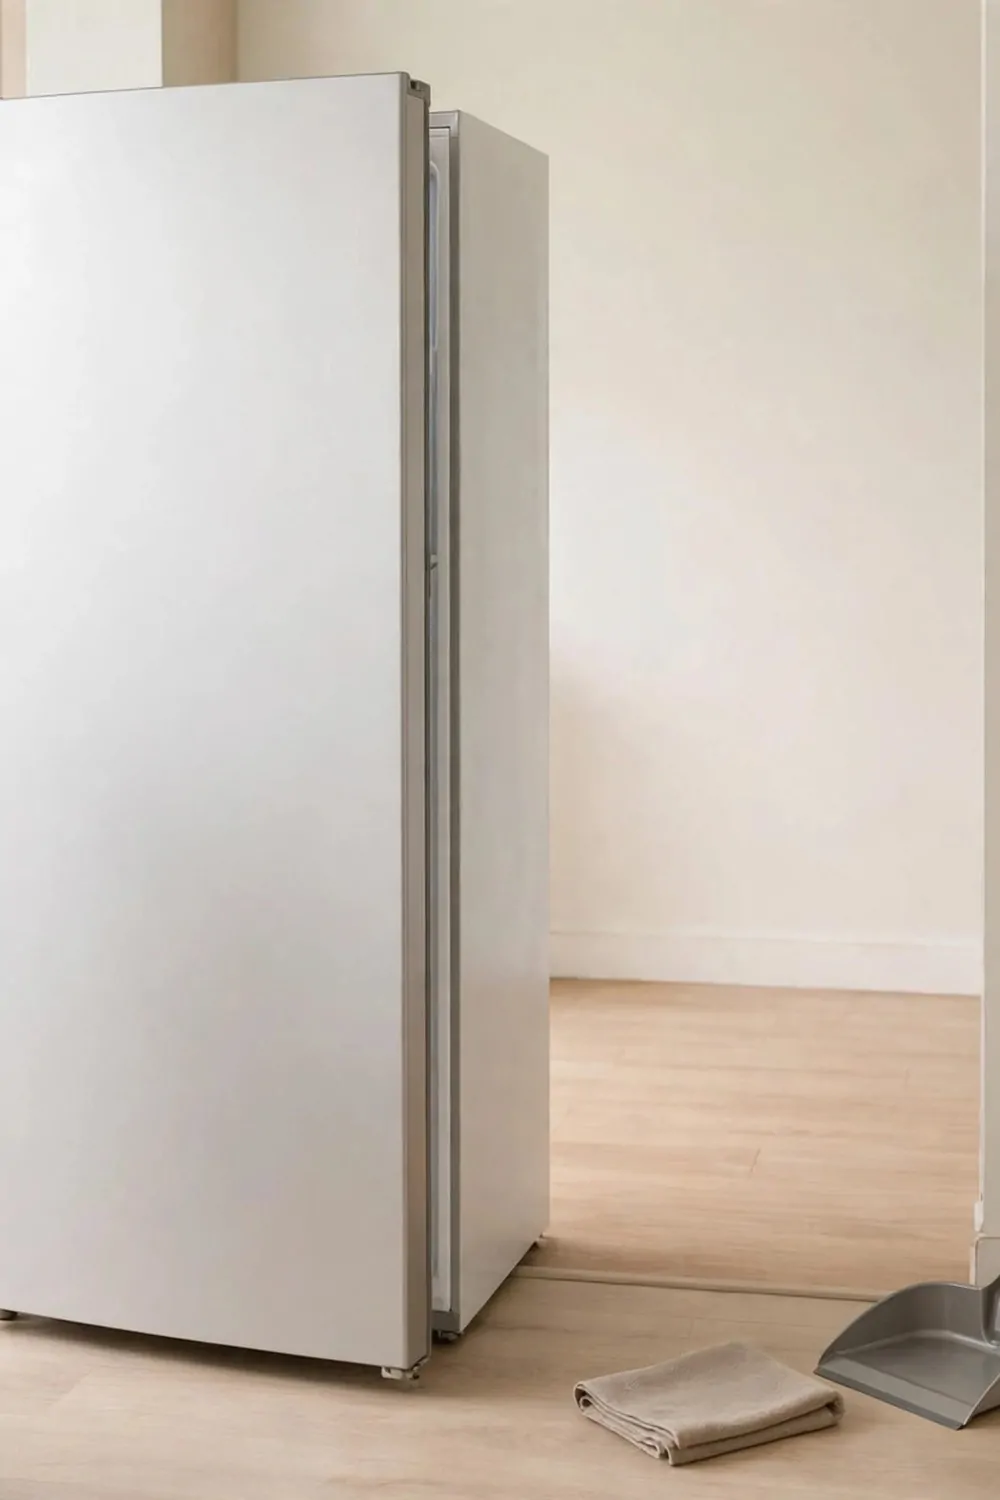
I clean under and behind the fridge twice a year.
Dust and crumbs gather in that hidden spot. They build up over months and I never see them from the front.
I pull the fridge out a little with care. I ask someone to help me if it feels heavy. I sweep the floor with a plain brush and wipe it with warm soapy water.
I wipe the back of the fridge with a dry cloth first. I clear the dust from the low vent at the back.
A long handled floor brush for hard to reach spots costs $5 to $9.
I check the floor for any damp marks while I am there. I dry the floor well before I push the fridge back.
I push the fridge back slow and straight. I check it sits level and the door shuts flat.
I wipe the sides of the fridge too. I clean the top where dust settles out of sight.
This deep clean feels like a fresh start. My kitchen feels cleaner and the fridge runs with clear air around it.
29. Build Your Fridge Cleaning and Organization Kit
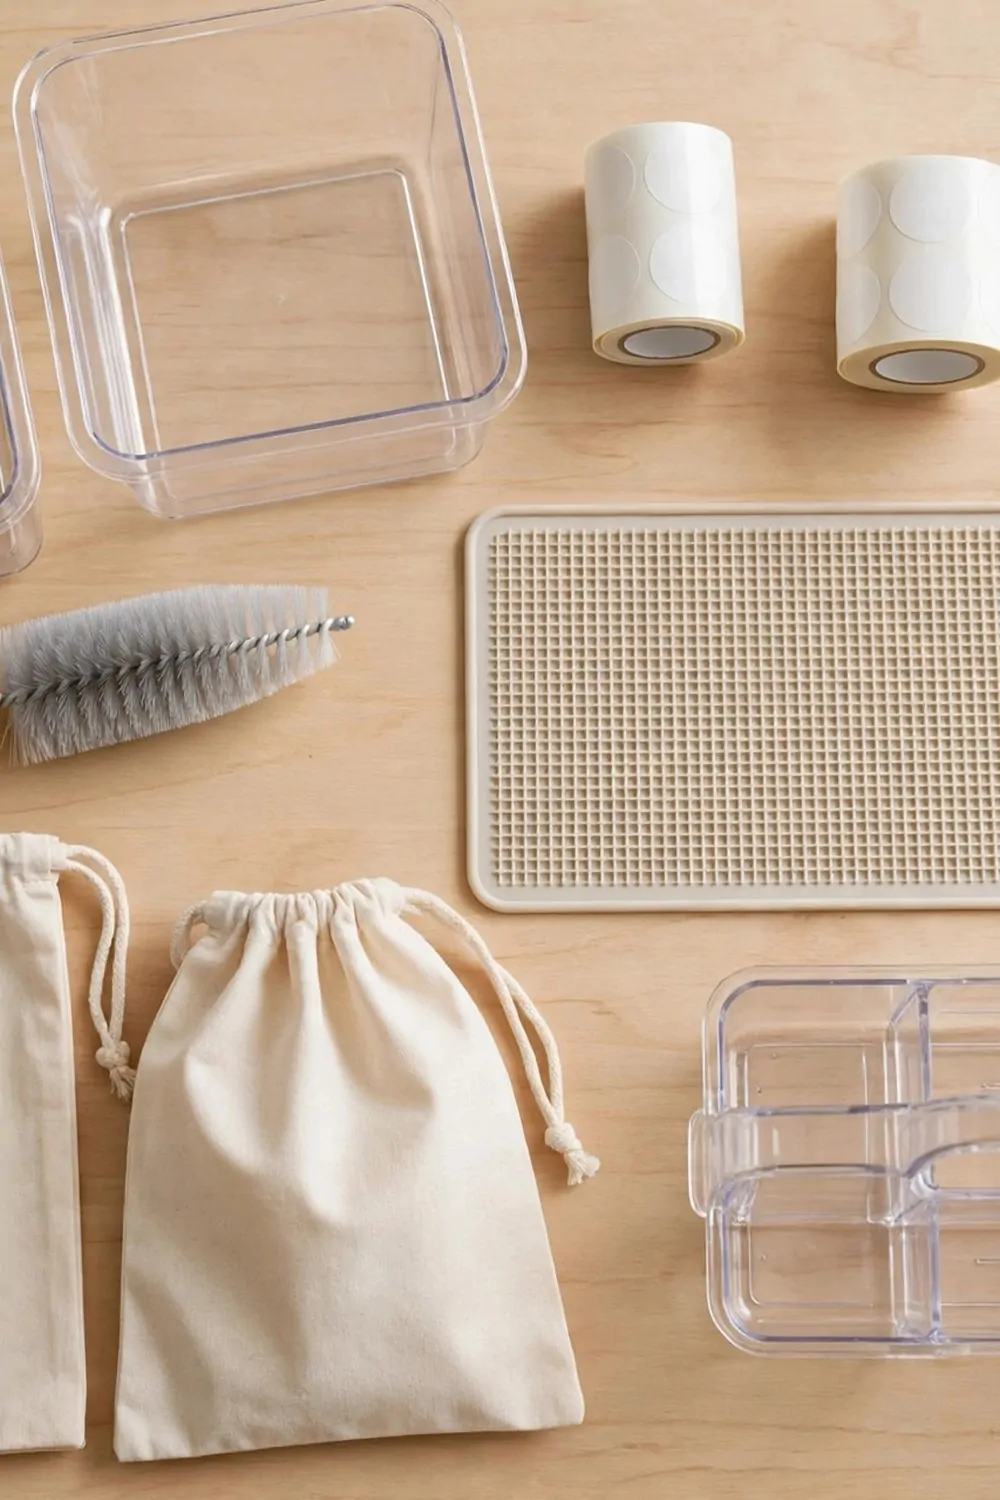
I keep one small kit by the fridge so I can clean and sort in minutes.
The kit lives in one spot and I grab it when I need it. I do not hunt for cloths and tubs across the kitchen.
A set of clear fridge tubs costs $8 to $14. They hold leftovers and small foods in neat rows.
A pack of plain date stickers costs $2 to $4. They mark each tub so you know what is fresh.
A small fridge shelf mat costs $5 to $9. It lines one shelf and wipes clean in seconds.
A soft bottle brush costs $3 to $6. It reaches into jars and bottles the cloth cannot reach.
A pack of plain cotton storage bags costs $4 to $7. They hold vegetables and bread in a neat stack.
A small fridge caddy costs $6 to $10. It holds the kit by the fridge so it is ready to grab.
The whole fridge cleaning and organization kit costs $28 to $50. I buy the kit once and I use it for every fridge clean.
| Area | Main change | Typical Cost |
|---|---|---|
| A set of clear fridge tubs | hold leftovers and small foods in neat rows | $8 to $14 |
| A pack of plain date stickers | mark each tub so you know what is fresh | $2 to $4 |
| A small fridge shelf mat | lines one shelf and wipes clean in seconds | $5 to $9 |
| A soft bottle brush | reaches into jars and bottles the cloth cannot reach | $3 to $6 |
| A pack of plain cotton storage bags | hold vegetables and bread in a neat stack | $4 to $7 |
| A small fridge caddy | holds the kit by the fridge so it is ready to grab | $6 to $10 |
| Total | whole fridge cleaning and organization kit | $28 to $50 |
Keep Reading
If you liked these ideas, you will love these posts too.
- 23 Microwave and Oven Cleaning Hacks That Really Work
- 32 Home Care Routine Ideas for a Tidy House Every Day
- 25 Nightly Cleaning Routine Ideas for Calm Mornings
- 30 Spring Cleaning Ideas Room by Room
- 27 Laundry Room Cleaning Ideas That Keep Wash Day Easy
- 21 Natural Cleaning Hacks With Things You Already Have
Open your fridge tonight and enjoy how easy it feels to spot what you need and use it before it goes to waste.