25 Clay Craft Ideas for Beginners

My kitchen shelf had one empty corner, and a bag of plain clay filled it with small useful things. I had never worked with clay before, and my first pot leaned a bit to one side. I still use it now, and it reminds me that a wobbly start is fine.
Clay is kind to new hands, and you do not need fancy tools to start. Here are 25 clay craft ideas for beginners that turn plain clay, water, and a little time into things you can use at home.
You need only a few plain things to begin. A small bowl of water, a smooth board, and a blunt knife from your kitchen drawer will do for most of these ideas. I also like a damp cloth close by, so my hands stay clean while I work.
Air-dry clay needs time, so I set each piece aside in a dry spot and leave it alone. I do not rush it with heat, and I turn it over once a day so the base dries too.
When a piece feels dry right through, I paint it with plain paint and a soft brush. I paint thin coats and let each one dry before I add the next. A clear seal helps the paint last longer on pieces you use each day.
Clay dust gets everywhere if I let it, so I wipe the table down as soon as I finish. I wash my hands and tools in a bucket, not in the sink, so the clay bits do not block the drain. A tidy table makes the next session start fast.
Start with the easiest idea on the list and enjoy the mess a little. Your hands will learn fast, and each piece will come out a bit neater than the last. By the end you will have small useful things all over your home, all made by you.
1. Make a Small Clay Pinch Pot for Your Desk
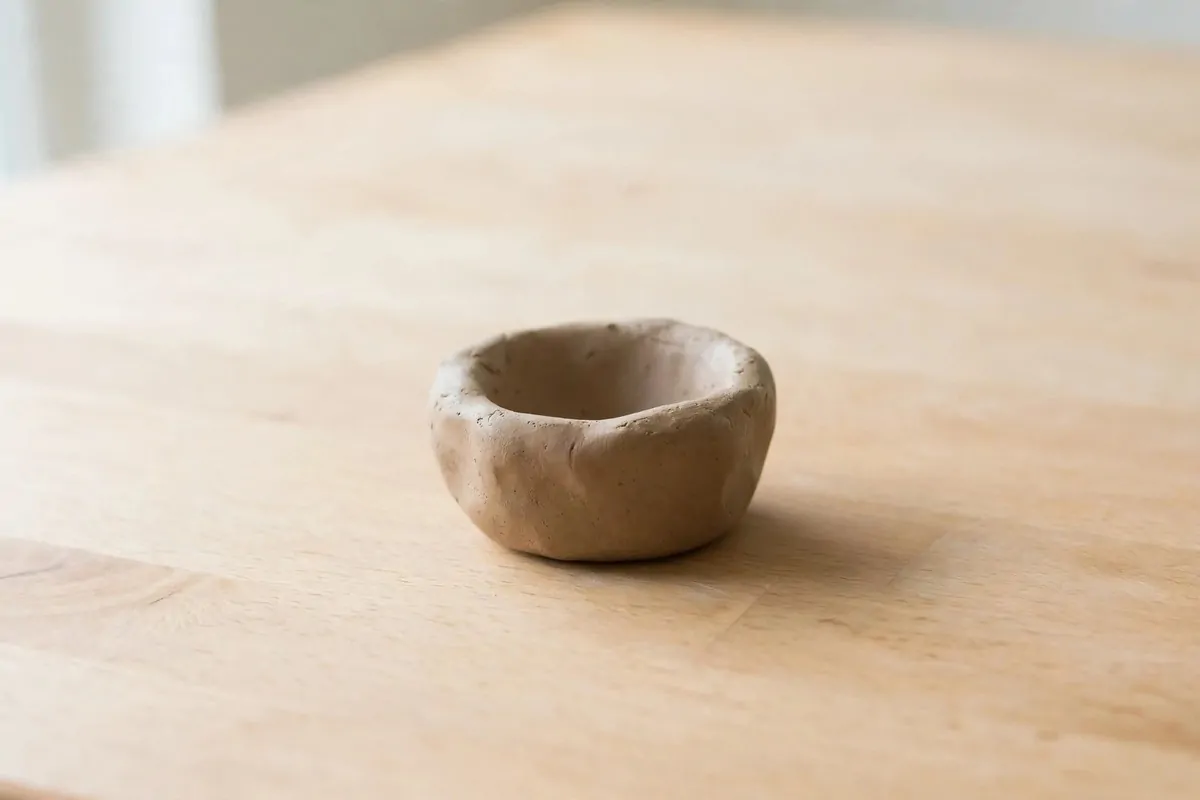
A pinch pot is the easiest place to start with clay, and it needs no mould or wheel. You press the shape with your thumbs, so every pot comes out a little different.
Take a lump of clay about the size of a plum and press your thumb into the middle. Turn the lump slowly in your hand as you press the walls out a bit at a time. Stop when the walls feel even from base to rim.
Dip your fingers in water when the clay starts to drag and stick.
Smooth the rim with a wet finger until it feels soft to touch. If a crack shows, rub a little water into it and smooth it again.
Set the pot aside on a board to dry for a day or two.
Once the pot is dry all the way through, give it a coat of plain paint. I paint the outside first and let it dry before I paint the inside. A clear seal on the inside helps it stay clean when you drop small bits in it.
Mine sits by my notebook on my desk. It is small, so it never crowds the desk, and I reach for it all day.
You can press a simple pattern into the outside with the end of a pencil. Press light, or the wall will dent in more than you want.
A pack of plain air-dry clay and a plain sponge for one pinch pot cost $2 to $4.
2. Shape a Clay Ring Dish for Your Rings
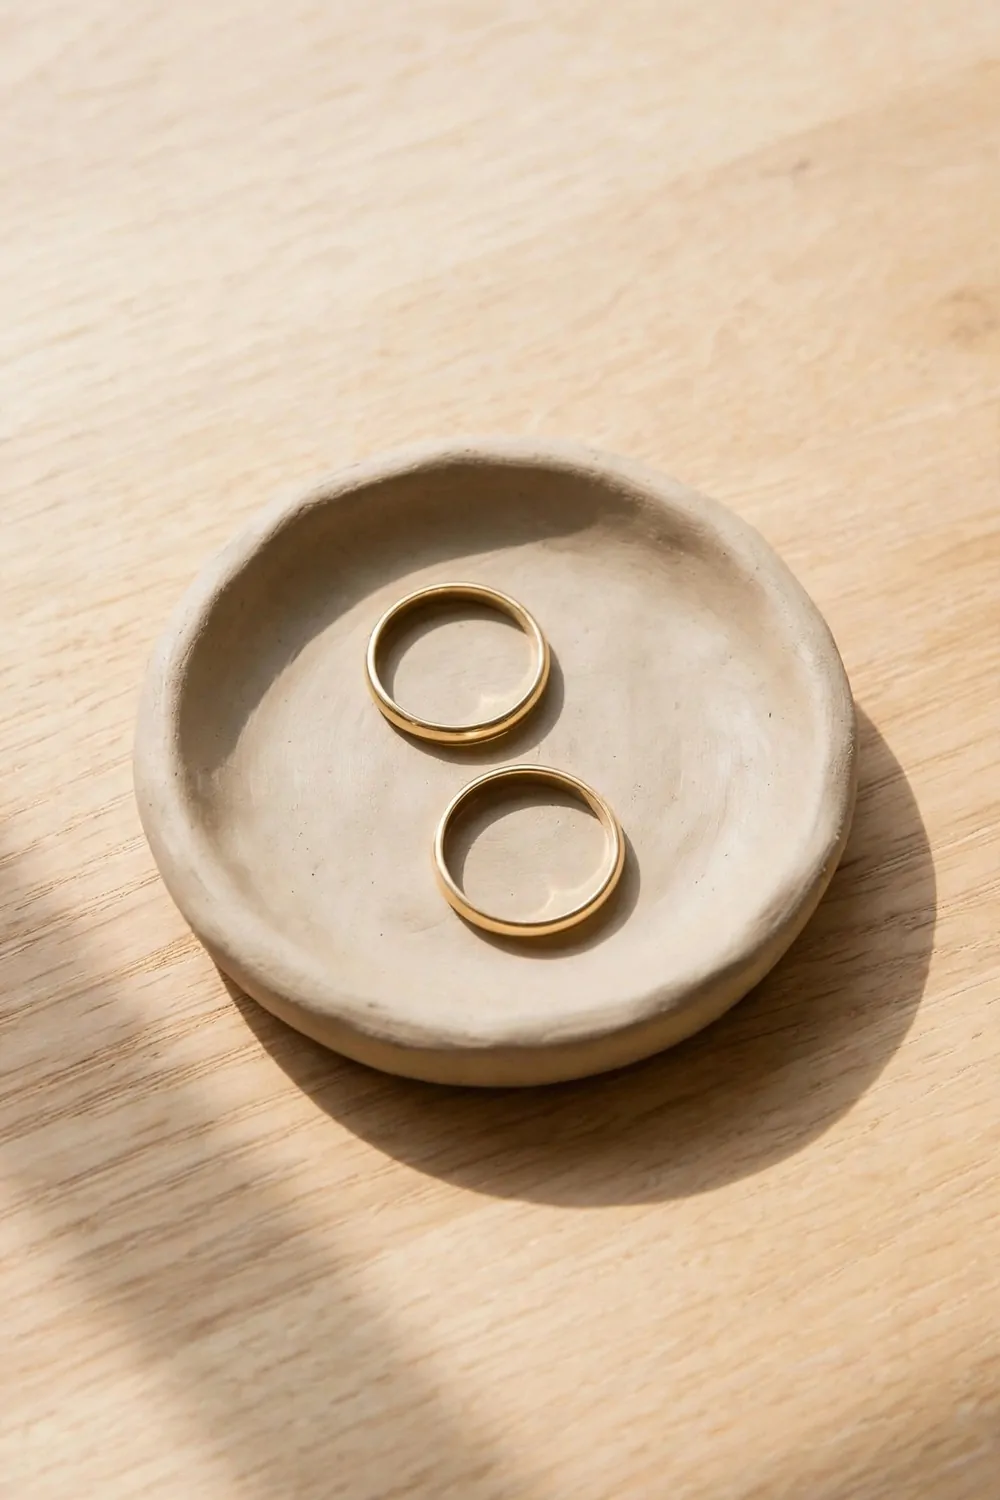
A ring dish gives your rings a safe home at the end of the day.
Roll a lump of clay into a soft mound and press the middle down with your palm. Work the edges up a little so the middle stays lower than the rim.
Press the base down on the board so it sits level and does not wobble. Smooth the inside with a wet finger until it feels soft. If the edge looks rough, trim it with a blunt knife and smooth it again.
Let it dry in a dry spot for a day or two before you paint it.
I paint mine with plain paint and add a clear seal so rings slide in and out without marks. The seal also stops the paint from wearing off where the rings rest.
Mine lives by the sink, and my rings go straight in it when I wash my hands. It saves me hunting for them in the morning.
You can press a leaf vein into the clay for a soft pattern, then lift it off before the clay dries. The print stays in the clay and shows through the paint a little. It is a nice touch for a gift, and it needs no extra tools.
Wipe it clean with a dry cloth when dust settles on it.
One small pack of air-dry clay and a small brush make one ring dish for $1 to $3. The brush lasts for many other pieces too.
3. Roll a Clay Spoon Rest for Your Kitchen
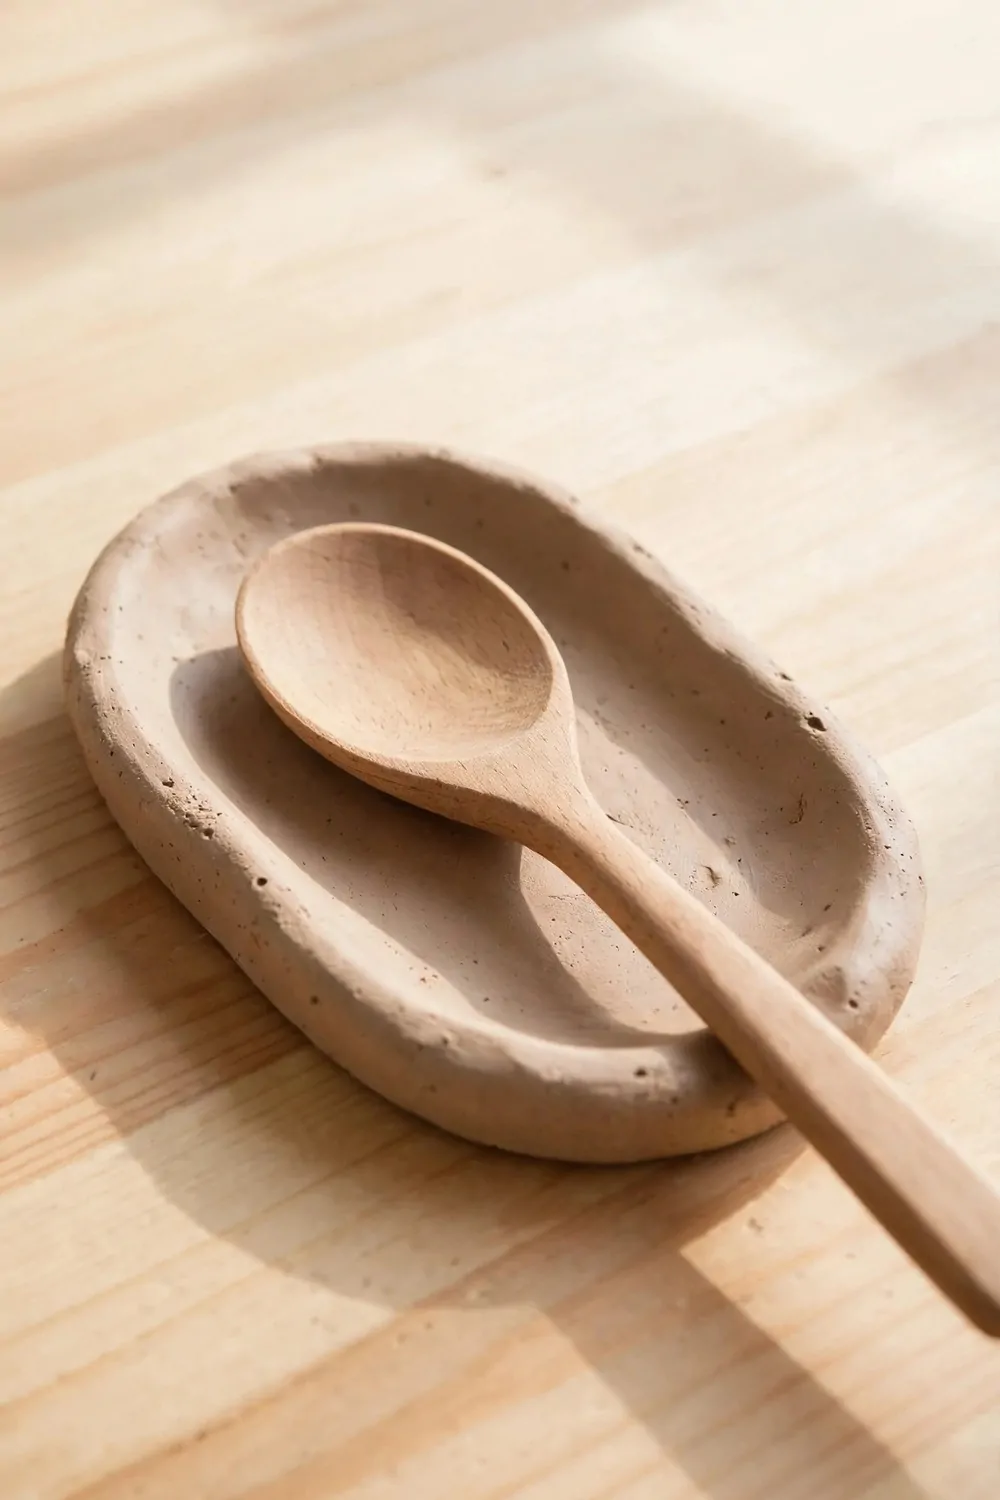
A spoon rest saves your worktop from drips when you cook, and clay makes a sturdy one. Roll a lump of clay out on a board until it is about as thick as your finger. Trim the edge with a blunt knife so it looks neat.
Press a shallow dip in the middle with the back of a spoon.
Smooth the dip with a wet finger until the spoon sits in it without rocking. Wipe the edge clean and set the rest aside to dry.
Mine lives by the stove, and I drop my spoon in it between stirs. It wipes clean with a damp cloth, and it has saved my worktop more times than I can count.
Paint it with plain paint and add a clear seal so it wipes clean.
You can press the end of a fork into the edge for a neat pattern. Press light and even, or the marks will look patchy.
Let it dry right through before you use it with a hot spoon.
A spoon rest also works well as a rest for a ladle or a spatula. I made one for my mum too, and she uses it every day. It is one of those small things you miss as soon as it is gone.
A plain brush and one pack of air-dry clay make one spoon rest for $2 to $5. The clay pack will stretch to a few more small pieces after this one.
4. Press a Clay Soap Dish for Your Sink
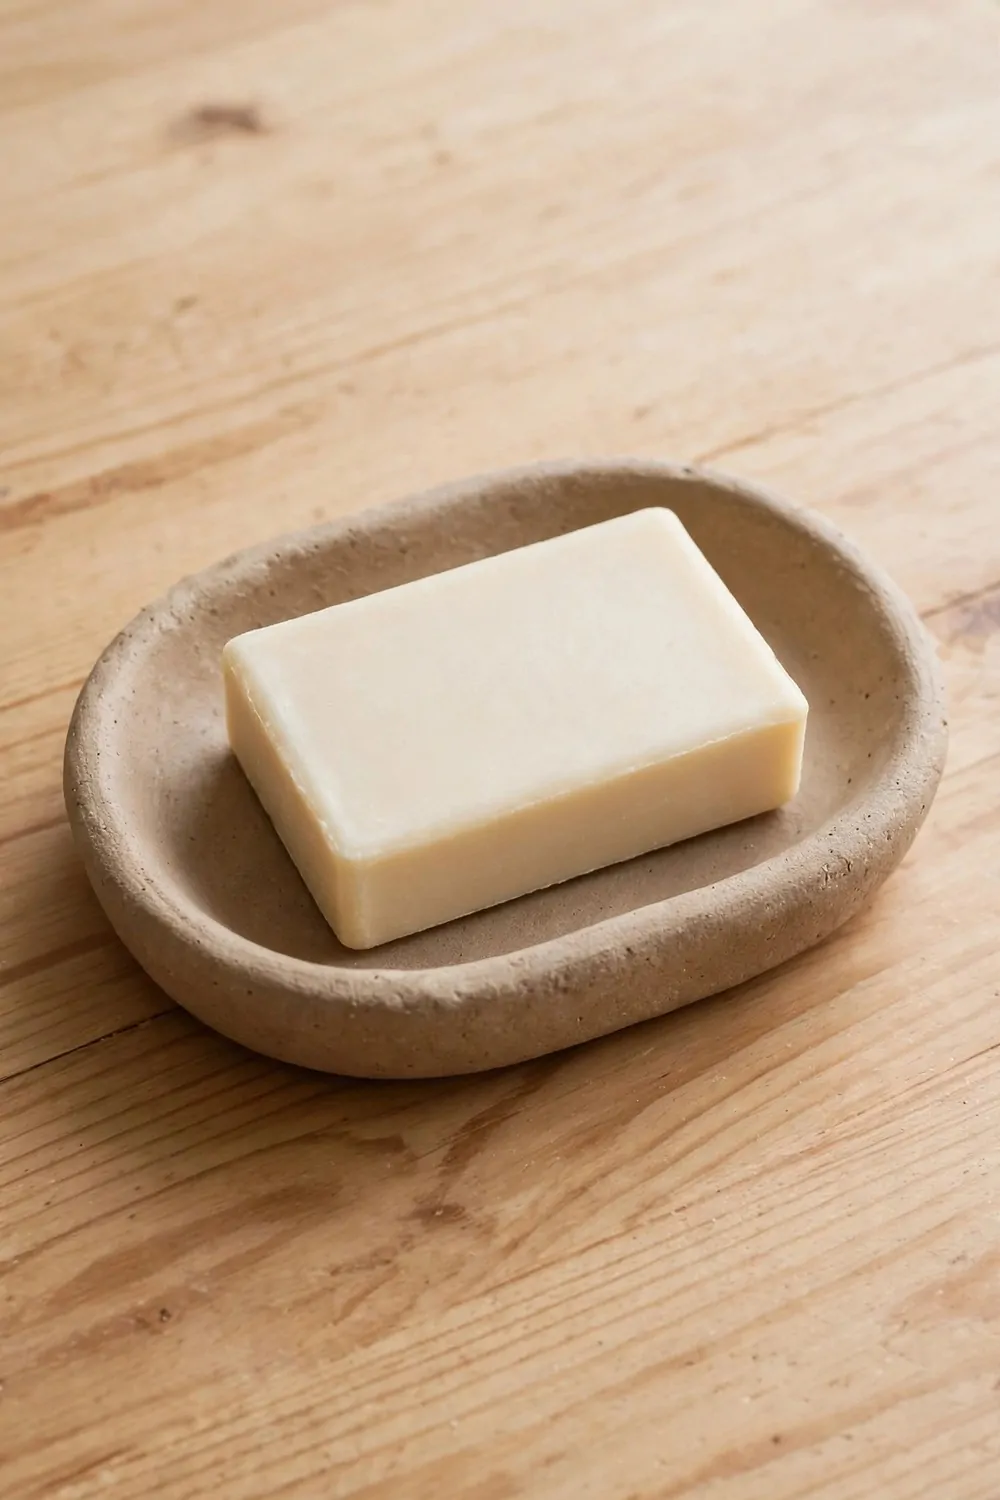
A clay soap dish keeps your soap dry between uses, and it is easy to press by hand. You need only a lump of clay, a board, and a blunt knife.
Press a lump of clay down on the board with your palm until it spreads out.
Press the middle down a little with your palm so the soap sits in a shallow dip. Smooth the rim with a wet finger and set it aside to dry.
The dip in the middle matters more than it looks, because soap lasts longer when it dries between uses. I learned that the hard way after my first dish held a puddle. Now I press the dip a bit deeper, and the soap stays firm.
Paint it with plain paint when it feels dry right through. Add a clear seal so the paint stands up to water day after day. The seal also makes the dish easy to wipe clean.
Mine sits by the bathroom sink, and the soap dries fast on it.
You can press a shell into the clay for a soft pattern before it dries. Lift it off gently, and the print stays in the clay.
Rinse it now and then to wash off any soap film.
One soap dish takes a pack of air-dry clay and a plain sponge, for $1 to $4. The sponge helps you smooth the rim without scratching it.
5. Build a Clay Plant Pot for a Small Plant
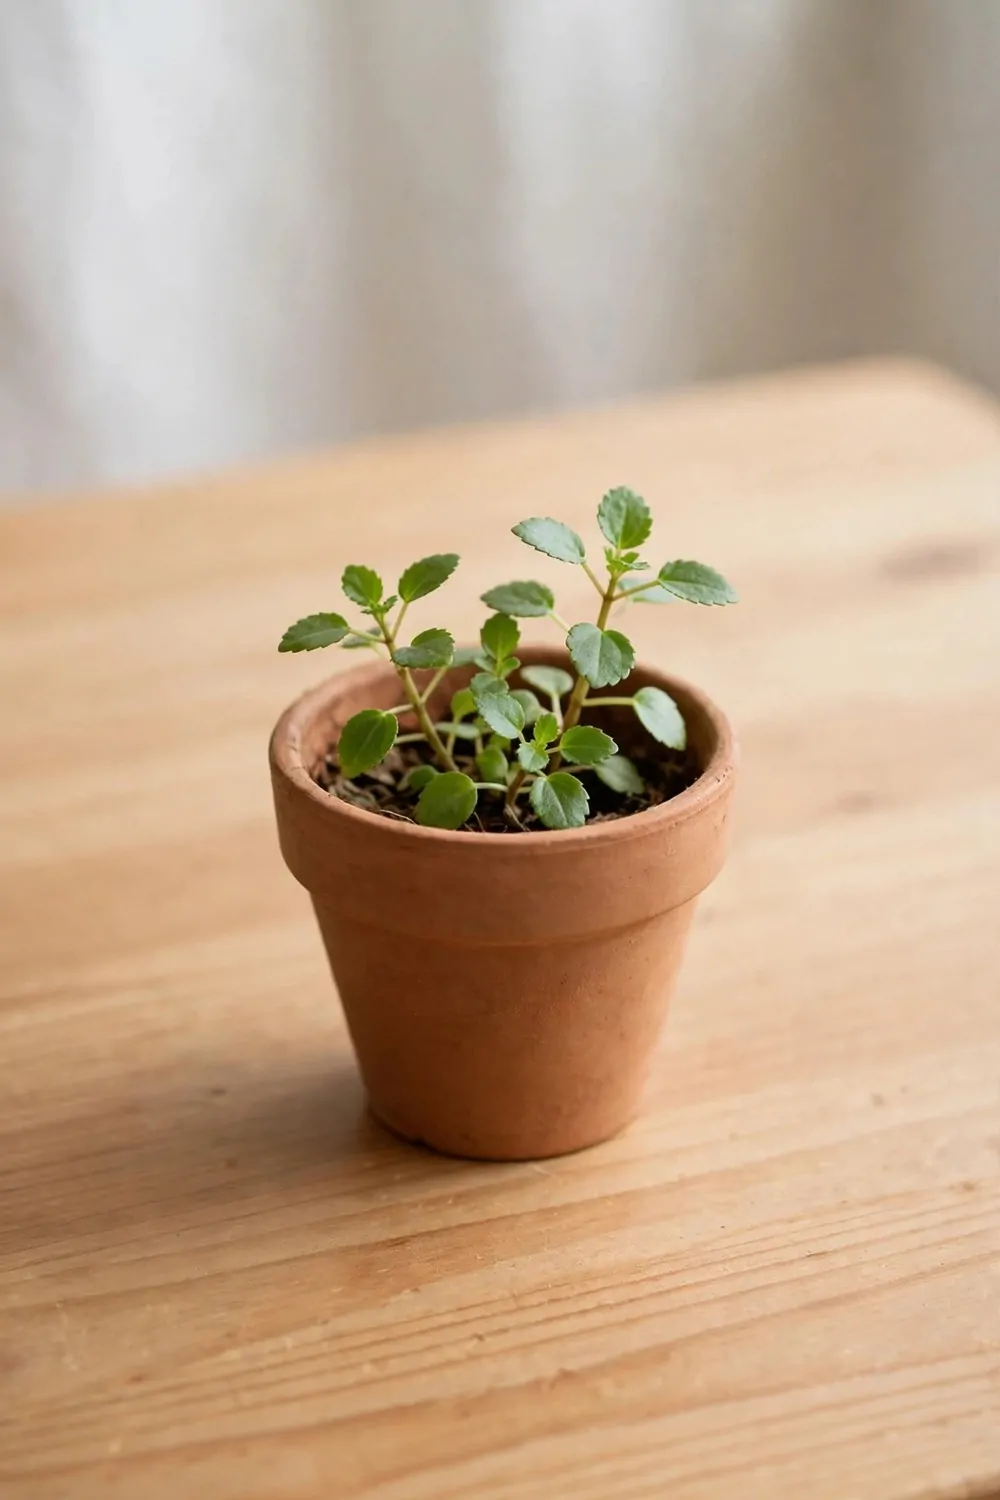
A small clay pot suits a herb on the kitchen sill or a tiny plant on a desk.
Roll the clay into a thick sheet on a board, then cut it into a strip for the wall of the pot. Wrap the strip into a loop and press the join smooth with a wet finger. Press a base on with a firm thumb, and smooth the join from the inside.
Poke a drain hole in the base with a pencil so water can escape. Smooth the rim with a wet finger and set the pot aside to dry.
Let it dry for two days, since the walls are thicker than a pinch pot.
Give it a coat of plain paint and a clear seal on the outside. The seal helps the pot stand up to water when you water the plant.
Mine holds a small herb, and I water it a little each morning. The herb grows well in clay, and the pot feels solid in my hand. I like how the plain clay suits soft leaves.
Turn the pot now and then so the plant grows even.
You can press dots into the outside with the end of a pencil for a soft pattern. Press light, or you will dent the wall more than you mean to.
A large pack of clay and a plain brush make one plant pot for $3 to $6. The large pack leaves plenty of clay for another small piece after this one.
6. Make a Clay Pencil Holder for Your Desk
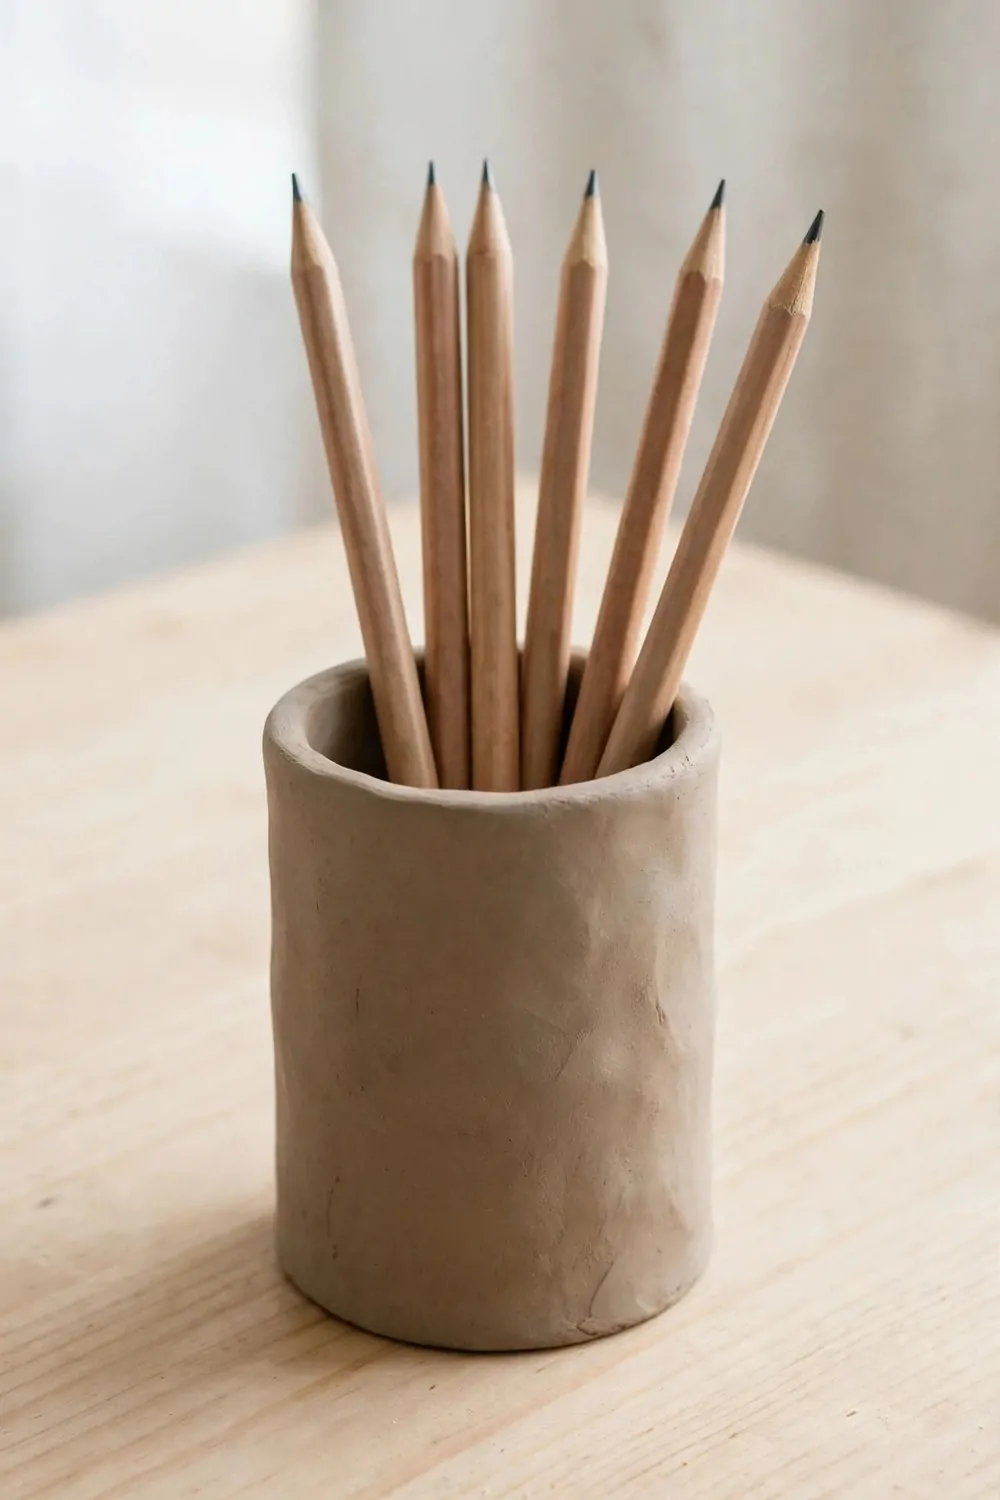
A pencil holder tames the pens and pencils that roll all over a desk. Clay makes a solid one that does not tip over when you pull a pen out.
Roll out a thick sheet of clay on a board and cut one long strip for the side wall. Curl the strip round and smooth the join with a wet finger, then add a base the same way you would for a pot.
Run a wet finger along the rim until it feels soft.
Give it two full days to dry before you paint it, since the walls are thick. Paint it with plain paint, and give each coat time to dry before the next one goes on. A clear seal on the outside helps it stand up to daily use.
Mine holds my pencils, and my desk looks tidier for it. I reach for it all day, and nothing rolls off the desk now.
A quick wipe with a dry cloth takes the dust off it.
You can press lines into the outside with a fork for a neat pattern. Press light and even so the lines stay neat. The pattern also gives your fingers a bit of grip when you lift it.
This is a good first project for a child, since the shape is simple and forgiving. An adult should handle the knife part, and the child can do the pressing and smoothing.
A pack of clay, a plain brush, and a little water make one pencil holder for $2 to $3.
7. Shape a Clay Coaster Set for Your Mugs
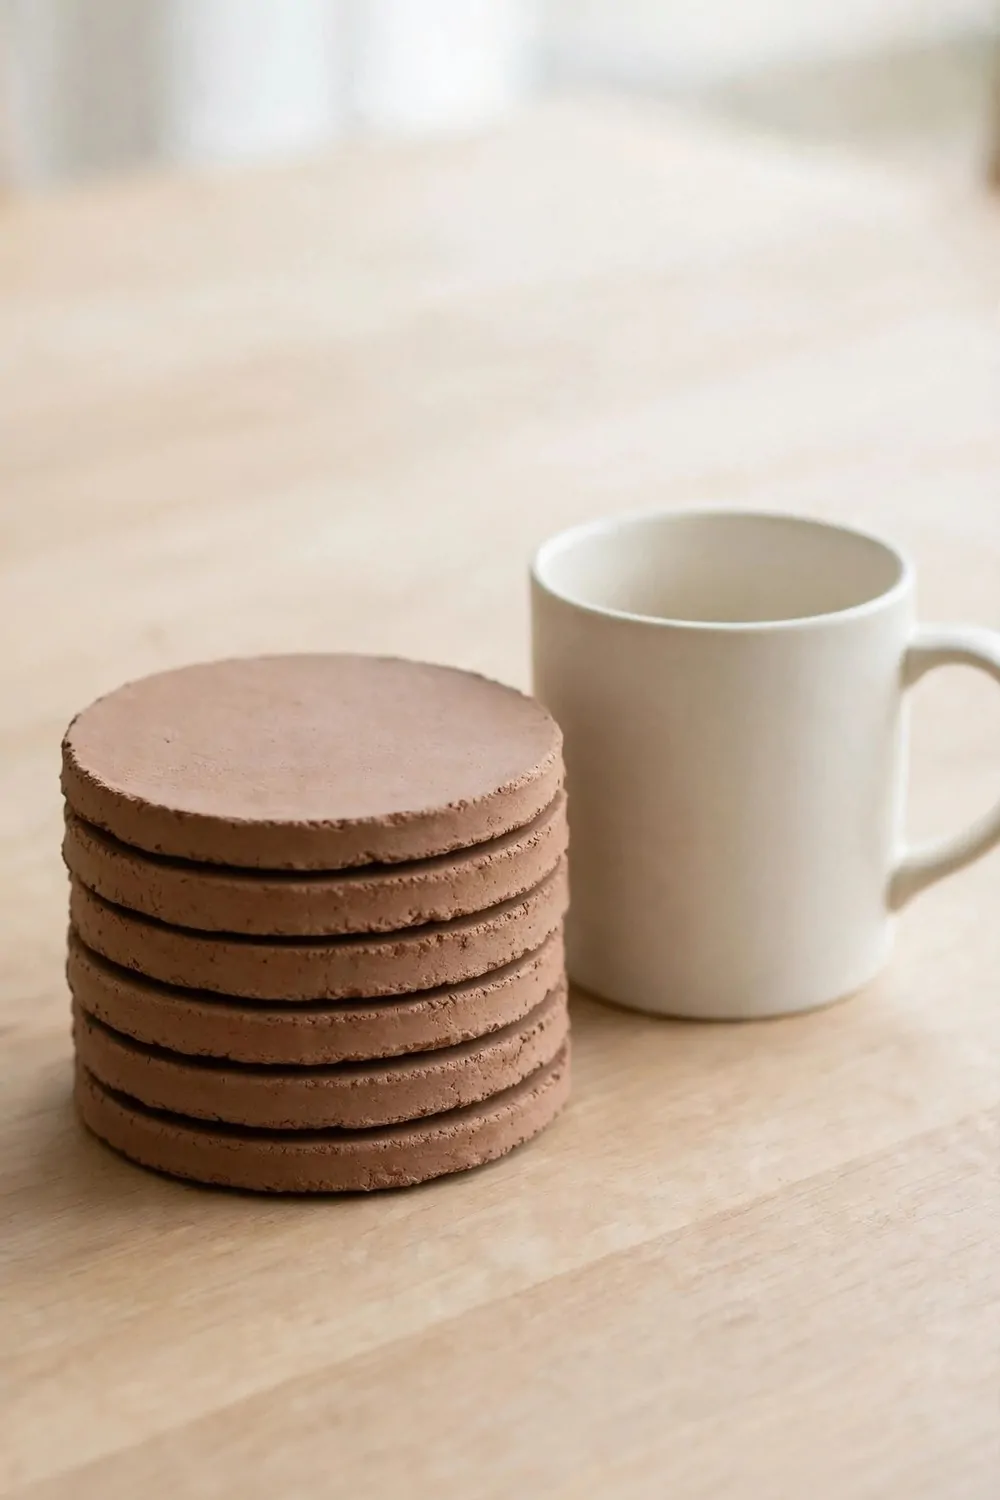
Coasters save your table from mug rings, and clay coasters feel solid under a mug. Roll a sheet of clay out on a board until it is thick enough to hold a mug without bending. Cut pieces with the rim of a glass, and smooth each edge with a wet finger.
Let the pieces dry on a board for a day or two. Turn each one over once so the base dries too.
Brush on plain paint and a clear seal so mug rings wipe off.
Mine live on the coffee table, and I hand one to every guest with a drink.
The seal matters here, since a bare coaster would soak up drips. I seal both sides, and the coasters still look fresh after months of use.
You can press a simple pattern into each one with the end of a pencil before it dries. Press light, or the piece will dent in more than you want. A soft pattern also helps you tell your own coaster from the rest.
Stack them in a neat pile by the kettle when they are not in use. They take up little room, and they are always close at hand.
Wipe them with a damp cloth when they get sticky.
A coaster set takes one pack of clay and a plain brush, for $1 to $5. The pack makes more than one set if you want spares.
8. Make a Clay Wall Hook for Your Keys
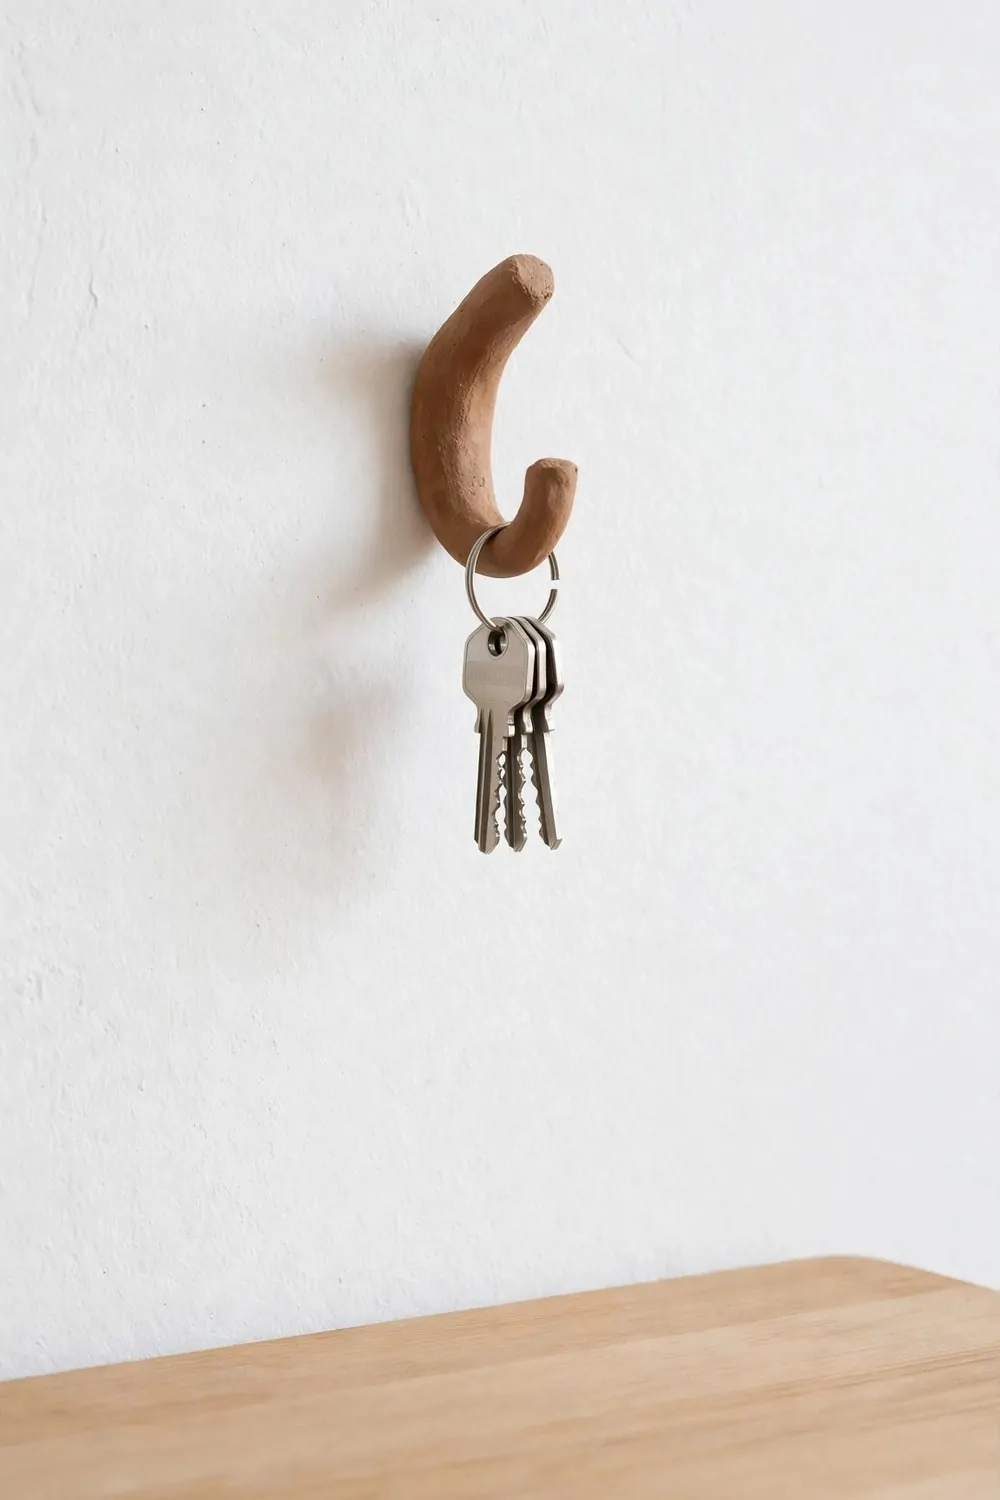
A clay wall hook gives your keys a fixed home by the door.
Roll a lump of clay into a thick rope on a board and bend it into a hook shape. Curve the top up and the bottom in so keys can rest in the bend.
Smooth the whole hook with a wet finger till the clay feels soft.
Press the back of the hook flat so it sits firm against the wall. Smooth the back edge with a wet finger. Set the hook aside to dry.
Let it dry for two days, since the clay is thick. Brush on plain paint and a clear seal so it stands up to daily use.
Mine hangs by the front door, and my keys go straight on it when I come in. Mornings feel calmer since the keys always live in the same spot.
Press a soft pattern into the hook with a fork before it dries.
Fix it firm on the wall, and test it with your keys before you trust it. If it feels weak, take it down and let it dry longer. A firm fix is what makes this piece last.
One wall hook takes a small brush and a pack of air-dry clay, for $4 to $6. You will have clay left for a small piece after this one.
9. Roll Clay Beads for a Simple Necklace
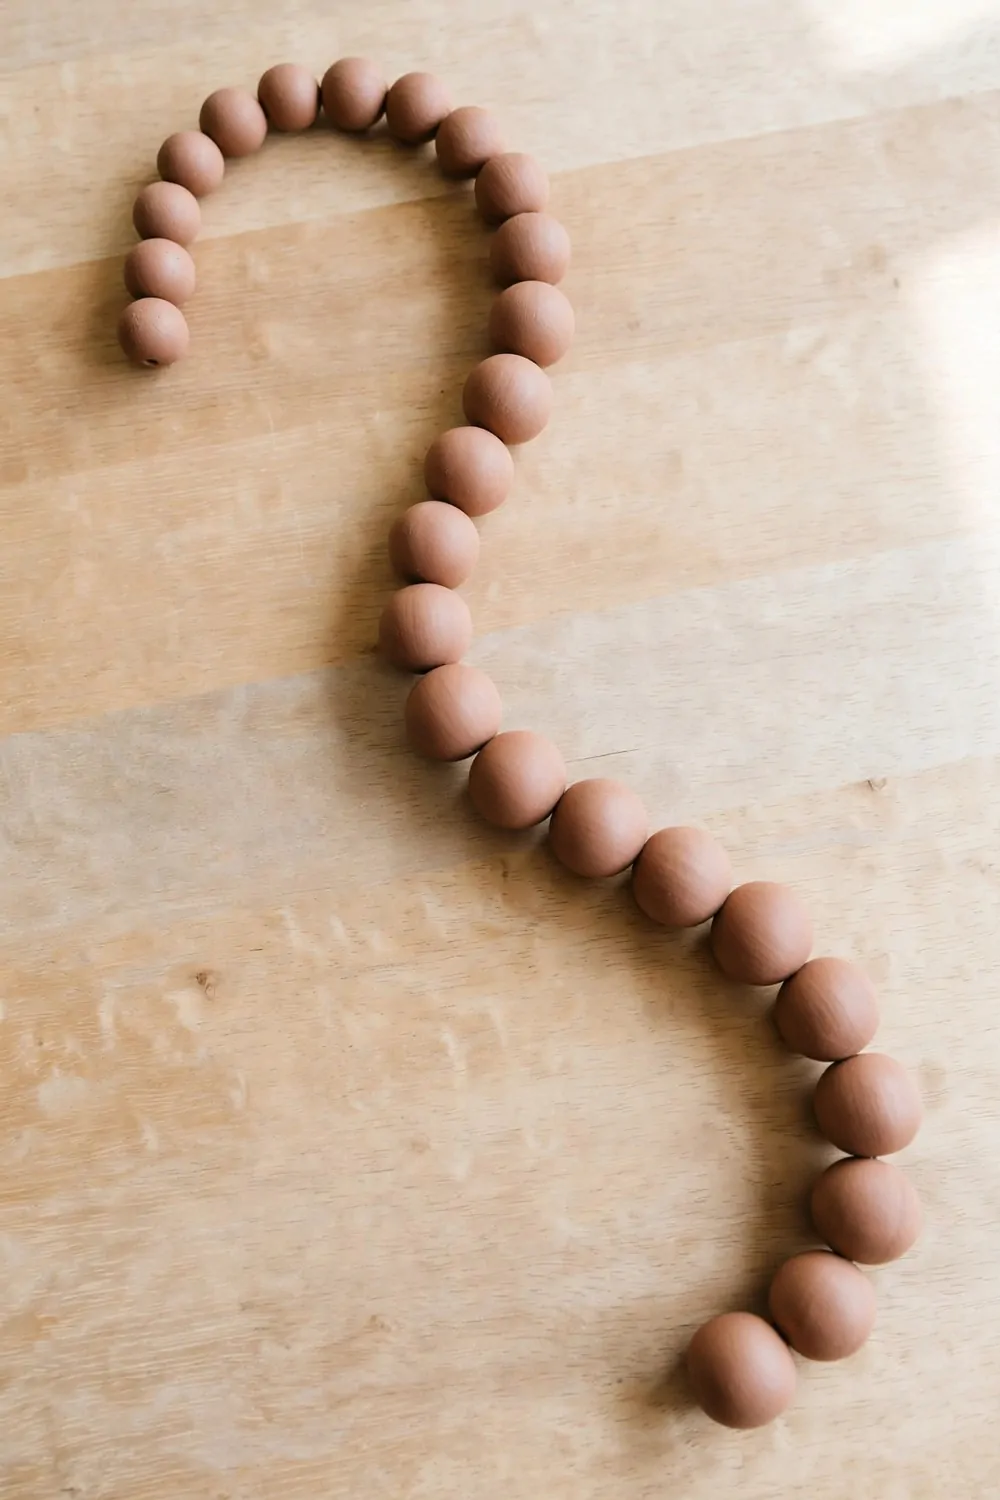
Clay beads are fun to roll, and they make a light necklace you can wear each day. You need only a lump of clay, a board, and a skewer or a thick needle.
Break off small bits of clay and roll each one between your palms. Work slow, and the beads will come out even. If one comes out lopsided, roll it again until it feels right.
Poke a hole through each bead with a skewer while the clay is still soft. Turn the skewer gently so the hole stays clean and open.
Set the beads on a board to dry for a day or two.
Paint them with plain paint when they feel dry right through.
Add a clear seal so the paint does not rub off where the beads touch. Thread them on a plain cord and tie a firm knot at each end.
Mine is short enough to wear with a plain top, and it goes with most of my clothes. I made one for my sister too, and she wears hers to work. It is a sweet gift, and it takes little to make.
Try your paint on a scrap bit of clay before you paint the beads. That way you can see how it looks when it dries.
One necklace takes a small pack of clay and a plain cord, for $1 to $2.
10. Build a Clay Trinket Box with a Lid
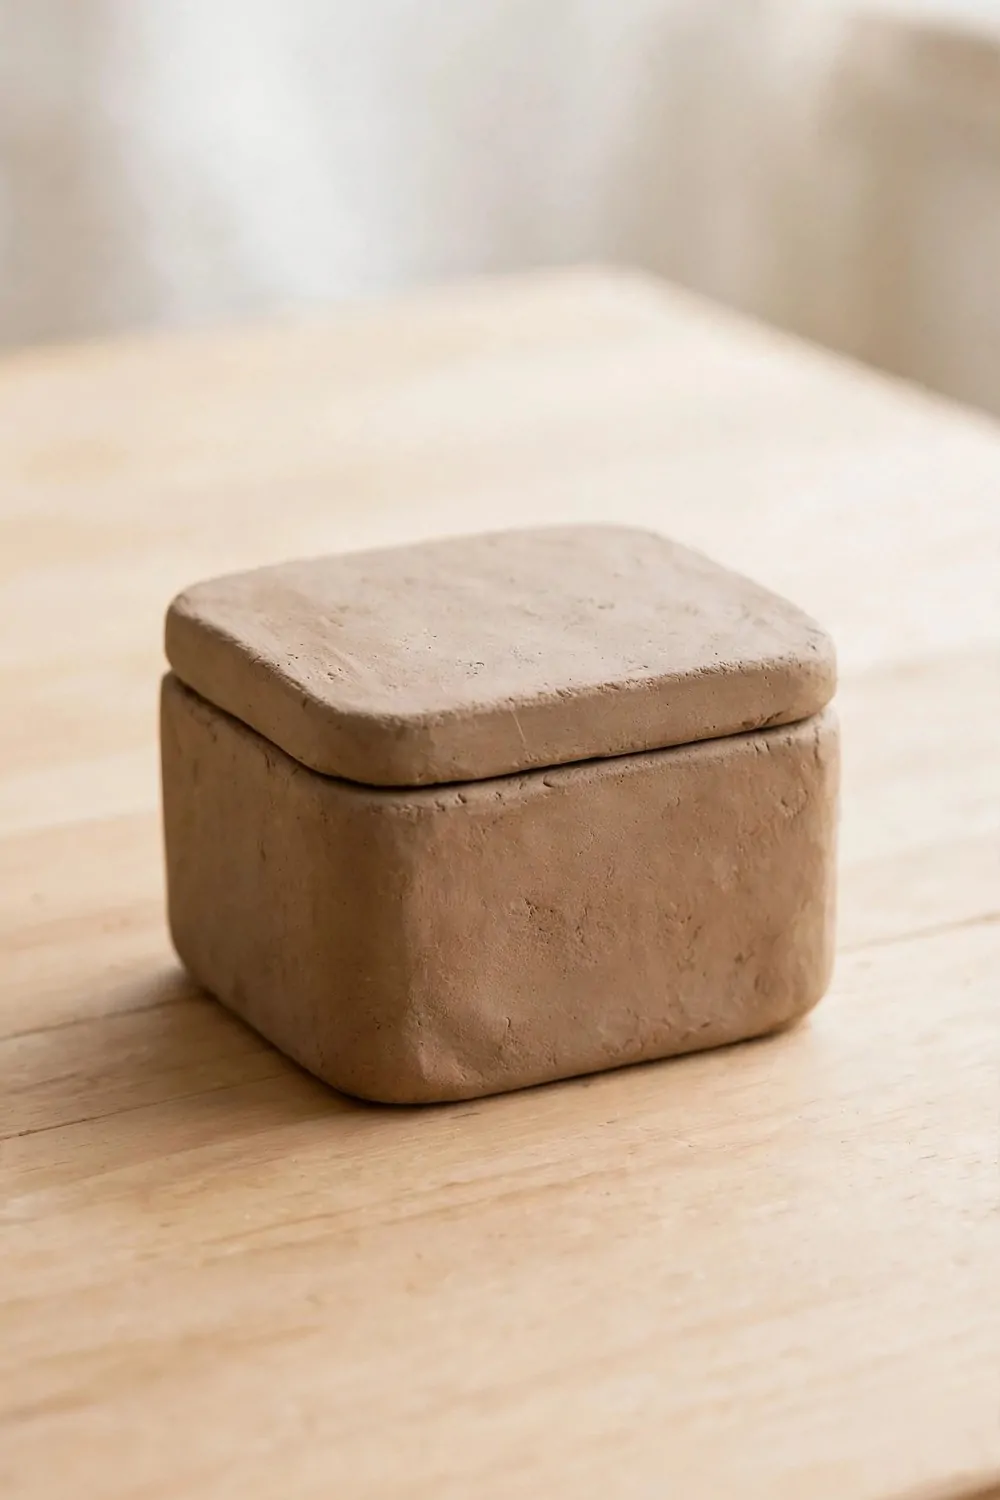
A small box with a lid is a sweet place to put rings and small bits. You can build one from a lump of plain clay in an afternoon.
Start by pressing a base on your work table.
Roll out walls and press them onto the base. Smooth each join with a wet finger so the walls hold firm. Let the joins firm up a bit before you move on.
Press a lid from a rolled sheet of plain clay. Add a small knob on the lid so you can lift it with ease.
Trim the edges with a blunt tool for a neat finish.
Let the box and the lid dry slow in a shady spot. Drying slow stops the walls from cracking as they firm up.
When the clay feels firm to the touch, smooth the whole piece with a damp sponge. A sponge takes off small bumps and softens the rim. Then let it dry again till it feels hard all through.
Glaze the box and bake it in a kiln if you can.
Clay and glaze for one trinket box cost $3 to $5. Put the finished box on your shelf and fill it with the small bits you love best.
| Idea | Main change | Typical cost |
|---|---|---|
| Make a Small Clay Pinch Pot for Your Desk | Press a small pot from a lump of clay | $2 to $4 |
| Shape a Clay Ring Dish for Your Rings | Press a shallow dish for rings | $1 to $3 |
| Roll a Clay Spoon Rest for Your Kitchen | Roll a rest for a spoon | $2 to $5 |
| Press a Clay Soap Dish for Your Sink | Press a dish with a dip for soap | $1 to $4 |
| Build a Clay Plant Pot for a Small Plant | Build a pot for a small plant | $3 to $6 |
| Make a Clay Pencil Holder for Your Desk | Build a holder for pens and pencils | $2 to $3 |
| Shape a Clay Coaster Set for Your Mugs | Cut coasters for mugs | $1 to $5 |
| Make a Clay Wall Hook for Your Keys | Make a hook for keys | $4 to $6 |
| Roll Clay Beads for a Simple Necklace | Roll beads for a necklace | $1 to $2 |
| Build a Clay Trinket Box with a Lid | Press a small box with a plain lid | $3 to $5 |
| Total | $20 to $43 |
11. Make a Clay Picture Frame for Your Shelf
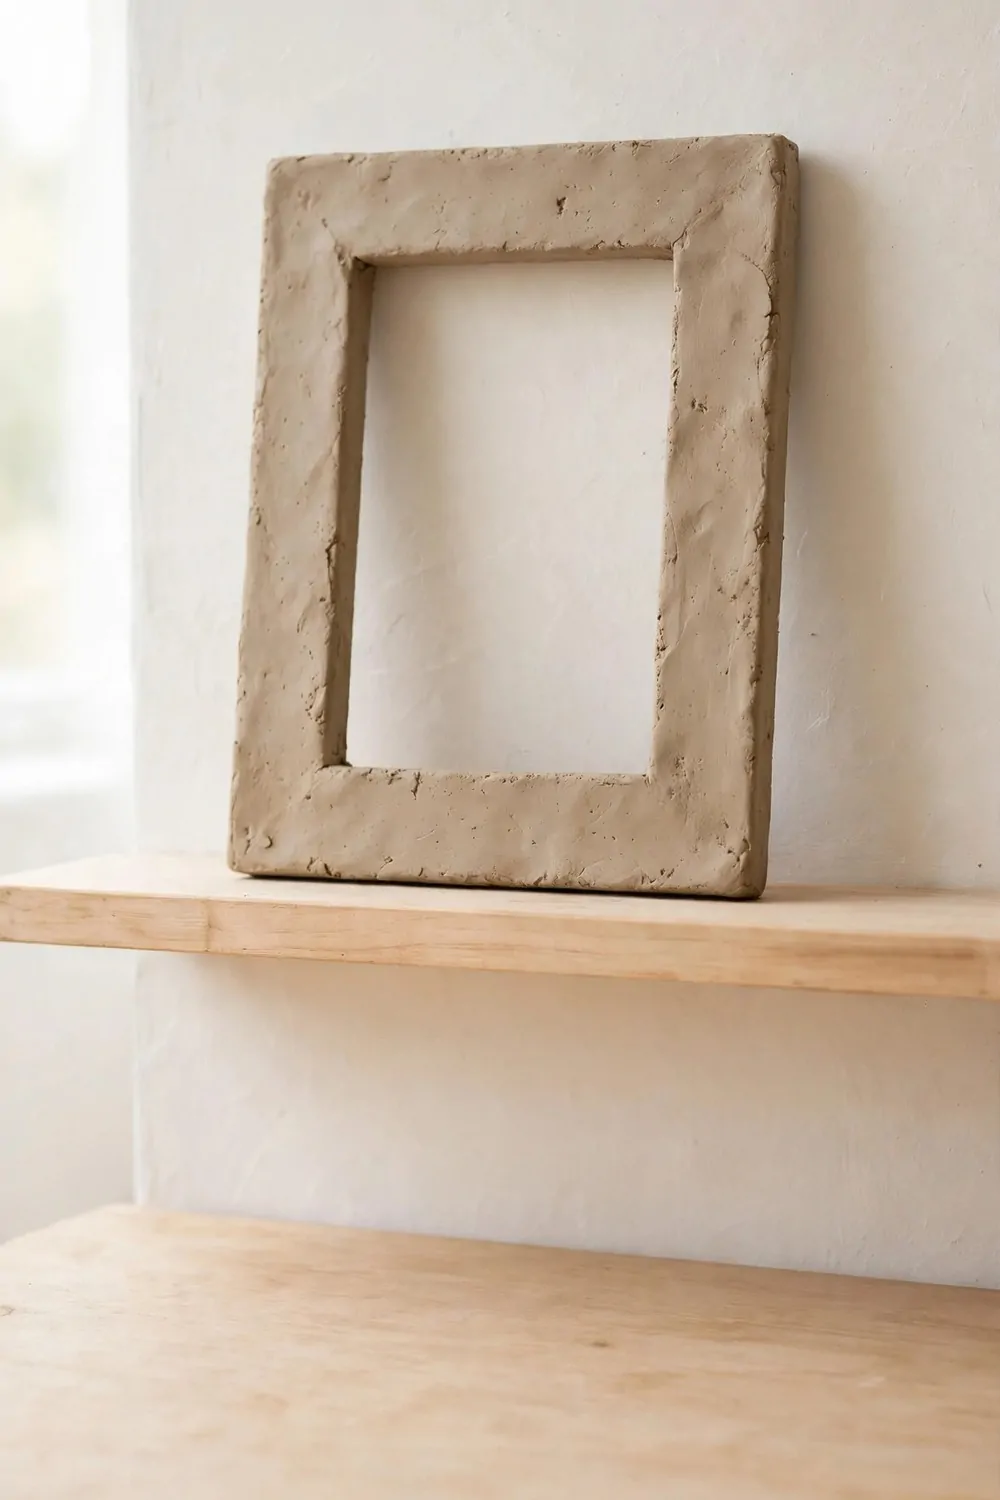
A clay frame turns a plain photo into a piece you made with your own hands.
Roll out a sheet of plain clay on your work table. Cut out the frame with a blunt tool, leaving a hole in the middle for the photo.
Smooth the inner edge and the outer edge with a wet finger. A smooth edge feels nice and looks neat when the frame is done.
Press small dots or lines into the border with the tip of a tool. Pressed marks give the frame a soft, hand-worked look. Wipe off any loose bits of clay with a damp sponge.
Let the frame dry slow till it feels hard all through.
Glaze the frame and bake it in a kiln if you can. A plain glaze lets the photo stand out more than a busy one. If you have no kiln, paint it with craft paint once it is dry.
Glue a stiff card to the back of the frame. Tape the photo to the card so it stays put.
Clay and paint for one picture frame cost $2 to $4.
Stand the frame on a shelf in your room. Swap the photo when you want a fresh look. A frame you made yourself makes a plain shelf feel warm and loved.
12. Shape a Clay Vase for Dried Flowers
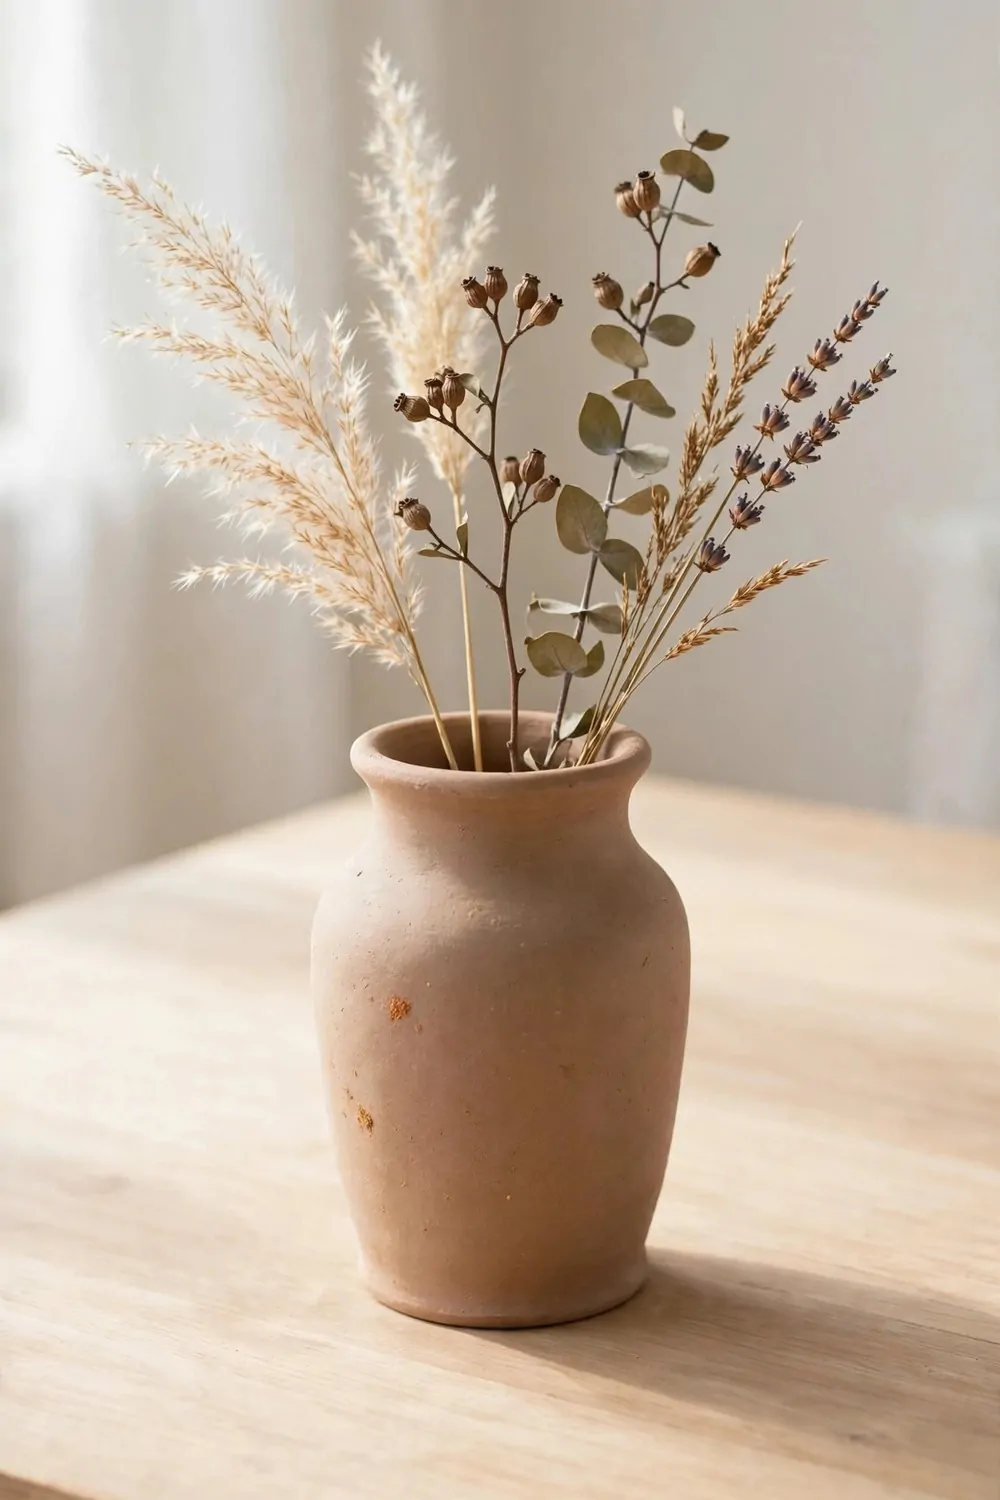
A clay vase gives dried flowers a home that looks calm and plain. You can shape one from a lump of plain clay with your hands. It suits a shelf, a side table, or a spot by a window.
Start by rolling a lump of clay into a coil.
Build the walls up coil by coil, pressing each coil onto the one below. Smooth the joins with a wet finger as you go.
Pinch the rim a bit to give it a soft edge.
Let the vase dry slow in a shady spot till it feels firm. Slow drying stops cracks from forming as the clay firms up. Smooth the whole piece with a damp sponge before it dries hard.
Glaze the vase and bake it in a kiln if you can. A plain glaze lets the dried stems show well against the clay.
Clay and glaze for one vase cost $4 to $6.
Trim the stems with plain scissors before you slip them in. Slip dried stems into the vase when it is done.
A vase of dried flowers needs no water at all.
13. Make a Clay Mug with a Plain Handle
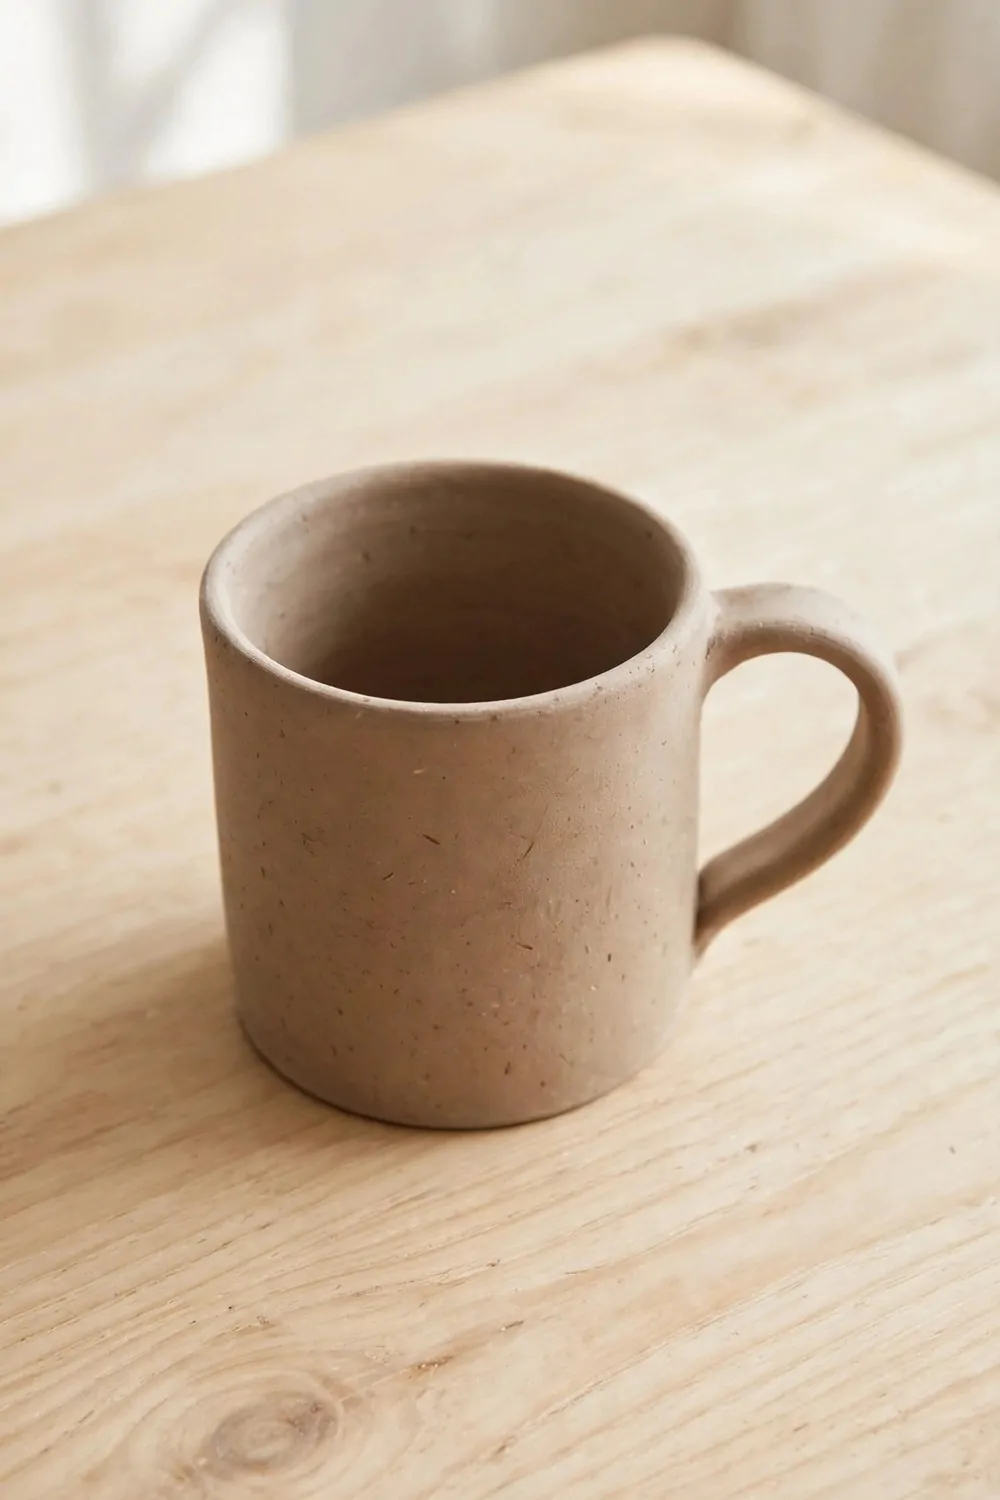
A mug you shape yourself makes a morning drink feel special. A lump of plain clay and a free afternoon are all you need.
Press a base on your work table and build the walls up coil by coil. Rub each join smooth with a wet finger as you go. Press the walls even so the mug holds its form as it dries.
Roll a plain handle from a coil of clay.
Press the ends of the handle onto the side of the mug. Smooth each join well so the handle holds firm when you lift the mug.
Smooth the rim with a damp sponge for a soft edge.
Set the mug aside in a cool spot and give it two full days to dry. Drying slow keeps the walls from cracking while the clay firms up. Do not rush the drying or the handle may pull loose from the side.
Glaze the mug and bake it in a kiln if you can.
Clay and glaze for one mug cost $2 to $5. A glazed mug wipes clean with a damp cloth after use. Use it for tea, juice, or plain water at your table.
A mug with a plain handle feels good in your hand. Give one you made to a friend if you like.
14. Press a Clay Plate for Your Breakfast Table
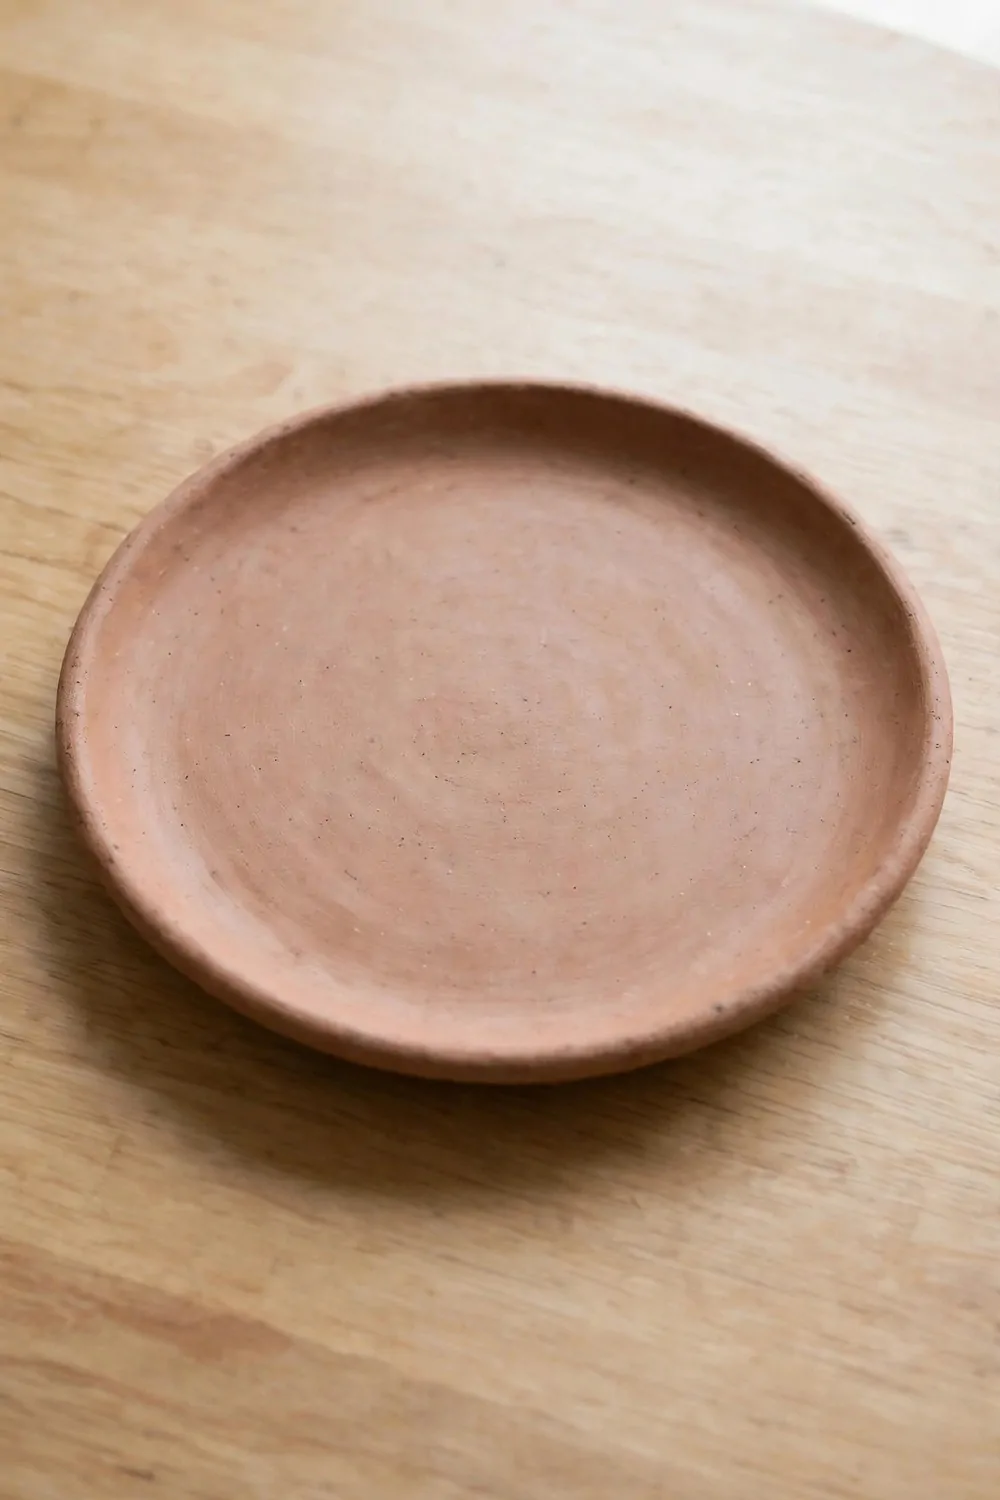
A clay plate makes breakfast feel a bit more special.
Start with a sheet of plain clay rolled out on your work table. Press the sheet down with your hands till it takes a plate form. Smooth the rim with a wet finger as you go.
Trim the edge with a blunt tool for a neat finish. Brush the edge clean with a damp sponge to take off any loose bits.
Set the plate on a rack in a cool spot and leave it there till it feels hard all through. Drying slow stops the plate from warping as it firms up. Turn it over as it dries so each side dries at the same pace.
Glaze the plate and bake it in a kiln if you can. A plain glaze wipes clean with a damp cloth after use.
Clay and glaze for one plate cost $1 to $3.
Use the plate for toast, fruit, or eggs in the morning. It also works for a small snack in the afternoon.
A plate you made yourself adds a warm touch to the table. Clean it by hand with mild soap and warm water. Let it dry in a rack before you put it away.
Make a plate for each person at your table if you like.
15. Shape a Clay Butter Dish for Your Fridge
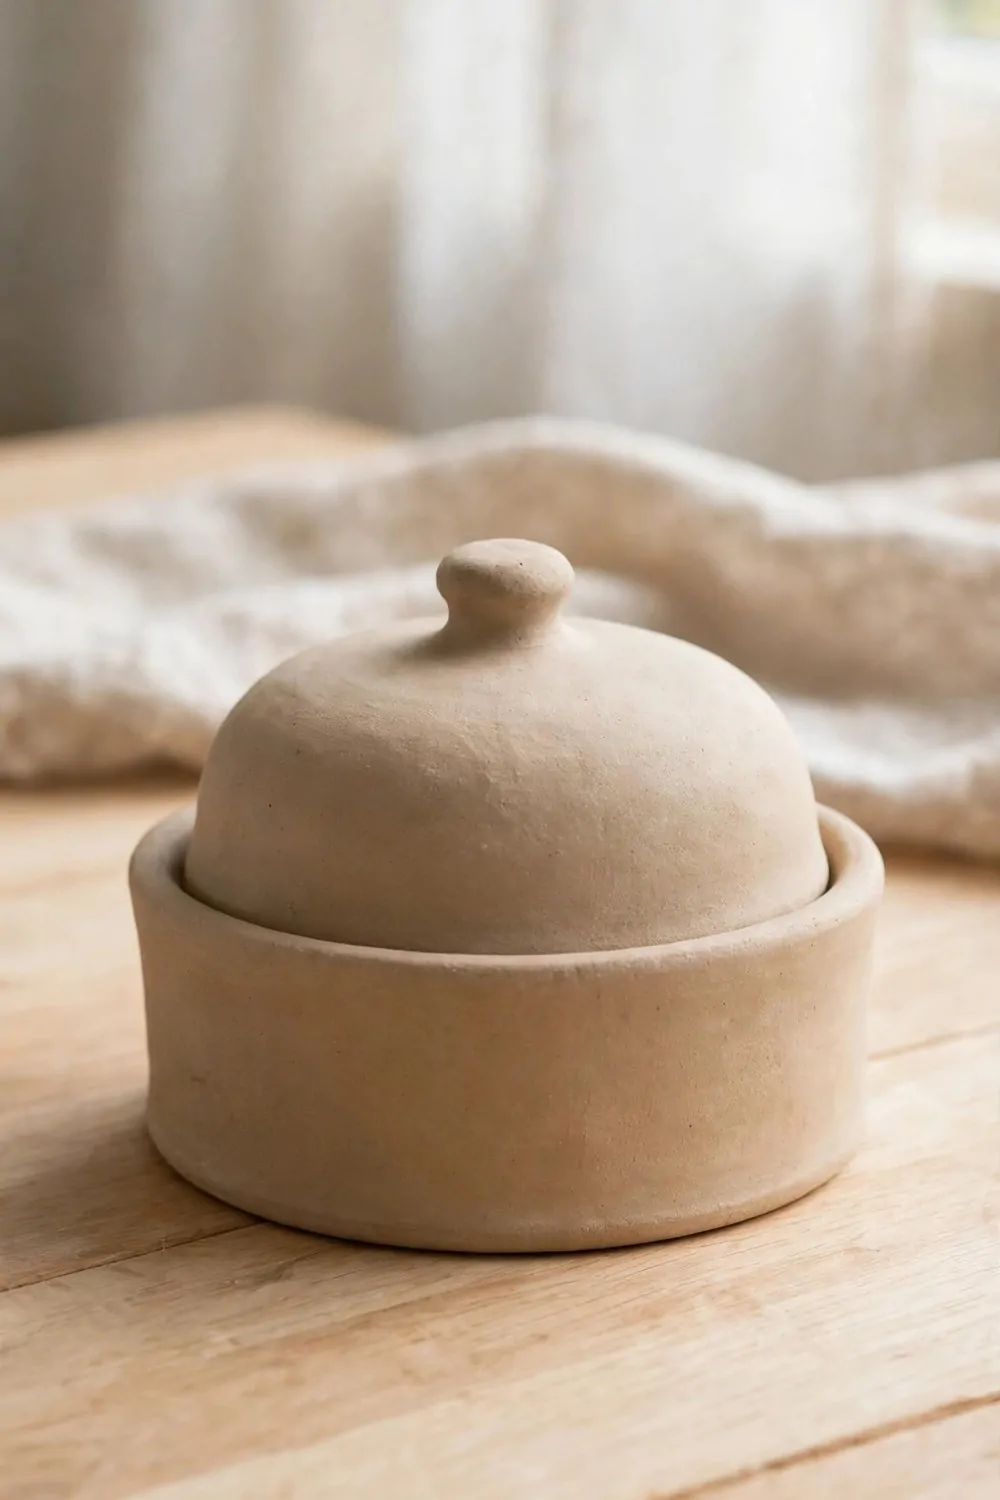
A clay butter dish holds butter and makes it easy to spread. A lump of plain clay is all you need to start. It sits in the fridge and comes out for meals.
Start by pressing a base onto your work table. Build the walls up with coils, pressing each one onto the one below.
Shape the lid from a rolled sheet of plain clay.
Press a small knob onto the lid so it lifts with ease. Smooth the rim of the base with a damp sponge. Let the dish and the lid dry slow in a shady spot.
Glaze the dish and bake it in a kiln if you can.
Clay and glaze for one butter dish cost $3 to $6. A glazed dish wipes clean with a damp cloth after use.
Put a pat of butter in the dish and set the lid on. The lid stops the butter from picking up smells in the fridge. Bring the dish out for toast, bread, or warm rolls.
Wash the dish by hand with mild soap and warm water. Dry it in a rack before you put it back in the fridge.
A butter dish you made yourself makes the table feel warm and homely.
16. Build a Clay Napkin Holder for Your Table
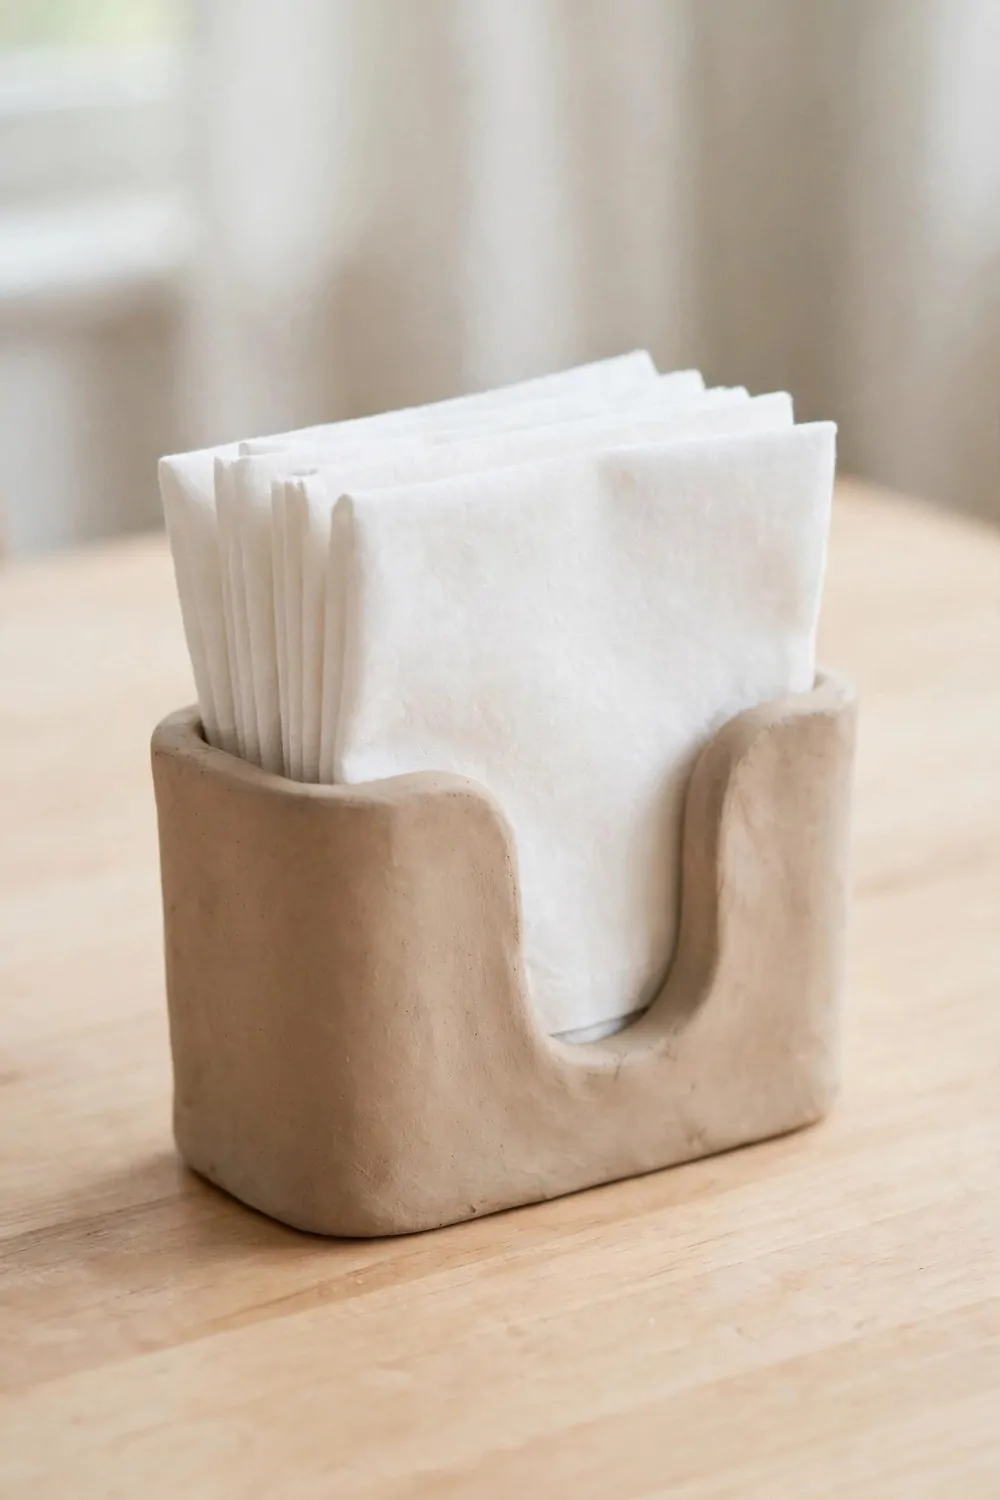
A clay napkin holder gives napkins a neat home at the table. It takes a lump of plain clay and a bit of free time.
Press a base for the holder onto your work table.
Build side walls from coils and press them onto the base.
Leave a gap in the middle so napkins can slip in with ease. Press each join firm with a wet finger as you build. Neaten the edges with a blunt tool before the clay firms up.
Leave the holder on a shelf where air can move round it till it feels hard all through. Slow drying stops cracks from forming as the piece firms up.
Glaze the holder and bake it in a kiln if you can. Glazed clay wipes clean with a damp cloth after use. With no kiln, paint it with craft paint once it feels dry.
Clay and glaze for one napkin holder cost $1 to $4.
Slip folded napkins into the holder at meals. It works just as well for letters and plain paper on a desk.
Rinse the holder in warm soapy water and let it dry on a rack before you set it back on the table. A holder you made yourself adds a warm touch to meals.
17. Make a Clay Bookend for Your Shelf
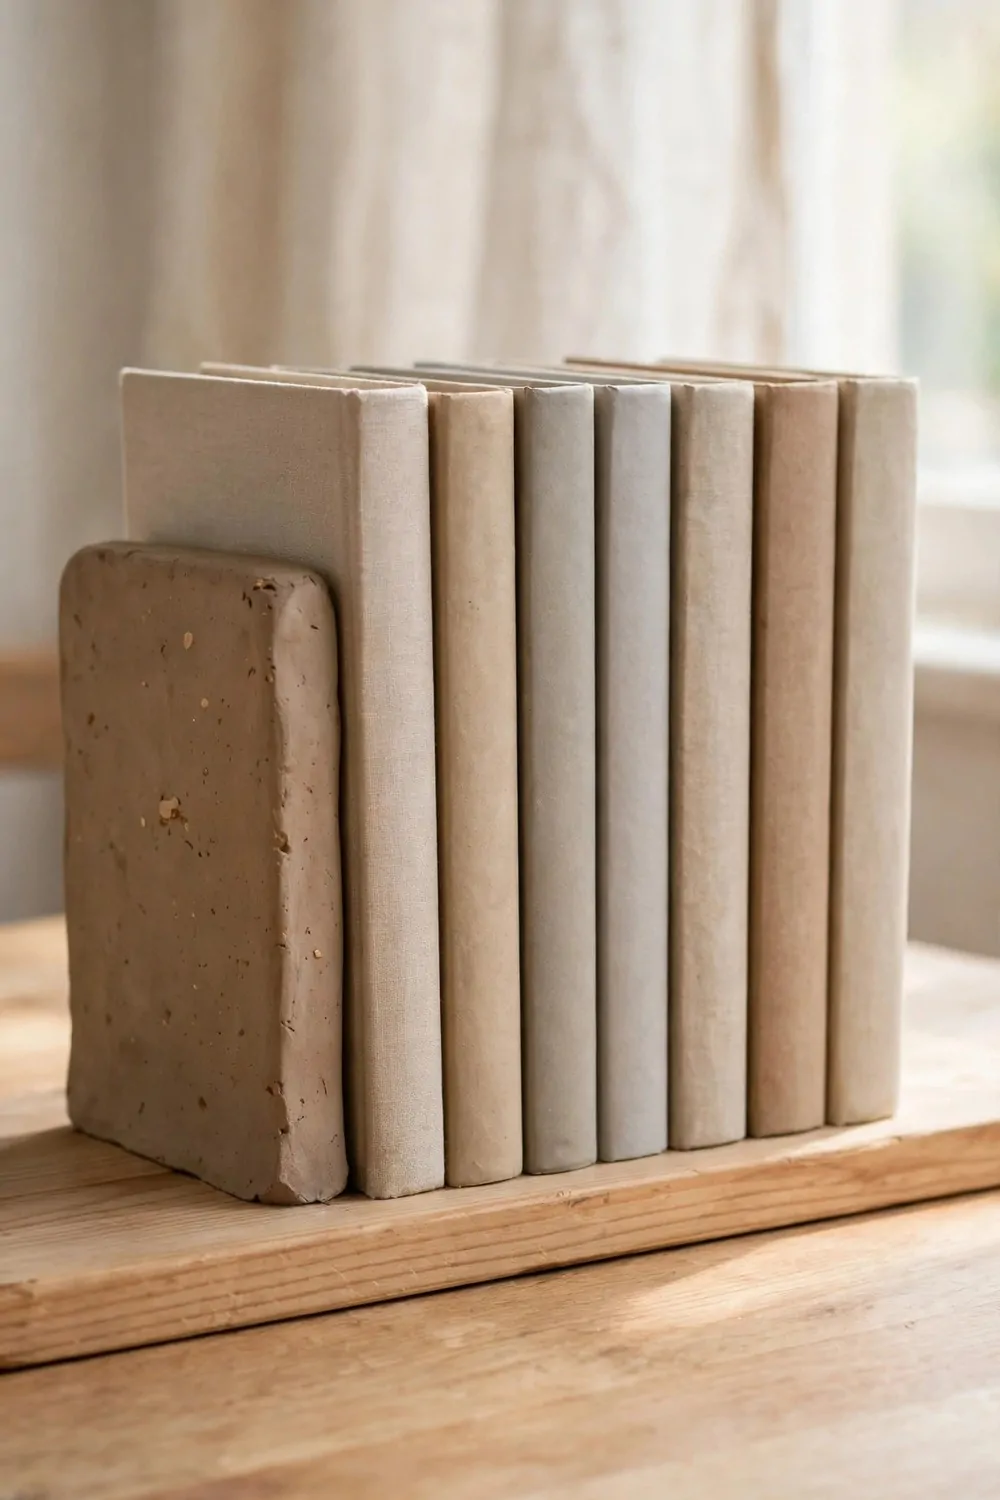
A clay bookend holds books upright on a shelf.
Press a base onto your work table. Build a side wall from coils and press it onto the base.
Press the wall firm so it stays put as it dries. Smooth each join with a wet finger so the wall holds firm. Leave the piece on a shelf in a cool spot till it feels hard all through.
Glaze the bookend and bake it in a kiln if you can.
Clay and glaze for one bookend cost $4 to $5. Wipe it clean with a damp cloth after use.
If you have no kiln, brush on craft paint once it feels dry.
Set the bookend at the end of a row of books. Lean books against it so they stay upright on the shelf. It also works for notebooks and plain paper files.
A bookend you made yourself adds a warm touch to a shelf. Make the base firm enough to hold the books you own. A firm base stops the bookend from tipping when books lean on it.
Wash it by hand with mild soap and warm water if it gets dusty. Dry it in a rack before you put it back on the shelf.
18. Press Clay Magnets for Your Fridge
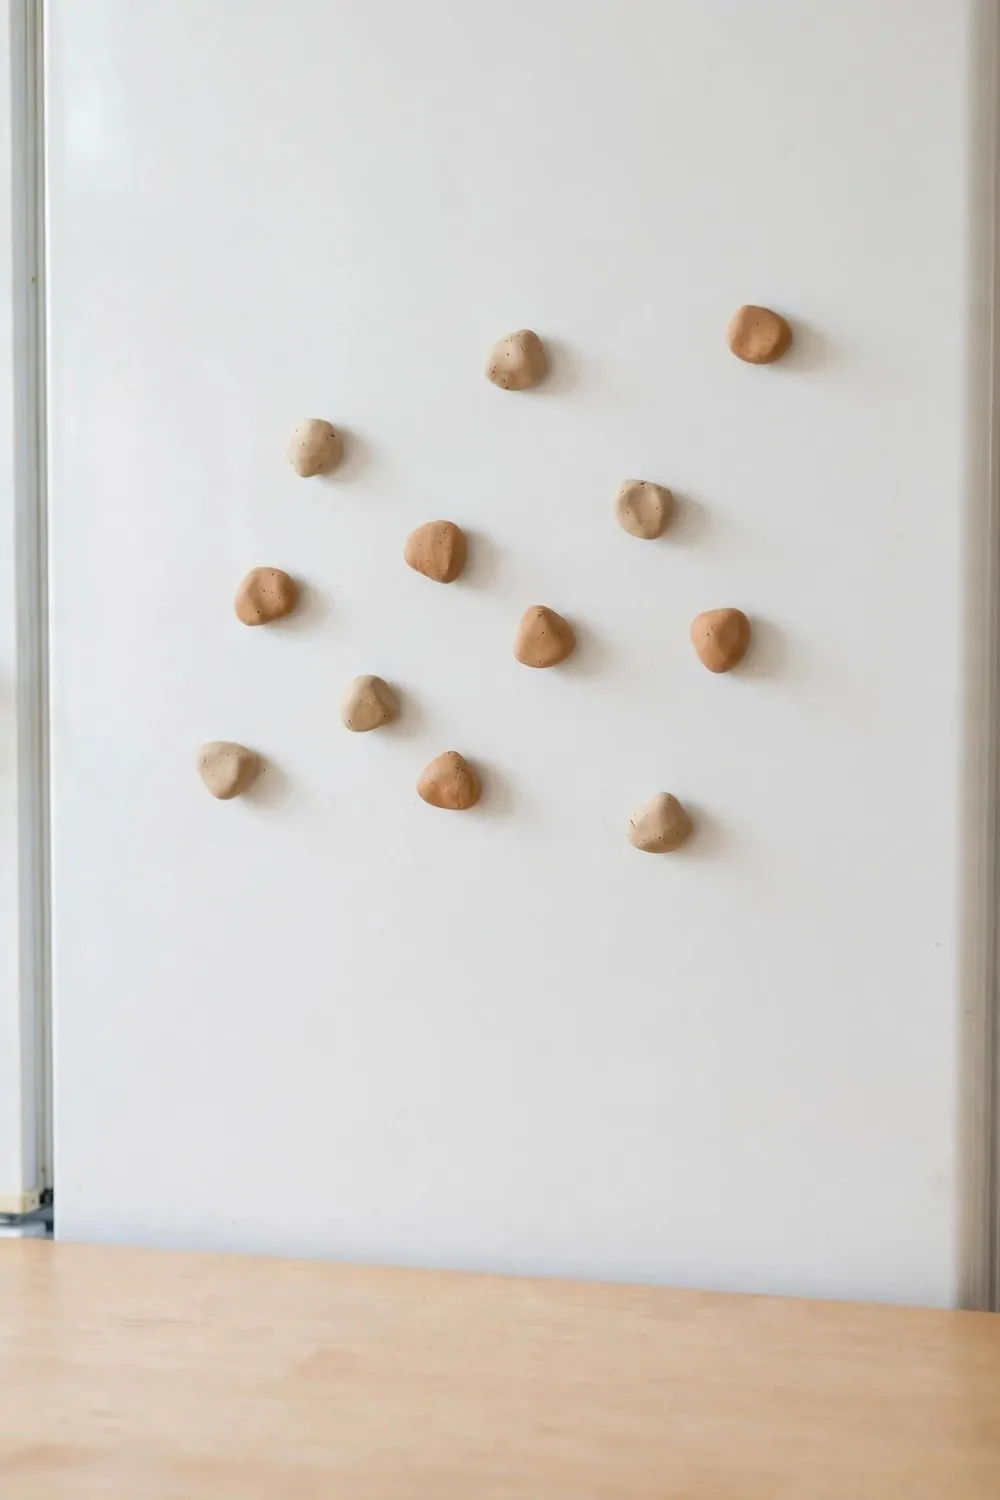
A fridge magnet is a sweet place to start with clay. You press a small lump, and you have a thing you can use the same day.
You need only a bit of plain clay and a tiny magnet for the back.
Push the magnet into the soft clay while it is still soft. Press the edges down with your thumb so it stays put. Let it dry in a spot with fresh air in your home.
Plain clay and small magnets for one fridge magnet cost $2 to $4. That low price makes it a good first try for a new maker.
You can press a leaf vein or a thumb print into the front before it dries.
A plain magnet holds a note or a shopping list on the fridge. It also holds a photo or a drawing from your child.
Try a new press each time you make one. A fork tine gives a neat line, and a bottle cap gives a soft ring.
Your hands learn fast when you play with the clay like this. Let each magnet dry fully before you stick it on the fridge.
I made a batch for my own fridge last spring, and I still reach for them each day. They are small and plain, and they remind me that small clay things can be useful.
19. Shape a Clay Ornament for Your Window
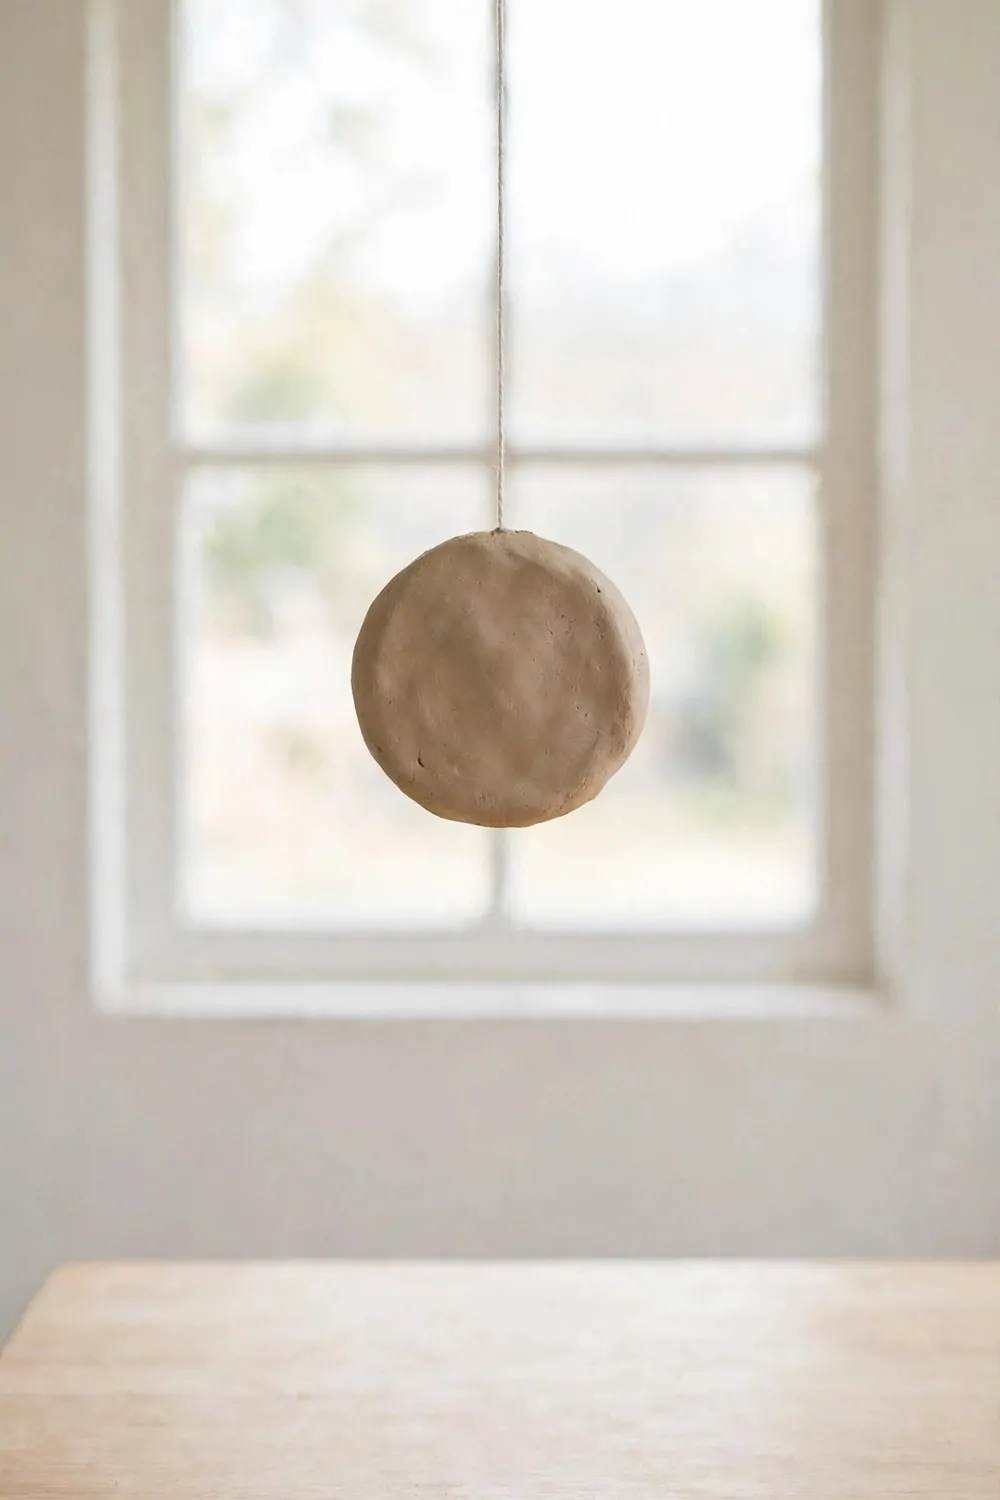
A clay ornament can hang in your window and move a little when the air moves.
You shape the clay with your hands, then you poke a small hole near the edge. A thread goes through the hole when the clay is dry.
Press a pattern into the clay with a stamp or a fork. You can use a leaf or a bit of lace for the marks. Wash your hands after you work, and wipe the table clean.
Plain clay and a bit of thread for one window ornament cost $1 to $3.
Let the ornament dry slow in a spot with fresh air. Do not rush it, or it can crack while it dries.
A soft thread works well, and a knot at the end stops it from slipping out.
Hang it where the sun can reach it through the glass. It turns a plain window into a spot you like to look at. You can swap it out when you want a new one for the season.
I like to make a new ornament when I have spare clay left from a pot. It uses up the bits, and it gives me a small gift for a friend.
Try one this week, and see how it looks in your own window.
20. Build a Clay Jewellery Stand for Your Dresser
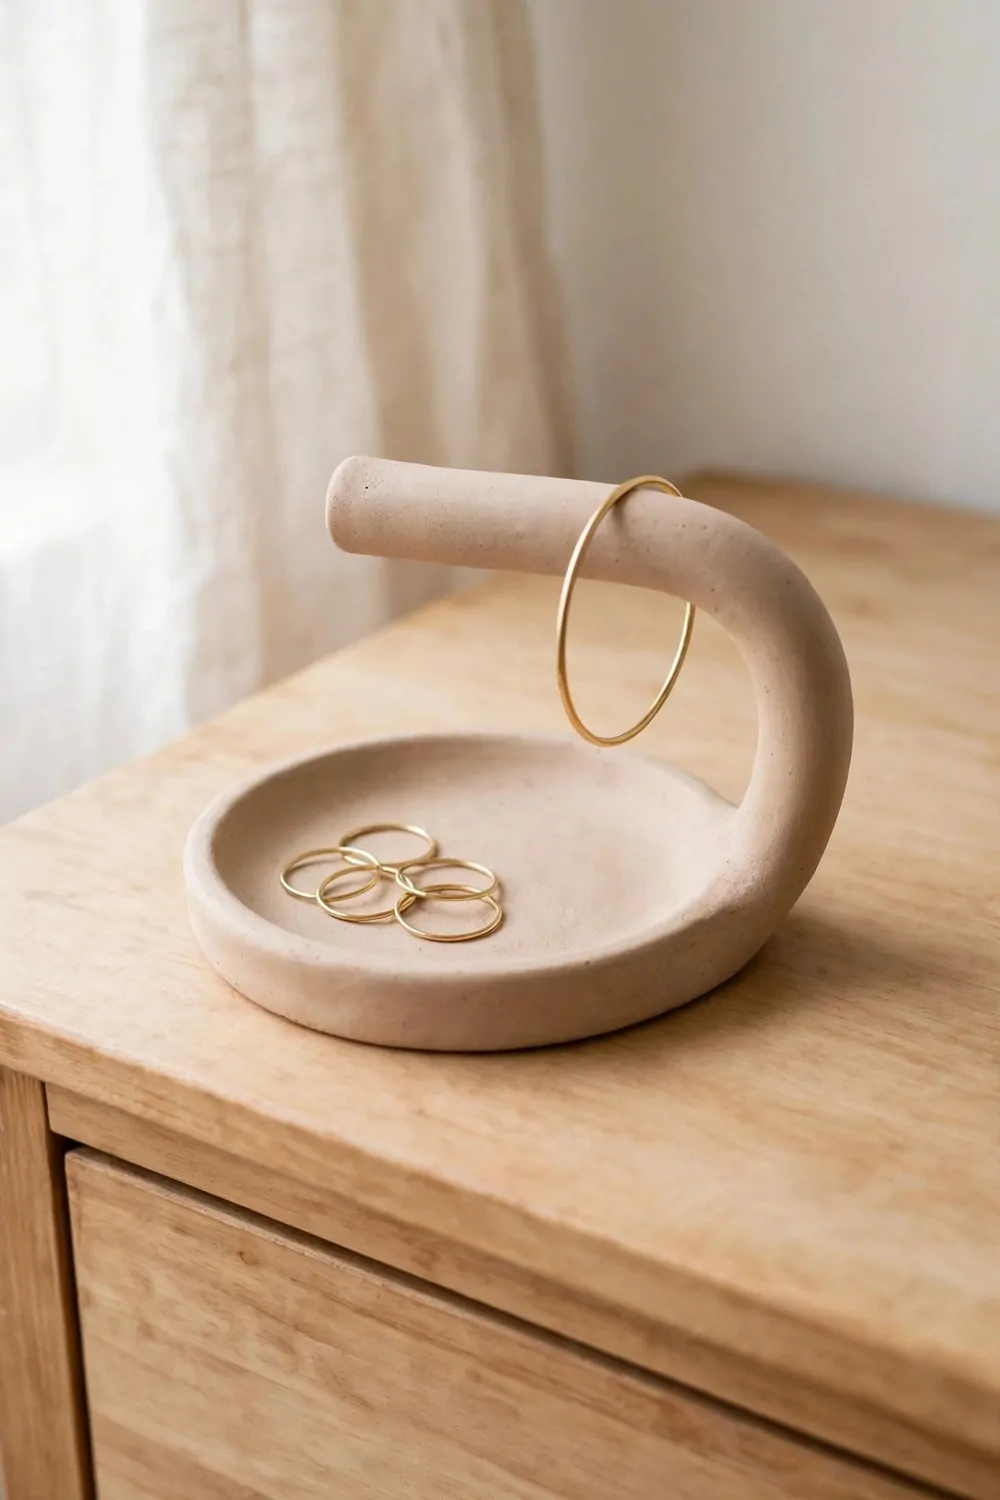
A jewellery stand gives your dresser a tidy home for the bits you wear each day. You build it from plain clay, and you shape it with your hands. It does not need a mould, and it does not need fancy tools.
Start with a base that sits firm, then add a post that rises up from the middle.
Press the joins well so the post does not wobble when it dries. A little water on your finger helps the clay stick where it meets.
Plain clay and a bit of water for one jewellery stand cost $3 to $5.
You can add small arms to the post for chains and bangles. Bend them slow, and press them in while the clay is soft. Let the whole stand dry before you put your jewellery on it.
A stand like this saves you from hunting for a lost earring in the morning. Your bits stay in one place, and you can see them all at once.
Sand the rough bits with care when the clay feels firm and dry.
I made mine on a quiet afternoon, and it now lives on my dresser. It took a bit of patience, but the result was worth the wait.
Try this stand if your dresser feels messy most days. It is a simple make, and it teaches you how clay joins hold together. Your next clay make will feel much easier after this one.
| Idea | Main change | Typical cost |
|---|---|---|
| Make a Clay Picture Frame for Your Shelf | Shape a plain frame for a photo | $2 to $4 |
| Shape a Clay Vase for Dried Flowers | Shape a plain vase for dried flowers | $4 to $6 |
| Make a Clay Mug with a Plain Handle | Shape a plain mug with a handle | $2 to $5 |
| Press a Clay Plate for Your Breakfast Table | Press a plain plate for breakfast | $1 to $3 |
| Shape a Clay Butter Dish for Your Fridge | Shape a plain dish with a lid | $3 to $6 |
| Build a Clay Napkin Holder for Your Table | Build a plain holder for napkins | $1 to $4 |
| Make a Clay Bookend for Your Shelf | Shape a plain bookend for books | $4 to $5 |
| Press Clay Magnets for Your Fridge | Press small magnets from plain clay | $2 to $4 |
| Shape a Clay Ornament for Your Window | Shape a clay ornament for your window | $1 to $3 |
| Build a Clay Jewellery Stand for Your Dresser | Build a clay jewellery stand for your dresser | $3 to $5 |
| Total | $23 to $45 |
21. Make a Clay Bowl for Your Fruit
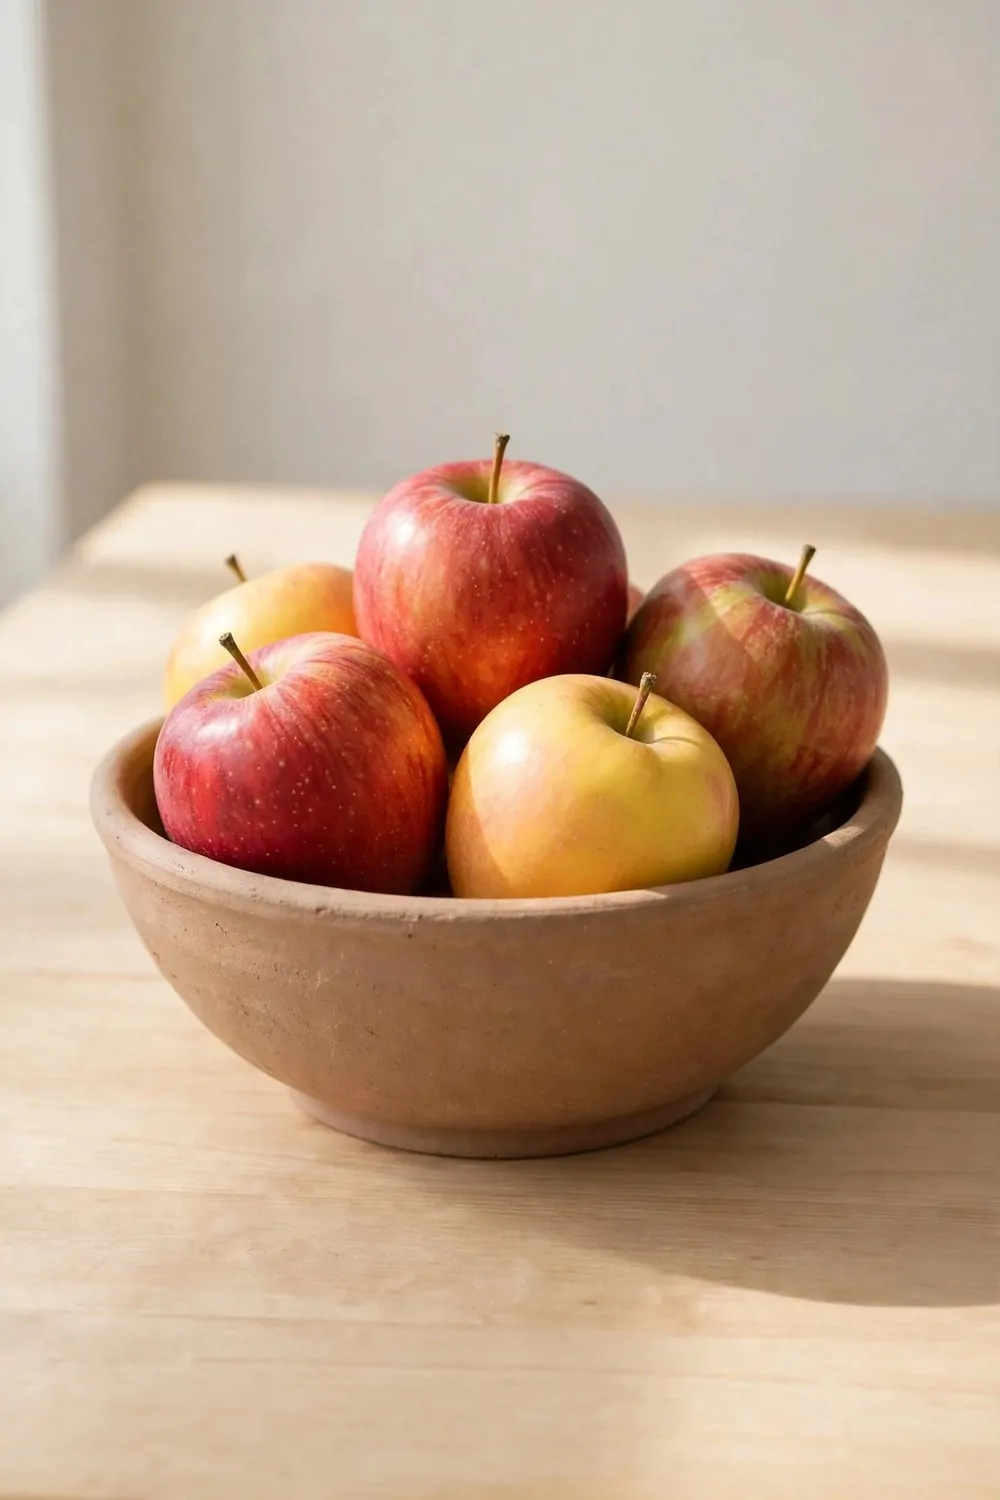
A clay bowl for fruit is a useful make for your kitchen. You shape it by hand, and you can use it each day.
Start with a lump of plain clay and press it with your thumbs till it opens up into a bowl. Work slow, and turn the clay as you go so the sides stay even. A little water helps you smooth the rim as you work.
Plain clay and a bit of water for one fruit bowl cost $2 to $5.
Let the bowl dry slow before you use it for fruit. A bowl that dries too fast can crack, so give it time.
You can leave the inside plain, or you can press a soft pattern near the rim.
I put my bowl on the kitchen table, and it gets used most days. It holds the fruit we eat after lunch, and it looks neat sitting there. A bowl you made yourself feels special each time you reach for it.
Wash it with care by hand, and let it dry in the air. Do not soak it for a long time in the sink.
Try a fruit bowl as your next clay make, and enjoy using it each day.
My first bowl was a bit wonky, and I still love it for that. It shows me how much my hands have learned since that first try.
22. Shape a Clay Desk Tray for Your Bits and Bobs
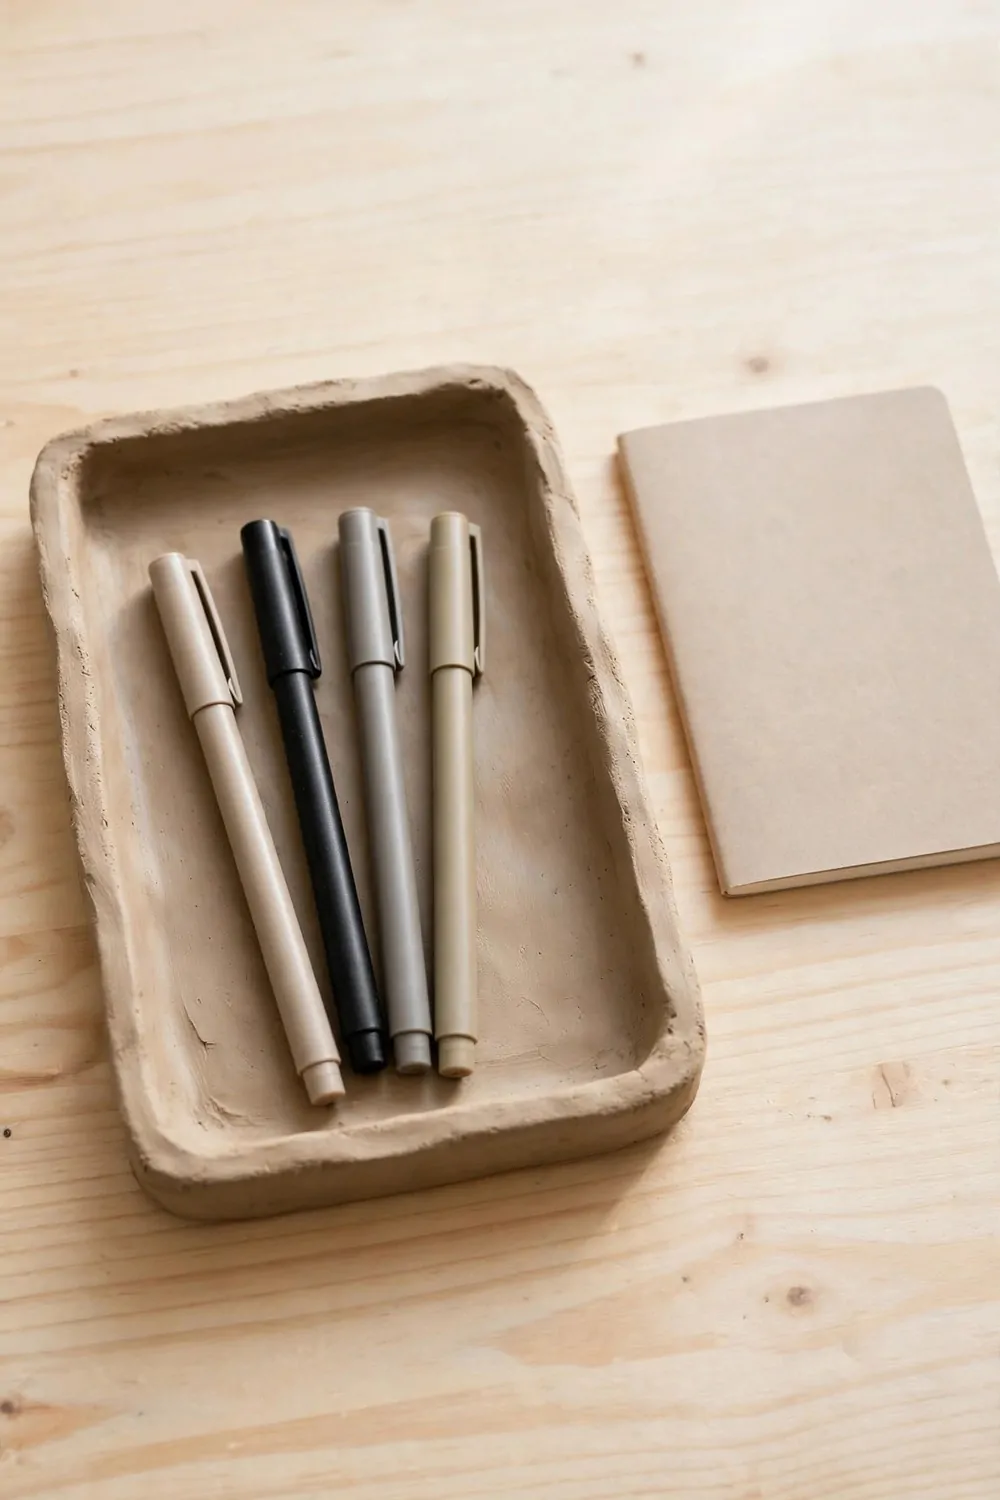
A desk tray gives all your small bits a home in one place.
You make it from plain clay, and you press the sides up with your fingers. Work the corners with care so they do not split as they dry. A tray like this is a good make for a first week of clay.
Plain clay and a bit of water for one desk tray cost $1 to $4. That small price makes it a good make to try with a friend.
You can press a soft pattern into the base before it dries. A fork or a stamp gives a neat mark, and your thumb gives a soft dent. Let it dry slow, then sand the rough spots with care.
Use the tray for pens, clips, keys, and all the bits that pile up on a desk.
I made a tray for my desk, and it changed how my mornings feel. I can find what I need, and the desk looks tidy at a glance.
A tray also makes a nice gift for a friend who works at a desk.
Try a tray when you have spare clay and a free hour. It is a simple make, and it teaches you how clay holds its form. You will use it each day, and you will smile when you see it there.
Start with a small tray, and see how it turns out. Your next tray can hold a bit more once you know how the clay acts.
23. Make a Clay Wall Plaque for Your Hall
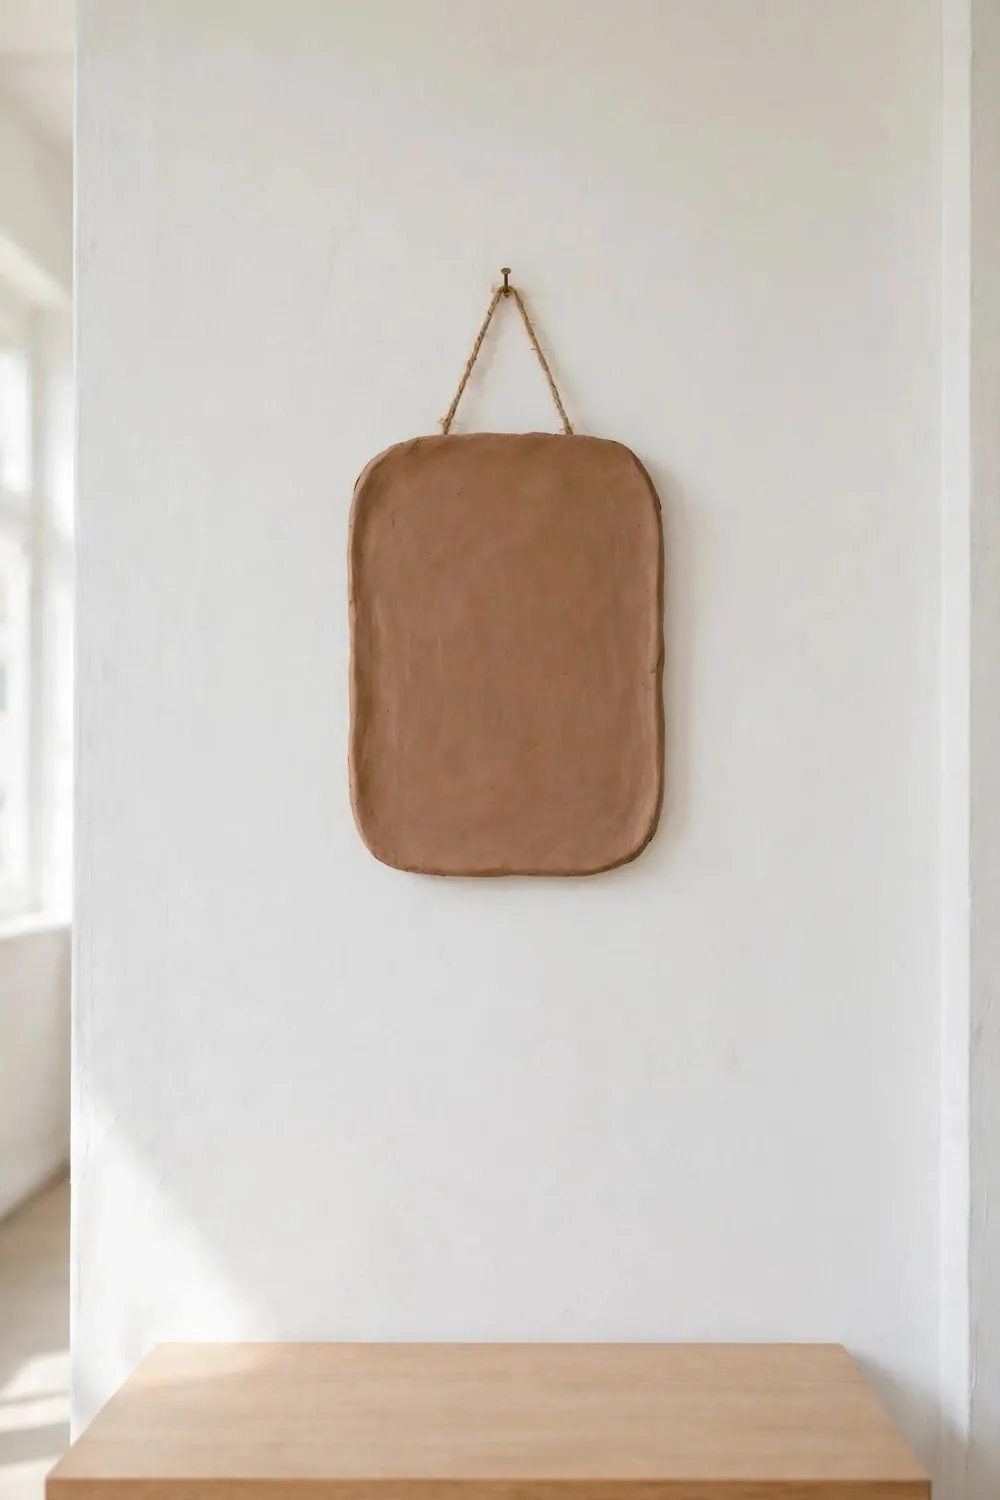
A wall plaque is a piece of clay you hang in your hall. You can press a pattern into it, and you can add words with a stamp. It greets you each time you walk through the door.
Roll the clay out with a pin till it feels even all over. Trim the edges with a knife, and smooth them with a wet finger.
Plain clay and a small hook for one wall plaque cost $3 to $6.
Poke a hole near the edge before the clay dries. A bit of thread or wire goes through the hole when it is firm. Fix a small nail in the wall, hang the plaque from it, and look at it from across the room.
You can paint the plaque after it dries, or you can leave it plain. Both ways look neat in a hall, so pick the one you like best.
A plaque is a good make for a quiet afternoon at home.
I made this plaque for my hall, and it still hangs there. Guests ask about it, and I like to tell them I made it myself.
Try a plaque if your hall feels bare and plain. It is a simple make, and it adds a warm touch to the space. You can make a new one each year, and swap it when you fancy a change.
Start with a simple pattern, and let your hands do the rest.
24. Press a Clay Egg Cup for Your Breakfast
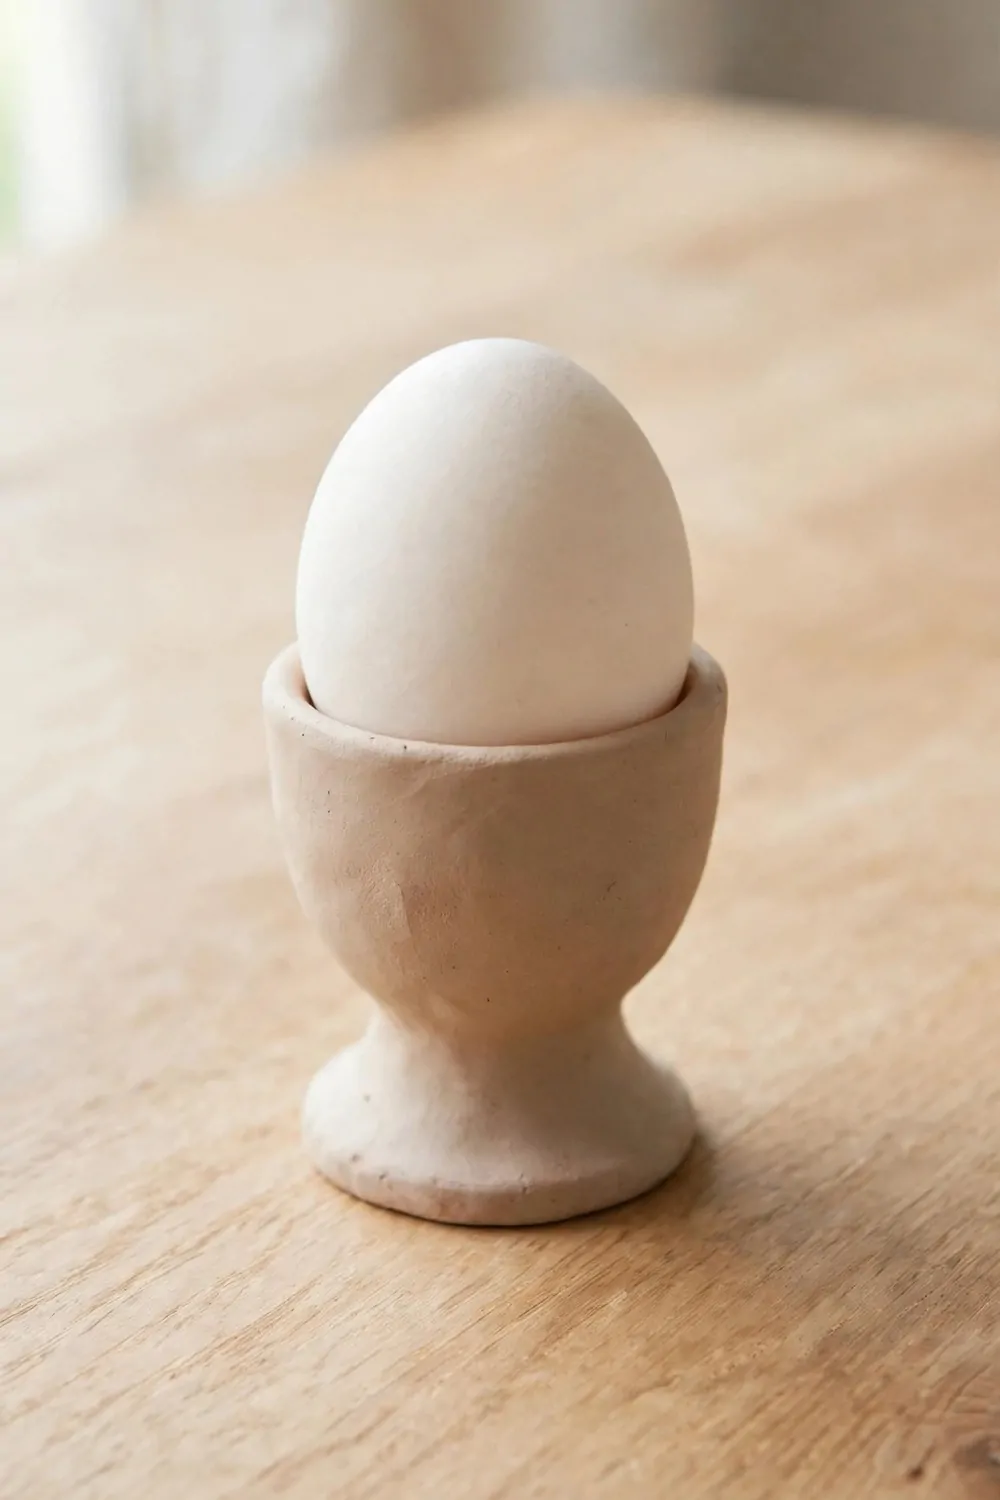
An egg cup is a small clay make with a big job at breakfast. You shape it by hand, and it holds your egg while you eat.
Press a lump of plain clay into a cup with your thumbs, and smooth the rim.
Plain clay and a bit of water for one egg cup cost $2 to $3. That small price makes it a sweet make for a slow morning.
Press the base down on the table so it sits firm. Smooth the sides with a wet finger, and wipe off any rough bits. Let it dry slow before you use it at the table.
You can press a soft ring near the base for a neat touch.
I made an egg cup for our breakfast table, and we use it most weekends. It makes a plain breakfast feel a bit special, and it is easy to wash by hand.
Try an egg cup when you want a quick clay make. It takes little clay, and it dries in a short time. You can make a new one if the first try does not turn out right.
A cup like this also makes a sweet gift for a friend. Wrap it with care, and add a note to say you made it yourself.
Start with a small lump, and see how your cup turns out.
25. Put Together a Clay Craft Kit for a Rainy Day
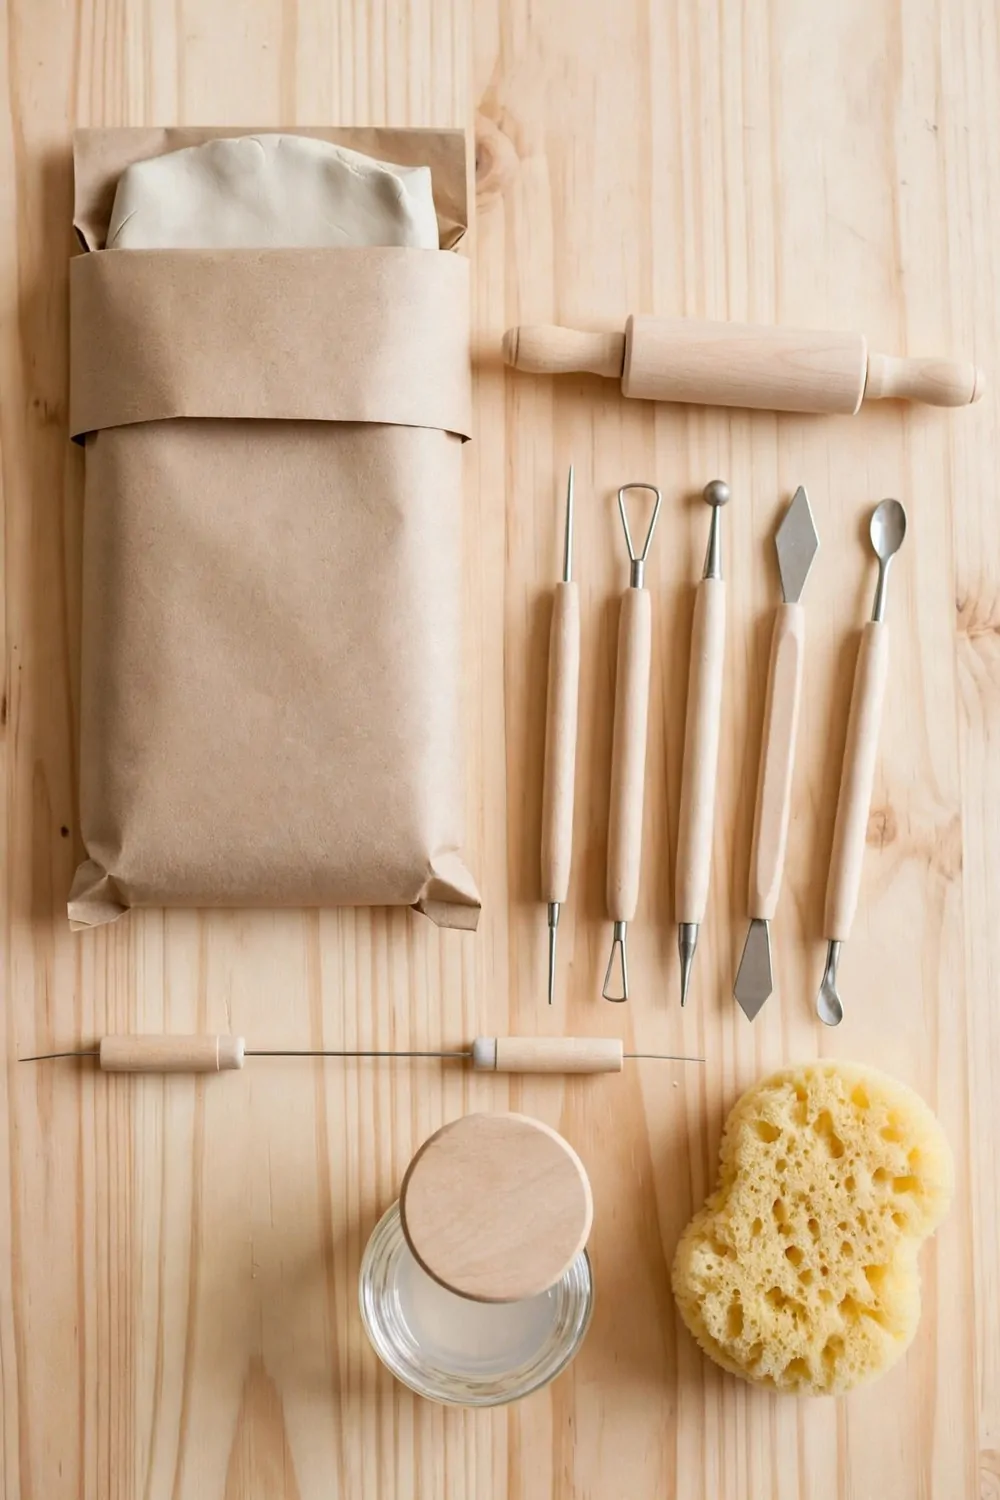
A clay craft kit is a neat set of bits you can reach for on a rainy day.
For your kit, a pack of plain air-dry clay costs $4 to $6. It is the main bit, and you can shape a pot or a tray from it.
For your kit, a small plain clay rolling pin costs $3 to $5. For your kit, a set of plain clay shaping tools costs $3 to $5. The pin rolls the clay out, and the tools help you shape the edges.
For your kit, a small plain clay cutting wire costs $2 to $3. It cuts the clay clean, so your edges look neat.
For your kit, a plain clay smoothing sponge costs $2 to $3.
For your kit, a small plain clay varnish pot costs $3 to $4. The varnish seals the clay when it is fully dry, and it gives the piece a soft sheen. Wait till the clay feels dry right through before you brush it on.
For a total of $17 to $26, you can put this whole clay kit together.
Put the kit in a spot you can reach when the rain starts. You can pick a small make, and you can finish it in one wet afternoon.
I set my first pinch pot on the shelf, and it still makes me smile when I see it. Try one idea this week, and let your hands learn what clay can do.
| Idea | Main change | Typical cost |
|---|---|---|
| Make a Clay Bowl for Your Fruit | Make a clay bowl for your fruit | $2 to $5 |
| Shape a Clay Desk Tray for Your Bits and Bobs | Shape a clay desk tray for your bits and bobs | $1 to $4 |
| Make a Clay Wall Plaque for Your Hall | Make a clay wall plaque for your hall | $3 to $6 |
| Press a Clay Egg Cup for Your Breakfast | Press a clay egg cup for your breakfast | $2 to $3 |
| Put Together a Clay Craft Kit for a Rainy Day | Put together a clay craft kit for a rainy day | $17 to $26 |
| Total | $25 to $44 |
| Idea | Main change | Typical cost |
|---|---|---|
| a pack of plain air-dry clay | Press it flat and shape your first pot | $4 to $6 |
| a small plain clay rolling pin | Roll the clay flat for plates and trays | $3 to $5 |
| a set of plain clay shaping tools | Shape the edges and smooth the sides | $3 to $5 |
| a small plain clay cutting wire | Cut the clay clean for neat edges | $2 to $3 |
| a plain clay smoothing sponge | Smooth the clay while it is still soft | $2 to $3 |
| a small plain clay varnish pot | Seal the clay when it is fully dry | $3 to $4 |
| Total | $17 to $26 |
Keep Reading
If you liked these ideas, you will love these posts too
Each post has more simple ideas you can try at home this weekend.