22 Laundry Room Remodel Ideas That Make Laundry Easier

I lost one sock in my laundry room last month, and I still think about it every time I open the dryer door. That little room was so messy that small things just vanished in it.
Laundry never really ends in my house. There is always one more load to wash, one more pile to fold, and one more shirt that needs a wash before school or work.
I used to hate that room. It was dark, it was cramped, and I always felt in a rush when I stood in it.
Then I made a few small changes, one at a time, and the room started to feel kind. The work got faster and the piles got smaller. I stopped losing socks in dark corners.
You do not need a big budget or a builder to fix a laundry room. Most of the ideas in this post are small jobs you can do in a day or over a weekend.
Some of them are about paint and light. Some are about shelves and bins. All of them are about making the wash day feel less like a chore.
You will find all 22 ideas right here in this one post, from paint and shelves to floors and bins, so you can read the whole plan in one go and pick the ones that fit your room.
1. Paint the Walls a Bright White
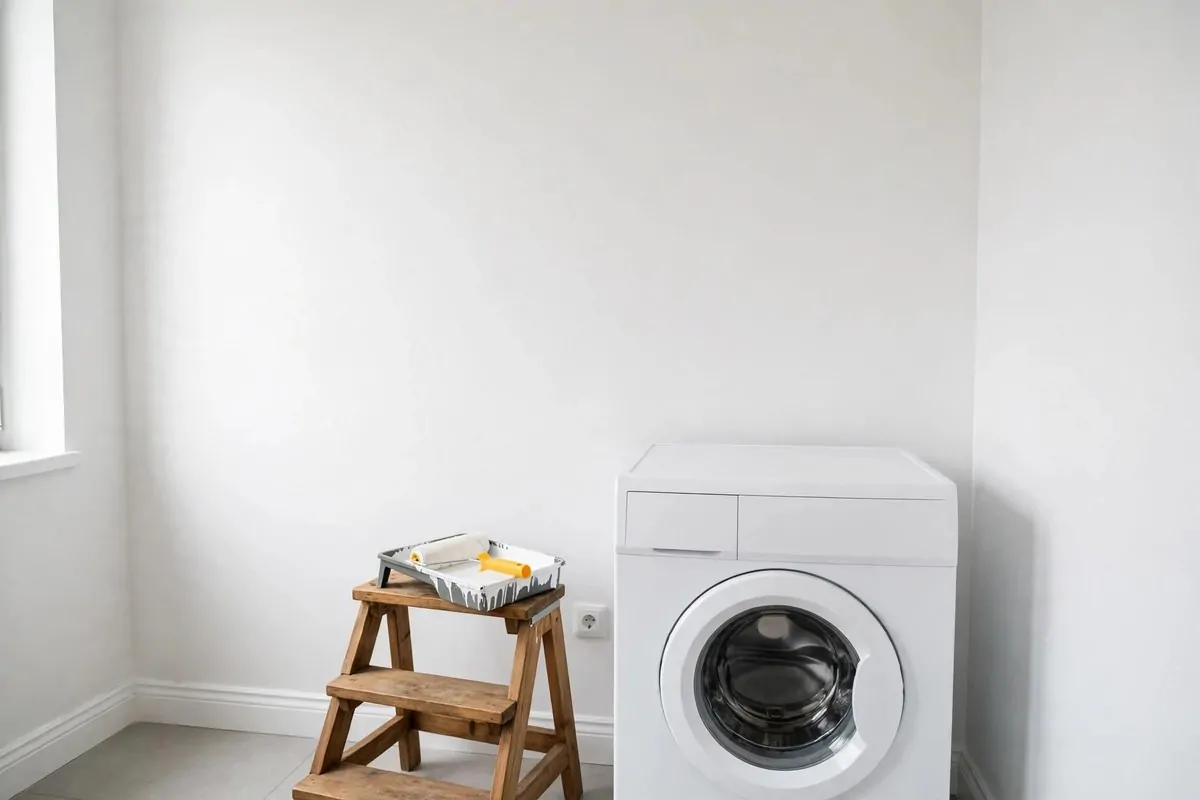
My laundry room walls were a dull cream colour for years. They made the whole room look tired, even on a sunny day.
White paint changed that in one afternoon.
The room looked bigger the second the paint dried. The light bounced around more. I could see the stains on shirts much better, and I stopped missing spots I needed to wash again.
Pick a paint made for rooms with damp air. It holds up better near a washer and a sink.
This job costs $20 to $45 for paint and brushes.
Clean the walls first with plain soap and water. Let them dry all the way before you start, or the paint will peel.
Use a small roller for the big flat parts and a brush for the edges. Two light coats dry smooth and look far better than one heavy coat.
Leave the door open while the paint dries. Fresh air helps the smell go away fast.
If your room has no window, white paint helps even more. It makes a dark room feel open and fresh, and you will smile every time you walk in.
2. Add a Folding Shelf Over the Machines
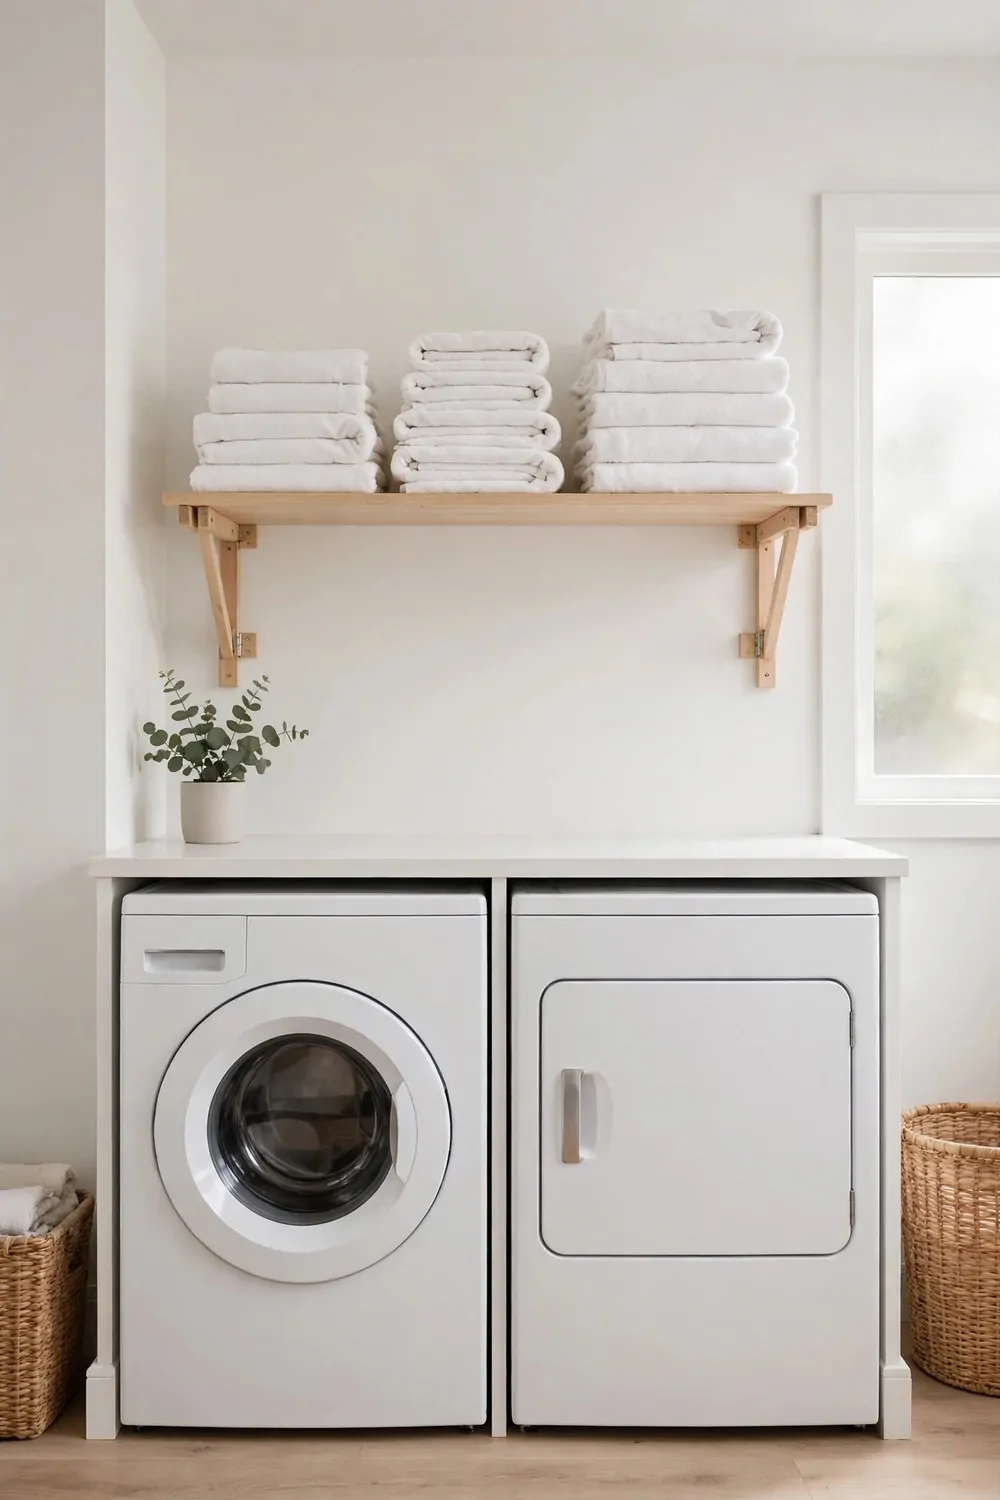
I used to fold clothes on top of my washer, and the pile always slid off. The lid shook, the clothes fell, and I had to start again.
A flat shelf over the machines fixed that in one day.
Now I pull warm clothes out of the dryer and fold them right there. The shelf stays still. My back feels better because I am not bent over a basket on the floor.
Measure the space over both machines before you buy wood. Leave a small gap at the back so you can still reach the taps if you need to.
Use strong brackets and fix them into the wall studs. A shelf full of wet towels is heavy, and weak brackets will sag.
I paid $35 to $80 for the shelf and brackets.
Keep the shelf clear when you are not folding. It is so easy to pile junk on a flat space, and then it stops being useful.
A light wood top looks warm and soft. A white top looks clean and bright, and it matches white walls well.
This one shelf made wash day feel calmer for me. You fold, you stack, and you carry the pile away in one neat trip.
3. Fit a Wall-Mounted Drying Rack
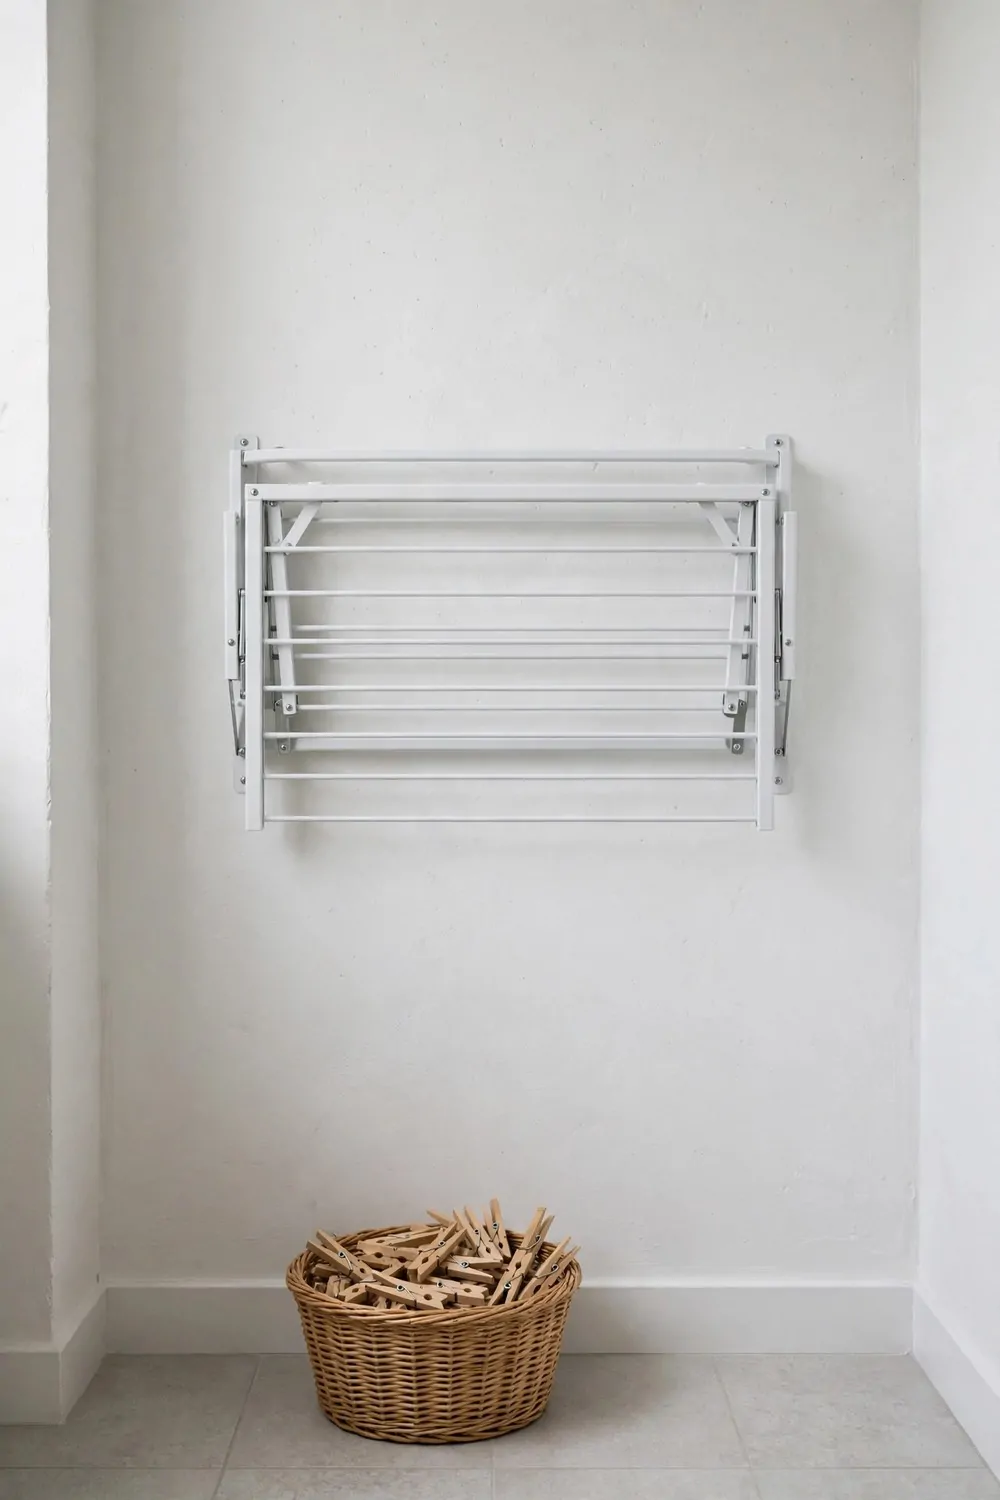
Some clothes should not go in the dryer. I learned that the hard way when a soft top came out two sizes smaller.
A wall rack gives those clothes a safe place to dry.
You pull it out when you need it and fold it flat when you do not. It takes up almost no room, and it keeps wet clothes off your chairs and doors.
Put it on a wall near the washer so you can hang clothes straight from the load. That short walk saves drips on the floor.
You can pick one up for $25 to $60.
Pick a rack with bars that are far enough apart for air to move. Clothes dry faster when air can flow all around them.
Hang heavy wet things near the ends of the rack. The ends hold weight better, and the rack will stay level.
Wipe the bars dry after use. A quick wipe keeps them clean and stops marks on light clothes.
I love how quiet this fix is. No new machine, no big job, just a rack on the wall that saves my soft clothes every week.
4. Add Open Shelves for Detergent and Supplies
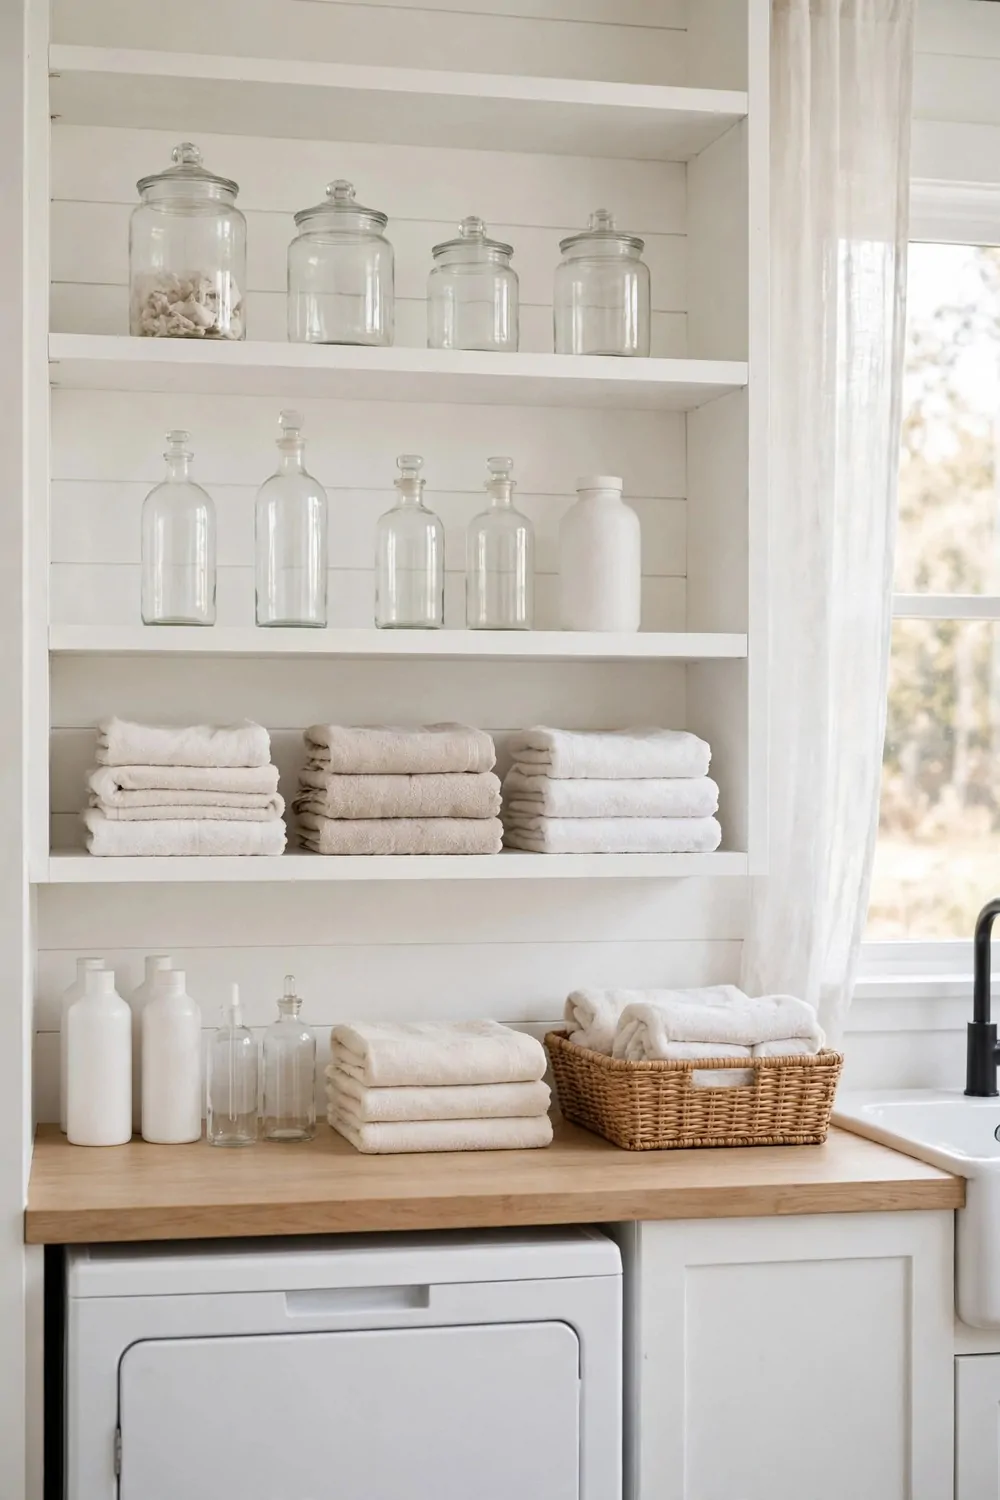
My soap and stain spray used to live on top of the washer. Bottles fell over, lids came off, and I could never find the one I wanted.
Open shelves put everything where I can see it.
I keep the soap on one shelf and the stain spray and softener on the next. Small baskets hold cloths and spare pegs, and I can grab what I need with one hand.
Hang the shelves at a height you can reach with ease. Too high and you will stop using them, and the bottles will end up back on the washer.
A new set of shelves will set you back $30 to $70.
Use wood shelves with a smooth finish so spills wipe off fast. Plain soap and water will clean most drips in seconds.
Put the things you use most on the lowest shelf. Keep the spare bottles up high, and bring one down when you need it.
Label the baskets if your family shares the room. A simple tag stops the mix ups, and everyone puts things back in the right spot.
Open shelves also make the room look neat. When every bottle has a home, the whole room feels calm, and wash day starts off right.
5. Swap the Old Sink for a Deep Utility Sink
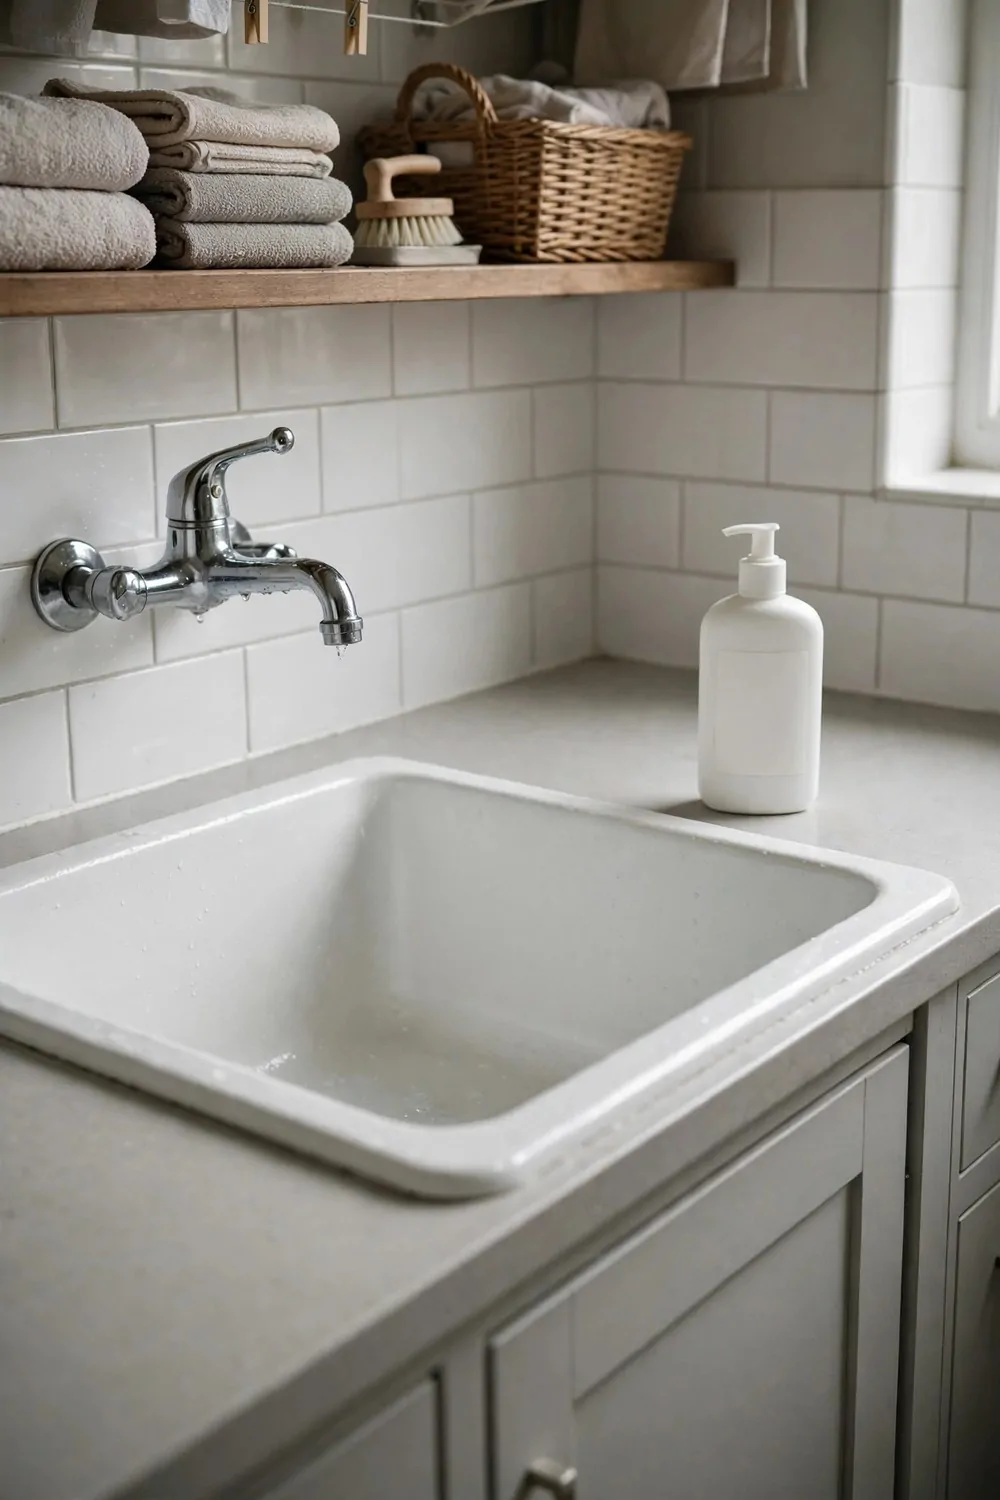
My old laundry sink was shallow, and water splashed all over the floor. I could not soak a dirty shirt in it, and I could not wash a muddy pair of shoes in it either.
A deep sink changed all of that.
Now I fill it up and soak stained clothes before they go in the washer. I rinse muddy shoes in it. I wash paint brushes in it after a small job, and the water stays in the sink where it belongs.
Pick a sink with a tall tap if you can. A tall tap makes it easy to fill a bucket, and you do not have to tilt the bucket at a strange angle.
Check the drain and the pipes under your old sink first. If they look worn, plan to change them at the same time so you do not get a leak later.
The whole swap runs $90 to $220.
Ask a plumber for help if the pipes scare you. A small job done right beats a big leak any day.
Keep a small brush and a bar of plain soap by the sink. Quick scrubbing before the wash saves you a second wash later.
This sink is the hardest worker in my laundry room now. It is plain, it is deep, and I use it almost every day.
6. Put in a Pull-Out Ironing Board
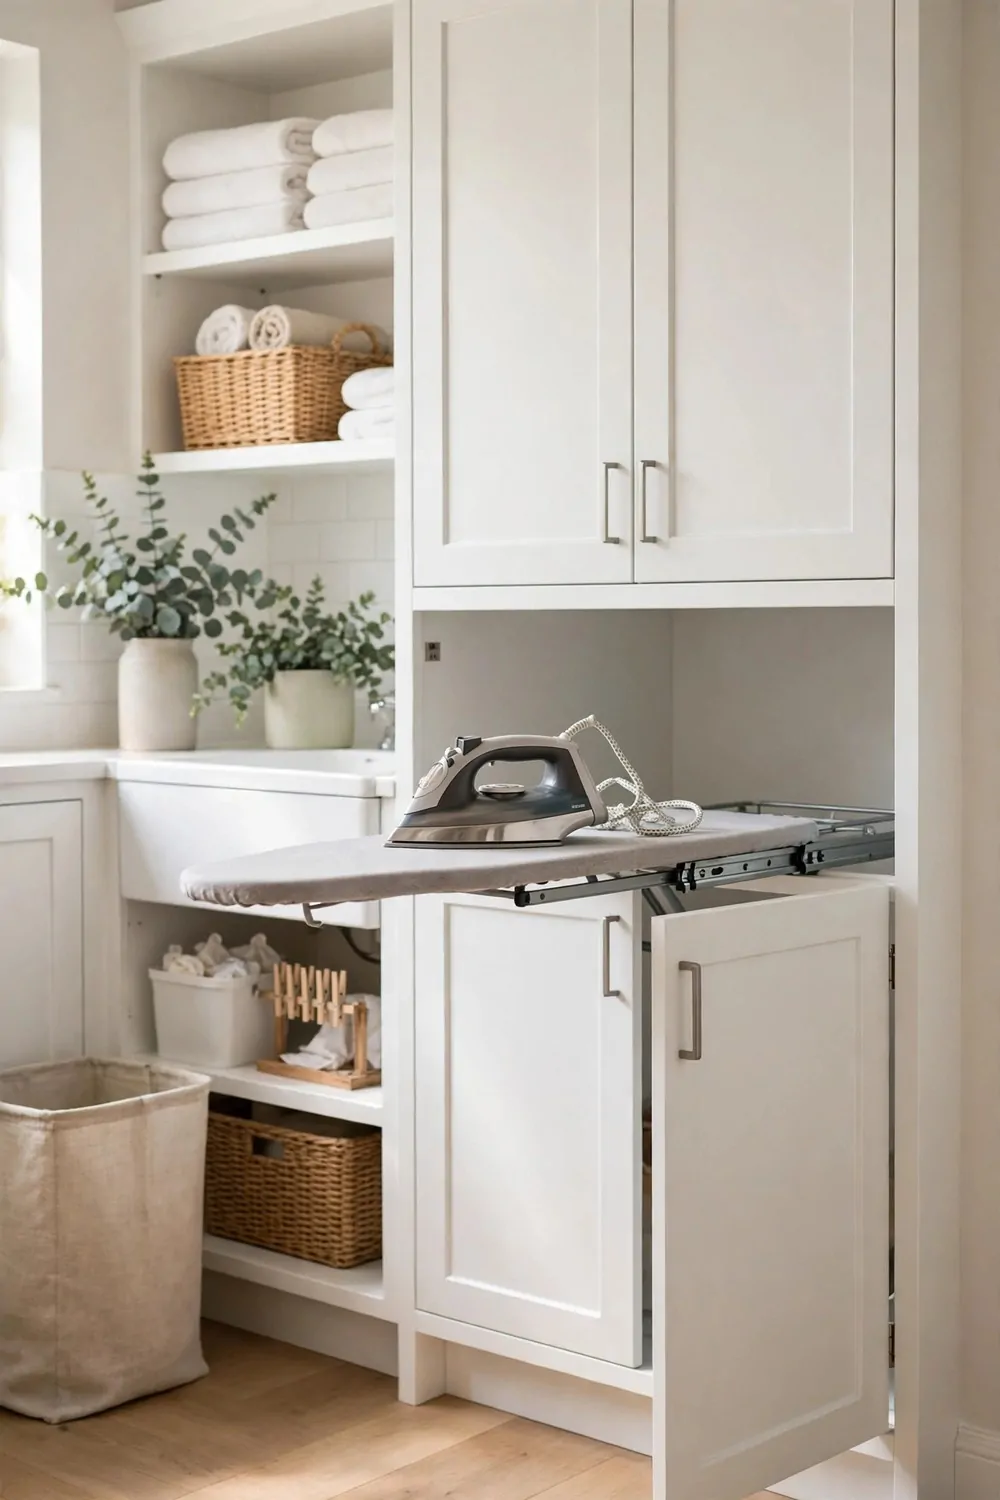
I used to drag my ironing board out of a closet every time I needed it. It was heavy, it stuck on the door, and I put off ironing for days.
A pull-out board hides in a drawer, and it changed my whole routine.
You pull it out, you iron one shirt, and you push it back in. The whole job takes five minutes, and there is no big board to fold up and put away.
Fit it in a drawer near a plug socket. You want the iron cord to reach with ease, and you do not want to stretch it across the room.
A good one costs $40 to $95.
Pick a board with a heat safe cover. A thick cover makes ironing faster, and it keeps the board top in good shape for years.
Keep a small spray bottle of plain water near the board. A light spray helps smooth out deep creases in cotton shirts.
Iron the collar and the cuffs first, then the rest of the shirt. That order makes the shirt look neat fast, and you will finish sooner.
I iron more often now, just because it is so easy. One shirt here, one dress there, and the pile of wrinkled clothes stays small.
7. Add a Clothes Rail for Hang-Dry Items
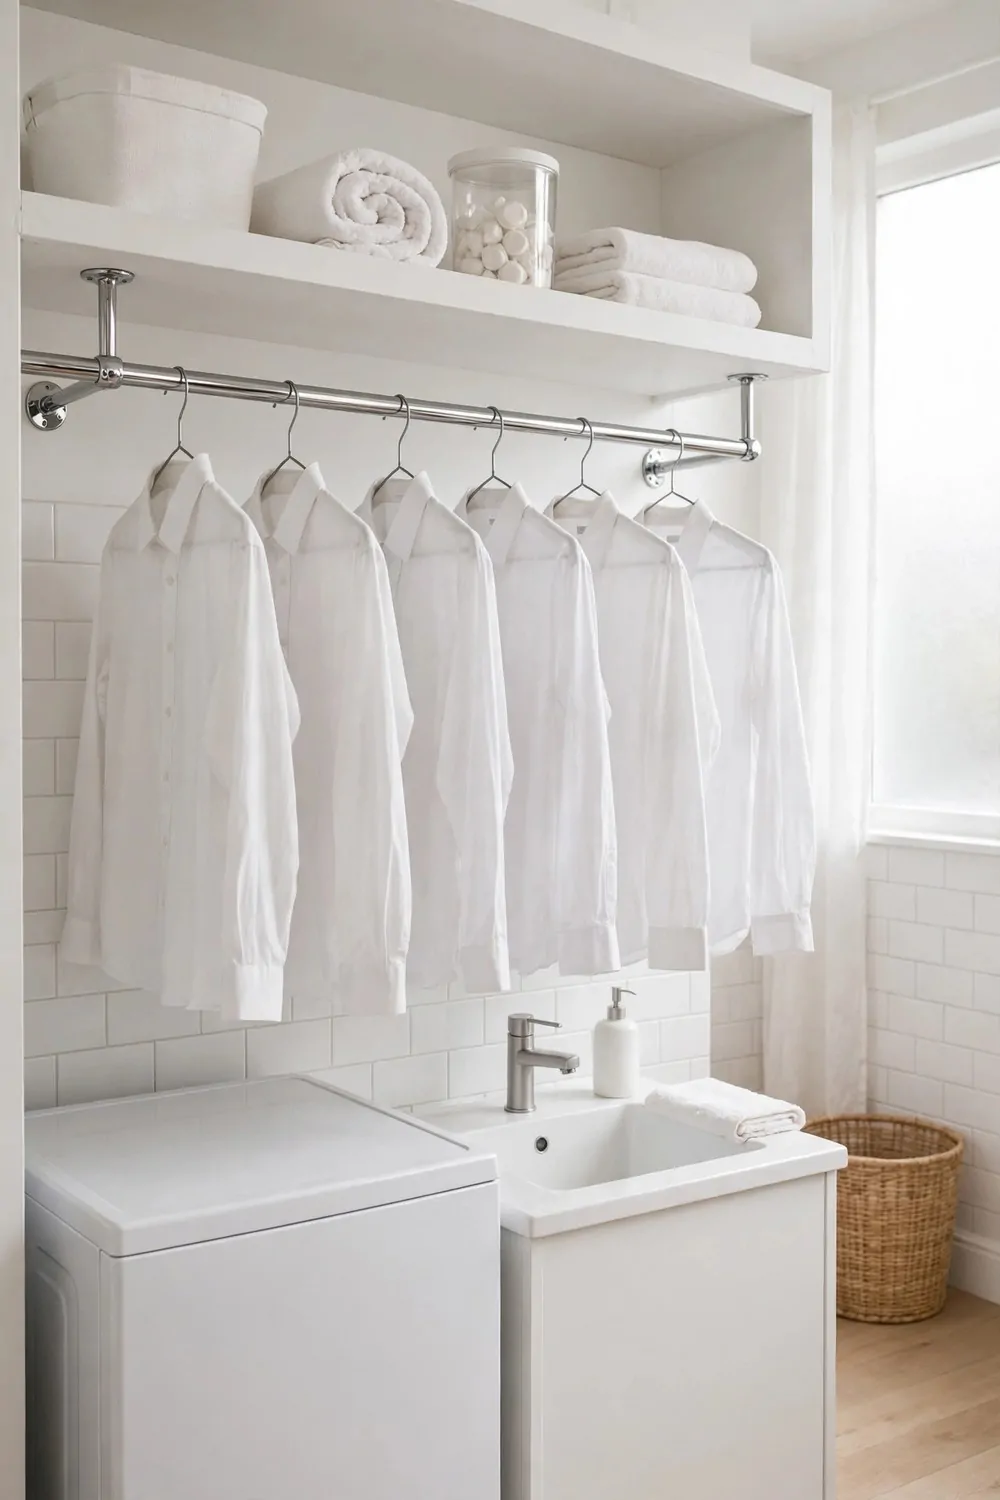
Some shirts look best when they dry on a hanger. I used to hang them on door knobs and chair backs, and they always slipped off.
A simple rail on the wall gives them a real home.
I hang shirts straight from the washer, smooth them with my hands, and let them dry. Most of them need no ironing at all, which saves me time.
Fix the rail into wall studs so it can hold wet clothes. Wet shirts are heavy, and a weak rail will pull out of the wall.
Plan on $15 to $40 for the rail and hooks.
Leave space under the rail for drips. A tray or an old towel on the floor keeps the floor dry while clothes drip.
Use good hangers that hold the shape of the shirt. Thin wire hangers can leave marks on the shoulders, and thick hangers keep the shape much better.
Hang clothes with a small gap between them. Air moves between the shirts, and they dry faster with no damp smell.
This rail is one of the cheapest ideas in the whole list. It is just a bar on a wall, but it saves my shirts and it saves my time.
8. Fit Baskets That Slide Under the Counter
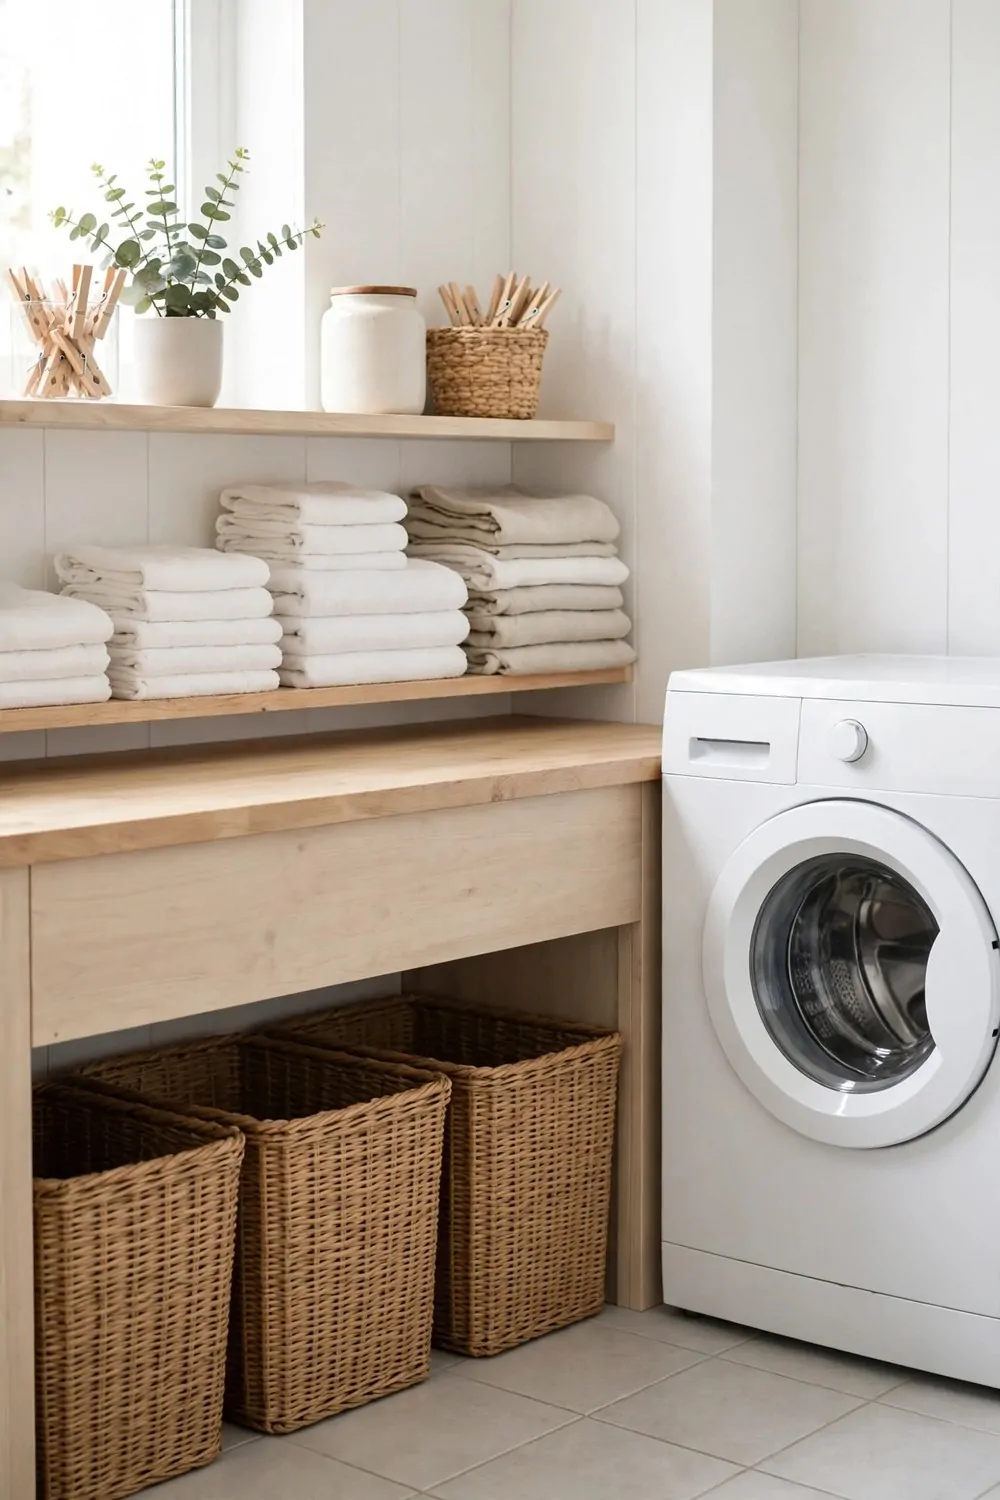
The space under my counter used to hold nothing but dust. It was dark, it was hard to reach, and I just forgot it was there.
Slide in baskets changed that dead space into good storage.
I keep one basket for clean cloths, one for spare pegs, and one for the odd socks that lose their pair. Everything has a spot, and I can pull a basket out with one hand.
Measure the gap under your counter first. You want baskets that slide in with ease, not ones you have to force.
Pick baskets with handles on the front. Handles make them easy to pull out, even when they are full.
This small fix comes to $25 to $55.
Use baskets you can wipe clean. Laundry rooms get damp, and a quick wipe keeps the baskets fresh and clean.
Put a label on the front of each basket. A small tag tells the whole family where things go, and the room stays tidy with no nagging.
I love that these baskets hide the clutter but keep it close. The counter stays clear, the floor stays clear, and I still know where everything is.
| Idea | Typical Cost |
|---|---|
| Paint the Walls a Bright White | $20 to $45 |
| Add a Folding Shelf Over the Machines | $35 to $80 |
| Fit a Wall-Mounted Drying Rack | $25 to $60 |
| Add Open Shelves for Detergent and Supplies | $30 to $70 |
| Swap the Old Sink for a Deep Utility Sink | $90 to $220 |
| Put in a Pull-Out Ironing Board | $40 to $95 |
| Add a Clothes Rail for Hang-Dry Items | $15 to $40 |
| Fit Baskets That Slide Under the Counter | $25 to $55 |
9. Change the Floor to Tough Vinyl Tiles
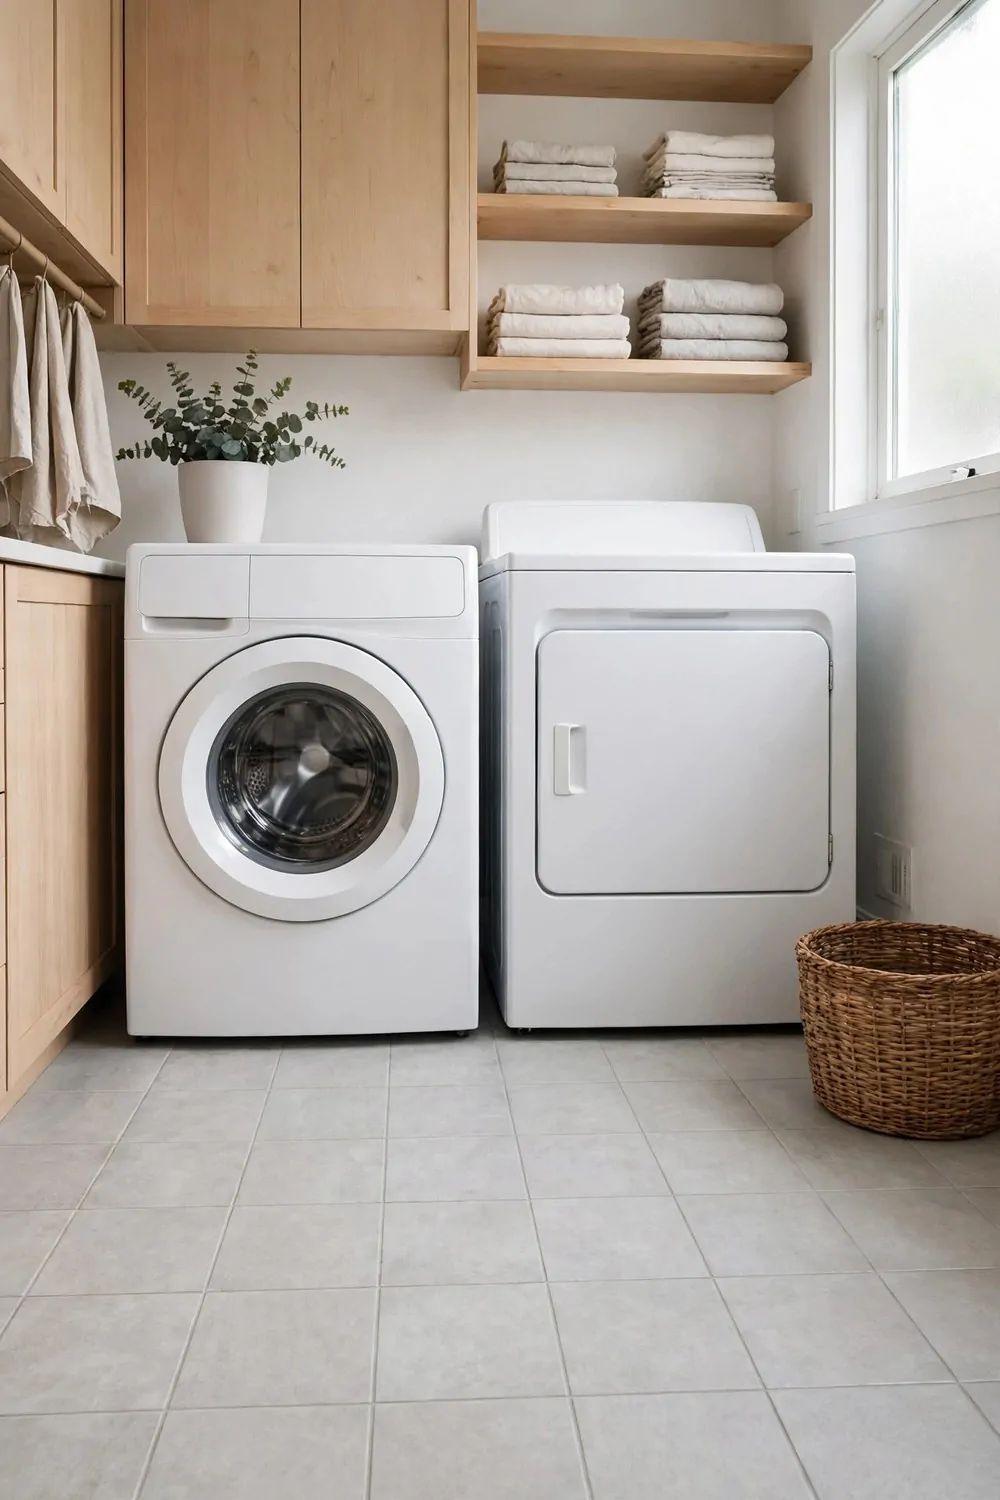
My old laundry floor was a pale floor covering that soaked up every drop. Spills left marks, and the room always smelled damp, no matter how much I cleaned it.
Tough vinyl tiles fixed the floor for good.
Water sits on top of vinyl, and you can wipe it up in seconds. Mud from shoes comes off with plain soap and water, and the tiles still look new years later.
Pick tiles with a slight grip on the surface. Wet feet slip on smooth floors, and a little grip keeps everyone safe.
Check that your floor is flat before you lay tiles. Fill small dips first, or the tiles will lift at the edges over time.
You will spend $120 to $350 on tiles for a small room.
Start laying tiles from the middle of the room and work out to the walls. That trick keeps the cut tiles even on both sides.
Pick a light stone look or a soft wood look. Both hide dust well, and they make a small room feel bright and warm.
A good floor is the base of the whole room. Once the floor is tough and easy to clean, every other change in the room works better.
10. Add a Sorting Station with Three Bins
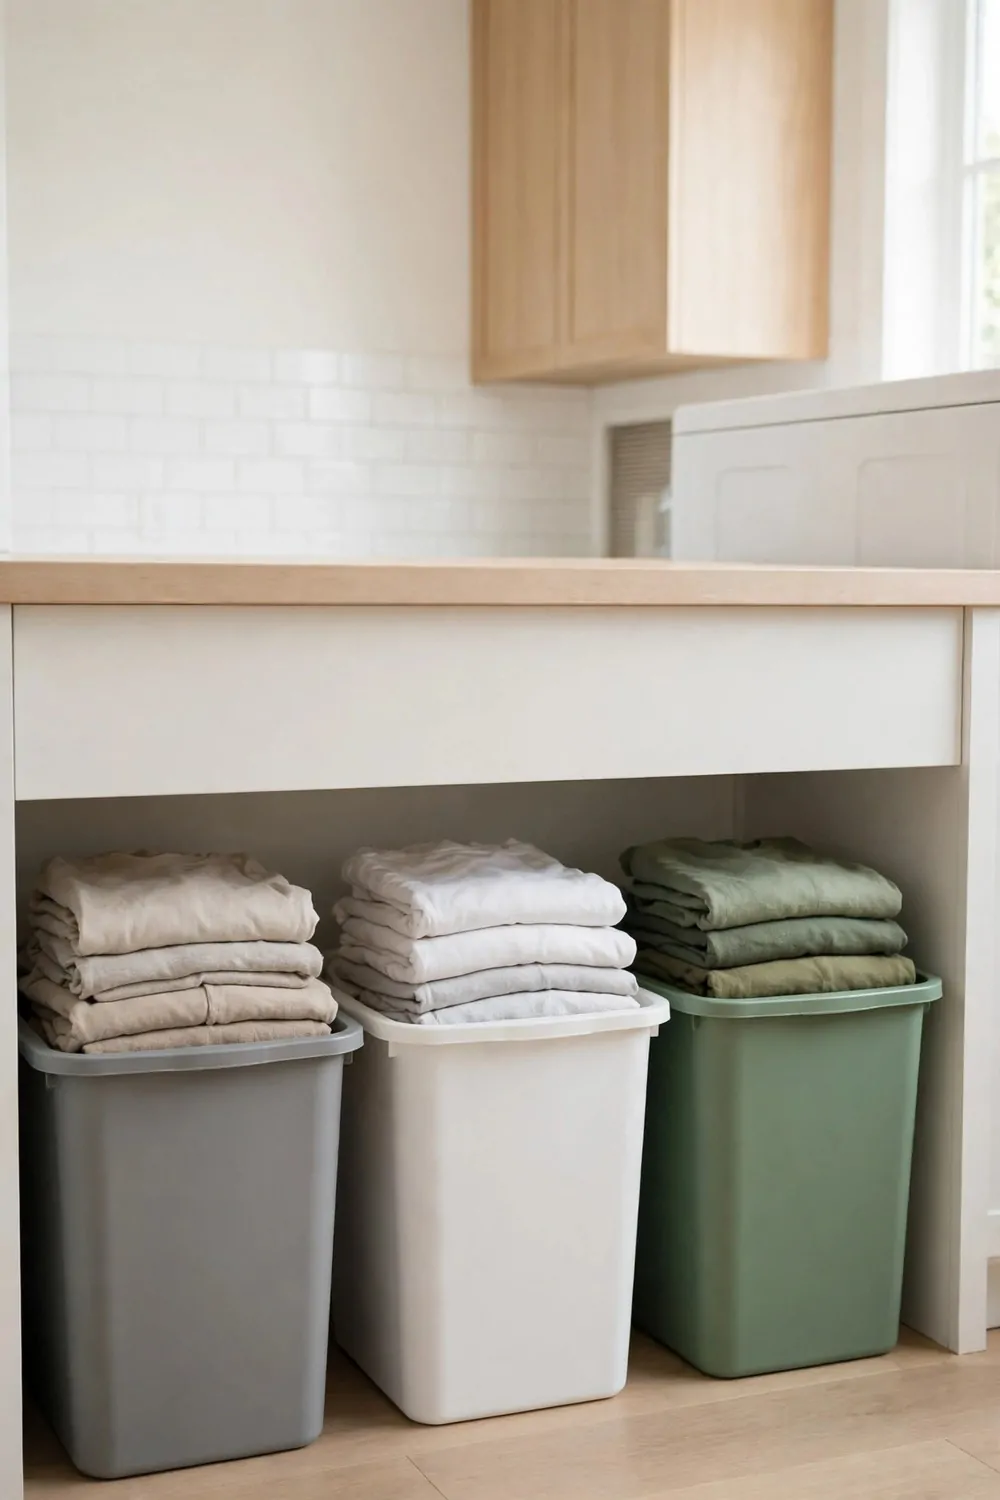
Sorting laundry used to eat up my time. I would tip a full basket on the floor, make three piles, and then pick them all up again.
Three bins in a row do the sorting for me.
One bin is for whites, one is for darks, and one is for colours. My family drops clothes in the right bin as they go, and wash day starts with the sorting already done.
Put the bins where everyone walks past them. If they are tucked in a corner, people will just drop clothes on the floor instead.
A set of three bins costs $45 to $110.
Pick bins with lids if your room is small. Lids keep the smell in, and they keep the room looking neat when the bins are full.
Use bins that are easy to lift and carry. You will carry each bin to the washer, so light bins with strong handles save your arms.
Teach kids the three bin rule with a simple rhyme or a colour tag. Whites go in the white bin, darks in the dark bin, and the rest in the colour bin.
This station saves me the most time of any idea on this list. The sorting is done before I even start, and the wash loads are ready to go.
11. Hang a Peg Rail for Small Tools
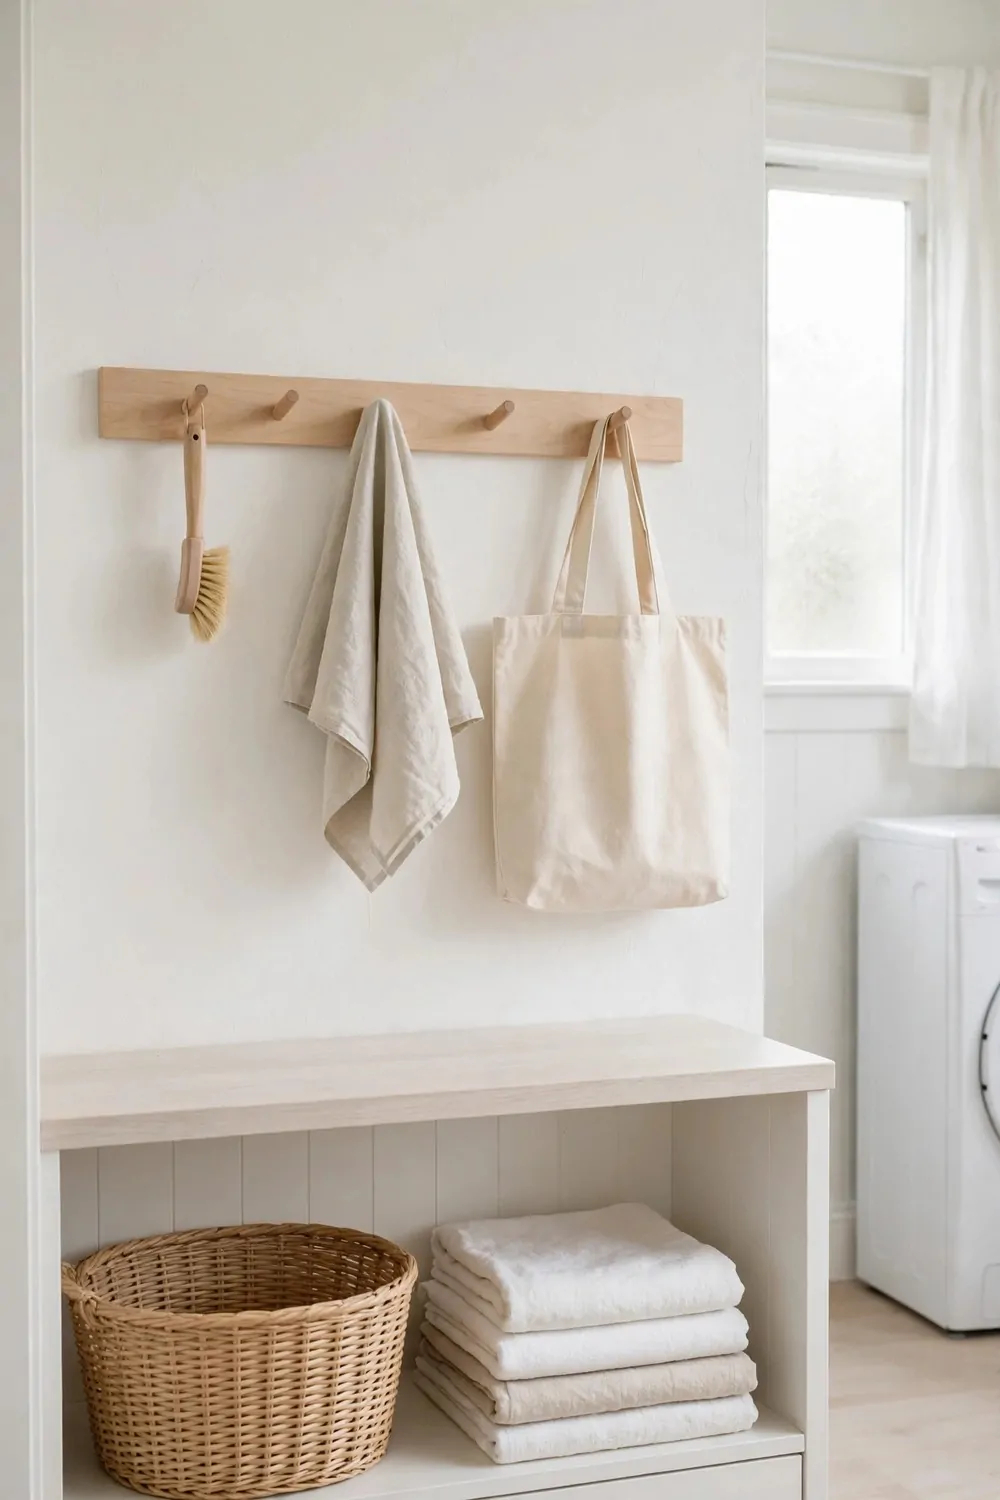
Small tools used to vanish in my laundry room. Scissors, a lint roller, a small brush, and a tape measure all lived in one messy drawer.
A peg rail on the wall keeps them all in plain sight.
I hang the scissors on one peg and the lint roller on the next. The brush hangs by its loop, and I can grab any tool in two seconds flat.
Hang the rail near the counter, at a height you can reach with ease. You want to grab a tool while you fold, not walk across the room for it.
It only takes $12 to $30 to get started.
Pick a rail with strong pegs that do not bend. Heavy tools need solid pegs, and cheap thin ones will droop over time.
Keep only the tools you use each week on the rail. The rest can live in a box on a shelf, or the rail will get crowded and stop being useful.
Wipe the rail once a week with a damp cloth. Dust builds up fast in a laundry room, and a quick wipe keeps it looking fresh.
This little rail is my favourite small fix. It cost so little, it took ten minutes to hang, and it ended the daily hunt for my scissors.
12. Fit a Curtain to Hide the Machines
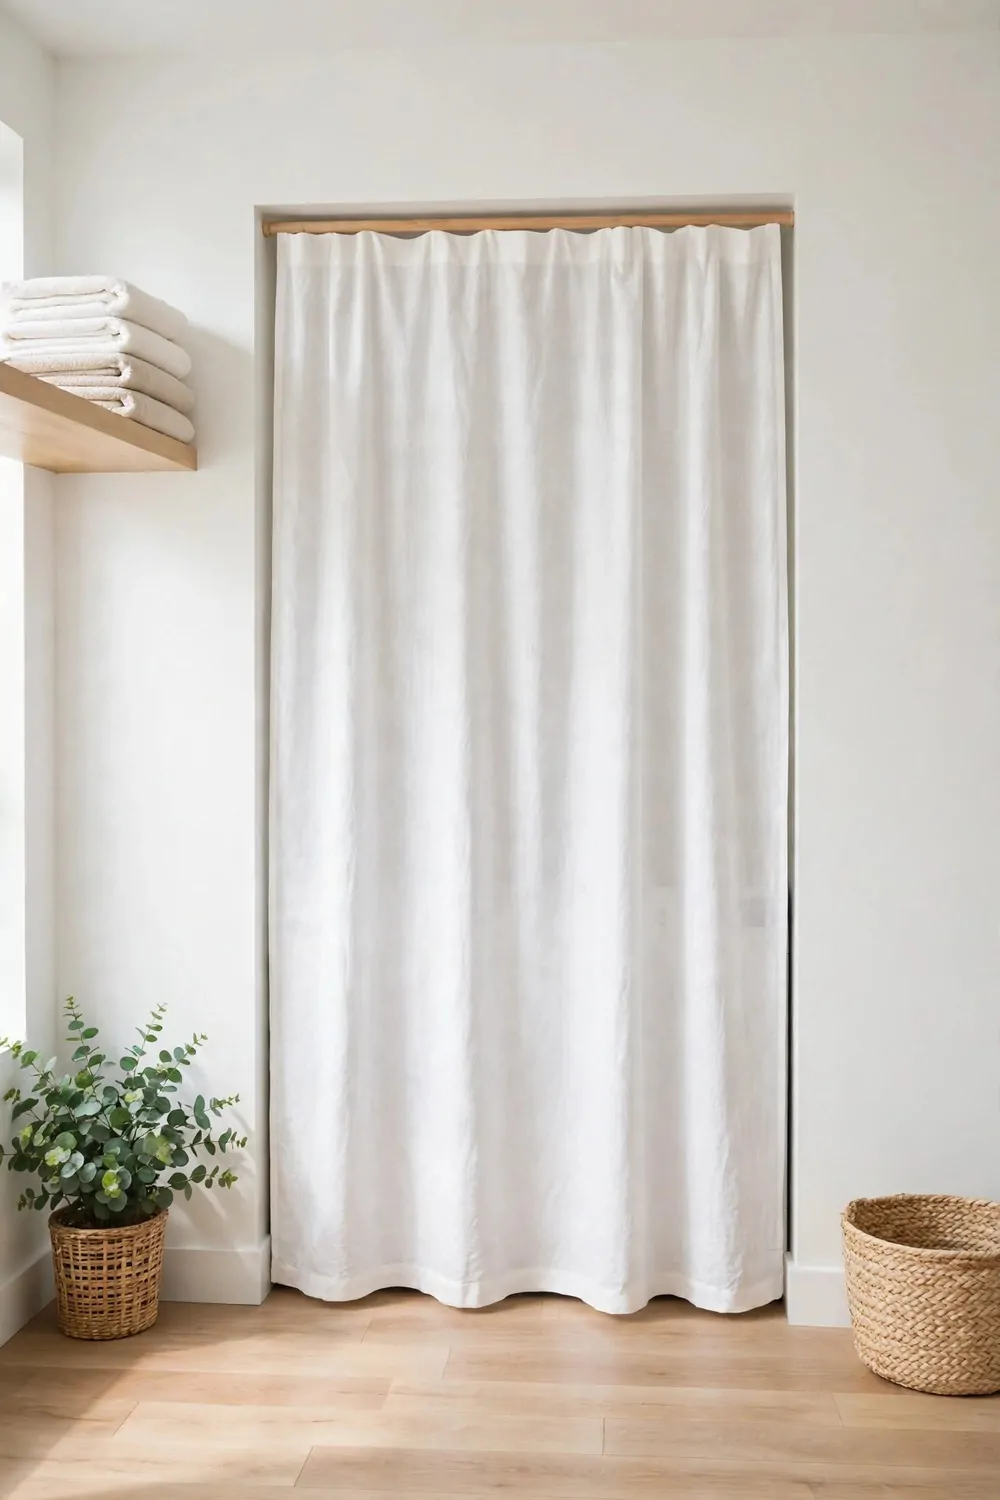
My washer and dryer work hard every day. But they do not look pretty when you walk in.
A simple curtain can hide them in one quick job.
You hang a rod above the machines. You pick a plain fabric you like. You pull the curtain shut when the wash is done.
A new curtain costs $20 to $50. I picked a plain cotton one that washes well.
Pick a colour that matches your walls. A soft white or light grey works in most rooms.
Pull it to one side when you need to load the wash.
The room looks calm when the machines are out of sight. You see a neat wall of fabric instead of knobs and doors.
Wash the curtain once a month with your normal load. It stays fresh and it keeps dust off the machines too.
It is a small change. It makes the whole room feel tidy in a day.
13. Fit a Slim Cabinet for Cleaning Supplies
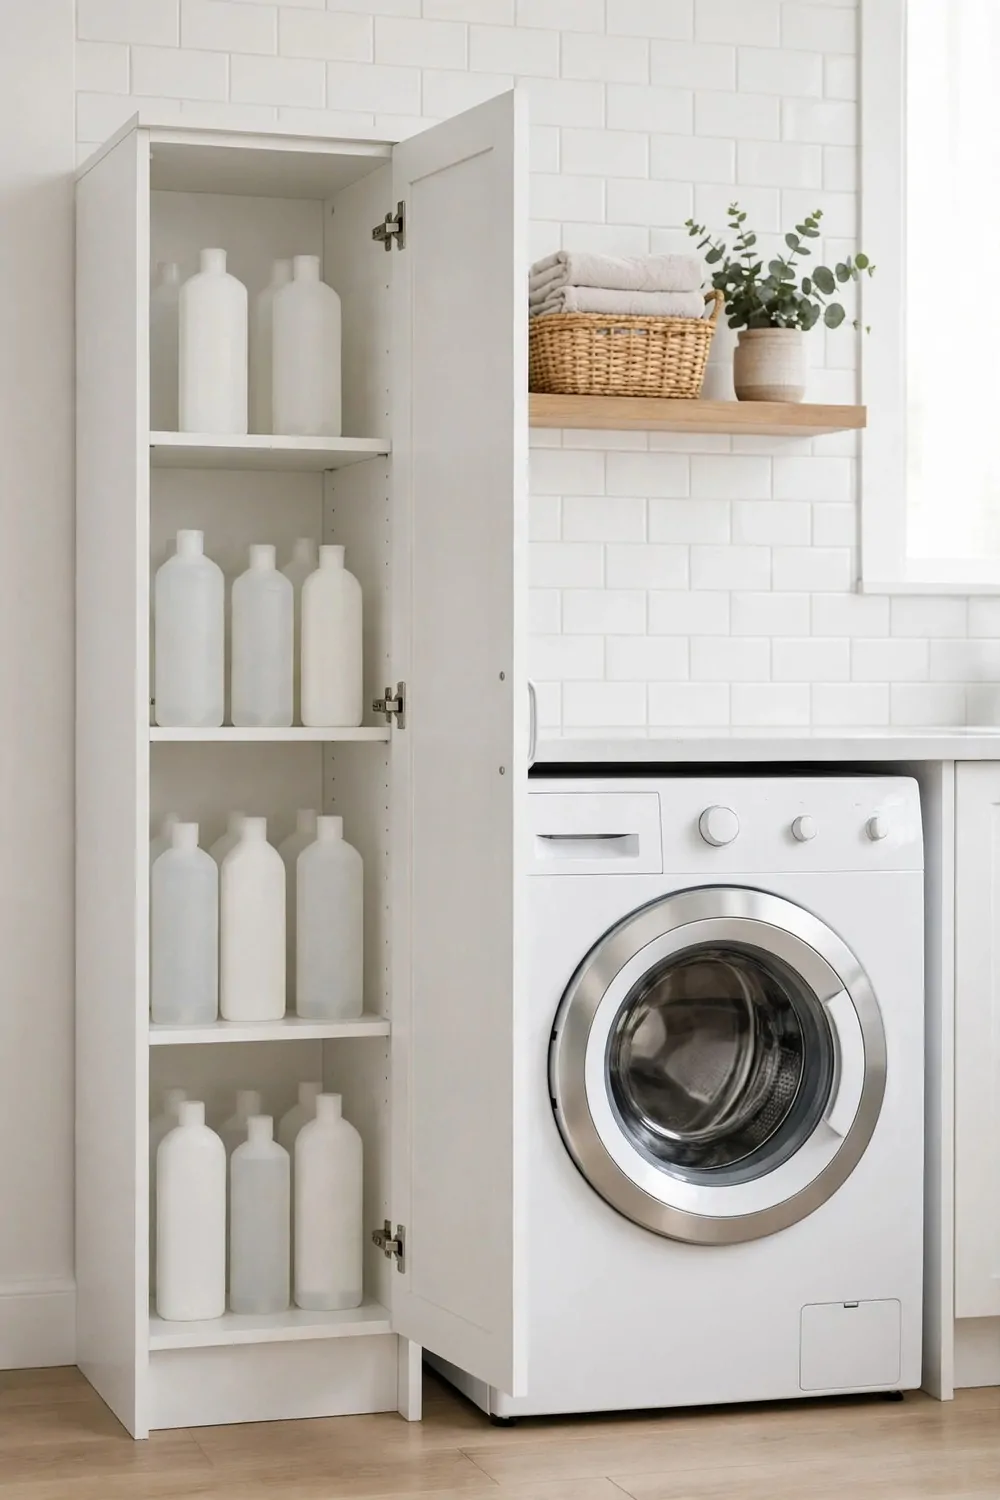
Bottles and boxes end up all over my laundry room. A slim cabinet gives them one home.
It fits in a narrow gap by the wall.
You can store soap, stain spray, and soft cloths inside. You shut the door and the mess is gone. You find what you need fast next time.
You can fit one for $60 to $140. I chose a tall thin one with two shelves inside.
Put the things you use most at eye level. Put the heavy bottles low so they do not tip.
A small lock on the door keeps little hands out.
Measure the gap before you buy. Leave a little space at the top for air. Check the door opens all the way.
Give the shelves a wipe with plain soap and water each month. It takes five minutes and it stops sticky marks from building up.
Now my counters stay clear. I do the wash faster because nothing is in my way.
14. Add a Countertop for Folding Clothes
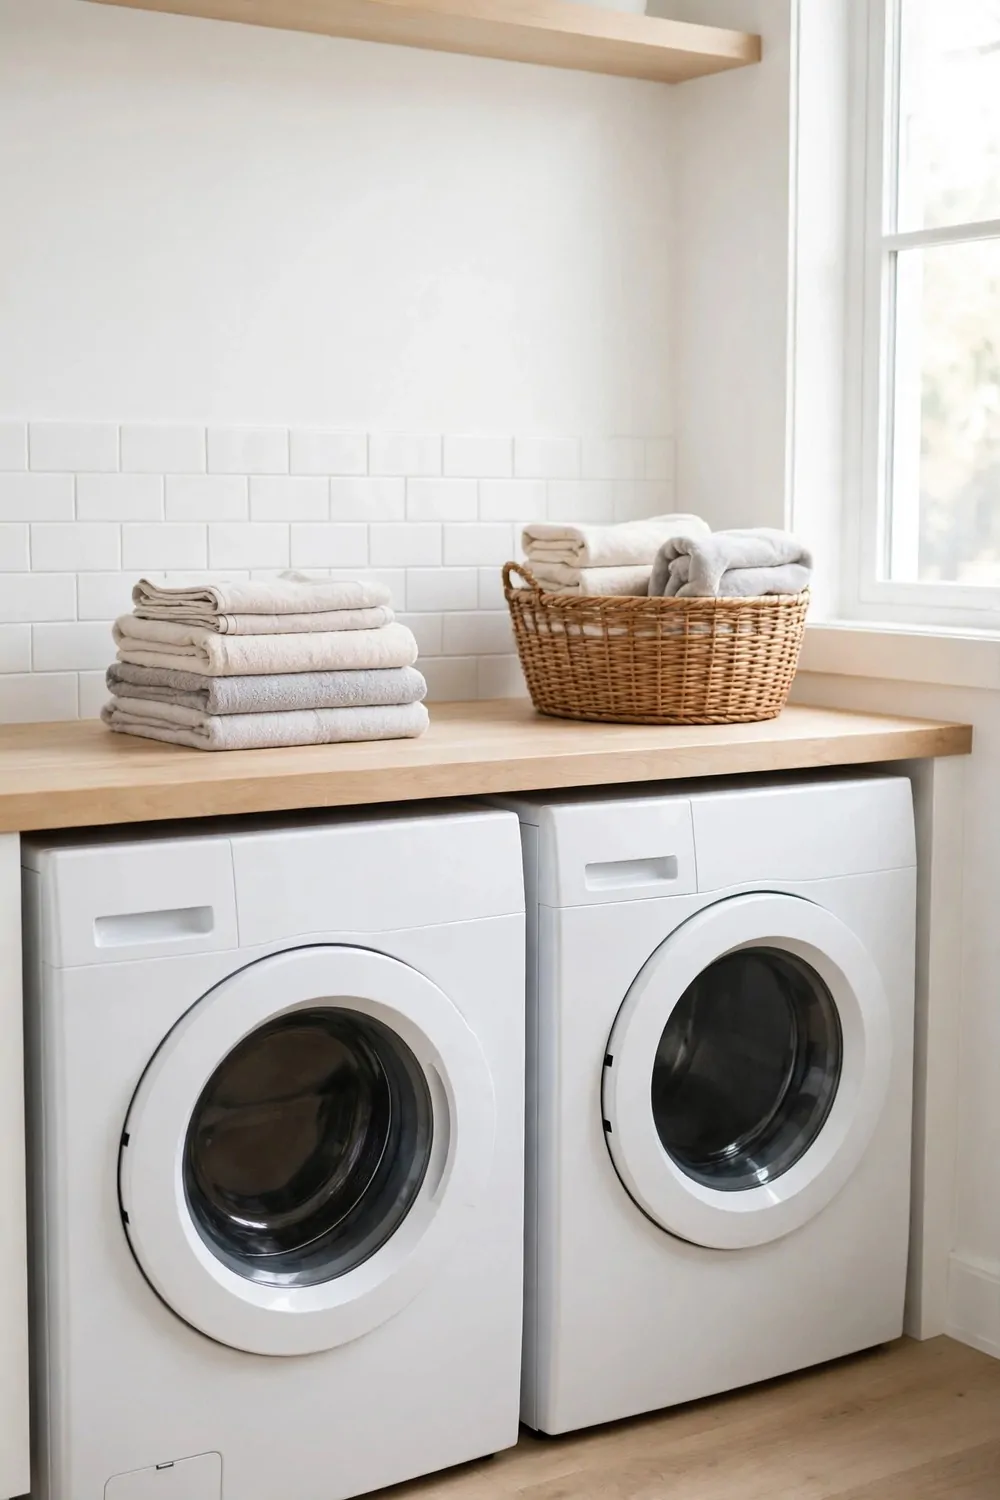
Folding on a bed or a chair never works well for me. A flat countertop over the machines changes that.
You get a smooth space at just the right height.
Lay a warm shirt flat on the top. Fold the sides in, then fold it in half. Stack it neat and move on to the next one.
This one runs $70 to $160 with fitting. I picked a plain wood top that wipes clean.
Leave a little space at the back for the plugs. Do not push the top right against the wall if the pipes are there.
A light top makes the room look bigger and brighter.
You can sort socks and small clothes right on the top. You can stack towels in neat piles by size. You can leave a basket at one end for the next load.
Wipe it down with plain soap and water after each wash day. It stays smooth and it never holds a damp smell.
Folding feels quick now. I finish the pile before it grows into a mountain.
15. Put in a Small Drying Cabinet
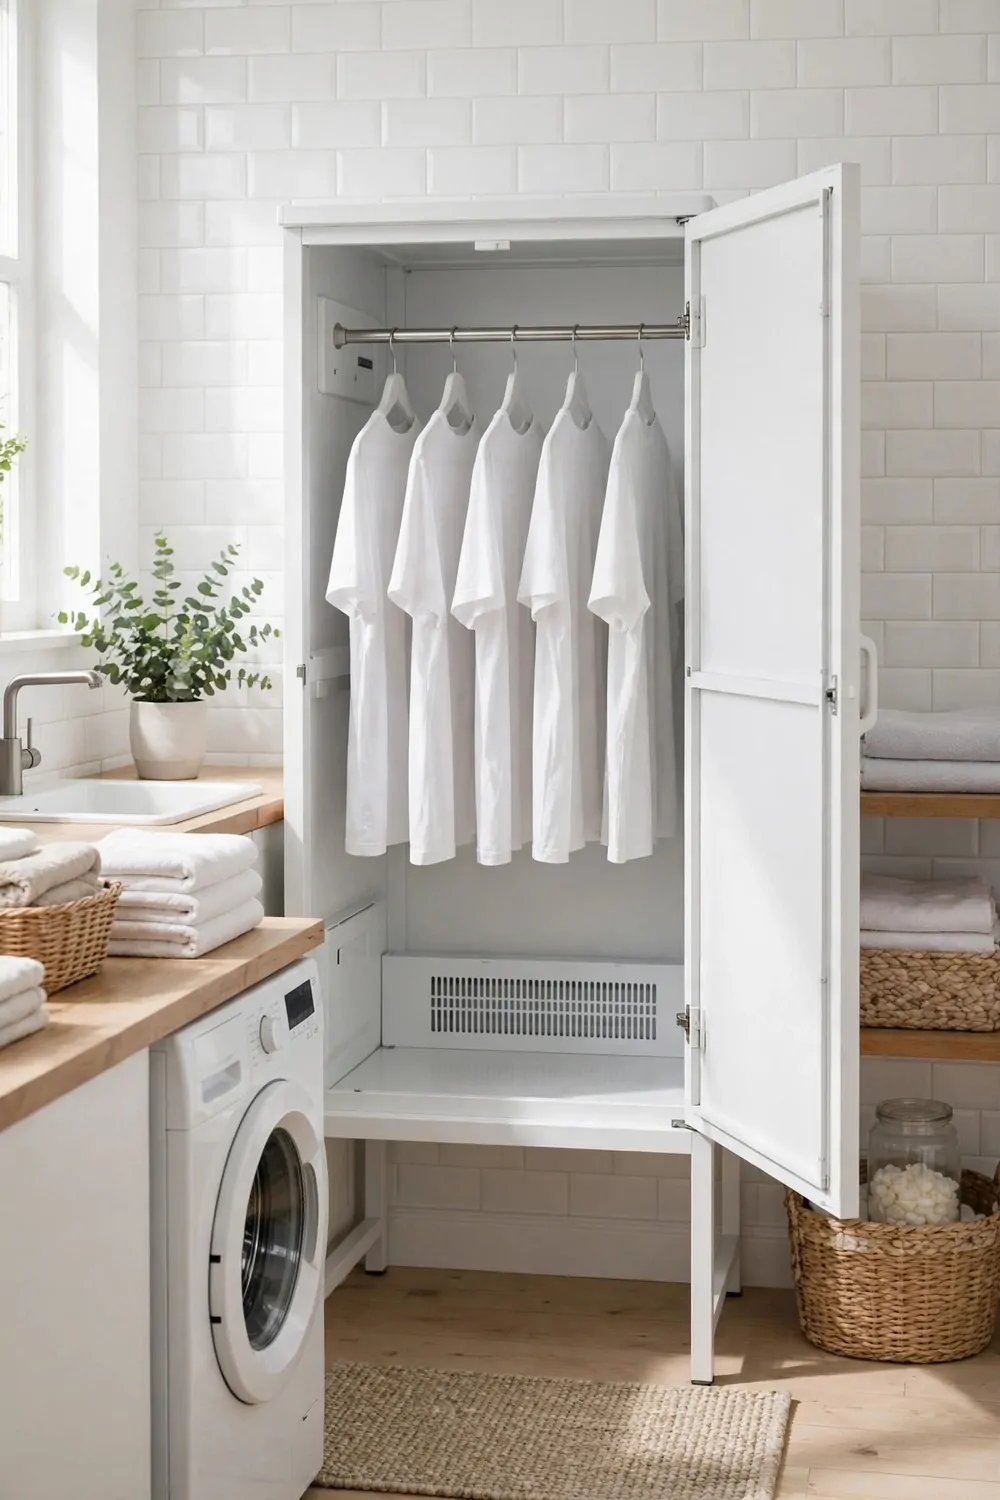
Some clothes should not go in the dryer. A small drying cabinet gives them a safe place to dry.
It is like a tall cupboard with warm air inside.
Hang a wet shirt on a hook inside. Shut the door and let the warm air work. Take it out when it feels dry to the touch.
I spent $55 to $130 on the cabinet. I found a simple one that fits in the corner by the door.
It works well for shirts and light jumpers. It keeps them out of the way while they dry.
You do not need a big room for one of these.
Put a small tray at the bottom for drips. Wipe it out after each use. Leave the door open for a bit so the air can move.
Hang clothes with a little space between them. They dry faster when the air can reach each one.
My shirts keep their shape now. I spend less time fixing creases in the morning.
16. Add a Lost Sock Basket by the Door
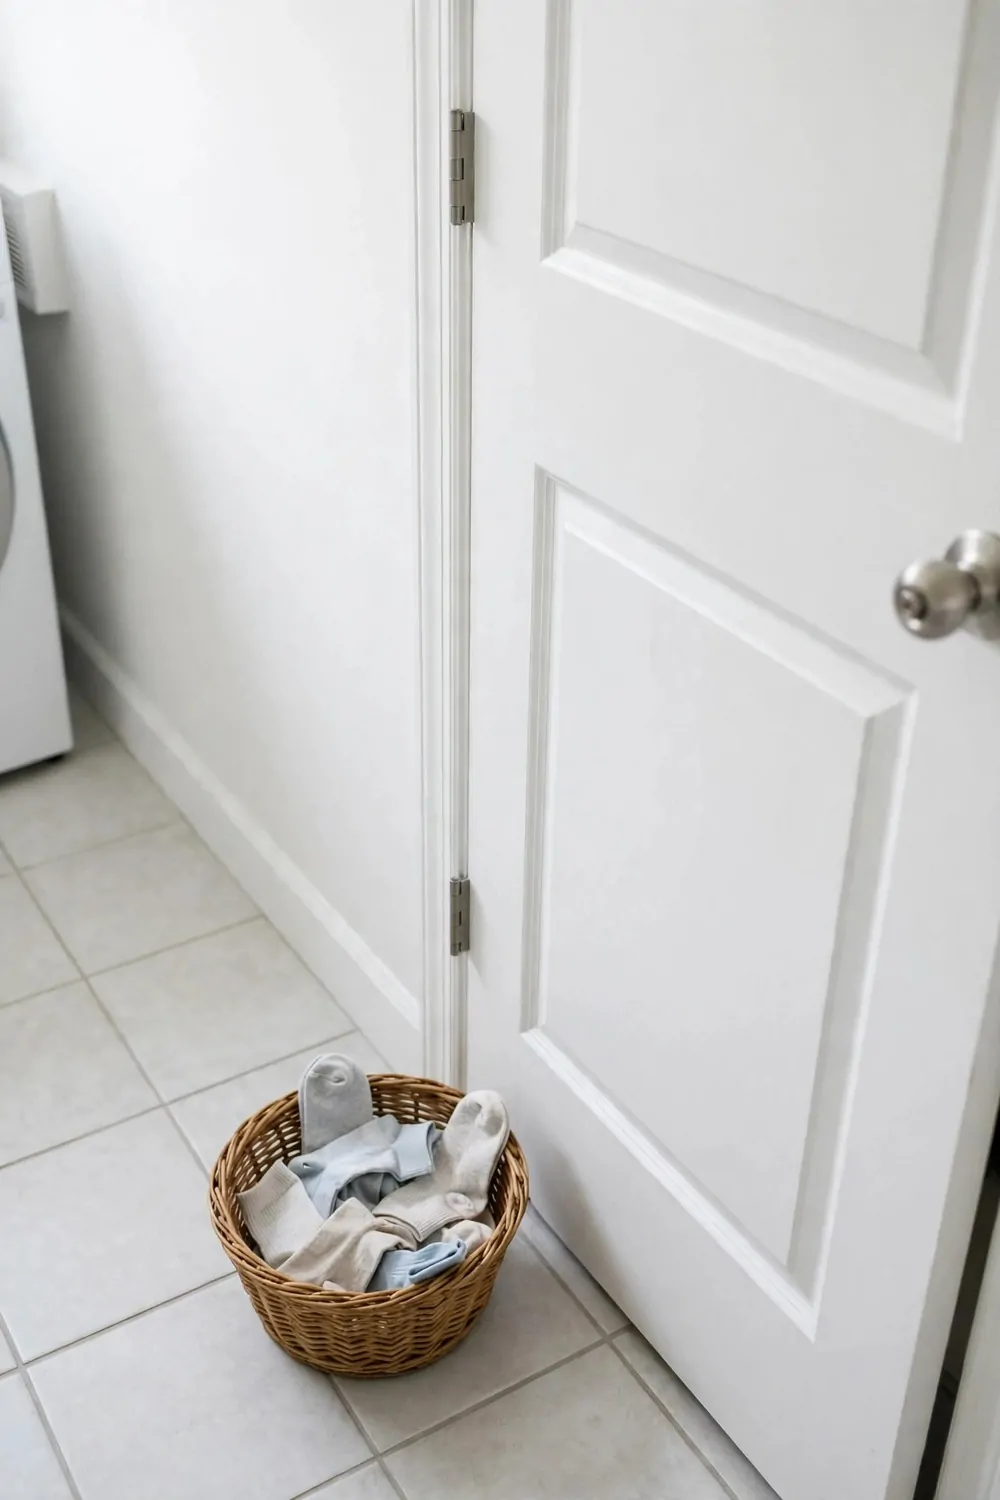
One sock always goes missing in my house. A small basket by the door fixes that little problem.
Every lone sock goes straight in the basket.
You check the basket on wash day. You match the pairs in one go. You put the spare ones back in the drawer.
It costs $10 to $25 for a good basket. I picked a woven one that fits flat against the wall.
Pick a basket with a flat base so it does not tip. A light colour helps you see the socks inside.
Put it where you walk past it every day.
My family drops socks in as soon as they find one. The basket stays neat and easy to reach. No more socks lost under beds and chairs.
Empty it once a week, even if it looks half full. A quick check keeps the pairs together.
It sounds too simple to work. But my sock drawer is full of pairs again now.
| Idea | Typical Cost |
|---|---|
| Change the Floor to Tough Vinyl Tiles | $120 to $350 |
| Add a Sorting Station with Three Bins | $45 to $110 |
| Hang a Peg Rail for Small Tools | $12 to $30 |
| Fit a Curtain to Hide the Machines | $20 to $50 |
| Fit a Slim Cabinet for Cleaning Supplies | $60 to $140 |
| Add a Countertop for Folding Clothes | $70 to $160 |
| Put in a Small Drying Cabinet | $55 to $130 |
| Add a Lost Sock Basket by the Door | $10 to $25 |
17. Change the Window Blind to a Waterproof One
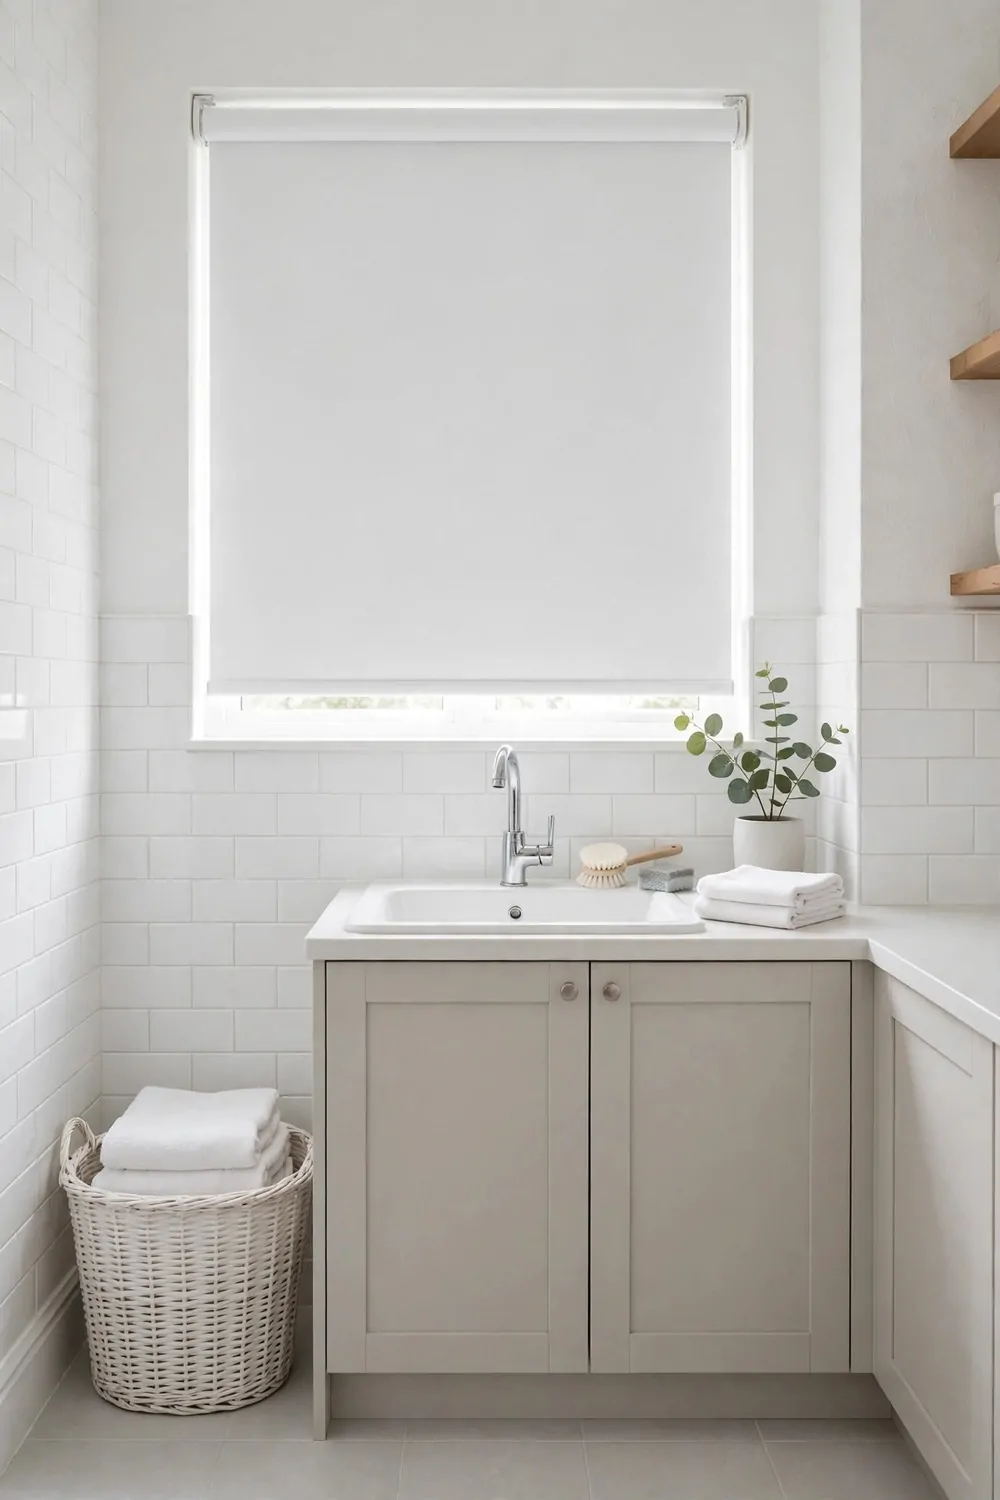
My laundry room gets damp from steam and splashes. A plain cloth blind soaks it all up and starts to smell.
A waterproof blind solves that in one swap.
You take the old blind down in a few minutes. You fit the new one on the same brackets. You pull it up and down to check it moves well.
A blind like this is $15 to $35. I chose a plain white one that lets in soft light.
Wipe it with plain soap and water when it gets dusty. It dries fast and it never holds a damp smell.
Pick a blind that fits the window with no gaps at the sides.
Light still comes through on wash day. The room feels bright and fresh. You can see what you are doing without a harsh glare.
Close it at night for a bit of privacy. Open it wide in the morning to let the room air out.
It is a cheap fix with a big payoff. My window area stays clean and dry now.
18. Add a Blank Chalkboard for the Wash Routine
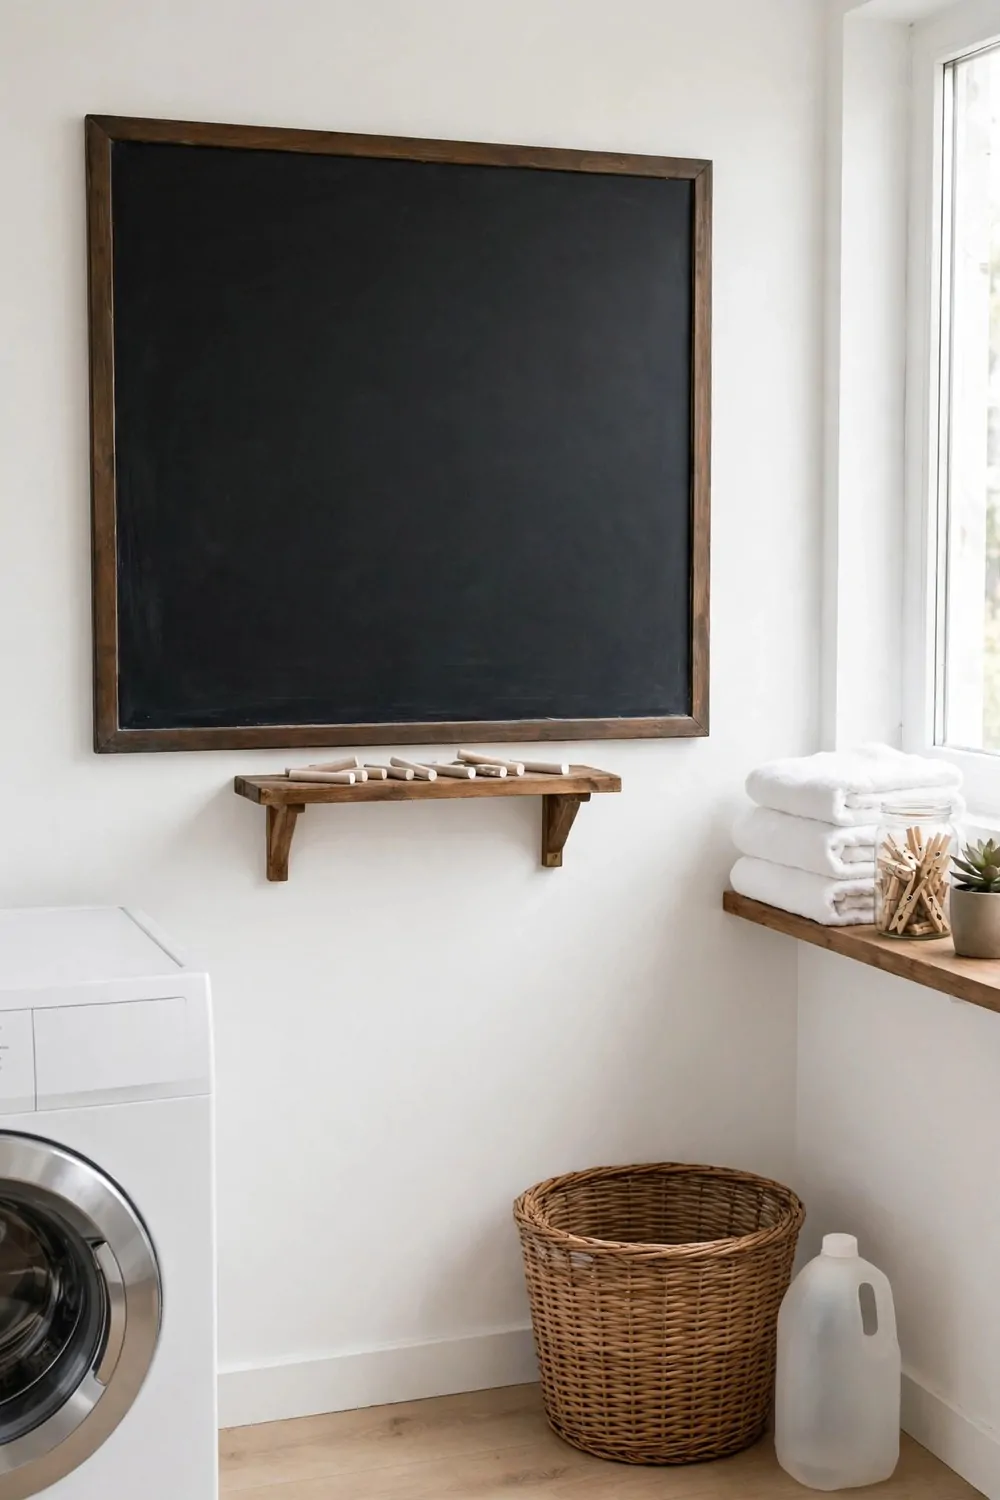
I used to forget which load was in the machine. A blank chalkboard on the wall keeps the plan where I can see it.
You write the wash routine in big clear words.
Write the load name at the top. Add the wash setting under it. Tick it off when the load is done.
You will pay $12 to $28 for the board and chalk. I hung mine at eye level by the door.
Use short notes so anyone can read them fast. Change the notes each morning with the new plan.
A damp cloth wipes the board clean in seconds.
You can add a note about a stain to treat first. You can write which towels need a hot wash. You can list the clothes that need to air dry.
Keep the chalk in a small pot on a shelf nearby. It stays dry and it is always there when you need it.
The board keeps my wash days calm. I do not stand and think about what comes next.
19. Fit a Wall-Mounted Iron Holder
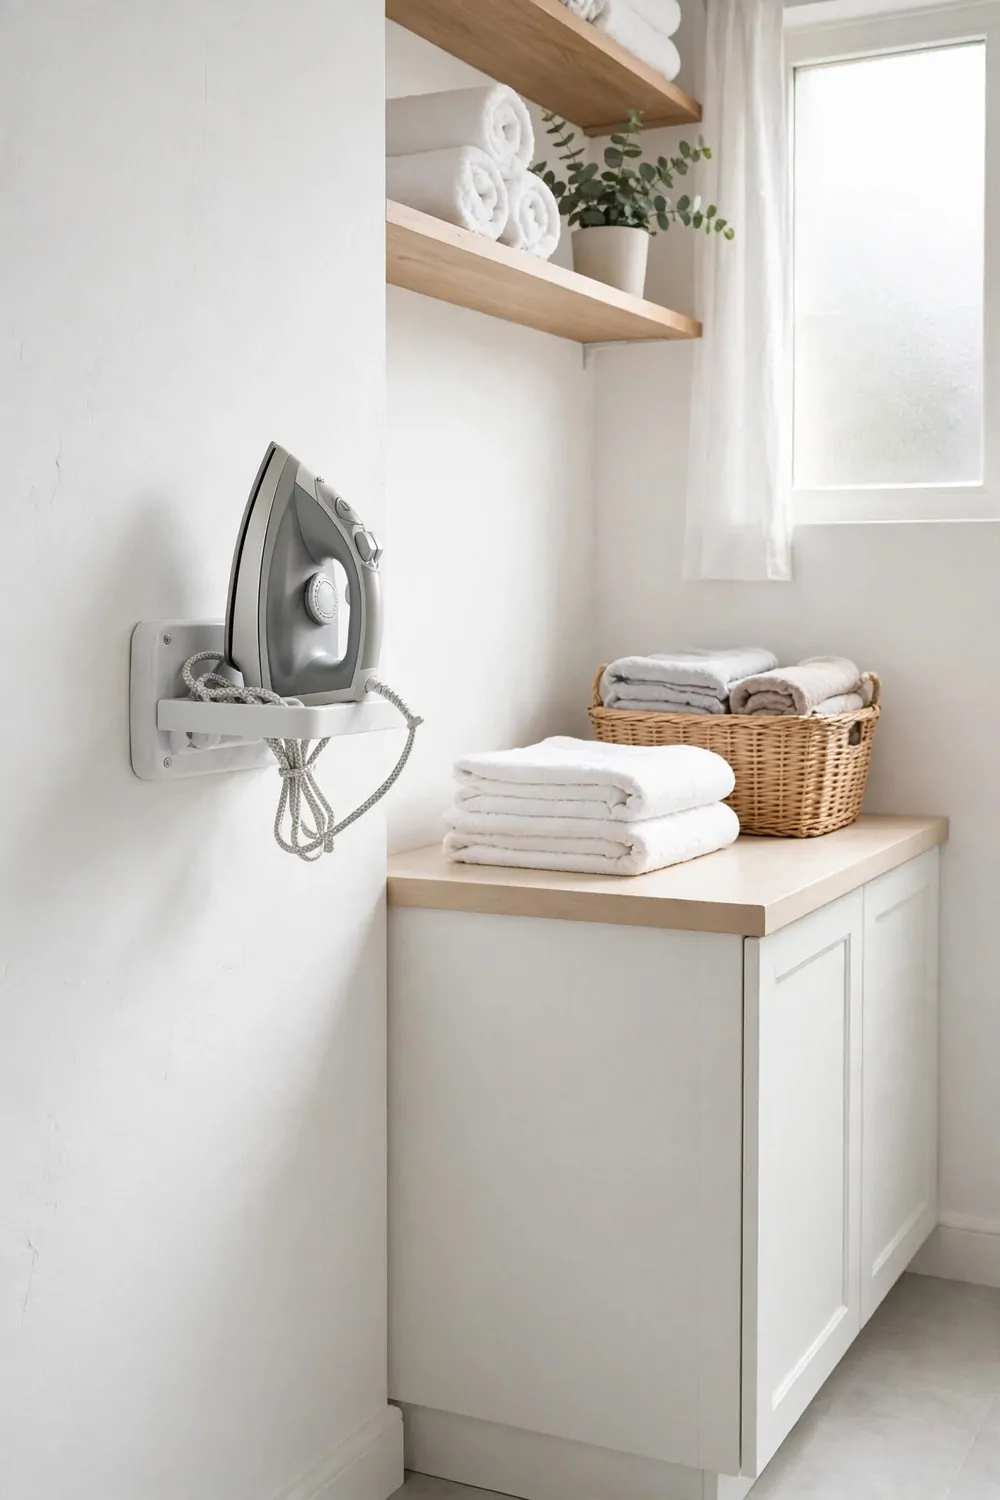
My iron used to sit on a shelf and slide around. A wall holder keeps it safe and out of the way.
It mounts on the wall near your ironing board.
You screw the bracket into a stud or a wall plug. You slide the iron in nose first. You hang the cord on the little hook at the side.
The holder and screws come to $15 to $35. I picked a plain metal one that holds the iron firm.
Put it high enough that small kids cannot reach it. Keep it close to a plug so the cord does not stretch far.
The iron cools down safe in its own spot.
You grab it fast when you need it. You put it back in one move when you are done. The shelf stays free for folded clothes.
Check the screws once a year to make sure they are tight. A firm holder is a safe holder.
Ironing feels less like a chore now. Everything I need is right there on the wall.
20. Add a Rolling Cart for Heavy Bottles
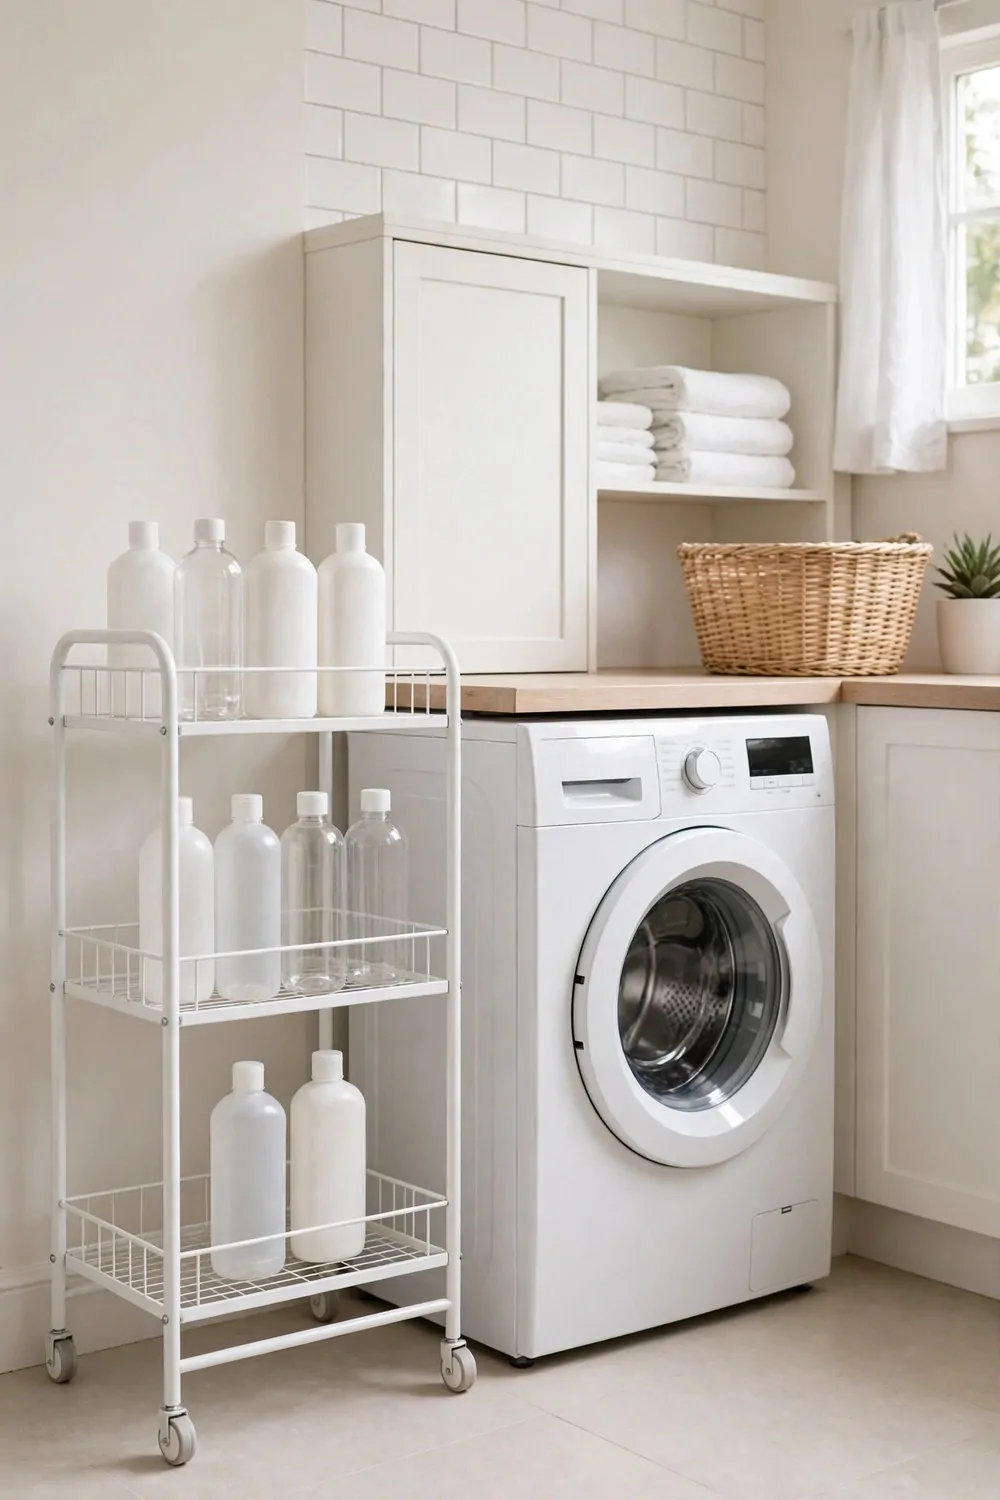
Big bottles of soap are heavy to lift. A rolling cart moves them for you.
You load the bottles once and roll the cart where you need it.
Keep the soap on the bottom shelf. Put the smaller bottles on top. Roll it back to its spot when you are done.
A sturdy cart is $30 to $70. I chose one with three shelves and wheels that lock.
Lock the wheels before you pour from a bottle. The cart stays still and nothing tips over.
A narrow cart fits in the gap by the machine.
You can store cloths and pegs on the middle shelf. You can keep a small brush in the side pocket. You can roll the whole lot out of the way when guests come.
Wipe the shelves with plain soap and water once a week. It stops sticky rings from building up under the bottles.
My back feels better on wash day. I do not lug heavy bottles across the room now.
21. Add a Small Fan to Keep the Air Fresh
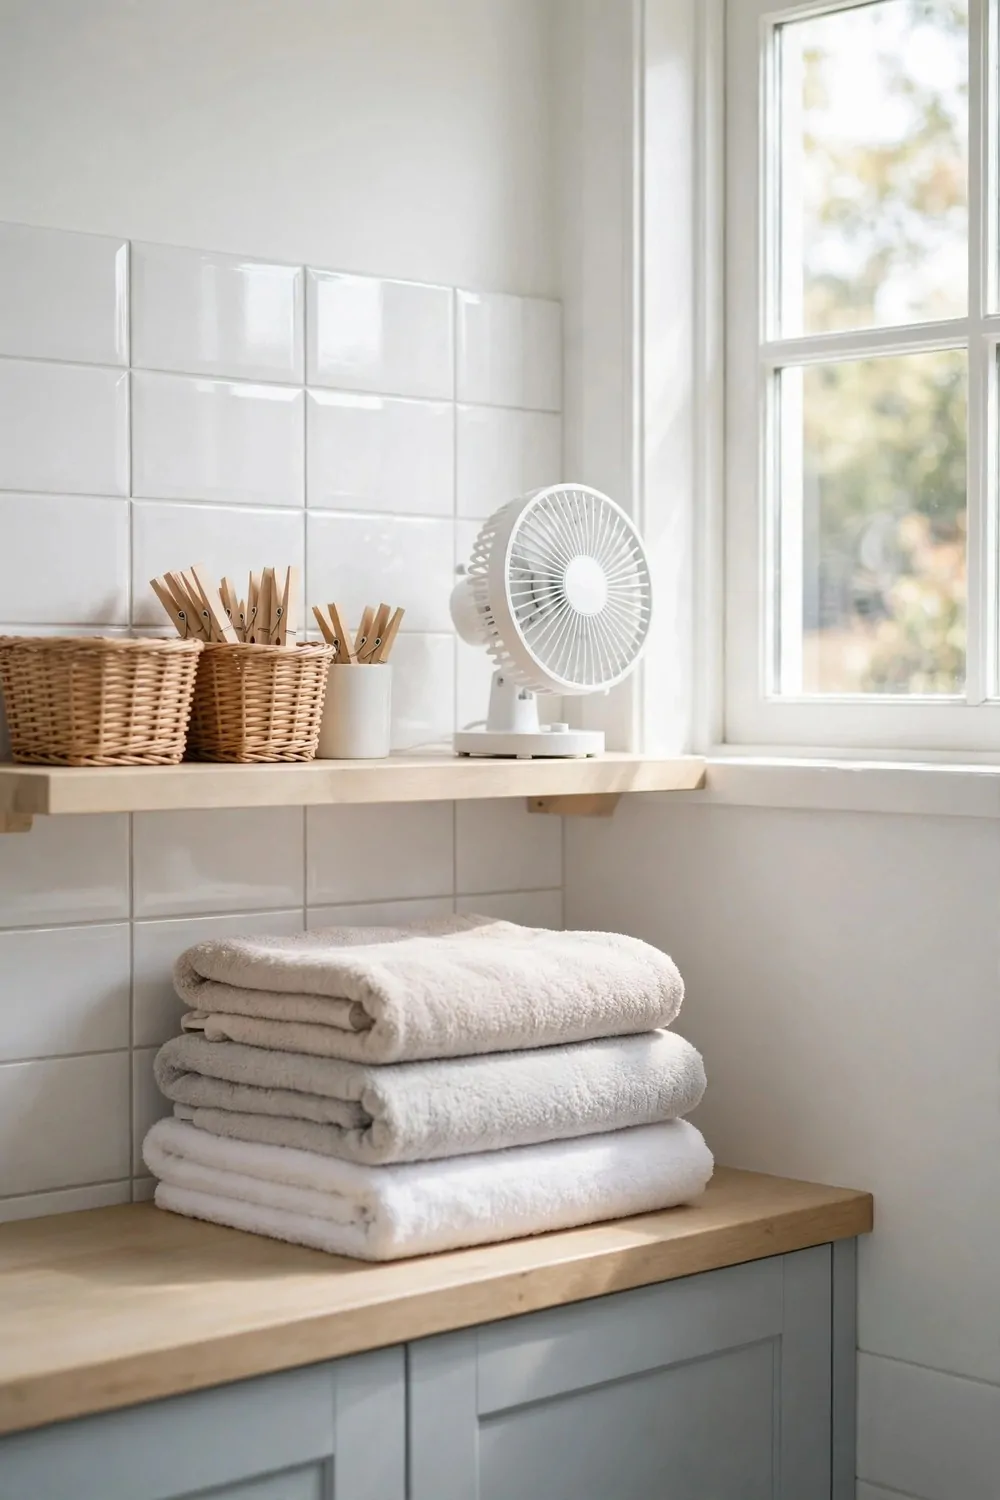
Laundry rooms can smell damp if the air sits still. A small fan keeps the air moving all day.
It dries the room out after a wash.
You fix it high on the wall or on a shelf. You point it across the room, not at the clothes. You switch it on when you start the wash.
A quiet little fan costs $20 to $50. I picked a small one that hums soft and does the job.
Run it for an hour after the last load. It clears the steam and the room smells fresh again.
Pick a fan with a simple switch you can reach easy.
Fresh air stops mould spots on the walls. It helps wet clothes dry a bit faster too. It makes the small room feel less stuffy.
Dust the blades once a month with a dry cloth. A clean fan moves more air and it stays quiet.
My laundry room feels light and airy now. I like walking in there on wash day.
22. A One-Weekend Laundry Room Reset Plan
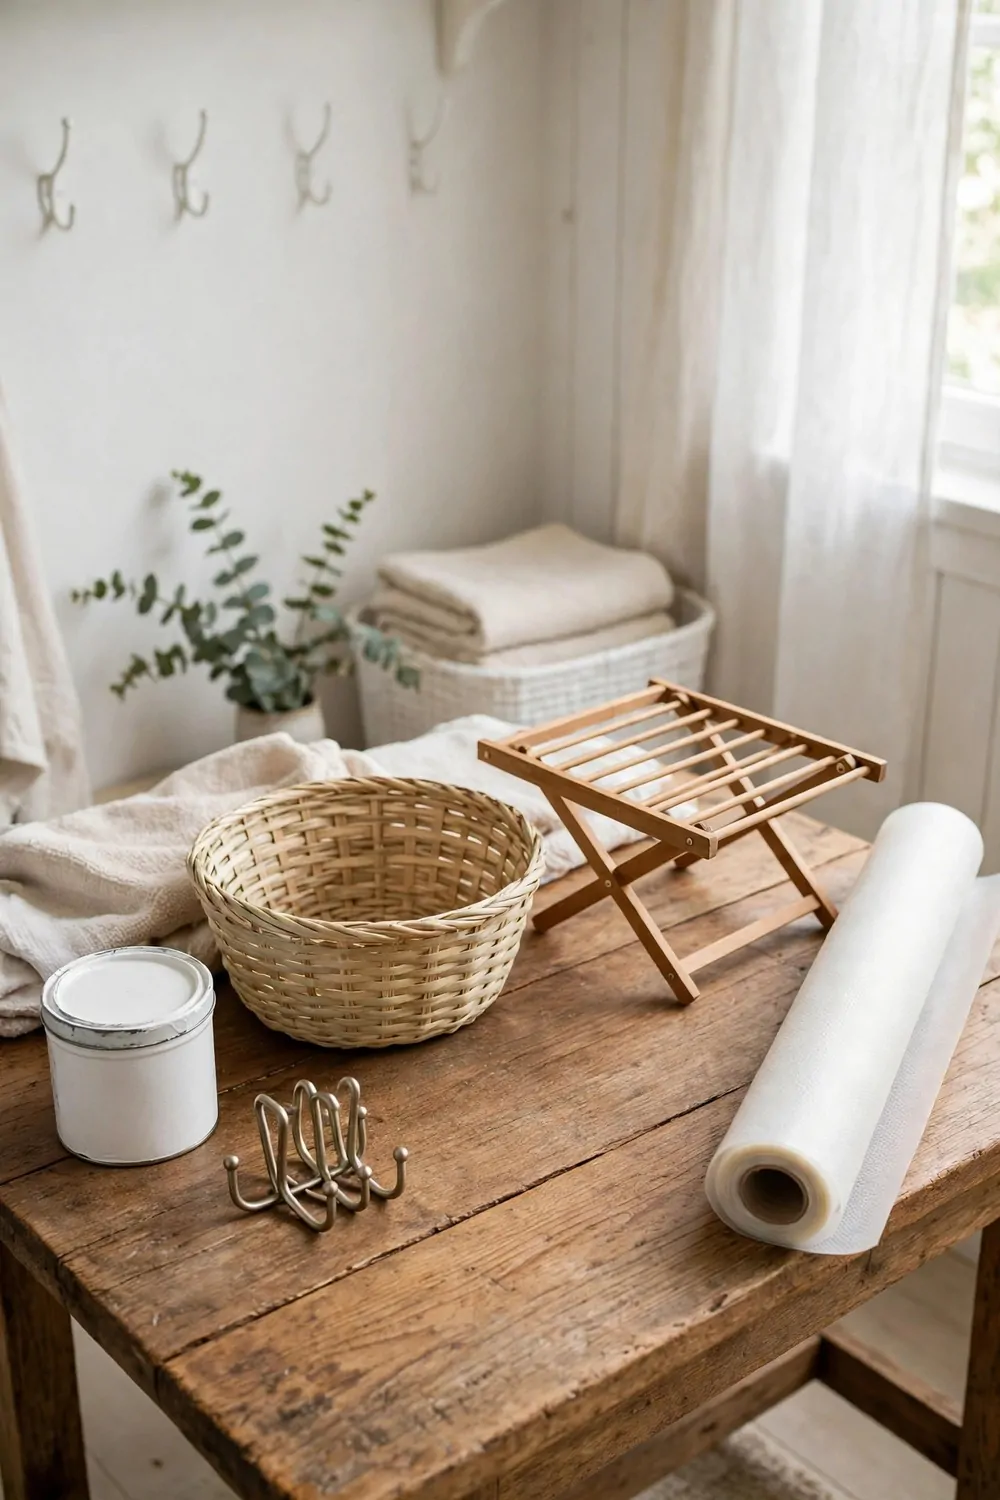
You do not need a full month to fix this room. One weekend is enough if you keep the jobs small.
Start on Saturday morning with paint. Pick one small wall and give it a fresh coat. A fresh tin of paint for one small wall is $10 to $20.
Let the paint dry while you eat lunch. Then fit a set of plain wall hooks in the afternoon. A set of plain wall hooks is $8 to $15.
Add woven baskets on the shelf next to the hooks. Woven baskets are $12 to $25 for a set that fits your shelves.
Saturday ends with a fresh wall, new hooks, and tidy baskets. You can see the change already and the room feels new.
On Sunday, set up a small drying rack in a free corner. It folds away when you do not need it. A small drying rack is $15 to $25.
Line a shelf with a roll of shelf liner to stop marks and slips. A roll of shelf liner is $10 to $15.
Put the rack and the liner in place before lunch on Sunday. Then wipe the counters and put the bottles back in neat rows.
All five together come to $55 to $100. That is a small spend for a room that feels brand new. You can enjoy the fresh room by Sunday night.
| Area | Main change | Typical cost |
|---|---|---|
| Paint | A fresh tin of paint for one small wall | $10 to $20 |
| Wall hooks | A set of plain wall hooks | $8 to $15 |
| Baskets | Woven baskets for the shelves | $12 to $25 |
| Drying rack | A small wall-mounted drying rack | $15 to $25 |
| Shelf liner | A roll of shelf liner | $10 to $15 |
| Total | Whole laundry room reset in one weekend | $55 to $100 |
Keep Reading
If you liked these ideas, you will love these posts too.
- 28 Utility Room Organization Ideas for a Clutter-Free Home
- 39 Laundry Room Cabinet Ideas That Make Storage Look Beautiful
- 25 Home Organization Upgrades That Are Worth the Investment
- 33 Bathroom Renovation Ideas on a Small Budget
- 34 Budget Home Makeover Ideas Room by Room
- 27 Studio Apartment Storage Ideas That Actually Work
Pick one small job tonight, even if it is just the basket by the door or a new hook on the wall. Try it this weekend and see how the room starts to change. You will have a fresh room by Sunday, and wash day will feel a little lighter from then on.