23 Work Office Makeover Projects That Cost Under $100

I still have the receipt from the cheapest office makeover I ever did. $87.40.
That money bought me one small tin of deep green paint, new handles for my desk drawers, and a warm little lamp from a discount shop. That was the whole shopping list. No new desk, no new chair, no big delivery van.
The room looked different the same evening. Not fancy or expensive. Just calmer, and more like a place I actually wanted to sit in. I kept walking past the door just to peek in.
It taught me the lesson this whole list is built on. A makeover is a short list of small projects. It is not a shopping spree. You pick a few things that bother you, you fix them one by one, and the room changes.
So here are 23 small projects. Every one of them costs under a hundred dollars, and most cost far less. Pick the ones you like and start this weekend.
1. Paint One Accent Wall
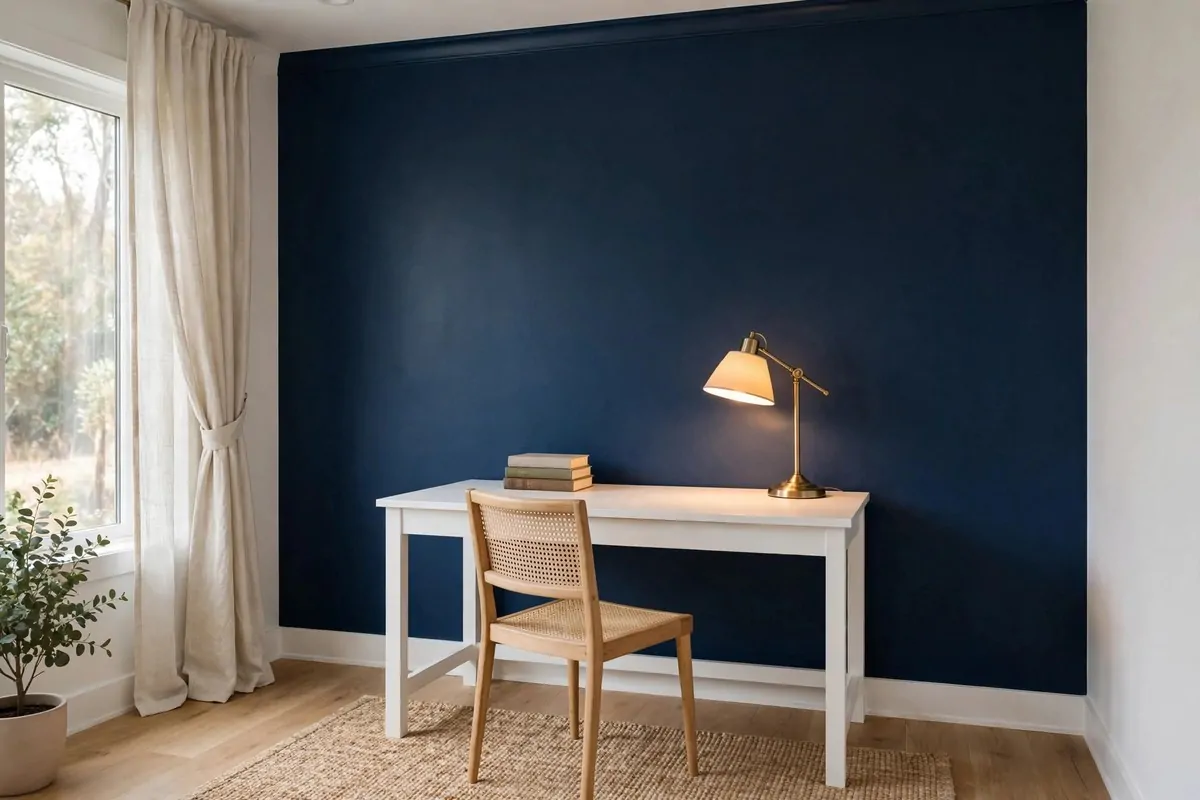
Paint is the cheapest way to change a room. Nothing else gives you this much change for so little money.
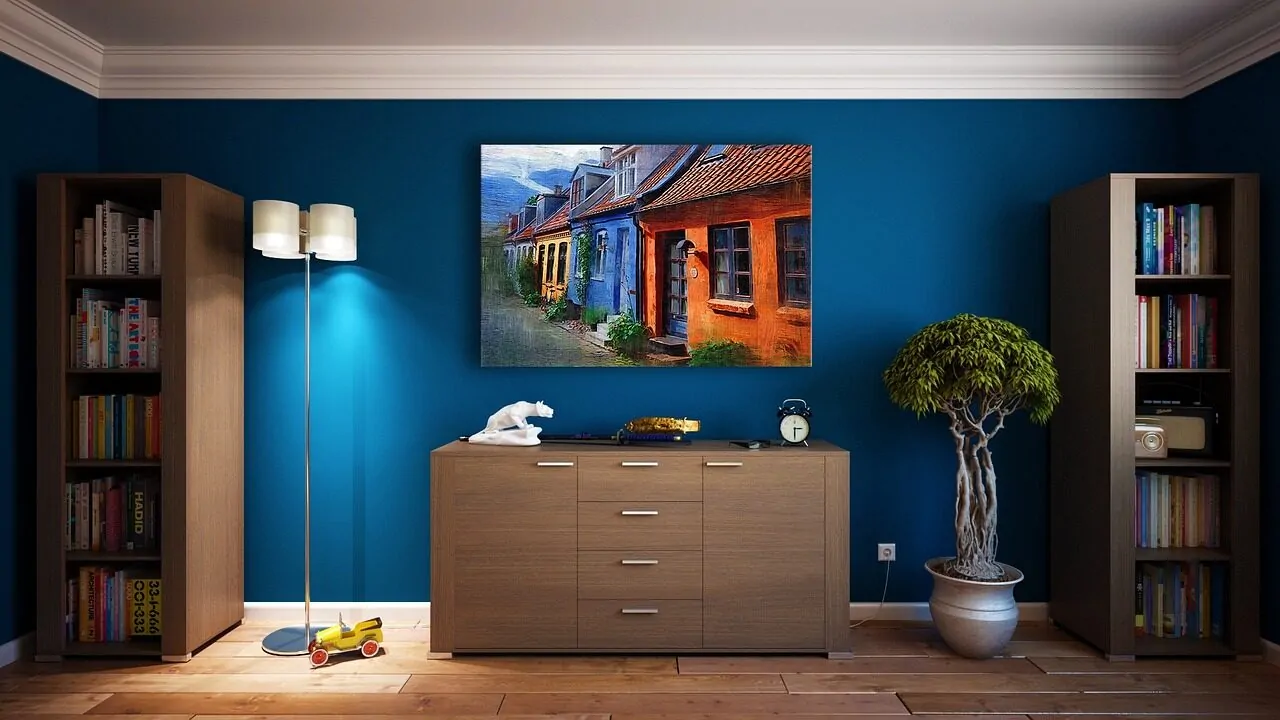
You do not need to paint all four walls. One accent wall is enough. Pick the wall your desk faces, or the wall behind your desk that shows up on video calls.
Deep colours work best in small offices. Navy, forest green, or a warm charcoal can make the room feel cosy instead of plain.
A small tin of paint covers one wall easily. That keeps the cost to a few dollars, and you will finish in an afternoon.
Prep takes longer than the painting itself. Move the desk away from the wall. Lay down an old sheet to catch drips. Stick painter’s tape along the edges.
Then paint. Use a roller for the big middle part and a brush for the edges. Two thin coats look better than one thick coat.
Let it dry fully before you push the furniture back. I learned this the hard way once, and I still have a green mark on my old desk leg to prove it.
When it is done, everything in the room looks a little better. Your old desk suddenly looks like it belongs. Your lamp glows warmer against the dark wall.
If you only do one project from this whole list, make it this one. It is the biggest change for the smallest spend.
2. Paint Your Old Desk
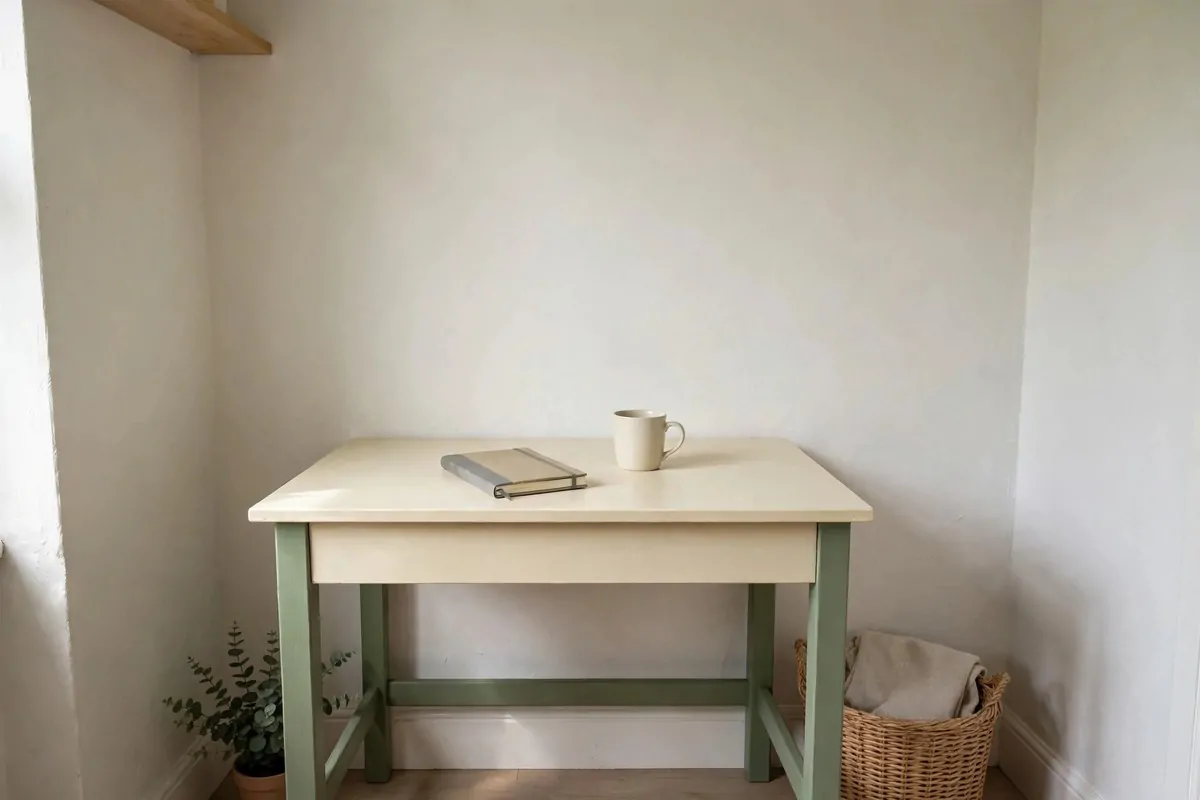
Before you think about buying a new desk, look at the one you have. Most desks are boring, not broken.
A tin of paint can turn a tired desk into the best-looking thing in the room. Two-tone desks look especially smart. Try a white or cream top with coloured legs.
Sand the desk lightly first. You are not trying to strip it bare. You just want to rough up the surface so the paint sticks.
Wipe off the dust with a damp cloth. Paint and dust are enemies, and a clean surface gives you a smooth finish.
Then paint two thin coats. Let each coat dry fully. Thin coats dry faster and look smoother than one gloopy coat.
You can stop at paint, or you can go one step further. New knobs or a strip of washi tape along the drawer edges cost almost nothing.
This project costs a few dollars in paint and an afternoon of your time. Compare that with the price of a new desk, and the choice is easy.
Let the desk cure for a day or two before you pile your work stuff back on. Paint feels dry long before it is truly hard.
I painted my old desk sage green two years ago, and guests still ask where I bought it. That never gets old.
3. Swap the Cabinet Hardware
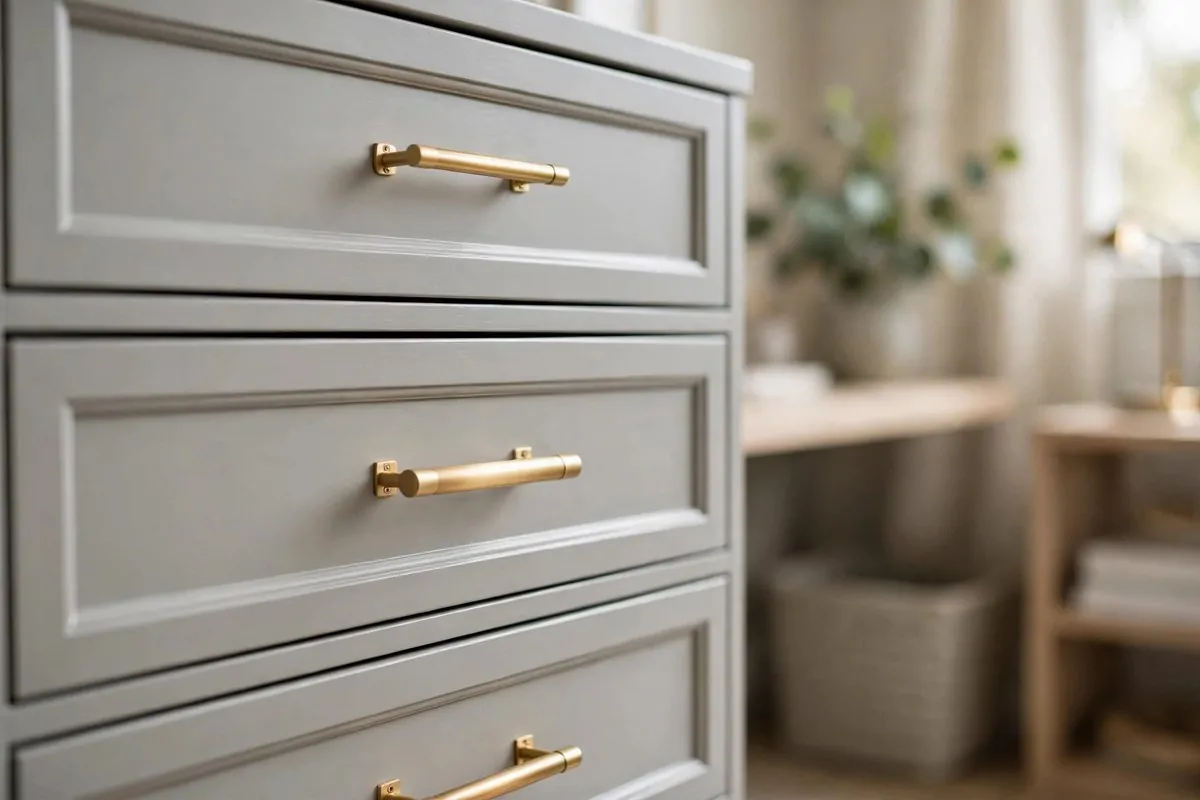
Old handles and knobs can make good furniture look cheap. The fix takes about twenty minutes and a screwdriver.
Take off one handle and take it to the shop with you. That way you match the hole spacing, and you will not have to drill new holes.
Black, brass, or simple wooden knobs all look fresh. Pick one finish and use it everywhere for a tidy, pulled-together look.
This is one of those small changes people notice without knowing why. The drawers just look newer and more expensive.
While the handles are off, give the drawer fronts a wipe down. It takes two minutes and makes the paint look brighter.
You can do a whole set of drawers for under twenty dollars. It might be the best value on this entire list.
If your desk has no drawers, this trick works on storage boxes and filing cabinets too. Anywhere there is a handle, there is a chance to upgrade.
Keep the old handles in a bag in case you ever want them back. I have a little bag of old knobs in my drawer. You never know.
Match the handle style to the room. Sleek bars suit a modern office, while round knobs suit a softer, cosier one.
4. Add Floating Shelves
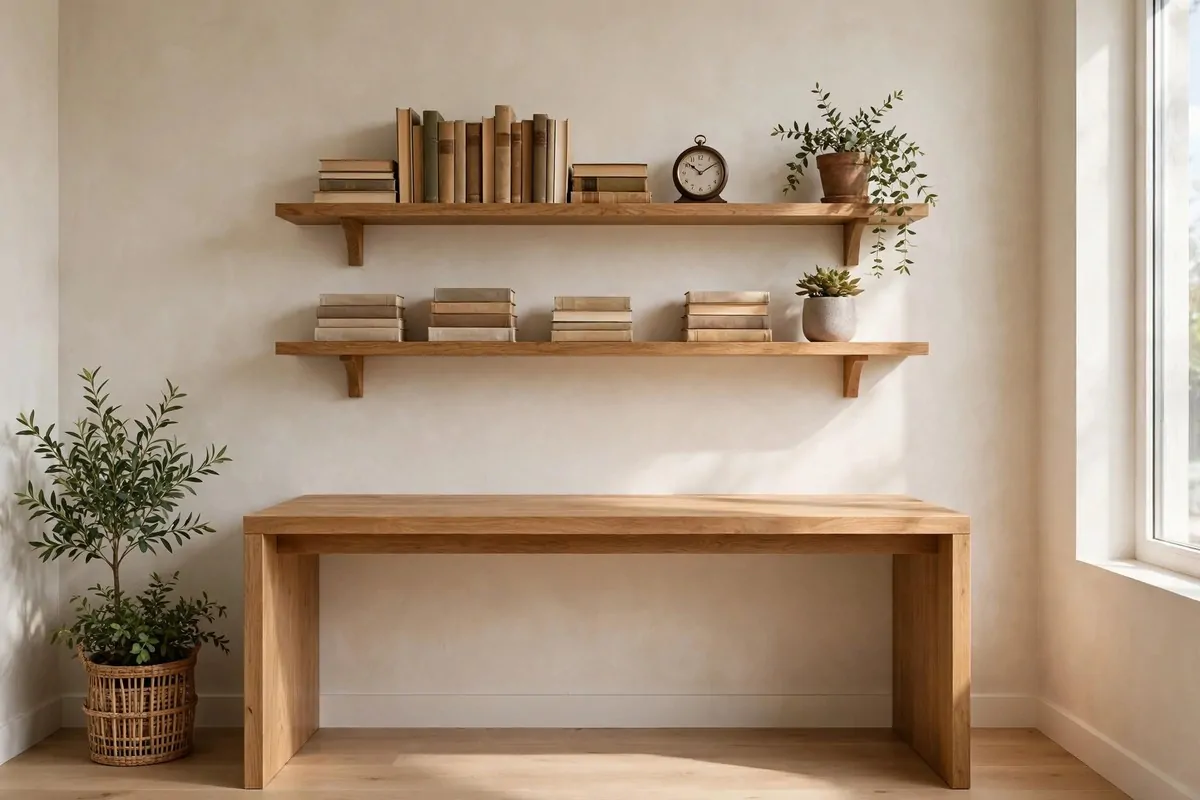
Floating shelves give you storage without eating floor space. That matters in a small office.
Two shelves above your desk can hold books, boxes, and a plant. They also look lovely, which is half the battle.
You need a drill, a level, and the shelf brackets. Most shelf kits come with everything in the box.
Mark your holes with a pencil and check they are level before you drill. Crooked shelves are hard to unsee.
If you are renting, look for shelves that hang on strong adhesive strips. Some hold a surprising amount of weight.
Style the shelves with things you actually use. Books you reach for, a small clock, a jar of pens. Pretty and practical at once.
Leave some empty space on each shelf. A crowded shelf looks messy. A shelf with breathing room looks calm.
One shelf costs a few dollars, and two is still well under budget. It is storage that doubles as decoration.
Every time I glance up from my screen, I see my favourite books. It makes the workday a tiny bit softer.
5. Hang Peel-and-Stick Wallpaper
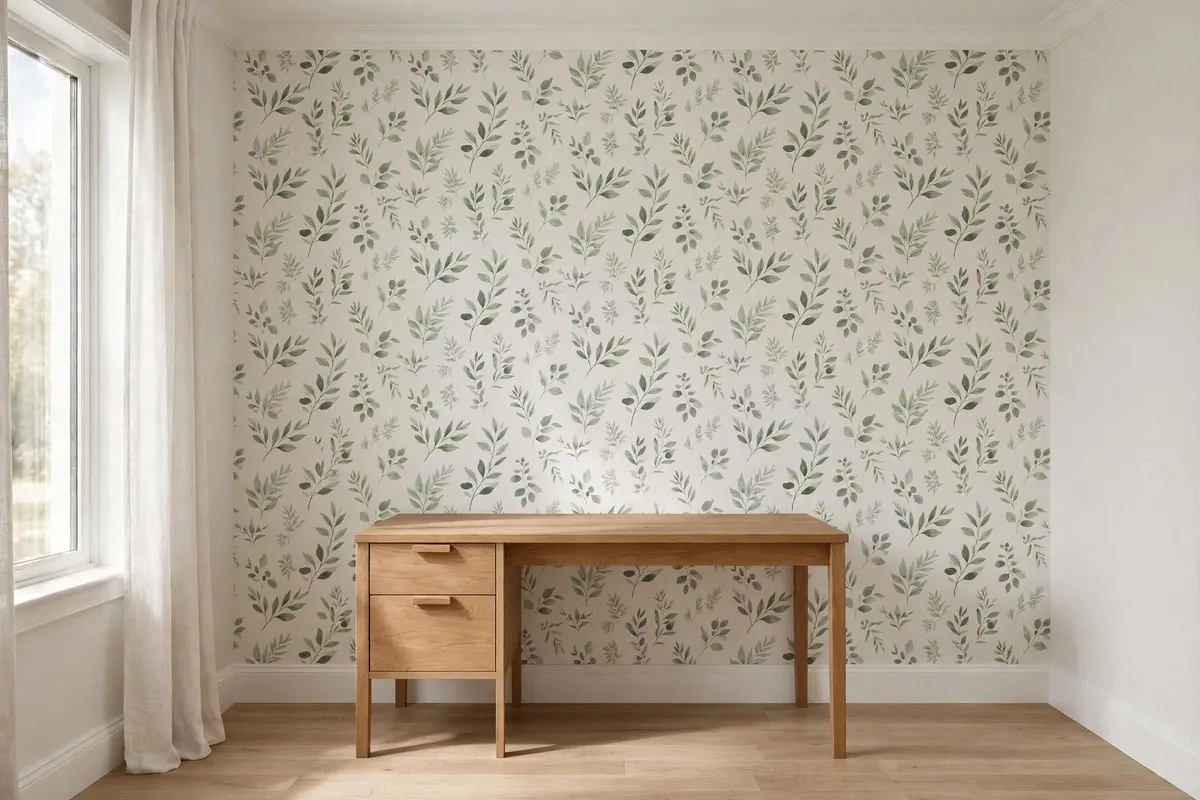
Peel-and-stick wallpaper is renter-friendly magic. It goes up like a giant sticker and comes down without ruining the wall.
One accent wall behind your desk is plenty. A little pattern goes a long way in a small room.
Pick a pattern that makes you happy to look at. Soft stripes, small botanical prints, or simple geometric shapes all work.
Measure your wall and buy a little extra. You will waste some matching up the pattern, and that is normal.
Start at the top and smooth down slowly with a soft cloth. Work out the bubbles as you go, not after.
If you mess up a strip, peel it off and try again. That is the whole point of the stuff. No stress.
It also works inside bookcases and on the back of open shelves. A pop of pattern where you least expect it feels delightful.
A roll or two costs a few dollars each, and one wall needs only a couple of rolls. Big look, small spend.
I papered the inside of my bookshelf and now it is my favourite corner of the room. Small areas, big joy.
6. Build a Pegboard Organizer
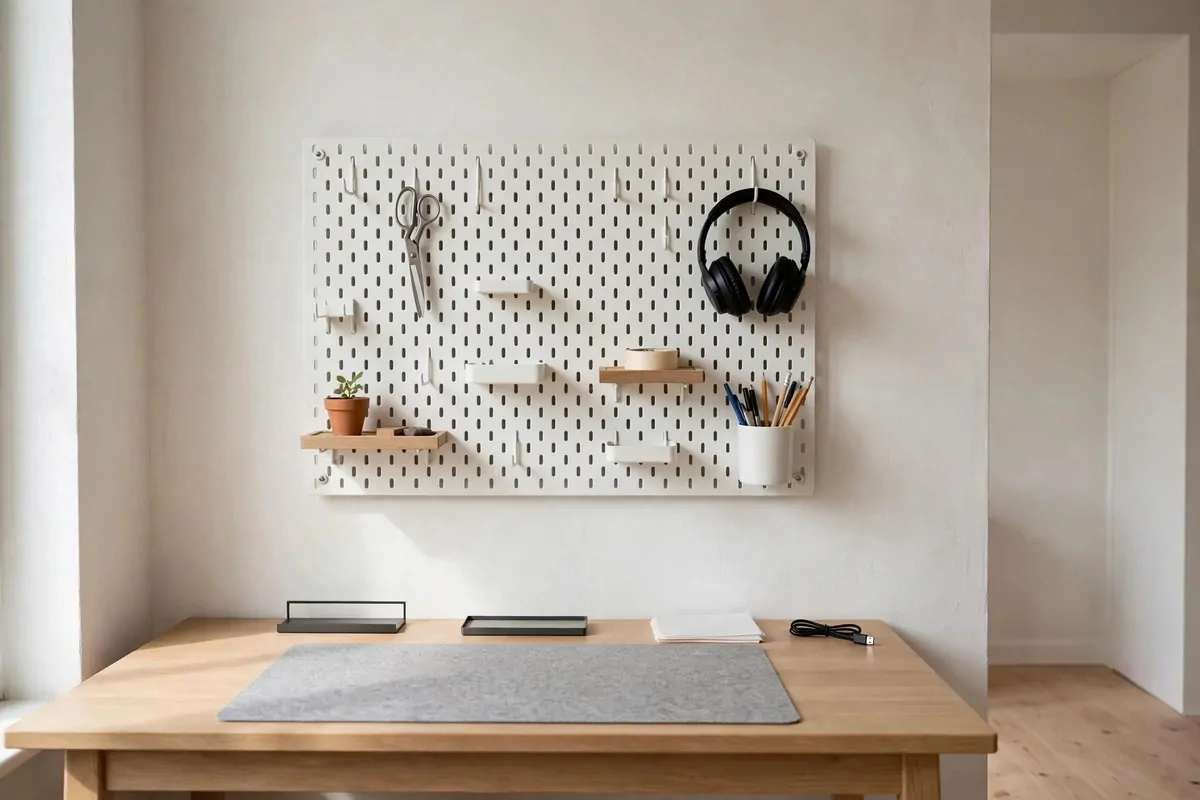
A pegboard turns a blank wall into storage. Everything hangs where you can see it and grab it.
You can buy a small pegboard panel for a few dollars. A pack of hooks costs even less.
Hang it at arm’s reach beside or above your desk. It should be close enough that putting things back is easy.
Then play with the layout. Hooks, little shelves, and cups all fit into the holes. Move things around until it feels right.
Here is what mine holds:
- scissors and tape
- headphones on a big hook
- a small shelf for notebooks
- a cup full of pens
- my to-do list clipped on top
Paint the pegboard to match your room. White disappears into the wall. A bold colour turns it into art.
The real win is the desk space you get back. Everything that lived in a pile now lives on the wall.
Pegboards also grow with you. Rearrange the hooks any time your needs change. No new holes, no new cost.
It looks like something from a design magazine, but it costs less than lunch.
7. Make a Gallery Wall With Thrift Frames
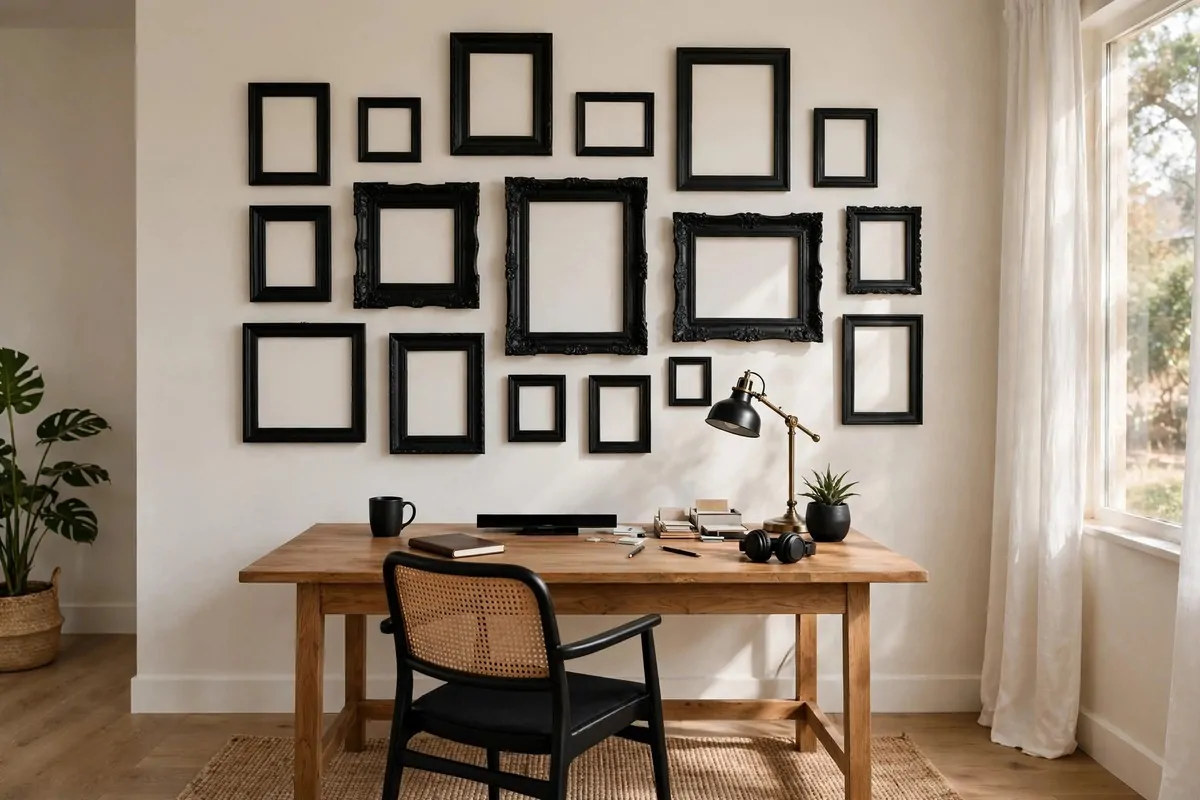
Gallery walls look expensive, but thrift shops sell frames for next to nothing. That is the secret.
Gather frames in different sizes and shapes. Mismatched frames look charming when they share a colour.
Spray paint them all one colour if they clash. Black, white, or gold paint unites even the oddest collection.
Fill them with free or cheap art. Printable quotes, postcards, pages from old calendars, and your own photos all work.
Lay the frames on the floor first and play with the arrangement. Take a photo of the layout you like before you hang anything.
Start hanging from the middle and work outward. Keep the gaps between frames roughly equal, about the width of your hand.
Use proper picture hooks so nothing falls in the night. Heavy frames need real anchors, not just a nail.
A gallery wall fills a big empty wall for the price of a few coffees. It also makes the office feel personal and lived in.
Mine has a mix of family photos, a map, and one terrible drawing my kid made. I love it more than anything I could buy.
8. Tame Cables With Velcro Ties
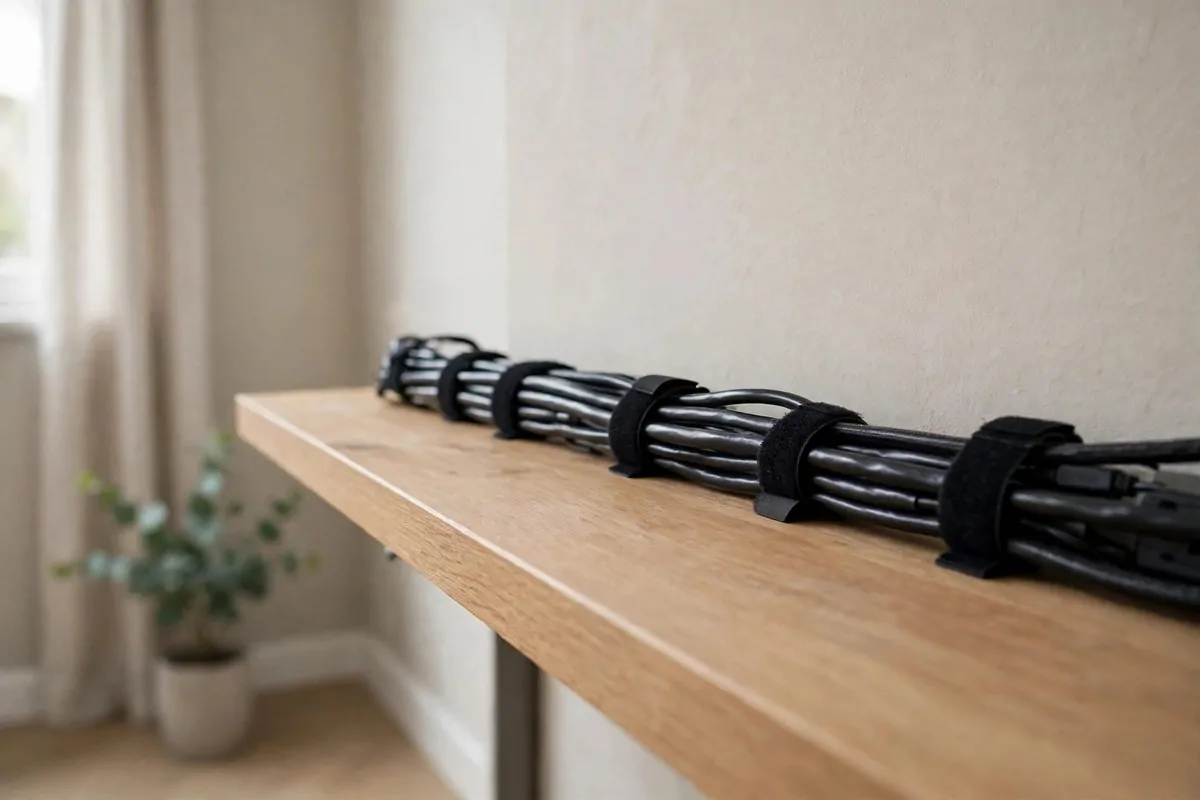
Nothing ruins a tidy office faster than a nest of cables under the desk. It looks messy even when the desk is clean.
Velcro cable ties cost almost nothing and fix the problem in minutes. You can buy a big roll for a few dollars.
Unplug everything first and untangle the mess. Yes, it is annoying. Yes, it is worth it.
Group cables that run the same way. Power cables together, monitor cables together, chargers together.
Wrap a velcro tie around each bundle every foot or so. Snug, not tight. You want to be able to add a cable later.
Then tuck the bundles along the back edge of the desk or down one leg. Out of sight is out of mind.
Label each cable with a little tag or a piece of tape. Future you will be grateful when something needs unplugging.
This is a fifteen-minute job that makes the whole office feel calmer. Mess hides in cables, and now it cannot.
I do this every few months because cables multiply like rabbits. Each time takes less long than the last.
9. Mount the Power Strip Under the Desk
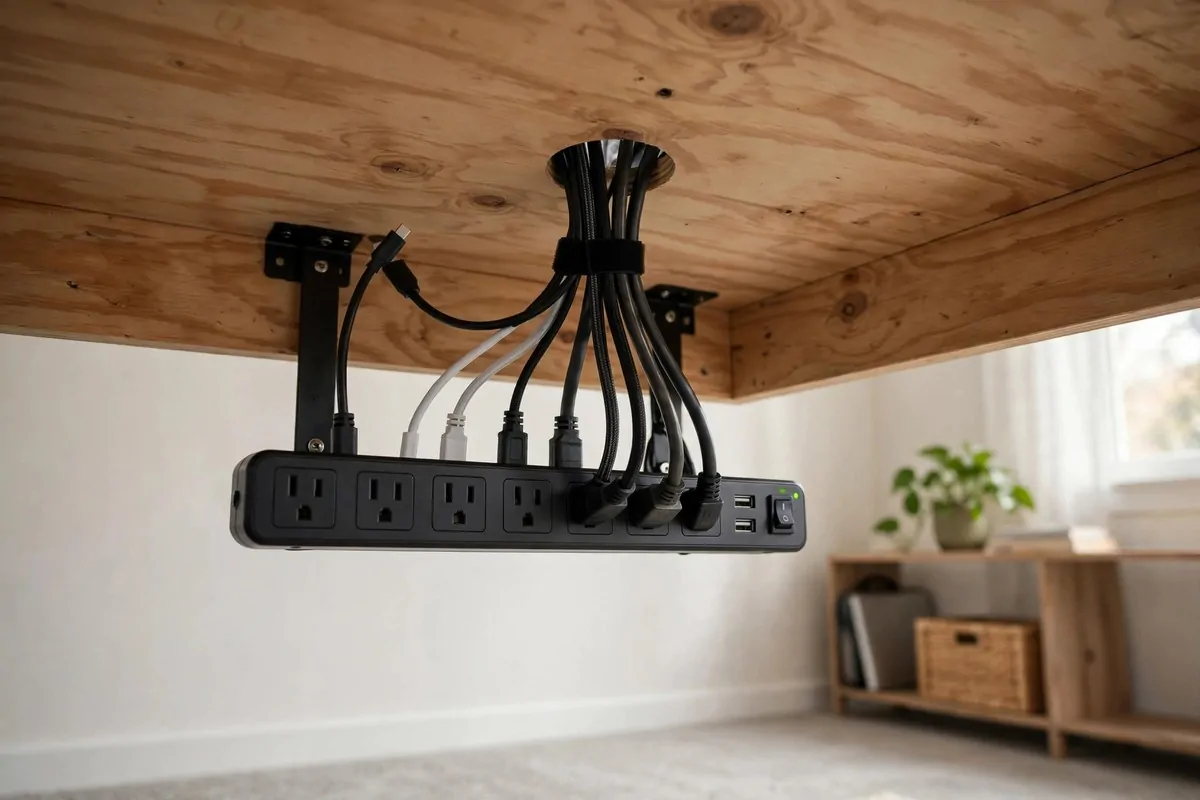
A power strip sitting on the floor collects dust and looks untidy. Under the desk, it disappears.
You can screw a power strip to the underside of the desk, or stick it up with heavy-duty mounting tape. Both work fine.
Measure first so the strip sits where your cables can reach it. Near the back edge is usually best.
Plug everything in before you mount it. It is much easier to fiddle with plugs at desk height than under the desk.
Once it is mounted, run the cables up from the strip in neat bundles. Combine this with the velcro ties from the last project.
The floor under your desk is now clear. Vacuuming takes ten seconds, and there is nothing to trip over.
A power strip with a switch lets you kill power to everything at once. That saves energy and gives you a clean end to the workday.
This costs a few dollars for the strip and tape you may already own. Small money, big tidiness.
It is one of those invisible upgrades. Nobody sees it, but you feel it every single day.
10. Raise Your Monitor With Books
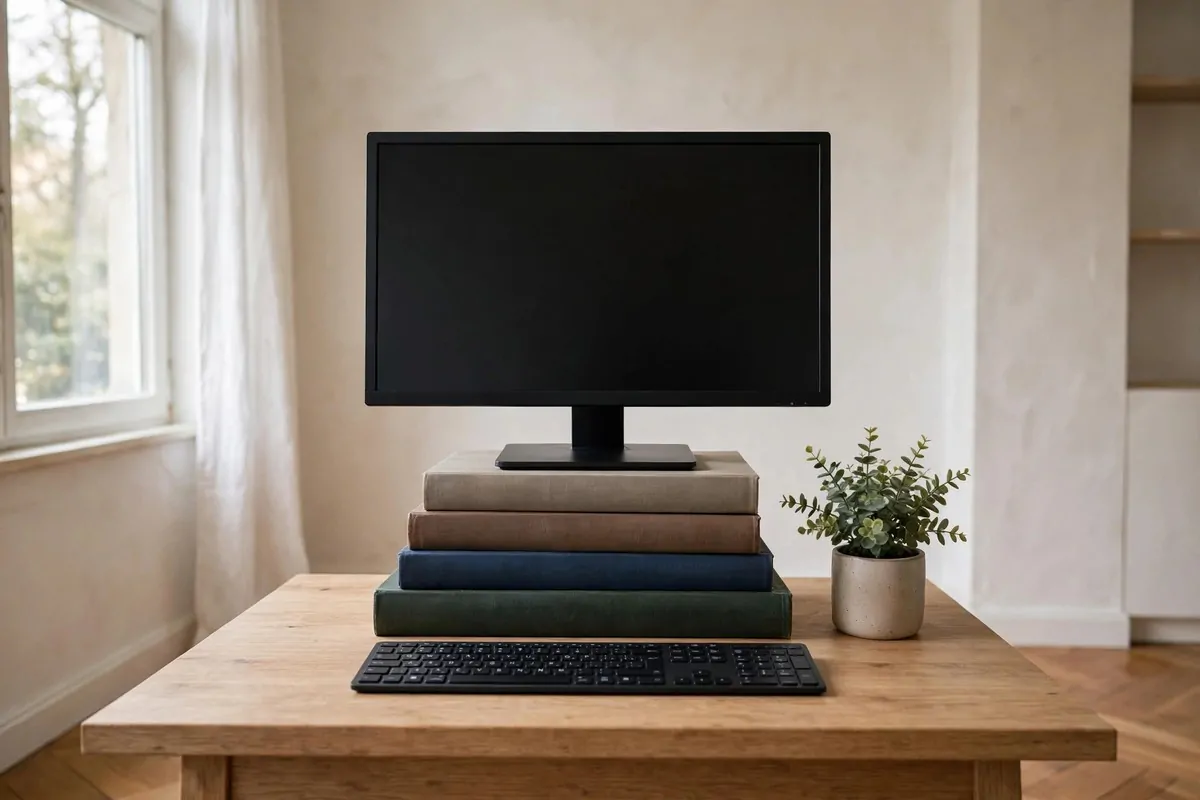
Your monitor should sit at eye level. If you are looking down all day, your neck will tell you about it.
A stack of big books is the cheapest monitor stand ever made. Hardbacks work best because they are sturdy.
Stack them under the monitor until the top of the screen is level with your eyes. Test it by sitting in your chair.
Make the stack stable. Books should be wider than the monitor base, and nothing should wobble.
You can wrap the books in pretty paper if the spines clash with your room. It takes five minutes and looks intentional.
If books feel too wobbly, a small wooden crate or a sturdy box works the same way. Use what you have.
Better posture means fewer aches at the end of the day. This free fix might be the most valuable project on the list.
When you can afford a proper stand later, the books go back on the shelf. Nothing wasted.
My monitor sat on an atlas and two cookbooks for a whole year. My neck thanked me every day.
11. Add a Cushion to Your Chair
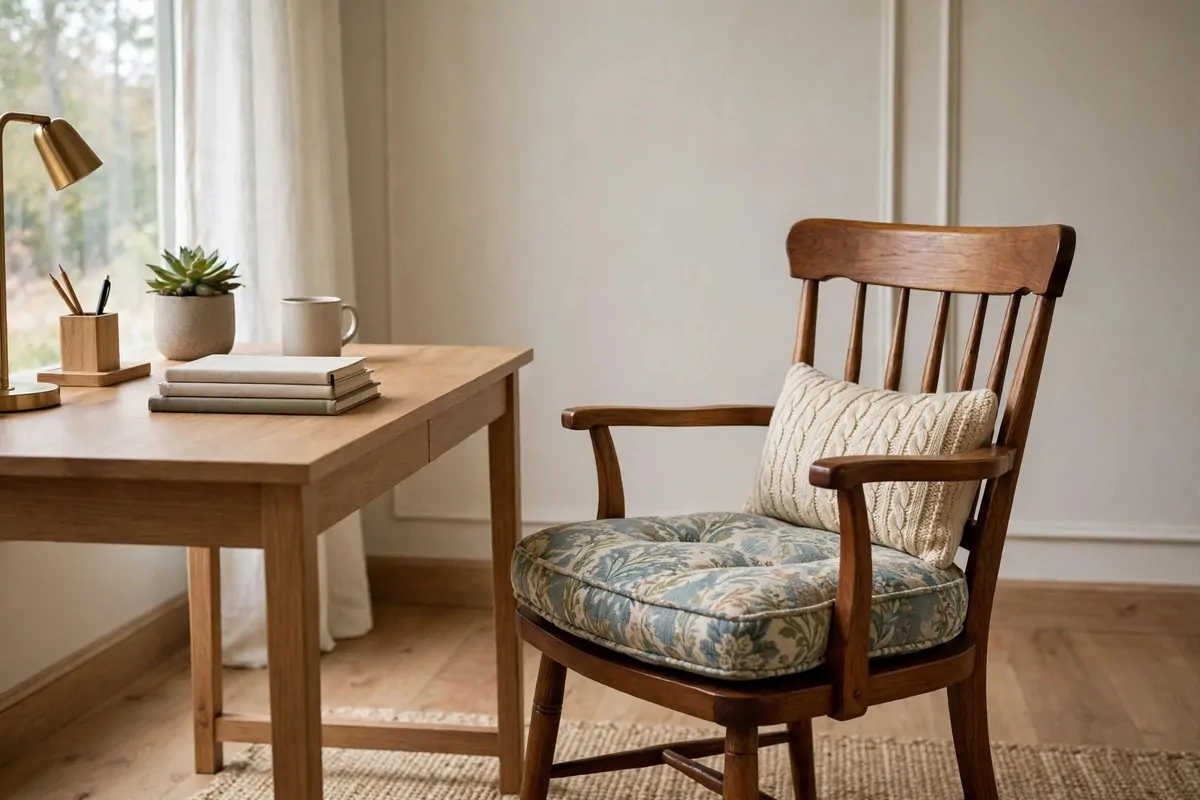
An uncomfortable chair makes every workday longer. A simple cushion can change that in seconds.
A thick seat cushion takes the pressure off long sitting sessions. Memory foam ones are comfiest, but any thick pad helps.
A small lumbar pillow behind your lower back stops the slouch. Your back will feel the difference by lunchtime.
Pick fabrics that suit your room. A cushion is also decoration, so choose a colour you enjoy seeing.
Tie-on cushions stay put better than loose ones. If your cushion slides, add ties or a non-slip mat underneath.
Washable covers are worth looking for. Office cushions collect crumbs and dust faster than you would think.
This is comfort you can buy for under twenty dollars. Compare that with the price of a new chair.
Comfort is not a luxury when you sit all day. It is a tool, like your keyboard.
I added a cushion to my old wooden chair and stopped dreading long afternoons. Best small spend I ever made.
12. Upgrade to Warm Layered Lighting
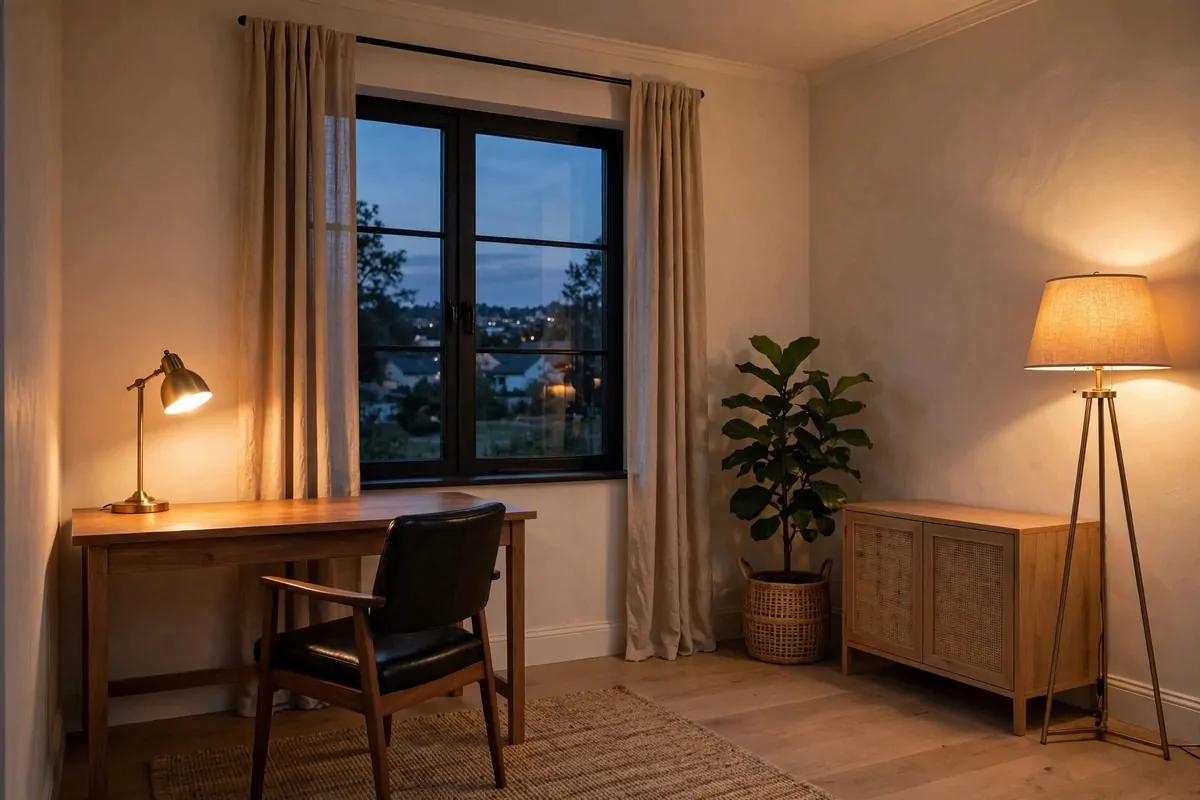
One harsh ceiling light makes an office feel like an interrogation room. Layered light makes it feel like home.
You want three kinds of light working together:
- a main light for the whole room
- a task light aimed at your desk
- a soft glow for the corners
Start with your desk lamp. A warm bulb, the yellow kind, is kinder to your eyes than cold white light.
Add a small lamp on a shelf or in a corner. It fills the shadows and makes video calls look warmer.
Fairy lights or a candle-style LED add the third layer. Soft, low, and lovely in the evening.
Put task lighting where you work and soft lighting where you rest your eyes. Your eyes move between the two all day.
You do not need to buy three new lamps. Move a lamp from another room. Thrift shops sell lamps for a few dollars.
Good lighting changes how a room photographs, how it feels, and how long you want to stay in it. It is pure atmosphere.
My office has a desk lamp, a floor lamp in the corner, and fairy lights on the shelf. Evenings in there feel like a cafe.
13. Drape Fairy Lights Behind the Monitor
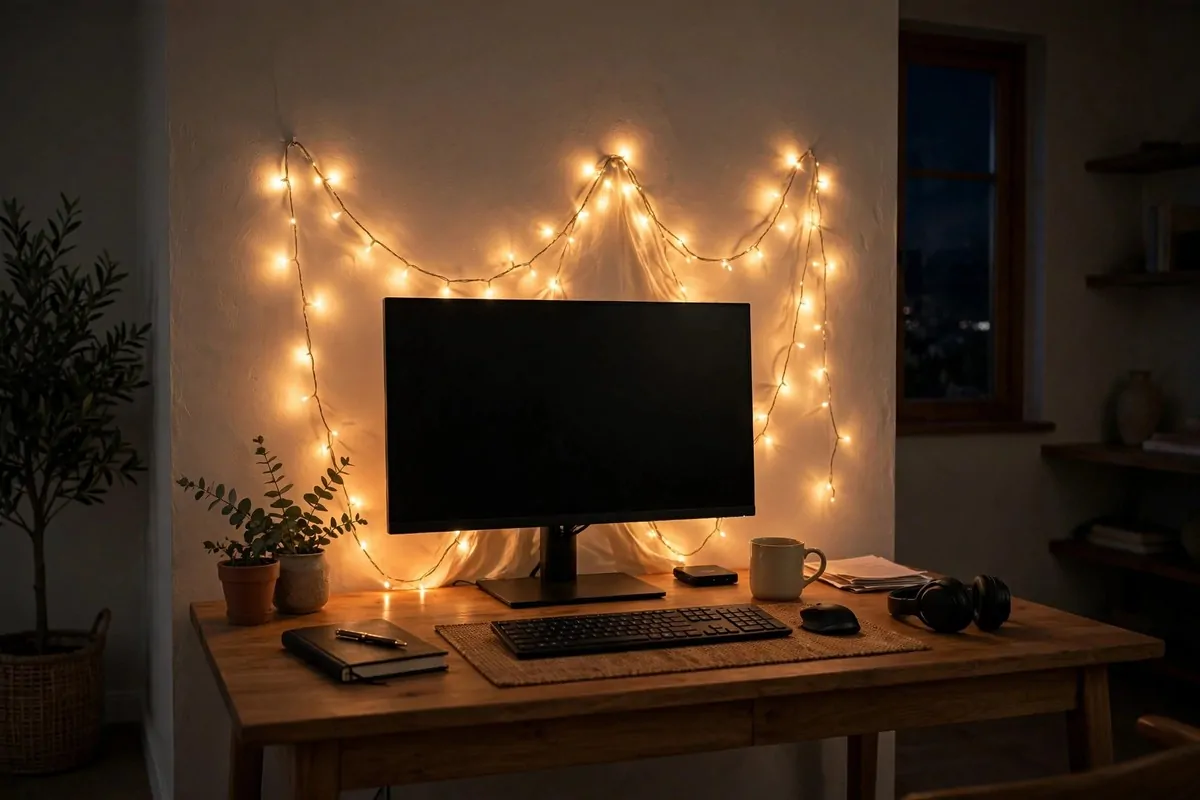
Fairy lights are tiny, cheap, and magical. Draped behind your monitor, they make the whole desk glow.
The soft light behind the screen also eases eye strain. Your eyes are not jumping between a bright screen and a dark wall.
You can stick them along the back edge of the desk with a little tape. Let them drape loosely for a natural look.
Battery-powered strings mean no extra cables to manage. Tuck the battery pack behind the monitor where it hides.
Warm white looks classy. Coloured lights look fun. Pick the mood you want your evenings to have.
They also look lovely on shelves, around a mirror, or along a window frame. One string can do a lot.
A string costs a few dollars and lasts for ages. It might be the cheapest mood upgrade in existence.
Turn them on when the workday ends. It is a small ritual that tells your brain the day is done.
Mine come on at sunset every day. The office turns into the cosiest room in the house.
14. Lay Down an Area Rug
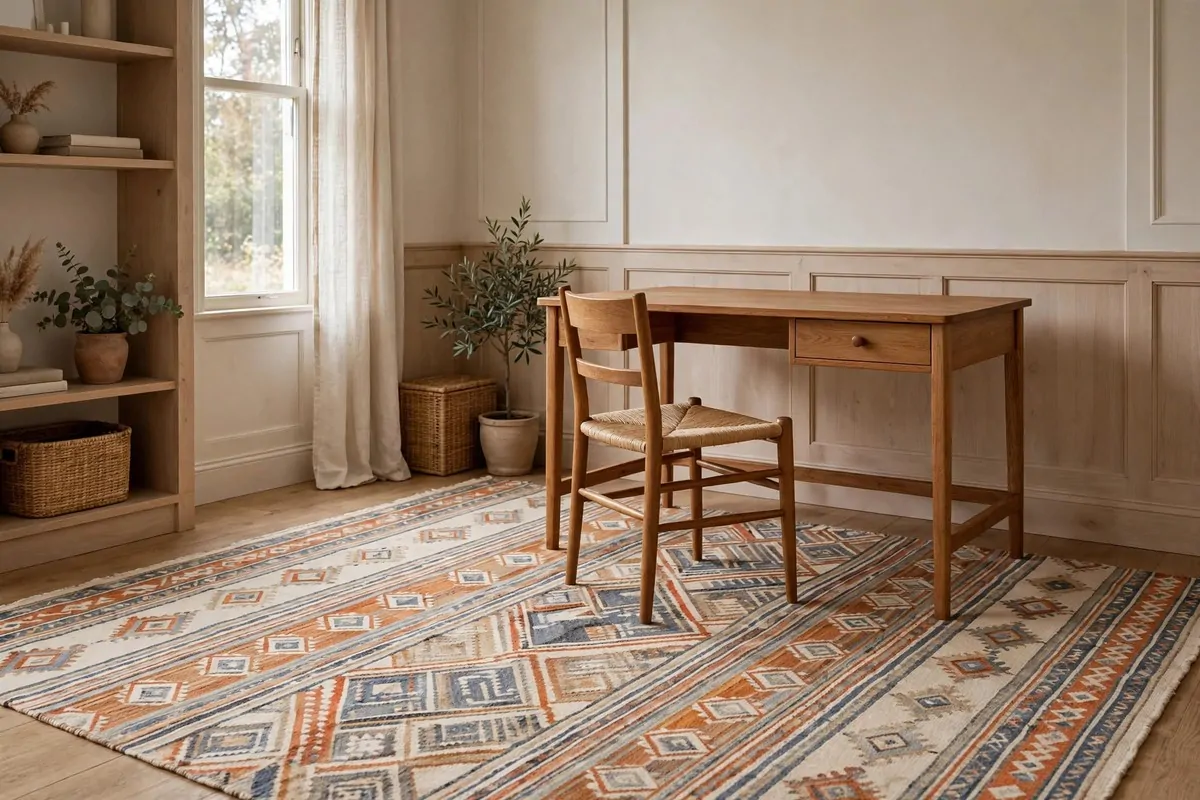
A rug warms up a cold floor and quiets the room. Offices with hard floors echo, and a rug fixes that.
It also marks your office zone. The rug says this corner is for work, even in a shared room.
Measure your desk area before you shop. The rug should fit under the desk and your chair, with room to roll back.
Low-pile rugs work best under office chairs. Thick rugs fight your wheels, and you will lose that battle.
A rug pad underneath stops sliding and adds softness. It also protects the floor, which landlords appreciate.
Patterns hide crumbs and dust better than plain colours. Real life is messy, and a busy pattern is forgiving.
You can find decent rugs for under fifty dollars if you shop sales. It is the priciest item on this list, but still under budget.
Roll it out and watch the room come together. A rug ties the desk, chair, and shelves into one space.
My rug is a simple flat weave I found on sale. It made the whole office feel finished in about two minutes.
15. Hang Sheer Curtains on a Tension Rod
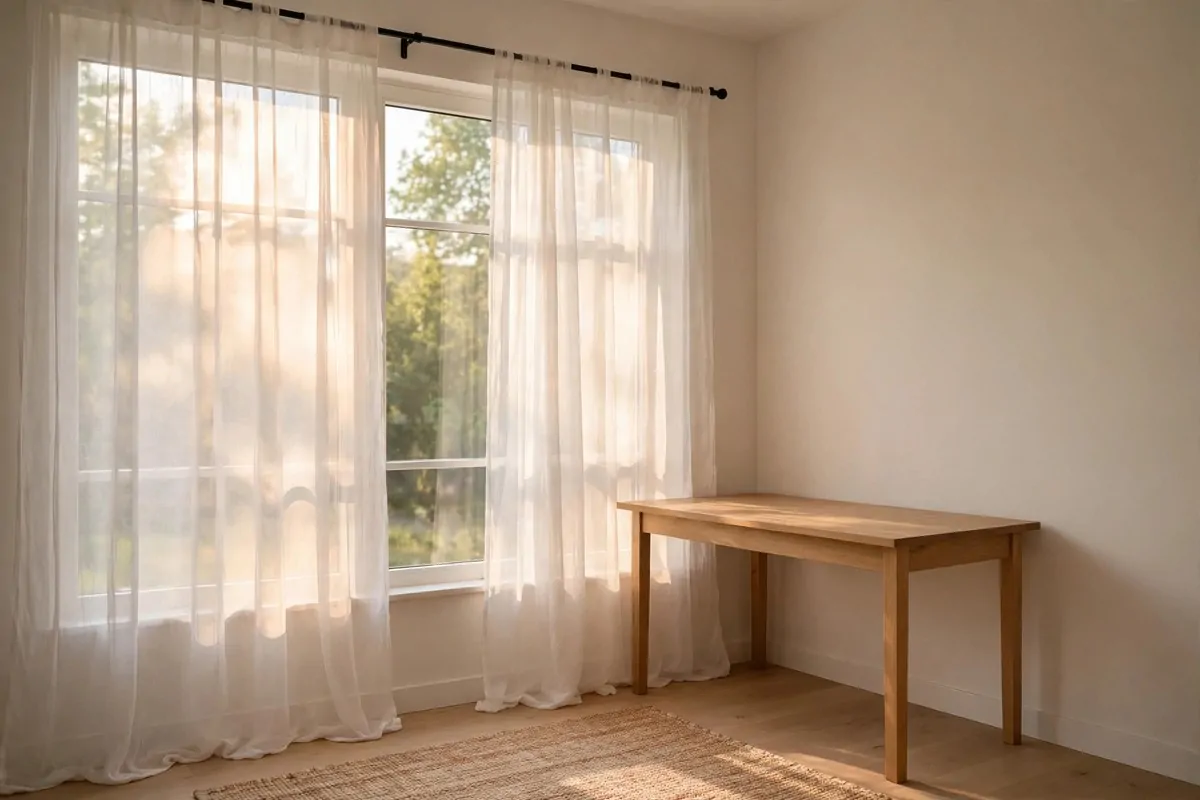
Bare windows make an office feel stark. Sheer curtains soften the light and the whole room.
A tension rod needs no drilling. It wedges inside the window frame, which renters will love.
Measure the inside of your window frame before you buy. The rod should fit snugly without forcing.
Sheers let daylight through while blurring the view. You get brightness without glare on your screen.
Hang them high and wide to make the window look bigger. Curtains that just cover the glass can make windows look small.
White or cream sheers suit almost every room. They glow beautifully when the sun hits them.
A pair of sheers and a tension rod costs under twenty dollars. It is an instant softness upgrade.
They also flutter a little when the window is open. It is a small joy on a breezy afternoon.
My sheers turned my harsh afternoon sun into a golden glow. I did not know curtains could do that.
16. Declutter With the Three-Box Method
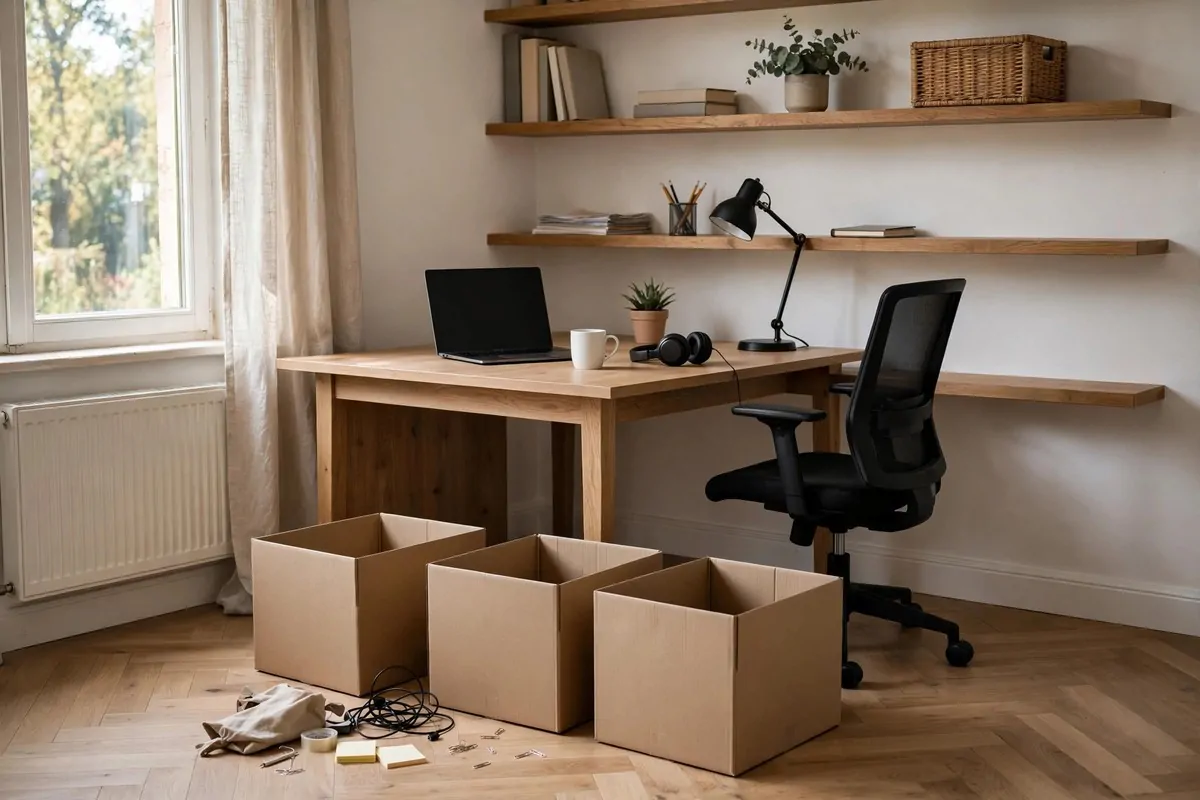
You cannot organise clutter. You have to remove it first. The three-box method makes that painless.
Grab three boxes and label them: keep, relocate, and let go. The labels matter, so be honest with yourself.
Start at one corner of the office and work around the room. Touch every single item once.
Ask of each thing: do I use this here? If yes, it stays. If it belongs elsewhere, it goes in relocate. If not, let go.
Be ruthless with old papers, dried-out pens, and cables for gadgets you no longer own. They are just taking up space.
When the boxes are full, deal with them the same day. Put away the keeps, carry the relocates to their homes, and donate or bin the rest.
Here is the order that works:
- clear one surface at a time
- sort into the three boxes
- wipe the empty surface clean
- put back only what earned its place
A decluttered office feels bigger without moving a single wall. Space you already had, finally visible.
I do a quick three-box sweep every season. It takes an hour, and the office always feels new afterward.
17. Corral Supplies in Mason Jars
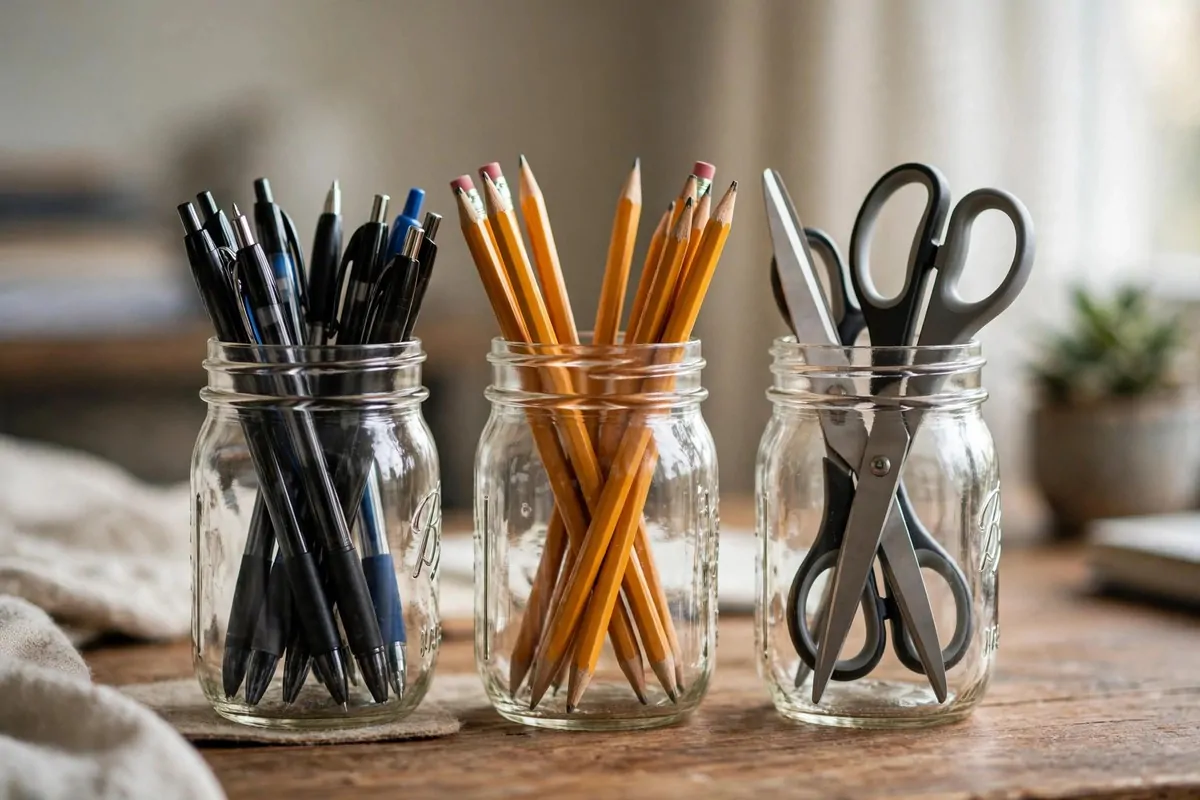
Pens, pencils, and scissors end up everywhere. Mason jars give them all a home.
A few jars on your desk look charming and keep supplies visible. You grab what you need without digging.
Sort by type: pens in one jar, pencils in another, scissors and rulers in a third. It takes two minutes.
You can leave the jars plain or dress them up. Twine around the neck, a coat of paint, or a paper label all work.
Different sizes serve different jobs. Small jars for paper clips, big jars for markers and brushes.
Jars also work inside drawers. They stop small things from sliding into one messy pile.
You may already own these. Check your kitchen cupboards before you buy anything. Free is the best price.
Clear jars show you when supplies run low. No more discovering you are out of pens mid-meeting.
My desk has three jars in a row, and they make me look far more organised than I actually am.
18. Use an Over-the-Door Organizer for Tech
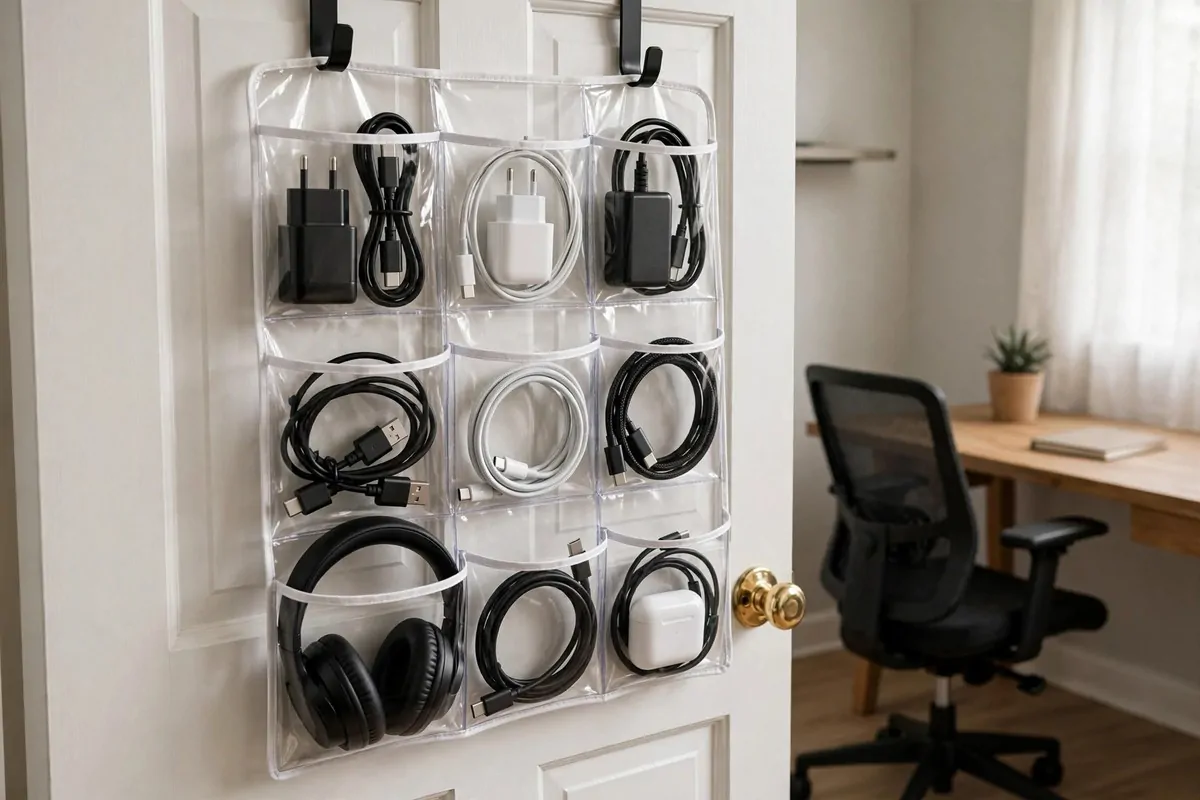
Chargers, headphones, and gadgets pile up fast. An over-the-door organizer swallows them all.
It hangs on any standard door with no tools. The hooks slip over the top, and that is the whole installation.
The clear pockets are best because you can see what is inside. No more digging through a drawer of mystery cables.
Dedicate pockets to categories: phone chargers, laptop cables, headphones, and one pocket for the odds and ends.
Hang it on the inside of a closet door or the office door itself. Either way, it stays out of sight but in reach.
This also works for office supplies. Sticky notes, spare batteries, and envelopes all fit nicely.
An organizer costs a few dollars and holds an astonishing amount. It is like adding a drawer to your door.
Label the pockets if you share the office. It stops other people borrowing your chargers forever.
Mine holds every cable I own, and my desk drawers have never been emptier. Small pocket, big peace.
19. Add a Snake Plant or Pothos
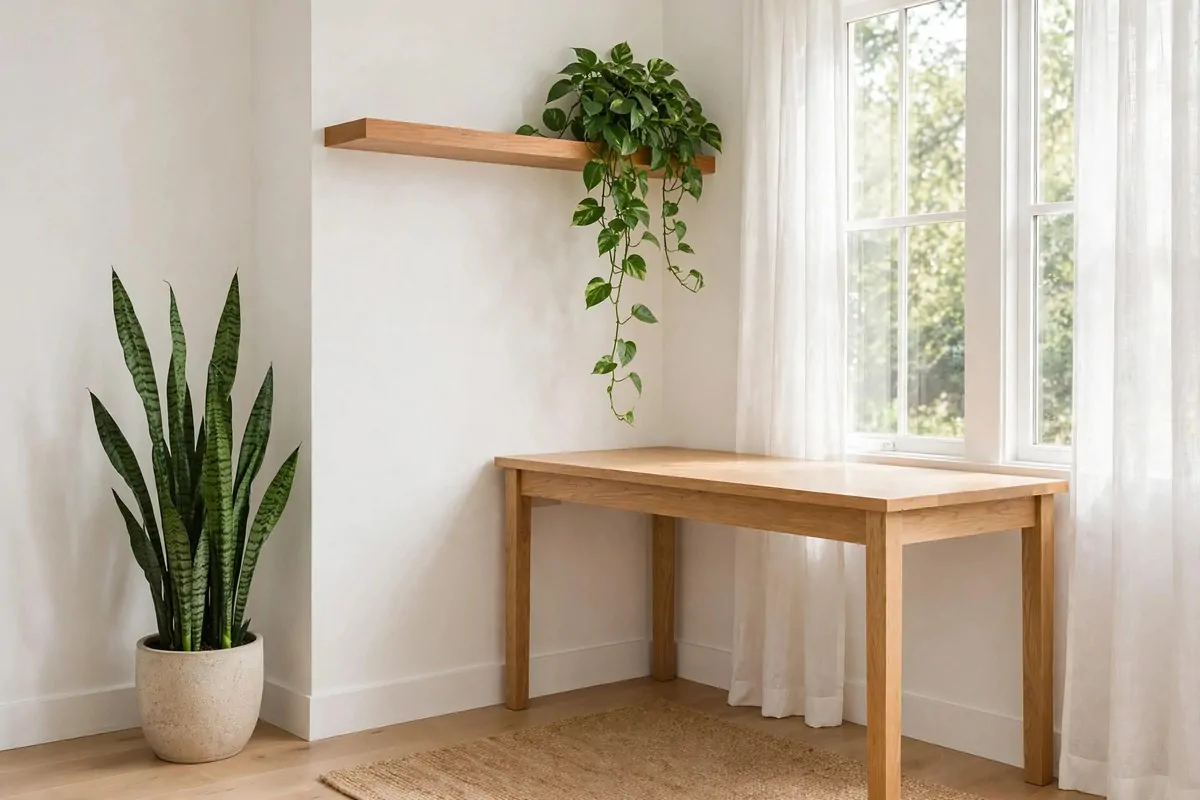
Every office needs something alive. Plants make a room feel cared for, and they ask for very little.
Snake plants and pothos are the toughest houseplants around. They survive low light, missed waterings, and busy owners.
A snake plant stands tall and sculptural. It looks smart in a corner or beside a filing cabinet.
A pothos trails beautifully from a shelf or the top of a bookcase. Let it drape and do its thing.
Basic care is simple:
- water when the soil feels dry
- give them any light, even dim corners
- wipe dusty leaves now and then
Small plants cost a few dollars at garden centres or supermarkets. Ask a friend for a pothos cutting and it costs nothing.
Green softens all the hard edges of desks and screens. It is the easiest way to make an office feel welcoming.
If you have killed plants before, start with these two. They are famously hard to kill, which is exactly what you need.
My pothos started as one cutting in a jar of water. Three years later it trails halfway across my shelf.
20. Frame Free Printable Art
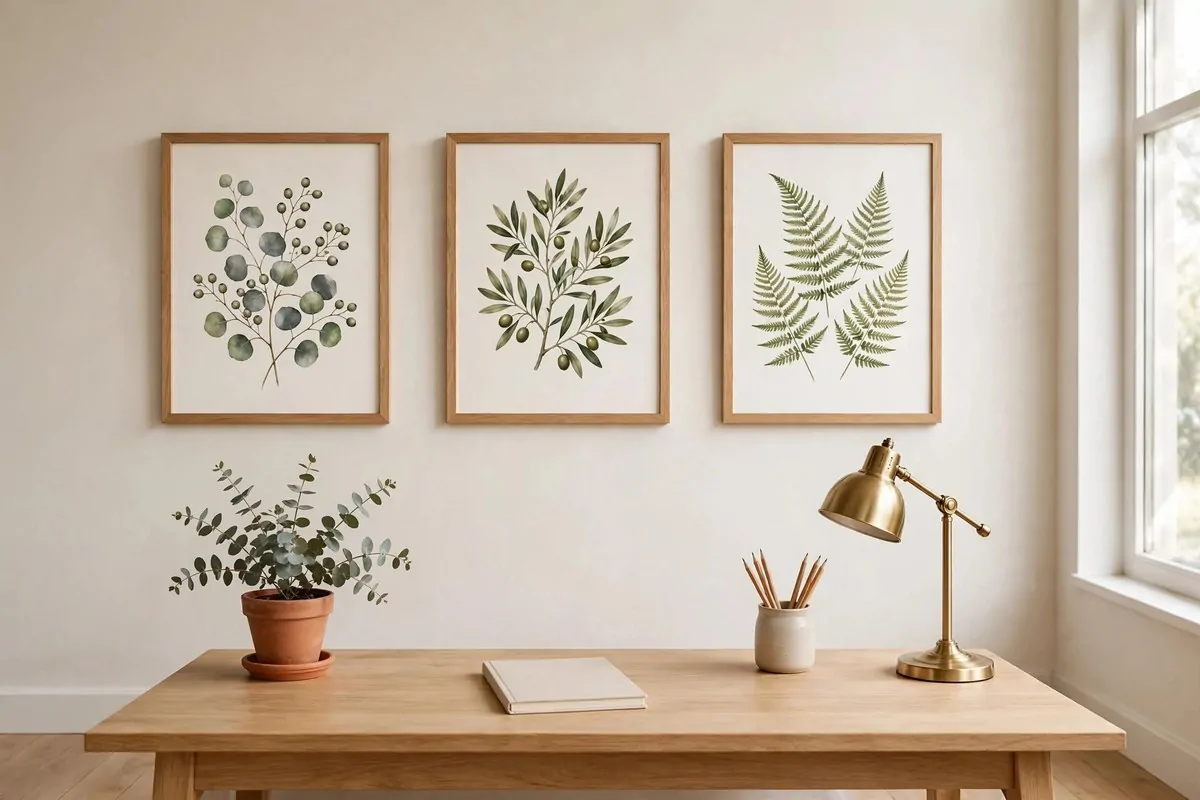
Blank walls are a wasted opportunity. Free printable art fills them for the cost of paper and ink.
Countless artists share free printables online. Quotes, botanical drawings, abstract shapes, maps. Take your pick.
Print at home or at a local print shop. A larger print on decent paper looks far more expensive than it is.
Frame your favourites in the thrift frames from project seven. See how these projects start working together?
Rotate the art with the seasons. New prints in spring, cosy ones in autumn. The wall never gets boring.
Mix art sizes for a collected look. One big piece plus a few small ones feels balanced.
This project can cost literally nothing if you already own a printer and frames. Free decor is my favourite kind.
Choose art that makes you feel good at work. Calm landscapes, kind words, or colours you love.
My office wall has a free botanical print I found online. People assume it came from a gallery. It cost me paper.
21. Turn a Closet Into a Mini Office
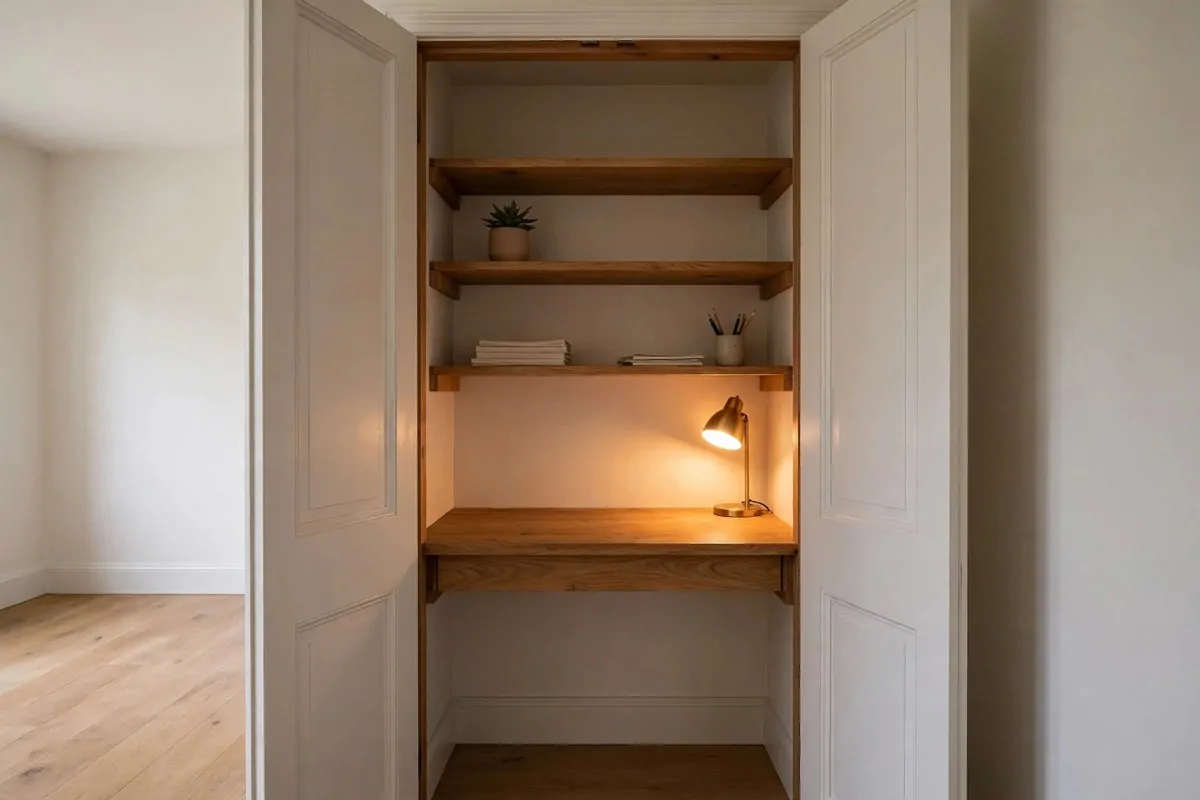
No spare room? A closet can become a whole office. This is the famous cloffice, and it works brilliantly.
Clear out the closet completely. You need every inch, so be honest about what really needs to live in there.
A desk can be as simple as a board laid across two shelf brackets. Measure the closet width and cut to fit.
Add a shelf or two above the desk for storage. Vertical space is your best friend in a tiny footprint.
Light it well. Closets are dark, so a stick-on LED light or a small lamp is essential.
Paint the inside a light, happy colour. It bounces light around and makes the small space feel bigger.
A weekend plan keeps it manageable:
| Day | Tasks |
|---|---|
| Saturday morning | Clear the closet and paint the inside |
| Saturday afternoon | Mount the desk board and the shelves |
| Sunday morning | Add lighting and organisers |
| Sunday afternoon | Move in your gear and style the shelves |
Close the doors at the end of the day and work disappears. That boundary is priceless when you work from home.
A cloffice proves you do not need a big room to have a real office. You just need a plan and a weekend.
22. Refinish a Thrift Store Desk
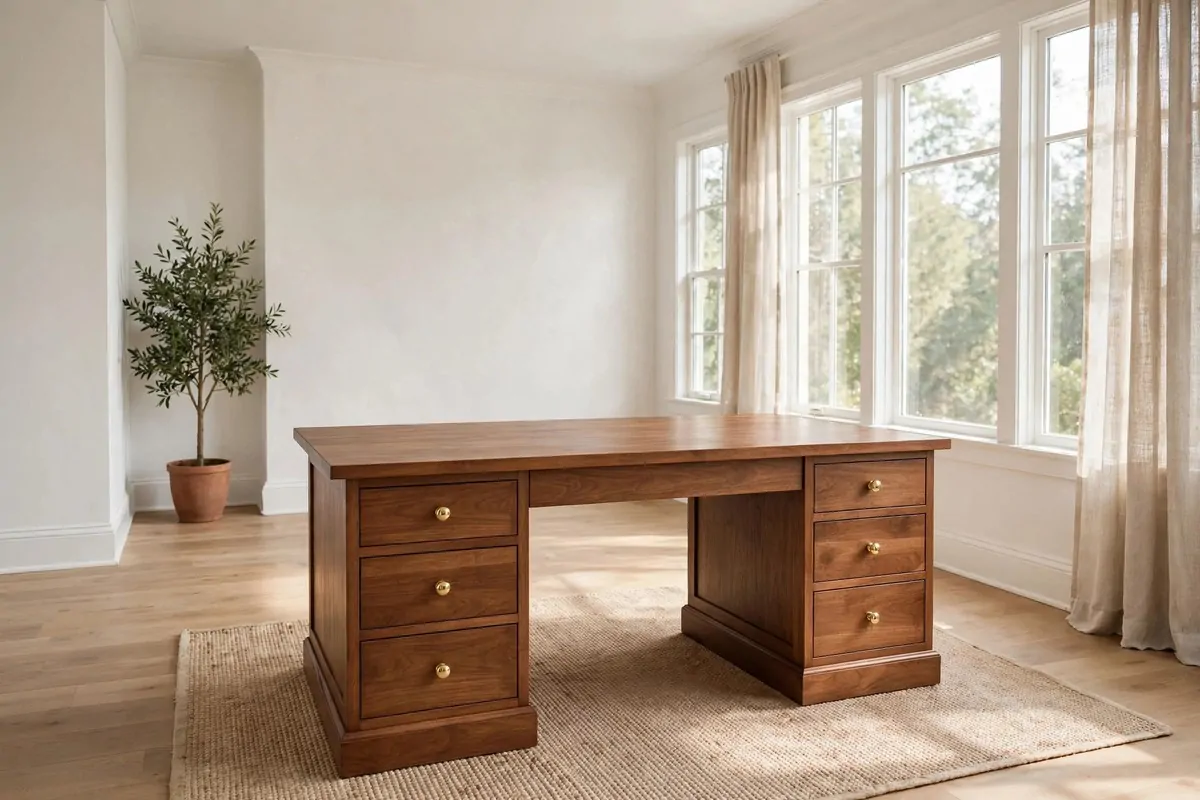
Thrift shops are full of solid wood desks with ugly finishes. Underneath, they are better than most new flat-pack desks.
Look for sturdy bones: solid wood, working drawers, no wobble. Ignore the colour completely. That is the part you will change.
A secondhand desk often costs under fifty dollars. Solid wood at that price is a genuine bargain.
Sand it down to smooth wood, working with the grain. It is dusty work, so do it outside or in a garage if you can.
Then choose your finish. Paint for a modern look, or stain and seal to show off the wood grain.
Two thin coats, drying fully between them. Patience here is the difference between good and great.
Add new knobs while you are at it. Project three meets project twenty-two, and the result looks brand new.
You end up with a real wood desk for a fraction of new prices. It will also outlast anything flat-packed.
My thrift desk cost less than a dinner out. Three years on, it is still the sturdiest thing I own.
23. Make a Fabric-Covered Cork Board
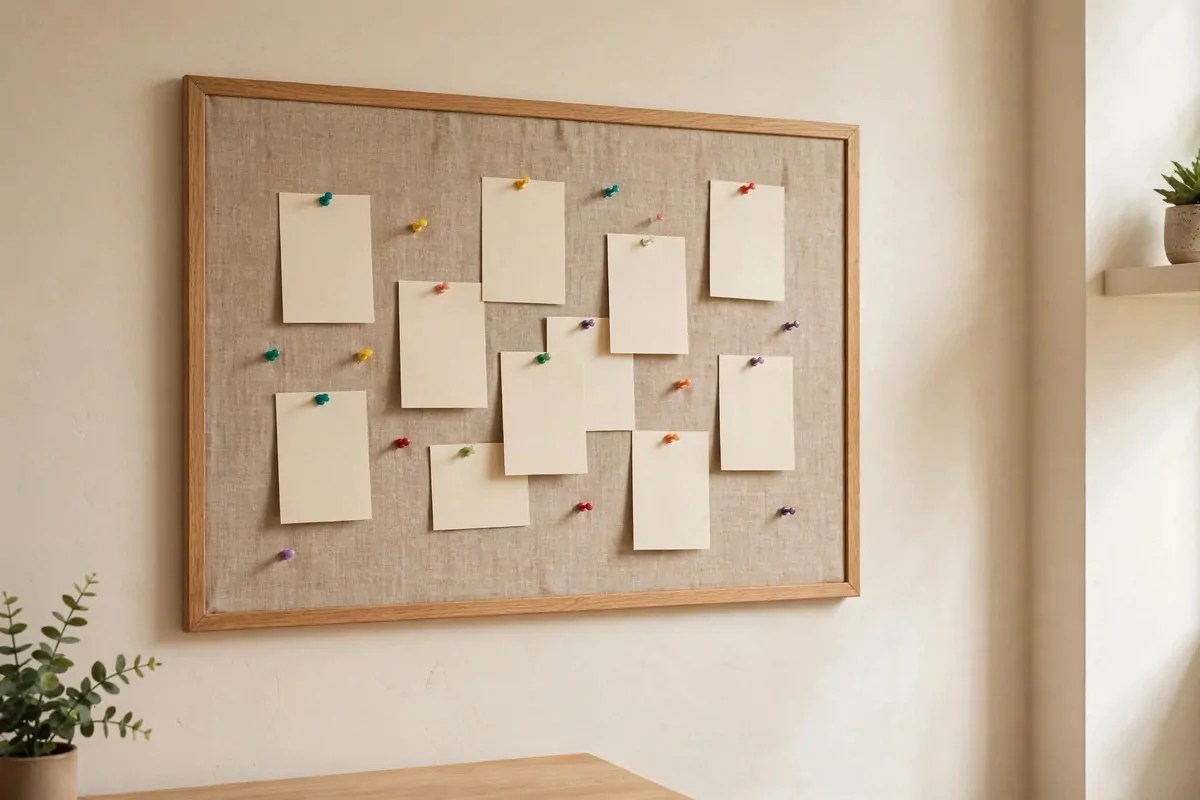
Plain cork boards are useful but boring. Fabric turns them into something you actually want on your wall.
You need a cork board, fabric, and a staple gun or strong glue. An old frame makes it look finished.
Pick a fabric that matches your room. Linen looks calm, a small print looks cheerful, and both pin beautifully.
Wrap the fabric around the board like a present. Pull it tight and staple or glue the back. Trim the extra.
Pop it in a frame if you like. A frame hides the edges and makes it look like proper decor.
Pin up what matters: your calendar, inspiring quotes, ticket stubs, and reminders. It becomes a mood board for your work life.
Change the pins with the seasons or your projects. It is a living display, not a fixed one.
A small cork board and a scrap of fabric cost a few dollars. Ribbon from a craft drawer makes it even prettier.
Before you start, here is how the projects compare for cost and impact:
| Project | Typical cost | Impact |
|---|---|---|
| Paint one accent wall | A few dollars | Huge |
| Swap cabinet hardware | Under twenty dollars | Medium |
| Floating shelves | A few dollars each | Medium |
| Fairy lights behind the monitor | A few dollars | Medium |
| Area rug | Under fifty dollars | High |
| Three-box declutter | Free | Huge |
| Plants | A few dollars | Medium |
Pick two or three with the biggest impact for your room, and you will have a new office by Sunday night.