29 Bookshelf Makeover Ideas That Turn Old Into Beautiful

My old bookshelf leaned against the hall wall for a year, and the books on it slid to one side every time I shut the front door.
I look for a shelf that feels heavy when I lift one side. I press each joint with my hand and I check that nothing moves.
A plain cloth with warm soapy water takes off most of the dust.
I check the joints first because a loose joint will only get worse with books on it. I set a small level on each shelf and I look for a flat line. I push the shelf from the side and I want no wobble at all.
I wipe the shelves twice and I let them dry in the open air. I leave the shelf near a window for a few hours.
Most of my finds cost less than a new shelf by a lot, and a tin of paint often costs less than a meal out.
You will find all 29 ideas in this one post. There is no part two and nothing is held back for later.
1. Paint an Old Bookshelf a Soft Cream Colour
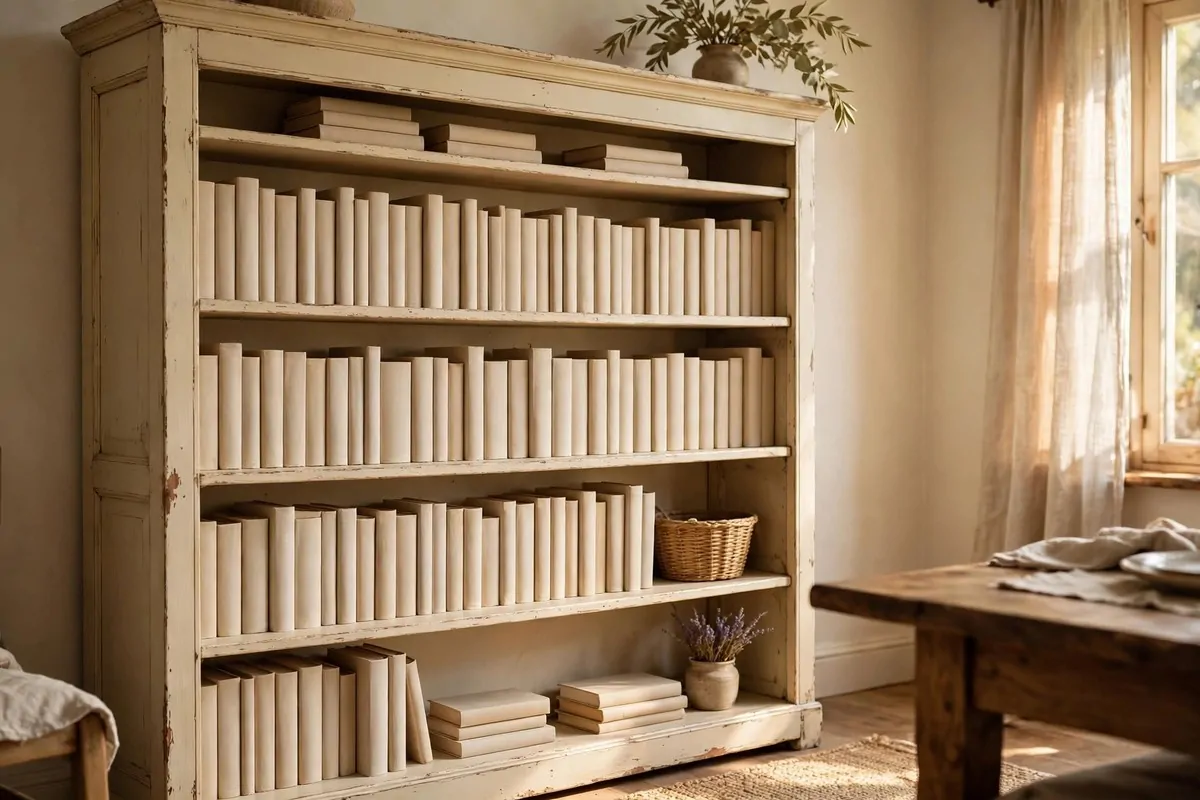
My old shelf looked tired and dull, so I gave it a coat of soft cream paint.
I sanded the rough spots in a well-aired spot near my back door. I wore a plain mask while I sanded so the dust stayed out of my nose.
I wiped the dust off with a damp cloth and let the wood dry.
I used a small brush for the corners first. I used a small roller for the flat boards next. I kept my strokes light so the paint stayed smooth.
A small tin of soft cream paint costs about $7 to $11 in most shops.
I let the first coat dry all day before I touched it. I added a second coat the next morning for a soft even look.
The cream colour made my small room feel light and calm.
I put my books back one shelf at a time. I filled the middle shelves and left the top shelf light so the shelf still felt calm.
You can try this on a tall shelf or a short one. You can use the same paint on the sides and the back. It works well when you want a fresh start without a new shelf.
2. Add Doors to an Open Bookshelf
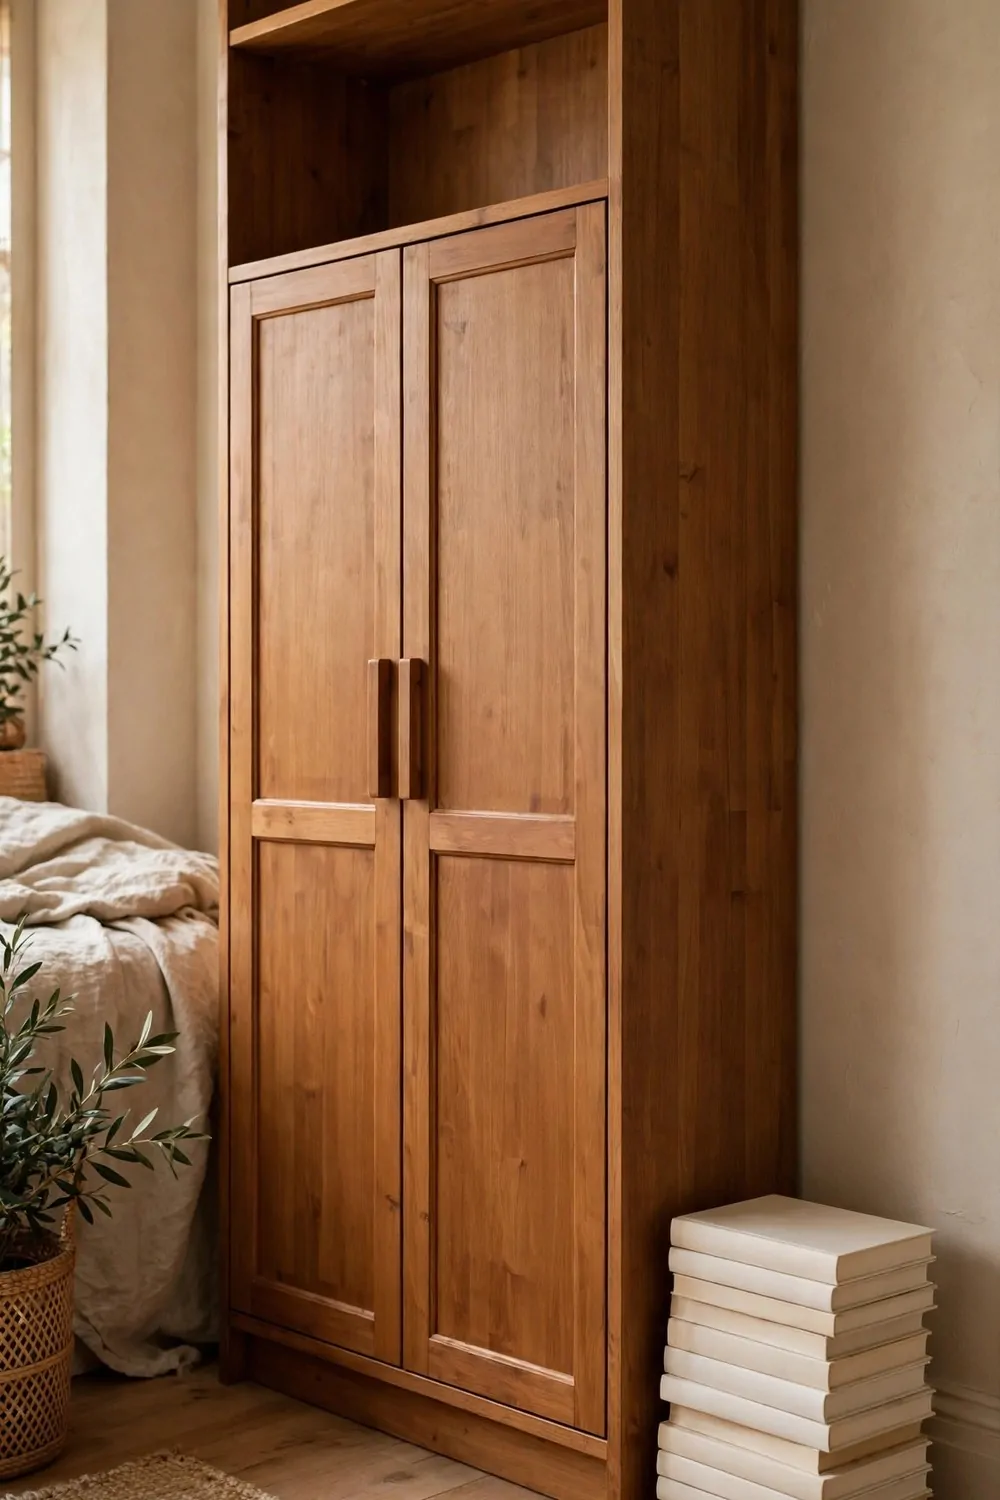
My open shelf showed every pile of books and papers, so I added plain doors to hide the mess.
I measured the front opening twice with a tape. I wrote the numbers down on a small piece of paper.
A pair of plain shelf doors costs about $12 to $18 at a local shop.
I fixed plain hinges to the frame first. I held each door in place while I marked the screw spots. I used short screws so they did not poke through the back.
I closed the doors slow and I checked that both edges met in the middle.
I added long wood pulls that matched the doors. I liked how quiet the doors felt when they shut.
Now I can hide the clutter in a second. My room looks tidy even on a busy day.
I keep the books I read most on the top shelf behind the doors. I keep the rest below where I can reach them fast.
You can paint the doors the same colour as the shelf. You can leave them plain if you like a simple look. This small change makes an old shelf feel new again.
3. Take the Doors Off a Closed Bookshelf
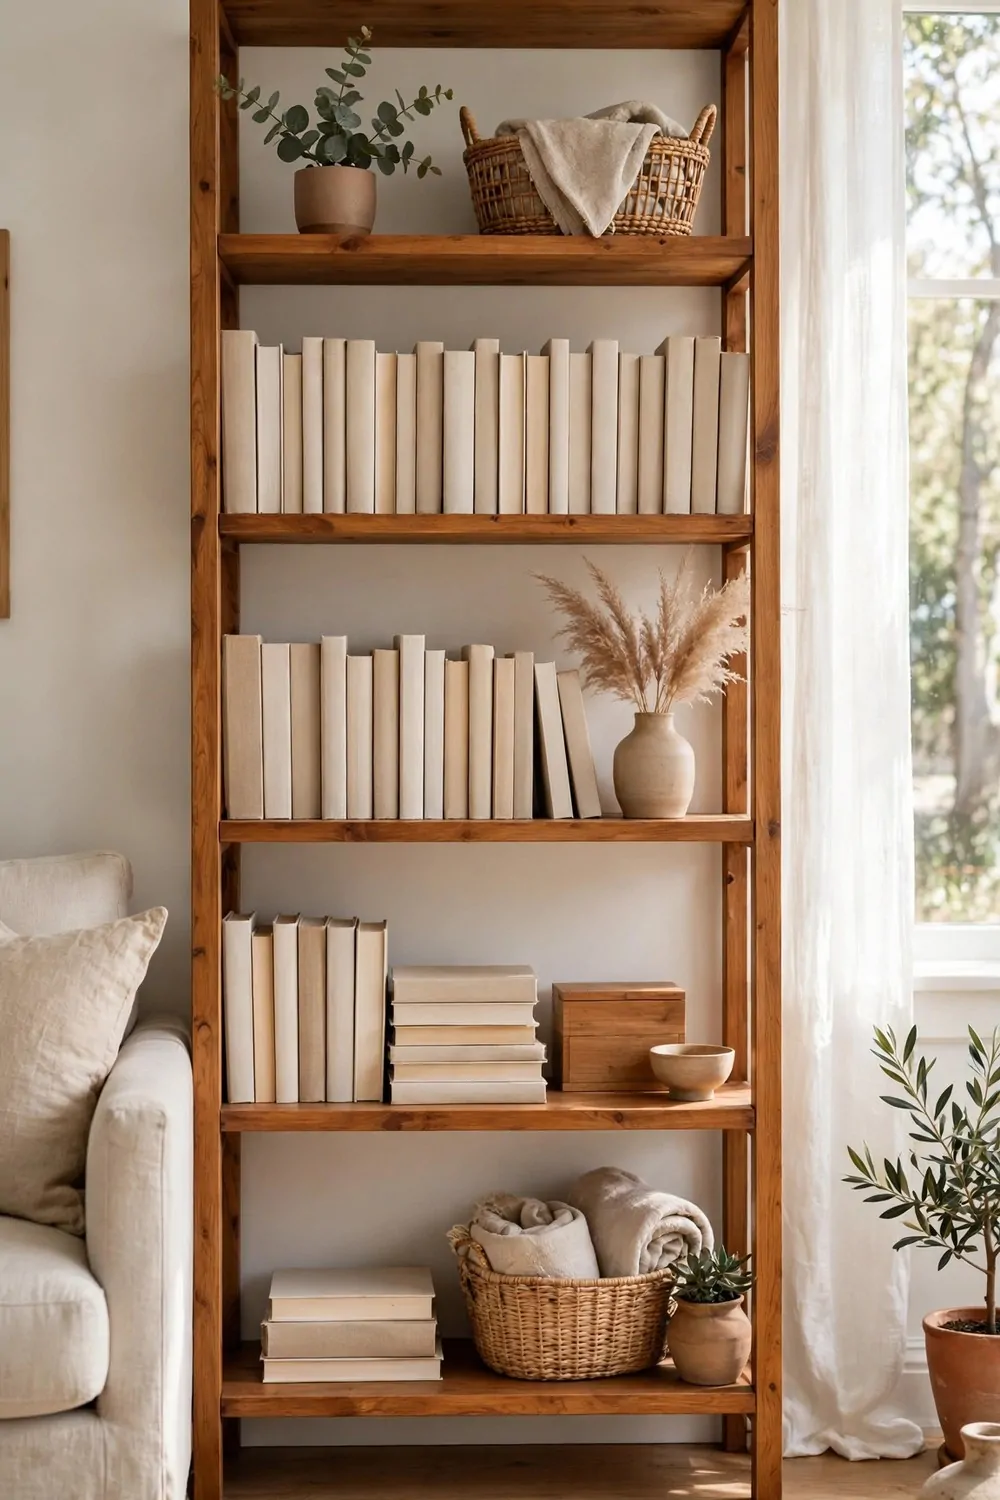
My closed shelf felt dark inside, so I took the doors off and let the light in.
I opened each door wide and I held it steady with one hand. I unscrewed the hinges one by one and I set the screws in a small cup.
A set of plain hinges costs about $5 to $8 if you need new ones for the frame.
I filled the small screw holes with wood filler. I let the filler dry and I sanded it smooth in a well-aired room.
I wore a plain mask for that short sanding job.
I wiped the frame clean and I touched up the paint where the hinges had been. The shelf looked open and fresh right away.
I lined up my tallest books at one end. I left the middle shelves open so the room felt airy.
You can see all your books at a glance now. You can reach for one without opening a door first.
This works best on a shelf with strong joints and level boards. It gives you a light open look with very little work. I wish I had tried it sooner on my old shelf.
4. Line the Back Panel with Plain Paper
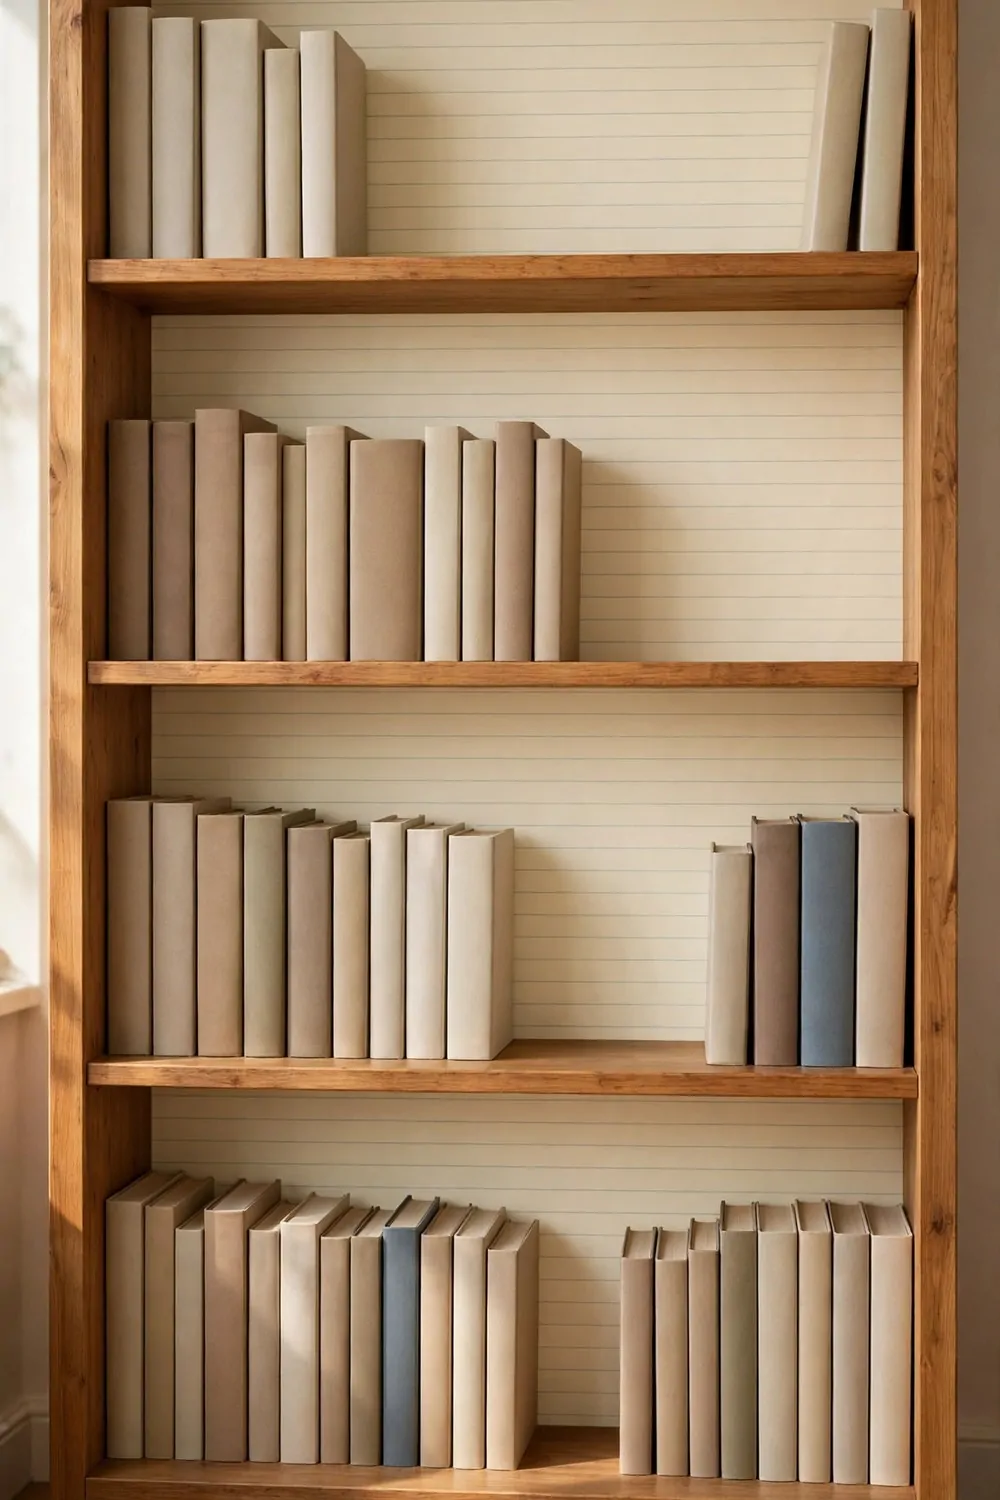
My shelf had a plain brown back, so I lined it with plain paper for a soft fresh look.
I took all the books off and I laid the shelf on its back on the floor. I measured the back panel from top to bottom.
A roll of plain lining paper costs about $4 to $7 in most shops.
I cut the paper a little long on each side. I smoothed it down from the top with my hand. I pressed out each air bubble as I went down.
I trimmed the extra paper with a sharp blade along each edge.
The new back made the books stand out more. The shelf looked neat even before I put anything back.
I put the books back in small groups with space between them. I kept the tall books at the ends so the middle stayed light.
You can pick a plain pale paper for a calm room. You can pick a soft print for a bit of charm in a plain corner.
This is a quick job for a quiet afternoon. It costs very little and it changes the whole look of the shelf. I use this trick on old shelves most of all.
5. Add Baskets to the Lower Shelves
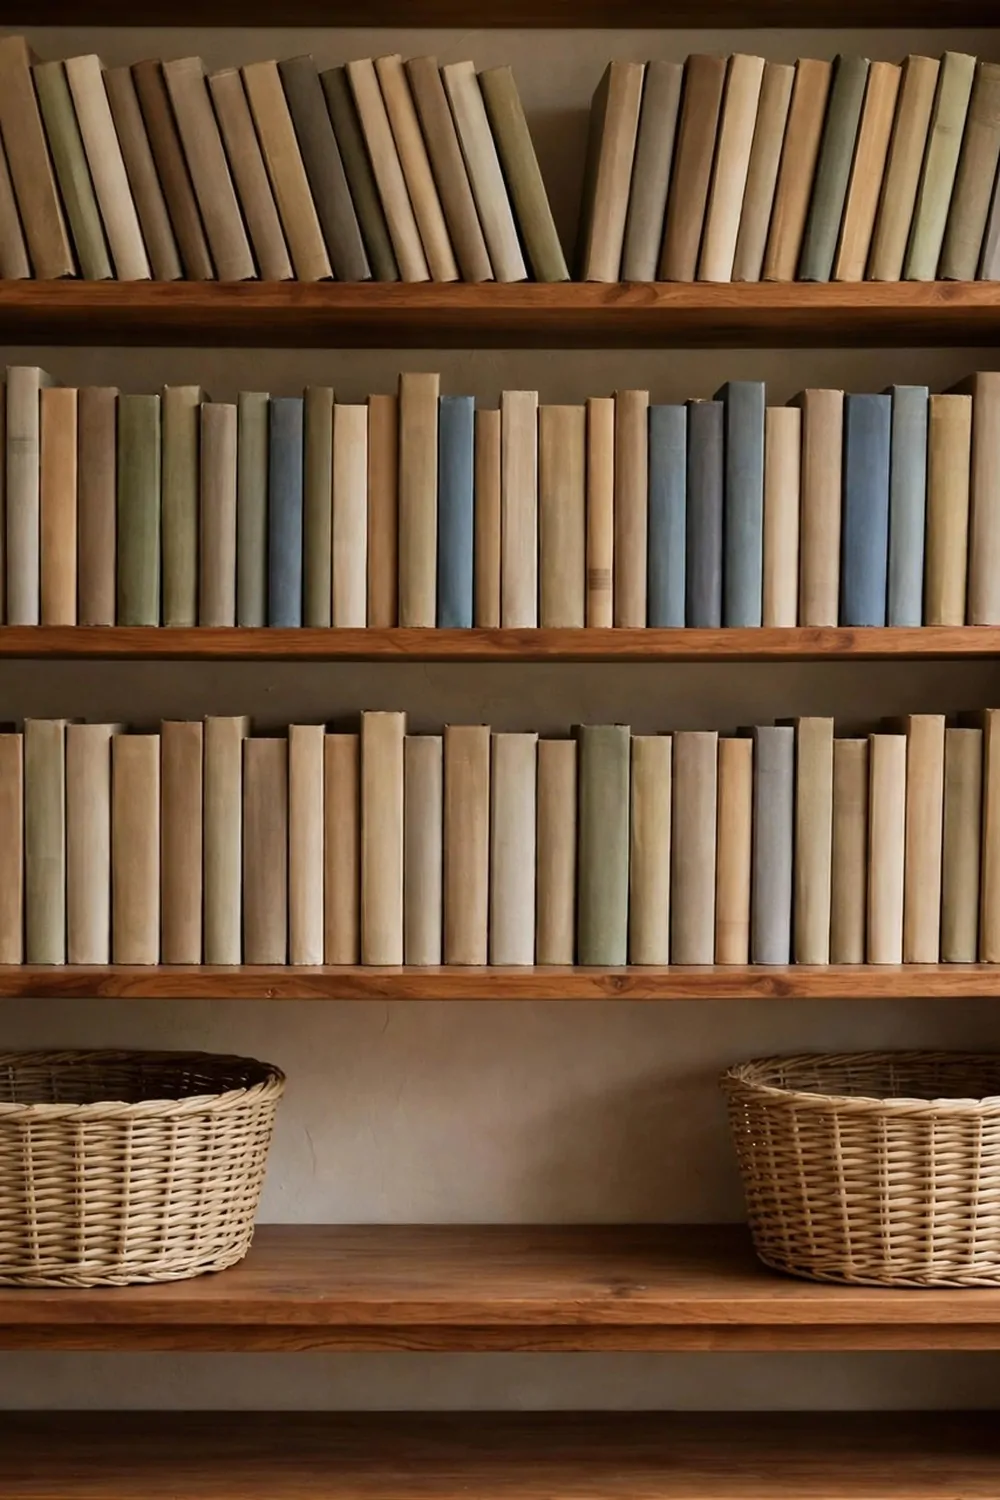
My lower shelves always turned into a pile, so I added plain woven baskets to hold the small things.
I measured the height of the lower shelves first. I picked baskets that slid in with a little room to spare.
A pair of plain woven baskets costs about $9 to $14 in most shops.
I put one basket on the left for cords and small tools. I put the other on the right for papers and spare bits. I left the middle open for books.
I slid each basket in slow to check the fit.
The baskets hide the mess and they are easy to pull out. I can find what I need without moving a whole shelf of books.
Each basket has its own job now. My kids know where to put things back now.
You can swap the baskets around when your needs change. You can wash them with a damp cloth when they get dusty.
This idea works well in a hall or a living room. It keeps the low shelves tidy and safe for little hands. I like how calm the bottom of the shelf looks now.
6. Turn a Tall Bookshelf into a Slim Ladder Shelf
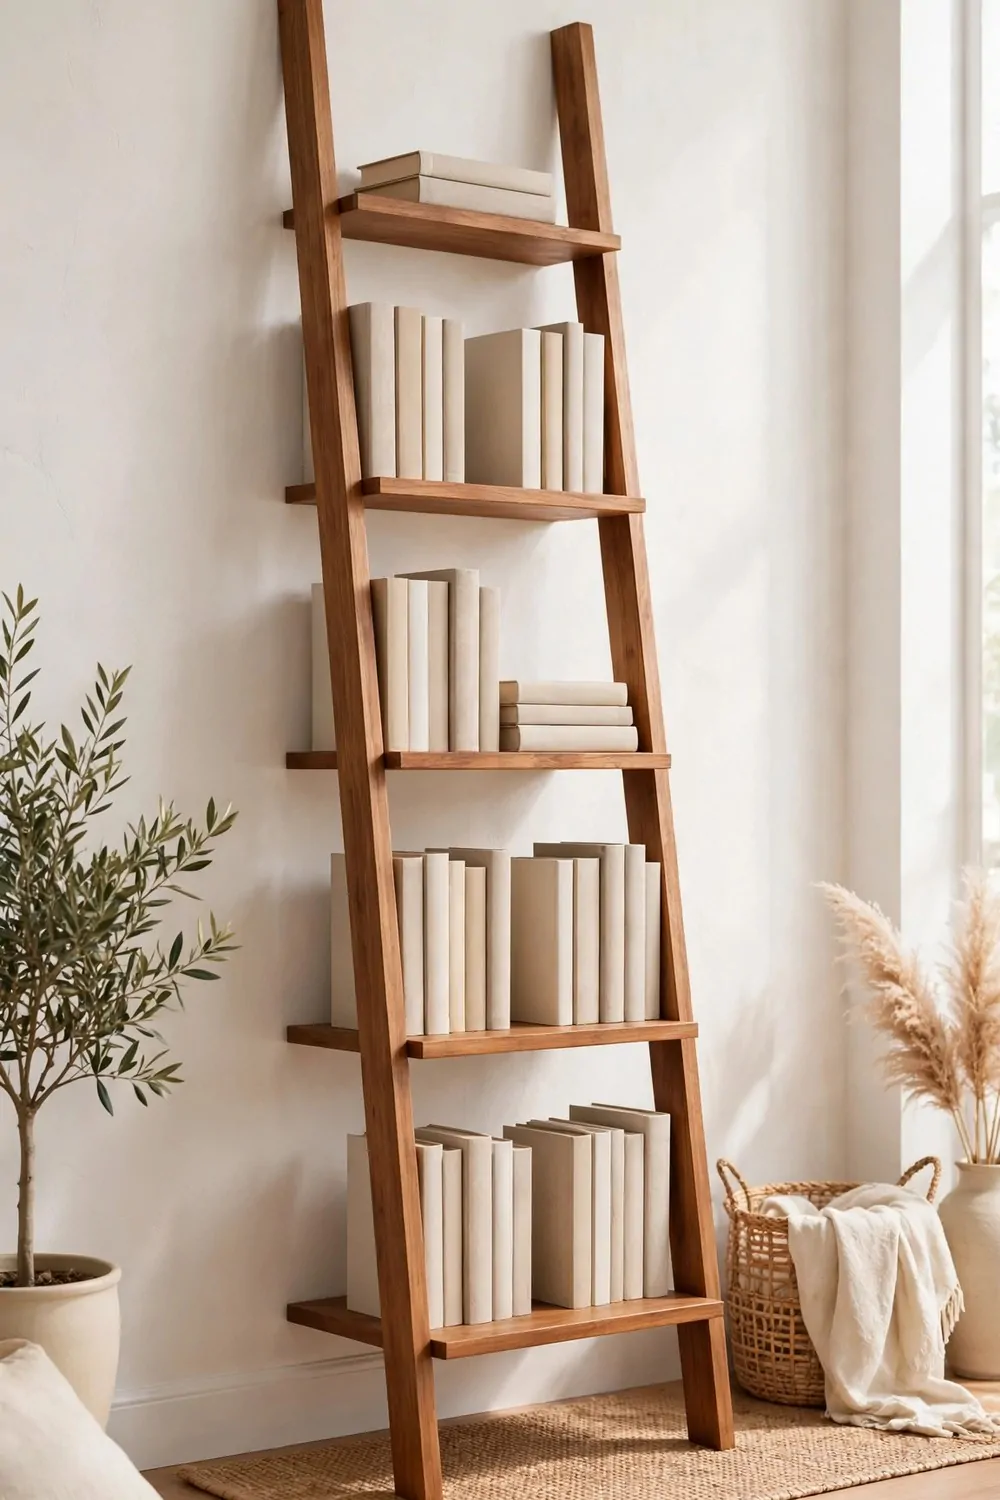
My tall shelf took up too much room, so I cut it down into a slim ladder shape.
I marked the new shape on the side with a pencil. I checked the marks twice before I made any cut.
A small wood saw costs about $9 to $13 if you need to buy one for this job.
I cut the sides down step by step with slow steady strokes. I sanded each cut edge in a well-aired spot outside. I wore a plain mask while I sanded the fresh cuts.
I wiped the dust off and I checked that each step felt level.
The slim shape leans back a little and it takes up less floor space. My narrow hall felt wider the same day.
I put light books on the top steps. I put heavier books on the wide bottom step.
You need a steady hand and a bit of time for this one. You can ask a friend to hold the shelf while you cut.
Let the paint dry fully before you use the shelf again. This change gives an old tall shelf a new life in a small room. I love the light open feel it brings to the hall.
7. Wall-Mount a Small Bookshelf in the Hallway
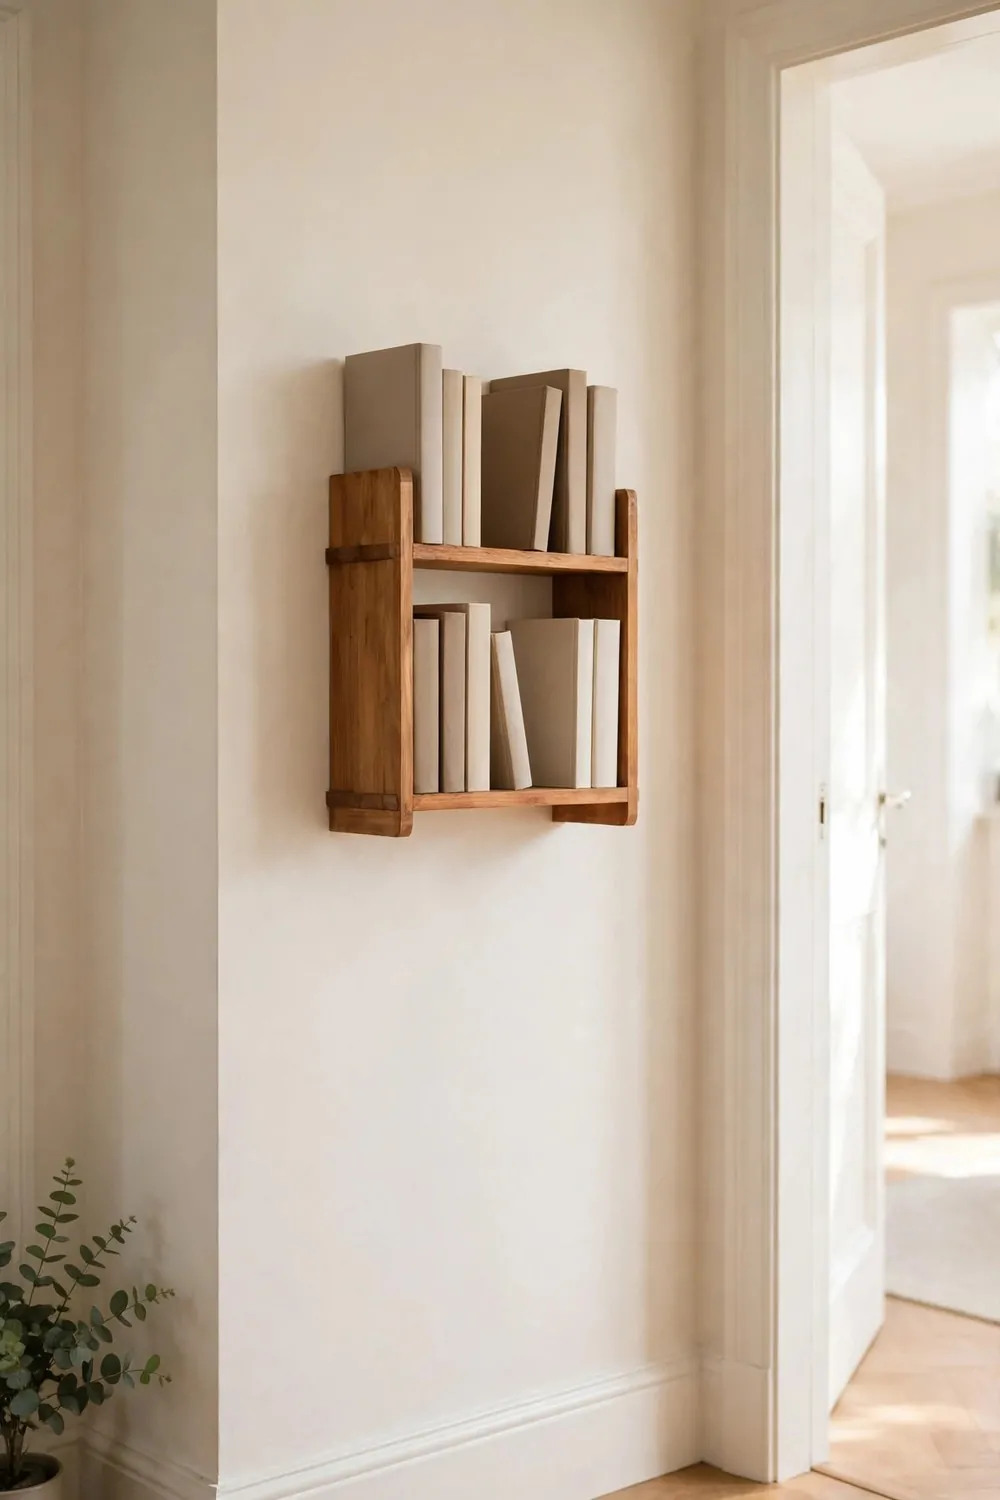
My hallway had no room for a floor shelf, so I fixed a small shelf right on the wall.
I held the shelf up and I marked the wall with a pencil. I checked the marks with a small level so the shelf would sit straight.
A set of plain wall brackets costs about $6 to $9 at a local shop.
I fixed the brackets to the wall with strong screws. I set the shelf on the brackets and I tightened each screw by hand. I pushed the shelf from the side to check for any wobble.
It held firm and it did not move at all.
I keep a few books I read each week on that wall shelf. I can grab one on my way out the door.
The floor below stays clear for shoes and bags. The hall looks wider with nothing on the floor.
You can hang one shelf low for kids to reach. You can hang one higher for books you use less.
Check that the wall can hold the weight before you load it up. This small shelf makes a bare hall feel warm and useful. I wish I had hung one there years ago.
8. Give a Bookshelf a Built-In Look with Side Panels
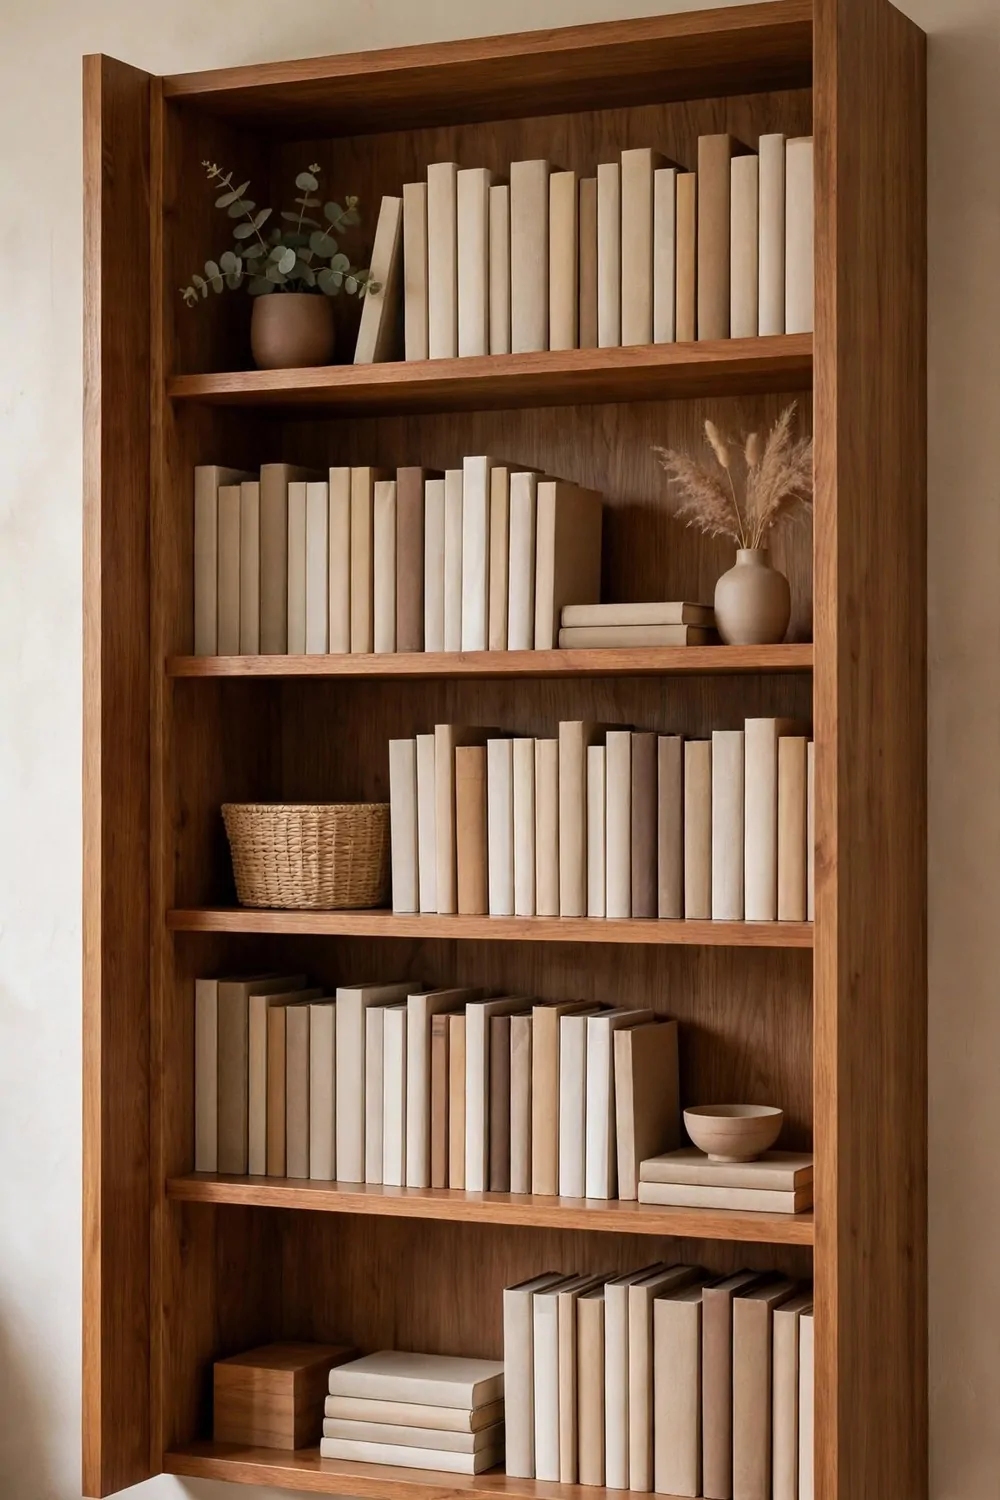
My shelf stood alone and it looked a bit lost, so I added side panels to make it look built in.
I measured from the top of the shelf to the floor. I cut the panels to match the height of the shelf sides.
Two plain side panels cost about $14 to $20 in most shops.
I fixed each panel to the side of the shelf with small screws. I filled each screw hole with filler and I let it dry. I sanded the filler smooth in a well-aired space.
I wore a plain mask for that short sanding work.
I painted the panels the same colour as the shelf. The edges blended in and the shelf looked like part of the wall.
I pushed the shelf close to the wall and I checked the gap at the back. A thin strip of wood closed the last small gap.
You can add a top board too for a neat finish. You can paint the whole unit one soft colour for a calm look.
Let paint dry fully before you put your books back on the shelves. This idea makes a plain shelf look made for the room. I get asked where I bought it, and I smile when I say I made it fit myself.
9. Add Cubby Boxes to a Wide Bookshelf
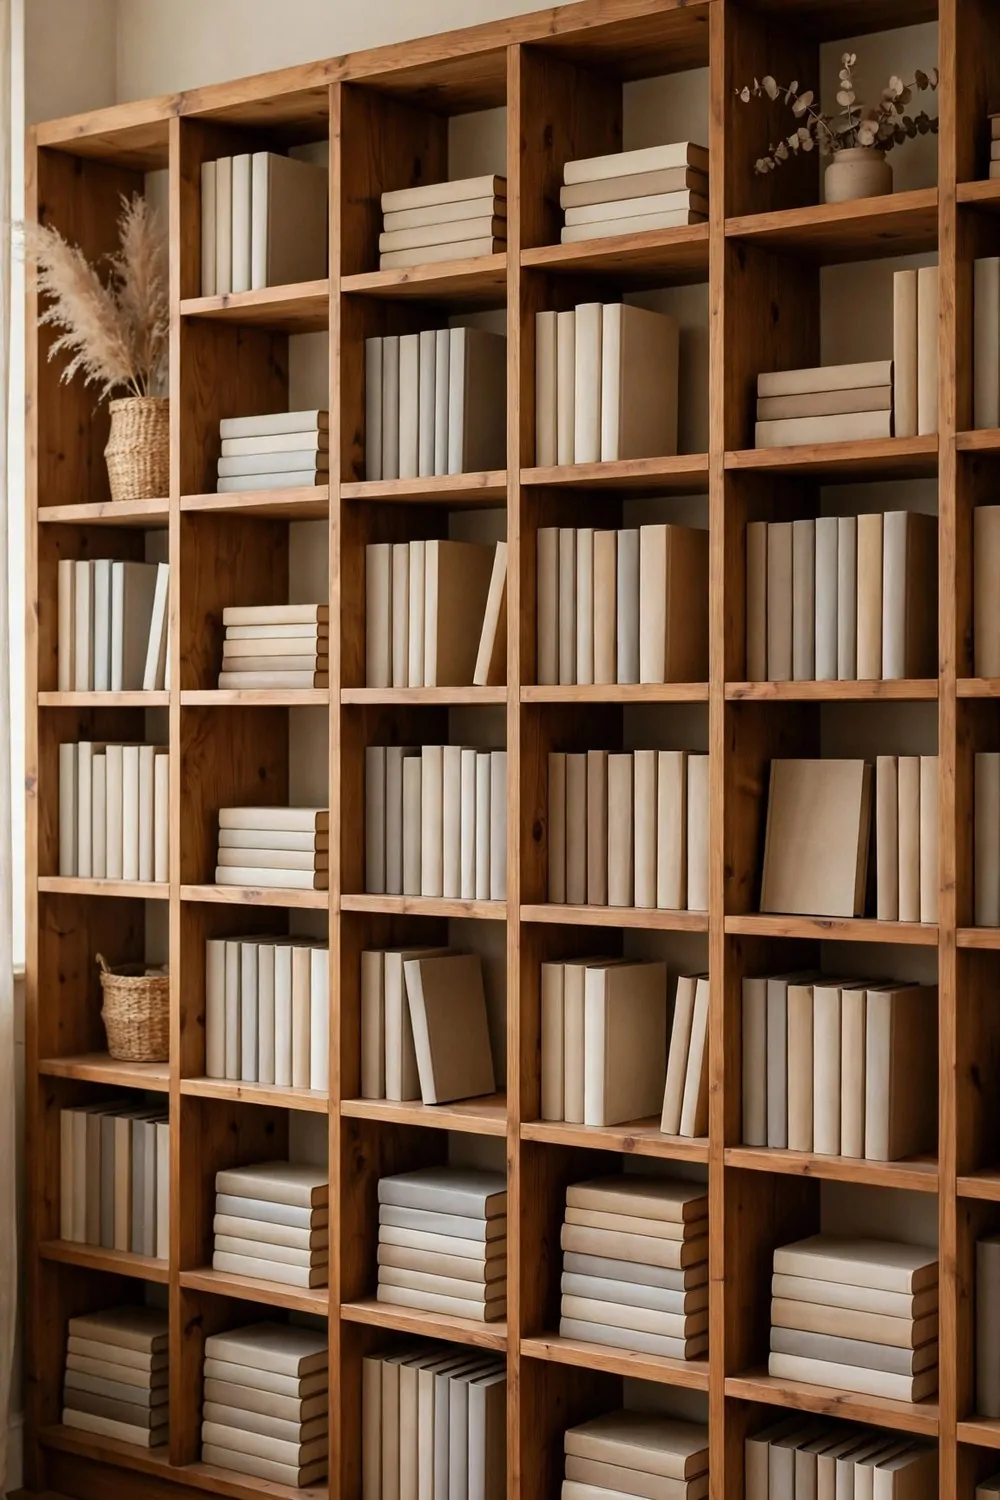
My wide shelf had long open rows, so I added plain cubby boxes to break up the space.
I measured the width of each open row first. I picked boxes that left a small gap on each side.
A set of plain cubby boxes costs about $10 to $15 in most shops.
I slid one box into each row and I pushed it back to the wall. I left one row open for tall books. I lined the boxes up so the fronts sat in a straight line.
Each box now holds its own small group of things.
I keep tall books in one box and small books in the next. I keep spare books in the last box at the bottom.
The shelf looks neat from across the room. I can pull one box out without moving the rest.
You can turn a box round to hide what is inside. You can move the boxes to a new shelf when you change rooms.
This is a simple fix for a shelf that feels too wide and bare. It adds order without any cutting or paint. I use cubby boxes in my hall shelf and my work room too.
| Item | Main change | Typical cost |
|---|---|---|
| A small tin of soft cream paint | gives a soft even look | $7 to $11 |
| A pair of plain shelf doors | hide the mess behind closed doors | $12 to $18 |
| A set of plain hinges | fit new ones to the frame | $5 to $8 |
| A roll of plain lining paper | lines the back panel fresh | $4 to $7 |
| A pair of plain woven baskets | hold the small things low down | $9 to $14 |
| A small wood saw | cuts the sides down step by step | $9 to $13 |
| A set of plain wall brackets | hold the shelf firm on the wall | $6 to $9 |
| Two plain side panels | make the shelf look built in | $14 to $20 |
| A set of plain cubby boxes | break up the wide open rows | $10 to $15 |
10. Stain a Pine Bookshelf a Warm Walnut Tone
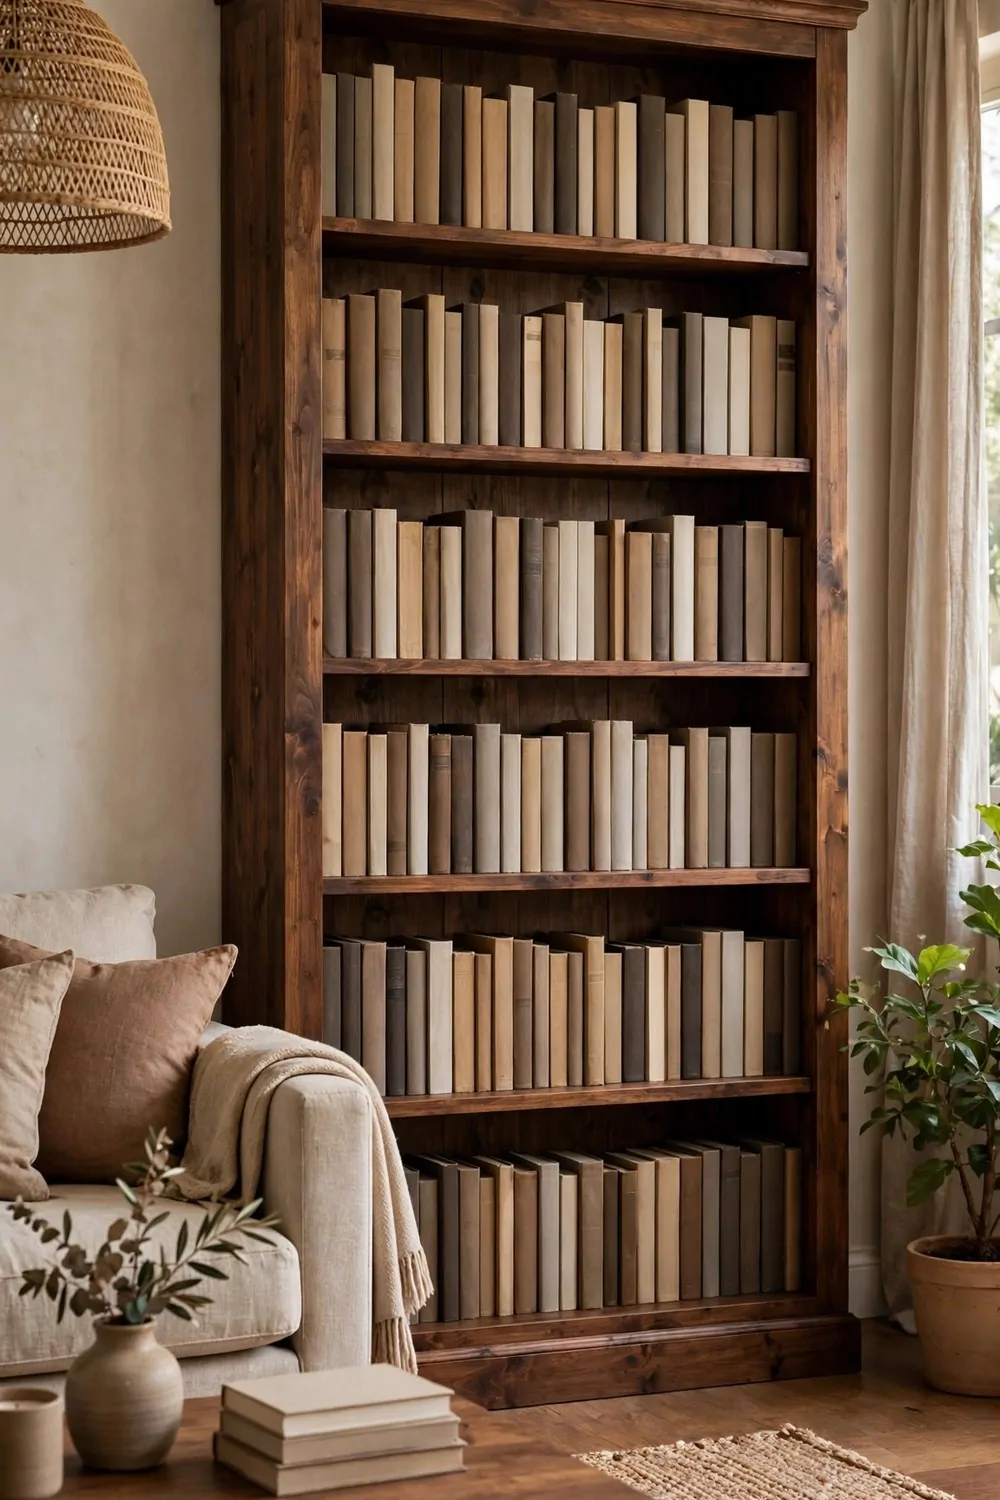
My pale pine shelf looked plain and light, so I stained it a warm walnut tone.
I took the books off and I sanded the whole shelf in a well-aired space near an open window. I wore a plain mask while I sanded so the dust stayed out of my nose and mouth.
I wiped the wood clean with a damp cloth.
I brushed the stain on in thin coats with a soft cloth. I wiped off the extra stain right away. I let the first coat dry overnight before I looked at the colour.
A small tin of walnut wood stain costs about $7 to $11 in most shops.
I added a second thin coat the next day for a deeper warm tone. I let it dry fully before I touched the shelves again.
The wood grain shows through the warm colour in a soft way. My room feels warm and cosy with the dark wood.
I put my books back in small groups on each shelf. I left the shelves full but neat so the room still felt light.
You can test the stain on the back first to see the colour. You can add one more thin coat if you want it darker. This stain turns plain pine into a shelf that looks rich and warm.
11. Add Warm Lights Under the Top Shelf
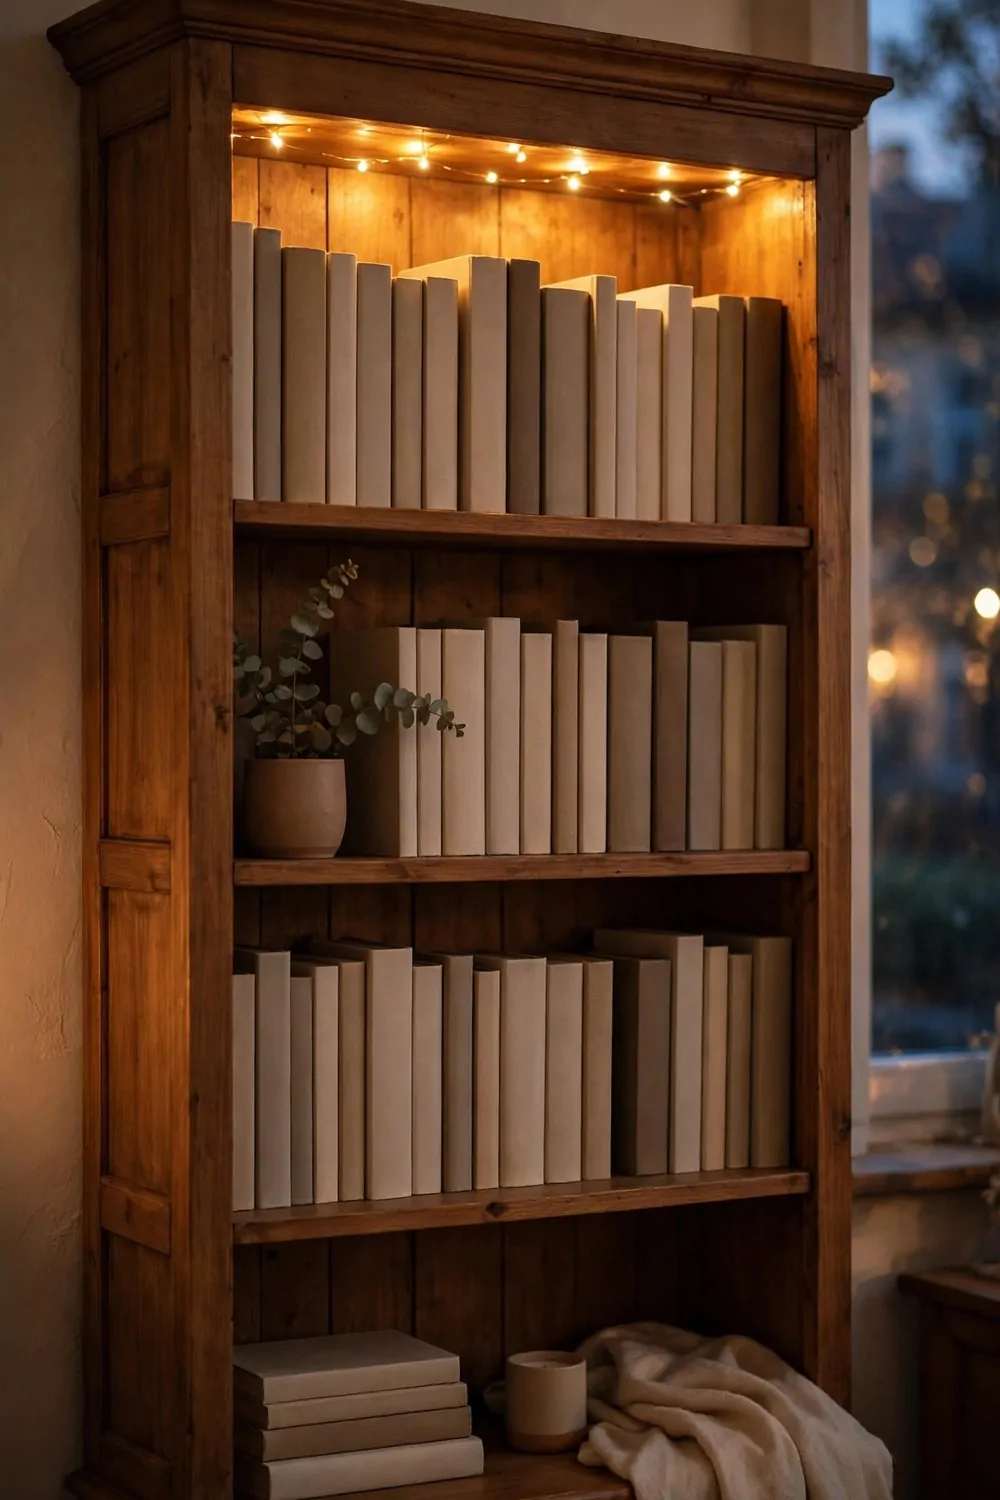
I wanted my books to glow at night.
A small light under the top shelf fixed that. It made the whole shelf feel warm and calm.
I picked a plain string of warm battery lights. The thin wire hides along the shelf edge.
I draped the string under the top shelf and it glows soft along the books.
They turn on with a small switch. My kids love to switch them on at bedtime.
A set of plain battery shelf lights costs about $8 to $12 in most shops.
I keep the light low in the evening. It makes the room feel soft and slow.
You can move the lights if you change your mind. That is the best part for me.
Now I read one more page each night. The warm light makes it hard to stop.
12. Turn a Bookshelf into a Plant Shelf
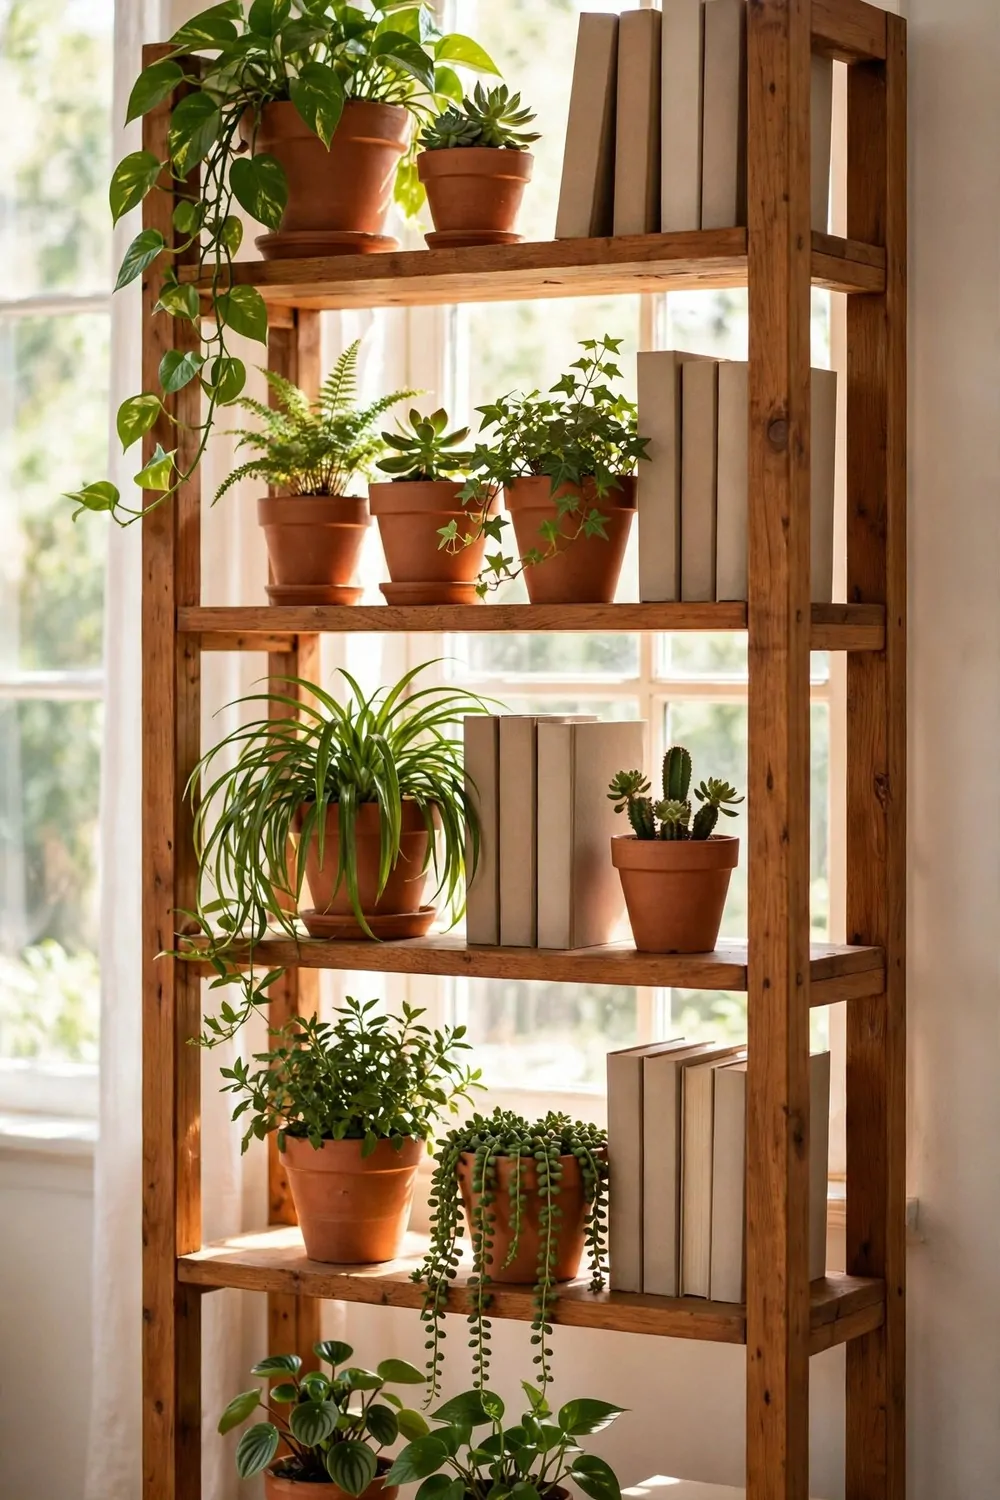
My old bookshelf had one empty shelf. I turned it into a home for my plants.
Plants make a plain shelf look alive. You do not need many to start.
I picked plain clay pots in a few sizes. They look soft next to old wood.
I put a small tray under each pot. It stops water from marking the shelf.
A set of plain clay plant pots costs about $9 to $14 in most shops.
I set the small plants near the light. They grow slow and steady there.
You can water them right on the shelf. Just wipe the tray after.
I love to see green leaves when I walk past. It makes the room feel fresh.
Start with one pot if you like. Add more when you feel ready.
13. Make a Kids Bookshelf with Low Shelves
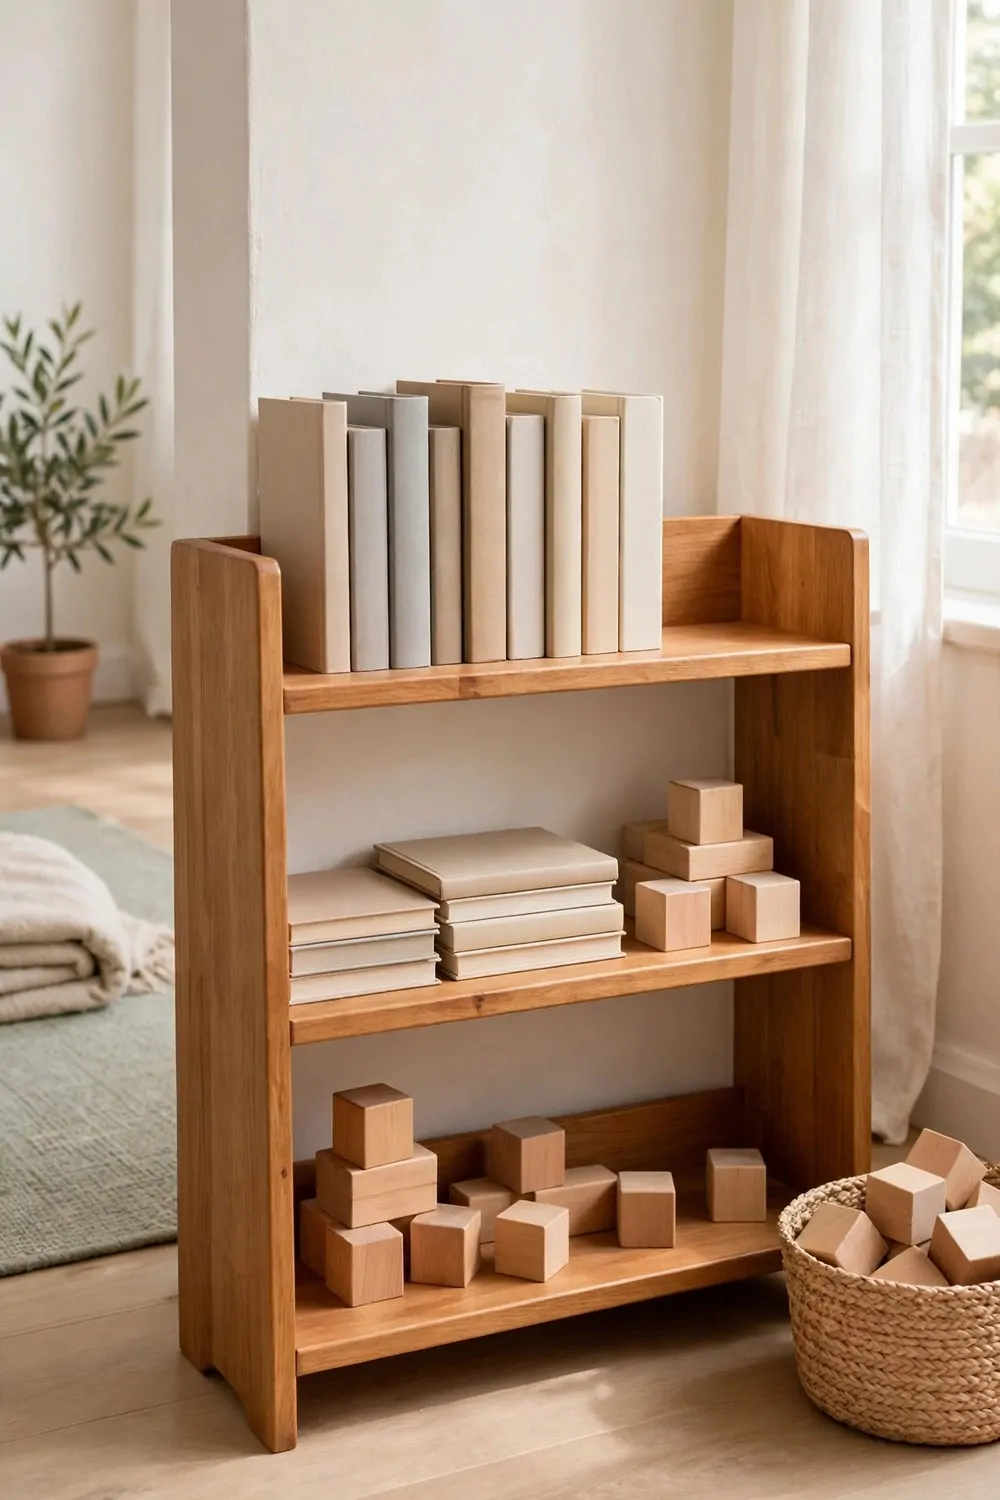
My little one could not reach the top shelf. So I made the low shelves just for her.
Low shelves let kids pick their own books. That small choice makes them proud.
I moved her picture books to the top shelf. Now she can reach them all by herself.
A set of plain low shelf boards costs about $8 to $12 in most shops.
I kept the books in a neat row on the top shelf. She can reach them and pick fast.
You can add a small basket for soft toys. It keeps the shelf neat and fun.
I sat on the floor to check the height. If I can reach it easy, so can she.
She picks a book each night now. That small habit makes bedtime sweet.
Low shelves grow with your child. You can move the books up as she grows.
14. Turn a Bookshelf into a Kitchen Shelf for Jars and Plates
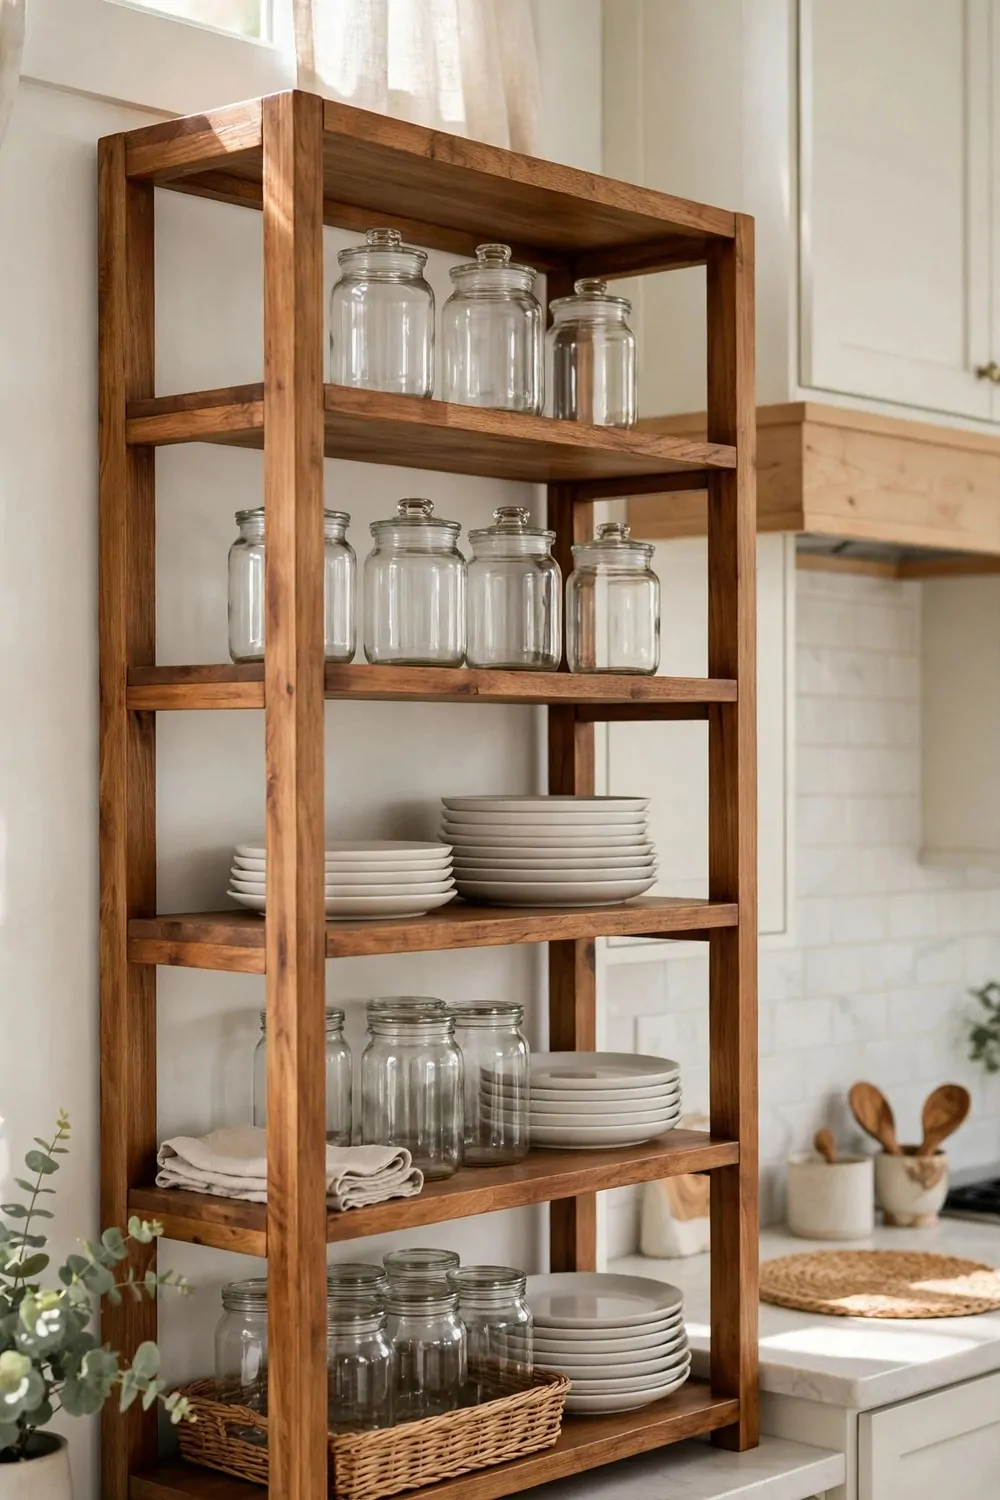
My kitchen ran out of room for jars. So I gave an old bookshelf a new job.
Jars and plates fit well on wide shelves. You can see all of them at a glance.
I put the tall jars on the top shelf. The plates stack neat on the shelves below.
A pair of plain shelf baskets costs about $7 to $10 in most shops.
I use the baskets for small jars and lids. They keep the shelf tidy and calm.
You can wipe the shelves clean in one minute. That matters a lot in a kitchen.
I love to grab a jar while I cook. It sits right where I need it.
Keep the heavy plates low. It keeps the shelf safe and steady.
An old bookshelf can work hard in a kitchen. Give it a try in your own home.
15. Add a Reading Seat Beside a Low Bookshelf
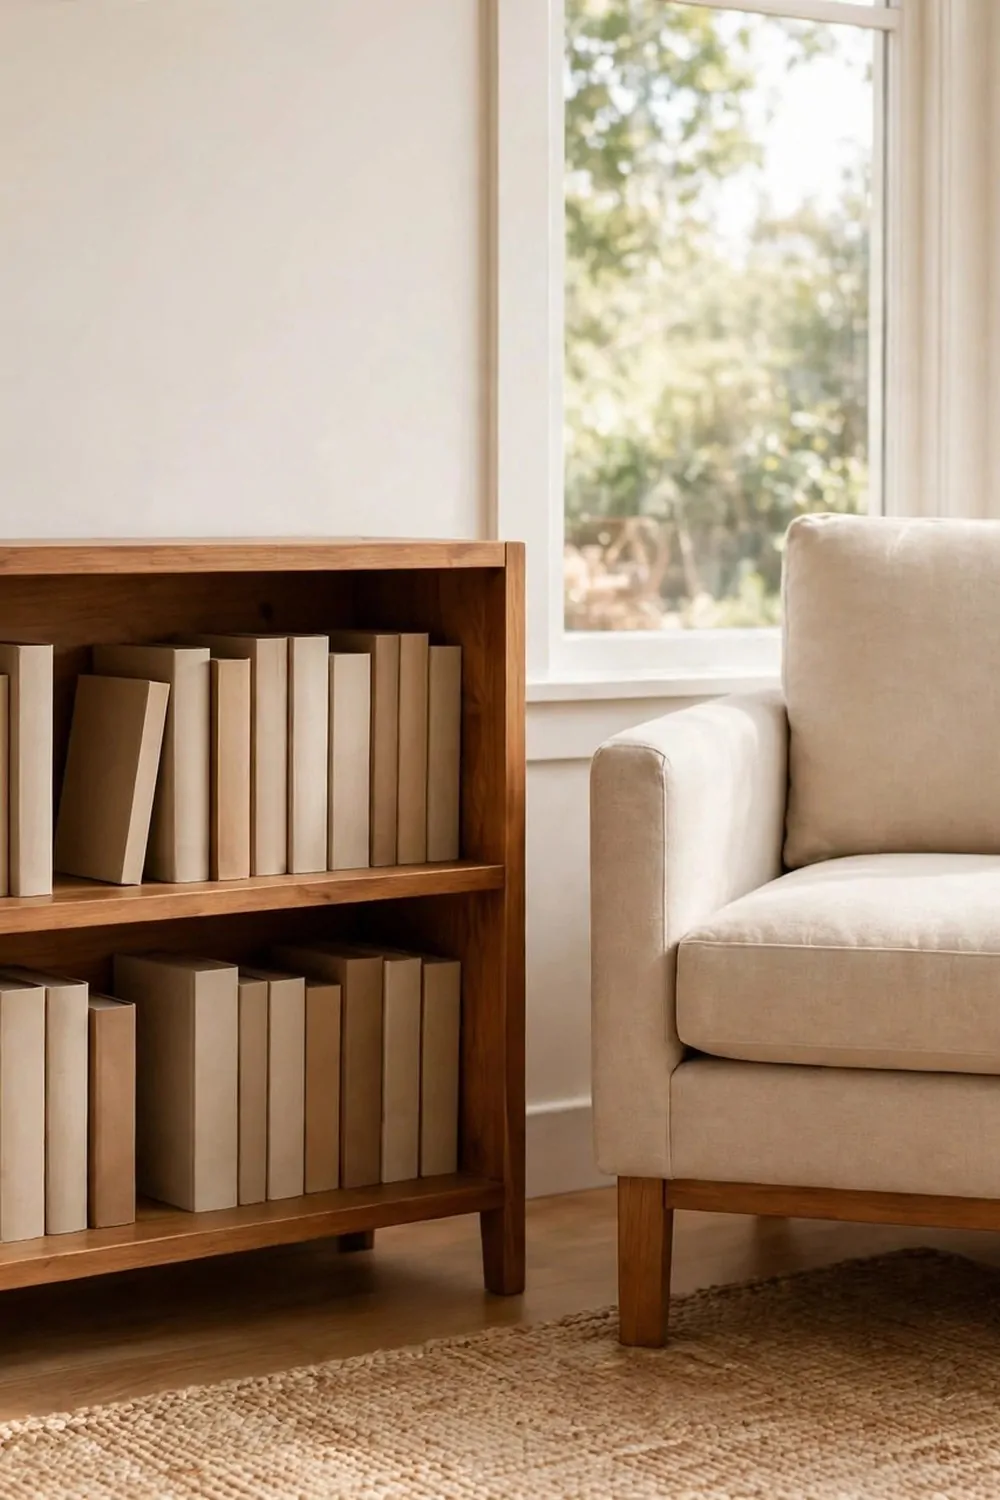
I love to read next to my books. So I made a small seat beside the low shelf.
A soft seat makes you want to stay. You reach for one more page.
I set a plain cushion on the armchair seat. It feels soft and warm.
A plain seat cushion costs about $11 to $16 in most shops.
I keep a small pile of books close by. The next book is always in reach.
You can sit there in the morning light. It is my best time to read.
I added a soft rug under the seat. It makes the corner feel warm and soft.
My kids sit there too. They read out loud and I listen.
A seat beside your books is a small joy. Try it and see how it feels.
16. Paint the Back Panel a Deep Green
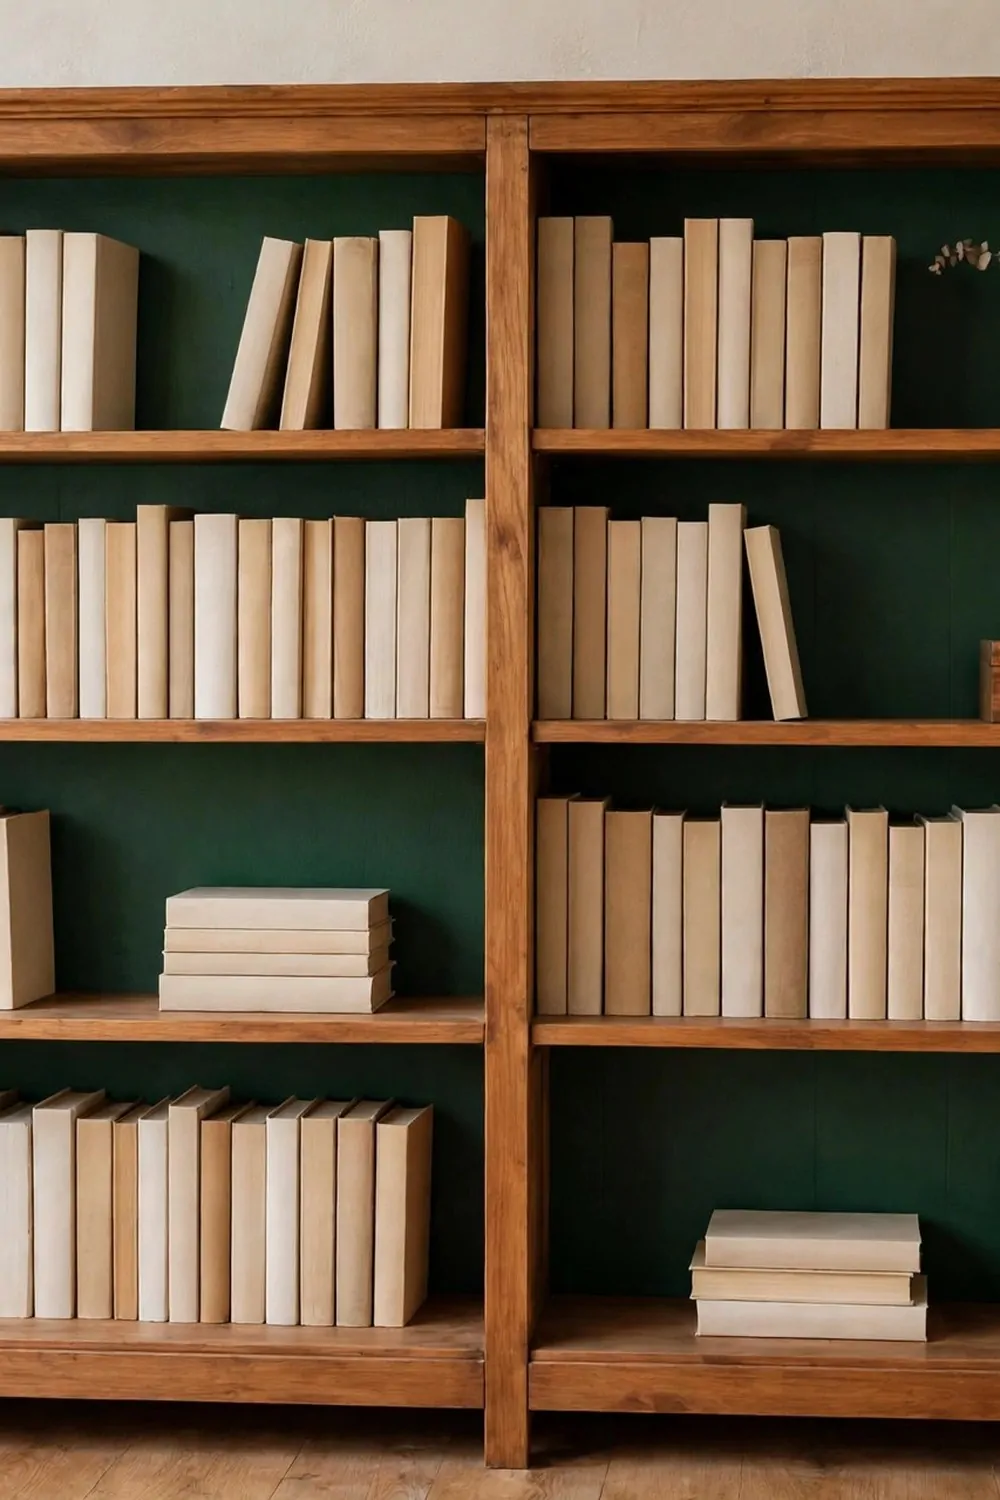
My bookshelf looked plain from the front. The back panel gave me a fresh idea.
I painted the back panel a deep green. It made the books stand out right away.
I took the books off first. Then I wiped the panel clean with a damp cloth.
I sanded the rough spots with light strokes. I worked in a well-aired space and wore a plain mask while I sanded.
A small tin of deep green paint costs about $7 to $11 in most shops.
I brushed on one thin coat. Then I let it dry fully before I added the next one.
Two thin coats looked smooth and rich. The green feels calm and deep.
You can try this on one shelf first. See how the green feels in your room.
Now my plain books look bright against the green. I smile each time I see it.
17. Add Adjustable Shelves to a Fixed-Shelf Bookcase
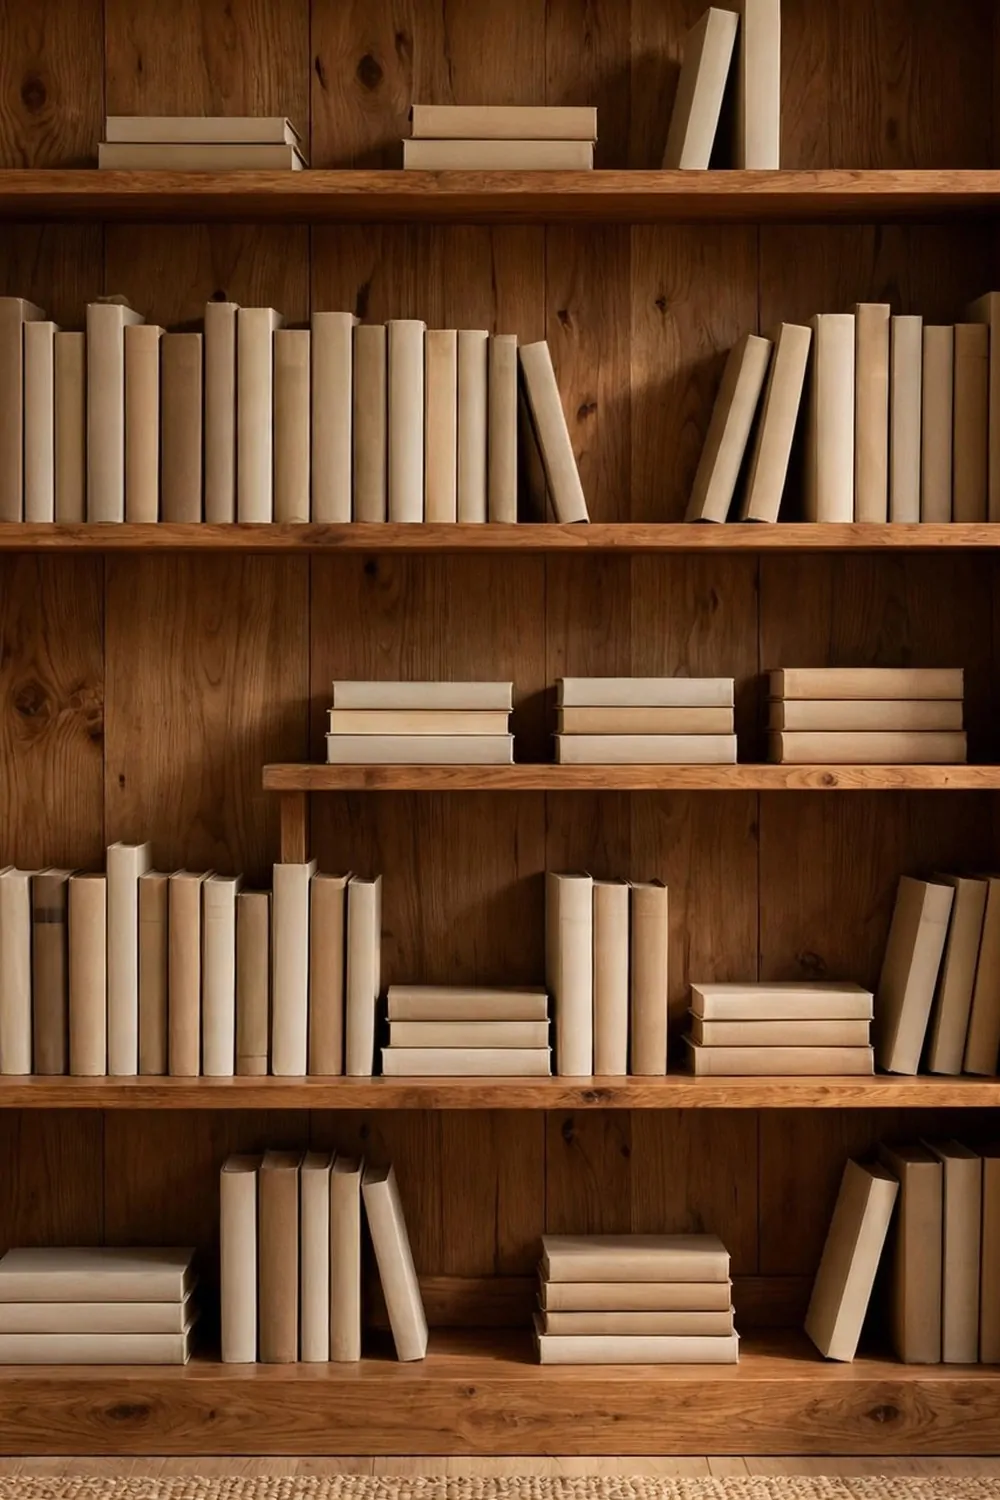
My bookshelf had fixed shelves. Tall books did not fit, and short books left big gaps.
I wanted shelves I could move. So I added plain shelf pins to the sides.
The pins sit in small holes. You can lift a shelf out and set it at a new height.
I marked the holes with a pencil first. Then I drilled them slow and straight.
A pack of plain shelf pins costs about $3 to $6 in most shops.
I set the low shelf for tall books. The top shelf holds my small books now.
You can change the heights any time. That makes the shelf fit your books, not the other way round.
I love how easy it feels now. No more tall books laid on their sides.
Try one shelf first if you are new to this. You will see how simple it is.
18. Turn a Bookshelf into a Hallway Shoe Shelf
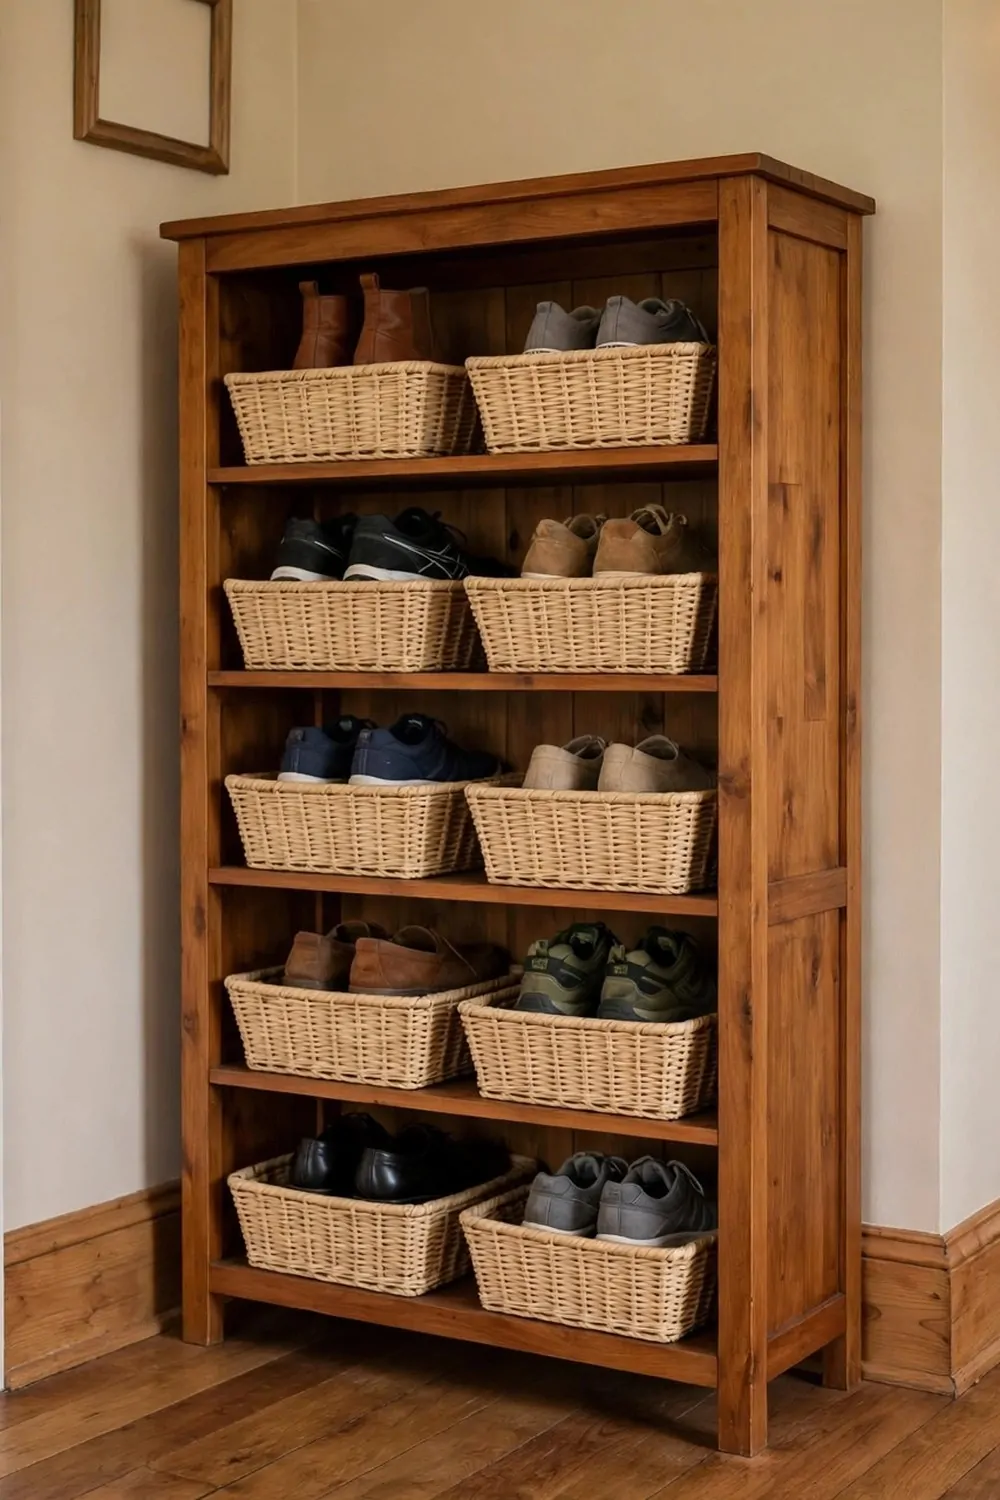
Shoes piled up by my front door. So I turned an old bookshelf into a shoe shelf.
Low shelves work well for shoes. Each pair gets its own small spot.
I set the shelf right by the door. Now shoes go in one place, not all over the floor.
A pair of plain shoe baskets costs about $8 to $12 in most shops.
I use the baskets for small shoes and slippers. They keep the shelf neat and tidy.
You can wipe the shelf clean in one minute. That helps a lot near a front door.
I love to find my shoes fast in the morning. No more hunt by the door.
Keep the tall boots on the bottom shelf. They fit best down low.
An old bookshelf can fix a messy hall. See what it can do in your own hall.
| Item | Main change | Typical cost |
|---|---|---|
| A small tin of walnut wood stain | gives a warm walnut tone | $7 to $11 |
| A set of plain battery shelf lights | make the books glow at night | $8 to $12 |
| A set of plain clay plant pots | hold small plants on the shelf | $9 to $14 |
| A set of plain low shelf boards | let kids reach their own books | $8 to $12 |
| A pair of plain shelf baskets | hold small jars and lids | $7 to $10 |
| A plain seat cushion | makes the reading seat soft | $11 to $16 |
| A small tin of deep green paint | makes the books stand out | $7 to $11 |
| A pack of plain shelf pins | let shelves move to new heights | $3 to $6 |
| A pair of plain shoe baskets | hold small shoes by the door | $8 to $12 |
19. Add Brass Cup Pulls to the Drawer Base
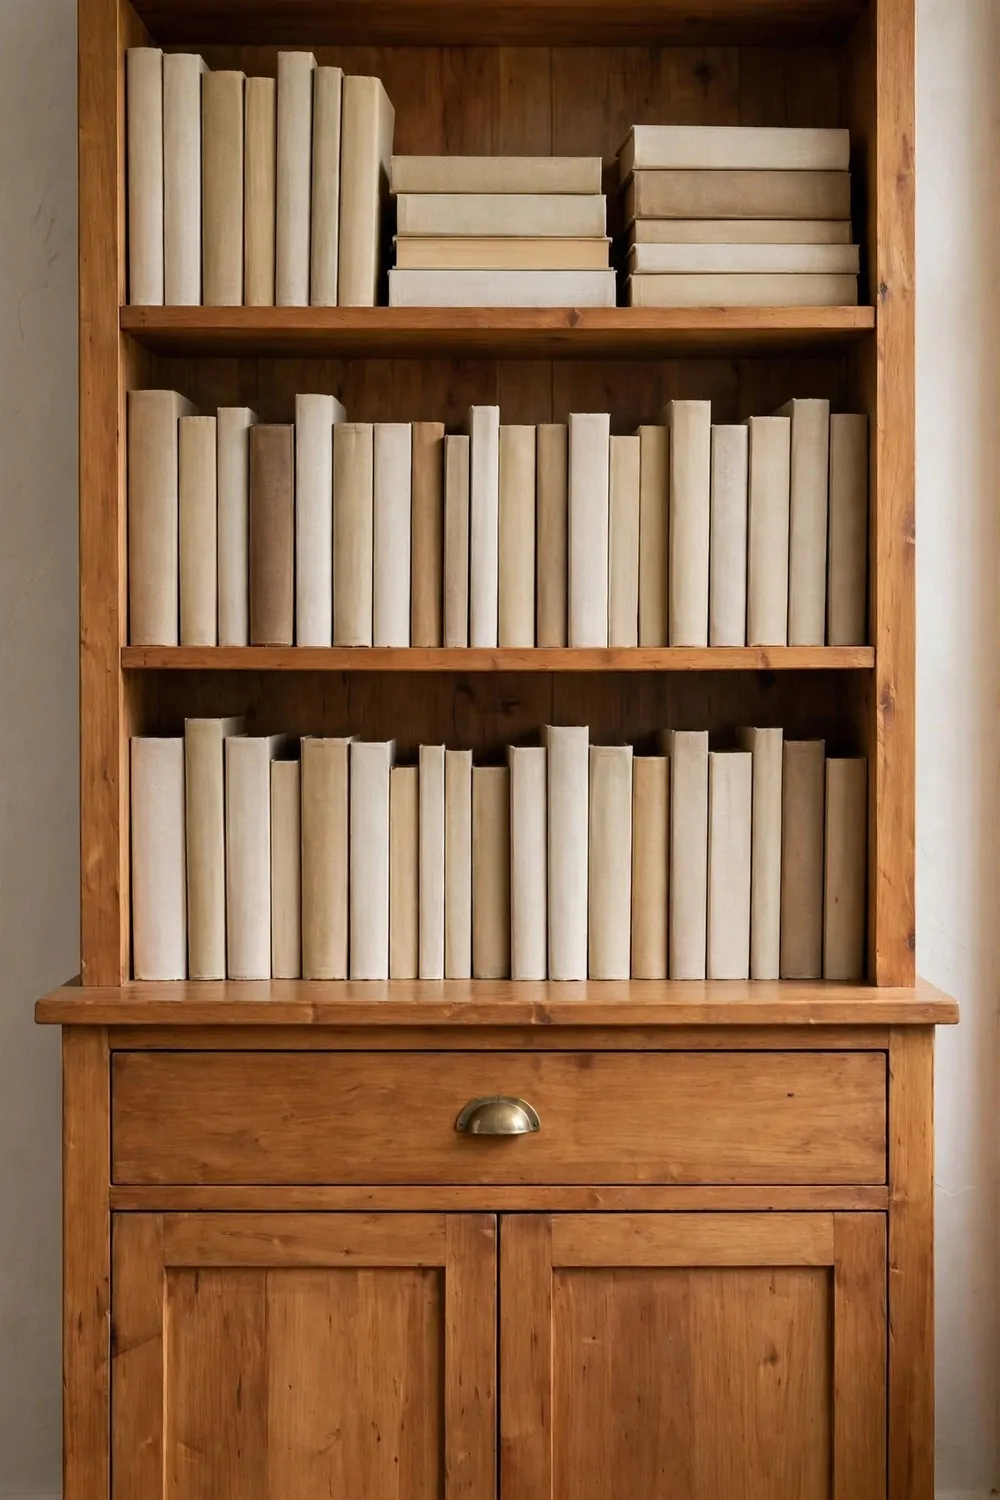
The drawer base on my bookshelf looked plain. I wanted it to feel a bit more special.
Brass cup pulls gave it that charm. They shine soft in the light.
I picked plain brass cup pulls. They look warm next to old wood.
I marked the spot with a pencil first. Then I fixed the pull in place with care.
A set of plain brass cup pulls costs about $6 to $9 in most shops.
I love how the drawer opens now. The cup shape feels easy in my hand.
You can change pulls in one afternoon. It is a small job with a big change.
I wipe the brass clean with a soft cloth. It keeps the warm shine bright.
Small pulls can lift a plain drawer base. Try it and see the change yourself.
20. Turn a Bookshelf into a Craft Supply Shelf
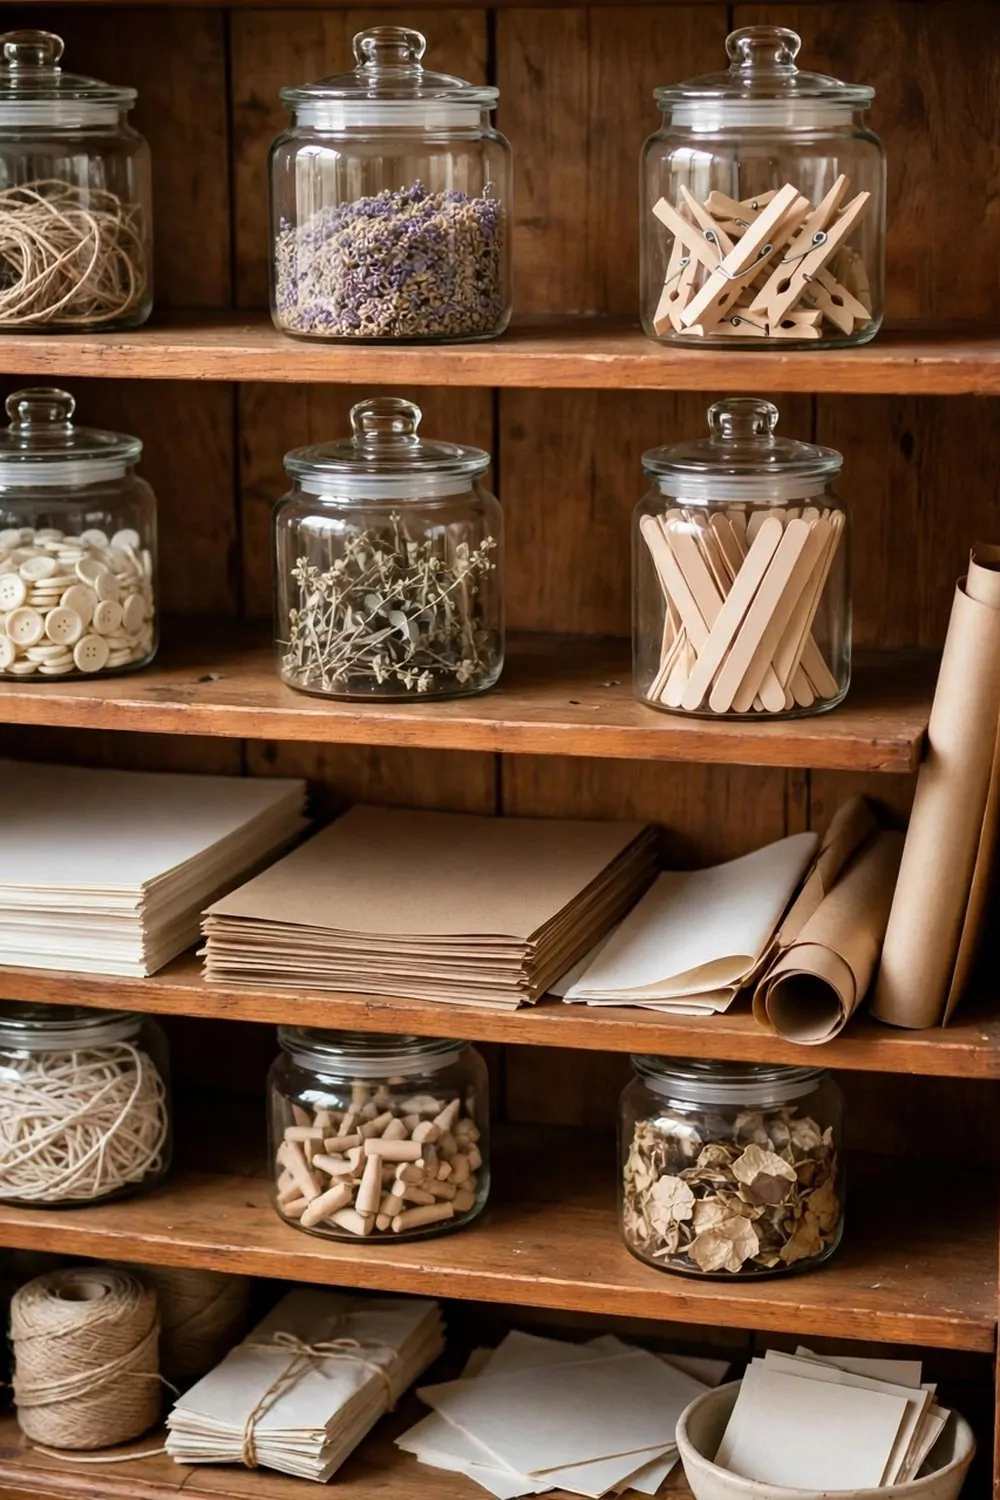
My old bookshelf held books I no longer read. I turned it into a craft supply shelf instead.
I took all the books off and wiped each shelf clean with a damp cloth.
Plain jars keep small bits neat and easy to see. A set of plain storage jars costs $6 to $9.
I put tall jars on the top shelf. I put short jars on the lower shelves. Each jar holds one kind of supply.
The clear jars let me see what is inside, so I can find things fast.
I keep the supplies I reach for most at eye height. The rest goes on the lower shelves where it stays out of the way.
I sort the jars by type before I put them back. I group like things together in one spot. That small step saves me time later.
I take one jar out at a time when I work. I put it back when I finish so the shelf stays neat.
Now my craft shelf stays neat and I can start a small project in a minute.
21. Make a Corner Bookshelf Fit a Tight Corner
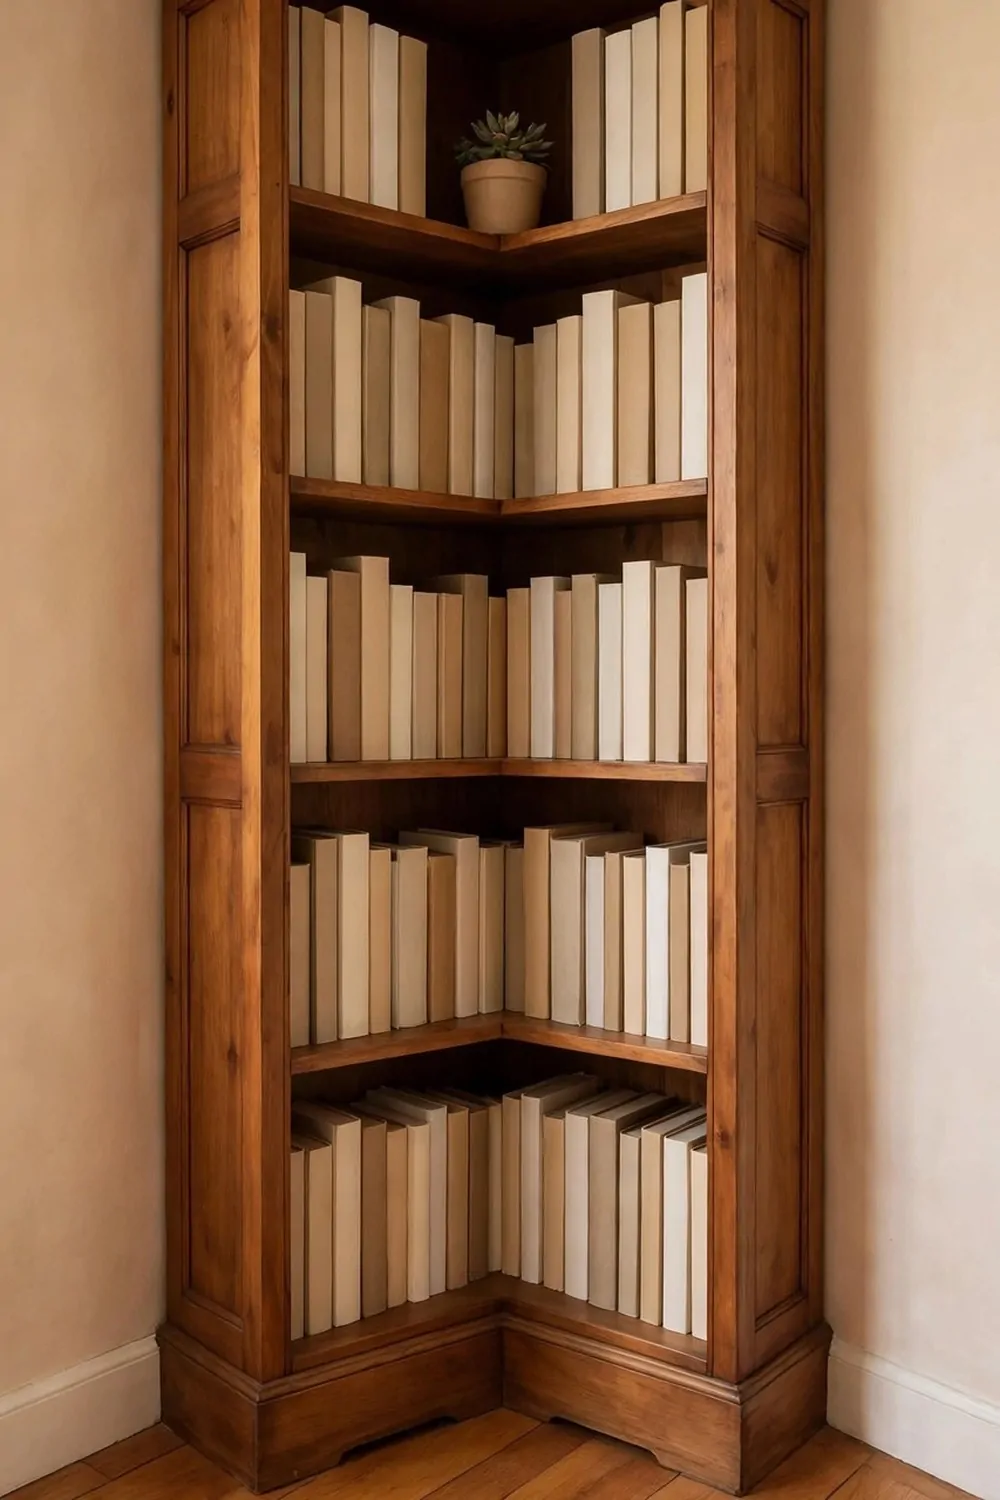
My tight corner sat empty for a long time.
A plain bookshelf felt too wide for that spot. I needed a shape that would hug the walls.
I measured both walls with care before I bought wood. A small corner shelf board costs $8 to $12.
I cut the board to fit the corner snug. I sanded the cut edge till it felt smooth. I wiped the dust off with a dry cloth.
I sand in a well-aired space on my porch. I wear a plain mask while I sand the cut edge.
I fixed the board low first so I could test the fit.
I slid the bookshelf into the corner slow. I checked the gap on each side. I moved it a touch till it sat straight.
I put light things on the top shelf. I put heavier books down low so the shelf stays steady.
Now that dead corner holds books and looks like it was made for the room.
22. Add a Fold-Down Desk to a Bookshelf
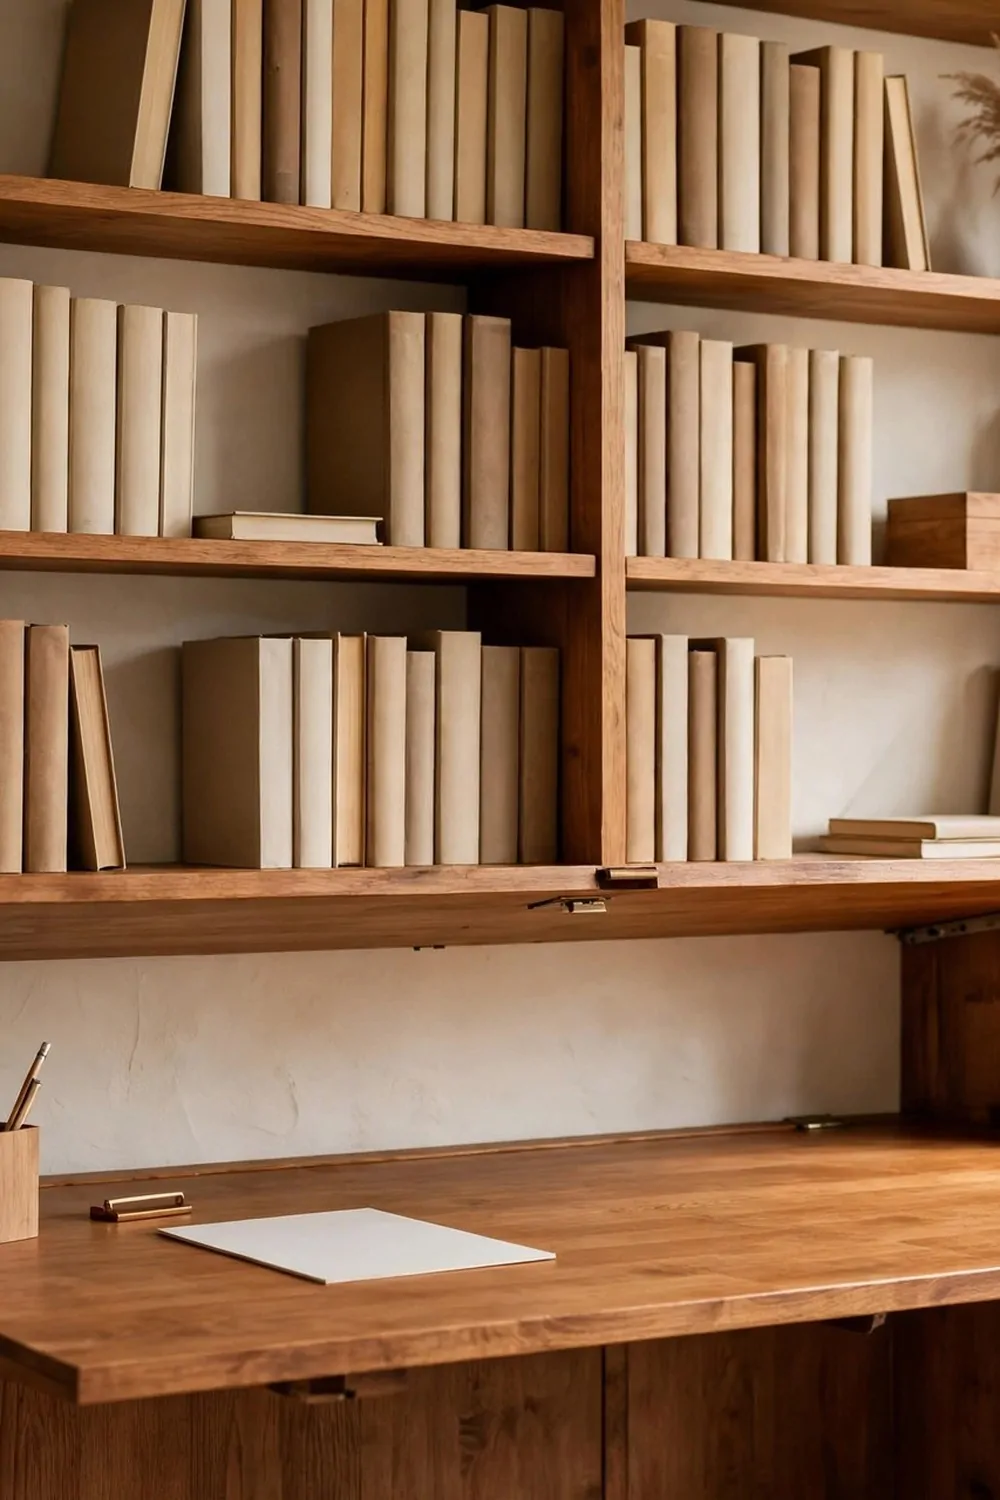
I wanted a small desk but I had no spare room. I added a fold-down desk to my bookshelf instead.
I picked a plain board that matched the shelf width.
The board folds up flat when I finish work. A pair of plain folding brackets costs $9 to $13.
I marked the height with a pencil first. I held the board level while I marked the spots. I double checked the marks before I drilled.
I fixed the brackets tight so the board would not wobble.
I fold the board down when I need to write. I fold it back up when I need the floor space again.
I work at the board in short bursts. I sit close so my back stays straight. I stand up and stretch when I finish.
I painted the board to match the shelf. I let the paint dry fully before I used the new desk top.
Now I have a desk when I need one and a bookshelf when I do not.
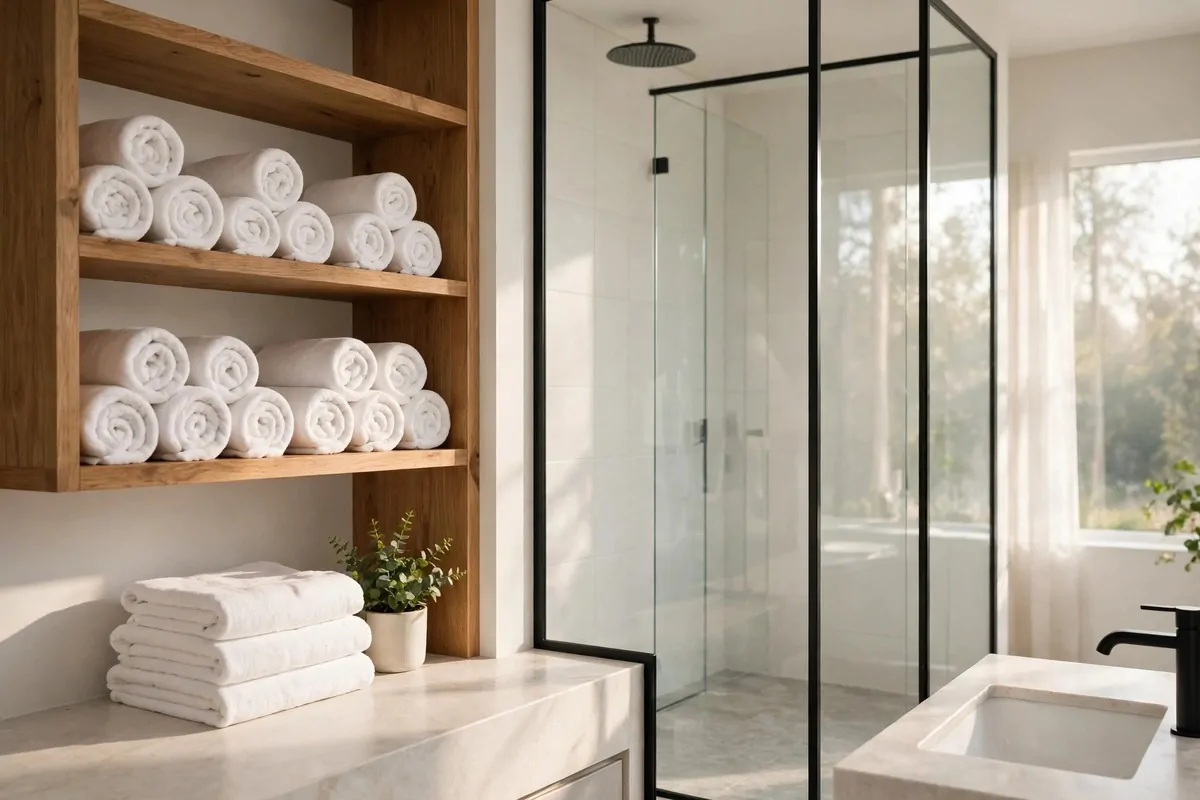
23. Turn a Bookshelf into a Bathroom Shelf for Towels
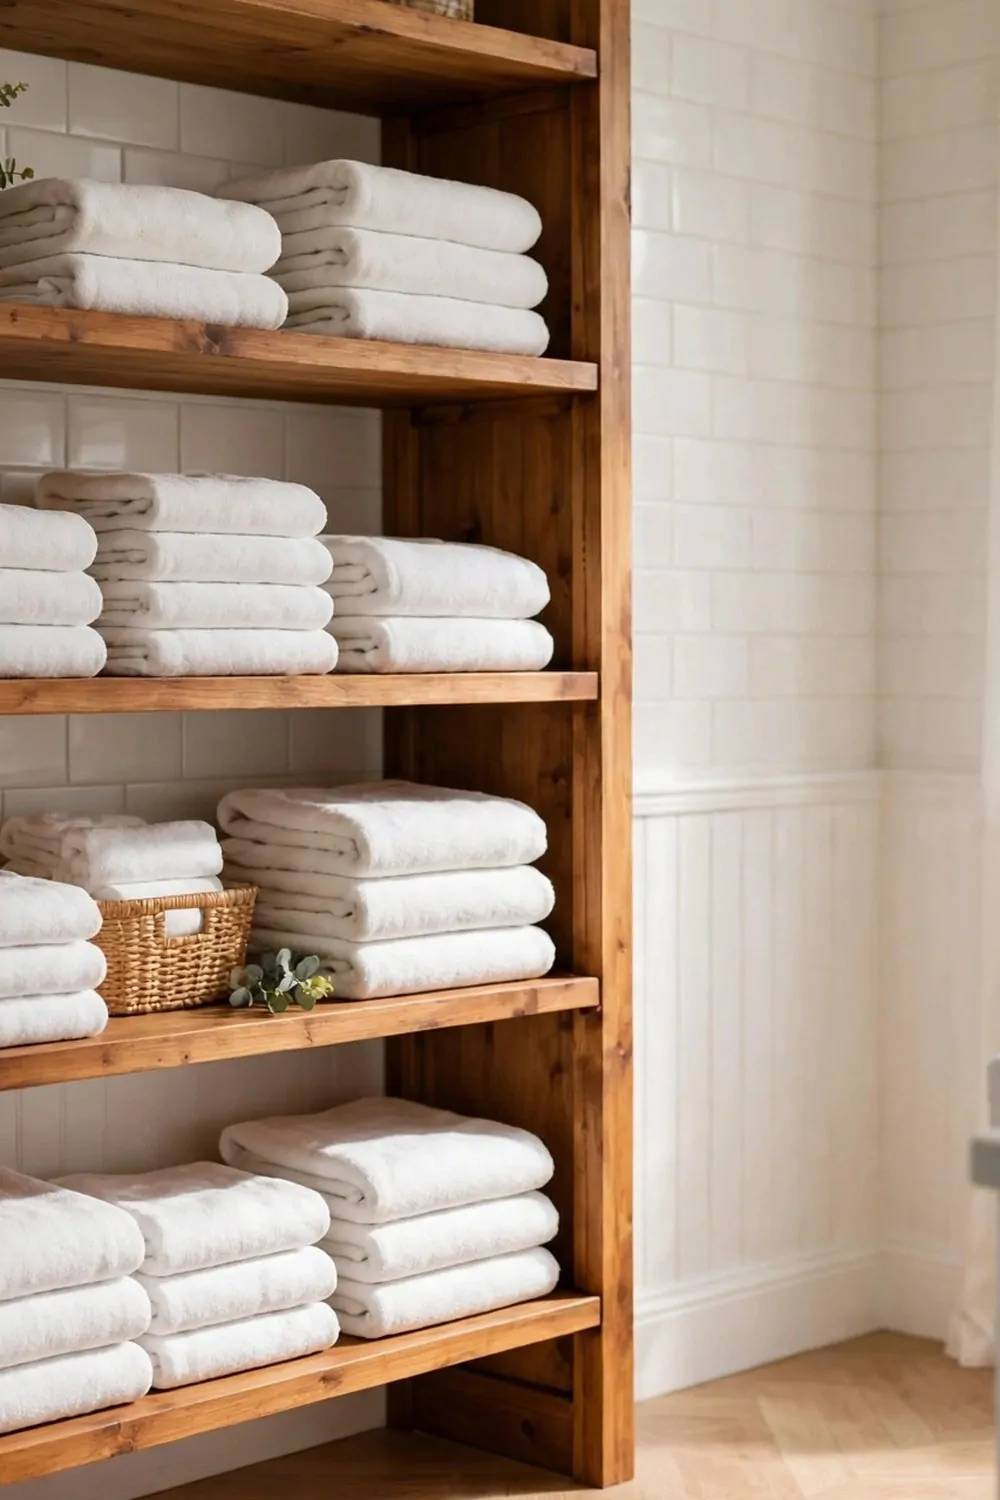
My towels lived in a pile on the floor. I turned a small bookshelf into a bathroom shelf for towels instead.
I wiped the shelf dry and checked it for loose parts.
Folded towels stack neat on wide shelves. A set of plain folded towels costs $10 to $14.
I fold each towel the same way. I stack them in small piles of three. I leave space at the front so I can pull one out with ease.
I put the towels I use each day at arm height.
I keep spare towels on the lower shelf. I fold the spare ones so they fit in a small stack.
I air the room after a shower. I leave the bathroom door open for a short while. That keeps the towels fresh and dry.
I wipe the shelves once a week with a dry cloth. That quick wipe stops dust from settling on the towels.
Now my towels have a clean home and my bathroom looks calm.
24. Paint a Bookshelf Two Tones
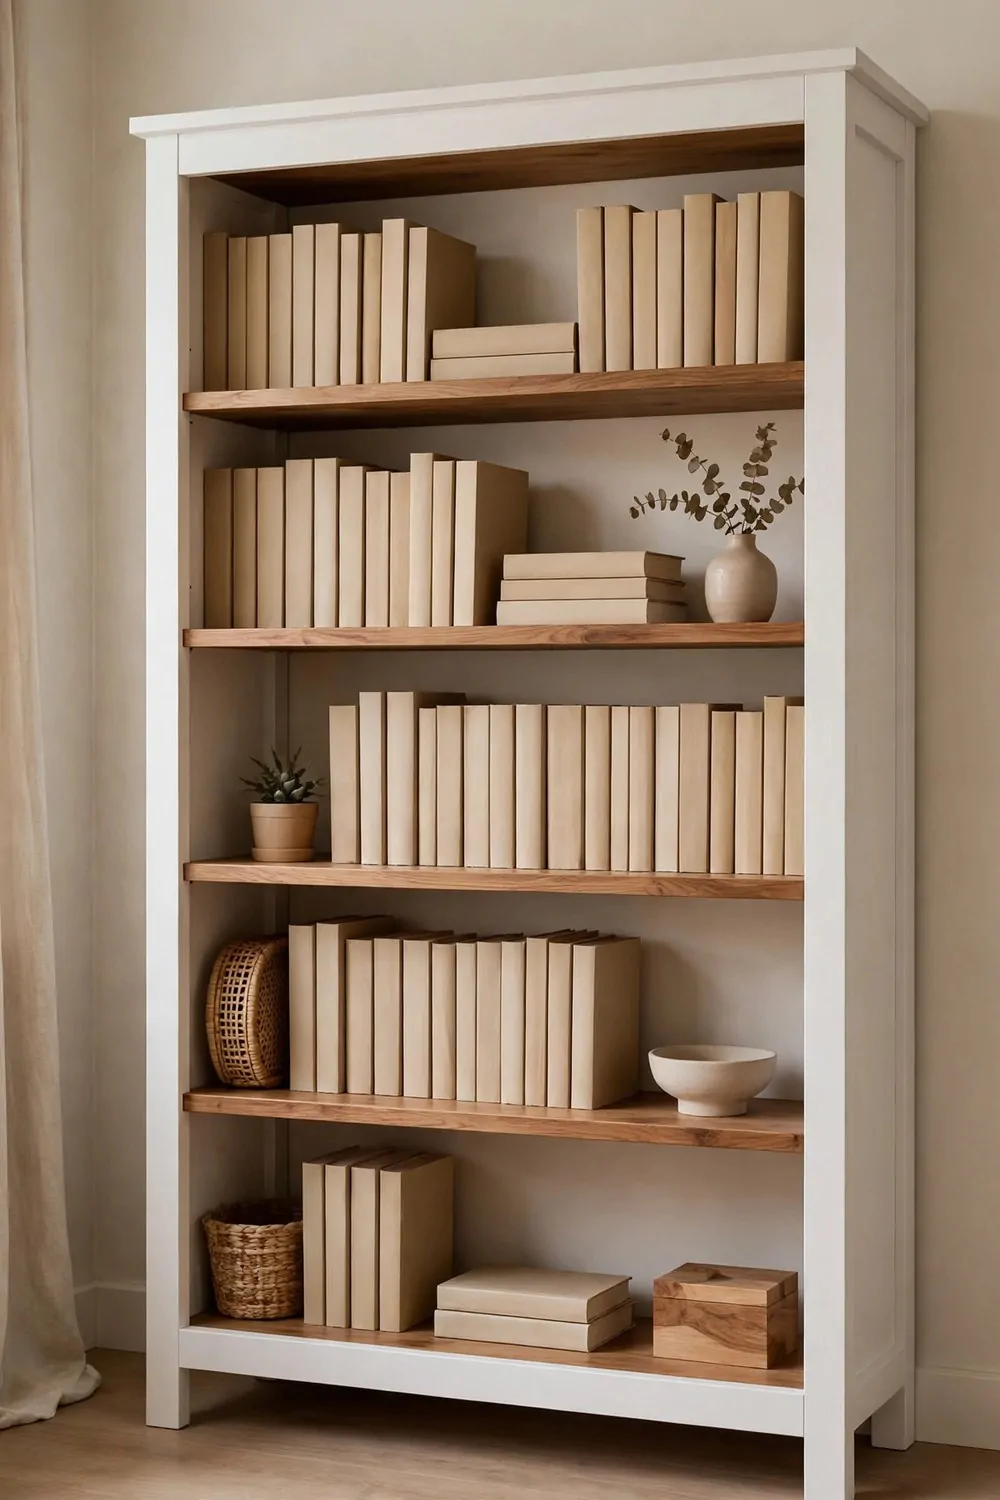
My old bookshelf looked flat and dull. I gave it two tones to wake it up.
I painted the frame soft white and left the shelves warm wood.
The soft white frame feels light and fresh. A small tin of soft white paint costs $7 to $10.
I sanded the frame light to help the paint stick. I wiped the dust away with a clean cloth. I taped the warm wood shelves so no paint would touch them.
I sand in a well-aired spot near an open door. I wear a plain mask while I sand the old frame.
I brushed on thin coats so the soft white would look smooth.
I let the first coat dry fully before I added the next one. I brushed the second coat the same way. I peeled the tape off while the last coat was still a touch soft.
The warm wood shelves stand out against the soft white frame. That soft contrast makes the whole shelf feel new.
Now the two tones work together and my books look bright on the warm wood.
25. Add Casters to a Bookshelf So It Rolls
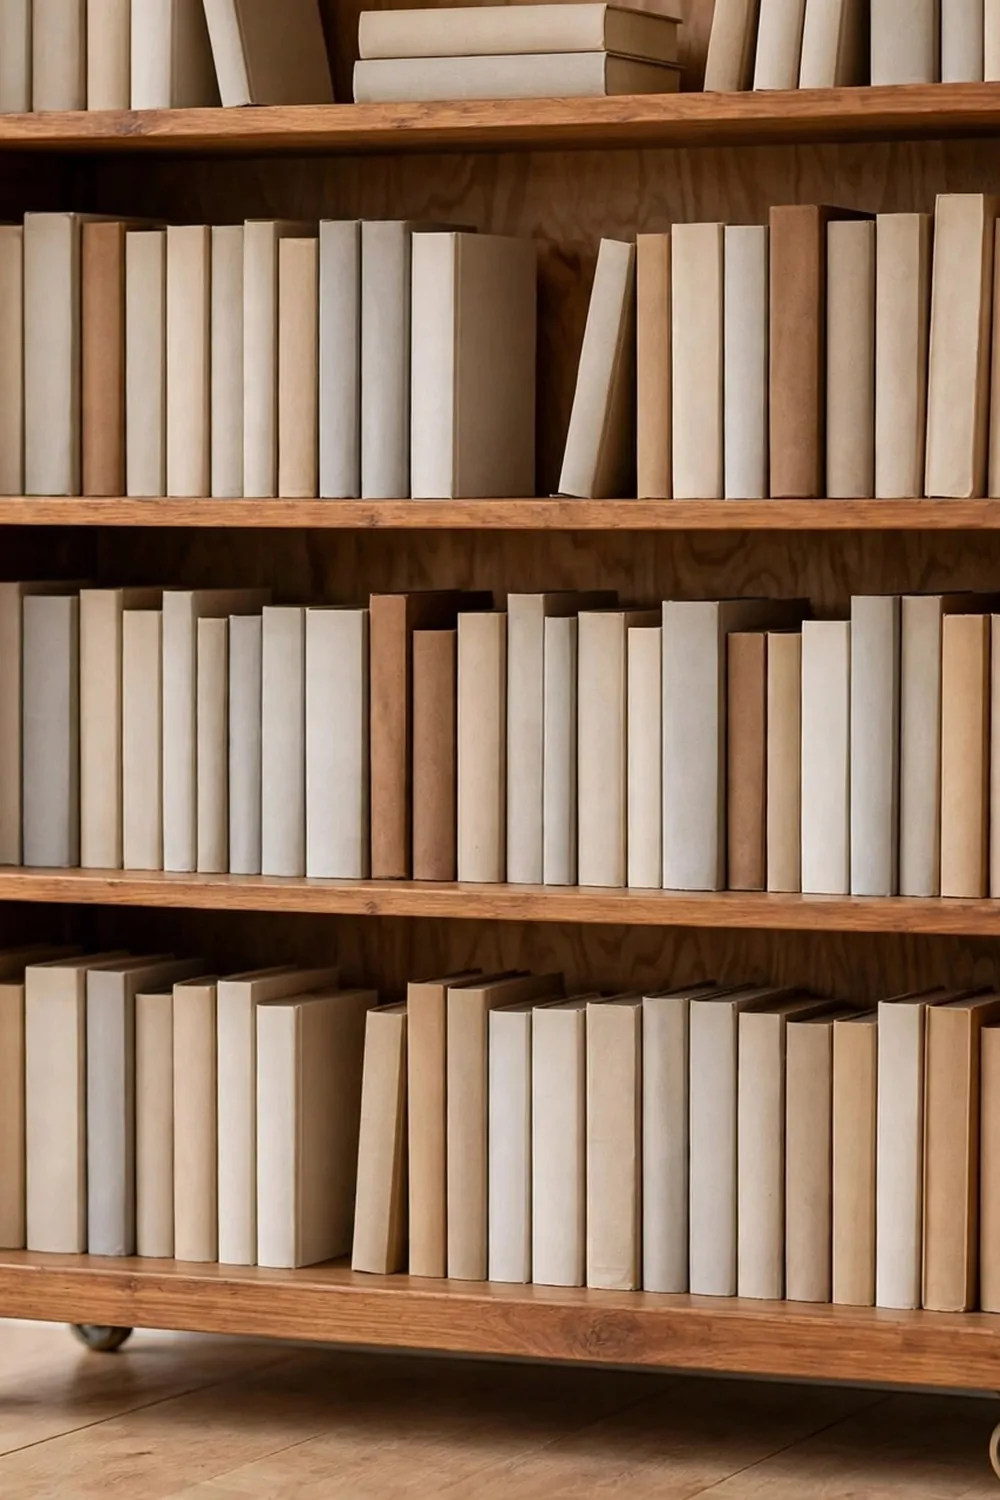
My bookshelf was too heavy to move for cleaning. I added casters so it rolls with ease.
I turned the shelf on its side to reach the base.
Plain casters let me roll the shelf out and back. A set of plain caster wheels costs $7 to $11.
I marked each spot on the base with a pencil. I drilled small pilot holes first. I fixed each caster tight with plain screws.
I sanded the base edge in a well-aired spot by the door. I wore a plain mask while I sanded that edge.
I stood the shelf back up and gave it a slow push.
It rolled smooth across the floor. I locked the wheels when it sat in place. I unlocked them when I needed to move it again.
I roll the shelf out to dust behind it each week. That quick move keeps the floor clean and the shelf fresh.
Now I can move my bookshelf alone and cleaning takes half the time.
26. Turn a Bookshelf into a Toy Shelf for a Playroom
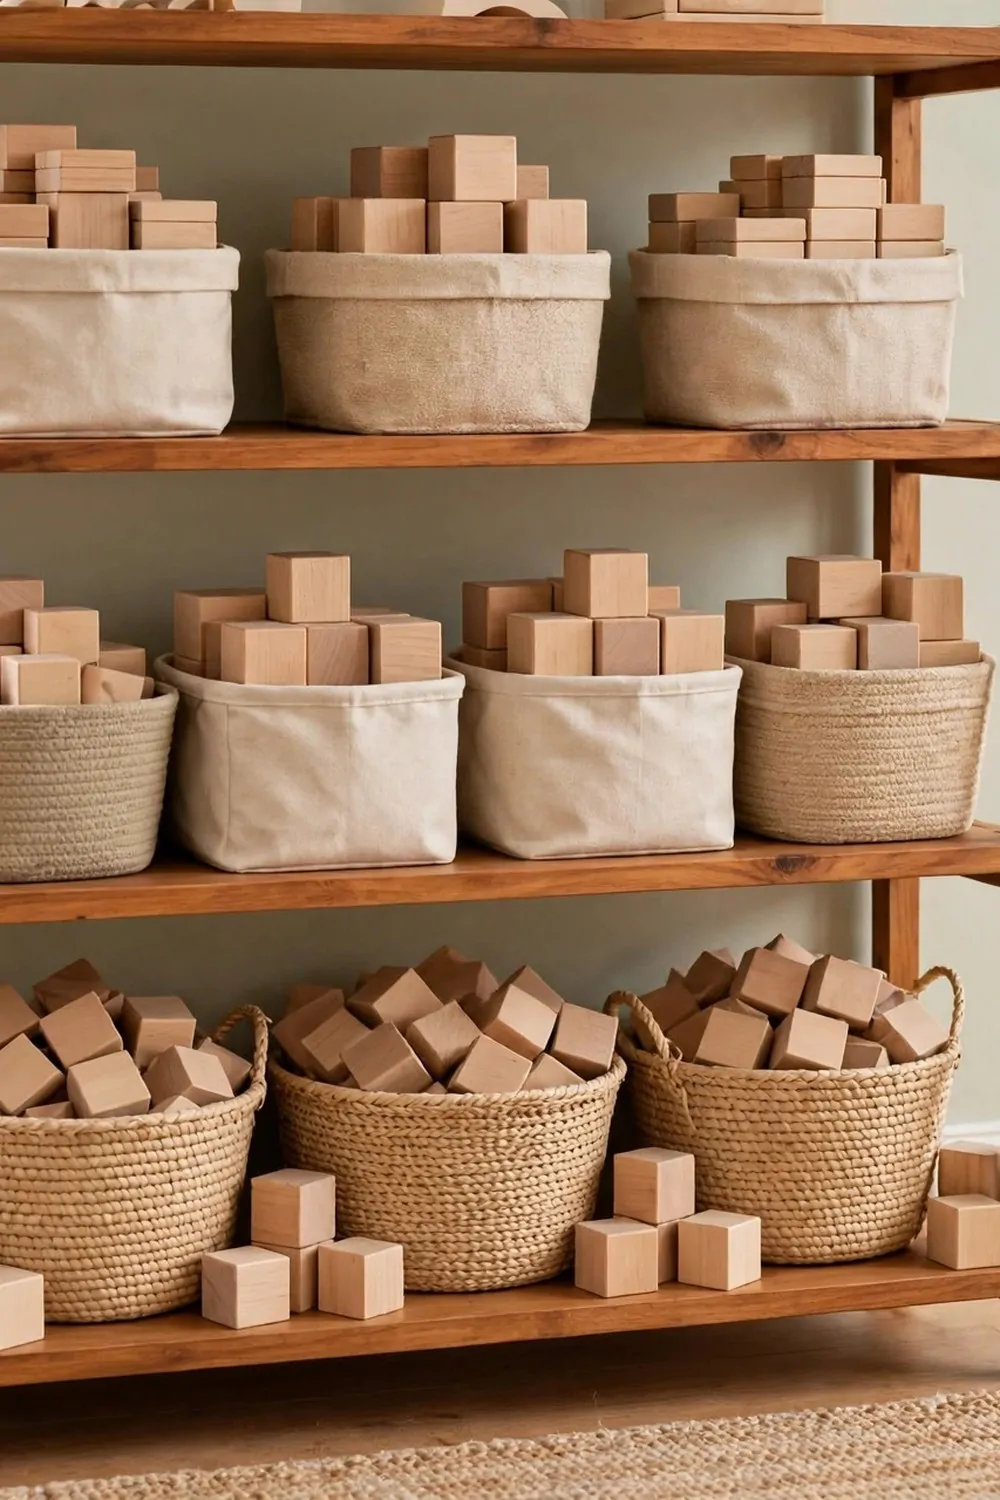
My playroom floor was covered in toys each night. I turned a low bookshelf into a toy shelf instead.
I picked a low shelf so small hands can reach each basket.
Plain baskets keep toys sorted and easy to put away. A set of plain toy baskets costs $9 to $13.
I put plain wooden blocks in the baskets. The spare blocks sit in small stacks on the shelf.
I fixed the shelf to the wall so it cannot tip over.
I show my child where each basket lives. We put the blocks back in their basket after play.
I keep the shelf low and open. I check the baskets each night. I toss worn bits in the bin when they break.
I wipe the baskets clean with a damp cloth once a week. That quick wipe keeps the playroom fresh for the next day.
Now clean-up takes a few minutes and the playroom stays fun.
27. Make a Narrow Bookshelf for a Small Bedroom
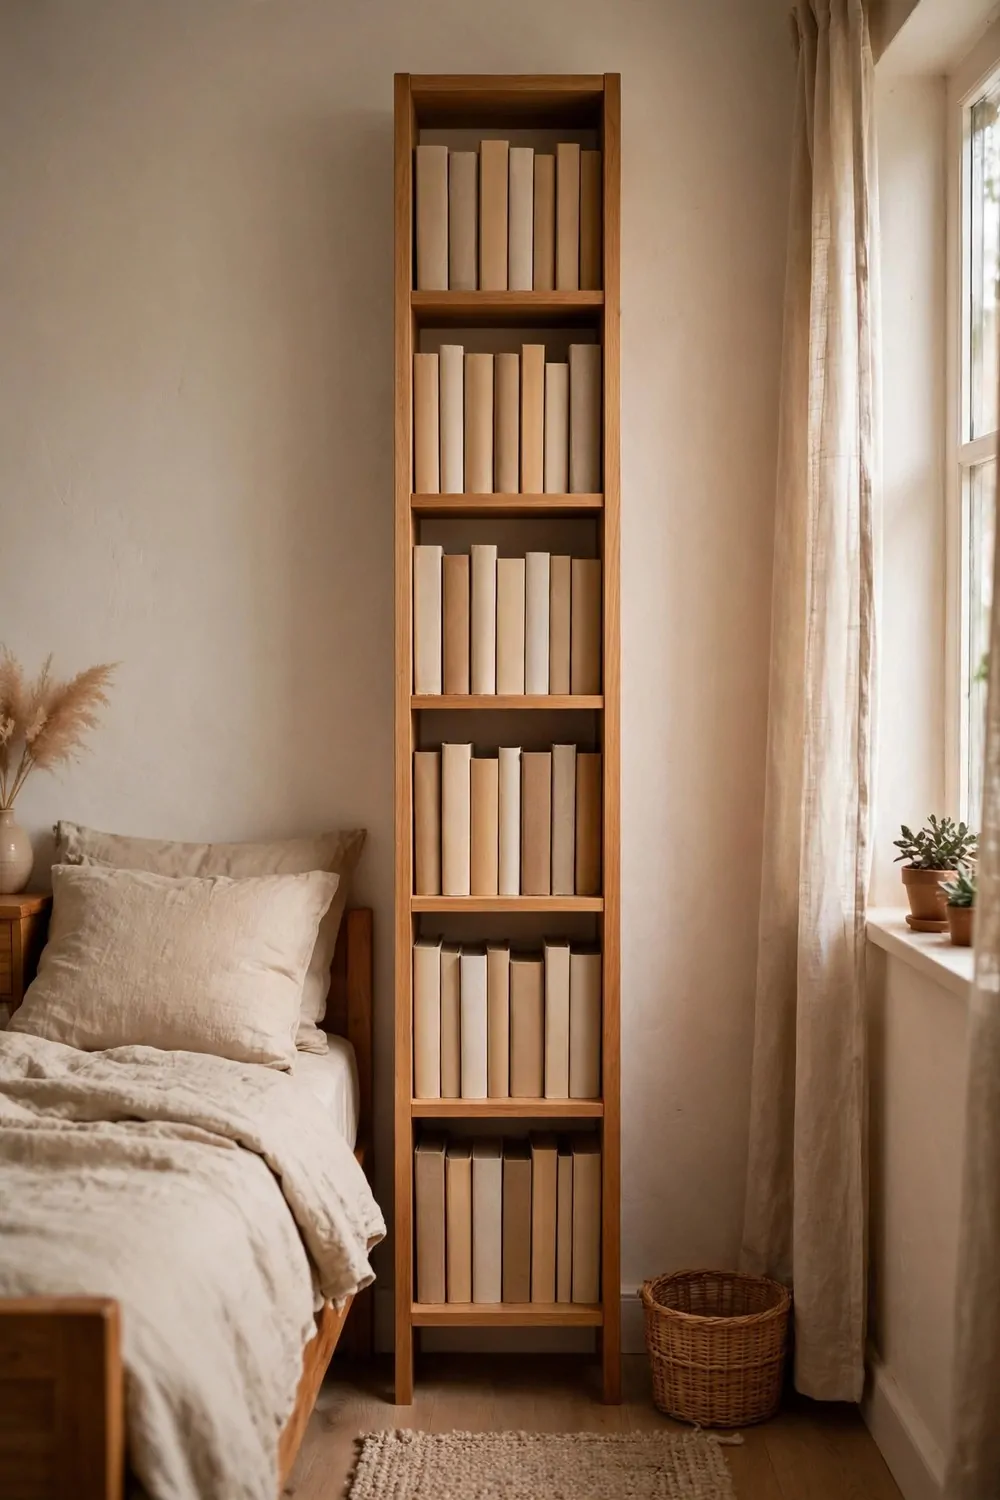
My small bedroom had no room for a wide shelf. I made a narrow bookshelf that fits the wall.
I measured the wall twice before I cut the wood.
A slim board gives me room for books without crowding the bed. A small narrow shelf board costs $7 to $10.
I cut the board to the wall width. I sanded each edge till it felt smooth to touch. I wiped the dust off before I fixed it in place.
I sand in a well-aired space by the window. I wear a plain mask while I sand the board edges.
I fixed the board level so books would not slide off.
I put my night reads on the top shelf. I put spare books on the lower shelf.
I let the paint dry fully before I put books back on the shelf. That wait keeps the paint smooth and clean.
Now my small bedroom has a shelf that fits and my books stay close.
28. Style the Top Shelf with a Vase and Books
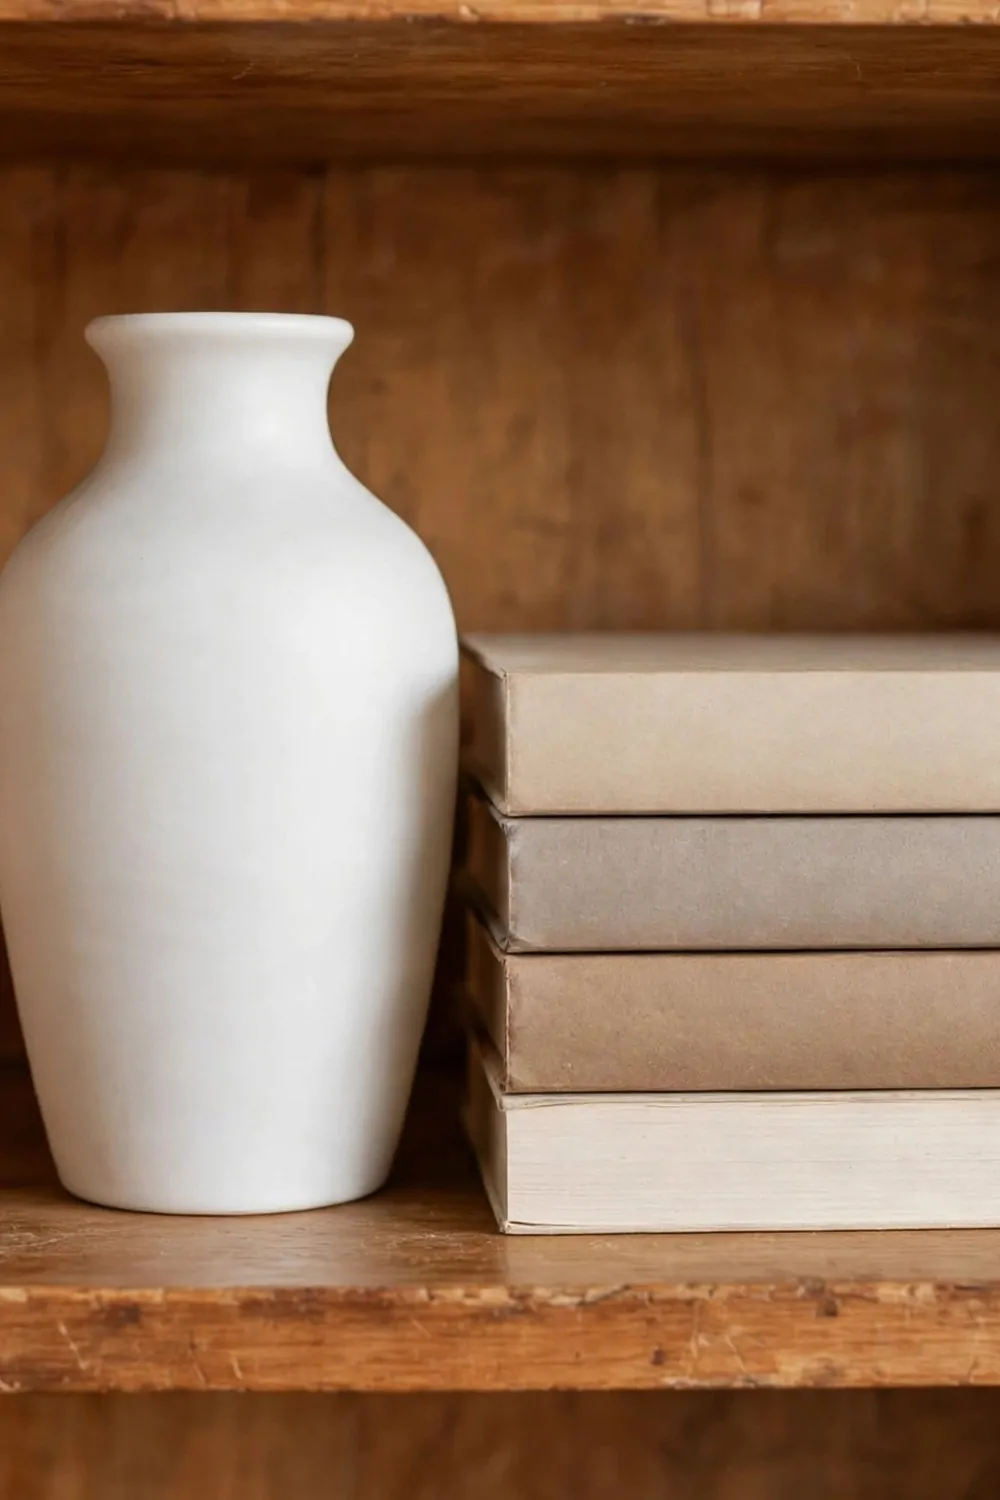
My top shelf looked bare and plain. I styled it with a vase and books instead.
I picked a plain ceramic vase that fits the shelf height.
The vase adds a soft shape to the top shelf. A plain ceramic vase costs $8 to $12.
I set the vase near one end of the shelf. I stacked books with blank spines beside it. I kept the vase close to the books so the shelf looked neat.
I kept the books in a neat stack so they would not fall over.
I put the books in a flat stack on the shelf. I placed the vase where it would not block the light.
I stepped back to check the whole shelf. I moved the vase a touch to the left. I liked the calm look it gave the room.
I dust the vase and books once a week. That quick dust keeps the top shelf bright and neat.
Now my top shelf feels styled and the room looks finished.
29. Build Your Bookshelf Care Kit
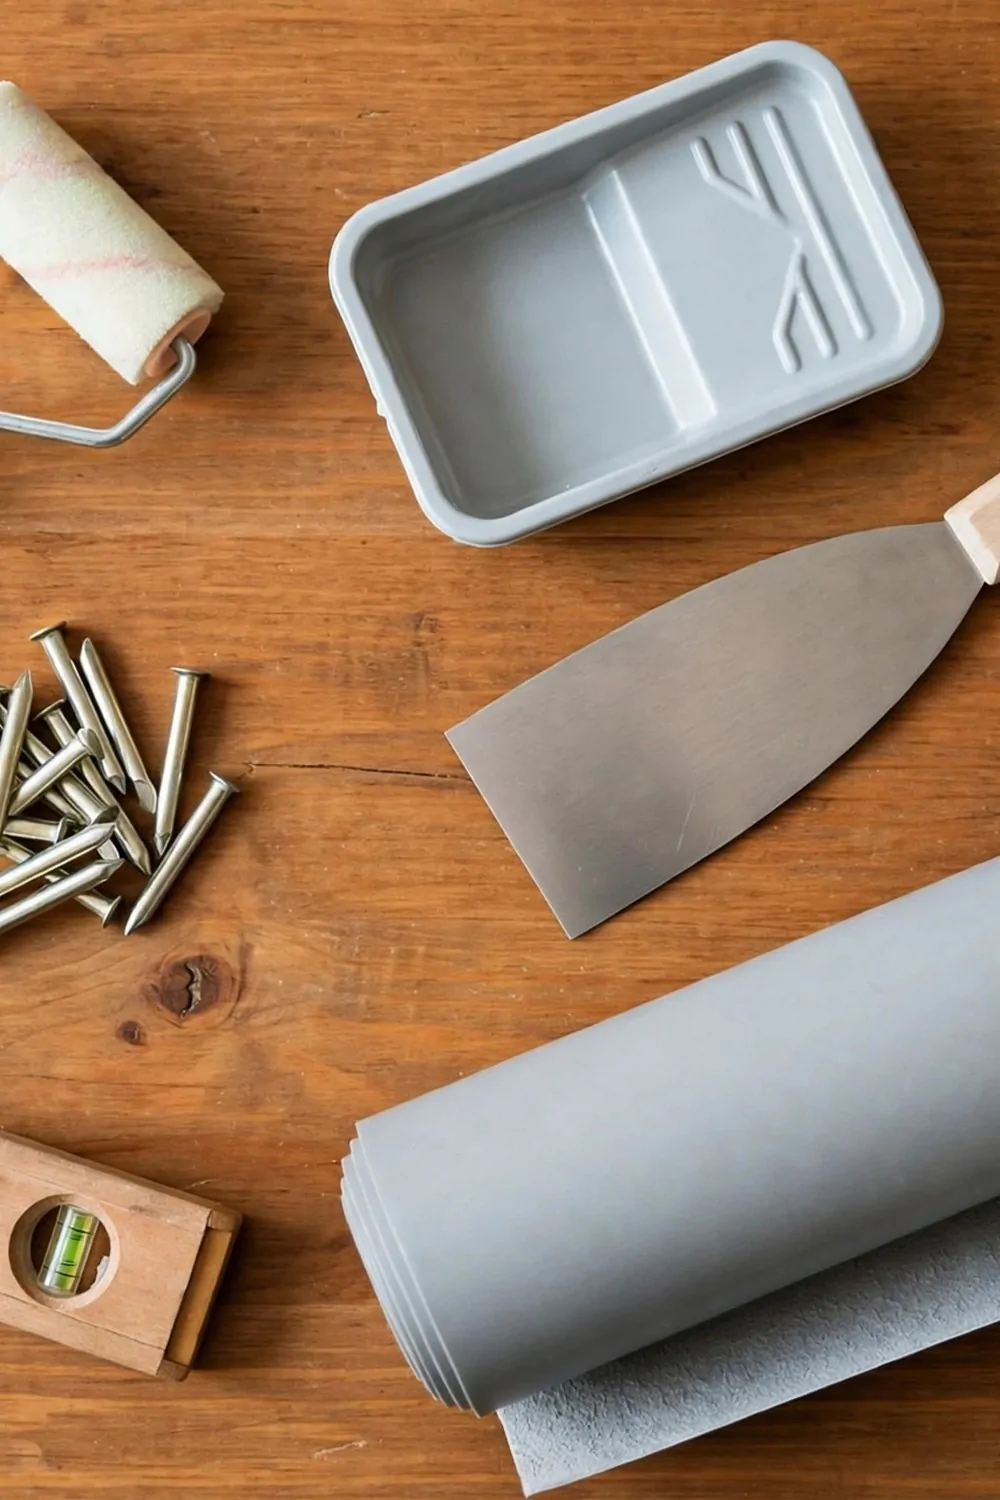
I keep a small care kit for my bookshelf so small fixes stay easy. The kit holds six plain items and each one has a clear job.
A small paint roller rolls a smooth coat on wide shelf boards. A small paint roller costs $6 to $10.
A small paint tray holds paint for the roller while I work. A small paint tray costs $3 to $6.
A plain putty knife spreads filler smooth on small dents. A plain putty knife costs $4 to $7.
A pack of plain shelf pins holds spare shelves at the height I need. A pack of plain shelf pins costs $2 to $4.
A roll of plain shelf liner keeps the shelves clean and neat. A roll of plain shelf liner costs $5 to $8.
A small plain level tells me the shelf sits straight on the wall. A small plain level costs $6 to $9.
I use the kit one piece at a time and I put each item back when I finish.
The whole kit costs $26 to $44.
| Item | Main change | Typical cost |
|---|---|---|
| A small paint roller | rolls a smooth coat on wide shelf boards | $6 to $10 |
| A small paint tray | holds paint for the roller while I work | $3 to $6 |
| A plain putty knife | spreads filler smooth on small dents | $4 to $7 |
| A pack of plain shelf pins | holds spare shelves at the height I need | $2 to $4 |
| A roll of plain shelf liner | keeps the shelves clean and neat | $5 to $8 |
| A small plain level | tells me the shelf sits straight on the wall | $6 to $9 |
| Total | $26 to $44 |
Keep Reading
If you liked these ideas, you will love these posts too.
- 21 Coffee Table Flip Ideas on a Small Budget
- 28 Chair Makeover Ideas That Give Old Seats New Life
- 24 Secondhand Furniture Finds That Look Expensive
- 32 Painted Furniture Ideas That Transform Old Pieces
- 25 Old Dresser Makeover Ideas That Look Expensive
- 27 Upcycled Furniture Ideas for Every Room
Choose one bookshelf idea from this list this weekend and give your oldest shelf a new life.