33 Vegetable Garden Ideas for First Time Growers

I never thought I could grow food until the year I tried one small pot on our step and it worked.
I am not a skilled gardener at all. I learn by trying small things and seeing what happens next.
My first pot gave me a few green leaves to pick for our meals. It was a small win, but it made me want to try more.
If you have never grown vegetables before, you are in the right place. You do not need a big garden or fancy tools to start.
You need a sunny spot, some good soil, water, and a bit of patience. The rest you can learn as you go, one plant at a time.
I will walk you through the easy first steps in plain words. We will keep it simple and fun, not hard or stressful.
All 33 ideas are right here in this one post for you to read through from start to finish.
1. Pick a Sunny Spot First
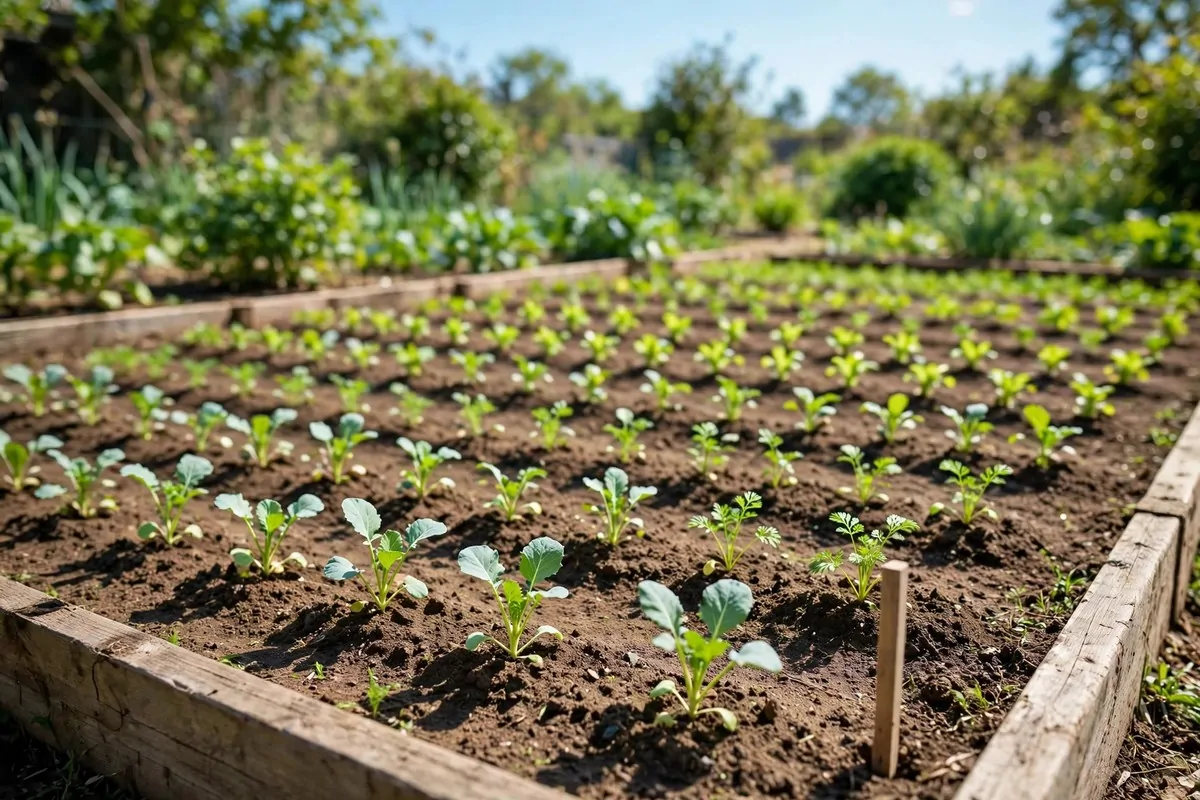
Most vegetables love the sun, so start by watching where the sun falls in your yard. Pick the spot that stays bright for most of the day.
I stood in our yard one morning with a cup of tea and just watched the light move. The sunny corner near the fence was bright by nine and stayed bright till late.
You want at least six hours of sun for most vegetables. Less sun means slow growth and fewer leaves to pick.
Do not pick a spot under a big tree if you can help it. The shade and the roots make it hard for young plants to grow.
A spot near your back door is a smart pick for a first garden. You will see it every day and you will not forget to water it.
Check the spot after rain too. If water sits there for a long time, pick a drier spot close by.
A bag of compost and a cheap soil test kit for this spot will set you back around $18 to $42 in total.
Mark your sunny spot with a few sticks or stones so you remember it. Then you can plan what to plant there first.
Once you have your sunny spot, you are ready for the next step. It feels good to have a real place to start.
2. Test Your Soil Before You Plant
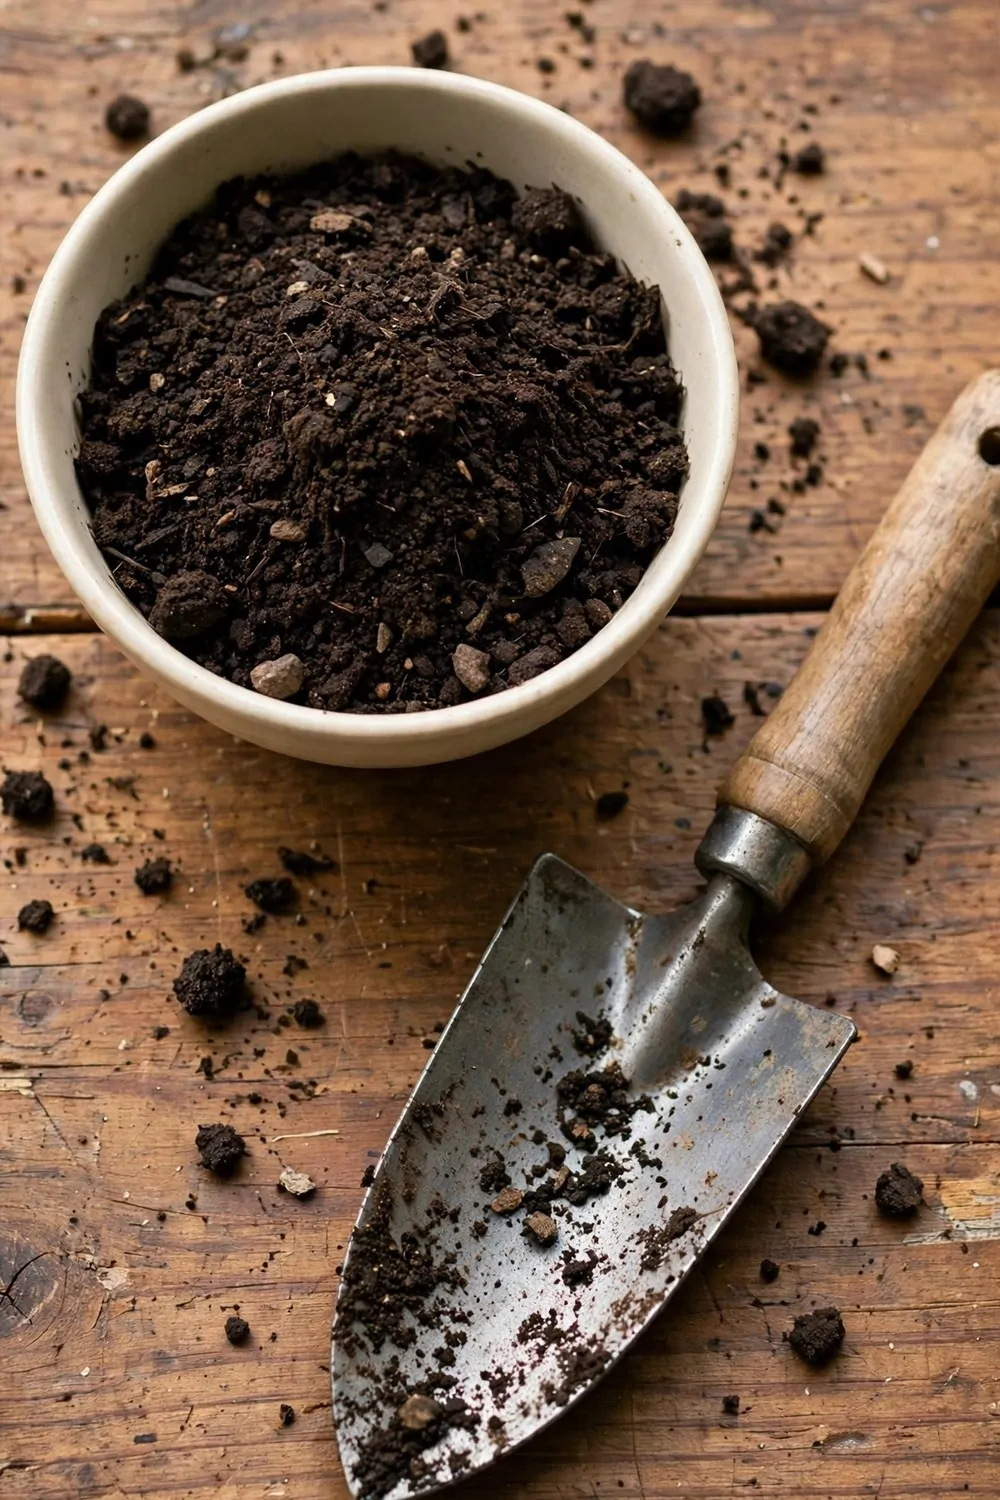
Good soil makes a big difference, and a simple test tells you what you have. You can buy a small kit at a garden shop.
I did not test our soil in my first year, and my plants grew thin and pale. A test would have saved me a lot of guess work.
The kit is easy to use, and you just follow the steps on the box. You mix a little soil with water and wait for the colour to change.
If your soil is very sandy, it will dry out fast. If it is heavy clay, it will stay wet and hard.
Most vegetables like soil that is soft and dark and full of life. You can make poor soil better with compost over time.
You can get a simple soil test kit and a bag of garden lime for about $15 to $38, and that is all you need here.
Ask at the garden shop if you are not sure what the result means. They see these kits every day and they can help you in plain words.
Write your result down on a bit of paper and keep it in a drawer. It helps you remember what to add next year too.
Testing first means fewer sad plants later. It is a small job that pays off all season.
3. A Small Raised Bed to Start
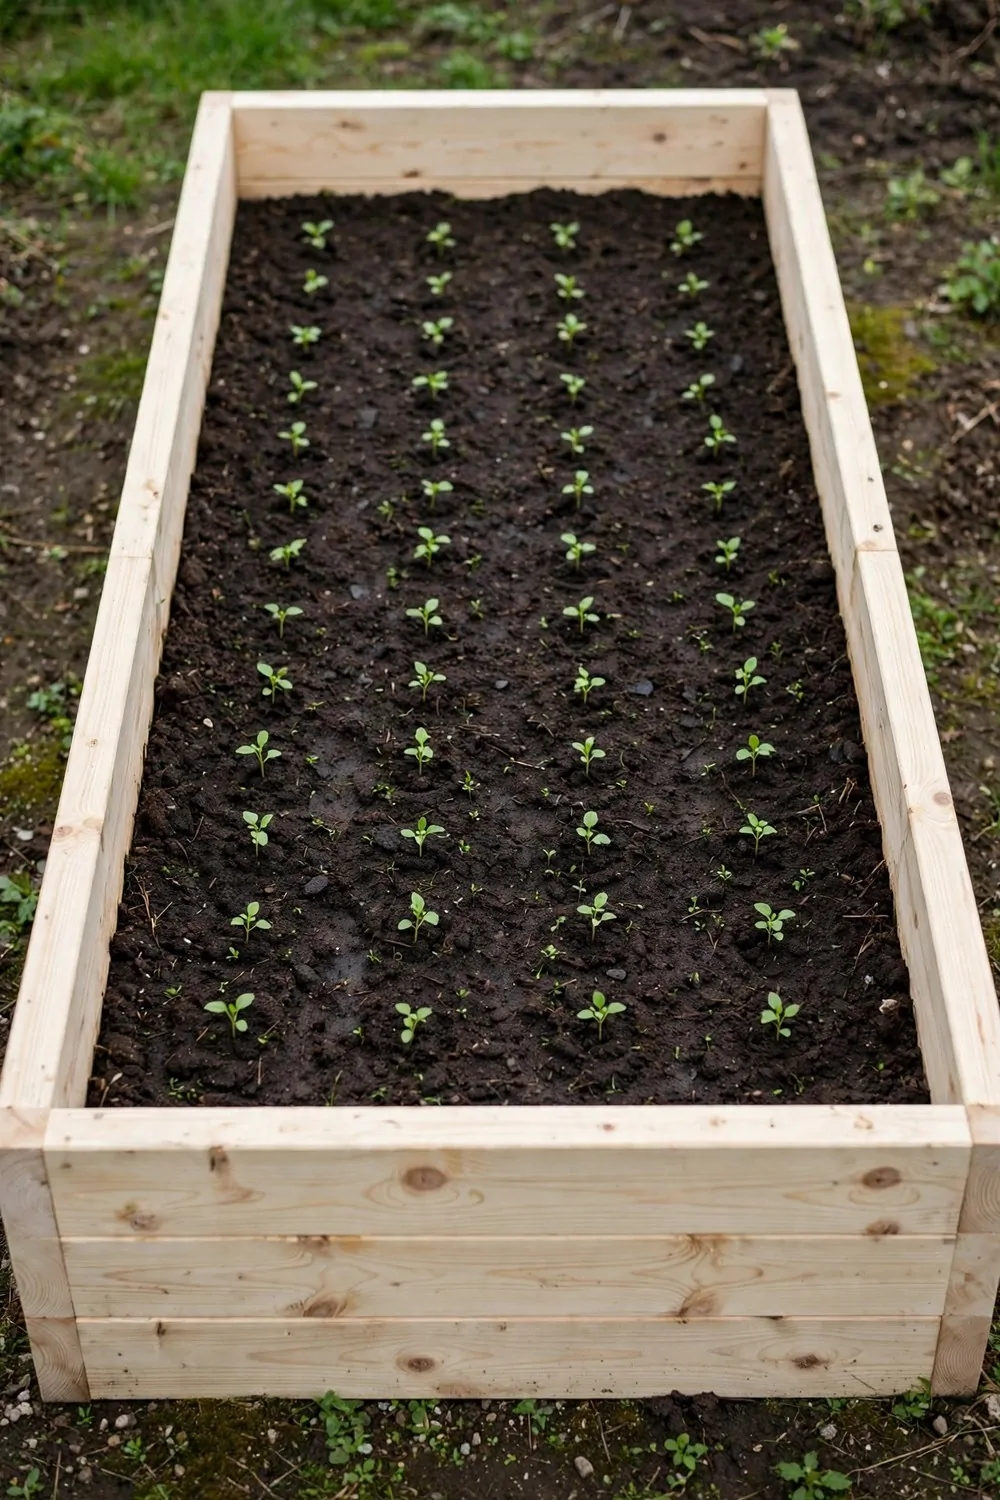
A raised bed is just a low box filled with good soil, and it is perfect for a first garden. You can build one in a weekend.
I made our first bed from four plain boards and a few screws. It was not pretty, but it worked really well.
Keep it small, about as long as your arm span and as wide as you can reach across. You need to reach the middle without stepping in it.
Put the bed on flat ground in your sunny spot. Fill it with a mix of garden soil and compost, and pat it down lightly.
For the wood, soil and screws for one small bed, plan on spending somewhere near $55 to $110.
Do not step inside the bed once it is filled. Stepping down makes the soil hard, and roots do not like hard soil.
Plant just a few things in your first bed. A small bed full of healthy plants beats a big bed full of sad ones.
Water the soil well before you plant anything in it. Wet soil settles down and gives your seeds a soft place to start.
A small raised bed feels easy to look after. You can see all your plants at once, and that makes it fun.
4. Growing Straight in the Ground
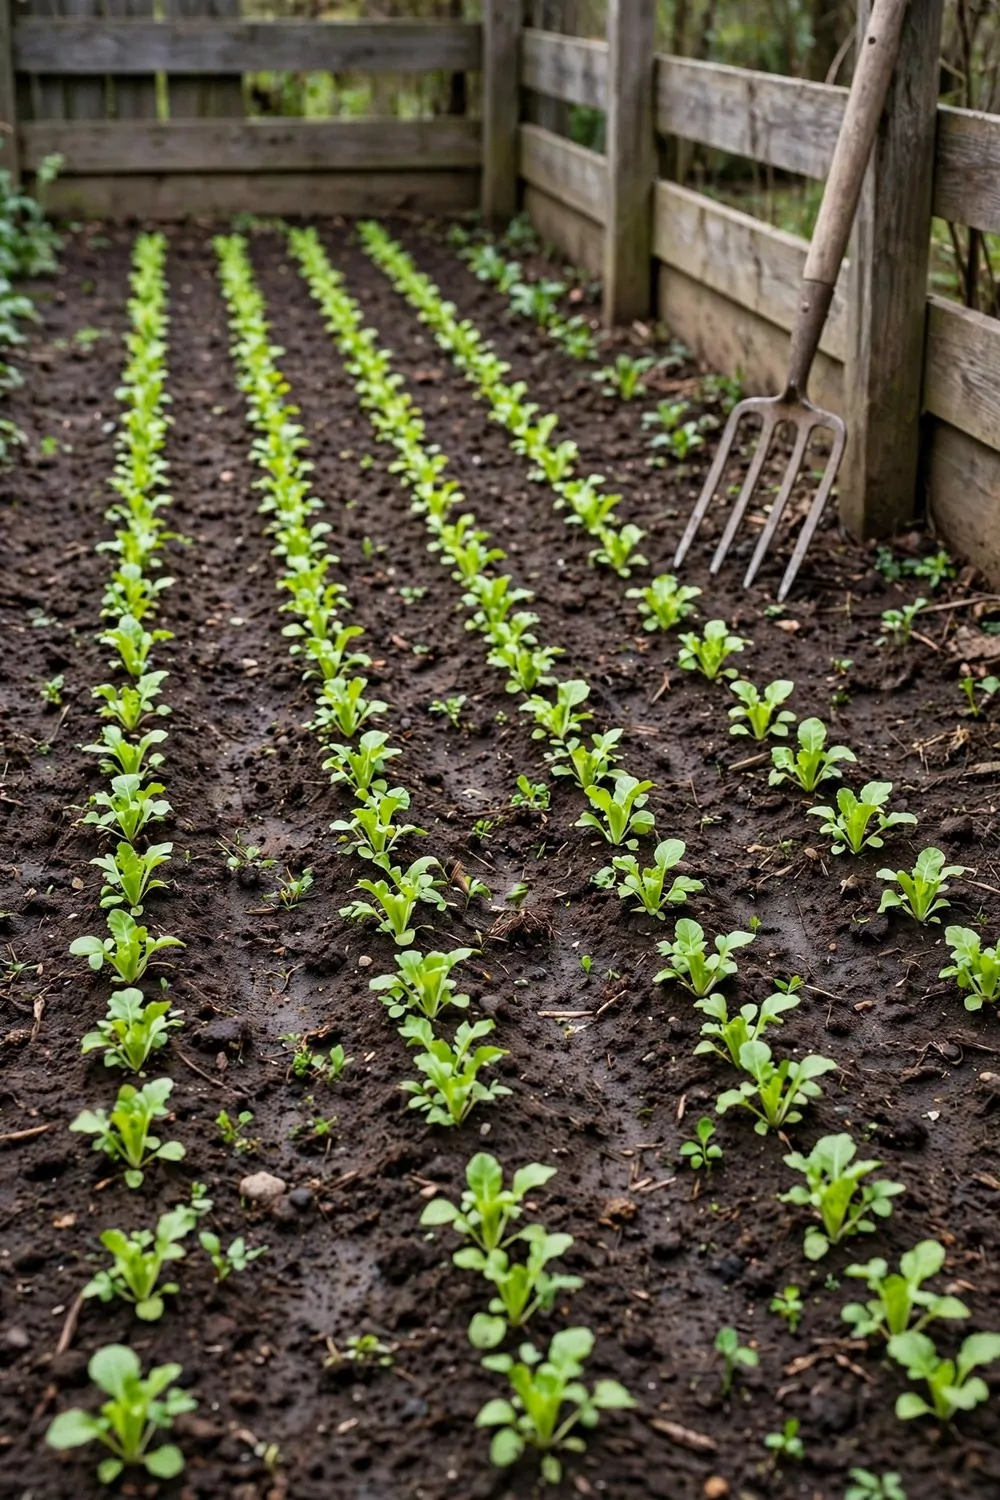
You do not need a box or a pot to grow vegetables. You can plant straight in the ground if your soil is decent.
I cleared a small patch in our yard with a fork and my hands. It took one afternoon, and it was hard work but worth it.
Pull out the weeds first, roots and all. Then dig the soil over with a fork so it is loose and soft.
Mix in a bag of compost as you dig. Compost feeds the soil and helps it hold water in a good way.
Starting in the ground is cheap, and a fork, a bag of compost and a packet of seed will come to roughly $22 to $48.
Make your rows with a bit of space between them. You need room to walk and to pick without stepping on young plants.
Plant your seeds in straight lines if you can. It looks neat, and it is easier to tell weeds from your real plants.
Water the patch gently after you plant. A soft rain of water is best, not a hard blast from a hose.
Growing in the ground feels like real gardening to me. It is simple, and the plants seem to love the space.
5. Containers for a First Garden
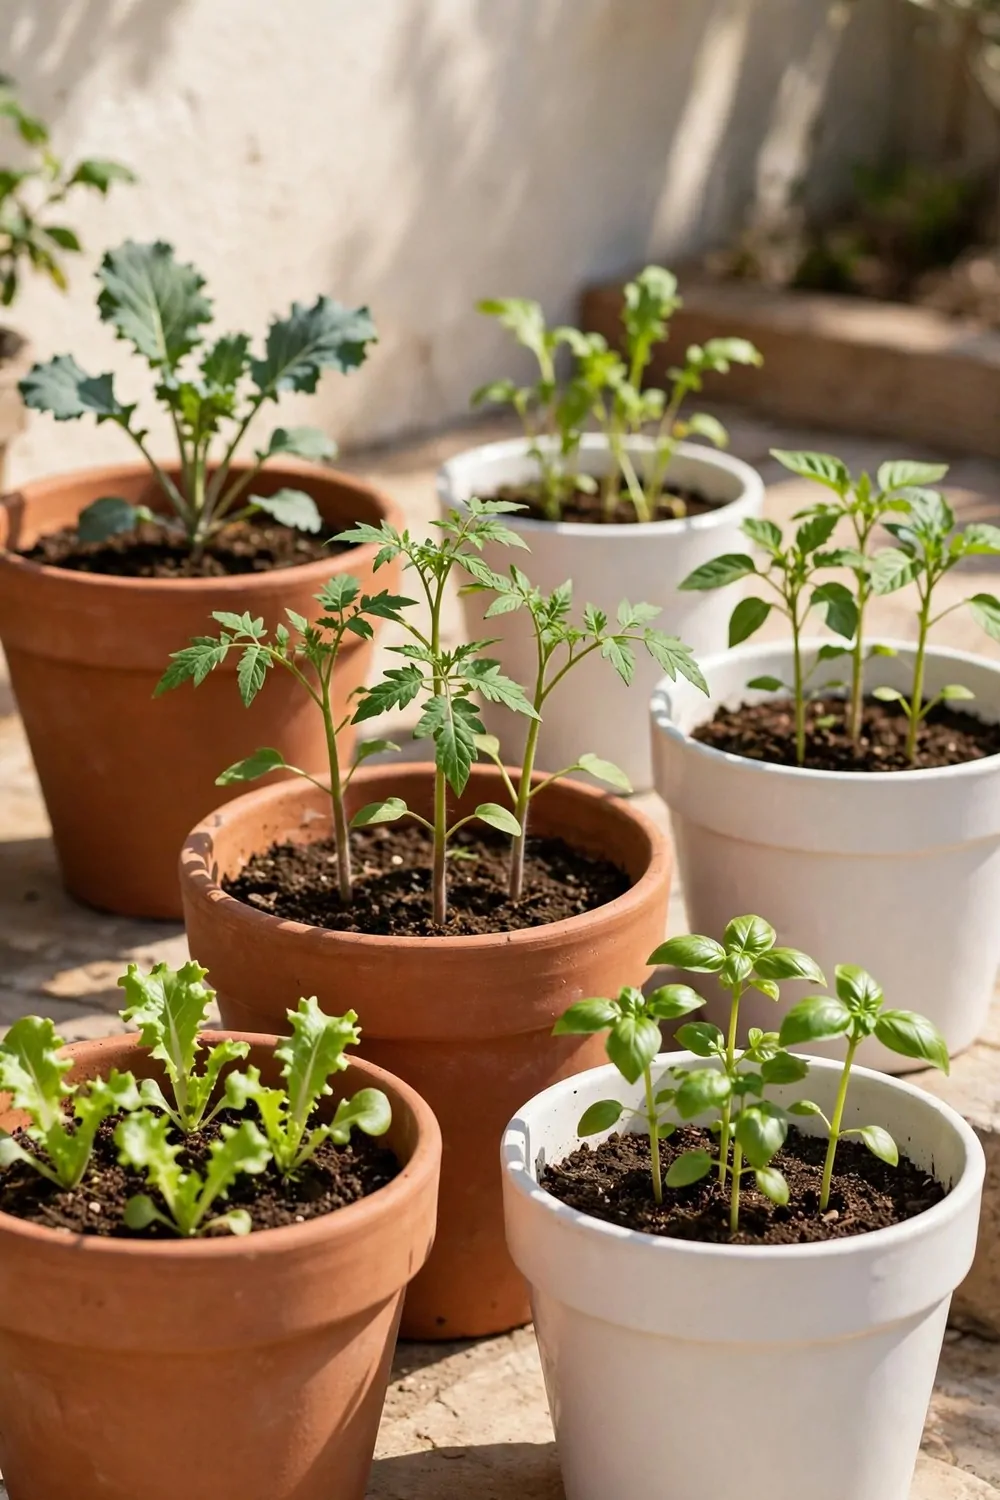
Pots are great if you have no yard at all. You can grow a lot of food in a few big pots on a patio or step.
I grew my first beans in a big pot by our door. I watered it each morning, and it grew taller than I thought it would.
Pick pots with holes in the bottom so extra water can drain out. Plants do not like sitting in a puddle.
Use big pots if you can, not tiny ones. Big pots hold more soil, and more soil means more water for hot days.
Three large pots, soil and a few small plants will cost you in the region of $45 to $95.
Put a saucer under each pot if it sits on a patio. It stops water marks and keeps the soil damp a bit longer.
Fill each pot with fresh potting soil, not soil dug from the yard. Potting soil is light and soft, and roots grow well in it.
Move your pots to follow the sun if you need to. That is the best part of pots, you can shift them around.
Start with two or three pots, not ten. You will learn fast, and you can add more pots next year.
6. Tomatoes for Beginners
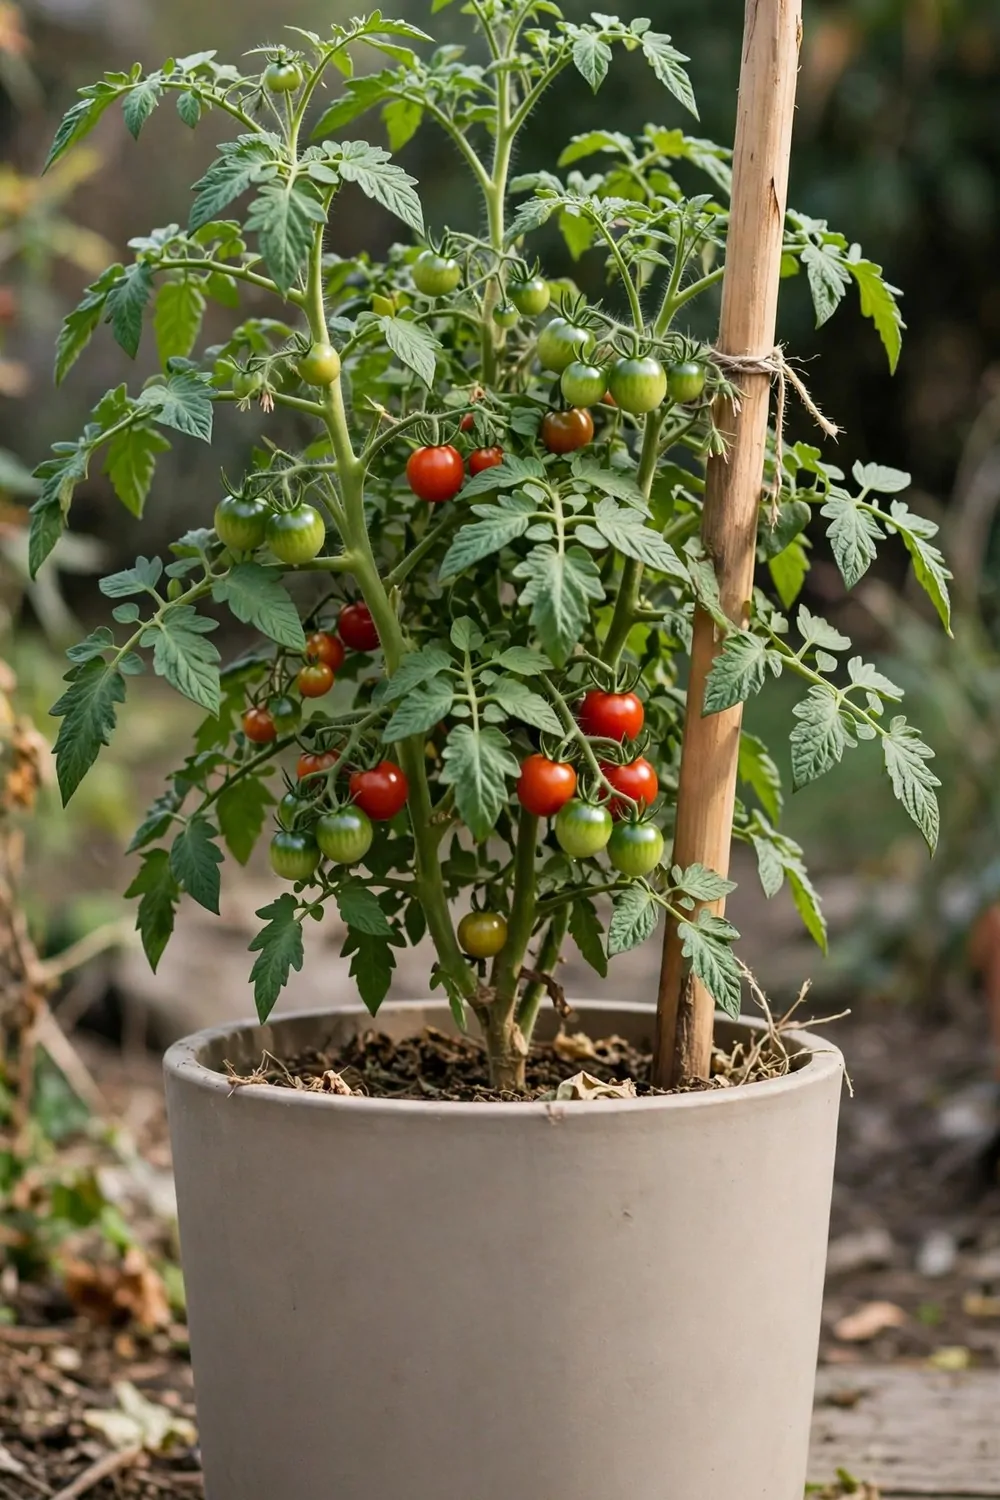
Tomatoes are a top pick for a first garden, and they taste so much better fresh from the plant. You will love picking your own.
I plant one or two tomato plants each year, and that is enough for us. More than that is a lot of fruit to use up.
Buy a small plant from a garden shop if you are new to this. Seeds take longer, and a young plant gives you a head start.
Plant it deep in warm soil after the last cold nights have passed. Tomatoes hate cold, so wait for warm days.
One tomato plant, a stake and a bag of compost should add up to about $20 to $45.
Push a tall stake into the soil next to the plant and tie the stem to it loosely. The plant will grow tall and need the support.
Water the base of the plant, not the leaves. Wet leaves can get spots, but wet roots are just what it wants.
Pick the fruit when it is red and a little soft. Eat it the same day with bread or in a simple salad, and you will taste the difference.
Tomatoes need sun and steady water, and they will give you fruit for weeks. It is a happy plant to grow first.
7. Lettuce You Can Pick in Weeks
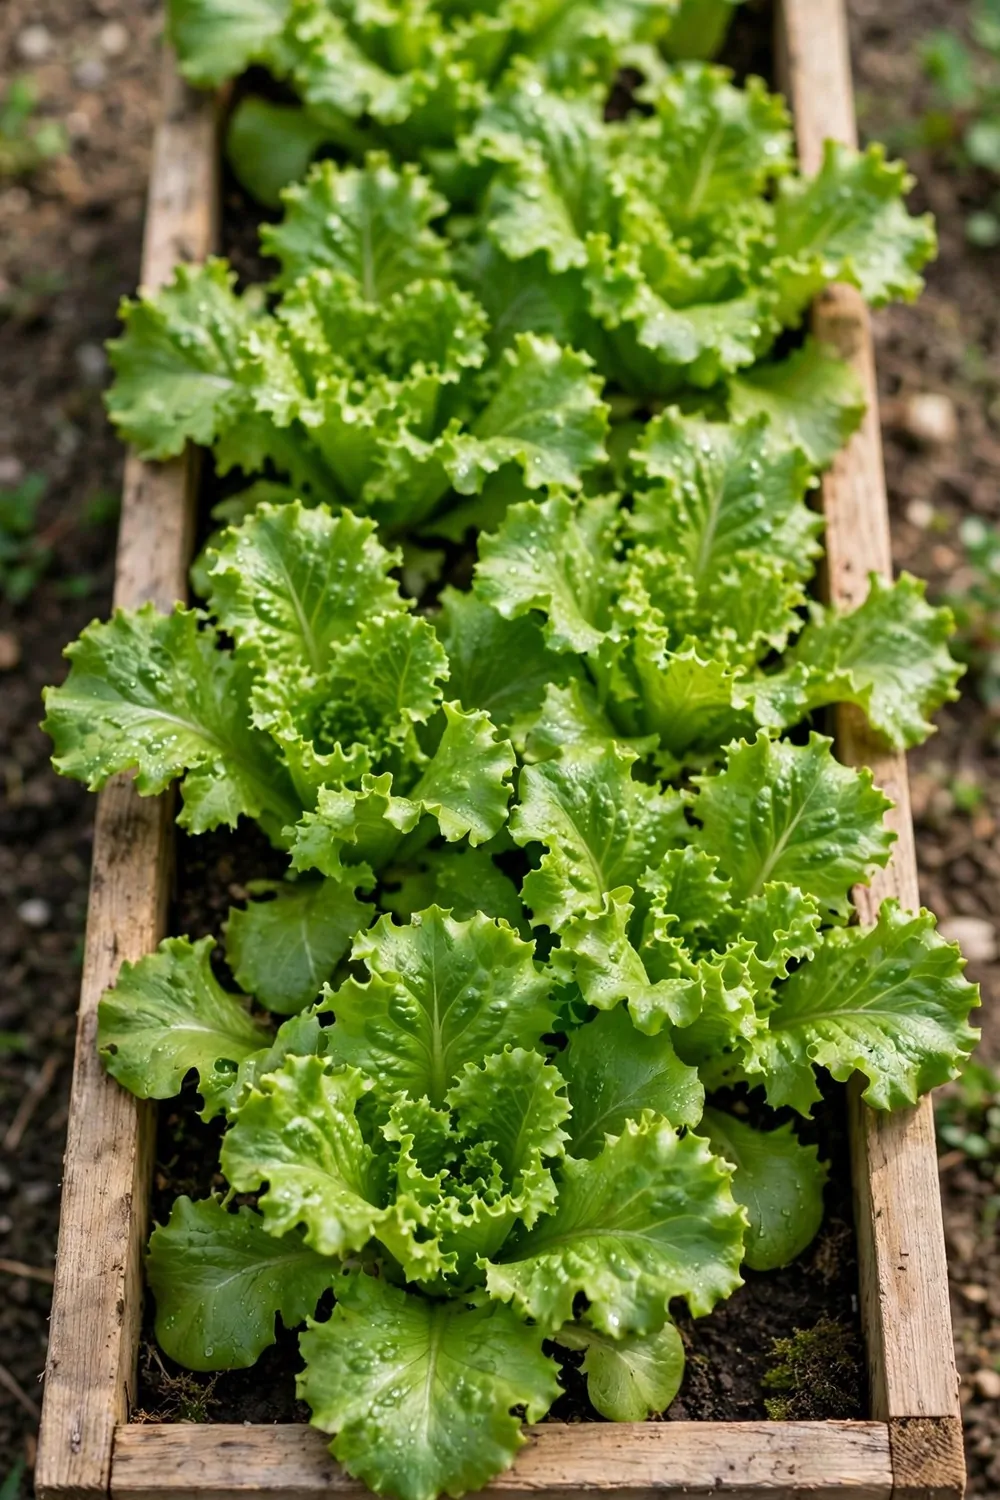
Lettuce is one of the quickest vegetables to grow, and it is very kind to new growers. You can pick leaves in just a few weeks.
I sow a short row of lettuce every few weeks in spring. That way we always have fresh leaves for our meals.
Sow the seeds thinly in soft soil and cover them with a light dusting of soil. They are tiny, so do not bury them deep.
Keep the soil damp while the seeds sprout. A dry patch will stop them, but a damp patch helps them pop up fast.
A packet of lettuce seed, a shallow tray and a bag of fine soil comes to around $12 to $30.
Pick the outer leaves first and leave the middle to keep growing. That way one plant gives you leaves again and again.
Lettuce likes a bit of shade on very hot days. If the sun is strong, give it a light cover in the middle of the day.
Wash the leaves well in plain water before you eat them. Then add them to a bowl with vegetables and bread for a simple meal.
Lettuce is a fast win, and it builds your trust in the garden. You will want to grow it again next year.
8. Radishes, the Fastest Win
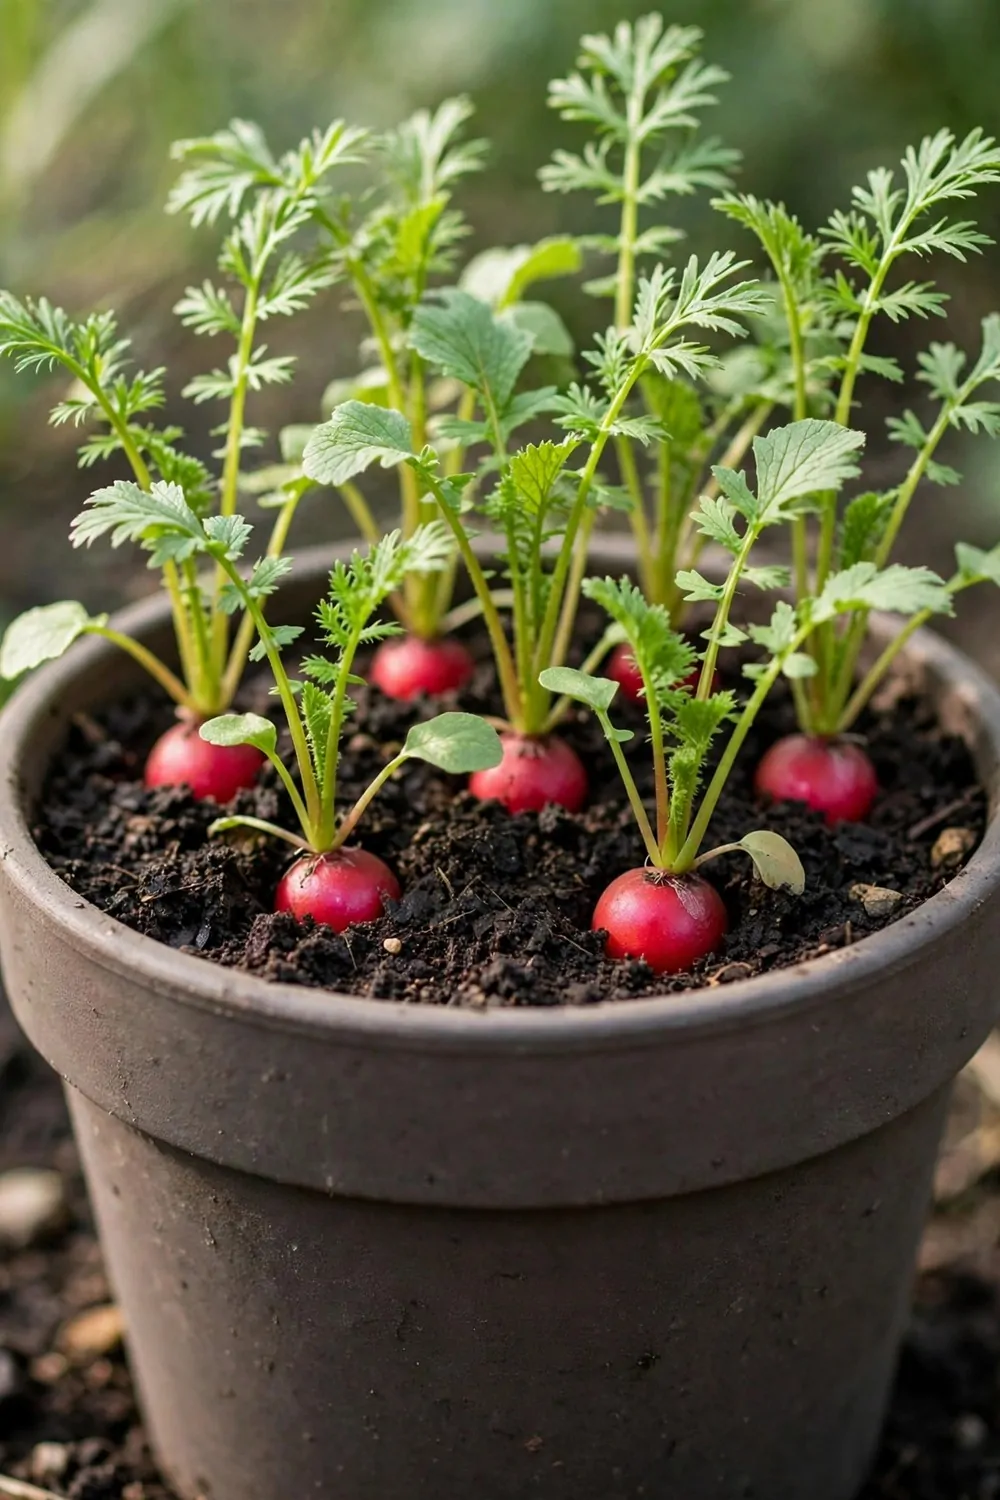
Radishes grow faster than almost any other vegetable. You can sow them and pick them in less than a month.
I sow radishes with my kids, and we check them every day. They pop up fast, and that keeps us all keen to look.
Sow the seeds in a short row, about a finger apart. Cover them lightly and water them in with a soft sprinkle.
They like loose soil and steady water. If the soil dries out, they can turn tough and hot in taste.
Radish seed is one of the cheapest buys in the garden, and a packet plus a bag of soil will be about $10 to $24.
Thin the small plants if they grow too close together. Pull out the weak ones so the rest have room to swell.
Pull one up to check its size before you pick them all. If it looks like a small round root, it is ready to eat.
Wash them well and slice them into a salad with lettuce and beans. They add a fresh crunch that we all like.
Radishes are perfect if you want a quick result. They show you that growing food can be fast and fun.
9. Beans That Climb and Give
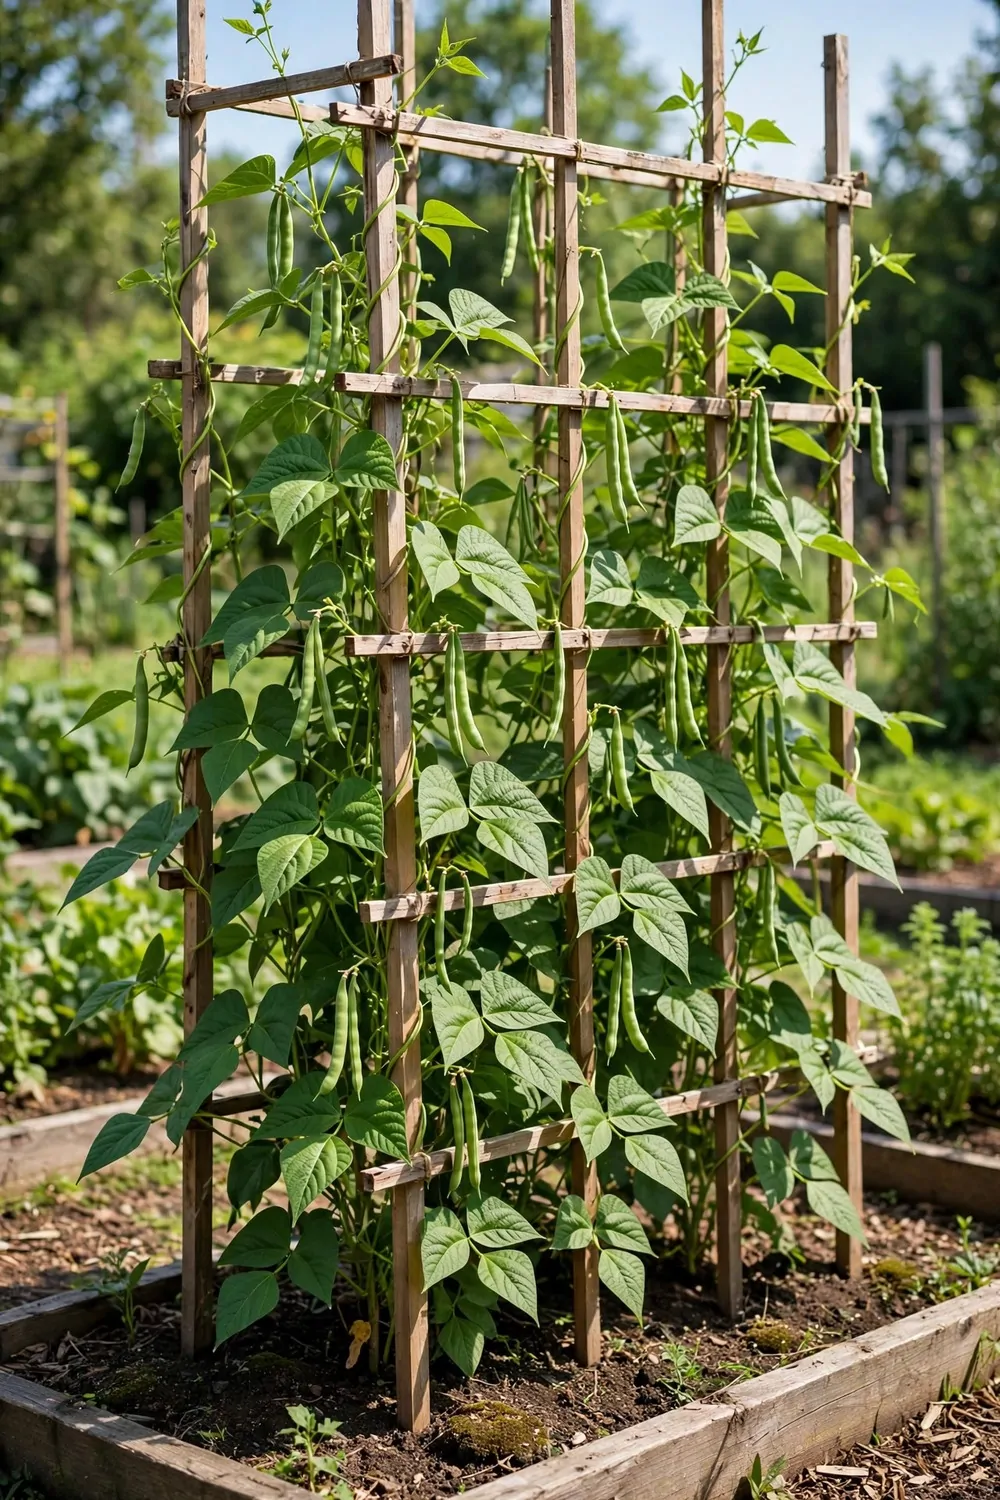
Beans are easy to grow, and they climb up poles and give you pods for weeks. They are a great plant for a first garden.
I push three bamboo poles into the soil and tie them at the top like a tent. The beans climb up them all by themselves.
Sow the seeds in warm soil, two to a hole, and water them in well. They sprout fast when the days are warm.
Two packets of bean seed and a few bamboo poles for them to climb will cost roughly $16 to $35.
Give them sun and water, and they will grow tall in no time. The flowers are pretty too, and they turn into pods.
Pick the pods when they are young and tender. If you leave them too long, they turn tough and the plant slows down.
Cook the beans lightly and serve them with rice or pasta. They are soft and mild, and they go with lots of simple meals.
Keep picking, and the plant will keep making more pods. It is one of the most giving plants in my garden.
Beans taught me that a small seed can turn into a tall plant. That still feels like a small miracle to me.
10. Courgettes That Keep Coming
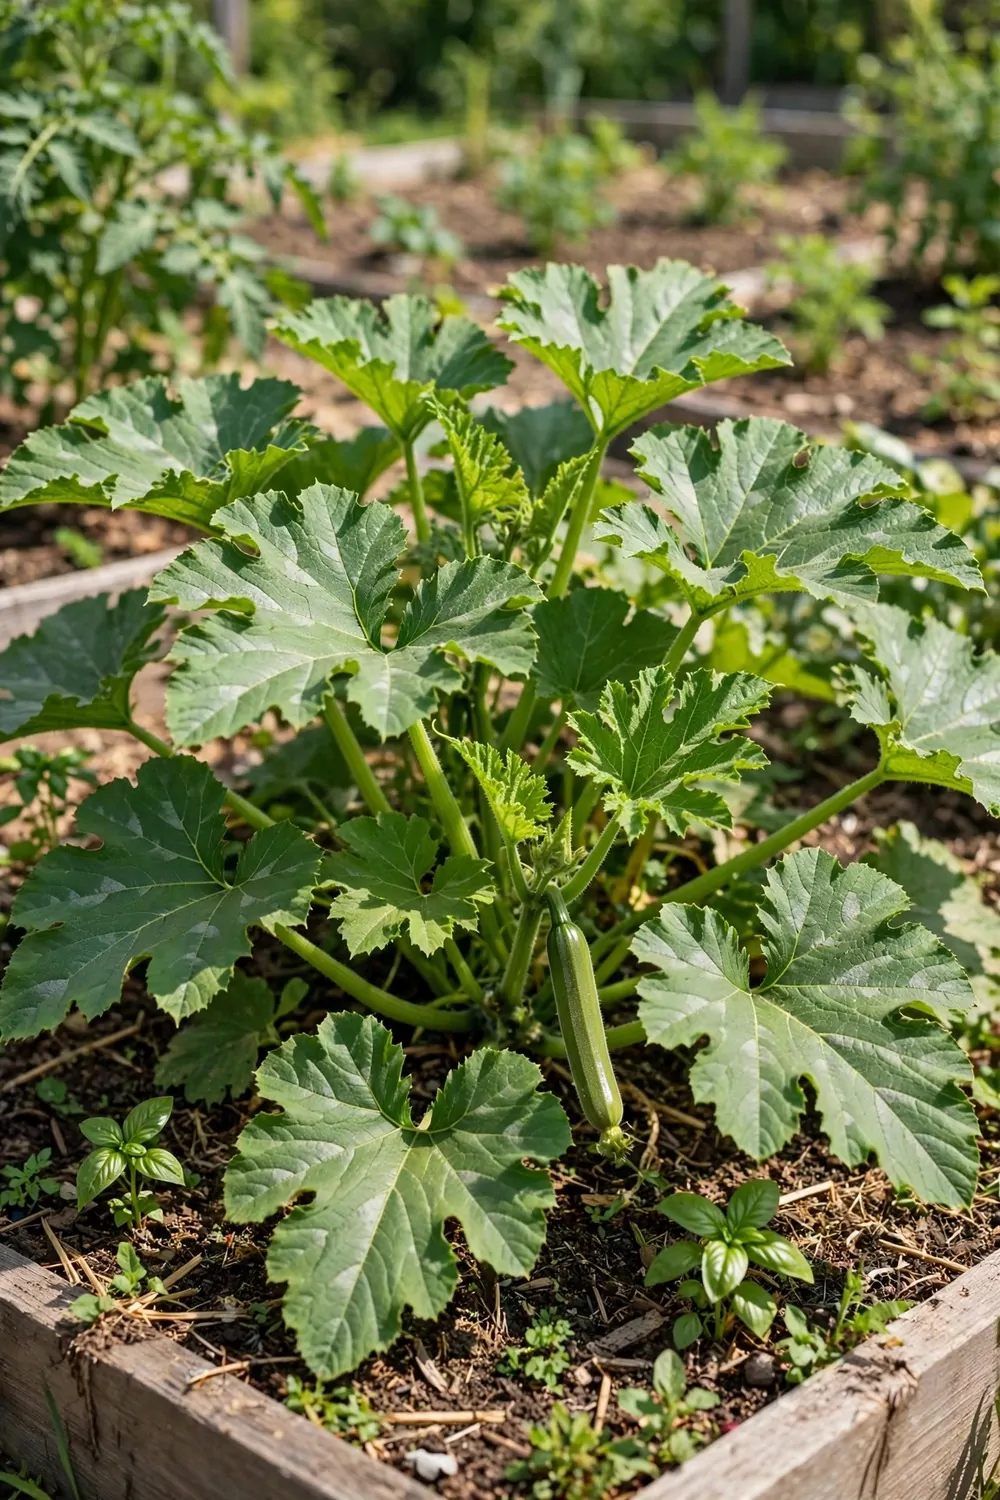
Courgettes grow fast and give you fruit all summer long. One plant is often enough for a whole family.
I plant just one courgette plant each year, and it still gives us more than we can eat. We share the extra with friends.
Give it lots of space, as the leaves grow big and wide. It needs sun, rich soil and lots of water to do its best.
A courgette plant, a bag of compost and a small watering can will run you close to $24 to $50.
Water the base well on hot days, and do it in the morning if you can. The big leaves will drink it up fast.
Pick the fruit when it is young and about the length of your hand. Young fruit tastes soft and sweet in cooking.
Cook courgettes with chicken and vegetables in a pan, or slice them into pasta. They are mild, so they fit lots of dishes.
Check the plant every day in summer, as the fruit grows fast. One day it is small, and the next day it is ready to pick.
Courgettes are a generous plant, and they make new growers feel like stars. You will be proud of how much one plant gives.
11. Cucumbers on a Small Trellis
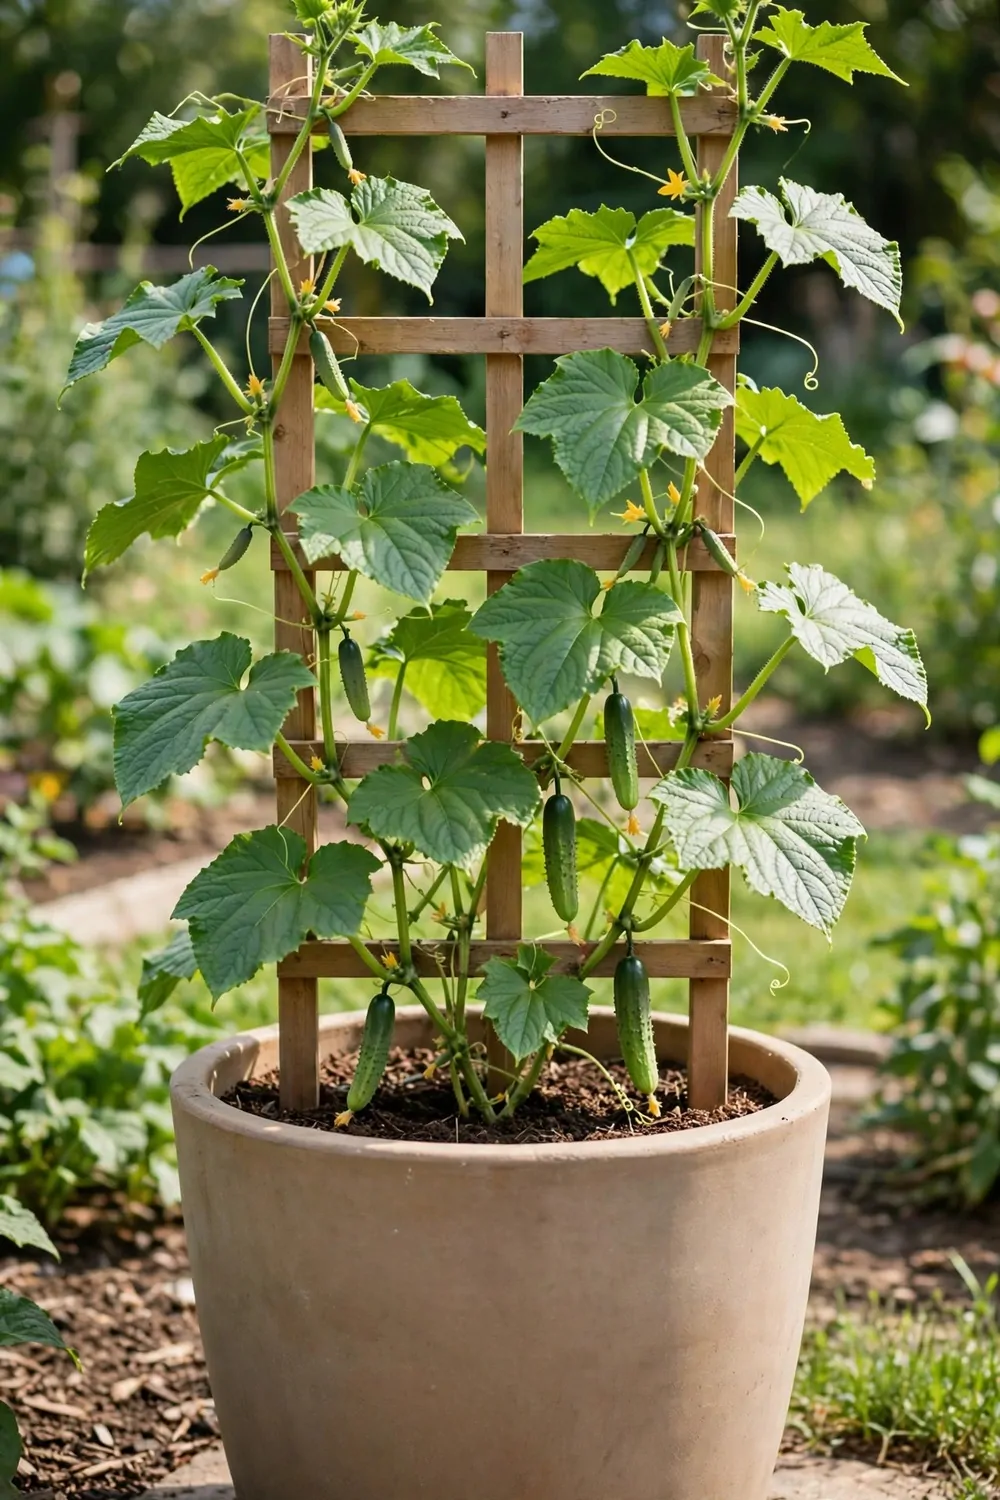
Cucumbers taste crisp and cool, and they grow well up a small trellis. Growing up saves space in a small garden.
I put a short trellis at the back of our bed, and the vines climbed it in a few weeks. It looked lovely and it kept the fruit clean.
Plant them in warm soil after the cold nights have gone. They need sun and a lot of water to grow long and straight.
A cucumber plant, a small trellis and some soft ties will add up to around $28 to $58.
Tie the young stems to the trellis loosely as they grow. Soft ties will not cut into the stems as they get thick.
Water the roots well, and do not let the soil dry out for long. Dry soil can make the fruit taste bitter.
Pick the fruit when it is firm and green and about the length of your hand. Do not wait till it turns yellow and soft.
Slice cucumber into a salad with lettuce and fruit for a fresh lunch. It is cool and crisp, and we eat it with bread too.
A trellis makes cucumbers easy to grow in a small space. You get a lot of fruit from one small patch of ground.
| Idea | Typical Cost |
|---|---|
| Pick a Sunny Spot First | $18 to $42 |
| Test Your Soil Before You Plant | $15 to $38 |
| A Small Raised Bed to Start | $55 to $110 |
| Growing Straight in the Ground | $22 to $48 |
| Containers for a First Garden | $45 to $95 |
| Tomatoes for Beginners | $20 to $45 |
| Lettuce You Can Pick in Weeks | $12 to $30 |
| Radishes, the Fastest Win | $10 to $24 |
| Beans That Climb and Give | $16 to $35 |
| Courgettes That Keep Coming | $24 to $50 |
| Cucumbers on a Small Trellis | $28 to $58 |
12. Carrots in Loose Soil
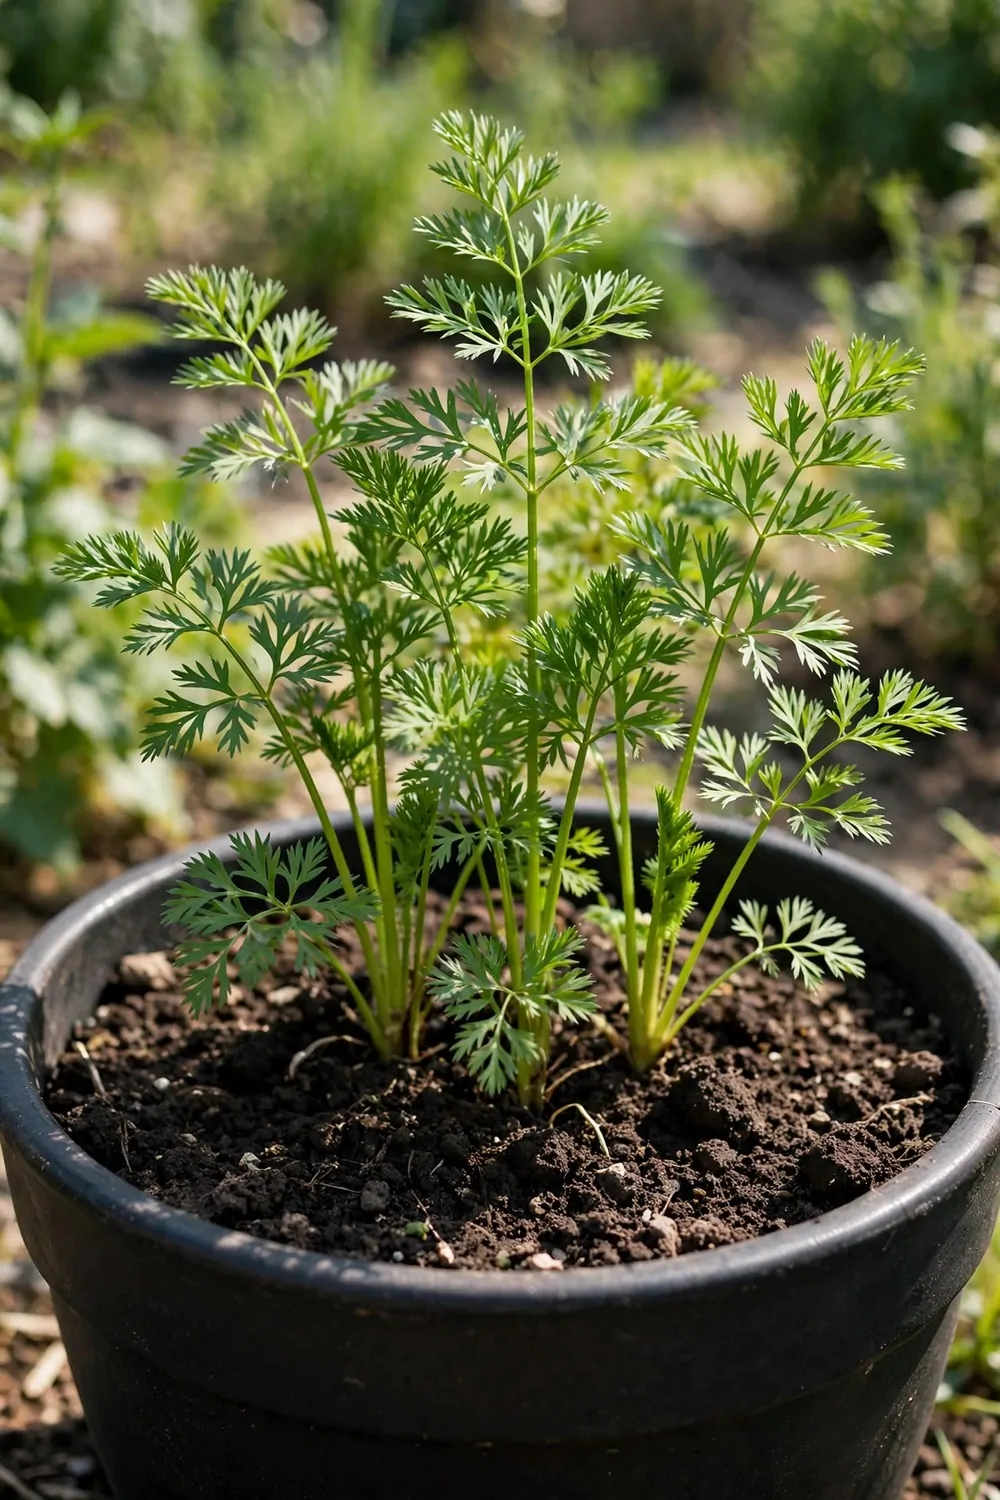
Carrots are fun to grow, and pulling one up feels like finding a small treasure. Kids love this job most of all.
I grow carrots in our loosest soil, as hard soil makes them short and bent. Loose soil lets them grow long and straight.
Sow the seeds thinly in a shallow row and cover them with fine soil. They take a while to sprout, so be patient.
Carrot seed, a bag of sandy soil and a small hand fork will cost you about $14 to $32.
Keep the soil damp while you wait for the green tops to show. A dry spell can slow them right down.
Thin the young plants so they have room to grow fat. Pull out the small ones and leave the strong ones with space.
Wait till the tops look thick and green, then pull one up to check. If it is the size of your finger, it is ready to eat.
Wash carrots well in plain water and eat them raw or cooked with rice. They are sweet and soft when they are fresh.
Carrots teach you to wait, and the wait is worth it. A fresh carrot from your own soil tastes so much better.
13. Peppers in a Warm Corner
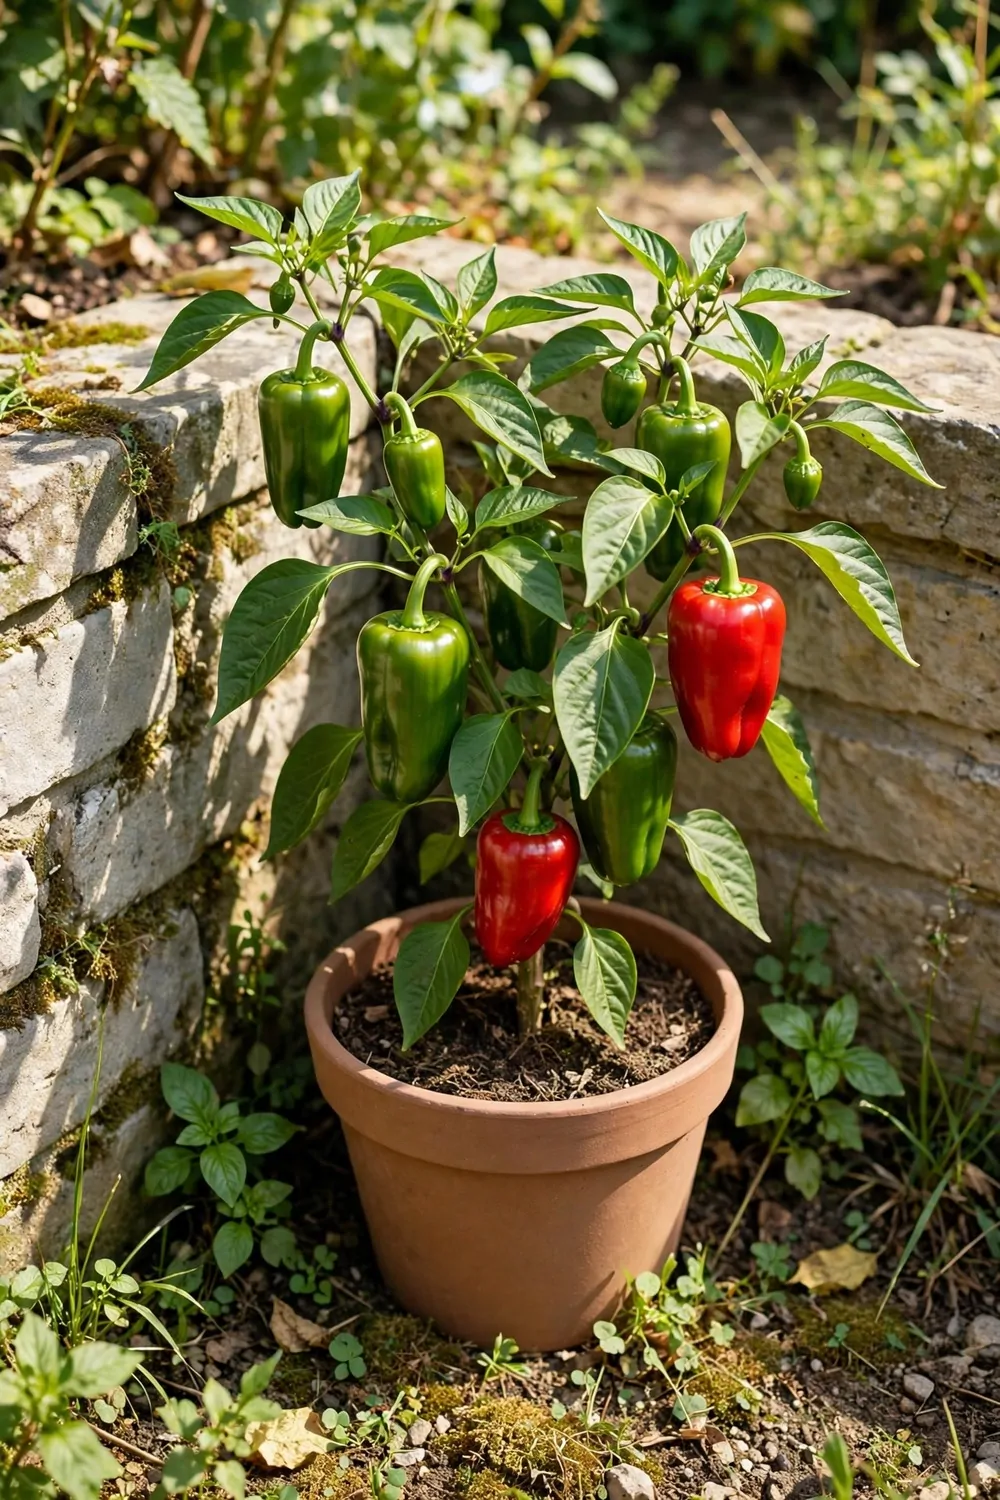
Peppers love warmth, so give them the warmest corner of your garden. A sunny wall that holds heat is a perfect spot.
I grow peppers in a big pot against our warm wall. The pot heats up in the sun, and the plants seem to love it.
Start with a young plant from a garden shop, as seeds take a long time. A small plant will fruit much sooner for you.
One pepper plant, a warm pot and a bag of rich soil will be near $22 to $48.
Plant it in rich soil and water it well at the base. Peppers do not like cold wind, so a sheltered spot helps a lot.
Feed the plant with a little compost tea or liquid feed if you have it. It will grow stronger and make more fruit.
Pick the peppers when they are firm and bright in colour. You can pick them green or wait till they turn red and sweet.
Chop peppers into a pan with chicken and rice for a simple dinner. They add colour and a sweet taste to the dish.
Peppers are slow to start but worth the wait. A warm corner and steady care will give you a nice crop.
14. Herbs Beside Your Vegetables
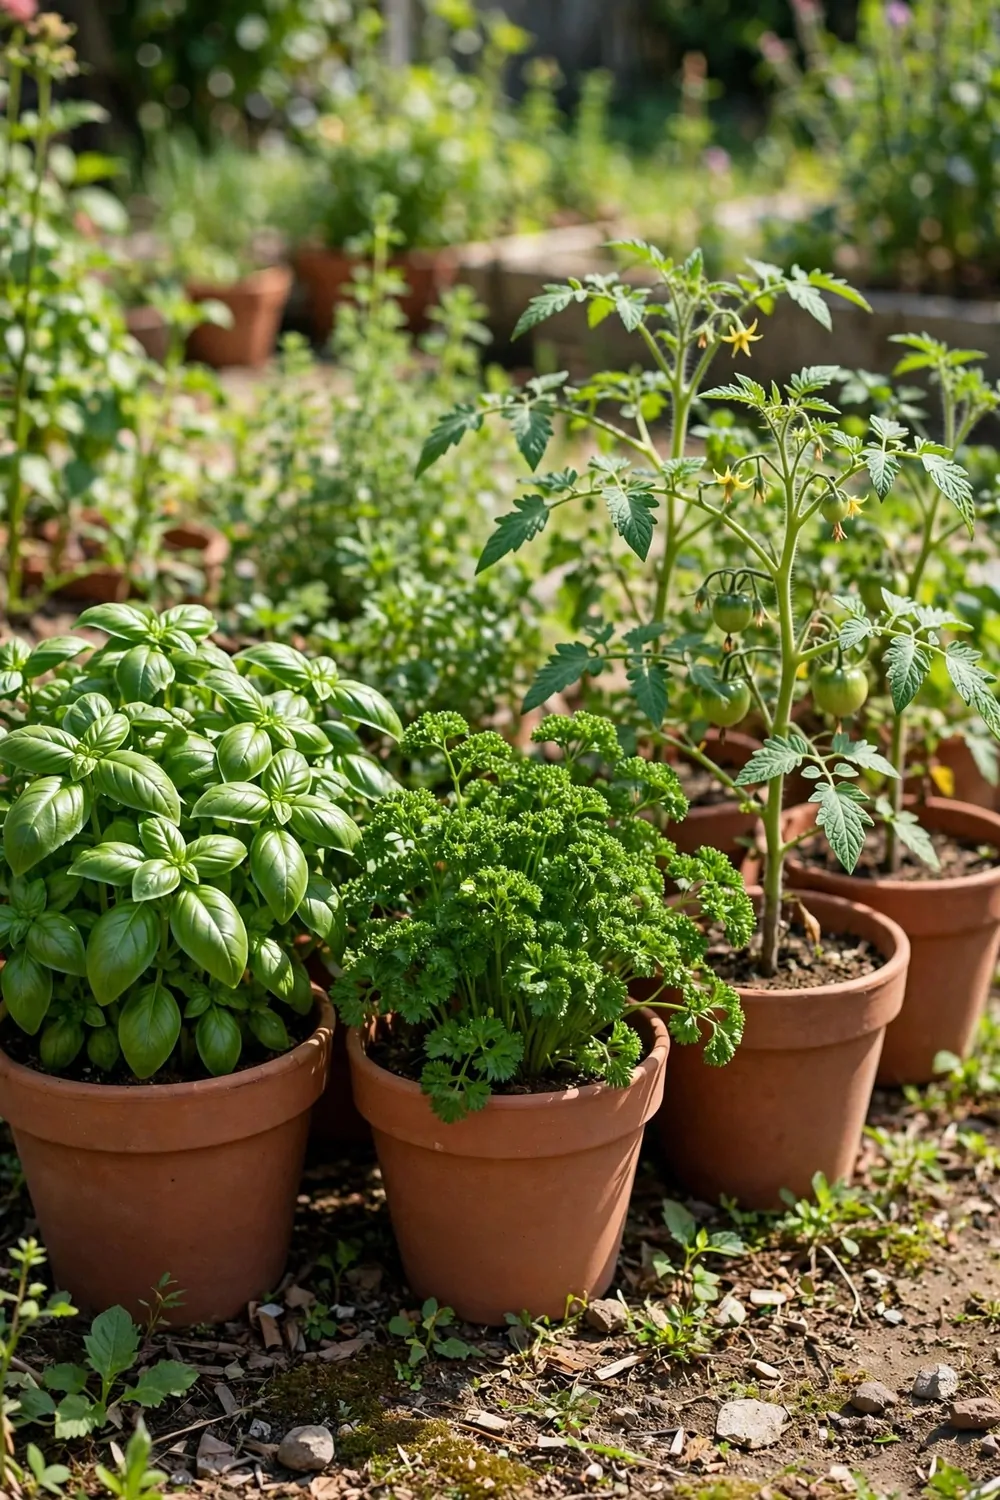
Herbs are small plants with big flavour, and they grow well beside vegetables. A few pots by the bed is all you need.
I keep basil, parsley and mint in small pots near our vegetables. I snip a few leaves each day when I cook.
Plant herbs in their own pots if you can, as mint spreads fast and takes over. A pot keeps it in check.
A few herb plants in small pots beside your beds will cost in the range of $18 to $40.
Give herbs sun and light soil, and do not overwater them. Most herbs like soil that dries a little between drinks.
Snip the tops often to keep the plants bushy and full. The more you pick, the more they grow back.
Add fresh herbs to pasta, rice and salads for a bright taste. A few leaves can lift a plain dish in a lovely way.
Herbs also bring bees to your garden, and bees help your vegetables too. It is a kind circle that helps everyone.
Start with three herbs you use most in cooking. You will use them every day, and they are so easy to keep.
15. Salad Leaves All Season
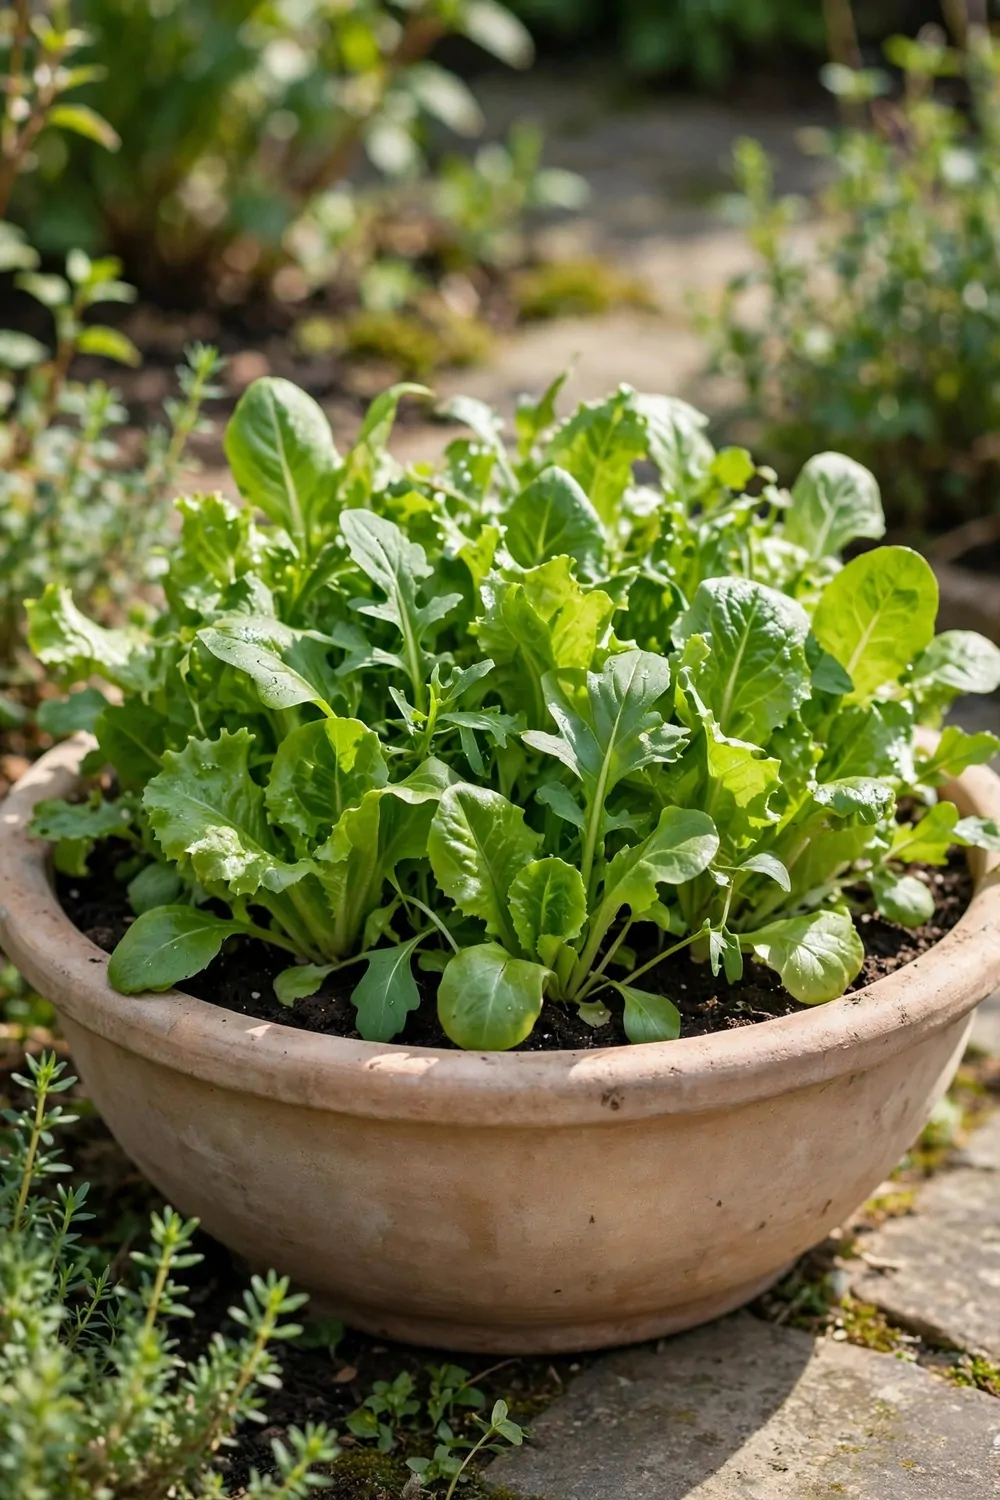
Salad leaves are easy to grow, and you can sow them from spring to late summer. A little sowing often keeps you in leaves.
I sow a short row of mixed leaves every two weeks. That way we never run out, and the leaves are always young and soft.
Use a shallow box or a small patch of soft soil for leaves. They do not need deep soil, just light and water.
Mixed salad seed, a shallow box and a bag of light soil will come to about $15 to $34.
Sow the seeds thinly and keep the soil damp till they sprout. They pop up fast, and you can see them in a few days.
Pick the outer leaves and let the middle keep growing. You can pick from the same plants for weeks this way.
Wash the leaves in plain water and mix them with vegetables and fruit. Add bread on the side for a simple lunch.
If the sun gets very hot, give the leaves a little shade. Hot sun can make them taste sharp and turn them limp.
Salad leaves are a steady crop for a first garden. They are quick, kind and they keep on giving.
16. Watering the Simple Way
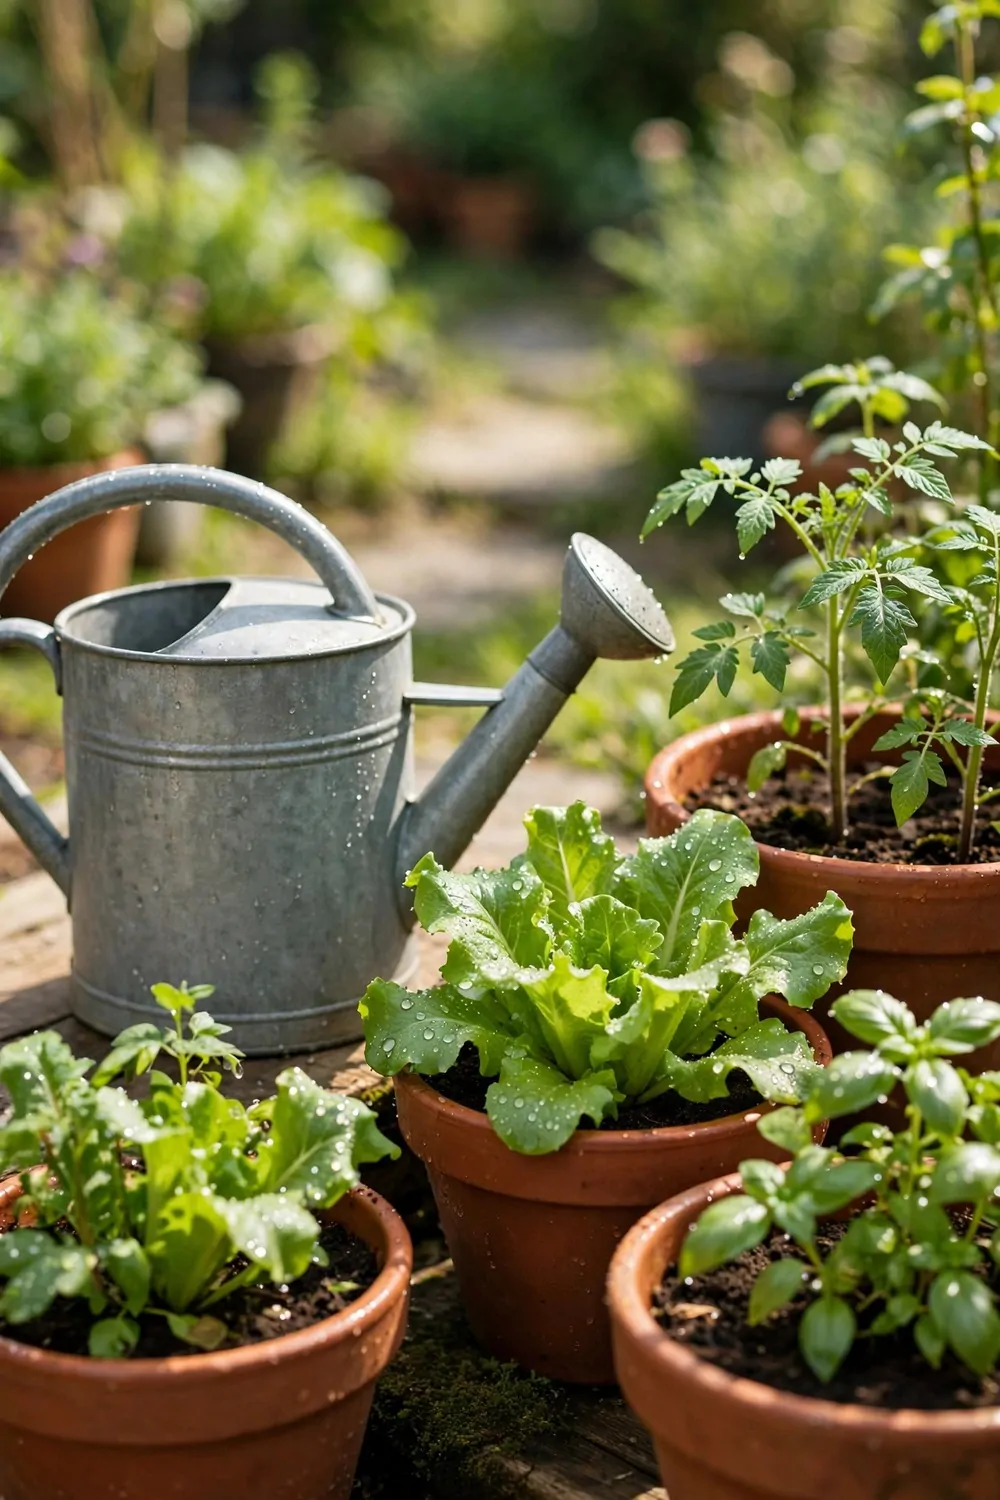
Water is the key to a happy garden, and simple watering works best. You do not need fancy gear to do it well.
I water in the morning when I can, as the soil drinks it up before the hot sun. The plants start the day fresh and damp.
Water the soil at the base of each plant, not the leaves. Wet soil feeds the roots, and that is where the plant needs it.
A watering can and a simple hose nozzle for gentle watering will cost around $20 to $44.
Give the soil a good soak, then let it dry a little before you water again. Plants like a deep drink, not a tiny sip each hour.
Push your finger into the soil before you water. If the top feels dry but the soil below is damp, wait a bit longer.
On hot days, your pots will need water more often than beds in the ground. Pots dry out fast in sun and wind.
Do not water in the heat of the day if you can help it. The water dries fast, and the leaves can get burnt spots.
Simple watering, done with care, keeps your garden alive. It is a small daily job that makes a big difference.
17. Mulch to Keep Soil Damp
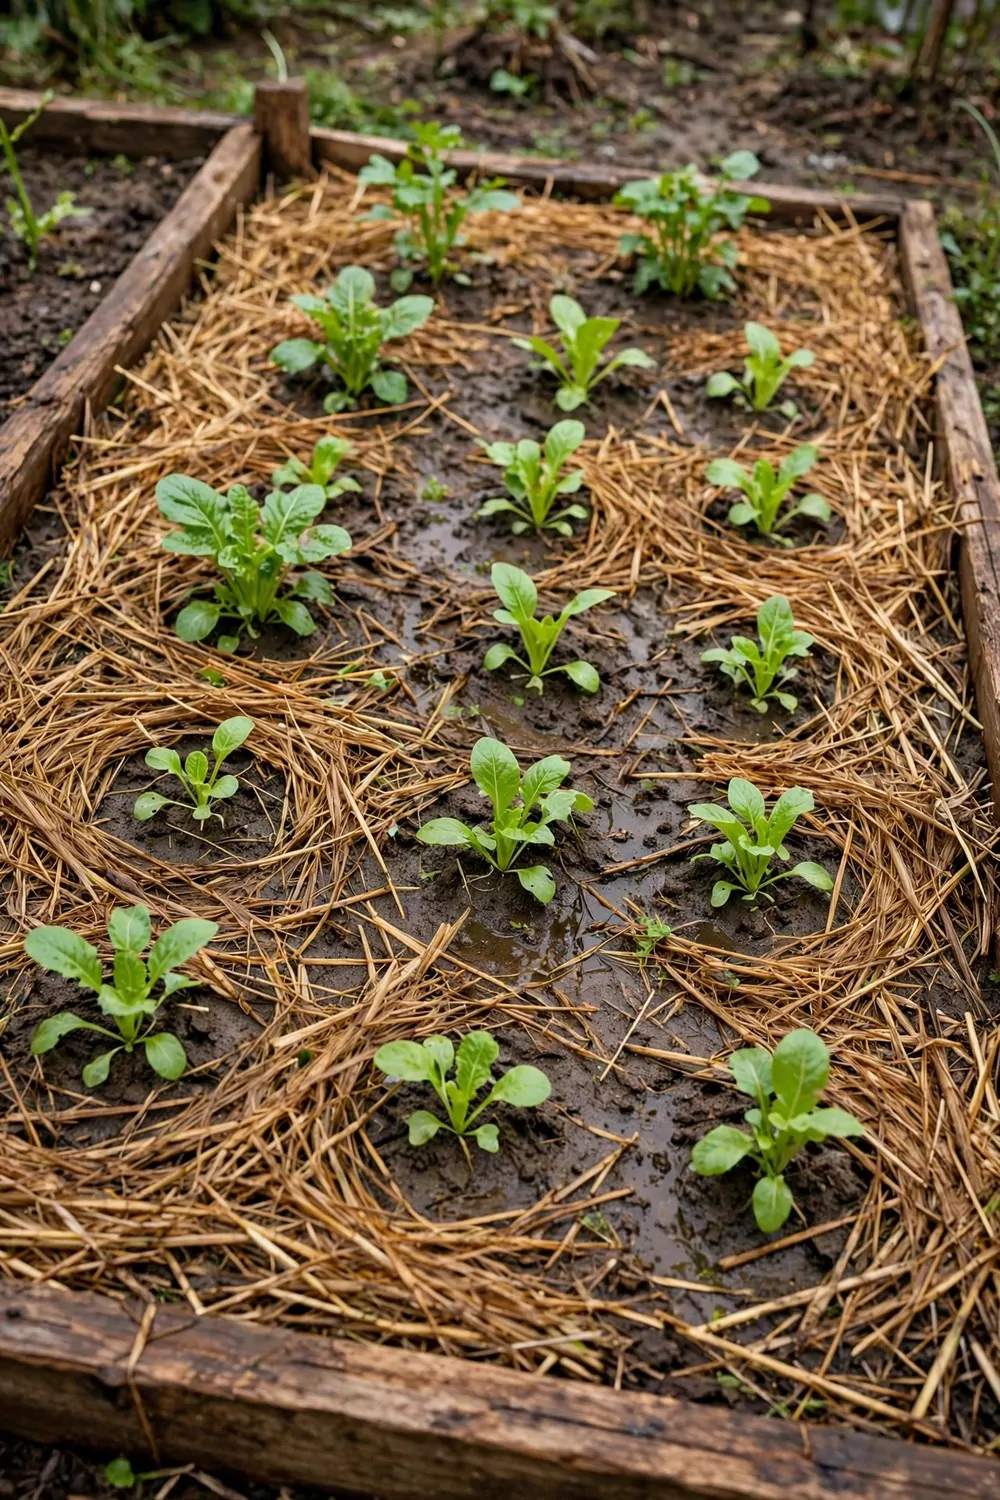
Mulch is a cover on top of the soil, and it keeps the soil damp and cool. It also stops weeds from growing so fast.
I spread straw around our plants each spring, and the soil stays damp for much longer. It saves me a lot of watering.
Use straw, dry leaves or bark chips for mulch. Spread a thick layer, but keep it away from the stems of young plants.
Two bags of straw mulch to cover a small bed will set you back about $16 to $36.
Water the soil well before you put the mulch down. Wet soil under mulch stays wet, and dry soil under mulch stays dry.
Top up the mulch if it gets thin over the summer. A fresh layer keeps the weeds down and the damp in.
Mulch also feeds the soil as it breaks down over time. Worms love it, and worms help your soil stay soft and rich.
Do not pile mulch right against a stem, as it can rot the stem in wet weather. Leave a small gap around each plant.
Mulch is a simple trick that makes gardening easier. It saves water, stops weeds and keeps your plants happy.
18. Feeding Plants Lightly
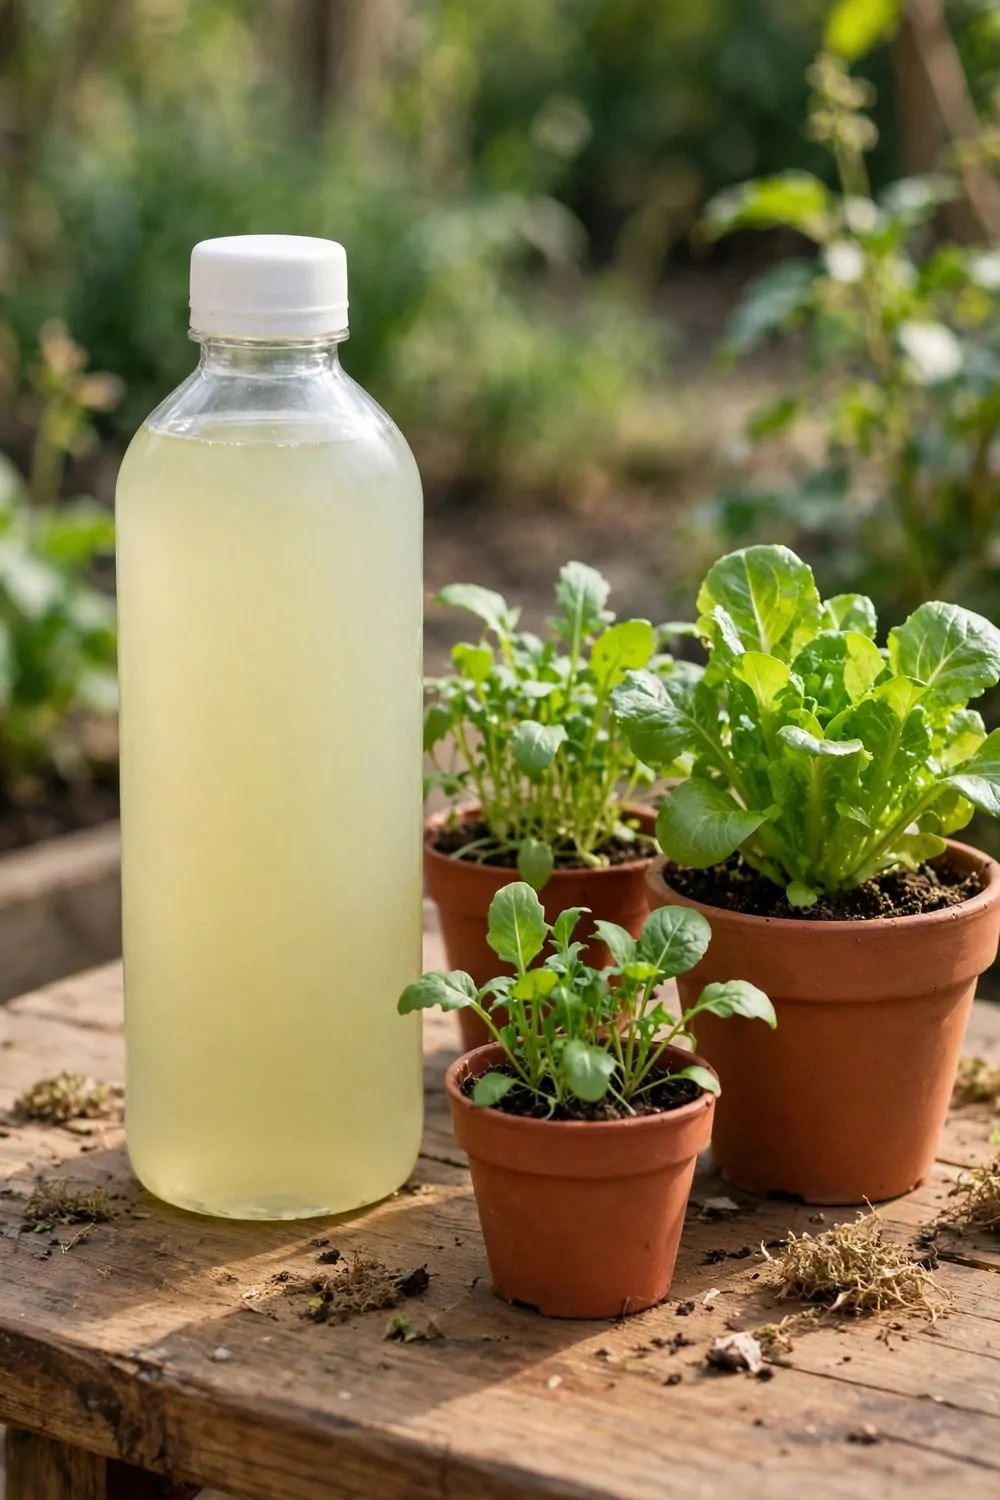
I used to feed my plants too much food and they looked sad. Now I give them just a little and they grow much better.
A light feed once every two weeks is plenty for most young plants.
I mix the food with water in my bucket first. I pour it slow near the roots. I never pour it on the leaves in hot sun.
Too much food can burn the roots and turn the leaves brown at the edges.
I watch the leaves after I feed them. If they look bright and fresh, I know I did it right.
Start with half of what the bag says to use. You can add a bit more next time. It is much easier to add more than to fix too much.
A small bag of plant food set me back $12 to $20 and it lasted all month. I keep it dry in a box by my back door.
I feed in the morning so the plants can drink it up during the day.
Skip a feed if your plants already look strong and green. They will tell you what they need if you look close.
19. Compost from Kitchen Scraps
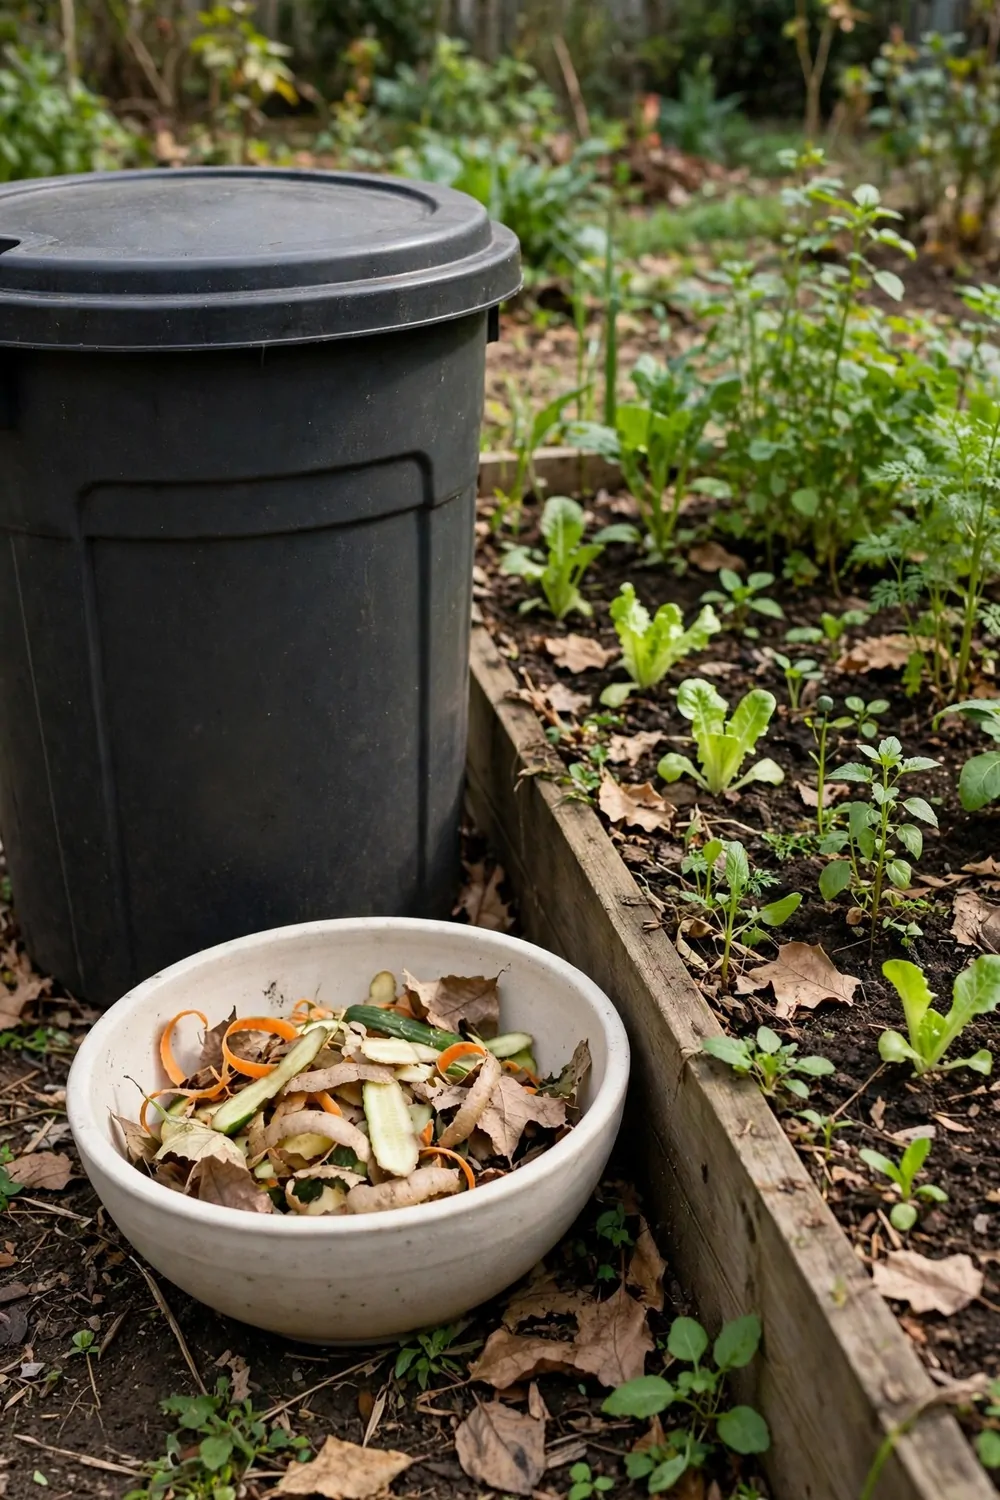
I save my fruit peels and old leaves in a small bin by the door. It feels good to turn scraps into food for my garden.
I add dry leaves and torn paper to keep the mix from getting too wet.
I stir the pile once a week with a fork. It helps air get in. It also stops bad smells from building up.
I add only plain scraps from fruit and vegetables to my pile. Plain scraps break down best and stay simple.
My compost looks dark and crumbly when it is ready to use.
I mix a handful into the soil before I plant seeds. The young plants seem to love that soft rich soil.
My little bin cost $25 to $45 and I built it in one afternoon.
Keep the pile damp like a wrung out cloth. Not too wet and not too dry. A quick sprinkle of water helps on hot days.
Start small and add to it a little each day. In a few months you will have free food for your beds.
20. Spacing So Plants Can Breathe
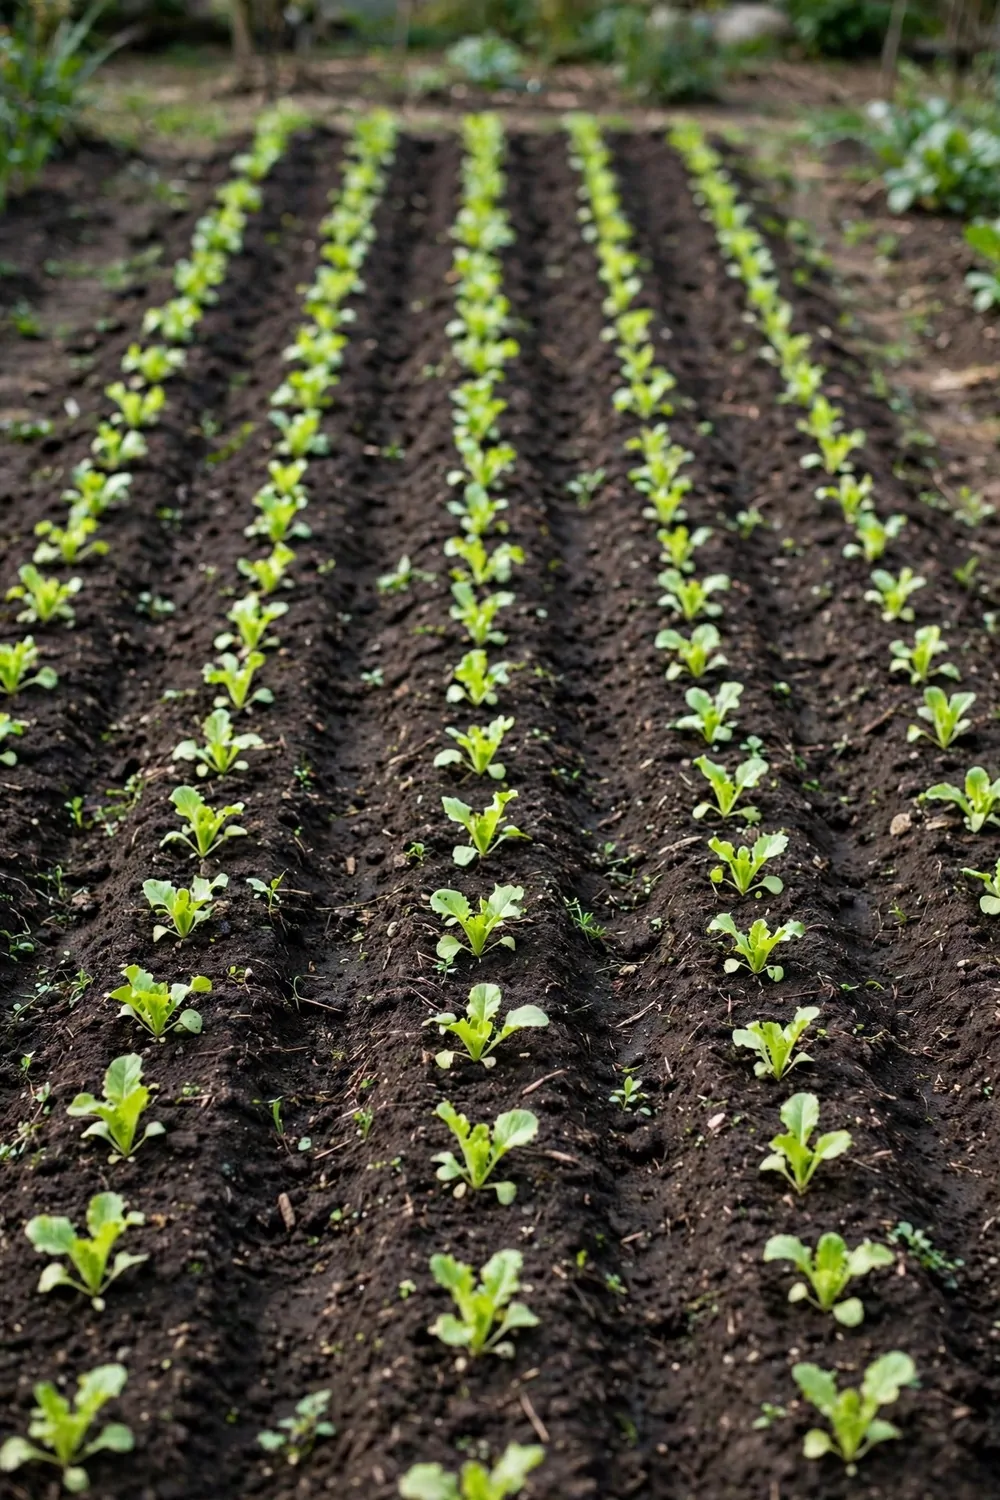
I used to crowd my plants close and they fought for light. Now I give them room and they grow tall and strong.
Read the back of the seed packet and follow the space it says.
I use my hand to measure the gaps. A hand width works for small greens. A foot works for bigger plants like beans.
Good space lets air move and keeps the leaves dry after rain.
I thin out extra seedlings when they get too close. It feels hard to pull them out, but the rest grow so much better.
Mark your rows with sticks so you can see the gaps. Walk between the rows with care. You will not step on young roots that way.
You can mark out your rows with string and sticks for $5 to $12 in total. I found mine at a small shop near my house.
Small plants need less room at first and more room as they grow.
Give each plant its own spot in the sun. You will see fuller leaves and more to pick later.
21. Sun and Shade on One Plot
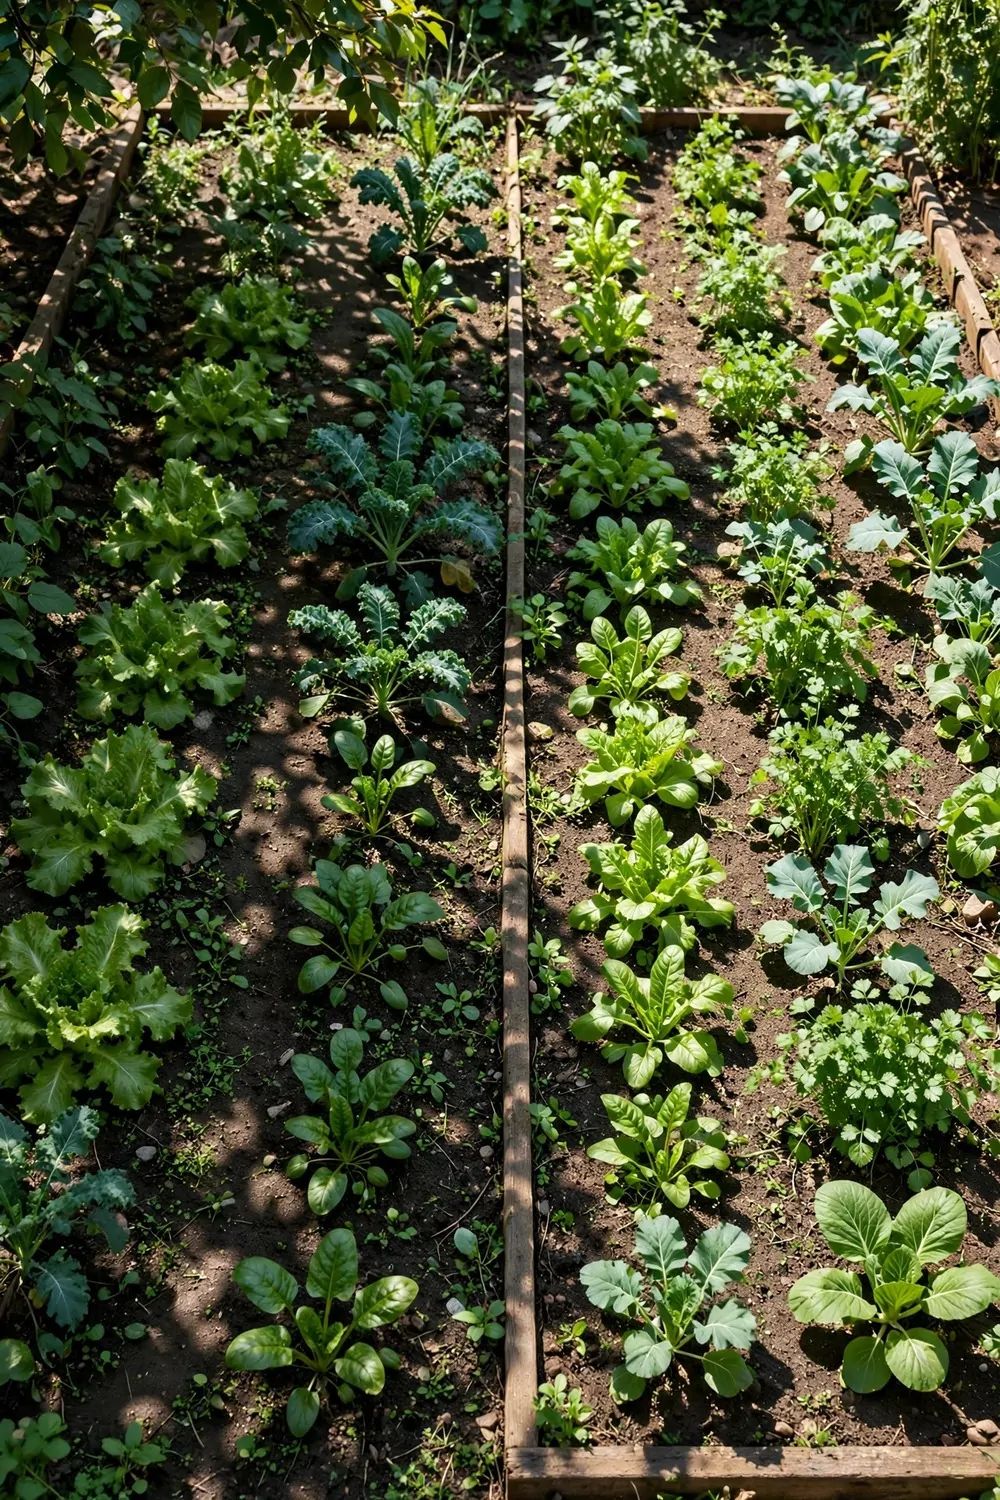
My plot gets full sun in the morning. It gets soft shade in the late afternoon. That mix works well for most of my plants.
I watch where the sun falls before I plant anything new.
Tall plants go at the back where they will not shade the small ones. Short plants go at the front where they can still get light.
Leafy greens like a bit of shade on hot days. I plant them near a tall plant. The tall leaves give them a cool spot to grow.
Fruit plants need the sunniest spot you have.
I move pots around till I find the best sunny corner. It takes a few tries, but you learn your yard fast that way.
A cheap shade cloth cost me $18 to $30 and it saved my leafy greens.
Check your plot at noon and again at four in the afternoon. You will see how the light moves across the beds.
Write down the sunny and shady spots in a notebook. Use that note next time you plant. It saves you from guessing all over again.
22. Keeping Slugs Away Without Sprays
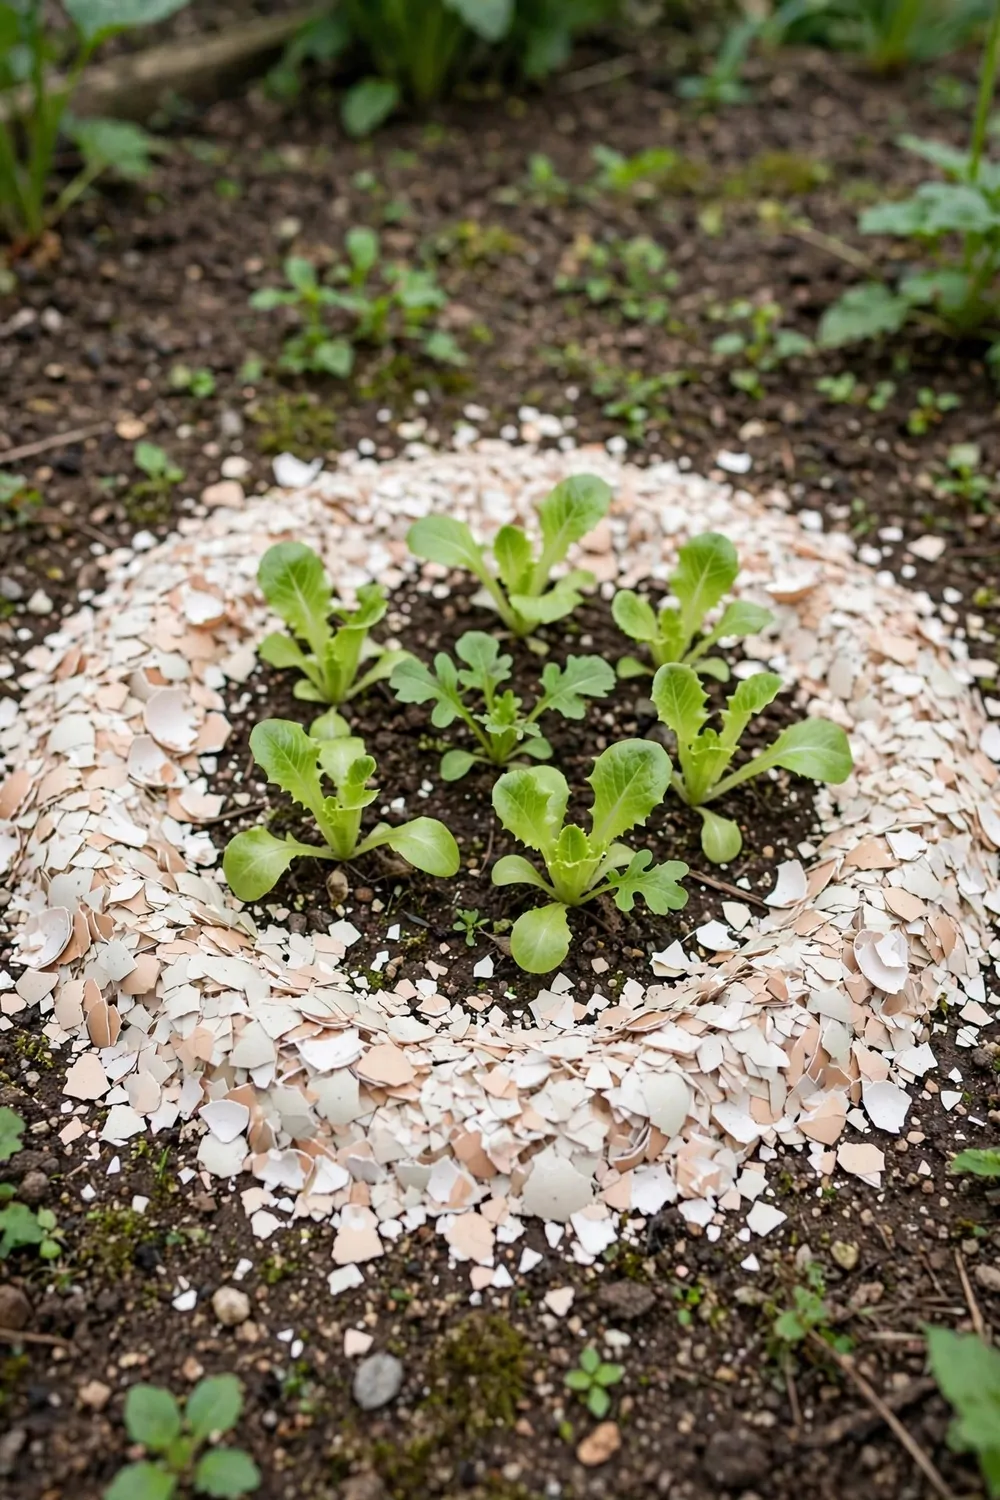
Slugs love wet nights and soft young leaves. I check my beds in the early morning to see where they have been.
I pick them off by hand and move them far from my plants.
A ring of grit around each plant helps a lot. Slugs do not like to cross rough ground. I spread it thick after I water.
I water in the morning so the soil is dry by night. Slugs like damp soil at night, so dry soil sends them away.
Keep the beds clear of old leaves where slugs like to hide.
I put a small board near the bed at night. In the morning I lift it and find slugs under it. Then I move them away from the garden.
I paid $10 to $18 for a few traps and some grit to keep the beds safe. I reuse the traps all season long.
Young plants need the most care, so I check them every day.
A clean tidy bed is less fun for slugs. Keep it neat and your plants will have a much better start.
| Idea | Typical Cost |
|---|---|
| Carrots in Loose Soil | $14 to $32 |
| Peppers in a Warm Corner | $22 to $48 |
| Herbs Beside Your Vegetables | $18 to $40 |
| Salad Leaves All Season | $15 to $34 |
| Watering the Simple Way | $20 to $44 |
| Mulch to Keep Soil Damp | $16 to $36 |
| Feeding Plants Lightly | $12 to $20 |
| Compost from Kitchen Scraps | $25 to $45 |
| Spacing So Plants Can Breathe | $5 to $12 |
| Sun and Shade on One Plot | $18 to $30 |
| Keeping Slugs Away Without Sprays | $10 to $18 |
23. Sticks and Strings for Tall Plants
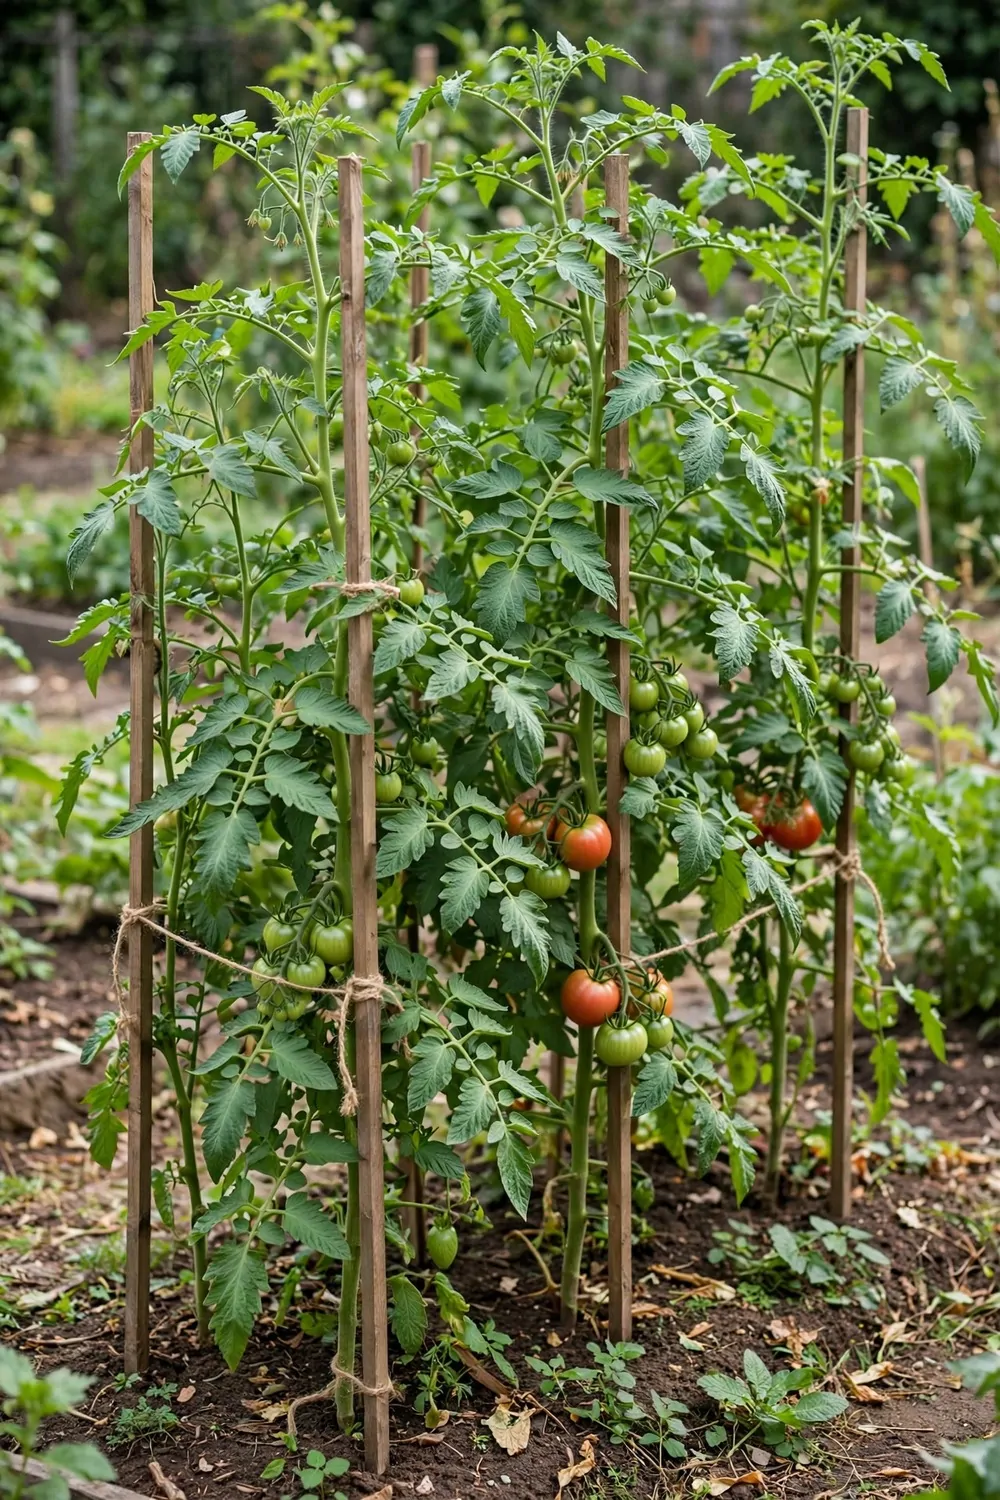
My tall plants used to fall over in the wind. Now I tie them to sticks and they stand up straight.
Push a stick into the soil close to the stem but not too close.
Tie the stem loose with soft string. Leave room for it to grow thick. A tight tie can hurt the stem as it grows.
I add a new tie every few weeks as the plant grows taller. It only takes a minute and it saves the whole plant.
Canes work well for beans and other plants that climb.
Make a simple frame with three canes tied at the top. The plants can climb up each side. It looks neat and it works well.
Sticks and string for one bed came to $8 to $16 at my local shop.
Check the ties after a storm. A loose tie is easy to fix, and a broken stem is hard to save.
I keep spare string in a tin by the back door. You will reach for it more than you think in a busy week.
24. Sowing a Few Seeds Each Week
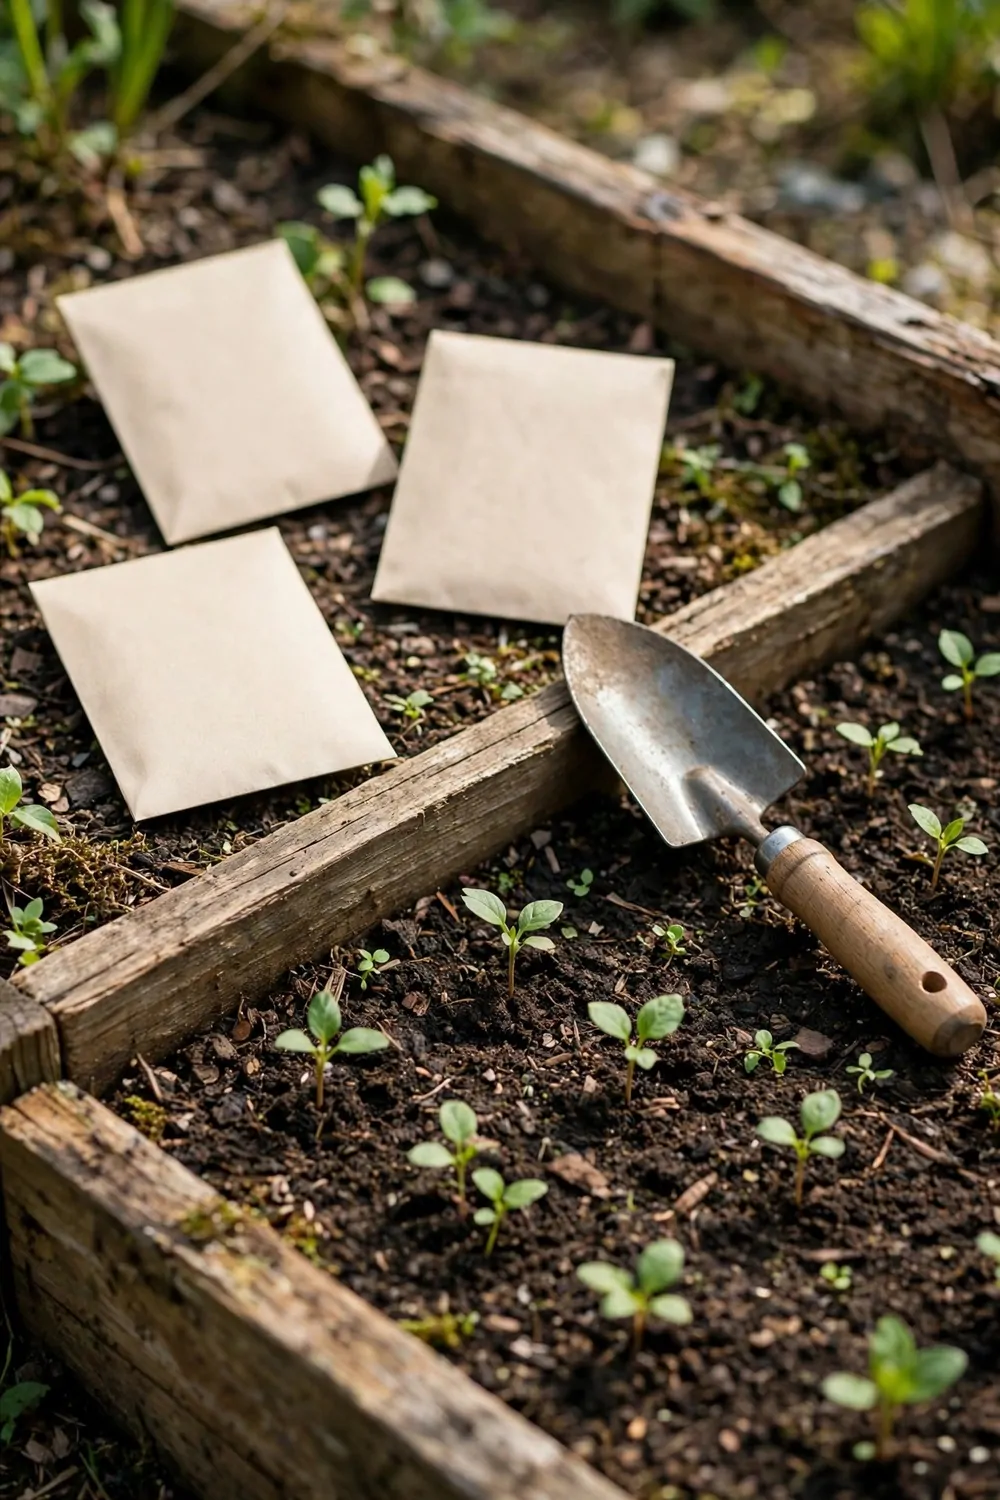
I do not sow all my seeds on one day now. I sow a few each week so I always have fresh plants coming up.
A little each week means you pick a little each week too.
I write the date on a small stick next to each row. That way I know what I planted and when. It helps me plan the next sowing.
Start with two or three rows and add more next week. Small steps keep the work easy and fun.
Thin seeds need light soil on top, just a thin dusting.
Water the new seeds with a soft sprinkle. Hard water can wash them away. A gentle hand keeps them right where you put them.
A few seed packets each week add up to $6 to $12 a month for me. I buy only what I will use that month.
If one sowing fails, the next one is already on its way.
This slow way of sowing changed my whole garden. I now have fresh greens to pick for many weeks in a row.
25. Picking at the Right Time
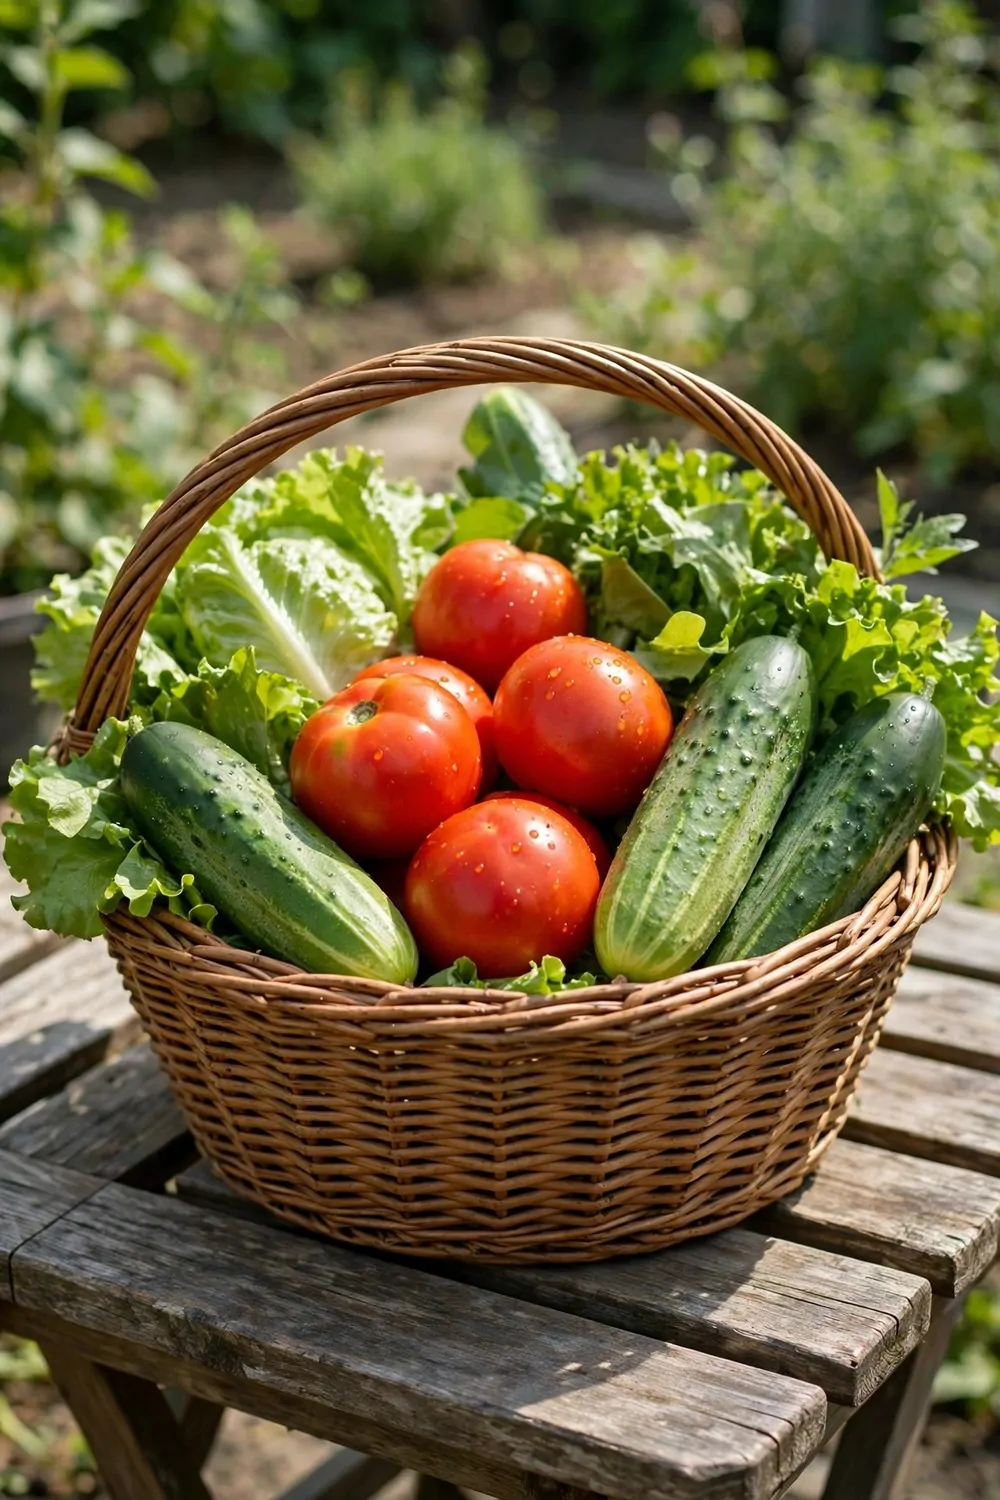
I used to leave my vegetables too long and they went tough. Now I pick them young and they taste fresh and sweet.
Pick in the cool morning when the leaves are still fresh.
I check my plants every day in summer. A small fruit today can be big tomorrow. Pick it while it is still tender and soft.
Use clean snips for stems that are hard to pull. A clean cut heals fast and keeps the plant strong.
Taste one first and see if it is ready for your plate.
Pick a few at a time and leave the rest to grow. The plant will make more if you pick often. That is one of the best parts of growing your own food.
A good pair of snips will run you $14 to $22 and they last for years. I wipe mine clean after each use.
Do not wait for a perfect size, as young picks often taste best.
Bring a small basket out with you each morning. You will come back with enough for a fresh meal.
26. Storing What You Pick
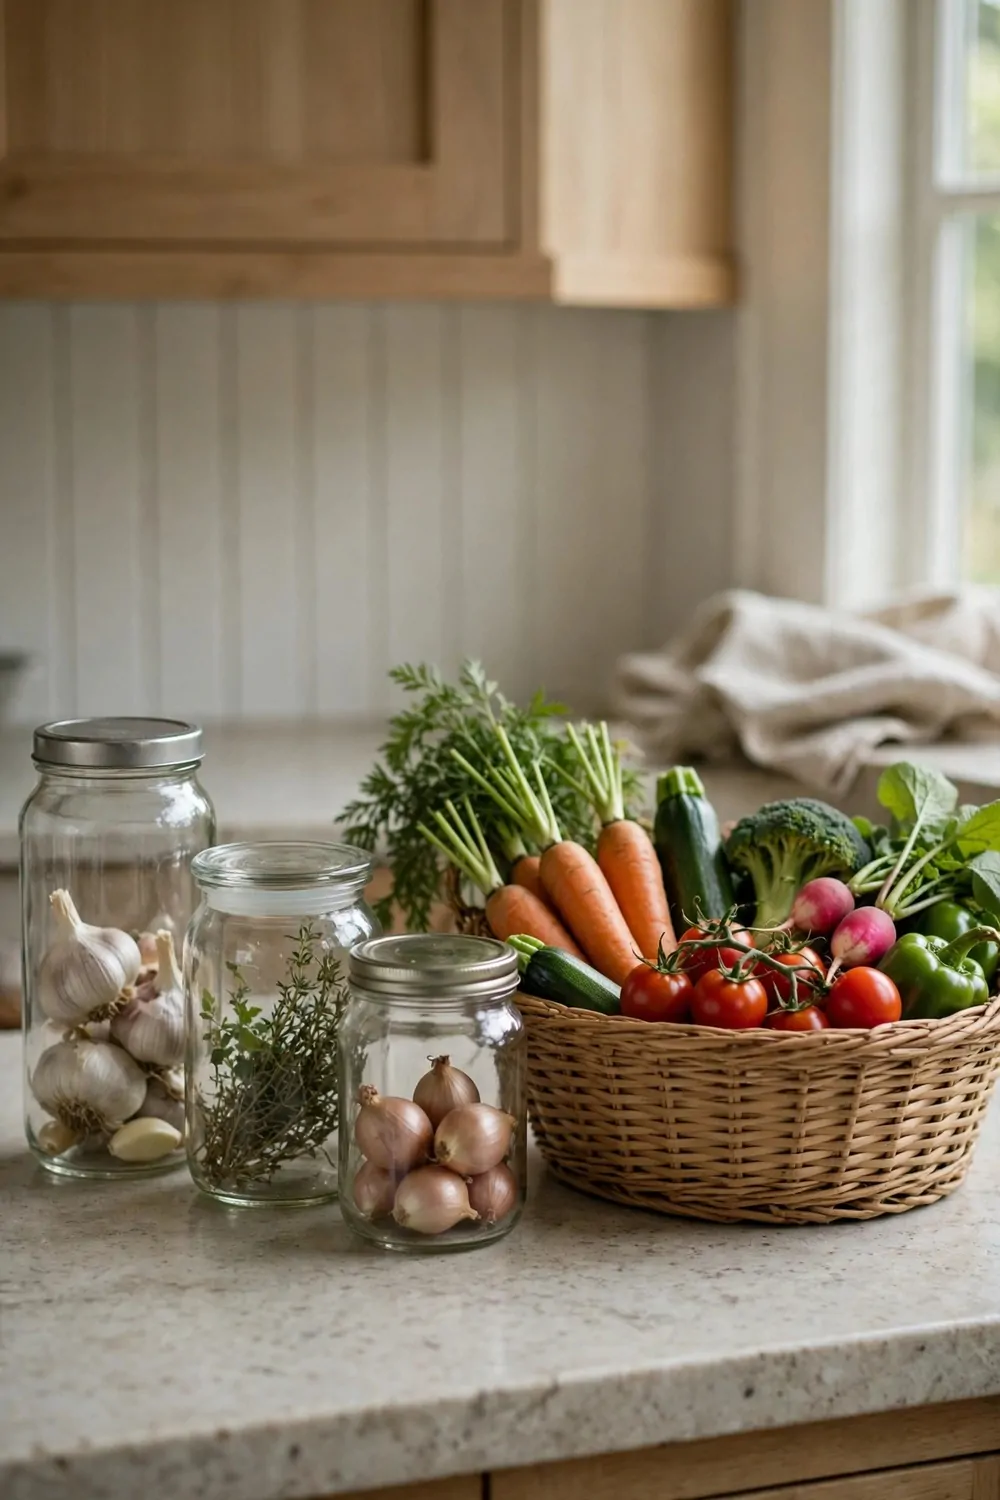
I pick more than I can eat on some days. Now I store the rest so nothing goes to waste.
I keep leafy greens in a damp cloth in a cool box.
Wash your picks gently in plain water. Shake off the extra drops. Lay them out to dry before you pack them away.
Use the soft ones first and save the firm ones for later. A quick check each day helps you use them in the right order.
A cool dark spot in the house works well for most vegetables.
I label each box with the day I picked it. That small note stops me from forgetting what is inside. It also helps me use the oldest box first.
I picked up a few jars and boxes for $15 to $28 to store my picks. I wash them and use them again all season.
Share what you cannot store before it goes soft.
Good storage means less waste and more meals from your garden. It makes all your hard work last a little longer.
27. A Simple Weekly Garden Routine
I keep my garden work to a short routine each week. It stops the jobs from piling up and keeps me calm.
Monday is my water and check day for all the beds.
I walk round and look at each plant. I pull out any weeds I see. I check the soil with my finger to see if it is dry.
Midweek I feed the plants that need a boost. I tie up any tall stems that have grown loose.
At the weekend I pick what is ready and sow a few new seeds.
I spend about half an hour on each visit. Short visits are easier to keep up. A long visit once a month never works as well for me.
My weekly routine needs only a bucket and gloves, about $10 to $19 to start. I already had a bucket at home, so I just bought gloves.
Write your routine on a card and stick it by the back door.
A simple plan makes the garden feel easy. You will look forward to your short visits instead of dreading them.
28. Mistakes Every Beginner Makes
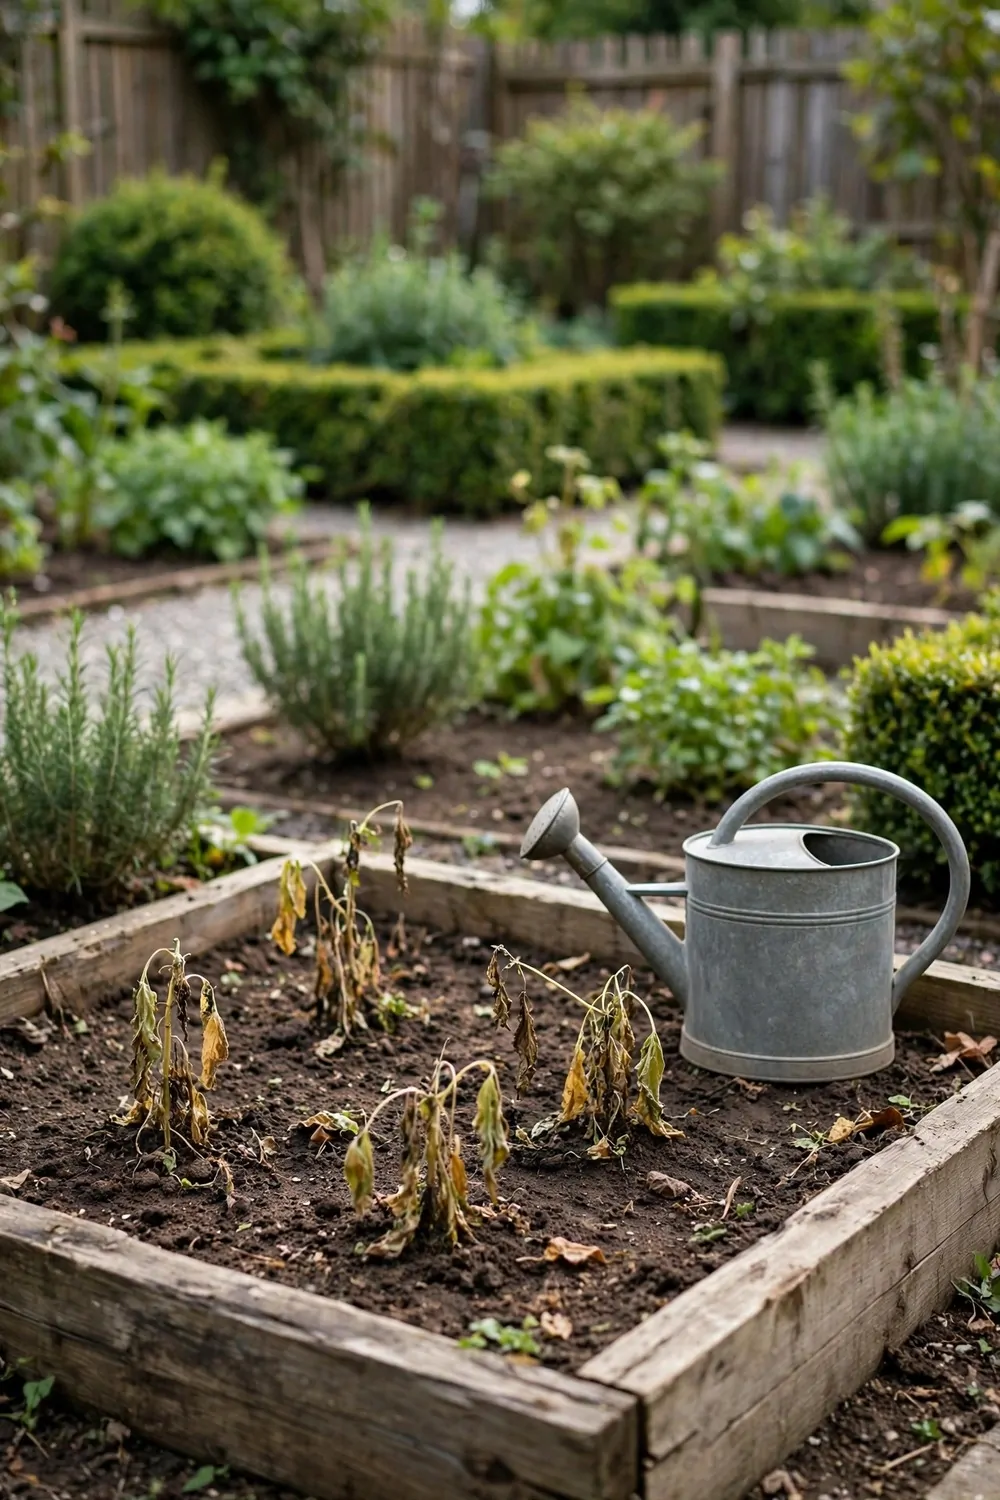
I made so many mistakes in my first year. Each one taught me something I still use today.
Planting too early in cold soil was my first big mistake.
I watered too much and my roots went soft. I learned to check the soil first. Now I water only when the top feels dry.
I forgot to label my rows and I did not know what was growing. Now I label every row on the day I sow it.
I planted too much of one thing and had far more than I could eat.
I put tall plants in front of small ones by mistake. The small ones got no sun at all. Now I plan the tall ones at the back first.
Fixing my first mistakes cost me $20 to $35 in new seeds and mix. I now spend a few minutes planning before I plant anything.
Every gardener makes mistakes, so do not feel bad when it happens.
Write down what went wrong and try a new way next time. Your second year will feel much easier than your first.
29. Fixing Yellow Leaves
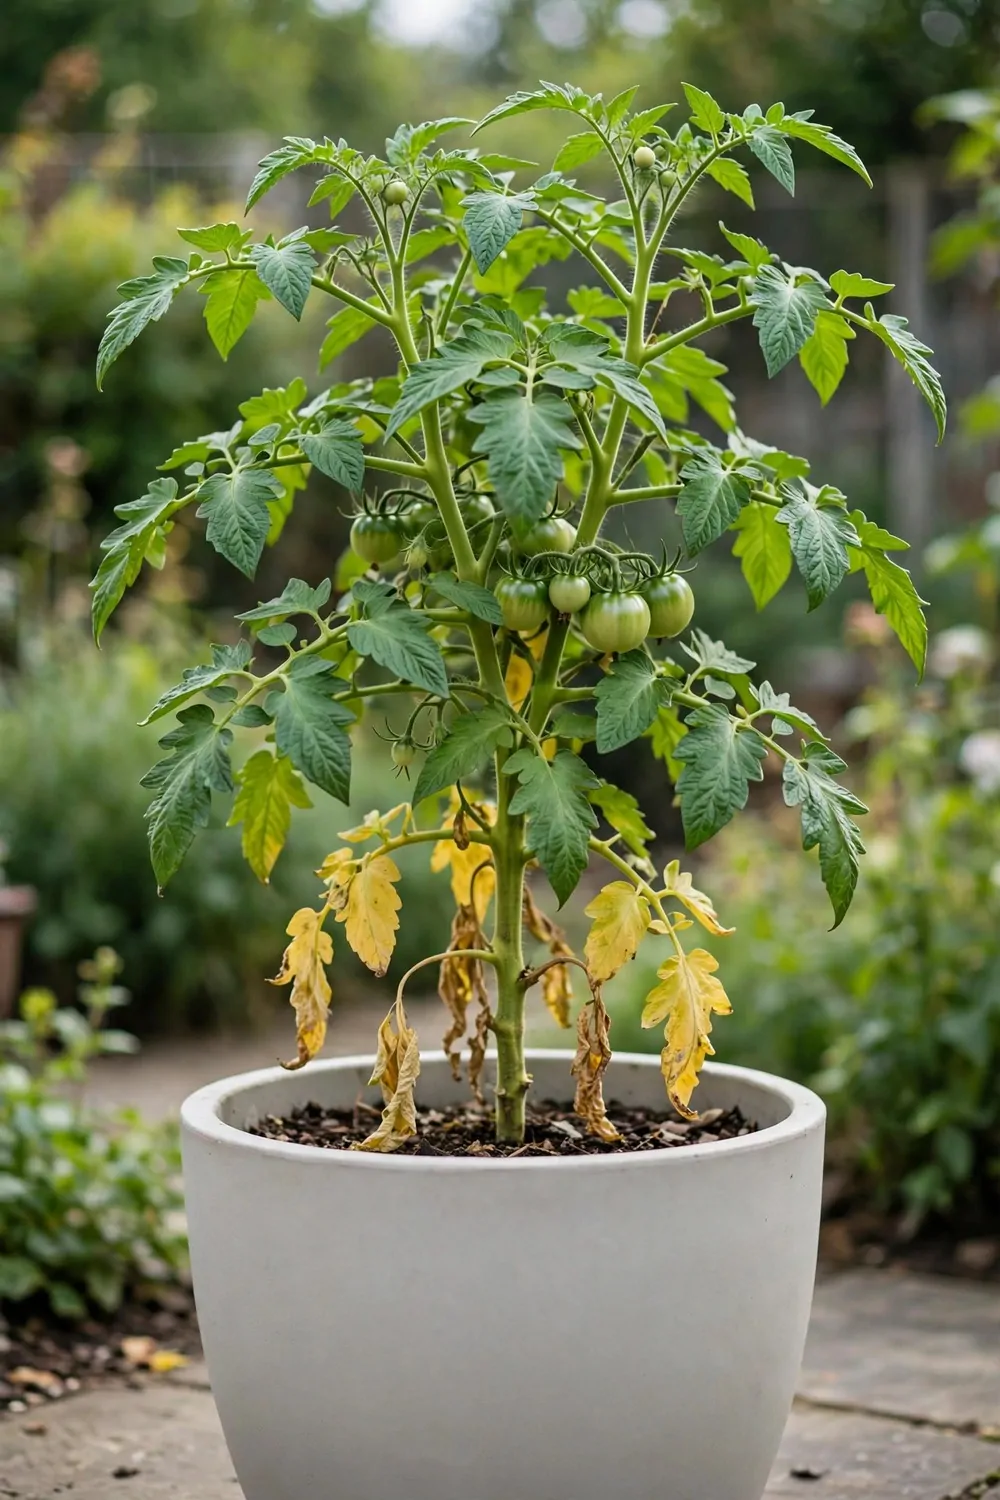
Yellow leaves scared me at first. Now I know they are often just a small sign that the plant needs help.
Check the soil first, as yellow leaves often mean it is too wet or too dry.
I lift a leaf and look under it for tiny marks. I check the stem to see if it feels soft. Then I look at how much sun the plant gets.
Feed the plant lightly if the soil looks pale and tired. A light feed can bring the green back in a week or two.
Pull off the worst yellow leaves so the plant can focus on new growth.
Make sure water can drain away from the roots. Wet roots cannot breathe well. A few holes in the pot or a raised bed can help a lot.
A bag of compost to help yellow leaves cost $11 to $19 at the garden shop. I mix it into the top soil around the plant.
Do not feed a sick plant too much at once.
Give it time and watch the new leaves. Fresh green growth means your fix is working.
30. When Plants Grow Too Fast
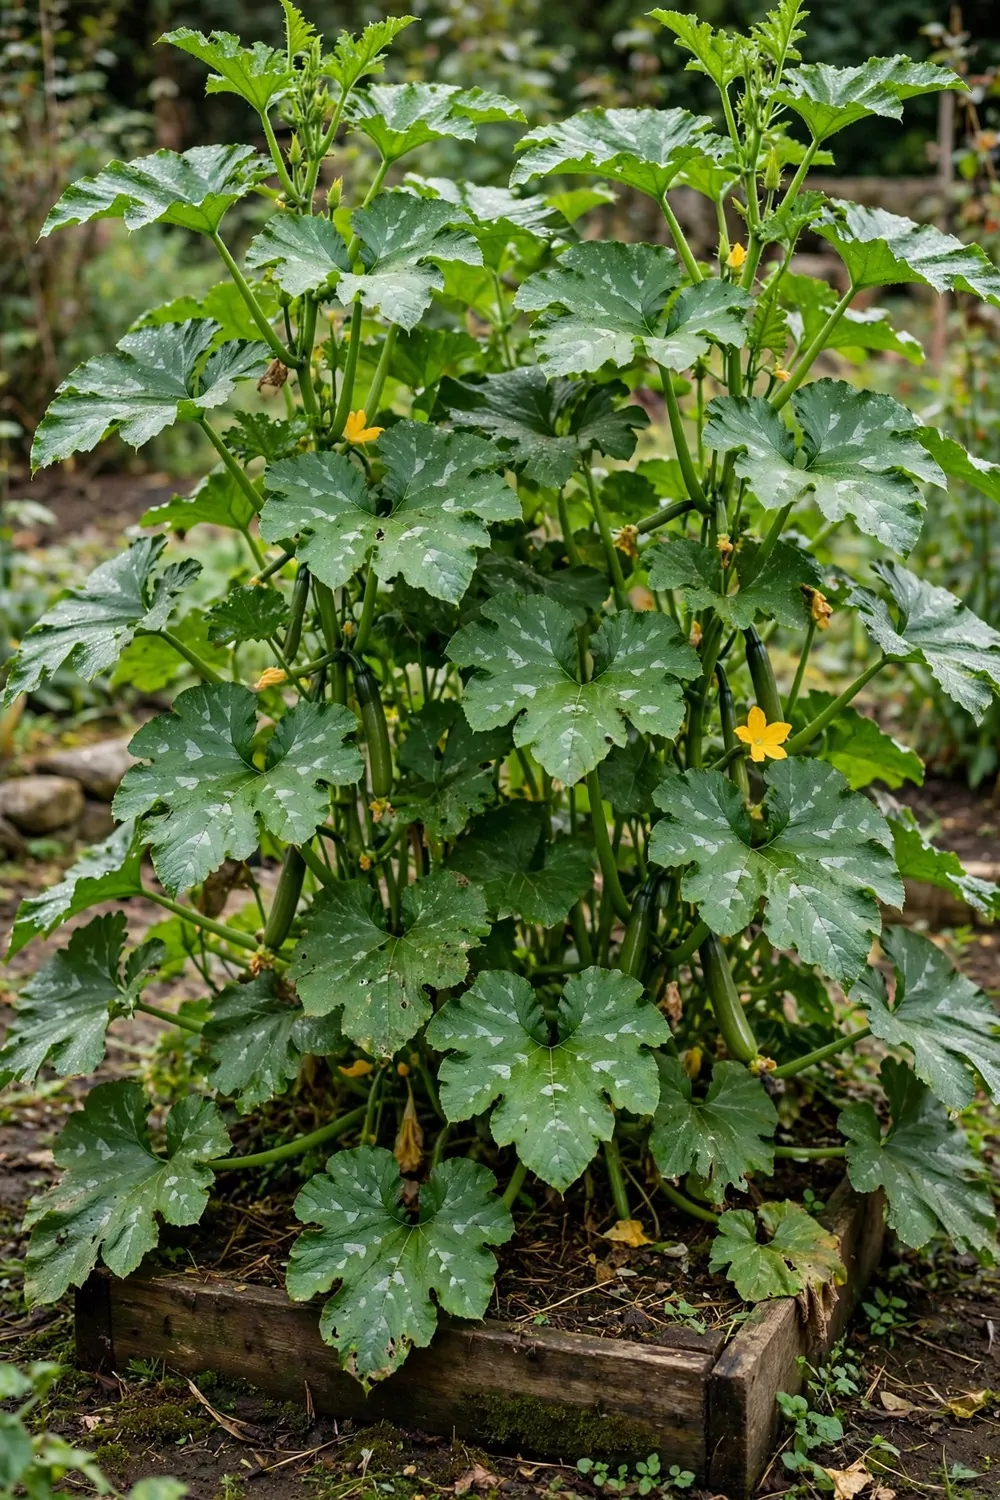
Some of my plants shot up faster than I thought they would. I had to act fast or they would fall over.
Tall fast plants need strong sticks right away.
I tie them up in the morning before the wind picks up. I use soft string and leave room to grow. I check the ties again at the weekend.
Pick the top leaves often to slow a plant down a bit. It also gives you more to eat while the plant stays neat.
Thin out crowded leaves so air can move through the plant.
Move pots to a spot with a bit less sun if they are racing up. Less sun can slow them down. It gives you time to get the supports ready.
I spent $16 to $26 on extra canes and twine when my plants shot up. I keep the spares in the shed for the next fast grower.
A fast plant is a happy plant, so do not worry too much.
Keep up with the ties and the picks. A little work each day keeps a fast plant safe and tidy.
31. Sharing Spare Plants With Neighbours
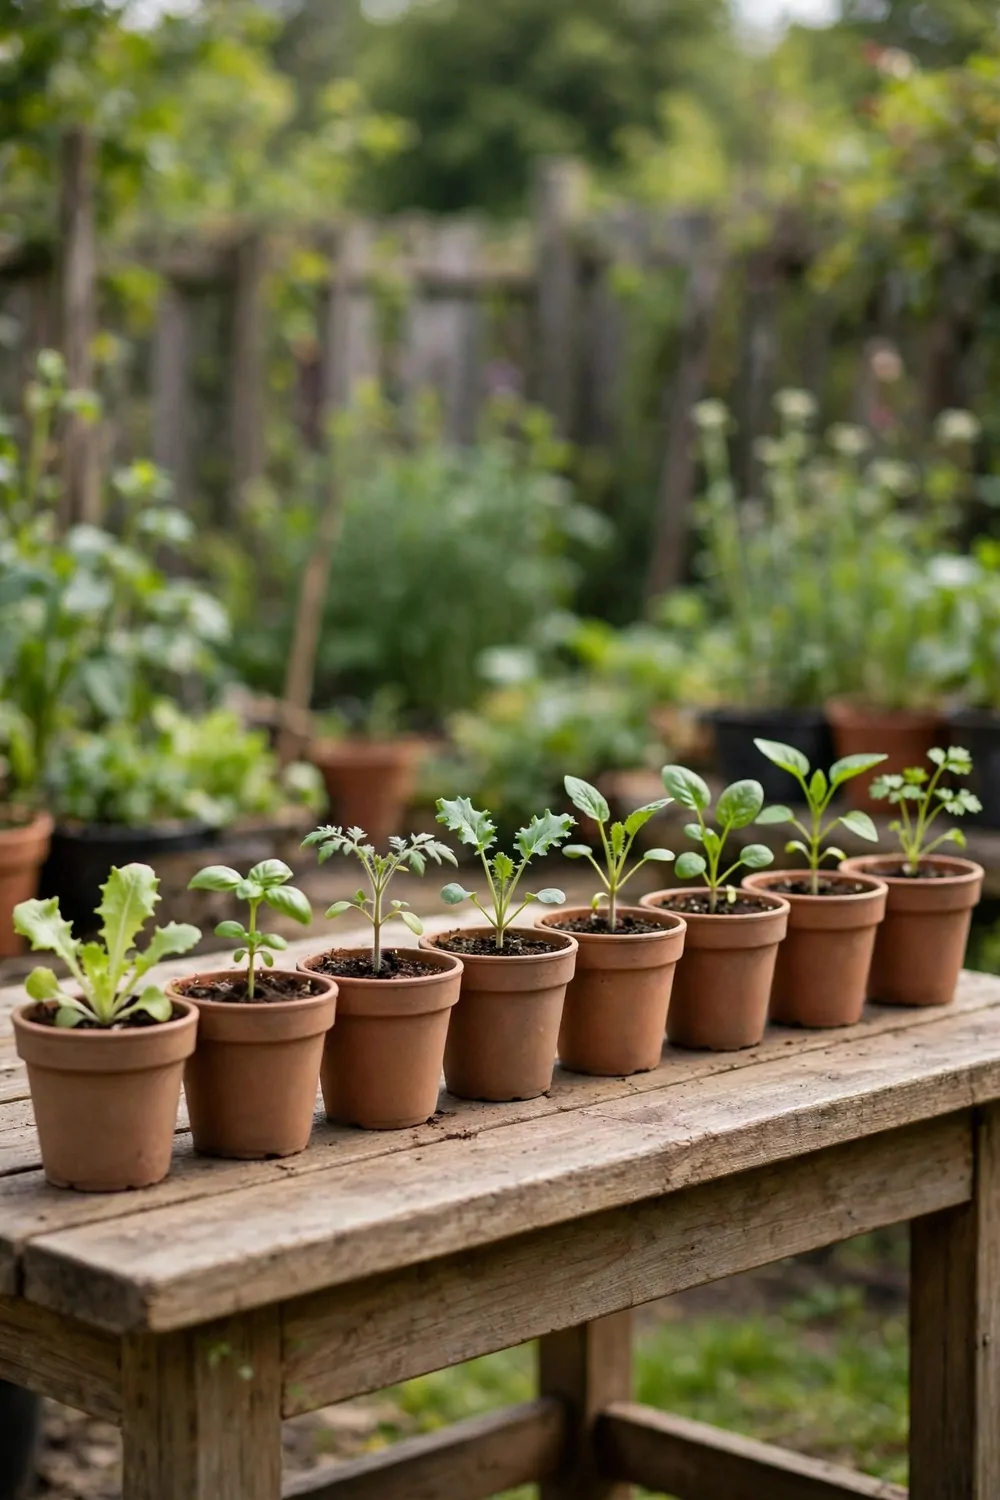
I always grow more plants than I need. Now I share the spare ones with my neighbours and it makes us all smile.
A small plant in a pot makes a lovely gift for someone next door.
I write the plant name on a small card. I add one line on how much water it likes. That helps my neighbour look after it well.
Share when the plants are young and strong. They settle in much better than old plants that are already big.
Ask what your neighbour likes to eat before you share a plant.
I swap plants with a friend down the road. She gives me beans and I give her greens. We both end up with more kinds to try.
Little pots to share plants cost me $7 to $13 for a pack. I reuse old pots too when I have them clean.
Sharing plants is a simple way to make new friends.
Your neighbours will share tips back with you. That shared talk makes gardening feel warm and fun.
32. Planning Next Season While This One Grows
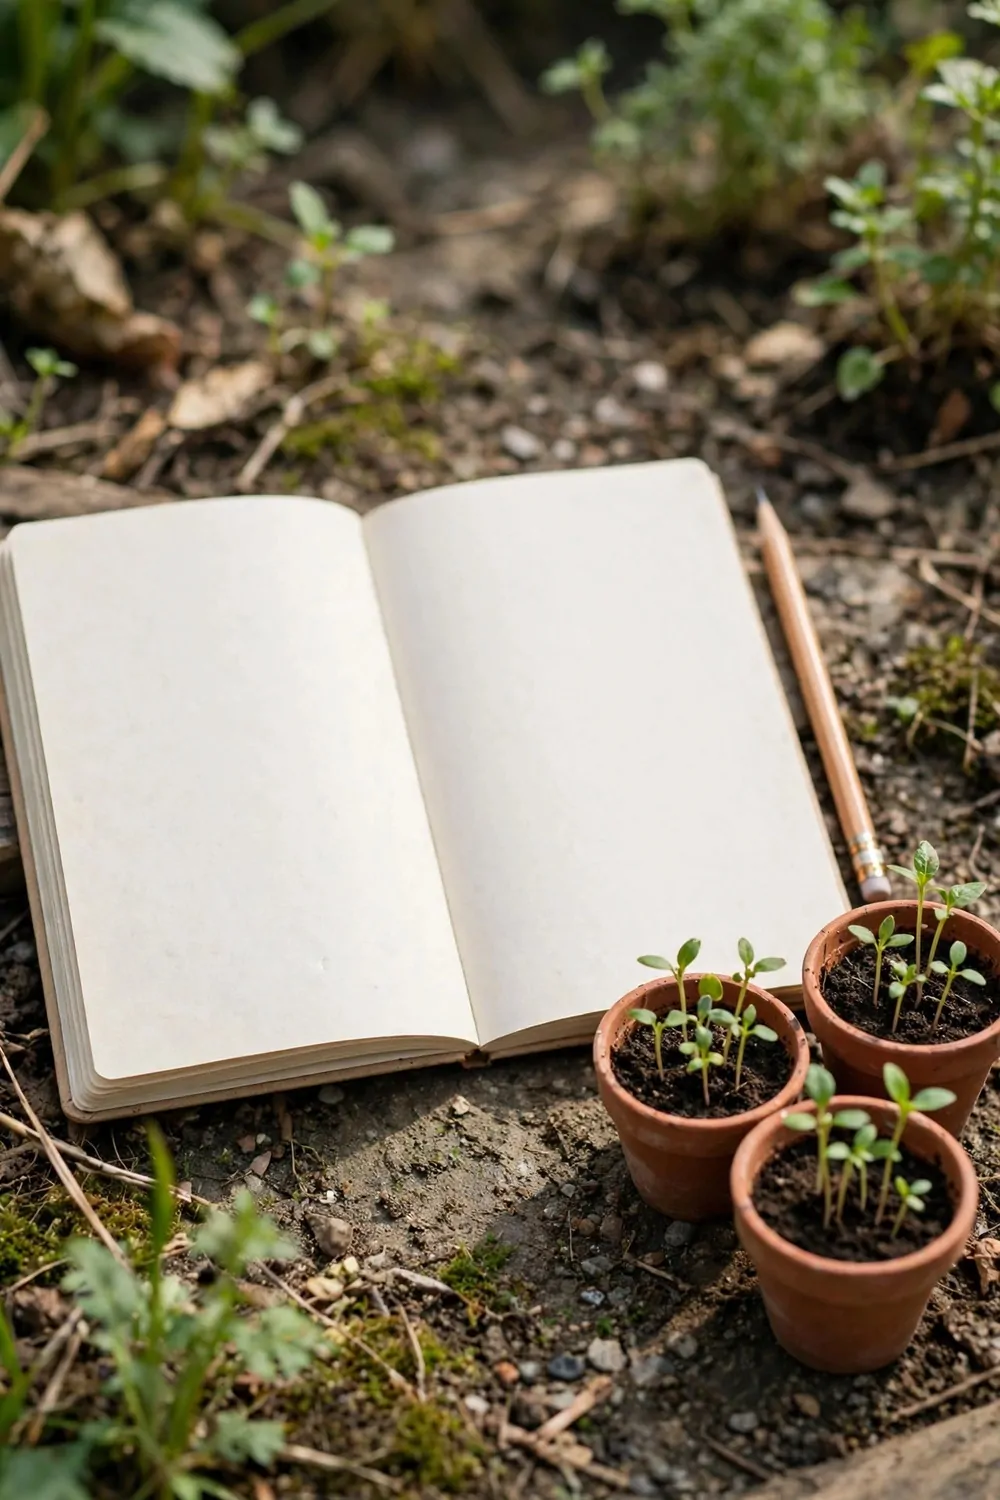
I plan next season while my plants are still growing. It helps me use what I learn right away.
I keep a notebook by the back door for garden notes.
I write down what grew well this year. I write down what did not grow well. I also note which spot got the most sun.
Think about what your family likes to eat most. Plan more of that next time and less of what sat uneaten.
Save a little space for one new plant you have never tried.
Look at seed packets in the shops and make a short list. Do not buy them all at once. Just pick the ones that fit your plan best.
A notebook and a few seed packets for next year came to $9 to $17. I bought the notebook first and the seeds later.
Good notes now save you from the same mistakes next year.
A little planning now makes next spring feel easy. You will start with a clear idea and a garden you already know.
33. A One-Week Starter Garden Plan
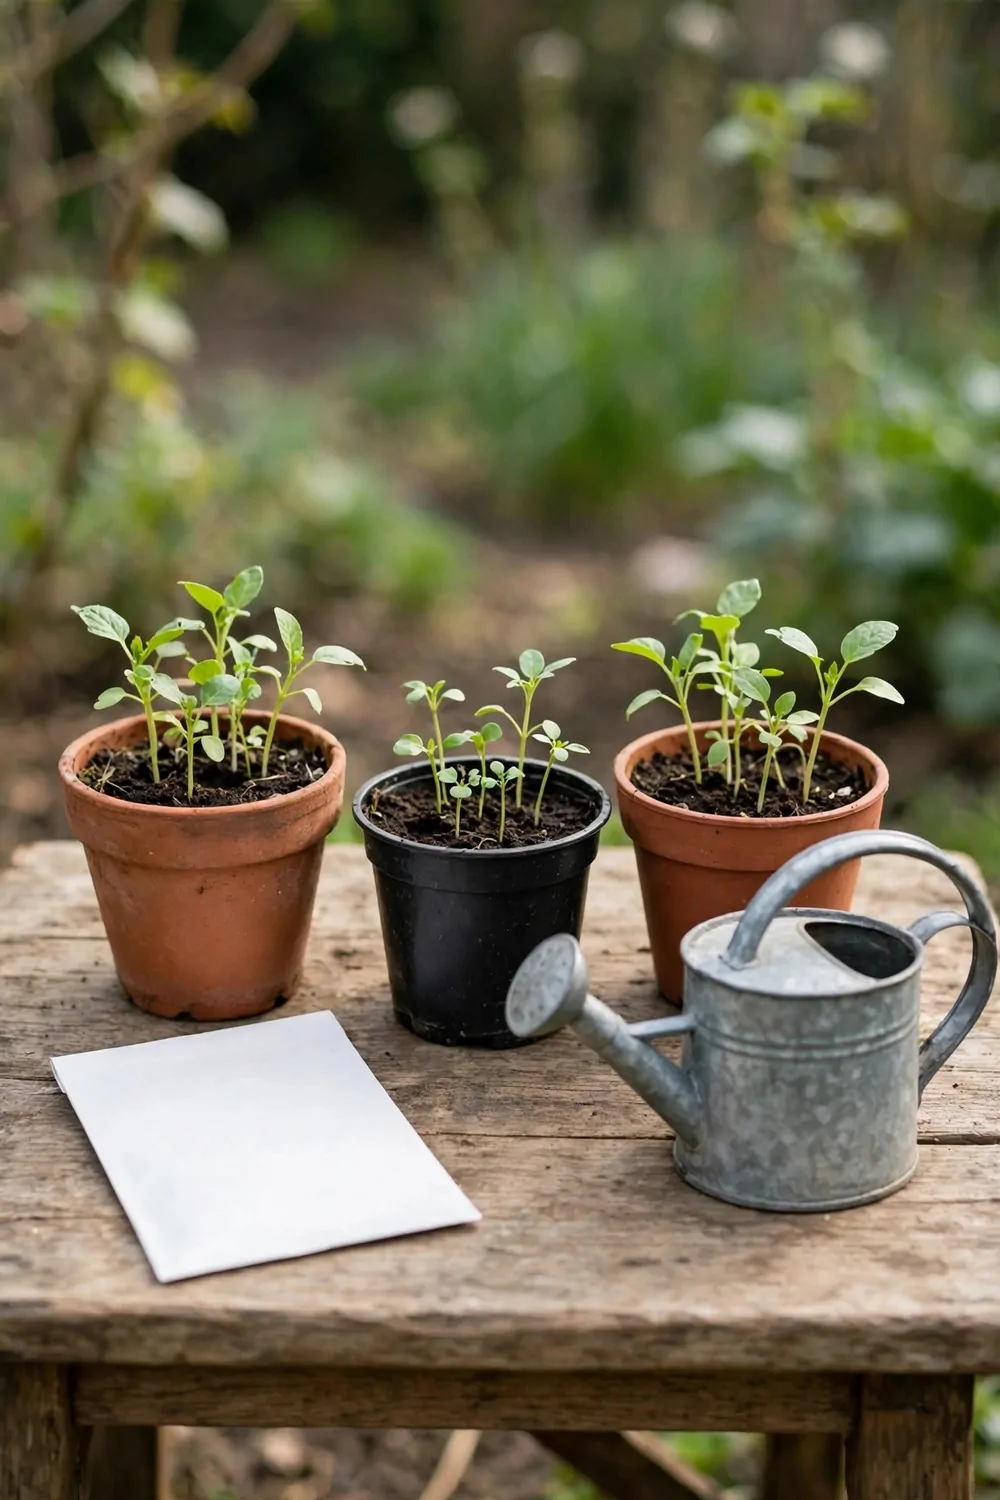
Day one is for picking your spot and looking at the sun. I walk round the yard and find the brightest corner for my beds.
Day two is for clearing the spot and pulling out weeds by hand.
Day three is for mixing compost into the soil. I dig it in with a spade. I rake the top smooth so it is ready for seeds.
Day four is for sowing your first seeds in neat rows. I label each row so I know what is growing where.
Day five is for watering gently and checking that the soil stays damp.
Day six is for adding canes and twine where tall plants will grow. I set them up early. That way I do not disturb the roots later.
Day seven is for a last check and a short tidy up. I walk round, pull a few weeds, and look at my new rows with pride.
By the end of the week your beds are set and your seeds are in the soil. You have done the hard part and now you just water and watch.
My list for the week was seed packets at $8 to $15, compost bags at $12 to $20, a hand trowel at $6 to $10, a roll of twine and canes at $9 to $14 and a small spade at $15 to $25. All together that comes to $50 to $84 for the full starter week.
| Area | Main change | Typical Cost |
|---|---|---|
| Seed packets | Seed packets sown in neat rows for the first beds | $8 to $15 |
| Compost bags | Bags of rich compost mixed into the beds | $12 to $20 |
| Hand trowel | A small hand trowel for planting and weeding | $6 to $10 |
| Twine and canes | Twine and canes to hold tall plants upright | $9 to $14 |
| Small spade | A small spade for digging and turning soil | $15 to $25 |
| Total | One-week starter garden set | $50 to $84 |
Keep Reading
If you liked these ideas, you will love these posts too.
- 27 Small Bathroom Remodel Ideas That Look Expensive
- 30 Kitchen Remodel Ideas With Before and After Photos
- 28 Basement Remodel Ideas That Turn Dead Space Into Living Space
- 24 Attic Remodel Ideas That Add a Whole New Room
- 31 Open Plan Kitchen Ideas That Make Small Homes Feel Big
- 35 Whole Home Remodel Ideas Room by Room
I hope one of these ideas helps you start your first vegetable patch with a smile. Pick a sunny spot, sow a few seeds, and see what comes up. Plant one seed this week and enjoy that first pick when it is ready.