31 Open Plan Kitchen Ideas That Make Small Homes Feel Big

The day the wall between my kitchen and my living room came down, my kitchen doubled in size. I stood in the dust with a cup of tea in my hand and I could see right across to the sofa. It felt like someone had given me a whole new room for free.
Before that day, my kitchen was a small box with one door. I cooked with my back to everyone, and I missed half of the talk at the table.
Now I can stir a pot of pasta and still see my family on the sofa. I can pass a plate of bread across the room without a long walk. The whole home feels open and calm in a way I did not expect.
An open plan kitchen is not about a big house. It is about taking away the walls that cut a small home into tiny rooms.
You do not need a huge budget or a full rebuild to get that feeling. Small changes can make a real difference, and I have tried most of them in my own home.
In this post I share the ideas that worked best for me. I kept each one simple, and I kept the steps clear so you can picture them in your own home.
You will find all 31 ideas right here in this one post, from taking down a wall to setting up a small coffee corner by the window. Read through them in order, pick the ones that fit your home, and start with the one that makes you smile most.
1. Take Down the Wall Between Kitchen and Living Room
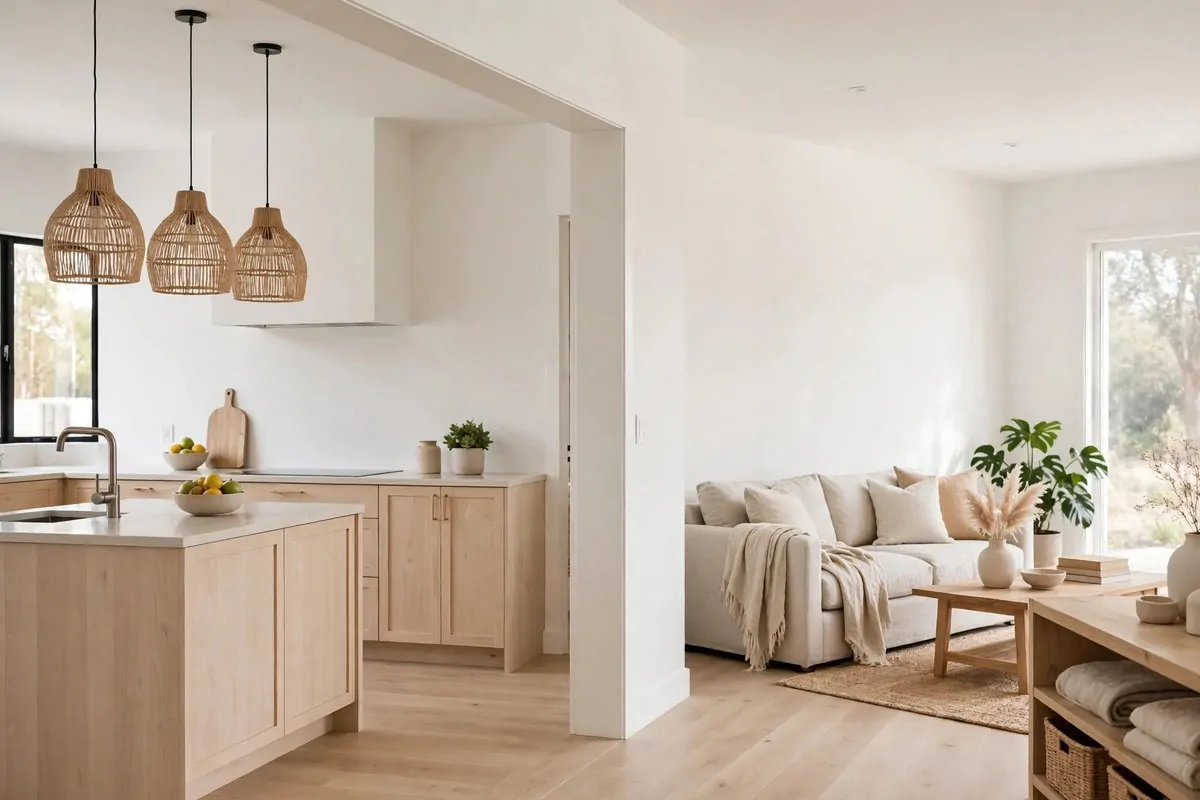
The wall between my kitchen and my living room was not holding up the roof, so a builder could take it down in a few days. Once it was gone, light from the living room windows reached right into the kitchen.
I asked a builder to check the wall first, and he told me which walls were safe to remove.
We kept the dust in one room with plastic sheets on the doors. I moved my plates and pans into boxes for a week. It was messy, but it was only for a short time.
After the wall came down, I could talk to my family while I cooked. I no longer felt shut away in a small room on my own.
My builder gave me a price of $1800 to $4500 for taking down the wall and making the edges neat. The price changed with the size of the wall and the work needed to finish the floor where the wall had been.
We left a short piece of wall at one end to hold the fridge. That small piece made the new open space feel tidy and safe.
If you rent your home, ask the owner in writing before you touch any wall. Some walls hold pipes and wires inside them. A quick check can save you a lot of trouble later.
I painted the new edge the same white as the rest of the room so it looked like the wall was never there.
Now my kitchen feels twice as wide, even though the floor did not get any bigger. It is the one change I would do again first.
2. Add a Long Island You Can Walk All Round
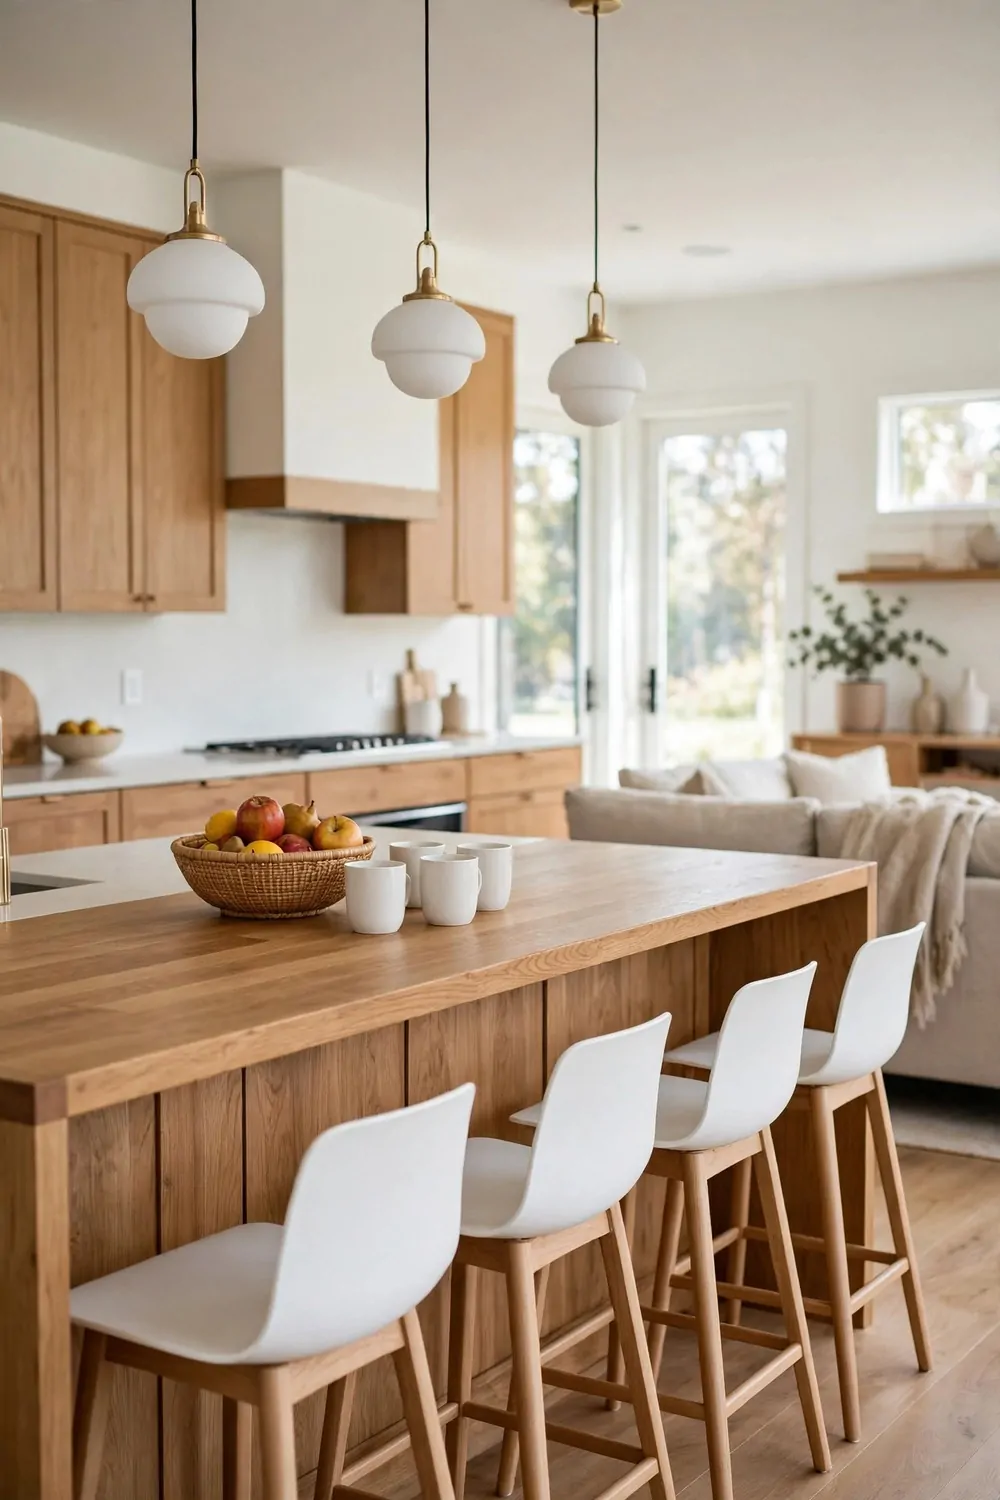
A long island gave my kitchen a centre point. I could cook on one side and my family could sit on the other side.
I left space to walk all round it. I can reach the sink without turning round in a tight spot. I can open the oven door without bumping into a chair.
My island is plain wood on top and plain wood below, and I wipe it clean with soap and water.
We use it for breakfast, for homework, and for rolling out bread. It is the busiest spot in my home now.
I paid $900 to $2400 for the island, and the top took up most of that sum.
I picked a top that was easy to wipe. I did not want a top that would mark with every cup and plate. Plain and strong was the right pick for my family.
I keep only a fruit bowl and a small vase on top. A clear top makes the whole kitchen look bigger and calmer.
If your room is narrow, pick a slim island so you still have room to walk past it with a tray.
An island can hold pots and pans inside, so my cupboards feel less full. It works hard, and it looks simple at the same time.
3. Paint the Whole Space One Soft White
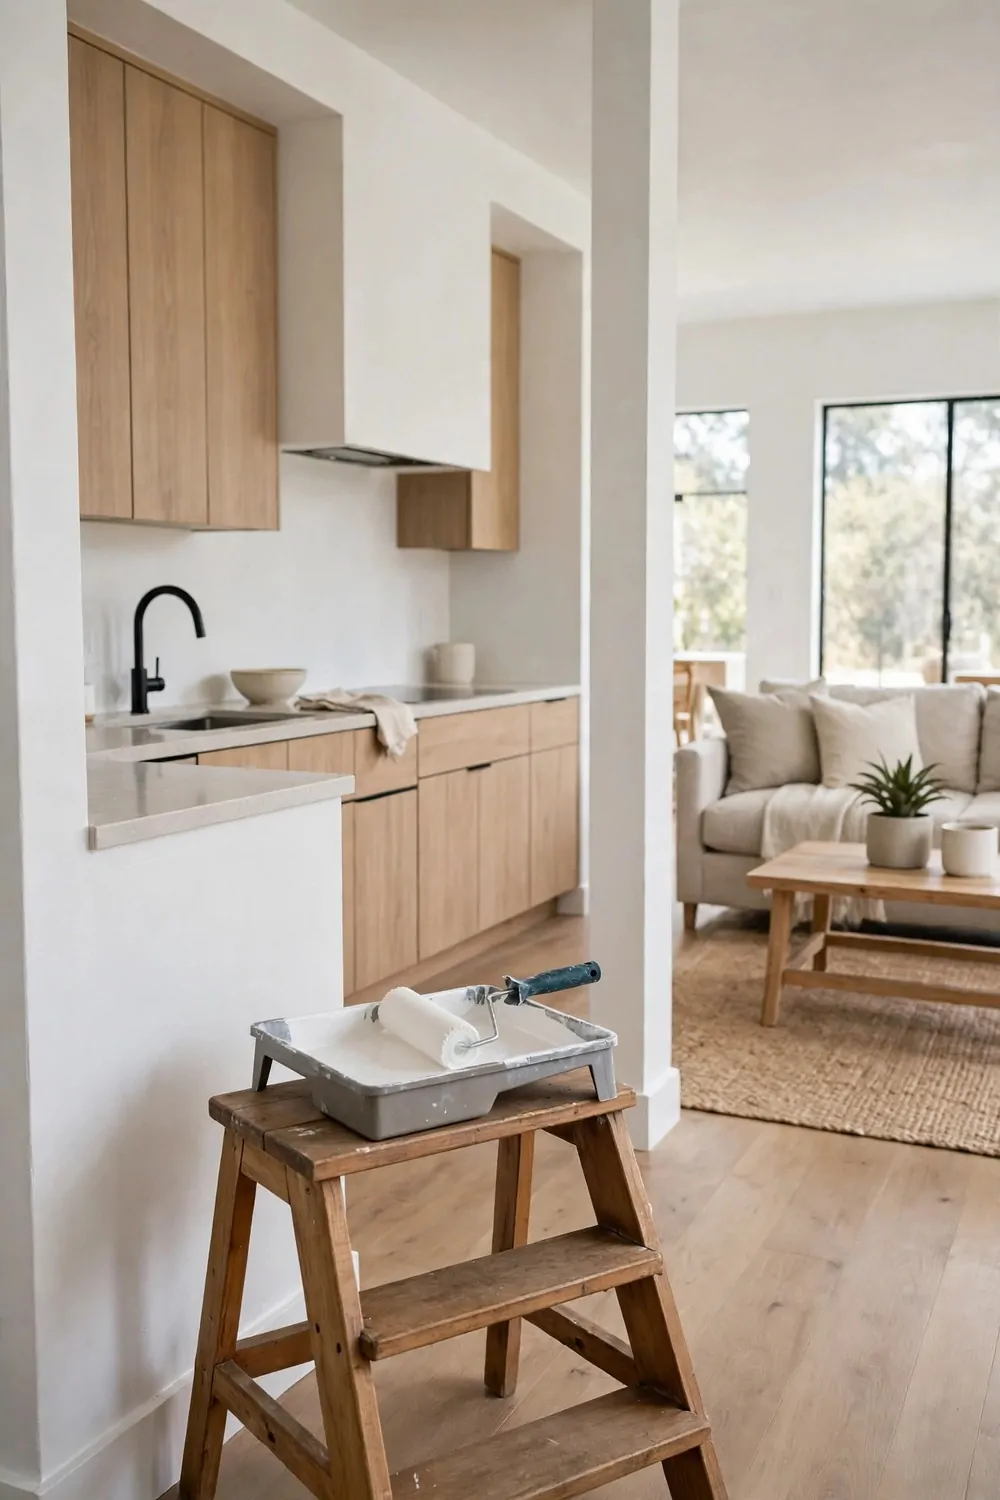
I painted the kitchen and the living room the same soft white. The line where one room ended and the next began just went away.
White paint bounces the light from the windows into every corner of the room.
I picked a warm white, not a cold white. Cold white made my room feel like a shop. Warm white made it feel like a home.
I used paint that I could wipe clean with a damp cloth. Kitchens get splashes, and I wanted a wall I could clean in a minute.
Two large tins and a set of brushes set me back $350 to $850, and I did the painting over one long weekend with help from my brother.
I painted the ceiling white too. It lifted the whole room and made the ceiling feel higher than it was.
I kept one wall plain and left the colour to my cushions and my plates. Soft white is a good base for green plants and wooden bowls. It lets the small bits of colour stand out.
If white feels too plain for you, try a very pale cream on the walls and keep the cupboards white.
I was scared the room would look blank, but it looked fresh and calm. It is the cheapest big change I made in my home.
4. Run the Same Floor from Kitchen to Sofa
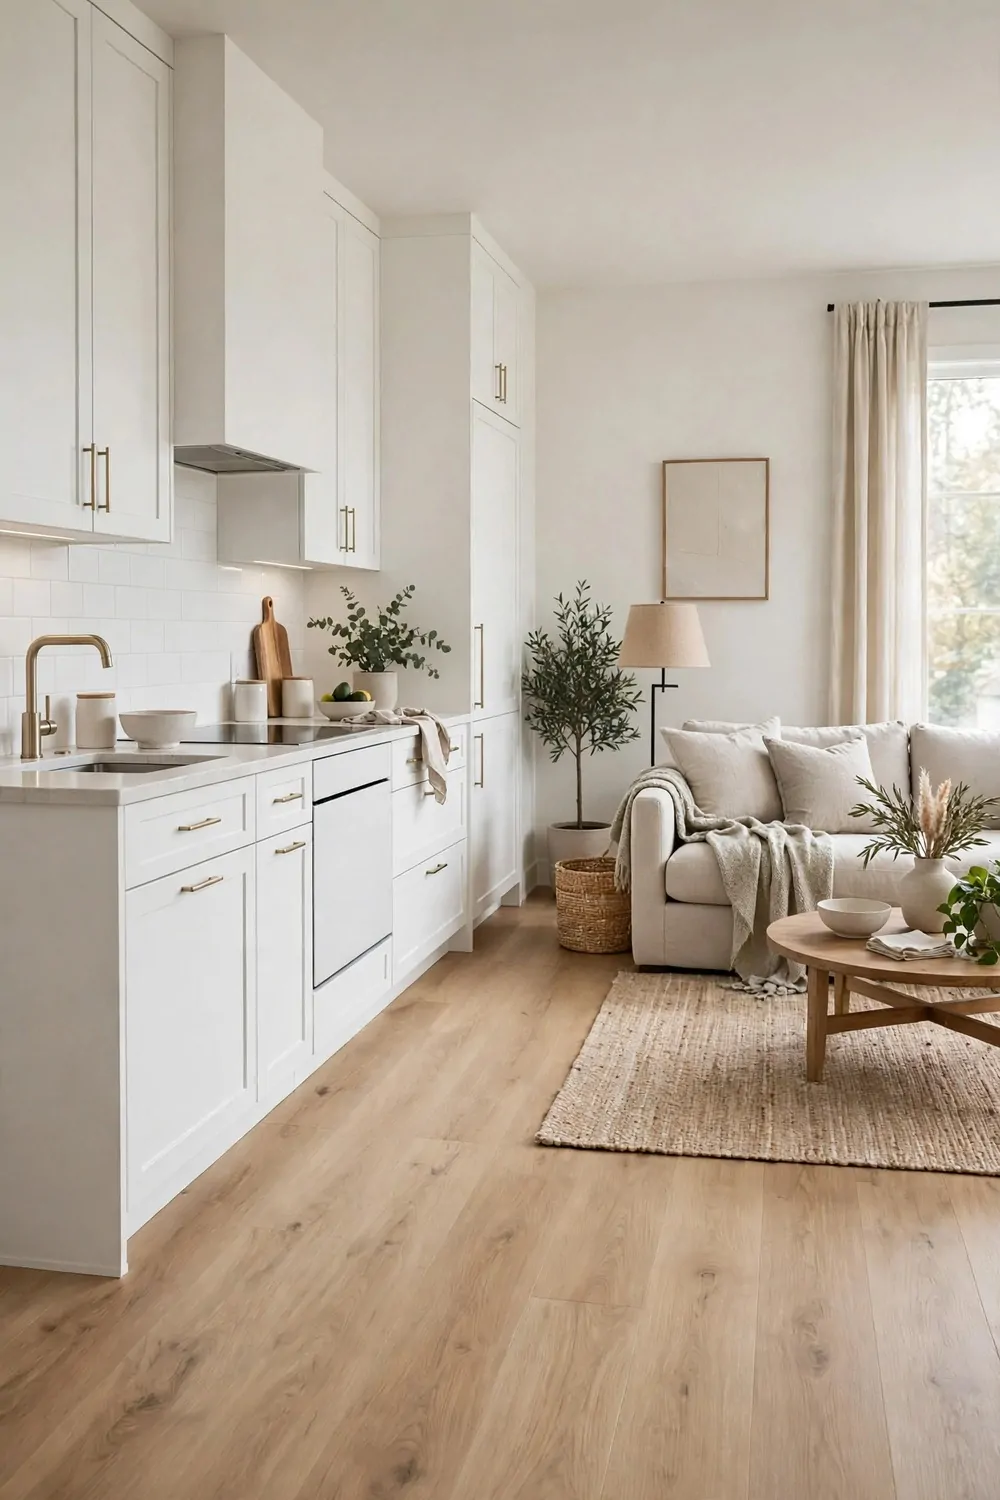
I used the same floor in the kitchen and the living room. Your eye moves across the room without a stop, so the space feels longer.
Before, I had tiles in the kitchen and wood in the living room. The line between them cut the room in half. Now the floor runs straight through, and the rooms feel like one room.
I picked a floor that I could mop with soap and water after cooking.
Light wood was my pick, and it hides dust better than dark wood. It also makes the room feel bright on grey days.
The new floor came to $1200 to $3800, with the larger rooms at the top end of that range.
I asked the fitter to run the boards in one direction. Long lines down the room make a small home feel wider.
I kept a small mat by the sink for wet feet. I kept a soft rug by the sofa for warm feet. Both are easy to lift and shake outside.
If you cannot change the whole floor, try a large flat mat in the same tone to join the two zones.
A single floor is a quiet trick, but it works. My home feels like one open room now, not two small rooms joined by a door.
5. Add a Wide Window or a Glass Door
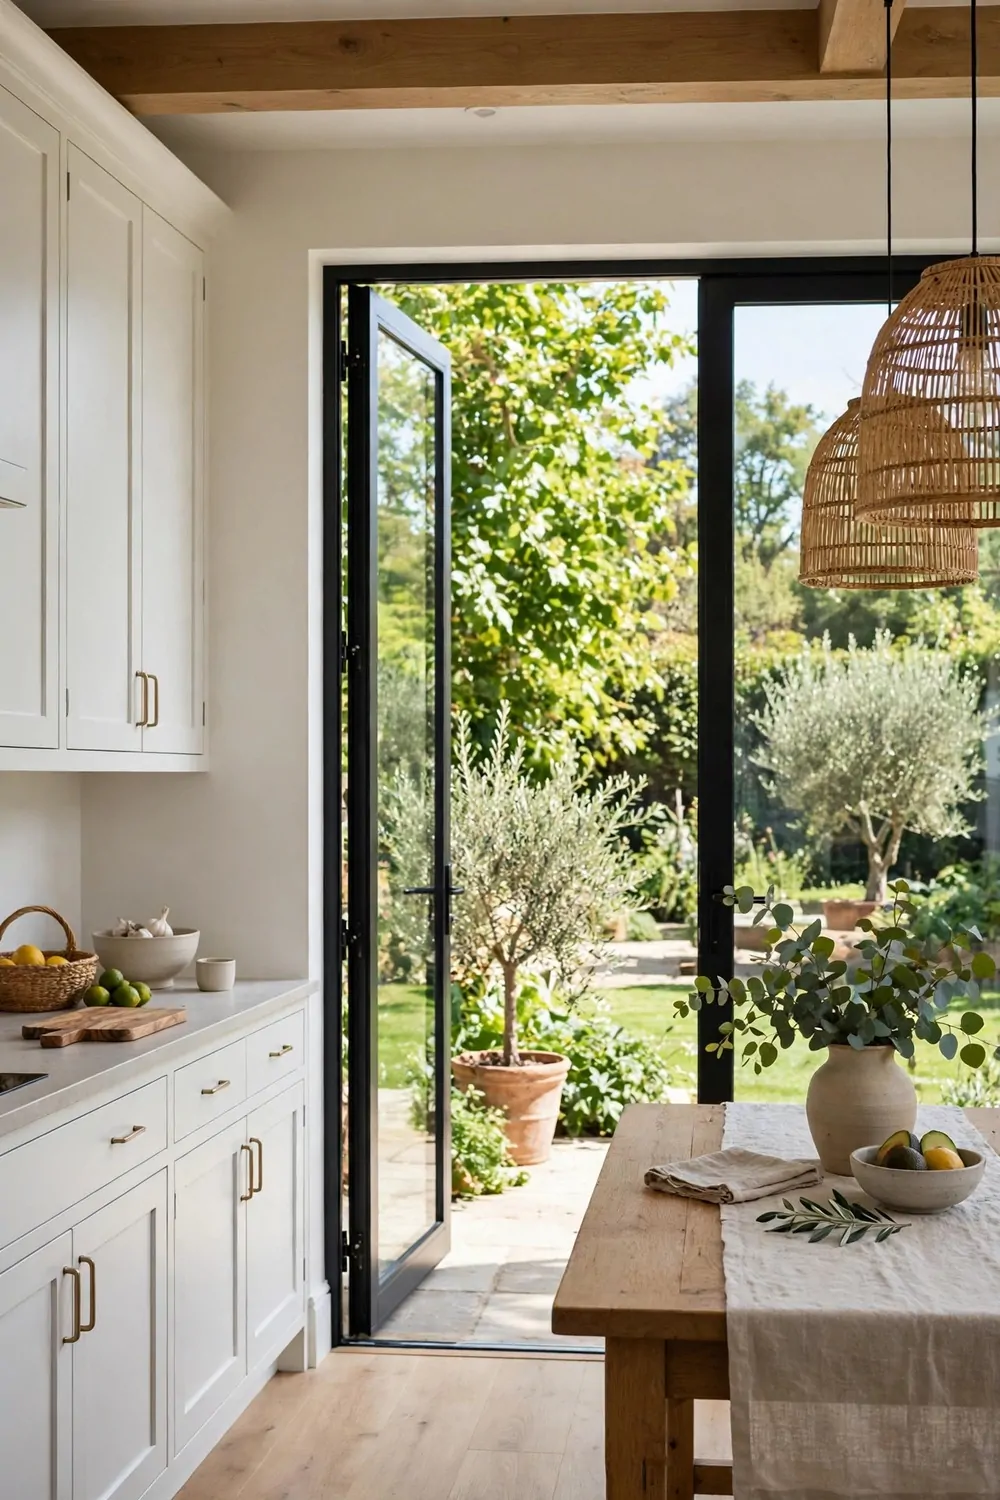
My old kitchen window was small and high. It let in a little light, but I could not see the garden from the sink.
I made the window wider and lower. Now I can see the trees while I wash plates. I can see the sky while I wait for rice to cook.
A glass door at the back of the room lets in even more light than a window.
I picked plain glass with a simple frame. It keeps the view clear and it is easy to clean with soap and water.
My fitter quoted $1400 to $5200 for the wider window, and the glass door added more to the bill when I chose it later.
Light makes a small kitchen feel big. I use the lights far less in the day now, and the room feels fresh.
I hung no heavy curtains on the new window. I used a light blind that I can lift right up. It lets me keep my view in the day and close it at night.
If you cannot change a window, clean the glass well and keep the sill clear so nothing blocks the light.
A wide window changed how my kitchen feels at breakfast. I sit at the table and the whole room glows with morning light.
6. Fit Slim Open Shelves for Daily Dishes
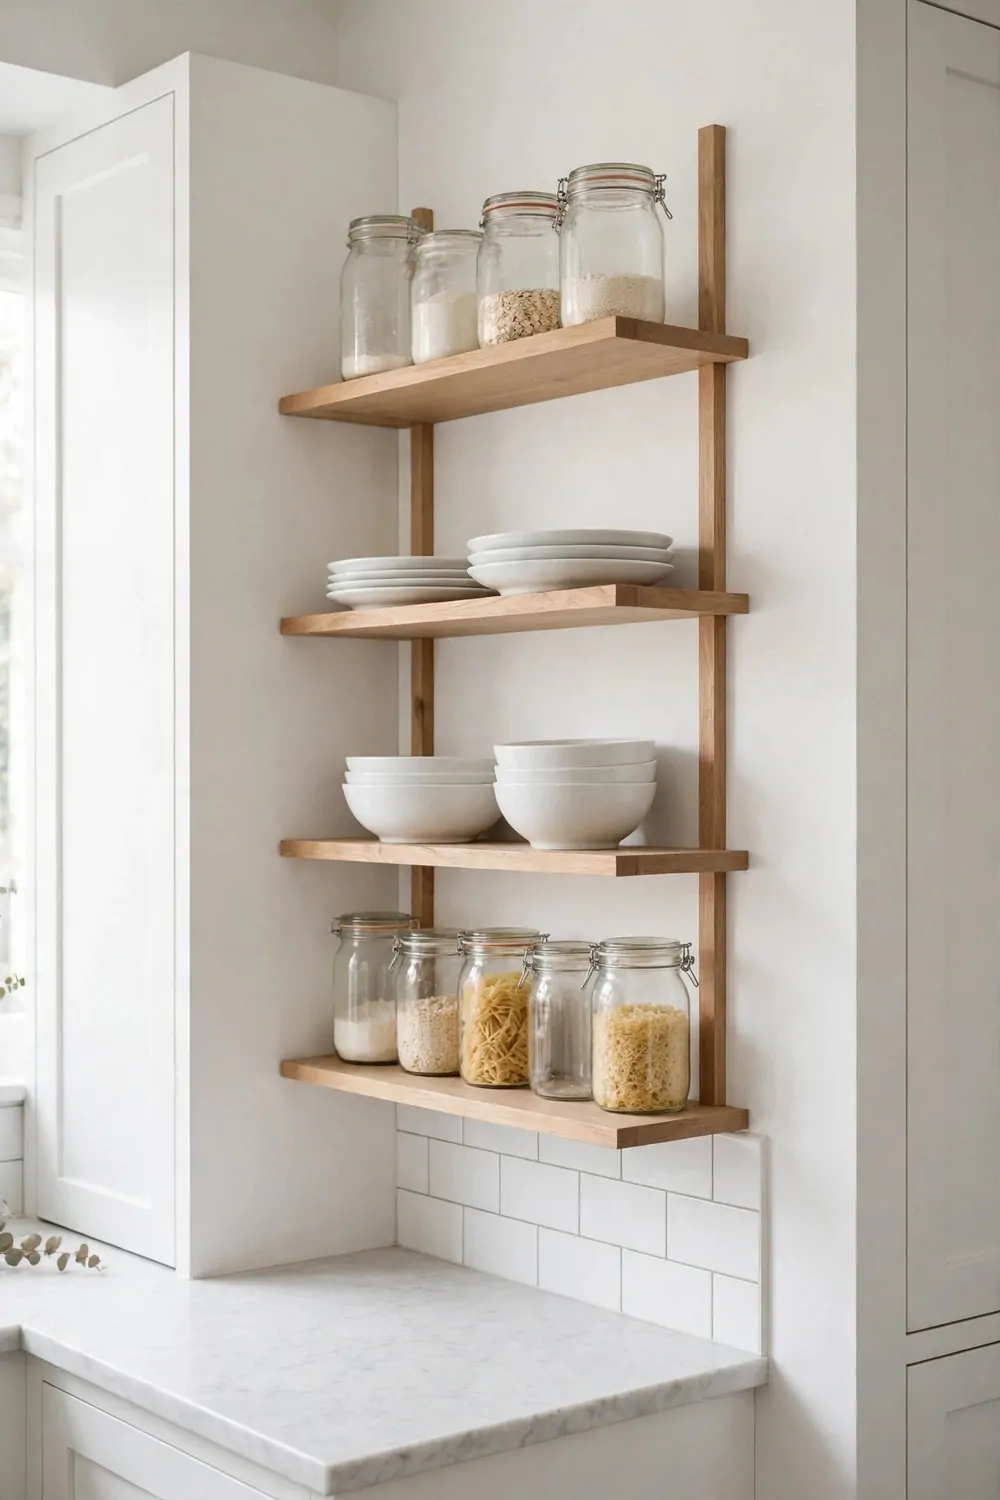
I took down two top cupboards and put up slim open shelves in their place. My daily plates and bowls are now right where I can reach them.
Open shelves make a wall feel light, and they show off the dishes I use every day.
I keep only the pretty plates on show. I keep the rest in the low cupboards. A shelf with too much on it looks messy in a small room.
I give the shelves a quick wipe with a damp cloth once a week. Dust can settle on open shelves, so I keep the number of items low.
The wood, brackets, and fixings added up to $180 to $620, which felt fair for the change they made.
I put cups on the top shelf and plates on the middle shelf. Heavy pots stay low, where I can lift them with both hands.
I added a small row of hooks under the lowest shelf. I hang my mugs there, and they dry well. It freed up a whole shelf for bowls and jars.
If you like a tidy look, keep the shelves to one colour of dish and one size of bowl.
My shelves make the kitchen feel open, and they make cooking faster. I can see what I need, and I can grab it in one move.
7. Pick Light Cabinets with No Handles
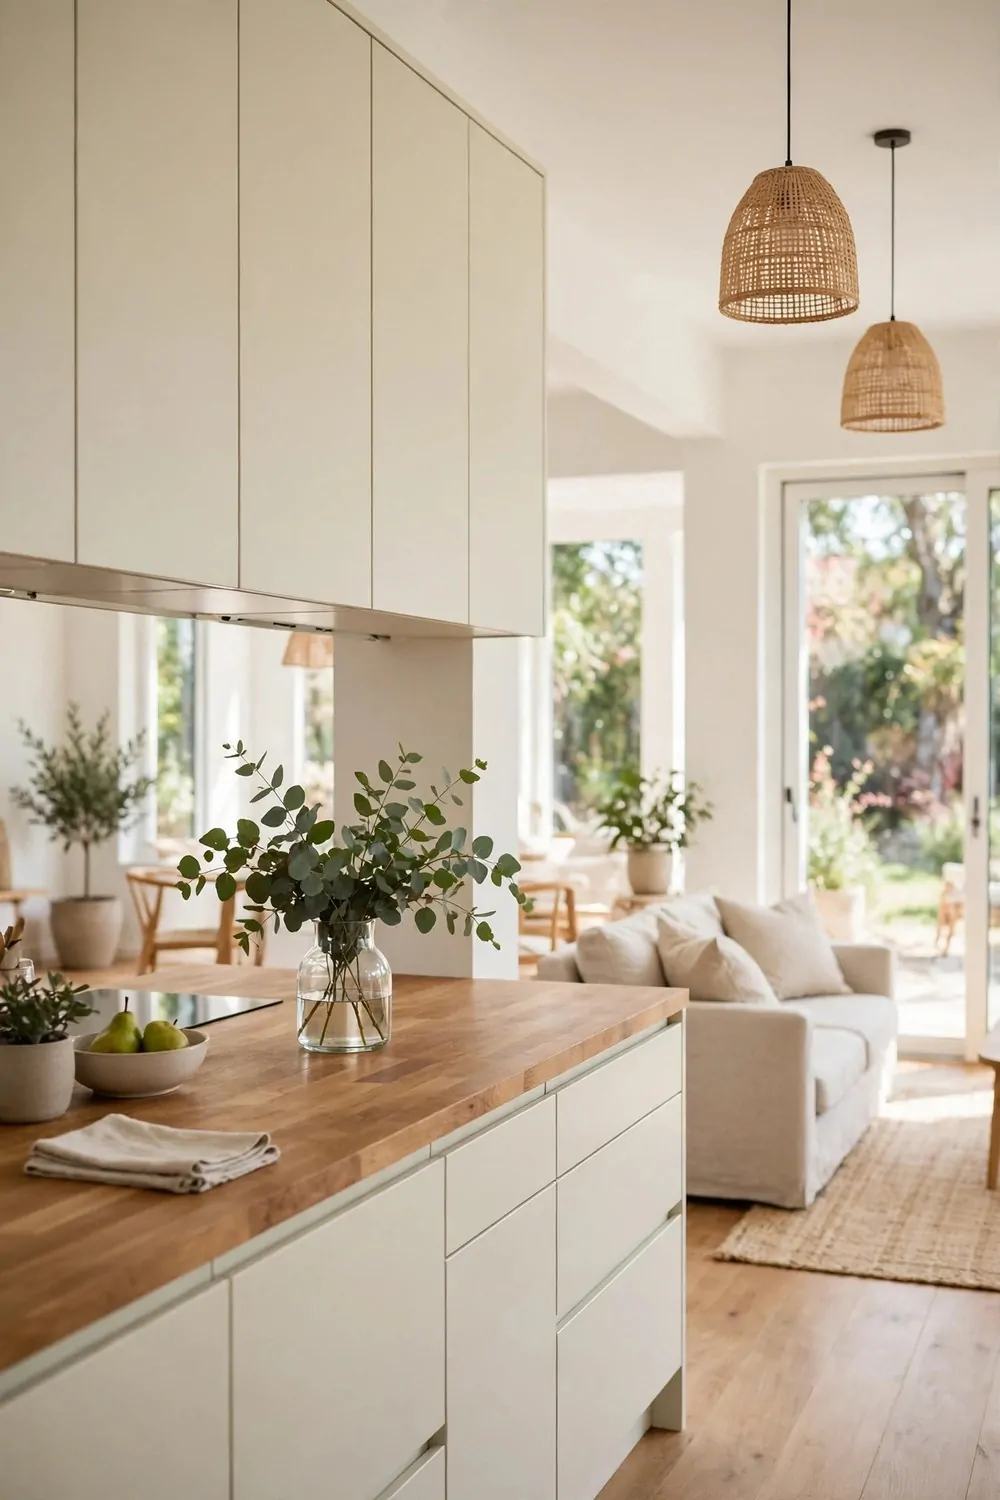
My old cabinets were dark, and the handles stuck out and brushed against my clothes as I walked past.
I picked light cabinets with no handles. I open them with a light push. The fronts look smooth and flat, and the room feels calm.
Light fronts make a small kitchen feel wide, and they show less dust than dark fronts.
I picked white for the low cabinets and a pale cream for the top ones. The mix is soft, and it does not feel cold.
Replacing the fronts and doors ran to $2200 to $6100 in my home, and I kept the old boxes behind them to hold the price down.
I wipe the fronts with soap and water after cooking. Grease comes off with a soft cloth, and the pale colour stays fresh.
I kept the inside of the cabinets plain and tidy. I put plates in one stack and bowls in one stack. I can find what I need without a long search.
If new doors are too much for now, try painting the old doors a light colour and taking the handles off.
No handles means no bumps and no visual clutter. My kitchen looks like one smooth wall of light colour now.
8. Add a Breakfast Bar with Two Stools
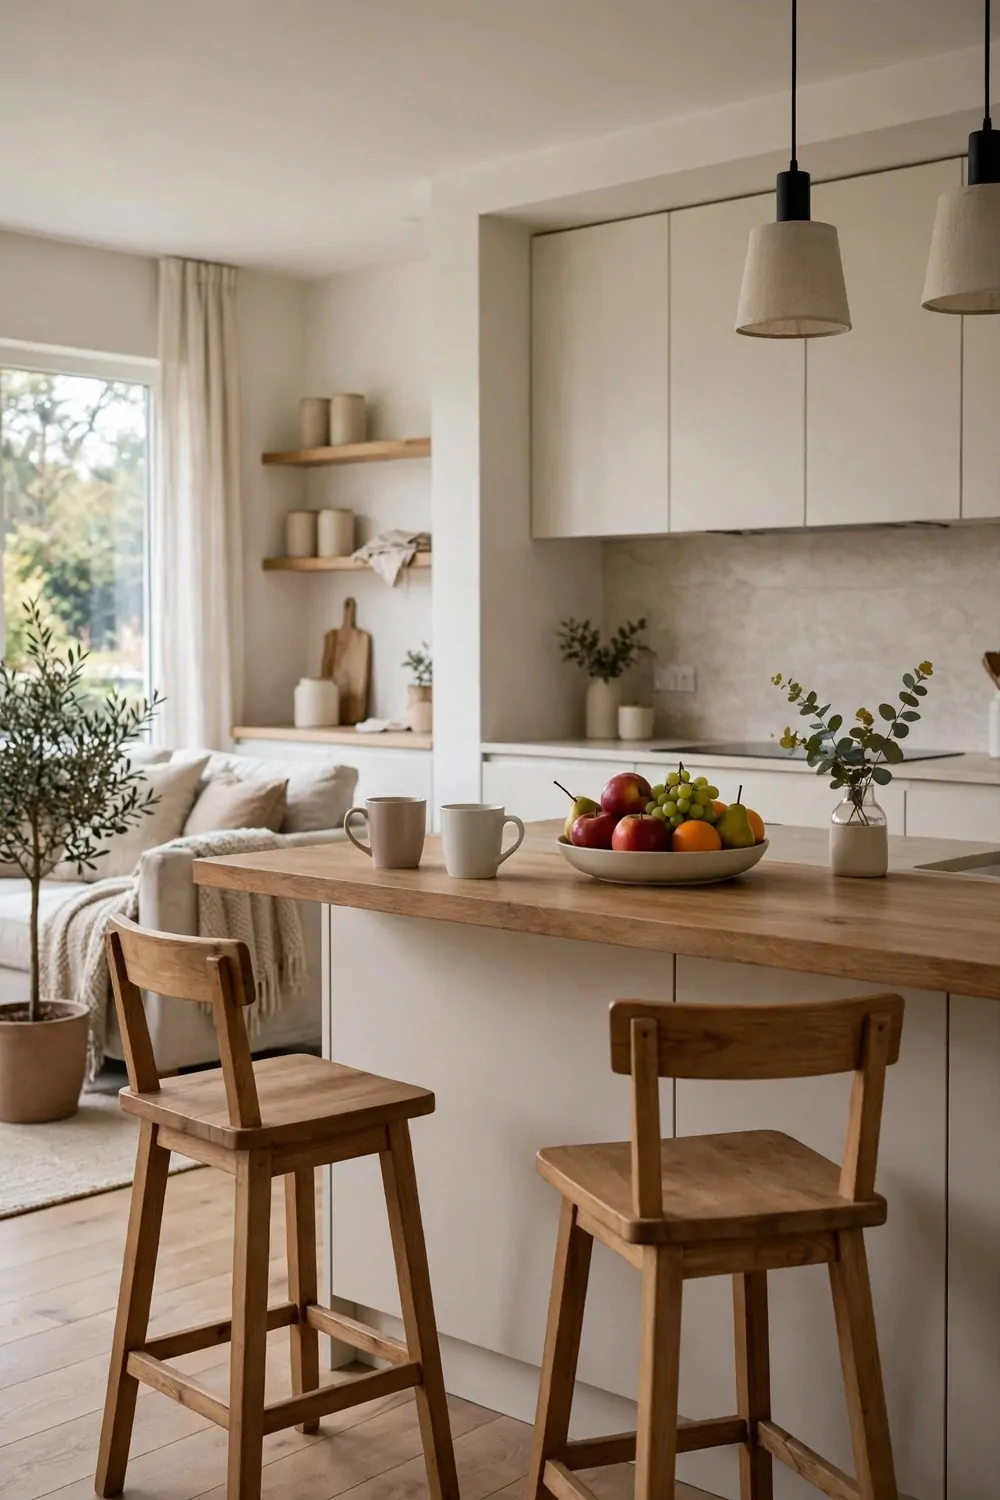
A small breakfast bar gave us a place to eat without a big table. My family sits there for bread and fruit in the morning.
I fixed a wide board to the end of my island. It sticks out just enough for two stools. I can serve breakfast there and still reach the kettle with one step.
Two stools are enough for my home, and they tuck under the bar when we are done.
I picked stools with a low back and a soft seat. They are easy to sit on, and they do not block the view across the room.
The board, the supports, and two stools worked out at $450 to $1100, and I picked plain wood to keep it simple.
I keep the bar clear during the day. A clear bar makes the kitchen look tidy, and it gives me space to chop vegetables.
My kids do their reading at the bar after school. I cook next to them, and we talk while I chop. It is a small spot, but it brings us close.
If your kitchen is very small, try a fold-down board that you can lift up for meals and drop down after.
A breakfast bar is not just for eating. It is a place to sit, to talk, and to start the day in a calm way.
9. Use a Rug to Mark the Living Zone
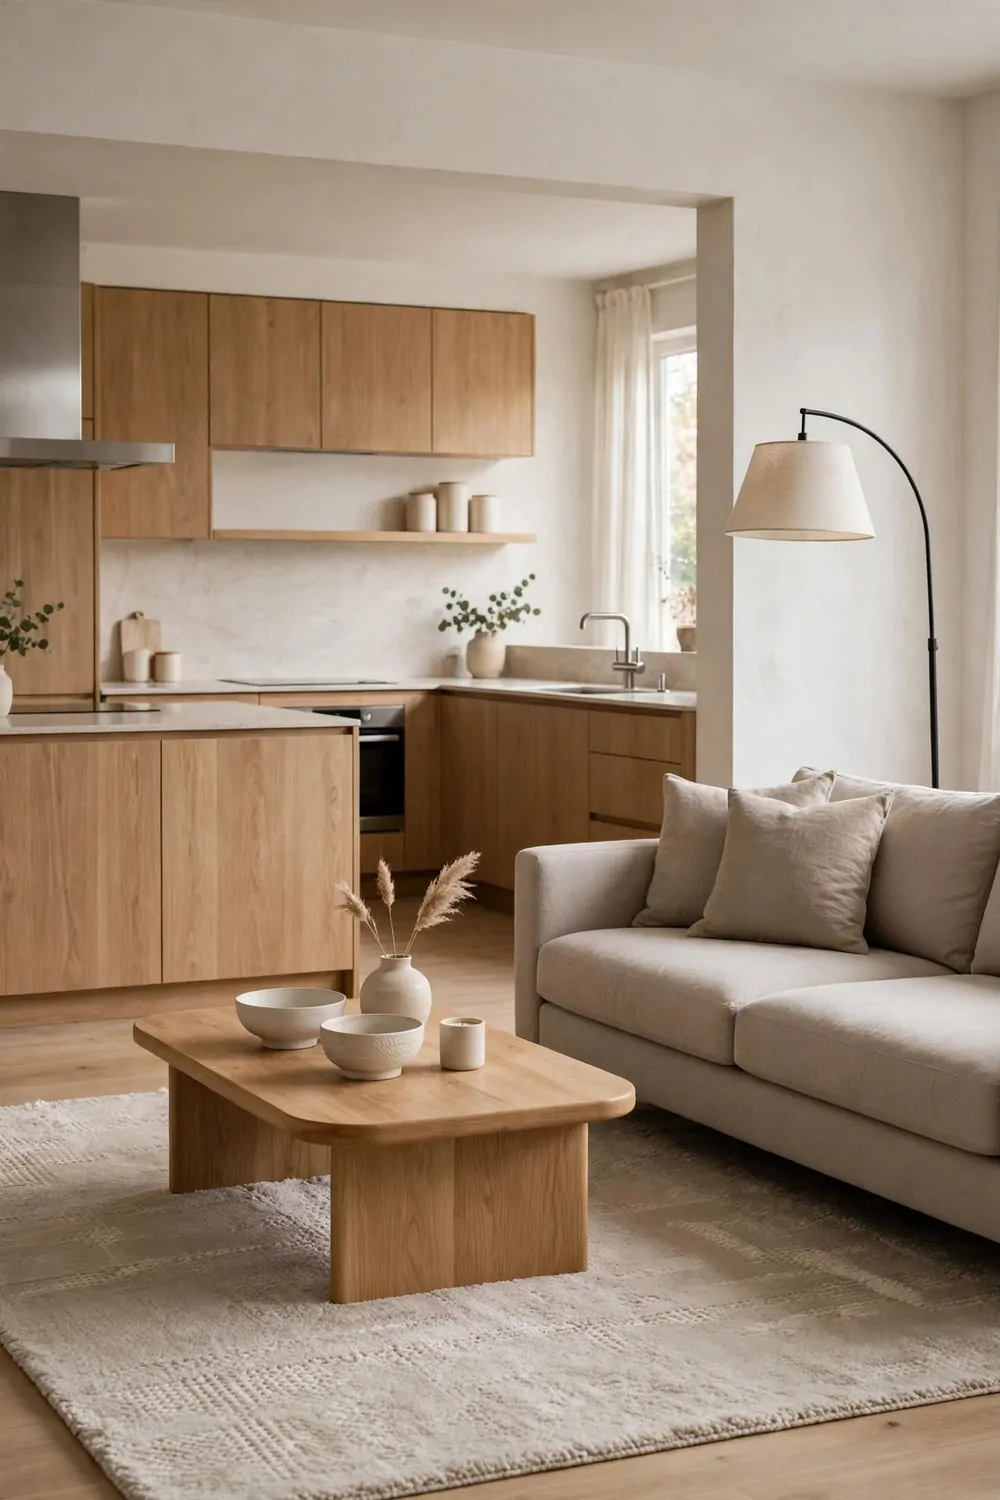
I put a large rug under the sofa and the low table. It tells your eye where the living zone starts, even with no wall in the way.
A rug makes the living side feel warm and soft under your feet.
I picked a flat rug with a simple pattern. A thick rug can trip you when you walk from the kitchen to the sofa. A flat rug stays in place and is easy to clean.
I picked warm tones that match my cushions. The rug ties the sofa and the chairs together in one group.
I found a good flat rug for $120 to $480, and the larger sizes sat near the top of that range.
I shake the rug outside once a week and I vacuum it twice a week. It stays fresh, and it does not hold cooking smells.
I left a clear path of bare floor between the kitchen and the rug. I can carry a tray of food without stepping on soft wool. The path keeps the two zones clear in my mind.
If you have a small room, pick a rug that is just big enough for the front legs of the sofa and the chairs.
A rug is a simple way to mark a room without building a wall. It makes the living zone feel like its own place, and the kitchen stays open next to it.
10. Hang One Big Pendant Light over the Island
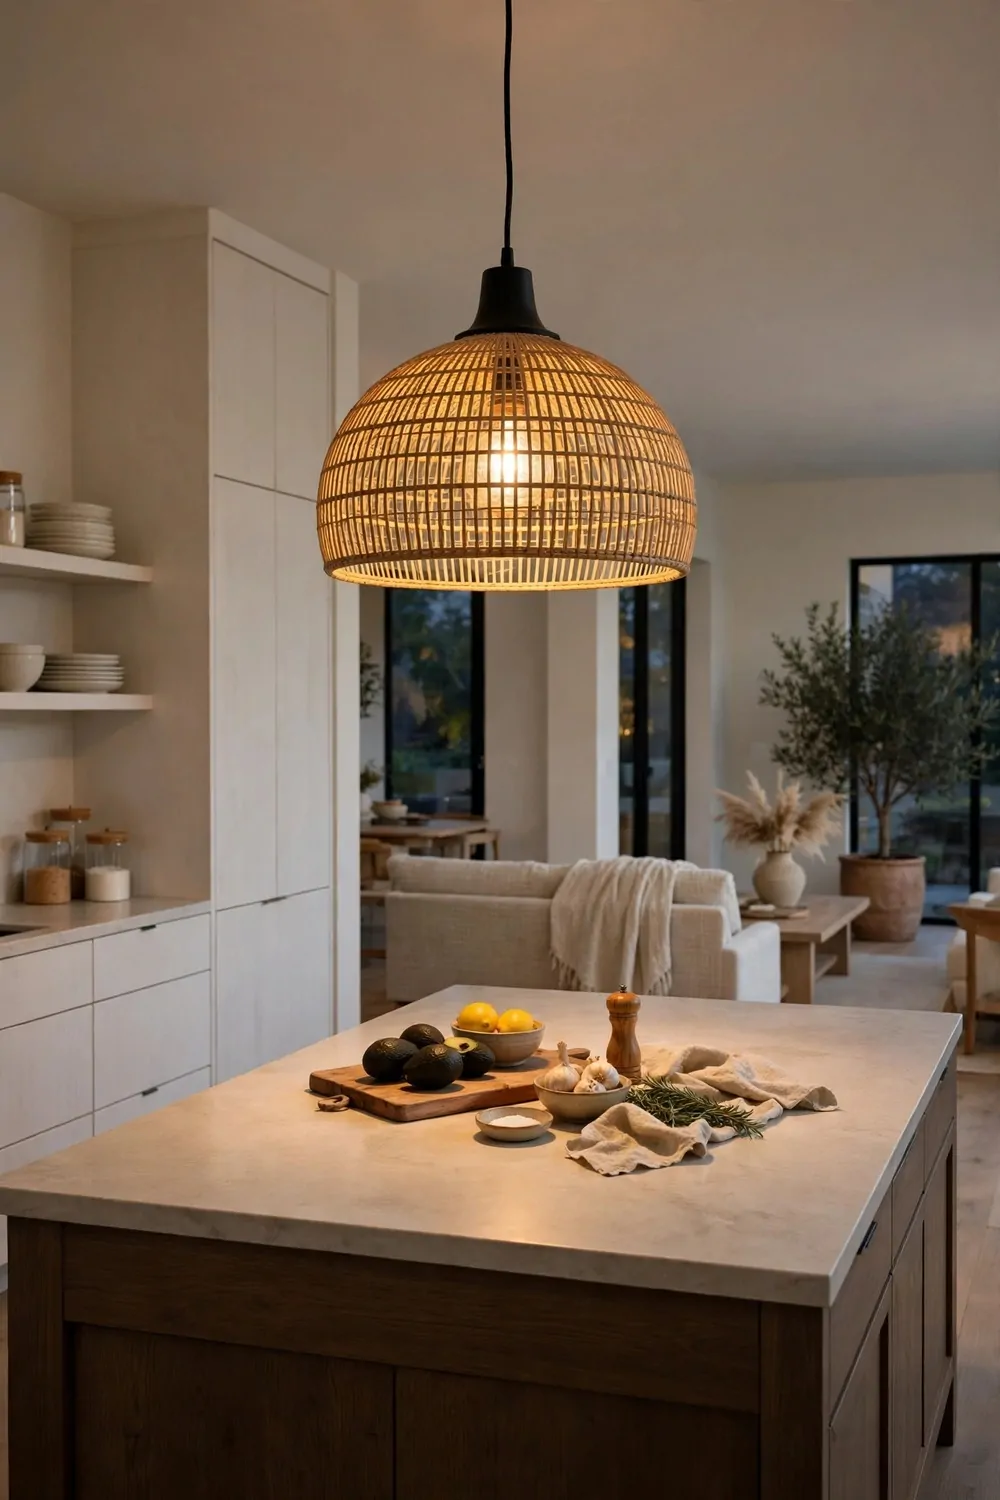
I hung one big pendant light over the middle of my island. It pulls your eye to the centre of the room and makes the island feel like the heart of the home.
I picked a simple woven shade in a warm straw tone. It gives a warm glow at night. It looks plain in the day, and that suits my kitchen.
One big light looks better than three small lights in a small open room.
I hung it low enough to light the worktop, but high enough that I can see under it. I can chop vegetables and read a recipe under its light.
The light, the cord, and the fitting cost me $180 to $540 all together, and I asked an electrician to hang it safely.
I use a warm bulb, not a cold white one. Warm light makes the kitchen feel cosy in the evening.
I clean the shade with a dry cloth once a month. Dust can dim the light if you leave it. A clean shade keeps the glow bright and clear.
If your ceiling is low, pick a shade that sits close to the ceiling so no one bumps their head.
At night, that one light makes the whole open space feel calm. I can see the kitchen, the table, and the sofa in one soft glow.
| Idea | Typical Cost |
|---|---|
| Take Down the Wall Between Kitchen and Living Room | $1800 to $4500 |
| Add a Long Island You Can Walk All Round | $900 to $2400 |
| Paint the Whole Space One Soft White | $350 to $850 |
| Run the Same Floor from Kitchen to Sofa | $1200 to $3800 |
| Add a Wide Window or a Glass Door | $1400 to $5200 |
| Fit Slim Open Shelves for Daily Dishes | $180 to $620 |
| Pick Light Cabinets with No Handles | $2200 to $6100 |
| Add a Breakfast Bar with Two Stools | $450 to $1100 |
| Use a Rug to Mark the Living Zone | $120 to $480 |
| Hang One Big Pendant Light over the Island | $180 to $540 |
11. Build a Pantry Wall to Keep Worktops Clear
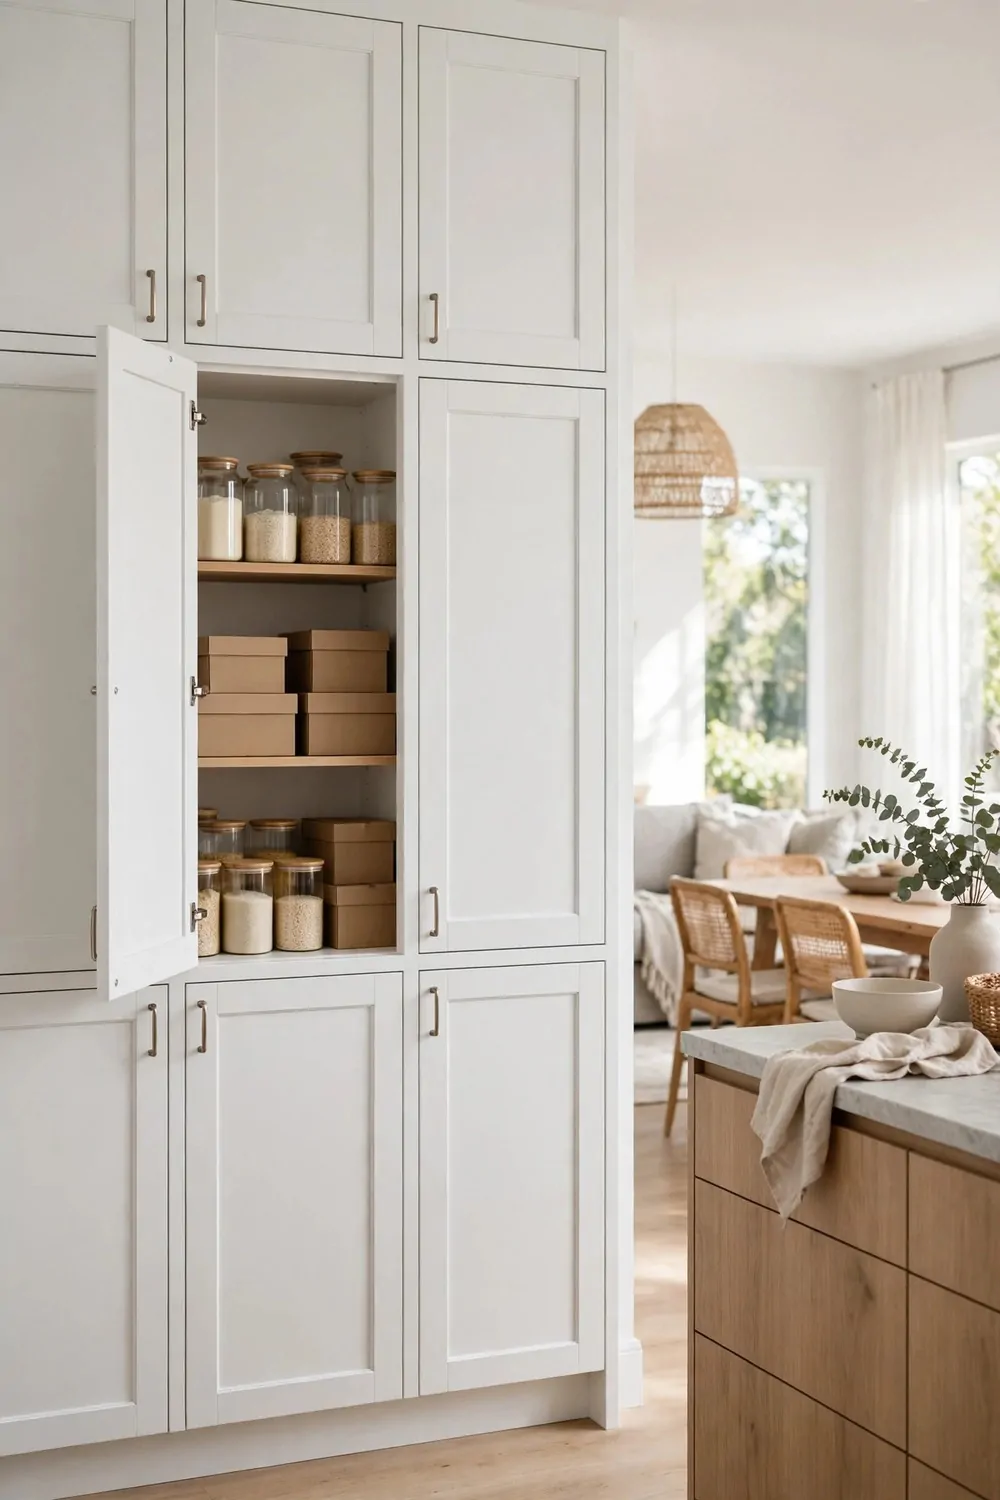
I built tall cupboards along one wall and called it my pantry wall. All my dry food lives there, and my worktops stay clear for cooking.
I keep rice, pasta, and beans in clear jars on the shelves. I can see what I have at a glance. I can see what I need to buy before I go to the shops.
A pantry wall hides a lot of clutter behind plain doors.
I put the items I use most at eye level. I put the heavy bags low, and the light items high.
The tall units and shelves came in at $950 to $2600, and I saved money by keeping the doors plain.
I label each jar with a simple paper tag. I write the name in big letters, and I can find the rice in one second.
I keep a small step stool near the pantry for the top shelf. I use it to reach the spare plates. I put it back in its corner when I am done.
If you have no spare wall, try one tall cupboard next to the fridge for the same job.
A clear worktop makes cooking feel easy. I can lay out my vegetables and my bread, and I still have room to move.
12. Put a Small Dining Table in the Middle
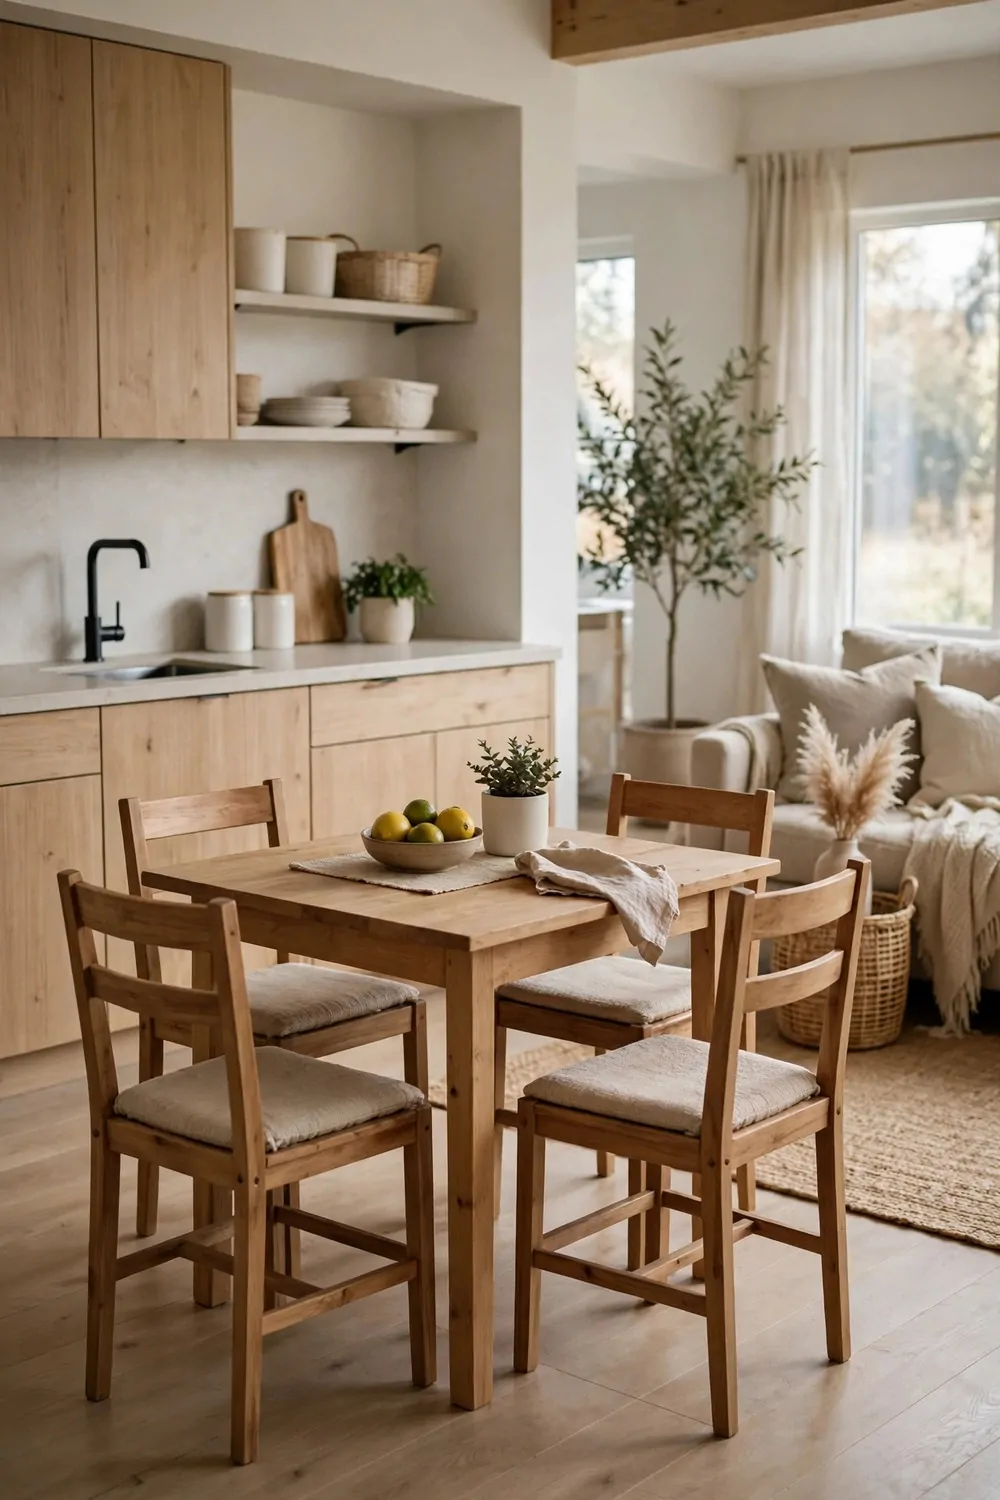
I put a small table in the middle of my open room. It sits between the kitchen and the sofa, and we eat most of our meals there.
I can walk round it with ease. I can pull up an extra chair when a friend comes for lunch.
I picked a light wood top that I can wipe with soap and water after every meal.
I keep four chairs, but I only use two most days. The extra chairs stay against the wall until we need them.
I spent $300 to $950 on the table and chairs, buying the chairs second hand to hold down the total.
I keep a simple vase of green leaves on the table. It adds a bit of life, and it does not block our view of each other.
I lay a plain cloth on the table for dinner. I take it off for breakfast and lunch. A bare wood top is easier to wipe after a quick meal.
If your room is long and narrow, try a slim rectangular table that fits against one side of the room.
A table in the middle joins the kitchen and the living room. It is a place to eat, to talk, and to sit together as a family.
13. Use Glass Front Cabinets to Show Pretty Dishes
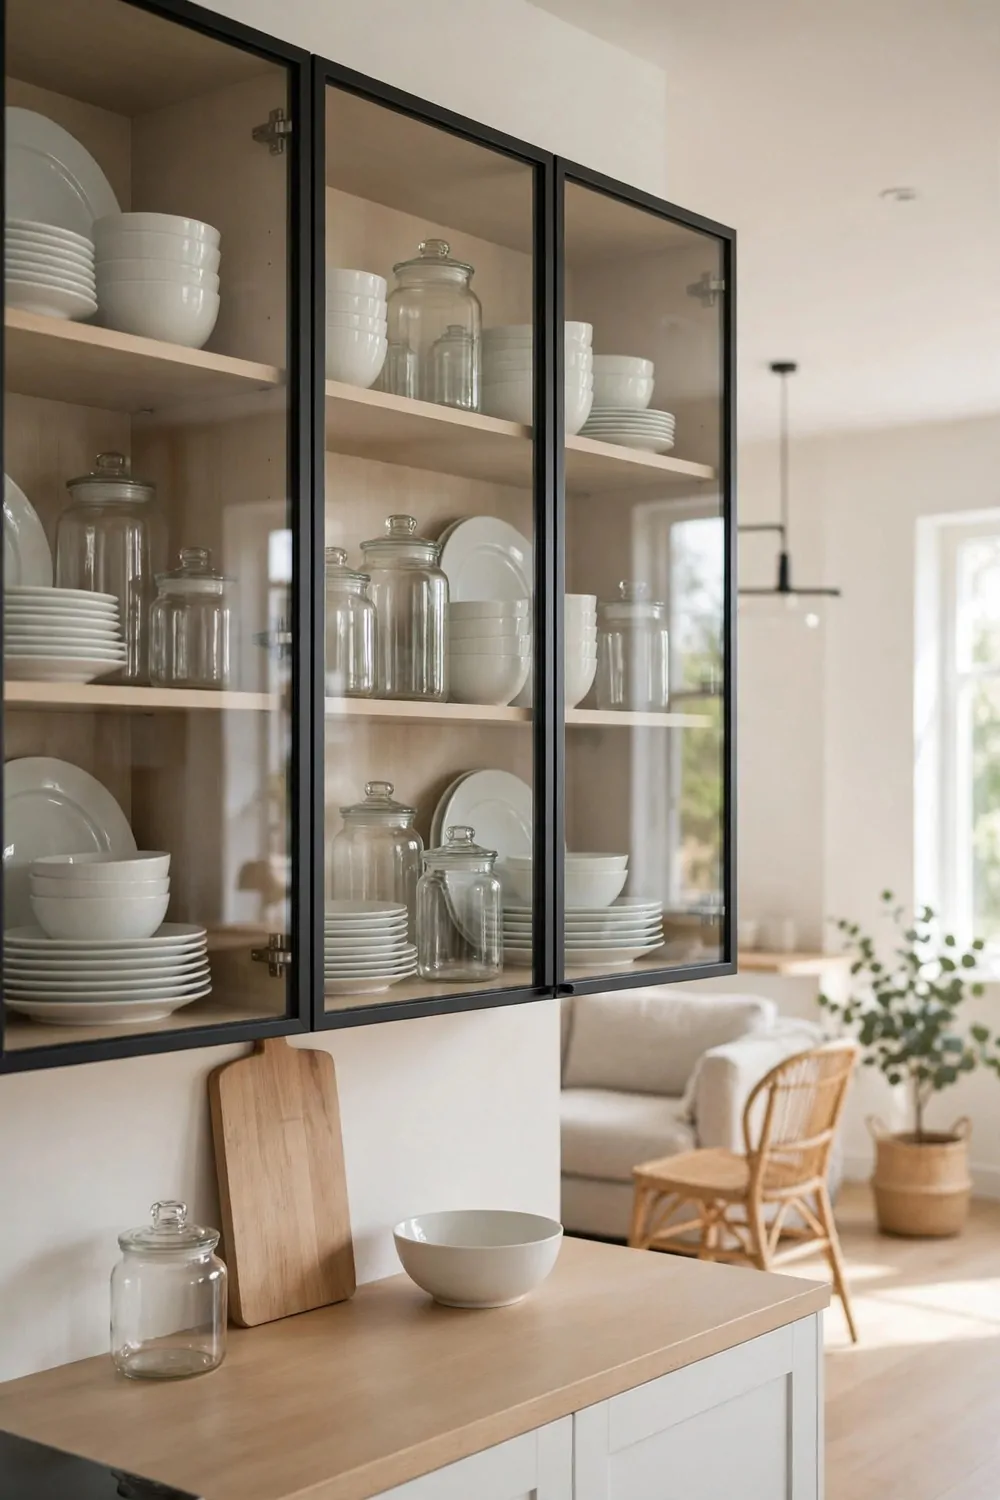
I changed two cupboard doors to glass fronts. My pretty plates and bowls are now on show, and the kitchen feels lighter.
Glass fronts break up a long run of plain doors and add a bit of shine.
I keep only my best dishes behind the glass. I keep the plain daily dishes in the closed cupboards. A glass door with too much inside looks busy.
I wipe the glass with a damp cloth once a week. Finger marks show on glass, so I keep a cloth near the sink.
The bill for the glass, the frames, and the fitting landed at $650 to $1800, and I kept the rest of the cabinets as they were.
I stack my plates in neat piles of four. I line up my bowls in a row, and I leave a little space at the top.
I put a small plant on top of the glass cabinets. It adds green to the room. It also draws your eye up and makes the ceiling feel higher.
If you do not want glass, try one open shelf next to the cabinets for the same display effect.
Glass fronts make my kitchen feel like a shop display in a good way. I smile when I see my dishes, and guests always look at them first.
14. Fit a Slim Fridge into the Wall Line
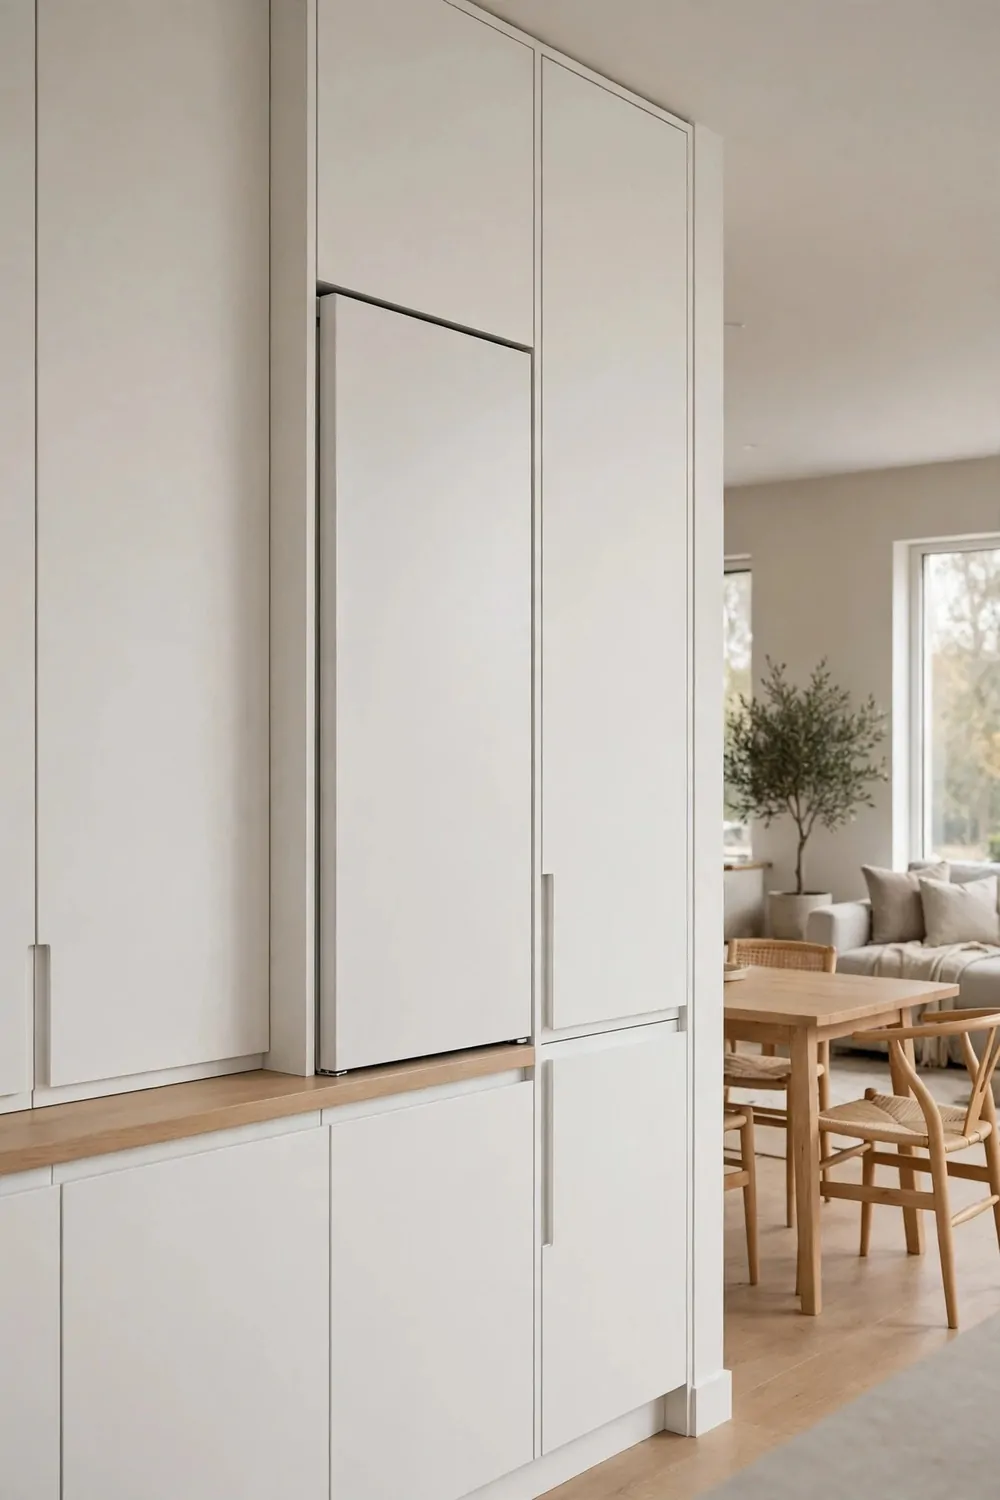
My old fridge stuck out into the room and blocked the walkway. I replaced it with a slim fridge that sits flat in the wall line.
I measured the gap twice before I bought it. I left a small space at the back for air. I left a small space at the top for the door to open fully.
A slim fridge holds enough food for my family if I shop twice a week.
I keep chicken and vegetables in the lower drawers. I keep fruit and bread on the middle shelf, and I can see it all at once.
The slim fridge itself was priced at $1100 to $2900, and the smaller models were the ones at the lower end.
I wipe the front with soap and water. A flat front with no handles stays clean and looks neat.
I keep magnets off the front now. I put my notes on a small board by the door. The fridge front stays plain, and the kitchen looks calm.
If you cannot buy a new fridge, try moving the old one to the end of the run so it does not block the main path.
A fridge that sits flat makes the whole wall look straight. My walkway is clear, and I can move from the sink to the table without a squeeze.
15. Add Warm Lights Under the Cabinets
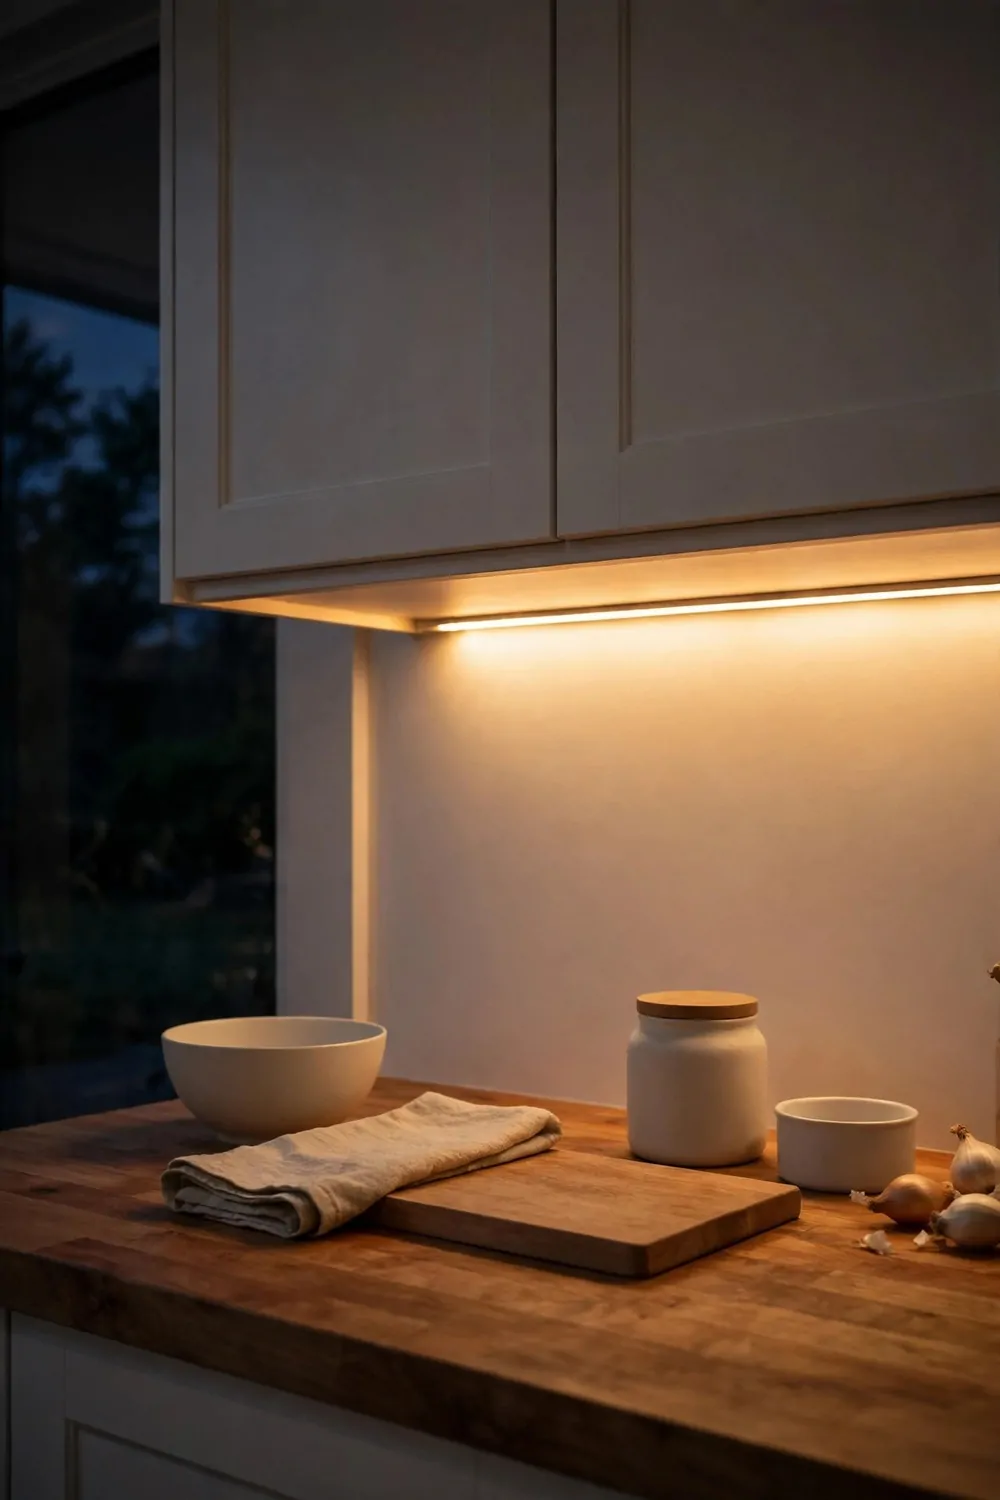
I stuck warm light strips under my top cabinets. They light the worktop below, and I can see what I am chopping at night.
Before, the top cabinets made a shadow on the worktop. I worked in my own shadow. Now the light falls right where I need it.
Warm light is kind on the eyes, and it makes the kitchen feel cosy after dark.
I picked a simple strip with a small switch on the wall. I turn it on when I start cooking, and I turn it off when I am done.
The strips, the switch, and a short visit from an electrician totalled $90 to $320, which was less than I had feared.
I clean the strips with a dry cloth when I wipe the cabinets. Dust can dull the light, so I keep them clean.
I use the under-cabinet lights for a late cup of tea at night and a first cup in the morning. I do not need the big ceiling light then. The soft glow is enough, and it feels calm.
If you rent your home, try lights that stick on with a strong tape and need no wires.
These small lights changed my evenings in the kitchen. I cook with a clear view, and the whole room feels warm and soft.
16. Create a Coffee Corner by the Window
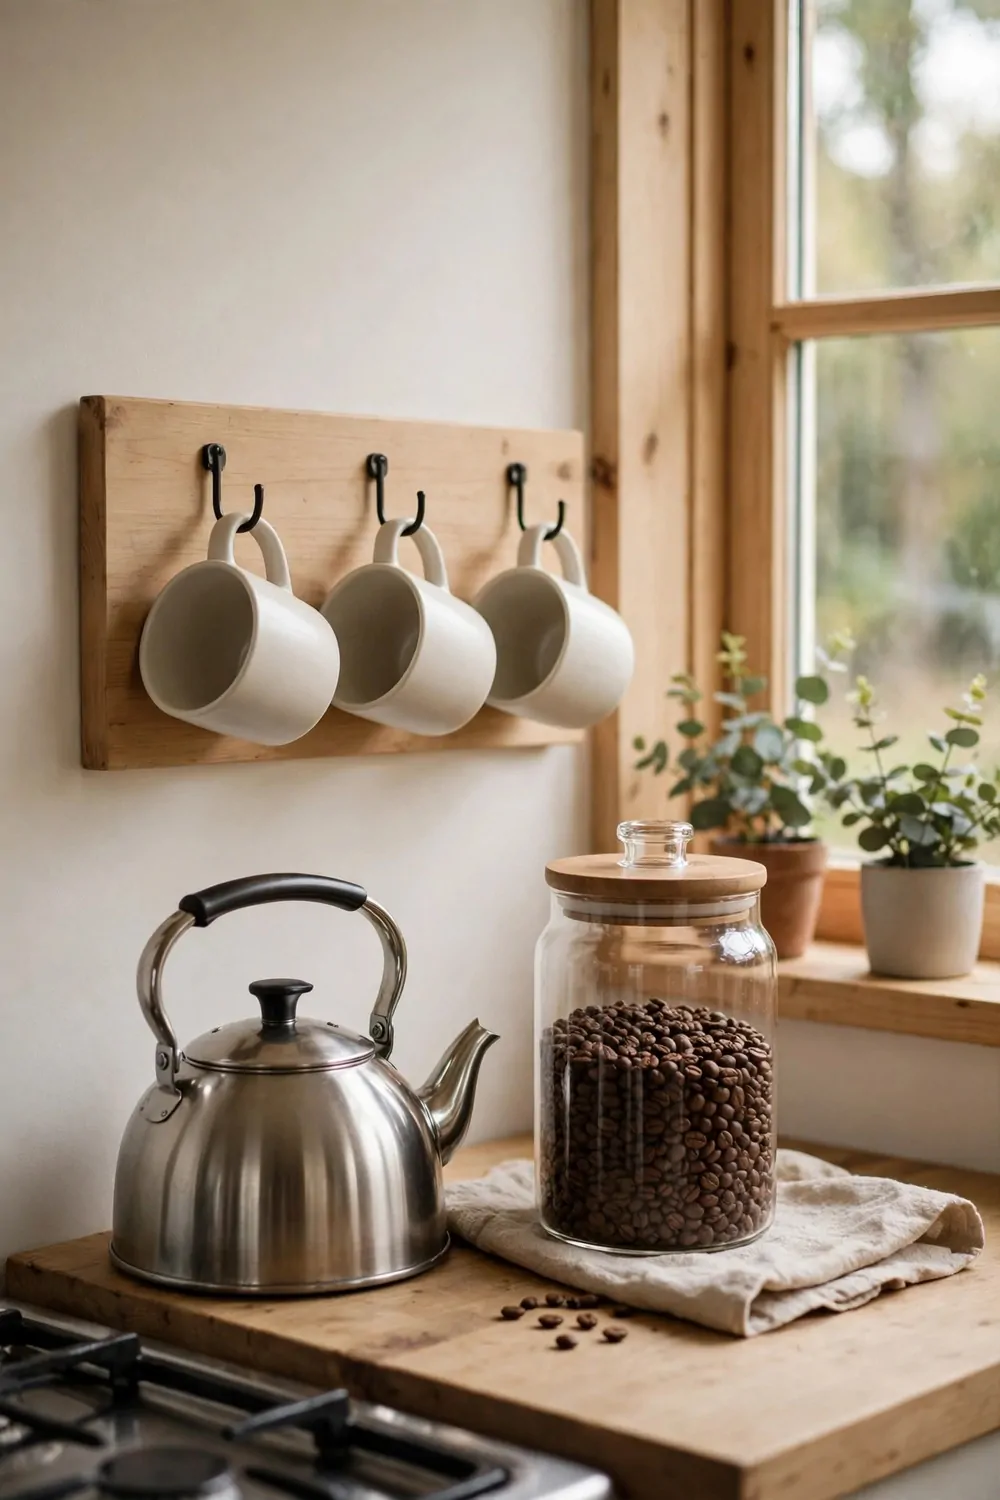
I made a small coffee corner by the window in my open kitchen. It is just a low shelf, a kettle, and a few mugs, but it feels like my own small cafe.
I put the shelf at waist height so I can reach it with ease. I keep the mugs on hooks below it. I keep the coffee in a tin with a tight lid.
In the morning, I stand by the window with my coffee and watch the street wake up.
I keep the corner to coffee and tea only. I do not pile it with plates and pans, and it stays tidy.
I put the shelf, the hooks, and the mugs together for $210 to $680, and I used a shelf I already had to keep it low.
I wipe the shelf each day with a damp cloth. Coffee drops dry fast, and a quick wipe keeps the wood clean.
I added two small chairs by the window for slow mornings. I sit there with my family on quiet days. We talk, we drink our coffee, and we watch the light change.
If you have no window space, try a corner of the worktop with a small tray for your mugs and your kettle.
My coffee corner is the first place I go in the morning. It is small, it is simple, and it makes my whole open kitchen feel like home.
17. Roll a Cart Where You Need Extra Space
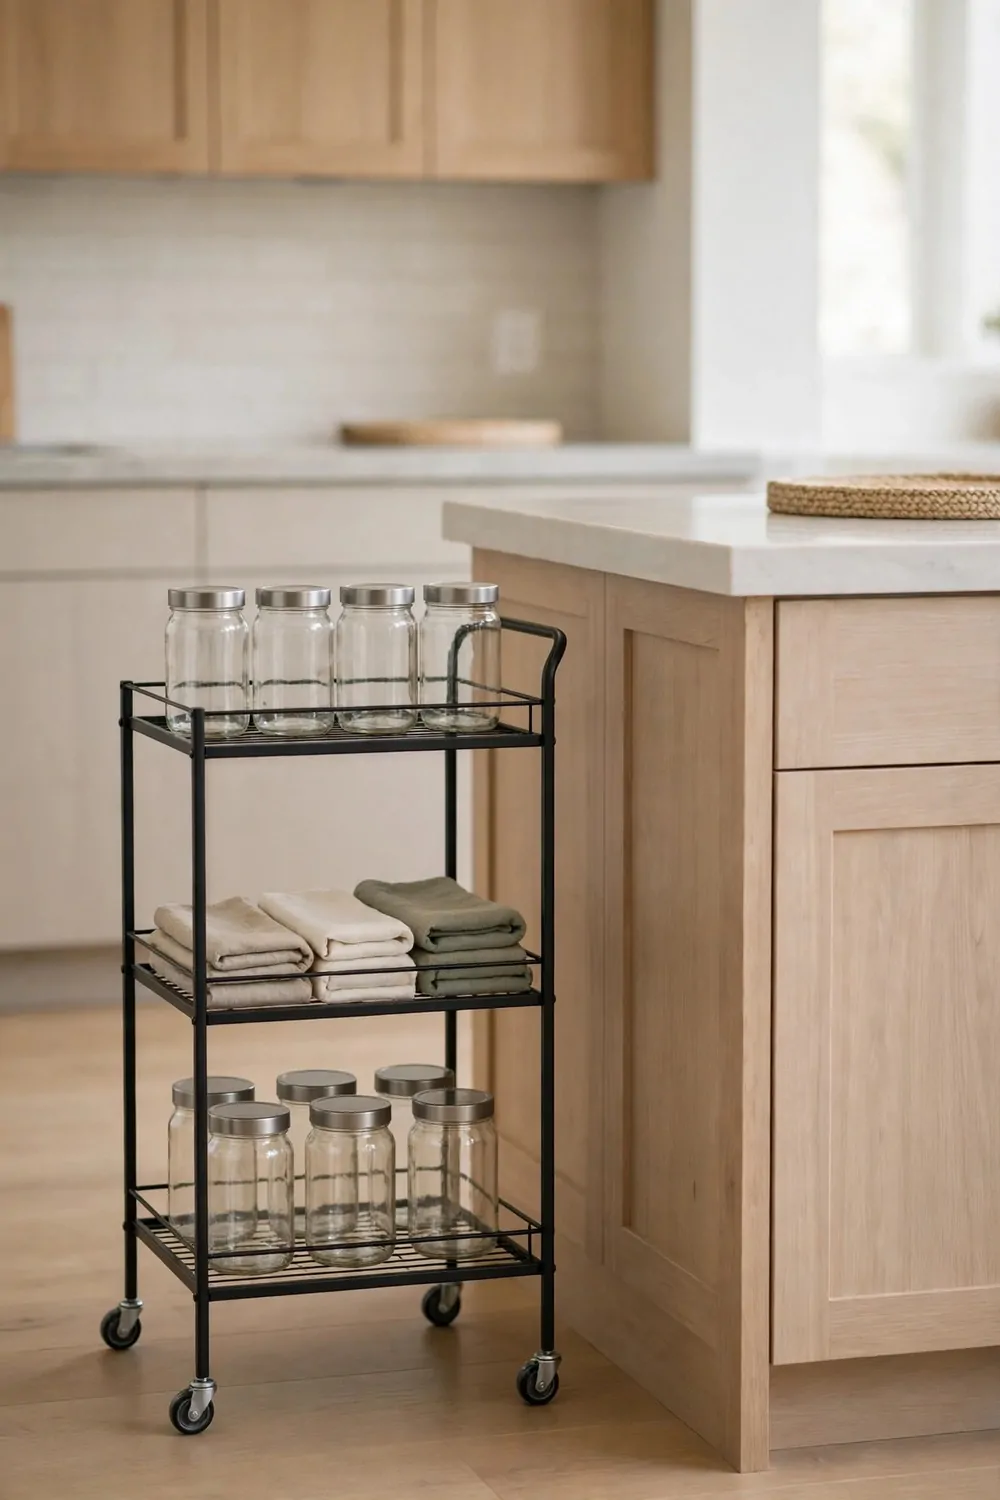
I love a small cart on wheels in an open plan kitchen because I can move it where I need it most.
I roll mine next to the stove when I chop vegetables for dinner. Then I roll it back near the wall when I want more floor space.
A cart gives you a little extra work top without a big change to the room.
I keep my cutting board on top and a few bowls on the shelf below. I keep a small bin for vegetable peelings on the lower shelf too. When friends come over, I roll the cart near the table and use it for bread and fruit.
Pick a cart with a flat top and strong wheels that lock in place. You do not want it to slide while you chop or stir.
I check the height before I buy one so it lines up well with my work top.
A narrow cart fits well in a small gap by the fridge or the wall. I measure the gap first with a tape so I do not guess. A cart that is too wide will block the walkway and make the room feel tight.
I wipe the top with soap and water after I cook. A plain wood top or a plain white top is easy to keep clean.
I paid about $45 to $90 for my small cart with two shelves and locking wheels. The price changed with the size and the type of top I picked.
18. Add a Bench Seat by the Big Window
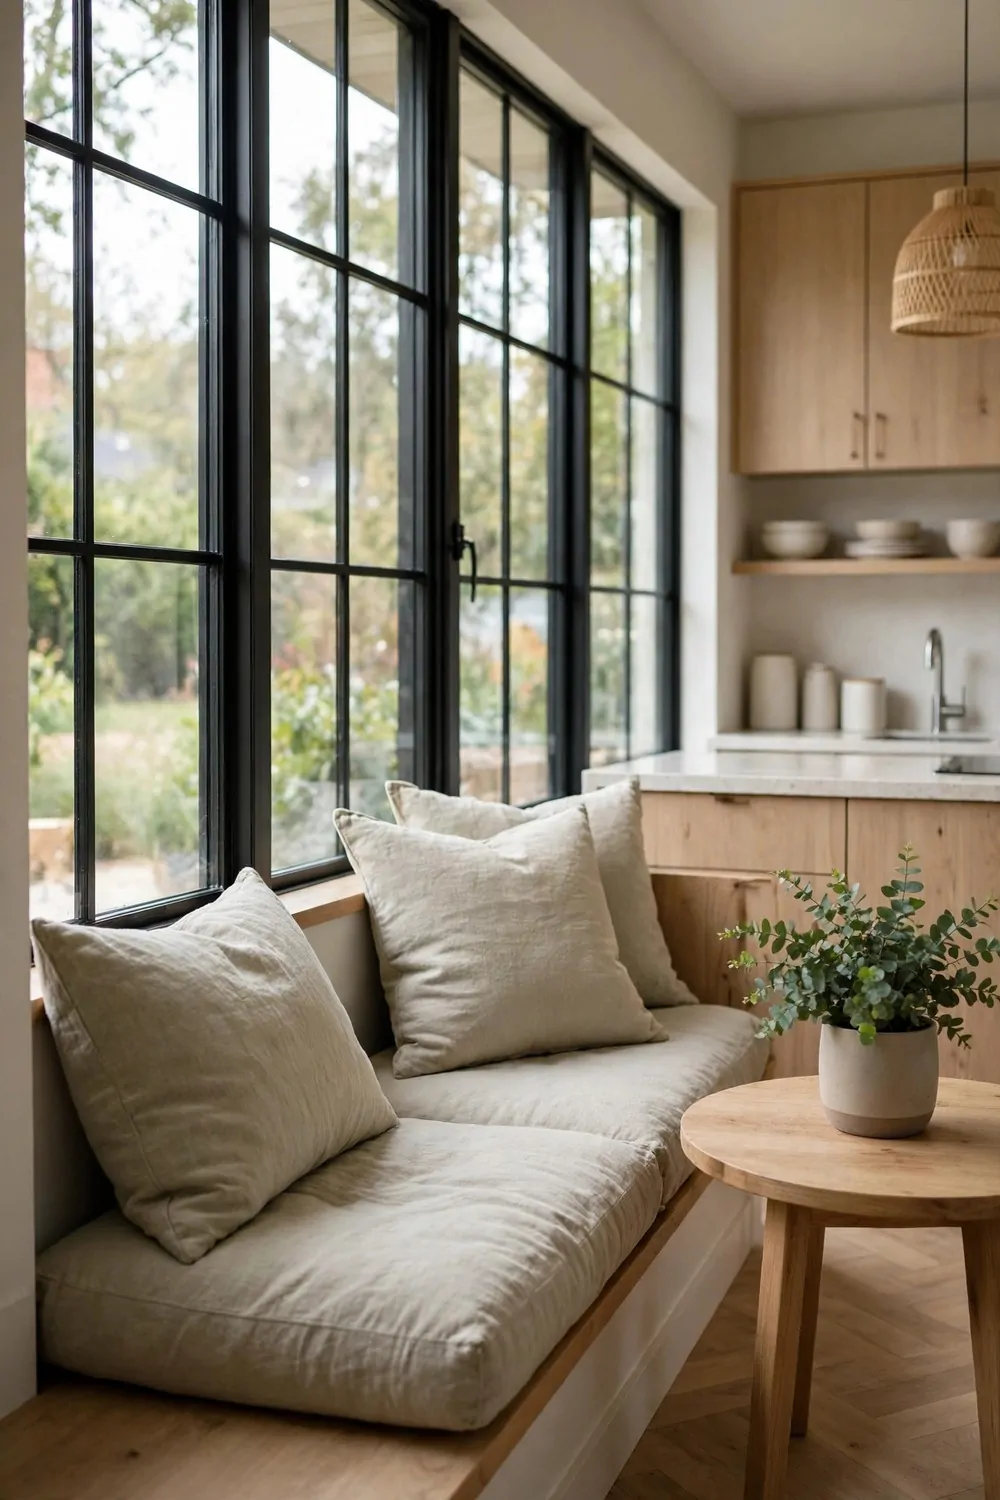
A bench seat by the big window turns a plain wall into my favourite spot in the house.
I sit there in the morning with a bowl of fruit and look out at the day. My kids sit there too when they want a quiet place to read.
A bench uses less floor space than four chairs around a table.
I picked a bench with a lift up seat so I can store board games and spare cloths inside. The seat stays neat because the clutter hides under it. I added soft cushions in a pale linen shade so the bench feels warm and calm.
Keep the bench low and close to the window so the view stays open. A tall bench would block the light and make the room feel closed in.
I leave a small gap at each end so I can sweep the floor with no trouble.
A plain wood bench fits most open plan kitchens and it lasts for years. I wipe it with soap and water when rice or crumbs fall on it. A light paint colour on the bench keeps the corner bright even on a grey day.
I add a thin rug under the bench to mark the spot as its own little zone. The rug also stops the bench legs from sliding on a smooth floor.
A simple bench seat with storage inside often runs $120 to $240, based on the wood and the size you pick. A plain board bench sits at the low end and a solid wood bench sits at the high end.
19. Hang Pans on a Simple Wall Rail
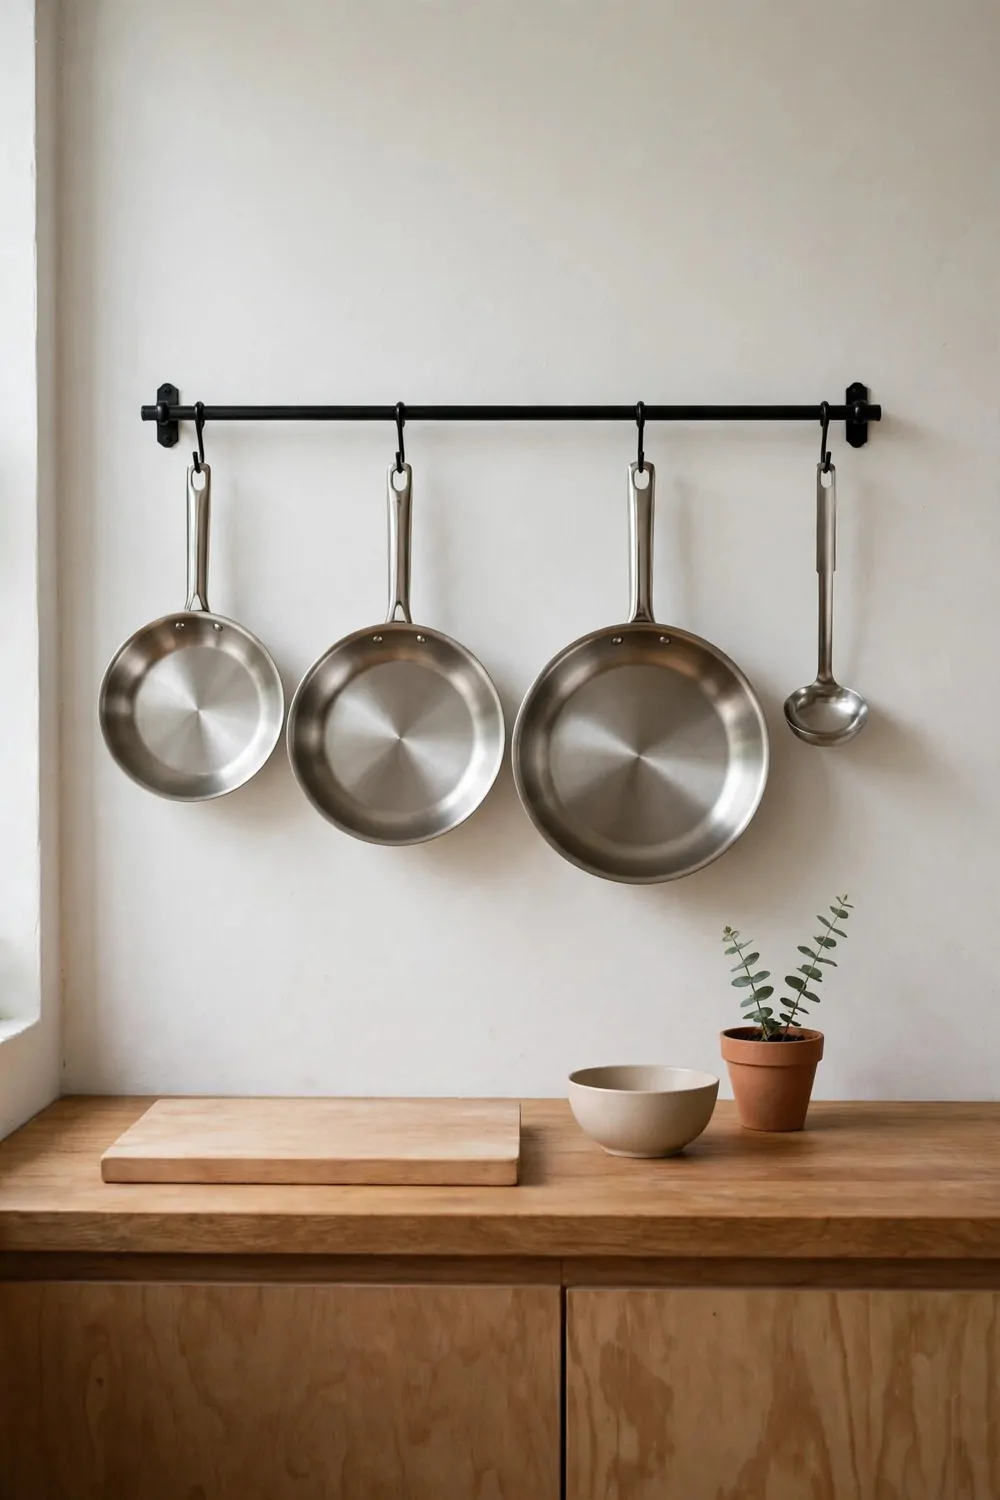
A simple wall rail keeps my pans where I can see them and grab them fast.
I hang my two big pans and one small pan on strong hooks. I leave the rest in a low cupboard so the rail does not look full.
The rail frees up a whole cupboard for plates and bowls.
I fix the rail on a clear stretch of wall near the stove. I check that the wall plugs hold the weight before I hang a heavy pan. I test each hook with a gentle pull so I know it will not slip.
Hang the pans with space between them so they do not bang together. A little gap also lets the air move and keeps the rail tidy.
I wipe the rail with soap and water once a week.
I keep the handles all facing the same way so the row looks calm. I put the pan I use most at the front where my hand reaches it first. When I cook chicken and rice, I can lift the pan down in one smooth move.
A rail works best when you keep only the pans you use each week on it. The pans you use once a year can stay in a cupboard out of sight.
Most wall rails with a set of hooks sell for $25 to $60 in shops near me. A longer rail with more hooks sits near the top of that range.
20. Pick a Light Backsplash That Bounces Light
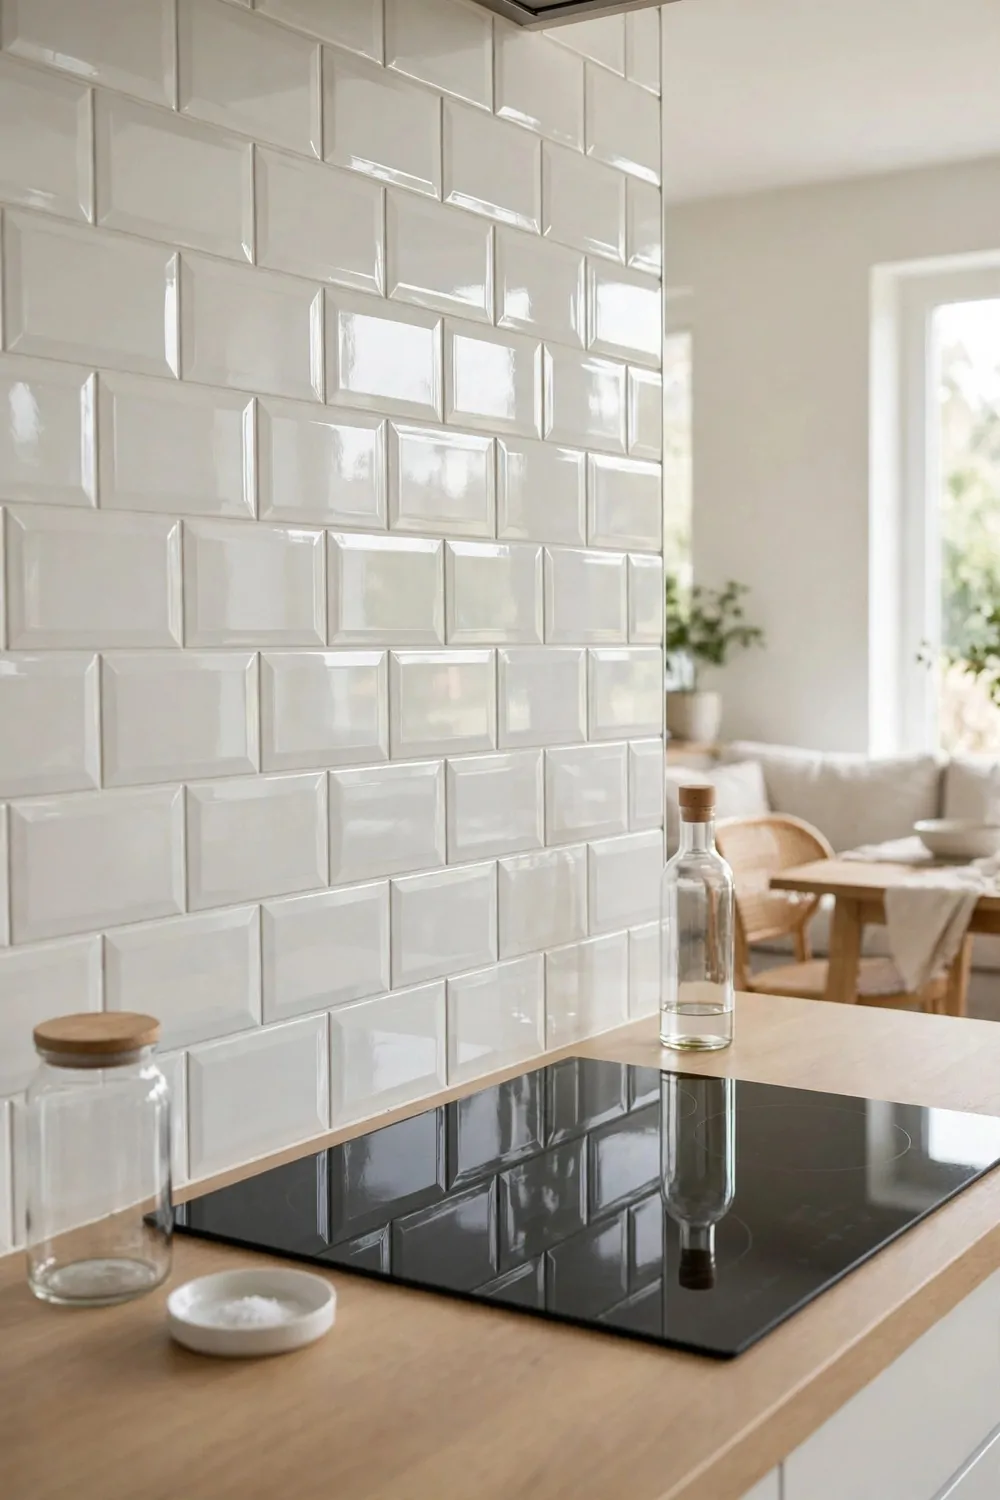
A light backsplash makes my small open plan kitchen feel bright the moment I walk in.
I picked pale tiles that shine a little in the daylight. The pale colour lifts the whole wall behind the stove.
Dark tiles can make a small kitchen feel smaller, so I stay with light tones.
I look for a smooth tile that I can wipe with soap and water in seconds. Rice and splashes come off a smooth tile with one quick wipe. A shiny tile also sends daylight back into the room and helps the far corner feel less dark.
Keep the grout lines thin and neat so the wall looks clean. Wide dark grout lines can break up the pale look and draw the eye.
I match the backsplash to my work top so the two parts feel like one calm unit.
You can test a tile at home before you buy a full box. I held three pale samples against the wall in daylight and at night. The sample that looked best in both lights was the one I took home.
A light backsplash also shows up well in photos of the room. I like how it makes the open space feel fresh and open.
When I priced pale tiles for the wall behind my stove, the bill came to $80 to $180 for tiles and grout. That price was for a small wall, not a full room, and I bought one spare box in case a tile cracked while I worked.
21. Add a Folding Table for Tight Corners
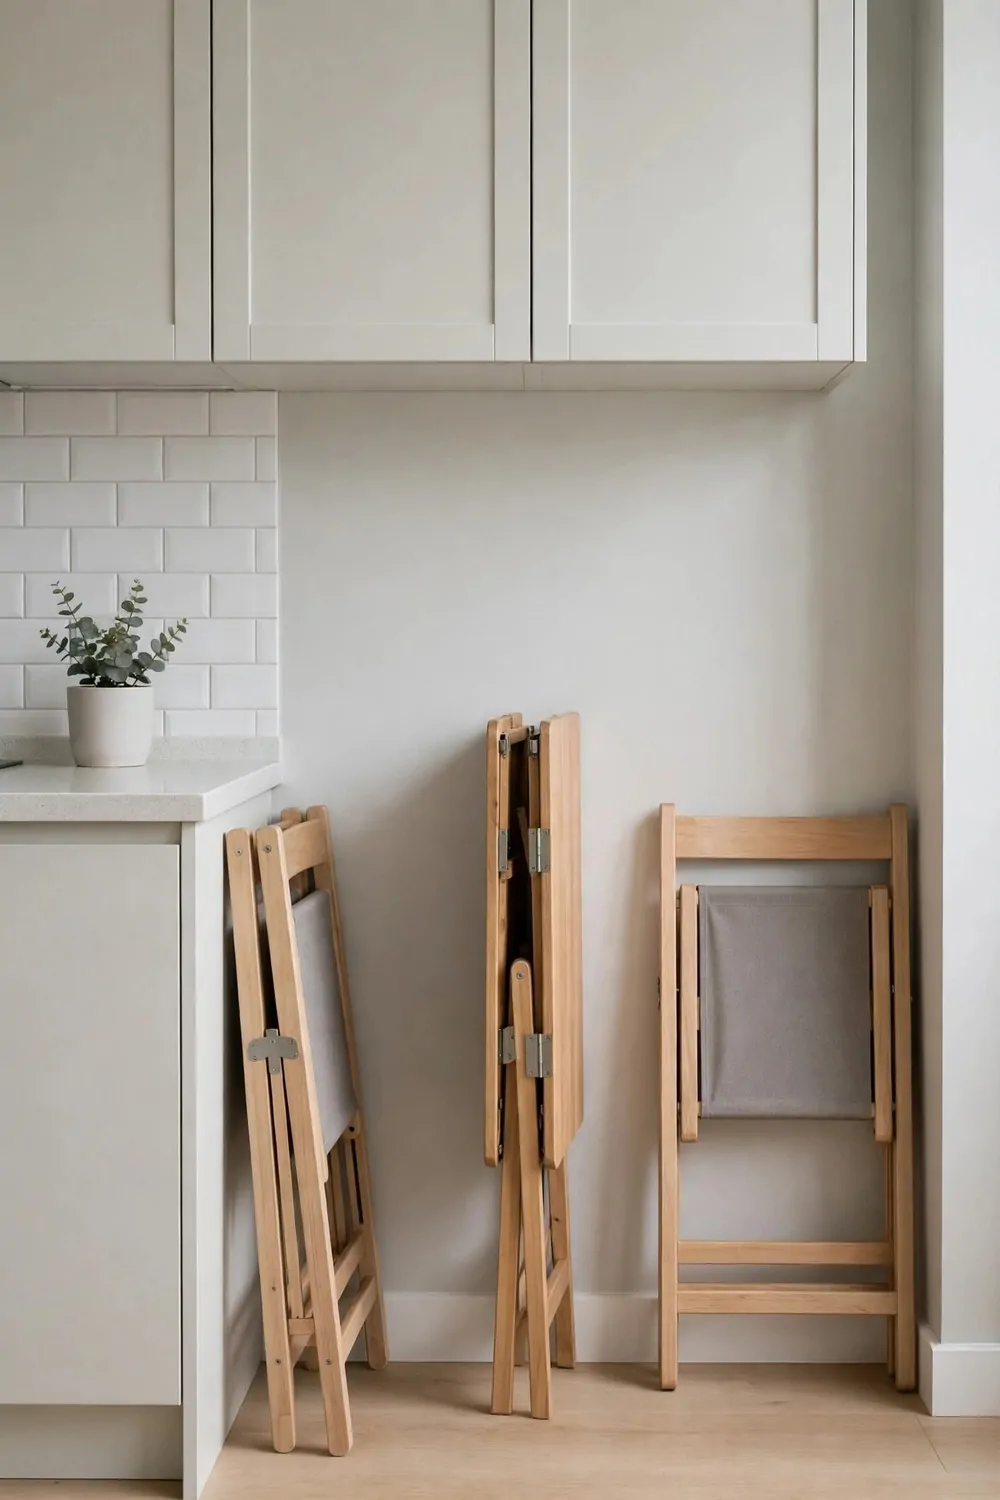
A folding table is my answer when the corner is too tight for a full table.
I fold it flat against the wall when I need the floor clear. I pull it down when I want a place for two people to eat.
It gives me a real eating spot without giving up my open floor.
I fix the table at a height that suits a normal chair. I sit on a small stool when I eat there in the morning. I fold the table back up after breakfast so the room feels big again.
Pick a table top that is easy to wipe with soap and water. A plain light wood top looks soft and it hides small marks well.
I keep two stools tucked under the table so they do not block the walkway.
A folding table also works as a spare work top when I cook a big meal. I set my bowls of vegetables on it while I chop chicken for the pan. When the meal is ready, I clear the table and fold it away in a minute.
Measure the wall twice before you fix the brackets in place. A table that sticks out too far will crowd the path to the fridge.
I found folding tables in this size for $60 to $140, with the price moving up for a thicker top and stronger brackets. A thin top with plain brackets sits at the low end.
| Idea | Typical Cost |
|---|---|
| Build a Pantry Wall to Keep Worktops Clear | $950 to $2600 |
| Put a Small Dining Table in the Middle | $300 to $950 |
| Use Glass Front Cabinets to Show Pretty Dishes | $650 to $1800 |
| Fit a Slim Fridge into the Wall Line | $1100 to $2900 |
| Add Warm Lights Under the Cabinets | $90 to $320 |
| Create a Coffee Corner by the Window | $210 to $680 |
| Roll a Cart Where You Need Extra Space | $45 to $90 |
| Add a Bench Seat by the Big Window | $120 to $240 |
| Hang Pans on a Simple Wall Rail | $25 to $60 |
| Pick a Light Backsplash That Bounces Light | $80 to $180 |
| Add a Folding Table for Tight Corners | $60 to $140 |
22. Hide Clutter in Baskets and Boxes
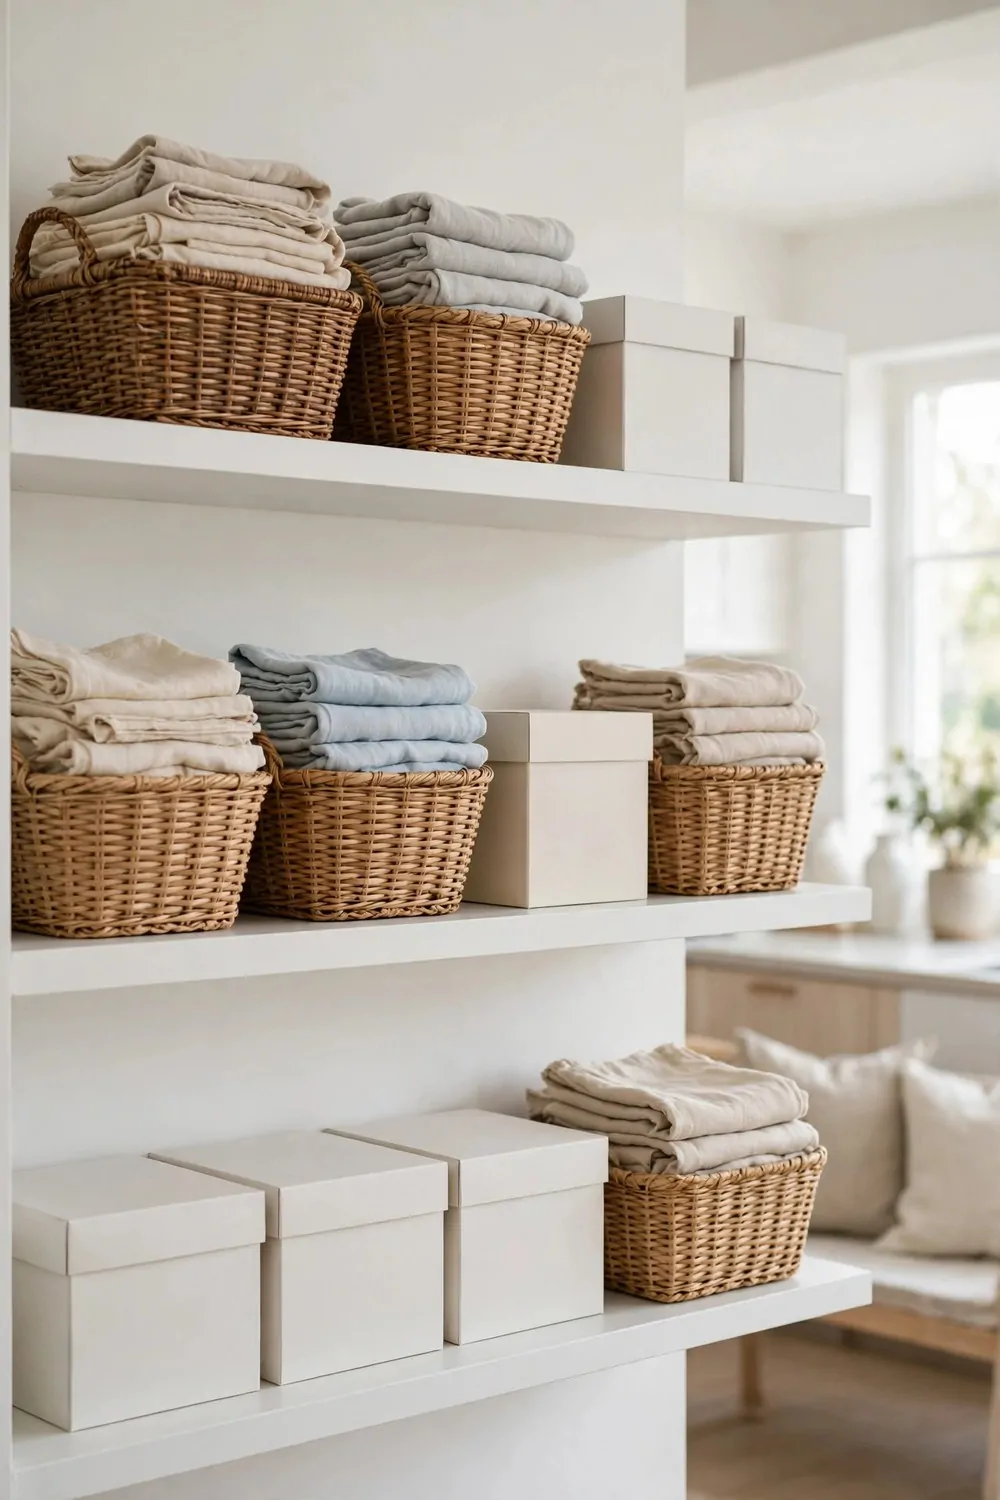
Baskets and boxes are how I hide the small clutter that makes an open kitchen look messy.
I give every loose thing a home in a basket. When each thing has a home, the work top stays clear.
I use one basket for cloths and one box for spare lids.
I label each box with a short word on a plain paper tag. The tag helps my family put things back in the right place. I keep the labels short so I can read them at a glance.
Woven baskets look soft and warm on open shelves. I pick baskets that are strong enough to hold a full load without bending.
I keep the baskets I use each day low down where I can reach them with ease.
I sort the baskets once a month and take out the things I no longer use. A quick sort stops the baskets from filling up with odds and ends. I wipe each basket with a damp cloth before I put it back on the shelf.
Do not mix too many colours in one row of baskets. Two calm colours look tidy, and the room feels more open.
A set of three good baskets and two plain boxes cost me $30 to $70 at my local shop. I picked plain colours so they will suit the room for years.
23. Fit a Slim Dishwasher Drawer
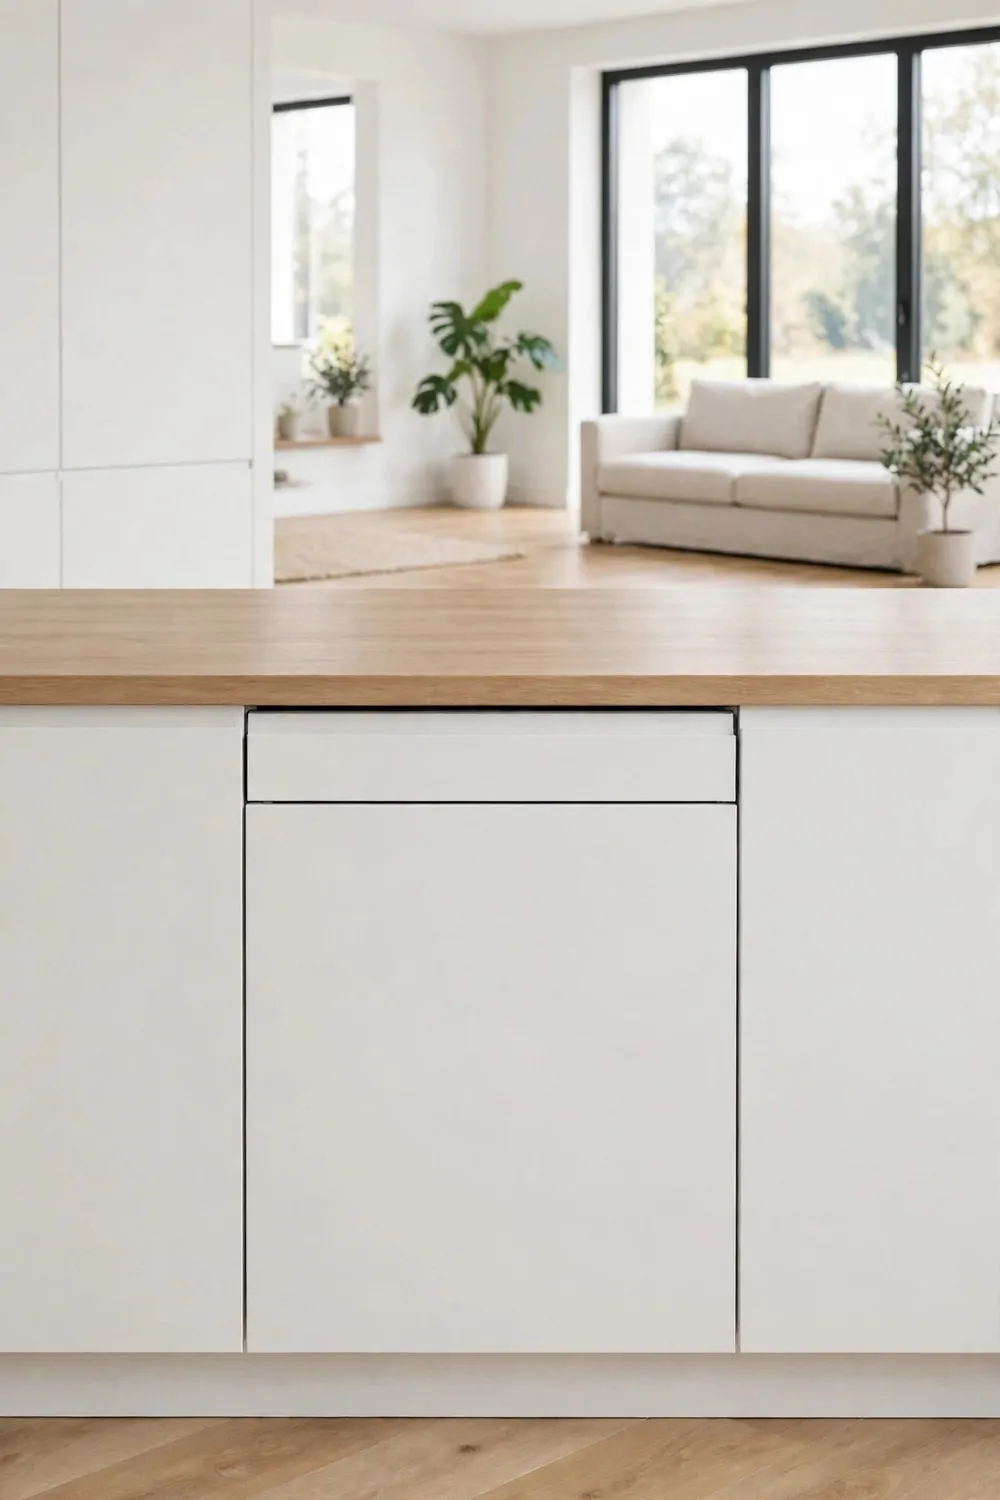
A slim dishwasher drawer fits a small open plan kitchen where a full dishwasher will not fit.
I load plates and bowls after dinner and run it while I tidy the room. The drawer is quiet, so it does not spoil a calm evening in the living space.
It saves me from a sink full of plates when friends stay late.
I measure the gap under the work top before I order one. A slim drawer needs less width than a full size machine. I leave a small gap at the back for the pipes and the plug.
I rinse plates with plain water before I load them. A quick rinse keeps the drawer fresh and helps the wash do its job.
I keep the drawer soap in a small box on the shelf above it.
A drawer works well for one or two people because you can run a small load each night. I run mine after dinner so the plates are clean for breakfast. I wipe the front with soap and water when splashes land on it.
Ask a fitter to check the pipes and the power point before you buy. A short check now can save a lot of trouble on the day it is fitted.
The drawer plus fitting came in at $350 to $650 in the quotes I saw. The top end was for a drawer with a quiet wash and a plain steel front.
24. Put Plants on the High Shelves
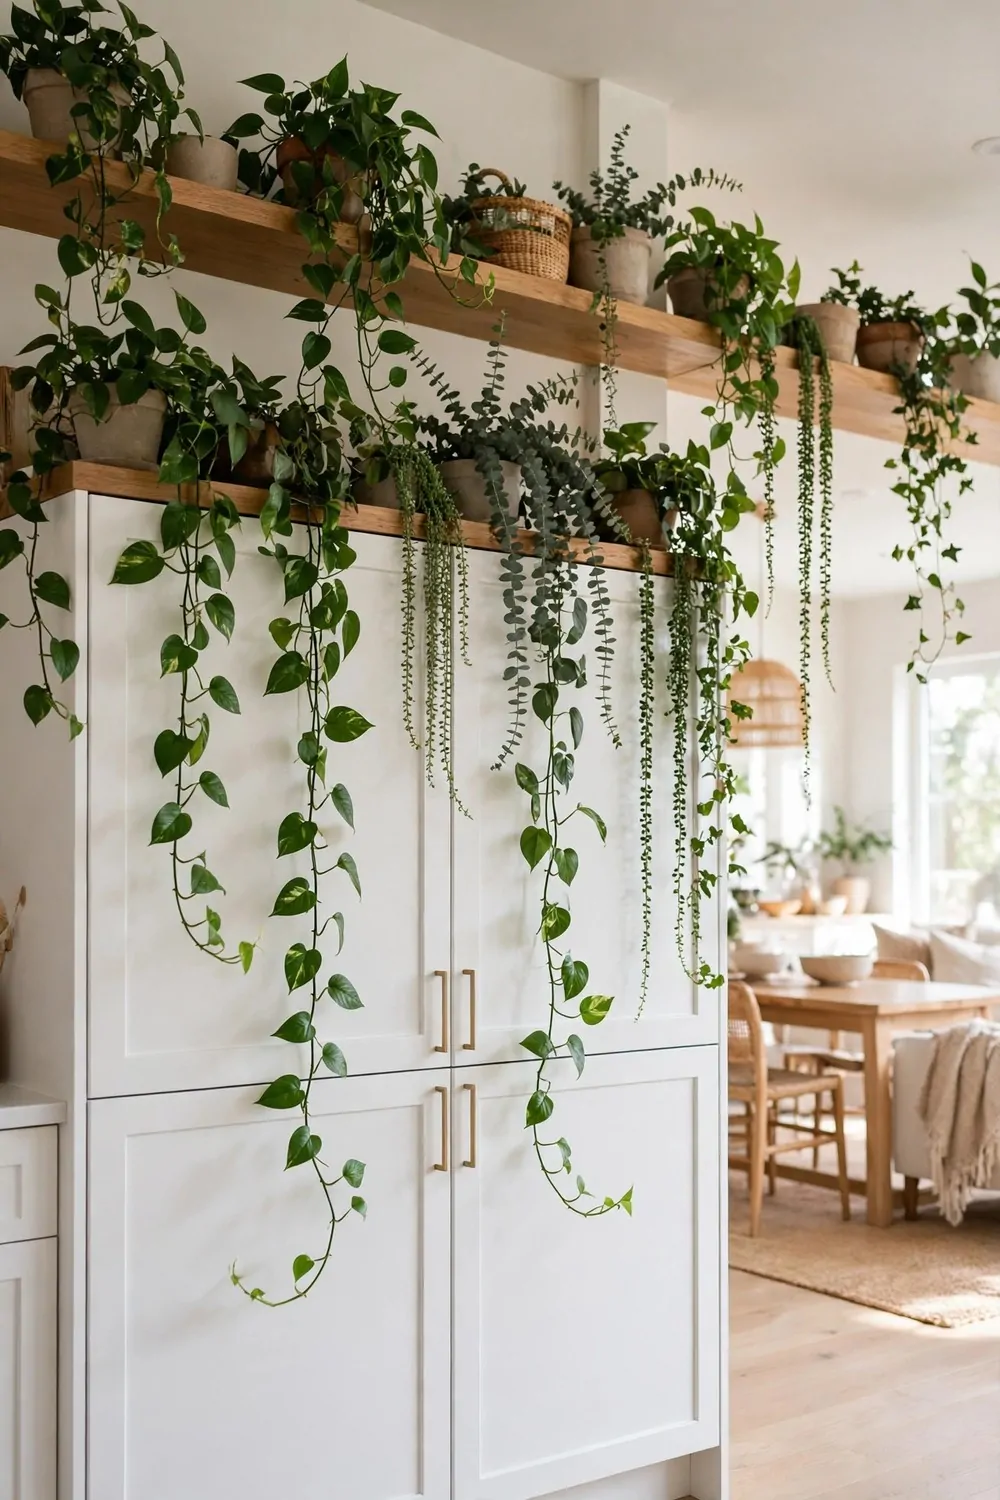
Plants on the high shelves bring a soft green touch to my open plan kitchen.
I pick small plants that trail down a little over the shelf edge. The green leaves make the high wall feel alive without taking up work top space.
High shelves are a good home for plants because the light up there is bright.
I water the plants once a week with a small jug. I check the soil with my finger first so I do not give them too much water. I wipe the leaves with a damp cloth when dust settles on them.
Keep the pots light so you can lift them down with ease. A heavy pot on a high shelf is hard to move and easy to drop.
I use plain pots in soft beige and tan so the shelf looks calm.
I start with two plants and add more only when I know they are happy up there. A plant that drops leaves will make a mess on the work top below. I move a sad plant to the window sill for a few weeks until it perks up again.
Do not crowd the shelf with pots and jars. A little space between the pots lets each plant show its shape.
Three small plants in plain pots worked out at $20 to $45 for me. I bought the plants small and let them grow into the space.
25. Make a Homework Spot at the Island
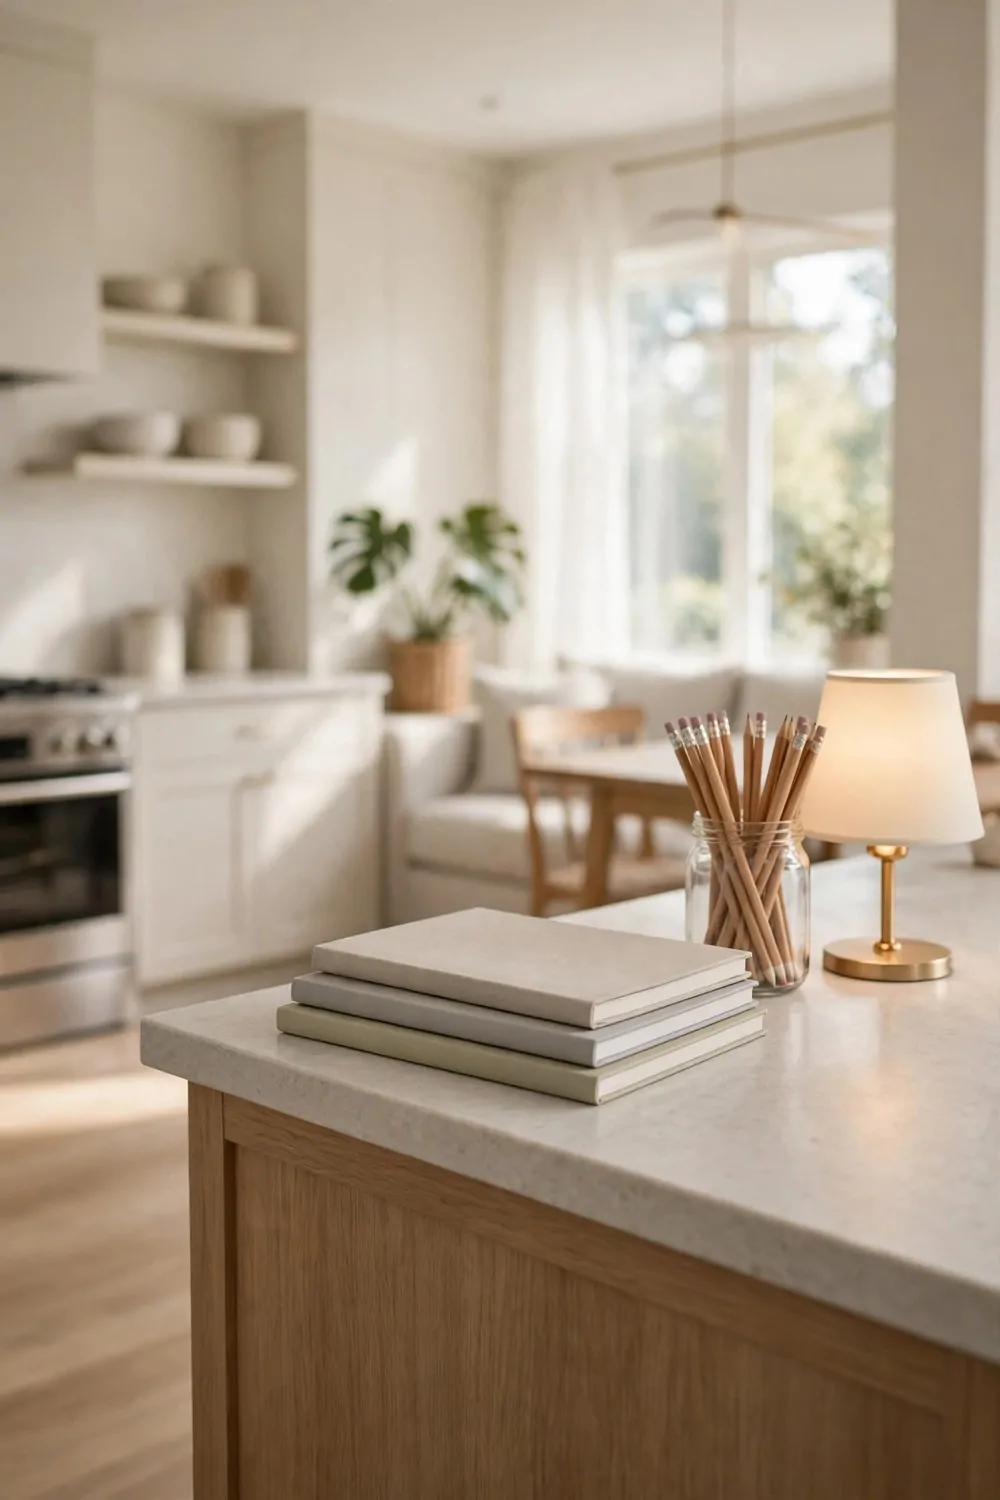
A homework spot at the island lets my kids work near me while I cook.
I clear one end of the island each afternoon. My kids sit there with their books while I chop vegetables for dinner.
I love that I can help with a hard sum while the rice cooks.
I keep pencils and paper in a small box on the island. The box stays on the end of the island so the work top stays clear for cooking. When homework is done, the box goes back on a shelf and the island is free again.
Pick a stool that is the right height for the island. A stool that is too low makes writing hard, and one that is too high is not safe.
I add a small lamp at the end of the island for dark winter afternoons.
I set a simple rule that the island is for homework first and eating second. The rule stops books and plates from piling up in one messy heap. I wipe the island with soap and water before homework starts so the books stay clean.
Keep the spot free of clutter so your child can spread out a book. A clear space helps them focus and finish faster.
A pair of plain stools and a small box for pencils added up to $40 to $95 for our island spot. The stools were the biggest part of that spend.
26. Hang a Mirror to Bounce the Light
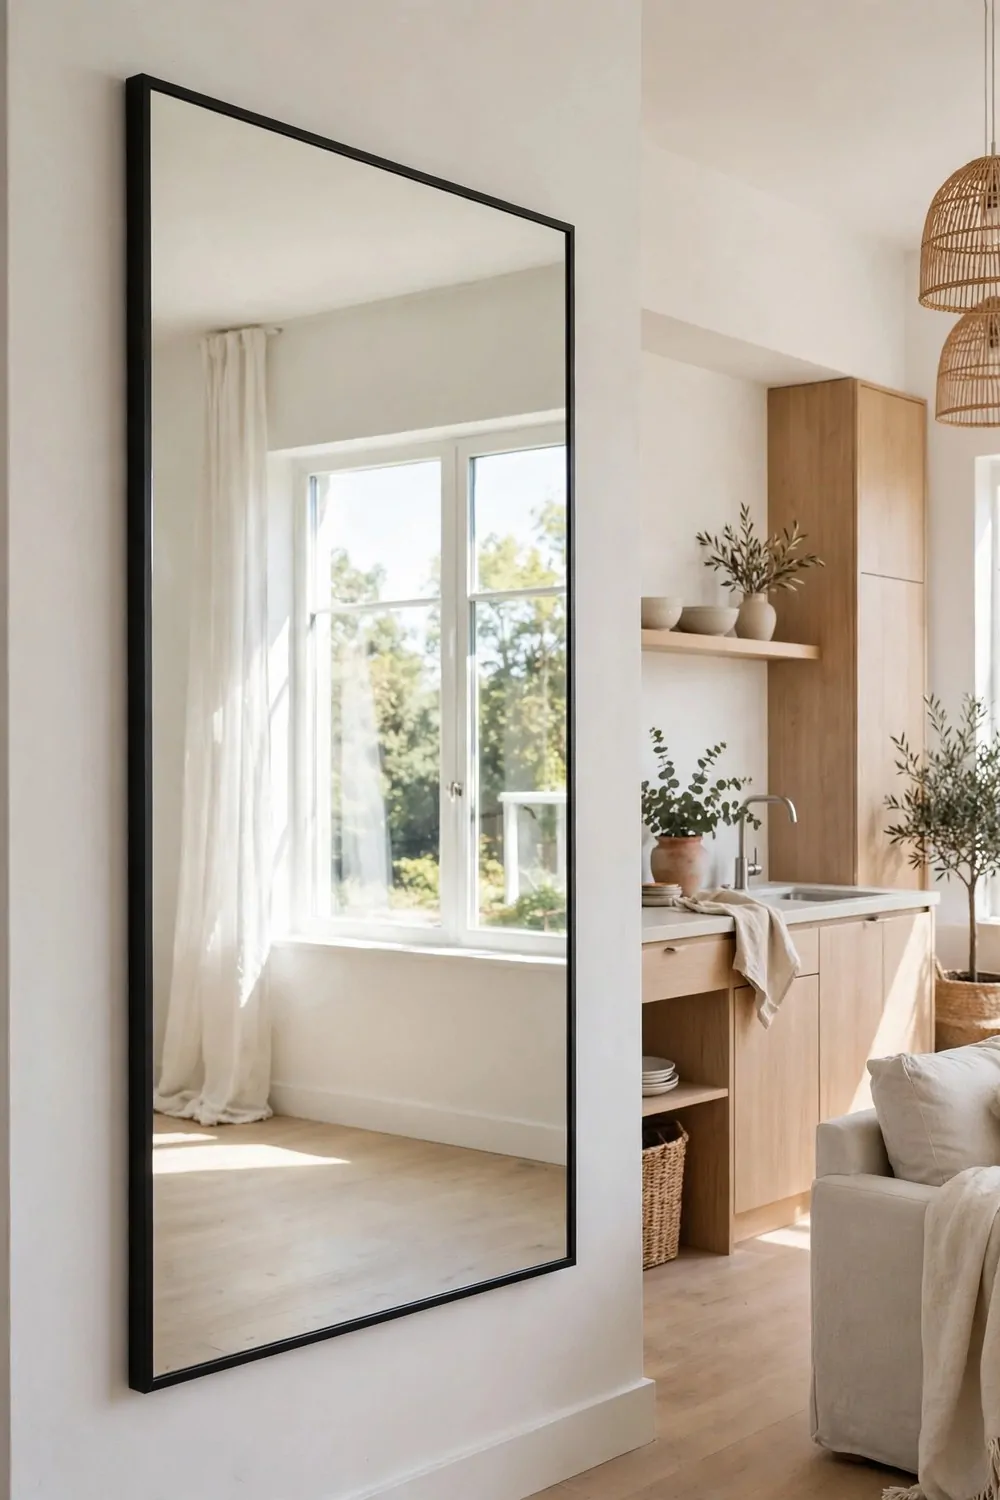
A mirror on the wall makes my open plan kitchen feel twice as wide.
I hang mine across from the big window so it picks up the daylight. The room feels brighter the moment the mirror goes up.
A mirror is a cheap trick that works in a small home.
I pick a plain thin frame in black. A plain frame suits the kitchen and does not fight with the other colours. I keep the frame thin so the mirror looks light on the wall.
Hang the mirror at eye level so it shows the room, not the ceiling. A mirror hung too high will show the tops of cupboards and not much else.
I wipe the glass with soap and water and a soft cloth once a week.
I check what the mirror shows before I fix it in place. I hold it up and look at the view from the sofa and the table. A mirror that shows a messy shelf will double the mess, so I aim it at the window and the open floor.
Do not hang a mirror right next to the stove. Steam and splashes will mark the glass and you will wipe it all the time.
I spent $35 to $85 on a plain wall mirror with a thin black frame. A bigger mirror with a thicker frame pushed the price up.
27. Use a Low Bookshelf as a Room Divider
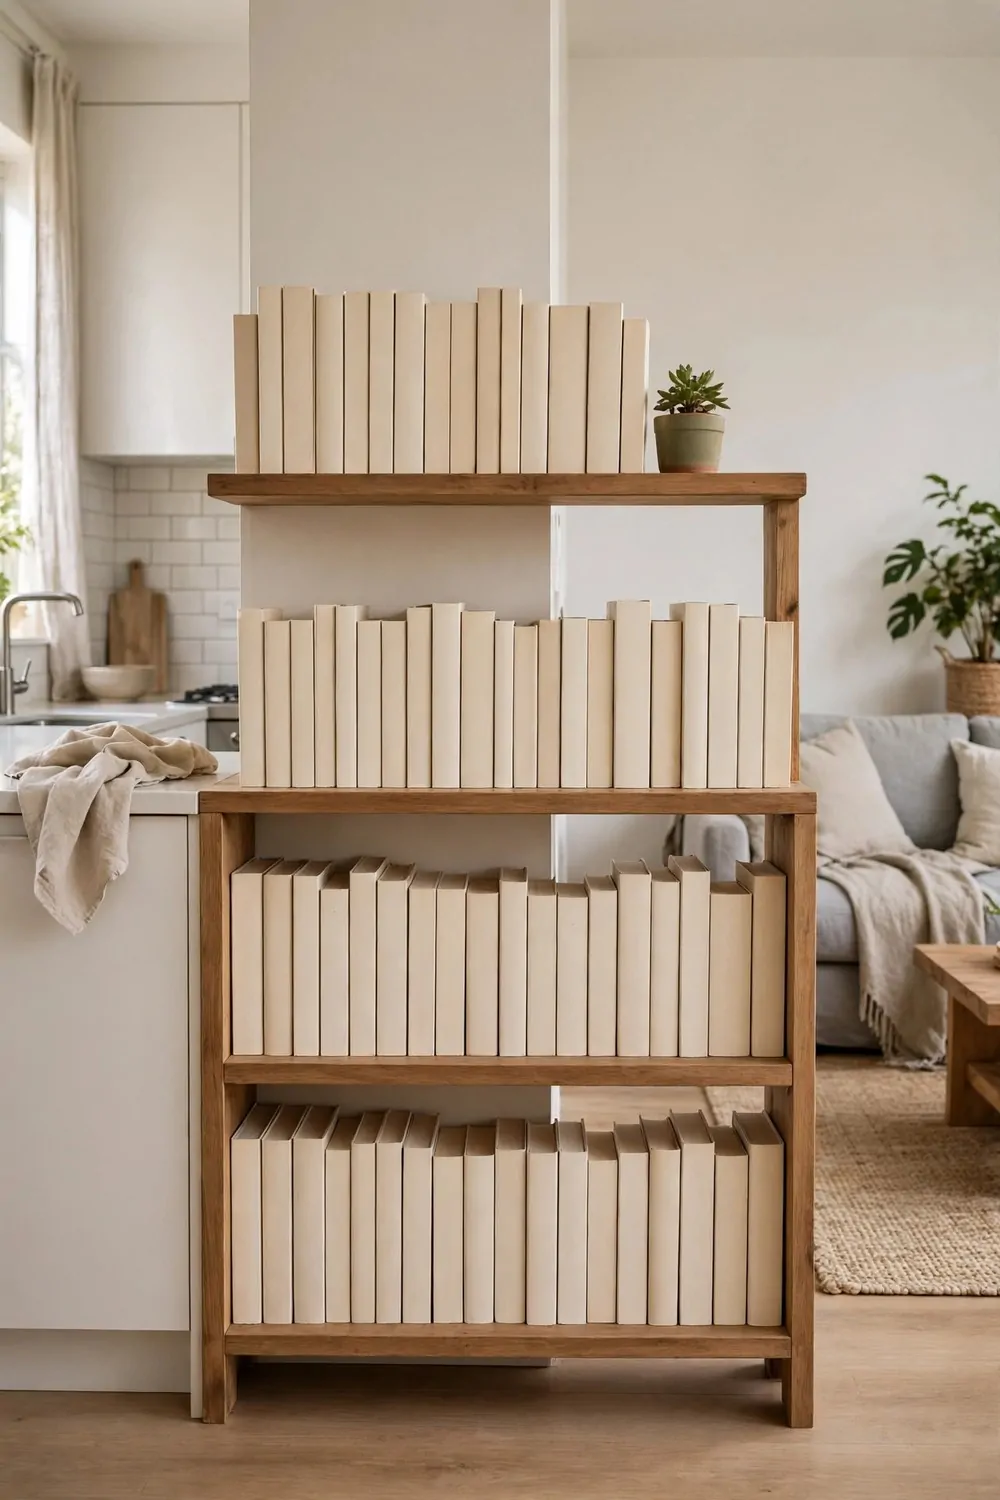
A low bookshelf makes a soft wall between my kitchen and my living space.
I can see over the top of it, so the room still feels open. The shelf marks where the kitchen ends without closing the space off.
It is a divider that holds things instead of just blocking the view.
I put cookbooks on the kitchen side and story books on the living side. I keep the middle shelf for bowls and a small plant. The top of the shelf stays clear so I can set down a plate when my hands are full.
Pick a shelf that is low enough to see over when you stand. A shelf at waist height works well in most open plan rooms.
I fix the shelf to the floor with small brackets so it cannot tip.
I leave some gaps on the shelves so the divider does not look like a solid wall. A gap here and there lets light pass through the room. I turn the books so their spines face out and the shelf looks tidy from both sides.
I wipe the shelf with soap and water when dust builds up. A quick wipe once a week keeps the books and the bowls clean.
A low shelf in this size tends to sell for $90 to $200. Solid wood costs more than plain board, so I picked a plain board shelf with a pale finish.
28. Pick Soft Curtains for the Big Window
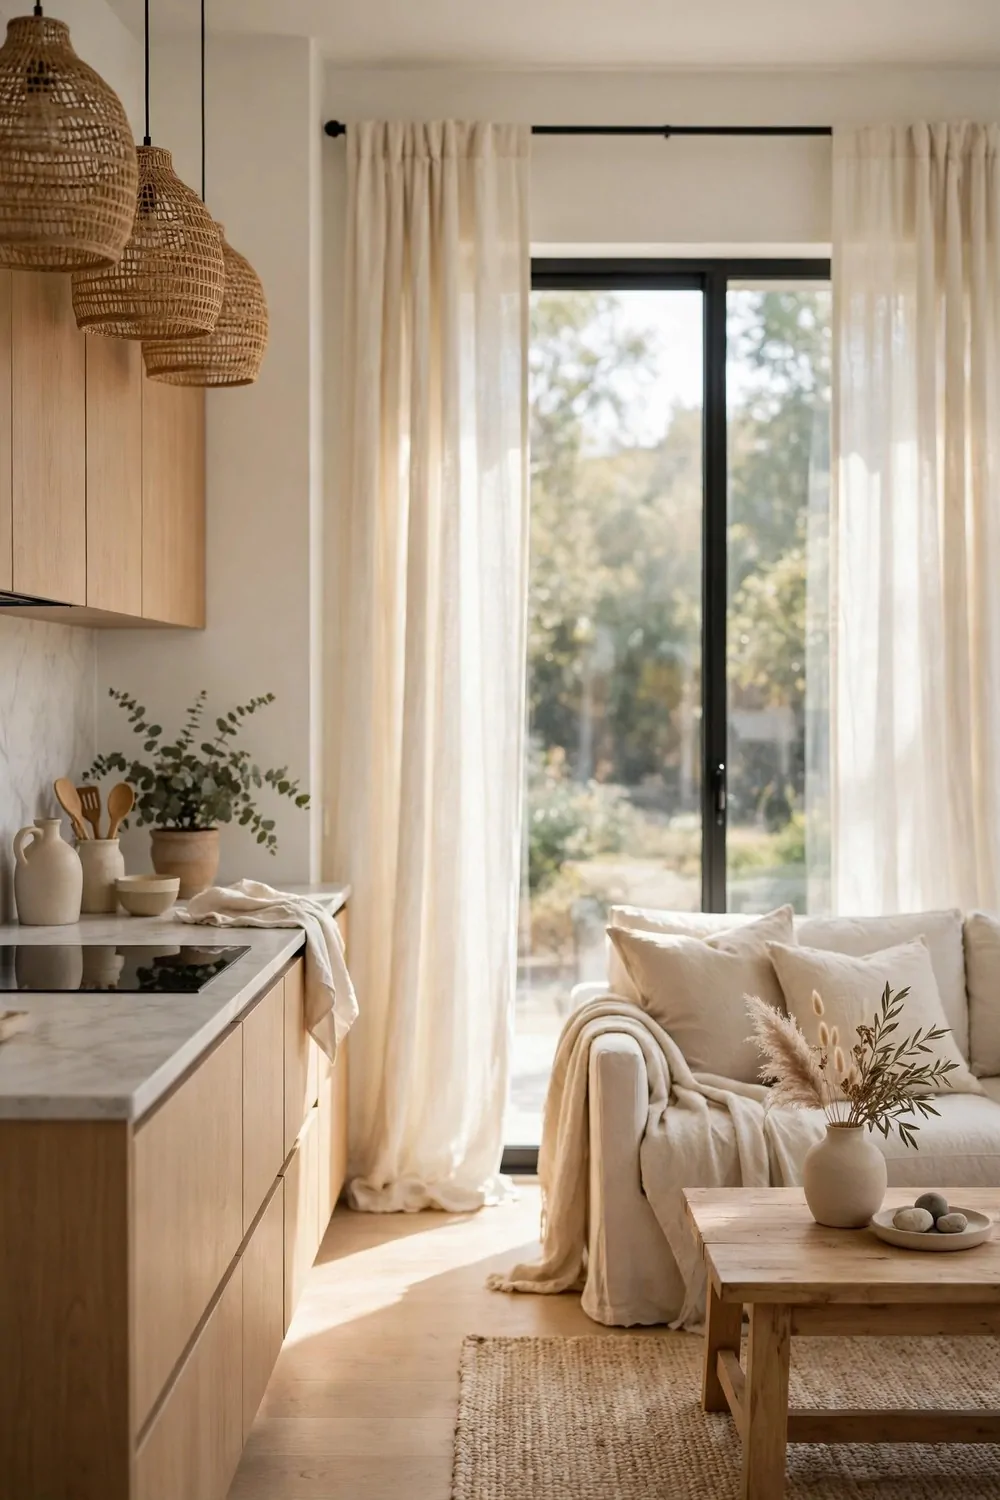
Soft curtains on the big window make my open plan kitchen feel calm and warm.
I pick a light fabric that lets daylight through in the day. At night I pull them closed and the room feels cosy and private.
Curtains soften the hard lines of cupboards and work tops.
I hang the rail a little above the window frame. A high rail makes the window look taller and the wall feel bigger. I let the curtains fall to just above the floor so they do not drag in dust.
Pick a pale colour that suits your walls and your floor. A pale cream or a soft grey will suit most open plan kitchens.
I wash the curtains in plain water with a little soap when they look dusty.
I tie the curtains back in the morning with a simple band. The tied back curtains frame the view and let in lots of daylight. I untie them in the evening when I want the room to feel snug.
Do not pick a heavy dark fabric for a small room. A heavy curtain will block the light and make the window feel small.
My pair of soft curtains and a plain rail came to $50 to $120 all in. The rail was plain, so most of the spend went on the fabric.
29. Add a Blank Chalkboard Wall for Notes
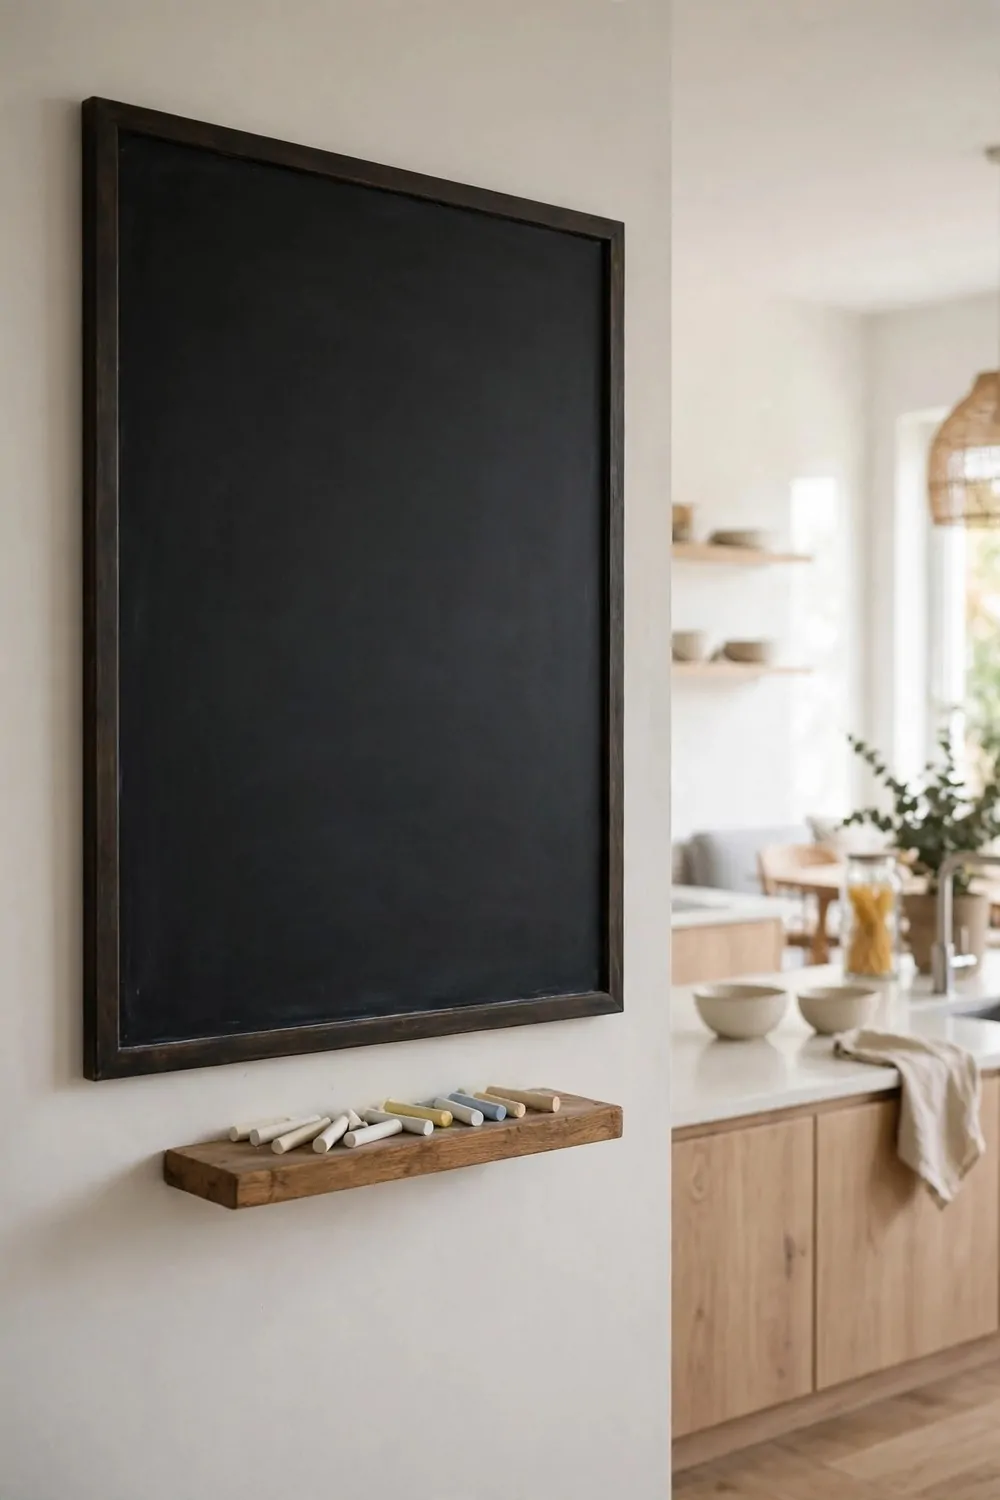
A blank chalkboard wall gives my family one place for notes, lists, and plans.
I write the shopping list there when I run out of rice or beans. My kids write their school plans there too, so we all see the same list.
One wall for notes stops paper lists from piling up on the work top.
I paint one short wall with chalkboard paint and let it dry for a full day. I use a plain roller and keep the coats thin and even. I wait until the paint feels fully dry before I write on it for the first time.
Keep a small box of chalk and a soft cloth on the shelf below. I wipe the wall with a damp cloth at the end of each week.
I draw a simple box at the top for the meals I plan to cook that week.
I write in big clear letters so I can read the list from the stove. I rub out old notes each Sunday and start the week with a clean wall. When guests come, I write a warm welcome note on the wall for them to see.
Do not paint a wall that gets wet or steamy from the stove. Pick a dry wall near the table where the chalk will stay clear.
A small tin of chalkboard paint and a box of chalk set my total at $15 to $40. I already had a roller and a tray at home, and one tin was more than enough for the small wall.
30. Fit a Slim Shelf for Jars and Tins
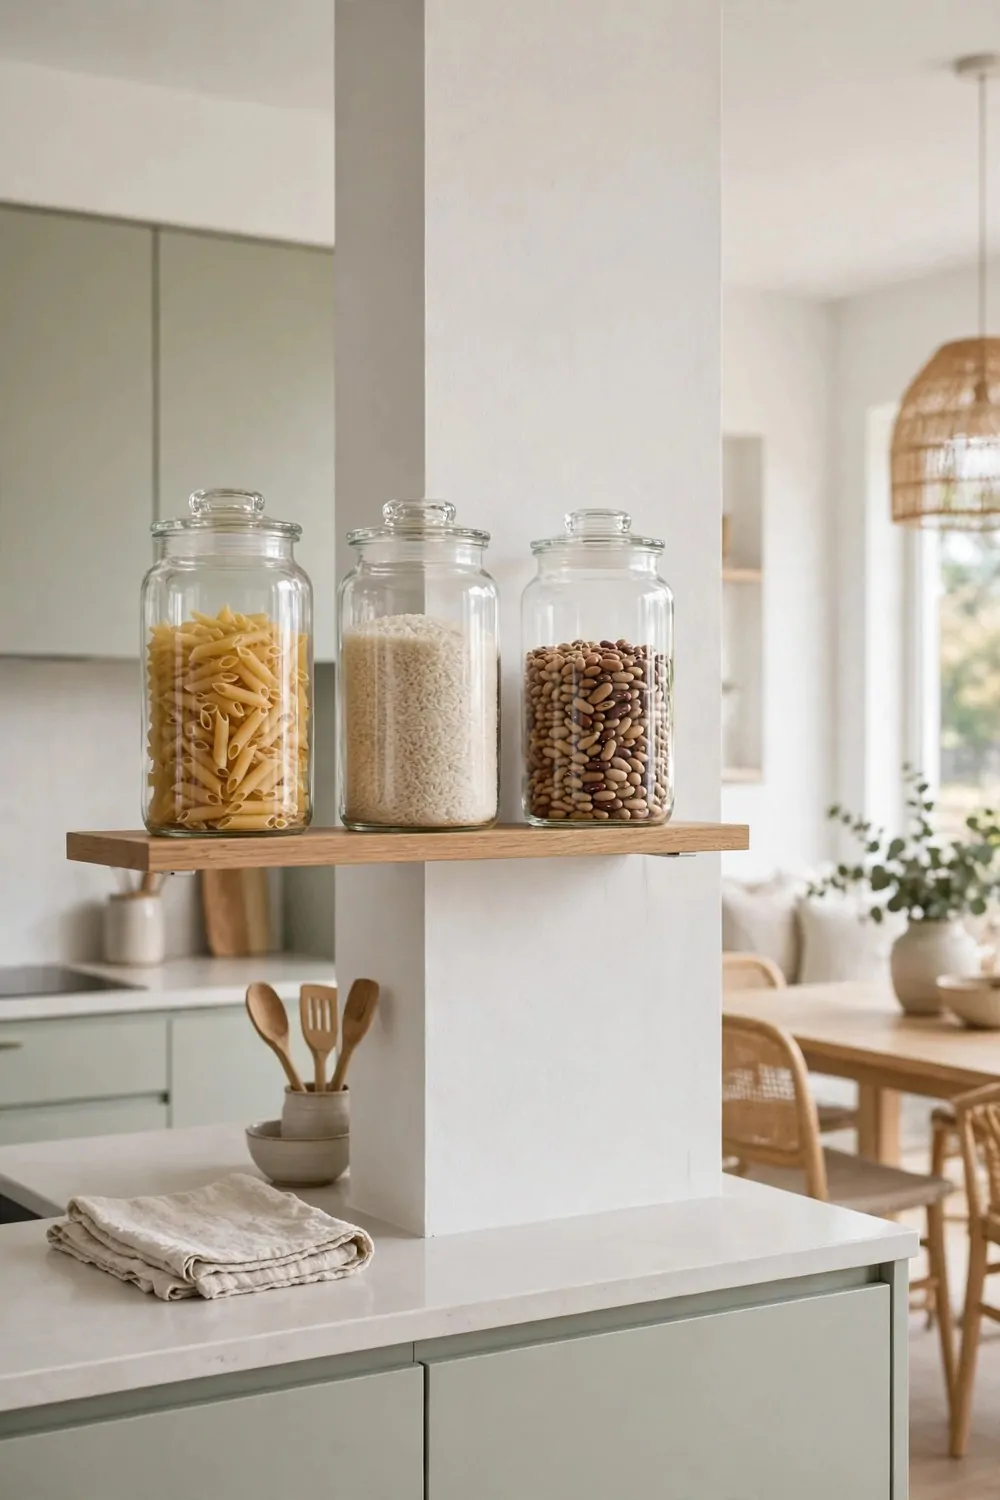
A slim shelf for jars and tins keeps my dry food where I can see it at a glance.
I line up jars of rice, beans, and pasta in a neat row. I can see what is running low before I write my shopping list.
The shelf uses a thin strip of wall that was empty before.
I fix the shelf at eye level near the stove. I keep the jars I use each week at the front. I put the spare tins at the back so they do not get in the way.
Pick a shelf with a small lip at the front edge. The lip stops a jar from sliding off when someone bumps the wall.
I wipe the shelf with soap and water once a week.
I use clear jars with plain lids so I can see what is inside. I write the name of each food on a small paper tag. I keep the tags short and clear so my kids can find the rice or the pasta on their own.
Do not load the shelf with jars you never open. A shelf with a few neat jars looks calm, and a shelf packed tight looks messy.
The shelf, lip, and fixings together were $25 to $55 when I bought mine. I used jars I already had, so I paid for the shelf alone.
31. A One-Weekend Open Plan Reset Plan
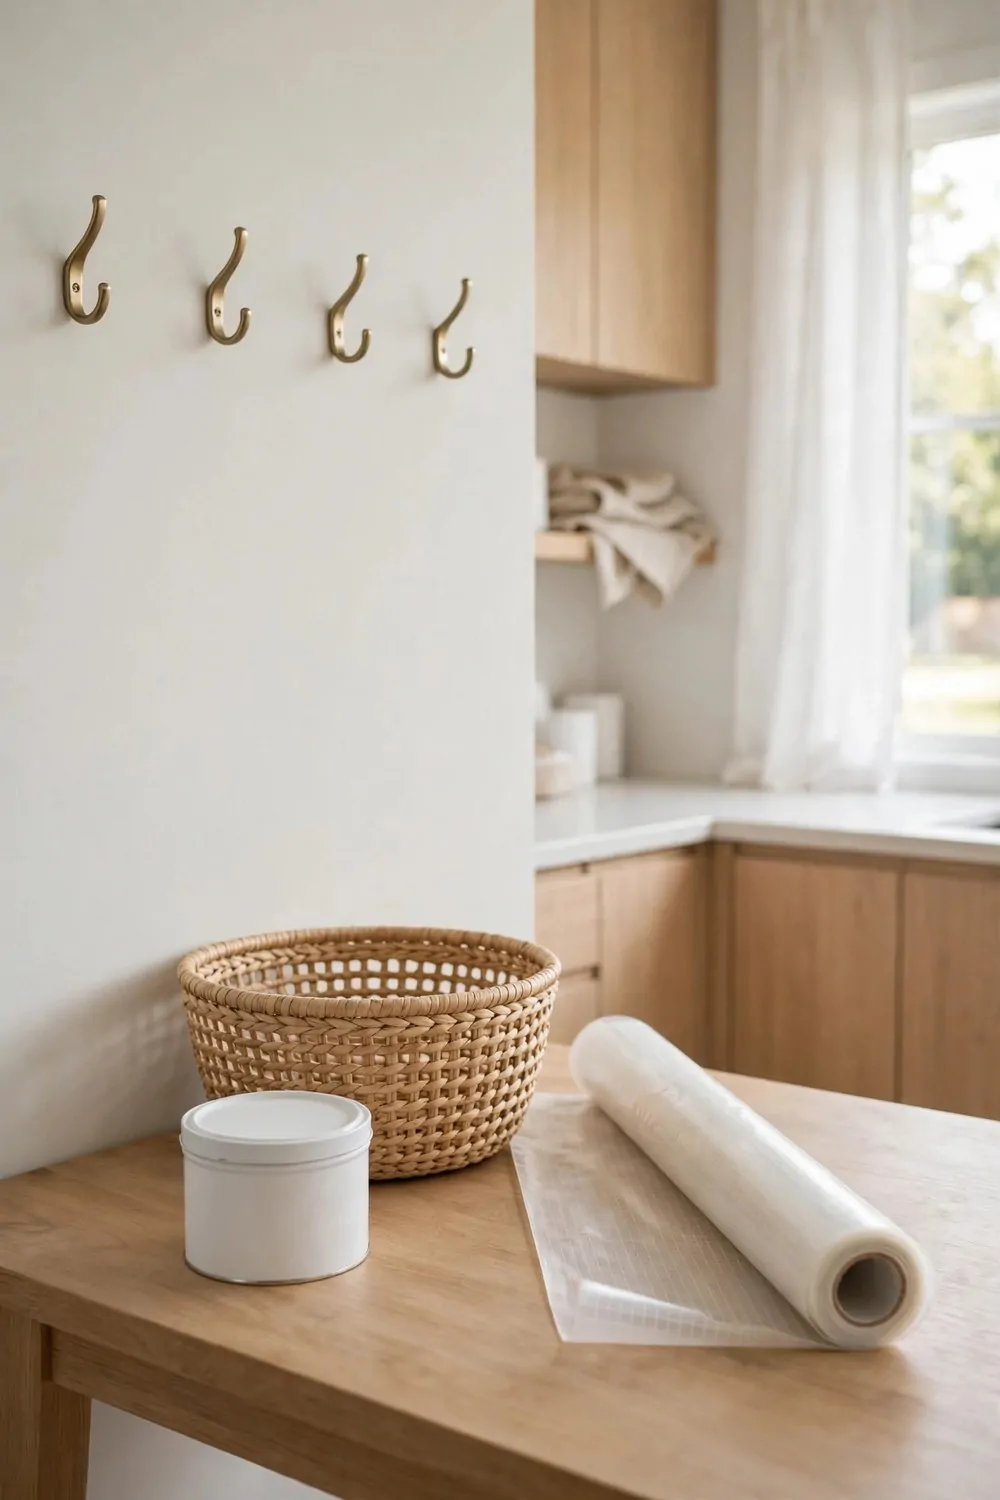
This one weekend plan pulls the whole open plan kitchen together in two short days.
I start on Saturday morning with a clear out of the work tops. I take everything off, wipe the tops with soap and water, and put back only the things I use each week.
A tin of paint for one small wall set me back $15 to $30 on Saturday morning. A pale wall makes the room feel fresh without a big job.
A pack of plain wall hooks came to $10 to $18 at the shop. The hooks keep bags and cloths off the work top and give each one a home.
Three woven baskets added $15 to $30 to the weekend spend. Each basket holds one kind of thing, so I can find it fast.
I paid $20 to $35 for a small folding stool that tucks by the island. I fold it flat and lean it by the wall when I do not need it.
A roll of shelf liner was $10 to $15, and it took me ten minutes to cut and lay it. The liner keeps the shelf clean and stops jars from sliding about.
When I add those five small buys together, the total for the weekend comes to $70 to $128. I did the work myself, so I paid for the bits and not for a fitter.
On Sunday I finish with a last tidy and a fresh look at the room from the sofa. I move the cart back, set the table, and check that each zone feels clear. The room feels bigger, calmer, and ready for a normal week of cooking and family time.
| Area | Main change | Typical cost |
|---|---|---|
| Paint | A fresh tin of paint for one small wall | $15 to $30 |
| Wall hooks | A set of plain wall hooks | $10 to $18 |
| Baskets | Woven baskets for the shelves | $15 to $30 |
| Folding stool | A small folding stool | $20 to $35 |
| Shelf liner | A roll of shelf liner | $10 to $15 |
| Total | Whole open plan reset in one weekend | $70 to $128 |
Keep Reading
If you liked these ideas, you will love these posts too.
- 27 Small Bathroom Remodel Ideas That Look Expensive
- 30 Kitchen Remodel Ideas With Before and After Photos
- 25 Kitchen Renovation Ideas That Add Value to Your Home
- 33 Bathroom Renovation Ideas on a Small Budget
- 22 Laundry Room Remodel Ideas That Make Laundry Easier
- 28 Basement Remodel Ideas That Turn Dead Space Into Living Space
I hope one of these ideas gives your open plan kitchen a fresh start this week. Try one small change first, live with it for a few days, and then add the next one when the room feels ready.