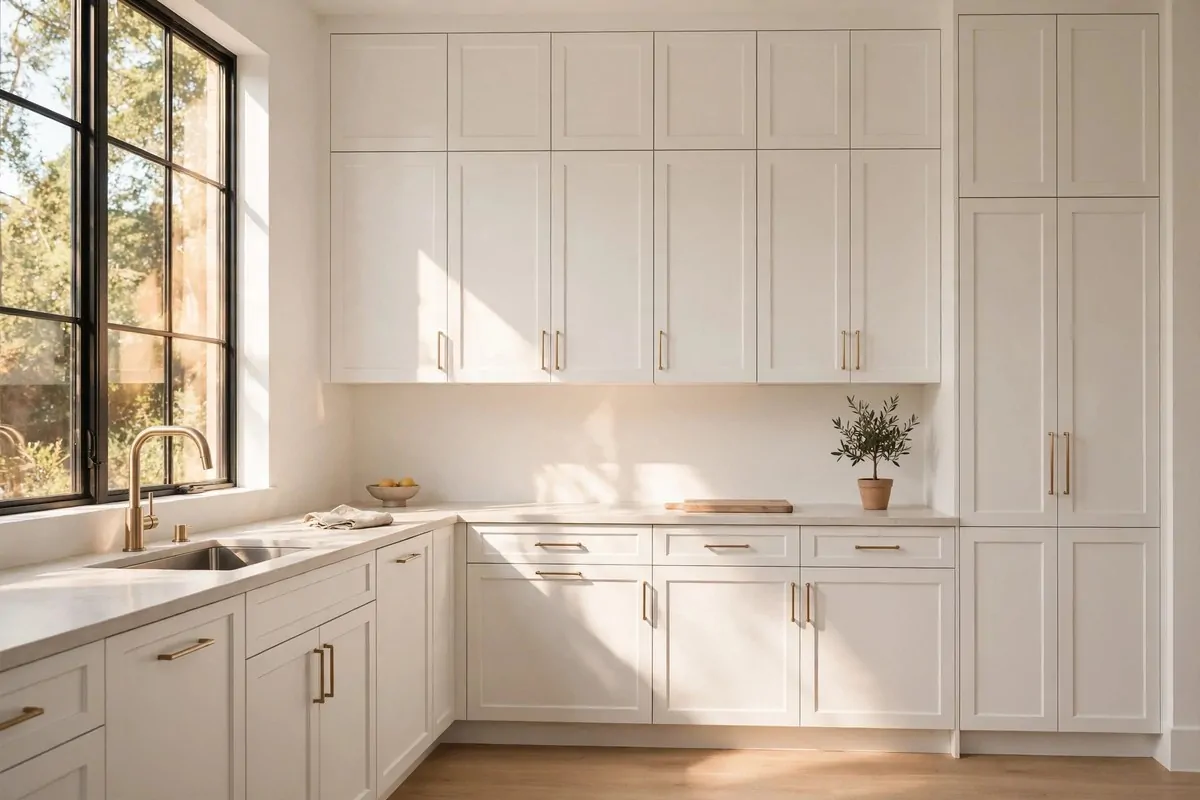
26 Kitchen Island Ideas That Make Cooking and Gathering Easy

I stood in my kitchen one morning with a cutting board in one hand and a lunch box in the other, and I had nowhere to put either one down. My counter was full, my kids were asking for breakfast, and I kept moving the same bowl from one spot to another.
That morning taught me one clear thing, and it was that a kitchen needs one good work spot in the middle where life can happen.
An island gives you that spot. You can chop vegetables there, help with homework there, and eat a quick meal there without running from one side of the room to the other. It turns a busy kitchen into a calm place where you can see what you are doing.
I have tried small fixes and big ones over the years, and the island ideas that worked best were always the simple ones. You do not need a fancy plan to make your kitchen work better for your family.
You just need to pick the bits that fit your room, your budget, and the way you cook each day.
In this post I share the ideas I love most, and I keep each one plain and easy to try. I tell you what works, what to watch out for, and what it can cost, so you can choose with a clear head. You can read them in order, or you can jump to the one that fits your kitchen right now.
All 26 ideas are right here in this single post, from size and storage to lights and a breakfast spot, so you can find your favourite without going anywhere else. Take your time, pick one or two to start with, and let your kitchen grow into a place you love to use.
1. Pick the Right Island Size for Your Room
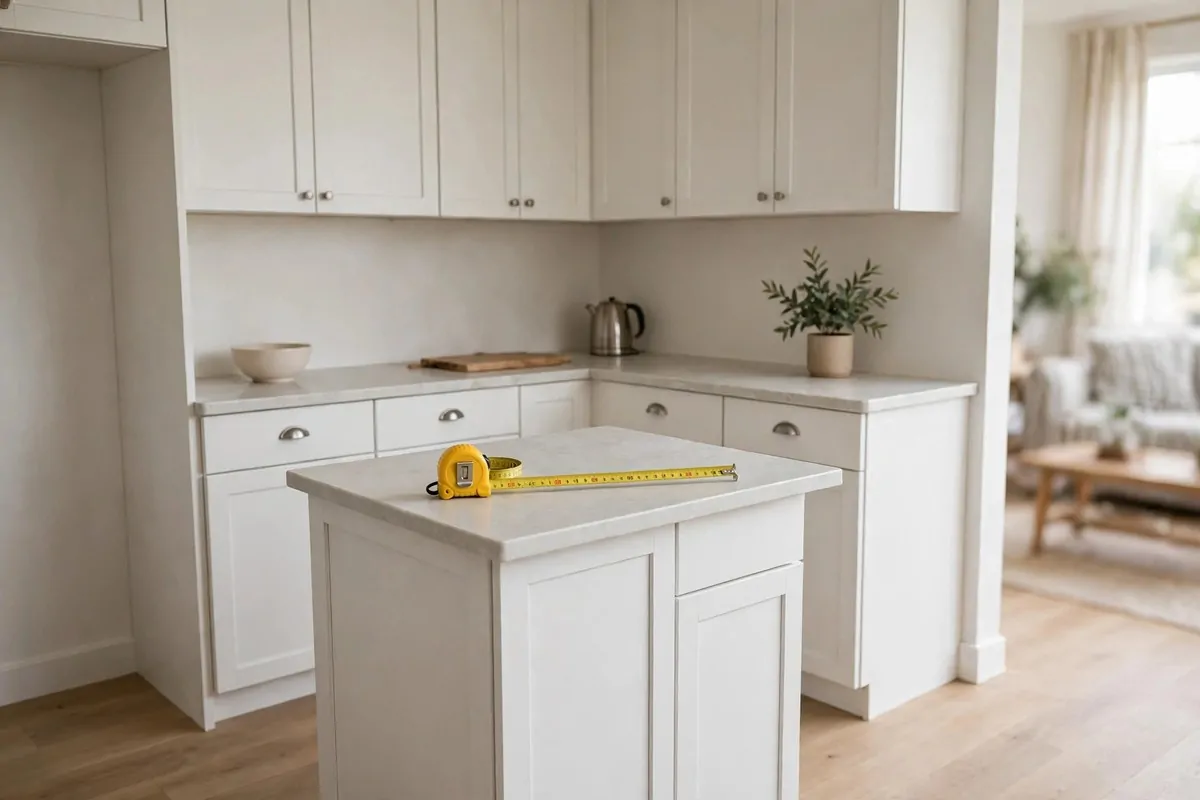
I learned this one the hard way, because my first island was too big for my room and I kept bumping into it every time I turned to reach the sink. You want room to walk past it with a full plate in your hands, and you want room to open the oven door without a fight.
Start by measuring your floor space with a tape, and leave a clear path on each side where you walk most.
A good rule I use is to leave space for two people to pass each other without turning sideways. You can test it by placing boxes on the floor where the island will go. Live with the boxes for a day, and you will soon feel if the space is too tight or just right.
Think about how you use your kitchen too. If you cook with your family, you need more floor space than if you cook alone most nights.
A small island can still hold a lot, and it can make a small kitchen feel open and easy to use.
I like to ask three plain questions before I pick a size. How many people will sit there each day, what will you store inside it, and how much counter space do you really need for cooking? Your answers will point you to the right size without any guess work.
A simple new island of this size can run from $900 to $2400, and a fitter can add more to the bill if you move pipes or wires. Ask for a full quote in writing before you agree to the work.
If your room is tight, pick a smaller island now and add a moveable cart later when you have more space.
The right size feels calm, not crowded. You can cook, sit, and chat in the same room without stepping on each other.
2. Add a Long Island with Stools on One Side
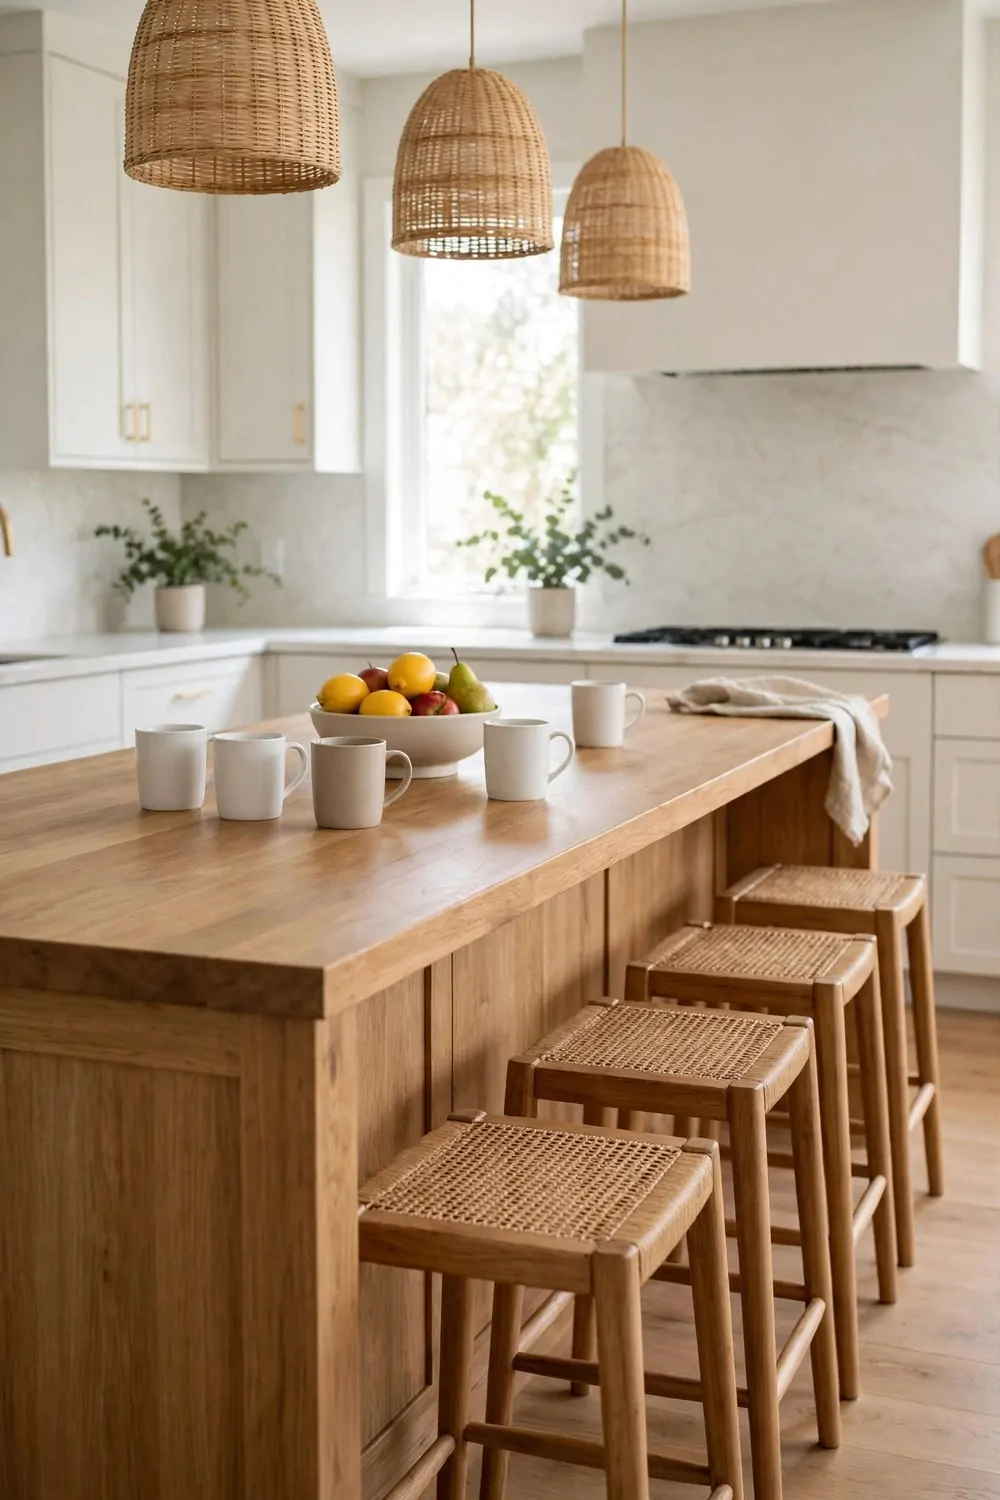
A long island with stools on one side gives your family a place to sit, eat, and talk while you cook.
I love how this setup keeps everyone in one room. The kids can do homework at the island while I chop vegetables and keep an eye on the rice.
Put the stools on one side only, so the other side stays clear for cooking. That way you do not bump knees on pots and pans when you work. You also keep a clear path for carrying plates to the table.
Pick stools that tuck in well, so the walkway stays open when no one is sitting there.
Count how many people will sit there on a normal day, not just on a busy day. Three stools are plenty for most families, and four can work if your room has space.
I pick stools with a back when my family will sit for a long meal. A back helps you sit up straight and rest for a while. Stools without a back are fine for a quick bite, and they slide away fast when you need the floor clear.
You can expect to pay from $1200 to $3200 for this kind of island with stools, and the stools themselves can add a bit more to the total. Shop for stools that feel steady when you sit down, not wobbly or light.
Leave a small gap between each stool, so no one feels squeezed at meal time.
This idea works best when you keep the top clear each night. A clear top in the morning makes breakfast feel easy, not rushed.
3. Choose a Wood Top That Ages Well
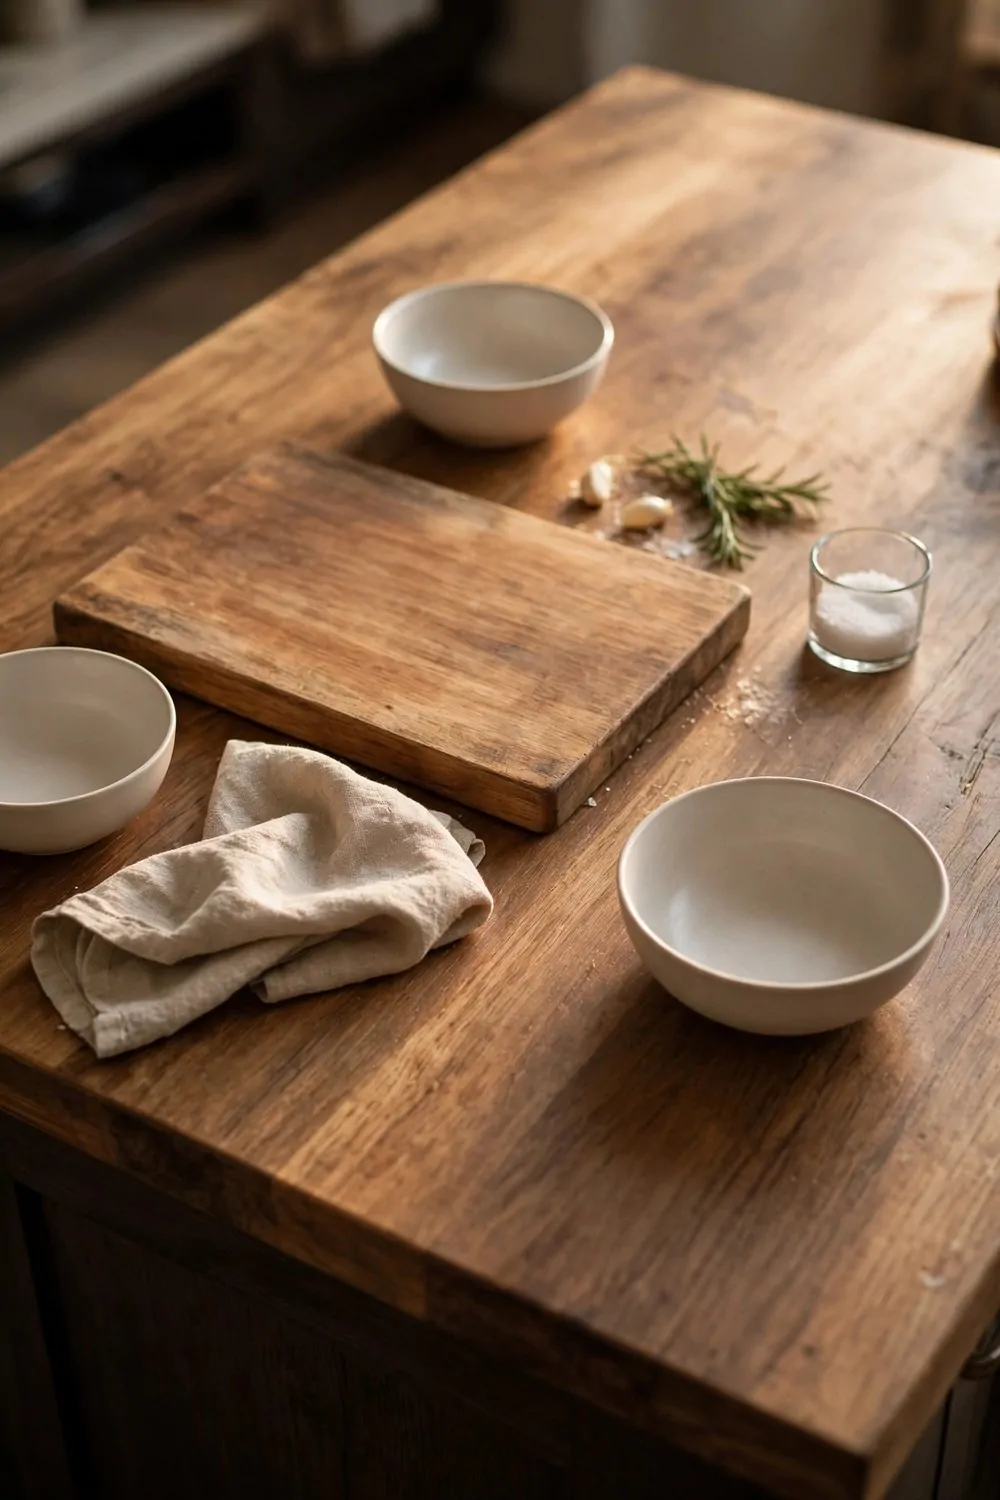
I love a wood top because it feels warm under your hands and it gets better with use. Scratches and marks tell the story of meals you have cooked, and most of them fade with a bit of care.
Pick a wood that can take daily use, and ask the maker how to look after it at home.
Oil the top now and then, just as the maker tells you to do. Wipe up spills with soap and water, and dry the top after you clean it. A little care each week keeps the wood looking fresh for years.
You can chop vegetables right on the top if the maker says it is safe to do so. I still use a board most days, because it keeps the top neat and it is easy to wash.
A wood top also suits a family kitchen, because it feels soft and kind when little hands lean on it.
Think about the finish before you buy, because a matte finish hides small marks better than a shiny one. A shiny finish wipes clean fast, but it shows every mark. Pick the one that fits how your family really lives.
A wood top like this often costs from $600 to $1800, and the price can climb when you pick a rare wood or a special finish. Get the price for the top, the fitting, and the first oiling all in one quote.
If a mark will not fade, sand that one small spot lightly and oil it again, and it will blend in with the rest.
I think a wood top is a good pick for a home that cooks a lot. It looks lived in, it feels good to use, and it ages with your family, not against it.
4. Add a Waterfall Edge for a Clean Look
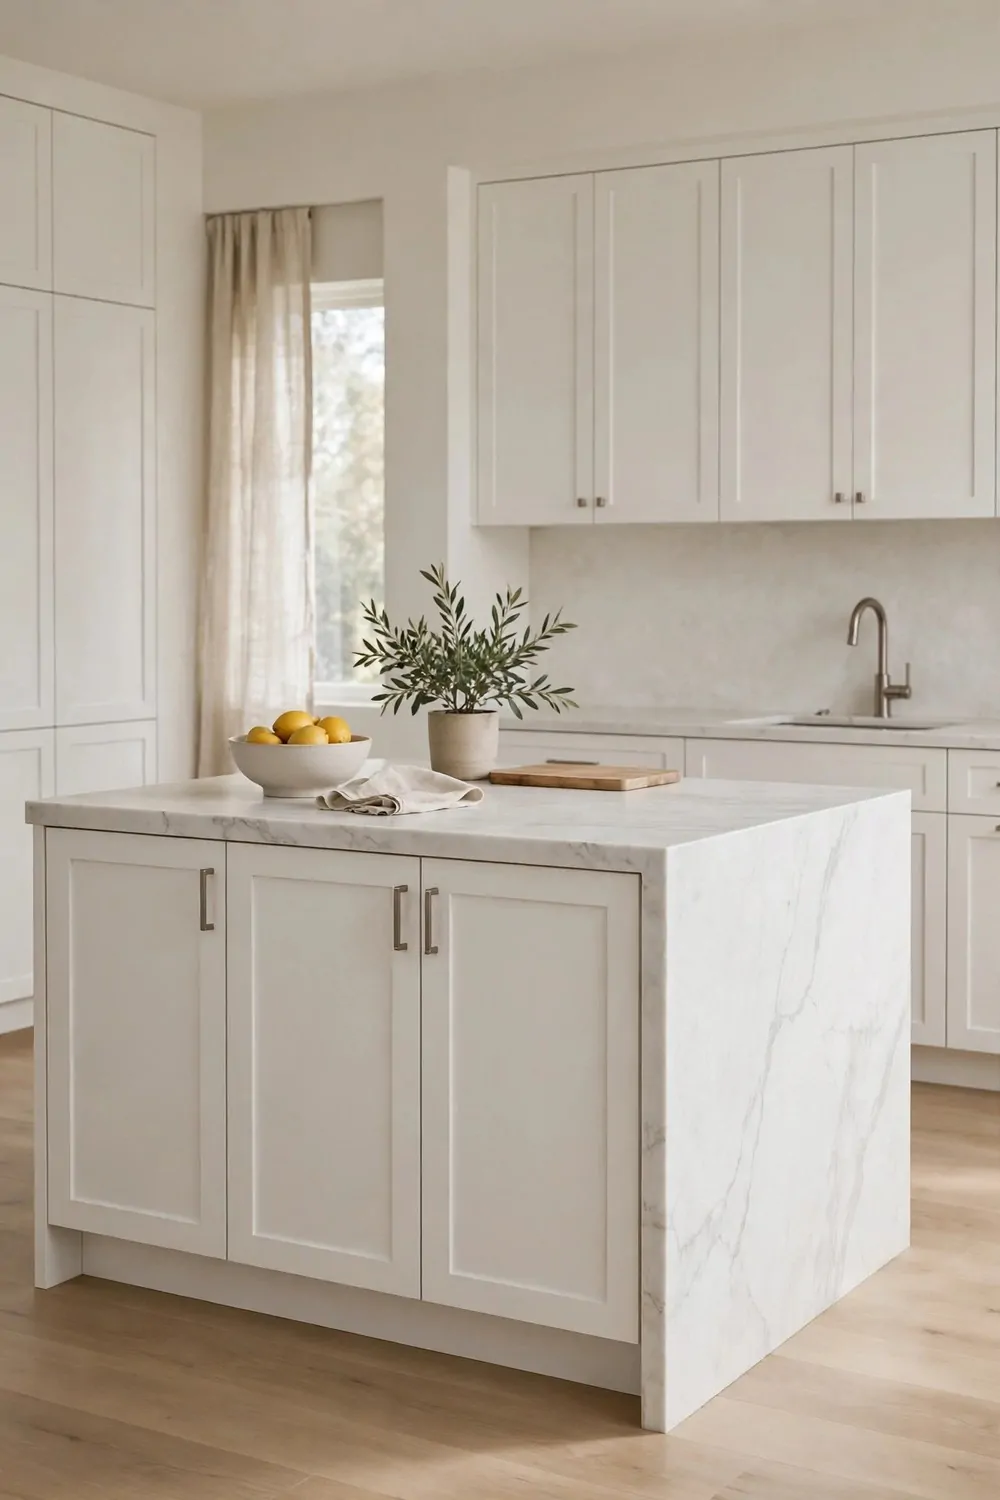
A waterfall edge means the top runs down the side of the island to the floor, and it gives the whole piece a neat, finished look.
I like it because there are no sharp corners to bump into when you walk past in a hurry. It also hides the side of the island, so you see one smooth surface from the top to the floor.
This style suits a plain kitchen best. It lets the island stand out without a lot of extra detail. You can keep the rest of the room simple, and the island will still feel special.
Wipe the side down with soap and water, just like the top, and it will stay neat with very little work.
Ask your fitter to show you how the edge joins the top before you agree. A neat join looks like one piece, and a rough join will stand out every day.
You can use this edge on one side or on both sides of the island. One side is enough if the other side faces a wall. Two sides look grand in a big room, and they frame the island like a picture.
Fitting a waterfall edge can add from $800 to $2600 to the cost of an island, and the final price rests on the size of the piece and the material you pick. Ask what is part of the price, so the edge, the fitting, and the finish are all clear.
Keep the floor near the edge clear, so you can see the full drop from the top to the floor.
If you love a clean and simple look, this is a good way to get it. It turns a plain island into the main feature of your kitchen without adding clutter.
5. Build Storage into Every Side
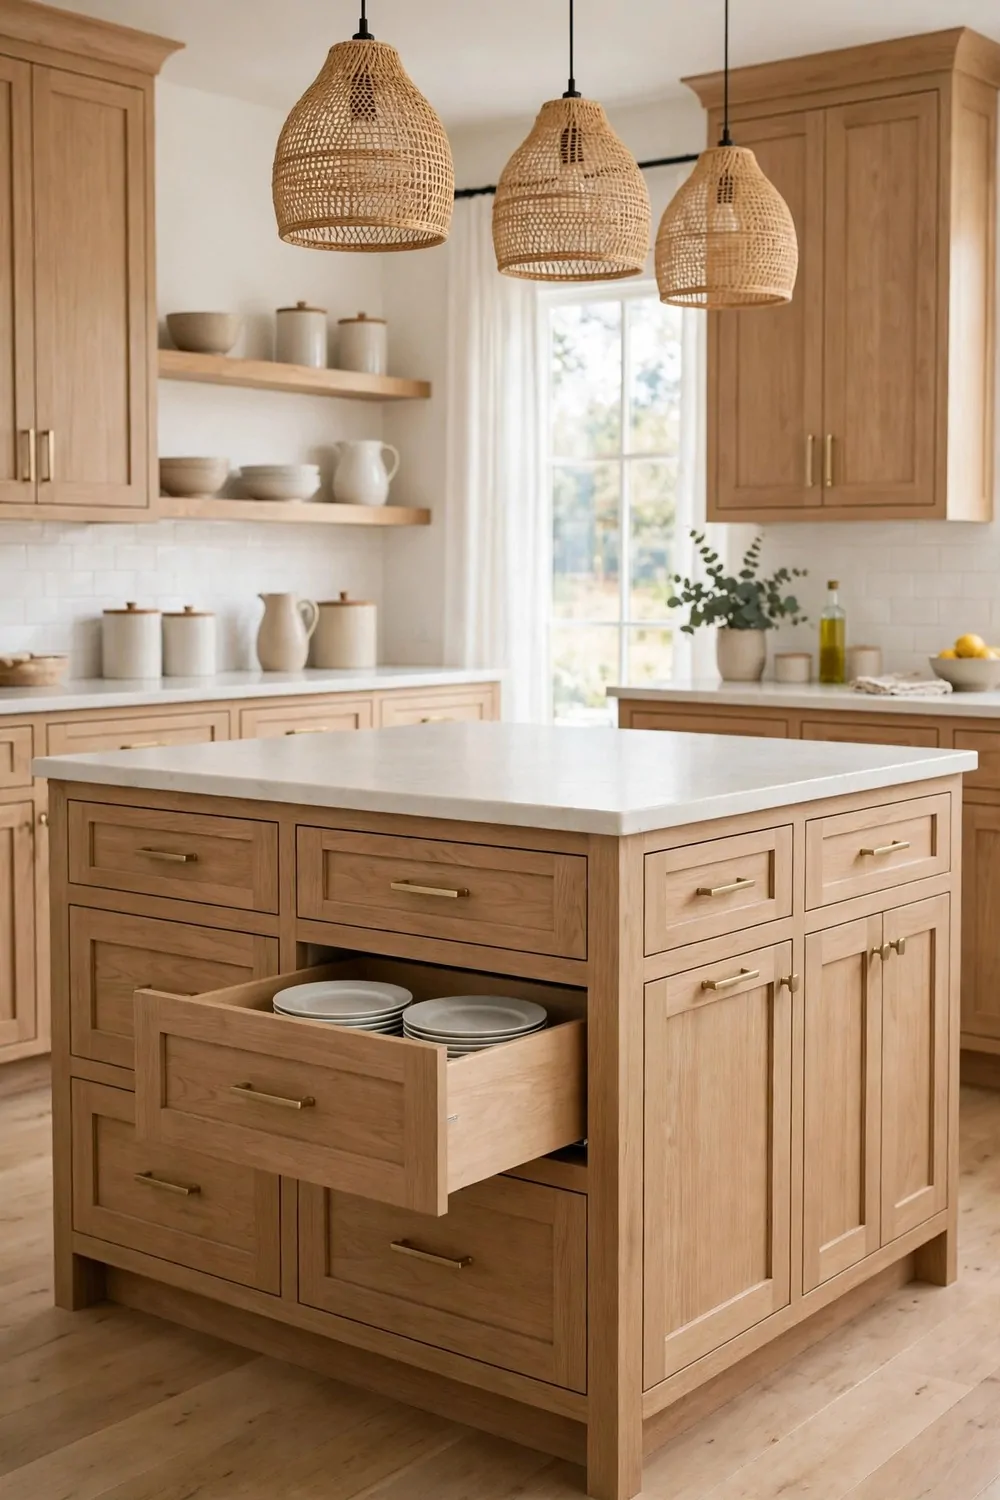
An island can hold far more than you think, if you plan the storage before you build it. I use mine for pots, pans, and big trays that never fit in my wall cupboards.
Put drawers where you reach most, and use the far side for things you use once a week.
Drawers beat cupboards for heavy pots, because you can pull them out and see all that is inside. You do not have to bend low and dig to the back. You just slide the drawer out, take what you need, and push it back in.
Use one side for cooking tools and the other side for serving dishes. That way you do not open three doors to set the table for dinner.
Add a drawer just for lids, because lids are the first thing to get lost in a busy kitchen.
I keep my baking trays standing up in a slot near the oven side, so I can pull one out without moving the rest. It saves time when I bake bread on a busy day. Try the same trick for chopping boards, and you will use them more often.
Building storage into each side can cost from $1000 to $2800 on top of the island itself, and drawers with soft close can push the price a little higher. Tell the maker what you will store, so the drawers are made to fit those items.
Label the inside of each drawer for a week, until your family learns where each thing lives.
Good storage makes cooking feel calm. You know where each thing is, and you can find it fast without a search.
6. Add Open Shelves for Cookbooks
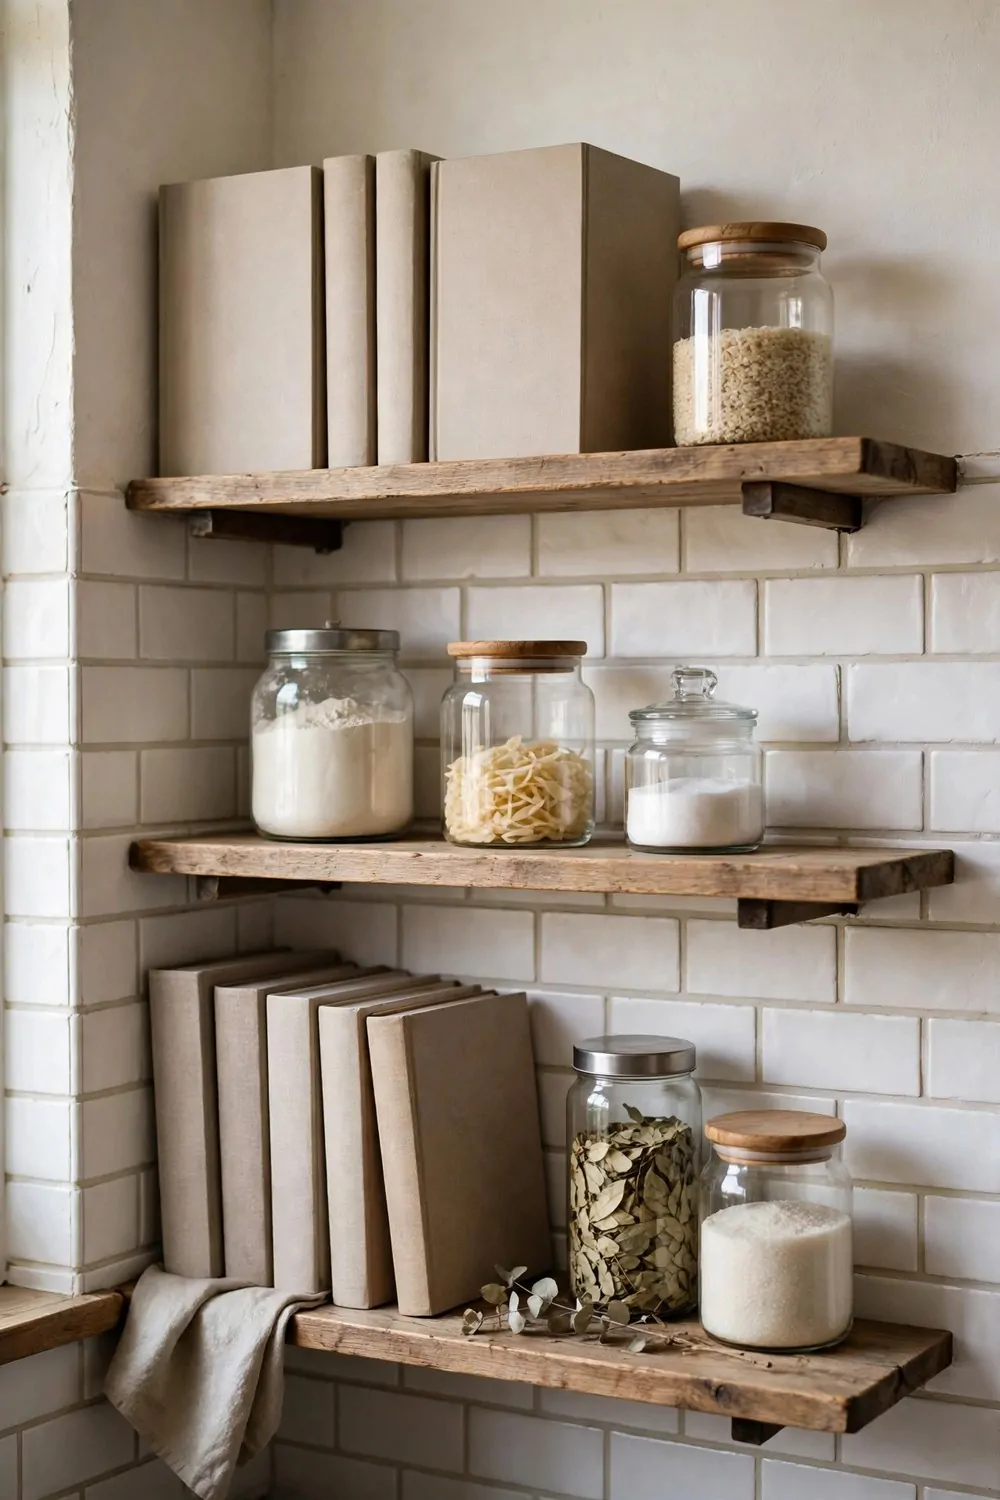
Open shelves on the side of your island turn your cookbooks into part of the room.
I keep my most used books there, and I can grab one with one hand while I stir a pot. You do not need to open a door or dig in a pile to find a recipe.
Pick books you really use, not books you keep just to look nice. A shelf full of books you love feels warm and true. A shelf full of books you never open just gathers dust and takes up space.
Leave a little space on each shelf, so you can pull a book out without knocking the next one over.
You can also store baskets of fruit on these shelves, and they look fresh and bright in the kitchen. Fruit in sight gets eaten fast in my house, and that is a good thing.
Keep the shelves where you can reach them with ease. Do not put heavy books where you must stretch to reach them. Put the books you use each week at hand level, and the rest can go a bit further back.
Adding open shelves to an island often runs from $300 to $900, and the wood you pick can move that price up or down. Ask the maker to fix the shelves well, so they hold the weight of full books.
Dust the shelves once a week with a dry cloth, and wipe any marks with soap and water.
These shelves make the island feel like part of your home, not just a work top. Your books, your fruit, and your daily tools are all close at hand when you cook.
7. Fit a Slim Fridge Drawer in the Island
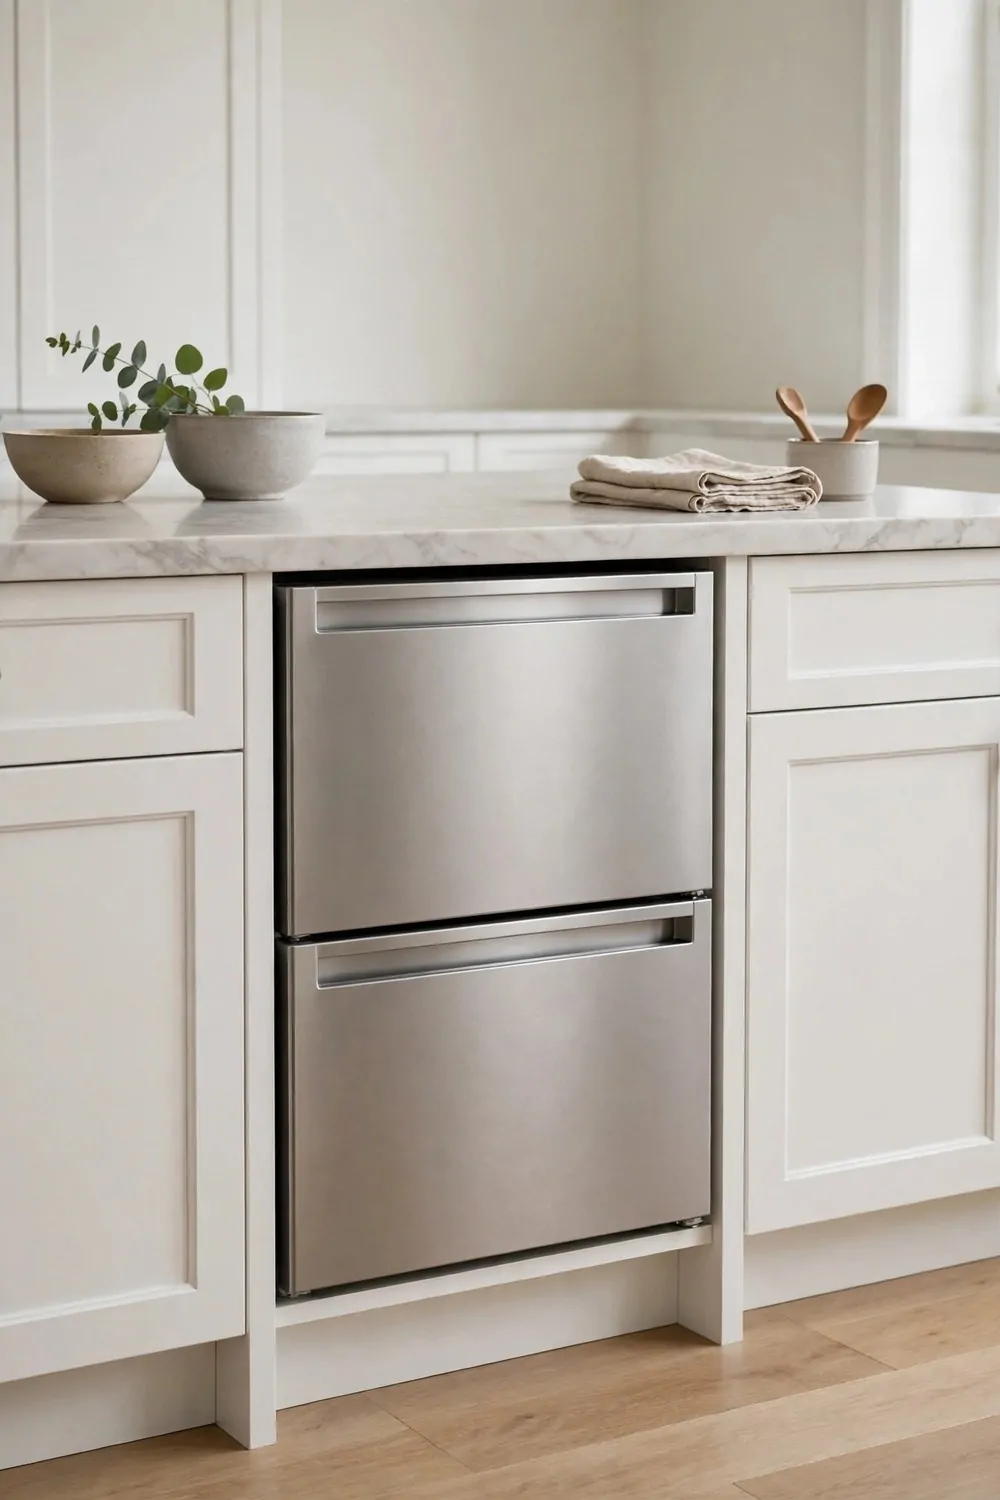
A fridge drawer in the island keeps cold food right where you cook. You can reach for vegetables or fruit without walking to the main fridge each time.
I use mine for the food I need while I cook, and I leave the rest in the big fridge.
This drawer works well for cold water and for fresh food you use each day. It also helps when you have guests, because you can offer cold water without leaving the island. You save steps, you save time, and your kitchen feels easy to move in.
Pick a drawer that opens with one smooth pull, even when your hands are full.
Check the size before you buy, so the drawer fits the space in your island with room to spare. A good fit looks neat, and it keeps cold air inside where it belongs.
Think about noise too, and ask the shop how loud the drawer runs at night. A quiet drawer will not bother you when the house is still. A loud one can hum all day, and that gets old fast.
A fridge drawer for an island can run from $1100 to $2900 with fitting, and the brand you pick can shift the price quite a bit. Ask if the price covers the drawer, the fitting, and the first year of care.
Clean the drawer each week with soap and water, and dry it well before you put food back in.
This small add on makes a big change in how you cook. Cold food is close, your main fridge stays tidy, and your work flows better each day.
8. Add a Sink to the Island
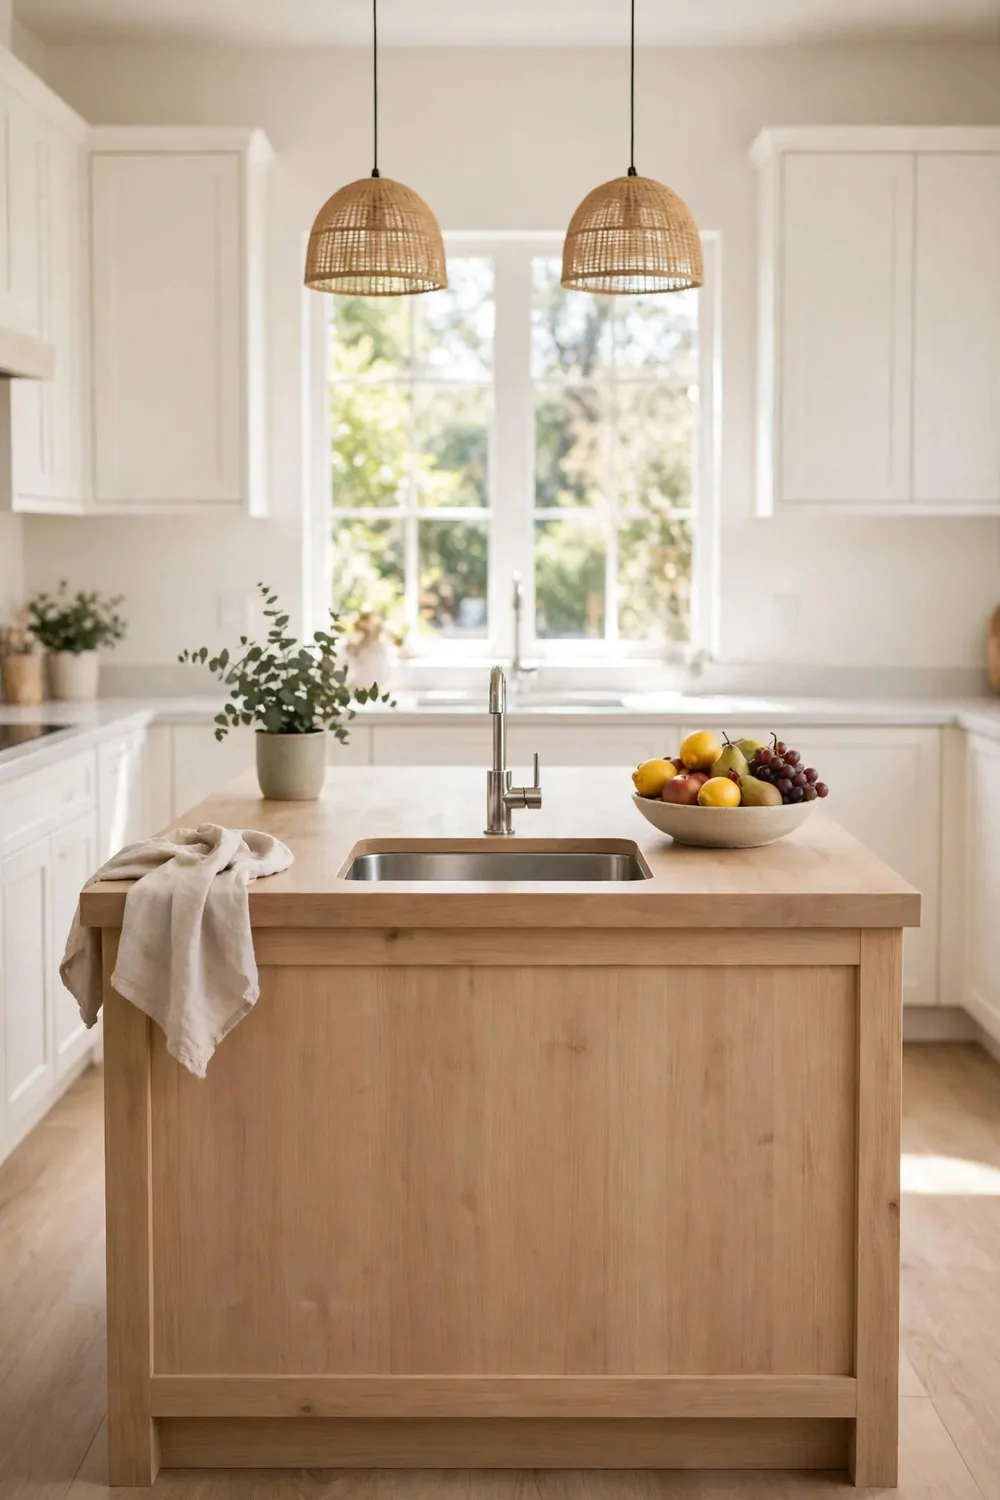
A sink in the island lets you wash vegetables right where you chop them.
I love this setup when I cook for my family. I can wash, chop, and cook in one spot, and I can still talk to the people sitting near me.
You need good pipes under the island for this idea to work well. Ask a plumber to look at your floor before you plan the sink. A plumber can tell you if the pipes can run there, and what it will take to fit them right.
Pick a sink that is big enough to wash a large pot, so you do not have to use the main sink for big jobs.
Keep a small bin near the sink for peelings from vegetables and fruit. That way the top stays clear, and you can wipe it down fast after you cook.
Think about splashes too, and leave a bit of top space on each side of the sink. That space gives you room to set down a wet board or a washed pot. It also keeps water off the floor when you wash with care.
Putting a sink in an island can cost from $1400 to $3600 with pipes and fitting, and moving pipes a long way can raise that price further. Get a quote from the plumber first, so you know the full cost before you cut the top.
Wipe the sink each night with soap and water, so it stays fresh and ready for the next meal.
A sink in the island turns it into a true work spot. You wash, you chop, you cook, and you never have to cross the room with wet hands.
9. Add a Hob to the Island
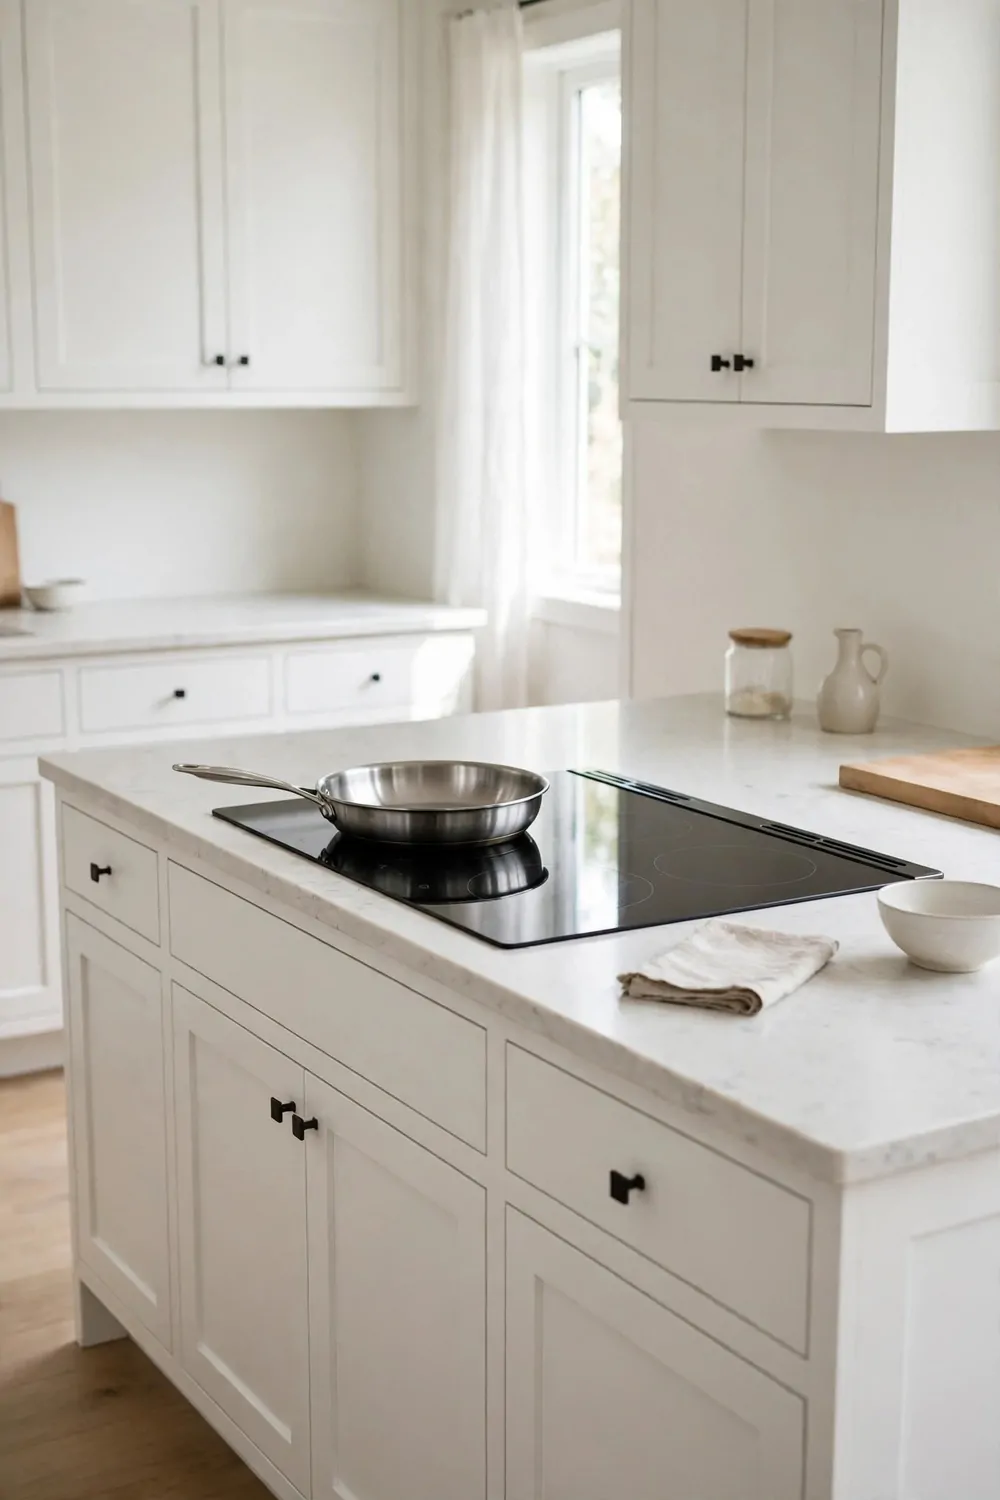
A hob in the island lets you cook while you face your family, not the wall. I like how it turns cooking into a shared time, not a lonely job.
You can stir a pot of rice and still see what your kids are doing at the island.
You need a good fan above the hob to take away steam and cooking smells. Ask a fitter what kind of fan suits your kitchen, and where it should go for best use. A good fan keeps the air clear, and it keeps the room fresh while you cook.
Keep the space near the hob clear of paper, cloth, and books, so nothing can fall onto the heat.
Pick a hob with clear marks you can read at a glance. You want to turn the heat up or down fast, without hunting for the right switch.
Think about safety if you have small kids in the house. Teach them that the hob is hot, and that they must stay back while you cook. A clear rule, said with love, keeps everyone safe and calm.
Fitting a hob in an island often costs from $1300 to $3400 with the hob and the fan, and the price can rise if you need new wires or a new fan duct. Ask the fitter to show you how the fan works before you pay the last part of the bill.
Wipe the hob after it cools, with soap and water, and dry it so it stays clean for next time.
Cooking on the island makes meal time feel open and warm. You cook, you talk, and you serve food straight from the hob to the plate.
| Idea | Typical Cost |
|---|---|
| Pick the Right Island Size for Your Room | $900 to $2400 |
| Add a Long Island with Stools on One Side | $1200 to $3200 |
| Choose a Wood Top That Ages Well | $600 to $1800 |
| Add a Waterfall Edge for a Clean Look | $800 to $2600 |
| Build Storage into Every Side | $1000 to $2800 |
| Add Open Shelves for Cookbooks | $300 to $900 |
| Fit a Slim Fridge Drawer in the Island | $1100 to $2900 |
| Add a Sink to the Island | $1400 to $3600 |
| Add a Hob to the Island | $1300 to $3400 |
10. Hang Pendant Lights over the Island
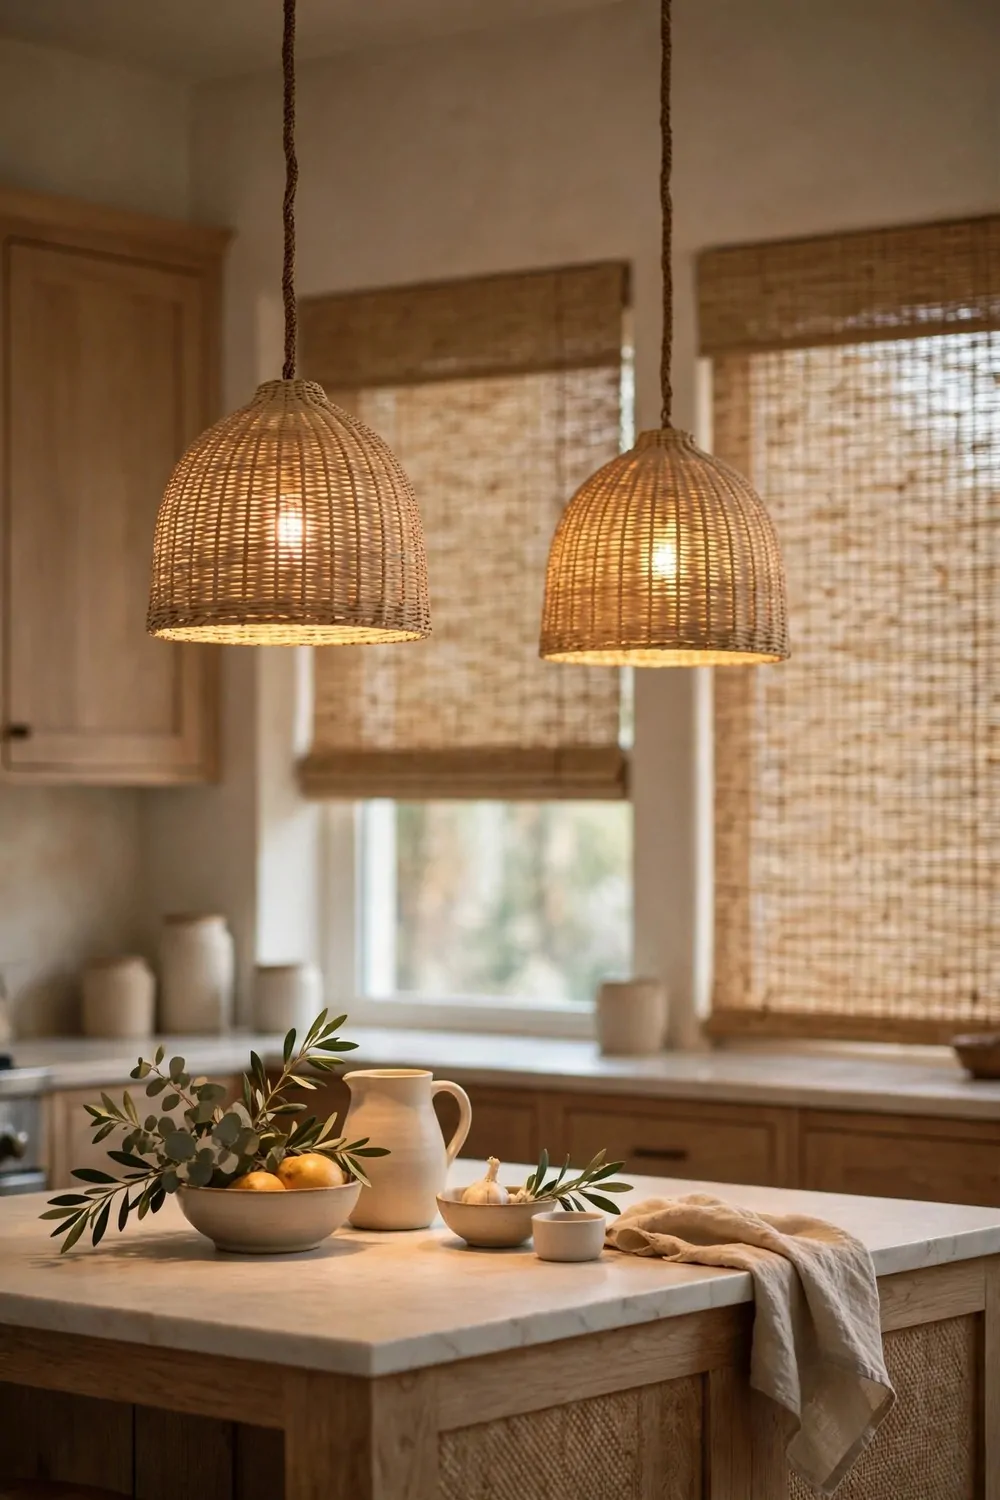
Pendant lights over the island give you clear light just where you need it most.
I use mine when I chop vegetables at night, and the light falls right on the board. You can see what you are doing, and your eyes do not get tired fast.
Hang the lights so they sit above the top, not in your line of sight when you sit down. You want light on the work, not glare in your eyes. A fitter can help you find the right spot for your room.
Pick lights that match the feel of your kitchen, plain and simple, and they will look right for years.
Use bulbs you can dim if you can, so the same lights work for cooking and for a quiet meal. Bright light helps you cook, and soft light helps you sit and talk after dinner.
Count how many lights you need before you buy. One light can suit a small island, and two or three can suit a bigger one. Space them out so the light spreads well across the whole top.
Hanging pendant lights over an island can cost from $400 to $1500 with fitting, and the lights you pick can move the total up or down a lot. Ask the shop if the price covers the lights, the wires, and the fitting work.
Clean the shades once a month with a dry cloth, so dust does not dim the light.
Good lights change how your kitchen feels at night. The island becomes the bright heart of the room, and everyone wants to gather near it.
11. Add a Breakfast Bar for Quick Meals
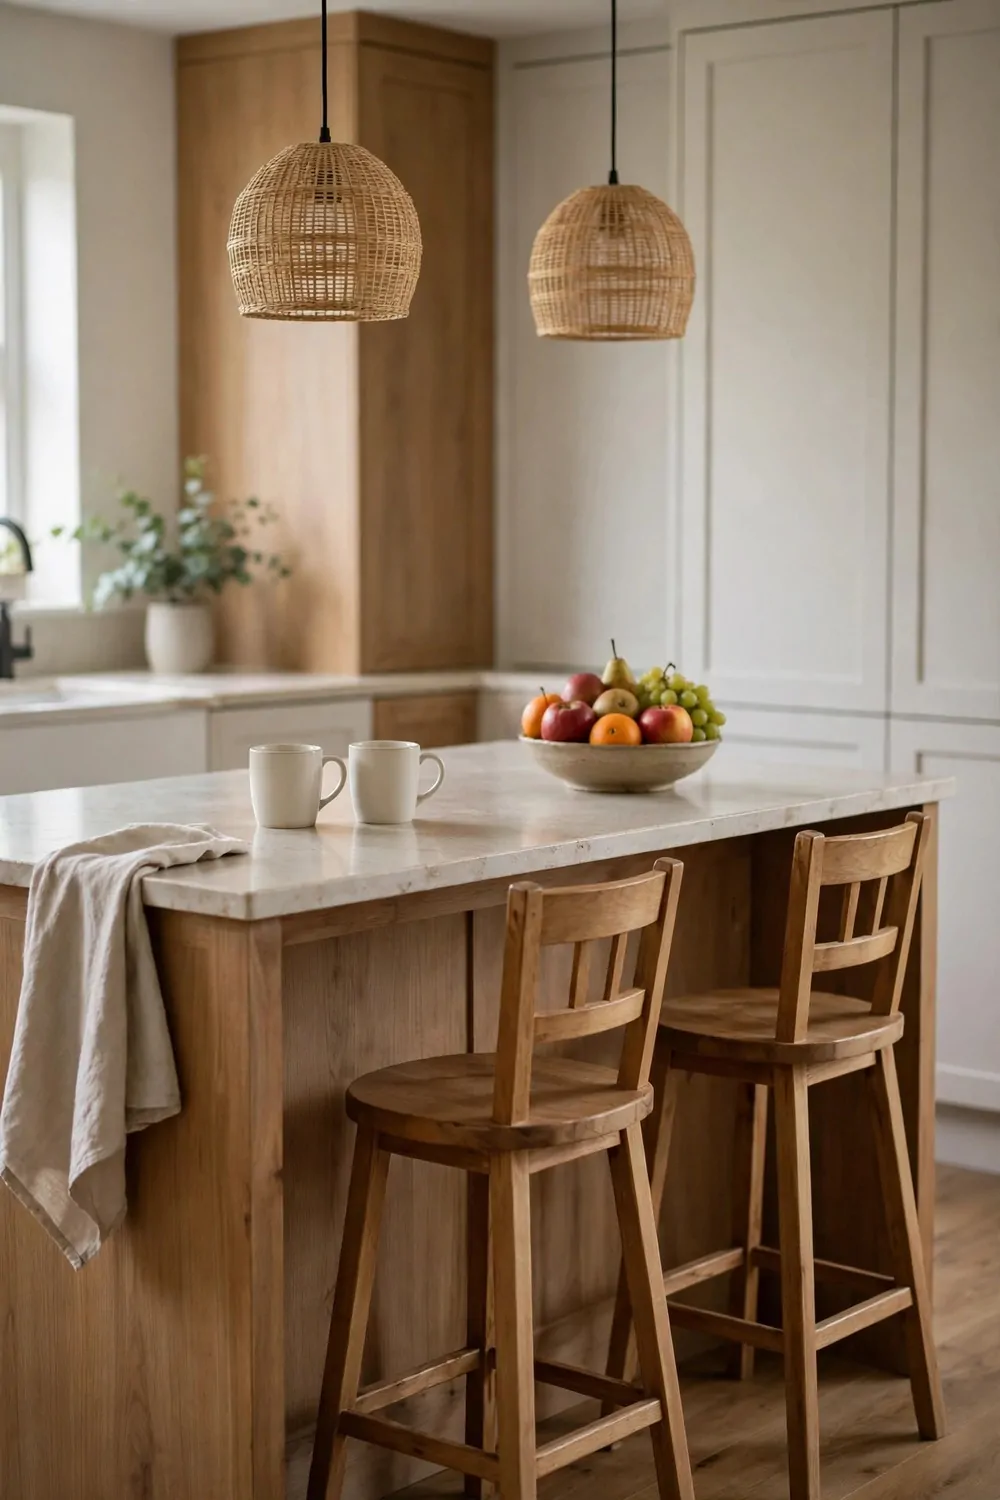
A breakfast spot on the island is perfect for quick meals on busy days. You can eat bread and fruit there in a few minutes, and then get on with your day.
I love it for school mornings, when each person eats at a different time.
Keep the eating side clear of cooking tools, so there is always a clean place to sit. Put a small mat down for each person, and keep cups within easy reach. A clear spot makes a quick meal feel calm, not rushed.
Pick seats that are easy to pull out and push back in, so the walkway stays clear after breakfast.
You can use this spot for more than breakfast. It works for a quick lunch, for homework, and for a chat over a glass of water.
Think about how many people will use it each day. Two seats are enough for a small family, and three can work in a bigger room. Do not crowd the side with too many seats, or no one will feel at ease.
Adding a breakfast spot to your island can run from $500 to $1700, and the seats you pick can add a fair bit to the final bill. Try the seats in the shop first, so you know they feel good to sit on.
Wipe the spot after each meal with soap and water, so it is always ready for the next person.
This idea makes mornings feel easier. You eat, you talk, and you start the day together, even when time is short.
12. Add a Charging Spot for Phones and Tablets
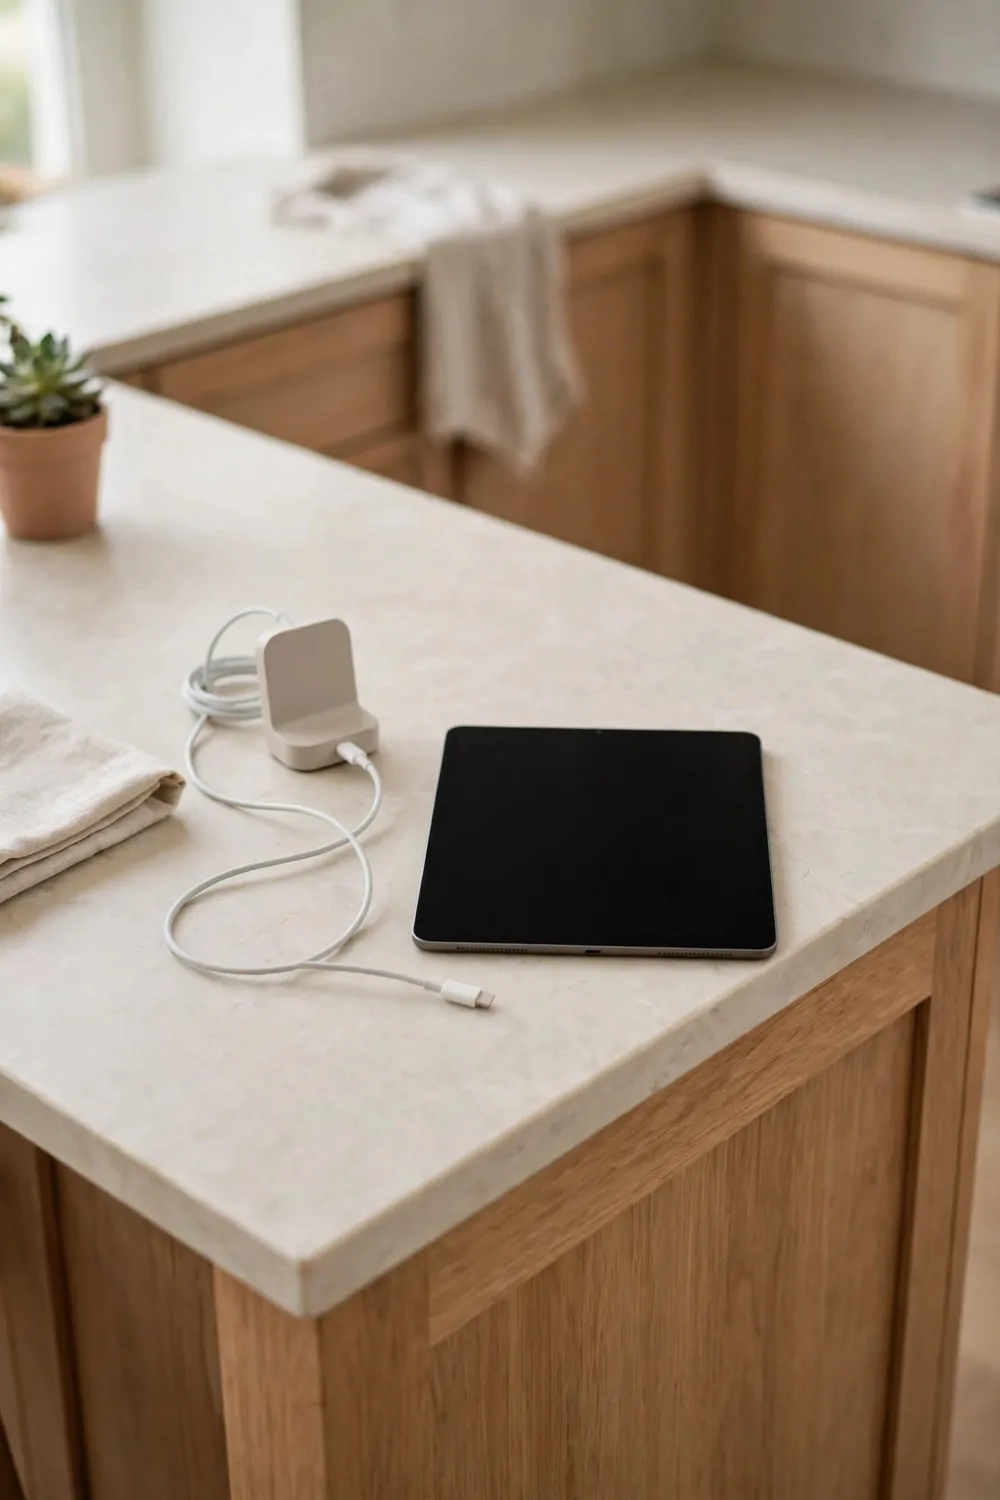
A charging spot in the island keeps phones and tablets in one place while they charge.
I like it because my family no longer leaves phones all over the kitchen. They plug in at the island, and we all know where to find them.
Pick a spot that is away from water and away from the hob. You do not want a phone near the sink or near heat. A dry corner of the island, close to a plug, works best for this job.
Ask an electrician to fit the plugs, so the wires are safe and neat inside the island.
Use the spot for recipes too, and prop a tablet up while you cook. You can read the steps for rice or pasta without holding the tablet in your hand.
Set a simple rule for the spot, and keep it the same each day. Phones charge there, and they stay there till the meal is done. That small rule gives your family a break from screens at the table.
Fitting a charging spot can cost from $200 to $700 with the plugs and the work, and the price can climb if you need new wires run to the island. Ask the electrician to test each plug before you start to use the spot each day.
Keep the charging area dry and clear, and wipe it with a dry cloth when you clean the kitchen.
This small add on brings a bit of order to a busy home. Phones have a home, the top stays clear, and meal time feels calm again.
13. Use a Moveable Island on Wheels
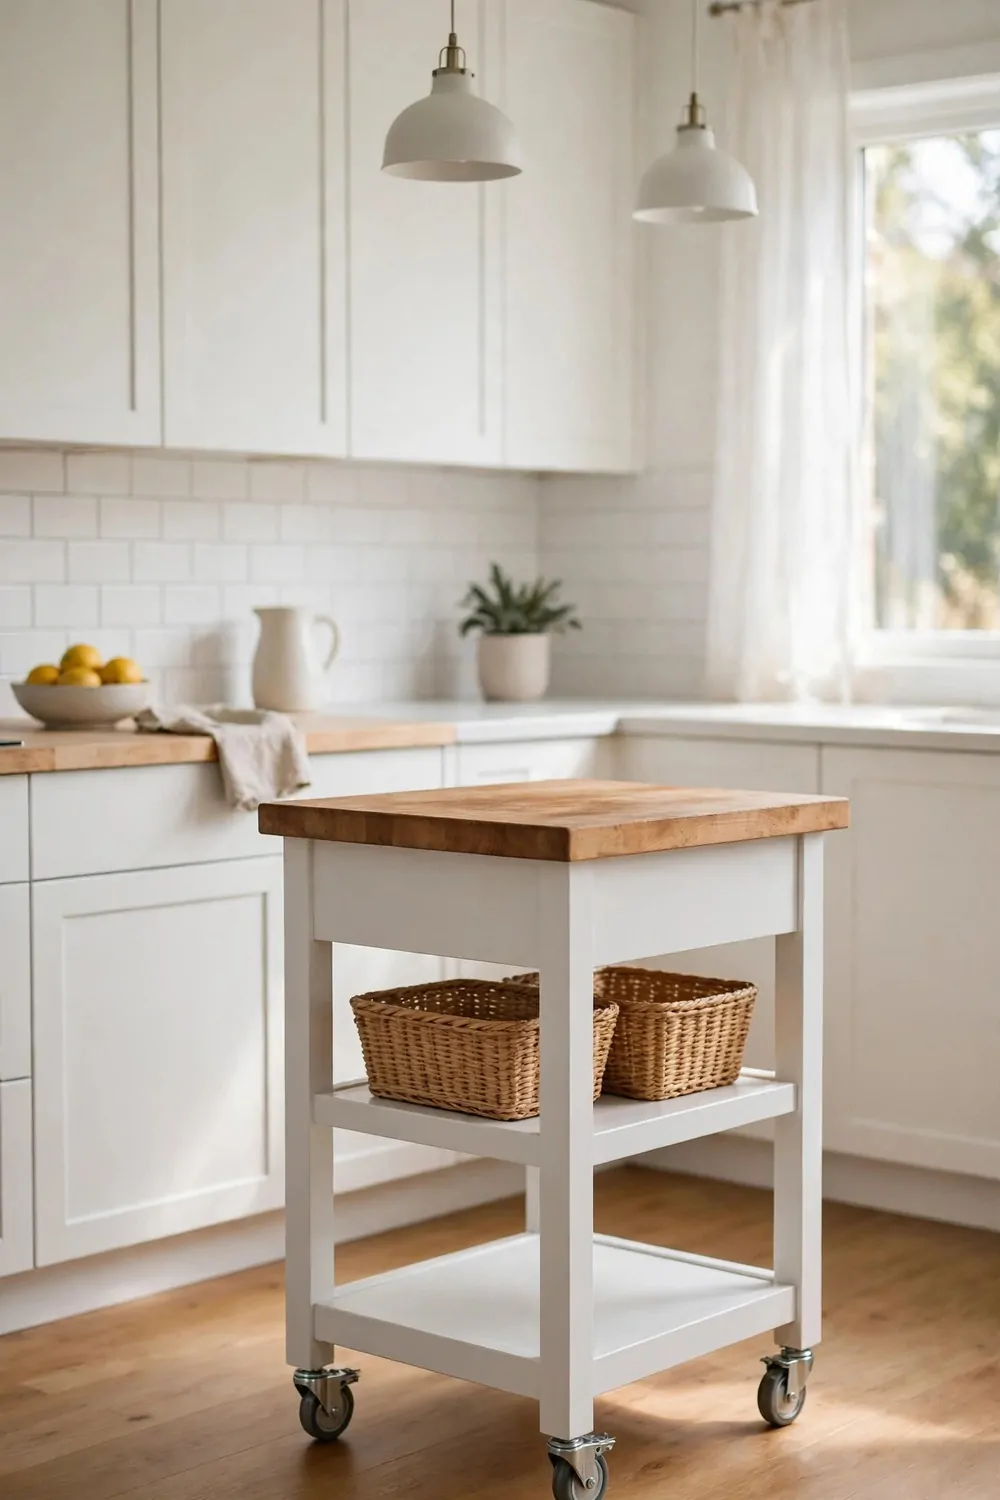
A moveable island on wheels is a good pick if you like to change your kitchen now and then. You can roll it to one side when you need more floor space, and roll it back when you cook.
I love this idea for a rented home, because you can take the island with you when you move.
Pick wheels that lock well, so the island stays still while you chop and cook. Test the lock in the shop, and push the island to see if it moves when the lock is on. A good lock gives you a steady work top, and it keeps the island safe for kids who lean on it.
Use the island for extra work space on busy days, and as a serving spot when guests come for a meal.
Keep it light enough to move with ease, and do not fill it with heavy pots that make it hard to push. A few tools, some bread, and fruit are plenty for a moveable piece.
Think about where it will live most days, and leave that spot clear in your kitchen. You do not want to push it past chairs and bins each time you use it. A clear path makes the island easy to move, and you will use it far more often.
A moveable island on wheels can cost from $350 to $1200, and wheels that lock well can add a little to that price. Check the wheels, the lock, and the top for any wobble before you pay.
Wipe the top with soap and water after each use, and check the wheels now and then for dust and crumbs.
This idea gives you the joy of an island without a big change to your home. You can move it, you can use it, and you can shape your kitchen to fit each day.
14. Add a Raised Bar for Guests
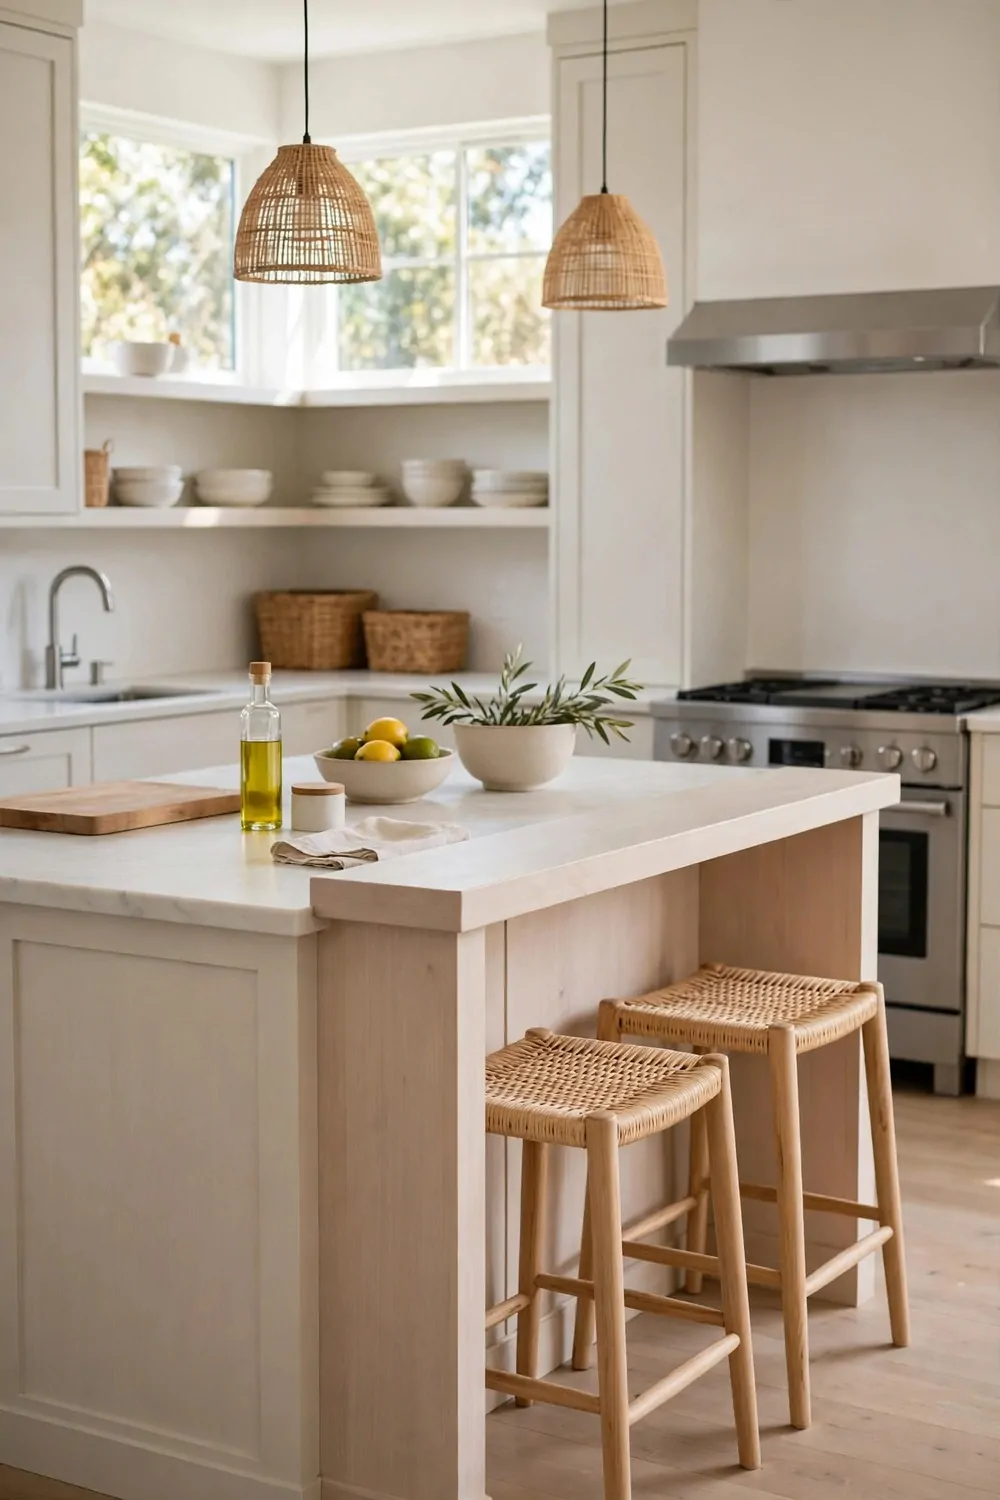
A raised bar gives your guests a clear place to sit while you cook. It keeps them close without them standing in your way.
I like how a higher ledge marks the line between the work side and the guest side.
You can set out glasses of water and a small plate of fruit on the high side. Your guests can help themselves while you chop vegetables. The main worktop stays free for your cutting board and bowls.
A raised bar also hides a bit of mess from the room beyond.
Pick stools that feel steady and easy to climb onto. A foot rail helps a lot when you sit for a long time.
Think about the height before you build anything. A bar that is too high feels awkward for shorter guests. A bar that is too low does not give you that clear split between cooking and sitting.
Adding a raised bar ledge to an island often runs $350 to $900 for the top and the support work. The final price moves with the size of the ledge and the material you pick.
Keep the bar top clear of clutter so it always looks ready for a guest.
Try it for one week and see how your family uses it. You may find that meals stretch longer because everyone has a comfy spot to sit.
15. Add a Drop Leaf for Extra Space
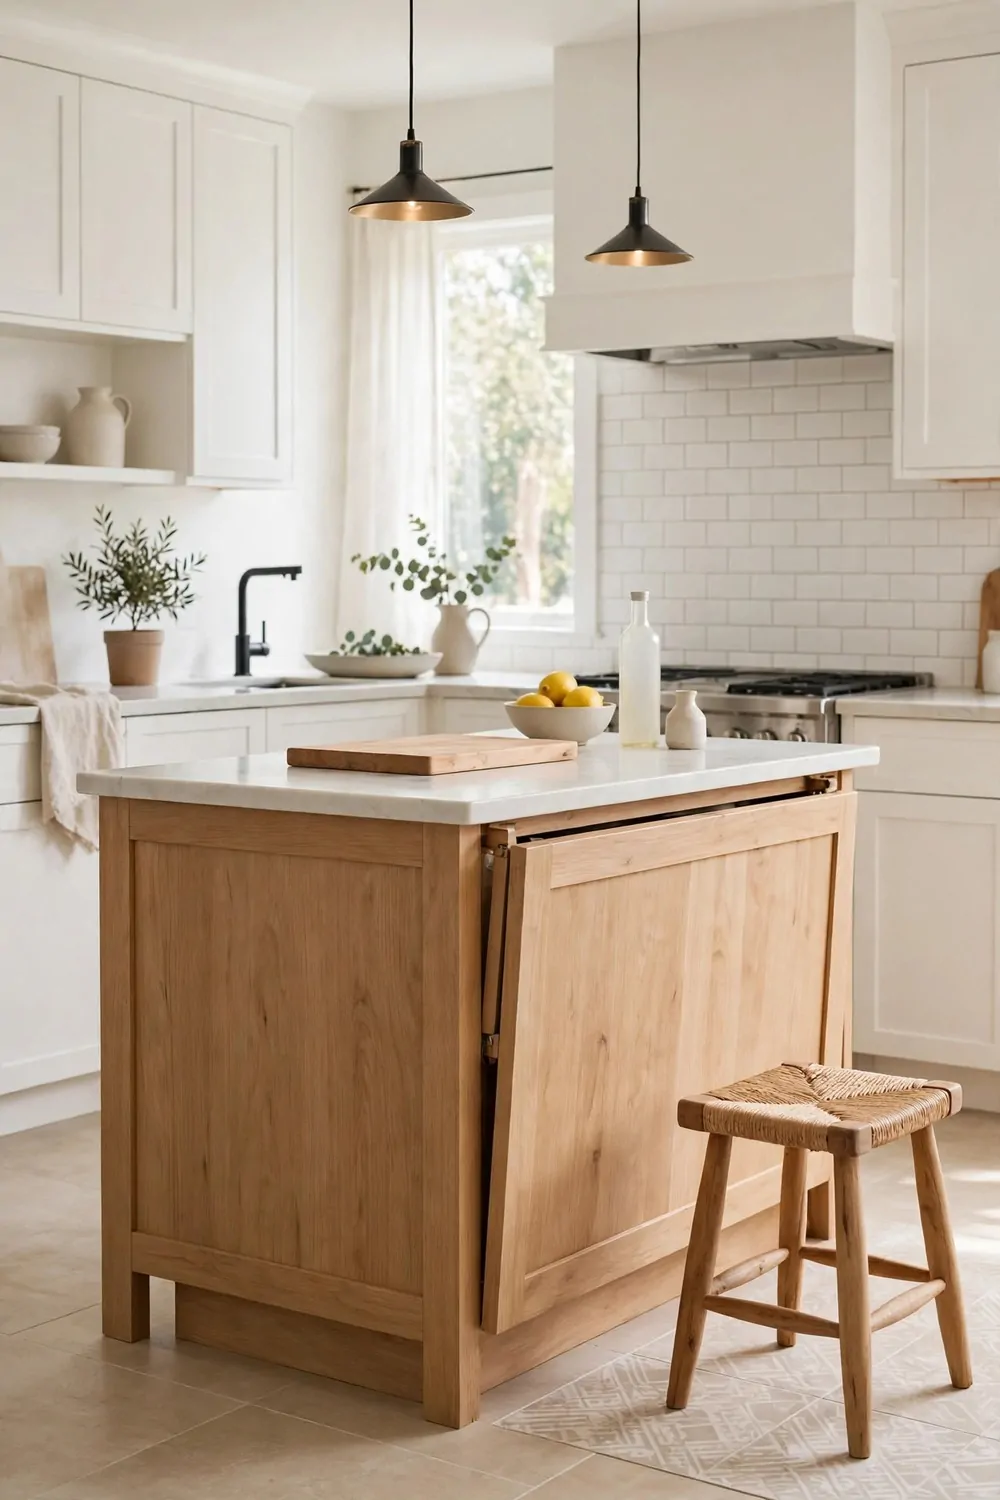
A drop leaf is a flap that folds down when you do not need it. It pops up in a second when you want more room.
I love this trick in a kitchen where every inch counts.
You can pull the leaf up for a big cooking day. Then you can fold it back down when the meal is done. The walkway stays open and the kitchen feels calm again.
Use the leaf as a breakfast spot on busy mornings. Two bowls of fruit and a loaf of bread fit there with ease.
Pick hinges that feel strong and smooth when you lift the flap.
Measure the space around the island first. You need room to stand at the leaf without blocking a door. You also need room to pull out a chair if you plan to sit there.
A good drop leaf setup with solid hinges and a matching top can cost $180 to $520. A carpenter may charge a bit more if the island needs extra support inside.
Wipe the hinge area often so crumbs do not build up there. A quick pass with a damp cloth keeps it moving well.
This one small flap can change how your whole kitchen works.
16. Add a Built-In Bin and Recycling Sorter
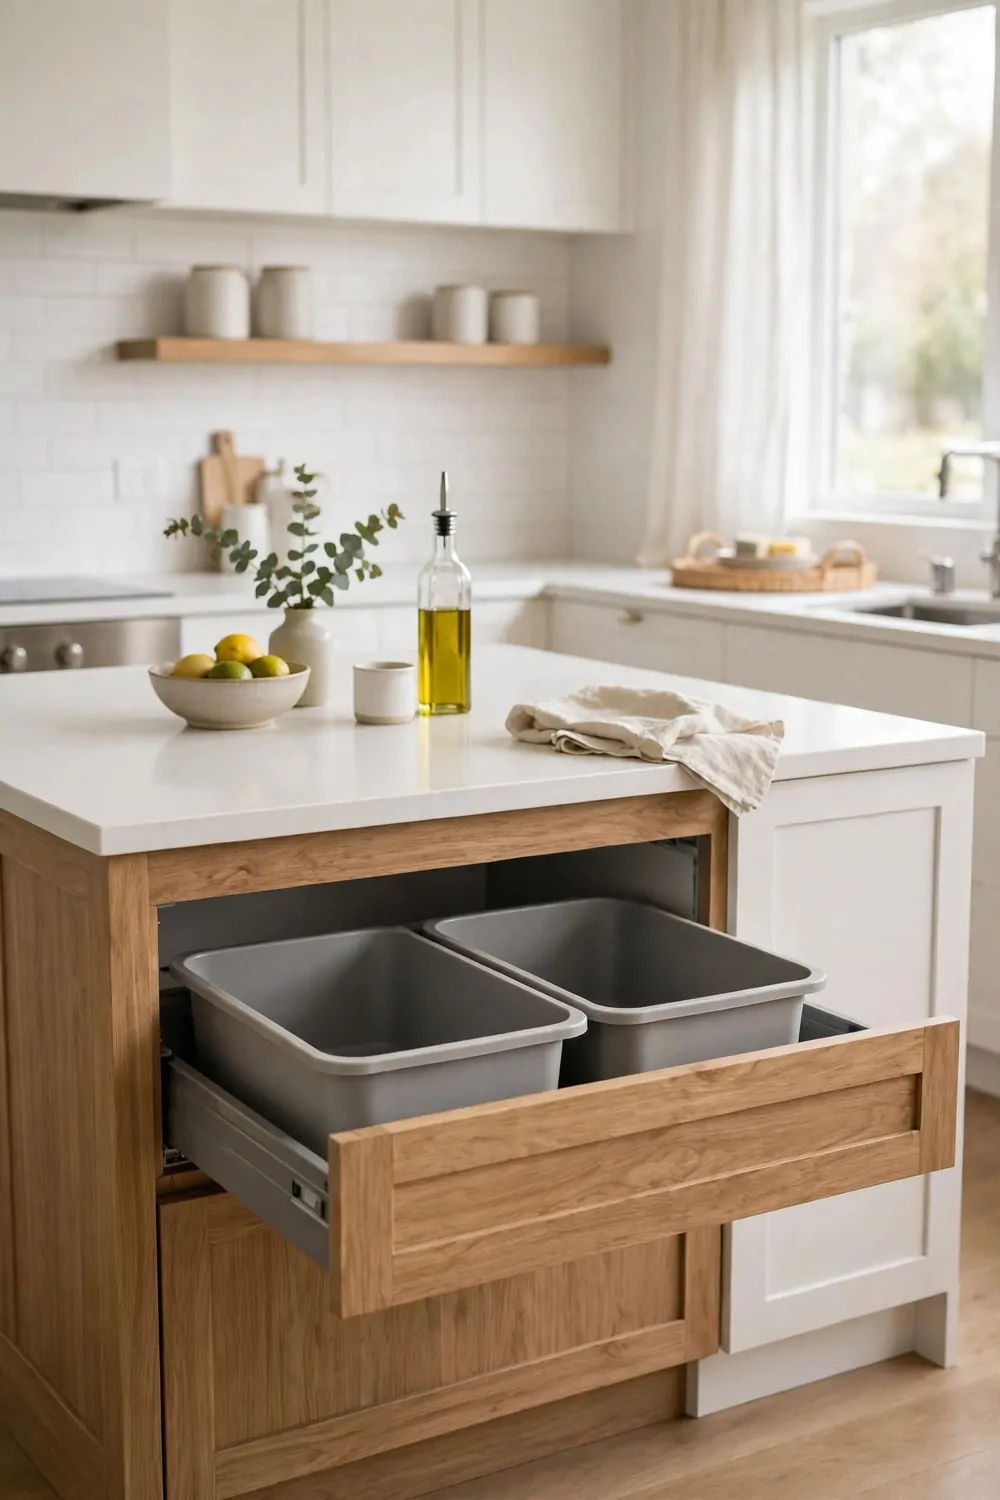
A bin hidden inside the island keeps smells and mess out of sight. You can scrape peels straight off the worktop into it.
I find that a pull-out bin is one of the most useful things in my kitchen.
Sort your waste into two or three slim bins inside one pull-out unit. One bin can hold food scraps and one can hold paper and cans. Labels on the front help everyone in the house sort things the right way.
Put the bin near the spot where you chop vegetables. That short walk saves you many steps over a week.
Choose bins that lift out so you can wash them in the sink.
Check the depth of your island before you buy the unit. A deep island can hold tall bins with ease. A slim island may need short bins that still hold a full day of waste.
A pull-out bin unit with two or three sorters tends to cost $140 to $420, plus fitting time. Fancier soft-close slides push the price toward the top of that range.
Line the bottom of the cupboard with a washable mat for easy cleanups.
Once the bins are in place, the kitchen floor stays clear of bags and boxes. Your worktop stays tidy because waste has a home of its own.
17. Add a Spice Rack on the Island End
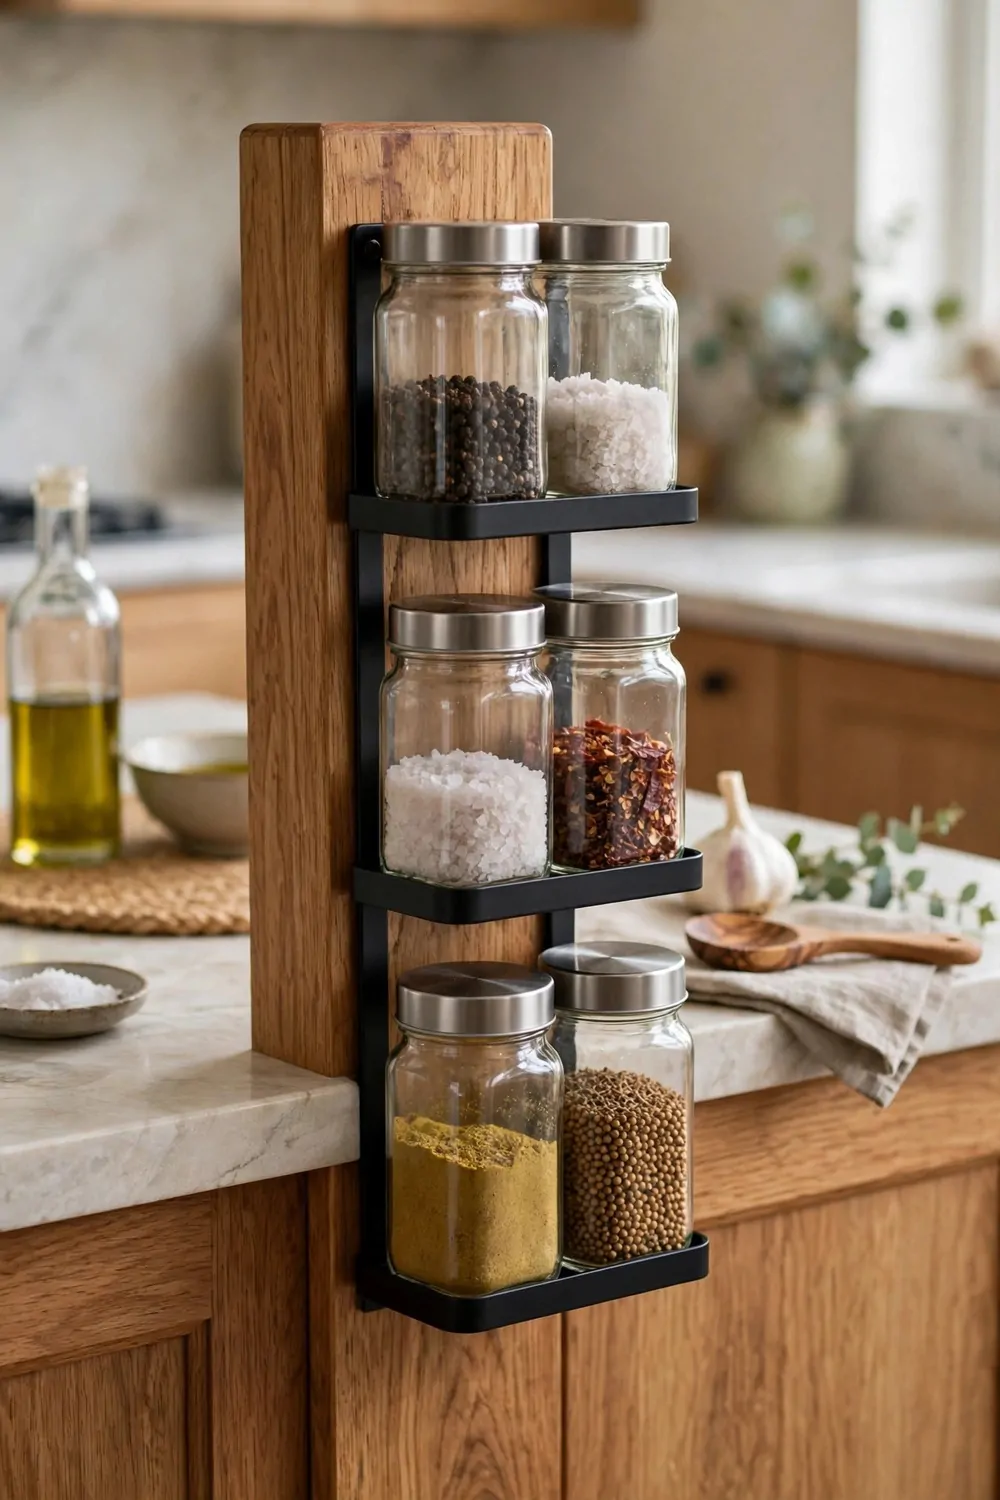
A spice rack on the end of the island puts flavour within arm’s reach. You can grab what you need without walking to a far cupboard.
I keep my most used jars at eye level so I never have to hunt for them.
Small shelves or slim rails hold jars in a neat row. You can see every label at a glance. That clear view stops you from buying a jar you already own.
Group your jars by how often you use them. Everyday jars go in the middle and rare ones go up high.
Keep the jars away from the hob so heat does not spoil them.
Use jars that are all the same size for a calm look. Matching lids make the rack look tidy even when it is full. A small label on each lid helps you find the right jar fast.
You can set up a neat end-of-island spice rack for $60 to $240, based on the shelves and jars you choose. Ready-made racks sit at the low end and made-to-fit shelves sit at the high end.
Wipe the shelves once a week so dust does not settle on the lids.
A tidy spice rack makes cooking feel lighter and quicker. You spend less time searching and more time enjoying the meal you make.
18. Add a Towel Rail and Hooks
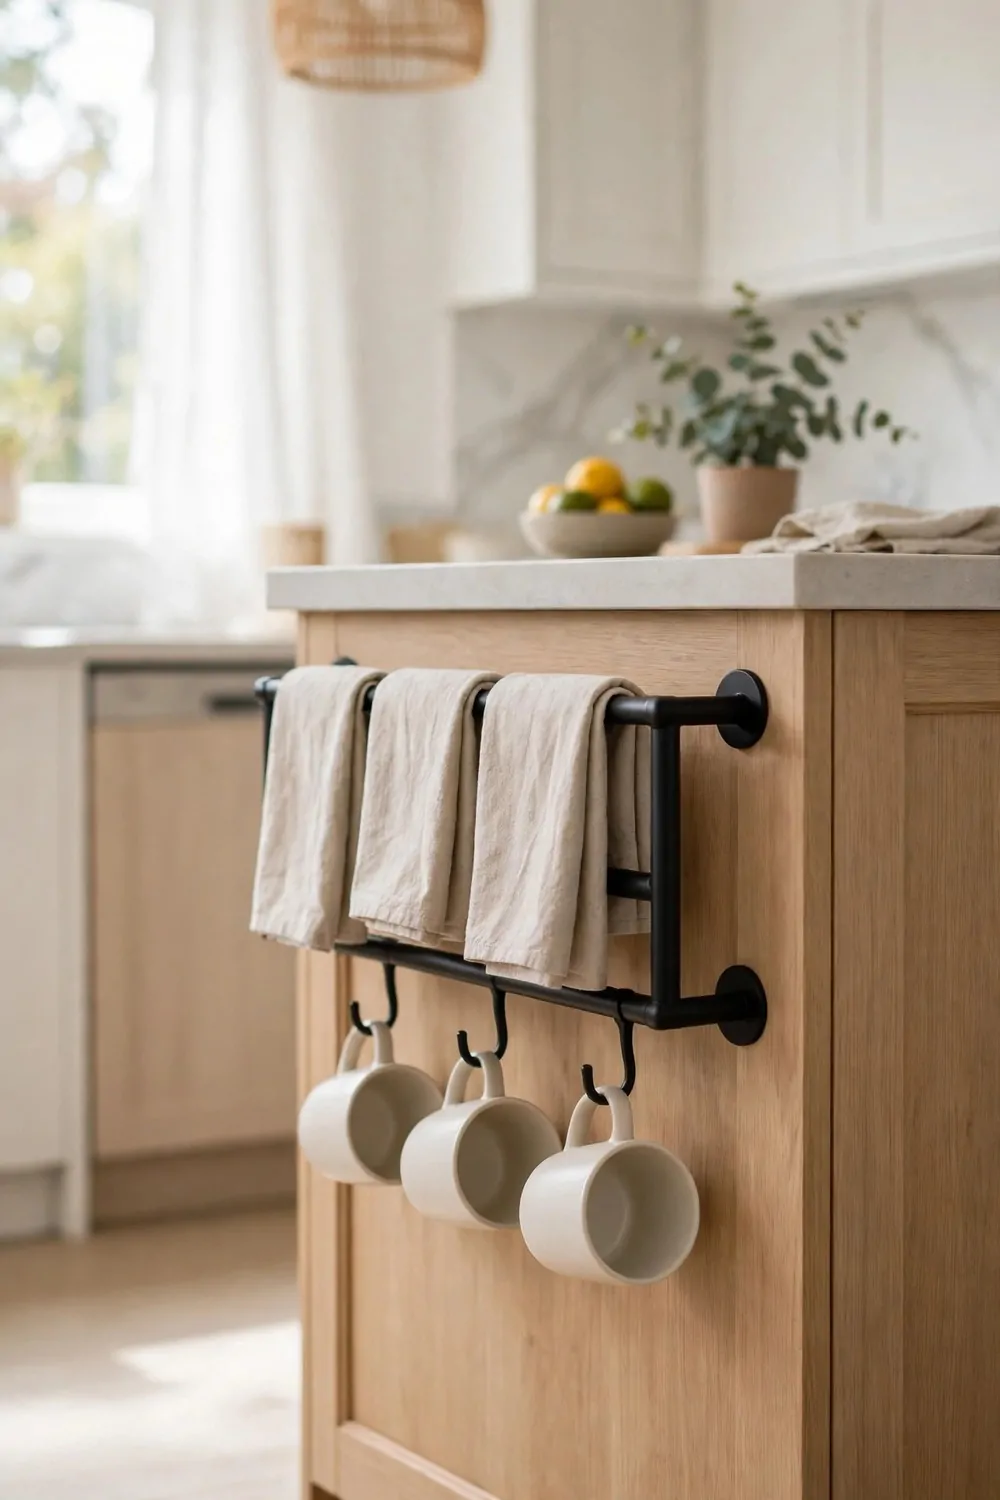
A towel rail on the side of the island keeps a cloth close at hand. You can dry your hands without dripping water across the floor.
I hang one towel for hands and one for wiping the worktop.
Hooks beside the rail hold small tools like tongs and a peeler. Everything hangs in plain sight so you grab it in one move. The drawers stay free for bigger items that need a home.
Pick a rail that matches the other metal in your kitchen. A matching finish makes the island look planned and neat.
Fix the rail at a height that a child can reach too.
Leave a little gap between hooks so towels dry fast. Crowded hooks hold damp cloths that start to smell. A bit of air between each towel keeps them fresh through the day.
A towel rail with a few sturdy hooks usually comes in at $40 to $160 with fitting. Brass or black metal finishes often cost a little more than plain steel.
Wash the towels often and swap them for fresh ones each morning.
This tiny change saves you steps all day long. Your hands stay dry and your worktop stays clear of wet cloths.
| Idea | Typical Cost |
|---|---|
| Hang Pendant Lights over the Island | $400 to $1500 |
| Add a Breakfast Bar for Quick Meals | $500 to $1700 |
| Add a Charging Spot for Phones and Tablets | $200 to $700 |
| Use a Moveable Island on Wheels | $350 to $1200 |
| Add a Raised Bar for Guests | $350 to $900 |
| Add a Drop Leaf for Extra Space | $180 to $520 |
| Add a Built-In Bin and Recycling Sorter | $140 to $420 |
| Add a Spice Rack on the Island End | $60 to $240 |
| Add a Towel Rail and Hooks | $40 to $160 |
19. Add a Butcher Block Chopping Area
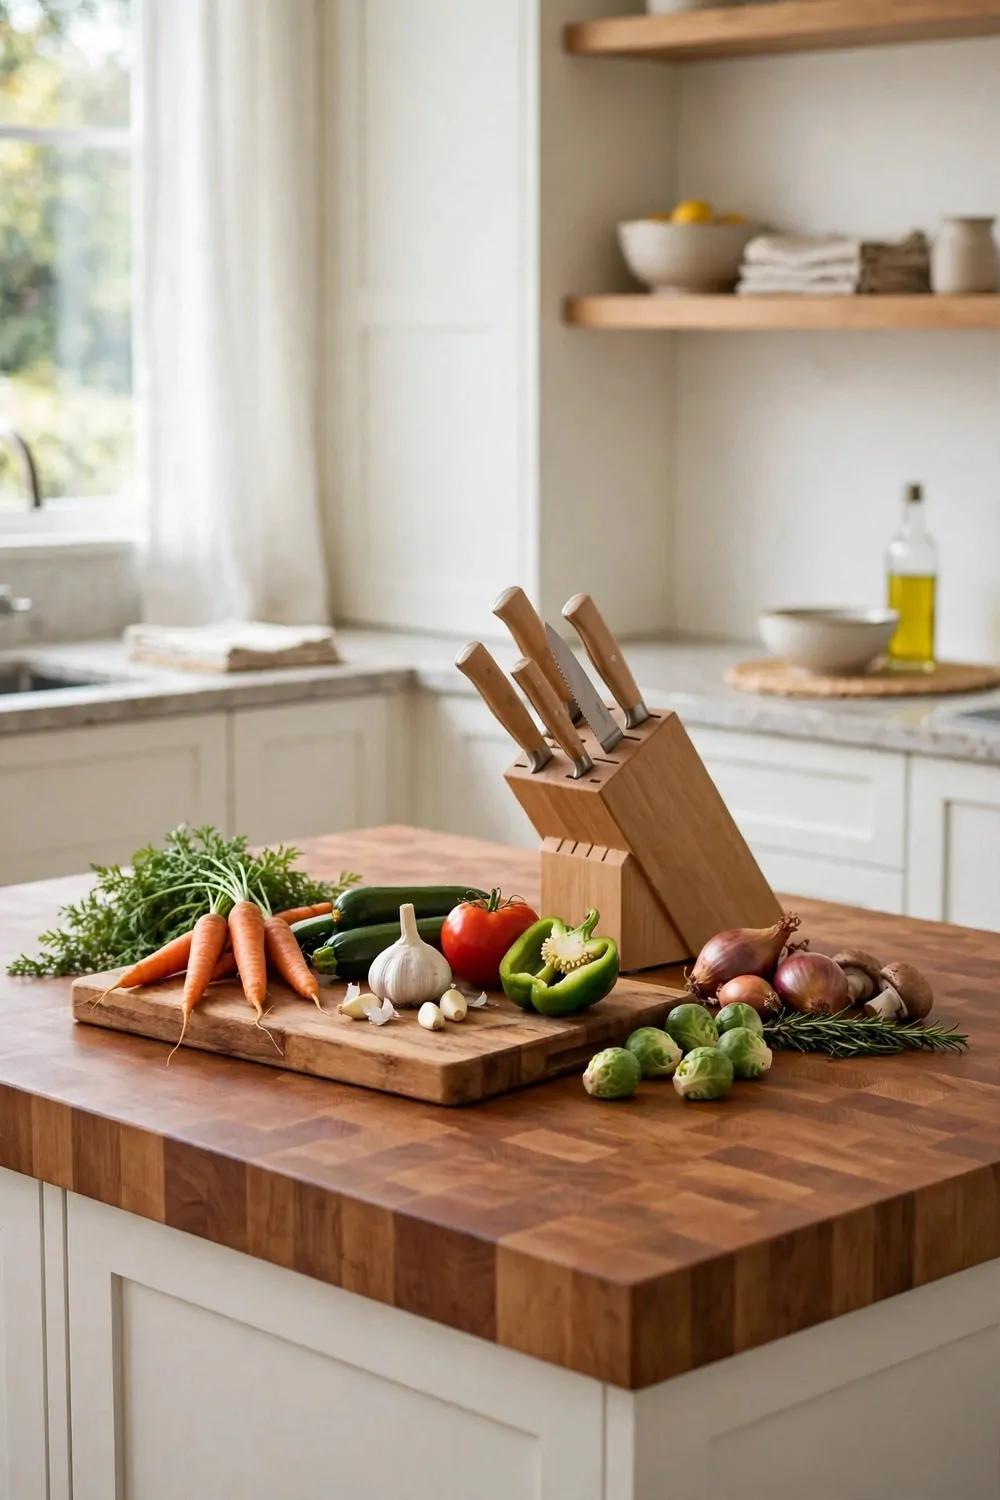
A butcher block patch on the island gives you a warm spot to chop. It feels kind to your knives and soft under your hands.
I like to keep one clear patch just for cutting vegetables and bread.
You can chop onions and peppers right where you stand. The board stays put because it sits in the worktop. When you finish, you slide the cut pieces straight into the pan.
Oil the wood often so it stays smooth and safe for food. A dry board can crack and hold stains.
Keep a separate board for raw chicken so your food stays safe.
Pick a wood tone that suits the rest of the kitchen. A pale wood feels light and fresh. A deep wood tone adds warmth to a pale room.
Fitting a butcher block chopping patch into an island can run $200 to $650, based on the size and the wood you pick. Thicker blocks and harder woods land near the top of that span.
Sand out small marks with fine paper and oil the spot again.
A good chopping patch turns the island into the heart of your cooking. You will reach for it every single day.
20. Add a Homework Spot at the Island
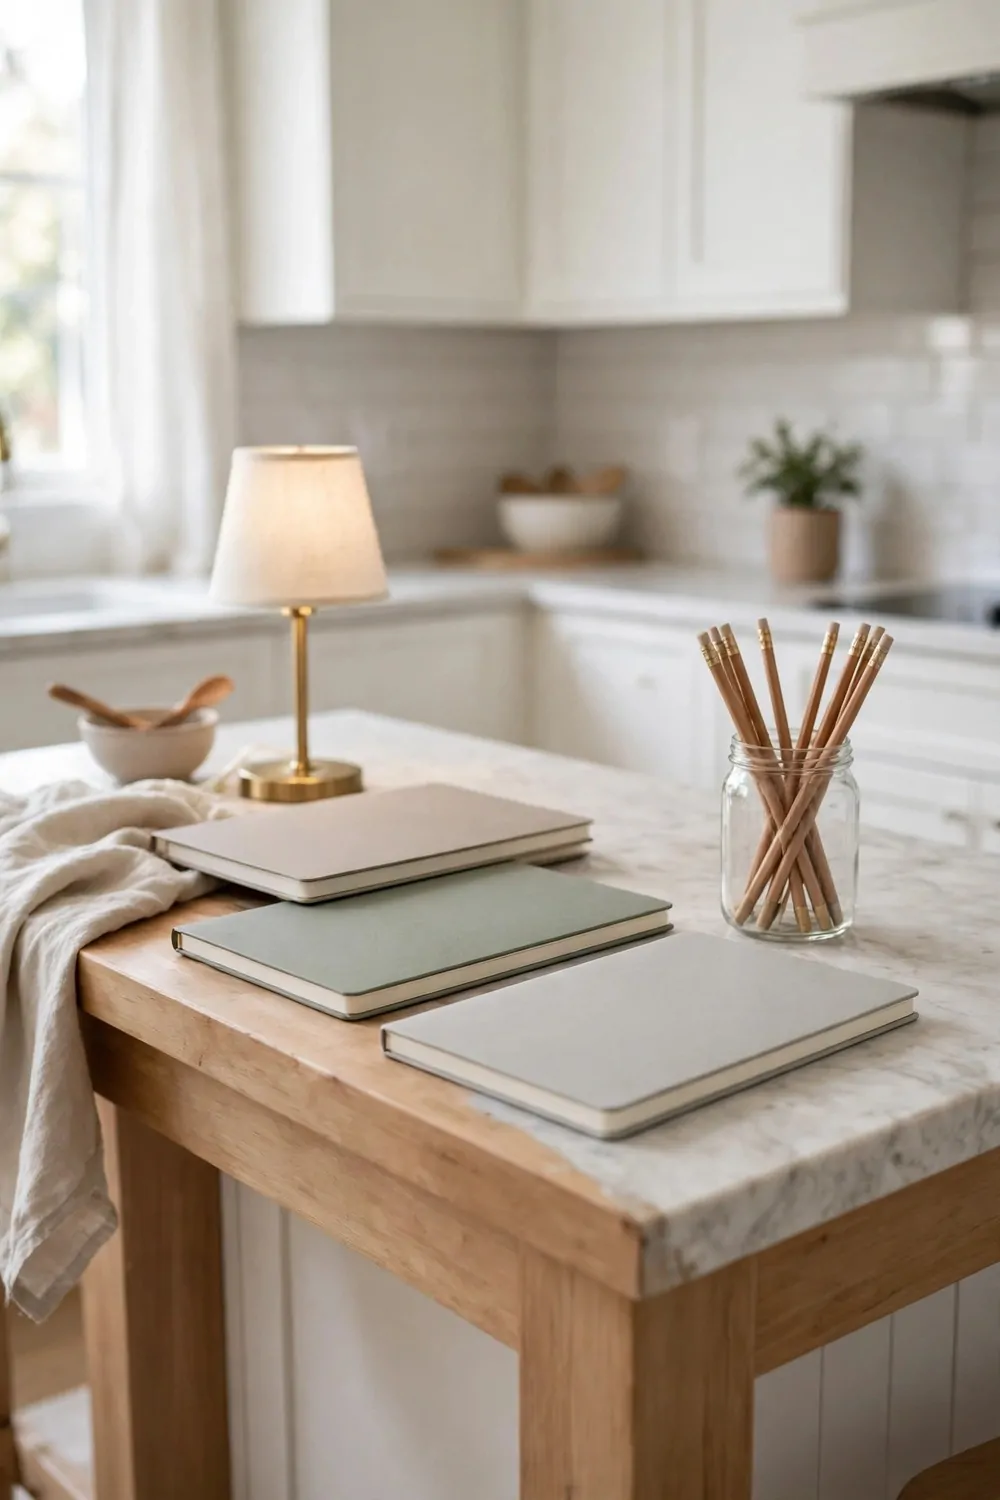
A homework spot at the island lets kids work near you while you cook. You can answer a quick question without leaving the stove.
I find that kids focus better when they sit where the family gathers.
Give each child a small tray or basket for pencils and books. The tray keeps their things in one place. When homework ends, you lift the tray away and the island is clear again.
Pick a stool that lets small feet rest on a rail. A comfy seat helps a child sit still for longer.
Keep a jar of sharpened pencils on the island so no one has to hunt for one.
Set a simple rule that food stays on one side and books stay on the other. That split keeps crumbs out of school books. It also keeps the cooking side free for your pots and pans.
Setting up a simple homework corner with two stools and a few trays may cost $150 to $480. Sturdy stools and a small shelf for books make up most of that spend.
Clear the spot each night so mornings start fresh and calm.
Homework time feels less like a chore when it happens in the warm heart of the home. Your kids will start to look forward to that shared hour.
21. Add a Plant Ledge on the Island
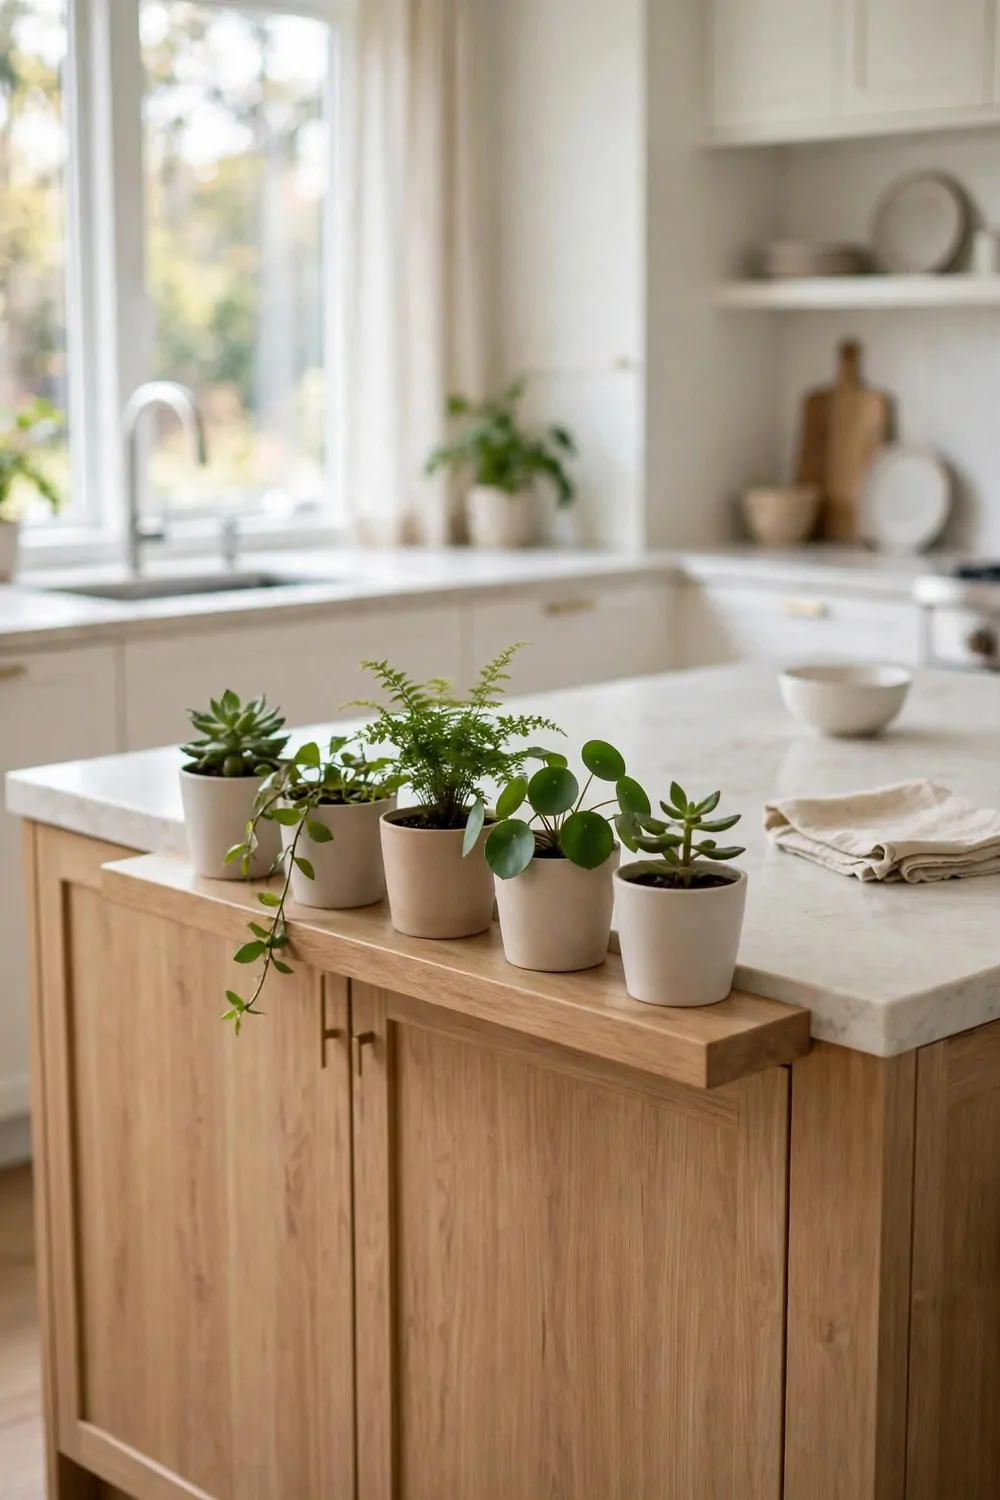
A plant ledge on the island brings a touch of green into your cooking space. Fresh leaves make the kitchen feel alive and calm.
I keep small pots of herbs where I can snip a few leaves while I cook.
Basil and mint grow well in small pots on a sunny ledge. You can pick fresh leaves for pasta and rice dishes. A little water each day keeps them happy and full.
Pick pots with a tray underneath so water does not spill on the worktop. A tray also stops rings from forming on the wood.
Choose plants that like the light your kitchen gets each day.
Keep the ledge narrow so it does not eat into your work space. A slim shelf holds three or four small pots with ease. Bigger plants can live on the floor near a window instead.
A small plant ledge with pots, trays and a few herb plants can be put together for $70 to $210. The price shifts with the number of pots and the type of shelf you pick.
Turn the pots once a week so each side gets its share of light.
Green leaves on the island make even a plain kitchen feel fresh. You will smile each time you snip herbs for dinner.
22. Use Two-Tone Cabinets for the Island
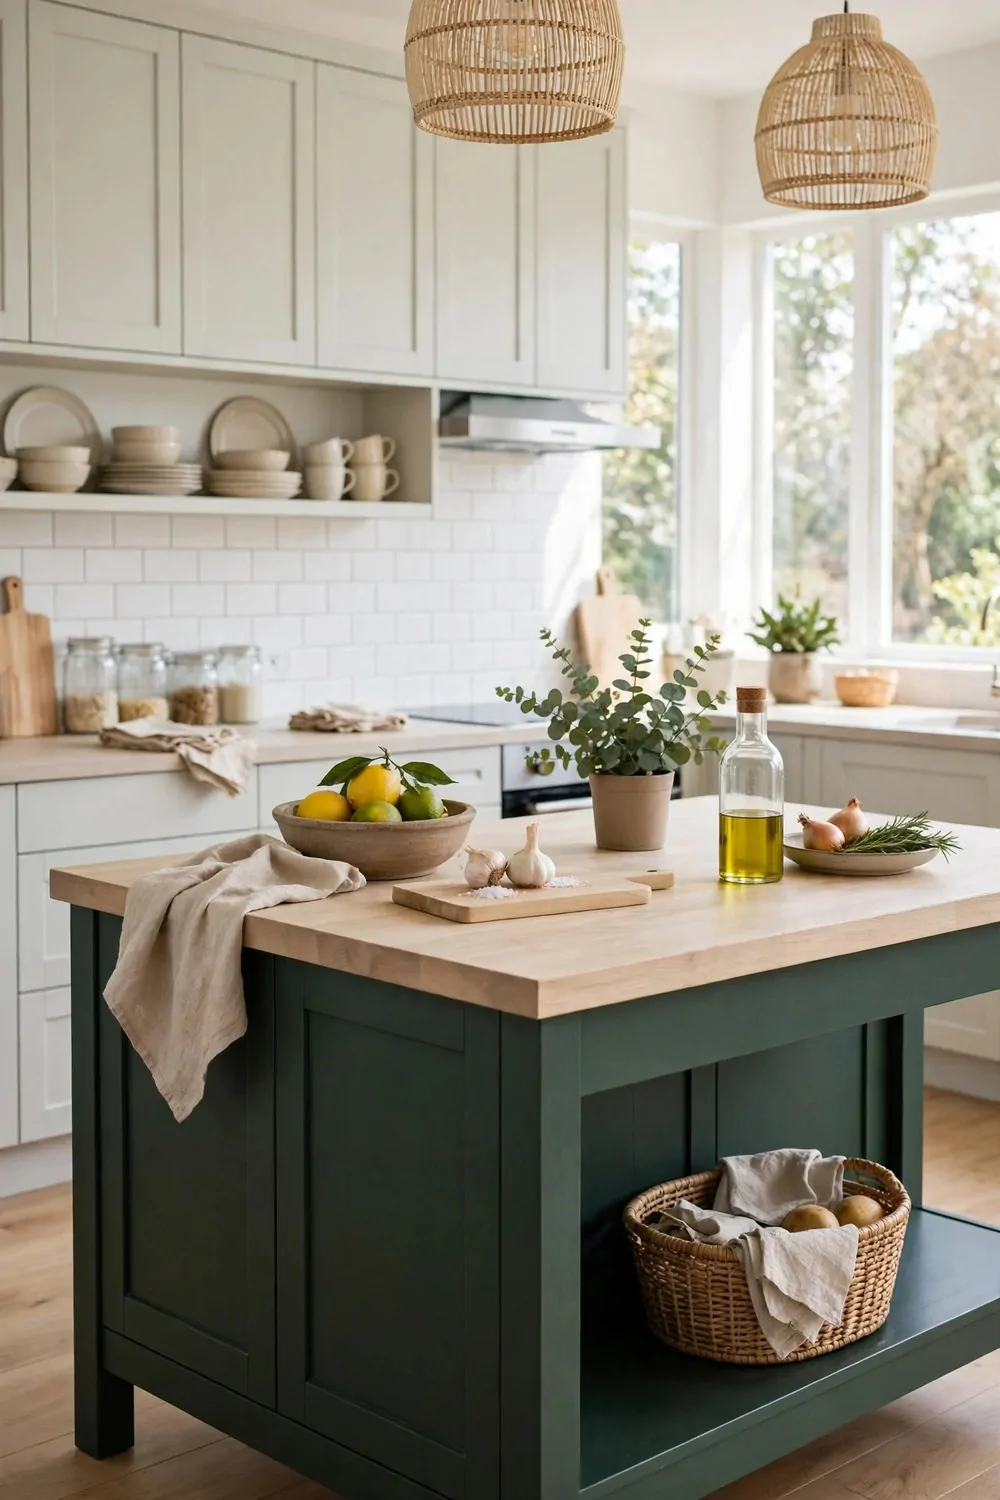
Two-tone cabinets make the island stand out from the rest of the kitchen. The island becomes a clear focal point that draws the eye.
I love a deep colour on the island paired with pale cabinets around it.
Pick one strong tone for the island base and keep the wall units light. That contrast adds depth without making the room feel dark. The worktop can tie both tones together in one clean line.
Test paint swatches in your own light before you commit. A colour can look very different in morning light and in evening light.
Keep the handles the same across the kitchen for a calm, joined-up look.
You can also use two wood tones instead of paint. A warm wood island suits pale painted units well. The mix feels natural and stops the kitchen from looking flat.
Painting an island base in a second tone often costs $250 to $800 when a painter does the prep and finish. New two-tone doors push the spend higher, closer to the top of that range.
Wipe the base often since a dark tone shows dust more than a pale one.
A two-tone island adds a bit of charm without a big rebuild. It is one of the fastest ways to give your kitchen a fresh feel.
23. Add a Marble-Look Top That Wipes Clean
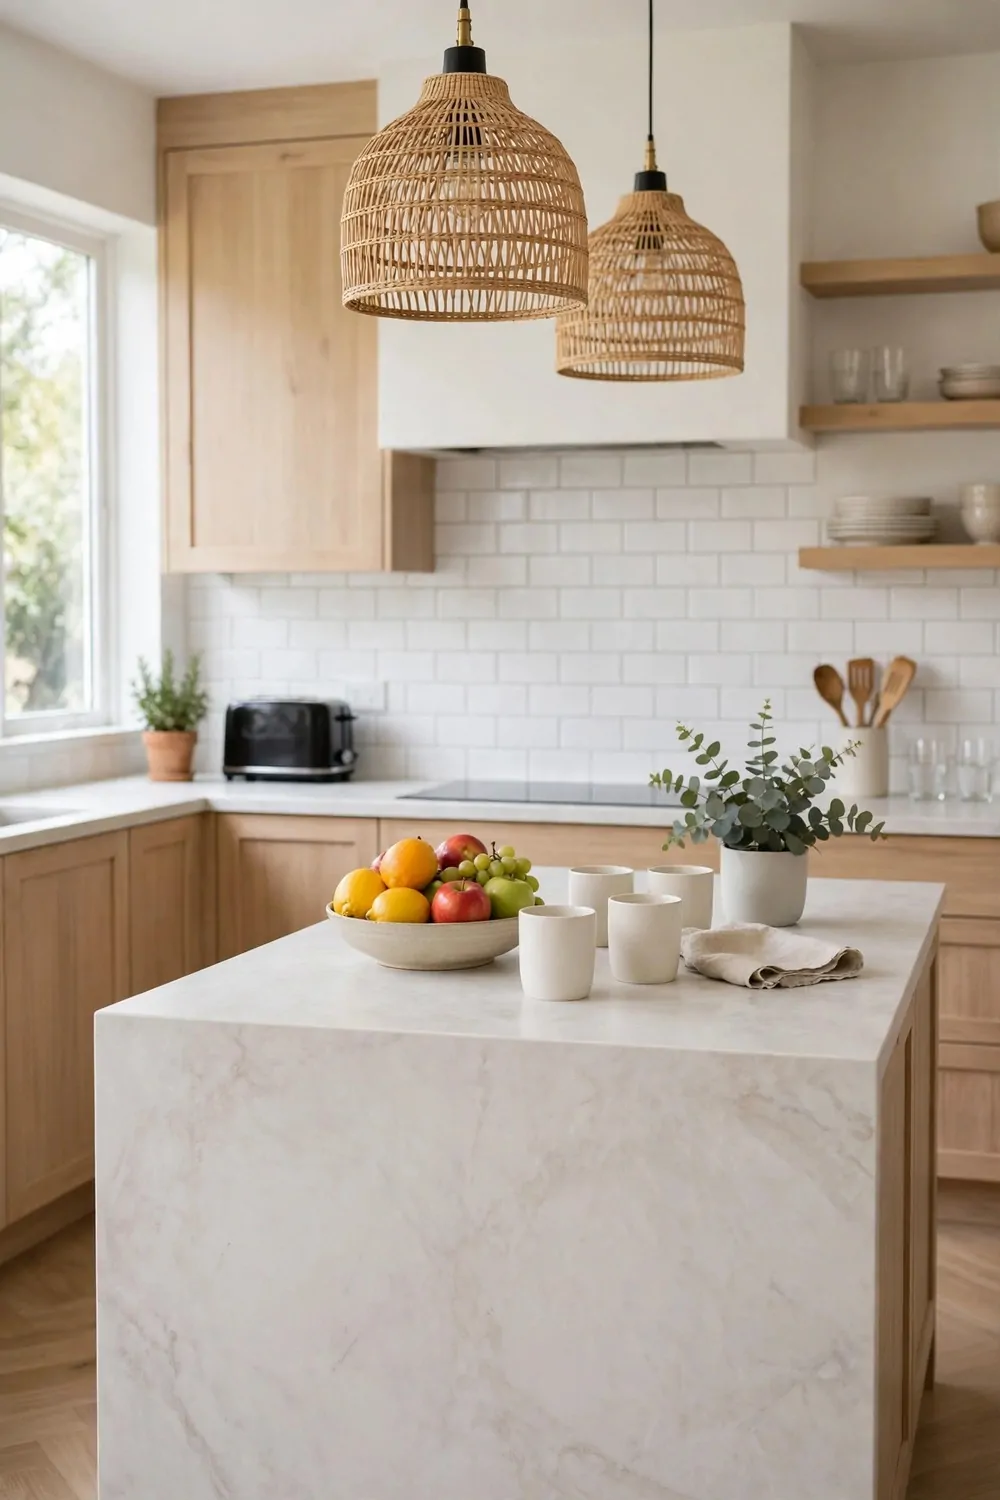
A marble-look top gives you the pale, bright feel of stone without the fuss. It wipes clean in one pass with soap and water.
I like how a light top makes the whole kitchen feel bigger.
Spills of juice and sauce lift off with a damp cloth. You do not need special care steps after each meal. That easy care makes the island a joy to use every day.
Pick a top with soft veins that suit your kitchen tones. Strong veins can fight with a busy floor pattern.
Use a board under hot pans so the top stays safe.
A marble-look top suits both pale and deep island bases. The light top lifts a dark base and feels fresh. It also pairs well with wood stools and open shelves.
A marble-look island top can cost $600 to $2400 fitted, based on size and edge detail. Thinner tops and simple edges sit near the low end of that range.
Dry the top after wiping so water marks do not stay.
A clean, bright top invites you to cook more often. It turns the island into a spot you love to look at.
24. Add a Small Island for a Tiny Kitchen
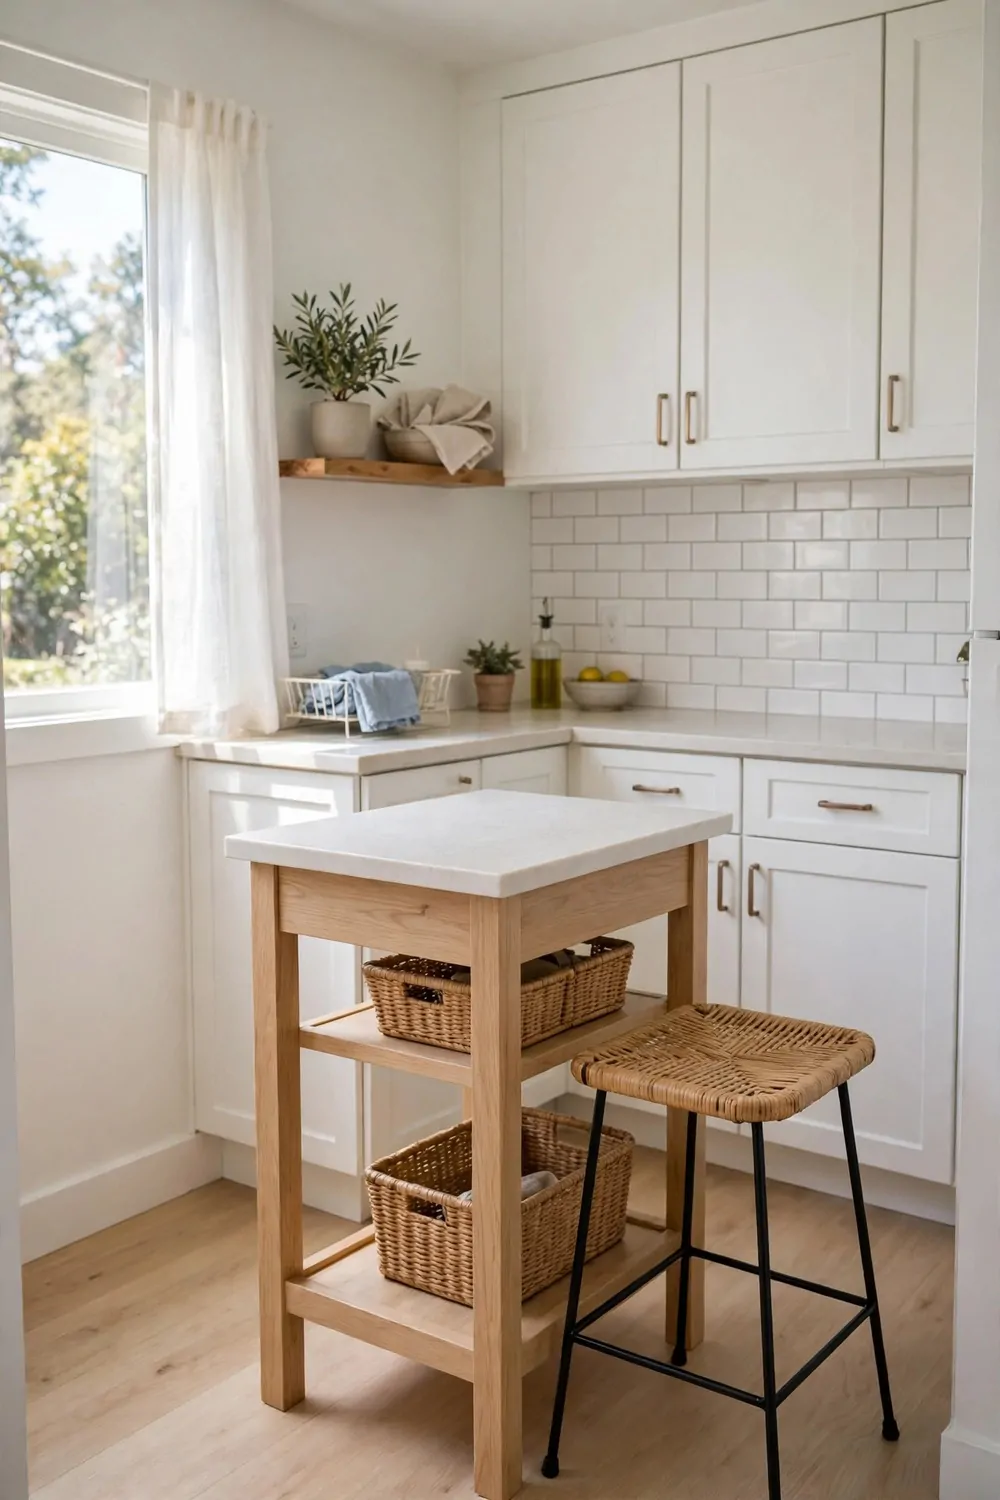
A small island can work even in a tiny kitchen. It gives you a worktop and a bit of storage in one neat block.
I have seen small islands change a cramped kitchen in a single day.
Pick a slim island that leaves room to walk on all sides. You need a clear path to the fridge and the stove. A tight gap will make the kitchen feel smaller, not bigger.
Use the inside for pots and pans you reach for each day. A few deep drawers hold more than you might think.
Wheels can help if you want to move the island aside for a big cooking day.
A small island can still hold a stool or two on one side. That gives you a breakfast spot without a full table. Keep the stools tucked in when you are not using them.
A slim ready-made island for a tiny kitchen can run $300 to $1100, based on size and storage inside. A made-to-fit slim island costs more and sits near the top of that range.
Keep only daily items on a small island so it never feels crowded.
The right small island makes a tiny kitchen feel calm and able. You gain work space without losing the room to move.
25. Add a Soft Rounded End for Easy Flow
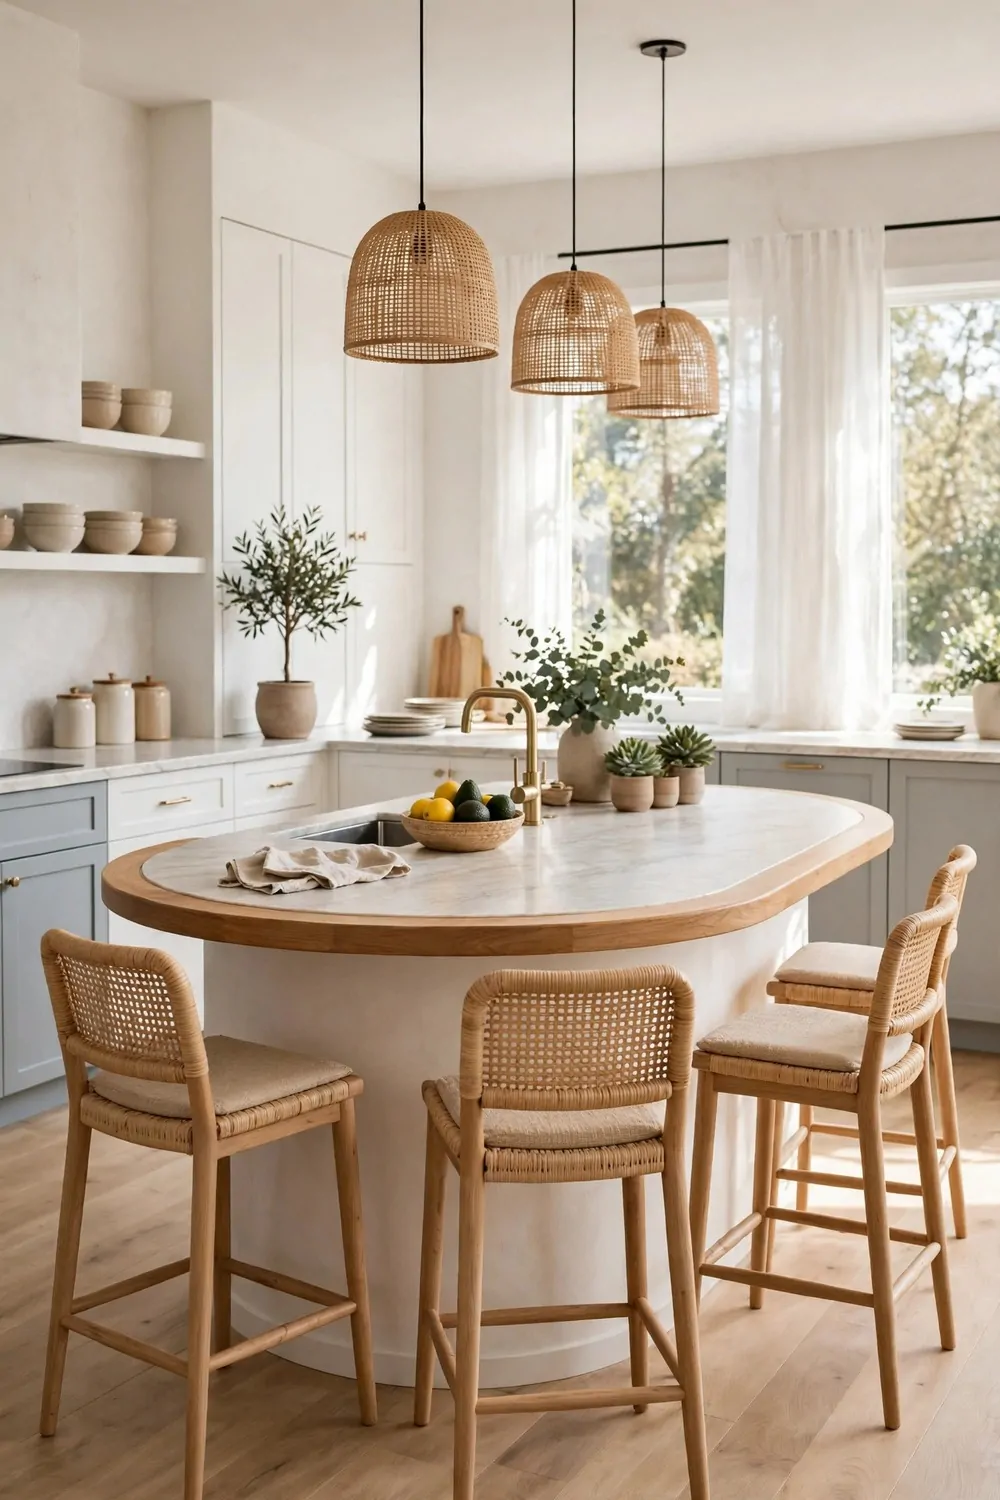
A soft rounded end lets people move past the island without bumping a sharp corner. The kitchen feels safer for kids and for busy cooks.
I notice how much easier the walkway feels when the end curves gently.
A curved end also gives you a natural spot to pull up a stool. You can sit at the end and chat while someone cooks. The curve makes the seat feel open and welcoming.
Keep the curve gentle so the worktop still holds a board and a bowl. A very deep curve can eat into the space you need for cooking.
A rounded end suits a kitchen where people pass through often.
You can add this shape to a new island or shape an old one with a fresh top. A new top is the simple route to a soft end. Ask your fitter to ease the edge so it feels smooth to the touch.
Adding a soft rounded end with a new top often costs $400 to $1500, based on the top material and the size of the island. A simple laminate top sits near the low end and stone sits near the high end.
Wipe the curved edge often since hands touch it all day.
A gentle end helps the whole kitchen flow better. People move with ease and the island feels like a kind part of the room.
26. A One-Weekend Island Reset Plan
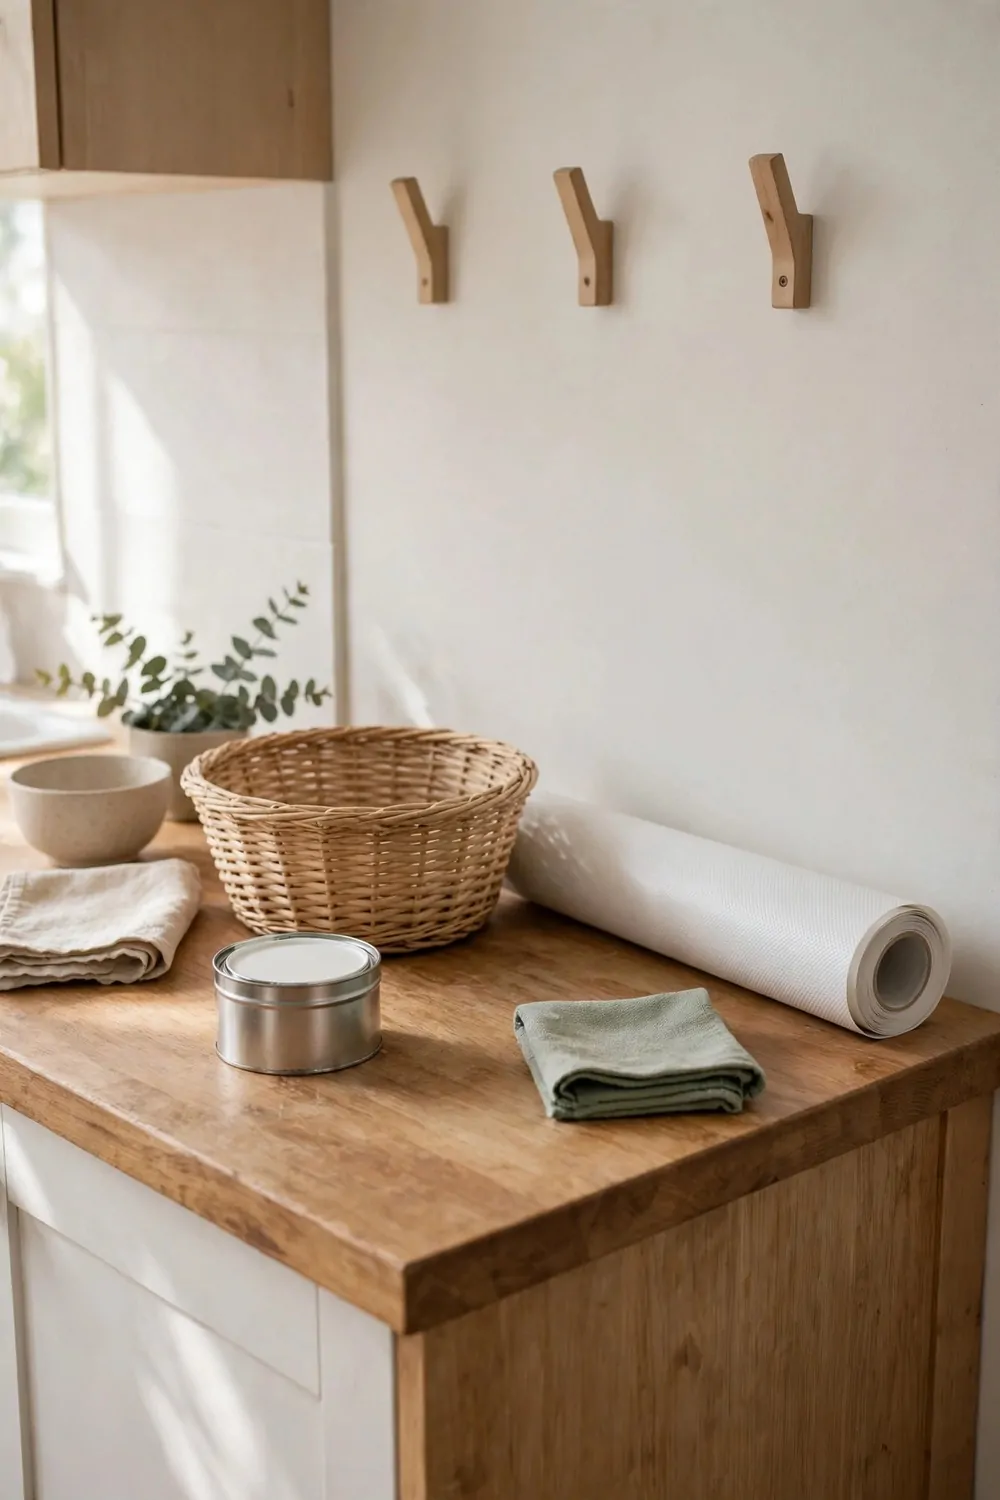
You can reset your island in one weekend with small steps and a clear plan. Start on Saturday morning with a fresh look at what you have.
Clear the whole worktop first and wipe it with soap and water. Sort what you take off into keep, move and give away piles. Only the keep pile goes back on the island.
A small tin of paint for the island base can cost $15 to $30. Pick a tone you love and paint one side first to see how it looks in your light.
While the paint dries, sort the inside of the island cupboards. Pull out what you never use and make room for daily items.
A set of wall hooks for the island end can cost $10 to $18. Hang your most used tools there so they are easy to grab.
A few small baskets for the shelves can cost $15 to $30. Use one basket for cloths and one for small tools.
A simple folding stool for the island can cost $20 to $35. It gives you a seat when you need one and folds away when you do not.
A roll of shelf liner for the island drawers can cost $10 to $15. It keeps the drawers clean and stops small items from sliding about.
Add those five small buys together and the whole reset can cost $70 to $128 in all. That is a small spend for a fresh island you will love. Finish on Sunday by placing one bowl of fruit on the clear worktop.
| Area | Main change | Typical cost |
|---|---|---|
| Paint | A fresh tin of paint for the island base | $15 to $30 |
| Wall hooks | A set of plain wall hooks | $10 to $18 |
| Baskets | Woven baskets for the shelves | $15 to $30 |
| Folding stool | A small folding stool | $20 to $35 |
| Shelf liner | A roll of shelf liner | $10 to $15 |
| Total | Whole island reset in one weekend | $70 to $128 |
Keep Reading
If you liked these ideas, you will love these posts too.
- 27 Small Bathroom Remodel Ideas That Look Expensive
- 30 Kitchen Remodel Ideas With Before and After Photos
- 25 Kitchen Renovation Ideas That Add Value to Your Home
- 33 Bathroom Renovation Ideas on a Small Budget
- 22 Laundry Room Remodel Ideas That Make Laundry Easier
- 28 Basement Remodel Ideas That Turn Dead Space Into Living Space
Try one small island change this week and see how it feels. A new hook or a clear worktop can shift how your whole kitchen works. Then pick the next idea when you are ready.