23 Side Table Flip Ideas That Take One Weekend

The smallest piece of furniture in your living room does the most work.
Think about it for a second. Your sofa is big and soft and gets all the praise, while your coffee table sits in the middle and looks pretty in photos. But the little side table next to your chair holds your tea, your book, your phone, your glasses, and your lamp, and it does all of that without ever asking for a thank you.
That is why I love side tables so much. They are small, cheap, and easy to change. A big sofa takes a whole team to move, but a side table takes one person and one weekend, and you can paint it, stain it, swap its legs, or give it a whole new job before Monday comes around.
A flip does not need a workshop or fancy tools. You need a brush, some sandpaper, and a free afternoon, and that is the whole list. If you can stir a tin of paint, you can flip a side table.
I have flipped more side tables than I can count now. Some were plain wood and some were scratched and dull, but every single one looked better after a weekend of small changes. None of them cost much money, and none of them needed skills I did not already have.
The best part is how fast the room changes. You walk in on Monday and the little table by your chair looks brand new, like you bought something fancy. You did not, you just gave an old table a little love.
All 23 ideas are in this one post, with no part two and nothing held back. Read through, pick your favourite, and start this weekend.
1. Paint a Plain Side Table Soft White
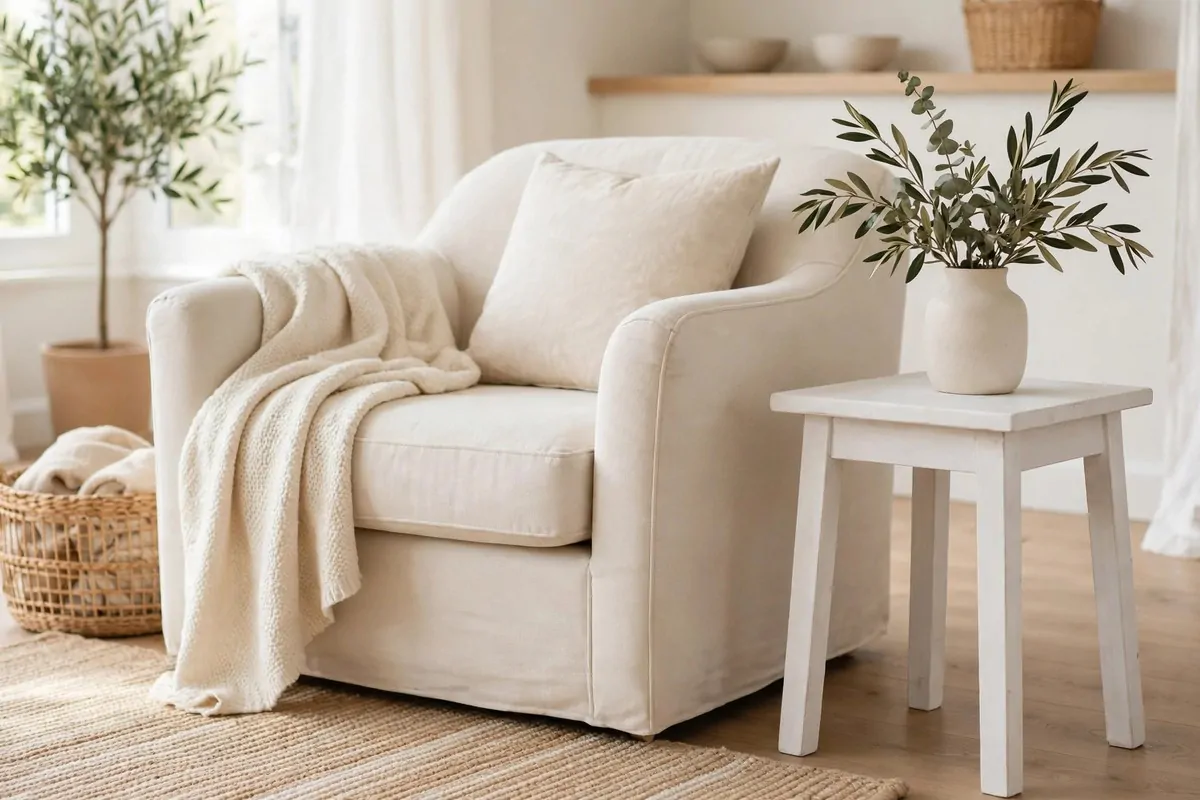
A plain side table can look tired even when it is still strong. The wood gets dull and the old finish gets scratched. A coat of soft white paint wakes it right up.
Start by wiping the table down with a damp cloth. Dust hides in the corners and under the top edge. Let it dry before you touch a brush.
Go over the rough spots with light, even strokes. Work in a well-aired space and wear a plain mask while you sand. A smooth base makes the paint sit flat and look neat.
A plain paint brush for small furniture costs $6 to $9.
Pick a soft white, not a bright cold white. Soft white feels warm in a living room. It also hides tiny marks better than a stark white does.
Paint the top first, then the sides, then the legs. Thin coats dry faster and look smoother than one thick coat. Let each coat dry fully before you add the next one.
Two thin coats are enough for most tables. A third coat helps if the old colour still shows through. Step back and look at it in daylight before you decide.
Let the paint dry fully before you put anything on the table. A lamp or a book left too soon can stick to soft paint. Give it a full day if you can.
Set the table back beside your chair and enjoy it. Soft white goes with almost any sofa colour. Your little table will look fresh for years.
2. Stain a Wood Side Table a Warm Walnut Tone
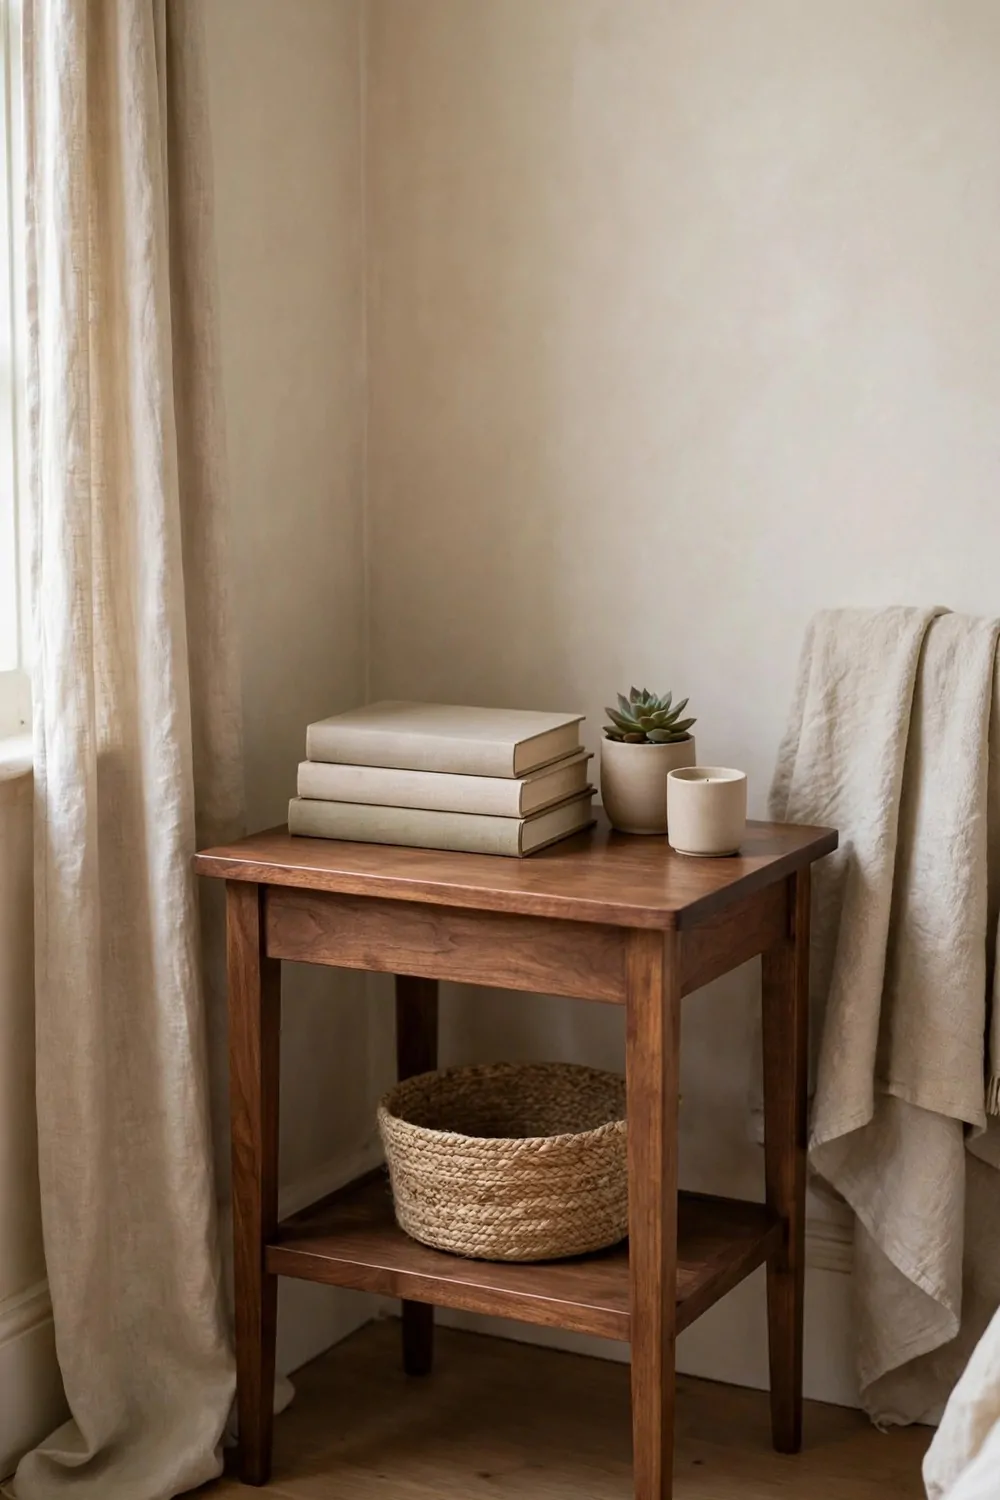
Some side tables have pretty wood hiding under a dull finish. The grain is there, just tired and grey. A warm walnut stain brings it back to life.
Take the table outside or near an open window. Sand the old finish off with steady strokes. Sand in a spot with fresh air, and put a plain mask on first.
Wipe the dust away with a clean dry cloth. Any dust left on the wood will show up under the stain. Run your hand over the top to feel for rough spots.
A small tin of warm walnut stain costs $7 to $11.
Brush the stain on in the direction of the grain. Work on one side at a time so the edges stay wet. A rag works well for wiping off the extra stain.
Let the first coat sit for a few minutes, then wipe off what is left. The wood will look richer right away. A second coat makes the colour deeper if you want it darker.
Let the stain dry fully before you touch the table again. The smell fades as it dries. Keep the room aired while you wait.
Buff a little clear wax over the top once it feels dry. The wax gives the wood a soft glow and guards it from tea rings. Buff it with a soft cloth.
Your table now looks warm and rich, like a piece that cost far more. Walnut tone suits both light rooms and dark rooms. It is a simple change with a big payoff.
3. Add New Brass Knobs to a One-Drawer Side Table
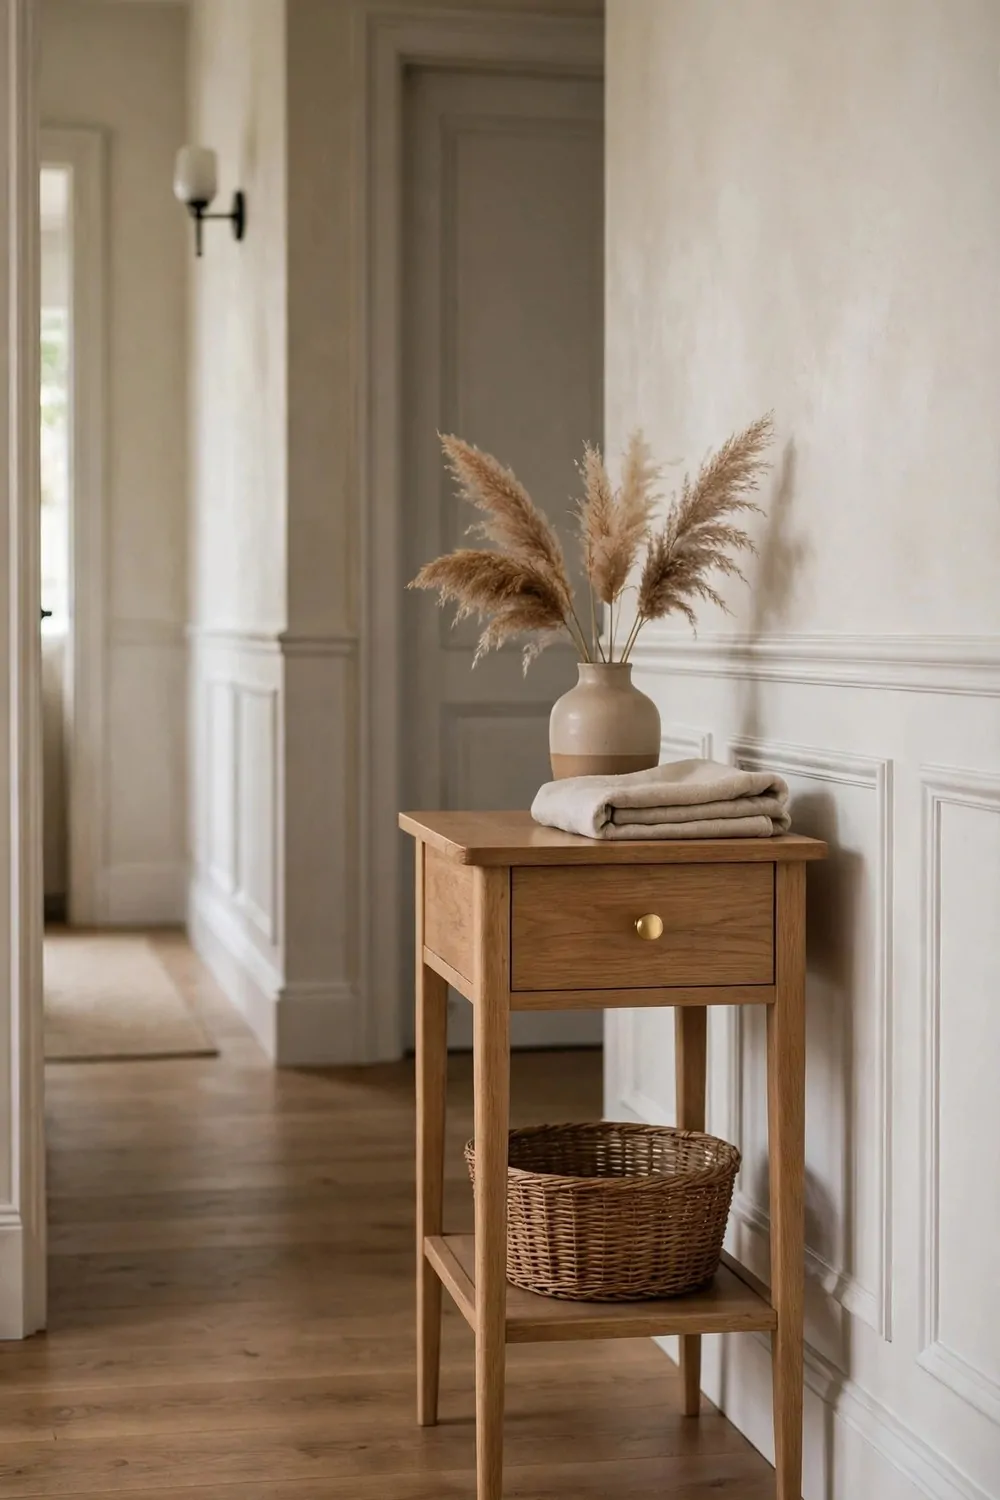
A one-drawer side table is a handy little piece. It holds your bits and bobs out of sight. One small change can make the whole table look new.
Look at the knob on the drawer. Most old knobs are dull, loose, or just plain boring. A fresh brass knob changes the whole feel of the table in five minutes.
Unscrew the old knob from inside the drawer. Keep the screw safe in a small cup. Some old screws are short, so check the new knob fits the same hole.
A set of two plain brass knobs costs $5 to $8.
You only need one knob for this table. Keep the spare one in a safe spot. It is handy if you flip another table later on.
Push the new screw through the drawer front from the inside. Twist the brass knob on from the front. Tighten it by hand until it feels firm.
Do not over-tighten the knob. Brass can scratch if you force it with a tool. A firm hand twist is enough to hold it in place.
Wipe the drawer front clean and slide the drawer in and out. It should glide smooth and shut with a soft click. The brass knob will gleam each time you open it.
Stand back and look at your table now. One small brass knob makes the drawer look cared for. It is the cheapest flip on this list, and one of my favourites.
4. Line the Drawer with Plain Paper
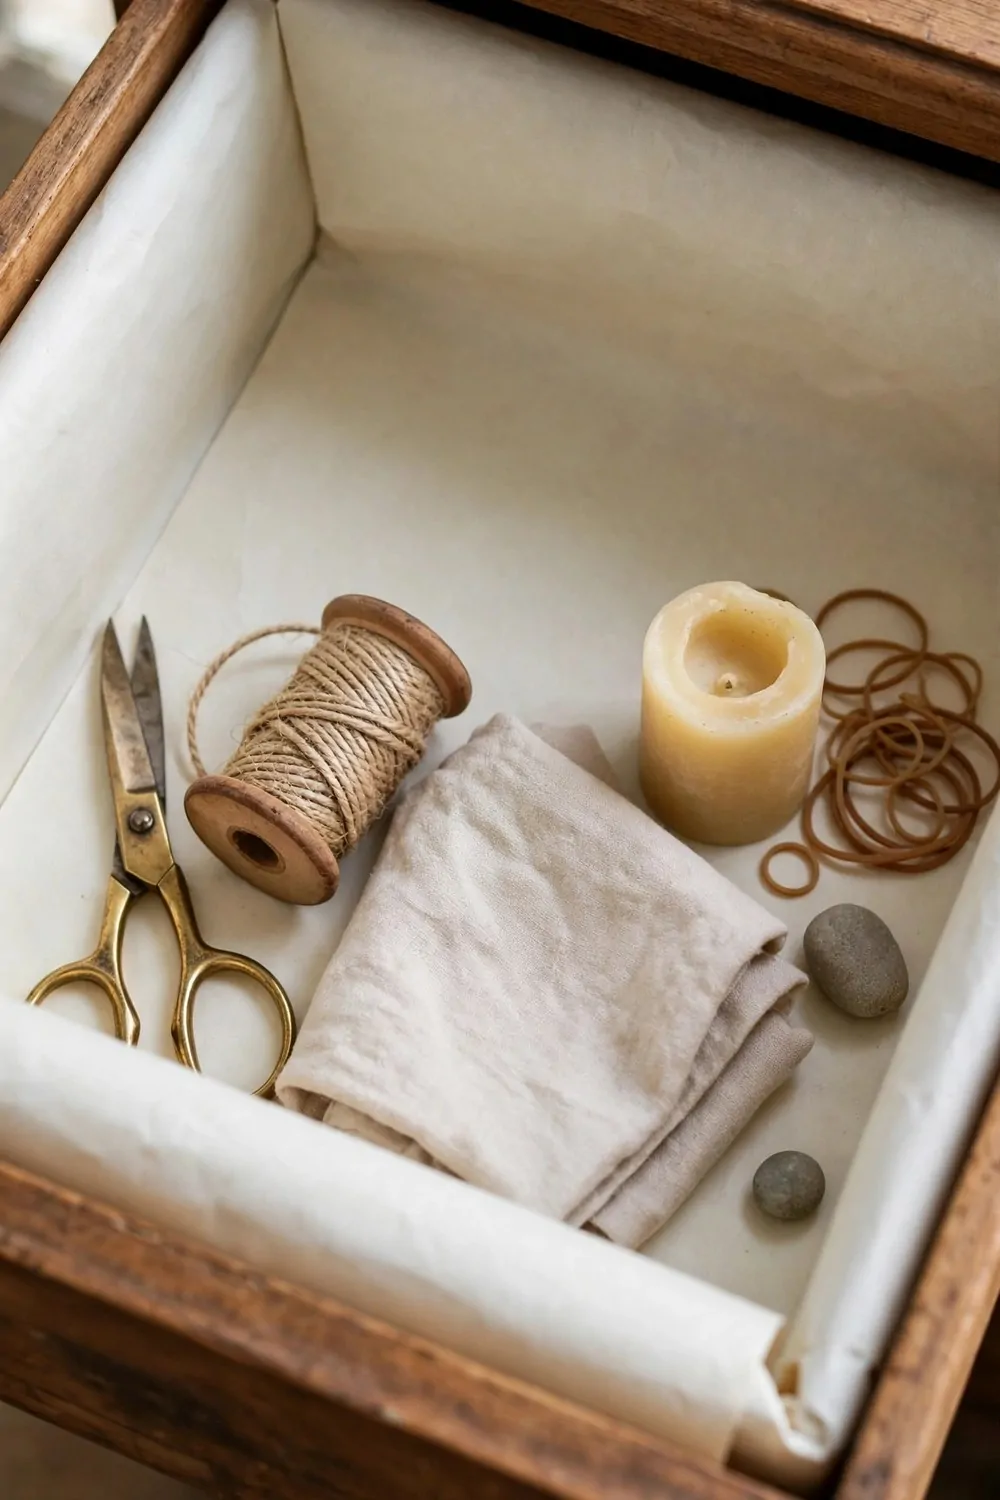
Open a side table drawer and you often find scuffs and stains inside. The outside looks fine, but the inside tells another story. Plain paper lining fixes that in minutes.
Pull the drawer all the way out of the table. Give it a good wipe inside with a damp cloth. Let it dry fully before you line it.
Measure the inside base of the drawer with a tape measure. Write the numbers down on a scrap of paper. A neat fit starts with good numbers.
A roll of plain drawer lining paper costs $4 to $7.
Cut the paper a little smaller than the base, so it sits flat without bunching at the edges. Use sharp scissors for a clean cut. A wobbly edge will show every time you open the drawer.
Lay the paper in the drawer and smooth it flat with your hand. Start in the middle and push out to the edges. Any air under the paper will make it wrinkle later.
If your paper has a sticky back, peel a little at a time. Line it up at the back edge first, then press it down as you peel. Slow and steady wins here.
Put your things back in the drawer one by one. The paper keeps small items from sliding around. It also guards the wood from pen marks and spills.
Open the drawer tomorrow and it will still look tidy. Fresh lining makes even an old drawer feel new. It is a tiny job with a lovely result.
5. Add a Lower Shelf with Baskets
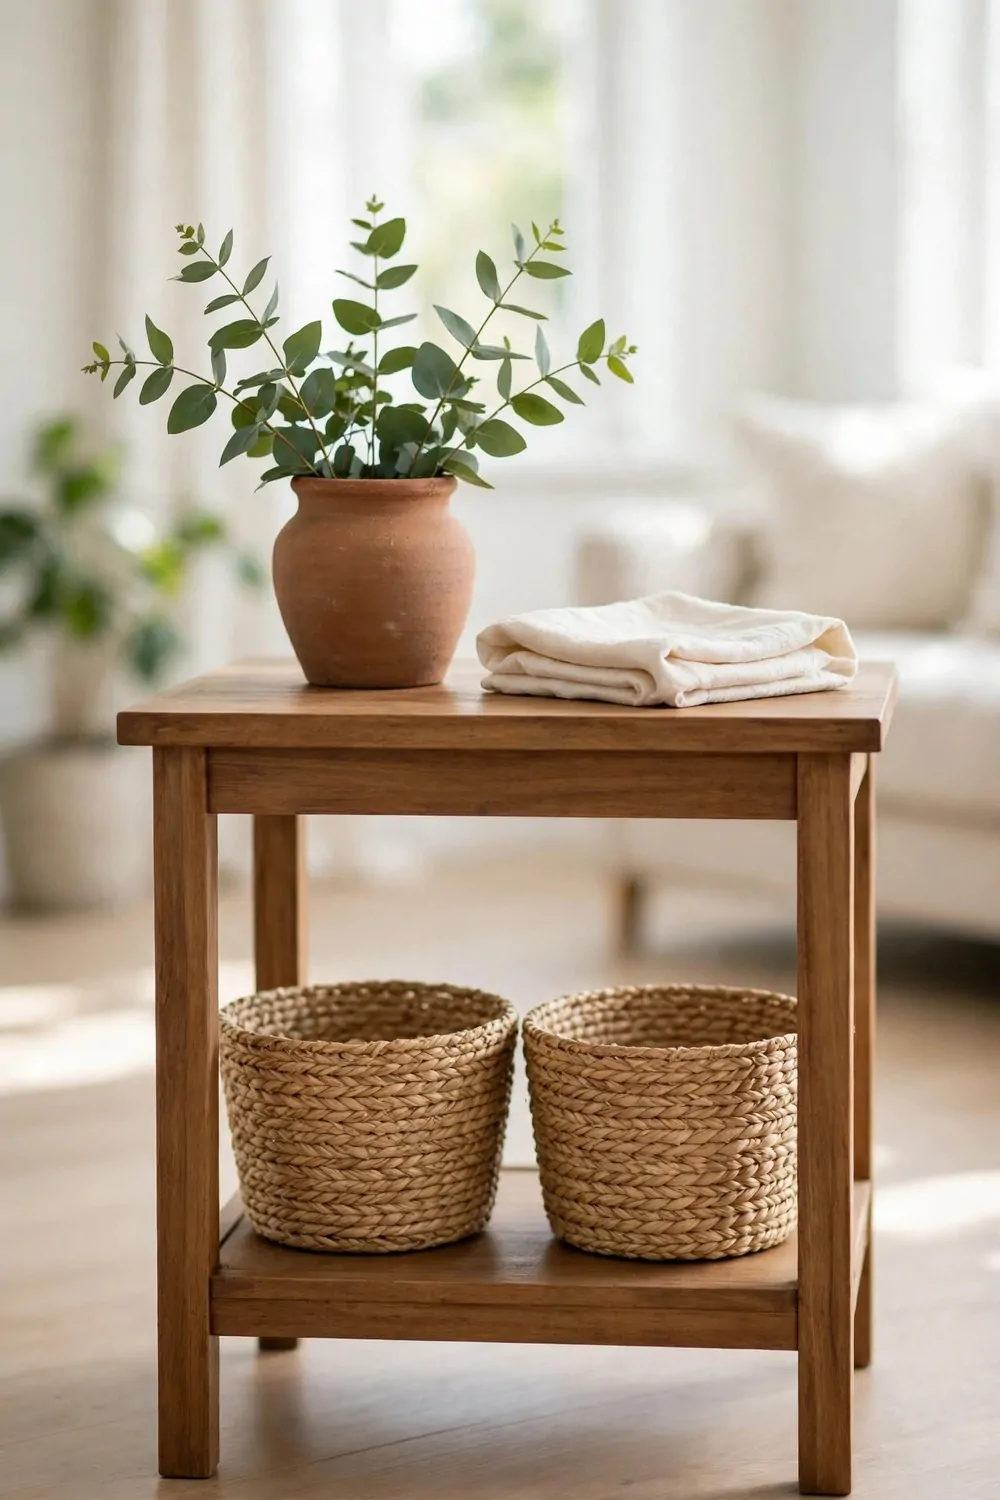
Many side tables have empty space under the top and above the floor. That space does nothing all day. A lower shelf with baskets turns it into real storage.
Look under your table and measure the gap between the legs. You need a shelf board that fits snug between them. A plain board from a craft shop works fine.
Fix the board to the legs with small brackets and short screws. Check it sits level before you tighten the last screw. A wobbly shelf is worse than no shelf at all.
A pair of plain seagrass baskets costs $8 to $13.
Pick baskets that fit the shelf with a little room to spare. Seagrass looks soft and warm next to wood. It also hides clutter without looking messy.
Slide the baskets onto the shelf and see how they sit. One can hold your books and the other can hold your chargers and small bits. Everything gets a home.
Keep the heavier things in the baskets on the shelf, not on the top. The table stays steady that way. Light things like a lamp belong up top.
Dust the baskets now and then with a dry cloth. Seagrass holds dust in its weave if you leave it too long. A quick wipe keeps it fresh.
Your side table now holds twice as much as it did before. The baskets make the room look tidy, and the table looks like it was made that way. That is a good flip.
6. Turn a Side Table into a Plant Stand
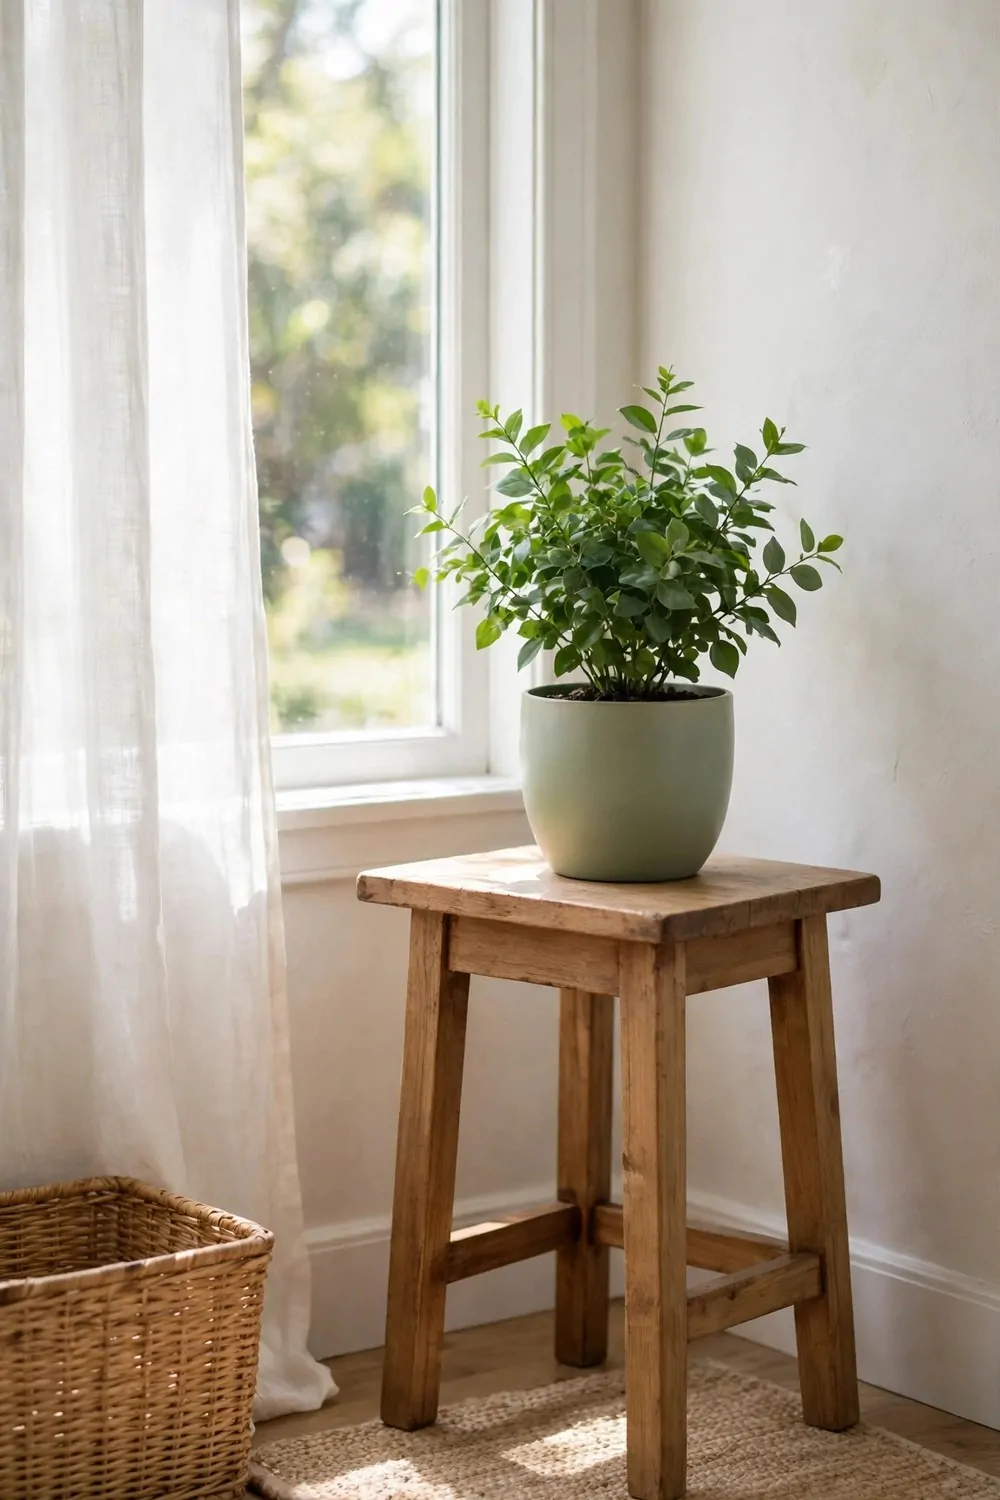
A side table does not have to hold a lamp or a book. It can hold a plant instead. A green plant on a small table makes a whole corner feel alive.
Pick a table with a flat top and sturdy legs. A wobbly table is a bad home for a plant. Test it with a gentle push before you start.
Give the table a fresh coat of paint if the finish looks tired. A soft green or a warm cream both suit plants well. Let the paint dry fully before you move the plant on top.
A plain clay plant pot costs $5 to $8.
Choose a plant that likes the light in that spot. A leafy plant near a window grows fast and looks full. A small plant suits a dark corner better.
Set a plain saucer under the pot to stop water marks on the table top. Water the plant over the sink, not over the table. A little care keeps the wood safe.
Move the table near the window if the plant starts to droop. Plants tell you what they need if you watch them. A little more light often fixes a sad plant.
Wipe the leaves now and then with a damp cloth. Clean leaves take in more light. Your plant will grow fuller and greener for it.
Now your old side table has a brand new job. It is a plant stand, a green corner, and a pretty piece all in one. That is a flip worth doing.
7. Add Hairpin Legs to a Plain Side Table
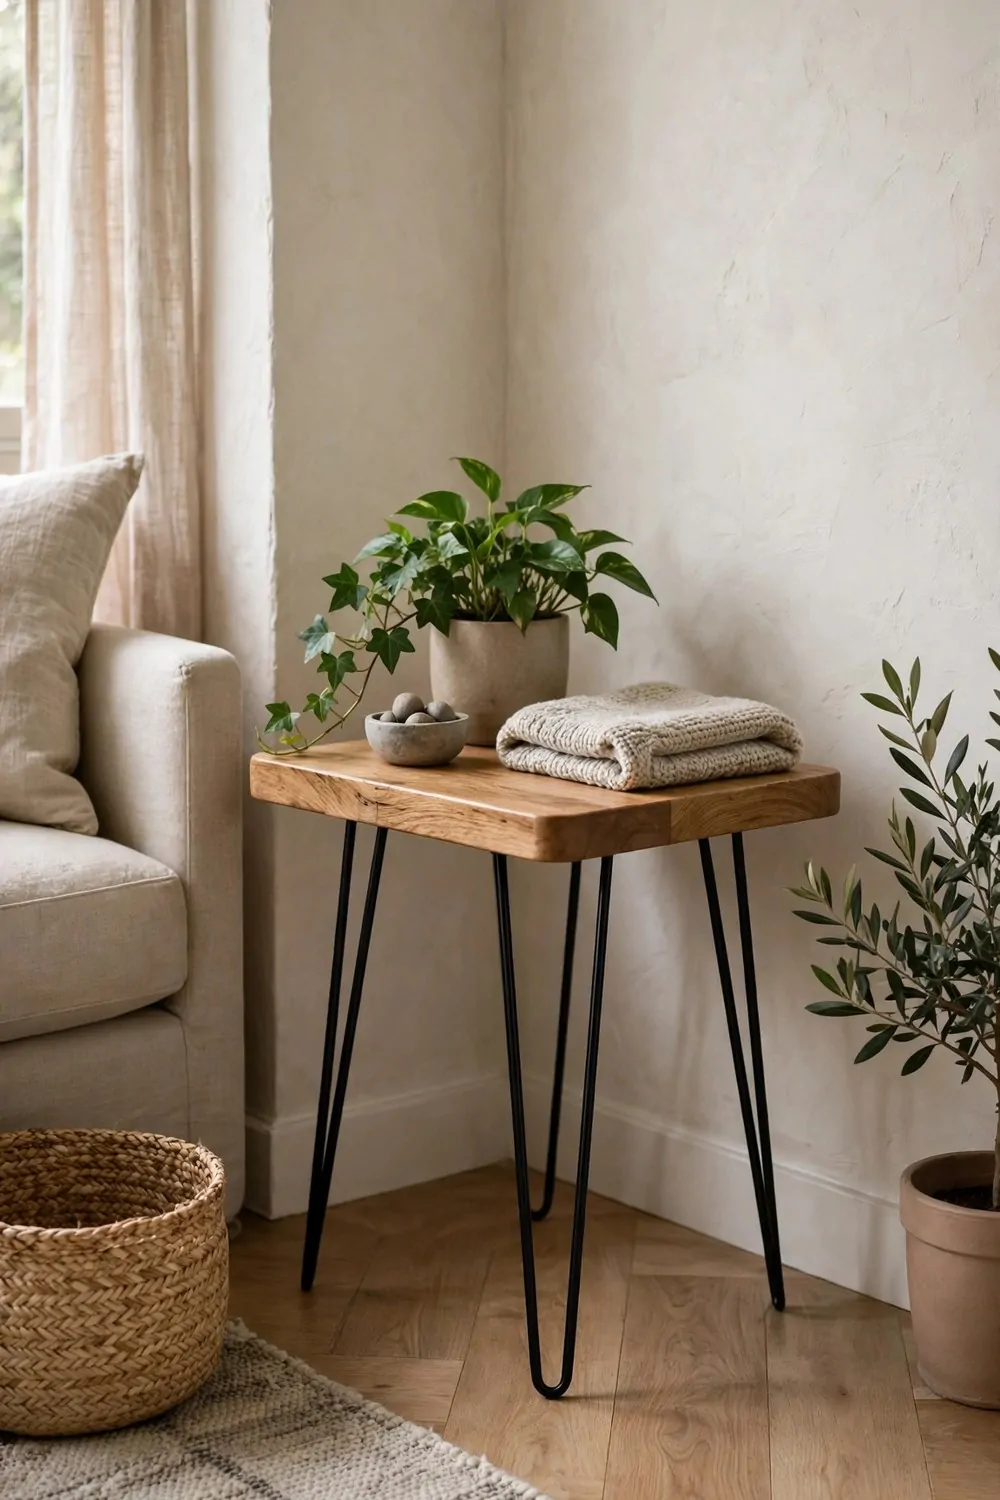
Some side tables have short, dull legs that drag the whole piece down. New legs can lift the look in one afternoon. Hairpin legs are slim, black, and very easy to fit.
Turn the table upside down on a soft blanket. Unscrew the old legs one by one. Keep the old screws in a cup in case you need them later.
Sand the bottom edge where the old legs sat. Do this sanding in fresh air with a plain mask on your face. A flat base helps the new legs sit straight.
A set of four slim black hairpin legs costs $12 to $18.
Hold one leg plate against the corner and mark the screw holes with a pencil. Do the same for all four corners. Check the marks line up before you drill.
Screw each leg plate on firm with short screws. Flip the table over and check it stands level. A gentle rock means one leg needs a small tweak.
Tighten any loose plate and test the table again. It should stand still on a flat floor. Hairpin legs look light, but they hold a good amount of weight.
Wipe the legs clean with a dry cloth before you set the table back in place. Black legs show dust fast. A quick wipe keeps them looking sharp.
Your table now looks taller, lighter, and much more modern. The slim black legs suit almost any top. It is a simple swap with a big visual change.
8. Give a Side Table a Two-Tone Look
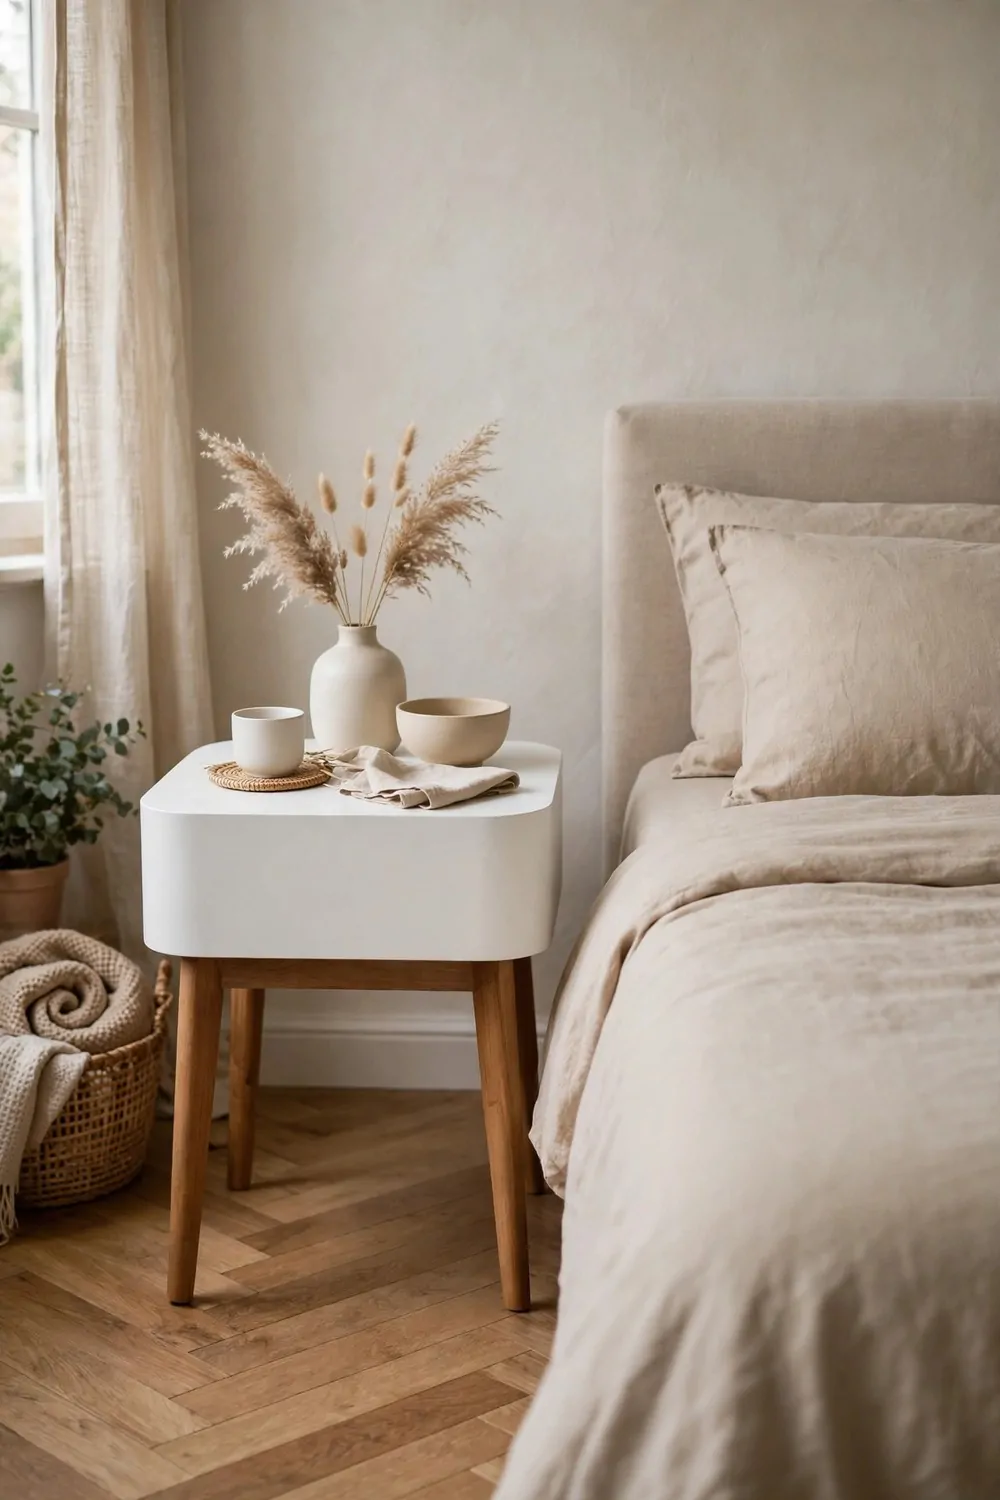
A two-tone side table looks like it came from a fancy shop. The top is one colour and the base is another. It is easy to do with paint and a roll of tape.
Pick two colours that sit well together. A deep green top with a soft cream base looks lovely. A warm wood top with a white base also works well.
Sand the whole table lightly to help the paint grip. Keep the air moving while you sand, and wear a plain mask. Wipe the dust away with a clean cloth.
A roll of plain masking tape costs $3 to $5.
Paint the base colour first and let it dry fully. Thin coats look smoother than thick ones. Two coats are usually enough for a clean finish.
Stick the masking tape along the edge where the two colours will meet. Press the tape down firm with your finger so paint cannot sneak under it. A crisp line starts with good tape.
Paint the top in your second colour and let it dry fully. Peel the tape off slow while the last coat is still a little soft. The line between the colours will look sharp and clean.
Touch up any tiny wobbles in the line with a small brush. A steady hand fixes most small slips. Step back and check the line from across the room.
Set the table back in its spot and enjoy the new look. Two colours make a plain table look planned and smart. Your weekend flip is done.
9. Add a Tray Top to a Wobbly Side Table
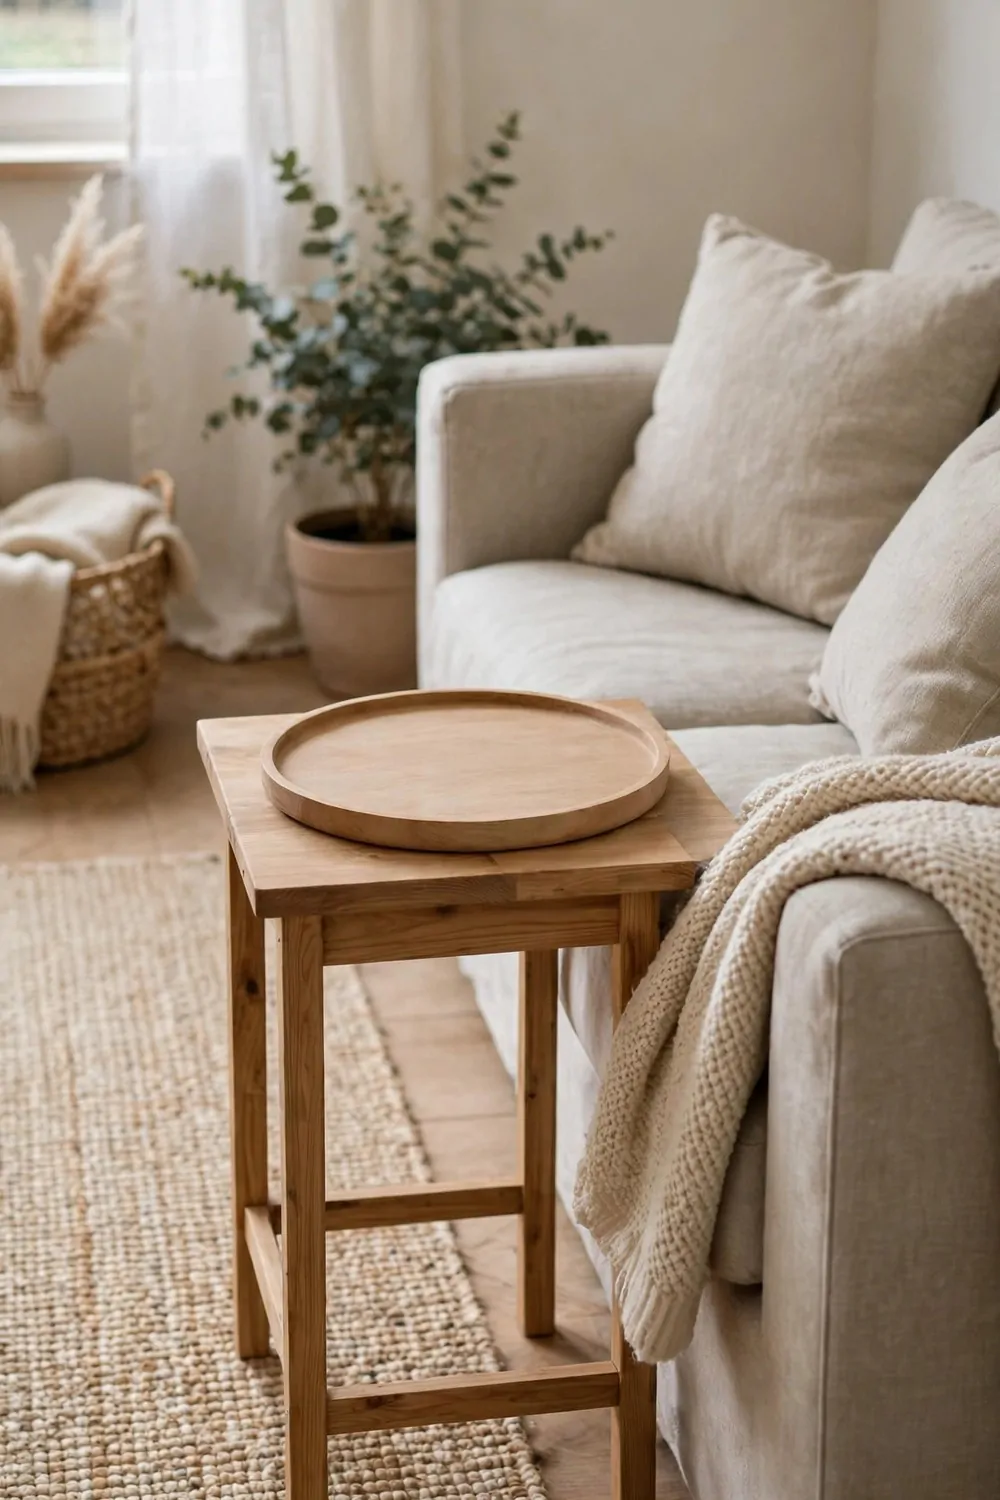
My old side table wobbled every time I set a cup down. A tray on top fixed the wobble and gave me a flat spot for my tea.
I found a round wooden tray at a thrift shop for a few dollars. It had a small chip on one edge, but the top was smooth and flat.
First I tightened the loose screws under the table. A wobbly base will still rock even with a nice tray on top.
Then I sanded the table top lightly so the tray would sit flat. I sanded in a well-aired space with a plain mask on my face.
A plain round wooden tray costs $7 to $11. That small spend turned a shaky table into a steady one.
I set the tray in the middle of the table and looked at it from each side. It looked neat, and it did not slide when I touched it.
You can paint the tray the same colour as the table, or leave the wood plain. I left mine plain so the wood grain showed through.
I use the tray for my cup, my book, and my phone. The rim keeps small things from sliding off the edge.
Let the paint dry fully before you use the table. Then set your tray on top and enjoy a table that finally stands still.
| Item | Main change | Typical cost |
|---|---|---|
| A plain paint brush for small furniture | paints a small table in thin smooth coats | $6 to $9 |
| A small tin of warm walnut stain | brings the warm wood grain back to life | $7 to $11 |
| A set of two plain brass knobs | swaps a dull knob for fresh brass | $5 to $8 |
| A roll of plain drawer lining paper | lines the drawer with plain paper | $4 to $7 |
| A pair of plain seagrass baskets | fills the lower shelf with soft storage | $8 to $13 |
| A plain clay plant pot | holds a leafy plant on the table top | $5 to $8 |
| A set of four slim black hairpin legs | lifts the table on slim black legs | $12 to $18 |
| A roll of plain masking tape | masks a crisp line between two colours | $3 to $5 |
| A plain round wooden tray | gives a wobbly table a flat steady top | $7 to $11 |
10. Turn a Side Table into a Bedside Table
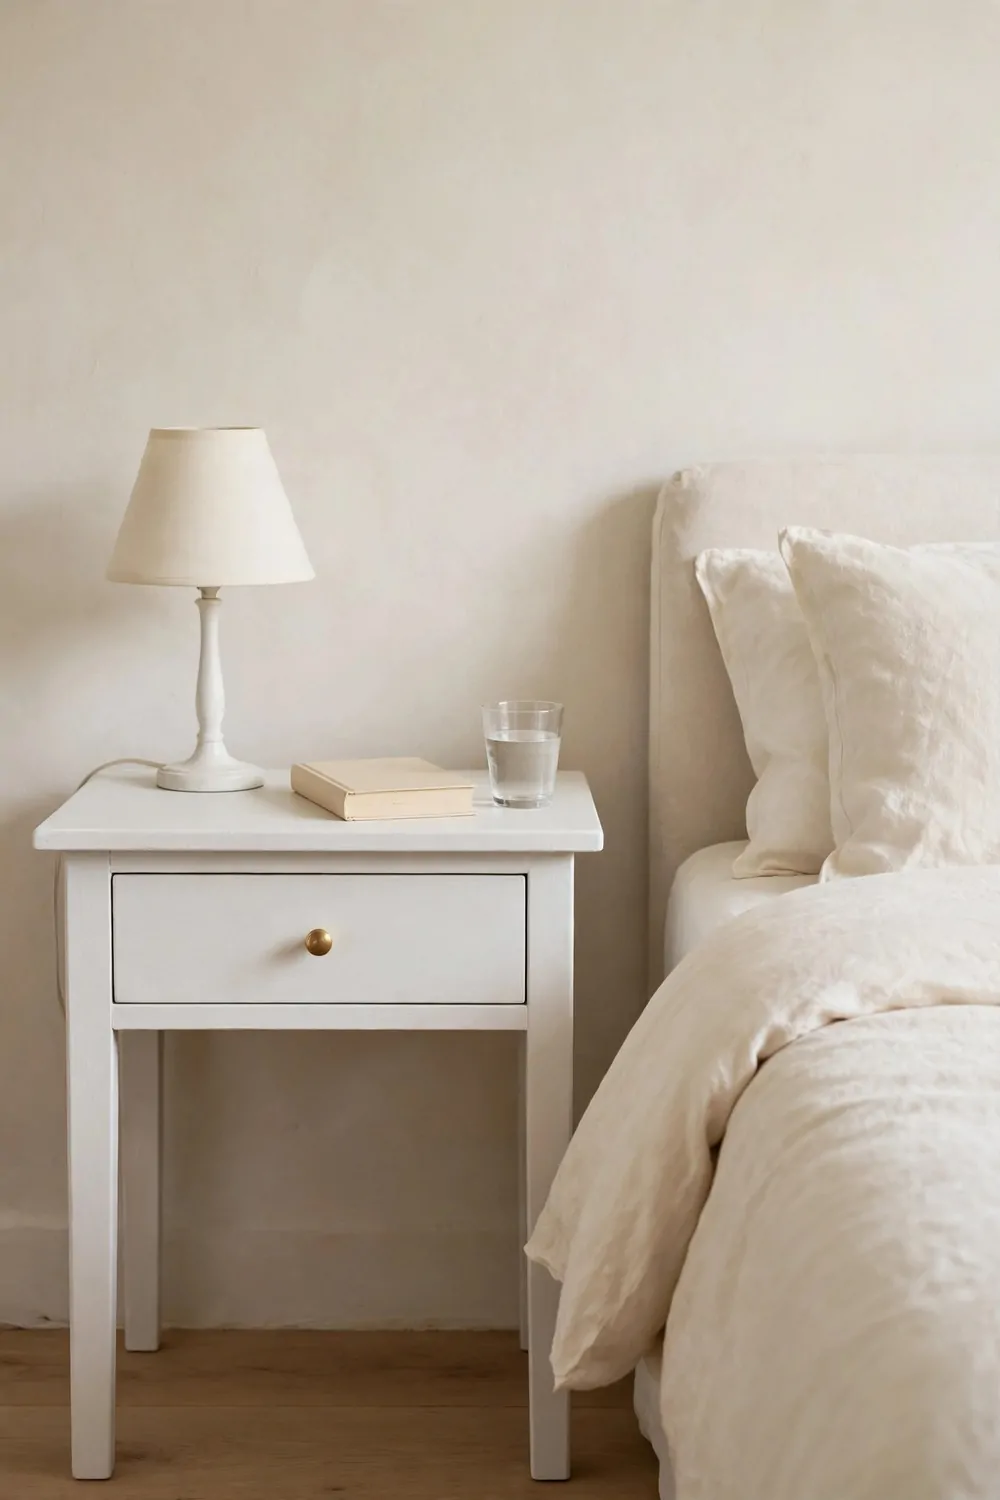
My spare side table was too short for the living room, so I moved it next to my bed. It fits just right there.
I wiped the whole table down and sanded the rough spots with light strokes. The top was scratched from years of use.
A fresh coat of soft white paint made it look clean and calm. I gave each coat time to dry before I brushed on the next one.
A small plain table lamp costs $10 to $15. I picked one with a simple shade that gives a warm glow at night.
The lamp sits on one side, and my book sits on the other. There is still room for a glass of water.
I added a small drawer knob in a soft brass tone. It suits the lamp base and makes the drawer easy to open.
You can keep your phone charger in the drawer so the cord stays out of sight. That keeps the top clear and tidy.
A bedside table does not need much on it. A lamp, a book, and a glass of water are enough for me.
Wait until the paint feels fully dry before you put the lamp on top. Then you have a calm spot to end your day.
11. Turn a Side Table into a Hallway Table
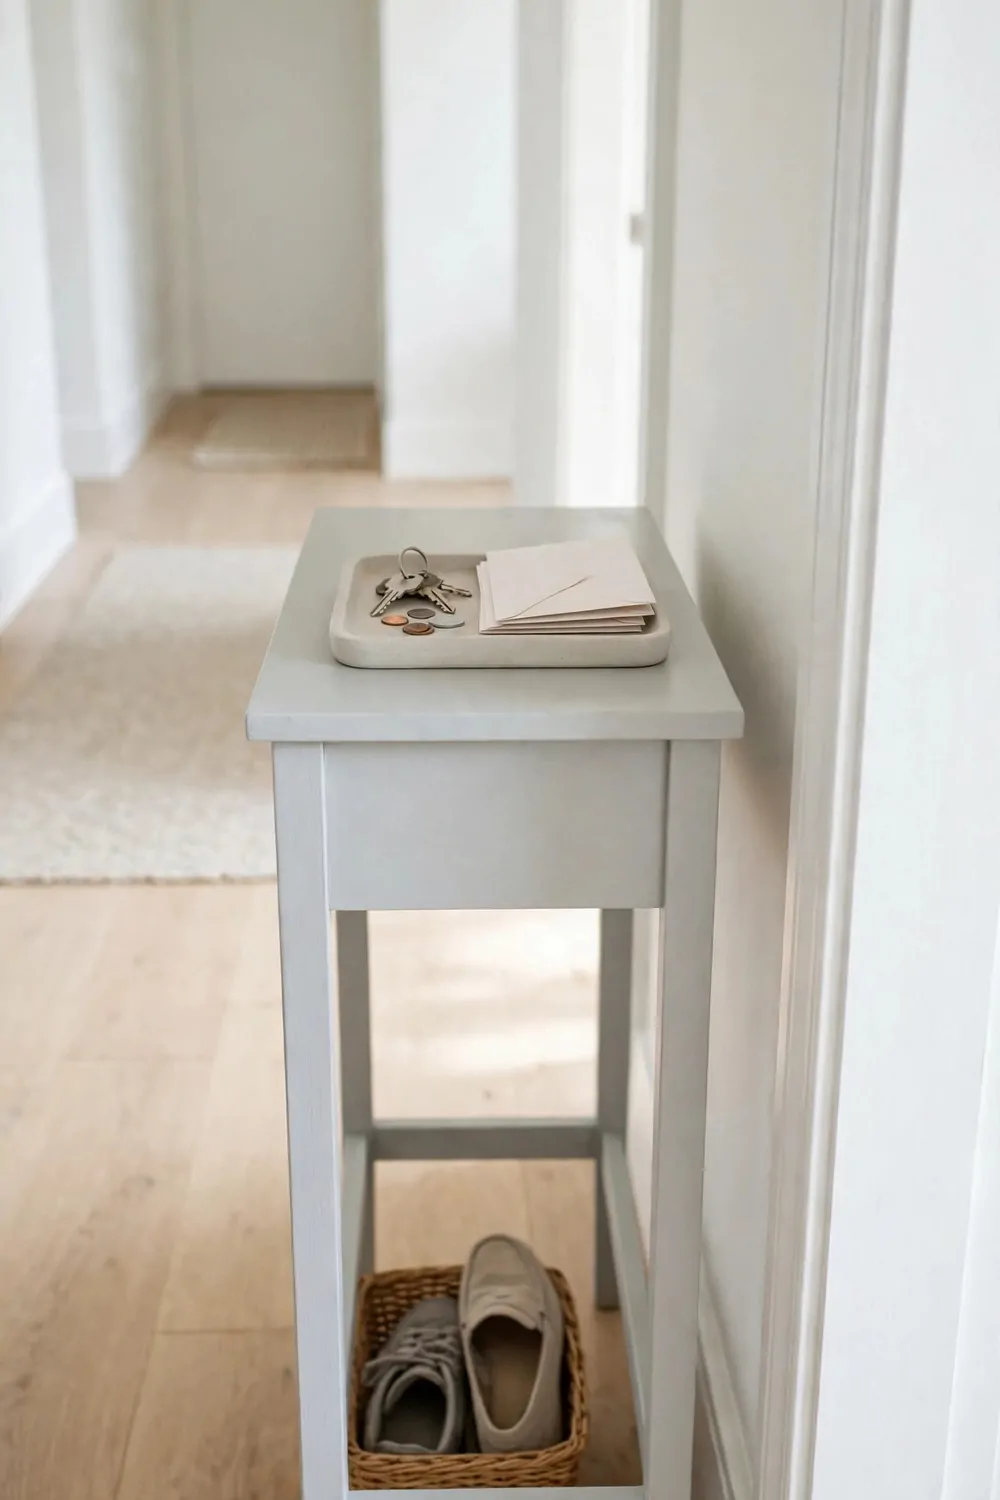
The hallway by my front door had no place for my keys. I moved a small side table there, and it solved the problem.
I sanded the top and the legs until they felt smooth. I did the sanding outside on my porch, in a well-aired space, with a plain mask on.
A coat of pale grey paint made the old wood look fresh. The colour fits the light walls in my hallway.
A small plain entryway tray costs $6 to $9. I set it on top, and now my keys always have a home.
The tray holds keys, a few coins, and the mail I need to take out. Nothing gets lost by the door now.
Under the table I put a small basket for shoes. It keeps the floor clear when friends come over.
You can hang a small hook on the wall above the table for a bag. It takes one minute and saves a lot of mess.
I like that the table is narrow, so it does not block the walkway. People pass by it without bumping into it.
Give the paint a full day to dry before you set keys on the table. A hallway table earns its keep every single day.
12. Add Casters to a Heavy Side Table
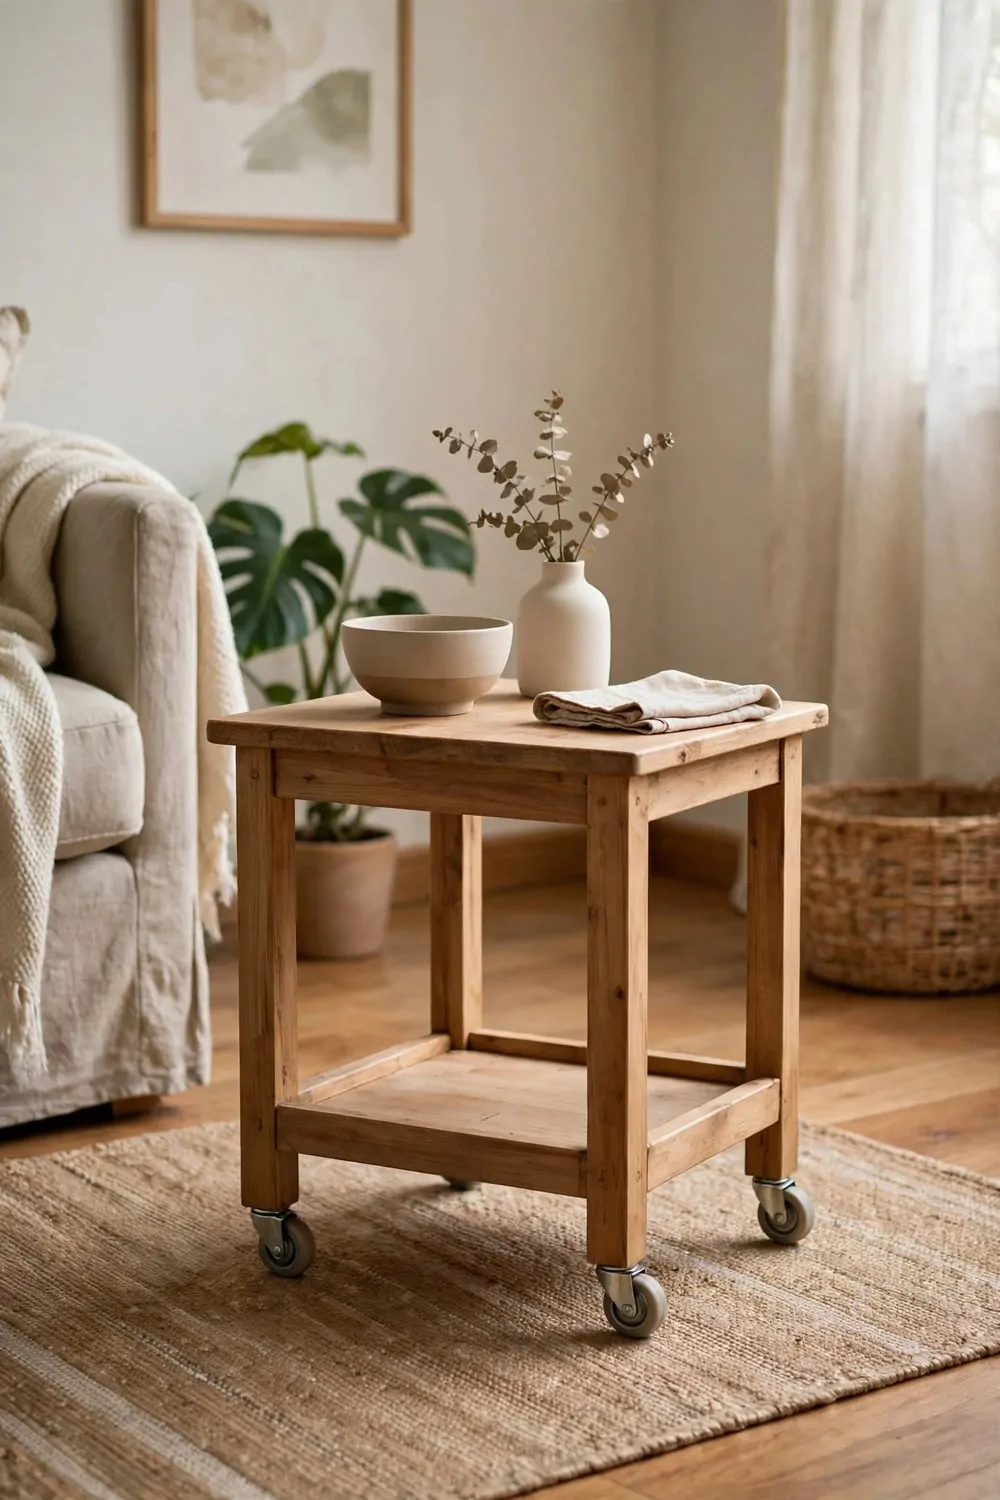
My side table was heavy, and I could never move it to clean behind it. Four small wheels changed all that.
I flipped the table upside down on an old sheet. The legs were solid wood, so they could hold the new wheels well.
A set of four small swivel casters costs $7 to $11. I picked small ones so the table would not sit too high.
I marked each leg and drilled a small pilot hole first. That kept the wood from splitting when I put the screws in.
Each caster went on with four short screws. I tightened them well, then flipped the table back over.
Now the table rolls across the room with one gentle push. I can move it next to the sofa or out of the way in seconds.
Two of the wheels have a small lock on them. I press the lock when I want the table to stay put.
You can roll the table outside to paint it, then roll it back in. That makes the whole job much easier.
Check the screws once a month, since wheels can loosen over time. A quick tighten keeps the table rolling smooth.
13. Wrap a Side Table in Plain Rattan
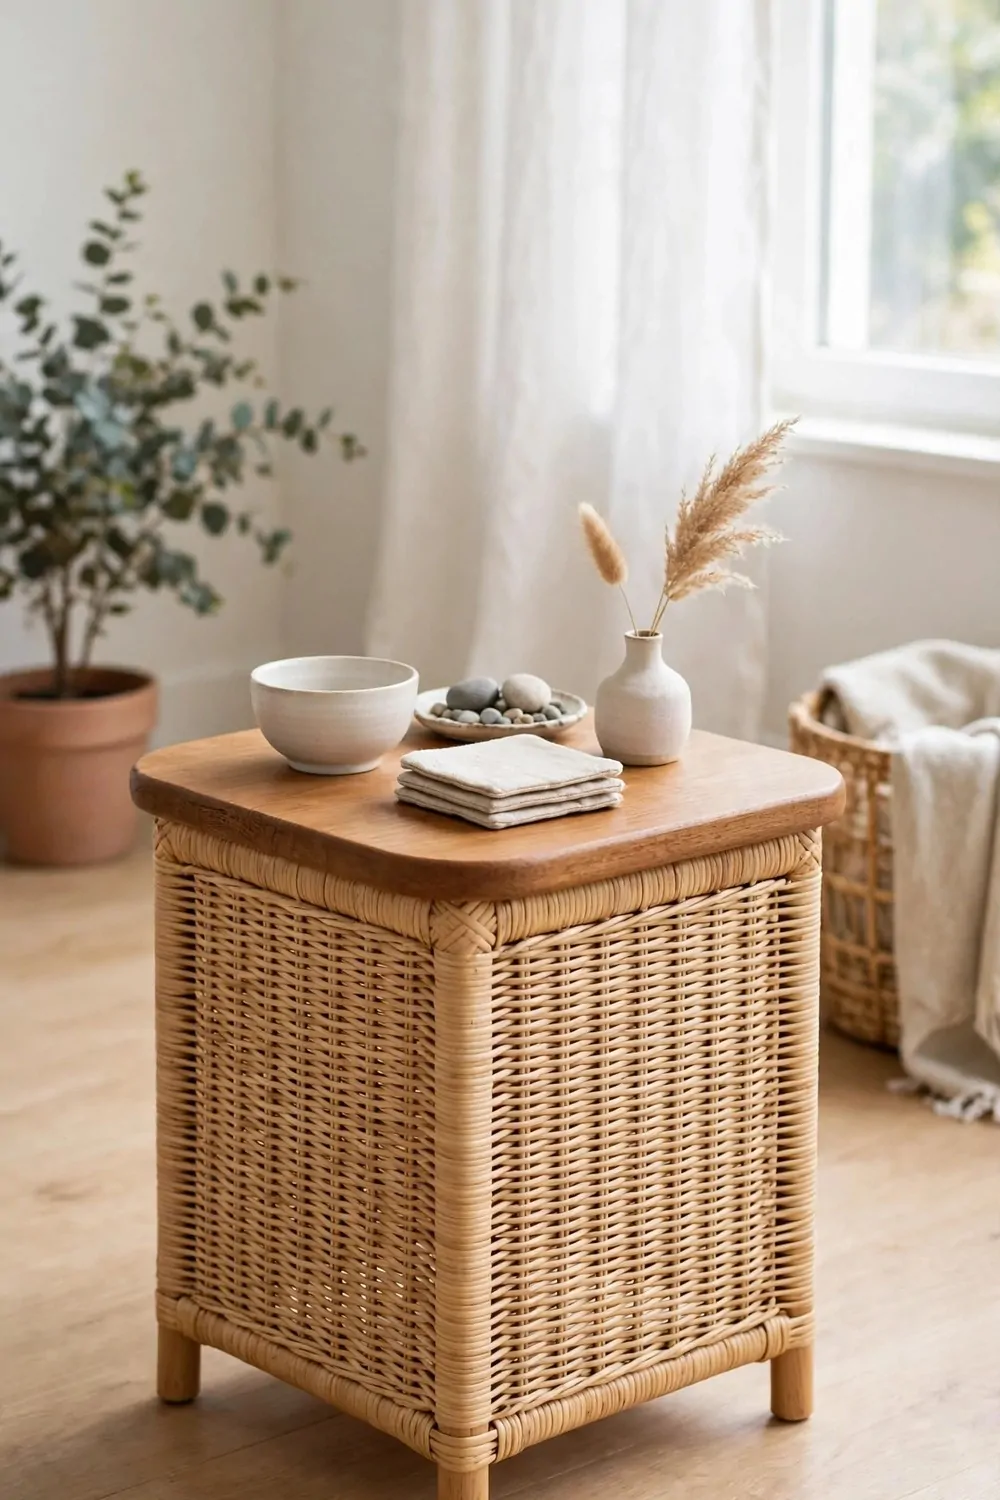
The sides of my side table looked plain and dull. A sheet of rattan gave it a soft, woven look.
I measured each side twice before I cut anything. A wrong cut wastes a good piece of rattan.
A pack of plain rattan tacks costs $3 to $5. I used the small tacks to hold the rattan flat on the sides.
First I sanded the sides lightly so the glue would hold. I wore a plain mask and worked in a well-aired space.
I spread a thin layer of wood glue on the back of the rattan. Then I pressed it onto the side and held it for a minute.
The tacks went around the edge, one every few inches. They hold the rattan flat and keep it tight.
You can wrap just the drawer front too, if you want a lighter woven look. I wrapped all four sides so the weave runs all the way round.
A light coat of clear wax over the rattan keeps it from drying out. Rub it on with a soft cloth and let it dry.
Let the glue dry fully before you move the table. The woven sides make the whole table feel fresh.
14. Add a Marble Top to a Plain Side Table
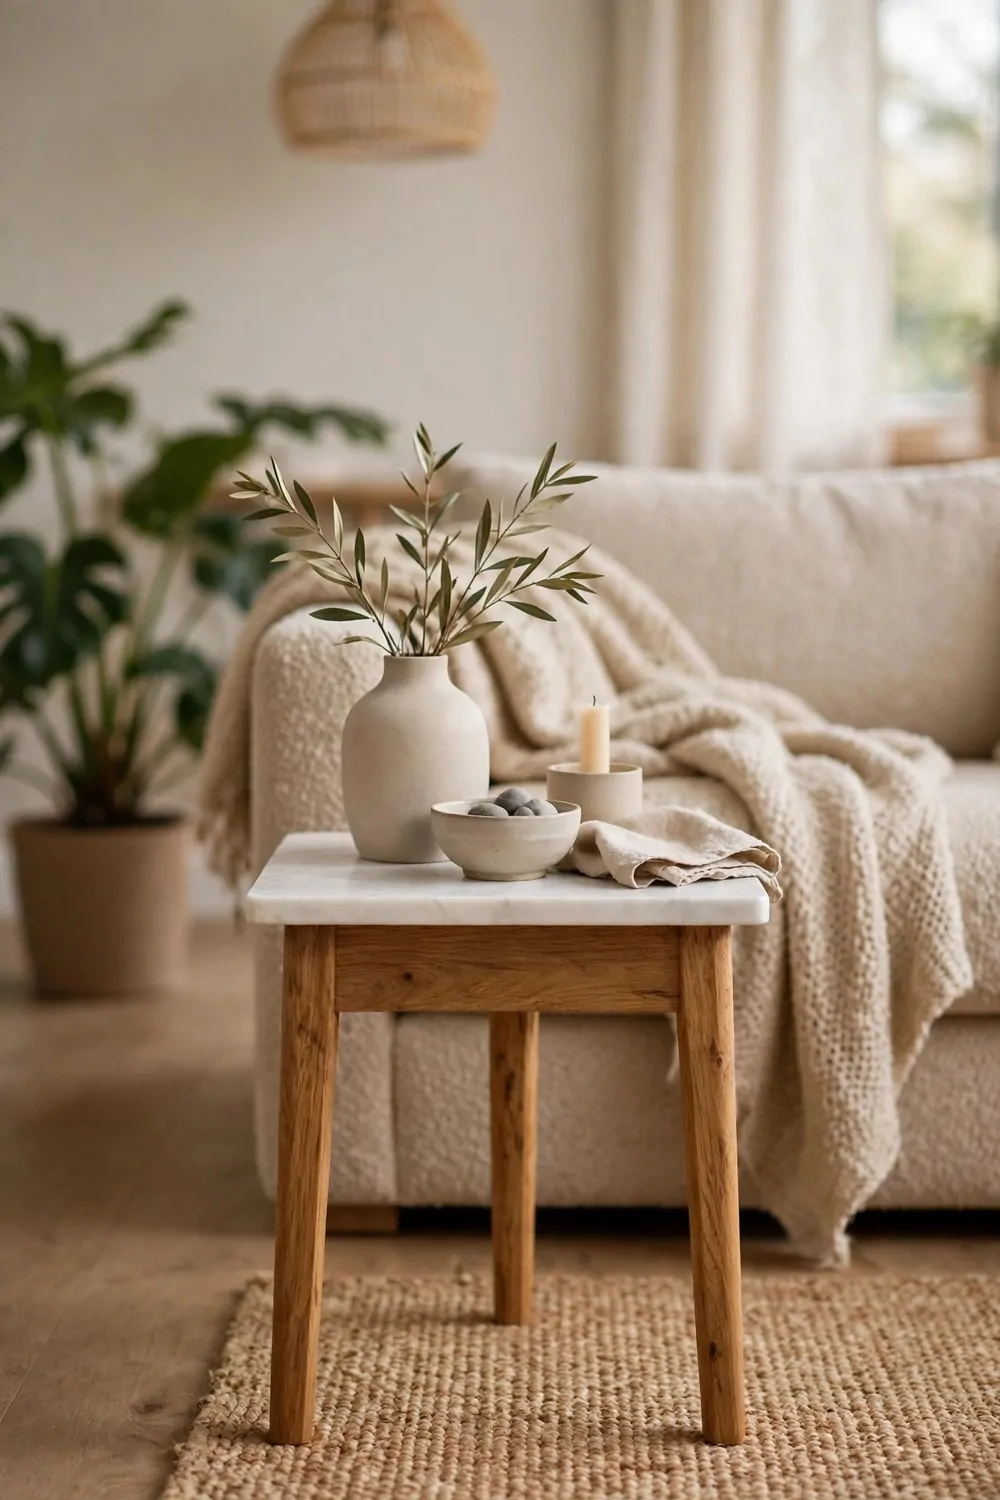
My side table top had rings and stains I could not scrub out. A marble top covered all of it in one move.
I measured the table top and wrote the numbers down. A marble piece cut to the wrong size will not fit.
The thrift shop had a flat marble slab from an old table. It was heavy, but the price was fair for a real stone top.
I sanded the wooden top flat first so the marble would sit even. I wore a plain mask while I sanded, in a well-aired space.
A set of plain marble coasters costs $6 to $9. I use one under my cup so the stone stays free of rings.
I fixed the marble to the wood with a strong glue made for stone. I pressed it down and left it alone overnight.
The white stone with soft grey lines looks calm next to my sofa. It makes the whole room feel a bit more polished.
You can wipe the marble with a damp cloth when it gets dusty. Dry it right away so no water marks stay on it.
Wait a full night for the glue to set before you put anything on the marble. A stone top turns a plain table into a smart one.
15. Paint a Side Table Deep Green
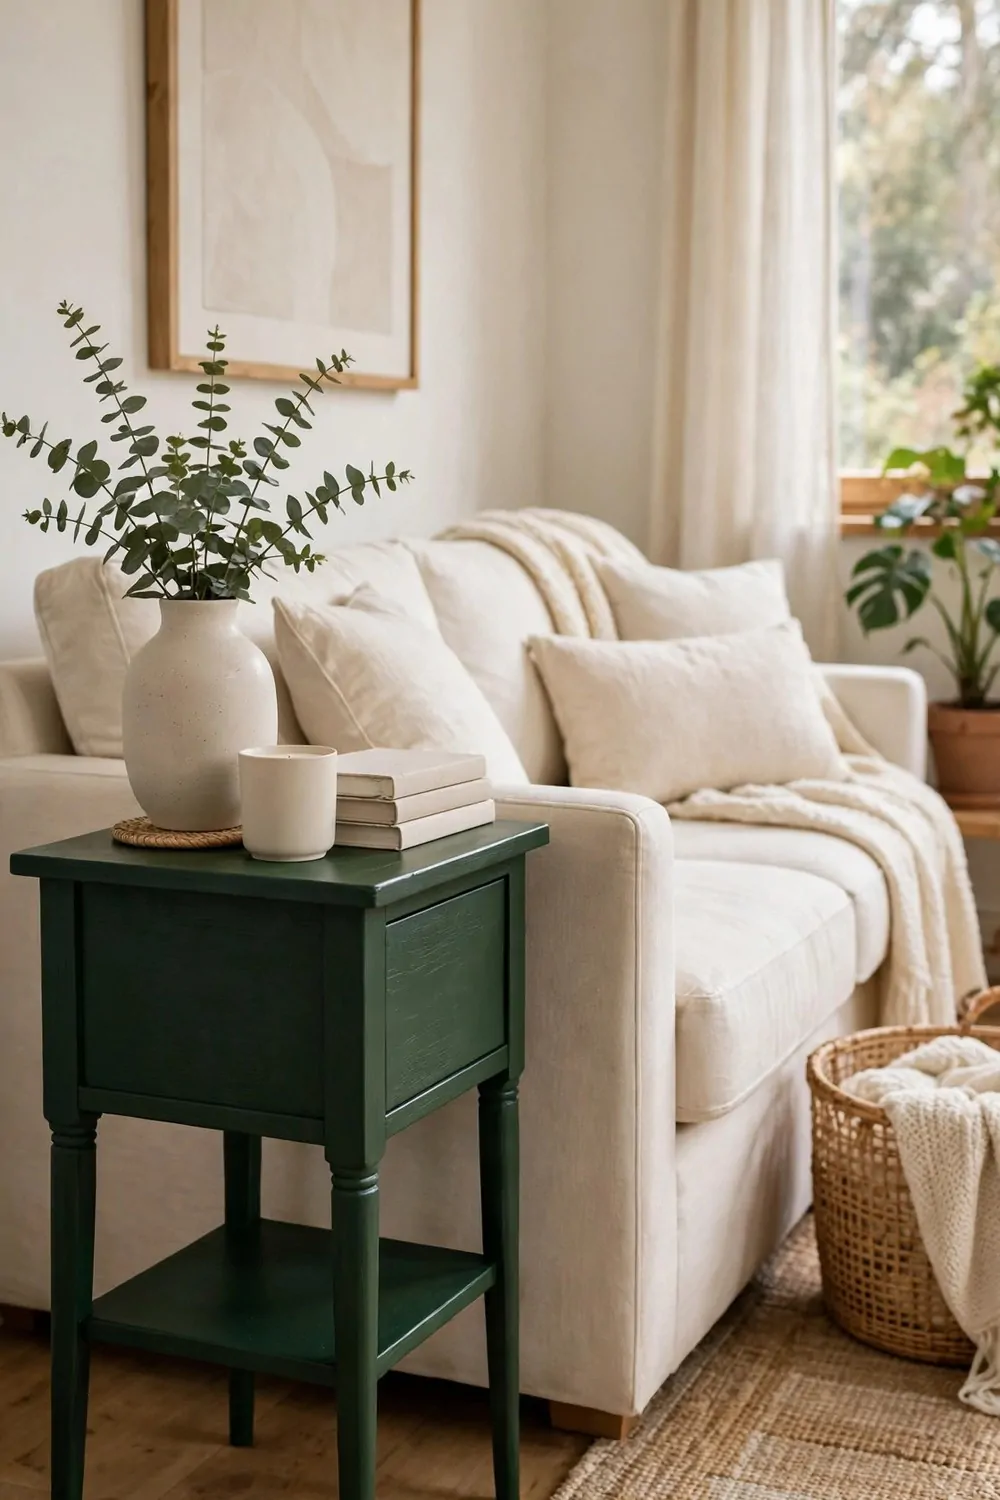
My side table was plain brown, and it faded into the room. A deep green coat made it the first thing you see.
I cleaned the table with warm soapy water and let it dry. Dust and grease stop paint from sticking well.
A small tin of forest green paint costs $7 to $11. One tin was enough for two thin coats on my small table.
I sanded outside on the porch, with a plain mask over my nose and mouth. The old finish came off in soft, pale dust.
The first coat looked patchy, and I felt a bit worried. The second coat covered it all and looked rich and even.
I waited for each coat to dry fully before I brushed on the next one. Rushing the drying time leaves marks you can see later.
The plain green front looks neat next to the cream sofa. The dark paint makes the whole table stand out in the room.
You can put the green table next to a cream sofa or a wood chair. The colour works with both light and dark rooms.
Wait for the paint to harden fully before you set anything on it. A deep green table brings a calm, leafy feel to the room.
16. Add a Gold Trim Line to a Plain Side Table
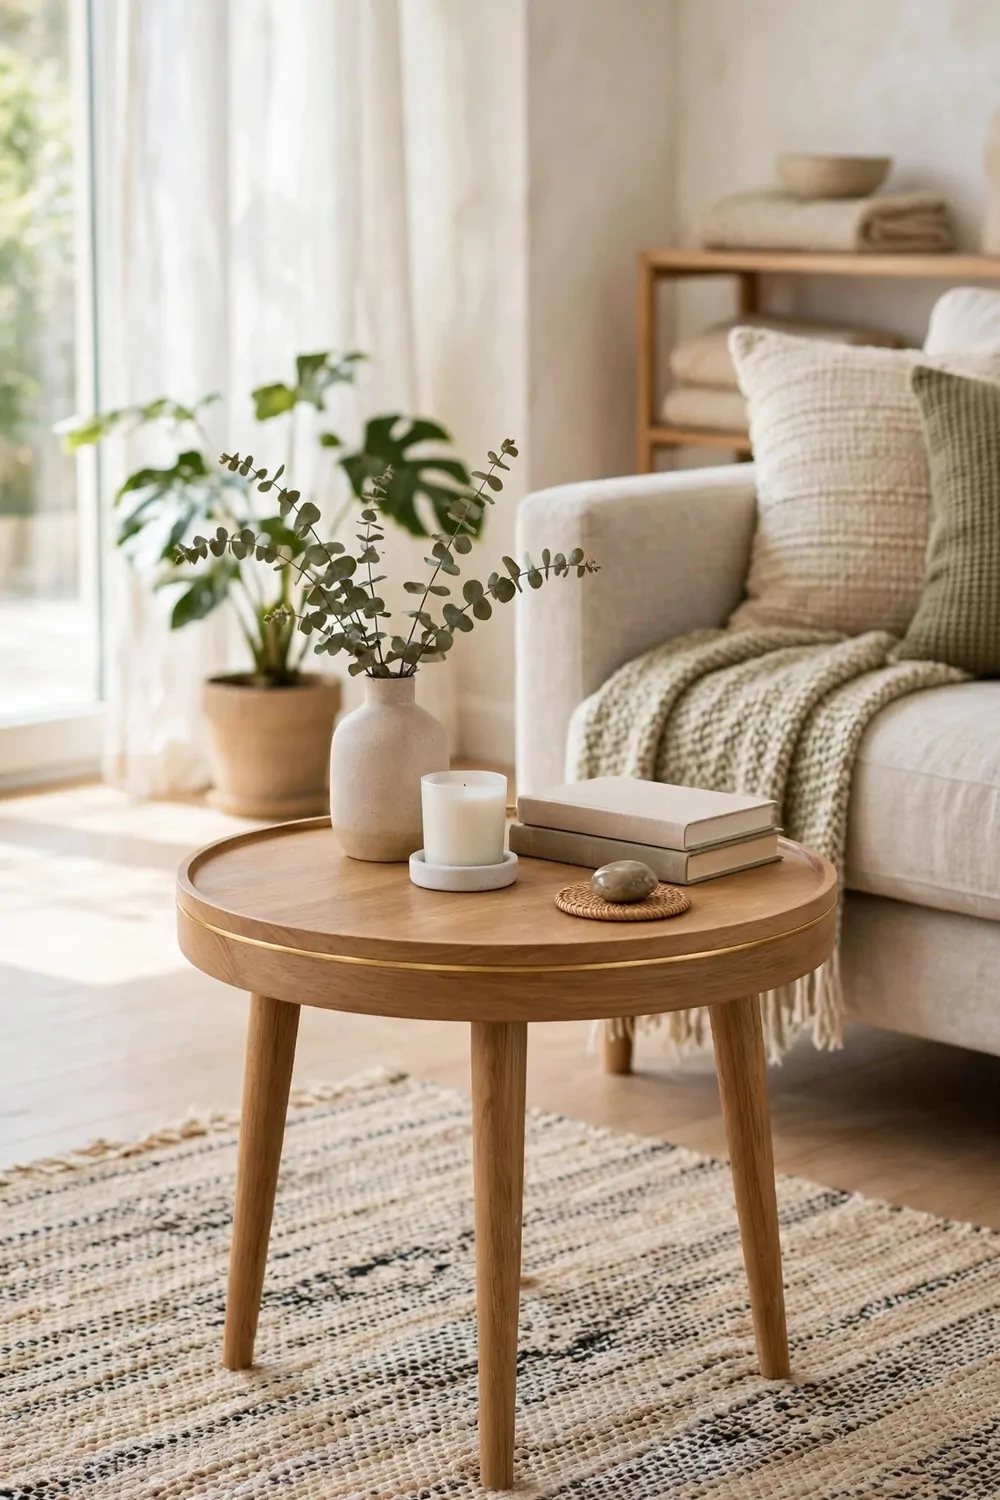
My side table looked fine, but it felt a bit plain. A thin gold line around the edge gave it a smart finish.
I wiped the table top clean first, so the trim would stick well. A smooth, dust free edge helps the gold line look neat.
A thin plain gold trim roll costs $5 to $8. One roll was more than enough for the edge of my small table.
I measured the edge and cut the trim a little long. A bit extra is better than a piece that falls short.
I pressed the trim along the top edge, slow and steady. A ruler helped me keep the line straight all the way round.
The gold line shines softly in the room and makes the table look neat. It is a small change with a big effect.
You can add a second line near the bottom edge if you like. I kept just one line, since one looked clean.
Press the ends down well so they do not lift later. A tiny dot of glue under each end holds them flat.
Make sure the top is clean and dry before you press the trim on. A gold line is a quick way to make a plain table feel special.
17. Turn a Side Table into a Lamp Table
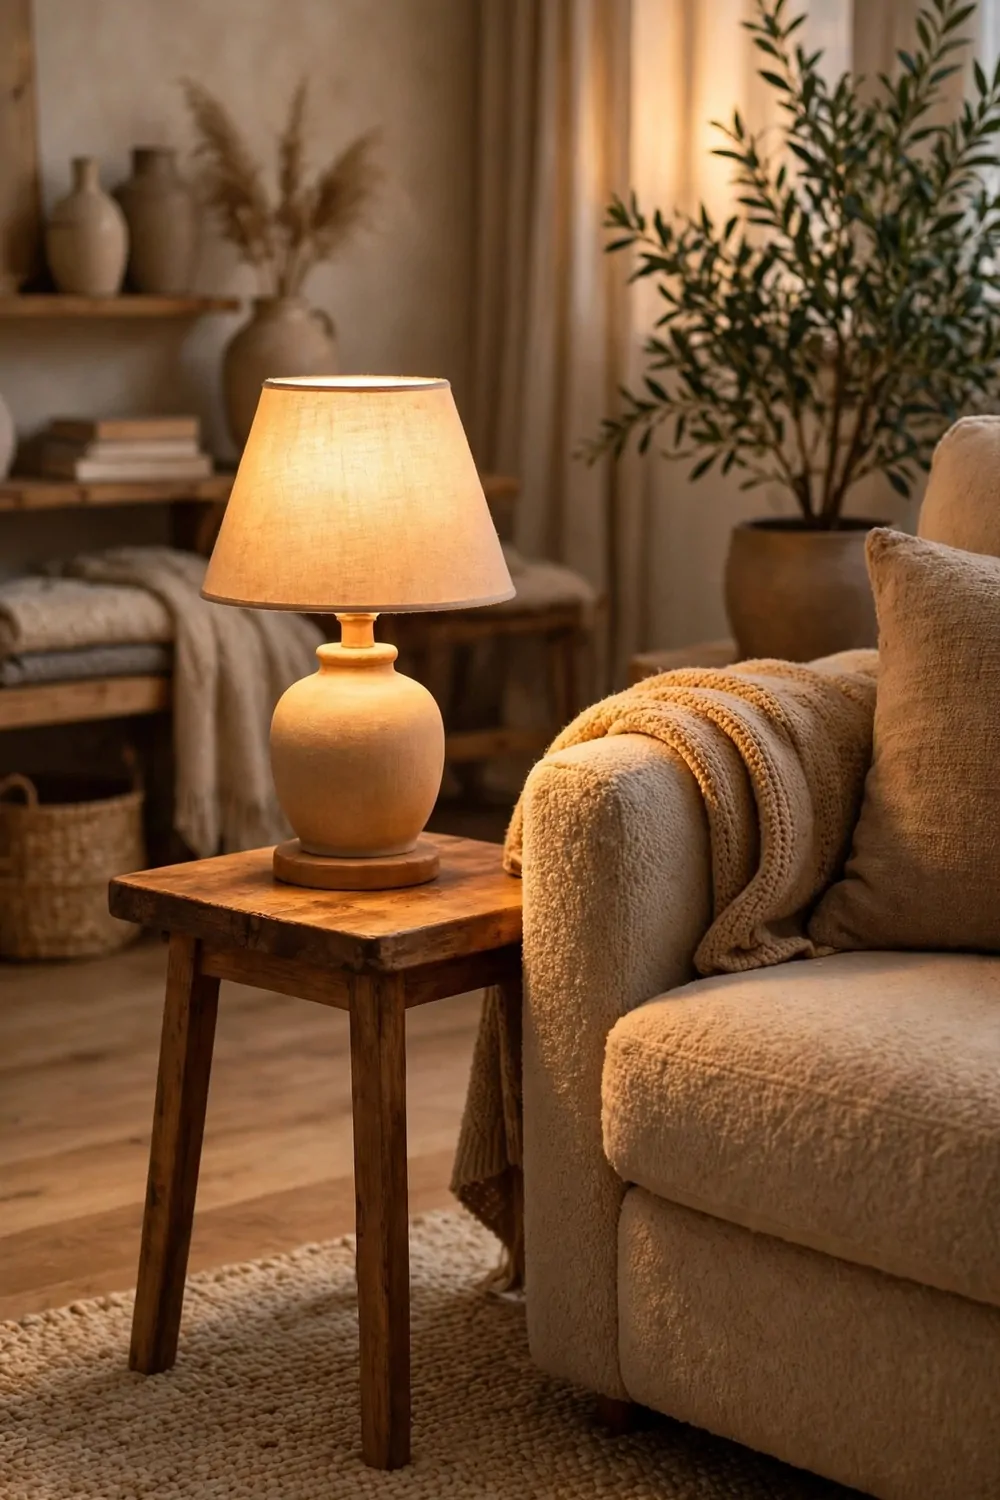
A lamp table gives a dark corner a soft glow. You get light right where you sit and read. It feels warm and calm at night.
My first stop is a thrift shop with a plain wood table. I pick one with a flat top and four firm legs. A small nick or two is fine, since paint hides a lot.
A wobbly leg needs a quick fix before you start. I turn the table over and tighten each screw by hand. If a leg still shakes, I add a dab of wood glue and let it set.
Sand the top in a well-aired space and wear a plain mask while you sand. A light pass takes off the old shine. Wipe the dust away with a damp cloth and let it dry.
A small plain table lamp base costs $11 to $16.
You can paint the table a soft white or a pale grey. Two thin coats look better than one thick coat. Let paint dry fully before you set the lamp on top.
A plain shade in cream or white keeps the light soft. I set the lamp near the back edge so it does not tip. The cord can run down the back leg and stay out of the way.
This flip works well next to a chair or a bed. You can reach the switch with no fuss at all. It turns a plain corner into a cosy reading spot.
I love how one small lamp changes the whole room. Your thrifted table now has a real job. Try it tonight and see how soft the light feels.
18. Add a Small Bookshelf Under a Side Table
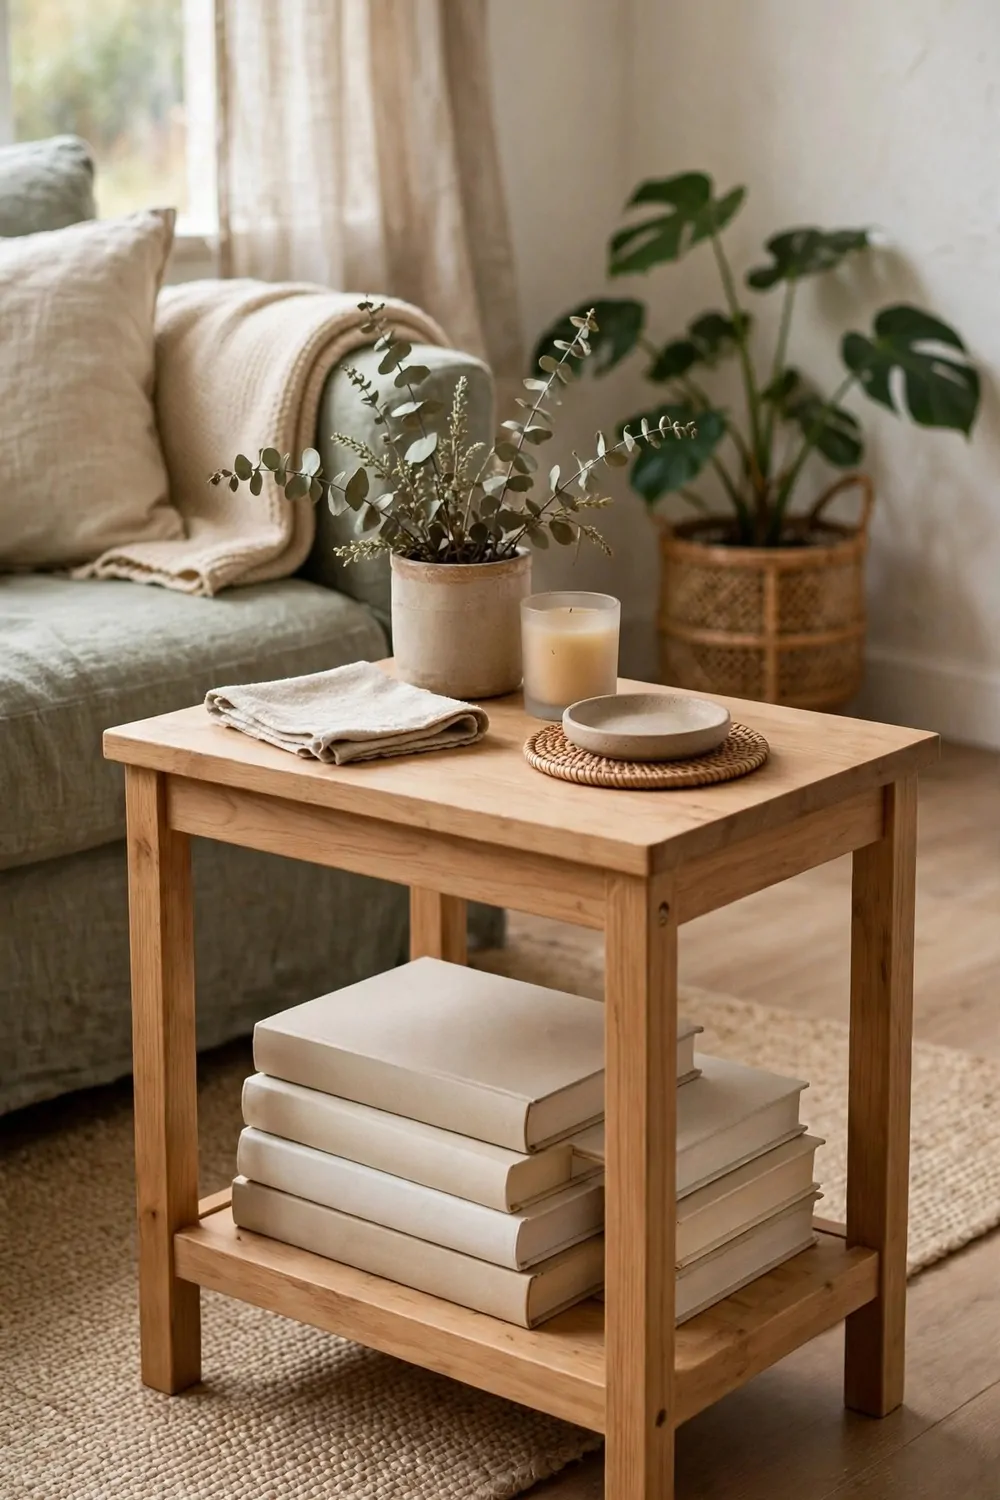
A side table with a shelf under it holds books close by. You can grab a book and put it back with no trip across the room. It is a small change with a big payoff.
Start with a table that has room between the legs. I measure the gap with a tape and write the numbers down. The shelf board must fit snug, not tight.
A thin wood board makes a fine low shelf. I cut it to size at home or ask the shop to cut it for me. Sand the cut edges smooth so no splinter stays behind.
Small wood blocks under the board hold it in place. I screw one block to each leg, low down near the floor. Then the board rests on the blocks and stays firm.
A pair of plain book ends costs $5 to $8.
Paint the shelf the same shade as the table. It looks like it was always part of the piece. Let paint dry fully before you load books on it.
Stand your books upright and mix tall ones with short ones. A small stack laid flat adds a calm look. Leave a little space at one end for a cup or a small plant pot.
Keep the heavy books low so the table stays steady. A top heavy table tips far too fast. Your books stay safe and your table stays put.
I keep my night reads on my new shelf now. It saves space and it looks neat. You will wonder why you did not add it sooner.
| Item | Main change | Typical cost |
|---|---|---|
| A small plain table lamp | lights the bedside with a warm glow | $10 to $15 |
| A small plain entryway tray | holds keys and mail by the front door | $6 to $9 |
| A set of four small swivel casters | lets a heavy table roll across the room | $7 to $11 |
| A pack of plain rattan tacks | holds the rattan flat on the table sides | $3 to $5 |
| A set of plain marble coasters | guards the marble top from cup rings | $6 to $9 |
| A small tin of forest green paint | covers a plain table in deep green | $7 to $11 |
| A thin plain gold trim roll | adds a thin gold line to the table edge | $5 to $8 |
| A small plain table lamp base | turns a plain table into a lamp table | $11 to $16 |
| A pair of plain book ends | keeps books upright on the low shelf | $5 to $8 |
19. Stencil a Simple Shape on a Side Table Top
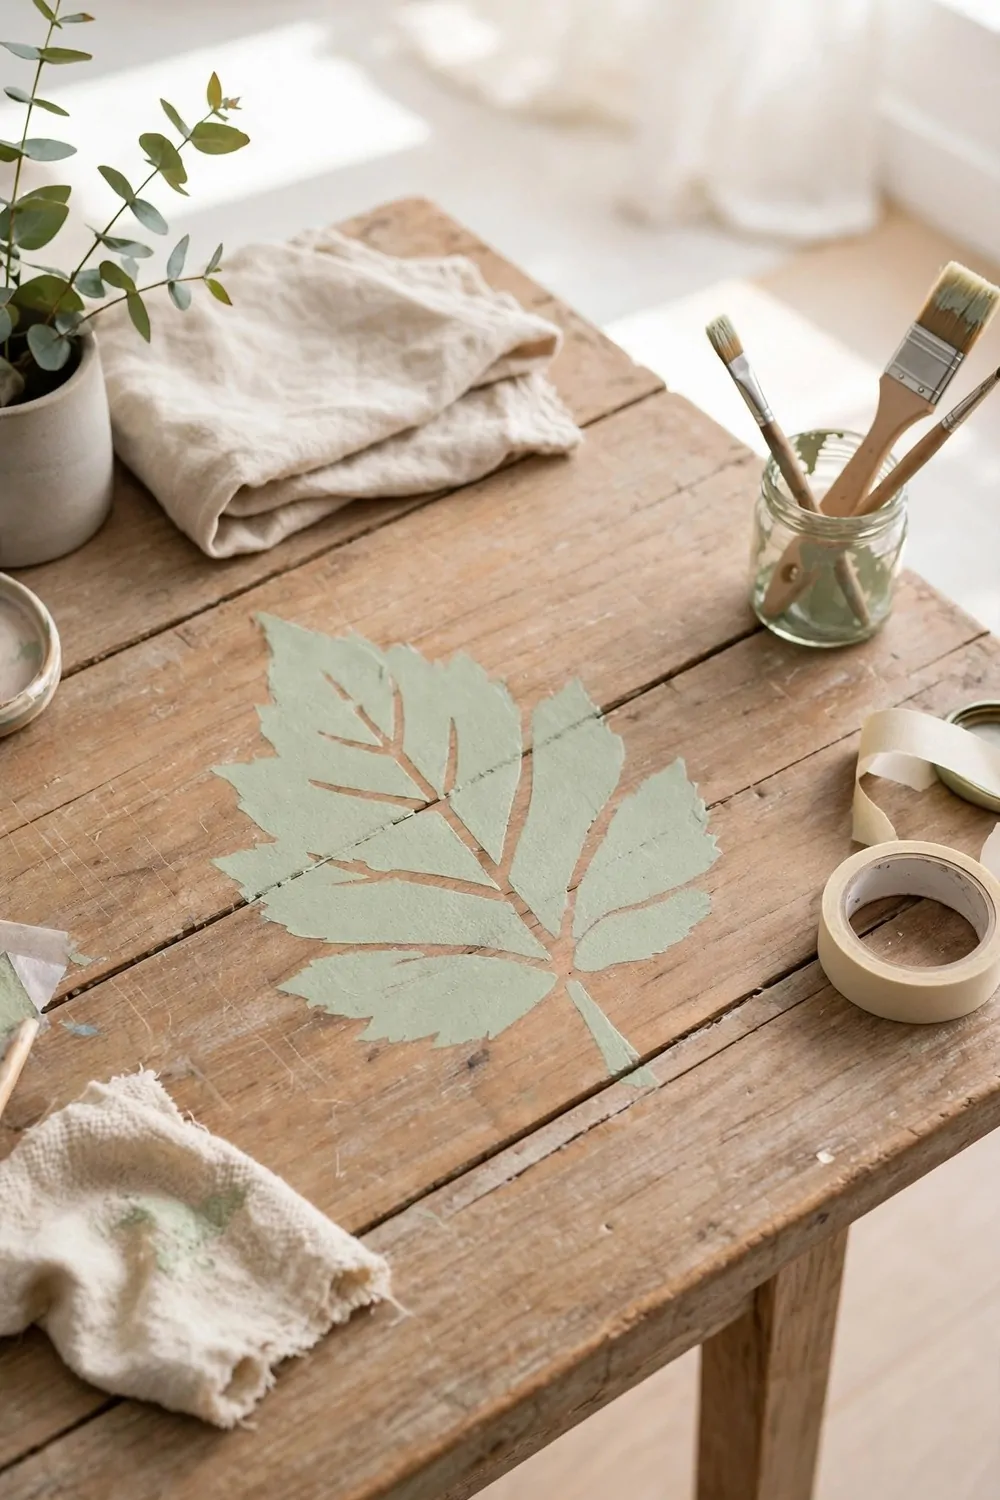
A plain shape on the top turns a dull table into a fun piece. A star, a leaf, or a plain circle all work well. Pick one shape and keep it simple.
First I sand the top in a well-aired space and wear a plain mask while I sand. Wipe off the dust and paint the top a soft base shade. Let paint dry fully before you stencil.
A small stencil brush set costs $5 to $8.
Tape the stencil flat on the dry top. I press the edges down so no paint creeps under them. A little tape at each corner holds it still.
Dip the brush in paint, then dab most of it off on scrap paper. Light dabs give a clean edge and no drips. Two light coats beat one wet coat every time.
Lift one corner and peek under the stencil. If the shape looks full, lift it off slow and straight. If a spot looks thin, lay it back down and dab a bit more.
A small slip is easy to fix with a fine brush. I touch the edge up by hand and let it dry. No one will spot the fix once the top is dry.
Give the shape a full day to dry before you move the table. A thin clear coat on top guards it from cups and dust. It keeps your work bright for a long time.
You can add the same shape to a drawer front for a match. Keep the paint shade the same so it looks planned. Your table now has a sweet crafted touch.
20. Turn a Side Table into a Tea Table
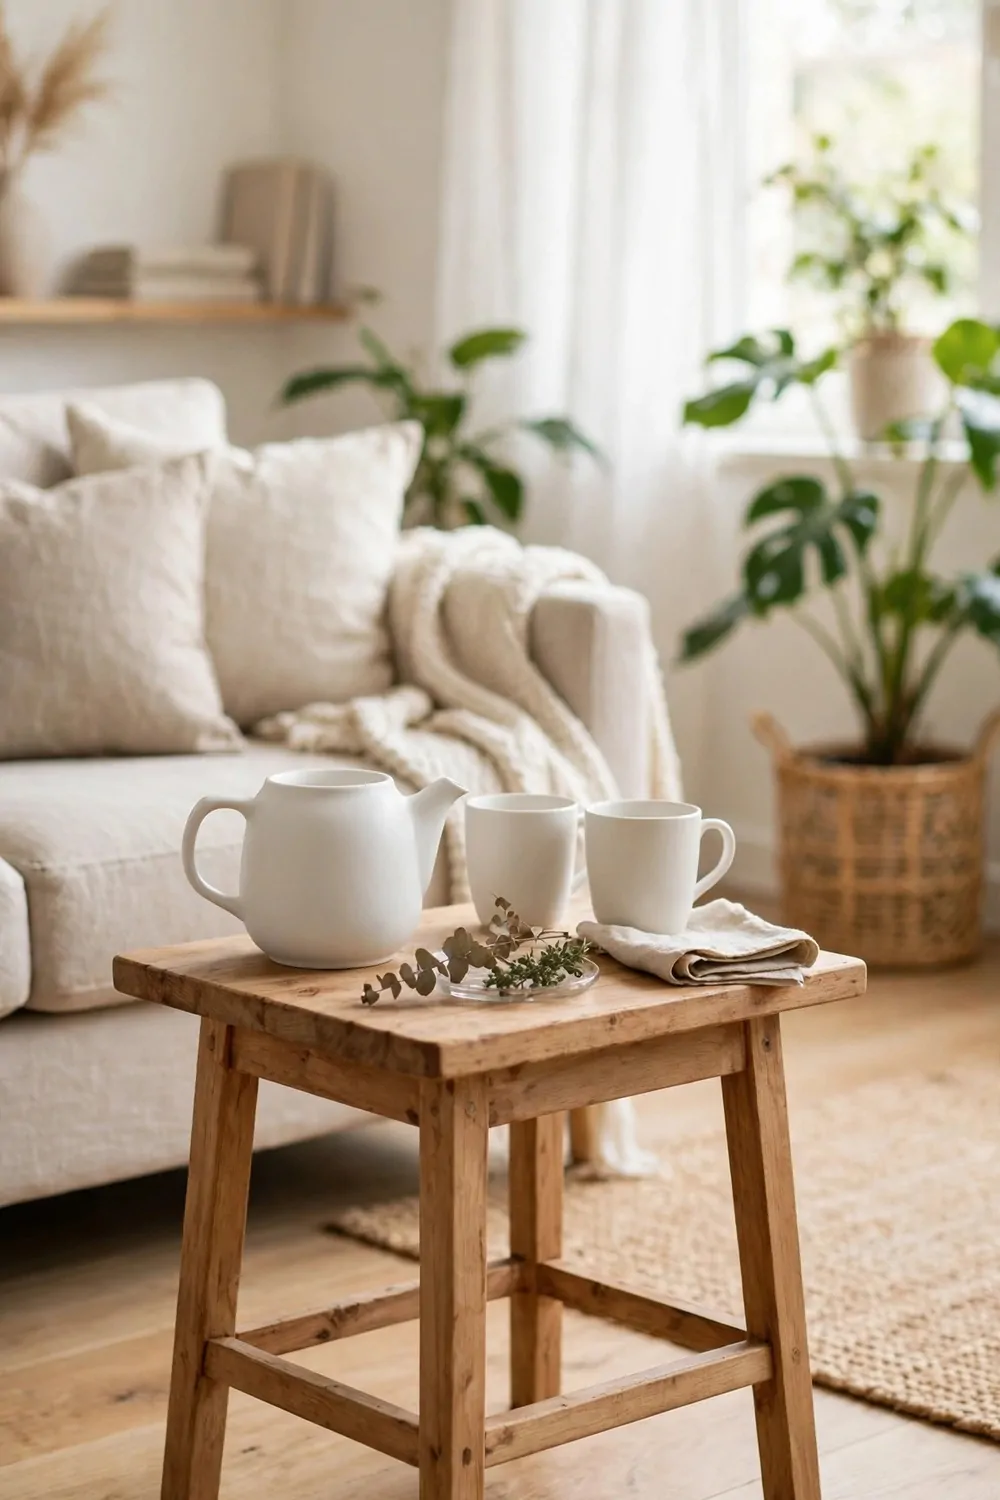
A tea table makes slow cups feel special. You set the pot down and pour with no rush. It is a calm little ritual at home.
Look for a thrifted table with a flat, steady top. I test it with a gentle push from each side. If it rocks, I fix the legs first.
Work on the top in fresh air and keep a plain mask on while you sand. A smooth top is kind to cups and pots. Wipe the dust off and leave the warm wood plain.
A plain ceramic teapot costs $9 to $13.
Set the pot and two cups on the wood top with room to spare. A small cloth under the pot makes spills easy to wipe up.
Pick two plain cups that match the pot. I keep mine on the table so all is in one place. A small folded cloth napkin sits close by for spills.
Set the table near a chair where you like to sit. A small dish with a few green sprigs adds a soft touch. You have a tea spot ready in one corner.
Wipe the top dry after each cup. Water rings mark wood fast if they sit. A quick wipe keeps your flip fresh for years.
I pour my tea at this table most days now. It cost so little and it feels so calm. You can make one this weekend too.
21. Add a Linen Skirt to a Plain Side Table
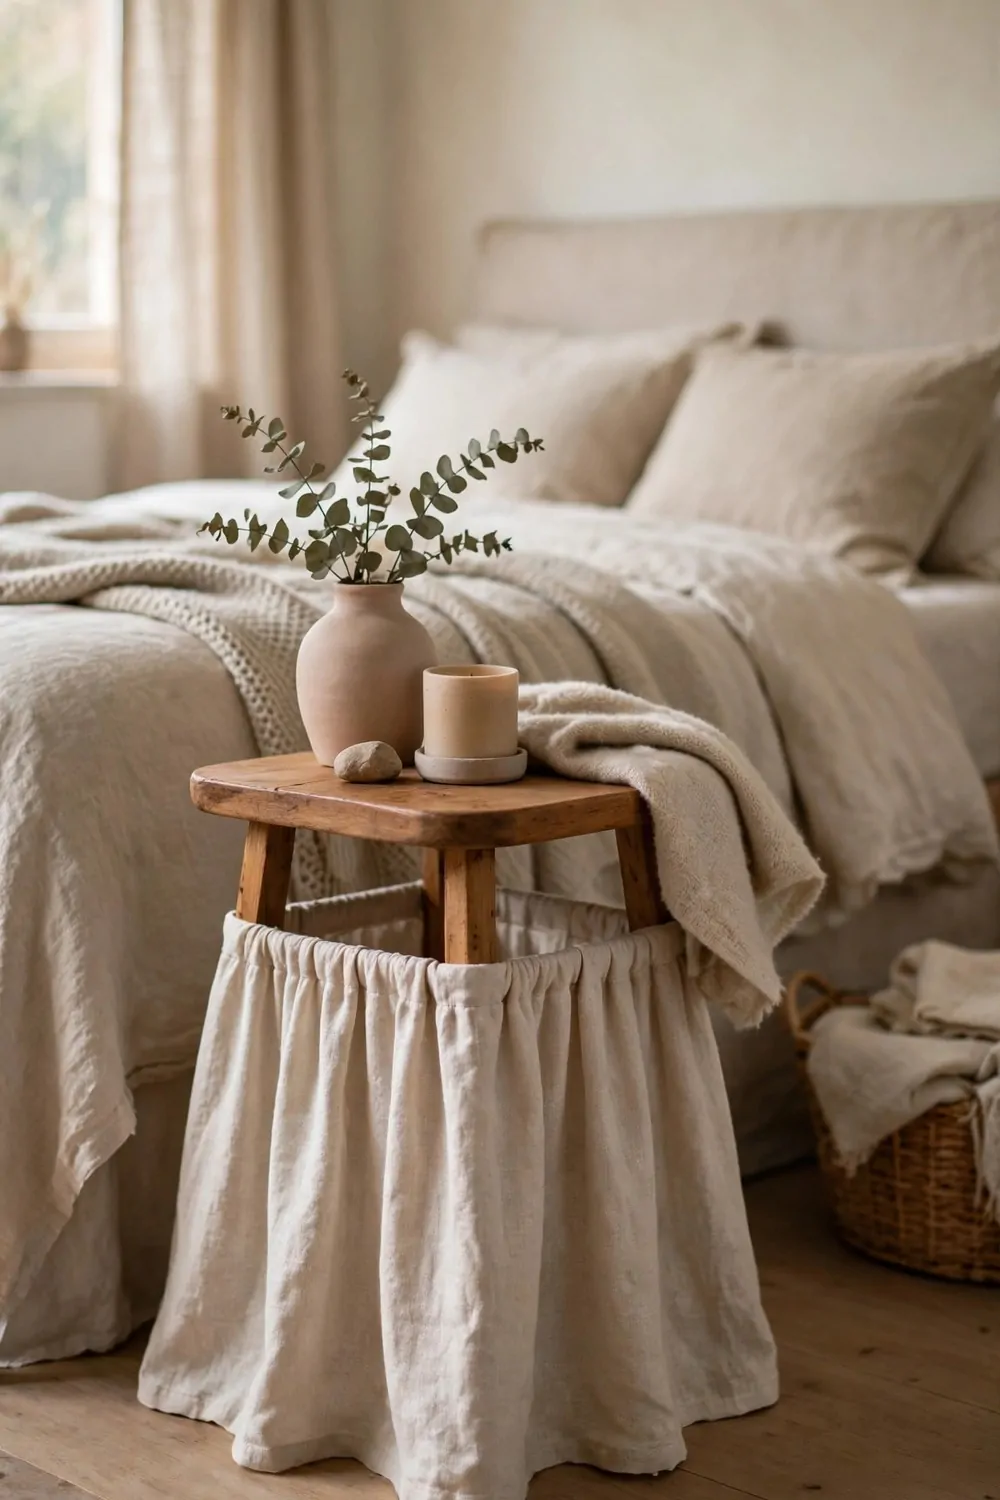
A linen skirt hides clutter under a plain table. Books, cords, and odd bits vanish behind soft cloth. The table looks neat from every side.
Pick a plain linen cloth in a shade you love. I like soft white, pale grey, or a warm sand tone. The cloth should reach right down to the floor.
Measure all four sides and add a little extra for the hem. I fold the top edge over twice and press it flat. A neat hem keeps the skirt from fraying.
A plain linen table skirt costs $9 to $13.
You can pin the skirt to the table edge with small tacks. Or use a strip of hook tape under the top rim. Both hold well and come off when you wash the cloth.
Let the skirt hang straight and smooth the folds by hand. A light steam pass takes out hard creases. Your table now looks soft and dressed up.
Tuck baskets or books behind the skirt for hidden storage. No one sees the mess, yet you can reach it fast. It is the easiest tidy trick I know.
Wash the linen on a cool cycle and hang it to dry. It softens more with each wash. Your thrifted table feels fresh and calm again.
A skirt in a soft tone suits most rooms. I swap mine for a warm sand shade in cold months. It is a cheap way to shift the mood of the room.
22. Turn a Side Table into a Sewing Table
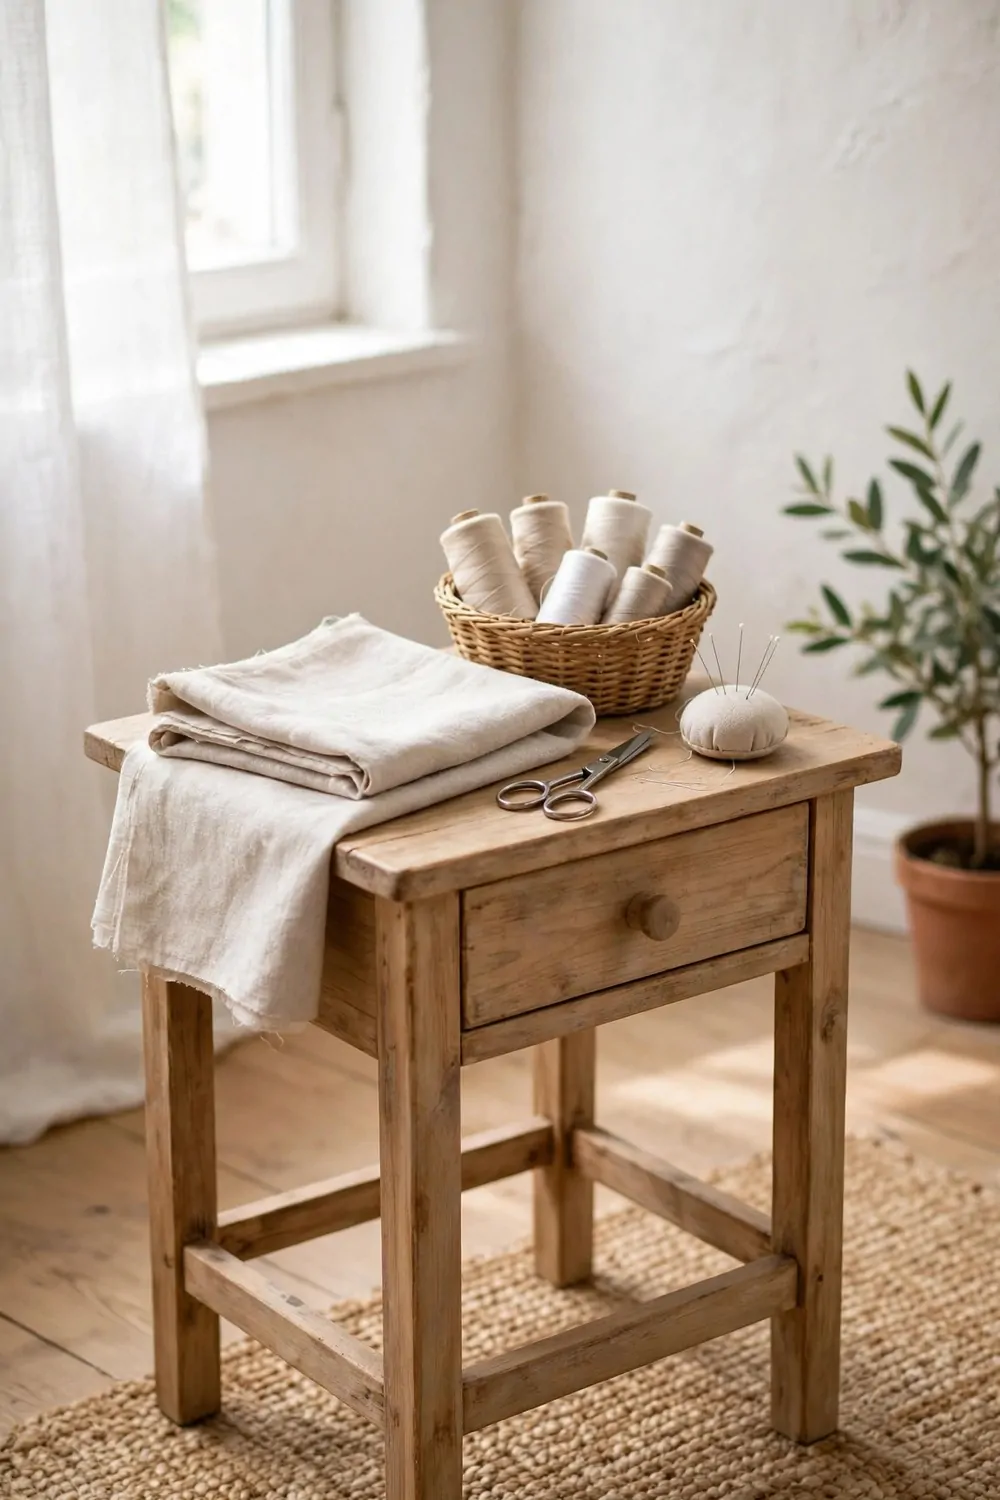
A sewing table keeps your thread and cloth in one spot. You can sit down, sew a bit, and pack it all away. It suits small rooms so well.
Find a thrifted table with a drawer or a low shelf. I check that the drawer slides smooth and the legs stand firm. A deep drawer is best for spools and pins.
Sand it outside or near an open door, with a plain mask on your face. A pale wood top shows thread bits clear. Wipe the dust off before you use it.
A small basket of thread spools costs $8 to $12.
Set the basket on top and sort the spools by shade. Keep pins in the soft pincushion. A tidy basket saves you from lost needles.
A folded cloth on top keeps my half done work neat. I fold each piece flat so it does not crease. Pull it out when you sew and tuck it back after.
Put the table near a bright window if you can. Good light helps your eyes and your stitches. A small lamp on top helps on grey days too.
Keep the pincushion on top for pins and needles. It stops tiny bits from rolling off the edge. You can spot what you need at a glance.
I sewed a torn hem at this table last week. All my bits were right there in reach. You will love having one spot for all your sewing.
23. Build Your Side Table Care Kit
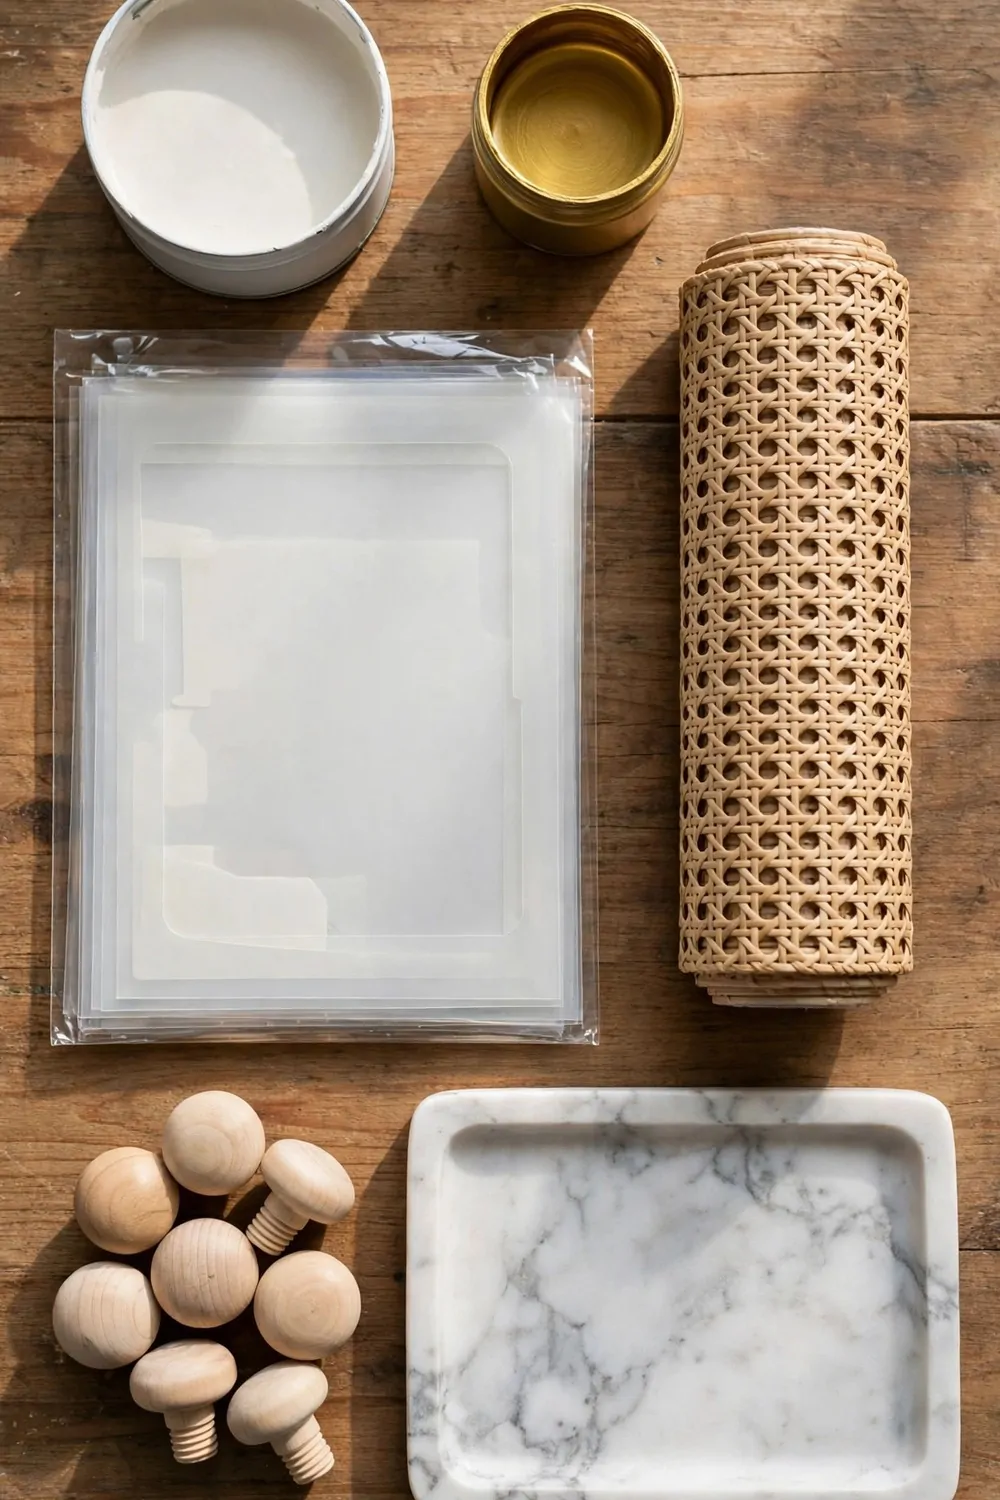
A small care kit keeps every side table flip fresh. You gather the bits once and use them again and again. It saves trips to the shop each weekend.
A small tin of soft white paint costs $7 to $11.
A pack of plain stencil sheets costs $4 to $7.
A small pot of plain gold paint costs $5 to $8.
A roll of plain rattan wrap costs $6 to $10.
A set of plain round wooden knobs costs $5 to $8.
A plain marble-look tray top costs $8 to $12.
The whole kit costs $35 to $56.
Store it all in one box by your work spot. I keep a brush, a cloth, and sandpaper in the same box. When a table needs a touch up, you are ready in a flash, and your kit grows with each flip you finish.
| Item | Main change | Typical cost |
|---|---|---|
| A small tin of soft white paint | covers small side tables in one soft shade | $7 to $11 |
| A pack of plain stencil sheets | adds a plain shape to a table top | $4 to $7 |
| A small pot of plain gold paint | adds a thin gold line to a table edge | $5 to $8 |
| A roll of plain rattan wrap | wraps a plain table in a soft woven look | $6 to $10 |
| A set of plain round wooden knobs | swaps dull knobs for warm wood ones | $5 to $8 |
| A plain marble-look tray top | gives a plain top a calm stone look | $8 to $12 |
| Total | $35 to $56 |
Keep Reading
If you liked these ideas, you will love these posts too.
- 26 Vintage Furniture Finds That Add Charm to Any Room
- 33 Upcycled Wood Pallet Ideas for Home and Garden
- 21 Coffee Table Flip Ideas on a Small Budget
- 28 Chair Makeover Ideas That Give Old Seats New Life
- 24 Secondhand Furniture Finds That Look Expensive
- 32 Painted Furniture Ideas That Transform Old Pieces
Start with the side table you already own this weekend and let one small change wake it up.