24 Grow Your Own Food Ideas for Small Yards

Our yard is barely wider than our car, and for years I thought that meant we could never grow our own food.
I pictured long rows of plants and a big open garden. Our yard has none of that. It has a small patio, a narrow strip of soil, and a fence that gets the afternoon sun.
Then I tried one pot of tomatoes by the back door. That one pot gave us fruit for weeks, and it changed how I saw our whole yard.
A small yard is not a problem once you think in pots, boxes, and walls. You can use steps, rails, corners, and even a sunny windowsill.
You do not need fancy tools or a big budget to start. A pot, some soil, water, and a sunny spot are often enough.
Most of the ideas here take up less room than a chair. Some take up less room than a shoe box.
All 24 ideas are in this one post, no part split, nothing held back for later.
1. Grow Tomatoes in One Big Pot on the Patio
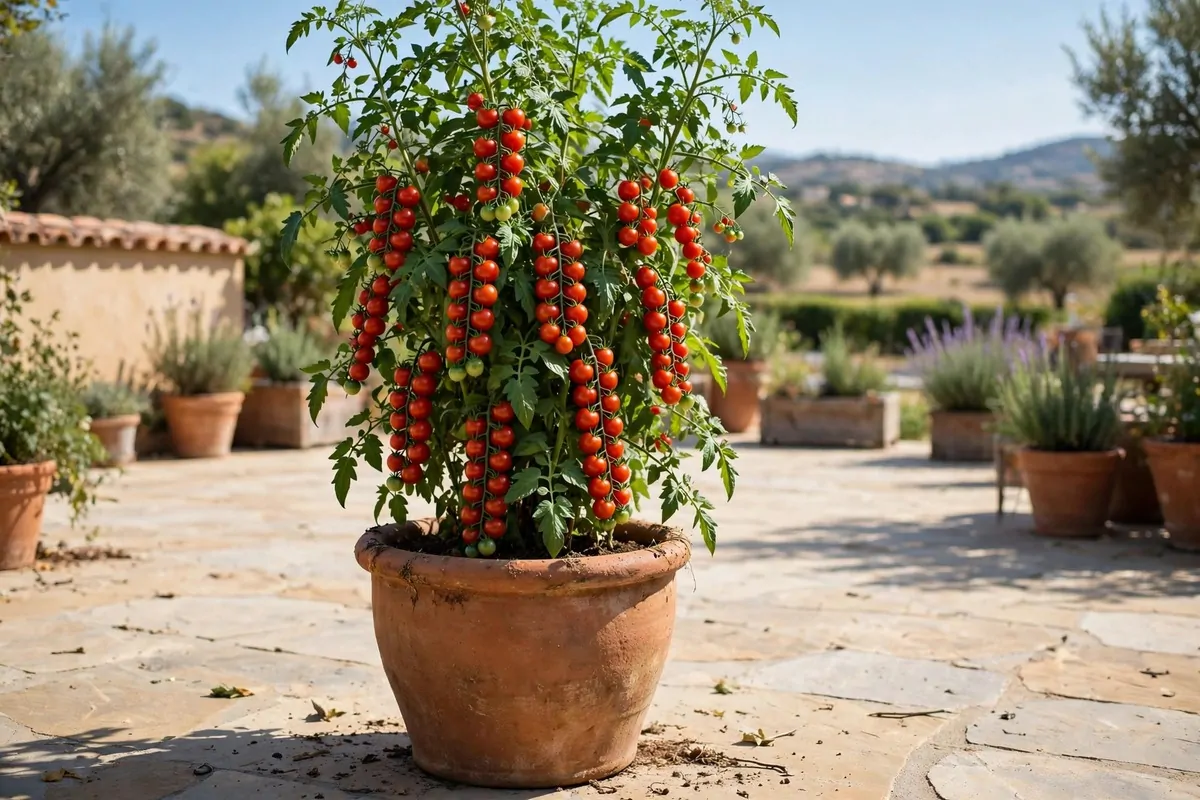
One big pot on the patio can grow a whole tomato plant. I keep mine near the back door so I see it every day.
Pick a pot that is wide and deep, with holes in the bottom for water to drain out. Fill it with fresh compost and plant one young tomato plant in the middle.
Give it the sunniest spot you have. Tomatoes love warmth and light, and a patio often holds heat well into the evening.
Water it often in warm weather, and try to keep the soil damp but not soggy. I water at the base of the plant, right at the soil.
A large pot, compost and a young plant often cost $14 to $24 to start.
Push a tall stick or a small cage into the pot when the plant is still young. The plant will lean on it as it grows taller.
Pinch off the small shoots that grow between the main stem and a leaf. This keeps the plant tidy and helps the fruit get more light.
You can pick the fruit when it turns fully red and feels soft when you press it gently. I pick a few at a time and use them the same day.
If the leaves look dusty, I rinse them with plain water. I pick off any tiny bugs by hand, and that is all the care my pot plant needs.
2. Plant a Herb Rail Along Your Fence
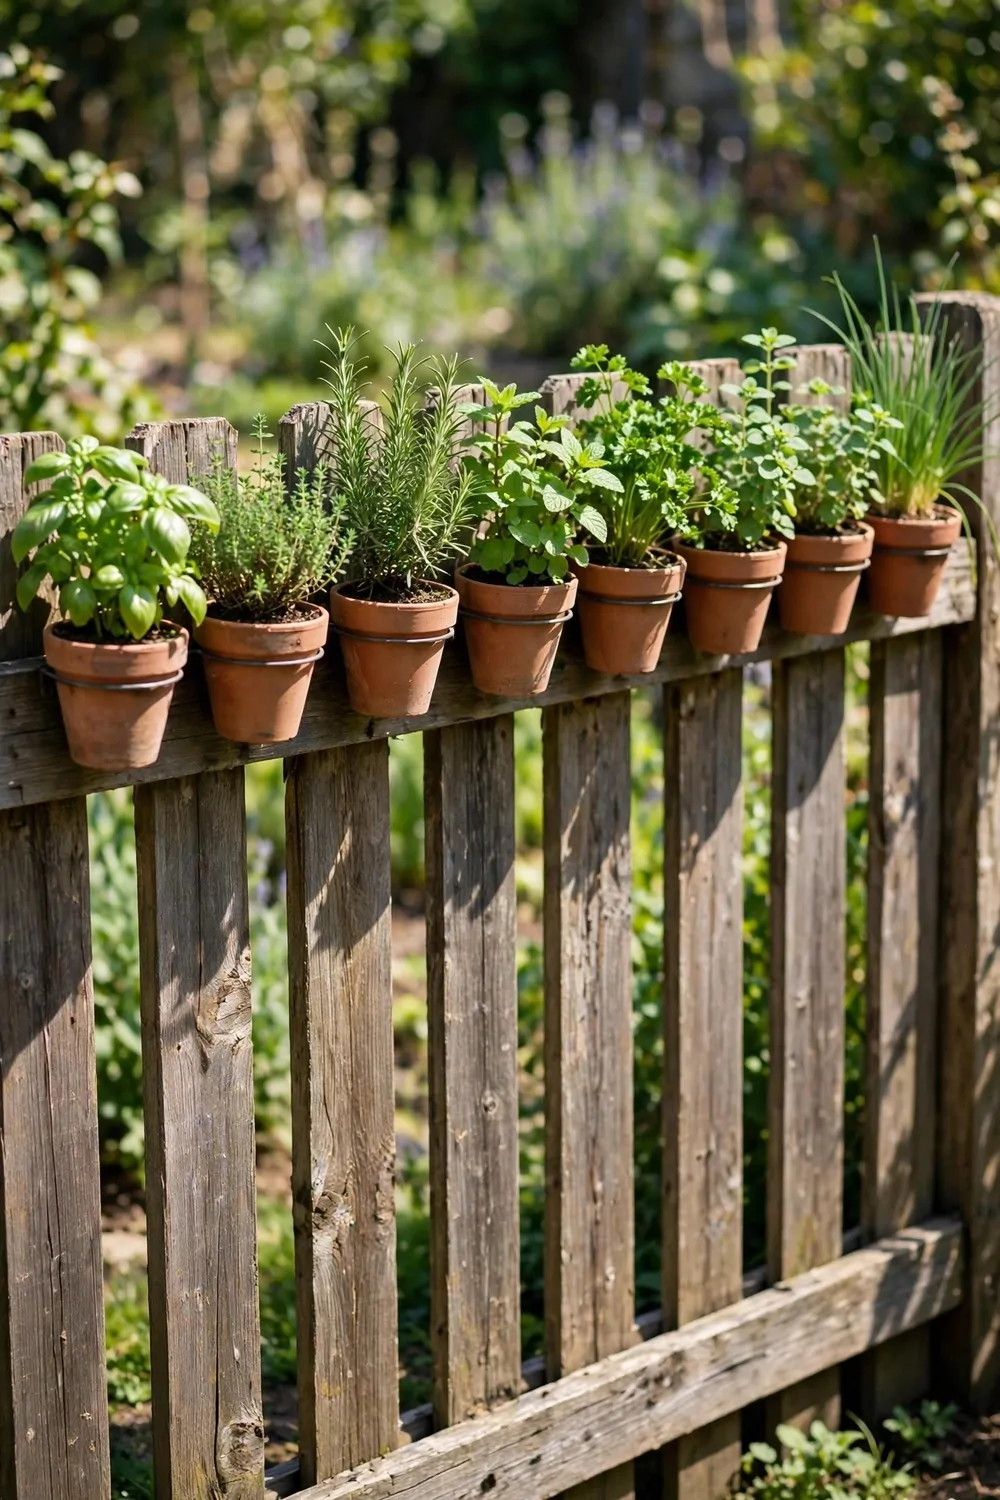
A herb rail turns a plain fence into a tiny kitchen garden. I fixed a simple rail to ours and hung small pots along it.
Start with herbs you use a lot, like basil, parsley, mint, and chives. One small pot per herb keeps them from crowding each other.
Mint grows fast and takes over, so give it its own pot. I learned that after it filled a whole box in one summer.
Hang the rail where it gets morning sun and a bit of shade in the late afternoon. Most herbs are happy with that mix.
A rail, hooks and four small pots with young herbs often cost $18 to $32 to start.
Water the small pots often, as they dry out fast on a fence. I check mine each morning with a quick poke of the soil.
Snip leaves from the top of each plant, and it will grow bushy again. Do not strip a whole plant bare in one go.
Label each pot with a small stick or a bit of tape. It saves you from guessing which green leaves are which.
If a pot looks dry and pale, I move it down to the ground and give it a good soak. It perks up again in a day or two.
3. Grow Salad Leaves in a Narrow Side Strip
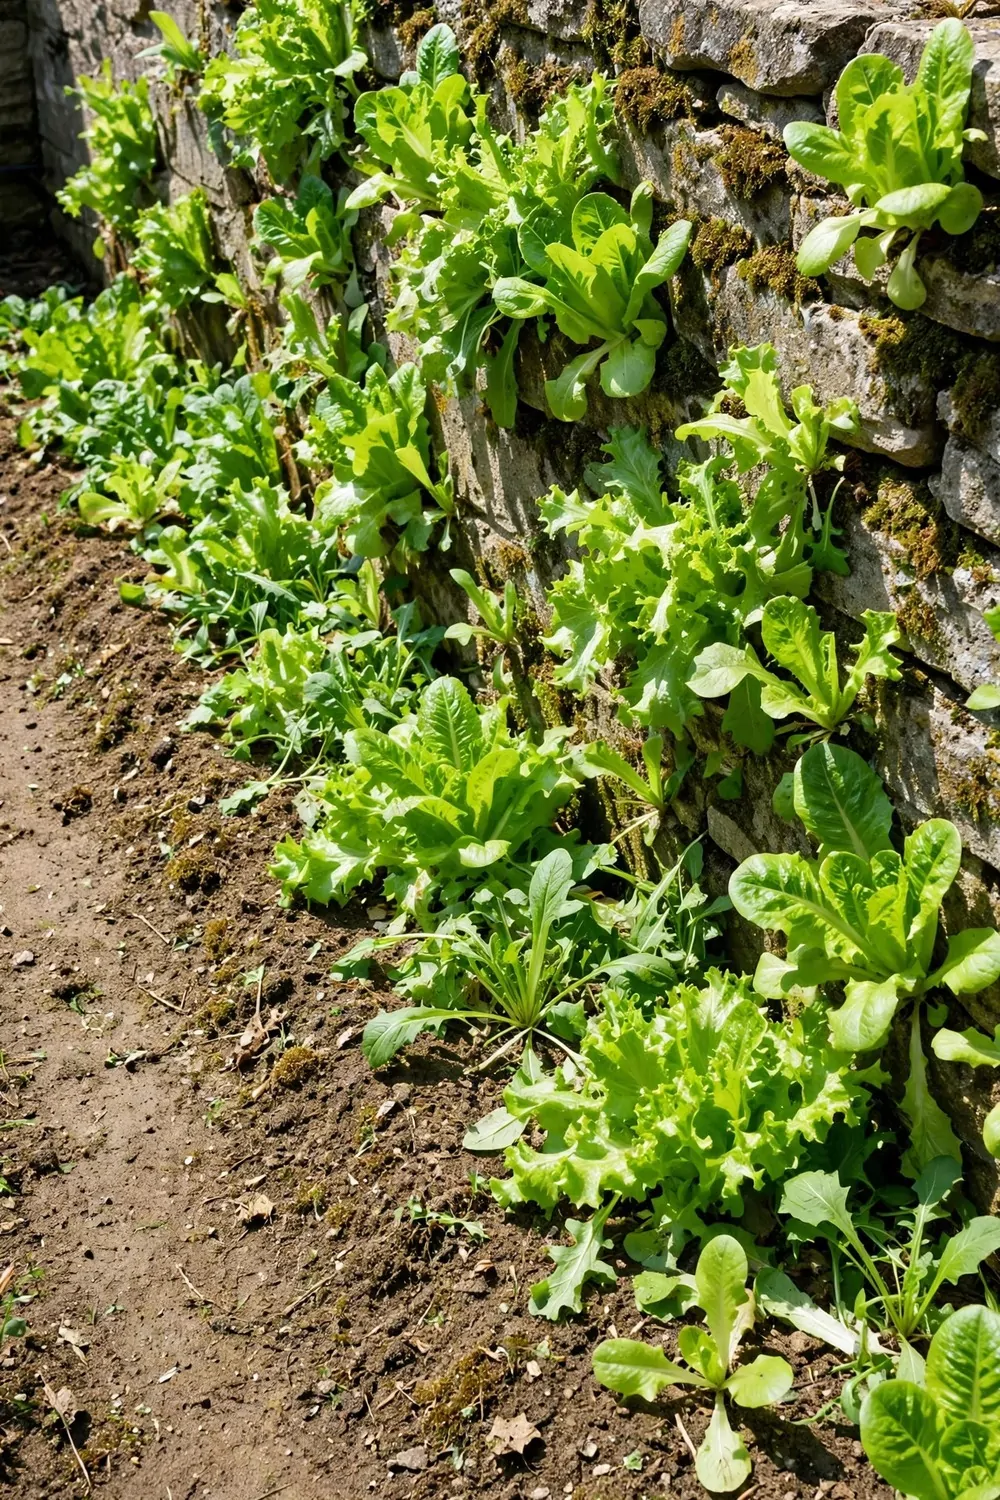
The narrow strip beside our house used to grow only weeds. Now it grows salad leaves, and it is the easiest bed I have.
Salad leaves do not need deep soil, so a strip even a foot wide can work. I loosened the soil with a hand fork and mixed in some compost.
Sow the seeds in short rows, a few at a time. I sow a new short row every two weeks so we always have young leaves to pick.
Keep the soil damp until the seeds wake up and sprout. A light watering each evening is enough in mild weather.
Seeds, compost and a small hand fork often cost $8 to $16 to start.
Take the outer leaves first and let the middle keep growing. This way one plant gives you leaves for weeks.
Shade helps in hot sun, so I grow mine where the house casts shade in the afternoon. The leaves stay soft and sweet there.
Slugs love damp leaves, so I check the strip after rain. I pick off any slugs by hand and drop them far from the bed.
Rinse the leaves well before they reach your plate. A bowl of plain water and a gentle shake is all they need.
4. Stack Pots on a Sunny Step
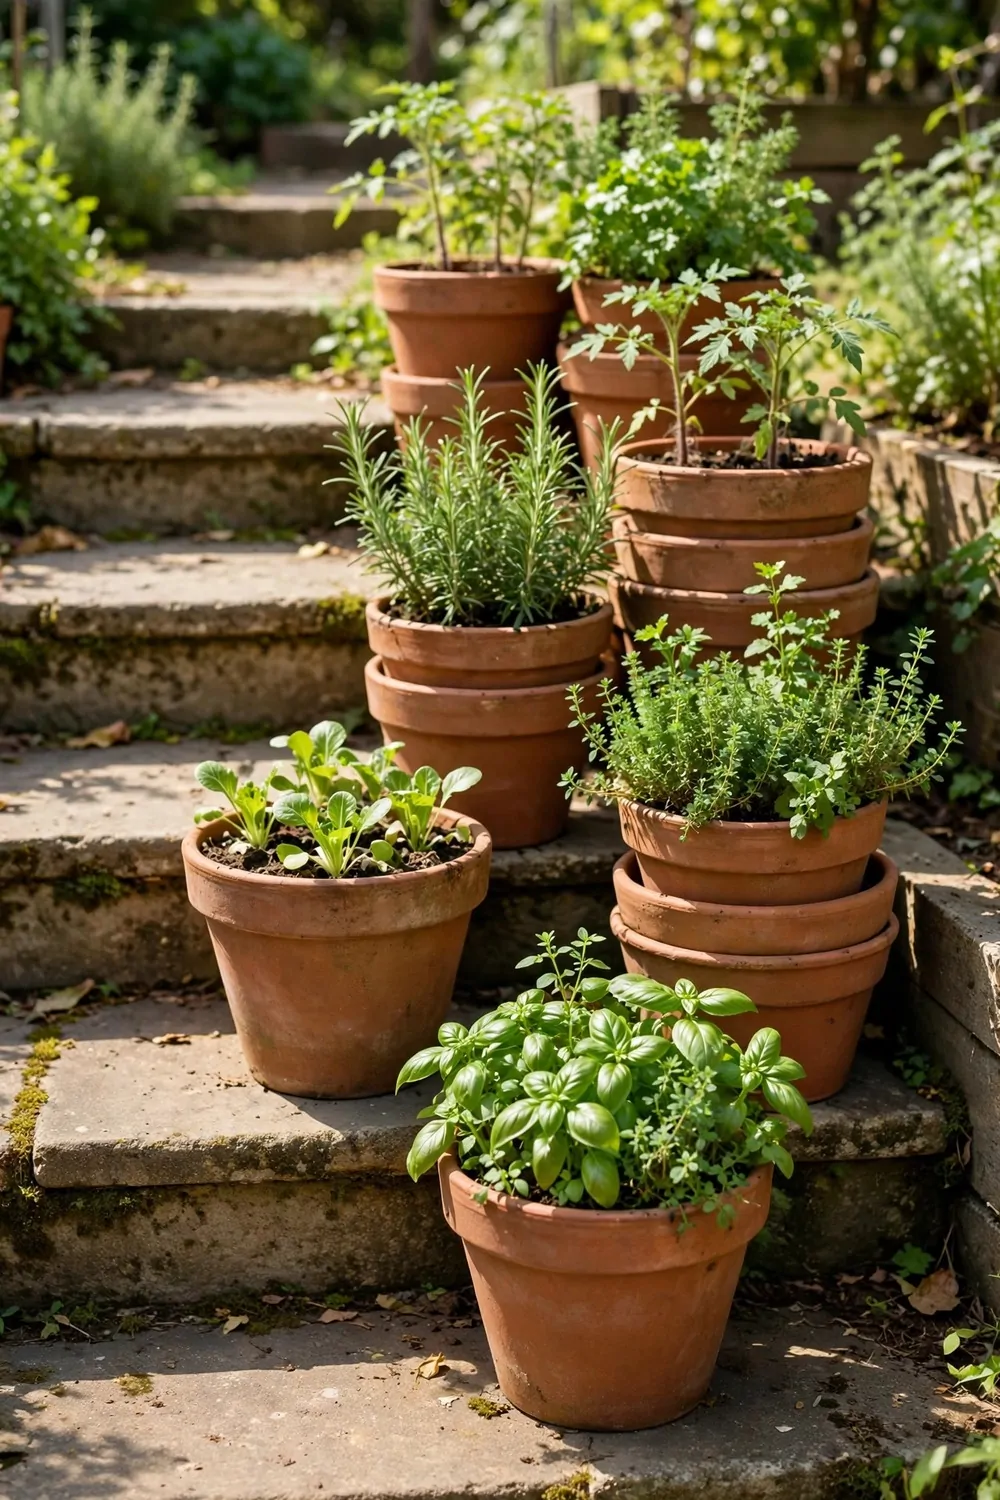
Our back steps get sun all morning, and stacked pots turned them into a mini garden. It takes no extra ground at all.
Put the biggest pot on the bottom step and smaller pots above it. This keeps the stack steady and lets each plant get light.
Try a mix of plants, like lettuce on one step and herbs on the next. I keep the tallest plants at the back so they do not shade the small ones.
Use light pots if your steps are old or narrow. Heavy clay pots can be hard to move, so I use plastic or thin metal ones here.
Three stacked pots, compost and young plants often cost $16 to $28 to start.
Water the top pots first and let any extra drip down. The lower pots get a drink too, so I water less overall.
Turn the pots every few days so all sides get sun. Plants lean toward the light, and a quick turn keeps them even.
Check that each pot has drainage holes before you plant. Water that sits in a pot with no holes will rot the roots.
When a plant finishes, I pull it out and pop a new one in the same pot. The steps never sit empty for long.
5. Grow Chillies in a Small Pot by the Door
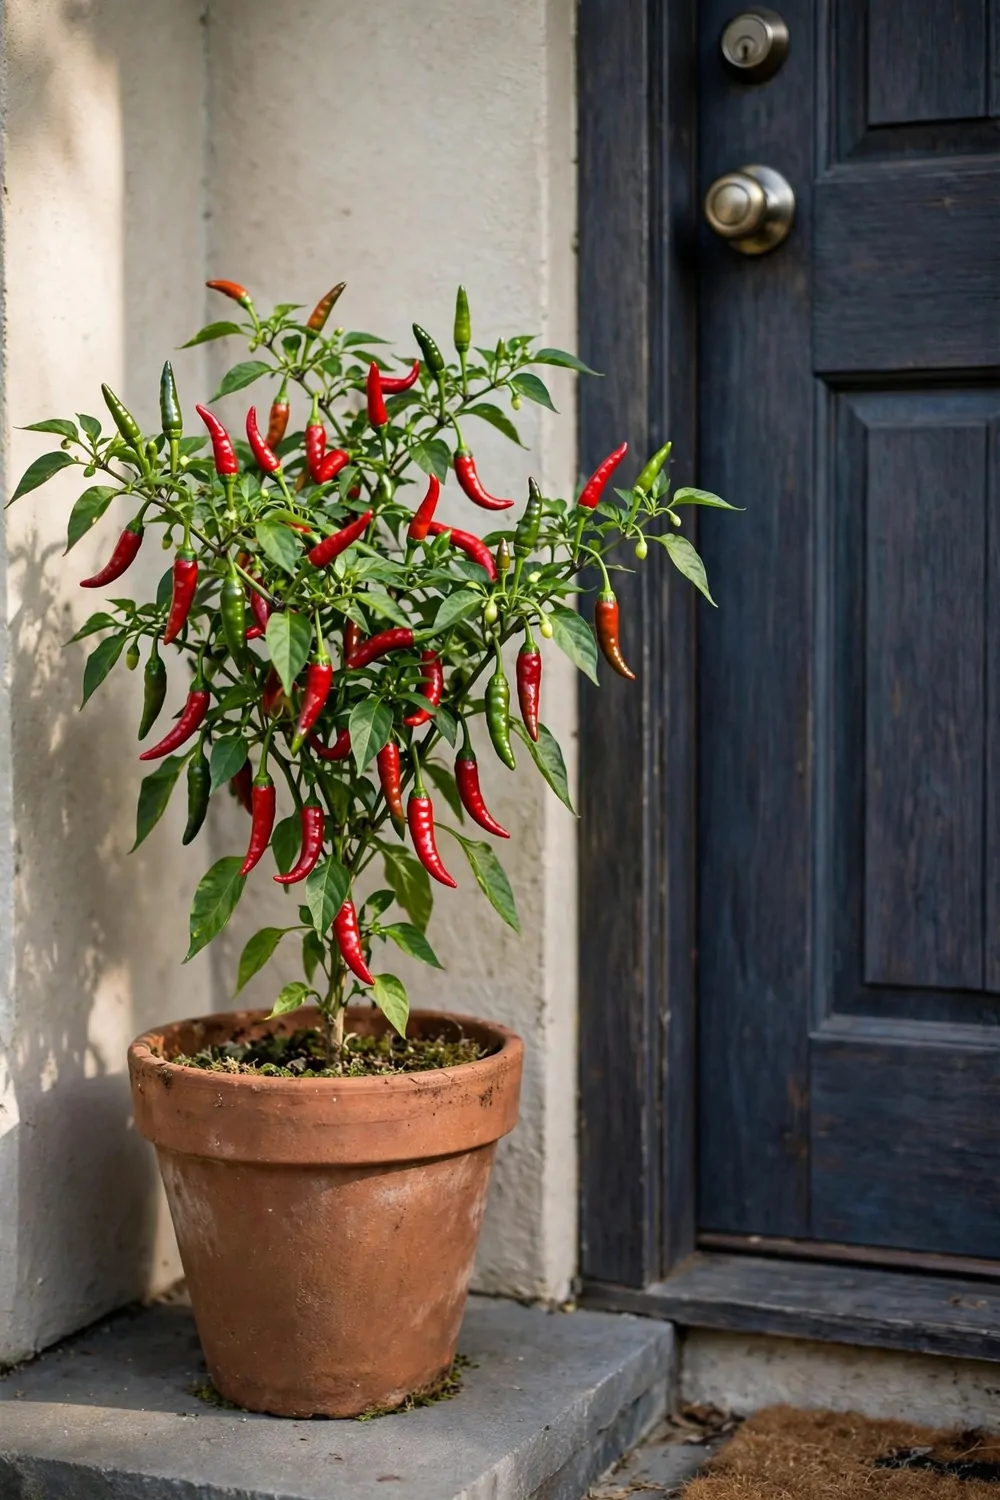
A chilli plant by the door is one of my favourite small yard tricks. It needs just one small pot and a sunny spot.
Pick a pot about the size of a soup bowl, with holes in the bottom. Fill it with compost and plant one young chilli plant.
Chillies love heat, so put the pot where the sun hits it for most of the day. A spot by a warm wall works well.
Give it a drink when the top of the soil feels dry. I water little and often, and I never let the pot sit in a puddle.
A small pot, compost and a young chilli plant often cost $9 to $17 to start.
The tiny white flowers turn into green chillies, and then they ripen to red or yellow. I wait until they feel firm and bright.
Pick them with scissors so you do not pull the plant. The plant often grows more flowers after you pick the first chillies.
Wash your hands after you handle chillies. The heat stays on your fingers longer than you think.
At the end of the season I let the last chillies dry on the plant. I crush them into flakes for winter cooking.
6. Plant Strawberries in a Hanging Basket
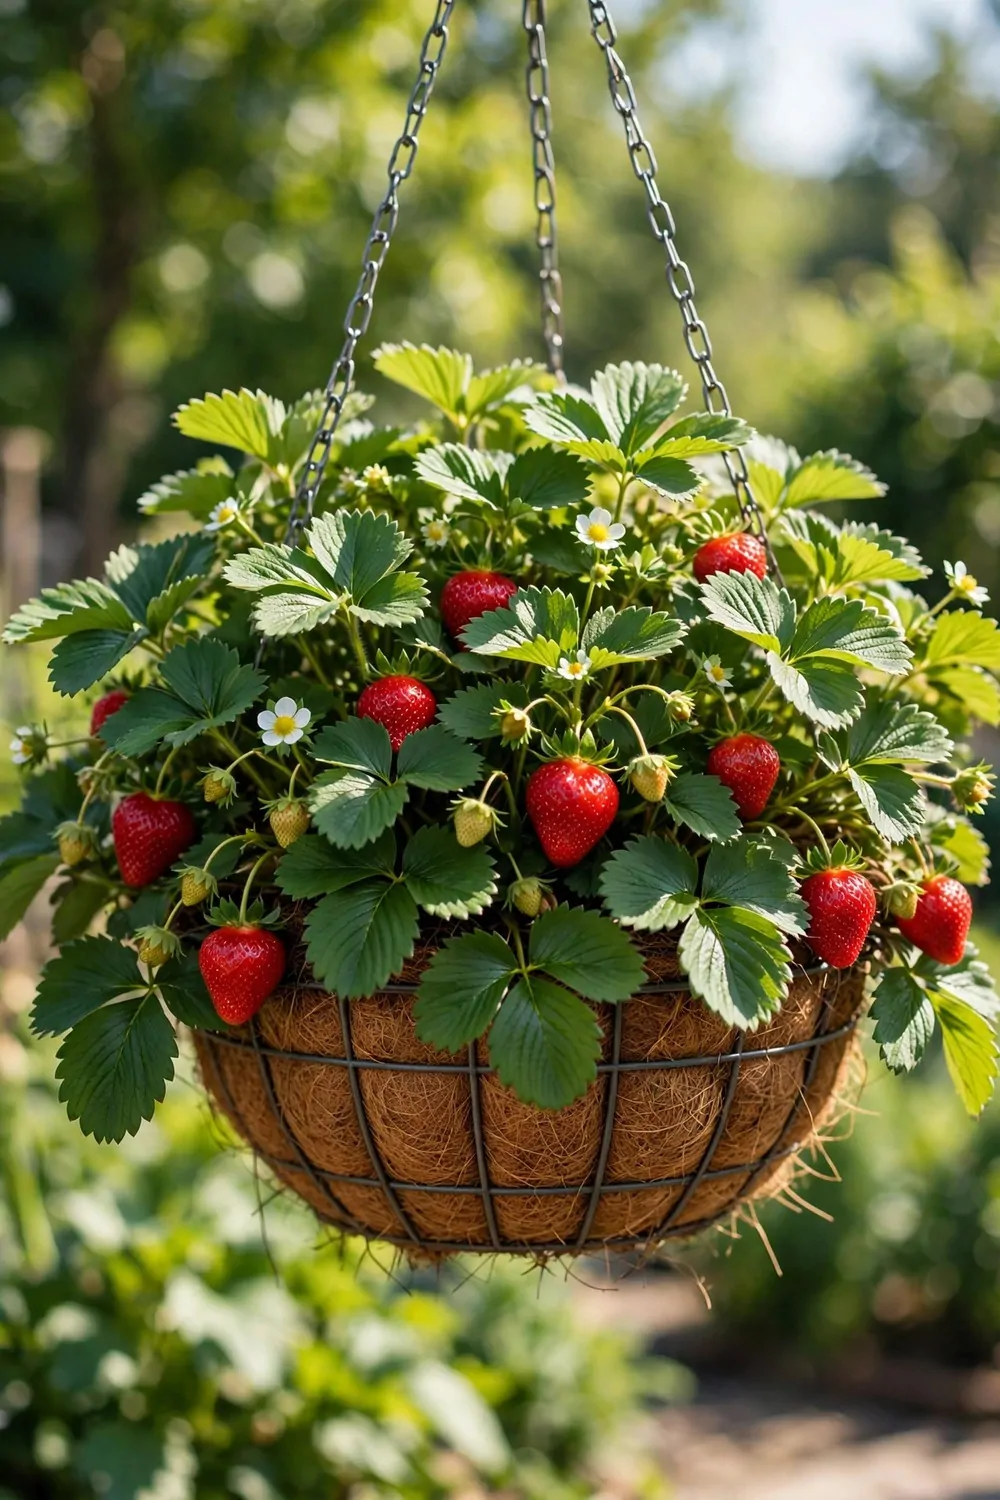
Strawberries in a hanging basket save ground space and keep the fruit clean. I hang mine from a hook by the kitchen window.
Use a basket lined with a bit of old cloth or moss to hold the soil in. Fill it with compost and plant three young strawberry plants around the edge.
Hang it where it gets sun for most of the day. Strawberries need light to turn sweet and red.
Water the basket often, as hanging baskets dry out fast in wind. I water mine every morning in warm weather.
A basket, liner, compost and three young plants often cost $15 to $26 to start.
The flowers turn into small green fruit, and then they blush pink and red. I pick them as soon as they are fully red.
Birds love strawberries too, so I hang a bit of netting over the basket when the fruit starts to ripen. It keeps the birds off without harming them.
Pinch off the long runners that trail down from the plant. This helps the plant put its energy into fruit instead of new leaves.
In winter I move the basket to a sheltered wall. The plants rest there and grow back strong in spring.
7. Grow Beans Up a Balcony Trellis
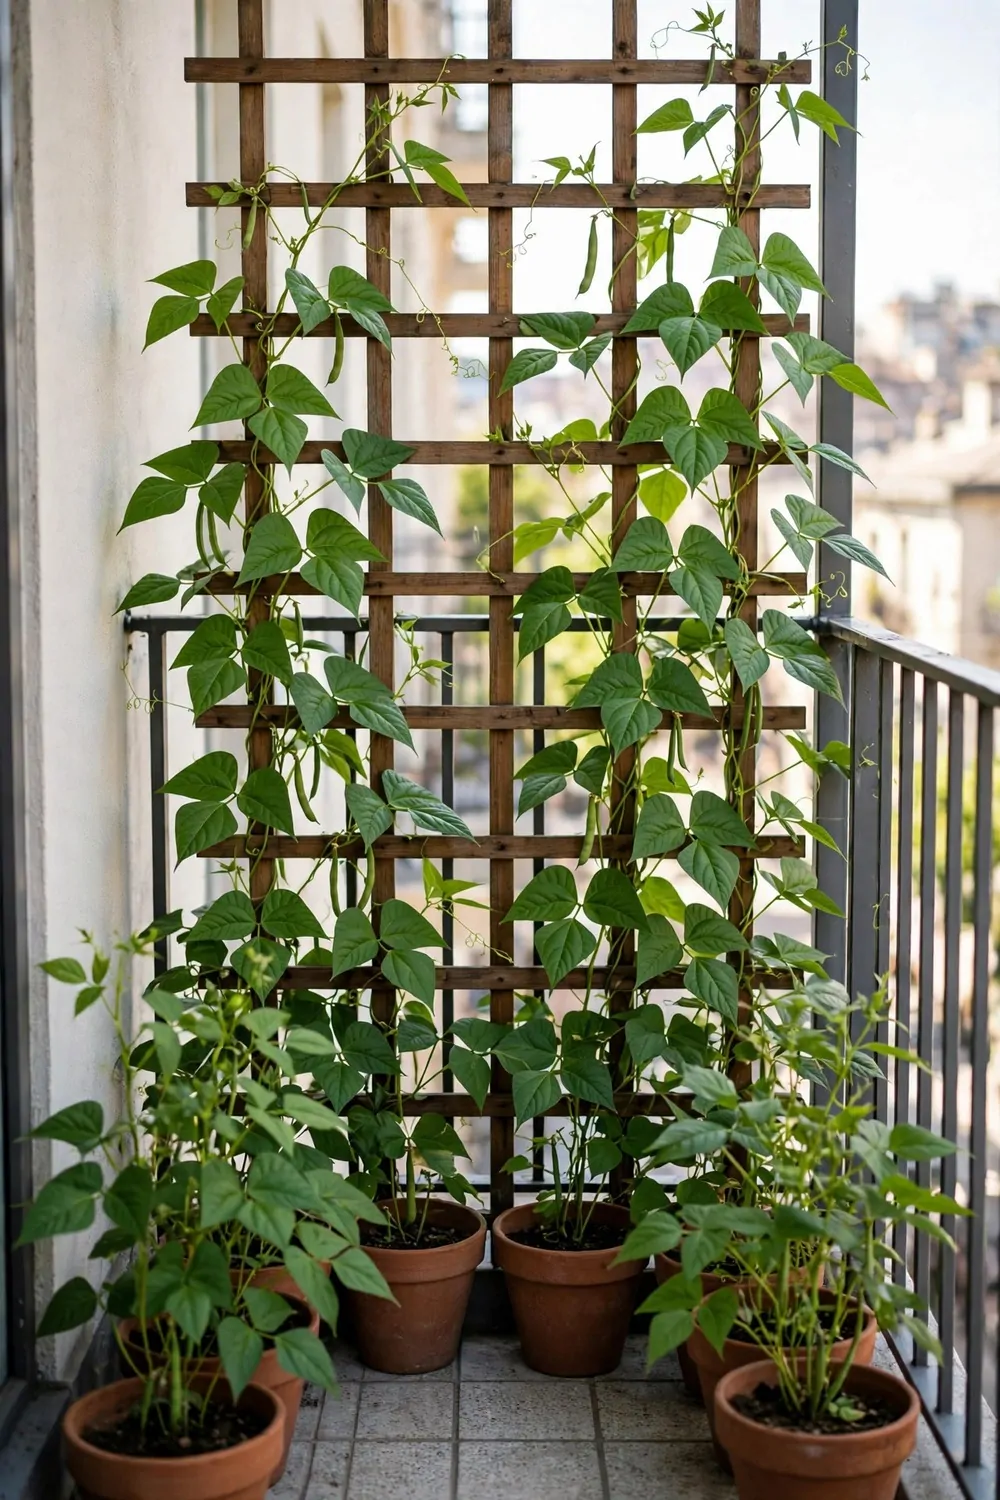
Beans climb, so they are perfect for a balcony. A small trellis gives them height without taking up floor space.
Fix a trellis or a few tall sticks to the balcony rail. Plant the beans in a long box or a deep pot at the base.
Sow two seeds near each stick and thin out the weaker one later. The strong plant will wind its way up on its own.
Beans like sun and regular water. I water the box each evening and keep the soil damp while the plants are young.
A small trellis, a long box, compost and seeds often cost $17 to $30 to start.
Guide the young shoots toward the trellis with a loose tie. After a few days they grip it and climb by themselves.
Pick the beans when they are young and slim. If you leave them too long they turn tough and the plant slows down.
Pick often and the plant keeps flowering. I pick a small handful every two or three days in summer.
When the season ends, I pull the old plants off the trellis and add them to the compost heap. The trellis stays up for next year.
8. Plant a Dwarf Lemon Tree in a Tub
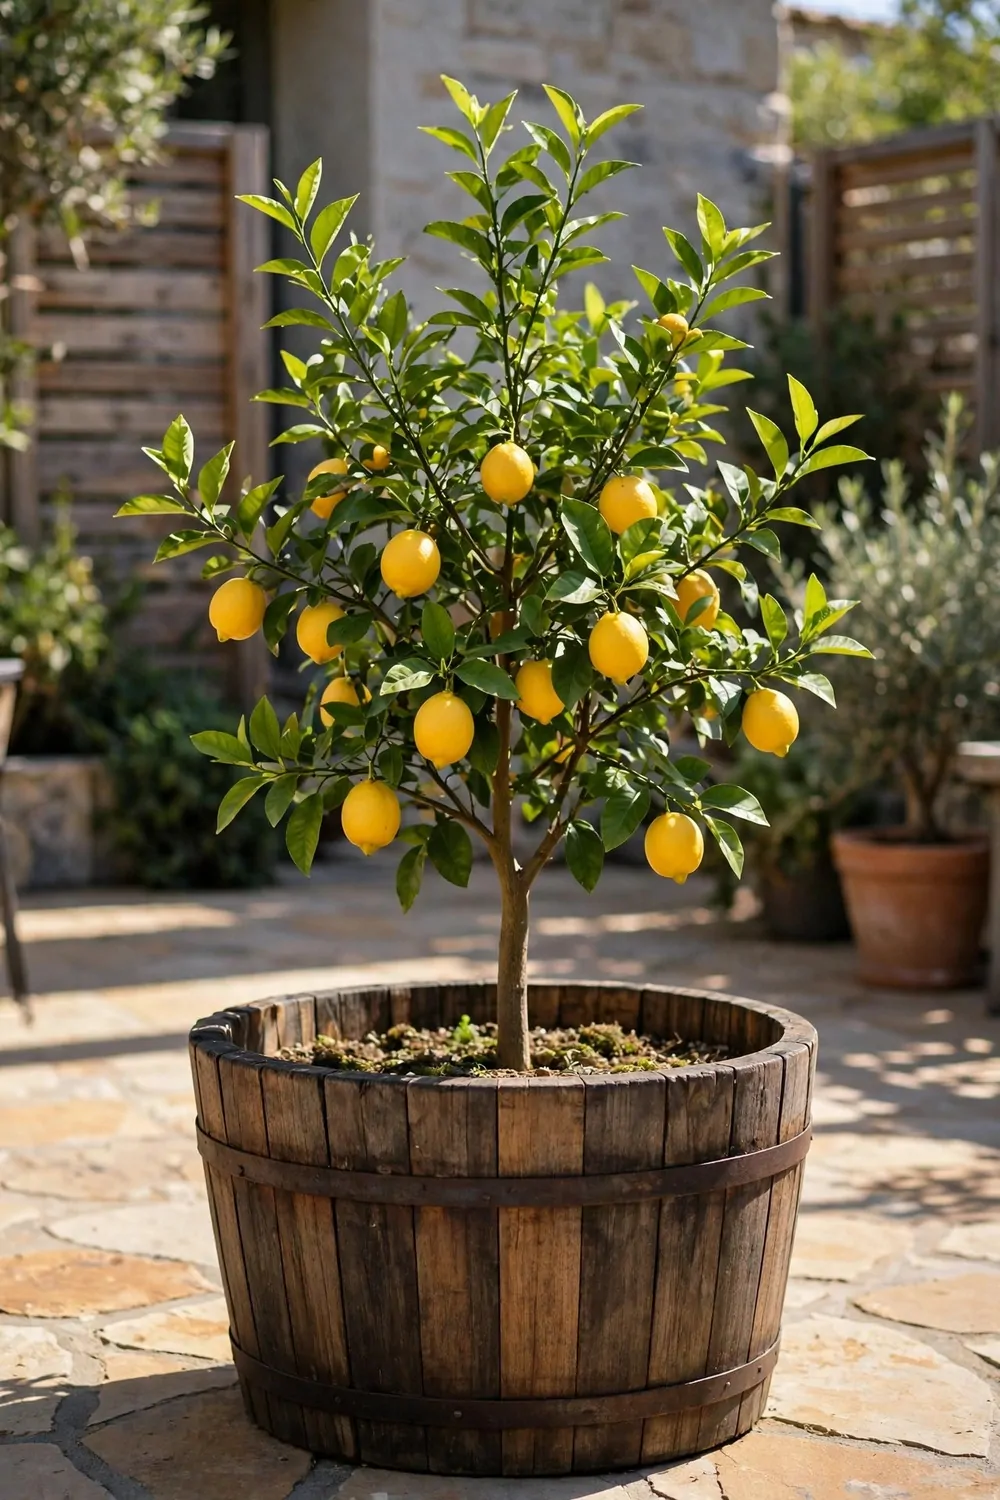
A dwarf lemon tree in a tub sounds grand, but it fits in a corner of a small yard. Ours sits by the patio wall.
Pick a tub with wheels or handles if you can, so you can move it. Lemon trees like sun, and you may want to shift the tub through the year.
Fill the tub with compost mixed with a little grit for drainage. Plant the young tree at the same depth it grew in its nursery pot.
Water it well after planting, then water when the top soil dries out. I water slowly so the water soaks right down to the roots.
A tub, compost and a young dwarf lemon tree often cost $28 to $48 to start.
Feed it in spring with a simple citrus feed from the garden shop. I follow the pack and give it a little, not a lot.
The white flowers smell lovely, and bees visit them in warm weather. After the flowers fall, tiny green lemons start to grow.
Lemons take a long time to ripen, often many months. I wait until they turn fully yellow and feel soft when I squeeze them gently.
In cold snaps I move the tub close to the house wall. A bit of shelter keeps the leaves safe from frost.
| Idea | Typical Cost |
|---|---|
| Tomatoes | $14 to $24 |
| Herb rail | $18 to $32 |
| Salad leaves | $8 to $16 |
| Stacked pots | $16 to $28 |
| Chillies | $9 to $17 |
| Strawberries | $15 to $26 |
| Beans | $17 to $30 |
| Dwarf lemon tree | $28 to $48 |
9. Grow Spring Onions in a Window Box
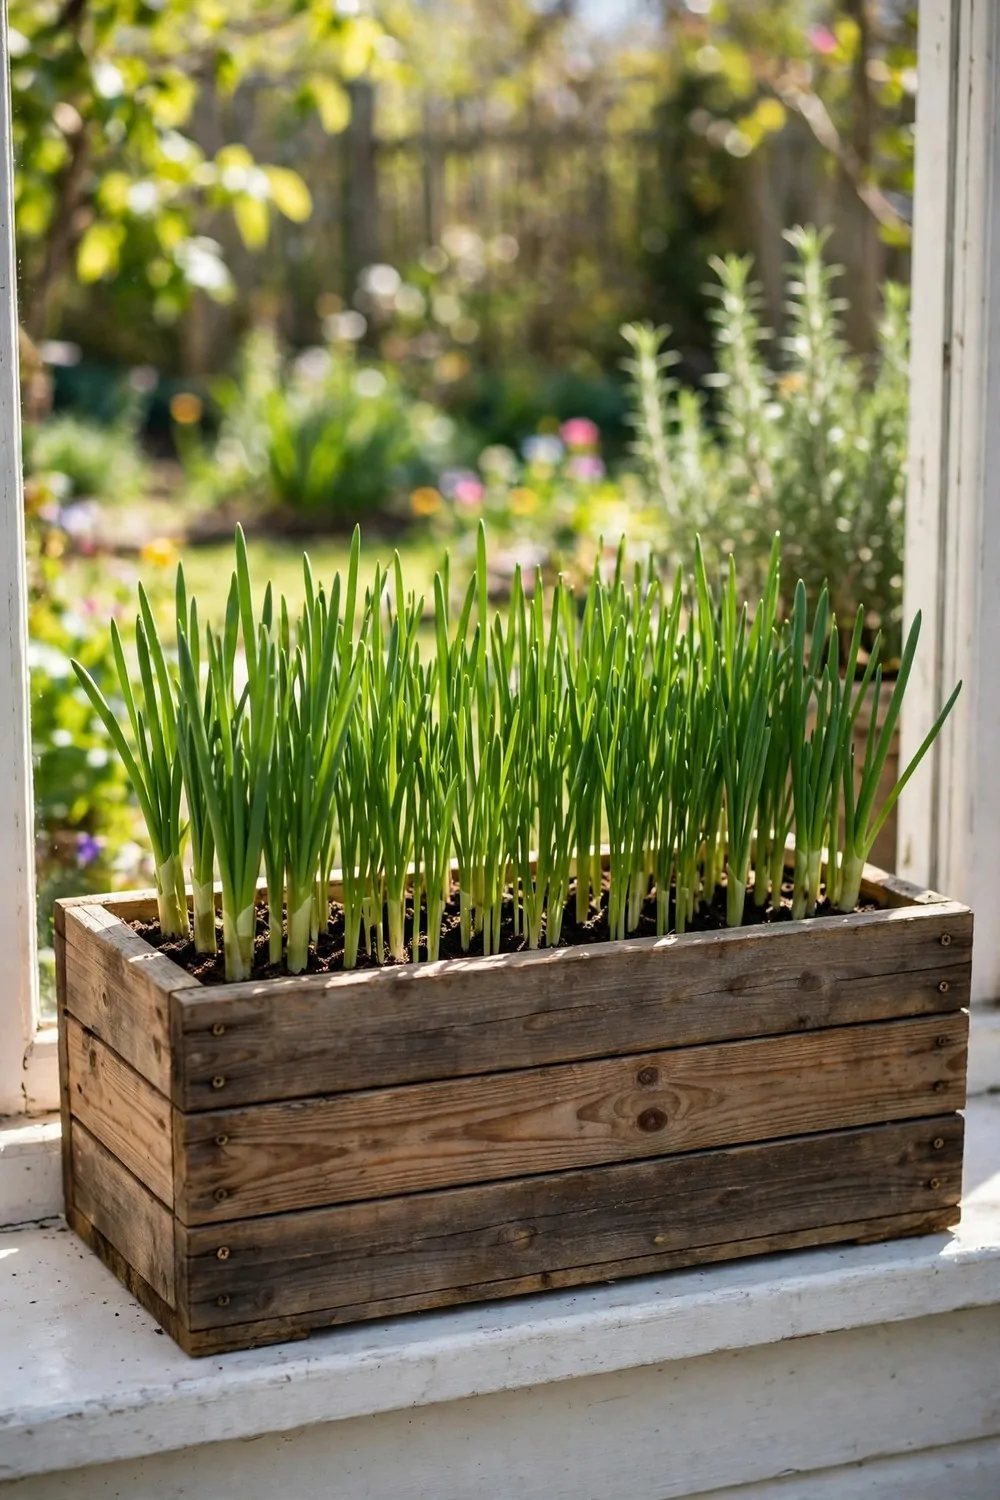
Spring onions are one of the fastest crops for a window box. You can sow them and start picking in a few weeks.
Fill a window box with compost and sow the seeds in rows a finger apart. Cover them with a thin layer of soil and water gently.
Put the box on a sunny windowsill or a balcony ledge. Spring onions are happy with a few hours of sun each day.
Keep the soil damp until the first green shoots show. I water with a small can so the seeds do not wash away.
A window box, compost and a packet of seeds often cost $10 to $19 to start.
Thin the seedlings out when they are a few inches tall. Pull the weakest ones and leave the rest a bit of room to grow fat.
You can pull the whole onion when it is as thick as your little finger. Or you can snip the green tops and let the bulb keep growing.
Sow a fresh row every two weeks so the supply never stops. I keep one box going all through the warm months.
Wash the onions well and trim the roots before you use them. They are mild and fresh, perfect for salads and rice dishes.
10. Plant Courgettes in a Grow Bag
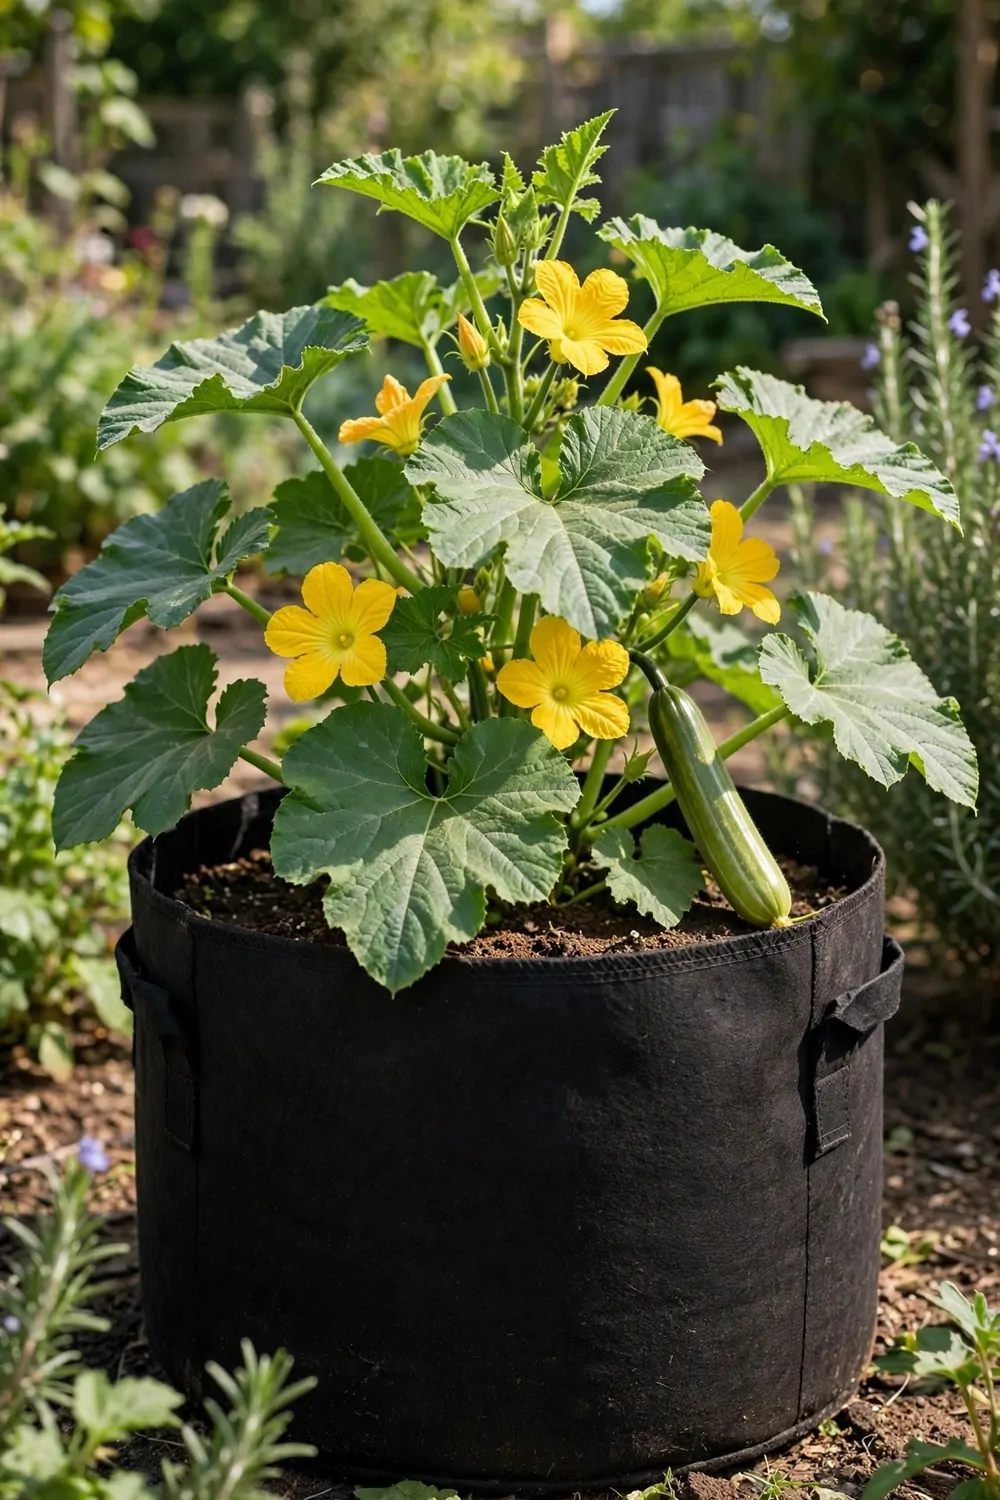
A courgette plant in a grow bag can feed a family from one corner of the yard. It sprawls a bit, but one bag is all it needs.
Stand the grow bag on the patio or on a sunny patch of ground. Cut three holes in the top and plant one young courgette in each hole.
Courgettes love warmth and rich soil, so a grow bag suits them well. The dark bag holds heat and the roots stay warm.
Water the bag often, as courgettes drink a lot in summer. I water at the base and try to keep the leaves dry.
A grow bag, compost and three young plants often cost $13 to $22 to start.
The big yellow flowers open in the morning and close by noon. Bees visit them, and then small courgettes start to grow behind the flowers.
Pick the courgettes when they are about as long as your hand. If you leave them, they grow huge and the plant makes fewer new ones.
Check the plant every day in high summer. A courgette can double in size overnight, and I have missed a few that way.
If the leaves look dusty, I rinse them with plain water. I pick off any bugs by hand, and the plant keeps growing strong.
11. Grow Radishes in a Shallow Tray
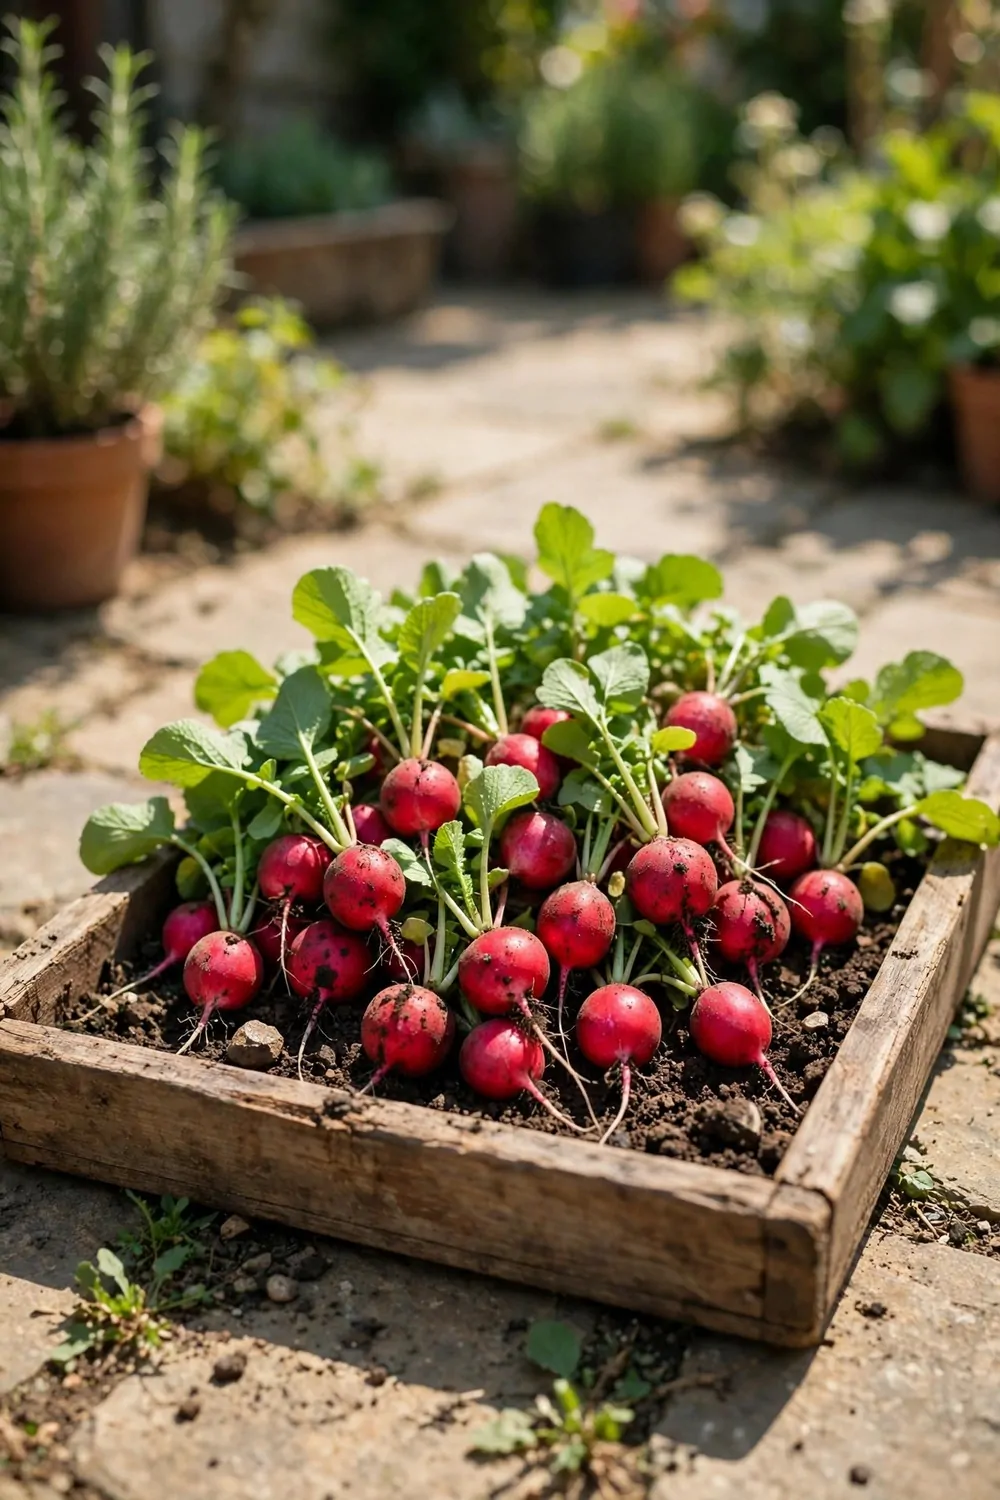
Radishes are the quickest win in a small yard. They grow in a shallow tray and are ready in a few weeks.
Use a tray or a wide shallow box about a hand deep. Fill it with compost and sow the seeds in rows, a thumb apart.
Put the tray on a table, a step, or a balcony ledge. Radishes do not mind a bit of shade in the afternoon.
Keep the soil damp so the roots grow round and crisp. I water lightly each day, just enough to keep the top moist.
A shallow tray, compost and a packet of seeds often cost $8 to $15 to start.
Thin the seedlings when they are small so each root has room. Crowded radishes grow long and thin instead of round.
Pull them when the tops poke out of the soil and look pink or red. I pull one to check the size before I pull the rest.
Eat them the same day for the best crunch. I wash them well and slice them into salads.
Sow a new tray every two weeks for a steady crop. One tray gives a small bowlful, which is just right for our table.
12. Plant a Mini Blueberry Bush in a Corner Pot
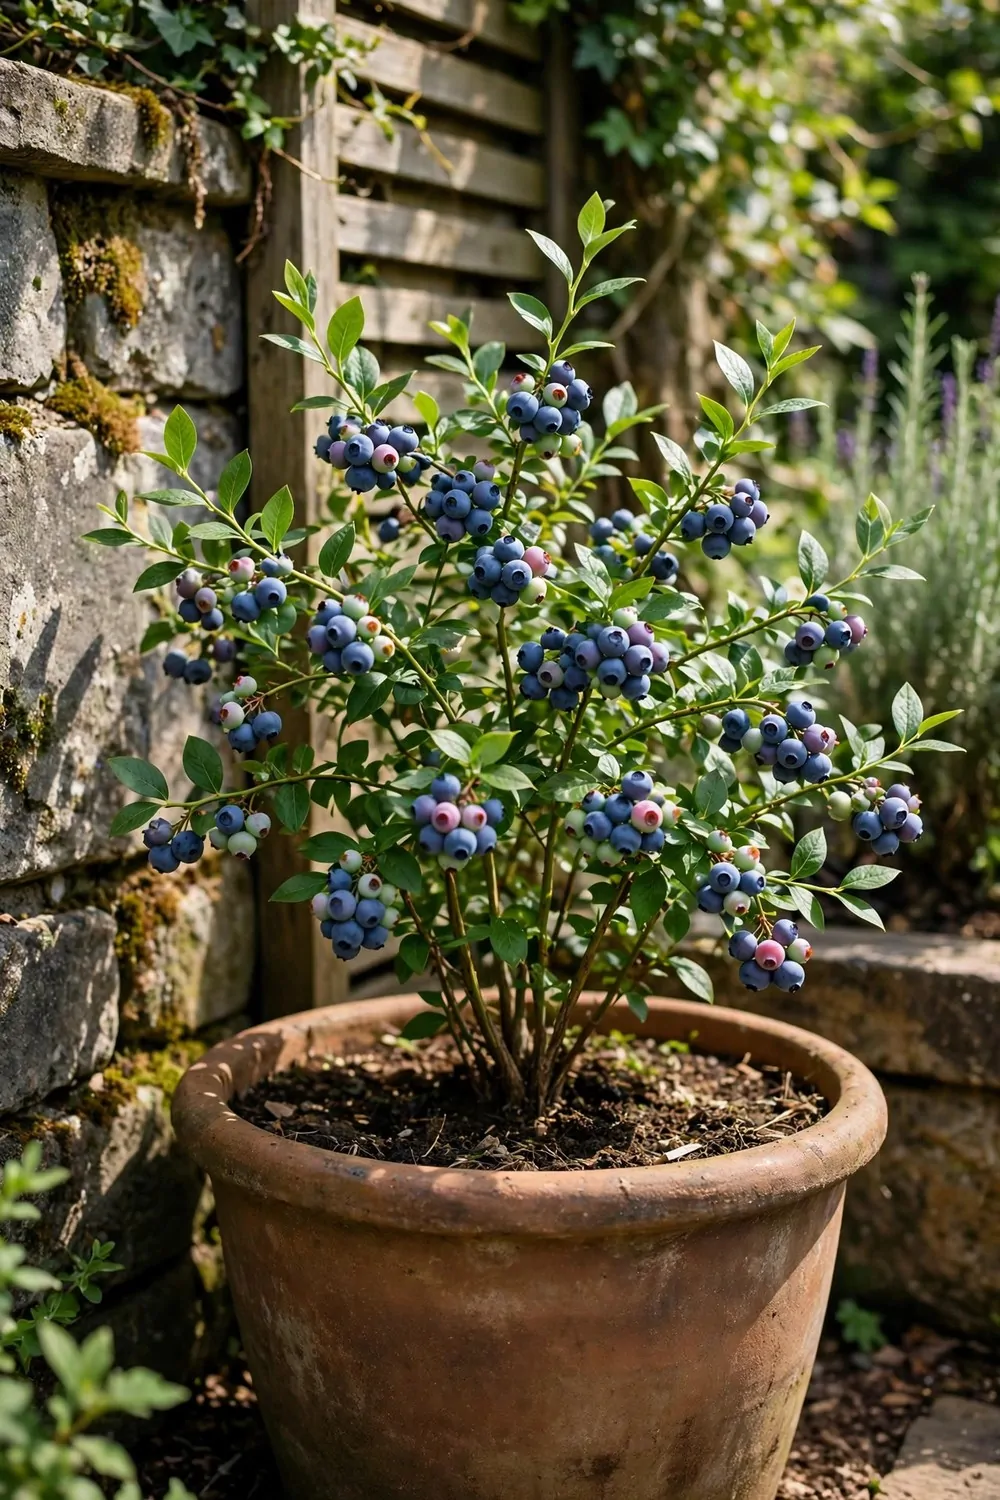
A mini blueberry bush fits in a corner pot and looks pretty all year. Ours sits in the shadiest corner of the patio and still gives fruit.
Pick a big pot, as blueberry roots like room to spread. Fill it with ericaceous compost, which is the sour soil blueberries need.
Plant one young bush in the middle and water it well. Blueberries like damp soil, so I never let the pot dry out fully.
Put the pot where it gets morning sun. A corner that gets sun for half the day is enough for a good crop.
A large pot, ericaceous compost and a young bush often cost $20 to $35 to start.
The pink flowers in spring turn into green berries, and then they swell and turn blue. I wait until they are deep blue and soft.
Pick the berries a few at a time as they ripen. Birds love them, so I drape a bit of netting over the bush in summer.
In autumn the leaves turn red and gold, which looks lovely by the door. The bush rests in winter and buds again in spring.
Water with plain rainwater if you can, as tap water can be hard. I keep a small can of rainwater by the back door for this pot.
13. Grow Cucumbers Up a Wall Net
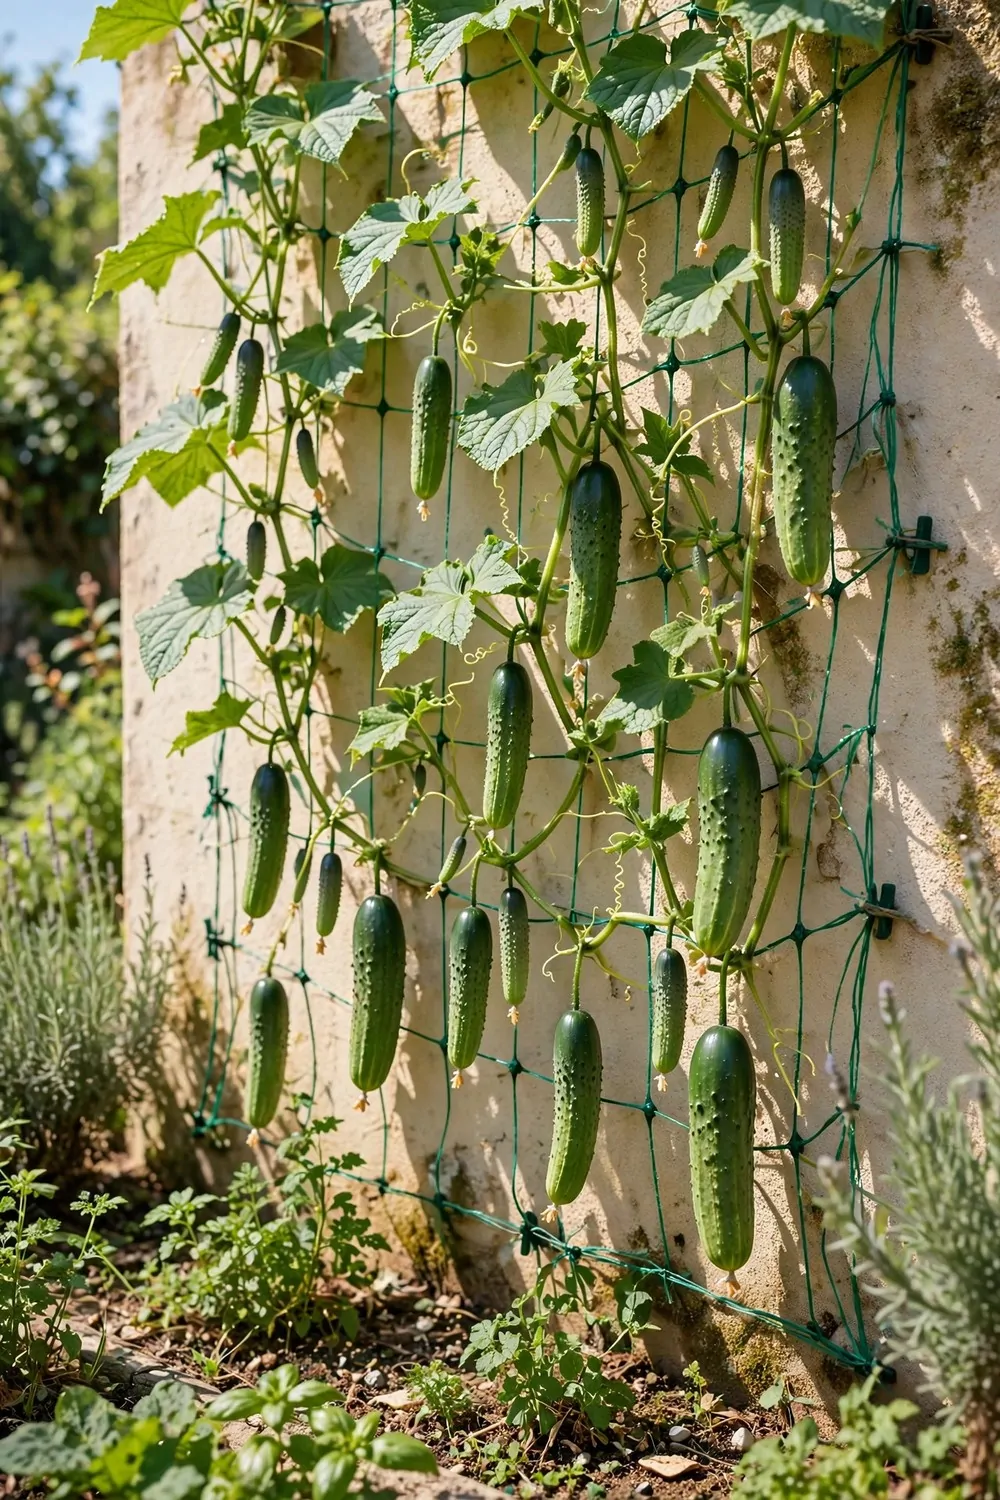
I grow my cucumbers up a wall net because my yard is too small for vines on the ground.
A net gives the vines a place to climb. The fruit hangs in the air and stays clean.
I fix the net to a sunny wall with a few hooks. I plant one or two seeds at the base in spring. The vines find the net on their own and start to climb fast.
You can pick the cucumbers without bending down low.
I water the base of the plant in the morning. Wet leaves can bring trouble, so I keep the water low.
A small bed or a deep pot works at the base of the net. I add rich soil and a little compost before I plant. The roots stay cool if I cover the soil with straw.
A wall net and hooks cost about $10 to $18 for one small wall.
I tie the first stems to the net with soft string. After that the vines hold on by themselves.
Pick the fruit when it is young and firm. Small cucumbers taste fresh and crisp. If you leave them too long, they grow fat and soft inside.
14. Plant Mint in a Pot by the Tap
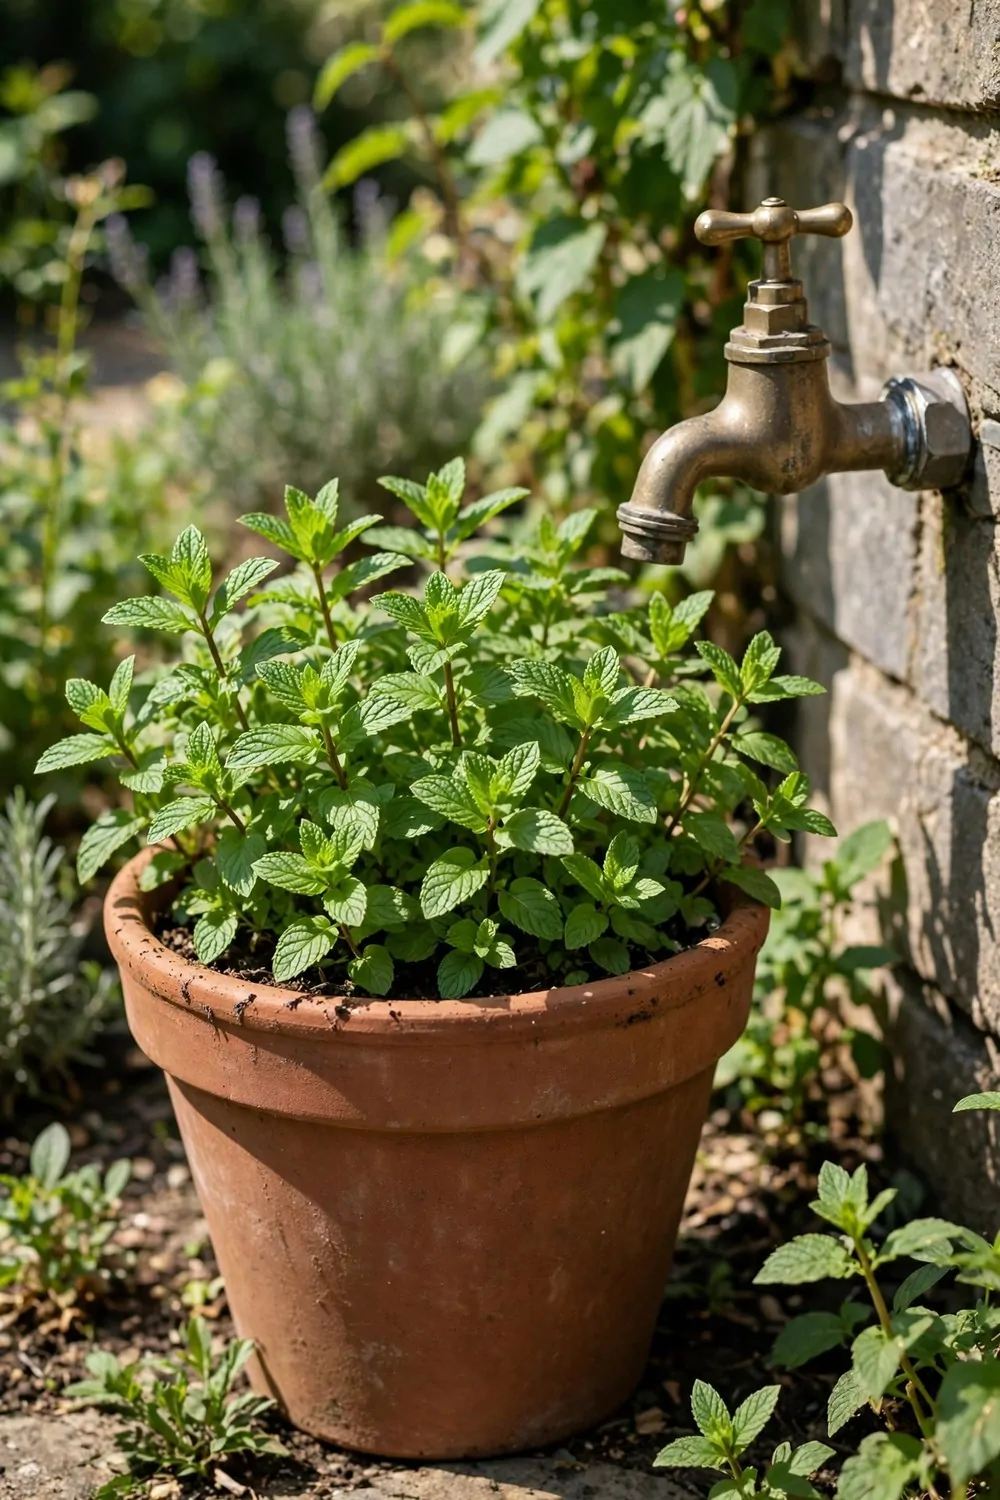
Mint spreads fast, so I always keep it in a pot.
I put the pot by the tap so I never forget to water it. Mint loves water and it grows best when the soil stays damp.
A pot by the tap is easy to reach when I cook. I snip a few leaves and drop them in a cup of hot water. The smell is fresh and clean.
Never plant mint straight in a small bed.
It will take over the whole bed in one summer. A pot keeps it in one place.
I use a pot with holes in the base so extra water can drain away. I fill it with good soil and one small plant. In a warm spot it grows new leaves every week.
A pot and one mint plant cost about $8 to $15 for the tap corner.
I cut the stems back when they get tall and thin. New shoots grow back soft and green.
Mint likes a little shade in the hottest part of the day. I move the pot a step back from full sun in summer. It keeps growing right through to autumn.
15. Grow Kale in a Slim Bed by the Path
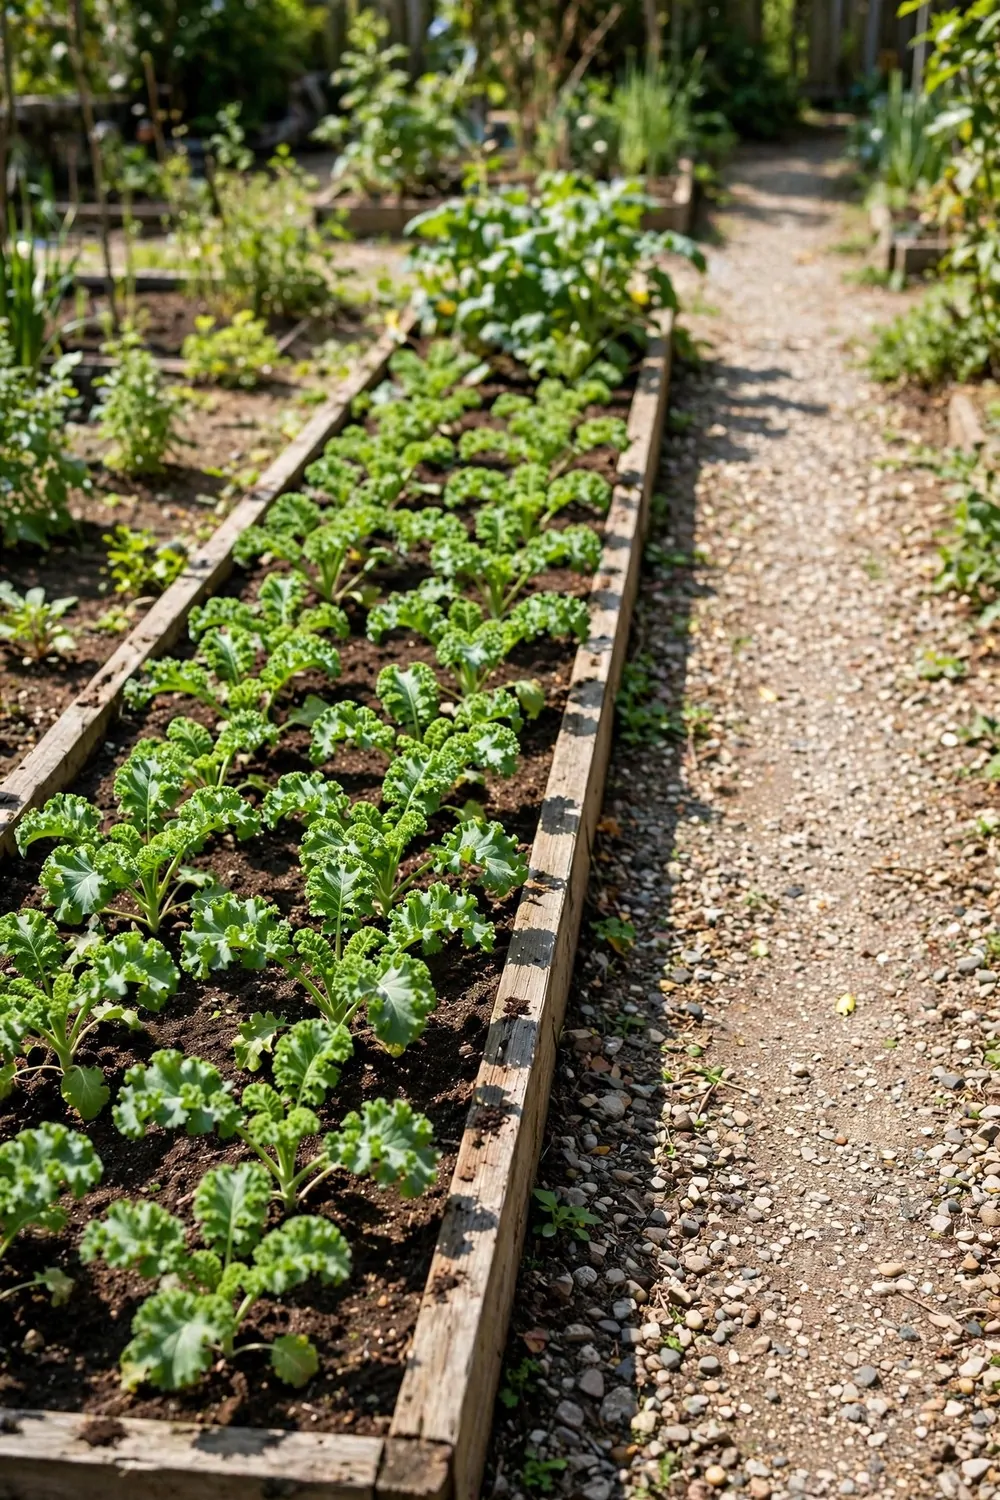
A slim bed by the path uses space that would stay empty. Kale fits there well because it grows up, not out.
I sow the seeds in a neat row in spring.
The leaves grow big and curly in a few weeks. I pick the outer leaves first and leave the middle to keep growing. One row gives me greens for a long time.
Kale likes sun in the morning and a little shade later. A path bed gets that mix in most small yards.
I water the bed well when the soil feels dry.
I feed the plants with compost once a month. The leaves stay dark green and firm. If the soil is poor, the leaves stay small and pale.
Seeds and compost for a slim bed cost about $6 to $12 for the season.
I pick leaves in the cool morning when they are crisp. Young leaves taste mild and soft in a salad.
A few plants are enough for one family. I grow six plants in my slim bed and that is plenty. When one plant gets old, I sow a new one in its place.
16. Plant Garlic in Pots for Winter
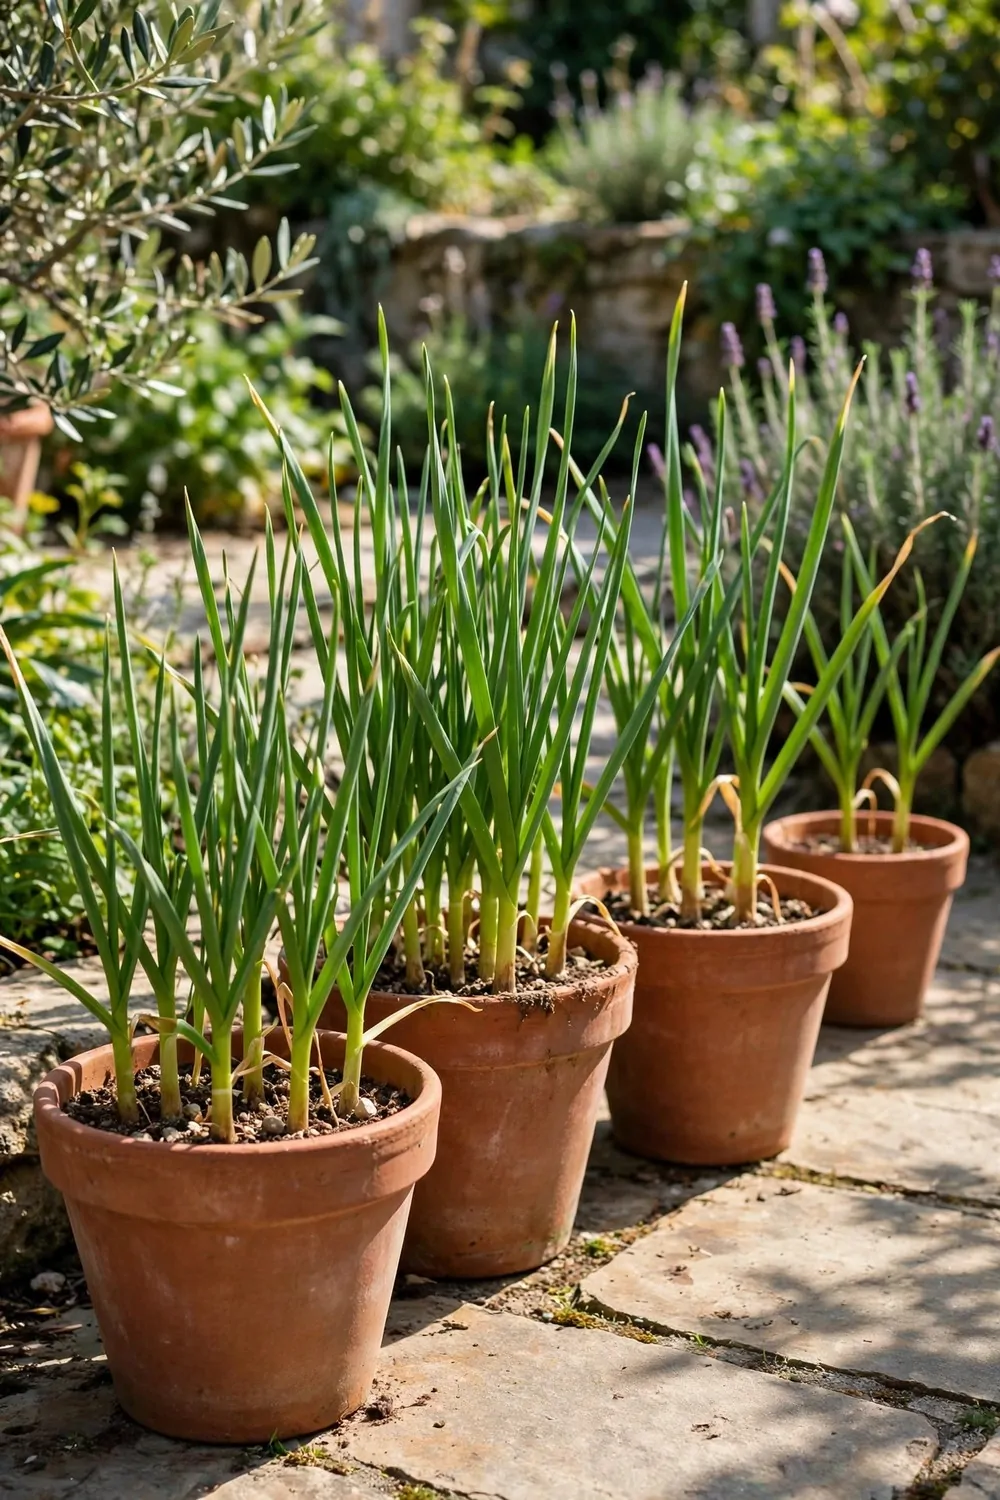
Garlic is one of the easiest things I grow in pots.
I plant the cloves in autumn in a deep pot. Each clove swells into a full bulb by early summer.
I push each clove into the soil with the point up. I leave a small gap between each one. Then I cover the pot with a little straw.
The pots sit by the wall all winter. Rain and cold do not hurt the garlic at all.
I water the pots only when the soil is dry.
In spring the green shoots push up fast. I feed them with a little compost in spring. The leaves grow tall and the bulbs swell below the soil.
Seed garlic and pots cost about $9 to $16 for a winter crop.
I stop watering when the leaves start to turn yellow. Then I lift the bulbs and let them dry in the shade.
One pot gives me enough garlic for many meals. I save the best bulbs to plant again next autumn. It is a simple crop that asks for very little.
| Idea | Typical Cost |
|---|---|
| Spring onions | $10 to $19 |
| Courgettes | $13 to $22 |
| Radishes | $8 to $15 |
| Blueberry bush | $20 to $35 |
| Cucumbers | $10 to $18 |
| Mint | $8 to $15 |
| Kale | $6 to $12 |
| Garlic | $9 to $16 |
17. Grow Peas on a Small Obelisk
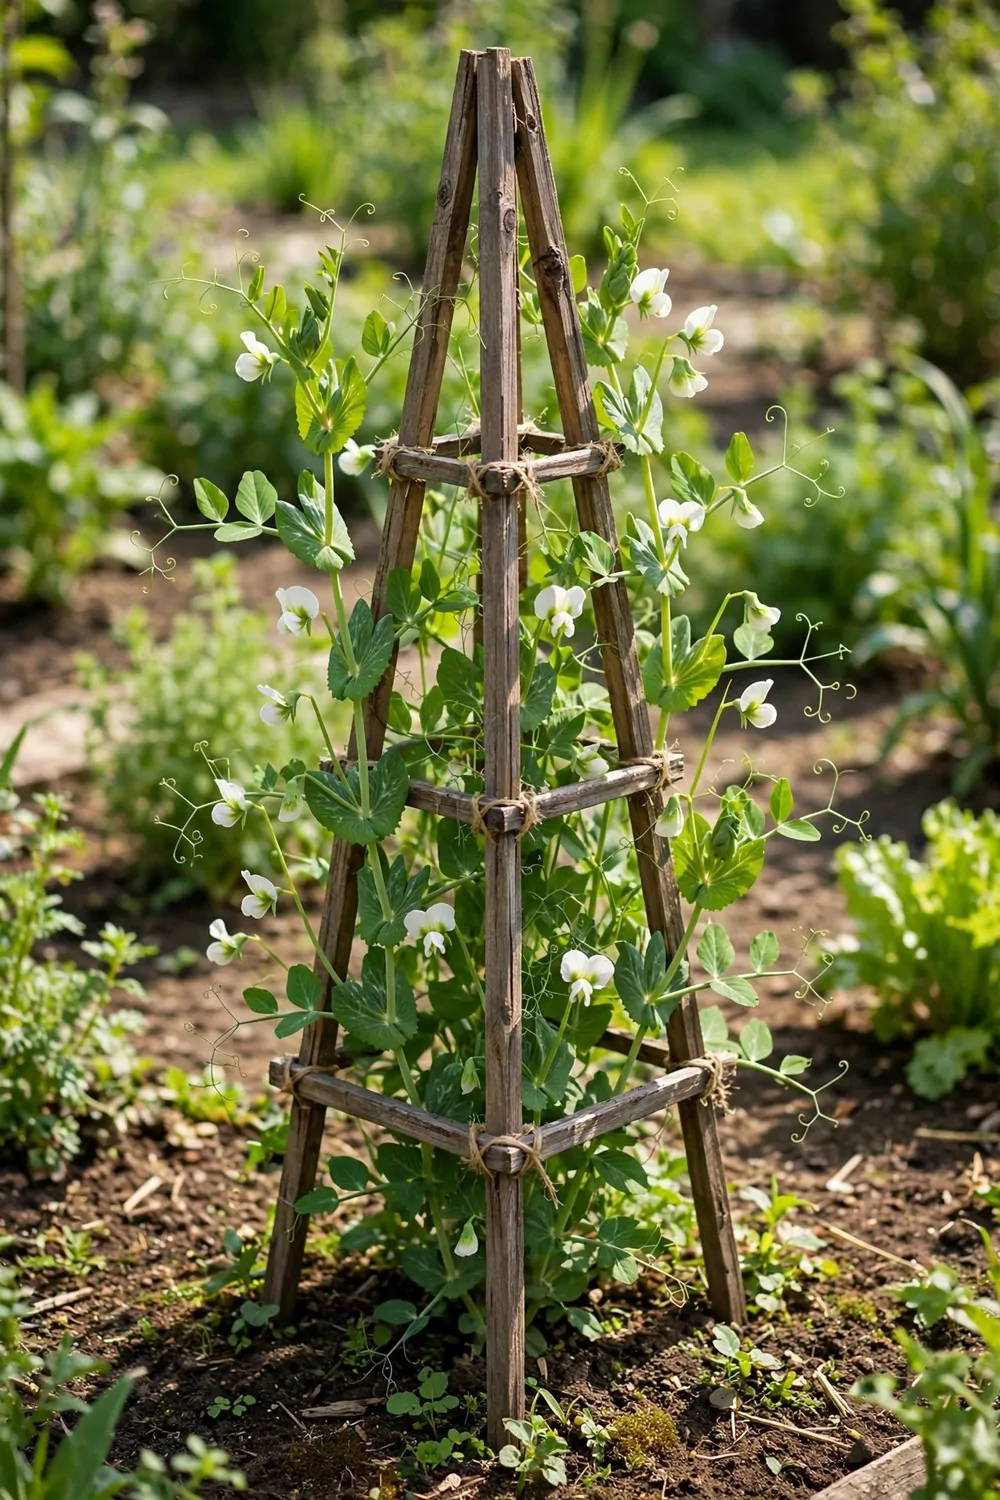
A small obelisk turns a pot into a tower of peas. It fits in a corner where a wide bed would never fit.
I sow the peas around the base in early spring.
The shoots climb up the frame on their own. I help the first stems with a loose tie of string. Soon the whole frame is green.
Peas like cool weather and soft sun. They grow fast before the hot days come.
I water the pot at the base every few days.
The flowers open white in late spring. Then small pods grow along the stems. I pick the pods when they feel full and round.
An obelisk and pea seeds cost about $14 to $24 for one pot.
Peas taste sweetest eaten straight from the pod. My kids pick them as a snack in the yard.
When the plants finish, I pull them out and use the pot again. I sow beans in the same pot for summer. The obelisk stays up all year for the next crop.
18. Plant a Berry Pot for the Patio
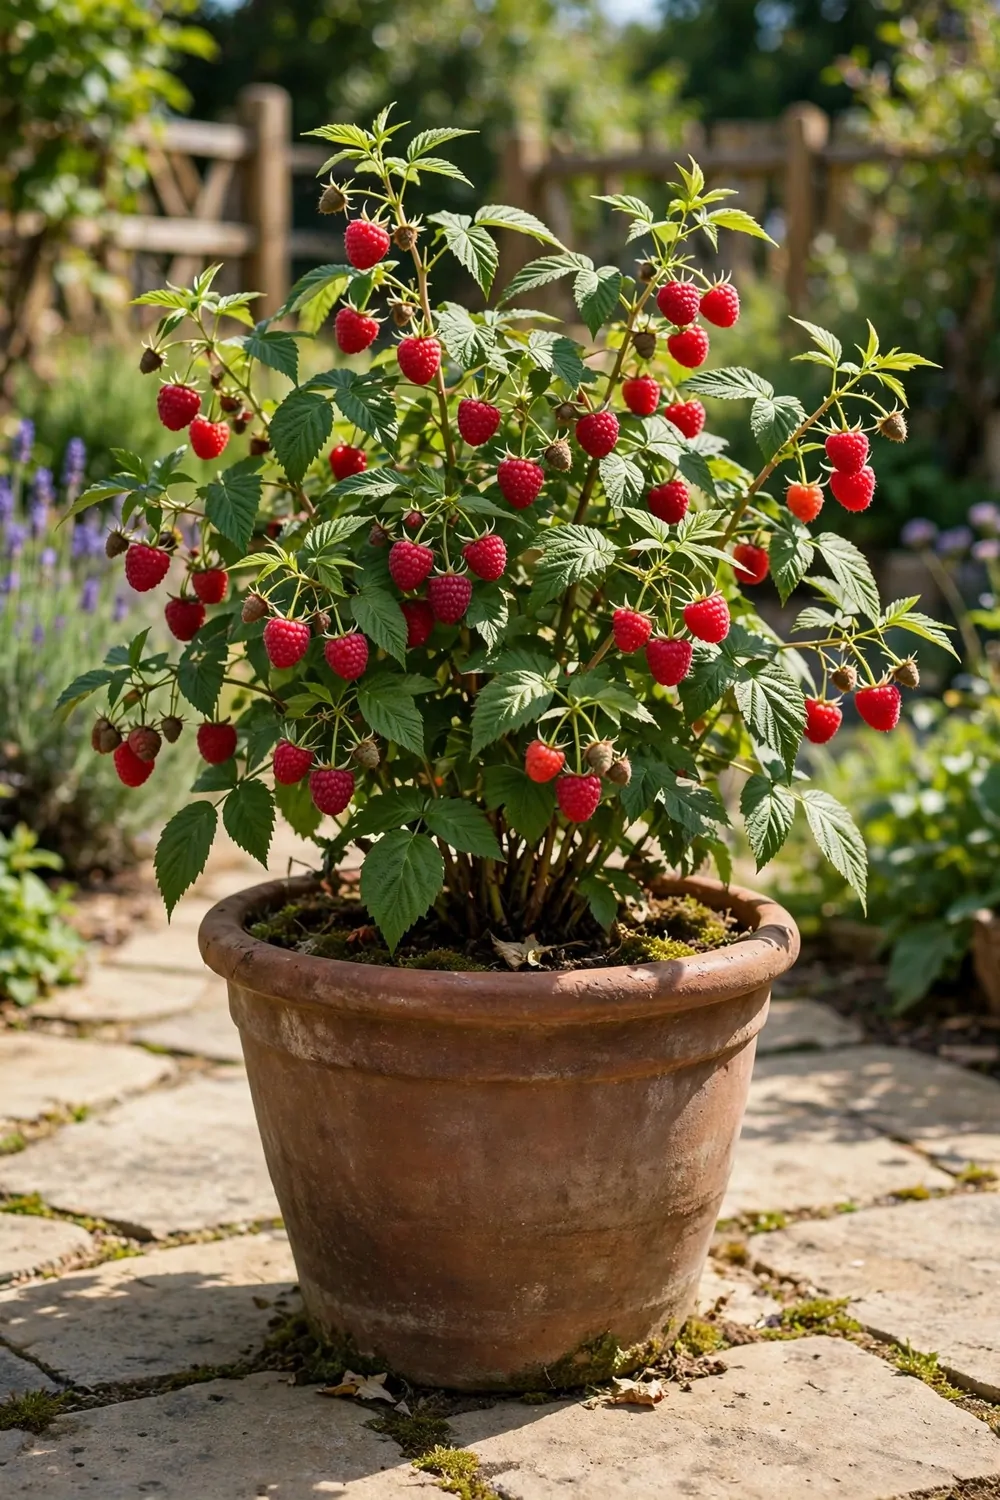
A berry pot on the patio gives me fruit steps from the door.
I grow strawberries in a wide pot with holes in the sides. The plants spill over the edge and the berries hang where I can see them.
Strawberries like sun and good drainage. I fill the pot with rich soil and a little compost. I water it often in hot weather so the berries stay plump.
I pick the berries when they turn deep red. A ripe berry comes off the plant with a soft pull.
Birds love berries too, so I cover the pot with a light net.
The net keeps the fruit safe but lets the sun through. I lift it each morning to pick what is ripe. Then I put it back for the day.
A berry pot, plants and netting cost about $15 to $25 for the patio.
One pot gives a small bowl of berries every few days in summer. I eat them fresh or drop them on breakfast bowls.
In autumn I cut back the old leaves. The plants rest through winter in the same pot. New leaves and flowers come back in spring.
19. Grow Microgreens on a Kitchen Shelf
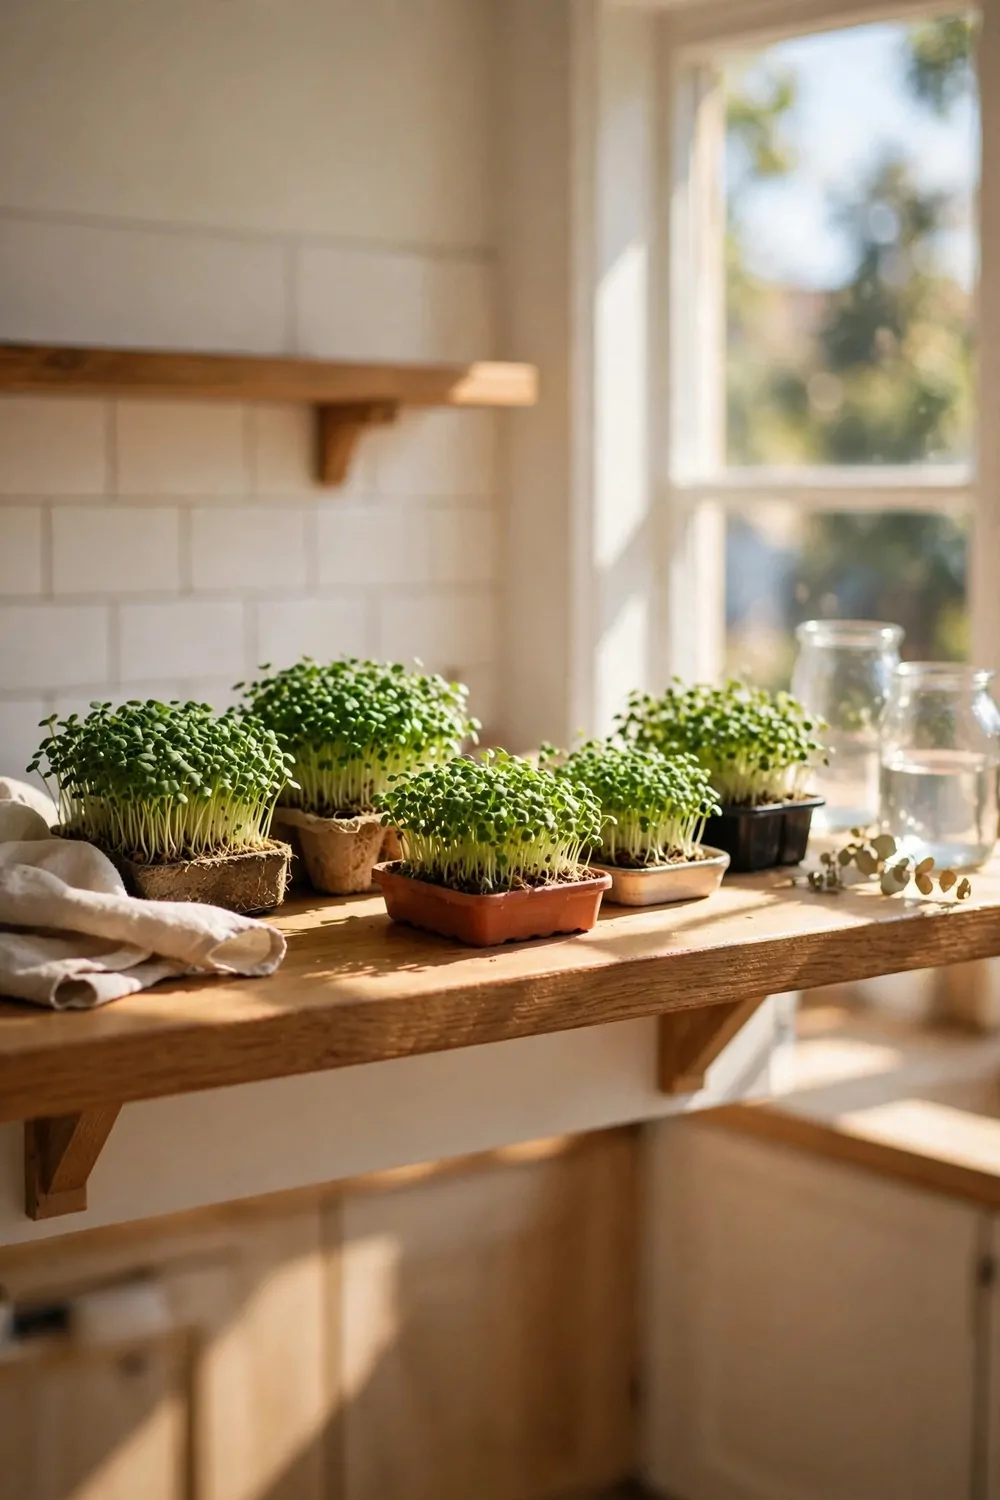
Microgreens are tiny plants I grow on a kitchen shelf. They grow fast and I cut them in a week or two.
I sow the seeds thick in a shallow tray.
I use seeds like radish, mustard and cress. They sprout in a few days on a bright shelf. I mist them with plain water each morning.
No big garden is needed for these small greens. A shelf by the window is all the space they need.
I cut them with clean scissors when they are a few inches tall.
I scatter them over salads and sandwiches. They add a fresh bite to a plain meal. One tray gives me a small bowl of greens.
Trays and seeds for microgreens cost about $7 to $13 to start.
I sow a new tray every week so I always have some ready. The old roots go in the compost bin.
This is a good first crop if you are new to growing food. It is quick and it works in the smallest flat. You see results in days, not months.
20. Plant Carrots in a Deep Pot
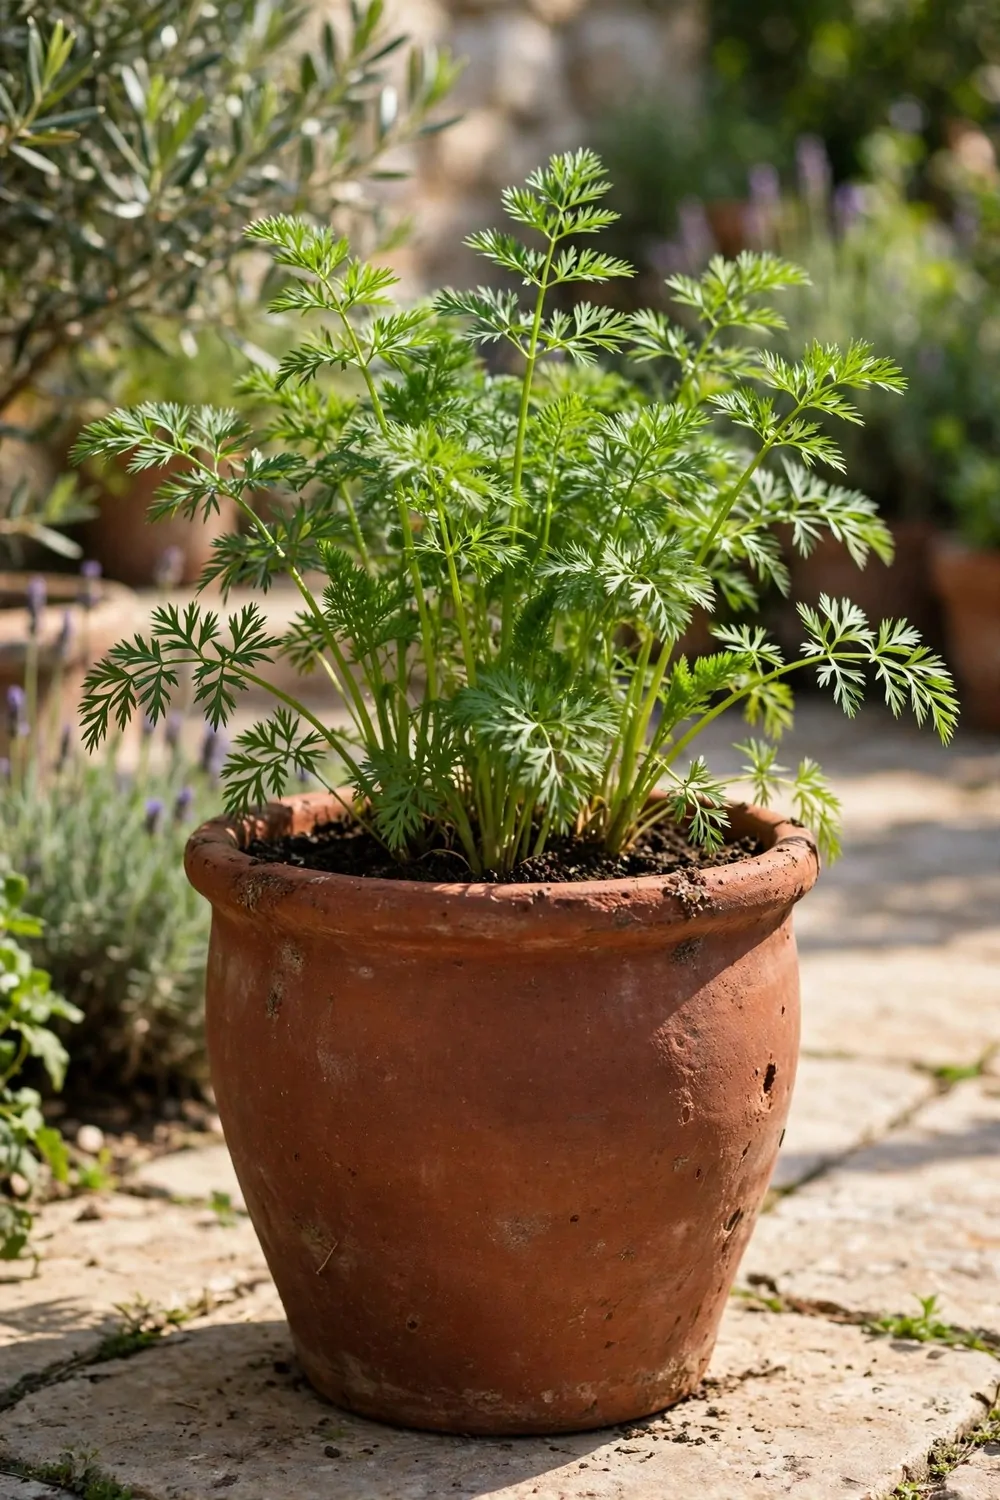
Carrots need deep soil, so I grow them in a tall pot.
A deep pot on the steps gives the roots room to grow long and straight. Short pots make short, bent carrots.
I sow the seeds in a thin row on top of the soil. I cover them with a light dust of soil. Then I water gently so the seeds stay in place.
The seeds take a while to sprout, so I stay patient. I keep the soil damp while I wait.
I thin the small plants so each one has room to swell.
I pull out the weak ones and leave the strong ones standing. Each carrot needs a little space around it. If they crowd together, they stay thin.
A deep pot and carrot seeds cost about $10 to $17 for the steps.
I pull one carrot to check the size before I pick the rest. Young carrots taste sweet and crisp.
Carrots grow well in cool months and in mild sun. I sow a new pot every few weeks for a steady supply. That way I always have fresh carrots to pull.
21. Grow Squash in a Big Tub
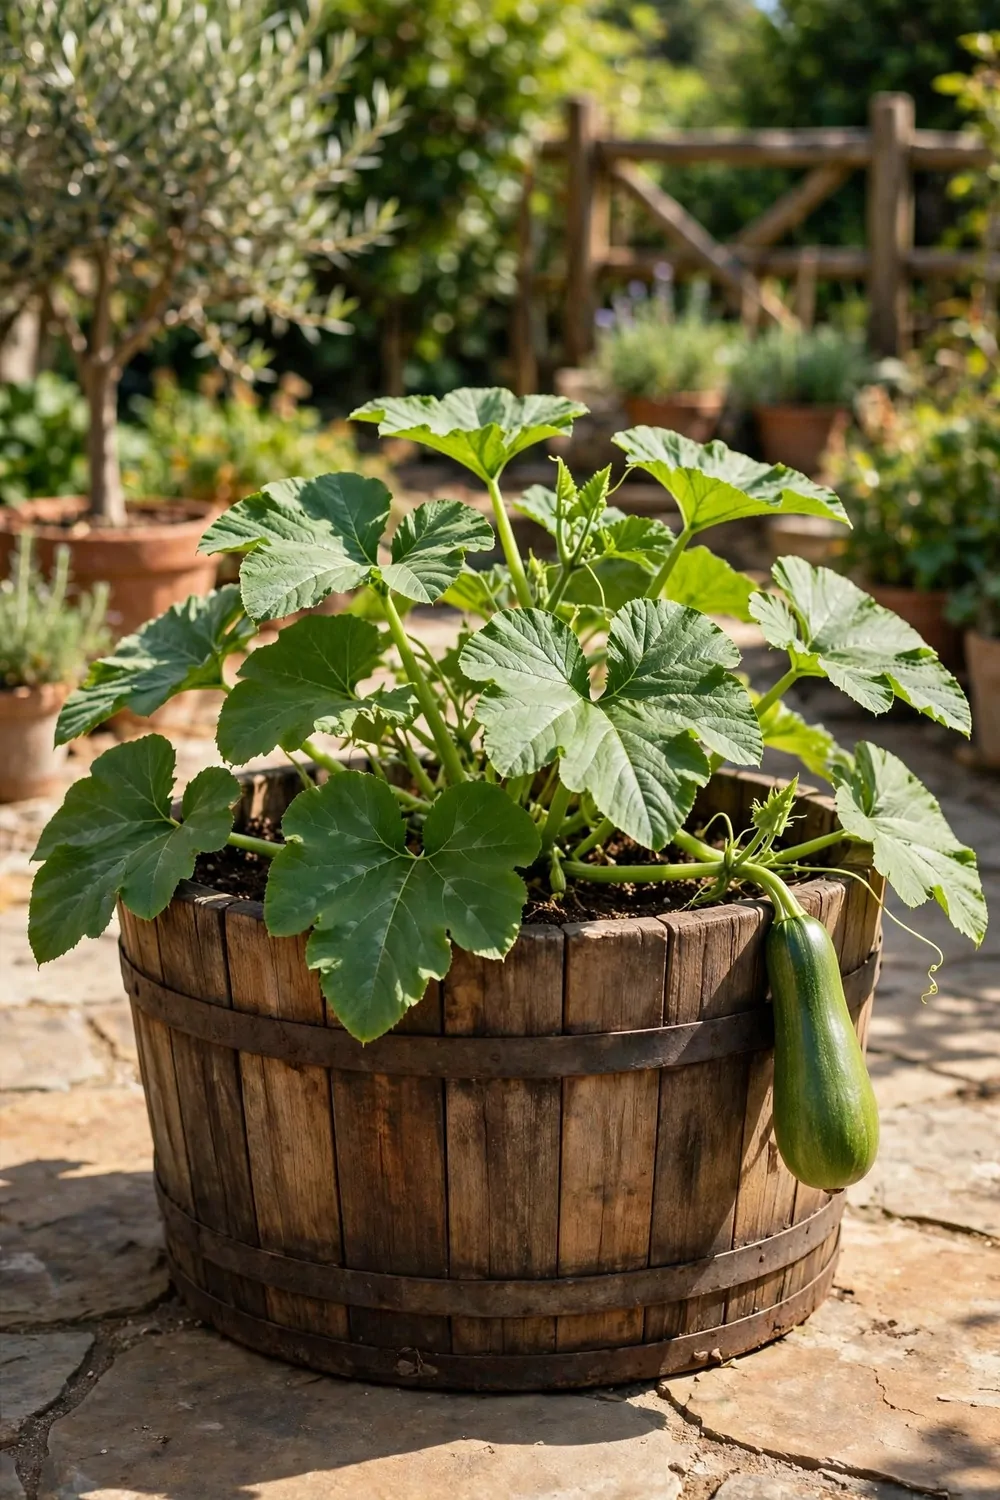
Squash plants grow big, so they need a big tub. One tub on a sunny corner can feed a family for weeks.
I fill the tub with rich soil and plenty of compost.
I plant one seedling in the middle of the tub. The leaves spread wide and shade the soil below. That shade keeps the soil damp for longer.
I water the tub well in the morning. The big leaves drink a lot of water on hot days.
The plant grows fast in warm sun and soon fills the tub.
Small fruit grows low on the plant and swells fast in warm sun. I pick the squash when they are young and soft-skinned. If I wait too long, they grow huge and tough.
A big tub, soil and one seedling cost about $16 to $28 for the corner.
I guide the vines along the edge of the tub. That keeps them off the path and out of the way.
One plant gives me more squash than I expect. I share the extra fruit with my neighbours. A big tub is worth the space it takes.
22. Plant a Cut-and-Come-Again Herb Pot
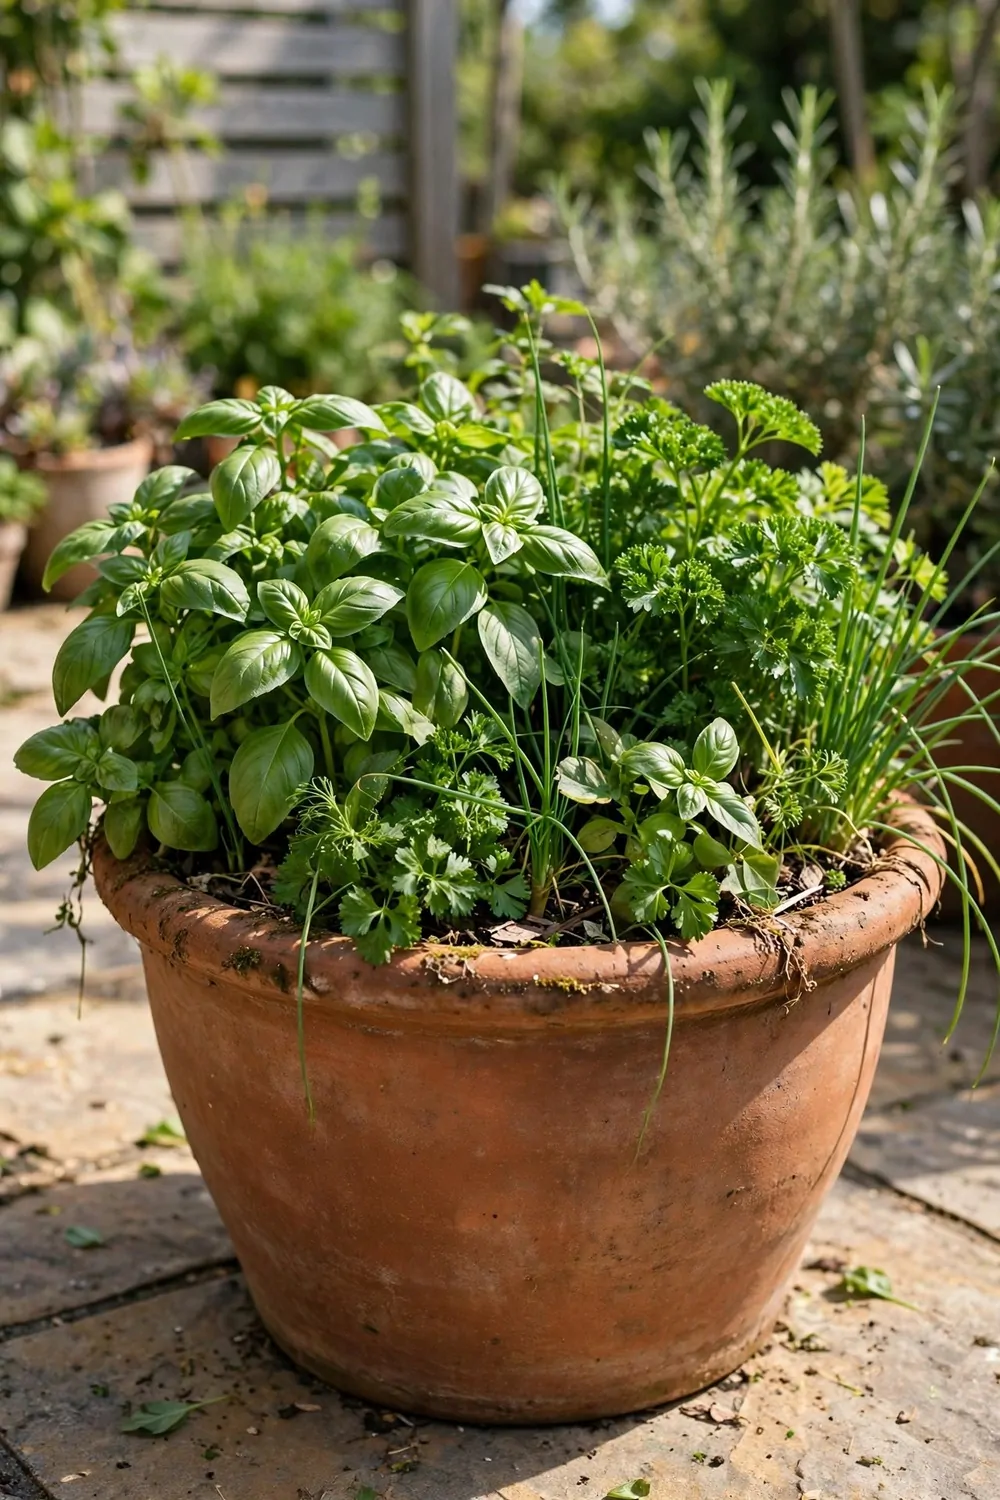
A cut-and-come-again herb pot is my favourite kitchen pot. I cut what I need and new leaves grow back in days.
I plant basil, parsley and chives together in one wide pot.
Basil likes warmth and sun by the door. Parsley grows in sun or light shade. Chives come back year after year with thin green spears.
I cut the leaves in the morning when they smell strongest. I never cut more than a third of the plant at once.
The plants need time to grow back after each cut.
I water the pot when the top of the soil feels dry. I feed it with a little compost once a month. The leaves stay soft and full of flavour.
A wide pot and three herb plants cost about $12 to $20 for the kitchen door.
Fresh herbs lift a plain meal in seconds. I toss them over pasta, salads and soups.
This pot saves me trips to the shop all summer. I pick a handful each day for cooking. When the season ends, I dry the last leaves for winter cooking.
23. Grow Edible Flowers in a Small Bed
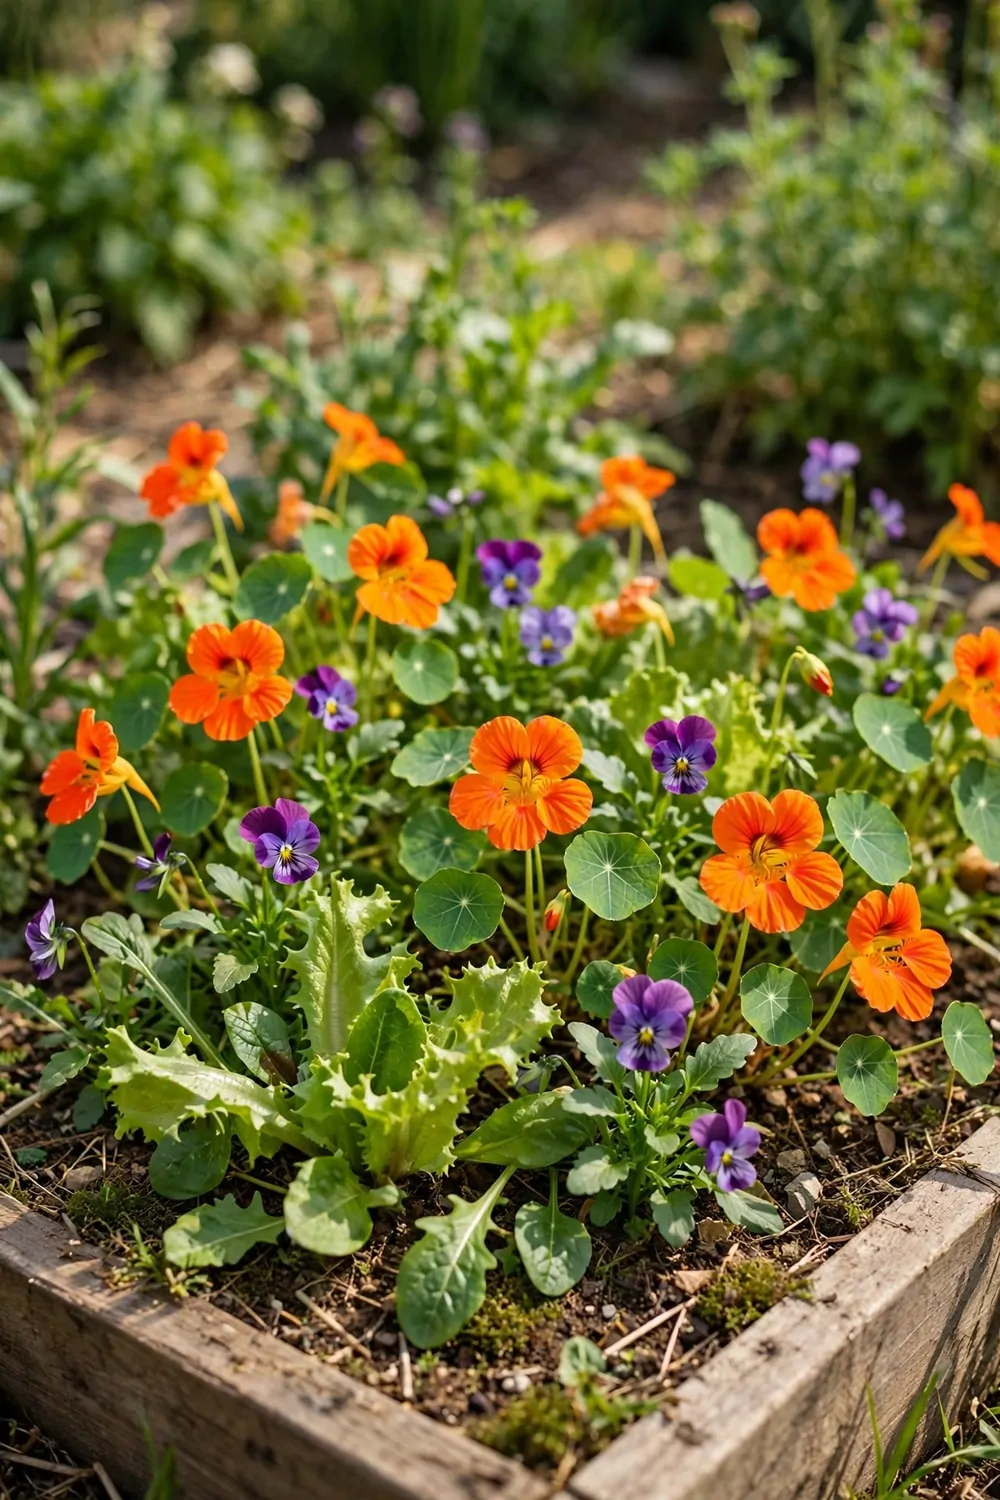
Edible flowers make a small bed look pretty and feed you too.
I grow nasturtiums and calendula along the edge of a narrow bed. Their flowers are bright and easy to pick.
I sow the seeds in spring after the cold days pass. The plants grow fast and flower all summer. I pick the flowers in the morning when they are fresh.
Nasturtium flowers have a warm, peppery bite. I scatter a few blooms over salads for colour.
Calendula flowers go into rice dishes and salads too.
I grow the flowers without any sprays at all. I wash the flowers in plain water before I eat them. Only pick flowers you know are safe to eat.
Seeds for an edible flower bed cost about $5 to $9 for the season.
The flowers also bring bees to the small bed. Bees help the other plants set fruit.
I let a few flowers go to seed at the end of summer. I save the seeds in a paper bag for next spring. That way the bed comes back year after year.
24. Plan Your Small Yard for All Year
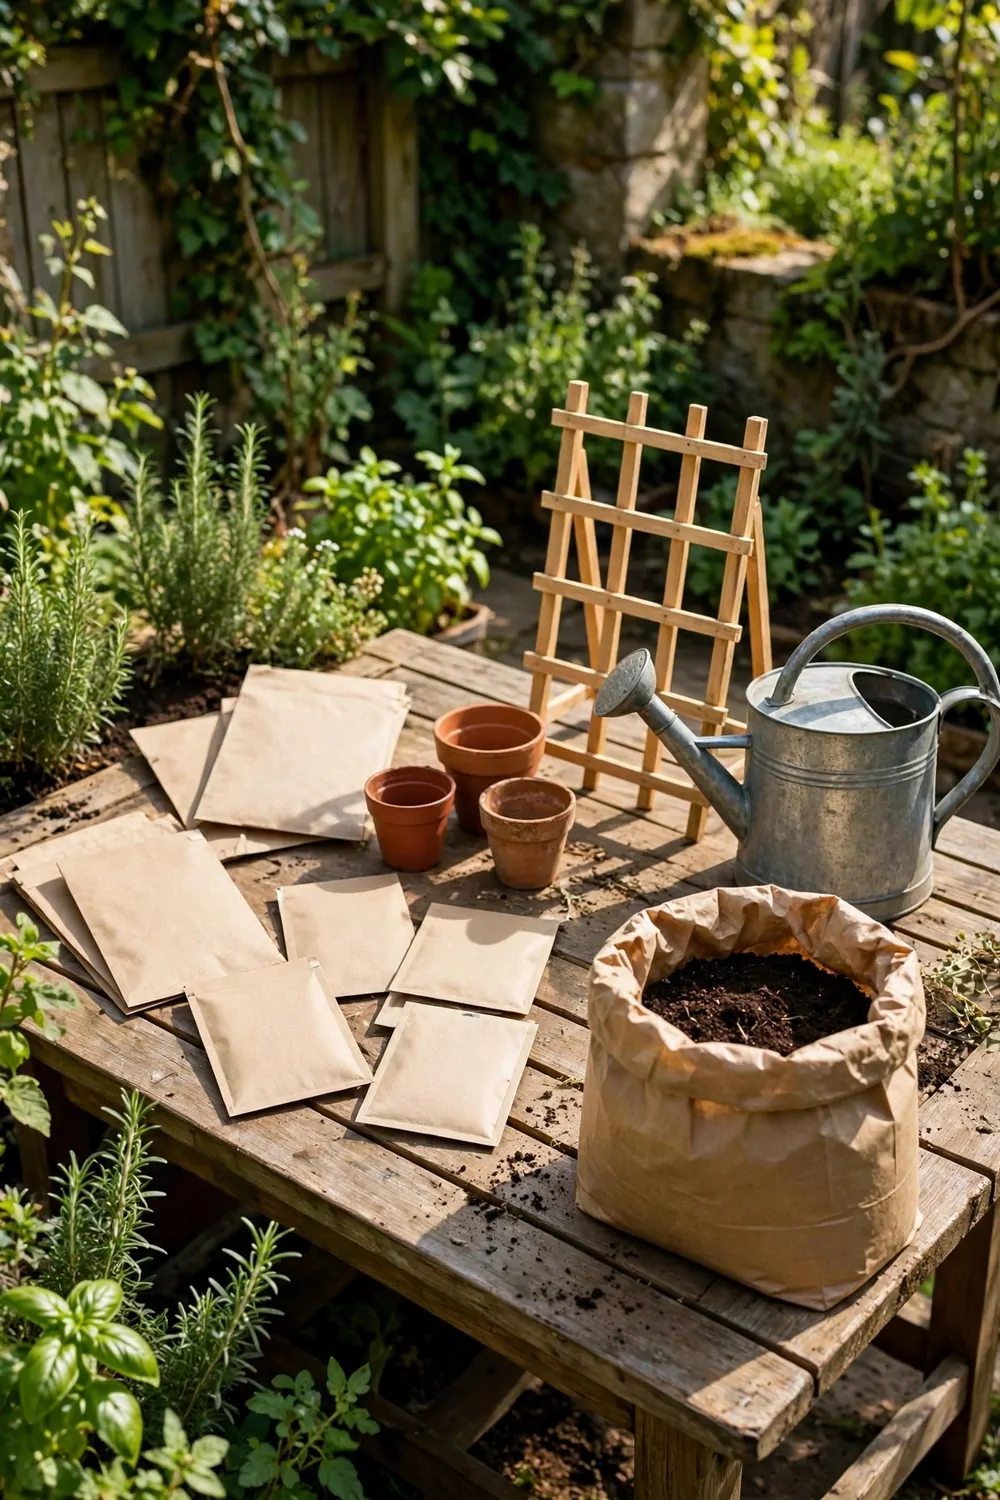
In spring I start with the quick crops first. I sow peas, lettuce and radish while the days are still cool. The pots fill up fast and I get my first pickings in a few weeks.
Seed packets $5 to $10 for a year of fresh sowing.
Compost bags $8 to $15 to feed every pot and bed.
In summer the heat-loving plants take over the small yard. I grow tomatoes, squash and beans in the biggest pots and tubs. I water early in the morning and pick fruit often so the plants keep giving.
Pots and tubs $20 to $35 for small spaces.
Trellis and netting $12 to $22 for vines that climb.
In autumn I plant garlic and sow kale for the cold months. I clear the spent summer pots and fill them with fresh soil. The small yard keeps giving food long after summer ends.
Watering can $8 to $15 for gentle watering.
Total $53 to $97 for the basic kit for a year of growing food in a small yard.
| Area | Main change | Typical Cost |
|---|---|---|
| Seed packets | For a year of fresh sowing | $5 to $10 |
| Compost bags | To feed every pot and bed | $8 to $15 |
| Pots and tubs | For small spaces | $20 to $35 |
| Trellis and netting | For vines that climb | $12 to $22 |
| Watering can | For gentle watering | $8 to $15 |
| Total | Basic kit for a year of growing food in a small yard | $53 to $97 |
Keep Reading
If you liked these ideas, you will love these posts too.
- 36 Edible Landscaping Ideas That Look Beautiful and Feed You
- 23 Salad Garden Ideas for Fresh Greens Every Day
- 30 Pollinator Garden Ideas That Bring Bees and Butterflies
- 27 Compost Garden Ideas That Turn Scraps Into Soil
- 21 Window Herb Garden Ideas for Sunny Kitchens
- 34 Small Space Vegetable Garden Ideas That Grow a Lot
Pick one small spot this weekend and plant something you can eat.