25 Photo Studio Ideas That Look Pro on a Tiny Budget

Big photo studios own a lot of gear for one reason. Clients. The big lights and the fancy stands are there to make paying customers feel like their money is working.
Your photos do not care about any of that. The camera only sees light, background, and you. All three can be faked beautifully on a tiny budget.
I have taken some of my favorite photos in a bedroom corner with a ten dollar paper roll and a window. Nobody ever asked what studio I used. They asked how I got the light so soft.
These 25 photo studio ideas are the real tricks. Cheap backdrops, window light, DIY diffusers, and small setups that look pro. Your wallet will barely notice.
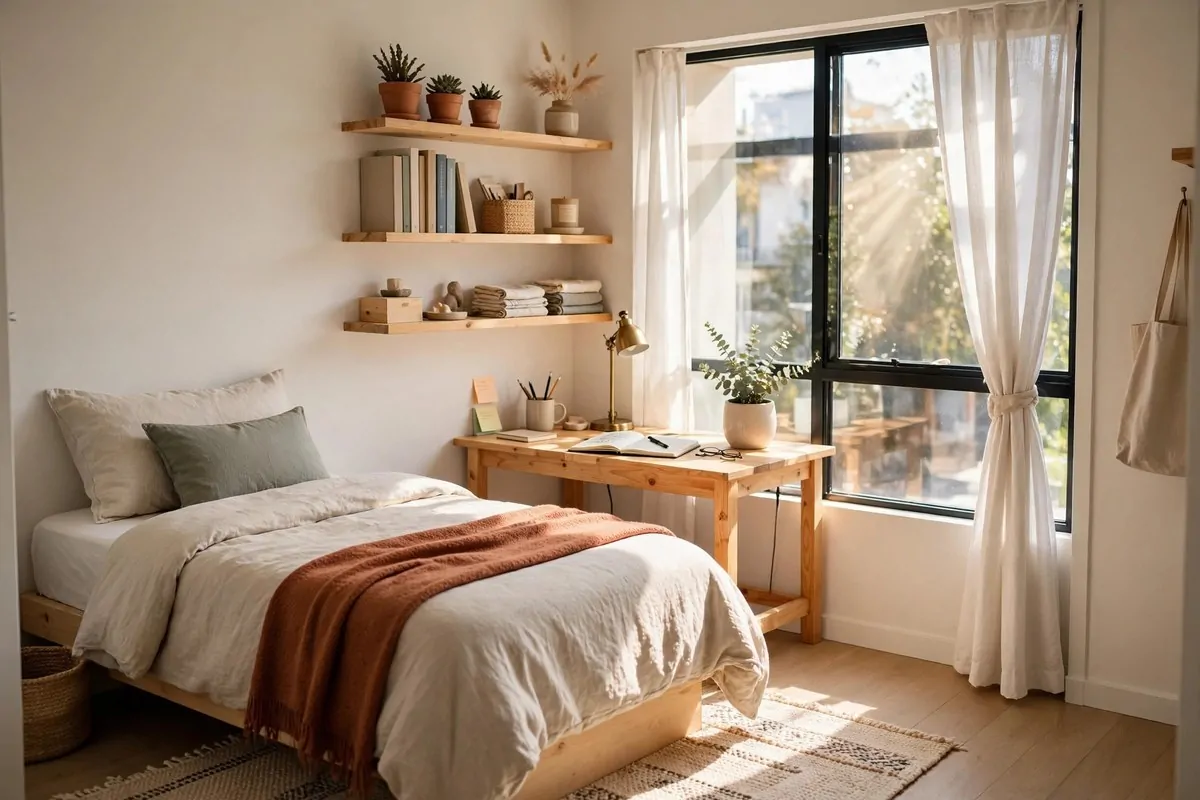
The Bedroom Corner Studio
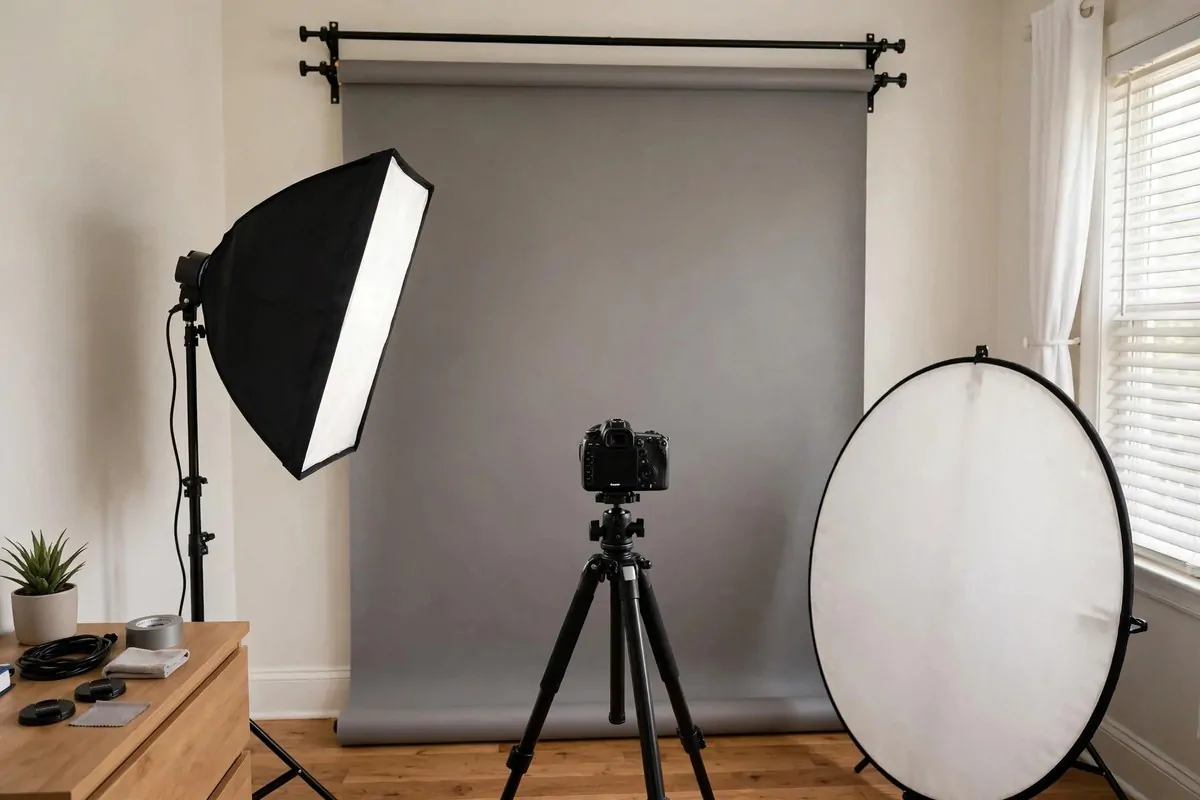
Six feet by eight feet is enough for a real studio. A corner of your bedroom can shoot headshots, product photos, and half body portraits.
Mount a curtain rail on the wall about a foot out from the corner. Hang your backdrop from it. Paper rolls, fabric, even a bedsheet. It unrolls and you are ready.
Place your key light at a 45 degree angle to the subject. A window works. A cheap LED panel works. Height matters more than price. Get it up high.
I shoot five to six feet from the backdrop. That distance keeps shadows soft. It also keeps the background slightly blurry, which looks pro.
The rest of the room does not matter. The camera only sees what is in the frame. Mess behind the camera is invisible.
This is the most popular home studio layout in the world. It works because it is simple. Corner, backdrop, light, camera.
- Mount a curtain rail one foot out from the corner wall
- Place the key light at 45 degrees and up high
- Shoot five to six feet from the backdrop
- Ignore mess outside the camera frame
The Closet Sweep Studio
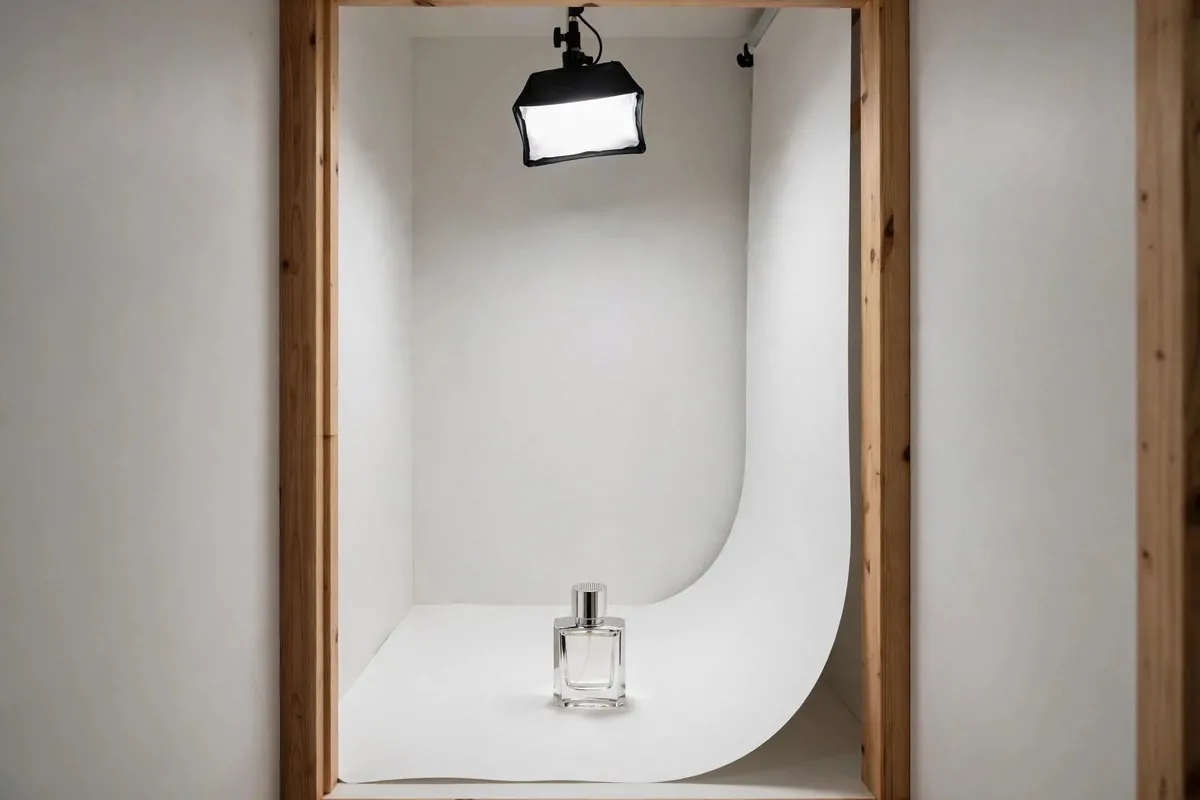
Take the door off a closet. Put a white paper sweep inside. Add one overhead light. You now own a product photography studio.
The sweep is the trick. Paper curves from the back wall down to the floor with no corner. No horizon line. Products float on white like a store photo.
Closets are small, which is perfect. Small products need small studios. Jewelry, cosmetics, handmade goods. They all fit.
One overhead light in a cheap softbox gives even light. Add a white card on each side to bounce light into the shadows. That is the whole lighting plan.
I keep my closet studio set up all the time. The door stays off. When I need a product shot, I walk in and shoot. Two minutes, done.
The paper gets dirty. Roll out a fresh section when it does. A roll lasts months. It is the cheapest studio supply you will ever buy.
- Remove the closet door and install a white paper sweep
- Curve the paper from wall to floor with no corner line
- Add one overhead softbox light plus white bounce cards
- Roll out fresh paper when the sweep gets dirty
The Butcher Paper Backdrop
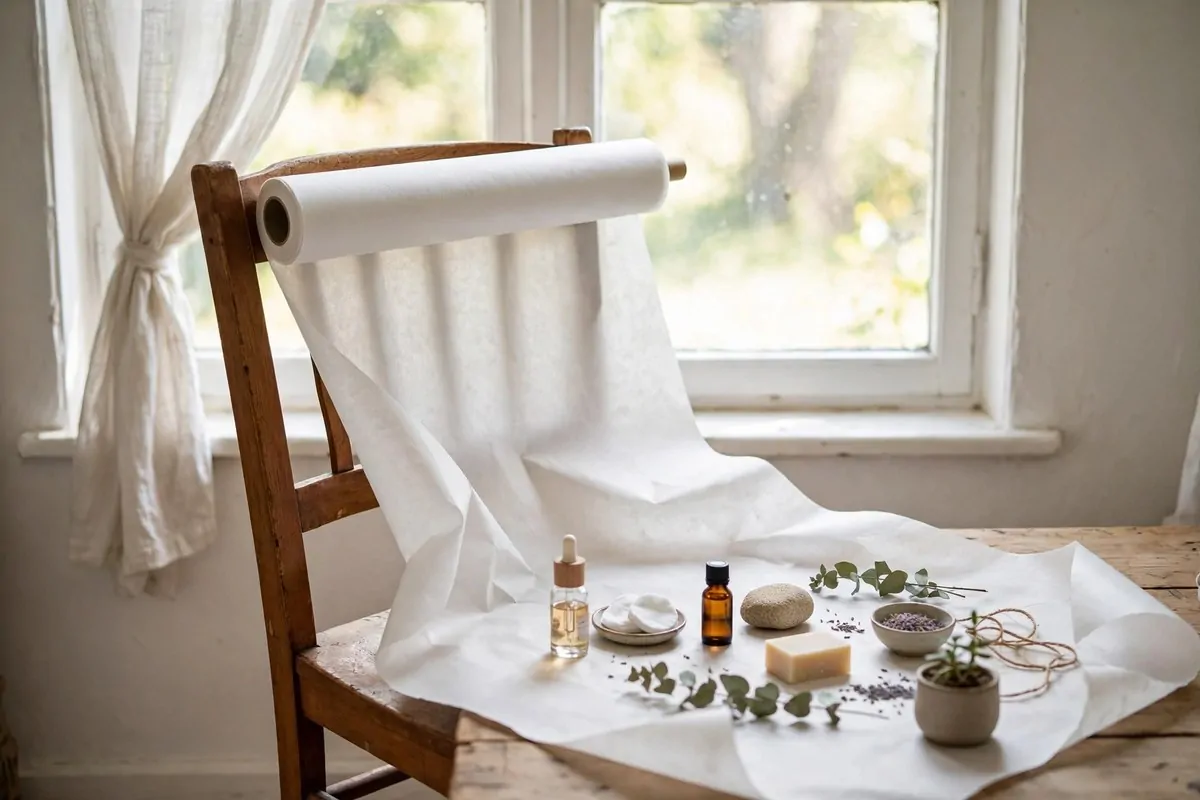
A roll of butcher paper costs about thirty dollars. Draped over a chair in front of a window, it becomes a perfect white backdrop.
Unroll enough paper to cover your foreground. The roll sits on the chair seat. The paper falls forward onto the table or floor. Instant seamless background.
Window light does the rest. Bright, soft, free. Place your setup near the biggest window you have. Morning light is best.
I used this for a whole weekend of product photos for my little shop. Every photo looked bright and uniform. Nobody believed the setup cost thirty dollars.
For taller shots, tape a sheet of paper to the wall. It gives you a full backdrop. The tape marks wash off with a damp cloth.
This is portable. Roll it up when you are done. Your dining room becomes a dining room again. No studio taking over your house.
- Drape a butcher paper roll over a chair back
- Place the setup near your biggest, brightest window
- Tape paper to the wall for taller vertical shots
- Roll it all up when done, nothing permanent
The Window Light Table Studio
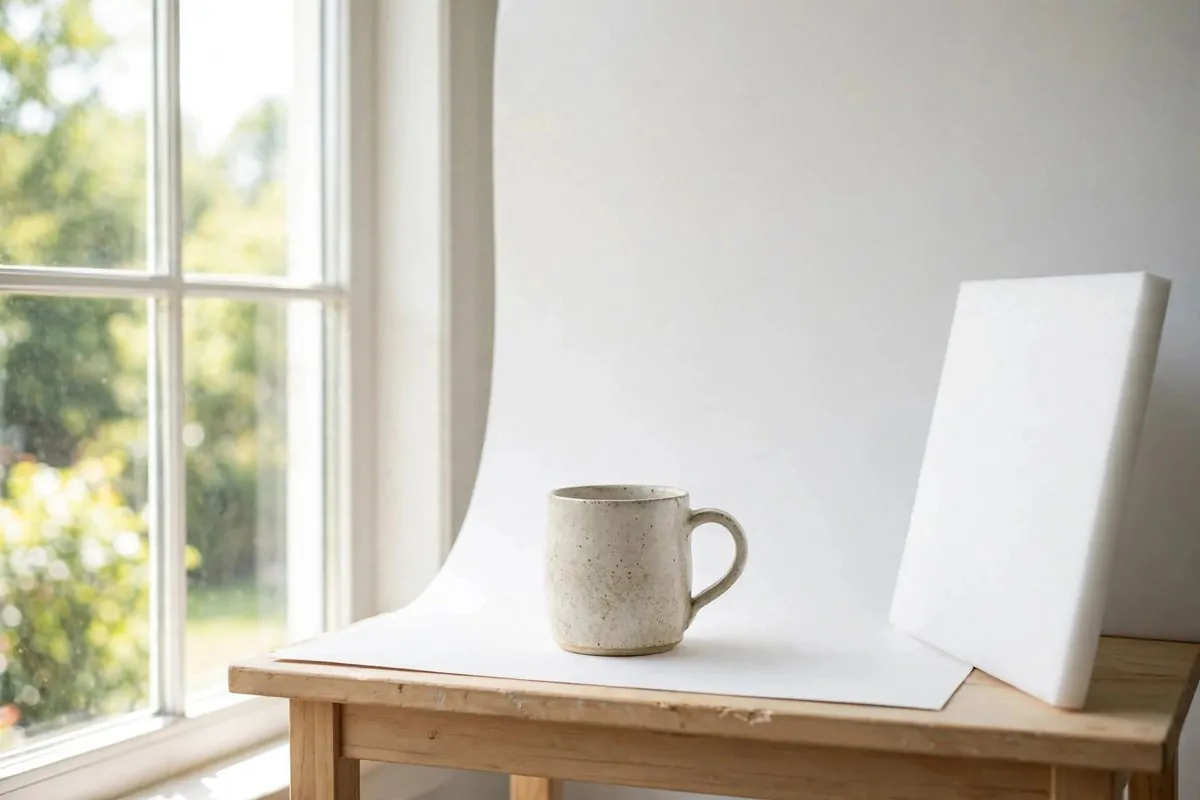
A table next to a window is a studio. It costs nothing. The light is beautiful. This is where every product photographer starts.
Put your table right against the window wall. The light comes from the side. Side light shows texture. It makes products look real and touchable.
Add a white backdrop behind the product. Poster board works. So does a pillowcase. The backdrop keeps the focus on what you are selling.
A white reflector on the opposite side fills the shadows. Foam board from a dollar store works perfectly. Prop it up with books.
I shoot jewelry and handmade goods this way. The photos look soft and natural. Customers trust photos that look like real light.
Morning light is softer than afternoon light. If the sun is too harsh, hang a sheer curtain. It diffuses the light like a pro softbox.
- Place the table against the window wall for side light
- Add a white poster board backdrop behind the product
- Prop a foam board reflector on the shadow side
- Hang a sheer curtain if the sun is too harsh
The Cardboard Box Lightbox
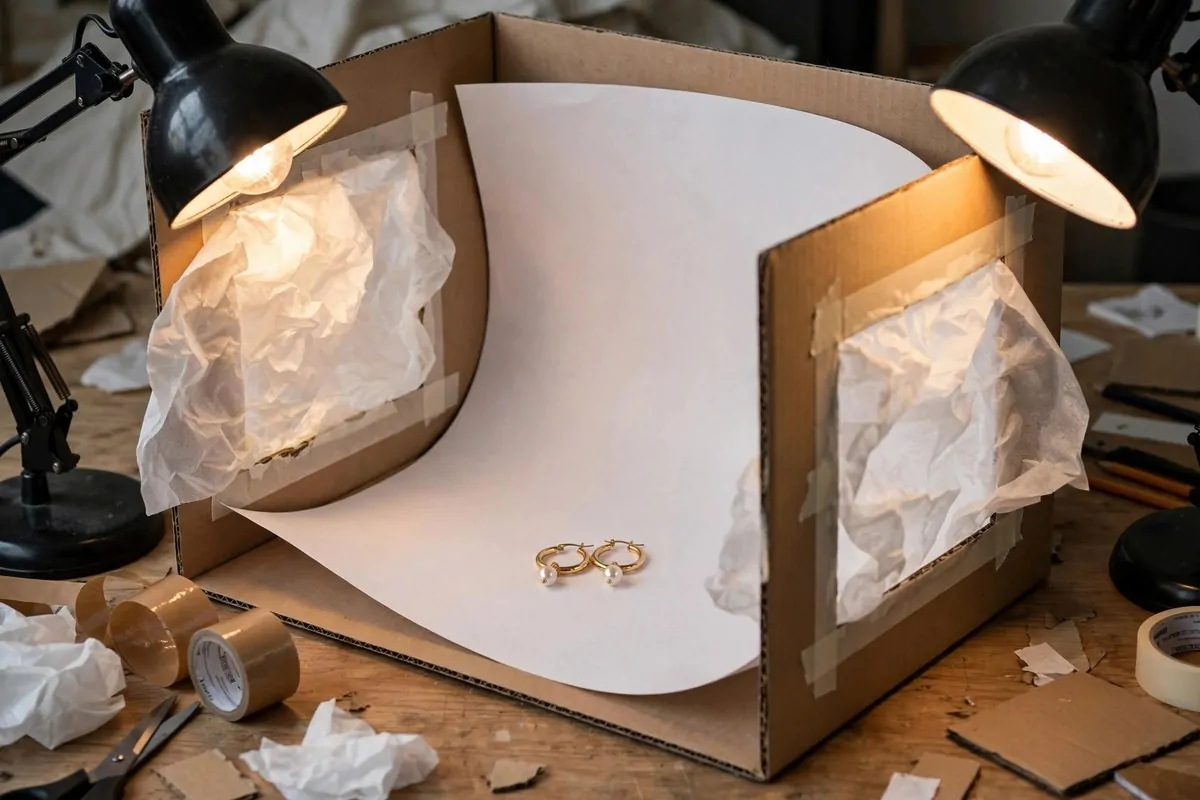
A cardboard box, white paper, and two desk lamps make a lightbox. It gives you studio quality light for small products. Total cost is under fifteen dollars.
Cut the top and two sides out of the box. Cover the holes with white tissue paper or a thin white cloth. This diffuses the lamp light.
Line the inside with white paper. Curve it from back to bottom. No corners. Your product sits in the middle on the curve.
Point the lamps through the side holes. The diffused light wraps around the product. Shadows go soft. Everything looks even and clean.
I made one in twenty minutes. It photographed earrings, soaps, and small crafts beautifully. The photos looked like they came from a real studio.
The box folds flat when you are done. Store it behind a door. It weighs nothing. It is the ultimate tiny budget studio.
- Cut out the top and sides of a cardboard box
- Cover holes with tissue paper to diffuse lamp light
- Curve white paper inside from back to bottom
- Point desk lamps through the side holes
The Wall-Mounted Paper Roll
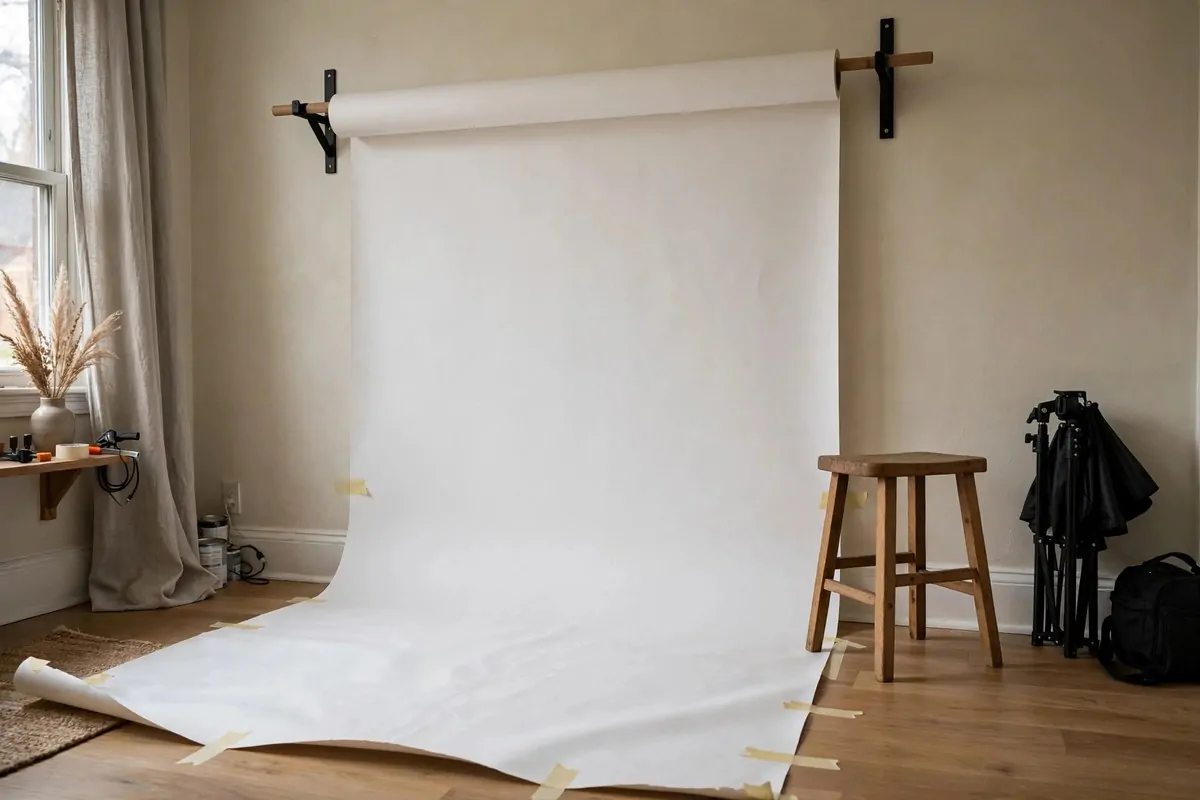
Mount a paper roll on the wall and let it roll down to the floor. It is the classic studio backdrop. You can do it for under fifty dollars.
Two brackets, a wooden dowel, and a paper roll. Screw the brackets to the wall. Slide the dowel through the roll. Pull the paper down when you shoot.
This works for bigger subjects. Kids portraits, clothing, flat lays. The paper gives you a clean background every time.
I mount mine high enough that the paper reaches six feet down the wall and three feet across the floor. That covers most shots.
Tape the paper to the floor with painter’s tape. It stops it curling up. When the bottom gets dirty, cut it off and pull down fresh paper.
Choose white for classic, gray for moody, or a color for fun. One roll lasts a long time. It is the backbone of a budget studio.
- Mount two brackets and a dowel high on the wall
- Let the paper roll down the wall and across the floor
- Tape the floor section down with painter’s tape
- Cut off dirty sections and pull fresh paper down
The Foam Board V-Flat Fill
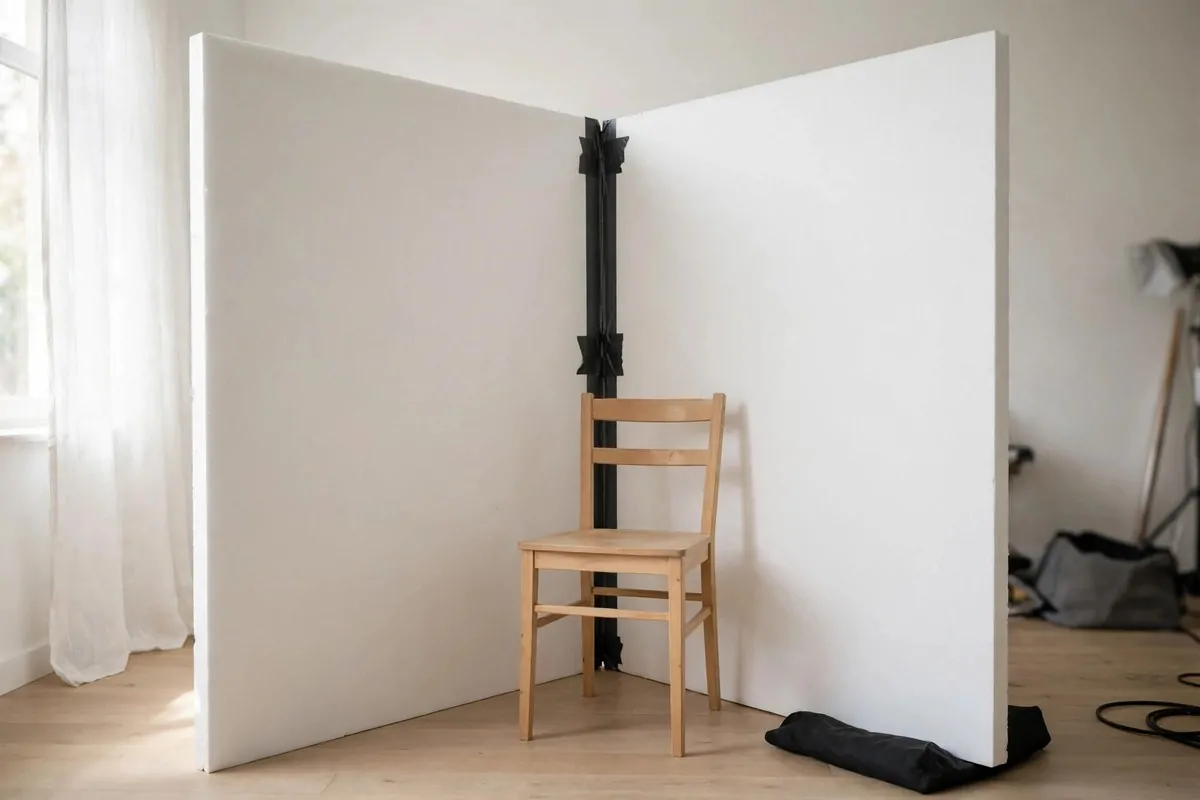
Two foam boards taped into a V shape make a V-flat. It bounces light back onto your subject. Pro studios use these daily. Yours costs four dollars.
Stand the V near your subject, opposite the main light. The white surface catches light and throws it into the shadows. Faces go from harsh to soft.
The black side works too. Flip it around and it eats light. It deepens shadows for moody portraits. One tool, two effects.
I tape the boards with gaffer tape. It holds strong and removes clean. The V stands on its own. No assistant needed.
This is the cheapest lighting upgrade you can make. The difference in your photos is huge. Shadows go from ugly to beautiful.
Store it flat behind a door. It weighs nothing. It sets up in ten seconds. Every budget studio needs one.
- Tape two foam boards into a freestanding V shape
- Place opposite the main light to fill shadows
- Flip to the black side for moody deep shadows
- Store flat behind a door when not in use
The 5-in-1 Reflector Trick
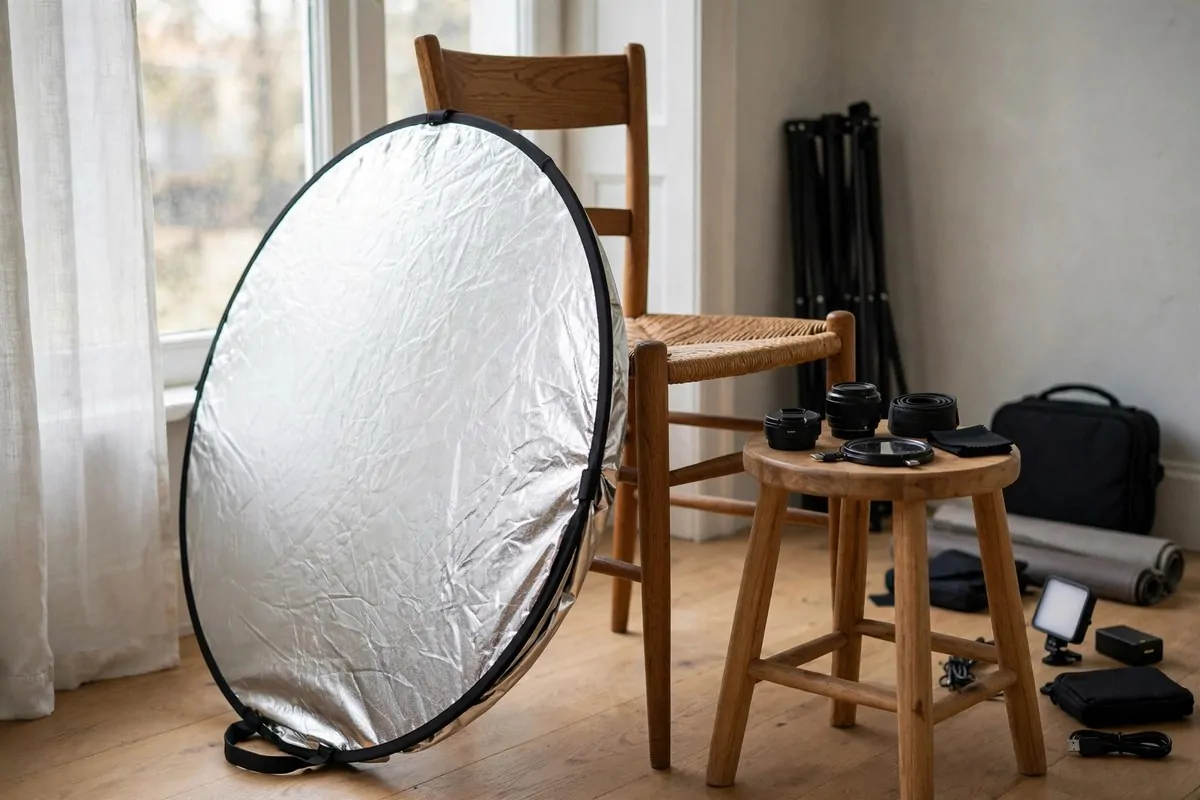
A collapsible 5-in-1 reflector costs about twenty five dollars. It is five lighting tools in one. Every photographer owns one.
The silver side bounces strong light. The gold side adds warmth. The white side gives soft fill. The black side blocks light. The diffuser softens harsh sun.
I use the white side most. Hold it opposite the window. It fills shadows on faces. Portraits go from okay to lovely.
The diffuser is magic outdoors. Hold it over your subject in harsh sun. The light goes soft instantly. No more squinting.
It folds down to the size of a dinner plate. It fits in any bag. Take it everywhere. It is the most useful twenty five dollars in photography.
Learn one reflector position and master it. Opposite the light, angled up slightly. That one move fixes most lighting problems.
- Use the white side for soft natural fill light
- Try the gold side for warm sunset feeling
- Hold the diffuser over subjects in harsh sun
- Master one position, opposite the light angled up
The Shower Curtain Softbox
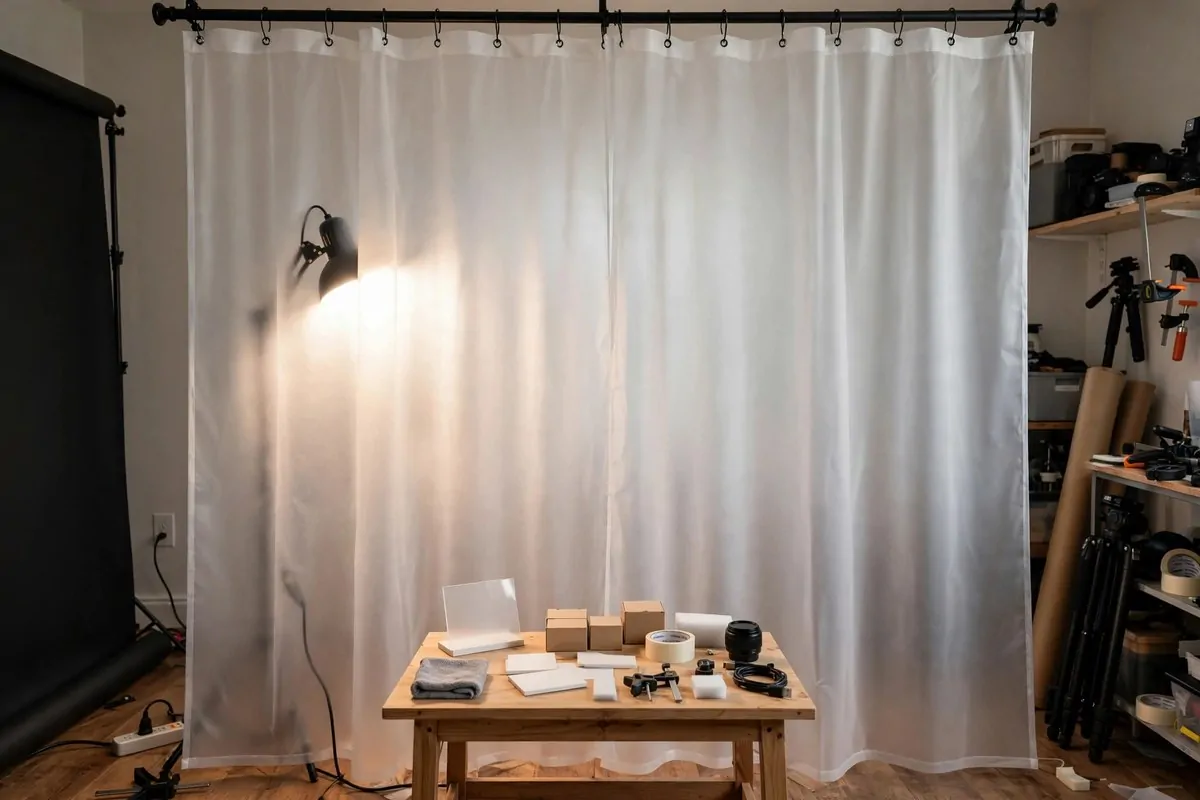
A frosted shower curtain turns any harsh lamp into a soft studio light. Hang it in front of the lamp. The light goes soft and beautiful.
The curtain diffuses the light. It spreads it out. Harsh shadows become gentle gradients. Skin looks smooth. Products look even.
I hang mine from a curtain rod or a clothes rack. The lamp sits a foot behind it. The subject sits a few feet in front. Simple triangle.
White or frosted curtains work best. Clear ones do nothing. Patterned ones make weird shadows. Keep it plain.
This is how you fake a big expensive softbox. The light quality is honestly similar. Your photos will not know the difference.
A shower curtain costs a few dollars. It folds up tiny. It is the best diffuser for the money, period.
- Hang a frosted white shower curtain in front of lamps
- Keep the lamp one foot behind the curtain
- Place the subject a few feet in front
- Avoid clear or patterned curtains
The Bedsheet Diffusion Ceiling
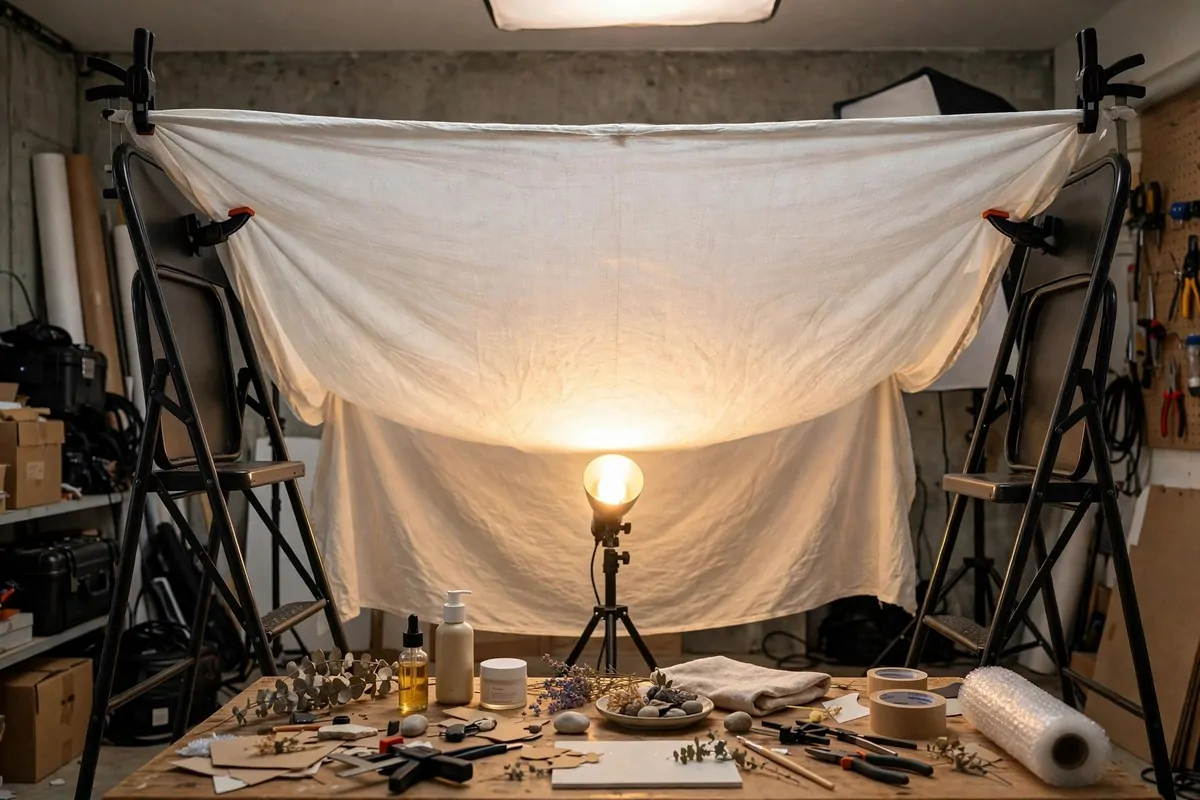
Stretch a white bedsheet above your subject. Shine a light up through it. The sheet becomes a giant soft light source. It is like a cloudy sky indoors.
Overhead soft light is flattering. It lights faces evenly. It kills harsh nose shadows. Fashion photographers pay thousands for this effect.
I clamp the sheet to two light stands or tall chairs. It hangs like a ceiling. The lamp points up through it from below or above.
White cotton sheets work best. Thin ones let more light through. Thick ones block too much. A cheap flat sheet is perfect.
This setup is great for flat lays too. The soft overhead light shows every detail without glare. Food photos love this light.
It looks silly. A sheet hanging in your living room. But the photos look pro. That is what matters.
- Clamp a white cotton sheet above the shooting area
- Shine a lamp up through the sheet
- Use thin flat sheets for the best light flow
- Try it for flat lays to kill glare
The String Light Bokeh Wall
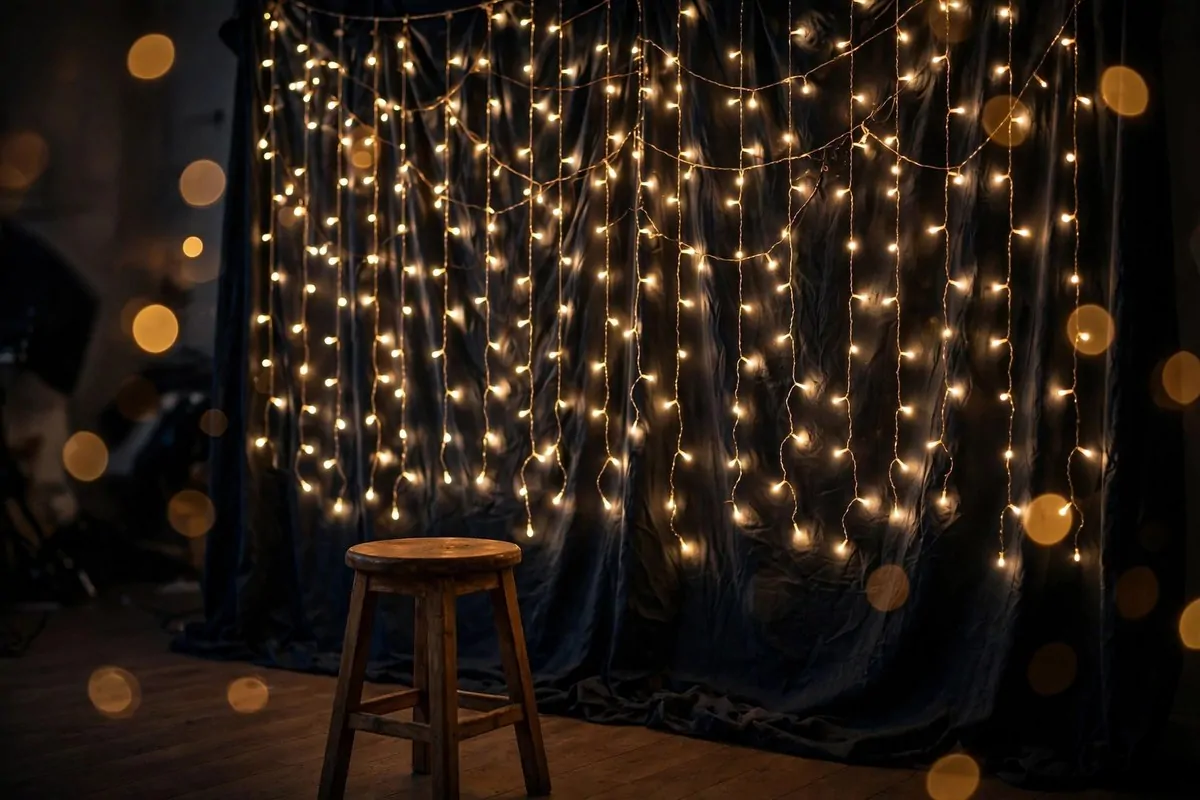
Hang string lights on a wall. Shoot your subject in front of them. Blur the background. The lights turn into golden bokeh dots. Instant magic.
Bokeh is the blurry background effect. It makes photos look expensive. String lights are the cheapest way to get it.
Use a wide aperture on your camera. F2 or wider. Or use portrait mode on your phone. The lights melt into soft circles.
Warm white lights look best. They glow golden. Colored lights can work for fun shoots. Keep it warm for classic portraits.
I hang mine on a dark curtain. The dark background makes the lights pop. The contrast is beautiful.
This background works for portraits, couples, and products. It is festive without being seasonal. It is pure glow.
- Hang warm white string lights on a dark background
- Shoot with a wide aperture or portrait mode
- Keep the subject a few feet in front of the lights
- Use a dark curtain behind to make lights pop
The Tin Foil Reflector
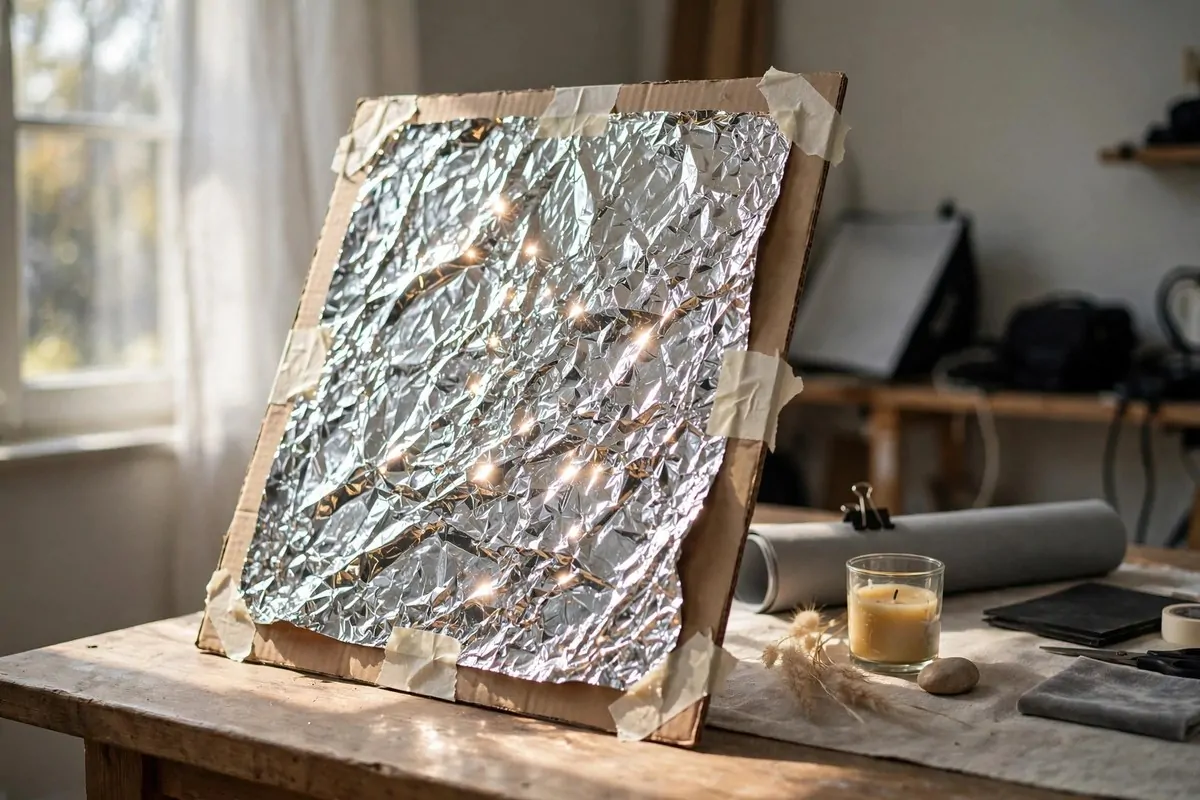
Crumple tin foil, smooth it out a little, tape it to cardboard. You have a sparkly reflector. It adds lively highlights to your photos.
The crumples break up the light. It bounces back with sparkle. It is great for product shots that need some life. Jewelry loves this.
I make two. One smooth side, one crumpled side. The smooth side is a strong reflector. The crumpled side is softer and more interesting.
Tape the foil to a piece of cardboard for stiffness. Otherwise it flops around. Cardboard is free. The whole thing costs pennies.
Hold it opposite your main light. Angle it until you see the sparkle. Move it closer for more effect, farther for less.
This is a fun trick for food photos too. The sparkle makes everything look fresh. Try it on fruit and drinks.
- Crumple foil then smooth it slightly before taping to cardboard
- Make one smooth and one crumpled version
- Hold opposite the main light and angle for sparkle
- Try it on jewelry and food for lively highlights
The Painted Canvas Backdrop
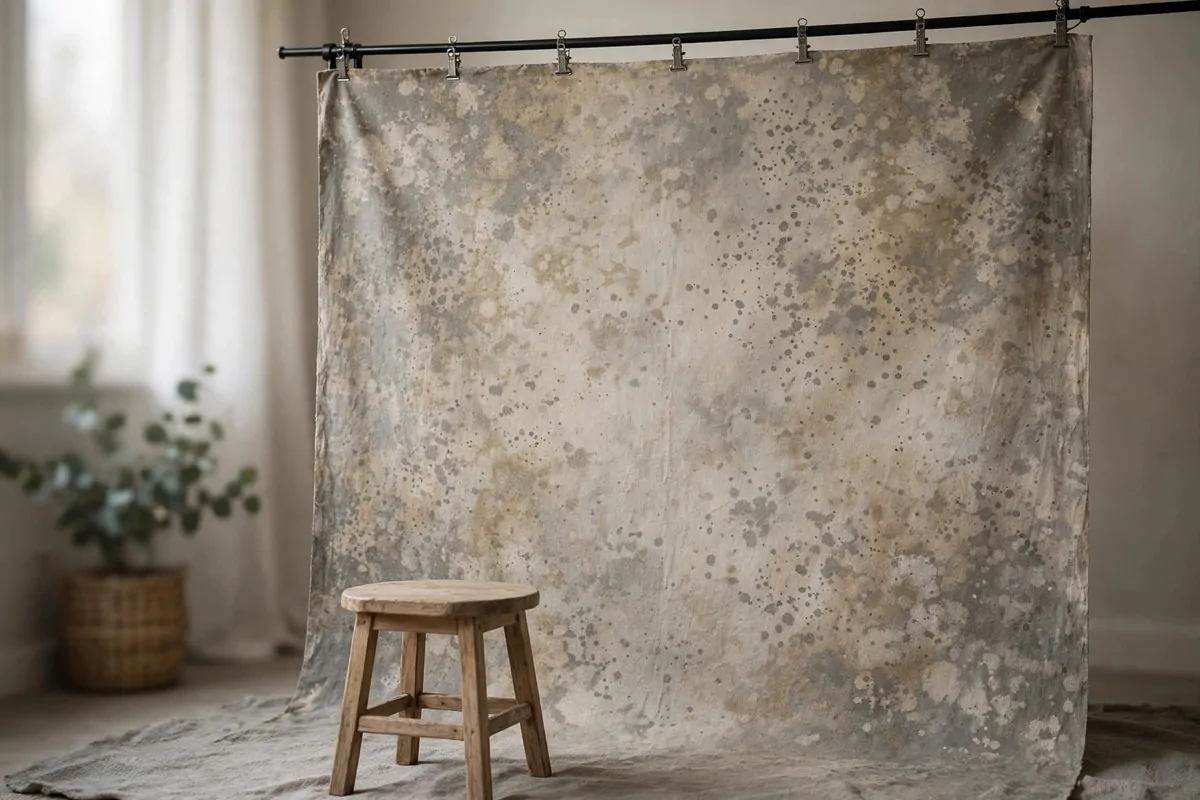
Paint a canvas drop cloth with mottled colors. It becomes a textured backdrop that looks like a pro studio background. It costs about twenty dollars.
Use a canvas drop cloth from the paint store. Sponge on two or three colors. Gray, beige, brown. Blend them roughly. Imperfection is the point.
Pro backdrops have texture and variation. Flat colors look cheap. Your sponged canvas looks rich and expensive.
I hang mine from a curtain rod with clips. It rolls up for storage. One backdrop gives you endless portrait backgrounds.
Let it dry fully. It takes a day. Then it lasts for years. Mine has survived hundreds of shoots.
Try different color combos. Warm browns for cozy. Cool grays for modern. Dark tones for moody. One cloth, many moods.
- Sponge two or three paint colors onto a canvas drop cloth
- Keep the blending rough, imperfection looks pro
- Hang with clips from a curtain rod
- Make several in different color moods
The Stacked-Books Tripod
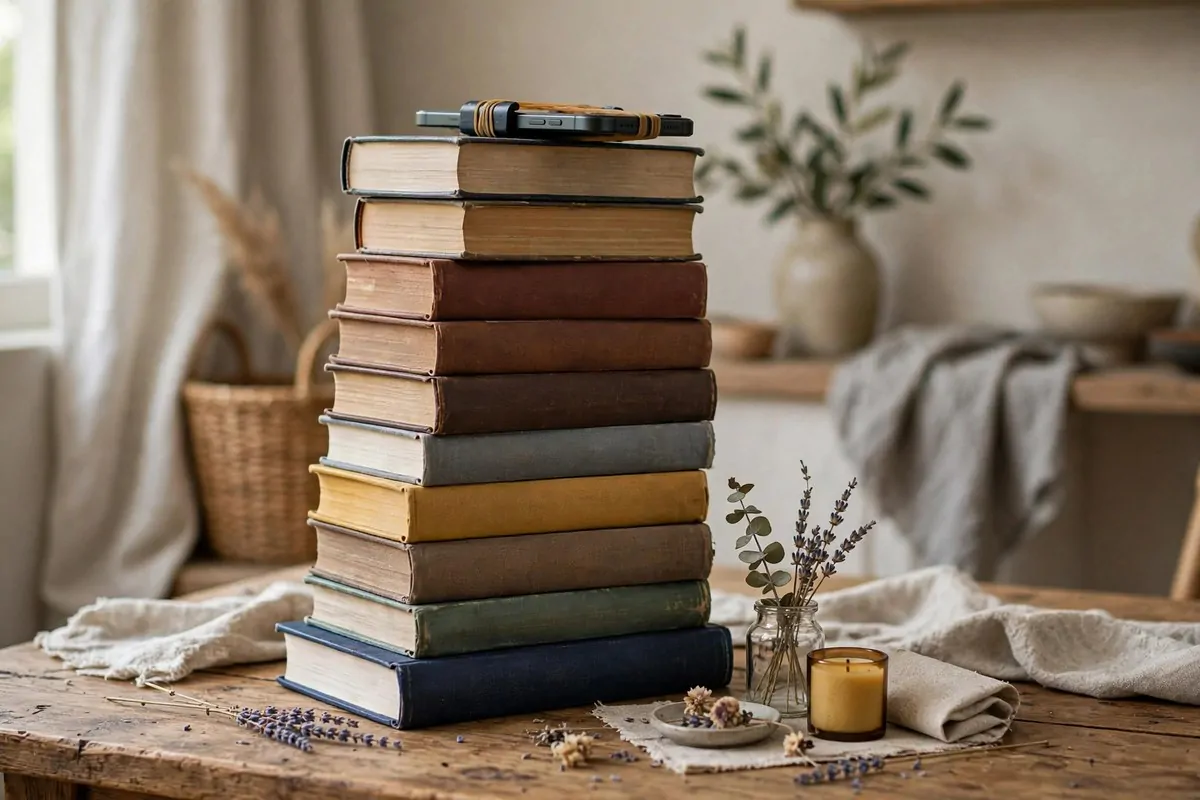
No tripod. No problem. Stack books to the right height. Rest your camera or phone on top. It is steady and free.
Books are everywhere. They stack to any height. They are heavy enough to stay put. The perfect emergency tripod.
I use this for self portraits and video. Set the timer. Stack the books. Frame the shot. It works every time.
Use the self timer or a remote shutter. Touching the stack shakes it. Hands off for sharp photos.
A rubber band around the phone and the top book adds security. It stops slides. Cheap insurance.
This is not glamorous. But sharp photos beat shaky photos. Use what you have.
- Stack heavy books to your needed camera height
- Rest the camera or phone on top, secured with a rubber band
- Use the self timer so you do not touch the stack
- Works great for self portraits and video
The Color Gel Lamp Setup
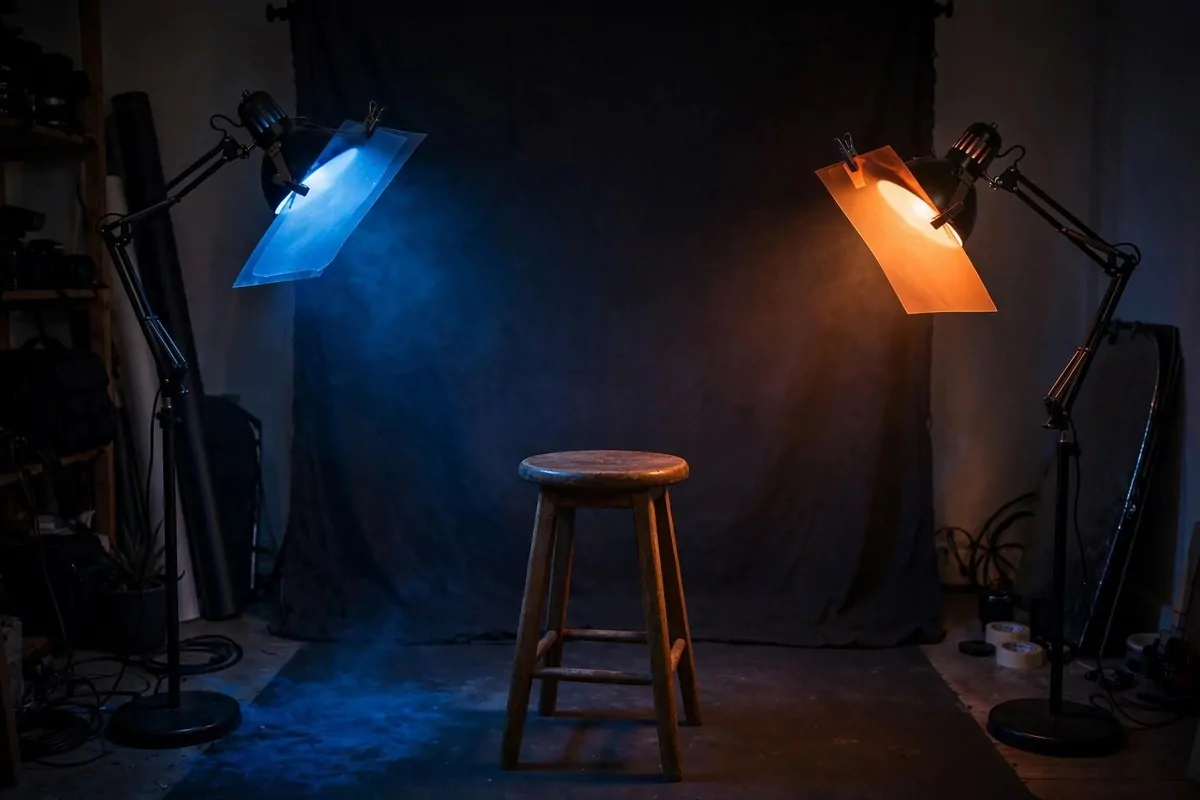
Colored gels over lamps make dramatic photos. Blue on one side, orange on the other. Instant music video look.
Gels are sheets of colored plastic. Tape one over a lamp. The light turns color. A pack costs a few dollars.
I use two lamps with different colors. They cross on the subject. The mix creates depth. One color alone can look flat.
Try blue and orange. They are opposites. They make each other pop. It is the classic movie poster look.
Keep the background dark. Colored light shows best on dark. A black sheet behind the subject works perfectly.
This is great for creative portraits. It looks expensive. It looks intentional. It costs almost nothing.
- Tape colored gel sheets over desk or clip lamps
- Use two opposite colors like blue and orange
- Cross the lights on the subject for depth
- Keep the background dark for maximum impact
The Blackout Curtain Control
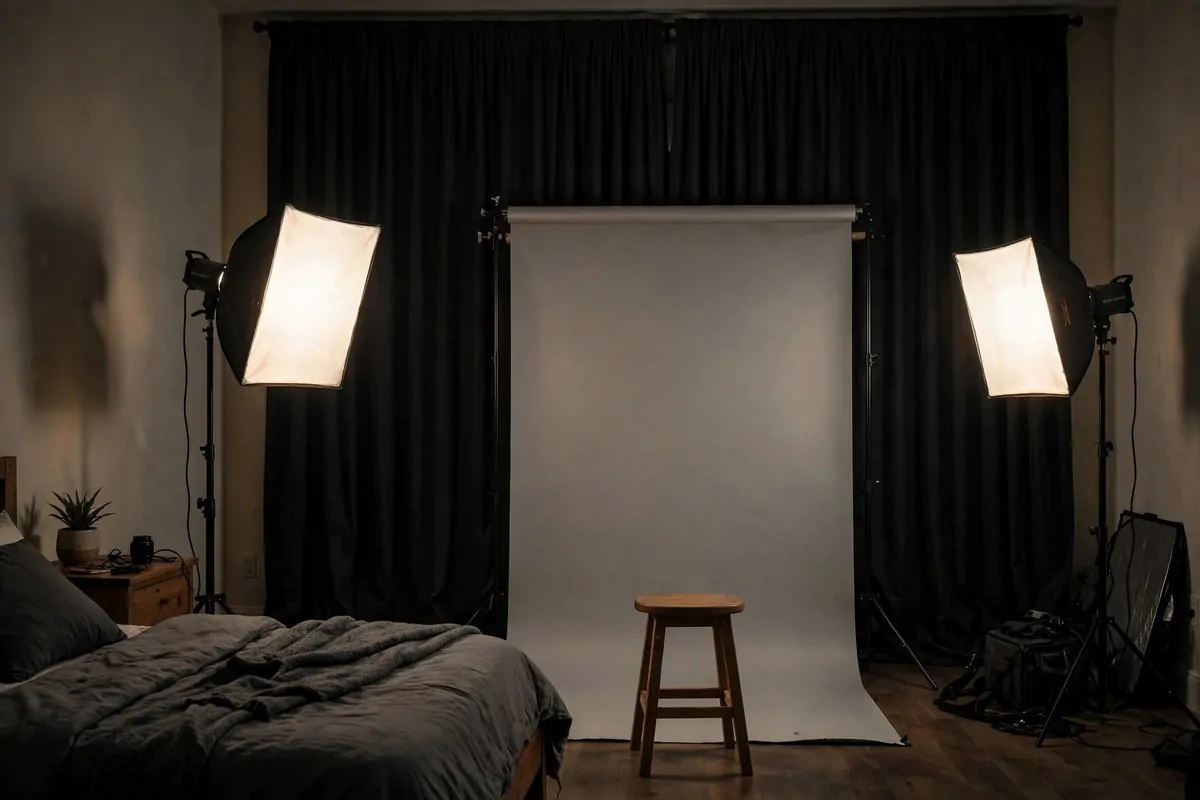
Blackout curtains give you control. Close them and the room goes dark. Now your lamps are the only light. You decide everything.
Natural light is beautiful but unpredictable. It changes by the hour. Blackout curtains let you work any time with the same light.
I close mine and use two lamps. The setup looks the same at noon and midnight. Consistency is pro.
They also block ugly light. Street lamps, neon signs, the neighbor’s porch. Close the curtains and it is all gone.
Hang them on a simple rod. They are cheap. They also help you sleep better. Double win.
Open them when you want window light. Close them when you want control. You get both studios in one room.
- Hang blackout curtains on all studio windows
- Close them to kill unpredictable natural light
- Build your lighting with lamps only
- Open them when you want natural window light
The Fold-Up Tabletop Studio
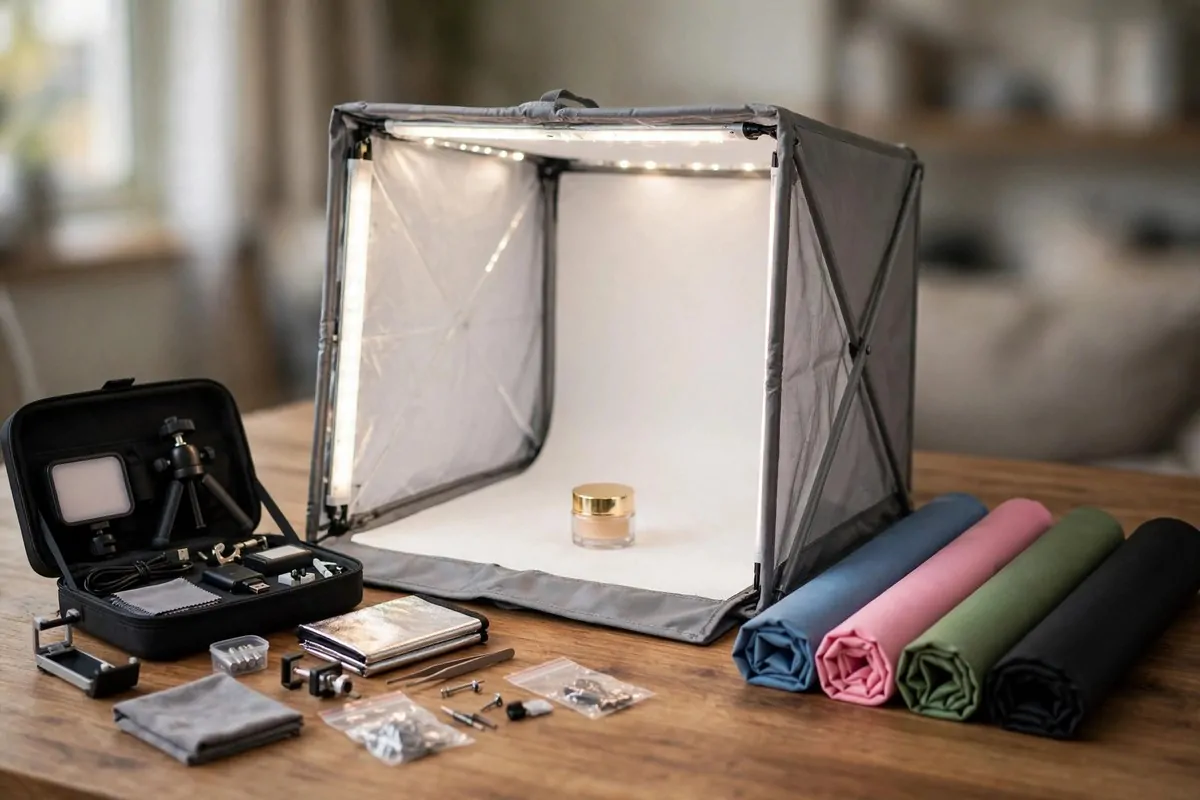
A foldable shooting tent sets up in seconds. Built in LED lights. White backgrounds. It is a studio in a bag.
These kits cost forty to one hundred dollars. They include the tent, lights, and backdrops. Everything folds flat.
I keep mine in a closet. When I need product shots, it is up in one minute. When I am done, it folds away. No permanent studio needed.
The built in LEDs are daylight balanced. Colors look right. No weird yellow tint. That alone is worth the price.
Different backdrop colors come with most kits. White, black, blue, red. Swap them for different moods.
This is perfect for online sellers. Consistent photos, fast setup, tiny storage. It pays for itself quickly.
- Choose a kit with built in daylight LEDs
- Set it up in one minute on any table
- Swap backdrop colors for different product moods
- Fold flat and store in a closet
The Patio Sheet Studio
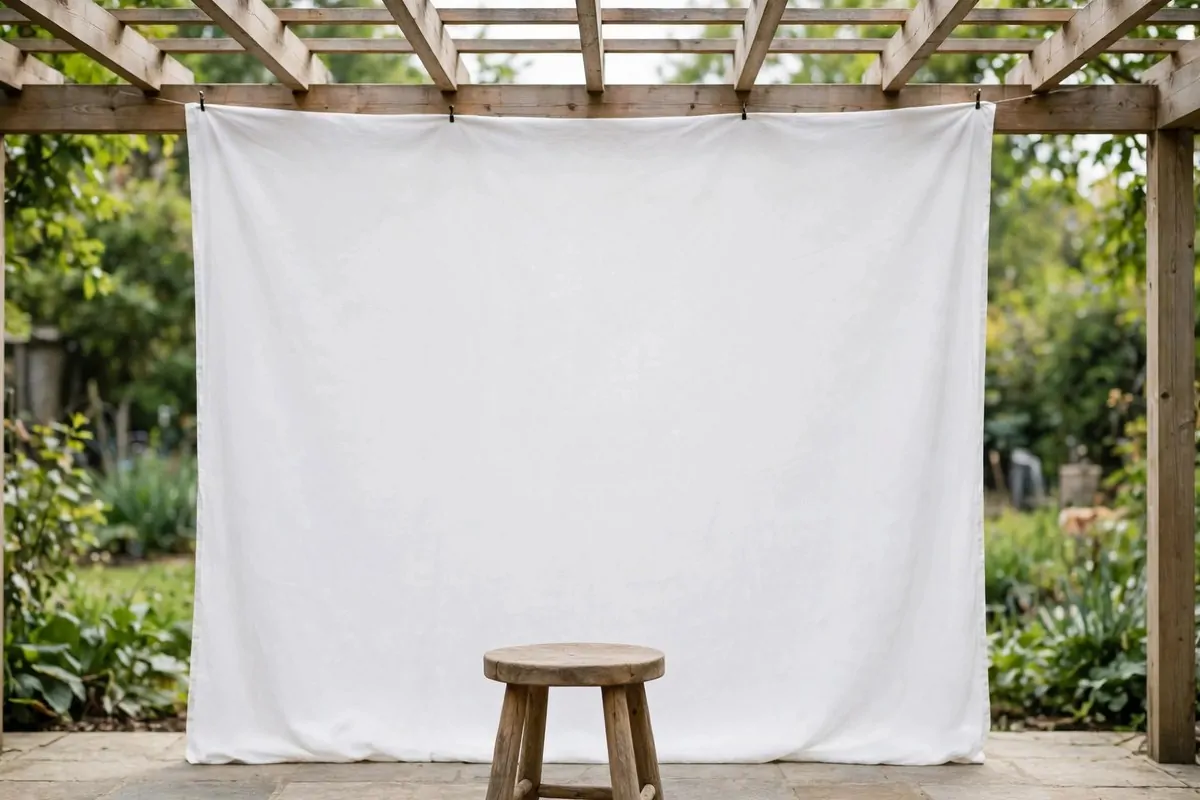
Hang a white sheet on your patio. The sun is your light. The sky is your softbox. Outdoor studios are free and beautiful.
Overcast days are best. The clouds diffuse the sun. The light is soft and even. It is nature’s softbox.
I hang the sheet from a clothesline or a pergola. It should be taut. Wrinkles show in photos. Pull it tight.
Shoot in the shade if the sun is harsh. Direct sun makes hard shadows. Shade keeps it soft. The sheet stays bright.
Wind is the enemy. Clamp the bottom of the sheet. Or shoot on calm mornings. Early light is also the prettiest.
This works for portraits and bigger products. Fresh air, free light, no studio needed. Just a sheet and a calm day.
- Hang a white sheet taut from a line or pergola
- Shoot on overcast days for nature’s softbox
- Stay in the shade when the sun is harsh
- Clamp the sheet bottom against wind
The DIY Cyc Corner
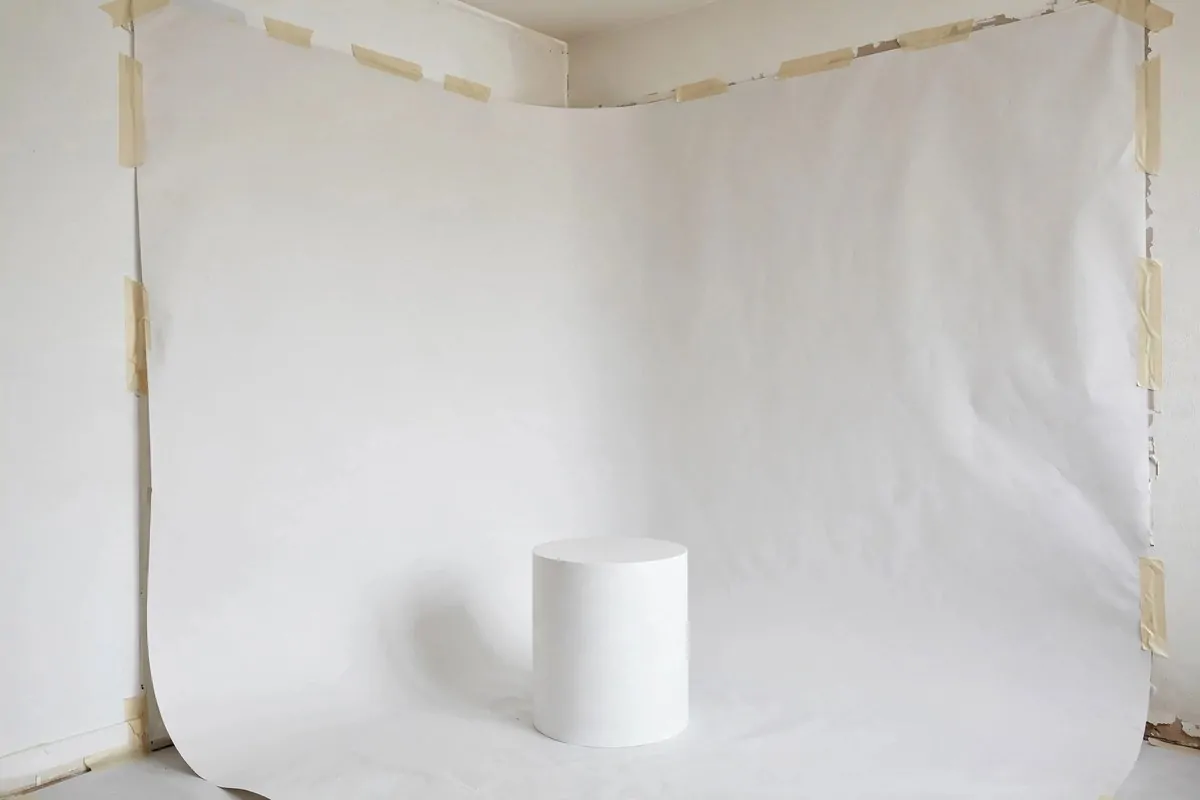
A cyc wall has no corners. The wall curves into the floor. Subjects float in endless space. You can fake one with paper.
Tape large paper sheets into a room corner. Curve them from wall to floor. The curve hides the corner line. It looks infinite.
White paper works best. It reflects light everywhere. The whole corner glows. It is the cleanest background possible.
I use this for full body shots and big products. The seamless look is very pro. Fashion shoots use real cyc walls.
The paper tears with use. Replace it when needed. It is cheap. Keep a spare roll handy.
Light it evenly from both sides. Even light keeps the illusion. Shadows break the endless feeling.
- Tape large paper sheets into a room corner
- Curve the paper from wall to floor smoothly
- Use white paper to reflect light everywhere
- Light evenly from both sides to keep the illusion
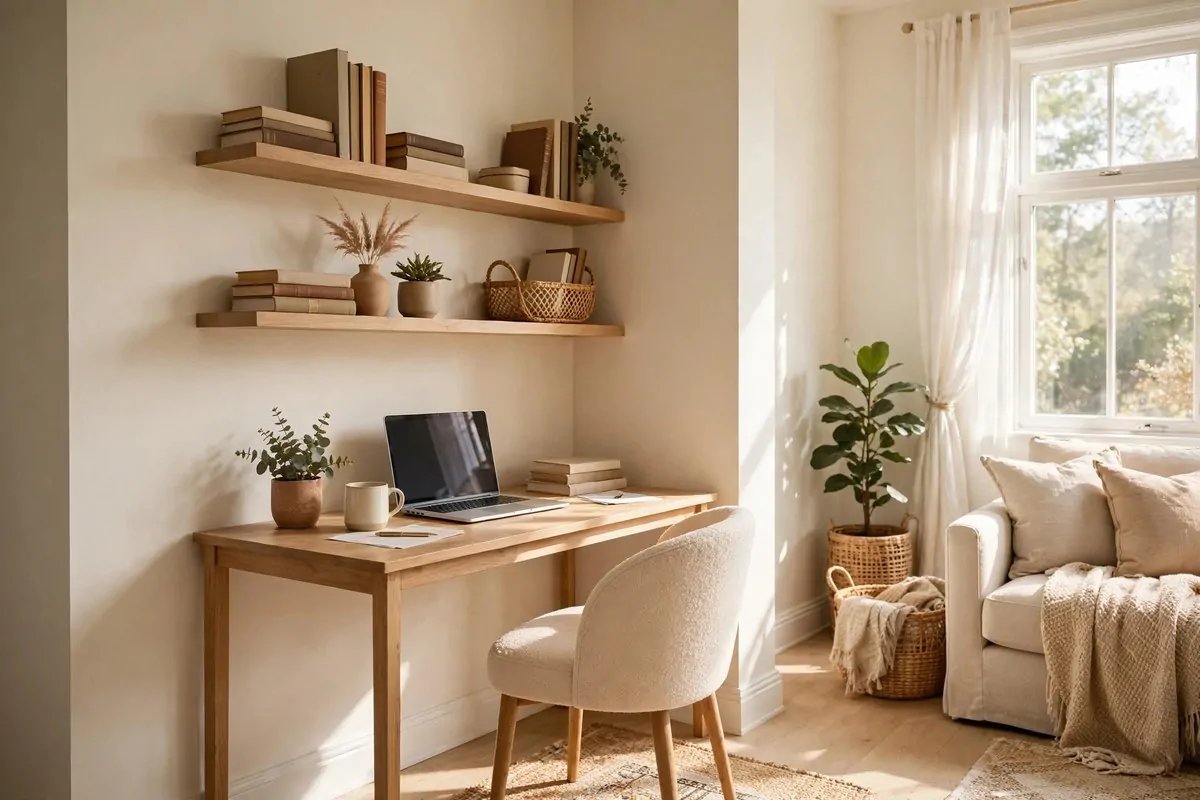
The Styled Shelf Background

A styled bookshelf makes a great background. It looks like real life. Portraits feel warm and personal against it.
Style one shelf section. Books, plants, a few pretty objects. Keep it tidy. The camera sees everything.
Blur it slightly. A wide aperture turns the shelf into soft color. The subject stays sharp. The background adds warmth.
I use this for author photos, video calls, and lifestyle portraits. It says creative and smart without trying.
Keep the shelf dusted. The camera catches dust. Wipe it before you shoot. Five minutes of cleaning saves editing time.
This background is always ready. No setup. Sit down and shoot. It is the laziest studio on this list.
- Style one shelf section with books and plants
- Blur it with a wide aperture for soft background
- Dust the shelf before every shoot
- Use it for author photos and lifestyle portraits
The Tethered Laptop Studio
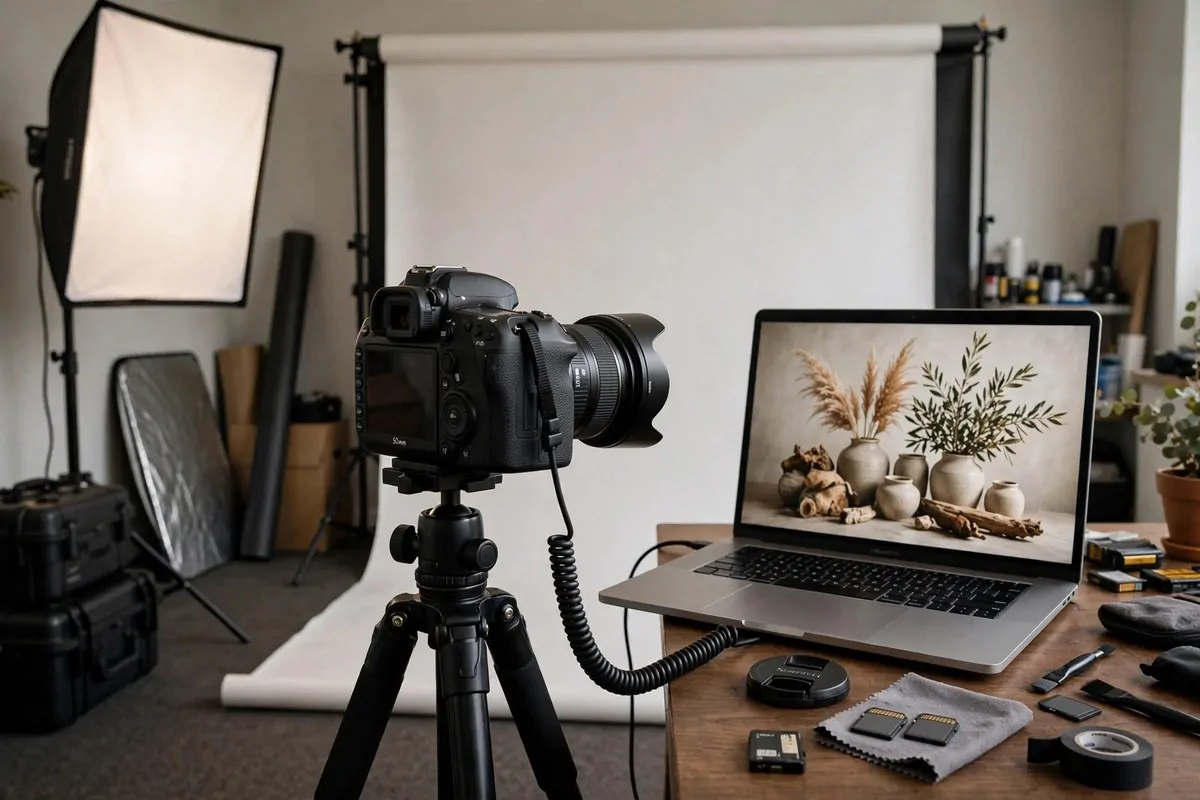
Plug your camera into your laptop. See each photo big as you shoot. This is tethered shooting. It makes you better instantly.
You see details you miss on the small screen. A stray hair. A wrinkle. You fix it right away. No surprises later.
The cable costs about twenty dollars. The software is often free. Your camera maker probably includes it.
I tether for portraits and products. Clients love seeing the big screen. It feels pro. It is pro.
Set the laptop where the subject can see it too. They relax when they see good photos. Happy subjects take better photos.
This trick costs almost nothing. But it changes how you shoot. Big screen, instant feedback, better photos.
- Connect your camera to a laptop with a tether cable
- Use free software from your camera maker
- Check each shot big for hairs and wrinkles
- Let subjects see the screen to help them relax
The Door-Frame Hook Storage
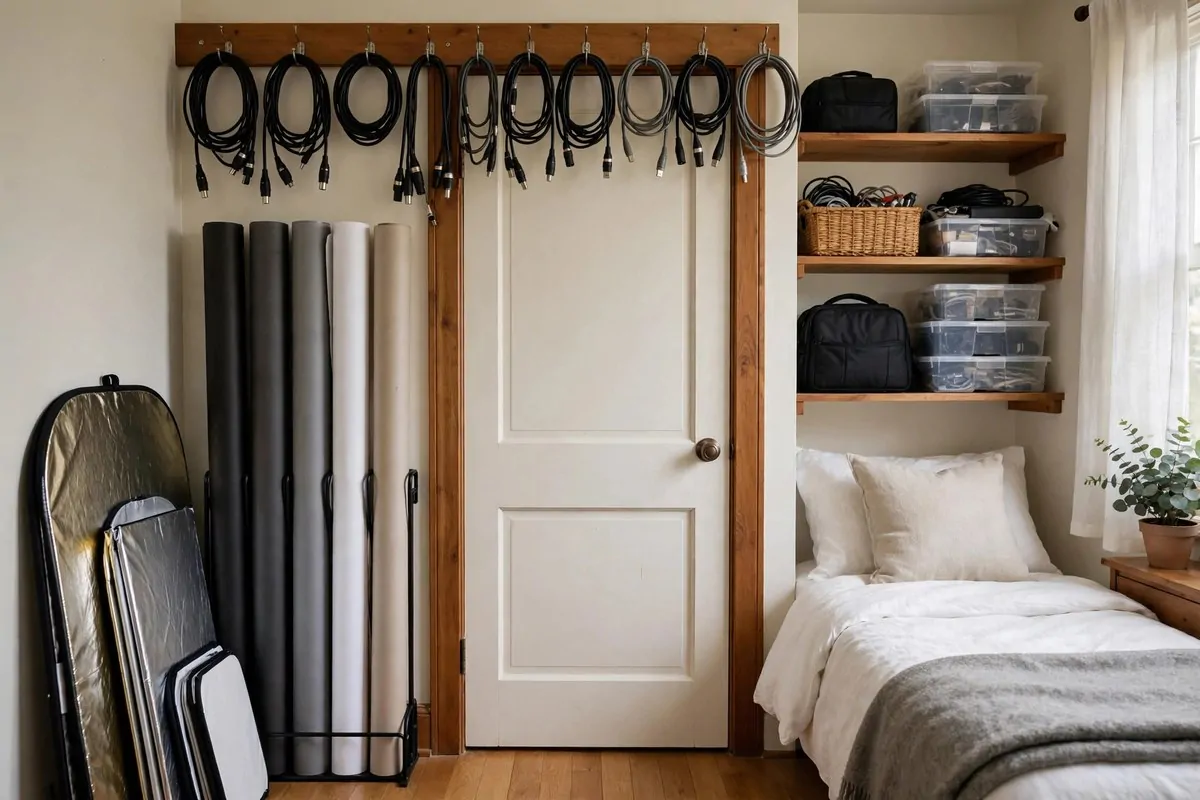
Small studios need smart storage. Hooks over the door frame hold reflectors, backdrops, and cables. Everything hangs neat and reachable.
Door frame hooks need no screws. They slip over the top of the door. Renters can use them. No damage.
I hang my reflector, my paper rolls, and my cables here. The studio packs into one door. The room stays a bedroom.
This keeps gear from getting damaged. Reflectors stay flat. Paper stays clean. Cables stay untangled.
It also keeps the floor clear. No tripping over stands. A clear floor is a safe studio.
Fifteen dollars of hooks organizes a whole studio. Small money, big calm.
- Slip no-screw hooks over the door frame top
- Hang reflectors, paper rolls, and cables
- Keep everything off the floor for safety
- Ideal for renters with no drilling allowed
The LED Strip Ring Light
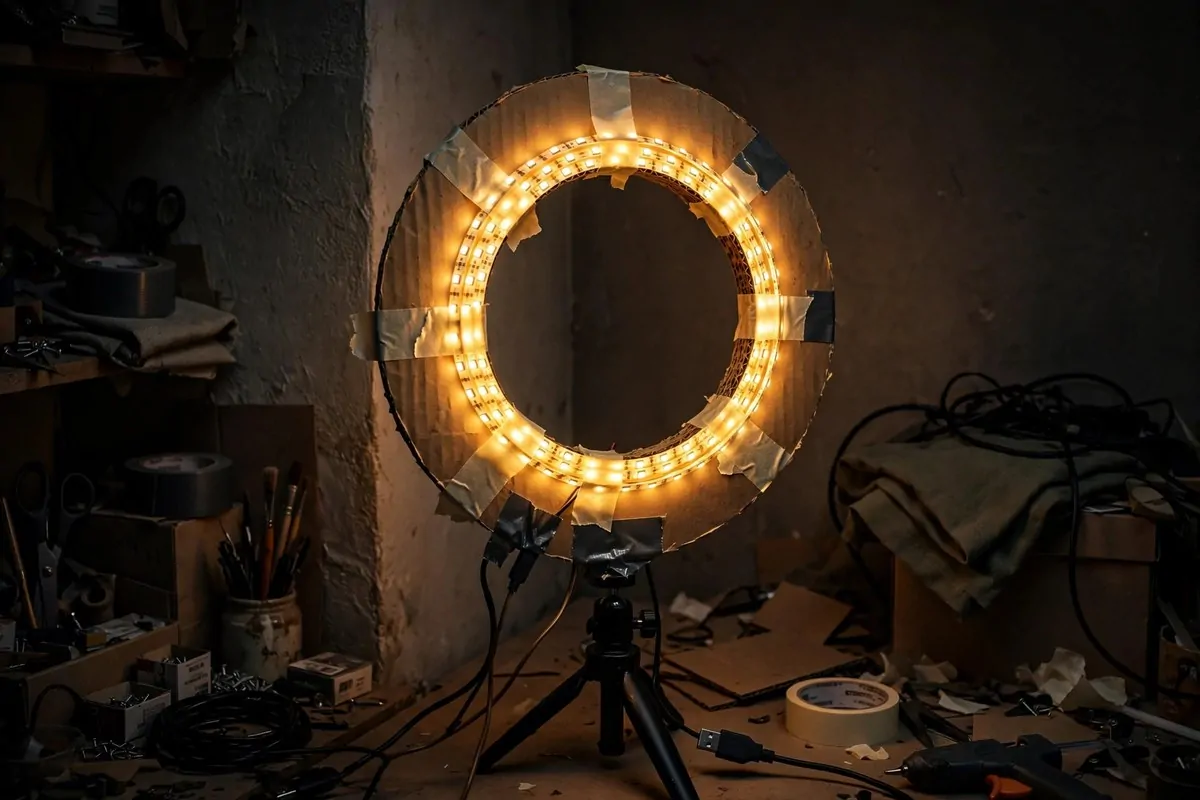
Coil an LED strip into a circle. You have a ring light. It makes the famous circle catchlights in eyes. Beauty photographers love it.
LED strips cost a few dollars. Coil it around a cardboard ring. Tape it down. Plug it in. Done.
Ring lights give even face light. Shadows disappear. Skin looks smooth. It is the most flattering cheap light.
I mount mine on a cheap tripod. The camera shoots through the middle. The subject looks into the ring. Classic setup.
Dimmer strips let you control brightness. Too bright washes out faces. Start dim and go up slowly.
This is perfect for video too. Vloggers and video calls look great in ring light. One build, many uses.
- Coil an LED strip around a cardboard ring
- Mount on a tripod and shoot through the center
- Use a dimmer to control brightness
- Doubles as a great video call light
The Plant Corner Portrait Wall
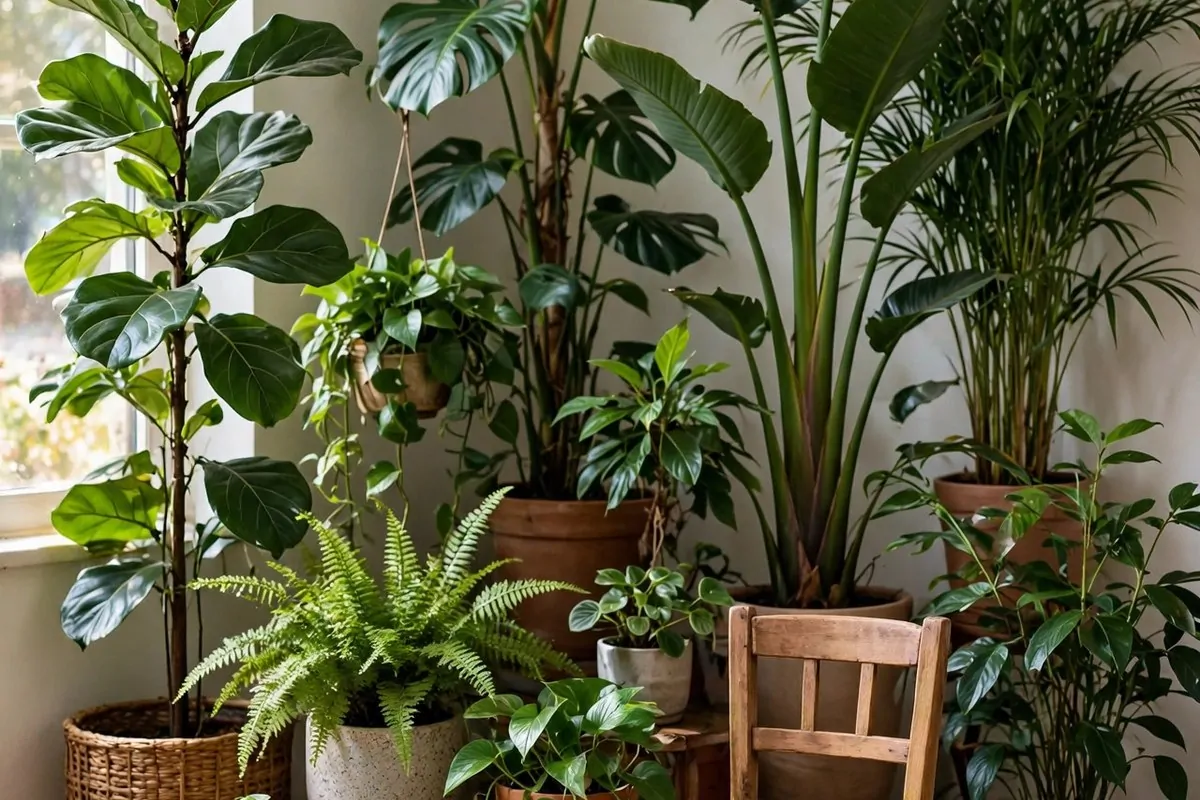
A corner full of plants is a free studio background. Green, alive, beautiful. Portraits look fresh against leaves.
Group your houseplants together. Tall ones in back, small ones in front. It becomes a green wall. Instant nature studio.
I add a simple chair in front. The subject sits among the green. The photos look like a garden shoot.
Water the plants before you shoot. Fresh leaves shine. Dusty leaves look sad. A quick wipe makes them glow.
This background changes with the seasons. Plants grow. New leaves appear. Your studio evolves for free.
No backdrop to buy. No paper to replace. Just plants you already own. The greenest studio on this list.
- Group houseplants tall in back, small in front
- Place a simple chair in front of the green wall
- Wipe leaves clean before shooting
- Let the background evolve as plants grow
The All-White Minimal Set
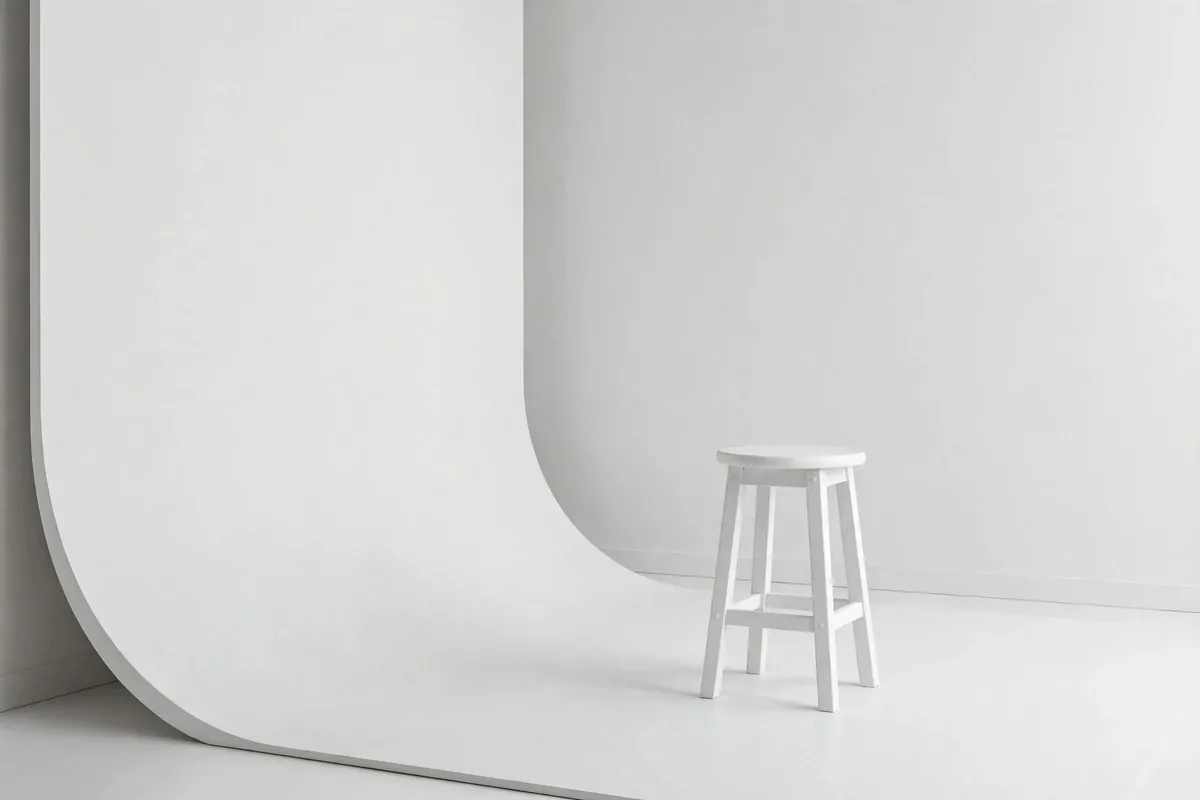
White walls, white floor, white backdrop. Everything white. The subject is the only color. It is clean, modern, and pro.
Paint one corner white. Or hang white sheets on two walls and the floor. The seamless white box is a classic studio look.
Light it brightly and evenly. White needs light to stay white. Underexposed white looks gray and sad.
I use this for fashion, products, and clean portraits. The white makes everything look premium. It is the Apple store of backgrounds.
Keep it clean. White shows every mark. Wipe the floor. Shake the sheets. Five minutes of cleaning per shoot.
This look never goes out of style. Minimal, bright, confident. Your photos look like they cost a fortune.
- Create a white box with sheets on walls and floor
- Light brightly and evenly to keep white truly white
- Clean marks before every shoot
- Perfect for fashion, products, and clean portraits