30 Geography Activities for Kids That Make Learning Fun

My son pointed at a round ball on the shelf and asked if the whole world could fit inside it.
Here are 30 geography activities for kids that turn big maps into small fun adventures.
Geography sounds big, but it starts right at your own front door.
A map is a bit like a treasure hunt on paper.
No fancy tools are needed for any of these ideas. Paper, crayons, and a bit of time are all you need.
Pick one idea and try it tonight with your child. You can laugh and learn together as you go.
Small steps make the big world feel close and friendly. And that is the best way to start.
1. Make a Simple Map of Your Street
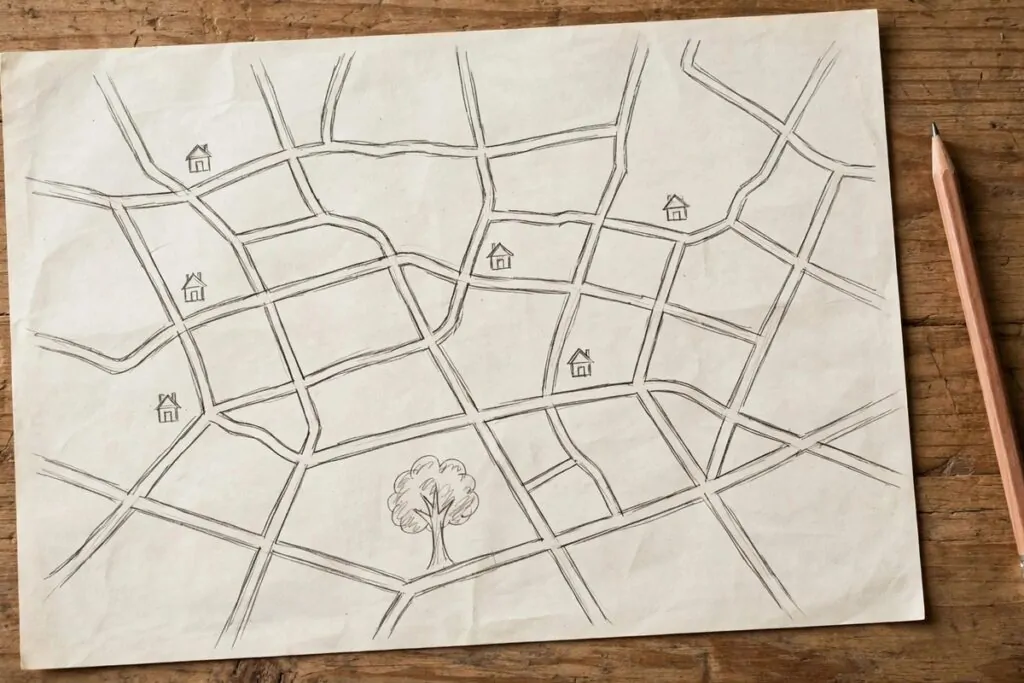
I sat with my son at our kitchen table with a plain sheet of paper. We drew a long line for our street right down the middle. Then we added small squares for the houses we pass each day.
You can start with your own house and mark it with a star. Then add the park and the shop on the corner.
My son loved to draw the big tree near our gate. He made it tall with round leaves on top.
We used soft crayons and kept the lines loose and simple. You do not need to make it neat to make it fun.
Ask your child where the school sits on your street. Let them place it where they think it goes.
We added a small path for our daily walk to the shop. My son smiled at his map when it was done. Then he folded the map and put it in his pocket.
A street map helps a child see how places join up. It turns a short walk into a small adventure.
Keep the map on the fridge when you finish it. You can add new places to it each week.
Typical cost $0 to $1.
2. Build a Model Globe with a Ball
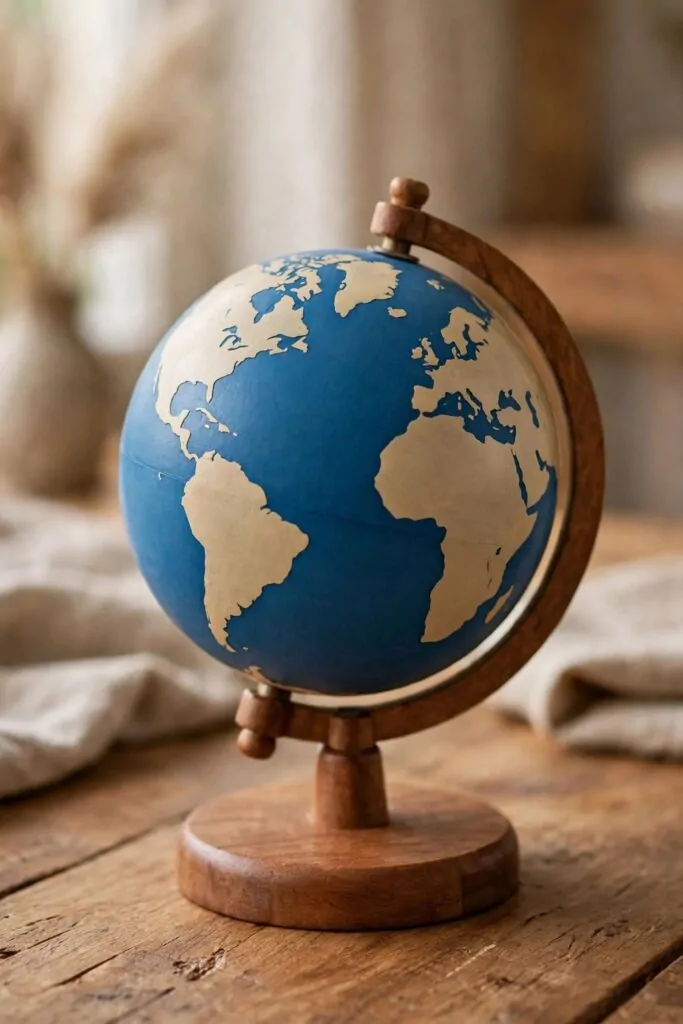
We used an old round ball and turned it into our own little world.
I gave my son a few crayons and we talked about land and sea. He coloured big patches for land and left wide parts for water.
We spun the ball slow and watched the shapes go round. My son pointed to the land and asked what lived there. I told him people live in all kinds of places.
You can stick small paper shapes on the ball for land. Let your child place them where they like.
A globe helps a child see that the world is round. It makes far places feel a bit closer.
We set the ball on a small bowl so it would not roll away. My son turned it with both hands and found new spots each time. Then we talked about how day turns to night as the world turns.
Keep it on a low shelf where your child can reach it. They can spin it and ask new questions each day.
It is a simple toy that starts big talks.
Typical cost $2 to $4.
3. Draw the Shape of Your Country
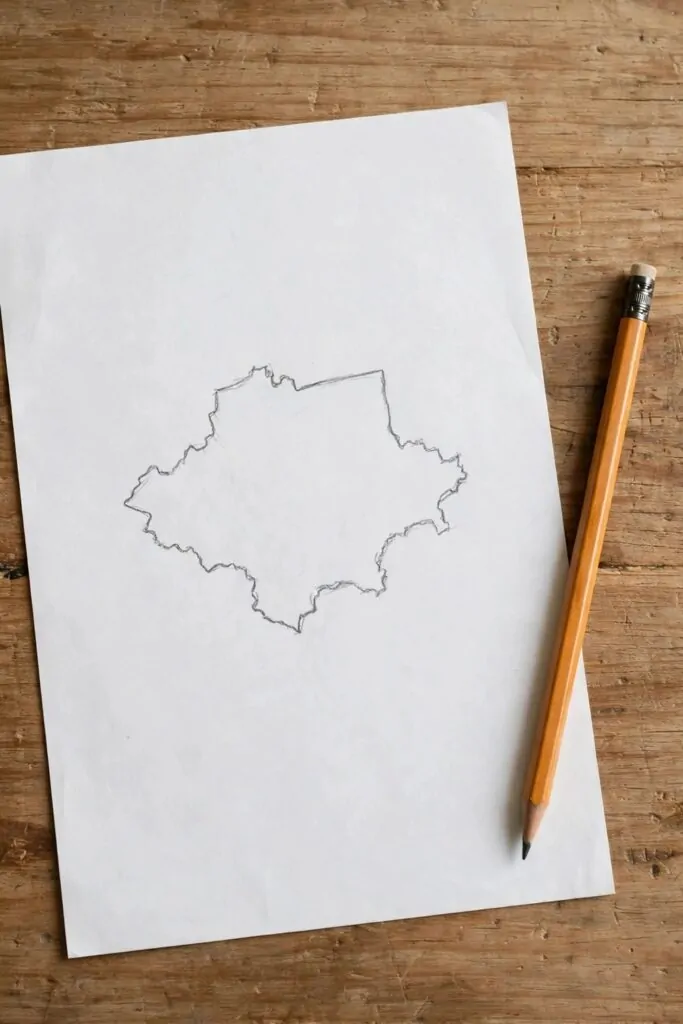
I drew a soft outline on paper and my son watched the shape grow.
We kept the lines simple and did not worry about wiggles.
You can start with a plain sheet and a dark crayon. Let your child trace the edge slow and steady.
My son asked why the shape looked a bit like a puzzle piece.
I told him each place has its own shape, just like each face is its own.
The shape looked plain and simple on the page. My son traced the edge once more with his finger. Then he smiled at the shape he had made.
A shape on paper helps a child feel where home sits in the big world.
You can hang the drawing on the wall when it is done. Let your child show it to mum and tell her what each mark means. It is a proud moment for a small artist.
Typical cost $1 to $2.
4. Make a Flag for Your Family
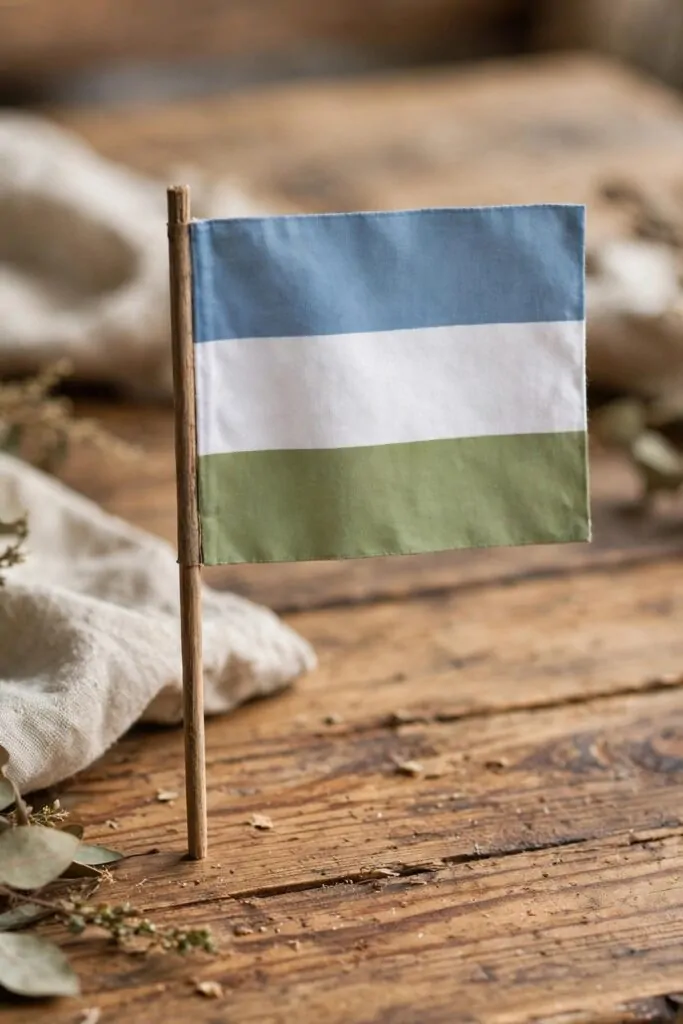
We took a plain piece of cloth and laid it flat on the table. My son picked two colours he liked best for our flag.
I asked him what our family loves most of all. He said reading books and long walks together.
We drew soft stripes in the two colours he picked. The stripes looked bright and happy on the plain cloth. My son smiled and said the flag looked like us.
You can use paper if you have no cloth at home. Tape it to a stick and wave it in the garden.
Let your child choose each part of the flag. It can show a tree, a book, or a ball. The best flag is one that feels like your own family.
We hung our flag on the wall near the front door. My son shows it to each guest who comes to visit. He tells them what each part of the flag means.
A family flag is a sweet way to talk about what you love. It takes only a short time to make. And it stays up for weeks as a happy sign.
Try this on a quiet afternoon when you have time to sit. You will both enjoy the slow, easy work.
Typical cost $1 to $3.
5. Learn the Points of a Compass
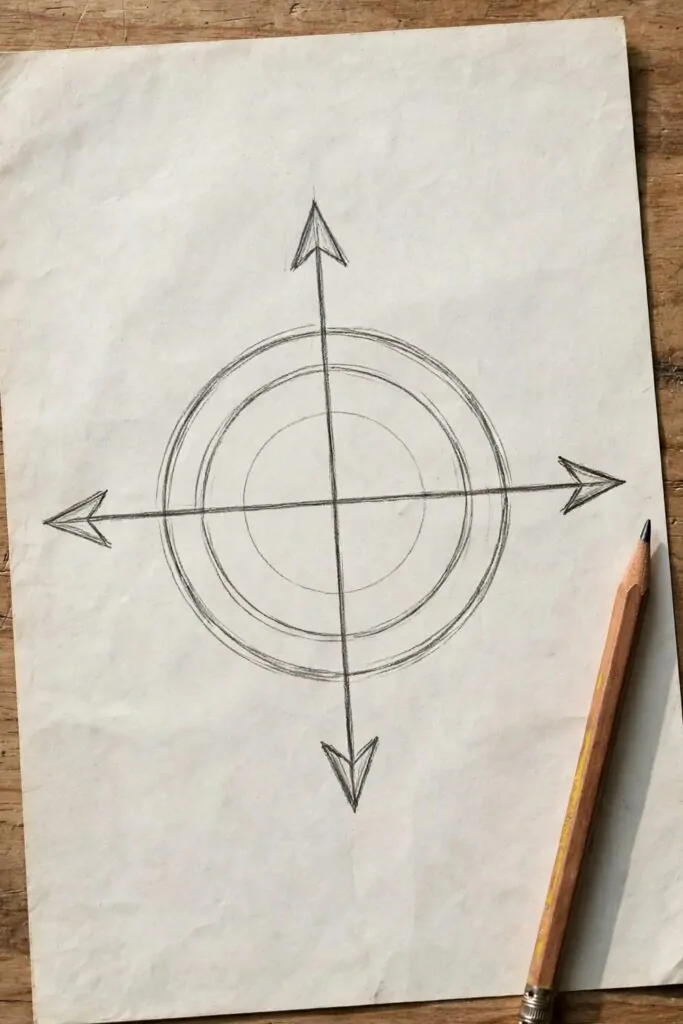
I drew a big circle on paper and showed my son the four main ways. We talked about north, south, east, and west in simple words. Then we drew four arrows that pointed out from the middle.
My son stood up and turned his body to face each way.
You can play a quick game where you call out a way to face. Your child turns and points with a big smile.
We stood in our garden and found where the sun rises in the morning. I told him that side is east and the far side is west. Then we walked north to the gate and back south to the door.
A compass helps a child know where they are going.
Draw the arrows big and clear so they are easy to see. Let your child colour each arrow in a soft shade they like.
Keep the paper by the door for your next walk. You can check the ways as you go along the street.
It is a small skill that makes walks feel like real trips.
Typical cost $0 to $0.
6. Go on a Treasure Hunt with a Map
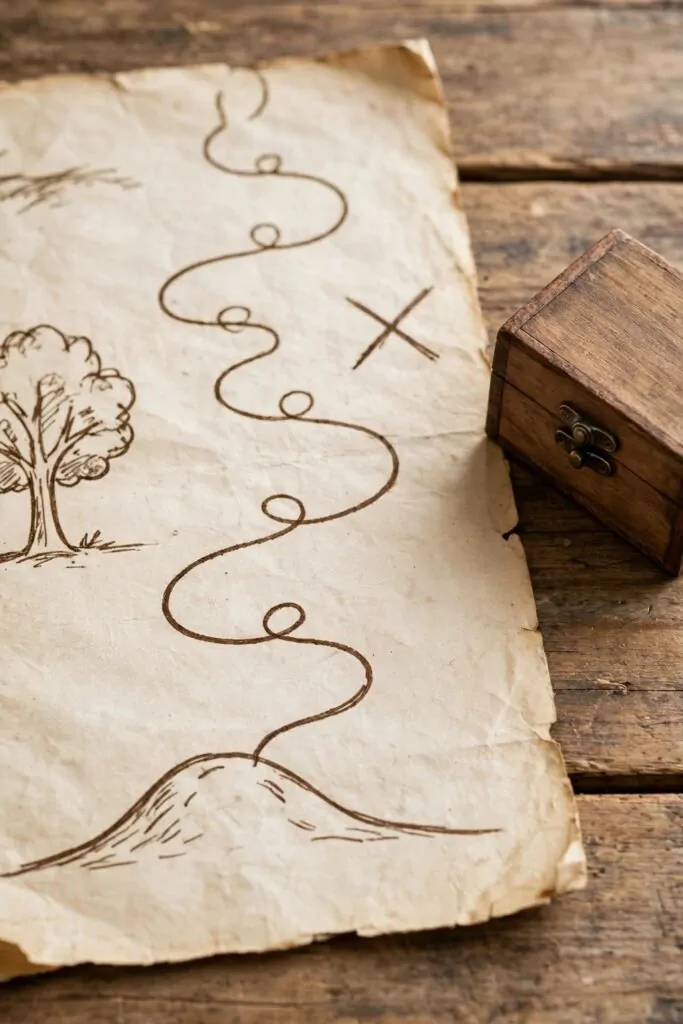
I drew a small map of our garden on a plain sheet. Then I marked the spot with a big X.
My son held the map and walked slow from spot to spot. He looked under leaves and behind pots for each clue.
At each spot I left a small note with a kind word.
He read each note out loud and laughed at the last one.
You can hide a small treat at the end of the hunt.
Keep the map simple so your child can follow it alone. Use clear marks and short paths between spots.
We played this game on a warm afternoon after lunch. My son asked to play it again the next day.
A treasure hunt turns a plain garden into a place of wonder. It also helps a child learn to read a map with care.
Typical cost $1 to $2.
7. Make a Weather Chart for the Week
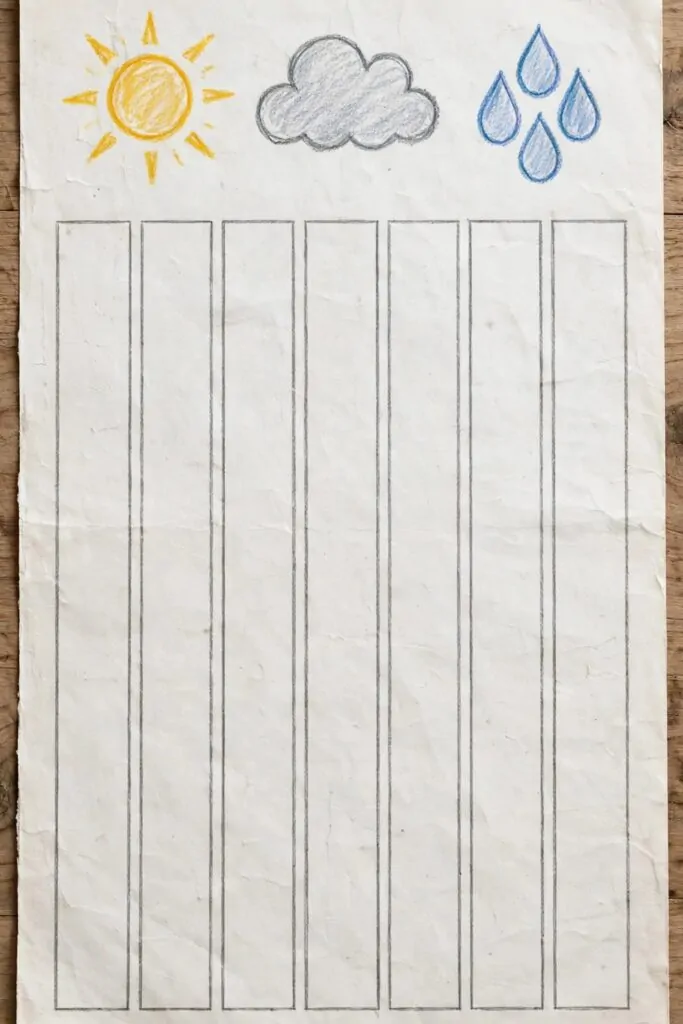
We drew seven small boxes in a row on a big sheet. Each box stood for one day of the week. My son wrote the day names in his own neat hand.
Each morning we looked out of the window together.
Then my son drew a small sun or a cloud in the box for that day.
On rainy days he drew drops and smiled at the soft sound. On bright days he drew a sun with long rays. By the end of the week we had a full row to look at.
A weather chart helps a child see how days change.
You can use crayons and paper you already have at home. Let your child pick a small mark for each kind of day.
Keep the chart on the wall where you eat breakfast. You can talk about the sky as you start each day.
It is a calm way to start the morning together.
Typical cost $1 to $2.
8. Build a Tiny Mountain from Clay
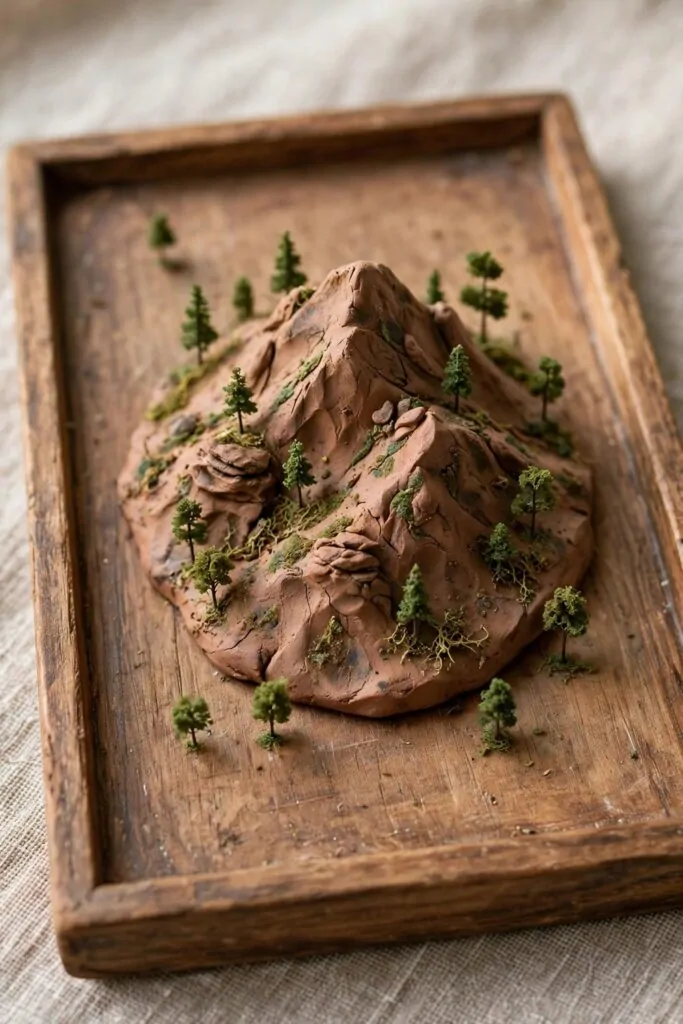
We took a lump of soft clay and piled it high on a flat tray.
My son pressed the sides with his hands to make steep slopes. Then he smoothed the top with his palm till it looked like a peak.
You can use clay from a shop or soft dough you have at home.
We added small green trees round the slopes with care. My son placed them one by one on the soft clay.
I told him real hills rise high above the land round them. We talked about snow on high tops and green fields down low. Then he made a small valley with his thumb in the soft clay.
Let the clay dry slow in a warm room. Do not move it till it feels firm to touch. Then you can set it on a shelf for all to see.
A clay hill helps a child feel how land can rise and fall. It is fun to shape with your hands. And it looks sweet on a low shelf in the living room.
Try this on a rainy day when you stay inside. You will both enjoy the quiet, messy fun.
Typical cost $2 to $4.
9. Draw a Map of Your Bedroom
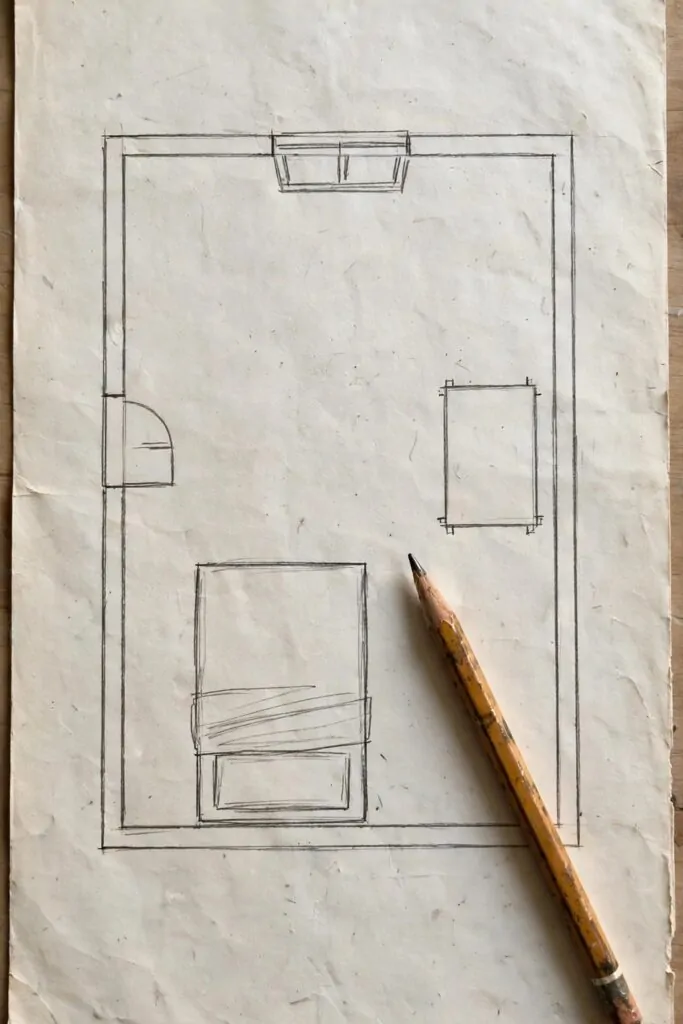
I start with a plain sheet of paper and a pencil. I draw a big square for my room on the sheet. I leave space round the edges for notes.
I put my bed in one corner of the square. I add my desk next to the window side. I leave the middle of the room open and clear.
I mark the door with a small gap in the wall line. I mark the window with two short lines.
I walk round my room and look at each thing. I check where my chair sits near my desk. I keep the plan plain so it is easy to read.
I keep the lines plain and simple on the page. I draw the bed big so it is easy to find. I draw the desk where I read at night.
I show my map to mum and we smile at it together.
I keep my map on my desk where I can see it. I add a new thing when I move stuff in my room. I feel proud when my map looks like my real room.
You can try this too with a sheet from your drawer. Start with the big things first and add the small things last. Your map does not need to be neat to be good.
Typical cost $0 to $1.
10. Learn the Names of the Oceans
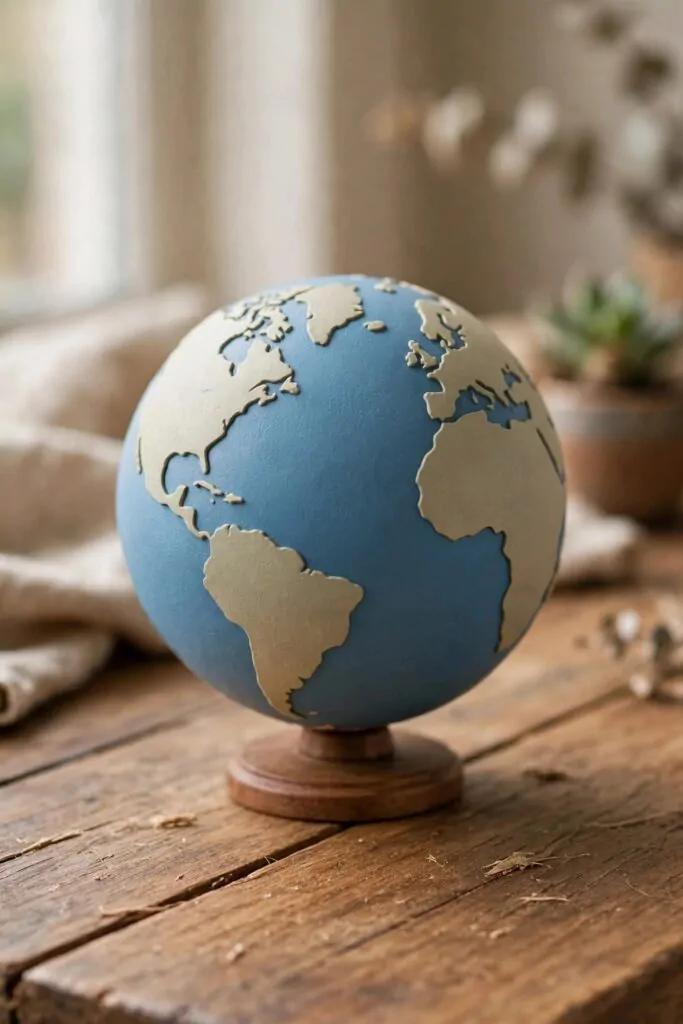
I look at my globe and spin it slow. I find the big blue parts and point at each one.
I learn one name at a time with mum. We say each name out loud together.
I draw a small wave next to each name on my list.
I stick my list on the wall by my bed.
I ask mum to quiz me on two names each night.
I get one wrong and we laugh and try again. I get it right the next time and feel happy.
You can learn the names in any order you like. Start with the one near your home and then move round the globe. Soon you will know them all by heart.
I keep my globe near my desk now. I spin it when I want to find a new place.
Typical cost $1 to $2.
| Idea | Main change | Typical cost |
|---|---|---|
| Make a Simple Map of Your Street | make a simple map of your street | $0 to $1 |
| Build a Model Globe with a Ball | build a model globe with a ball | $2 to $4 |
| Draw the Shape of Your Country | draw the shape of your country | $1 to $2 |
| Make a Flag for Your Family | make a flag for your family | $1 to $3 |
| Learn the Points of a Compass | learn the points of a compass | $0 to $0 |
| Go on a Treasure Hunt with a Map | go on a treasure hunt with a map | $1 to $2 |
| Make a Weather Chart for the Week | make a weather chart for the week | $1 to $2 |
| Build a Tiny Mountain from Clay | build a tiny mountain from clay | $2 to $4 |
| Draw a Map of Your Bedroom | draw a map of your bedroom | $0 to $1 |
| Learn the Names of the Oceans | learn the names of the oceans | $1 to $2 |
| Total | $9 to $21 |
11. Make a Passport for Pretend Trips
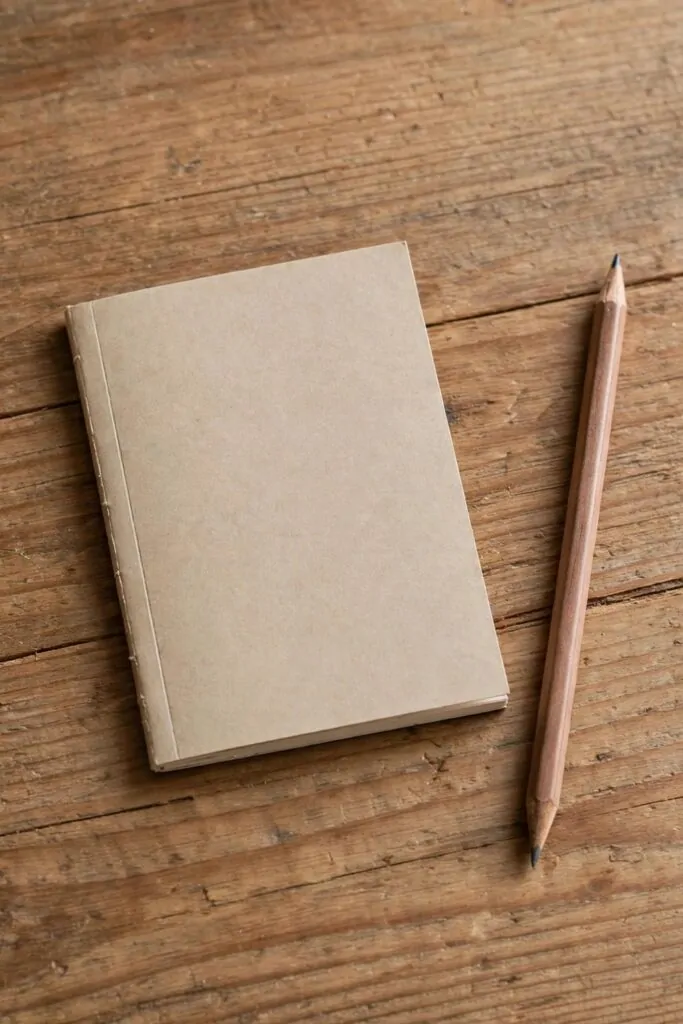
I fold a few sheets of paper in half to make a small book.
I staple the fold with help from mum.
I leave the front cover plain and simple.
I draw a tiny picture of myself on the first page.
I pick a place I want to visit in my mind. I draw a plain shape for that place on the next page.
I stamp each page with a round shape from a bottle top.
I pack my little bag and hold my passport tight. I walk round the house like a traveller on a trip.
You can make one too with paper from home. Give it a cover you like and fill it with your own trips.
Typical cost $1 to $2.
12. Play a Game with Country Cards
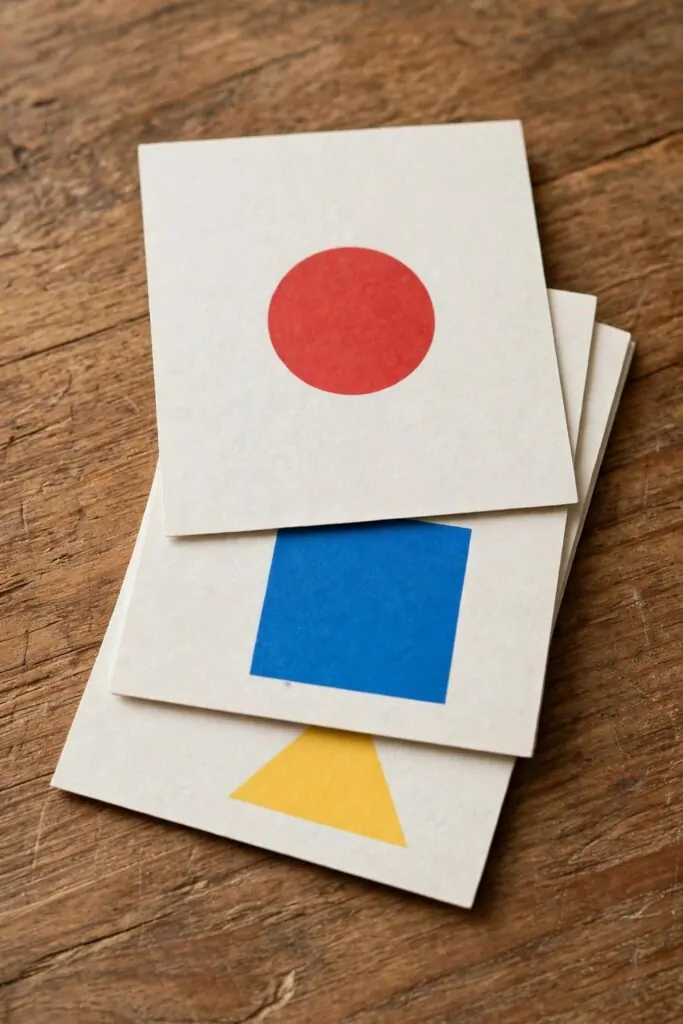
I tear plain cards from thick paper with mum. I draw a simple shape on each card. I give each card a bright colour with my pens.
I mix the cards up and lay them face down.
I turn one card over and look at the shape. I try to name the place that shape stands for. I put the card in a pile when I get it right.
I ask mum to play with me after lunch.
We take turns and keep score with small stones. The one with the most cards at the end wins the game.
I draw new cards when I learn a new place. I add a star shape for my top pick. I keep all my cards in a small box by my bed.
I play this game on wet days when we stay in.
You can play it with a friend or with mum. Make your own cards and learn as you play.
Typical cost $2 to $3.
13. Make a Model River with Sand
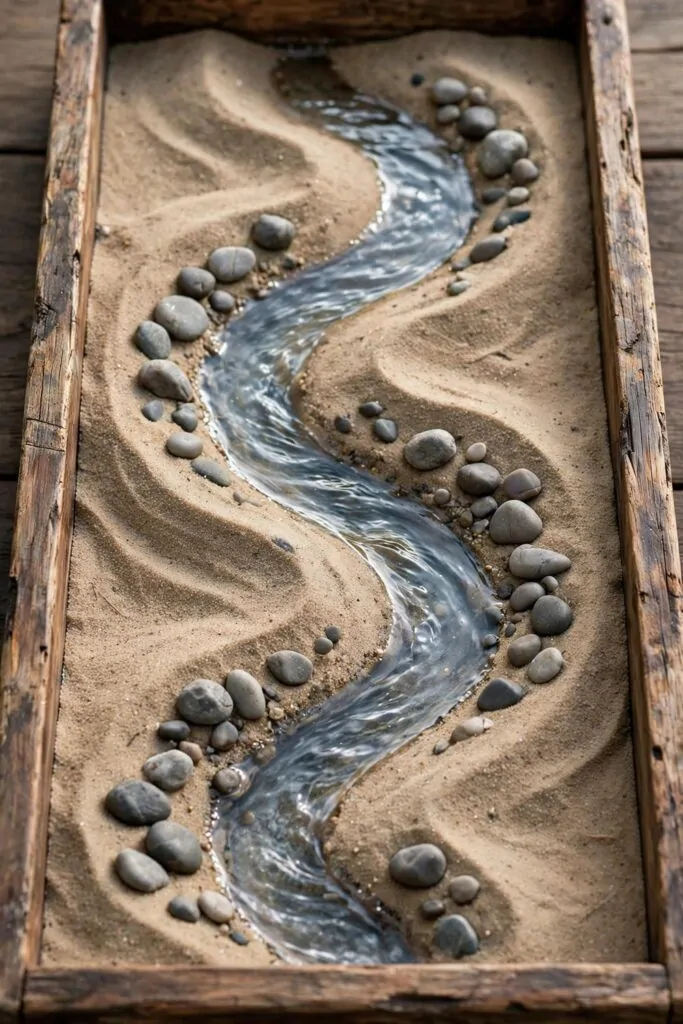
I pour dry sand into a wide tray with mum. I pat it flat with my hands. I press a long dip down the middle with my finger.
I shape the sides up high like small hills.
I pour a little water at the top end of the dip. I watch it run down and make a thin stream.
I add small stones along the sides of my river. I watch the water run slow round each stone. I smile as the stream finds its way down the tray.
I see how the water bends round each stone. I see where the sand piles up at the bends. I learn how a real river finds its way to the sea.
I ask mum what the sand piles are called.
I try a new shape each time I play. I make the river wide in one spot and thin in the next.
You can build one too in a tray at home. Use dry sand and a little water from a jug. Wash your hands well when you are done.
Typical cost $1 to $3.
14. Learn Where Your Food Comes From
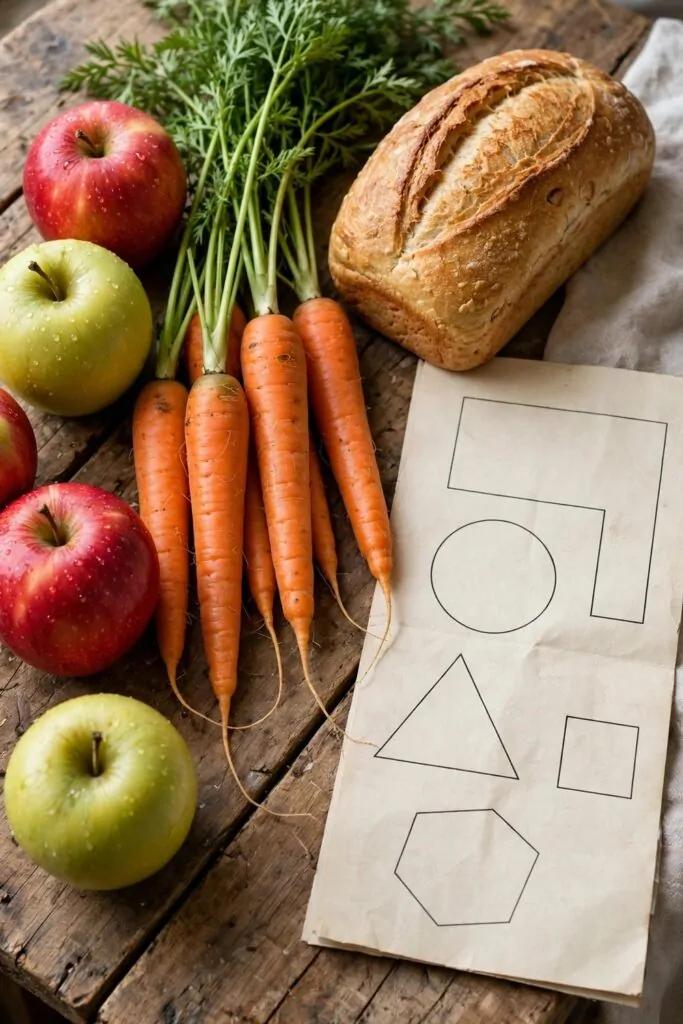
I pick one food from my lunch box and ask where it grew.
Mum tells me it came from a farm not far from our town.
I draw the food on a sheet of paper. I draw plain shapes to stand for each food I know.
I ask about my bread and learn it starts with wheat in a field. I ask about my apple and learn it grows on a tree. I ask about my milk and learn it comes from a cow on a farm.
I make a small chart on the wall with my drawings. I put each food next to the place it comes from. I feel glad to know the path my food takes to my plate.
I ask my teacher about rice and tea at school. She tells me they grow in warm lands far away. I add them to my chart with a big smile.
I share my chart with my friends at lunch time.
You can start with just one food from your plate.
Typical cost $0 to $0.
15. Draw a Map of Your Garden
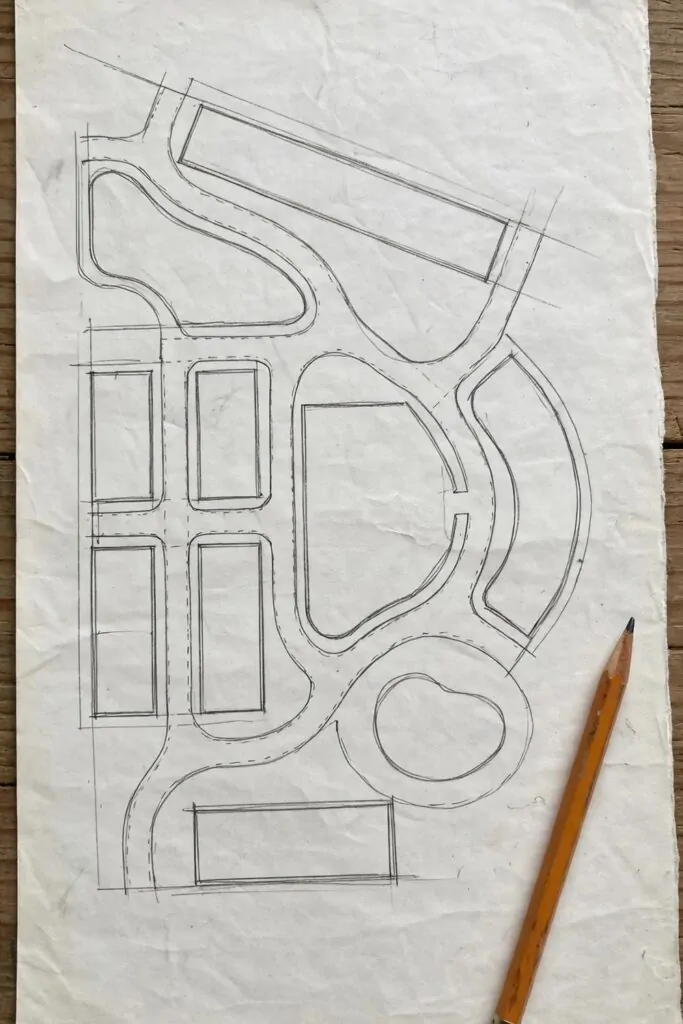
I take a plain sheet and a pencil out to the yard. I draw a big shape for the whole garden. I leave room at the sides for notes.
I mark the gate with a small gap in the line. I draw the path from the gate to the back door. I add the beds where our plants grow.
I walk round the beds and look at each plant. I mark each bed with a plain shape on my map.
I add the path that runs past each bed. I add the round bed at the end of the path.
I keep the drawing plain and simple on the page. I draw the beds big so they are easy to find. I draw the path that joins them all.
I show my map to mum when she comes out. She points at the round bed and smiles at my work.
I keep my map safe in a folder by my desk. I add a new plant when mum puts one in. I love to see my garden grow on paper and in real life.
You can draw your garden too, big or small. Start with the gate and the path and add the rest bit by bit.
Typical cost $0 to $1.
16. Build a Small Volcano that Fizzes
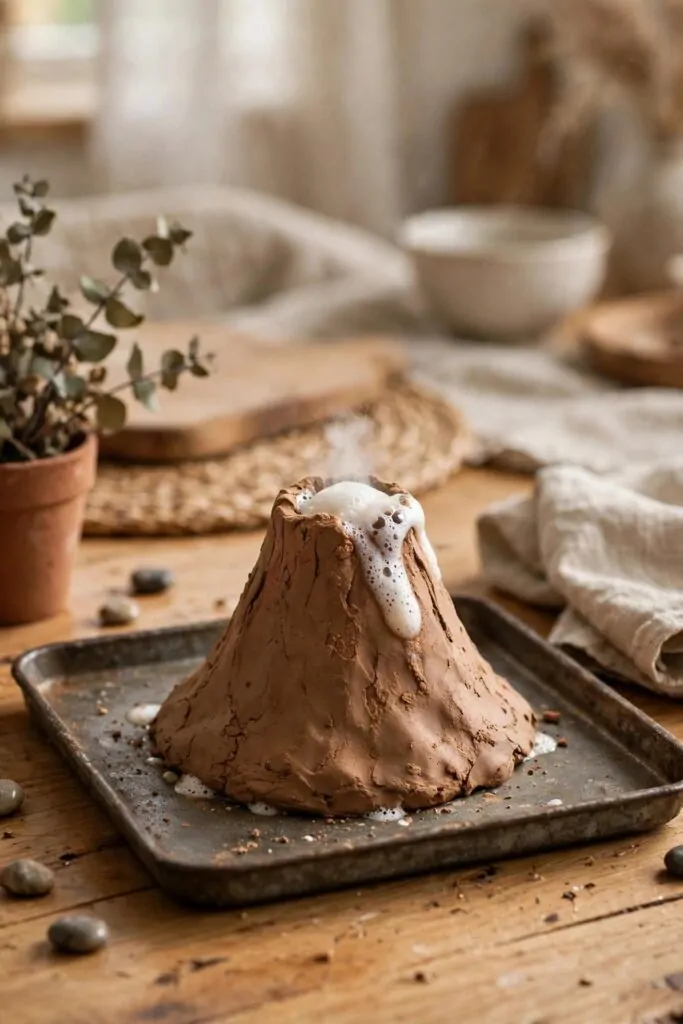
I build a small hill from damp sand in a tray. I press a small cup into the top of the hill. I pack the sand round the cup so it stands firm.
I spoon a little baking soda into the cup.
I ask a grown-up to help me with the next part. We pour a little vinegar into the cup together. The mix starts to fizz and bubble up at once.
I watch the foam run down the sides of my hill. I laugh as it spreads over the sand like lava.
I try it again with a little less soda. I watch the fizz rise slow this time. I learn that a small change makes a big show.
I add small stones round the base of my hill. I set a small plant next to the tray for a bit of green. I keep the tray still while the fizz settles.
I tell mum what I saw and she asks me why it fizzed. I say the soda and the vinegar made bubbles. I feel like a real science explorer for the day.
You can try this too with a grown-up by your side. Keep it in a tray so the mess stays in one place.
Typical cost $2 to $3.
17. Make a Sun and Moon Chart
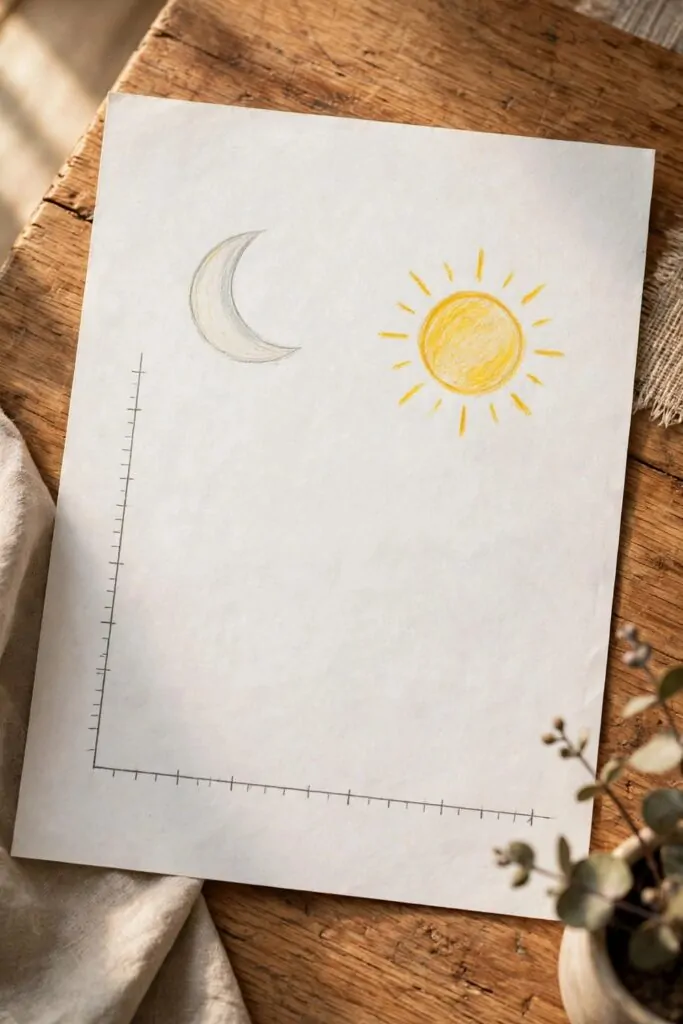
I made a sun and moon chart with my kids on a rainy afternoon. We used a big piece of paper and a few crayons. It now sits on our table where we can see it.
You only need paper, crayons, and a pencil to start.
We drew a big circle for the sun on one side.
My little one coloured it in with a warm yellow. I drew a soft moon on the other side.
We marked each day with a small tick. It helped my kids see how the days pass.
Each morning we look at the chart together. We talk about whether the sun is out or the moon is up. My kids love to point at the right side.
You can add little stars around the moon for fun. We left the chart plain so the sun and moon stand out. It makes the chart look bright and happy.
Keep the chart where everyone can see it each day.
Typical cost $1 to $2.
18. Learn the Seasons with a Wheel
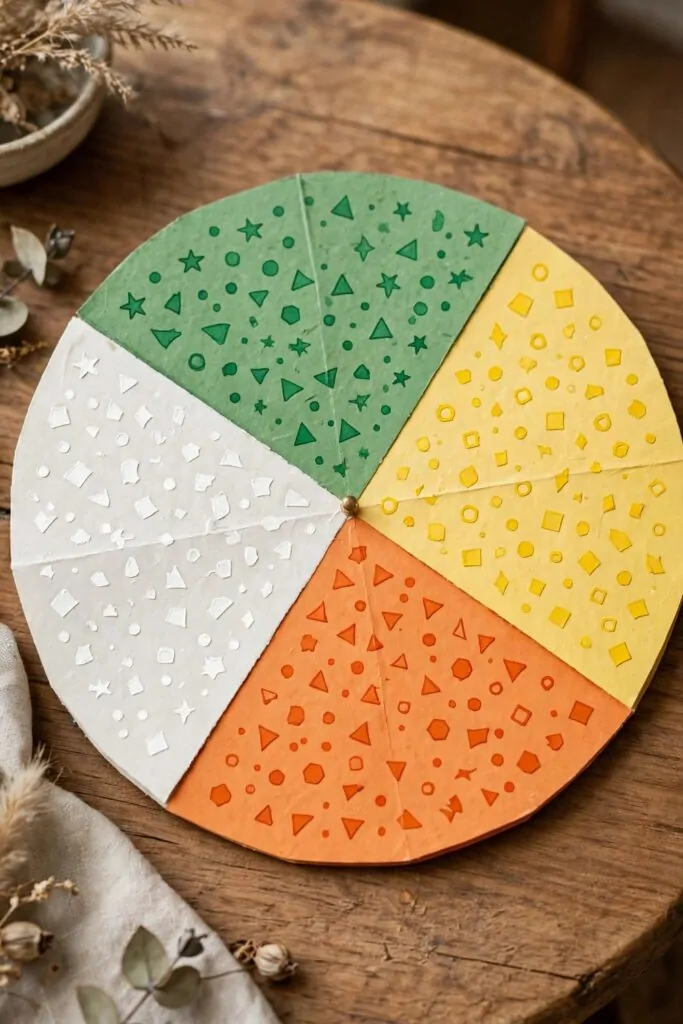
I made a seasons wheel with my daughter last spring. We drew a big circle on a piece of card. Then we split it into four soft parts.
Each part stands for one season of the year.
We coloured one part for warm days. We coloured one part for cold days.
My daughter picked the colours herself. I helped her keep the lines neat.
We added a small shape in each part. A star shape went in one part. A round shape went in another part.
We keep the wheel on the table where we can reach it. Now we turn it when a new season starts.
It helps my kids know what the weather might feel like.
You can talk about clothes for each season as you turn it. We chat about coats and light tops. My kids enjoy guessing which season comes next.
Typical cost $2 to $4.
19. Make a Map of Your School
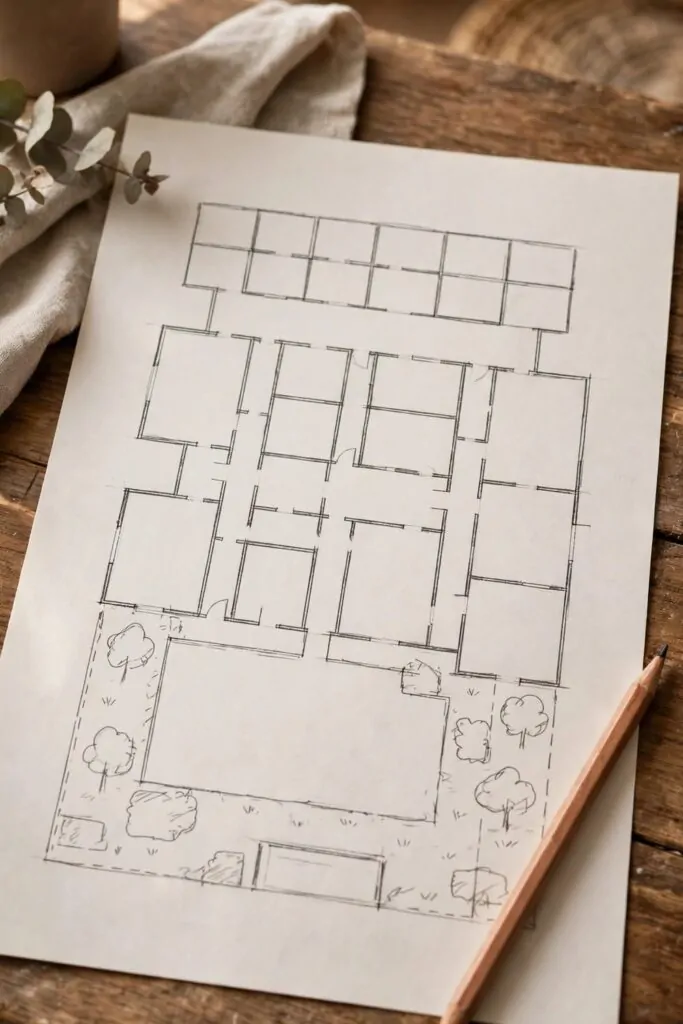
I drew a map of my son’s school with him one weekend. We sat at the kitchen table with paper and pencils. He told me where each room sits.
You only need paper and pencils for this one.
We started with a big shape for the school. Then we added small shapes for the rooms. My son drew the play area last.
He loved to show me where his class sits.
We marked the door with a small square. We marked the hall with a long shape. My son added a spot for the lunch room.
The map helped him feel brave about school.
You can ask your child to walk you through the map. Let them point at each room as they talk. It builds their trust in the place.
Keep the map in a safe spot at home. Your child can look at it before school each day.
Typical cost $0 to $1.
20. Play Spot the Landmark
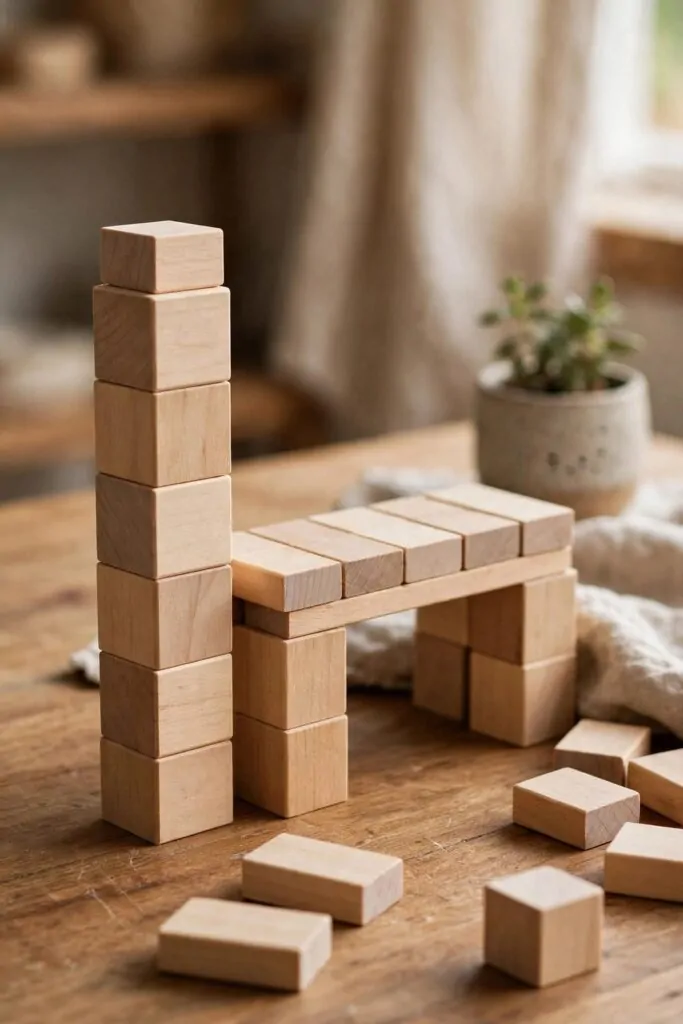
I play spot the landmark with my kids on our walks.
We take a few plain wooden blocks with us.
Each block stands for a place we know.
My kids pick a block and tell me what it stands for.
We look for the place as we walk along. When we see it, my child holds up the right block. We cheer and keep walking.
You can play this game in a park too. Look for a tall tree or a small bridge. My kids love to race to spot it first.
Keep the game simple and slow. Let your child take the lead. Praise each good spot they make.
We keep our blocks in a small bag at home. My kids grab the bag before we go out. It turns a plain walk into a fun game.
Typical cost $0 to $0.
| Idea | Main change | Typical cost |
|---|---|---|
| Make a Passport for Pretend Trips | make a passport for pretend trips | $1 to $2 |
| Play a Game with Country Cards | play a game with country cards | $2 to $3 |
| Make a Model River with Sand | make a model river with sand | $1 to $3 |
| Learn Where Your Food Comes From | learn where your food comes from | $0 to $0 |
| Draw a Map of Your Garden | draw a map of your garden | $0 to $1 |
| Build a Small Volcano that Fizzes | build a small volcano that fizzes | $2 to $3 |
| Make a Sun and Moon Chart | make a sun and moon chart | $1 to $2 |
| Learn the Seasons with a Wheel | learn the seasons with a wheel | $2 to $4 |
| Make a Map of Your School | make a map of your school | $0 to $1 |
| Play Spot the Landmark | play spot the landmark | $0 to $0 |
| Total | $9 to $19 |
21. Make a Paper Boat and Float It
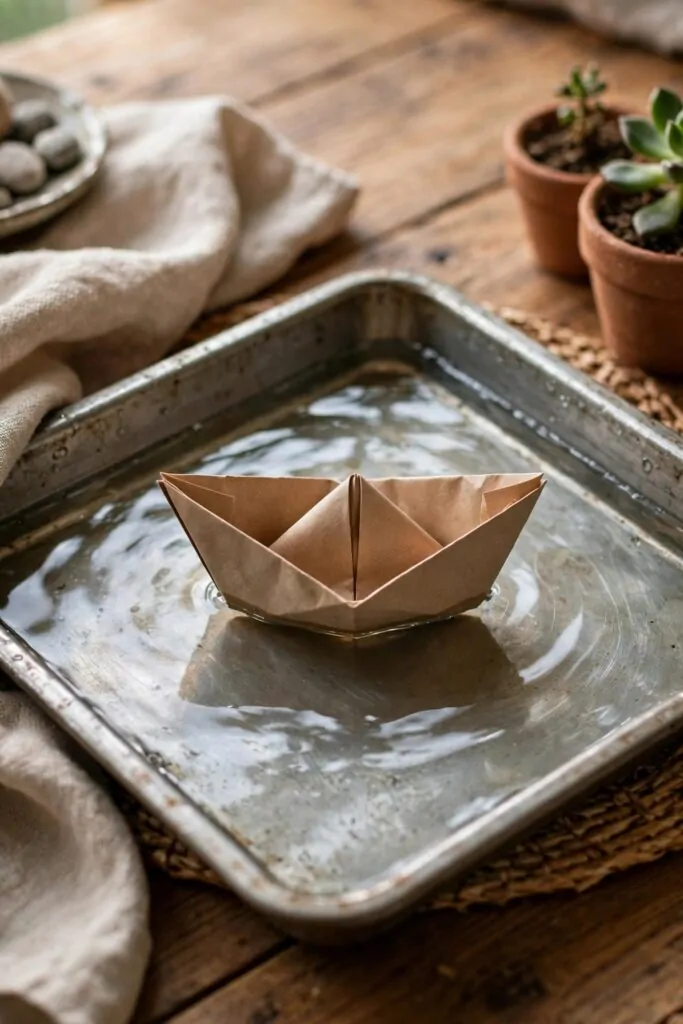
I made a paper boat with my son on a wet day.
We used one sheet of plain paper.
I folded the paper step by step. My son watched each fold with wide eyes. Soon the flat sheet looked like a little boat.
He was so proud of what we made.
We filled a tray with water on the table. A grown-up carried the tray so it stayed safe. Then we set the boat on the water.
The boat bobbed along the top. My son gave it a soft push with one finger.
You can try a new fold if the first boat tips over. We made three boats before one floated well. Each try taught my son a little more.
Dry the tray with a towel when you finish. Put the boats aside for another wet day.
Typical cost $0 to $1.
22. Learn the Names of the Continents
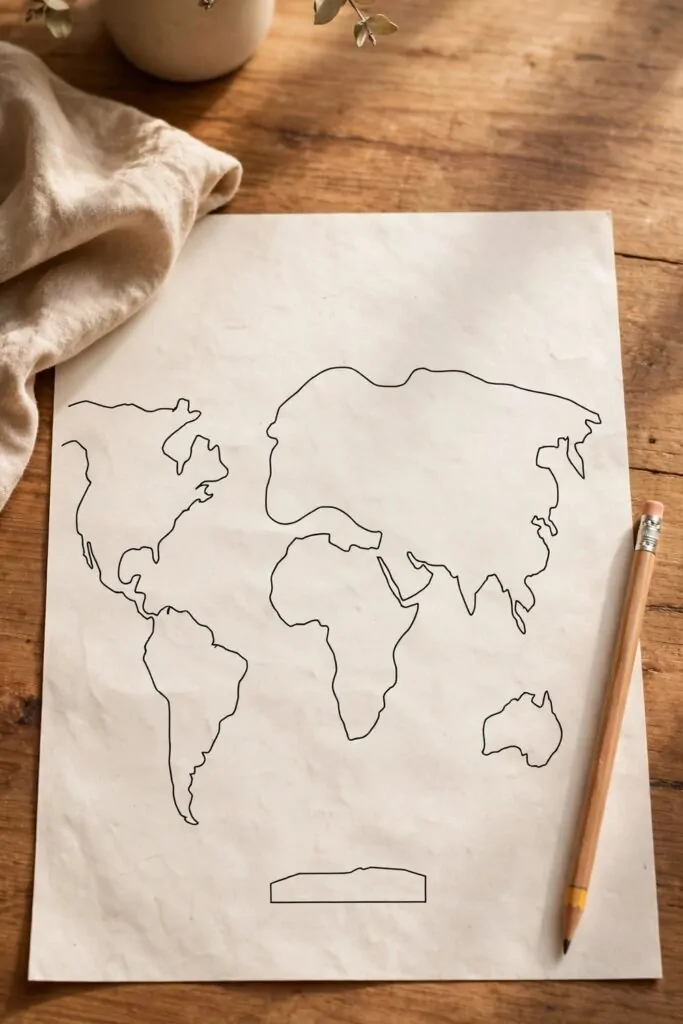
I taught my kids the names of the continents with a big blank map. We sat on the floor and looked at each land shape in turn. Each big land shape got a name from us.
We started with the land we live on. My kids said its name out loud.
Then we moved to the next big land shape. We said its name together.
My son loves to point at a land shape on the map. He names the land under his finger.
We made up a small rhyme to help us learn. Each line holds one name we need to know. My kids say the rhyme while they point.
It turns a hard list into a fun game.
You can play it a little each day. Short turns work best for young kids.
Keep the map where your kids can reach it. They will look at it and talk about it on their own.
Typical cost $1 to $2.
23. Make a Mini Desert in a Tray
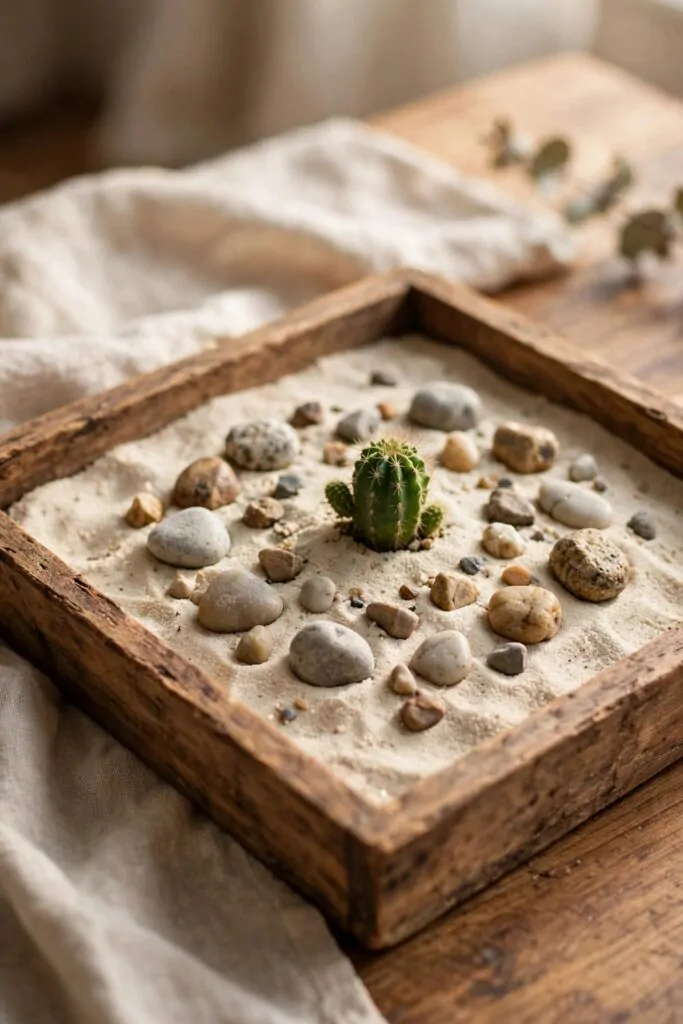
I made a mini desert in a tray with my daughter. We used sand from the garden and smooth small stones. It sits on a low shelf in her room.
We spread the sand flat in the tray. Then we set the small stones out on the sand. My daughter smoothed the top with her hands.
She added small stones to make the hills look real.
We talked about hot days and dry land. My daughter asked why rain is rare there.
I told her the land stays dry for a long time. She liked to press her hand into the warm sand.
You can add a tiny toy camel to the tray. We found one in her toy box. It makes the desert feel like a small world.
Keep the tray on a mat so the sand stays put.
My daughter plays with it most days.
Typical cost $2 to $3.
24. Draw a Map of a Make-Believe Island
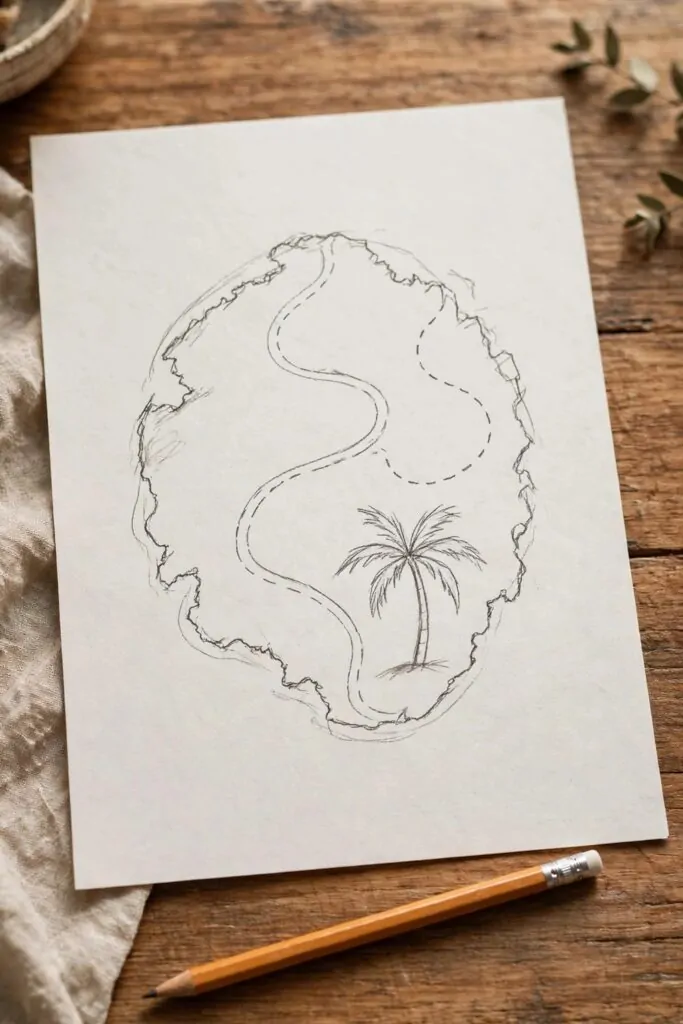
I drew a map of a make-believe island with my son. We used a big sheet of paper and bright crayons. He picked the shape of the island himself.
We drew a beach all round the edge. Then we added a winding path through the middle. My son drew a small palm tree near the path.
He gave the island a fun name. We said the name out loud as we drew. He told me all about the folk who live there.
We added a path from the beach to the palm tree. My son drew the path with soft dashed lines.
You can add trees and hills to your island. My son said a kind old bear lives under the palm tree. We laughed at the tale as we drew.
We talked about what the island folk eat. My son picked fruit from the trees. He said they share it with each other.
Keep the map on the wall for story time. My son points at the palm tree when he tells the tale. It makes our stories feel real.
You can draw a new island each week. Each one can hold a fresh tale.
Typical cost $1 to $2.
25. Learn How Rain Falls on Hills
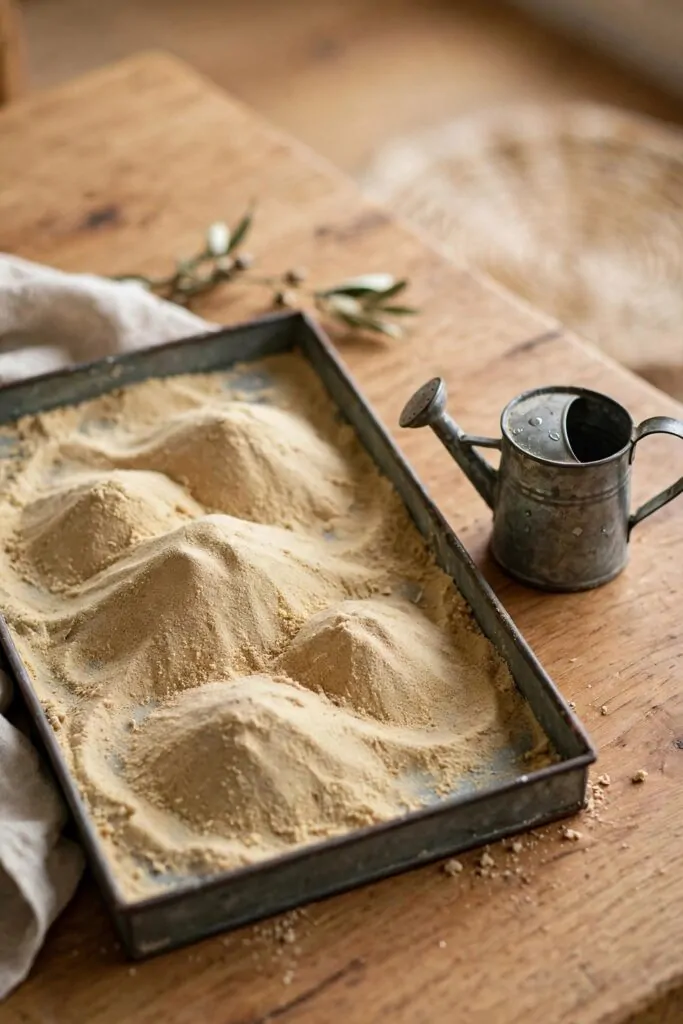
I pour a little water over a small hill of sand in a tray and we watch where it runs.
My child tips the cup slow and the water finds the low spots first. We see it run down the sides and pool at the bottom of the tray. I ask my child where the water went and we talk about it together.
A hill makes the water move fast and a flat spot makes it sit still.
We shape the sand again and make a new hill that is tall on one side. My child pours the water on top and we watch it pick a new path down.
I point to a hill in the way and the water bends around it. My child points to the next hill and the water bends the other way.
We try a wide hill and then a steep hill to see which one moves the water faster. My child likes the steep hill best because the water runs down in a quick rush. I keep a dry cloth close by so the table stays clean.
I point to the low spots where the water ran and we call it a river path. My child shapes a small hill next to it with one finger. We talk about how rain falls on real hills and runs down to the low ground.
We use plain cups and a tray we already have at home. I fill the cup only half way so the water stays in the tray. My child helps me dry the tray when we are done.
Typical cost $1 to $2.
26. Find North with a Shadow Stick
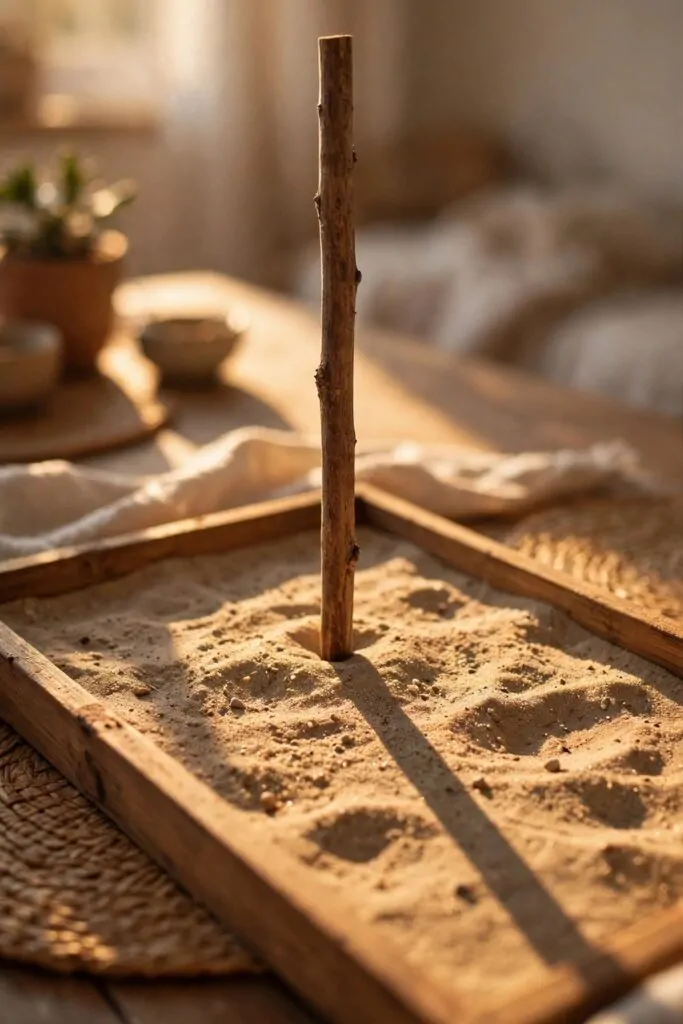
I push a plain wooden stick into a tray of sand in the yard and we watch its shadow on the ground. My child points to the end of the shadow with one finger.
We wait a little while and the shadow moves to a new spot. I ask my child to point to the new end of the shadow.
The shadow moves because the sun moves across the sky all day.
I show my child how the shadow points the way the sun has moved. We talk about how the sun rises in the east and sets in the west.
My child points to the side where the sun came up and we call that east.
We use the stick again the next morning and the shadow starts in the same place. My child feels proud to find north with a plain stick and the sun.
I keep the stick short and plain so it is easy to carry and easy to push into the sand. We use soft sand from the yard and a tray we already have. My child puts the stick back in the tray when we are done.
We do this game on a bright day when the sun is out. I stand with my child so the shadow is easy to see on the ground. We watch the shadow move and talk about where north sits.
Typical cost $0 to $0.
27. Make a Map Key with Little Signs
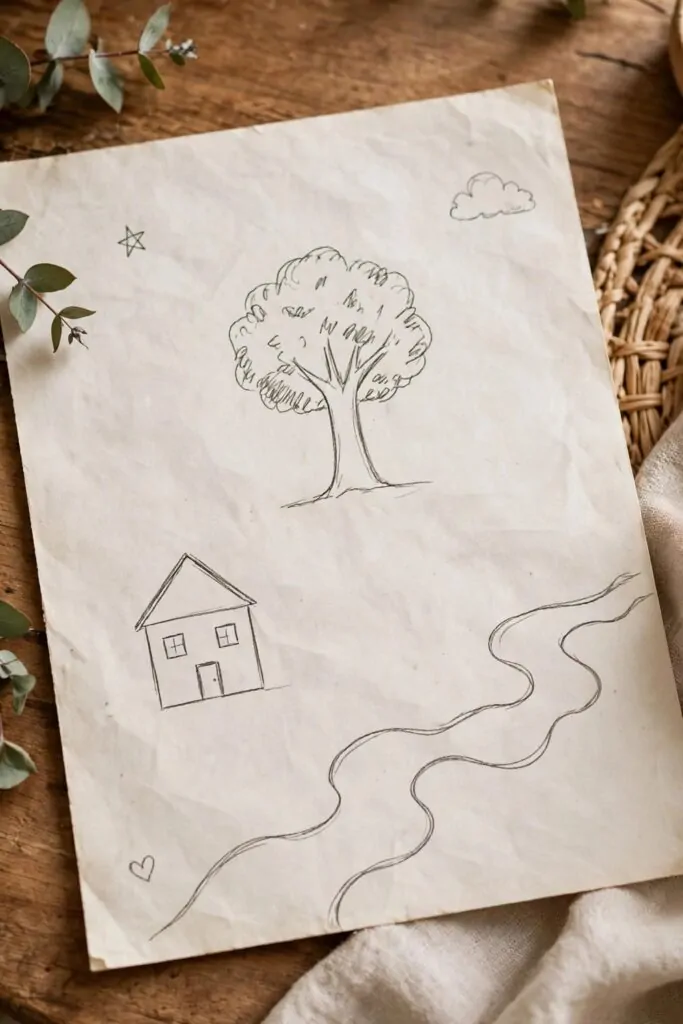
I draw a plain map on paper with my child and we make up small signs for each thing on it. A little tree shape means a tree and a small square with a roof line means a house. A wavy line means a river and we draw it slow so it looks soft.
My child picks a star for the park and draws it in one corner of the map. I draw a small cloud in the sky at the top of the map.
We keep the signs plain and big so they are easy to read at a glance. My child draws each sign twice to get it just right. I write nothing on the map because the signs do all the talking.
A map key is a small list of the signs and what each one means.
We check the signs when we forget what each one means.
My child shows the map to mum and she finds the house sign first.
We keep the map where we can see it so we can add new signs to it later.
I use plain paper and soft pencils we already have at home. My child keeps the signs soft and plain.
Typical cost $1 to $2.
28. Learn the Time in Other Places
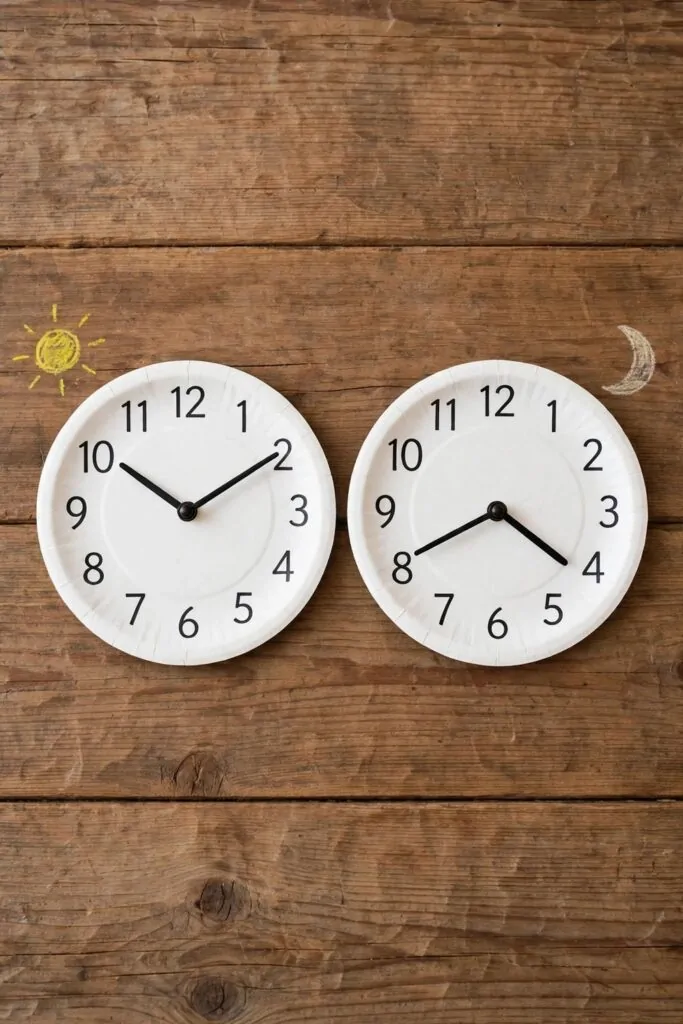
I draw two plain clocks on paper and we put numbers on each face.
One clock shows our time and the other shows the time in a far place. My child turns the hands to match the numbers we pick.
When it is lunch time here it can be night time there.
I pick a place far away and we work out how many hours sit between us. My child moves the hands round the face and counts the hours out loud. We talk about how the sun lights one side of the world while the other side sleeps.
We draw a small sun next to our clock and a small moon next to the other one. My child likes to see day and night side by side on one page. I ask my child what people there might be doing right now.
We use plain paper plates for the clock faces so they are big and easy to turn. I fix the hands in the middle with a small round fastener that stays flat.
My child shows the clocks to mum and tells her the time in both places. We keep the clocks on the table so we can play with them after lunch.
We make the clocks from paper plates we already have at home. I draw the numbers big so my child can read them with ease.
Typical cost $0 to $0.
29. Make a Beach in a Box
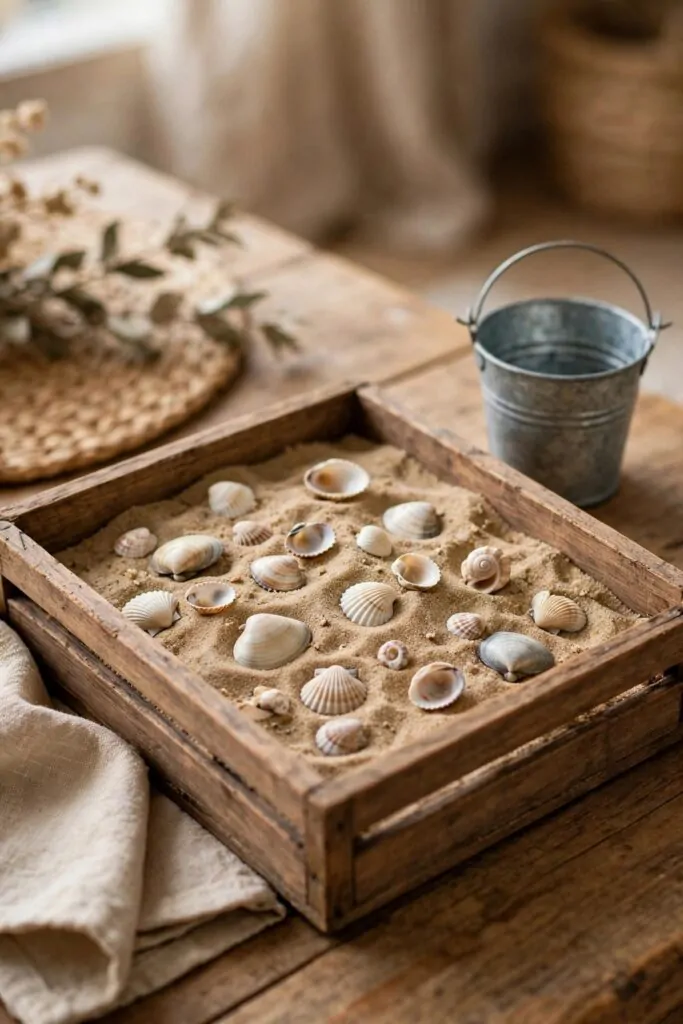
I fill a shallow box with clean sand and we smooth the top flat with one hand. My child pats the sand down soft so it holds a shape. We talk about the beach and the sea and the warm sand under our feet.
A small box can hold a whole beach if we use our minds.
My child picks the biggest shell and sets it in the middle. I add the small shells we keep in a jar at home. We spread the shells out on the sand to see them all.
I set the small metal bucket beside the box for our beach tools. My child looks at the shells and picks a favourite one.
We look at our small beach and talk about the sea. My child finds one more shell in the sand. I ask my child what we will build next on our small beach.
I keep a cloth under the box so the sand stays in one place. My child brushes the sand off our hands when we are done. We put the lid on the box so the beach is ready to play with again.
We use a box we already have and sand from the yard. My child picks the shells and the small bucket from our toy shelf.
I check the sand is clean and dry before we start. My child helps me put each thing back in the box at the end.
Typical cost $2 to $4.
30. Lay Out Your Geography Kit the Night Before
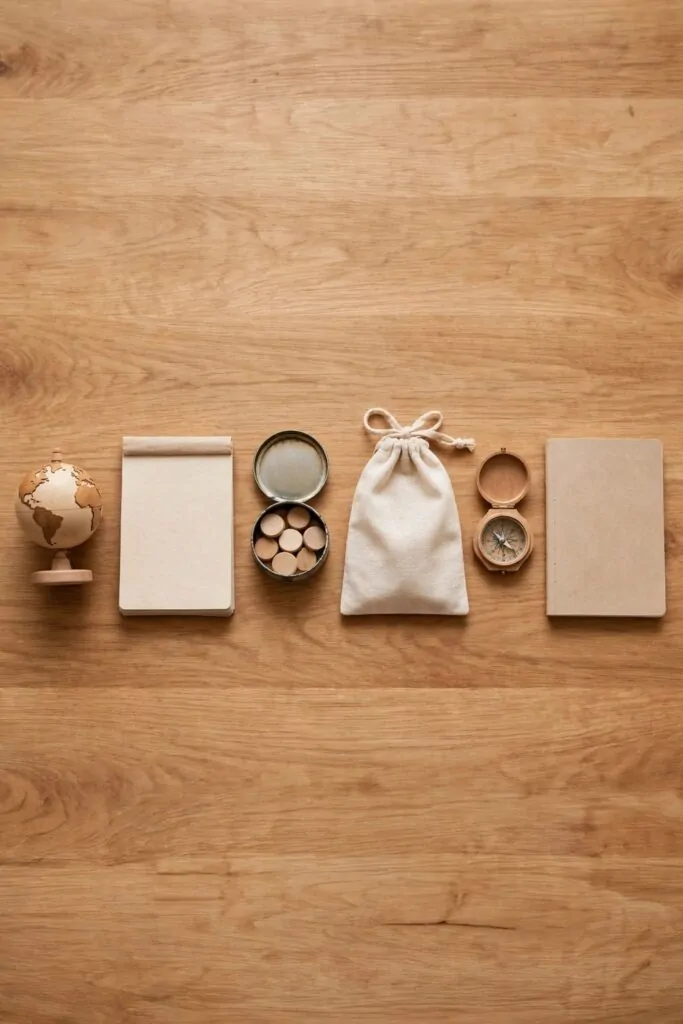
After dinner I wipe the table clean and set out the kit in a neat row for tomorrow.
I put the small wooden globe first so my child can spin it and find one new place.
I set the plain paper map pad next to the globe so we can draw a fresh map in the morning. My child leaves the pad where we can reach it with ease.
I set the small tin of plain wooden counters next to the map pad and give it a soft shake. My child counts the counters and puts them back in the tin one by one. I leave the lid beside the tin so the counters stay where we can see them.
I fold the plain fabric map bag flat and lay it next to the tin.
I set the small wooden compass next to the bag so it is ready to point north.
I put the plain paper geography notebook last in the row so it is easy to grab in the morning. My child leaves it closed and ready for the morning.
A small wooden globe costs $4 to $6, a plain paper map pad costs $2 to $4, a small tin of plain wooden counters costs $2 to $3, a plain fabric map bag costs $3 to $5, a small wooden compass costs $3 to $5, and a plain paper geography notebook costs $2 to $4, for a total of $16 to $27.
I set the small globe first in the row and my child points to one more place to find tomorrow. The world feels a little bit smaller and a lot more fun.
| Idea | Main change | Typical cost |
|---|---|---|
| Make a Paper Boat and Float It | make a paper boat and float it | $0 to $1 |
| Learn the Names of the Continents | learn the names of the continents | $1 to $2 |
| Make a Mini Desert in a Tray | make a mini desert in a tray | $2 to $3 |
| Draw a Map of a Make-Believe Island | draw a map of a make-believe island | $1 to $2 |
| Learn How Rain Falls on Hills | learn how rain falls on hills | $1 to $2 |
| Find North with a Shadow Stick | find north with a shadow stick | $0 to $0 |
| Make a Map Key with Little Signs | make a map key with little signs | $1 to $2 |
| Learn the Time in Other Places | learn the time in other places | $0 to $0 |
| Make a Beach in a Box | make a beach in a box | $2 to $4 |
| Lay Out Your Geography Kit the Night Before | lay out a geography kit the night before | $16 to $27 |
| Total | $24 to $43 |
| Idea | Main change | Typical cost |
|---|---|---|
| small wooden globe | keep a small wooden globe on the shelf | $4 to $6 |
| plain paper map pad | draw maps on a plain paper map pad | $2 to $4 |
| small tin of plain wooden counters | count places with a small tin of plain wooden counters | $2 to $3 |
| plain fabric map bag | carry maps in a plain fabric map bag | $3 to $5 |
| small wooden compass | find north with a small wooden compass | $3 to $5 |
| plain paper geography notebook | write notes in a plain paper geography notebook | $2 to $4 |
| Total | $16 to $27 |
Keep Reading
If you liked these ideas, you will love these posts too
Each post has more simple ideas you can try at home this weekend.