24 History Activities for Kids That Bring the Past Alive

My little one once asked me what people did before there were cars and big shops.
Here are 24 history activities for kids that bring old days to life right in your own home, with paper, boxes, clay and lots of talk together.
I love how history feels close when we make it with our hands. A plain box can turn into a castle, and a strip of paper can hold a whole life story. Your child starts to see that people long ago were real, with homes and work and play just like us.
You do not need a big plan or a lot of stuff to start. Pick one idea that makes your child smile and sit down together at the table. Let your child lead a little, even if the lines go wobbly or the pot leans to one side.
Talk while you work. Ask what your child thinks life was like long ago, and share a small story from your own family if you have one. Those little chats stay with a child far longer than a date on a page.
Go slow and keep it light. Some days your child will want to make three things, and some days one small step is plenty. A short happy try beats a long tired lesson every time.
I hope this list gives you easy starts for rainy afternoons and quiet weekends. Choose the ones that fit your home and your child today. Then make a little mess, laugh a bit, and learn about the past together.
1. Make a Simple Timeline on the Wall
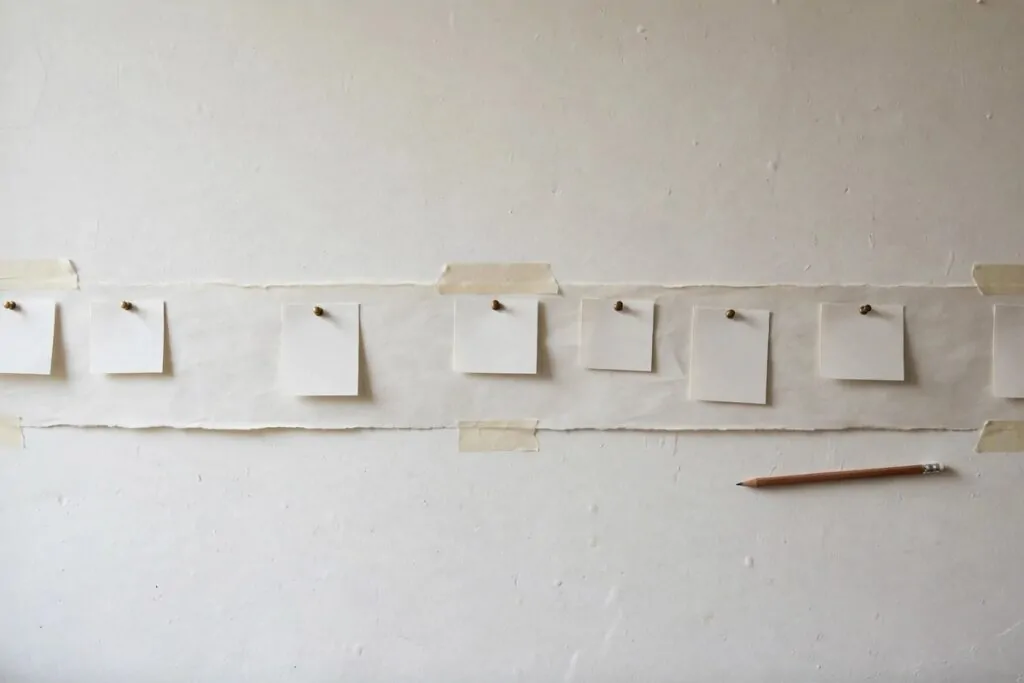
A timeline helps your child see time in a line they can touch. Start with a long strip of paper and tape it low on a wall where little hands can reach it.
Add one card for the day your child was born.
Ask your child to pick other big moments from family life. A first day at school fits well. A move to a new home fits well too.
Let your child draw a small picture on each card. Simple marks and stick shapes are more than enough.
Put the oldest moment at one end and today at the other end.
Read the line together from left to right. Talk about what changed between one card and the next.
Your child can add a new card when something big happens. Birthdays and trips make good cards. A new skill learned at home makes a good card too.
Keep the line up for a while so your child can look at it again and again.
Typical cost $1 to $3.
2. Build a Small Castle from Cardboard Boxes
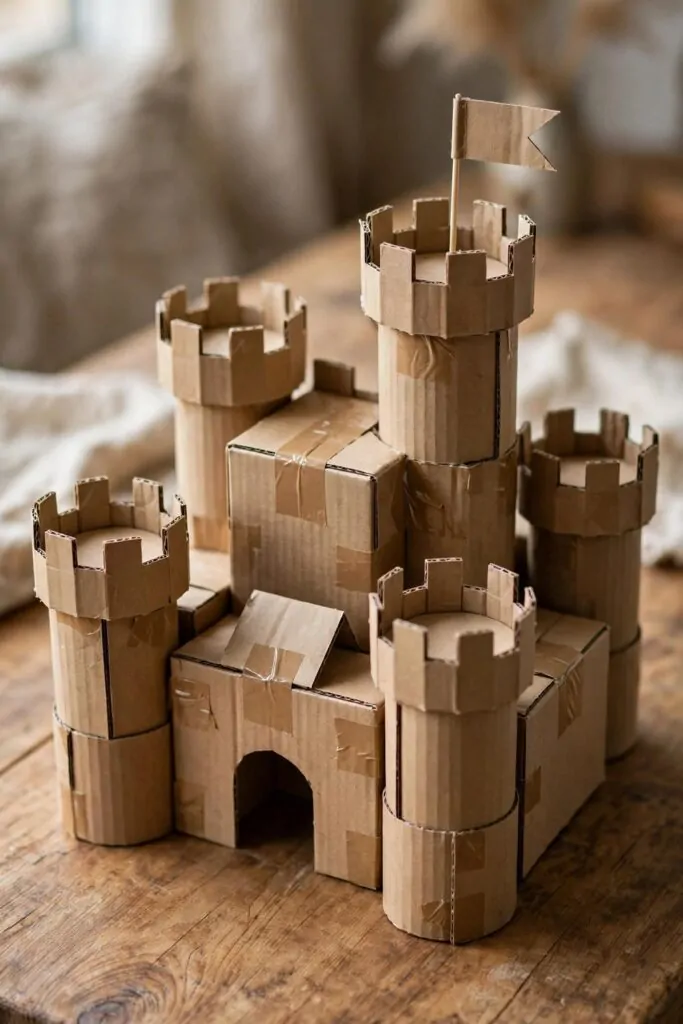
A castle starts with boxes you already have at home.
Save boxes of different sizes for a day or two. Stack the big ones low and the small ones high. Let your child decide where each box should go.
Tape the boxes together so the build stays steady. Your child can press the tape down while you hold the box still.
Cut a door shape in the front box with care.
Add small windows on the sides for light. Your child can draw them first and then you cut along the lines.
Let your child name the castle after a place from a story you both love. Names make a build feel real. A kind name works best.
Let your child play inside the castle walls with small toys from home.
Praise the tall parts and the neat joins. Small wins like a straight stack deserve a big smile.
Typical cost $2 to $4.
3. Draw a Map of an Old Town
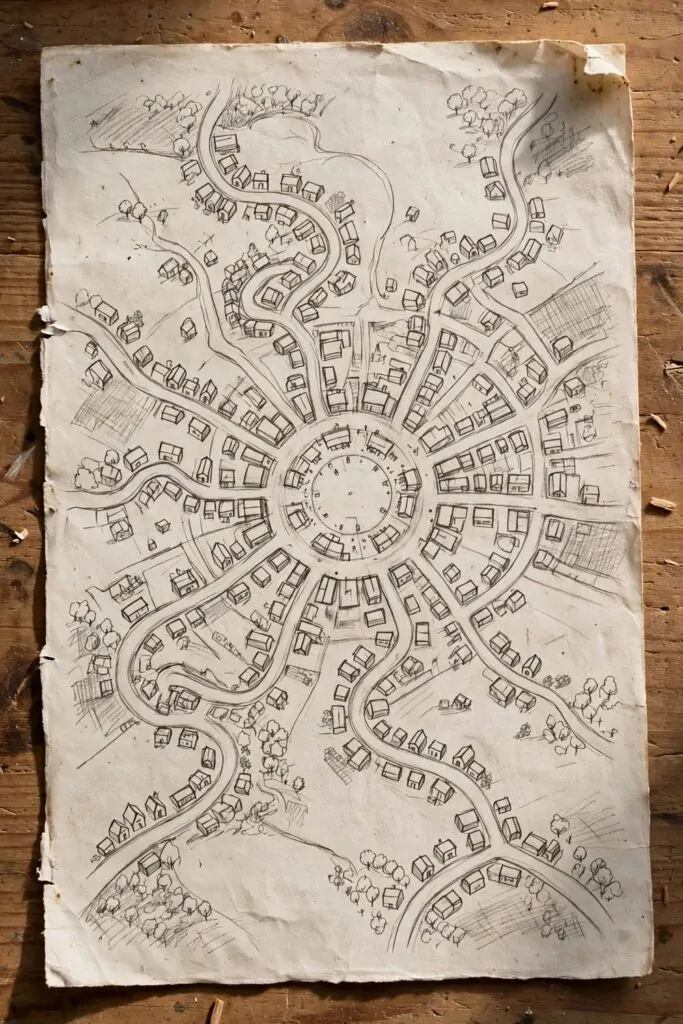
Old towns grew around a market square where people met to trade and talk. Your child can start the map there. Draw a round shape in the middle of the paper for the square.
Add winding streets that lead out from the square in all directions.
Draw small house shapes along each street. Leave gaps for gardens and open ground.
Add a well or a small hall near the square. Ask your child who might have lived near it. A baker or a teacher could live close by.
Let your child name each street after a person in your family.
Walk your finger along the map like a traveller. Stop at each house and tell a tiny story about who lives there.
Keep the map flat on the table while you both add more streets.
Your child can draw the map again on a fresh sheet when new ideas come. Each new map shows what your child learned. Keep the old maps in a folder to look back on.
Typical cost $0 to $1.
4. Make a Family Tree with Paper Leaves
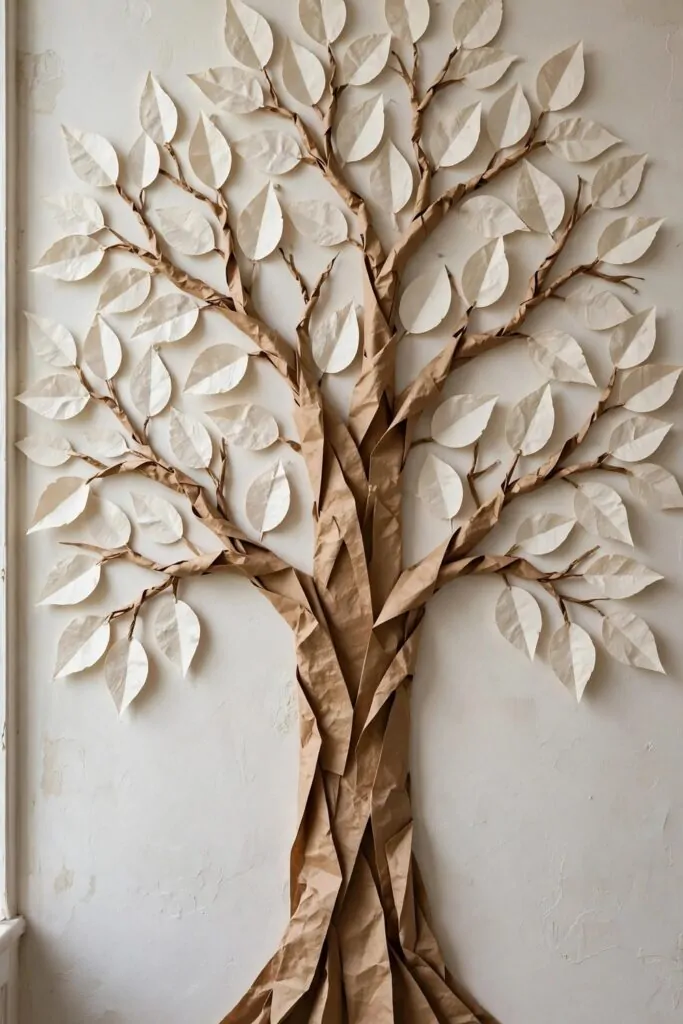
A family tree shows how your family grows and joins together. Start with a trunk and branches drawn on a large sheet of paper.
Add a leaf shape for each person in your family. Write a name on each leaf in clear letters. Put the oldest family members near the top of the tree.
Let your child stick the leaves on the branches one by one.
Talk about each person as you add their leaf. Share one kind memory or one small fact about them.
Your child can ask a grandparent for a story about long ago. Write that story on the back of the sheet. Read it together when the tree is done.
Hang the tree where your family can see it every day.
Add a new leaf when a baby joins the family. Your child will love finding the newest leaf on the tree.
A brown trunk holds the whole tree together and makes it look strong.
Typical cost $1 to $2.
5. Shape a Clay Pot Like Potters Long Ago
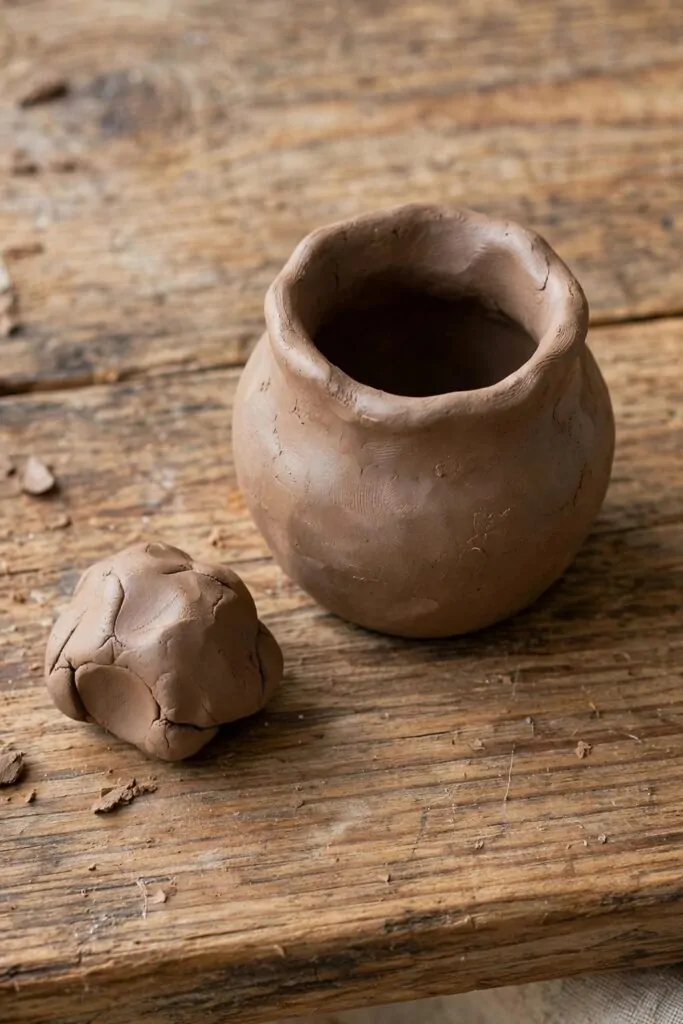
Potters long ago made pots by hand from soft clay.
Give your child a lump of brown clay to press and squeeze. Let them feel how soft and cool it is.
Roll the clay into a ball first. Press your thumb into the middle to make a hollow. Pinch the sides up slowly to form the walls.
Keep the walls even so the pot stands straight on the table.
Smooth the rim with a wet finger. Wipe away any rough spots on the outside. Let your child check the shape with both hands.
Leave the pot to dry in a safe spot. Drying takes time, so make a second small pot while you wait.
Talk about what people long ago kept in pots like this one.
Praise the pot even if it leans a little. A pot made with care is a pot to be proud of.
Typical cost $3 to $5.
6. Make a Shield from Cardboard
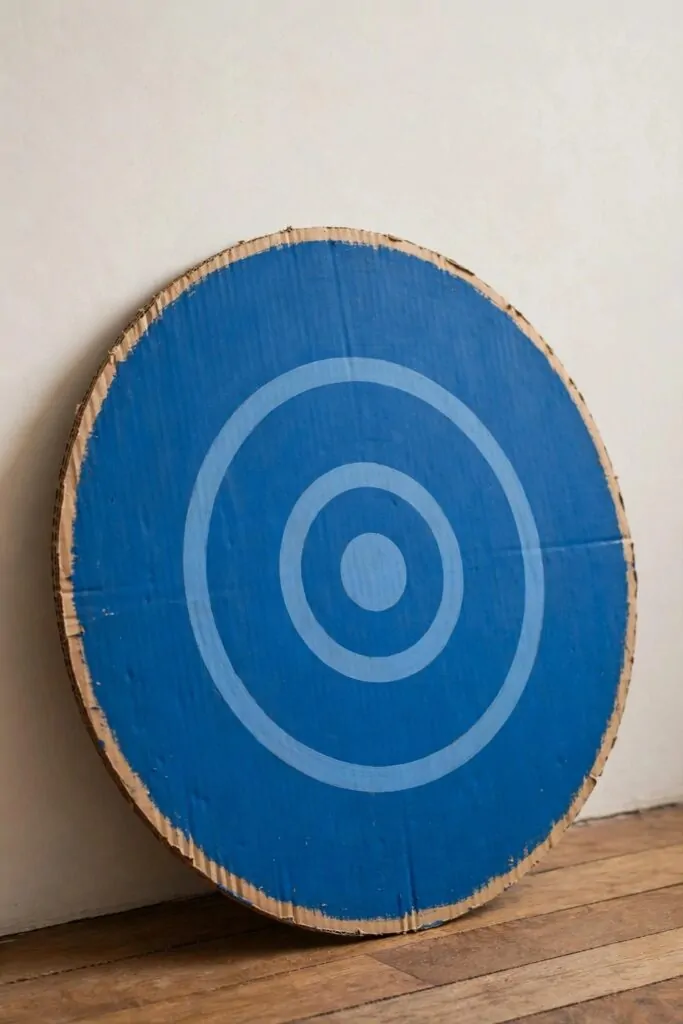
A shield helped people long ago feel safe when they stood guard. Your child can make one from a round piece of cardboard. A blue shield with a simple circle pattern looks bold and clear.
Cut the cardboard into a round shape with care. Smooth the edge so it feels neat in your hands.
Paint the front blue and let it dry fully.
Add a simple circle in the middle with paint. Let your child pick where the circle sits. A steady hand makes the cleanest line.
Fix a handle on the back with strong tape. Your child can hold the handle and test how the shield feels.
Talk about how shields were used to guard, not to hurt.
Let your child hold the shield up and stand tall. Pretend to guard a gate or a garden path. Keep the game gentle and kind for everyone.
Hang the shield on the wall when play ends. It makes a fine display for a room your child loves.
Typical cost $2 to $4.
7. Write a Letter with a Feather Quill
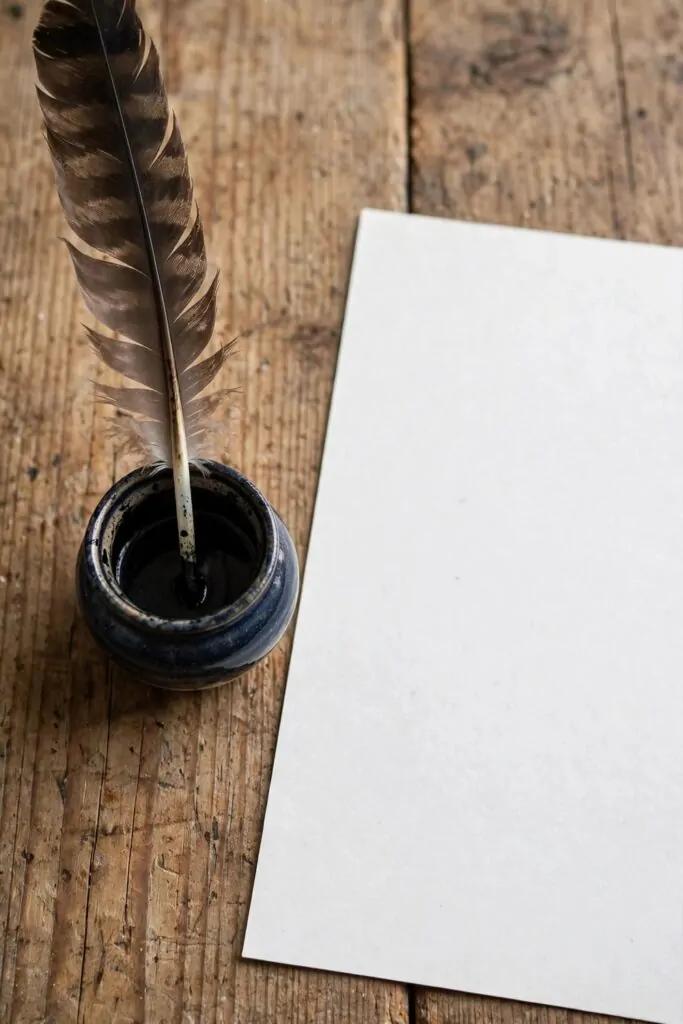
Long ago, people wrote letters with a feather quill. You can try the same slow way at your desk.
Dip the tip in the ink pot and let the extra drip back first.
Hold the quill near the top so your hand stays light. Press too hard and the tip will bend, but a soft hold makes smooth lines.
Start with your name at the top of the page. Then write one short line to someone you love.
Short words work best when you are still learning the quill.
If a letter looks wobbly, smile and keep going. Old letters were full of wobbly lines too.
You can write about your day or your favorite game. Tell them what made you laugh today. Then sign your name with a big swirl.
Let the page dry flat before you fold it.
Typical cost $2 to $3.
8. Build a Tiny Arch from Wooden Blocks
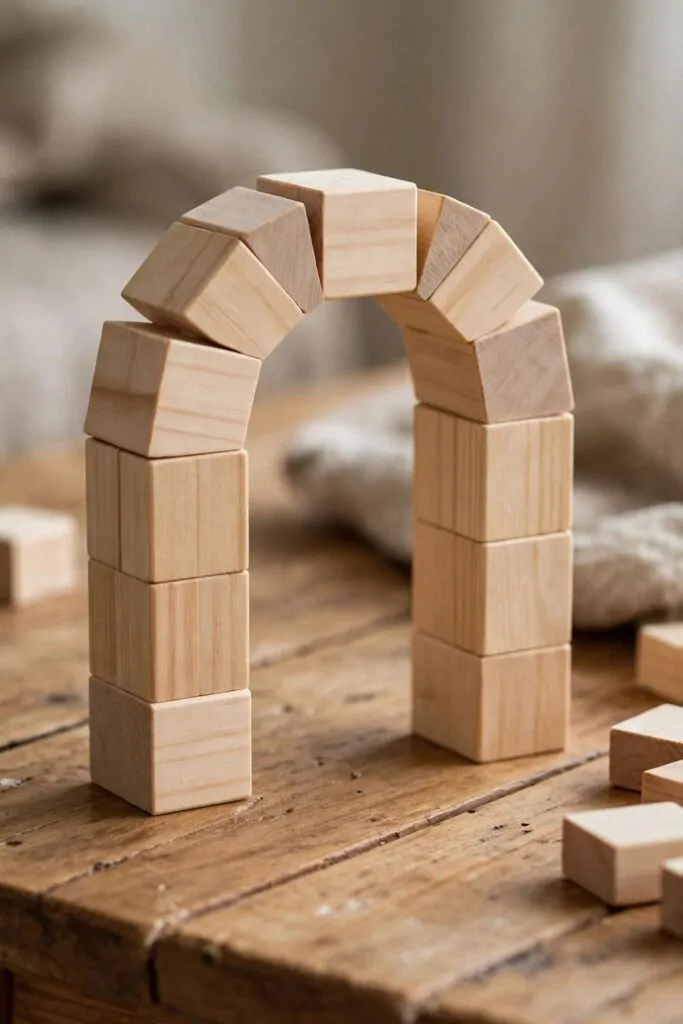
Long ago, builders made strong arches from plain blocks.
Set two towers of blocks on the table first. Leave a gap between them for the door. Keep the towers the same height so the top stays level.
Now place blocks across the top, one at a time. Each block should touch the next one.
The middle block is the key, so set it last.
Press it down soft and slow. Watch the sides as you press. If a tower leans, fix it before you go on.
Peek through the arch when it stands. Then try a wider gap for a bigger door.
A wider arch needs taller towers on each side.
Count your blocks before you start building. That way you will know if you have enough for the top.
Typical cost $3 to $5.
9. Make a Paper Crown for a King or Queen
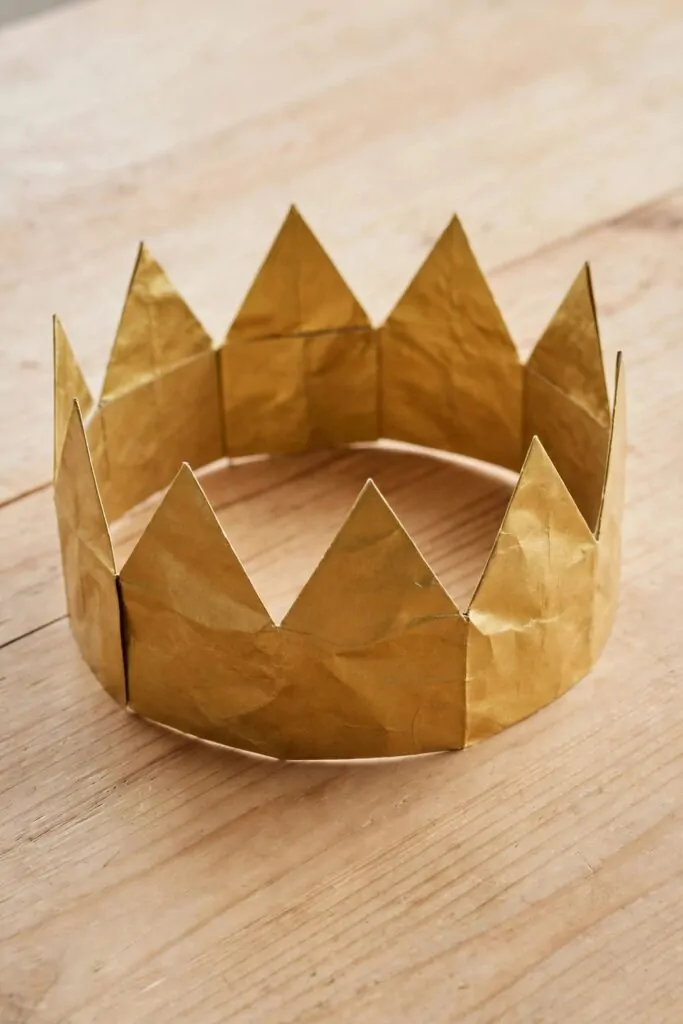
Kings and queens wore crowns on big days long ago, and you can make one from paper at your table. A golden crown makes an ordinary afternoon feel grand.
Cut a long strip of paper that fits around your head.
Measure the strip around your head first. Mark the spot where the ends meet.
Tape the ends together to make a ring. Try it on and check the fit. Add a second strip of tape if it feels loose.
Now color the whole crown gold with a crayon.
You can add small round dots along the band. Keep them spaced out so the crown still looks neat.
Hold your head up high when you wear it.
Pretend you are greeting guests at a grand hall. Give a small wave and a kind smile. Then take a bow if you like.
Typical cost $1 to $2.
10. Plant Seeds in a Pot Like Old Farmers
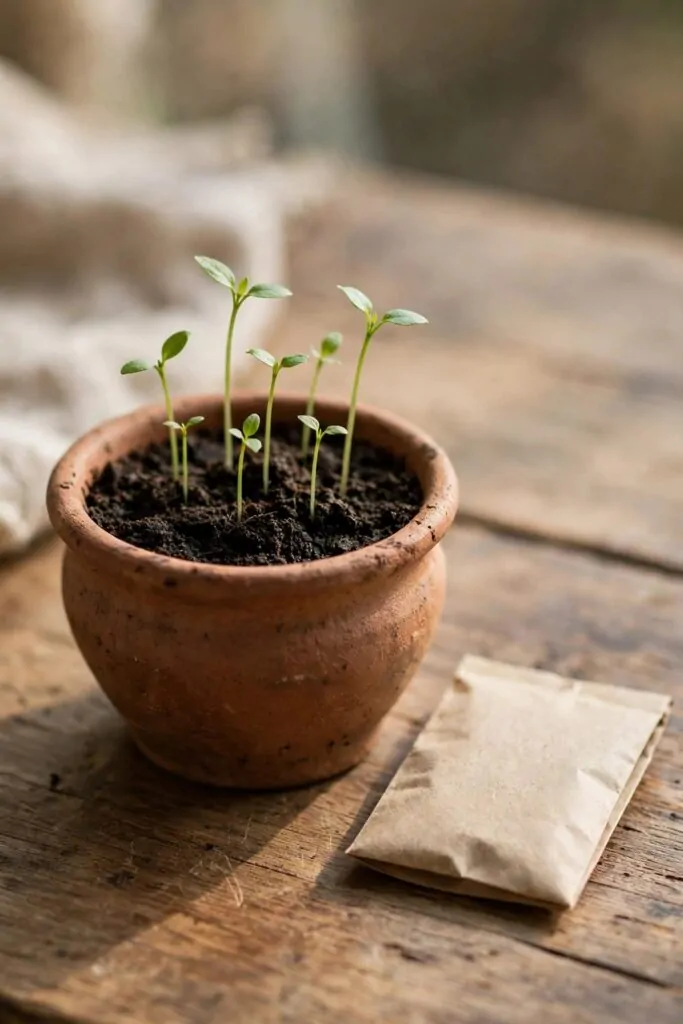
Old farmers planted seeds by hand in small pots. You can plant your own seeds the same way.
Fill a clay pot with soil up to the rim and press the soil down soft with your fingers. Then poke a small hole in the middle.
Drop one seed into the hole and cover it up.
Give the soil a little water from a cup. Just enough to make it damp, not wet all through.
Set the pot in a bright spot in your home. Check it each morning after breakfast. Soon you will see green sprouts push up through the soil.
Water the soil again when the top feels dry.
Talk to your sprouts if you like. Plants grow best when someone cares for them each day.
When the sprouts grow tall, you can move them to a bigger pot.
Typical cost $2 to $3.
| Idea | Main change | Typical cost |
|---|---|---|
| Make a Simple Timeline on the Wall | make a simple timeline on the wall | $1 to $3 |
| Build a Small Castle from Cardboard Boxes | build a small castle from cardboard boxes | $2 to $4 |
| Draw a Map of an Old Town | draw a map of an old town | $0 to $1 |
| Make a Family Tree with Paper Leaves | make a family tree with paper leaves | $1 to $2 |
| Shape a Clay Pot Like Potters Long Ago | shape a clay pot like potters long ago | $3 to $5 |
| Make a Shield from Cardboard | make a shield from cardboard | $2 to $4 |
| Write a Letter with a Feather Quill | write a letter with a feather quill | $2 to $3 |
| Build a Tiny Arch from Wooden Blocks | build a tiny arch from wooden blocks | $3 to $5 |
| Make a Paper Crown for a King or Queen | make a paper crown for a king or queen | $1 to $2 |
| Plant Seeds in a Pot Like Old Farmers | plant seeds in a pot like old farmers | $2 to $3 |
| Total | $17 to $32 |
11. Make a Sandcastle Fort on a Tray
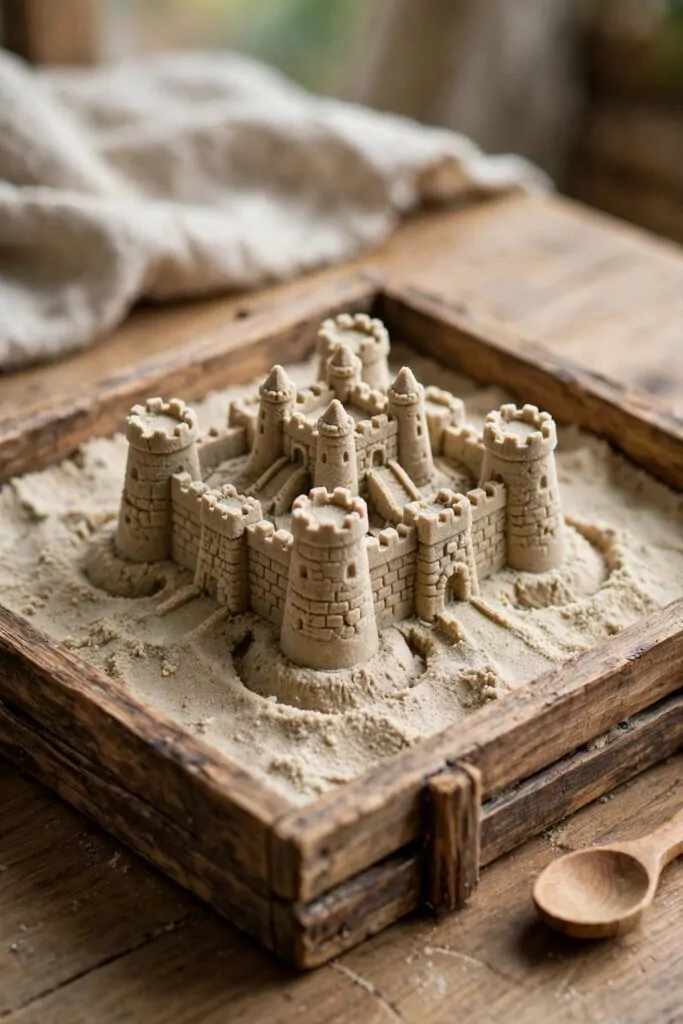
Long ago, people built forts from sand near the sea.
Fill your tray with sand and pat it flat. Then shape the sand into walls with your hands.
Build walls around the edges to make a fort. Leave a small gap for the gate. Pack each wall firm so it holds its shape.
Add towers at the corners with piles of sand.
Pat each tower smooth on the sides. A wooden spoon can help you shape the top.
You can dig a little moat around the walls. Fill the moat with a spoon of water. Watch how the water sits in the dip.
If a wall falls, just build it up again. Forts take time, and every try teaches you more.
Show your mum when the fort stands finished.
Typical cost $1 to $3.
12. Make a Stone Tool from a Smooth Stone
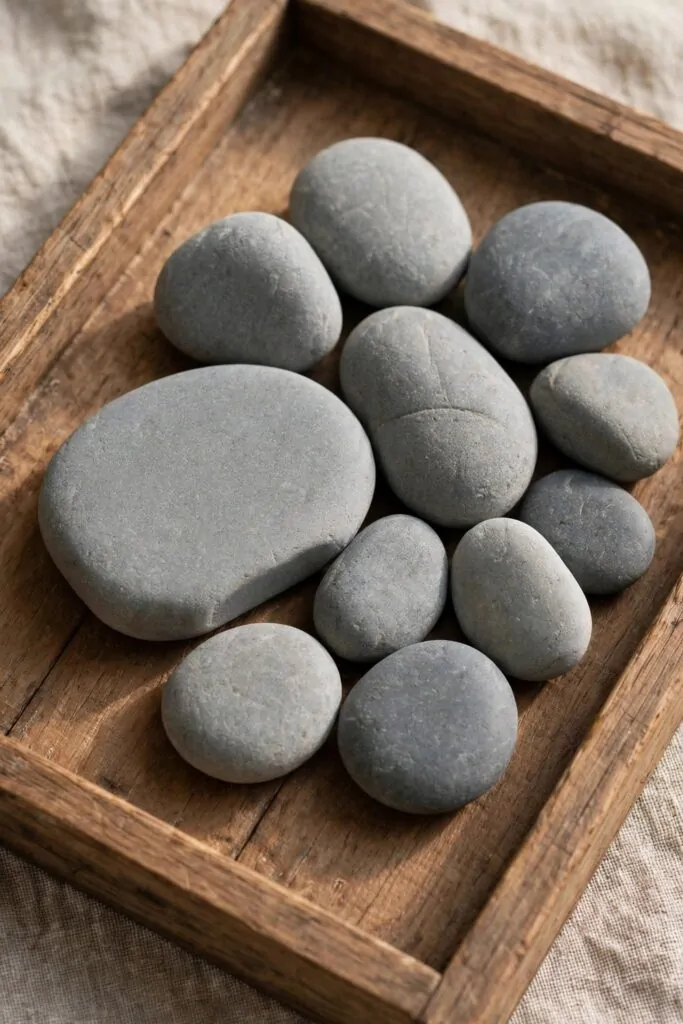
Long ago, people used smooth stones as simple tools, and a smooth stone could help them grind seeds. You can try a stone tool the safe way at your table.
Pick a grey stone that fits in your hand. Rub your thumb over it to feel how smooth it is.
Choose a second stone that is a little smaller.
Rub the small stone on the big stone in slow rings. Keep your fingers clear of the edges. Stop and look at the smooth spot you made.
You can use your stone to crush a soft leaf. Press down slow and watch the leaf change.
Wash your hands when you finish playing with stones.
Put your stones back in the tray when you are done. Keep them in one place. Then tell your teacher what your stone tool could do.
A stone tool is simple, and that is what makes it clever. You made something useful from a plain grey stone.
Typical cost $0 to $1.
13. Make a Small Viking Ship from Paper
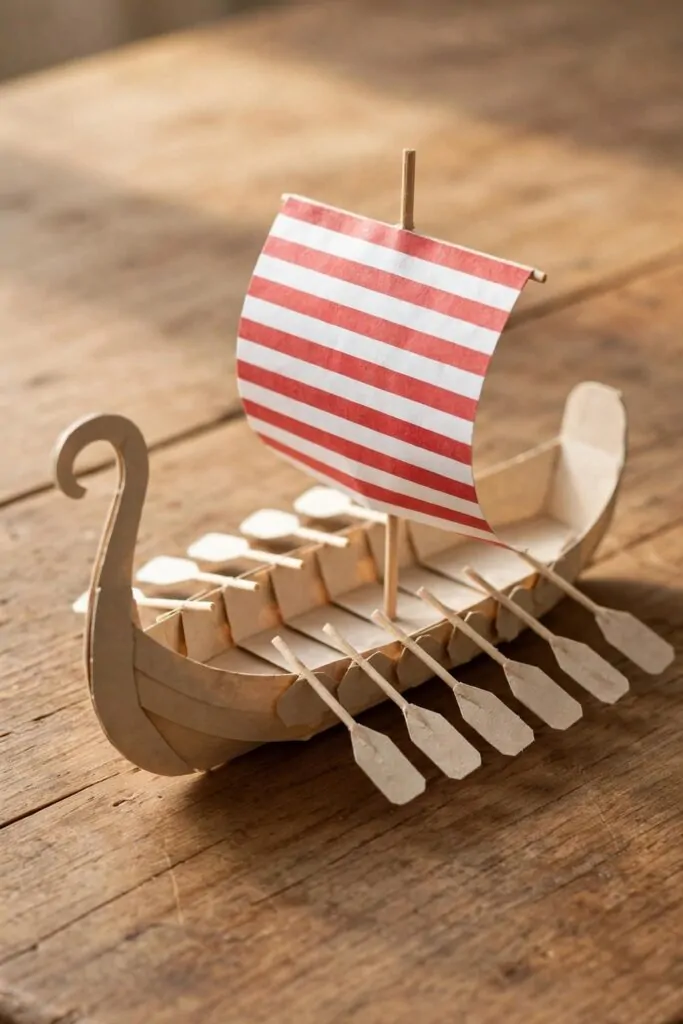
I made a small Viking ship from one sheet of paper last week. My son folded the sides with me and we both laughed when it tipped over.
A striped sail makes it look like a real ship from long ago.
We cut a tall shape for the sail and taped it to a thin stick. Then we set the stick in the middle of the folded paper boat. It stood up straight and looked so proud on our table.
You can draw little shields along the sides with a pen. That small touch makes the whole ship feel ready for a trip.
I like how this craft starts with paper you already have at home.
We talked about how Vikings sailed far across the sea in wooden ships. My son asked where they slept, and we guessed together.
If your sail leans to one side, just move the tape a little, since small fixes like that teach you more than a perfect first try. I tell my boy that wobbly sails still sail in our games.
Set your ship on a shelf and let it remind you of old sea trips.
Typical cost $1 to $2.
14. Build a Pyramid from Sugar Cubes
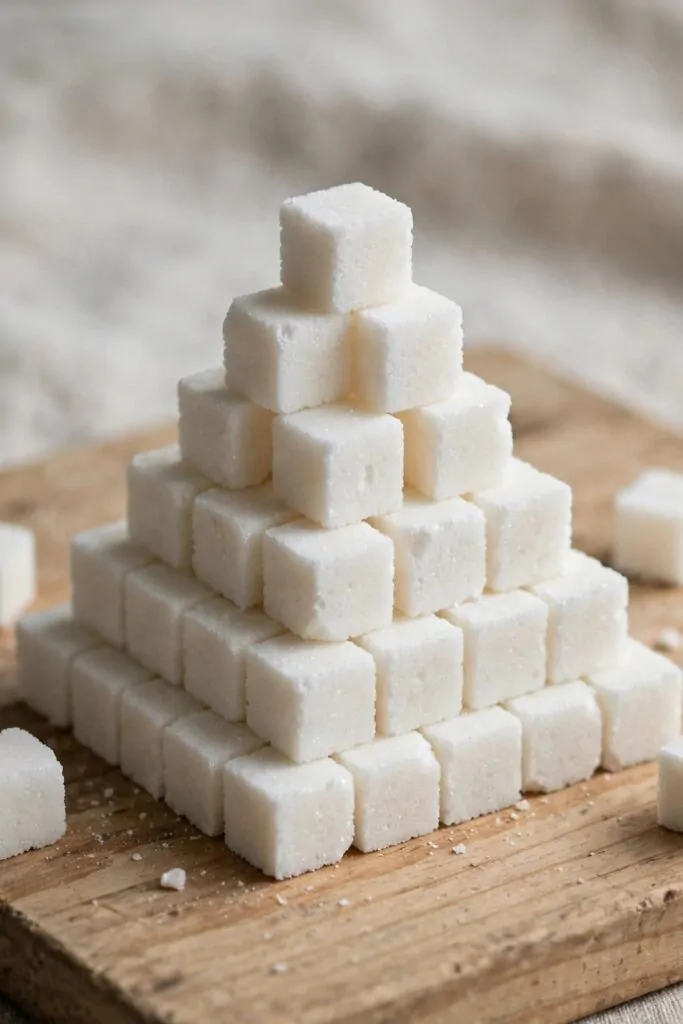
I stacked white sugar cubes into a small pyramid with my daughter on a rainy day.
We started with a wide square base on a plain wooden board. Then we added a smaller square on top of it.
Each layer got a little smaller as we went up. That is how real pyramids get their shape.
My daughter counted the cubes in each row out loud. She felt so proud when the top cube sat alone at the peak. We left the pyramid on the board all week so visitors could see it.
A tiny dab of glue between cubes keeps the stack steady.
We talked about the old pyramids in Egypt and how people built them long ago. I showed her a picture in a book of the tall stone shapes. She asked how long it took, and I said far longer than our afternoon.
If a cube slips, just put it back and keep going. The fun is in the building, not in a flawless tower.
Try it with a friend and see whose pyramid stands tallest.
Typical cost $2 to $4.
15. Make a Mosaic from Coloured Paper Squares
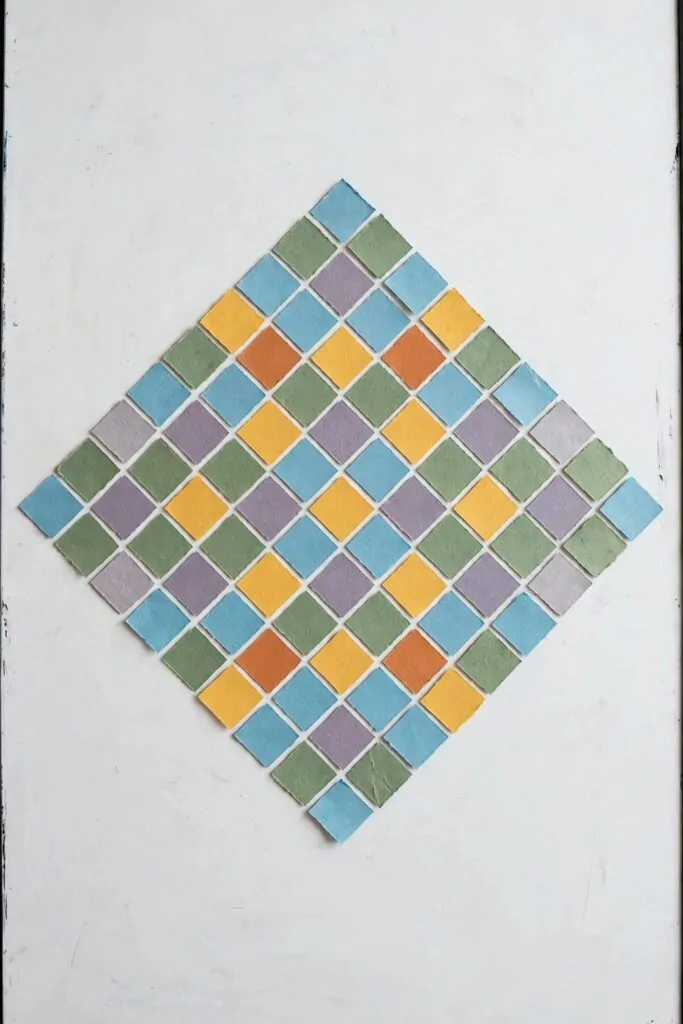
I cut lots of small paper squares and spread them on our white board. My kids picked which squares went where. We made a simple diamond pattern from the coloured squares.
Mosaics like this decorated floors and walls long ago.
Start with a plain shape in the middle of the board. Then build rows of squares around it.
The pattern grows slowly, and that slow growth is the joy of it.
My youngest placed squares in neat lines while my older one tried a zigzag edge. Both ways looked lovely when we stepped back. I loved how each of them made the same craft their own.
Glue each square down once you like its place. Press it flat and move on to the next one.
Leave a little space between squares so the white board shows through.
You can make a border of squares around the edge when the middle is done. That frame makes the whole mosaic look finished.
Typical cost $2 to $3.
16. Make a Water Clock from a Plastic Bottle
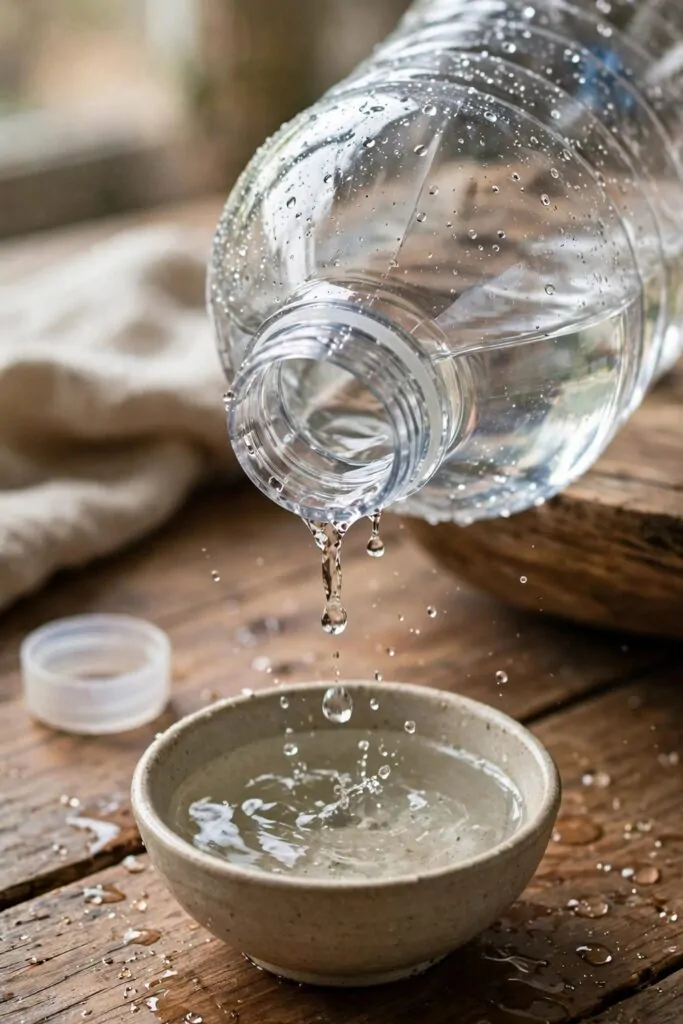
I turned a clear plastic bottle into a water clock with my son. Water drips out slow and steady into a small bowl below.
We poked a tiny hole near the bottom of the bottle. Then we filled it with water and watched the first drops fall. My son counted the drops as they landed in the bowl.
People long ago used water to tell the time.
Mark a line on the bottle each time the water drops to a new level. Those lines show how time passes while you watch.
A bigger hole makes the water fall faster.
We set our clock on the wooden table and checked it against the clock on our wall. The water lines matched the minutes in a rough, happy way. My son felt like a real timekeeper from long ago.
If the drip stops, clear the hole with a thin pin.
Try it outside on a warm day and see how long the bottle takes to empty. You will learn a lot just by watching water fall.
Typical cost $1 to $2.
17. Make a Coin Rubbing with Paper and Crayon
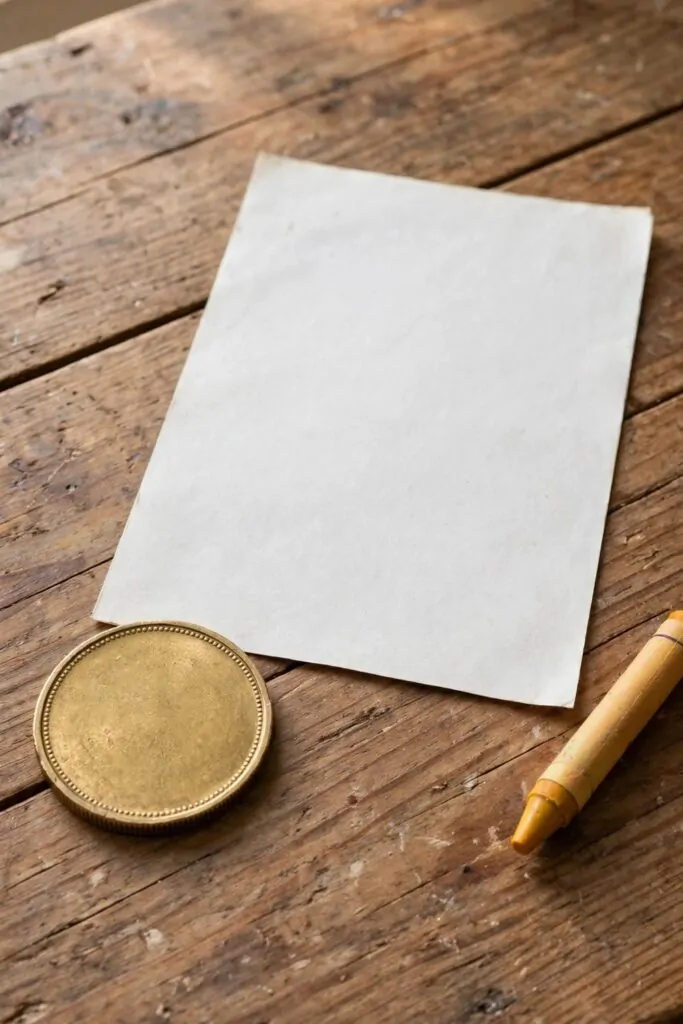
I placed a round coin under a sheet of blank paper with my daughter.
She rubbed a crayon over the paper, back and forth, nice and slow. The face of the coin showed up like magic on the page. She gasped and asked to try another coin right away.
Old coins carry pictures and words from their own time. A rubbing lets you see them without holding the coin up close.
Hold the paper still so the coin does not slide.
We lined up rubbings from three coins in a row on the table. Each one looked a little different from the next.
My daughter asked whose face was on the oldest coin we found. We looked it up in a book together and read a short bit about that person. That small search turned a quick craft into a history lesson.
Tape the paper to the table if your coin keeps moving. A steady page makes a much clearer rubbing.
Keep your best rubbings in a folder to show your teacher.
Typical cost $0 to $1.
18. Build a Log Cabin from Wooden Sticks
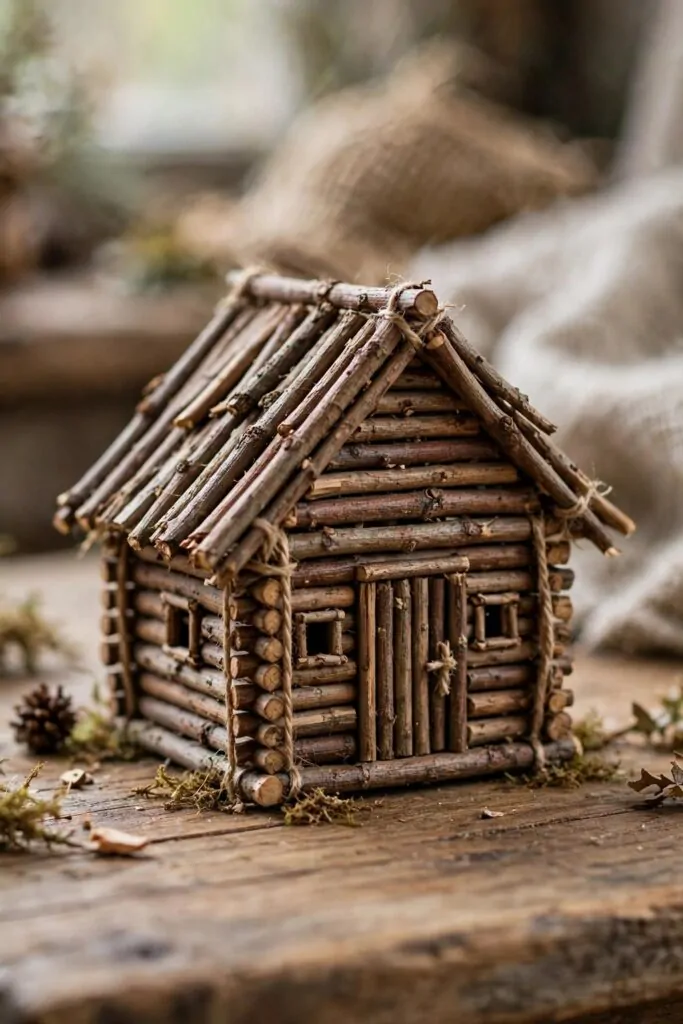
I built a small log cabin from wooden sticks with my son on our wooden table. We laid the sticks in rows, one across the other, to make the walls. A triangle roof of sticks sat on top and finished the little house.
Settlers long ago built cabins this way with logs from the woods. Our small version shows how the corners lock together.
A dab of glue at each corner holds the walls firm.
My son placed the sticks one by one and checked each row was level. He beamed when the walls reached his hand high. We left a small gap in the front wall for a door.
Add a tiny stick chimney if you like. That small touch makes the cabin look lived in.
Work slow and let the glue dry before you add the roof.
We talked about how families lived in cabins with a fire inside for warmth. I told him they cooked and slept in one warm room. He said he would like a cabin of his own one day.
Put your cabin on a shelf and add small stones around it for a garden path.
Typical cost $2 to $4.
19. Make a Flag from an Old Story
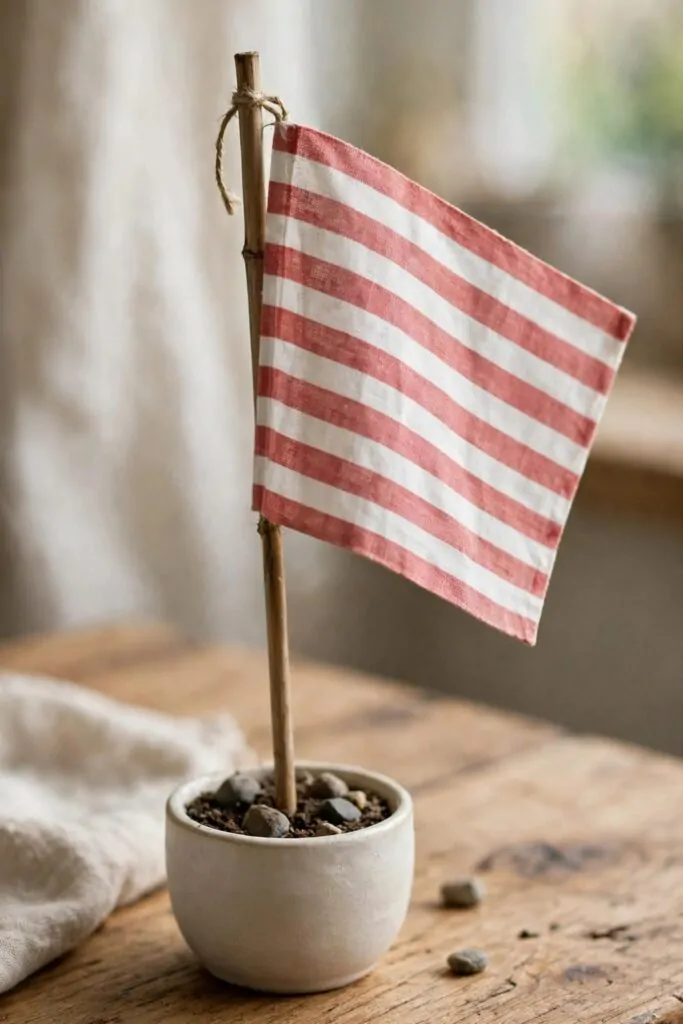
I picked an old story my child loved and we turned one small part of it into a flag. My child chose the red and white stripes and I helped hold the cloth still while we worked.
We cut a small piece of plain cloth and I showed my child how to make stripes with paint. My child dabbed the paint on slow and I praised each neat line. We left the cloth flat to dry while we talked about the person in the story.
A wooden stick gave our flag a firm hold and my child liked to wave it slow in the air.
I fixed the cloth to the stick with a small strip of tape and my child pressed the edge down. We stood the flag in a small pot so it could stay up on the table.
My child told me what each stripe meant in the story and I listened to every word.
We put the flag near our books so we could see it each morning. My child pointed at the red and white stripes and smiled at the work we had done together. I asked my child to tell the story again in simple words and the tale felt fresh and new.
If a stripe looked wobbly, I said it showed a real hand had made it. My child felt proud and wanted to show mum the flag after lunch.
This small flag now sits where my child can reach it and feel close to an old tale.
Typical cost $1 to $3.
20. Grow a Bean in a Glass Jar
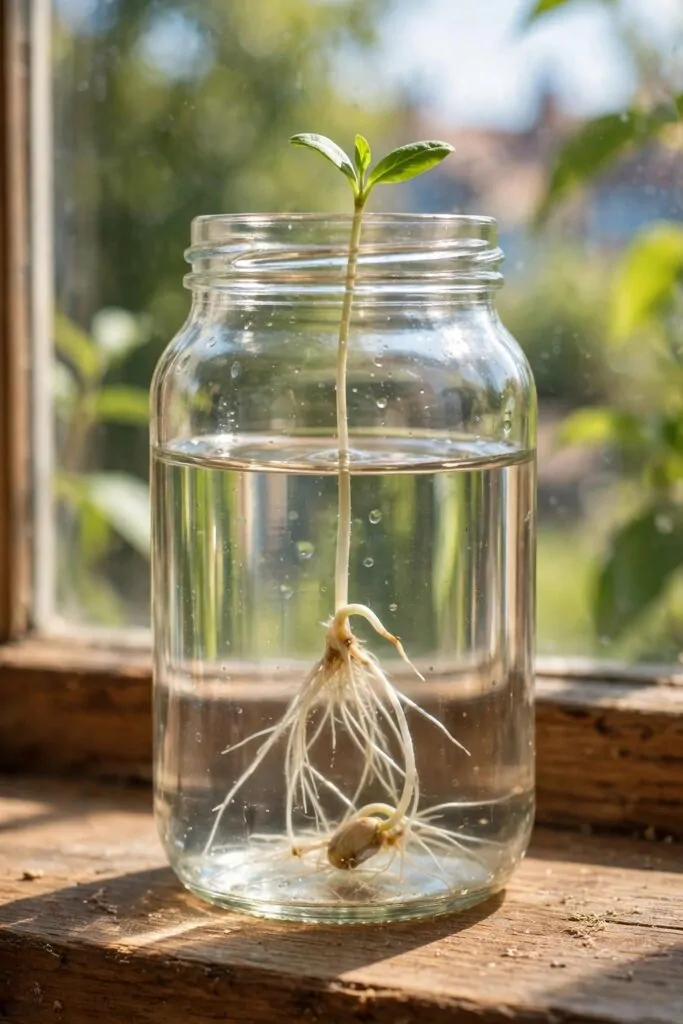
I filled a glass jar with water and we placed one bean inside to watch it grow.
My child set the jar on a sunny windowsill where light could reach it each day. I showed my child how to check the water and add a little more when it looked low.
On the first day the bean looked plain and quiet in the jar. My child peeked at it after breakfast and asked when a sprout would show. I said good things take time and we could watch it change bit by bit.
Soon a green sprout pushed out and my child cheered at the tiny new shoot. I helped my child draw the sprout in a notebook so we could see how it grew.
My child learned that a seed needs water, light, and time to grow.
We talked about how people long ago grew beans near their homes for food. My child liked to think of a garden full of green sprouts in the warm sun.
I asked my child to look at the sprout and tell me what had changed. My child laughed and said the green shoot looked taller than the day before. We wrote the change down and my child felt proud of the small green shoot.
This jar gave my child a slow and happy way to see life grow.
Typical cost $1 to $2.
| Idea | Main change | Typical cost |
|---|---|---|
| Make a Sandcastle Fort on a Tray | make a sandcastle fort on a tray | $1 to $3 |
| Make a Stone Tool from a Smooth Stone | make a stone tool from a smooth stone | $0 to $1 |
| Make a Small Viking Ship from Paper | make a small viking ship from paper | $1 to $2 |
| Build a Pyramid from Sugar Cubes | build a pyramid from sugar cubes | $2 to $4 |
| Make a Mosaic from Coloured Paper Squares | make a mosaic from coloured paper squares | $2 to $3 |
| Make a Water Clock from a Plastic Bottle | make a water clock from a plastic bottle | $1 to $2 |
| Make a Coin Rubbing with Paper and Crayon | make a coin rubbing with paper and crayon | $0 to $1 |
| Build a Log Cabin from Wooden Sticks | build a log cabin from wooden sticks | $2 to $4 |
| Make a Flag from an Old Story | make a flag from an old story | $1 to $3 |
| Grow a Bean in a Glass Jar | grow a bean in a glass jar | $1 to $2 |
| Total | $11 to $25 |
21. Make a Treasure Chest from a Shoebox
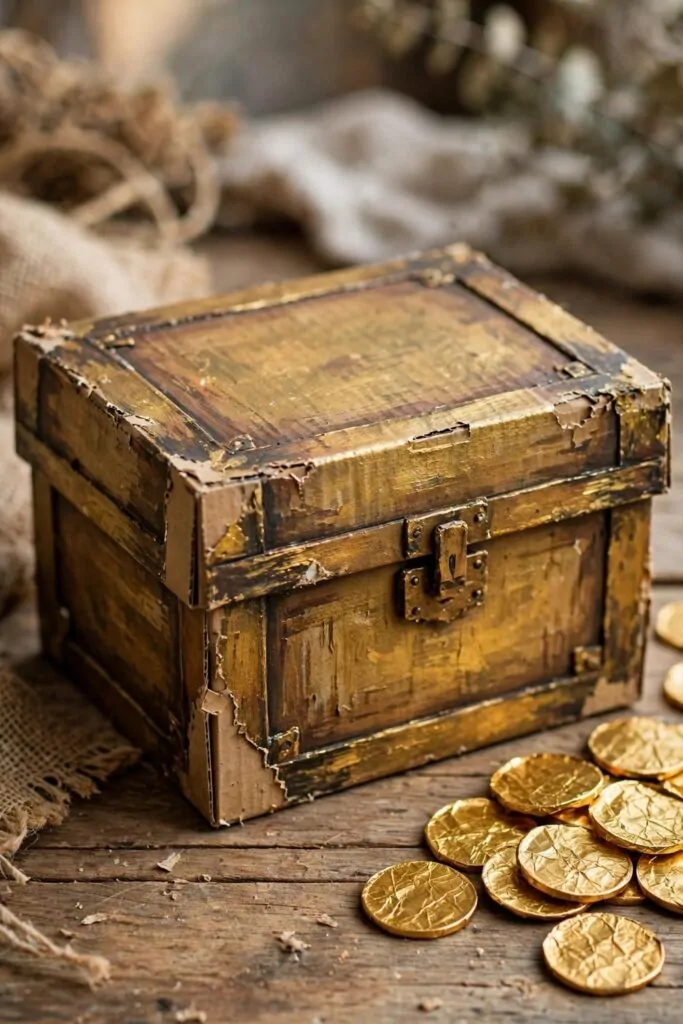
I found an old shoebox and my child helped me turn it into a treasure chest. We painted the lid and the sides and let the paint dry in the open air. My child chose where the chest would sit on the wooden table.
My child loved to lift the lid and peek inside at the empty space.
We cut gold paper coins and my child stacked them in a neat pile beside the chest. I helped my child count the coins one by one and we laughed at the pile.
My child hid a small note inside the chest for a friend to find later.
We talked about how people long ago kept small keepsakes in a box. My child put a small note and a ribbon inside the chest to keep safe. I said a treasure can be a small thing that makes you smile.
My child showed the chest to mum and told her about the gold paper coins. Mum smiled and asked my child to keep the chest on a shelf where it could be seen.
This shoebox chest gave my child a fun way to play and to share a story.
I helped my child tape the lid so it would stay shut on the table. My child pressed the tape down and I praised the neat work. We agreed the chest would hold our small treasures for the week.
Typical cost $2 to $3.
22. Play a Game with Stones Like Long Ago
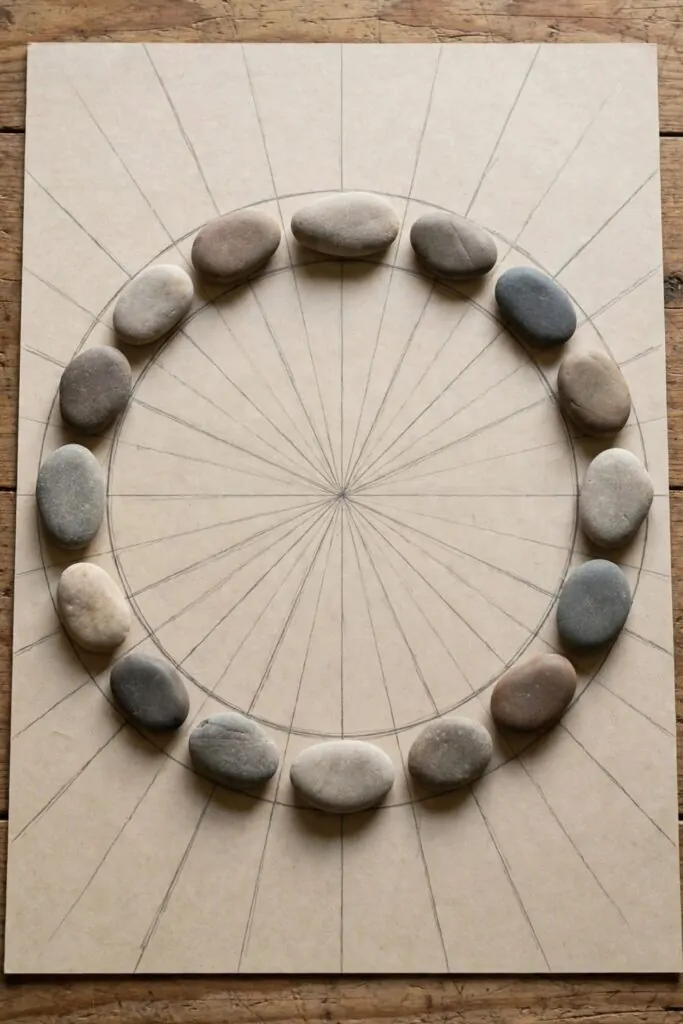
I drew lines on a plain paper board and my child helped me set the grey stones in a circle. We sat at the wooden table and I showed my child how to move one stone at a time.
My child liked to touch each stone and choose the next move with care.
We played a slow game and I talked about how children long ago played with stones too. My child asked if they played after lunch and I said they played when their work was done. We laughed and tried a new move that made us both think.
My child learned to wait, to look, and to plan the next move.
I let my child win one round and we cheered for the good move. My child felt proud and asked to play again right away.
We counted the grey stones at the end and put them back in a small bag. My child held one stone up and smiled at the smooth feel. I said a simple game can teach us to think and to stay calm.
This stone game gave my child a quiet and happy way to play like long ago.
My child asked mum to join the next game and mum said yes with a smile. I set the board out again and we played one more round together.
Typical cost $0 to $1.
23. Make a Scroll from Rolled Paper
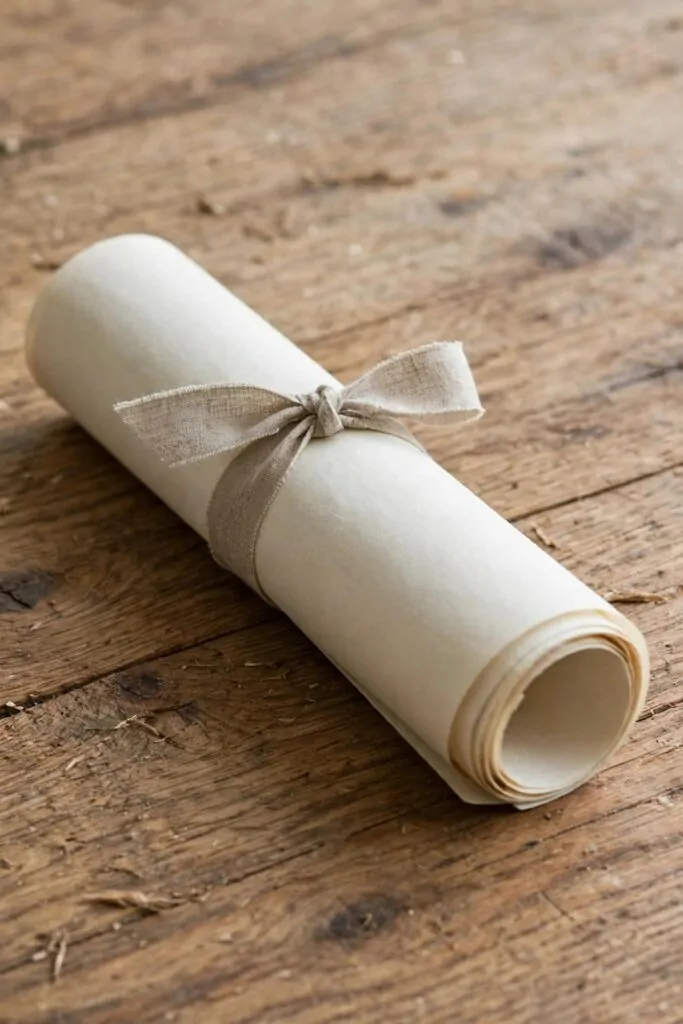
I gave my child a sheet of blank paper and we rolled it into a scroll.
My child held the roll still while I tied a plain ribbon round the middle. We pulled the ribbon soft so the paper would not tear. My child smiled at the neat roll and said it looked like a letter from long ago.
I showed my child how to unroll the scroll slow and flat on the wooden table. My child wrote a short note on the paper in plain letters.
We talked about how people long ago wrote on scrolls to share news. My child asked if a scroll could hold a story and I said yes. We read the note out loud and my child felt proud of each word.
My child rolled the scroll up again and tied the ribbon with care.
I helped my child keep the scroll on a shelf where it would stay safe. My child liked to show the scroll to a teacher and tell her about the old way of writing.
This scroll gave my child a fun way to hold a piece of the past.
We made a second scroll for a friend and my child wrote a kind note inside. I praised the neat roll and the plain ribbon round it. My child said the scroll felt special because we had made it together.
Typical cost $1 to $2.
24. Lay Out Your History Kit the Night Before
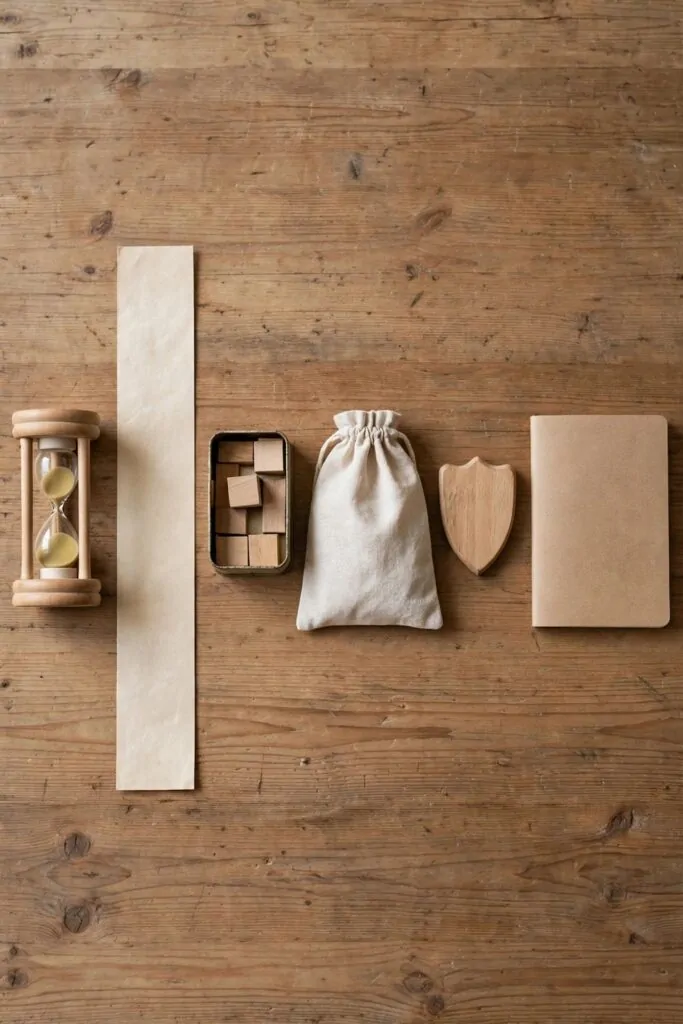
I like to get ready the night before so the morning feels calm and easy. My child helps me lay each thing out in a neat row on the wooden table. We talk as we work and my child picks what to try first tomorrow.
I lay out a small wooden hourglass, a plain paper history timeline strip, a small tin of plain wooden blocks, a plain fabric history bag, a small wooden toy shield, and a plain paper history journal in a neat row on the wooden table.
My child touches the hourglass and watches the sand fall slow through it. I show my child the timeline strip and we point to a time long ago.
We open the tin of blocks and my child builds a small tower on the table. I set the fabric bag beside the tin so it stays easy to reach. My child holds the toy shield up and smiles.
My child opens the journal and draws a small mark to show what we will try tomorrow.
I ask my child to name each thing in the row and my child says each name with care. We check that all six things are there and ready for the morning.
My child feels proud to help get ready and I praise the neat row. We put the kit where my child can reach it in the morning. I say a calm night makes a happy start to the day.
I give my child a hug and we smile at the neat row we made together. Tomorrow will bring a new story to try, and we are ready for it with glad hearts.
The small wooden hourglass costs $3 to $5, the plain paper history timeline strip costs $2 to $4, the small tin of plain wooden blocks costs $3 to $5, the plain fabric history bag costs $3 to $5, the small wooden toy shield costs $3 to $5, and the plain paper history journal costs $2 to $4, for a total of $16 to $28.
| Idea | Main change | Typical cost |
|---|---|---|
| Make a Treasure Chest from a Shoebox | make a treasure chest from a shoebox | $2 to $3 |
| Play a Game with Stones Like Long Ago | play a game with stones like long ago | $0 to $1 |
| Make a Scroll from Rolled Paper | make a scroll from rolled paper | $1 to $2 |
| Lay Out Your History Kit the Night Before | lay out your history kit the night before | $16 to $28 |
| Total | $19 to $34 |
| Idea | Main change | Typical cost |
|---|---|---|
| small wooden hourglass | turn a small wooden hourglass to time our history game | $3 to $5 |
| plain paper history timeline strip | lay out a plain paper history timeline strip on the wall | $2 to $4 |
| small tin of plain wooden blocks | build old walls with a small tin of plain wooden blocks | $3 to $5 |
| plain fabric history bag | keep our kit in a plain fabric history bag | $3 to $5 |
| small wooden toy shield | hold up a small wooden toy shield for our old story | $3 to $5 |
| plain paper history journal | write our finds in a plain paper history journal | $2 to $4 |
| Total | $16 to $28 |
Keep Reading
If you liked these ideas, you will love these posts too
Each post has more simple ideas you can try at home this weekend.