23 Rental Bathroom Ideas That Need No Drilling

My bathroom mirror fogged up again this morning and I wiped it with my hand. The tiles behind me looked dull and grey. I stood there and thought, this little room needs some love.
I rent my place, so I cannot drill holes or paint the walls a bold colour. My landlord is kind, but the rules are clear. I have to keep everything removable.
That felt hard at first. I thought a rental bathroom had to stay plain and boring. Then I tried one small change, and it made me smile each morning.
I started with hooks that stick on with suction cups. They held my towel and my wash bag. No tools, no mess, no stress at all.
After that I tried peel and stick tiles behind the sink. They took me less than an hour. My friends thought I had hired someone to do it.
You can do the same in your place. You do not need big money or big tools. You just need ideas that peel off clean when you move out.
In this one post you will find all 23 rental bathroom ideas. They are all here together, no part split and no missing ideas. Pick your favourites and start with just one today.
1. Peel-and-Stick Wall Tiles
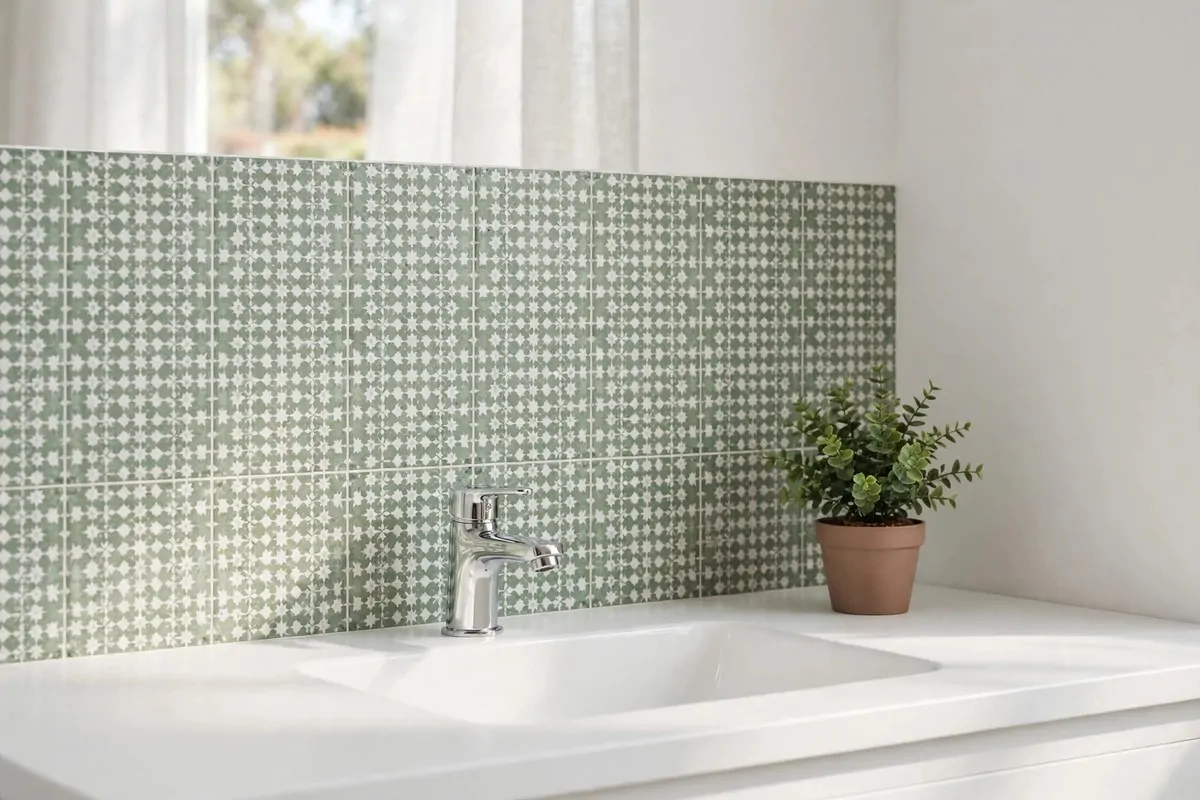
I put peel and stick tiles behind my sink last spring. They changed the whole look in one evening.
You just peel the back off and press them on the wall.
I cleaned the tiles first with warm water and a cloth. Then I let them dry fully. A dry wall helps the tiles stick well.
You can cut them with normal scissors to fit around taps. I measured twice before I cut, and it saved me a lot of waste.
| Tile Type | Typical Cost |
|---|---|
| Subway | $15 to $30 per pack |
| Mosaic | $10 to $20 per pack |
| Stone look | $25 to $40 per pack |
| Vinyl panels | $8 to $15 per pack |
Subway tiles cost $15 to $30 per pack. Mosaic tiles cost $10 to $20 per pack.
Stone look tiles cost $25 to $40 per pack. Vinyl panels cost $8 to $15 per pack. I picked vinyl first because it was the cheapest way to try the look.
If one tile goes on crooked, you can peel it off and try again.
I started in a corner and worked my way across. It kept my lines straight and neat.
When you move out, warm the tiles a little and peel them off slow. Your landlord will never know they were there.
2. Removable Wallpaper on One Wall
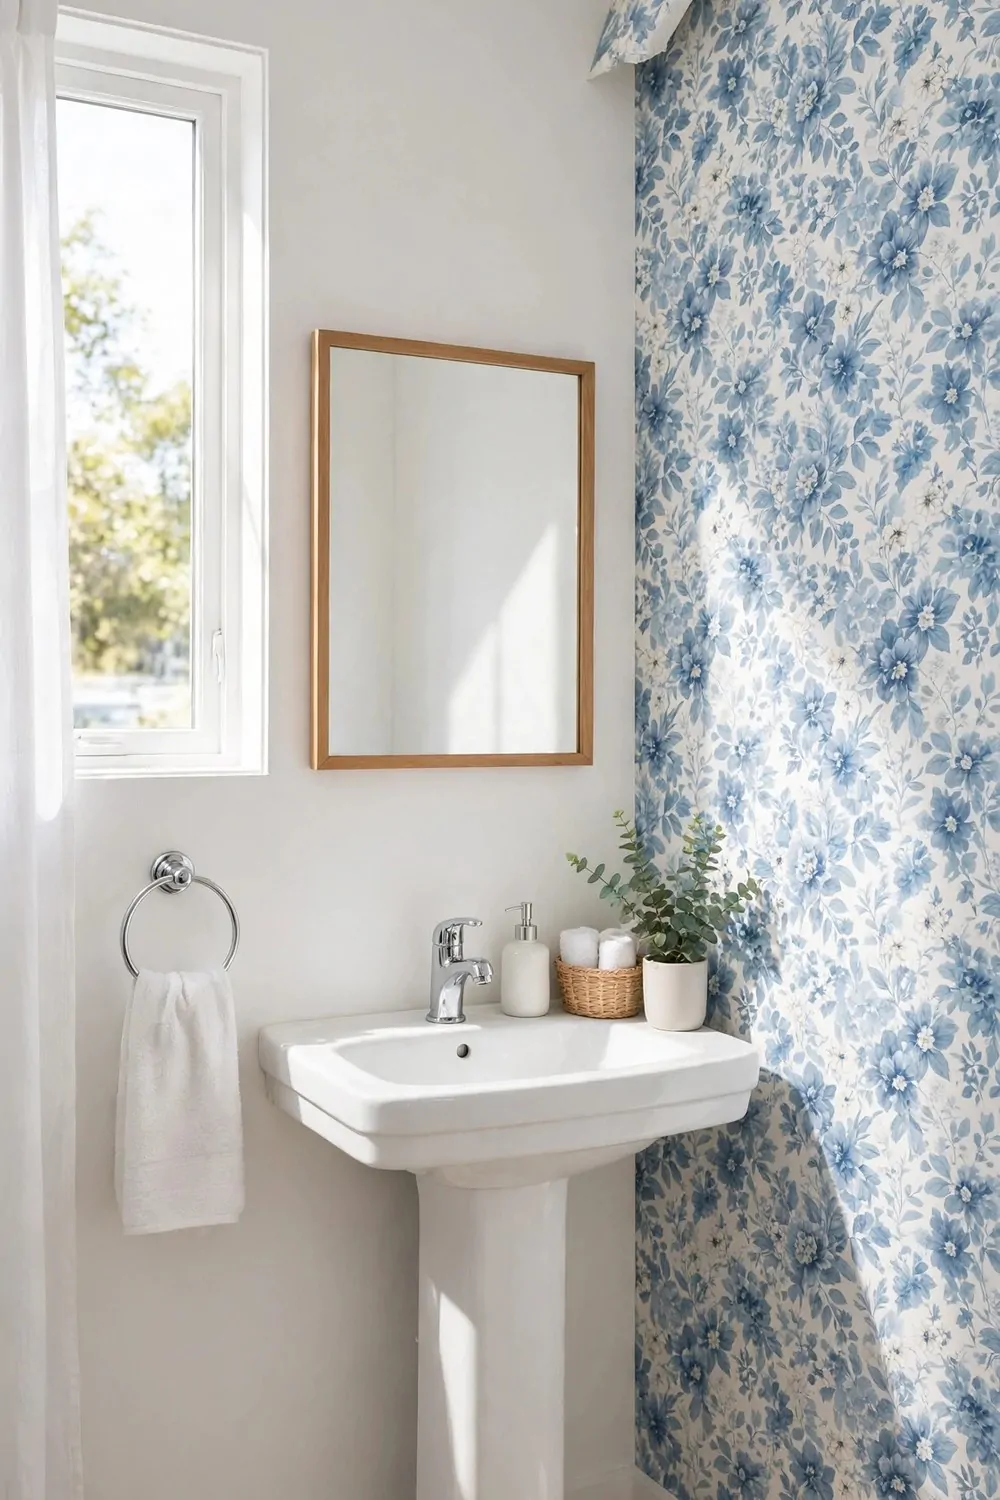
I was scared to try wallpaper in a rental. I thought it would ruin the paint.
Removable wallpaper is different. It peels off clean when you are done.
I put it on one wall only, the wall behind the mirror. It made the room feel taller and brighter. My sister thought I had painted.
You need a clean dry wall and a smooth tool to push out air bubbles. I used an old bank card and it worked fine.
Start at the top and go down slow. Ask a friend to hold the bottom if you can.
Pick a light pattern for a small bathroom. Big dark prints can make the room feel tight.
I chose soft stripes in pale blue. They match my towels and my bath mat.
If a strip goes on wonky, peel it back and stick it again. It forgives small mistakes.
When you move, peel it off in one slow pull. Wipe the wall and it looks just like before.
3. Over-Toilet Freestanding Shelf
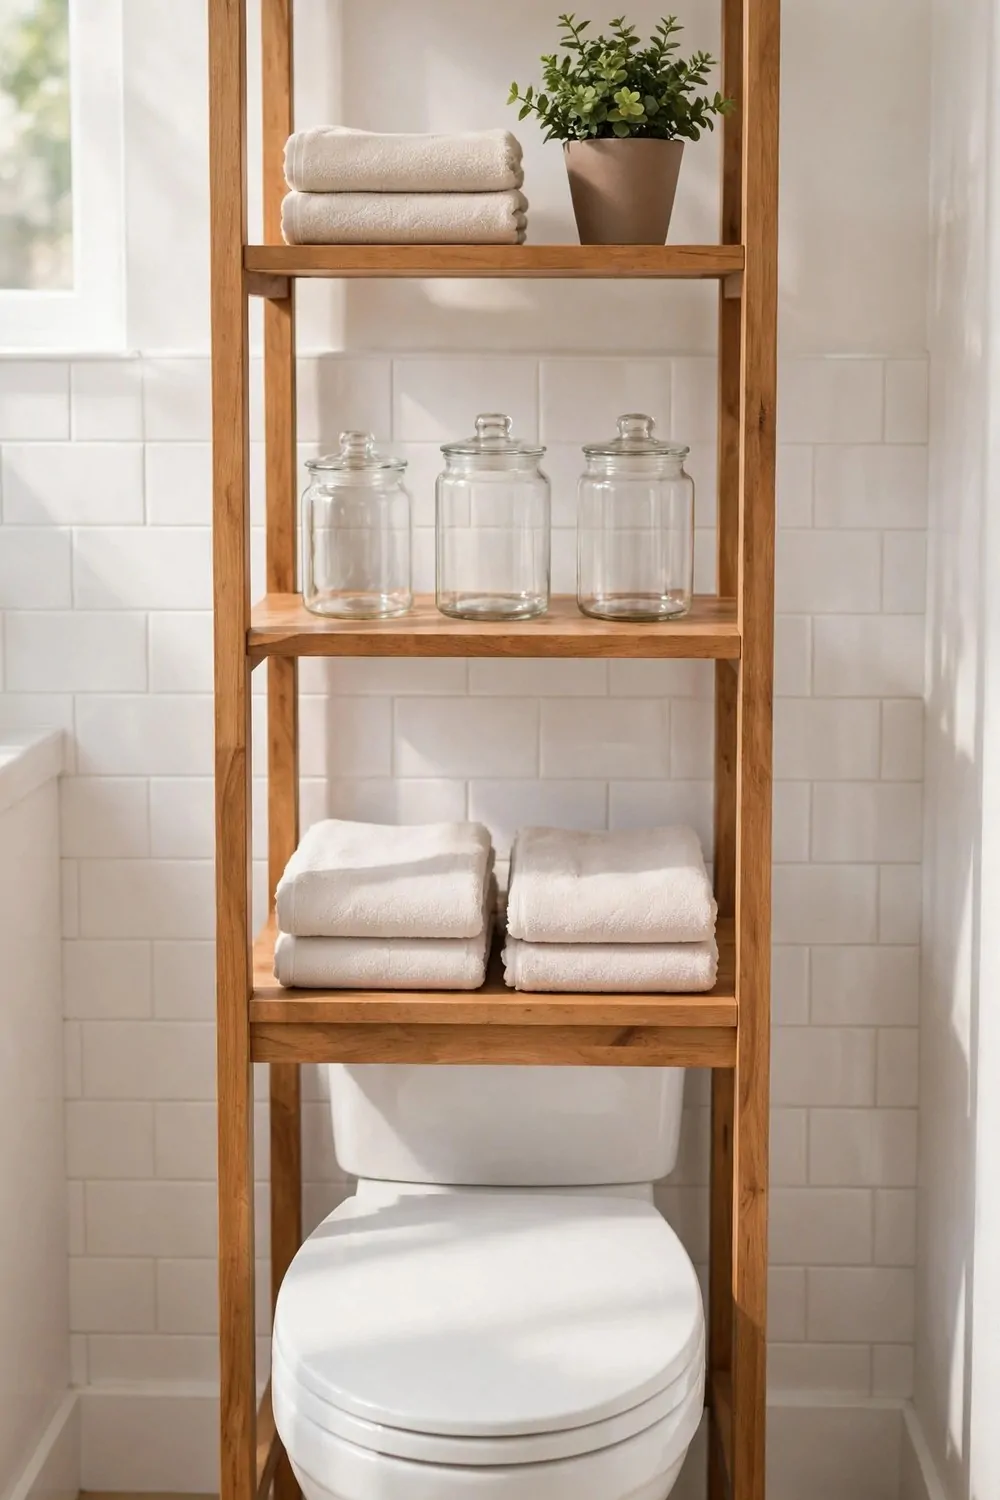
The space above my toilet was just empty wall. I kept thinking it was wasted space.
A freestanding shelf fits right over the toilet. It stands on the floor, so you drill nothing.
I put mine together in about twenty minutes. The steps were simple and the parts were light.
I keep spare towels on the top shelf. I keep extra toilet rolls and a small basket on the middle shelf.
The bottom shelf holds my cleaning cloths. Everything is in one place now.
Pick a shelf that fits your toilet size. Measure the width first so it does not wobble.
I picked white wood because it looks clean. It matches my sink unit too.
Do not put heavy jars on the top. Keep it light so it stays steady.
When you move, you just lift it away. No marks left on the wall at all.
4. Tension Rod Under the Sink
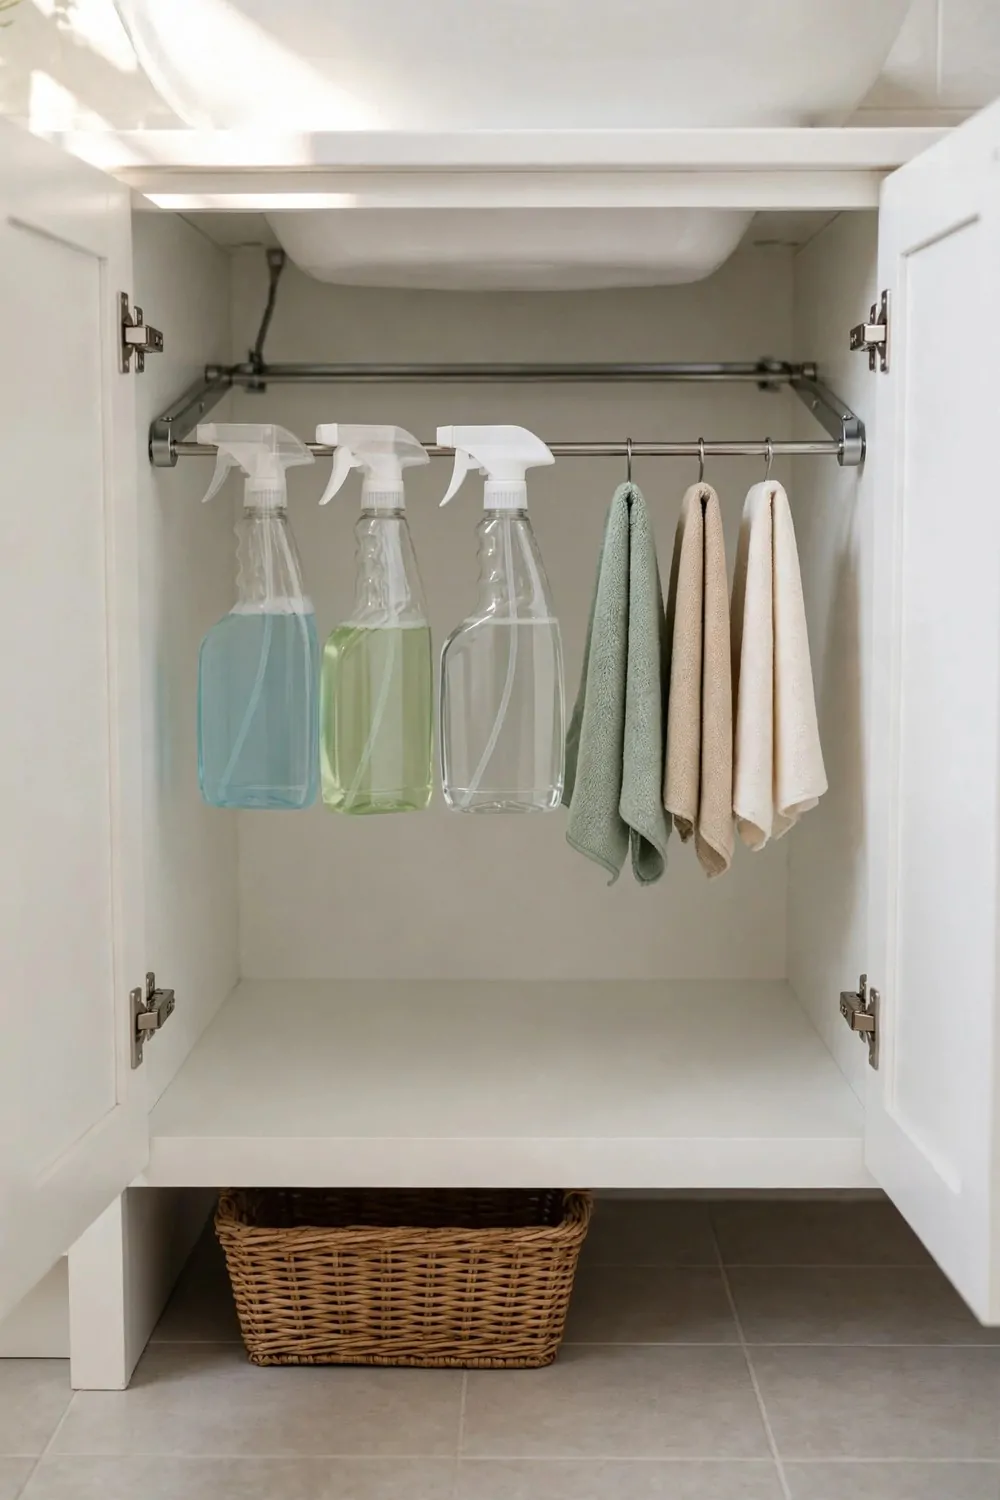
Under my sink was a dark mess of bottles. I could never find what I needed.
A tension rod sorted it out in five minutes. It pushes tight between the two sides of the cupboard.
I hang spray bottles from the rod by their triggers. They hang up high and out of the way.
The floor below stays clear for big bottles and cloths. I can see everything now.
You do not need tools for this one. You just twist the rod till it feels tight.
I measured the space first and bought a rod a bit longer. It fits snug and it has not moved since.
You can add a second rod if you have room. I added one for small cloths and sponges.
Keep the rod away from pipes that get hot. A quick check with your hand is enough.
This is one of the cheapest fixes I tried. It cost me less than a takeaway lunch.
5. Suction Cup Hooks on the Tiles
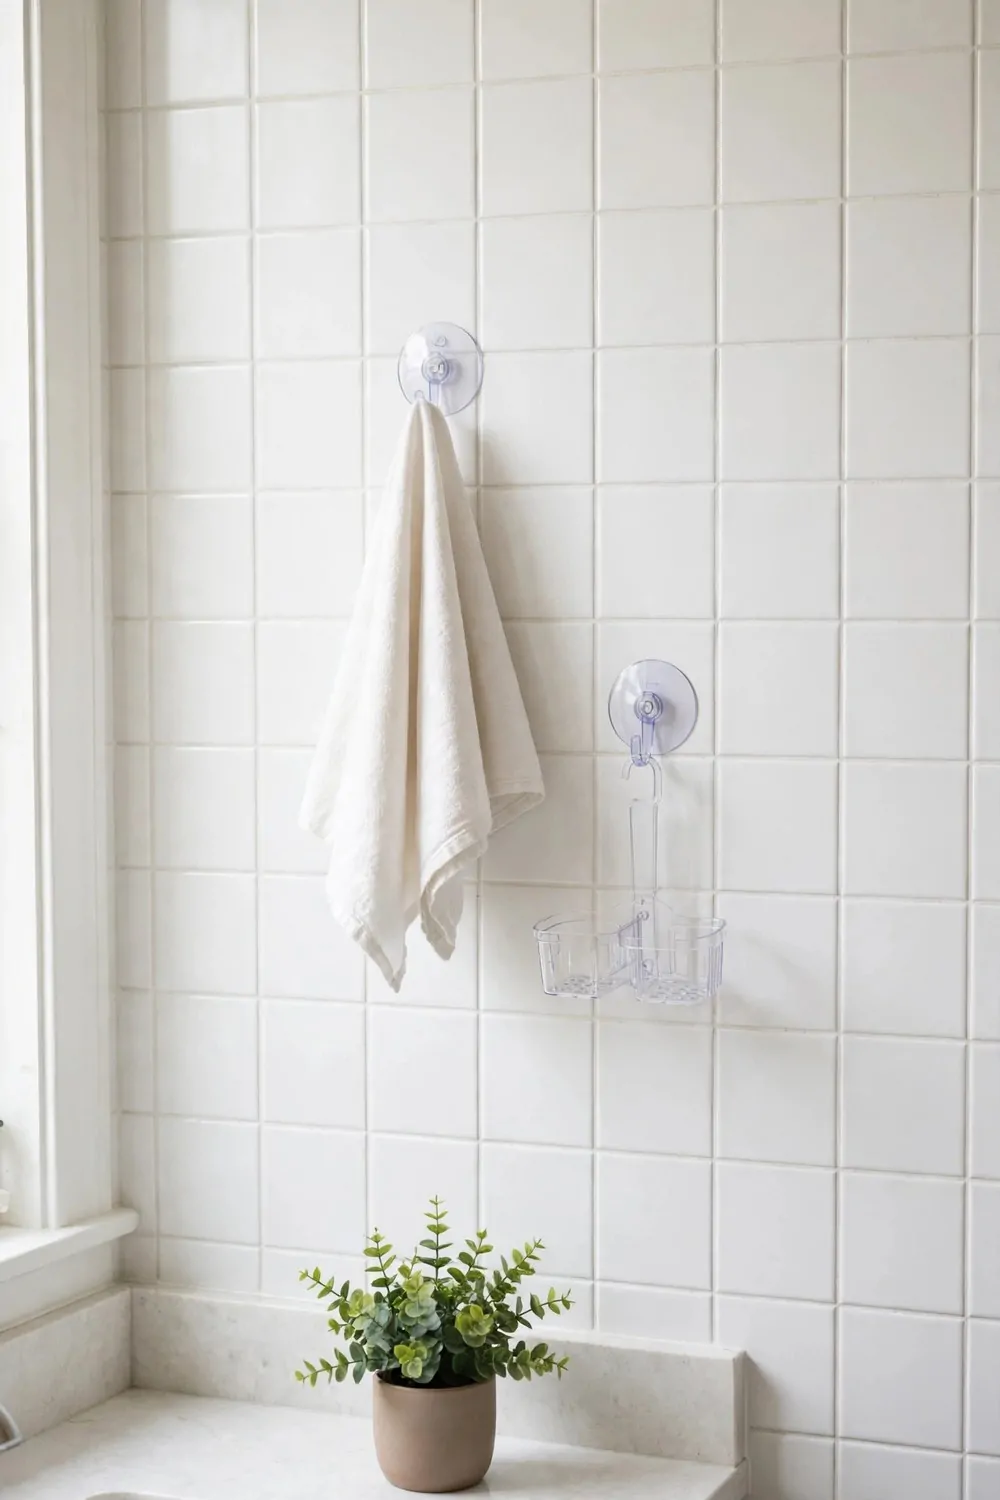
My towels used to hang on the door and slip off. It drove me a bit mad.
Suction cup hooks stick right on smooth tiles. You press them on and flip a small lever.
I put one near the shower for my towel. I put one near the sink for my wash bag.
Clean the tile first or the cup will not hold. A bit of warm water does the job.
Press the cup flat and wait a few seconds. Then hang your towel and test it with a gentle pull.
I use a big hook for my dressing gown. It has held for months now.
If a hook falls off, just clean it and stick it on again. It is not broken, it just needs a clean tile.
Do not put them on grout lines or rough walls. They only work on smooth flat tiles.
When you move out, you pull a small tab and they pop off. No holes and no sticky marks left behind.
6. Over-Door Towel Hooks
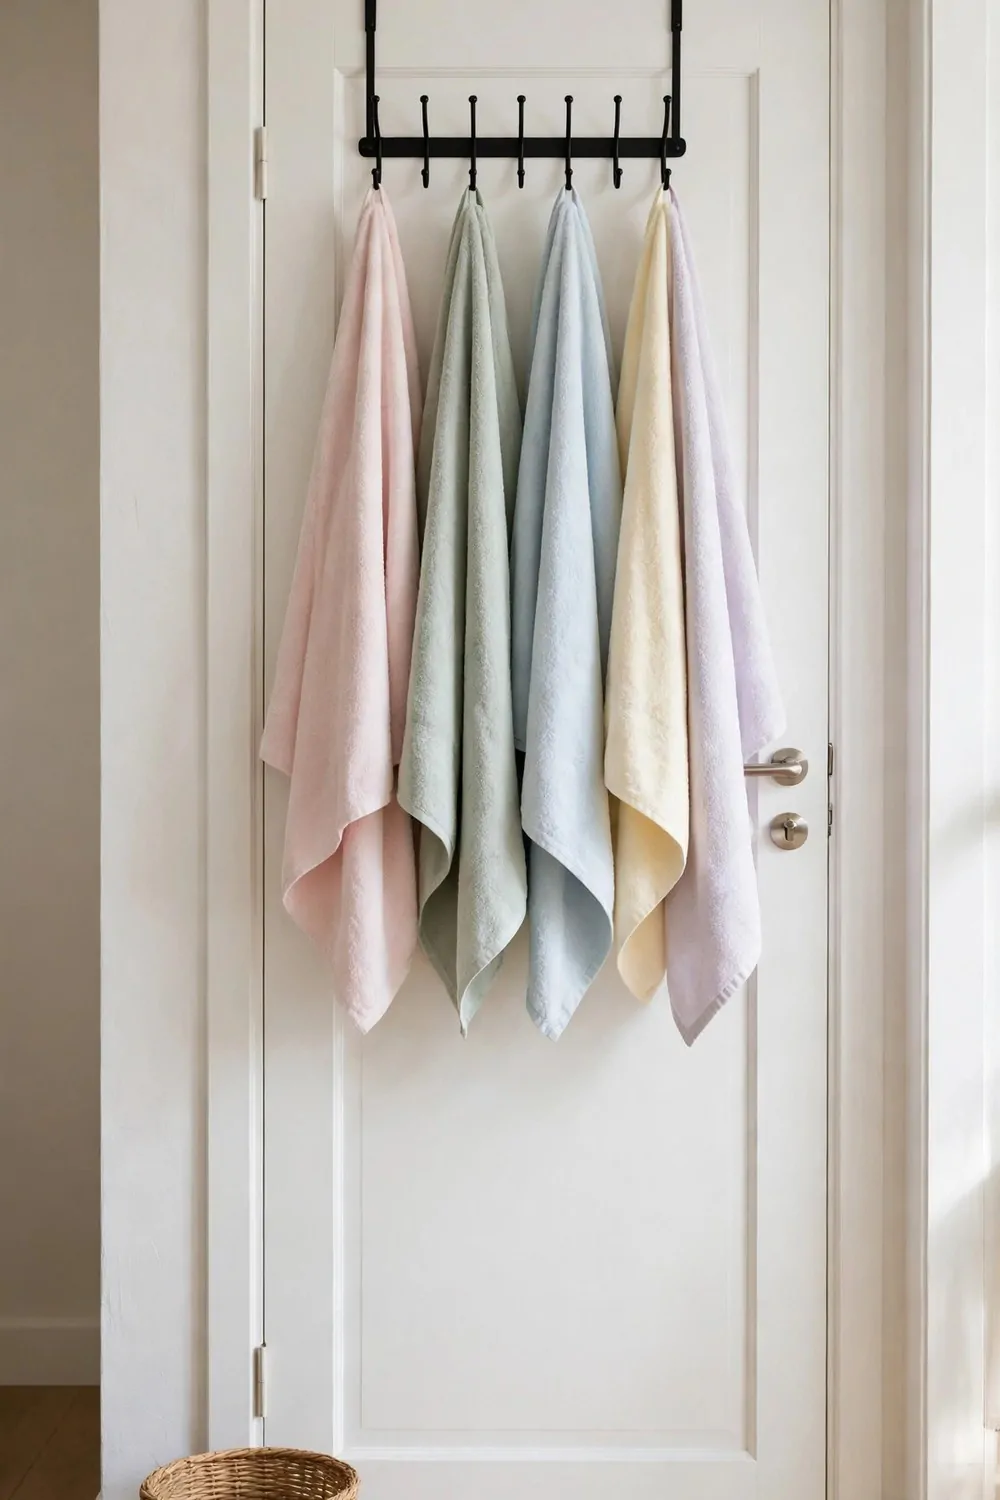
My bathroom door was plain and bare. I knew I could use it for more storage.
Over door hooks hang on the top of the door. They need no screws and no tools.
I hang two towels on mine. I hang my bathrobe on the third hook.
It keeps towels off the floor and off the bed. My room looks tidier now too.
Pick hooks with a soft pad on the back. It stops the metal from marking your door.
I picked a slim one in white. It fits flat and the door still closes fine.
Check your door gap first. Some doors sit very tight in the frame.
You can also hang a small bag on one hook. I keep my hair brush and bands in mine.
Take it off in seconds when you move. The door looks just like it did on day one.
7. Freestanding Rolling Cart
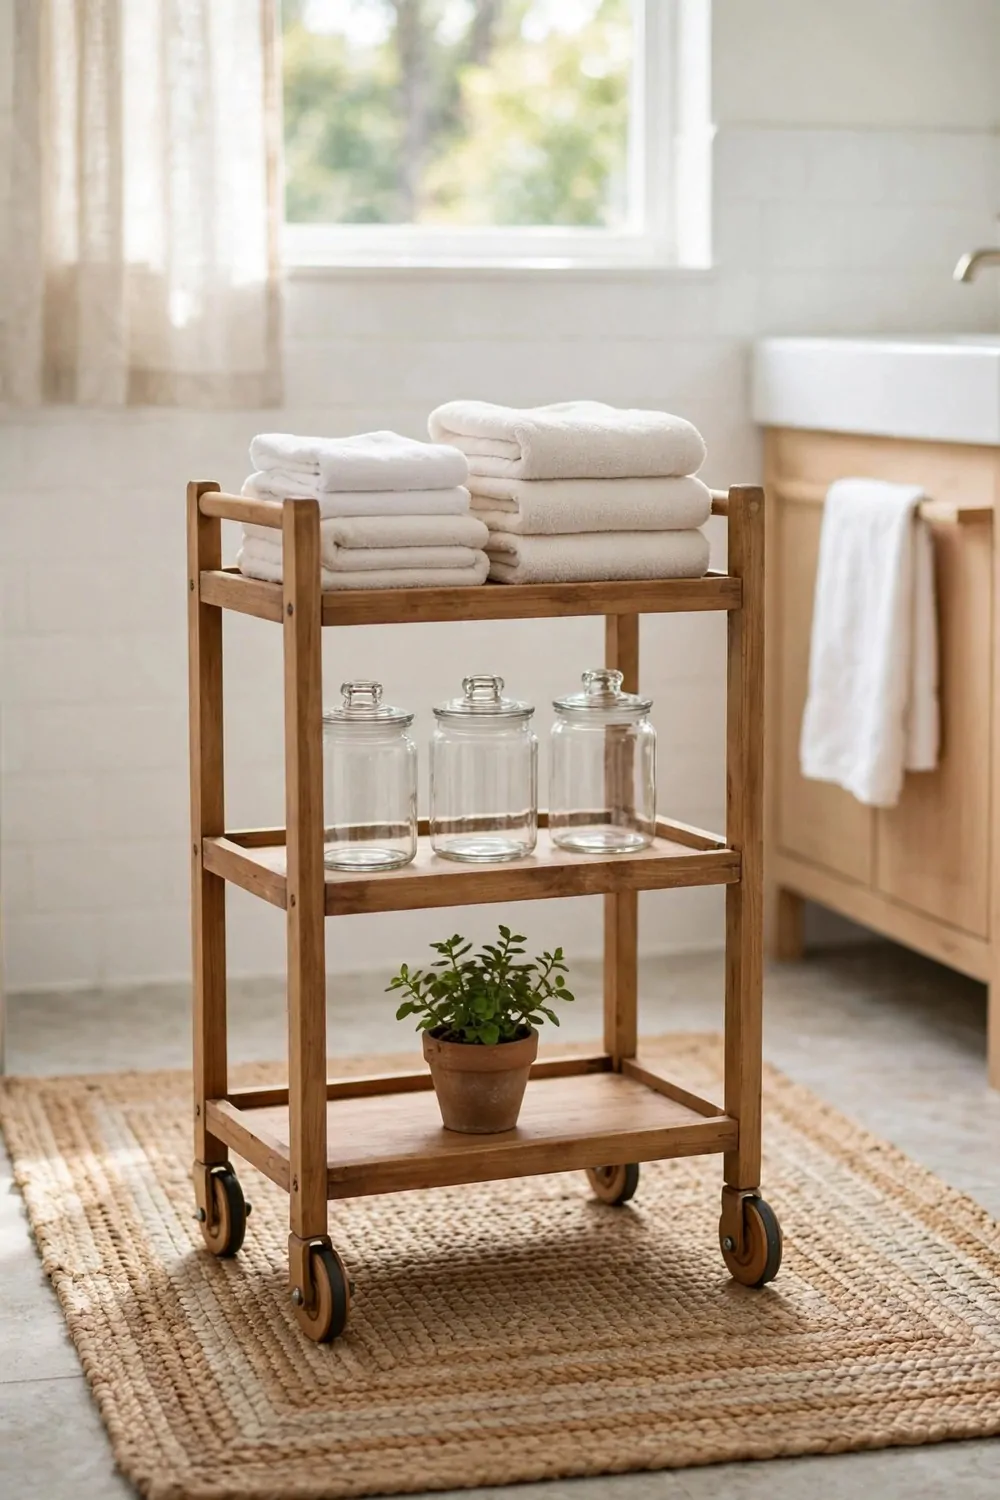
I needed a bit more storage, but I had no floor space to spare. A rolling cart saved me.
It has three tiers and small wheels. I can roll it next to the sink or tuck it in a corner.
I keep my face wash and creams on the top tier. I keep towels rolled up on the middle tier.
The bottom tier holds spare toilet rolls and cleaning cloths. It is all in one small spot.
The wheels lock, so it does not roll away. I lock them when I use it by the sink.
I picked a slim cart that fits in a gap. It is only as wide as a folded towel.
You can roll it out to clean behind it. That helps a lot in a small bathroom.
I wipe it down once a week. It takes me two minutes and it stays looking new.
When you move, you just roll it out the door. It is yours to take to your next home.
8. No-Drill Shower Caddy
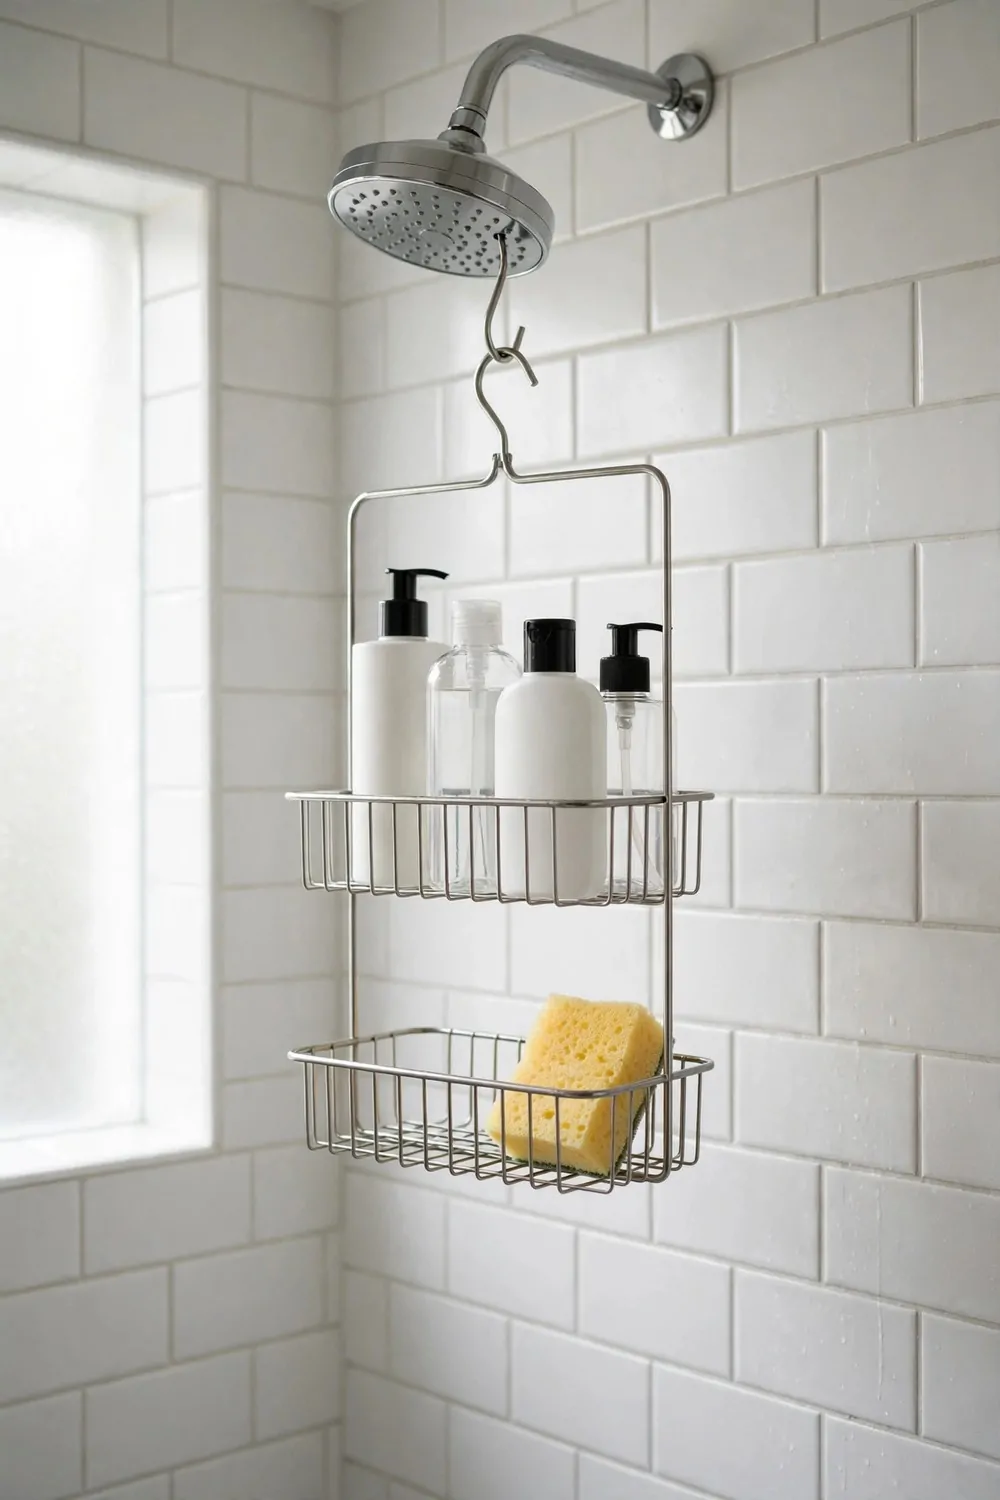
My shampoo bottles used to sit on the floor of the shower. I kept knocking them over.
A no drill shower caddy hangs from the shower head or sticks on with suction cups. You pick the type that suits your shower.
I picked one that hangs over the shower pipe. It took me one minute to hang it up.
It holds my shampoo, my soap, and my sponge. Everything is at hand height now.
Pick a caddy with holes in the bottom. Water drains away and your bottles do not sit in a puddle.
I wipe it once a week to stop soap build up. It stays clean and it does not go slimy.
Do not overload it with big bottles. Two or three bottles are plenty for one caddy.
If your shower has a rail, you can hang a caddy from that too. It works just as well.
When you move out, lift it off and pack it in your box. Your shower looks just like before.
9. Peel-and-Stick Floor Tiles
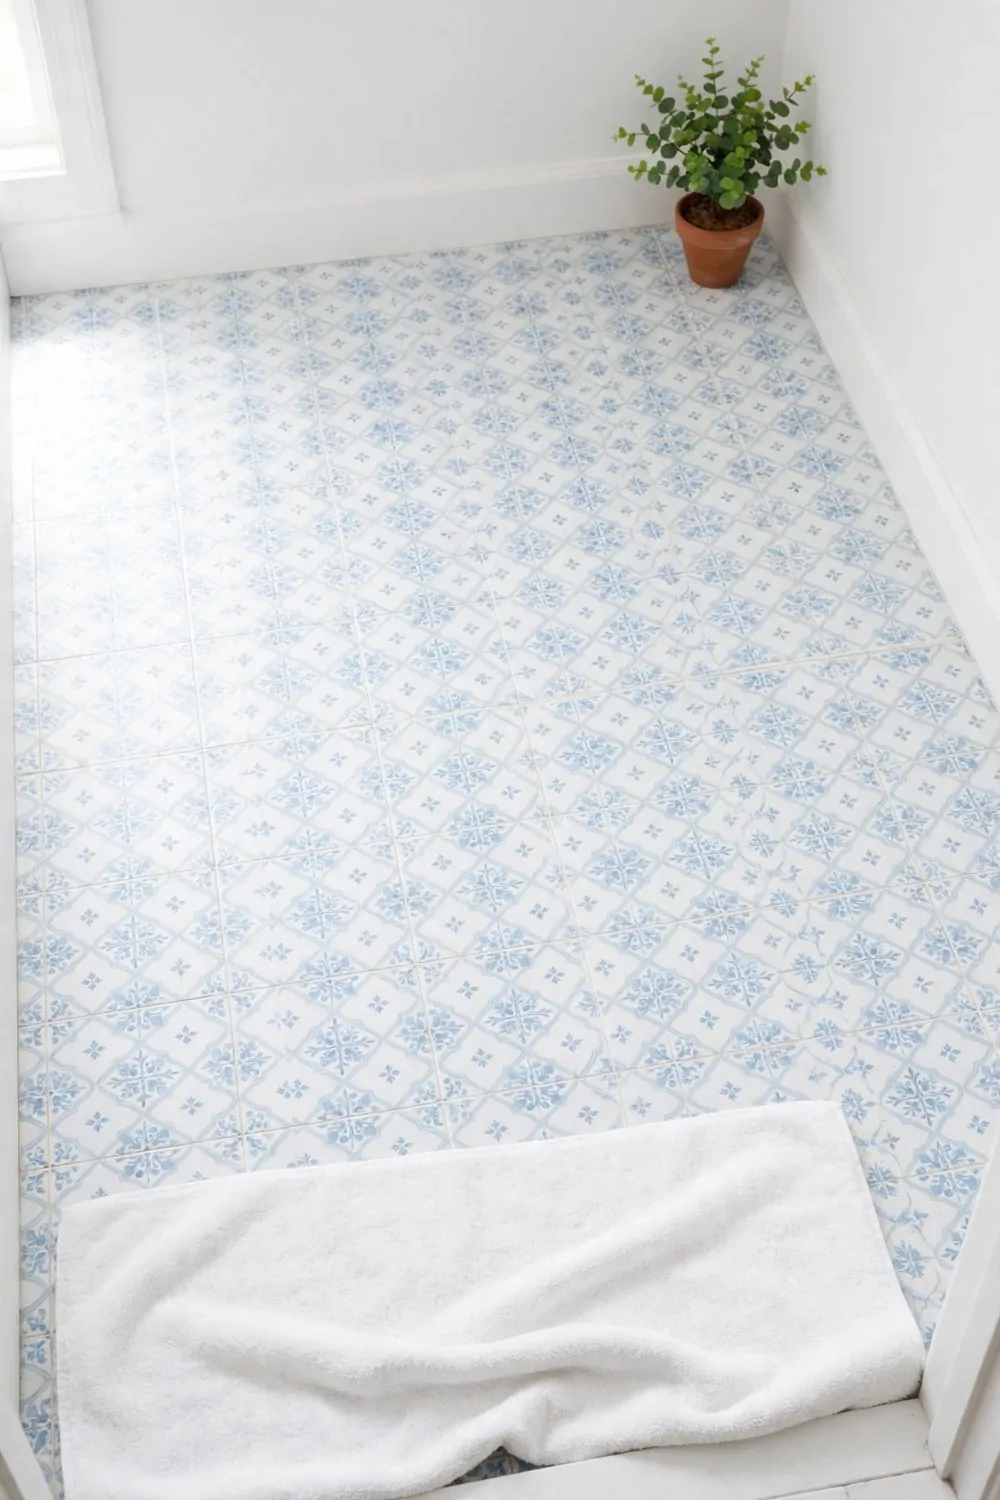
My old rental floor looked tired and a bit dull. I did not want to live with it for a whole year. Peel-and-stick floor tiles fixed that in one afternoon.
These tiles stick right on top of your old floor. You just peel the back off and press them down. No glue mess and no tools at all.
I started in one corner and worked my way out. I lined up each tile slow so the lines stayed straight. It felt a lot like a big puzzle.
You can cut them with a sharp craft knife to fit round the toilet base. Just measure twice and cut once. I messed up one tile, but one extra tile saved me.
Pick a light stone look or a soft check pattern. A light floor makes a small bathroom feel bigger. It also hides a few water spots well.
Make sure your old floor is clean and dry first. Wipe it well and let it dry all the way. The tiles stick much better on a clean floor.
When you move out, you can peel them up again. Warm them a bit with a hair dryer if they feel stuck. They come off without harm to the floor below.
I love how my floor looks now each morning. It feels fresh under my bare feet. And I did not change one thing for good.
If your floor is very wet a lot, pick tiles made for baths. Check the pack says it can take water. That small check saves you a lot of trouble later.
10. Washable Bath Mat and Rug
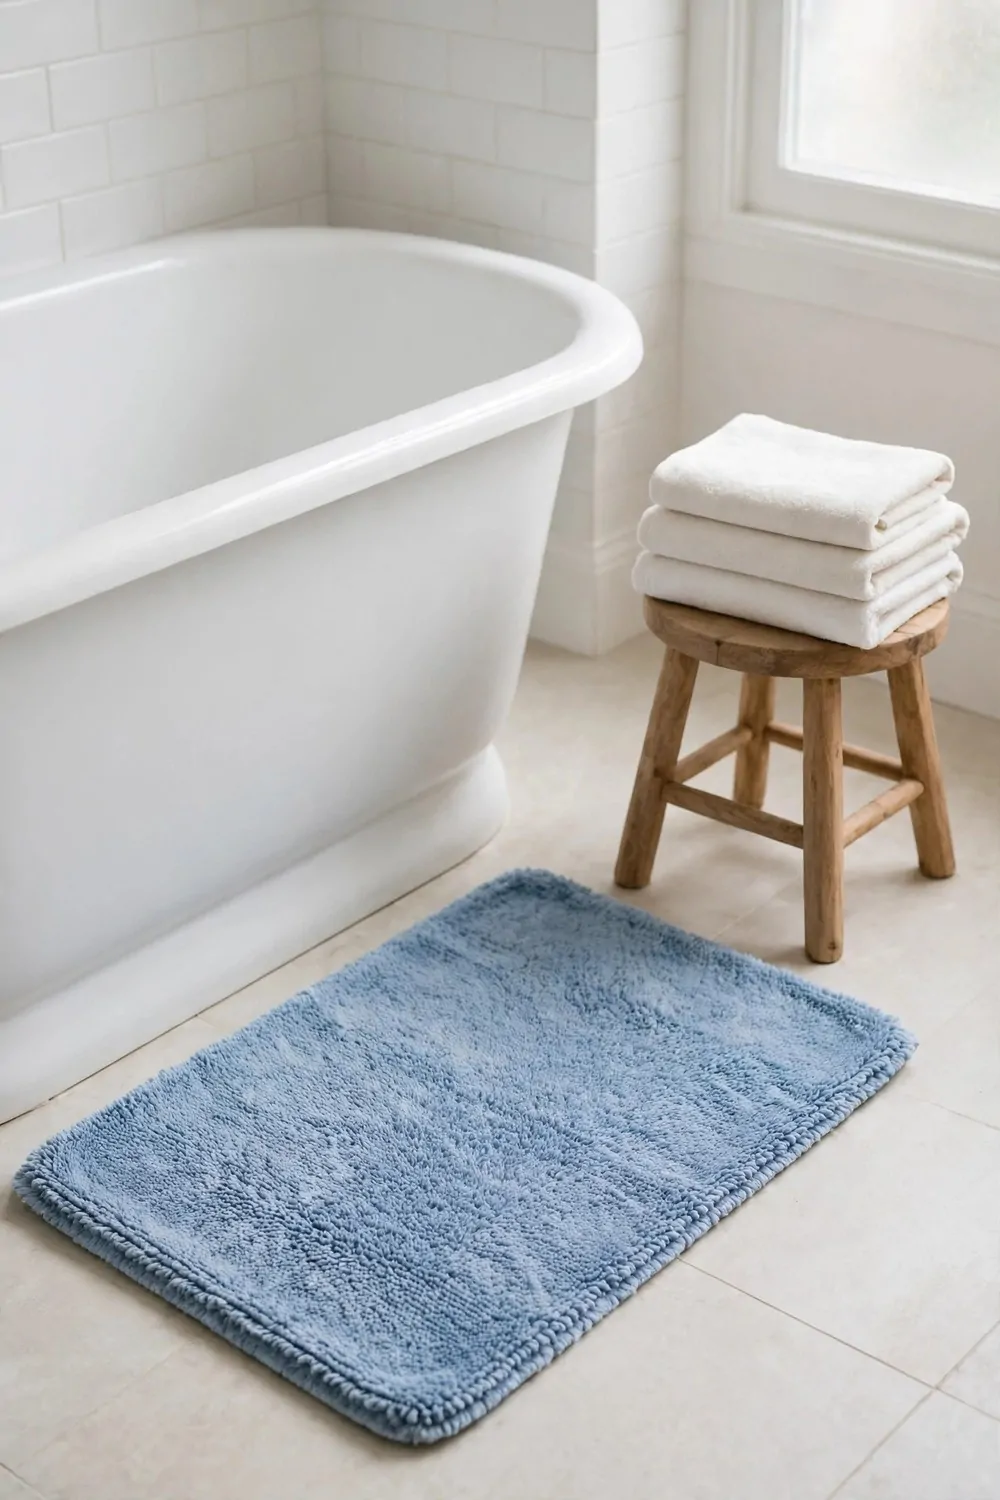
A good bath mat can change the whole feel of your bathroom. Mine was thin and it slid all over the place. A new one made it feel like a fresh room.
Pick a mat you can wash in your machine. Bathrooms get wet and a bit grubby fast. A washable mat stays fresh with just one wash a week.
I like a thick cotton mat by the tub. It feels soft and warm on cold mornings. It soaks up the drips so the floor stays dry.
Add a small rug near the sink too if you have room. It adds a bit of charm and a pop of colour. Pick a colour you love and it will make you smile.
Look for a mat with a grip back so it does not slide. No one wants to slip when they step out of the shower. Safety first, then style.
Wash it on a gentle wash and let it air dry. Do not put it in a hot dryer each time. It will last much longer that way.
I keep two mats so I always have a clean one ready. When one is in the wash, the other goes down. It is a small trick that works so well.
A rug also covers up a stain or a worn spot on the floor. You do not need to fix the floor at all. You just cover the bad bit in a pretty way.
Try a round rug if your bathroom is small and square. It softens all the straight lines. It makes the room feel calm and cosy.
11. New Shower Curtain on a Tension Rod
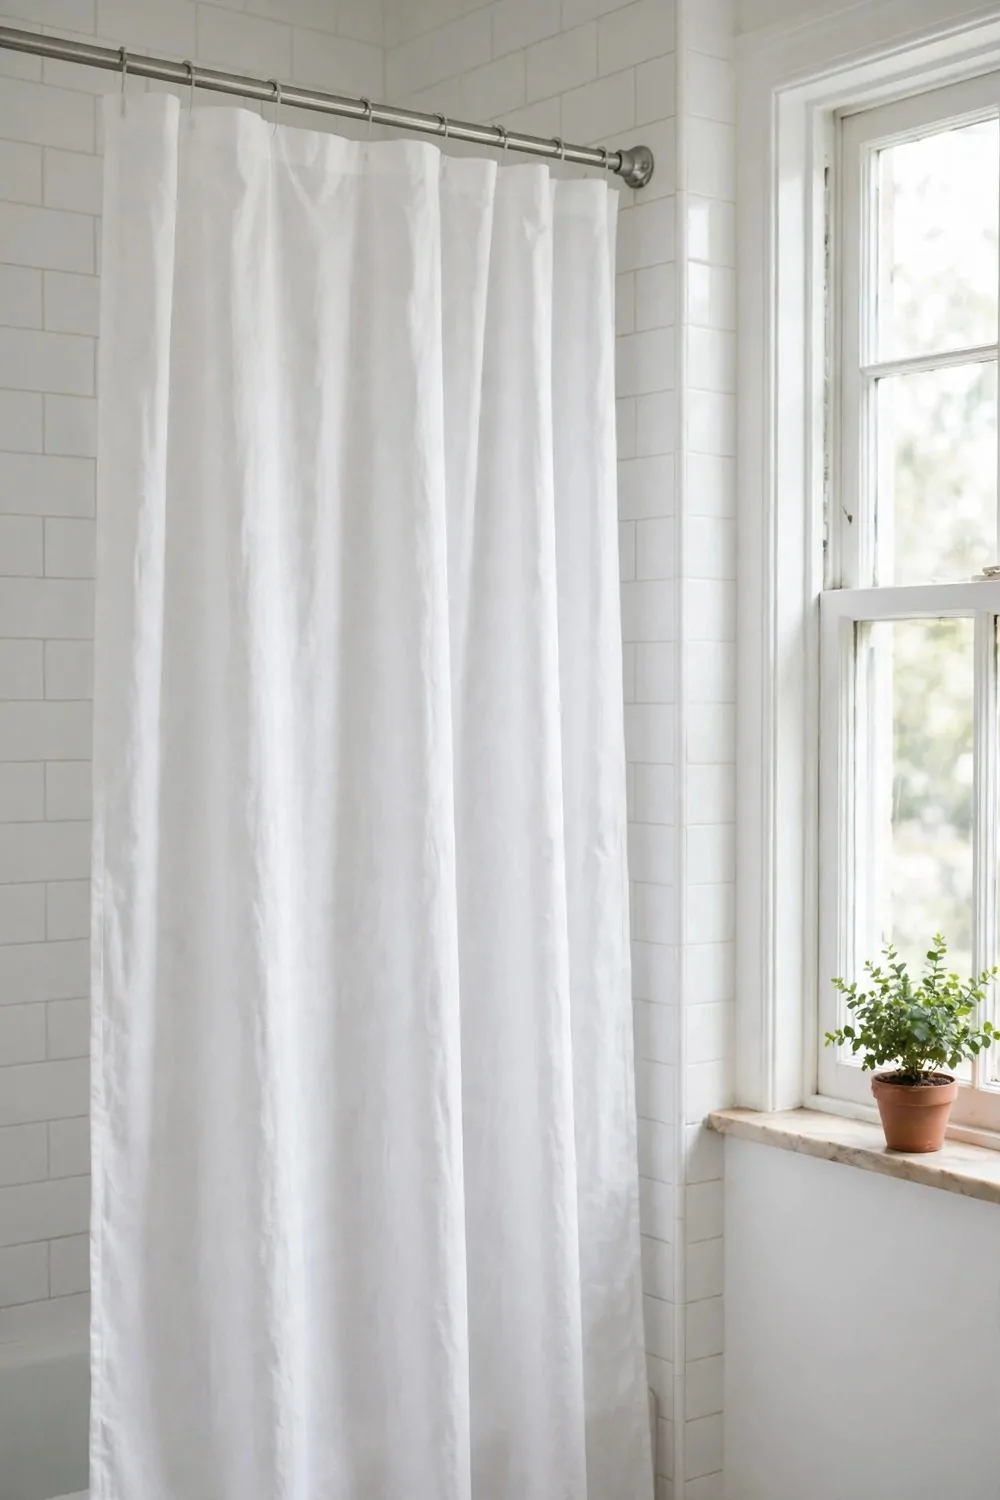
My old shower curtain was dull and a bit stained. I took it down and the whole room felt lighter right away. A new curtain is such a cheap fix.
A tension rod holds itself up between two walls. You twist it till it feels tight and snug. No holes, no screws, and no marks left behind.
Measure your space before you buy the rod. Most rods fit a normal tub space with ease. If it is too long, it will not hold well.
Pick a curtain in a light colour or a soft print. White, pale blue, or a small leaf print all look fresh. A light curtain lets more light through too.
Use a liner inside the curtain to keep water in the tub. The liner takes the wet and the pretty curtain stays dry. Swap the liner when it gets old.
Hang the curtain rings so the curtain moves smooth. Cheap rings can stick and pull. I like simple round rings that slide with ease.
You can change your curtain with the seasons if you like. A new one costs little and takes five minutes to swap. It is the fastest room refresh I know.
Keep the bottom of the curtain inside the tub when you shower. That stops water from running out on the floor. It keeps your new mat dry too.
When you move, just twist the rod loose and take it down. There is no mark on the wall at all. Your landlord will never even know it was there.
12. Battery Puck Lights Under the Cabinet
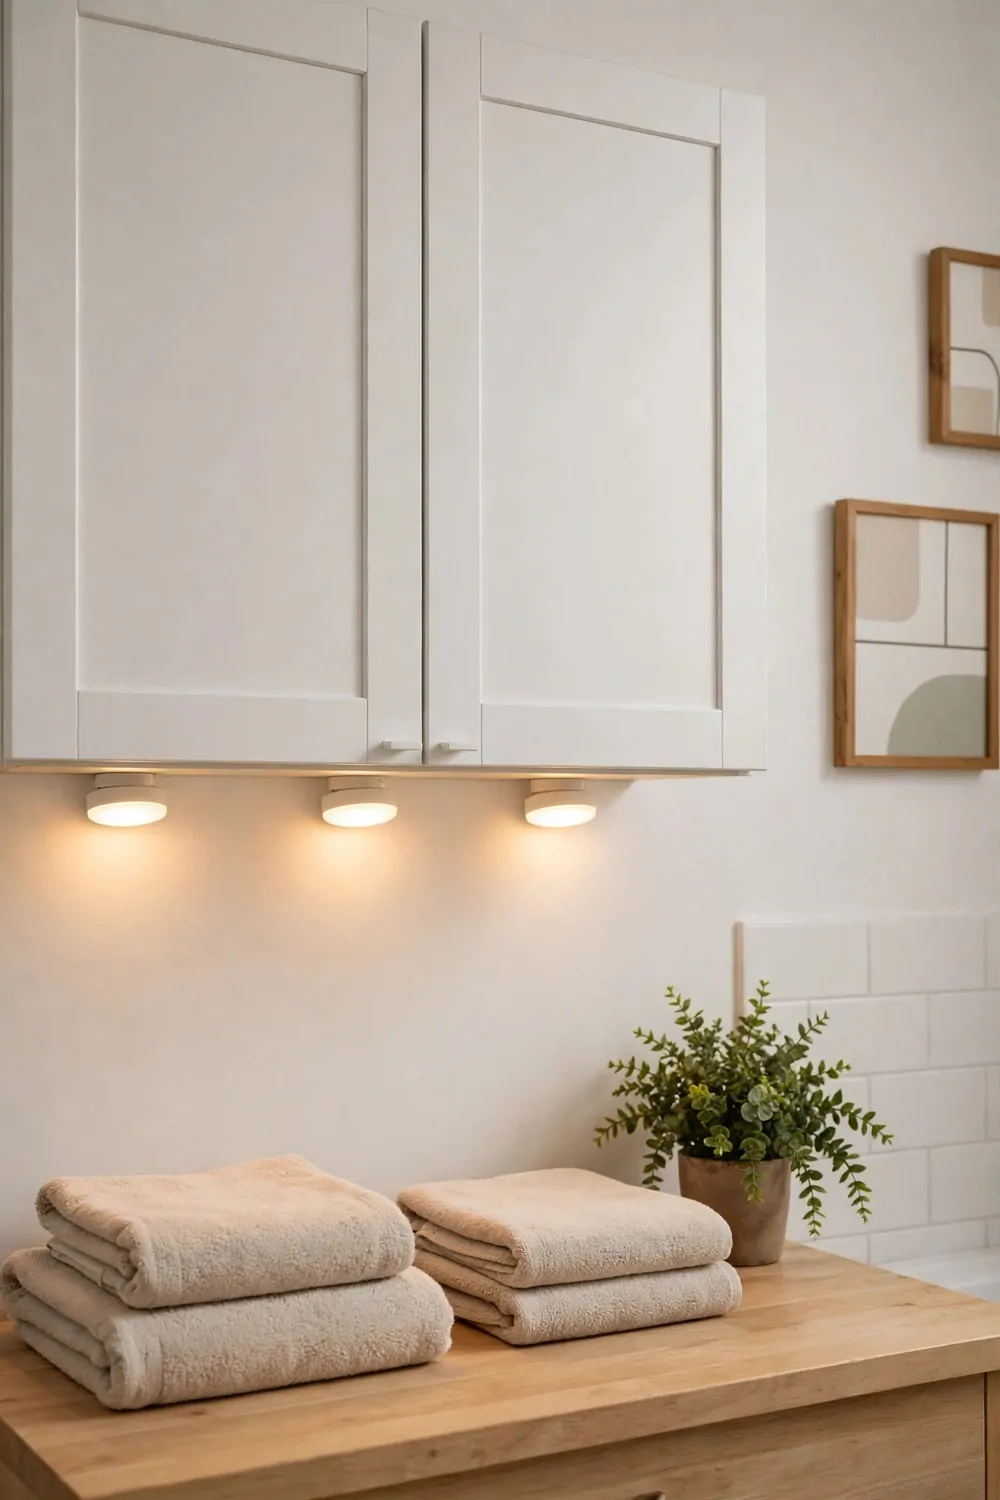
My bathroom cabinet was so dark inside. I could not find my toothpaste in the morning. A few small puck lights fixed it in minutes.
These lights stick on with a sticky pad. You just peel and press them under the cabinet. No wires and no need to call anyone for help.
Most of them run on small batteries. You tap them on and off with your hand. It feels a bit like magic each time.
I put two under my top cabinet over the sink. Now I can see my face clear when I wash up. It makes getting ready so much easier.
Here is a quick look at what each type can cost, so you can pick what fits your budget. The stick-on puck lights $10 to $20 for a pack, and that is a good start if you want simple lights. The battery light bars $15 to $25 for a pack, and they give a longer strip of light. The motion-sensor puck lights $20 to $30 for a pack, and they turn on by themselves when you reach in.
| Light Type | Typical Cost |
|---|---|
| Stick-on puck lights | $10 to $20 for a pack |
| Battery light bars | $15 to $25 for a pack |
| Motion-sensor puck lights | $20 to $30 for a pack |
I like the motion ones best for inside a dark cabinet. They light up when you open the door. You never have to fumble for a switch with wet hands.
Keep spare batteries in a small box near the sink. When a light gets dim, just swap the batteries out. It takes less than a minute.
Stick them on clean, dry wood so they hold well. Wipe the spot first and let it dry. If one falls off, just press a fresh sticky pad on.
When you move out, peel them off and take them with you. They leave no holes and no marks. Your next bathroom can use them too.
13. Stick-On Mirror and Vanity Light
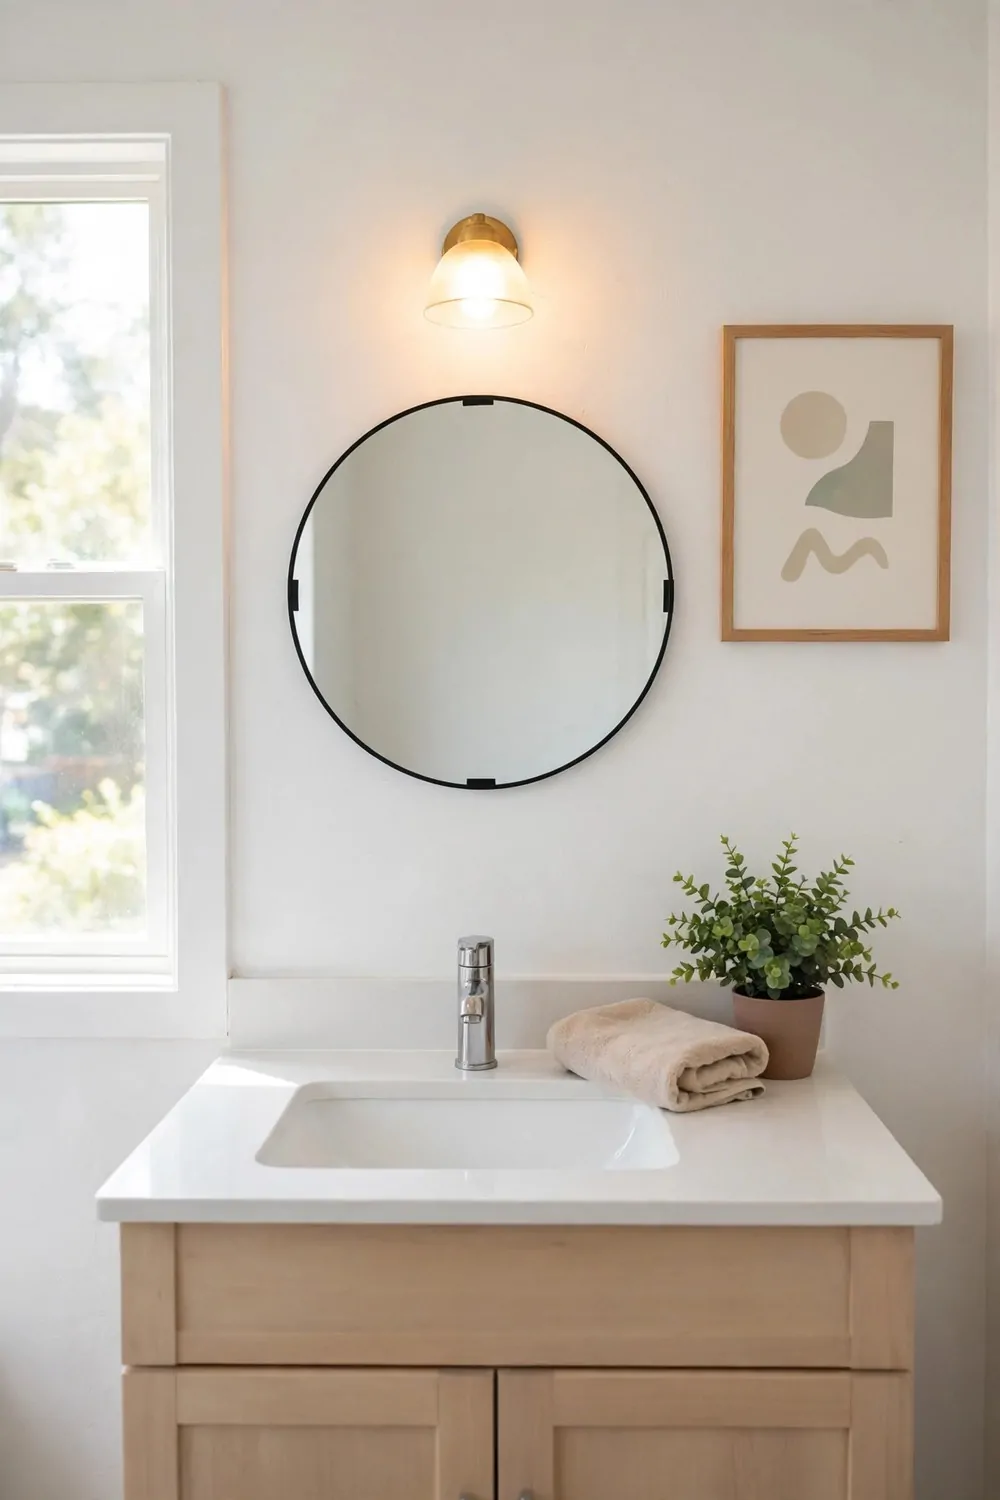
A plain flat mirror can make a bathroom feel a bit cold. I stuck a light frame round mine and it felt warm right away. It took me less than an hour.
You can buy stick-on mirror tiles in lots of shapes. Small round ones look fun round a big mirror. They catch the light and add a bit of sparkle.
Clean your mirror well before you stick anything on. Any dust will make the pads fall off. A quick wipe with a damp cloth does the job.
A stick-on vanity light is my top pick for this idea. It sticks on the wall by the mirror with a strong pad. It gives soft light right where you need it.
Pick a warm white light, not a harsh blue one. Warm light is kind to your face in the morning. It makes the whole room feel calm.
Most of these lights run on batteries too. You can tap them on or use a small remote. No wires hang down and no holes in the wall.
I put one light on each side of my mirror. It lights both sides of my face the same. Now I can see clear when I brush my teeth.
If you rent, keep the old mirror as it is. Stick-on bits come off clean when you leave. You get a fresh look with zero harm done.
Try it for a week and see how you feel. I bet you will not want to take it down. It is a small change with a big payoff.
14. Contact Paper on the Vanity
My vanity top had stains I could not scrub off. I felt a bit sad each time I saw them. Contact paper covered them all in one go.
Contact paper is a sticky sheet that looks like marble or wood. You peel the back and smooth it down flat. It is like a big sticker for your vanity.
Pick a marble look for a clean, fresh feel. Or try a light wood look for a warm touch. Both look far better than a stained old top.
Measure your vanity top first and cut the paper a bit big. You can trim the extra off with a craft knife. Go slow round the sink edge.
Smooth it down from one side to the other. Use a bank card to push out air bubbles as you go. If a bubble stays, poke it with a pin and smooth it flat.
Keep water off the edges as much as you can. Wipe spills up fast with a cloth. The paper lasts much longer when it stays dry at the seams.
You can use it on the front of the vanity doors too. A plain door looks brand new with a wood print on it. It is a cheap way to fake a new vanity.
When you move out, peel it off slow and warm it with a hair dryer. It should come off clean with no sticky mess left. Wipe the top once and it looks like before.
I love my vanity now and I smile when I walk in. It looks like I spent a lot of cash. But all it took was one roll and a free afternoon.
15. Swap the Cabinet Knobs
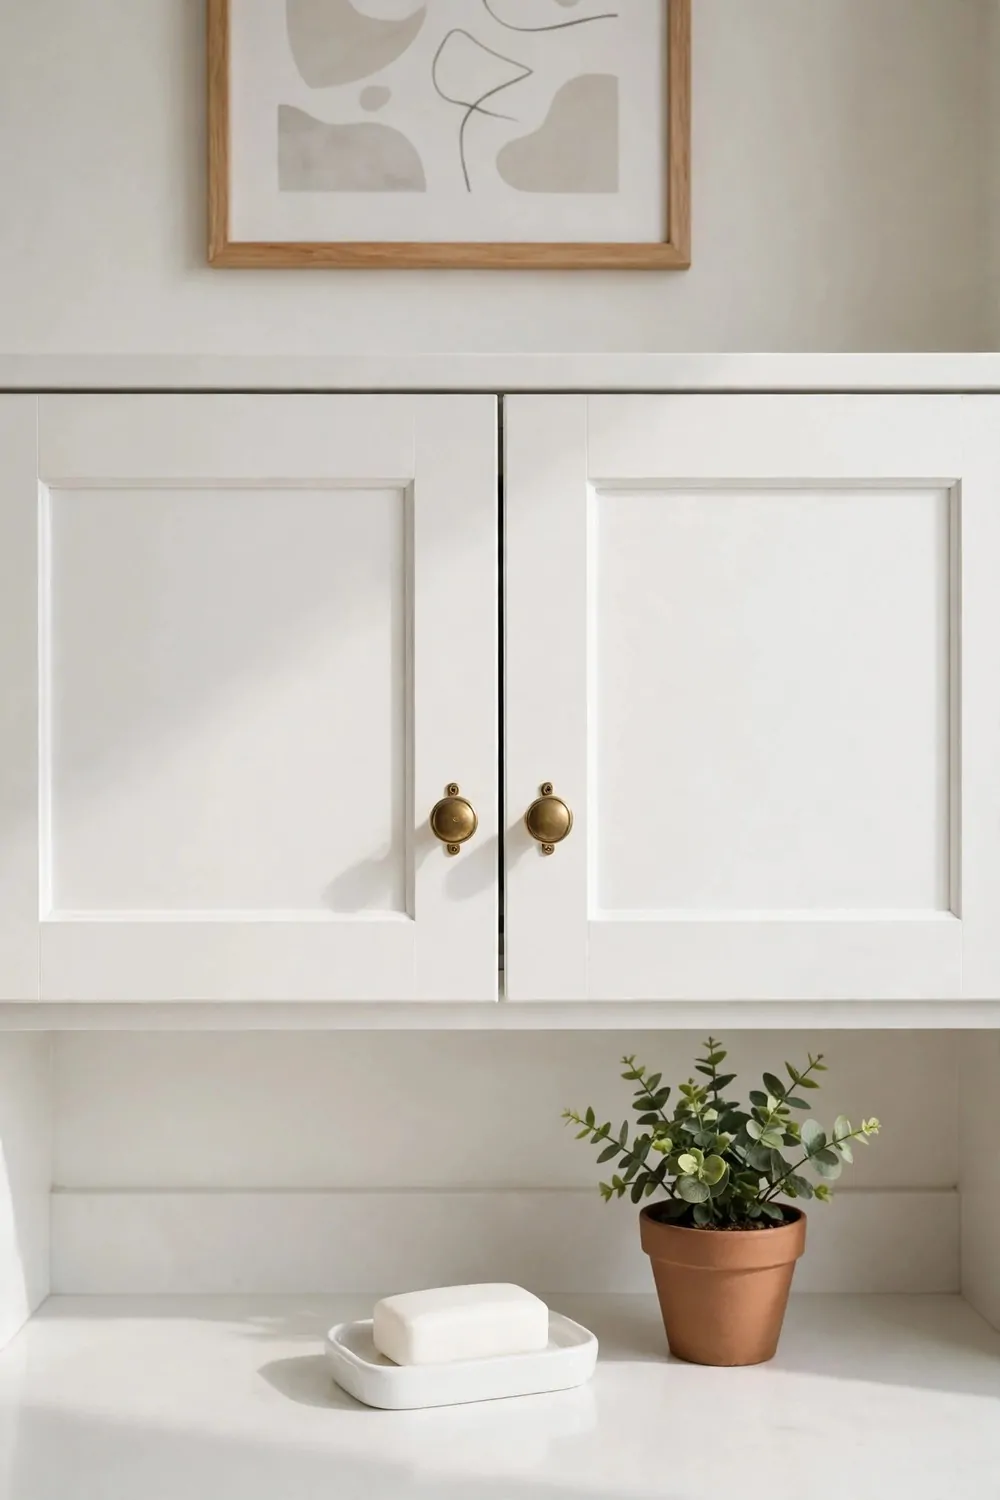
Old knobs can make a whole vanity look dated. Mine were dull and a bit loose. New knobs made it feel like a new piece of furniture.
This is one of the easiest swaps you can do. You just unscrew the old knob and screw the new one on. You only need a small screwdriver.
Keep the old knobs in a small bag in a safe spot. Put the screws in the bag too. You will need them all again when you move out.
Pick knobs that fit the holes you already have. Most knobs use one screw in the middle. Measure the gap if you are not sure.
I picked round brass knobs for my vanity. They shine a little and feel nice in my hand. They make the plain doors look smart.
Try black knobs if you want a bold, fresh look. Or try clear glass knobs for a soft, light feel. Pick what makes you happy each day.
Do one door first and step back to look. If you love it, do the rest the same way. It is nice to see the change build up door by door.
Tighten each knob snug but do not force it too hard. A knob that is too tight can crack a thin door. Just firm is fine.
When you leave, swap the old knobs back on. It takes ten minutes and the vanity looks just as it did. Your landlord will be happy and so will you.
16. Freestanding Towel Ladder
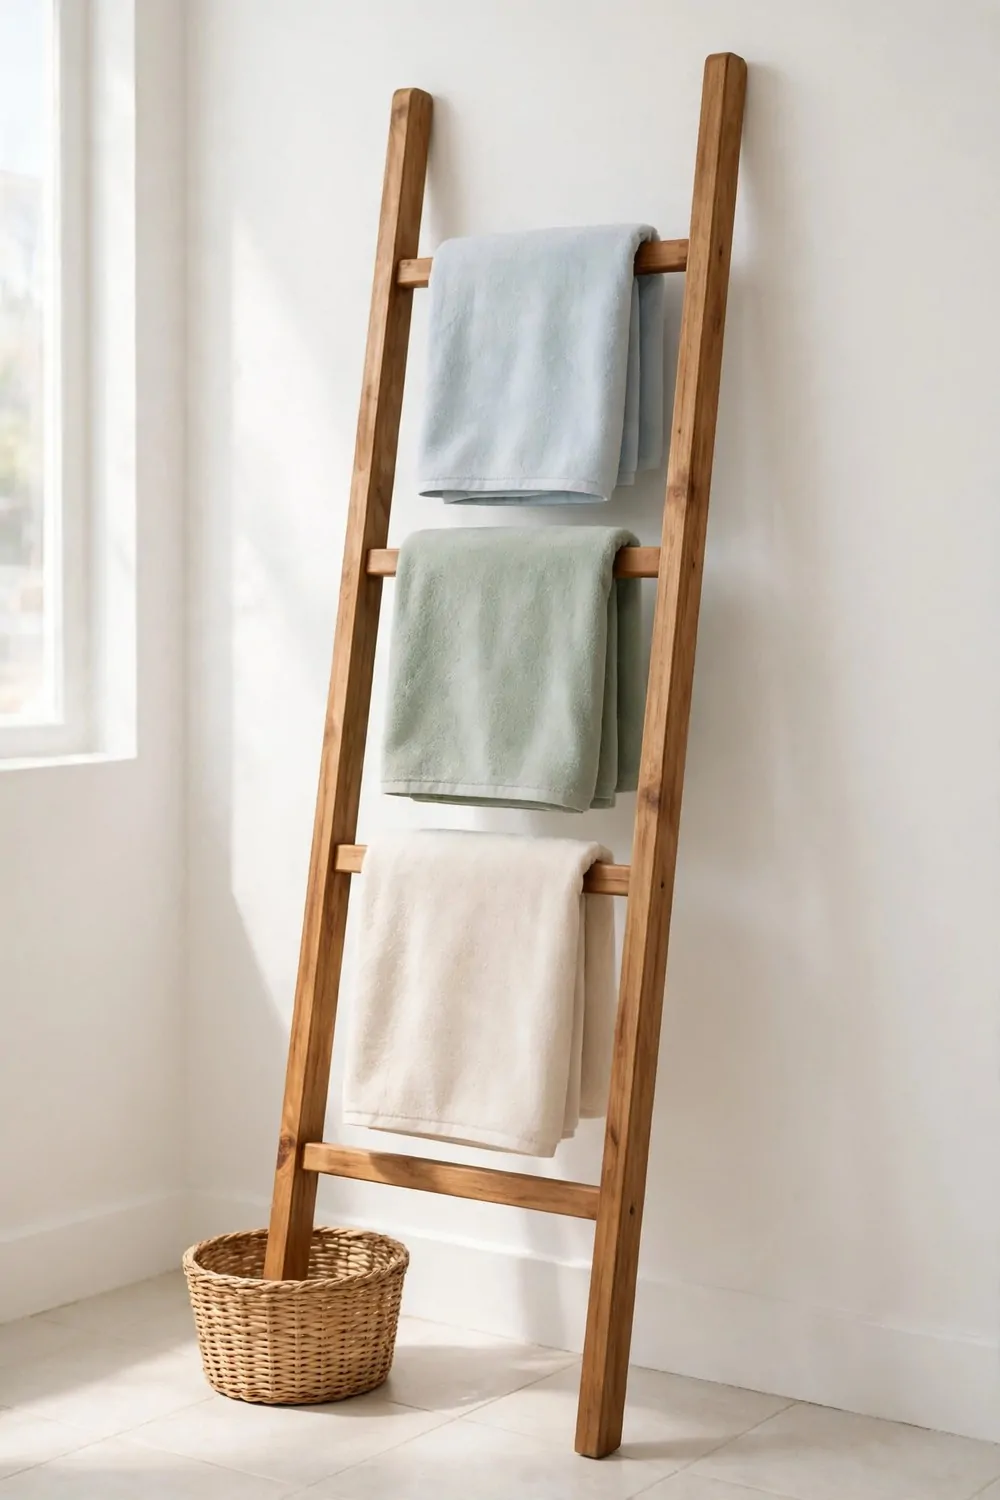
I had no place to hang my towels where they could dry. They ended up on a chair or on the floor. A freestanding towel ladder solved it fast.
A towel ladder just leans on the wall. It has rungs like a small ladder. You drape your towels over each rung and they dry in the air.
No holes and no screws are needed at all. You just set it down and lean it back. It is one of the safest picks for a rental home.
Pick a light wood ladder for a warm, soft look. Or pick a white one for a clean, bright feel. Both look good in a small bathroom.
I hang my bath towel on the top rung and hand towels below. Each towel gets its own space to dry. No more damp towels piled up in a heap.
Put the ladder near the tub or shower if you can. Then you can grab your towel with wet hands with ease. It feels so handy after a shower.
You can fold a spare towel neat on the bottom rung too. It looks tidy and it is there when guests come. A small plant on the floor next to it adds a bit of charm.
Make sure the feet sit flat on the floor. If it wobbles, move it a touch till it feels steady. A felt pad under each foot stops it from sliding.
When you move, just pick it up and take it with you. It fits in a car with ease. Your next bathroom will love it just as much.
17. Baskets on Open Shelves
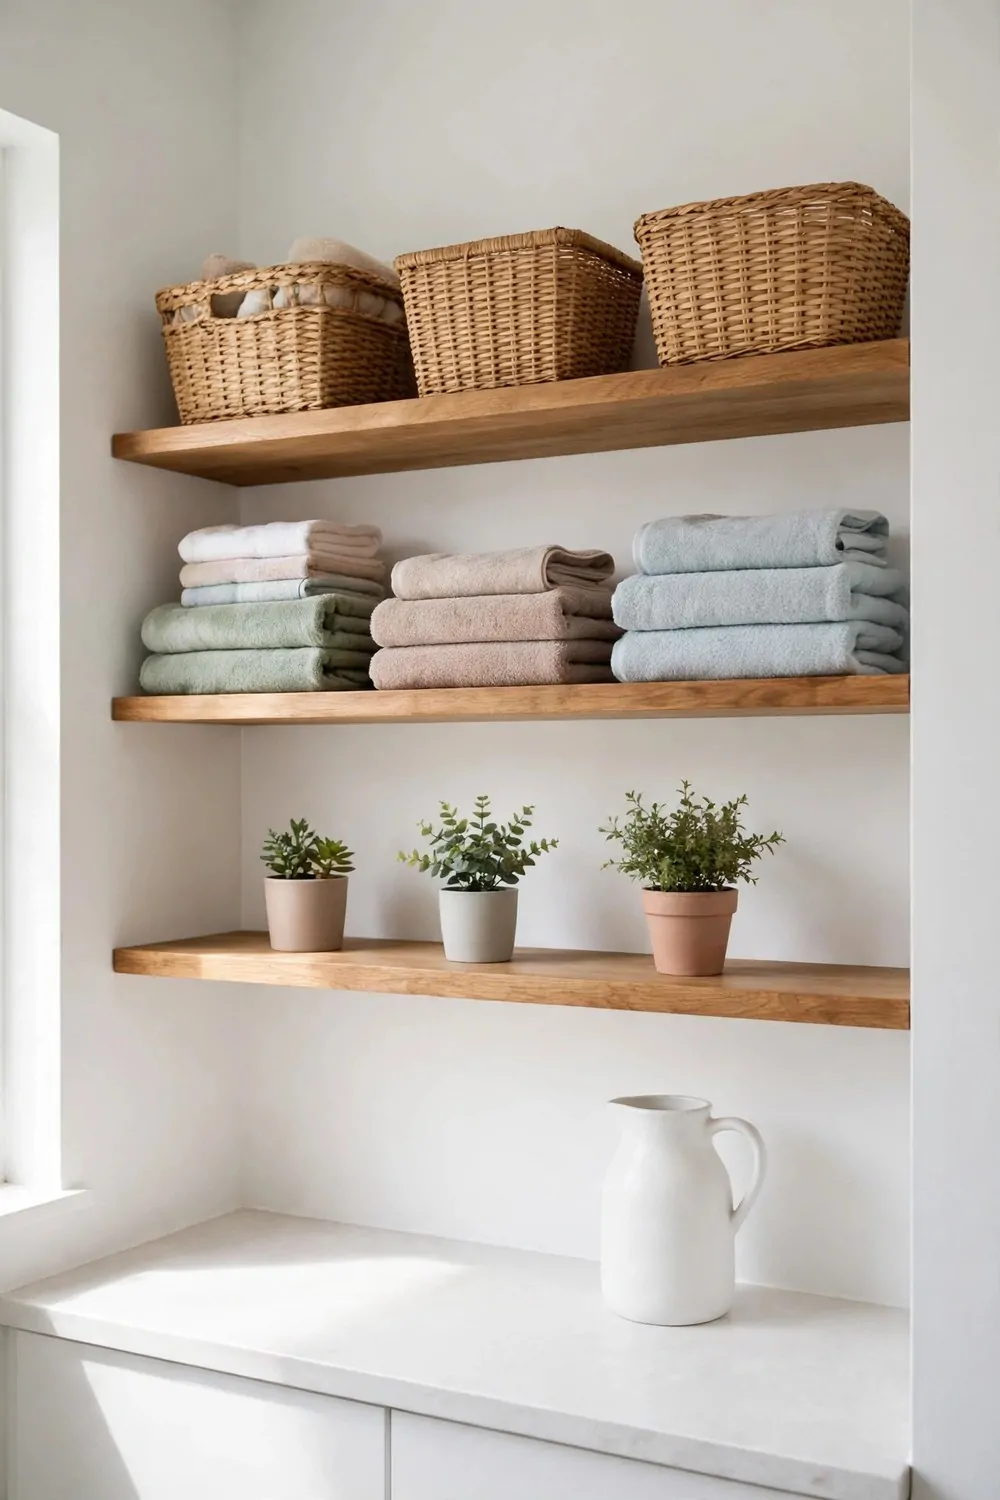
Baskets on open shelves make a small bathroom look tidy in seconds.
I love how soft they look next to hard tiles and glass. You can hide a lot of clutter inside them and still reach it fast.
Pick baskets that fit your shelf with a little room to spare.
I use one basket for hair stuff, one for skin care, and one for spare towels. It helps me a lot in the morning when I am in a rush. You will find your things faster too.
Try woven baskets for a warm look, or plain fabric ones if you want it simple. Both work well in a rental bathroom.
Label each basket if you share the bathroom with family.
I put small labels on the front with a marker and a bit of tape. It sounds simple, but it stops the mix-ups. You can peel the labels off later with no marks left.
Keep tall bottles in a taller basket so they do not tip over. Short baskets work best for washcloths and small jars.
Your shelves will look neat, and you will feel calmer every time you walk in.
18. Suction Toothbrush Holder
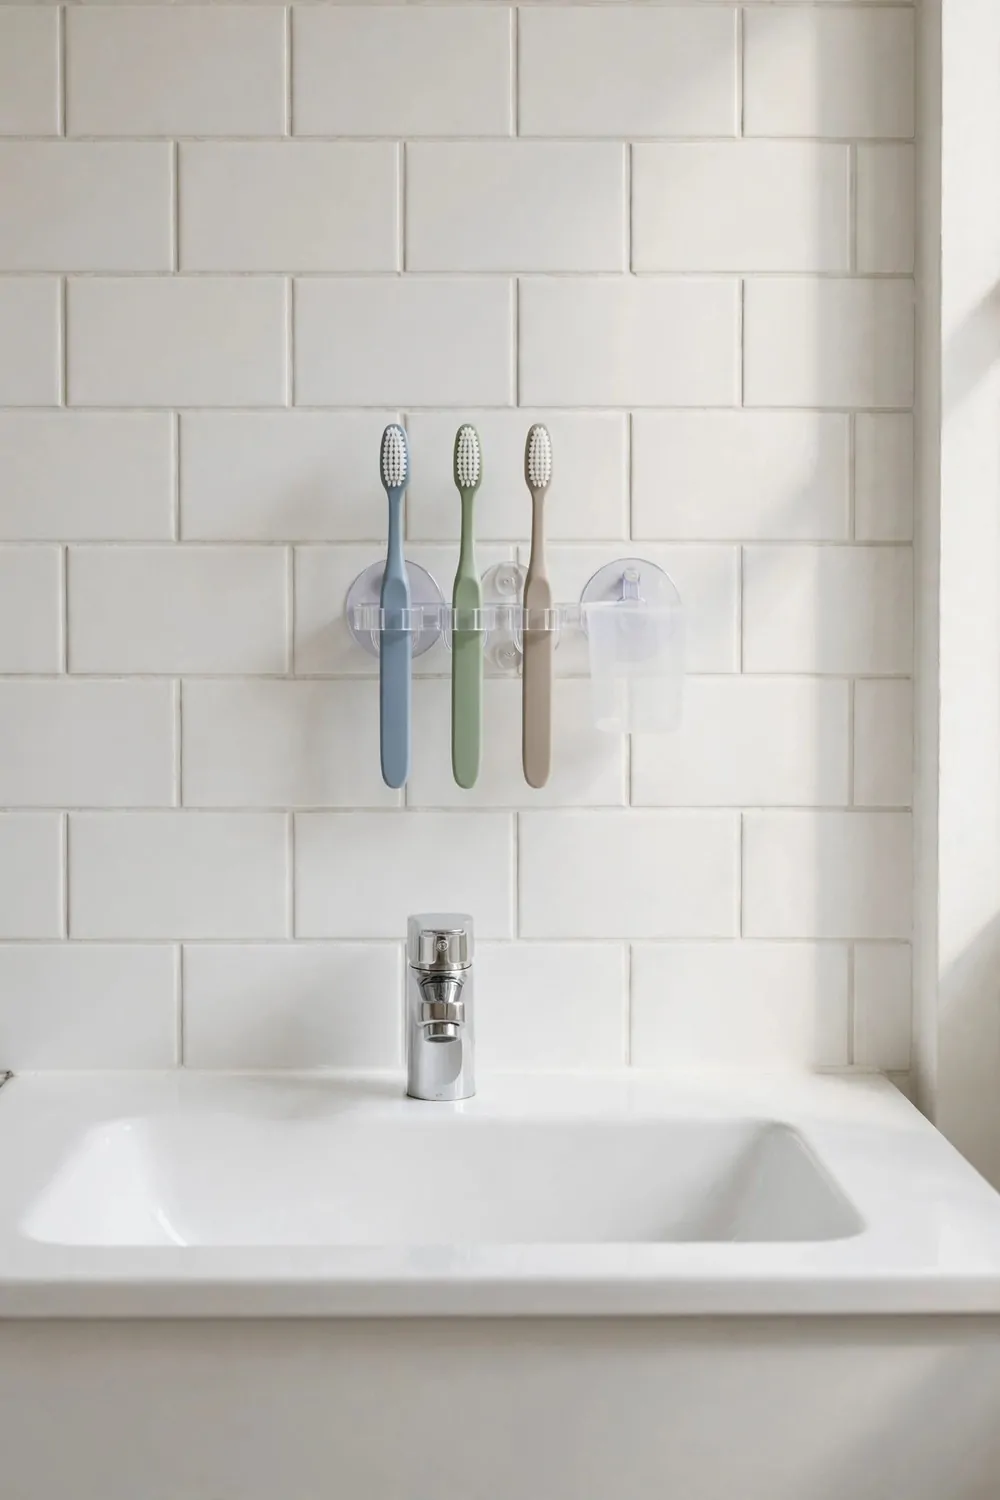
A suction toothbrush holder keeps your brushes off the sink and out of the way.
I stuck mine on the mirror and it has stayed put for months. You do not need tools, and you do not need to drill a hole.
Clean the glass or tile first so the suction cup can grip well.
Press it firm for a few seconds and give it a small tug to check it. If it slips, wipe the spot again and try once more. It is a quick fix, and it works.
Pick a holder with a drip tray or small holes at the bottom. That way water does not sit inside it all day.
Give each person in your home their own slot.
I like that my brush does not touch anyone elses brush. It feels cleaner to me, and it is easy for kids to learn too. You can rinse the holder once a week and pop it back on.
Put it at a height that is easy for you to reach. Low is best for little ones.
It is a tiny change, but it makes your sink look so much neater.
19. Plants That Love Bathroom Steam
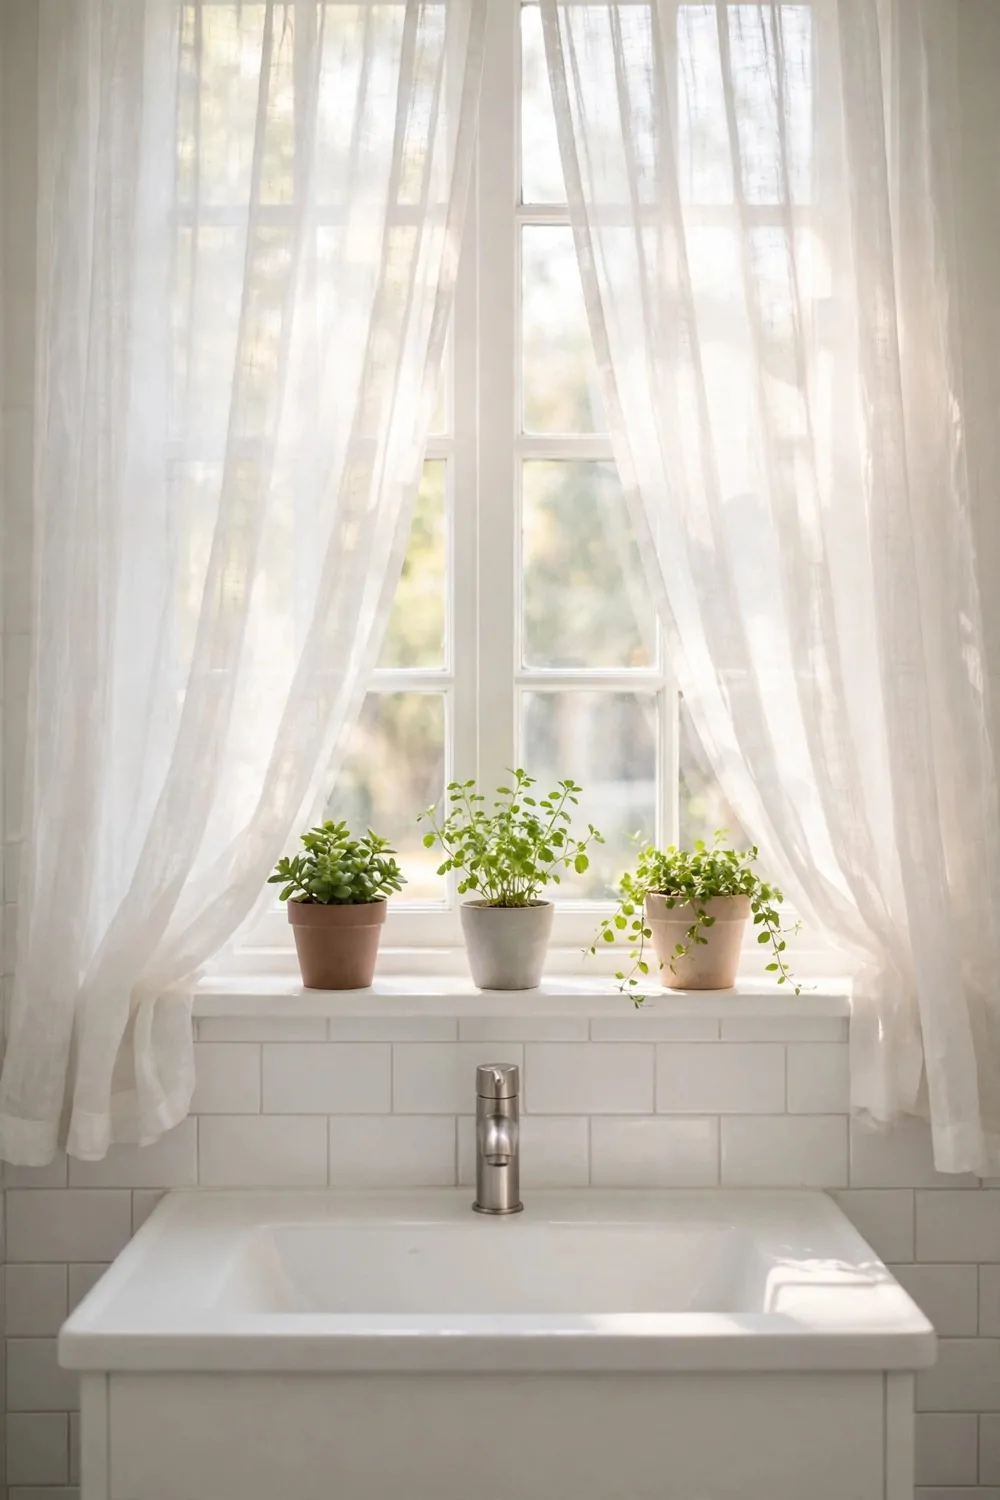
Plants that love steam can turn a plain bathroom into a fresh little garden.
I keep a small pothos on my shelf, and it grows so fast in the warm air. You do not need a green thumb to keep it alive.
Pick plants that like damp air and low light.
Ferns, pothos, and spider plants are all good picks for a bathroom. They like the steam from your shower, and they do not mind a bit of shade. I water mine just once a week.
Use a small pot with a tray under it so water does not drip on the shelf.
Hang a plant near the window if you have one, or set it on a stool.
I move mine around till I find the spot it likes best. Some spots are too dark, and some get too much sun. You will know it is happy when you see new leaves.
Wipe the leaves now and then so dust does not build up on them.
Your bathroom will smell fresh, and it will feel like a calm place to start your day.
20. Curtain Under the Sink
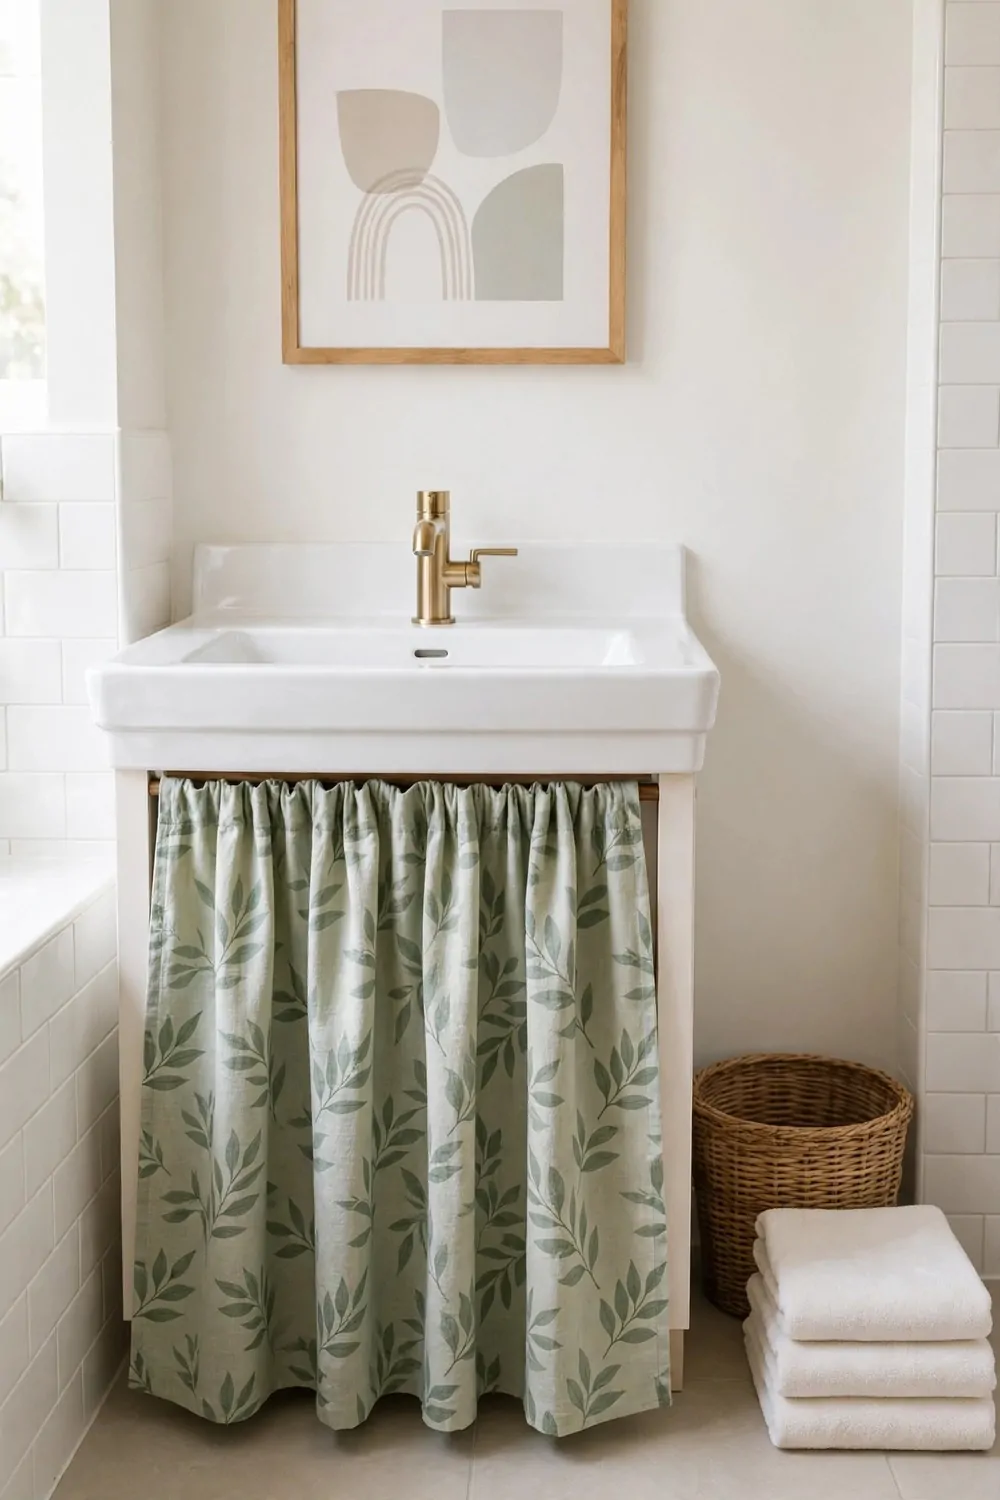
A curtain under the sink hides pipes and cleaning bottles in a cute way.
I made mine from a small piece of fabric, and it took me less than an hour. You can do it with a tension rod, so there is no drilling at all.
Measure the space under your sink first, then cut the fabric a bit longer.
I like my curtain to reach just past the bottom edge, so it hides everything well. Pick a fabric you love, because you will see it every day. A light color can make the room feel bigger.
Use a tension rod that fits snug between the sides of the cabinet.
No screws, no holes, and you can take it down when you move out.
I wash my curtain once a month, and it still looks new. It is easy to swap it too if you want a new look for the season. You can change the whole feel of the room with one small swap.
Keep the things you use most at the front, behind the curtain.
It is a simple fix, and it makes the sink area look finished and tidy.
21. Over-Tub Bath Tray
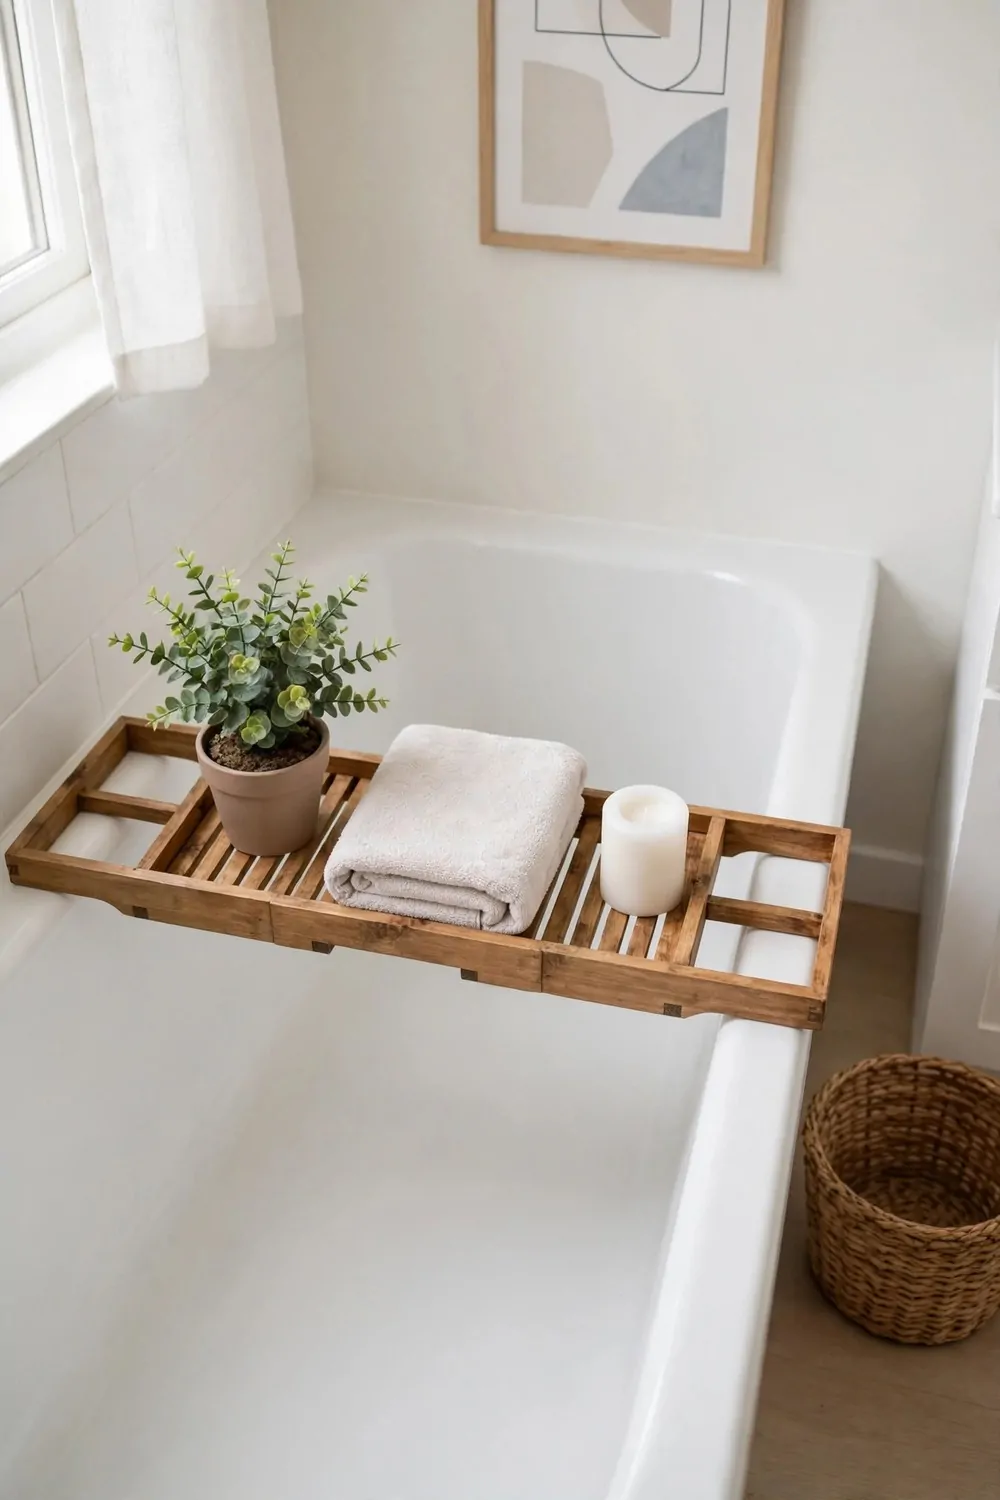
An over-tub bath tray gives you a safe spot for a book, a cup, or your phone.
I use mine on slow nights when I want a long soak. You can rest your things on it and keep them dry.
Pick a tray that fits across your tub with a little room on each side.
Wood trays look warm, and bamboo ones hold up well near water. I wipe mine dry after each bath so it stays nice. You will want one with a small lip so things do not slide off.
Look for a tray with a slot for a book or a tablet.
That small slot makes a big change when your hands are wet.
I keep a candle on mine sometimes, and it makes bath time feel like a treat. Just keep the flame far from towels and curtains. You can also add a small plant on the tray for a fresh touch.
Store the tray on a hook or lean it by the tub when you are done.
It is a small luxury, and it makes your rental bathroom feel like a spa.
22. Small Stool and Side Table
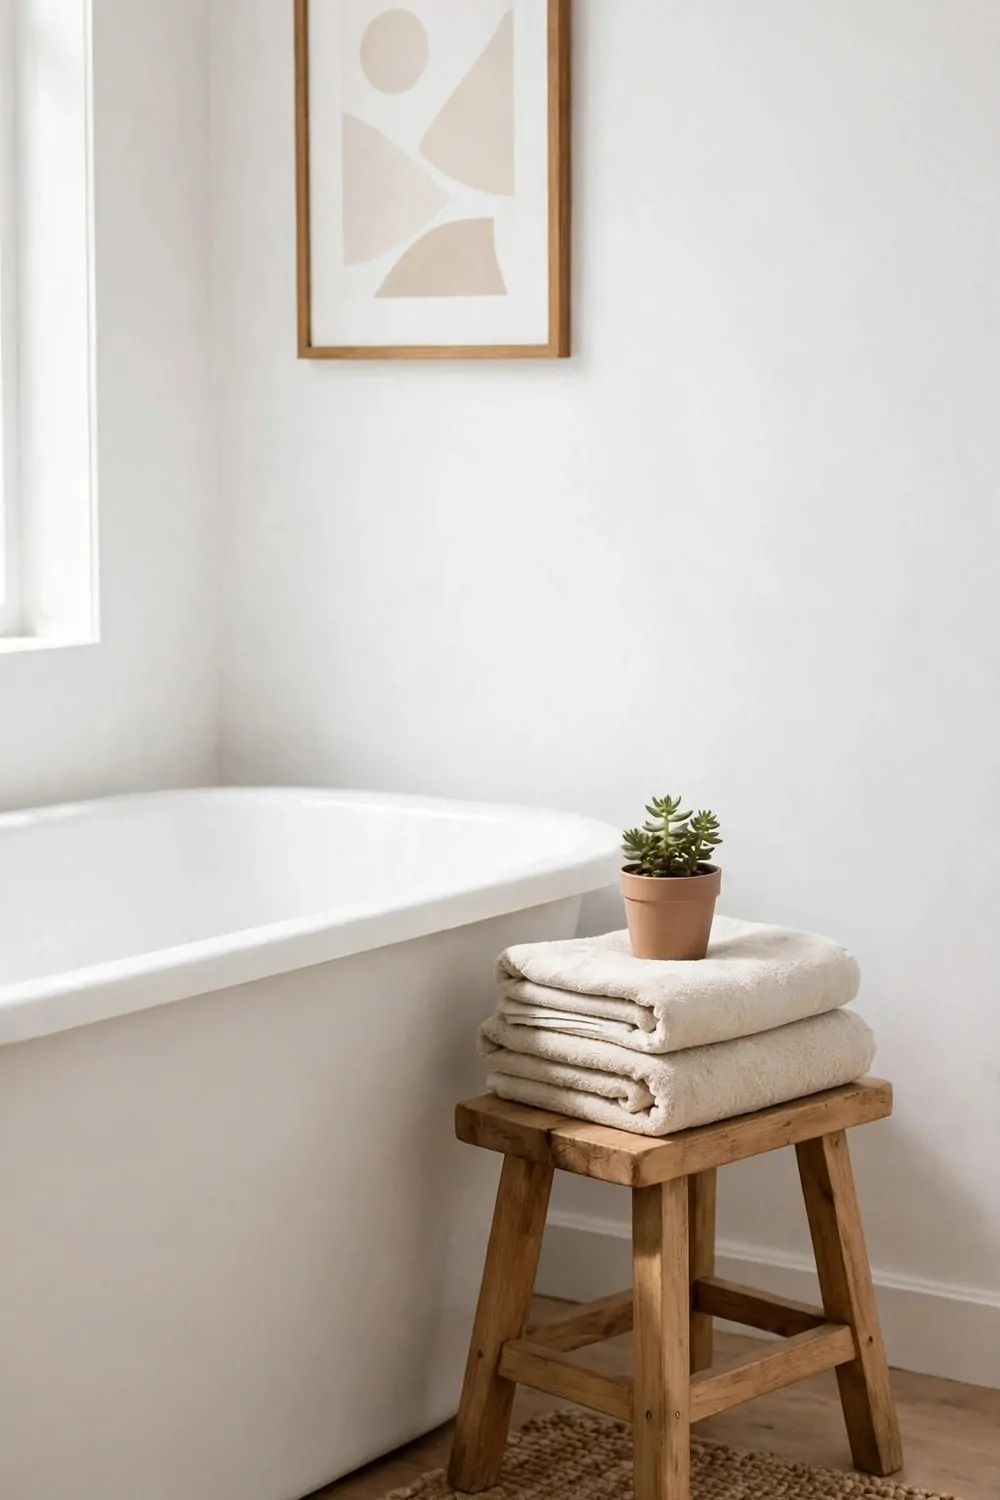
A small stool and side table give you extra space right where you need it.
I keep a little stool next to my tub for towels and a book. You can move it anywhere in seconds, and it never gets in the way.
Pick a stool that is short and steady, with legs that do not wobble.
Wood stools look warm, and metal ones wipe clean fast. I use mine as a seat when I dry my hair, and as a table when I need a spot for my brush. It is one of the best buys I made for my bathroom.
A side table works well next to the sink too.
Put your soap, a small plant, or a folded towel on top of it.
I like that I can move my table out of the way when I clean the floor. It is light, so I just pick it up with one hand. You do not need to fix it to the wall at all.
Keep the top clear so it does not turn into a clutter spot.
One small stool can make your whole bathroom feel more useful and more homey.
23. One-Weekend Rental Bathroom Makeover Plan
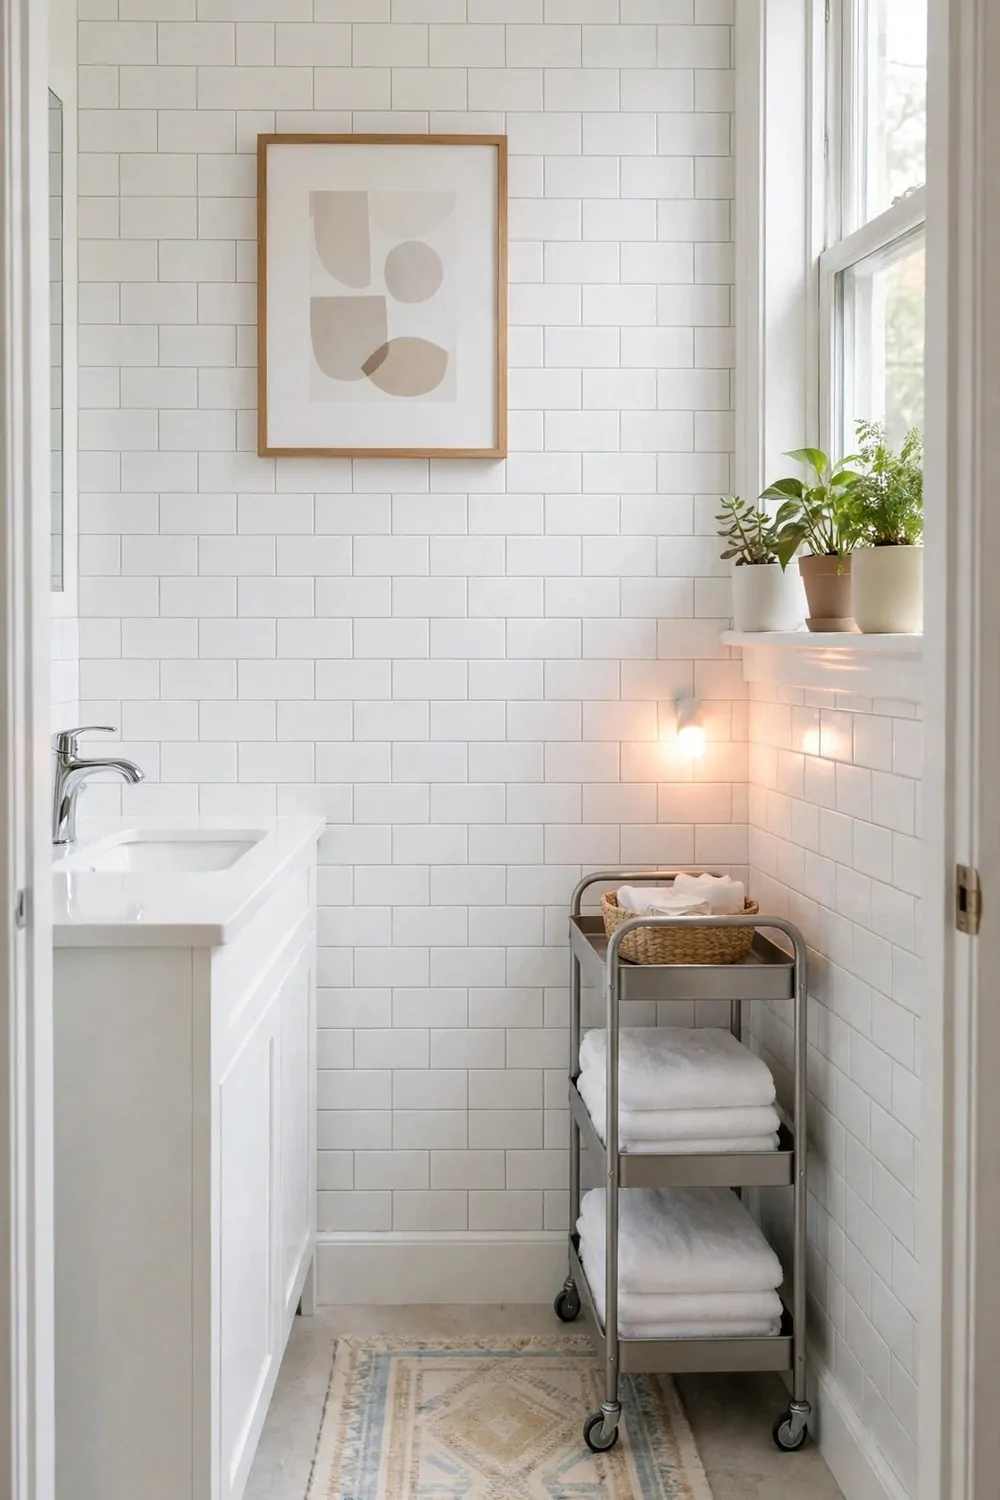
You can change your whole rental bathroom in just one weekend, and you do not need to drill a single hole.
I did mine on a Saturday and Sunday, and I took my time with each step. You can do the same, one small job at a time, and it will feel fun, not hard.
Start on Saturday morning with a good clean and a clear out. Take everything off the shelves and wipe them down. Sort what you keep, what you toss, and what you move to another room.
Next, add peel-and-stick wall tiles behind the sink or around the tub. Peel-and-stick wall tiles cost $20 to $35, and they make a big change for little money.
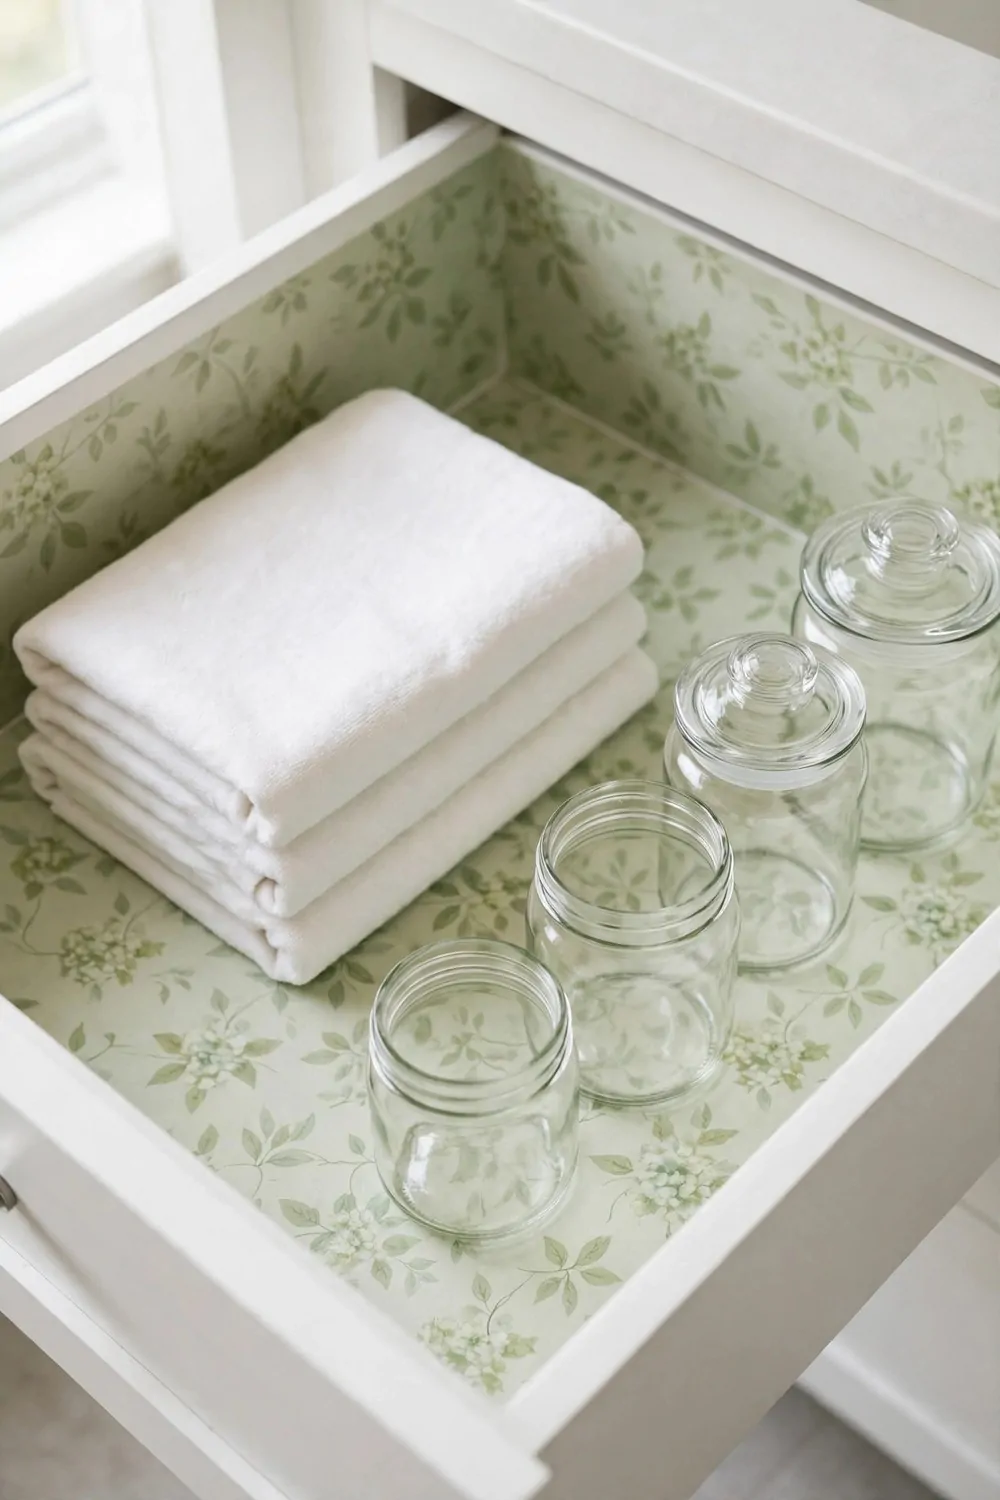
Then line your shelves and drawers with removable liners. Removable shelf liners cost $8 to $15, and they keep your shelves clean and fresh.
Use this table to plan your costs before you shop, so you know what to expect.
| Weekend Plan Item | Typical Cost |
|---|---|
| Peel-and-stick wall tiles | $20 to $35 |
| Removable shelf liners | $8 to $15 |
| Adhesive hooks and suction cups | $10 to $18 |
| Small battery lights | $10 to $20 |
| Baskets and bins | $12 to $20 |
| Total | $60 to $108 |
On Sunday, add adhesive hooks and suction cups for towels and tools. Adhesive hooks and suction cups cost $10 to $18, and they hold a lot more than you think. Stick them on clean tile or glass, and press them firm for a few seconds.
Finish with small battery lights and baskets to make it feel warm and tidy. Small battery lights cost $10 to $20, and baskets and bins cost $12 to $20.
Your full weekend plan comes to $60 to $108 in total, which is a small price for a fresh new look. Step back on Sunday night and enjoy what you made.
Keep Reading
If you liked these ideas, you will love these posts too.
- 25 Rental Kitchen Ideas That Renters Can Actually Do
- 27 Shiplap Wall Ideas That Add Charm to Any Room
- 22 Ladder Shelf Ideas That Fit Any Corner
- 30 Wallpaper Ideas That Make a Room Feel New
- 34 Floating Shelf Ideas That Add Storage to Any Wall
- 29 Curtain Ideas That Make Windows Look Taller and Brighter
You will love how calm and tidy your bathroom feels each morning.