22 Home Office Room Layouts That Make the Most of Every Inch

Walk into your spare room and stop right inside the door. Do not look at the walls yet. Look at the floor, and notice where you can walk without bumping into anything.
That little walk tells you more than any photo online. It tells you where your chair needs room to roll. It tells you where the door swings. It tells you what will annoy you every single day.
I learned this the slow way. I used to pick a desk first and then try to fit my room around it. My chair hit the wall. My knees hit the drawer. I spent months working sideways like I was sitting in a hallway.
A good layout flips that order. You start with the room you have. You find the light, the door, and the quiet corner. Then you pick the desk that fits that spot.
That is what this list is for. It is 22 home office room layouts that make the most of every inch. Some are for tiny rooms. Some are for bigger rooms. Some are for two people sharing one space.
You do not need all 22. Pick the one that matches your room shape. Try it on paper first. Move one piece at a time, and let the room tell you what works.
The Desk Against the Longest Wall
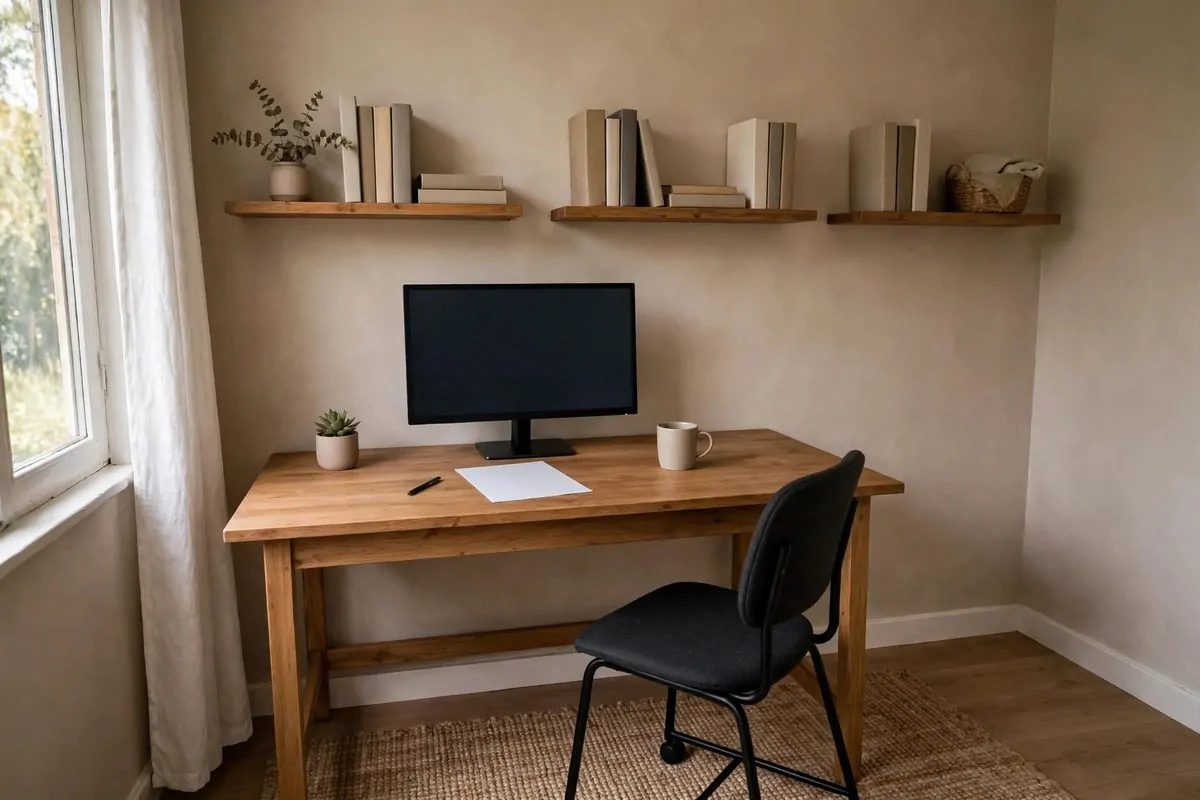
This is the simplest layout, and it works in almost every room. You push your desk flat against the longest wall. Your back faces the room. Your eyes face the wall.
I like this one because it gives you the most desk space for the least fuss. A long wall can hold a wide desk, a monitor, and a lamp without crowding the middle of the room.
Start by clearing that wall all the way. Move the small stuff somewhere else. You want one clean run of wall for your desk and your shelves.
Put your monitor in the middle of the desk. Keep your keyboard right in front of it. Leave a little space on each side for a notebook or a mug.
Hang one shelf above the desk if you can. It keeps books and boxes off the desk top. It also stops the wall from looking bare and sad.
Your chair needs room to pull out. Leave enough space behind you to stand up and turn around. If your chair bumps the bed or the door, the desk is too deep for that wall.
A rug under the desk and chair helps a lot. It marks your work zone. It also stops the chair wheels from scratching the floor, which I learned after one noisy winter.
Keep the cables neat along the wall. A small cable clip or a strip behind the desk does the job. Loose cables on the floor will trip you up and look messy on video calls.
This layout is best when your room is long and narrow. It leaves the middle open for walking. It also makes the room feel calm, because everything has one clear home along one wall.
The Corner L Layout That Frees the Middle
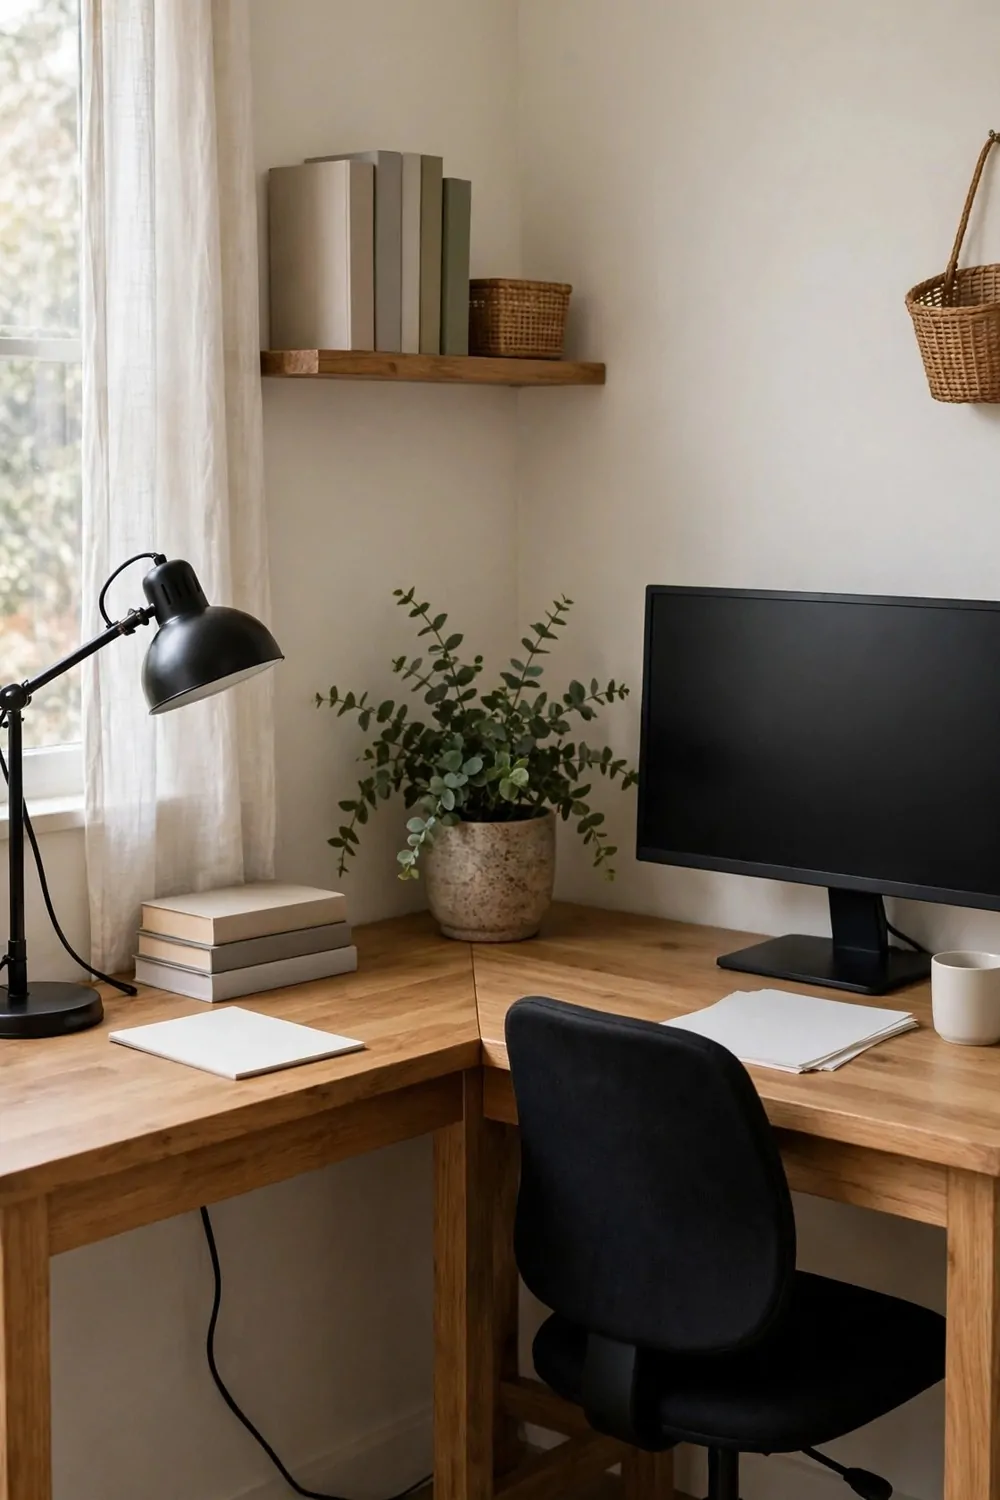
A corner is often wasted space. You walk past it. You put a plant there. You forget it exists. An L-shaped desk turns that dead corner into the hardest working spot in the room.
The L shape gives you two work surfaces. One side holds your screen and keyboard. The other side holds papers, a notebook, or a second screen.
I like this layout when you need space to spread out. You can turn your chair a little and reach the other side. You do not have to stand up to grab a file.
Put the longer arm of the L along the longer wall. Put the shorter arm along the next wall. That keeps the door side open and stops the desk from eating the whole room.
Keep the corner itself for things you use less. A lamp fits there nicely. So does a small plant or a stack of books. Your main work stays on the two arms where you can reach it.
| Feature | Corner L Layout | Straight Desk |
|---|---|---|
| Work surface | Two sides to spread out on | One straight run only |
| Best for | Papers, two screens, and crafts | One screen and simple tasks |
| Middle of the room | Stays free for walking | Stays free, but less desk space |
| Clutter | Side arm hides papers from view | Everything sits in one line |
| Chair movement | Needs room to turn in the corner | Needs room to pull straight back |
Watch the chair space in the middle of the L. You need room to spin a little. If the corner is too tight, pick a smaller chair or a desk with slimmer legs.
This layout also hides clutter well. Papers on the side arm are out of your main view. You still know they are there, but they do not stare at you all day.
Add a shelf in the corner above the desk if you want more storage. Keep it light and simple. Heavy shelves in a corner can make the room feel closed in.
If you share the room, the L shape can face the wall and keep your work private. It feels like a small nook, even in a bigger room, and that helps your brain switch into work mode.
The Floating Desk That Leaves the Floor Clear
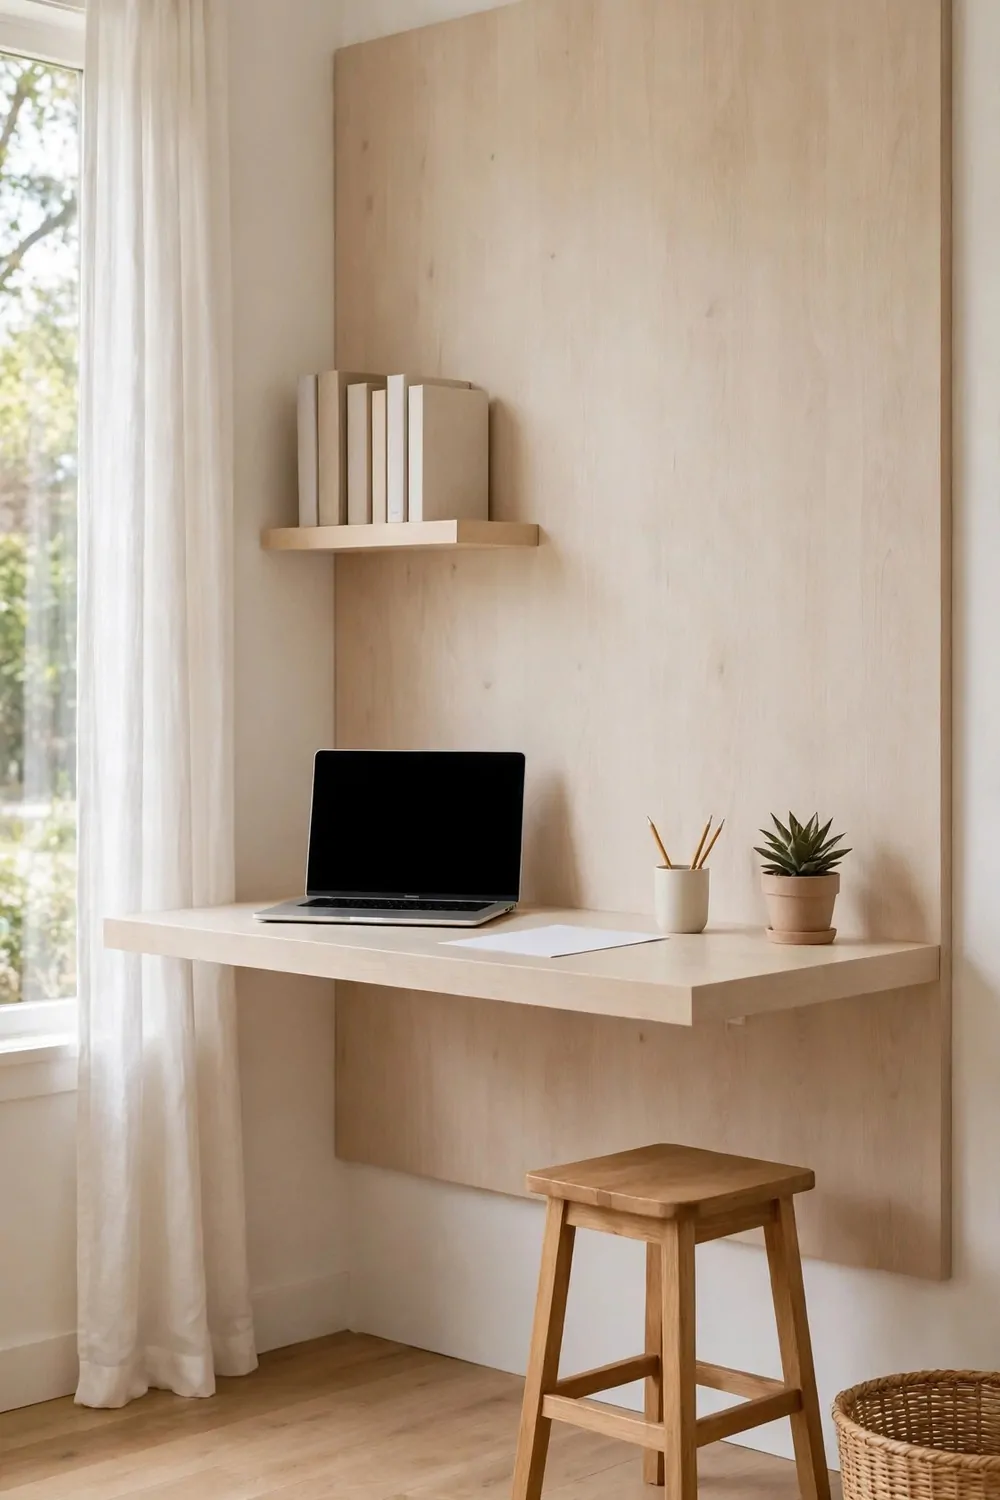
A floating desk is fixed to the wall, so it has no legs. The floor under it stays empty. You can see the whole floor, and the room looks bigger right away.
I love this layout for a small room. It feels light. It feels clean. You can push your chair right under the desk when you finish work, and the floor is clear again.
Pick a solid wall for the desk. It needs to hold your weight and your work. A weak wall or a thin panel will wobble, and that wobble will drive you mad.
Keep the desk top shallow. You need room for a laptop, a notebook, and a mug. You do not need a deep desk that sticks far into the room and blocks your walk.
Put one small shelf above the floating desk. Keep it at arm’s reach. That shelf holds the things you grab all day, so they stay off the desk top.
Use the space under the desk for a small bin or a footrest. Do not fill it with boxes. The whole point is the clear floor, and boxes will undo that feeling fast.
Hide the cables in a small channel under the desk. A floating desk shows its underside, so messy cables stand out more. Tuck them up and out of sight.
This layout works well in a hallway nook or a narrow spare room. It gives you a real desk without giving up floor space. It also makes cleaning easy, because you can sweep right under it.
Test the height before you fix it in place. Sit in your chair and rest your arms flat. Your elbows should feel relaxed, not high and tight. Get the height right once, and your shoulders will thank you for years.
The Window-Facing Desk for Daylight
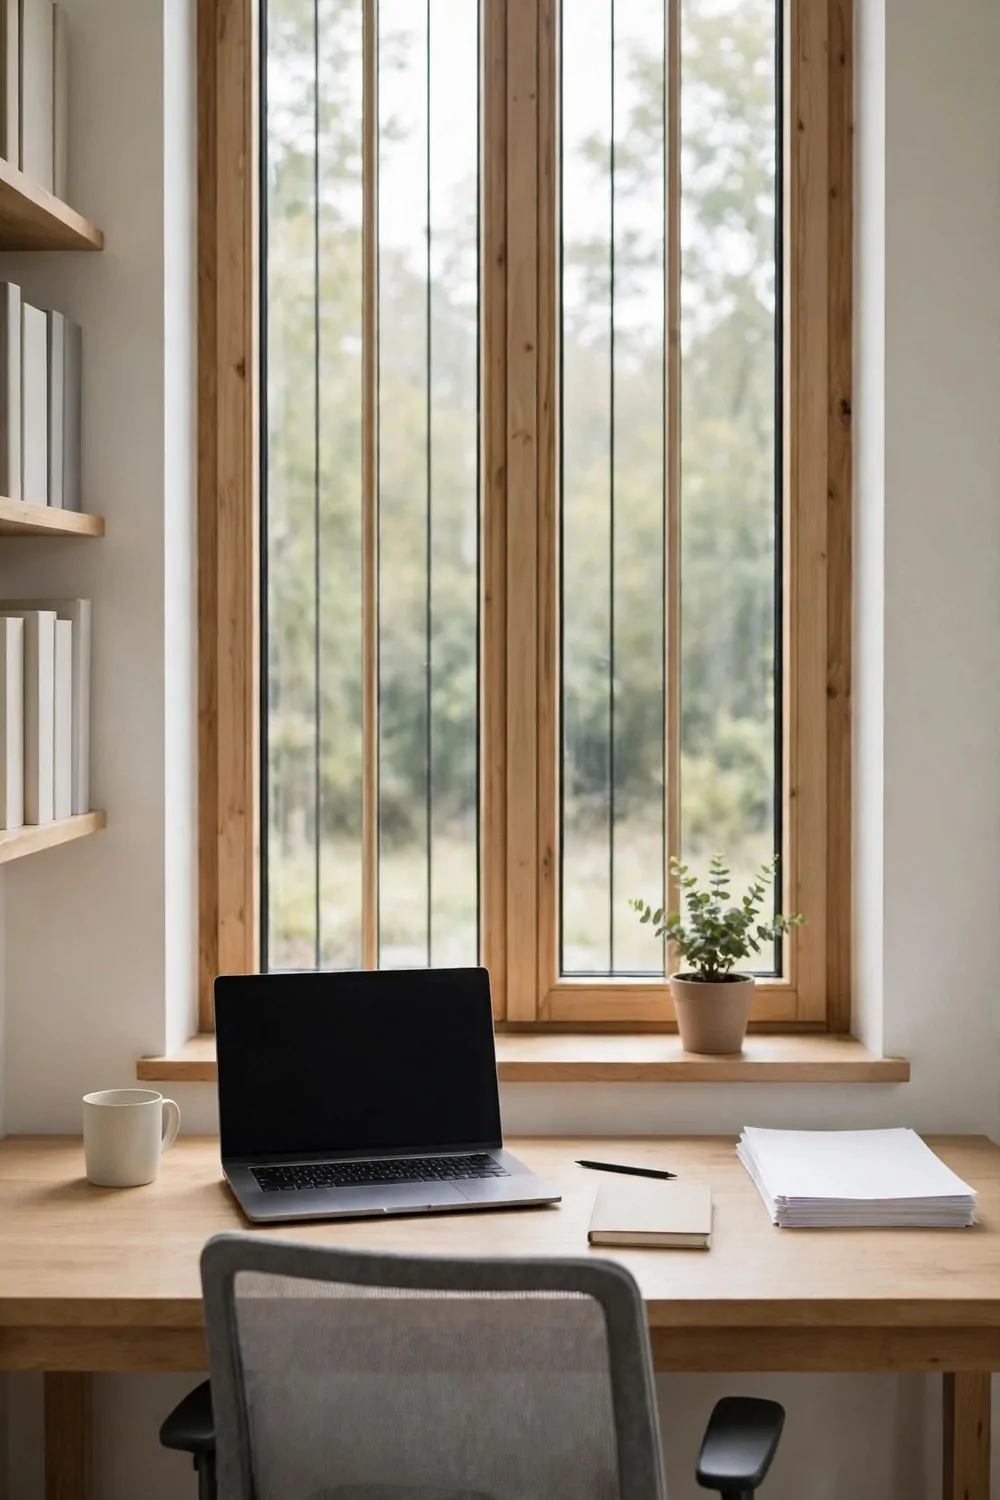
Put your desk in front of a window, and your whole workday changes. The light is soft. The view gives your eyes a rest. The room feels fresh even on a gray day.
I do my best thinking by a window. I look up from the screen. I see trees or sky. My brain gets a tiny break, and then I can focus again.
Face your chair toward the window, not sideways. That way the light falls on your work. It also stops the window from glaring on one side of your screen all afternoon.
Watch the sun at midday. Bright sun can wash out your screen and heat up your laptop. A sheer curtain or a light blind fixes that without making the room dark.
Keep the windowsill clear. One small plant is plenty. A crowded sill blocks light and collects dust, and you will keep knocking things over when you reach for a pen.
Put storage on the wall beside the window, not in front of it. A low drawer unit or a shelf on the side wall keeps your papers close. It also leaves the window open and bright.
This layout is lovely, but it is not for everyone. If you get distracted easily, a busy street view can pull your eyes away. A quiet view works best, or a window that looks onto a garden or a calm street.
At night, close the curtain and add a warm lamp. The desk still works well after dark. The lamp gives you a small pool of light, and the room feels cozy instead of empty.
Try this layout for one week before you commit. Move your desk to the window on a Monday. See how your eyes feel by Friday. If you feel calmer and less tired, you have found your spot.
The Back-to-Wall Setup for Video Calls
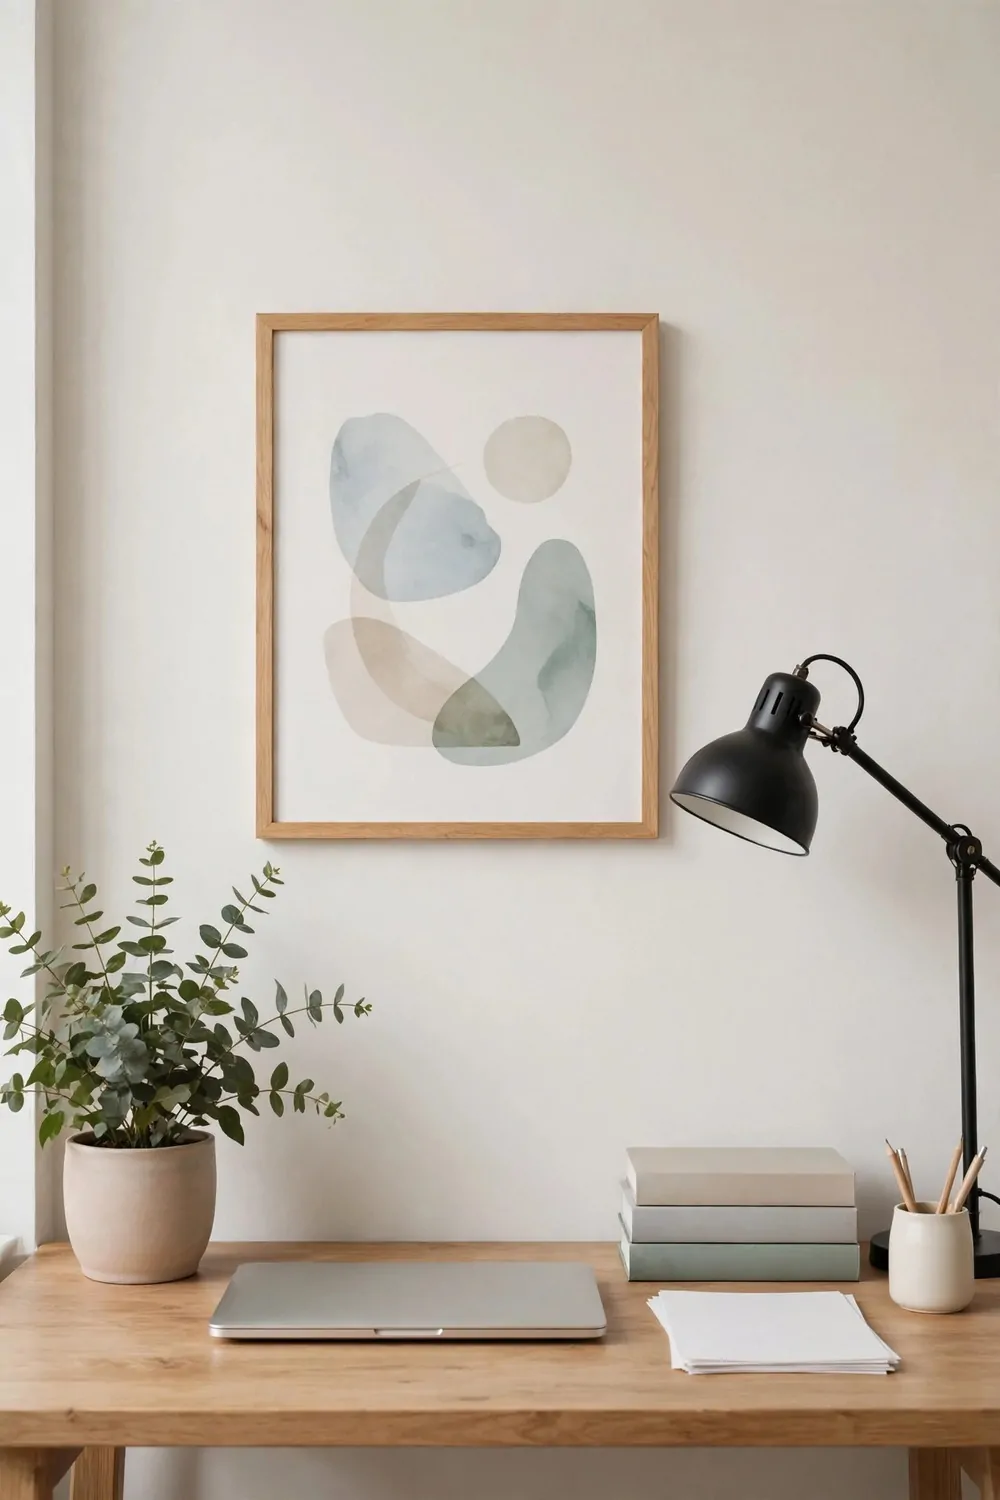
This layout is built for your camera, not just your comfort. Your desk faces into the room. Your back faces a plain wall. Everyone on a call sees a clean, tidy background.
I set mine up this way after one bad call too many. My camera showed an open door, a pile of laundry, and a cat walking past. Nobody said a word, but I could feel it. I fixed the background that same night.
Pick the tidiest wall in the room for your back. A plain wall is best. A wall with one framed print or one shelf also works well, as long as it stays simple.
Keep the background still and calm. No busy patterns behind your head. No bright window that turns you into a dark shape. You want people to see your face, not fight with the light.
Put your desk so the light falls on your face. A window in front of you or to one side is ideal. A small lamp on the desk can fill in the shadows on a dull day.
Your chair should sit square to the camera. Test it before a real call. Sit down, open your camera, and look at what shows behind you. Move one thing at a time until the frame looks clean.
Keep your desk top tidy in the camera frame. A mug and a notebook are fine. A tower of papers is not. The camera sees more than you think it does, and it sees it all day.
This setup also helps you focus. With your back to the wall, nobody walks behind you. You do not keep turning around. The room feels closed and quiet, in a good way.
At the end of the day, push your chair in and leave the background as it is. Tomorrow you can sit down and start a call in seconds. No tidying rush. No panic before the meeting starts.
The Two-Person Layout on Opposite Walls
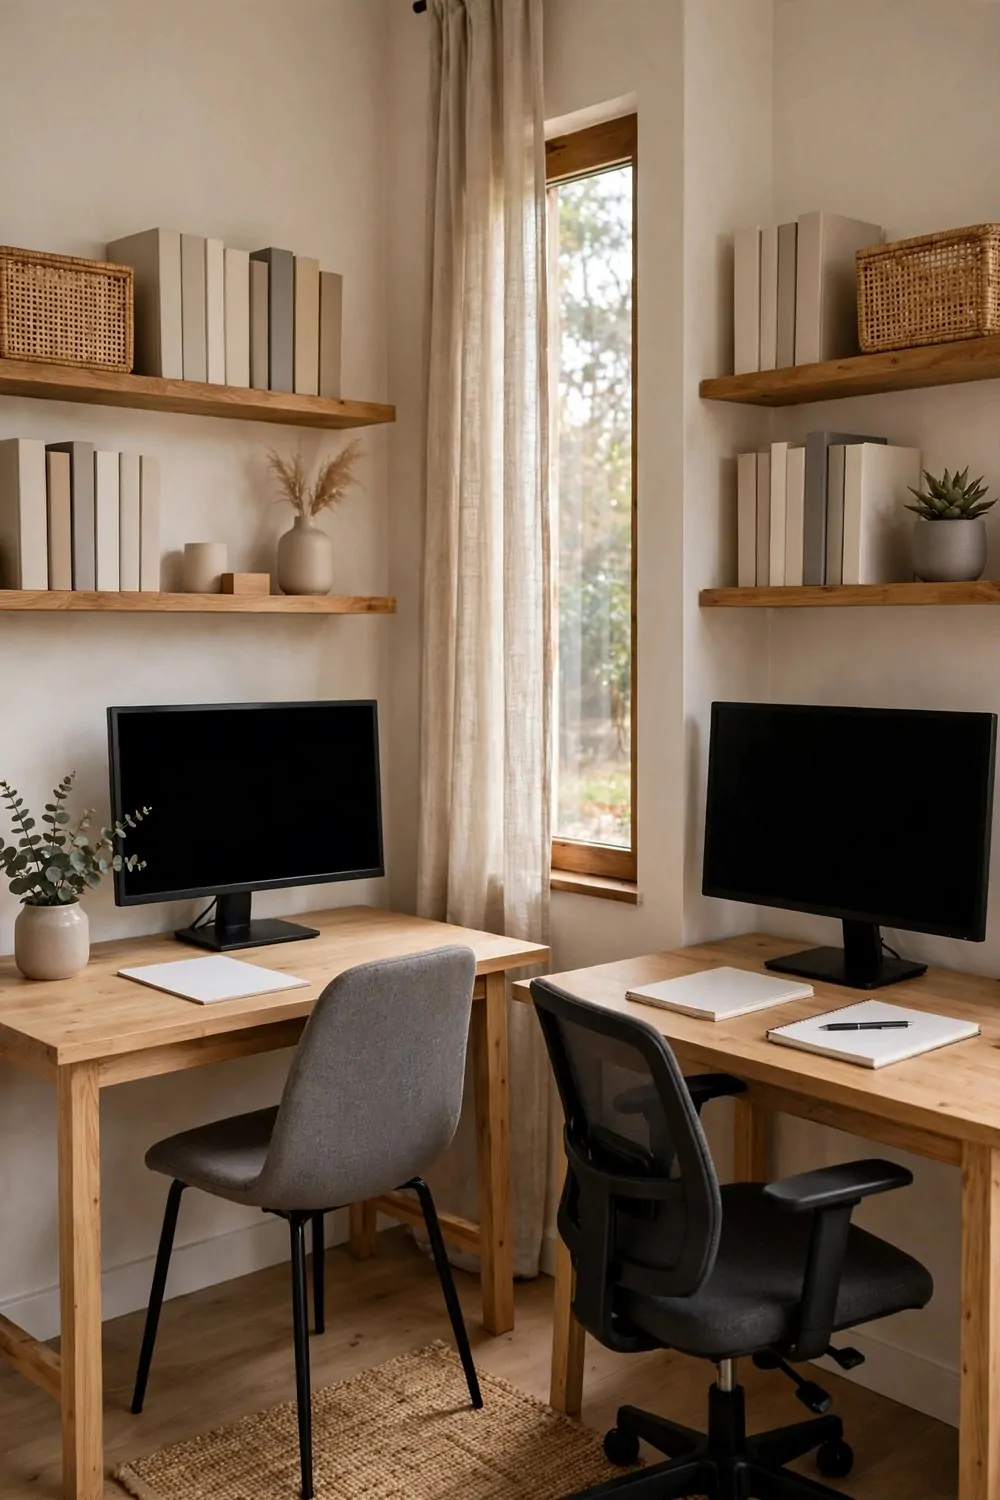
Two people can share one office without sharing one desk. Put one desk on one wall, and the other desk on the opposite wall. You both get your own space, and you both face away from each other.
I like this layout because it cuts down on little frictions. You do not bump elbows. You do not stare at each other all day. You can each set up your desk your own way.
Give each person their own wall and their own light. One person gets the window side if the room allows it. The other gets the lamp side. Swap every few months if you want to keep it fair.
Leave a clear path down the middle of the room. That path is your shared walkway. Do not let bags, boxes, or cables creep into it, or you will both be stepping over stuff all day.
Use headphones for calls. That is the one rule that saves this layout. Without headphones, two calls at once turn into a noisy mess, and neither person can hear their own meeting.
- Each person gets one wall, one desk, and one shelf.
- The middle of the room stays clear for walking.
- Headphones stay on the desk, ready for every call.
- Shared items live in one spot, not on both desks.
- A small rug under each desk marks each work zone.
Keep shared items in one shared spot. A printer, a charger, or a box of paper can sit on a small table by the door. That stops the same item from living on two desks at once.
Set a simple rule about clutter. Each desk is its owner’s job. The middle of the room is both people’s job. That one rule stops most arguments before they start.
This layout needs a room with two usable walls. A square room works well. A long room works even better, because the desks sit far apart and the noise drops a lot.
Try it for a week and watch how it feels. If you both get more done and argue less about space, the layout is working. If one person feels stuck in a dark corner, swap walls and try again.
The Room Divider Bookcase Layout
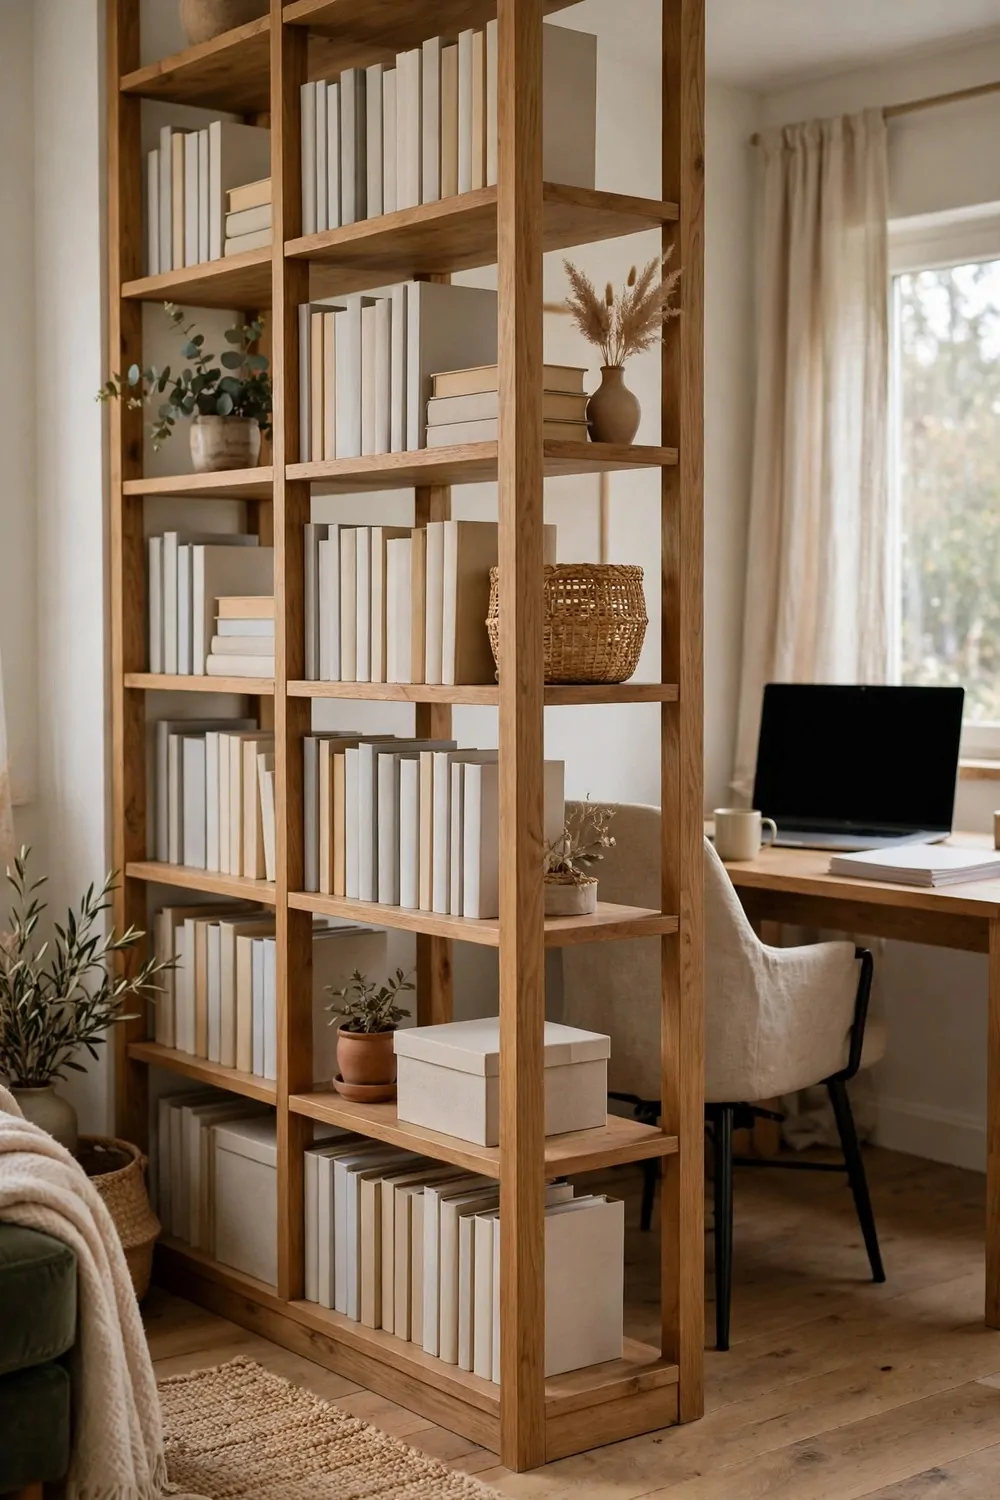
A tall bookcase can split one room into two zones. One side becomes your office. The other side stays a living room, a bedroom, or a guest space. You get a wall without building a wall.
I used this trick in a shared flat years ago. My desk sat behind a bookcase, and from the sofa you could not see my screen at all. It felt like I had a whole room of my own, even though I did not.
Pick a bookcase that is tall and sturdy. It needs to stand firm and not wobble. A low bookcase will not block the view, and the office feeling will be lost.
Place the bookcase at a right angle to the wall. That makes a clear corner for your desk. Leave a gap at one end for a doorway into your office zone, so you are not climbing over furniture to get in.
Fill the bookcase with books and boxes on both sides. The office side holds work books and files. The other side holds novels, photos, or pretty boxes. Both sides look good from where you stand.
Put your desk against the wall behind the bookcase. Your chair faces the wall or the bookcase, not the open room. That closed feeling helps you focus, even when someone else is in the next zone.
Add a small lamp on the bookcase or on your desk. The space behind a bookcase can feel dark. A warm lamp fixes that fast and makes the nook feel cozy instead of gloomy.
Keep the bookcase stable and safe. Fix it to the wall if you can, or weigh the bottom shelf down. A tall bookcase that leans is a risk, and you do not want it falling toward your desk.
This layout is perfect when you cannot build a real wall. Renters love it. Small flats love it. And when you move, the bookcase moves with you, and the office zone moves too.
The Alcove Office Tucked in a Nook
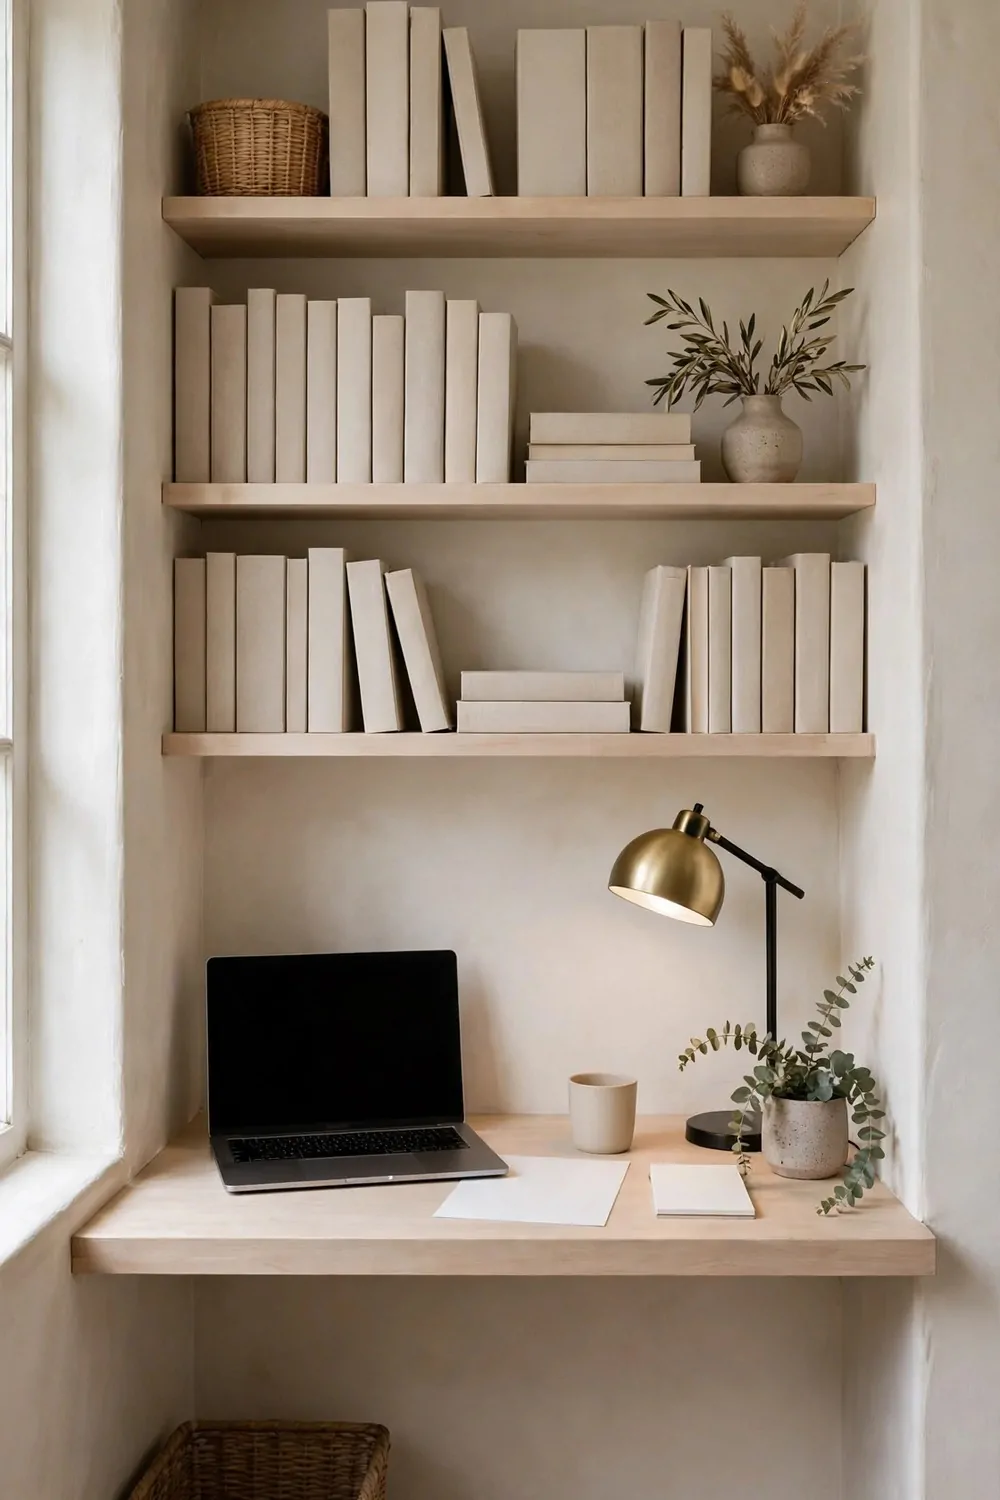
An alcove is a small dip in a wall, often beside a fireplace or a built-in cupboard. It looks useless at first. It is just wide enough for a desk, and that is exactly why it works.
I found my first alcove office by accident. I pushed a small desk into a nook to get it out of the way. A week later I realized I had my best work spot ever, because the nook hugged the desk on three sides.
Measure the alcove before you buy anything. You need the width, the depth, and the height. A desk that is one inch too wide will not fit, and you will be stuck with a desk in the hallway.
Pick a desk that fills the alcove from side to side. A snug fit looks built in, even if the desk came from a shop. It also stops things from falling down the gaps at the sides.
Use the wall above the desk for shelves. Alcove walls are perfect for two or three short shelves. They hold books and boxes, and they use space that would sit empty otherwise.
Light the alcove well. Nooks can be dark, especially if they sit away from a window. A small wall light or a clip lamp on the shelf will brighten the whole spot.
Keep the desk top simple. A laptop, a lamp, and a notebook are enough. An alcove desk is small, so clutter builds up fast. Clear it at the end of each day, and the nook will stay calm.
Sit in the alcove and check your elbows. You need room to type without hitting the side walls. If your elbows bump the walls, pick a narrower chair or a desk with a slimmer top.
This layout is best for one person and one screen. It is not for spreading out papers. It is for focused work in a tiny spot, and it does that job beautifully.
The Closet Office That Hides at Night
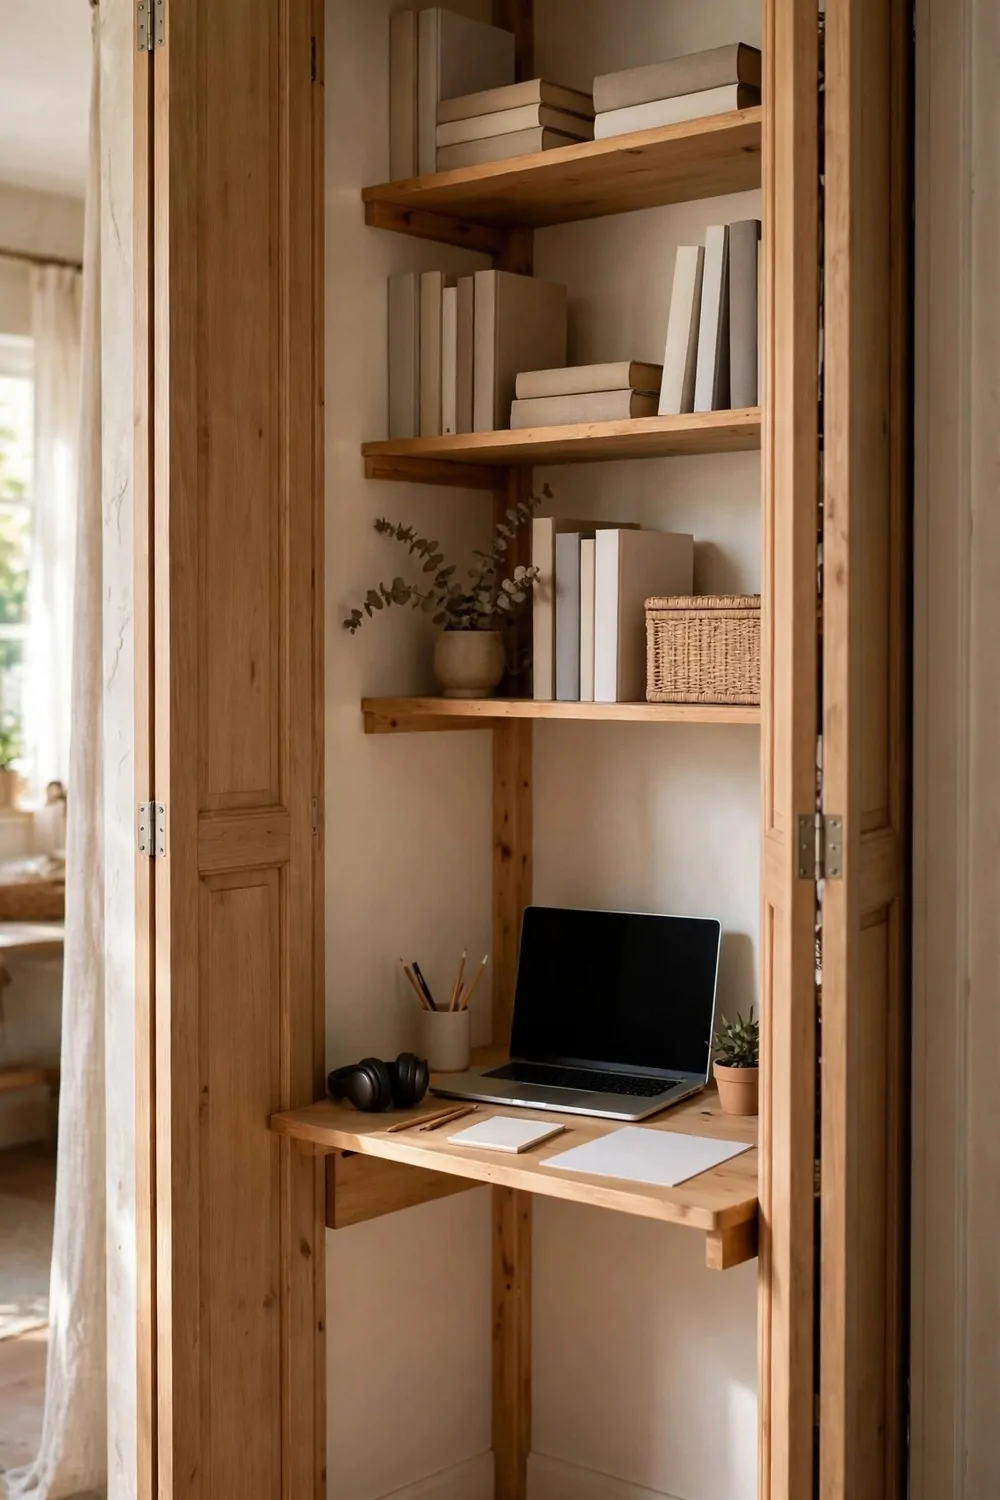
A closet office, or cloffice, turns a spare closet into a tiny office. You open the doors in the morning and close them at night. Your work disappears, and your room looks like a bedroom again.
I love this layout for people who work where they sleep. It draws a clear line between work and rest. When the doors close, your brain gets the message that work is done.
Empty the closet first, all the way. Take everything out and sort it. You will be shocked at how much space a closet really has once the old boxes are gone.
Fit a desk across the closet opening or just inside it. A board fixed to the side walls works well. A small freestanding desk works too, if it fits through the door frame.
Use the closet walls for shelves. Short shelves above the desk hold files, books, and chargers. Hooks on the side walls hold bags, headphones, and cables.
Light is the big job in a closet. Closets are dark, and a dark desk hurts your eyes. Add a bright strip light under the top shelf, or a small lamp that clips to the shelf edge.
Keep the closet door open while you work. You need air and light, and you need room for your chair to pull out. Slide the doors back, or take them off if you never close them during the day.
At night, close the doors and walk away. Do not leave the laptop open on the desk with the doors shut. Heat builds up in a closed closet, and your tech will not thank you for it.
This layout suits a small room and a simple setup. One screen, one chair, one shelf. If you need to spread out papers or meet people on camera all day, a bigger layout will suit you better.
The Under-Stairs Office Nook
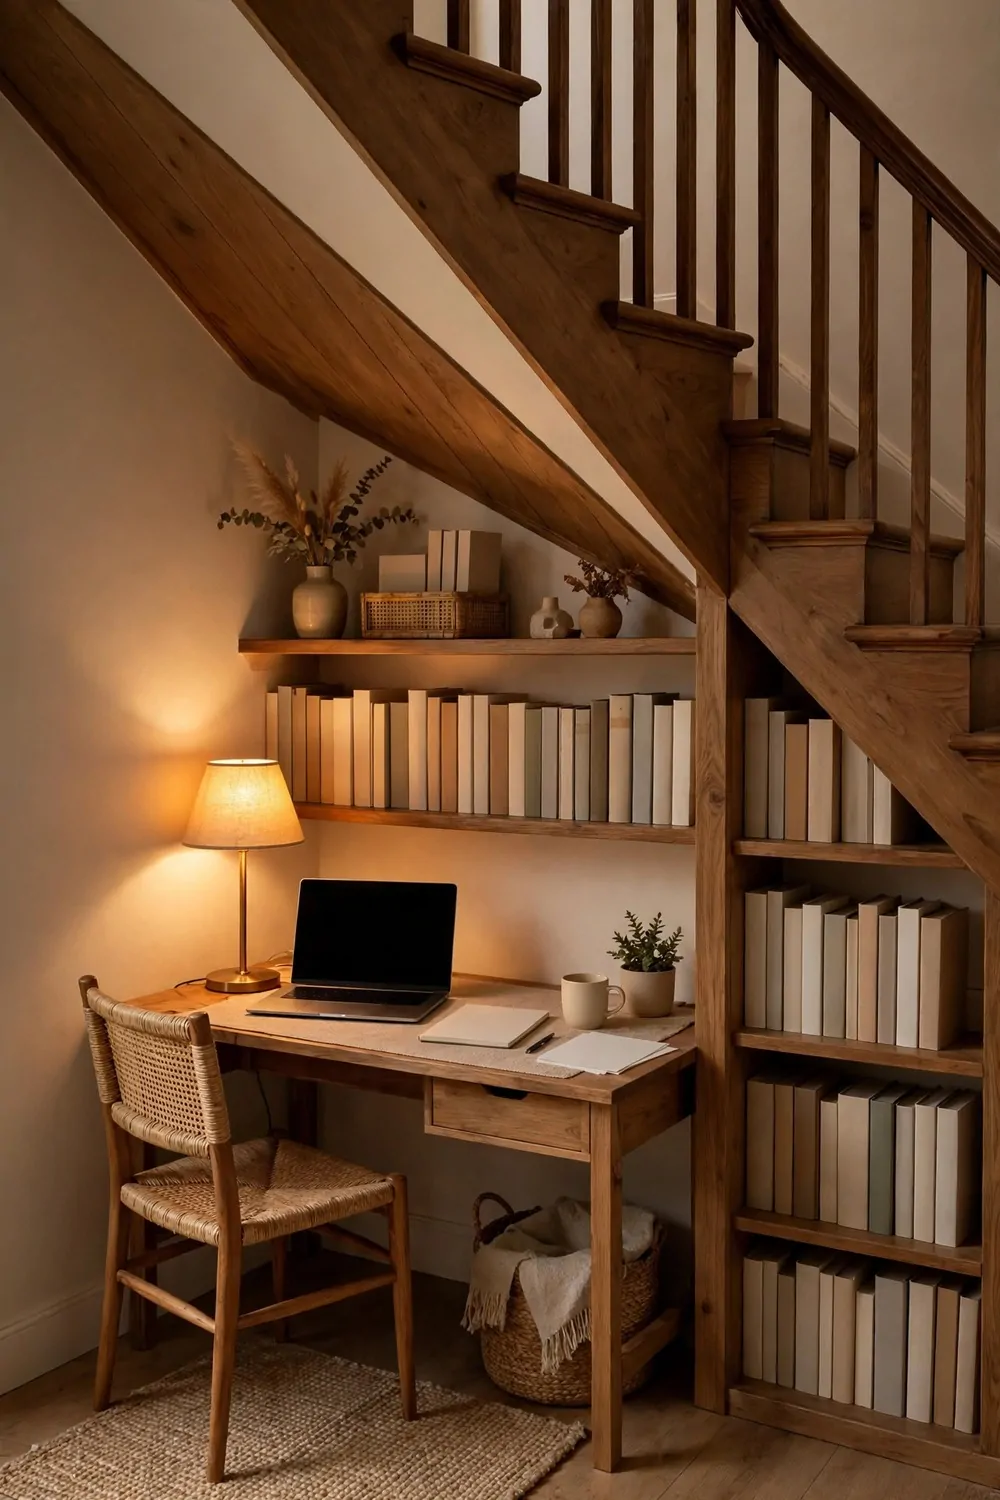
The space under the stairs is often dead space. It holds shoes, coats, or boxes nobody opens. With a small desk and a good lamp, it can become a cozy office nook.
I like this spot because it feels tucked away. The stairs close over you like a roof. The rest of the house can be busy, and you still feel like you are in your own little room.
Check the headroom first. Stand under the stairs and see where you can stand up straight. Your desk and chair need to sit where the ceiling is highest, not where it slopes down low.
Pick a low, simple desk. A desk with slim legs works better than a big chunky one. You want the nook to feel open, not crammed under a low ceiling.
Use the sloped wall for low shelves or cubbies. Short boxes fit under a slope well. Tall books do not, so keep the tall stuff on the higher side of the nook.
Light the nook with a warm lamp. Under-stairs spots get little daylight. A lamp with a soft glow makes the space feel warm and inviting, not dark and forgotten.
Keep the floor clear for your chair. You need room to pull out and turn. If coats or shoes creep back in, the nook will feel cramped again in a week.
Run one power strip to the nook and keep cables tidy. The space is small, so a tangle of cables shows fast. Clip them to the desk leg or the wall, and keep the floor free.
This nook is best for quiet, focused work. It is not ideal if you stand up a lot or need to pace on calls. For deep work, though, few spots beat a quiet corner under the stairs.
The Daybed Office That Doubles as a Guest Spot
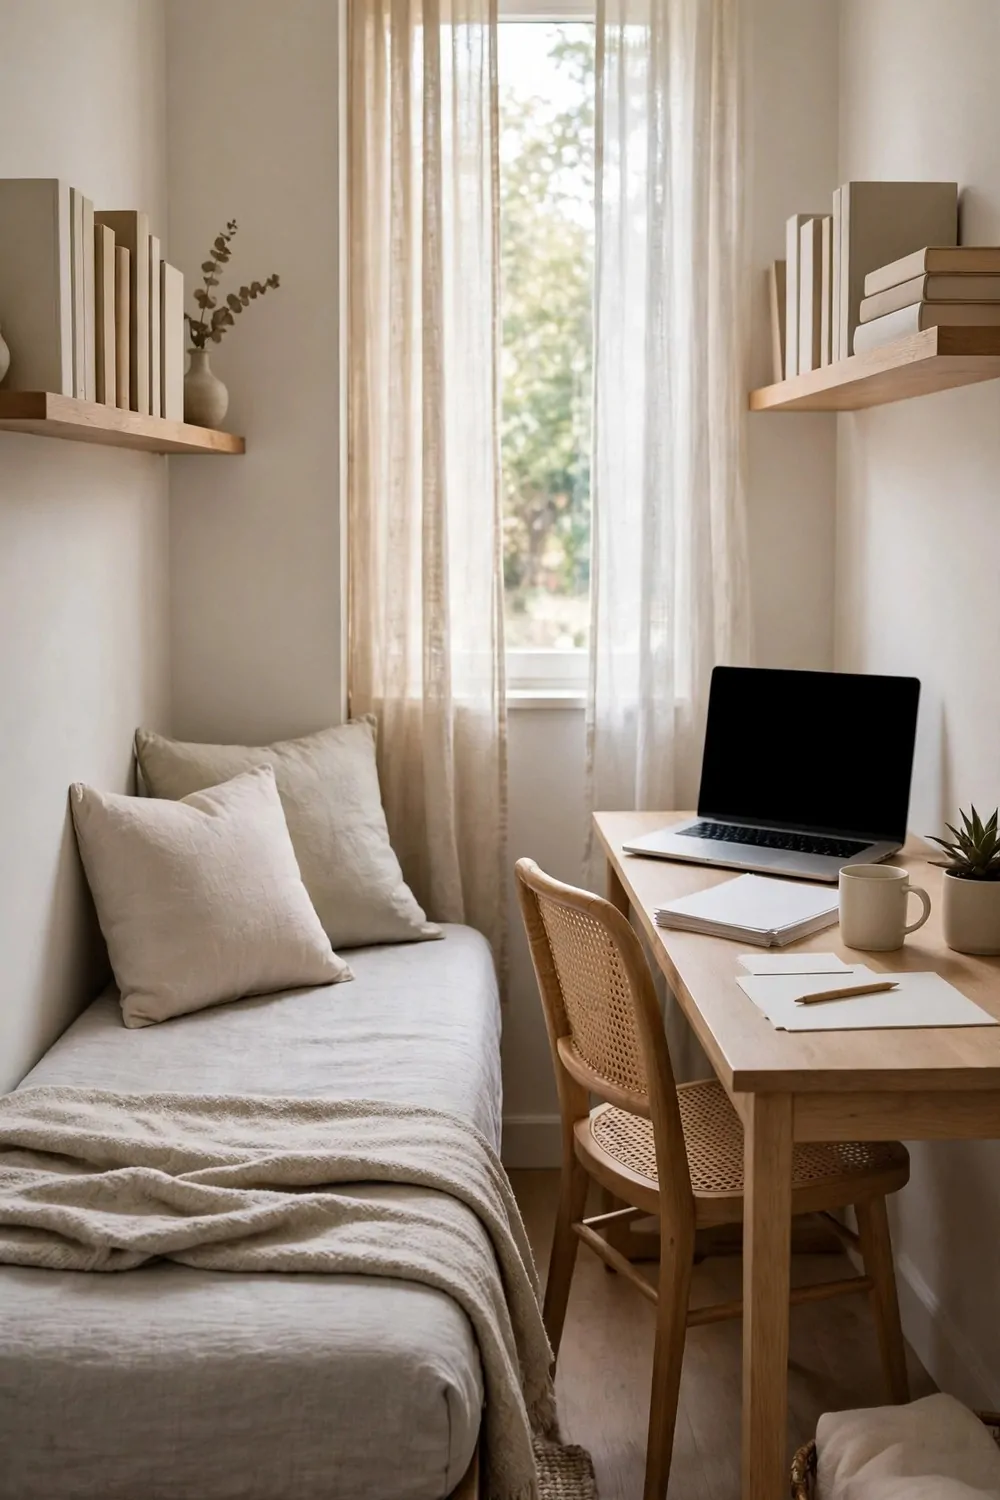
A daybed office does two jobs in one room. By day, the room is your office. By night, the daybed becomes a bed for a guest. You get a guest room without losing your office.
I set this up in my spare room, and it changed how I used the space. Before, the room sat empty most of the year. Now it works every day, and guests still have a comfy place to sleep.
Put the daybed along one wall, and the desk on the opposite wall. That keeps the two jobs apart. Work stays on one side. Rest stays on the other side.
Pick a daybed with storage under it if you can. Drawers under the bed hold spare bedding, office paper, or seasonal stuff. The room stays tidy because everything has a drawer to hide in.
Keep the desk area clear of guest stuff. No spare pillows on your desk chair. No guest towels on your monitor stand. When guests come, they use the daybed side, and your work side stays yours.
Add a small table or shelf between the two zones. It holds a lamp, a glass of water, or a book. It also marks the line between work and rest, so the room does not feel mixed up.
Use a screen or a curtain if you want more privacy for guests. A folding screen can sit between the desk and the daybed at night. In the morning, fold it away and the office is back.
Choose bedding that looks good in the daytime. A neat cover and two cushions make a daybed look like a sofa. A messy pile of blankets makes it look like an unmade bed all day.
This layout suits a spare room that earns its keep. You work there daily. Guests sleep there now and then. Both jobs work, as long as you keep the two sides clear and tidy.
The Galley Layout: Desk on One Side, Storage on the Other
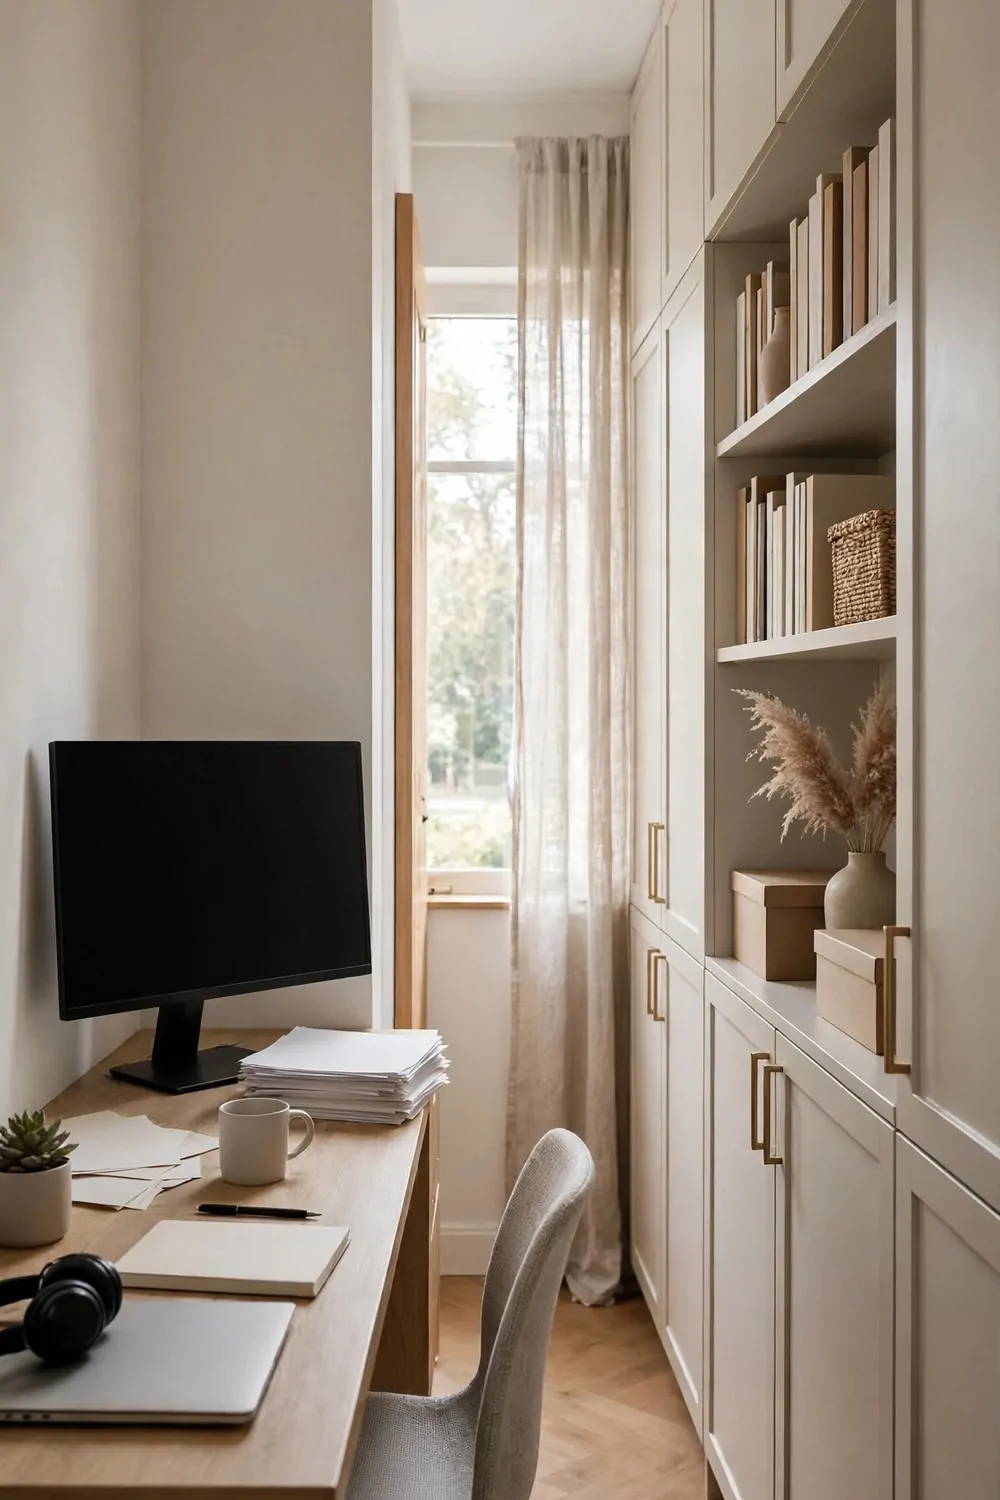
A galley layout is like a narrow kitchen. You have two long sides facing each other. One side holds your desk. The other side holds your storage. You work in the middle.
I like this layout in a long, narrow room. It uses both walls well. It stops one wall from doing all the work while the other wall sits empty and bored.
Put your desk along the wall with the best light. That is usually the window wall or the wall nearest the door. Your storage can sit on the darker wall, where light matters less.
Keep the middle walkway clear and wide enough to turn. You need room to pull your chair out and stand up. If the walkway is too tight, you will feel trapped between desk and shelves all day.
Use the storage wall for everything you do not use every minute. Files, boxes, spare paper, and books all live there. Your desk stays clear for the work you are doing right now.
| Clearance | What it means | Why it matters |
|---|---|---|
| Chair pull-out space | Room behind the chair to stand up | Stops the chair hitting the storage wall |
| Middle walkway | Clear path between desk and storage | Lets you turn and reach both sides |
| Drawer opening space | Room for drawers to open fully | Stops drawers jamming against the chair |
| Door swing space | Room for the door to open freely | Keeps the entry clear and safe |
| Shelf reach space | Room to step back from high shelves | Makes tall storage easy to use |
Label the storage wall by job. One shelf for files. One drawer for tech. One box for paper. Labels sound fussy, but they save you from hunting through five boxes for one folder.
Keep the desk side simple. One monitor, one keyboard, one lamp. The storage wall does the heavy lifting, so the desk can stay calm and clear.
This layout works best when the room is narrow but long. It turns a hallway-like room into a real office. It also keeps your work and your storage close, so you never have to leave the room to find a file.
Walk the middle path before you finish. Sit down, stand up, open a drawer, and reach a shelf. If every move feels easy, the galley is working. If you keep bumping into things, shift one side a little and try again.
The U-Shaped Layout for Bigger Rooms
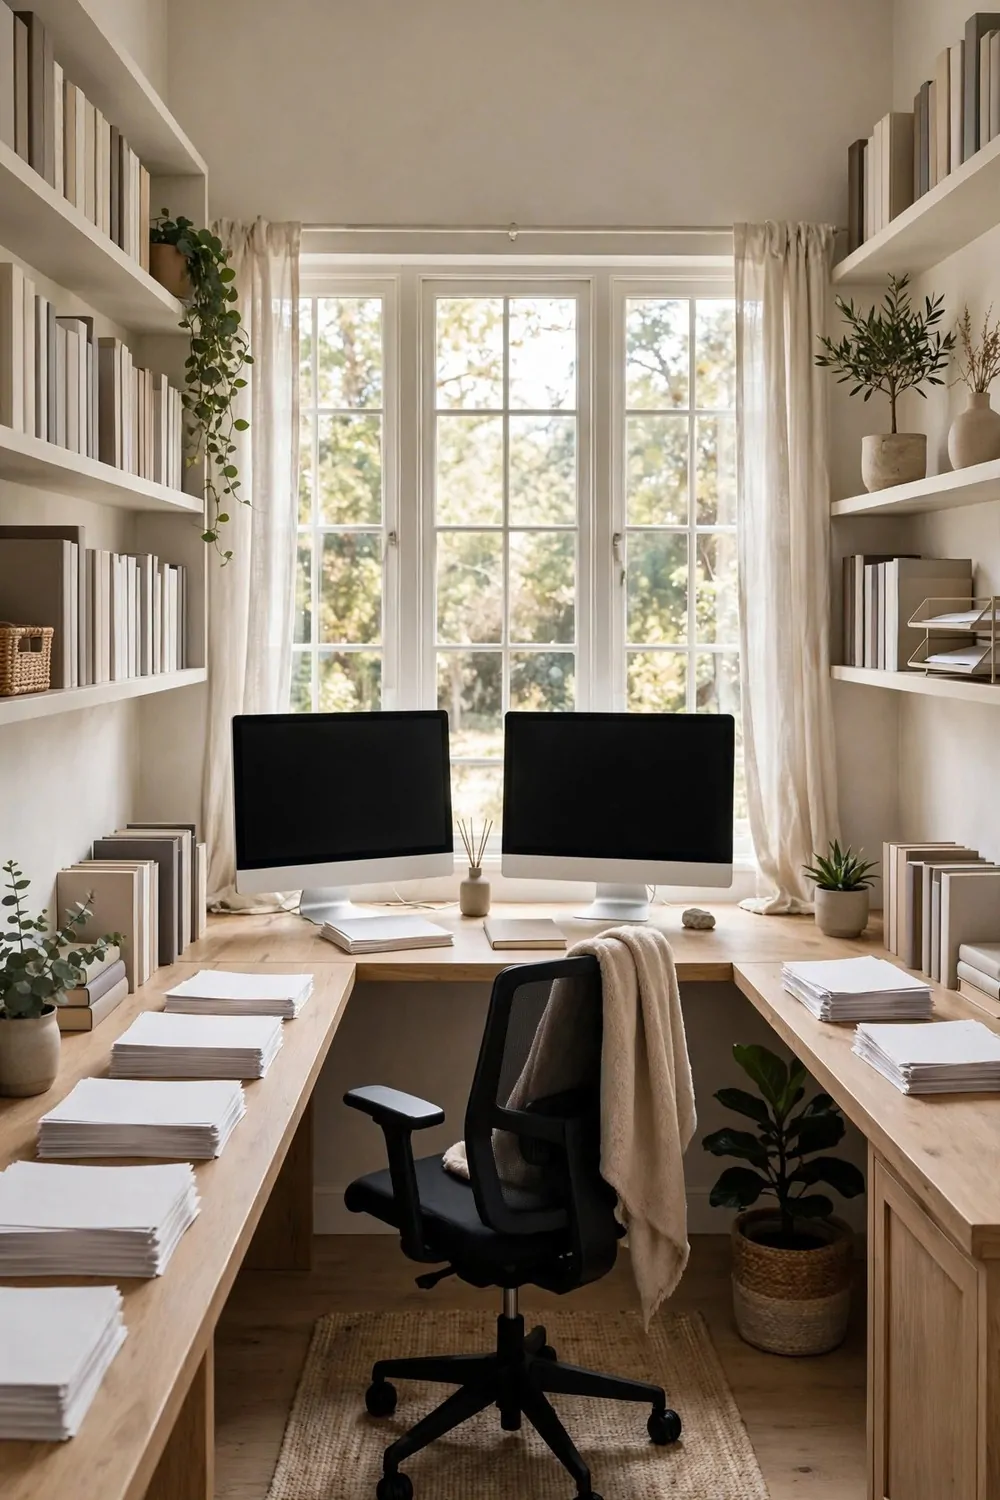
A U-shaped layout wraps your desk around three sides. You sit in the middle, with work surfaces on your left, in front of you, and on your right. Everything is within reach.
I tried this layout when I had a bigger room, and it felt like a proper studio. I could write on one side, check papers on the other side, and keep my screen in the middle. I barely had to stand up.
This layout needs a bigger room. A small room will feel boxed in by three desks. A medium or large room will feel full and useful, not crowded.
Put your main screen straight in front of you. That is your anchor. The side desks hold the second jobs, like papers, a printer, or a second screen.
Leave the open side of the U facing the door. That way you can walk in and sit down easily. You are not climbing over a desk to reach your chair.
Keep the middle of the U clear for your chair. You need room to turn left and right. A chair that spins helps a lot here, because you turn more than you walk.
Use the side desks for storage too. Low drawers under the side desks hold files and supplies. They keep the desk tops clear, which matters when you have three surfaces to keep tidy.
Light all three sides if you can. One lamp in the middle is not enough for a U shape. A small lamp on each side, or one bright overhead light, stops the corners from going dark.
This layout is best for people who juggle many tasks. If you write, file, print, and plan all in one day, the U shape keeps every job close. If you do one simple job all day, a smaller layout will feel calmer.
The Peninsula Desk That Juts Into the Room
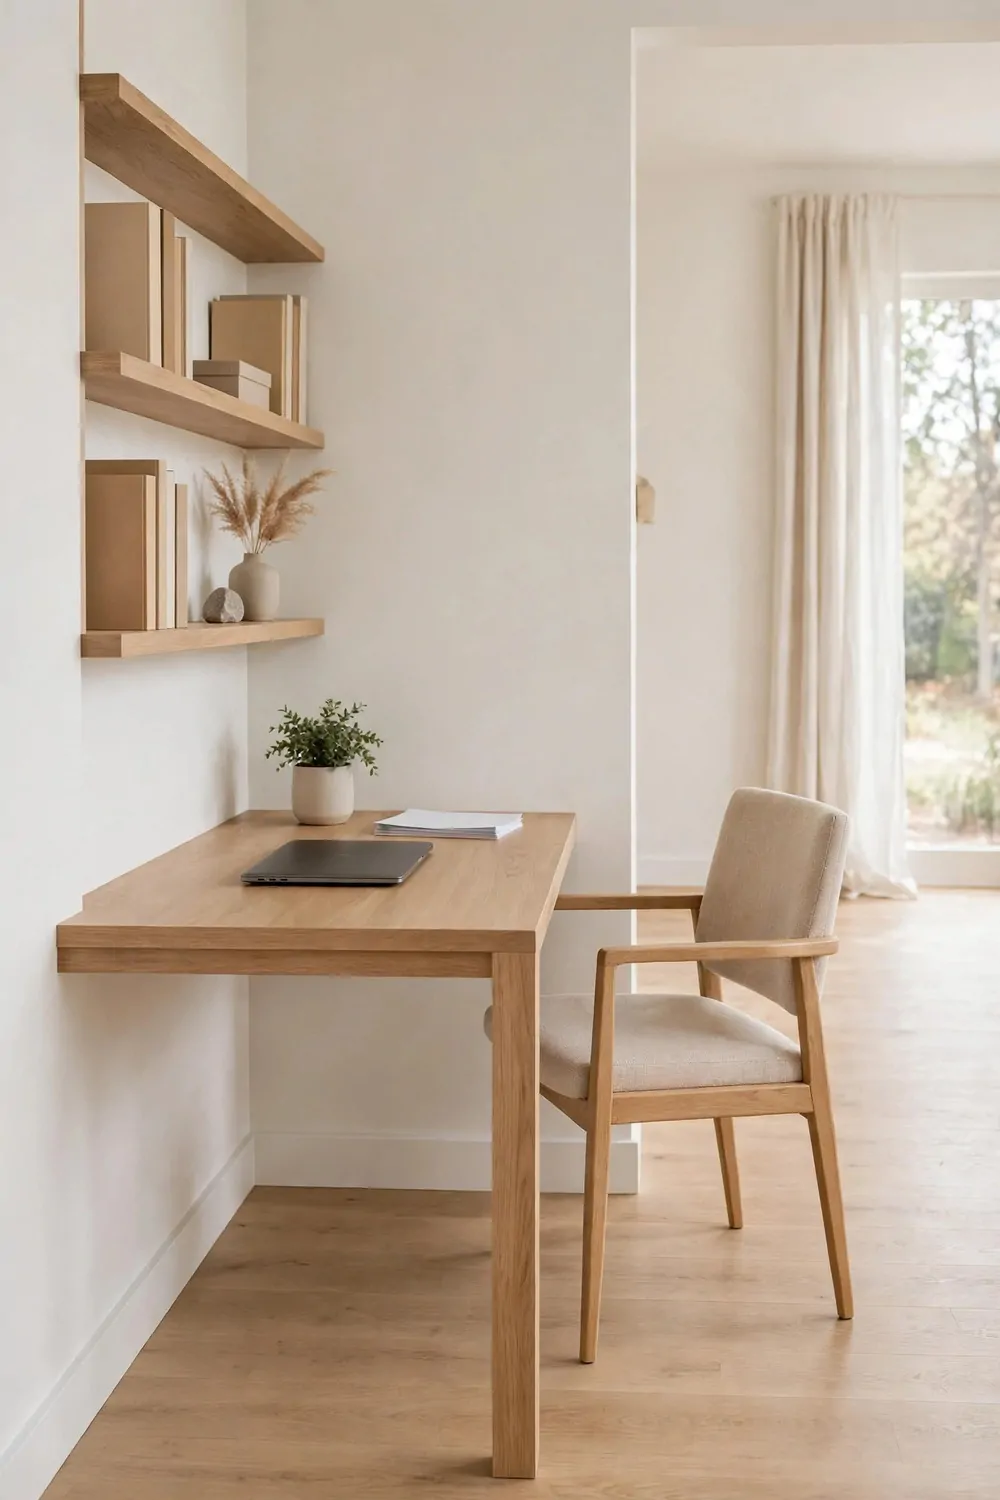
A peninsula desk sticks out from the wall into the room, like a small pier. One end is fixed to the wall. The other end floats free. You can sit on one side, or on both sides.
I like this layout because it breaks up a big, empty room. The desk becomes a divider. One side is your office. The other side is still living space, and the desk marks the line between them.
Fix the desk firmly to the wall at one end. The free end needs a strong leg or a panel. A wobbly peninsula will shake every time you type, and that shake gets old fast.
Sit on the long side facing the room, or sit at the free end facing the wall. Both work. Facing the room feels open and social. Facing the wall feels focused and private.
Use the wall end for storage. A shelf above the wall end holds books and boxes. The free end stays clear, so you can walk around it without bumping into a shelf.
Keep cables running along the wall end. Do not let them dangle off the free end. Cables on the free end get caught by feet and chairs, and they look messy from across the room.
This layout works well in an open-plan room. It gives you a desk without building a wall. It also lets you chat with family while you work, if that is what you want.
Leave room to walk around the free end. You need a clear path on at least one side. If the desk blocks the only walkway, it will annoy everyone who crosses the room.
Try a peninsula when your room feels too big and empty. It fills the middle without filling the whole room. It gives your office a clear home, and the rest of the room keeps its own job.
The Rolling Cart Layout for Tiny Rooms
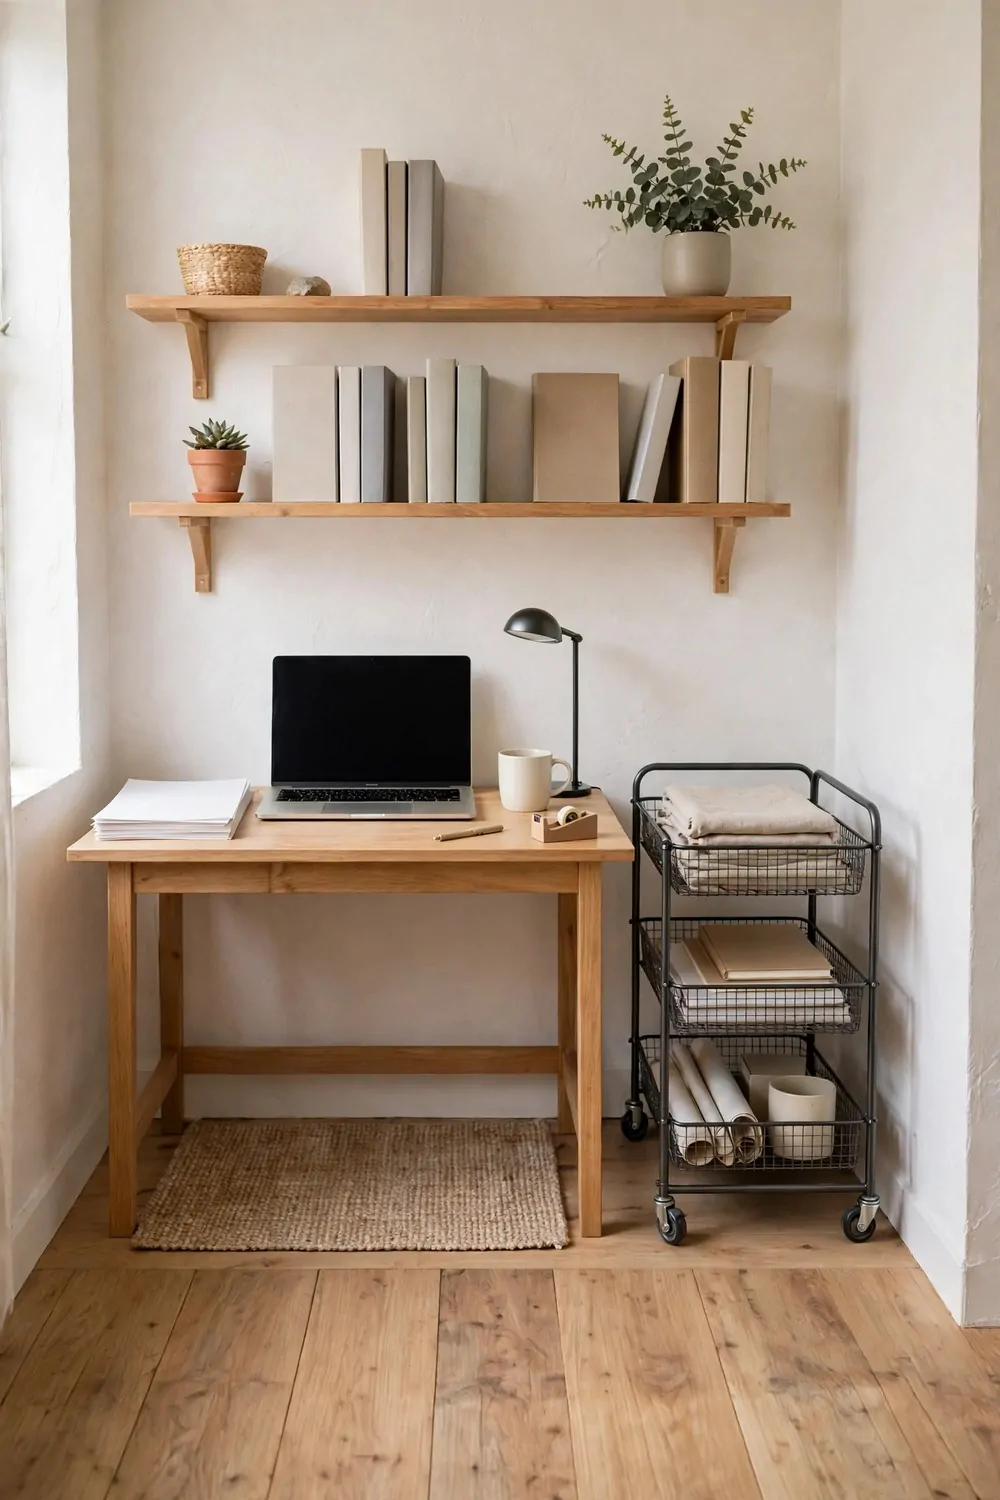
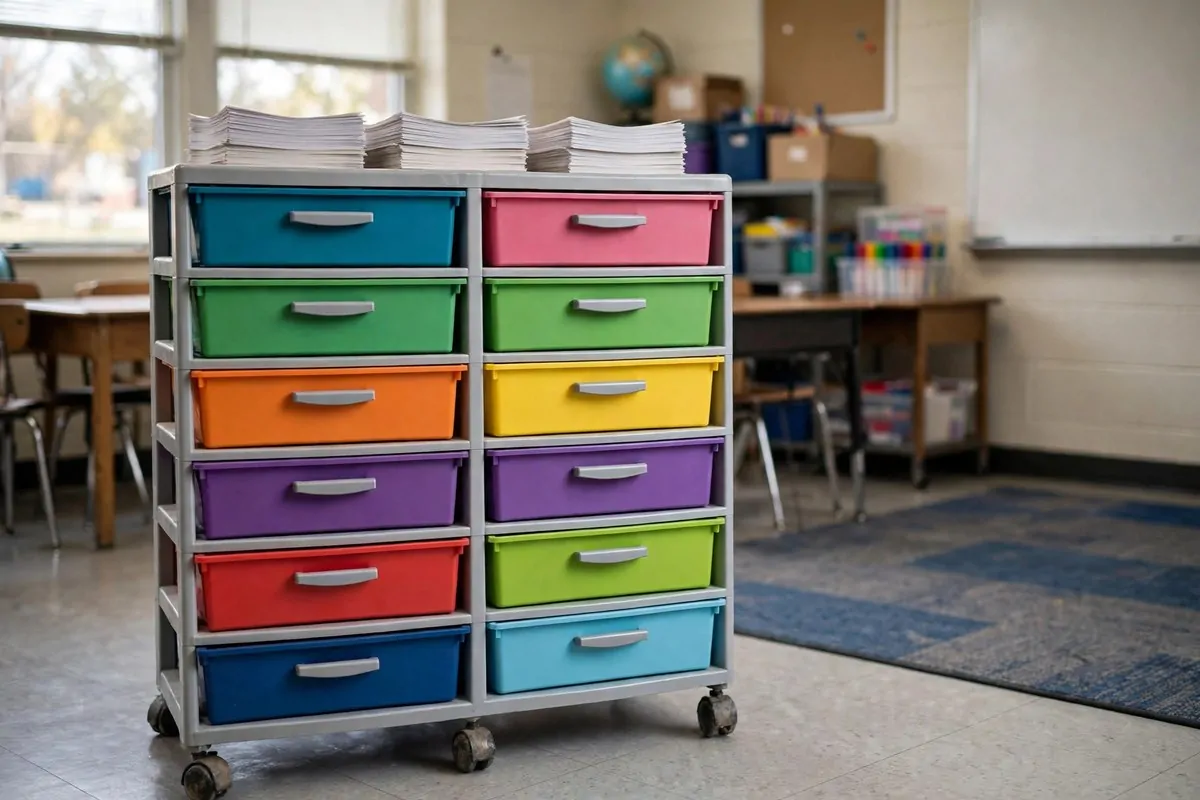
A rolling cart layout is built for the tiniest rooms. Your desk stays small and fixed. Your storage rolls. You pull the cart close when you need it, and push it away when you do not.
I used this in a room so small my desk barely fit. The cart held my printer, my paper, and my chargers. When I needed something, I rolled it over. When I finished, I rolled it back into its corner.
Pick a cart with smooth wheels that lock. Smooth wheels let you move it with one hand. Locks stop it from rolling away when you lean on it or bump it with your chair.
Keep the cart low and light. A tall, heavy cart will topple or block your view. Two or three shelves are plenty. Keep the heaviest things on the bottom shelf, where they keep the cart steady.
Use the top of the cart as a second work surface. It can hold a notebook, a mug, or a small plant. When the cart is parked, that top still works as a side table.
- Printer and paper live on the cart, not on the desk.
- Chargers and cables sit in one tray on the middle shelf.
- Books and files go on the bottom shelf, heaviest first.
- The cart parks in a corner when the workday ends.
- Wheels lock before you lean on the cart or write on it.
Park the cart in the same spot every day. A cart with no home will drift around the room. It will end up blocking the door or sitting in the middle of your walkway.
Keep the desk top for your screen and keyboard only. The cart does the storage job. That split keeps a tiny desk from drowning in paper and boxes.
This layout is perfect for a renter or a student. Nothing is fixed to the wall. Everything rolls. When you move rooms, you just roll the cart to its new spot and carry on working.
Test the cart path before you commit. Roll it from its parking spot to your desk and back. If it glides easily and locks firm, you have a winner. If it sticks or wobbles, try a different cart.
The Fold-Down Desk That Disappears
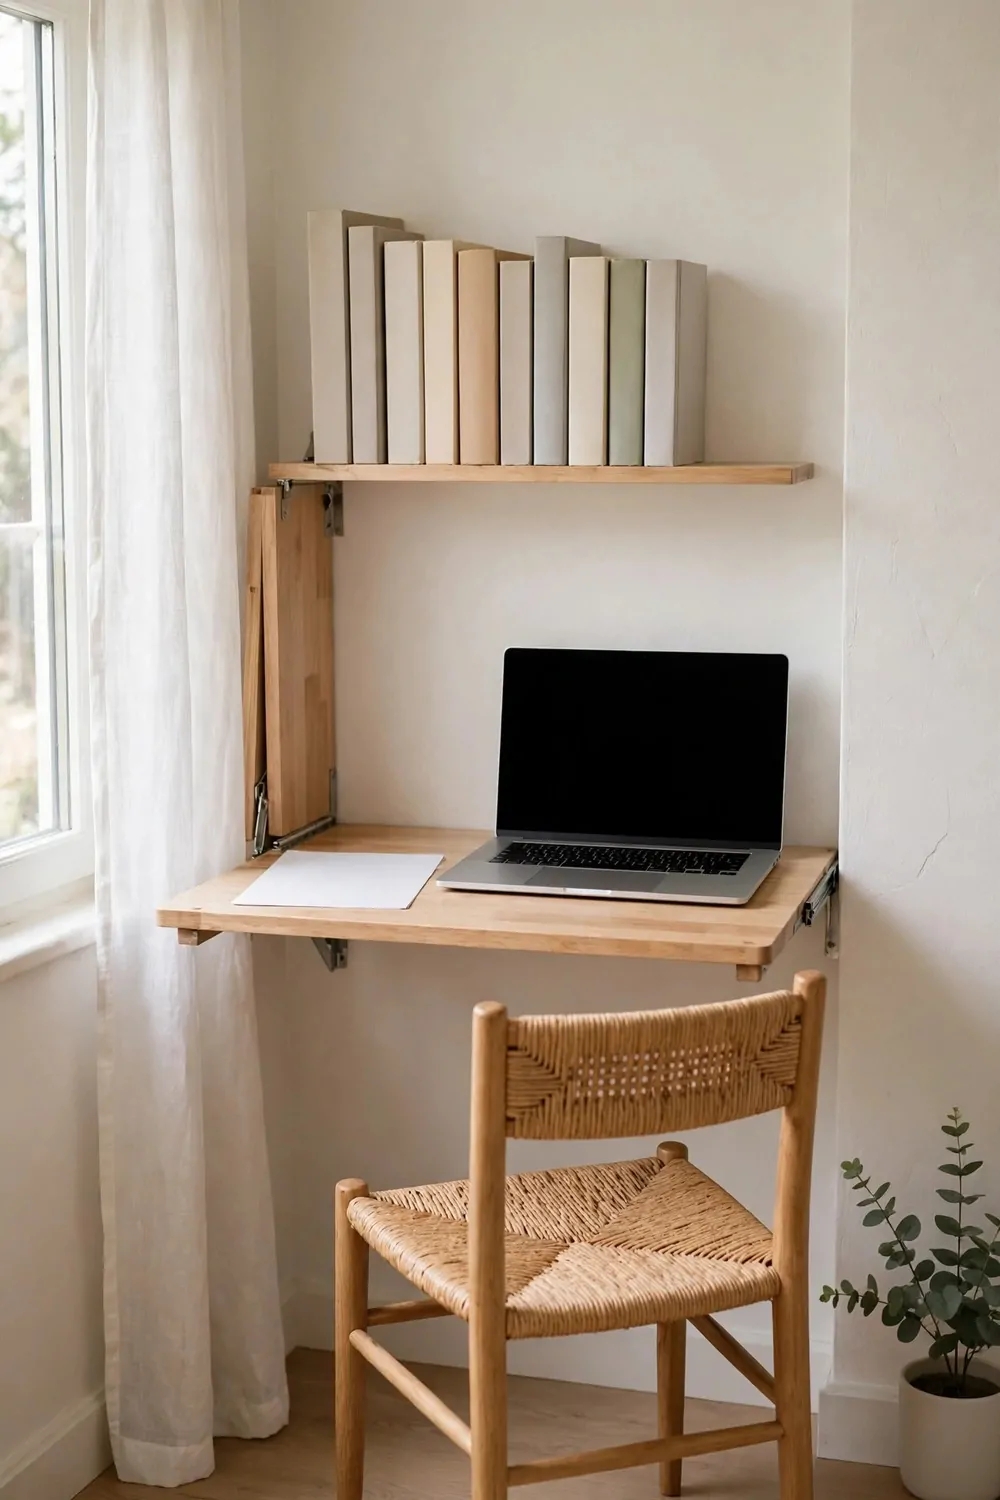
A fold-down desk is fixed to the wall and folds flat when you are done. Up, it is a desk. Down, it is just a flat panel on the wall. The room gets its floor back in seconds.
I love this layout for rooms that do many jobs. A dining room by night and an office by day. A guest room that needs to be an office on weekdays. The desk appears when you need it and vanishes when you do not.
Pick a strong wall and strong fixings. A fold-down desk holds your laptop, your arms, and your leaning weight. Weak fixings will sag or pull out, and that is a mess you do not want.
Keep what you store on the desk very light. A notebook and a pen are fine. Heavy books will strain the hinges. Store the heavy stuff on a shelf nearby, not on the folding top.
Fold the desk up at the end of every workday. Make it a habit, like closing a laptop. If you leave it down all the time, it stops being a disappearing desk and just becomes a small desk in the way.
Use the wall space above the desk for a small shelf or a pinboard. When the desk is folded up, that shelf still works. When the desk is down, the shelf holds the things you reach for most.
Check the chair height against the desk height. Fold-down desks sit at a fixed height, so you cannot adjust them. Sit in your chair and test it before you fix the desk in place for good.
Keep the floor under the desk totally clear. No boxes. No bags. The whole point is that the space opens up when the desk folds away, so the floor must be free to use.
This layout suits a small home with no spare room. It gives you a real desk without giving up a whole room. It also teaches a good habit, because you clear your desk every single day.
The Shared Table Layout for Two
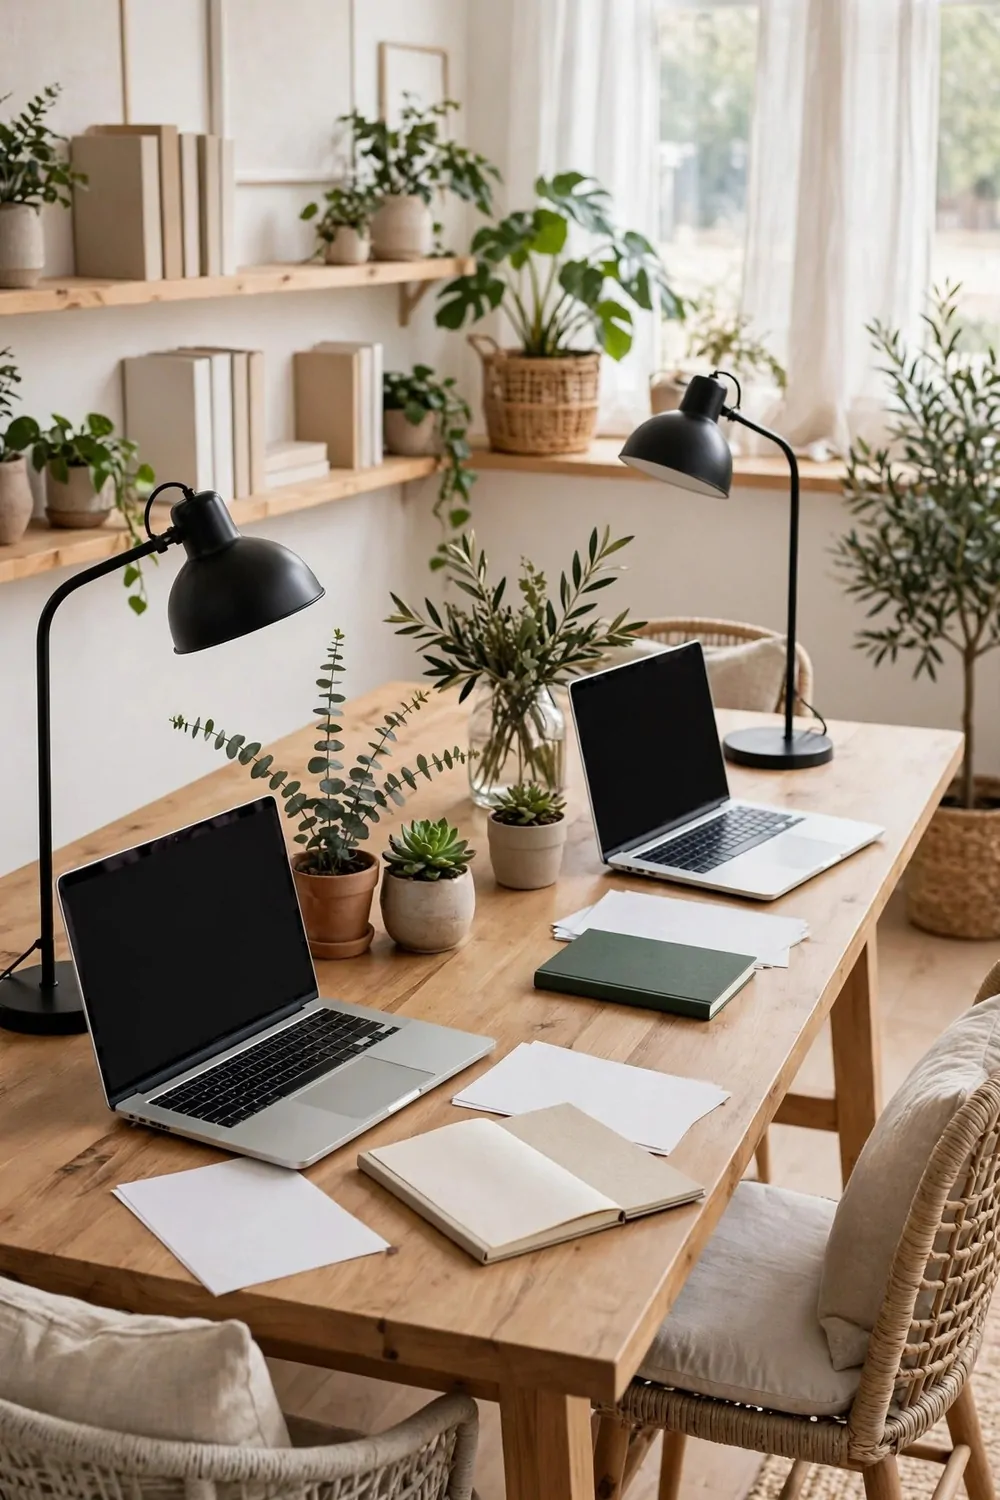
A shared table layout uses one long table for two people. You sit side by side, or across from each other. You share the table, but you each get your own end.
I like this layout for couples and siblings who work at home together. It feels friendly and open. You can chat easily, and you can also put your headphones on and focus when you need to.
Pick a table that is long enough for two screens. Each person needs room for a screen, a keyboard, and a notebook. A table that is too short will leave you both fighting for elbow room.
Sit across from each other if you want eye contact and easy talk. Sit side by side if you want to face the same wall and share the same view. Both work, so pick the one that fits your room.
Mark the middle of the table with a shared tray or a small plant. That line stops your stuff from creeping onto the other person’s side. It sounds small, but it stops a lot of little arguments.
Give each person their own storage. A small drawer unit or a box under each end keeps papers separate. Shared storage sounds nice, but it turns into a mixed pile fast.
Use a long power strip along the back of the table. Two laptops, two phones, and two lamps need a lot of plugs. One strip keeps the cables in one place and off the floor.
Keep the table top calm. Two people make twice the clutter. Clear the table at the end of the day, or the mess will double again tomorrow and the table will feel tiny.
This layout needs a room with space for a long table. It is not for a tiny nook. In a bigger room, though, it is warm, simple, and it keeps two workers close without crowding them.
The Reading Corner Plus Desk Combo
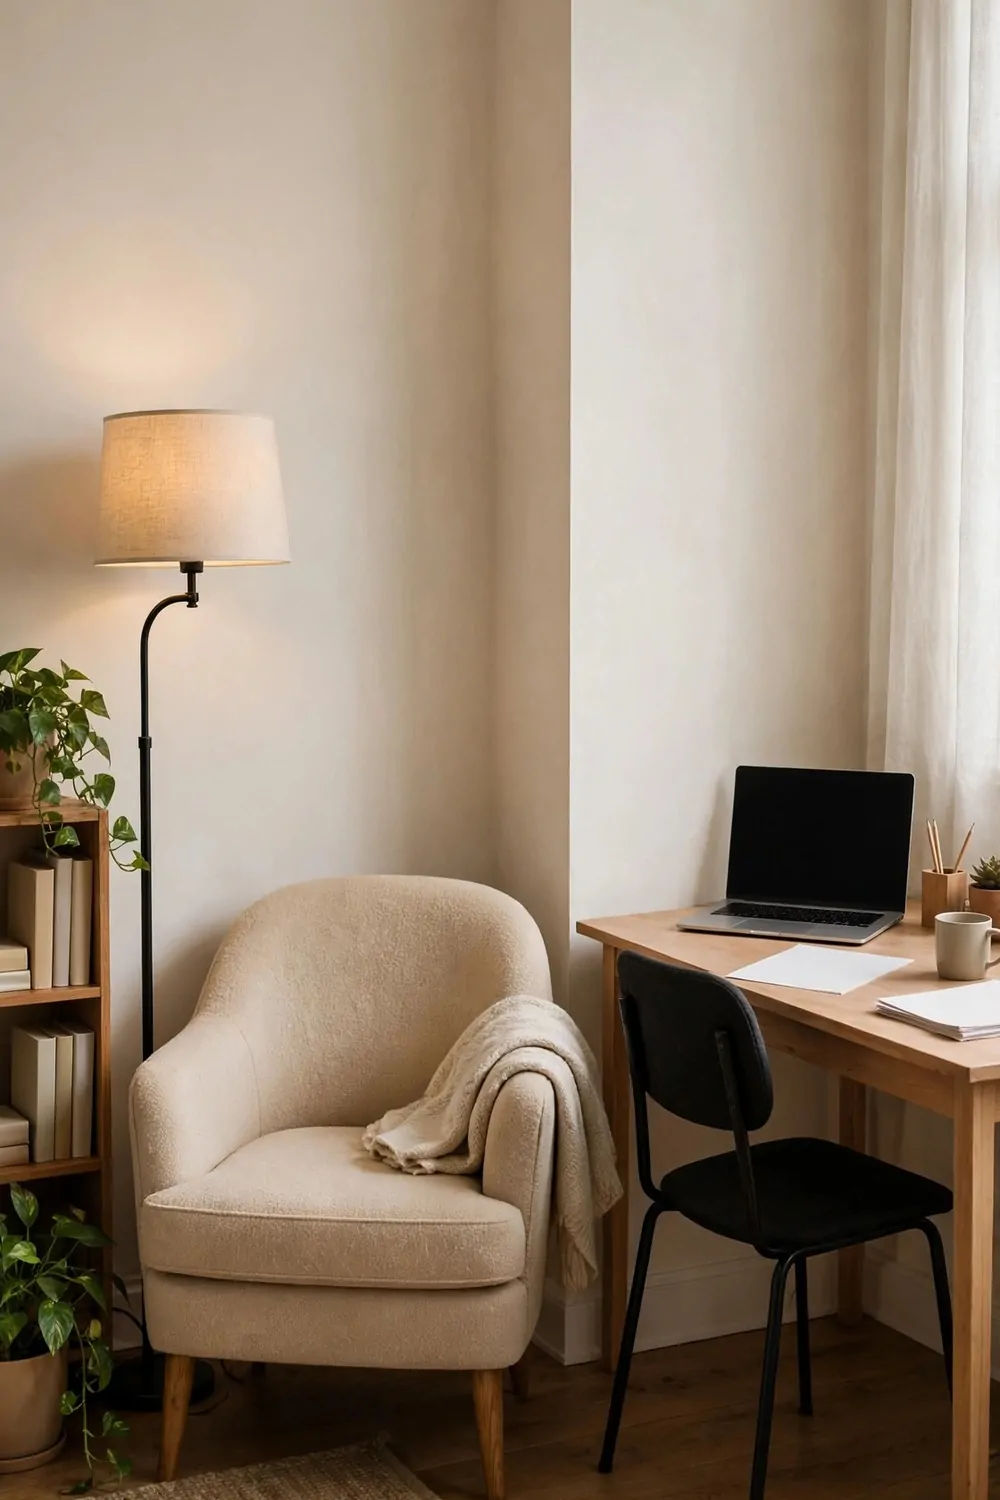
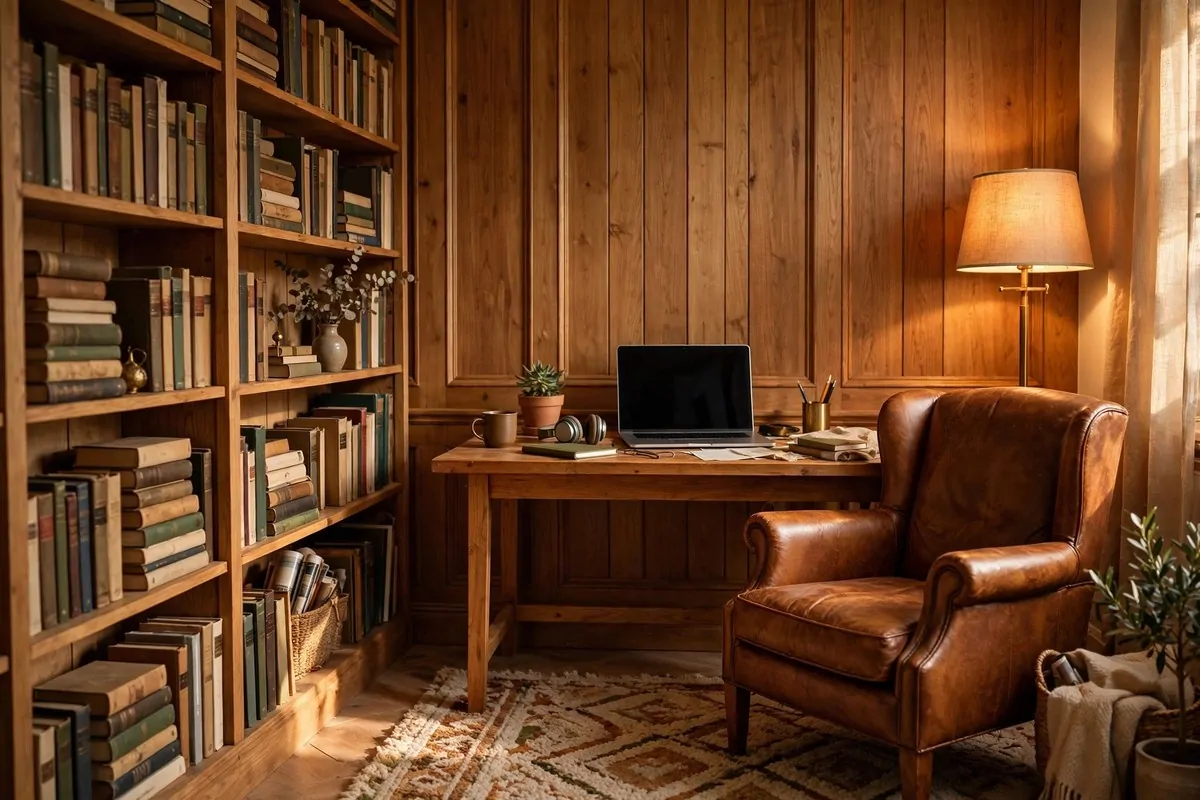
This layout pairs a desk with a reading corner in the same room. One corner holds your desk and screen. Another corner holds a comfy chair, a lamp, and a small stack of books.
I built this combo because my workday is not all screen time. I read reports. I think through ideas. I take notes on paper. A reading chair gives those quiet jobs a proper home.
Put the desk where the light is best for screen work. Put the reading chair where the light is warm and soft. The two spots can face different walls, and that difference helps your brain switch jobs.
Keep the reading corner simple. A chair, a floor lamp, and a small side table are enough. A big pile of books will make it feel like storage, not a restful corner.
Use the reading chair for thinking work. Read a report there. Plan your week there. Sketch an idea there. When you sit in that chair, your brain learns that it is time to think, not to answer emails.
Keep a notebook and a pen on the side table. Ideas come fast in a comfy chair, and they vanish just as fast. A notebook catches them before they are gone.
Do not put a screen in the reading corner. No tablet on the armrest. No second monitor in the corner. The point is a screen-free spot, and a screen will pull you right back to work mode.
Leave a clear path between the desk and the chair. You will walk back and forth many times a day. That walk is a good thing. It stretches your legs and gives your eyes a break from the screen.
This combo suits a room with two usable corners. It turns one room into two work zones. One for doing. One for thinking. Both matter, and both deserve their own spot.
The Storage Wall Layout: Everything on One Wall
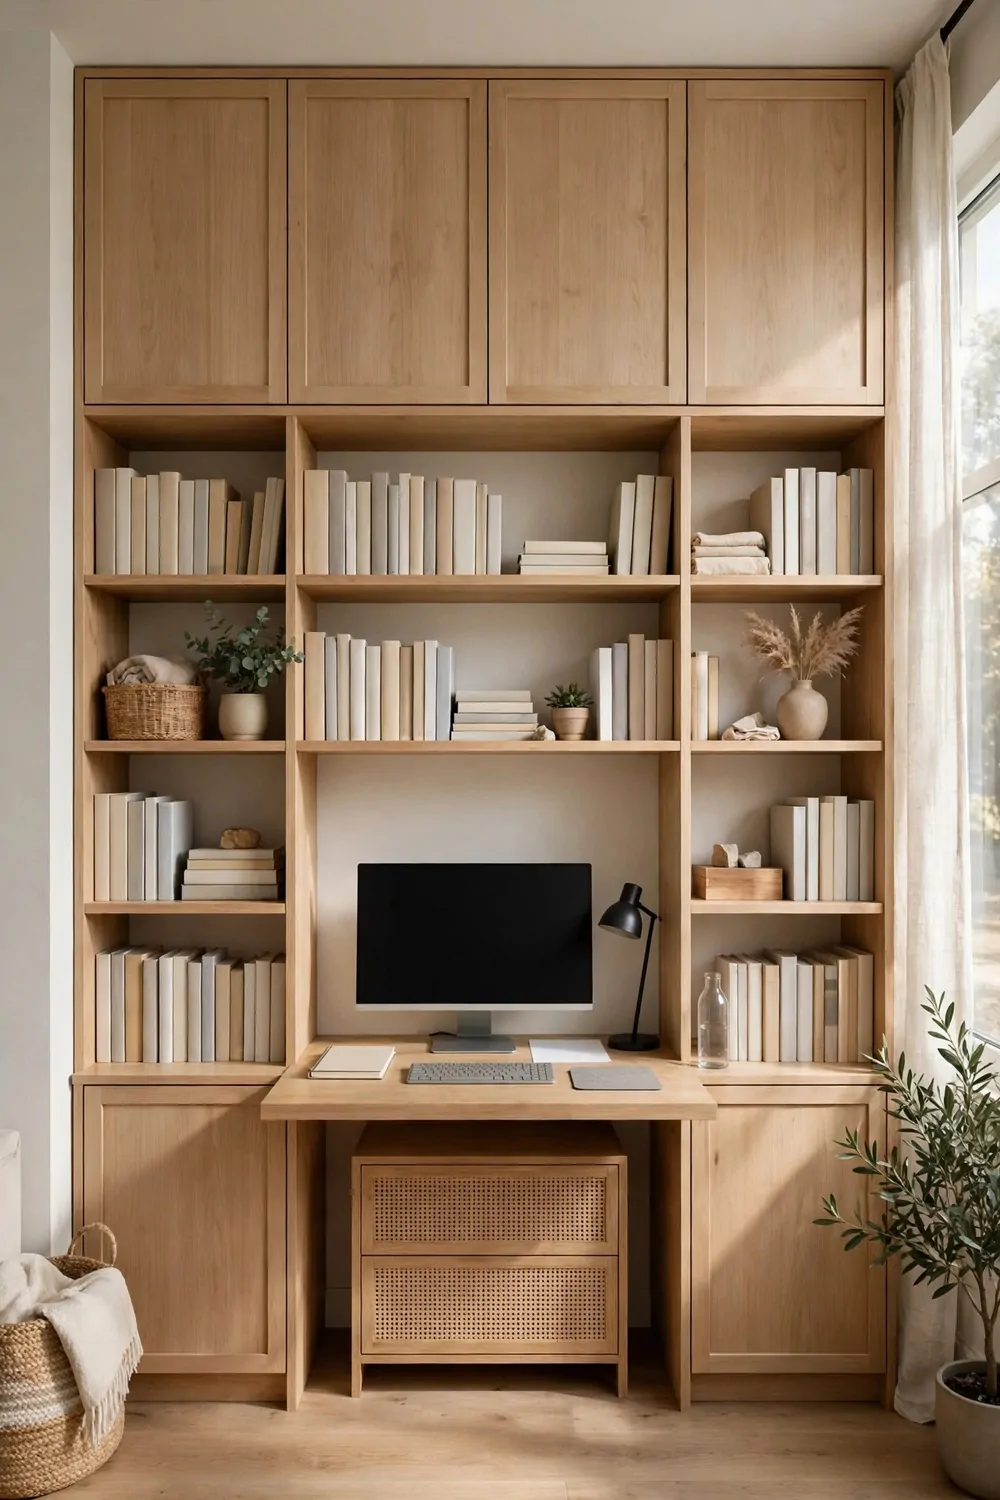
A storage wall puts everything on one wall. Cabinets, shelves, and your desk all line up together. The other walls stay bare. The room feels tidy because one wall does all the work.
I like this layout when a room feels messy no matter what I do. One storage wall gives every single thing a home. When everything lives on one wall, the rest of the room can breathe.
Build the wall from the floor to the ceiling if you can. Tall cabinets use space that often sits empty. They hold files, boxes, and supplies that would otherwise spread across the room.
Fit your desk into the middle of the storage wall. The desk can sit between two cabinets, or under a run of shelves. It feels built in, and it uses the wall space perfectly.
Keep daily items at arm’s reach. Put the things you grab every day on the desk and the shelf just above it. Put the things you use once a month on the high shelves, where they stay out of the way.
| Storage wall spot | What lives there | Check it |
|---|---|---|
| Desk top | Screen, keyboard, lamp, and notebook | Clear it every evening |
| Shelf above the desk | Daily books, files, and chargers | Keep only what you reach for daily |
| Low cabinets | Files, paper, and office supplies | Label each door or drawer |
| High shelves | Seasonal items and old files | Check twice a year and clear old stuff |
| Closed cupboards | Tech, cables, and messy items | Doors shut to hide the clutter |
Use closed doors for the messy stuff. Open shelves look great for books and pretty boxes. Closed cupboards hide cables, chargers, and half-used supplies, and the wall still looks calm.
Leave the opposite wall empty or nearly empty. One piece of art is plenty. An empty wall makes the storage wall look planned, not crowded, and it gives the room a sense of space.
Light the storage wall well. A wall full of cabinets can look dark. A bright overhead light, or a strip light under the shelves, keeps the desk area bright and easy to work in.
This layout is best when you own a lot of stuff. Files, books, craft supplies, and tech all need a home. One wall gives them all a place, and the rest of your room stays free for living.
The Diagonal Desk That Opens the Room
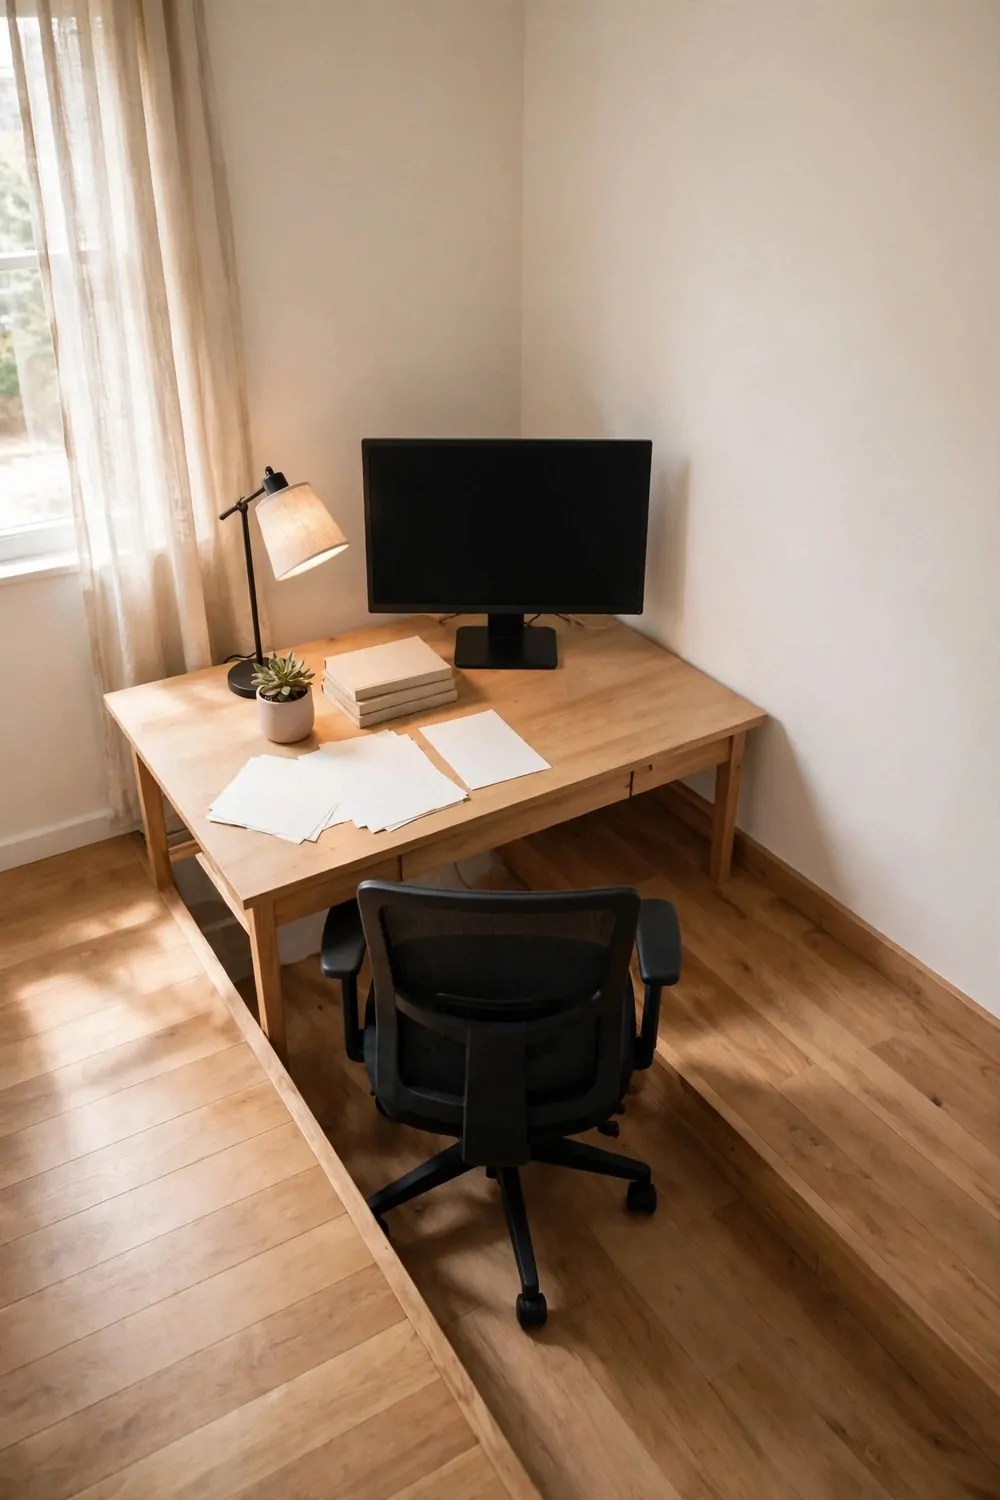
A diagonal desk sits at an angle across a corner. It does not hug the wall. It cuts across the corner and leaves open floor on both sides. The room feels bigger, even though the desk is the same size.
I tried this layout in a square room that always felt boxy. The angled desk broke up the straight lines. The room felt softer and more open, like it had more air in it.
Place the desk so its back corner points into the corner of the room. The front edge faces into the room at an angle. You sit facing the room, not facing a flat wall.
Leave space behind the desk for cables and air flow. A diagonal desk leaves a triangle of space in the corner behind it. Use that triangle for a power strip, a small bin, or a plant.
Put a rug under the desk at the same angle. A straight rug under an angled desk looks wrong. An angled rug follows the desk and makes the layout look planned, not accidental.
This layout suits a room with a tricky corner. A corner with a radiator, a door, or a sloped wall can be hard to use with a straight desk. An angled desk works around the problem instead of fighting it.
Keep the desk top simple. A diagonal desk shows more of its surface from the door. Clutter on an angled desk stands out more, so keep papers in a tray and cables tucked away.
Check the chair space on both sides. You need room to pull out and turn. If one side is blocked by a wall, angle the desk a little more until both sides feel open.
Try this layout when a straight desk makes your room feel stiff and dull. The angle adds a little life to the space. It is a small change, but you feel it every time you walk into the room.
The Split-Level Layout: Work Zone and Meeting Zone
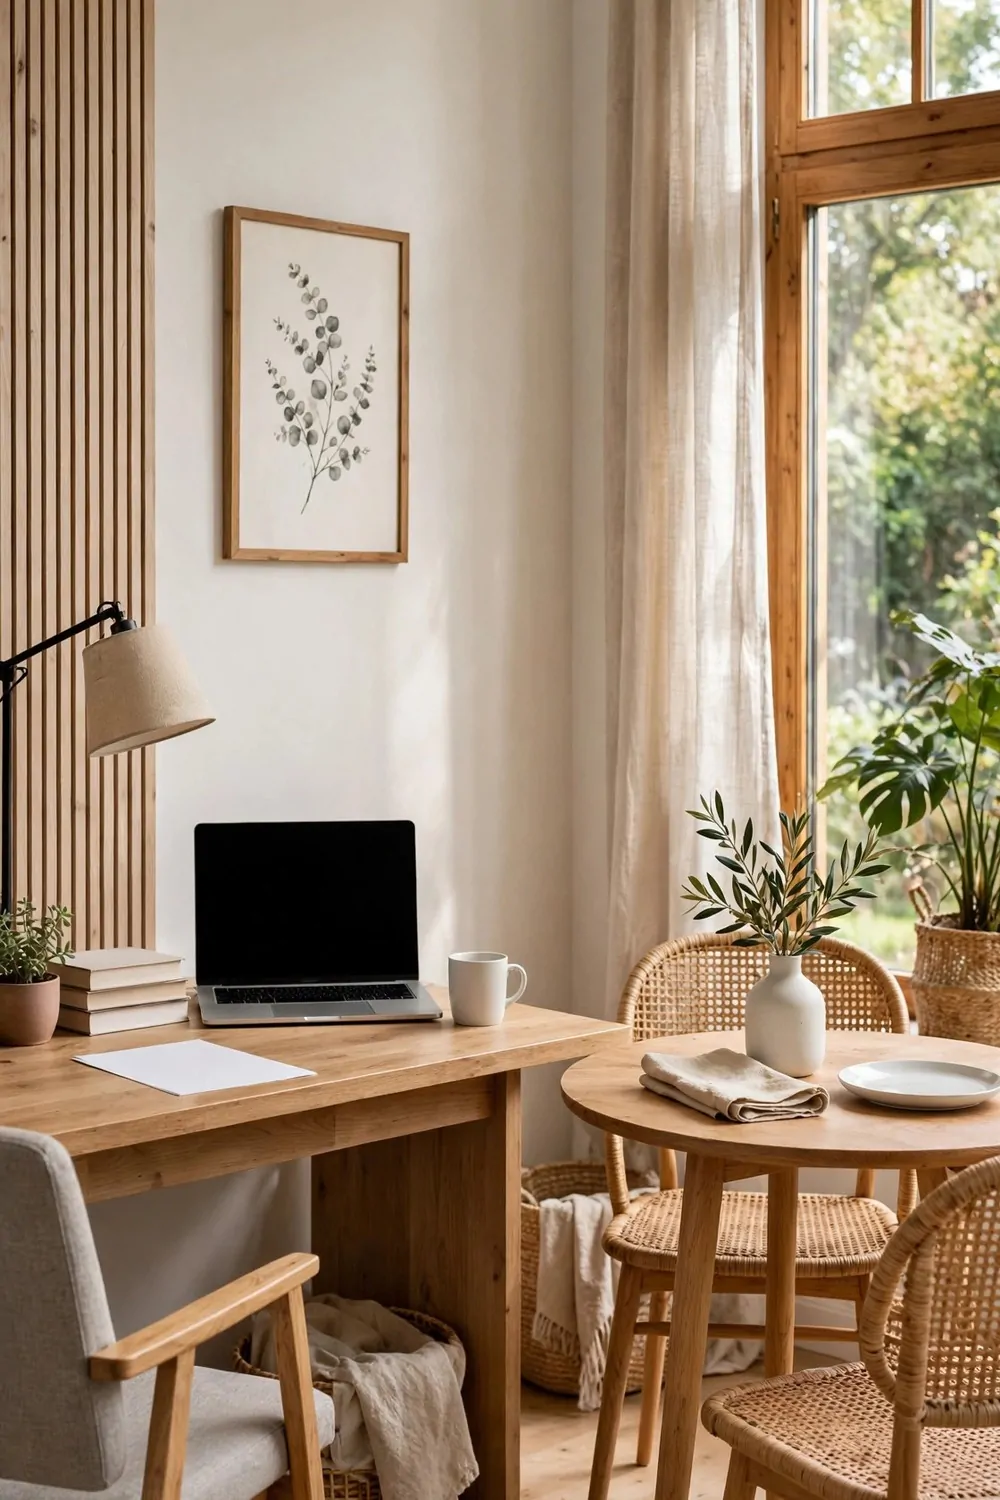
A split-level layout divides the room into two zones. One zone is for focused work at your desk. The other zone is for meetings, calls, or thinking, with a small table and chairs.
I set this up when my calls started taking over my desk. I needed a spot to talk, and a spot to write, and one desk could not do both well. Two zones fixed that problem in one weekend.
Put the work desk on the quiet side of the room, away from the door. Put the meeting zone near the door or the window. That way visitors and calls stay near the entry, and your deep work stays undisturbed.
Use a rug to mark each zone. One rug under the desk. One rug under the small table. Rugs are cheap dividers, and they tell your brain which zone you are in the second you step onto one.
Keep the meeting zone simple. A small round table and two chairs are enough. Add a notebook and a glass of water, and you have a proper meeting spot without a big boardroom table.
- Work zone: desk, screen, lamp, and daily files only.
- Meeting zone: small table, two chairs, and a notebook.
- Rugs mark the line between the two zones.
- Calls move to the meeting zone when they run long.
- Both zones stay tidy, so either one is ready in seconds.
Move to the meeting zone for long calls. Sitting at a table feels more like a real meeting. It also stops your desk from becoming a call center, with headphones and notes piled everywhere.
Use the meeting zone for reading and planning too. When you need to think, step away from your screen and sit at the table. Your brain gets a fresh view, and fresh ideas often follow.
Keep a clear path between the two zones. You will walk between them often. A blocked path will make you stay at your desk all day, and the second zone will sit unused.
This layout needs a medium or large room. A tiny room cannot hold two zones well. In a bigger room, though, it gives your workday a rhythm, with a place to focus and a place to talk.
The Minimal Layout: Desk, Chair, One Shelf
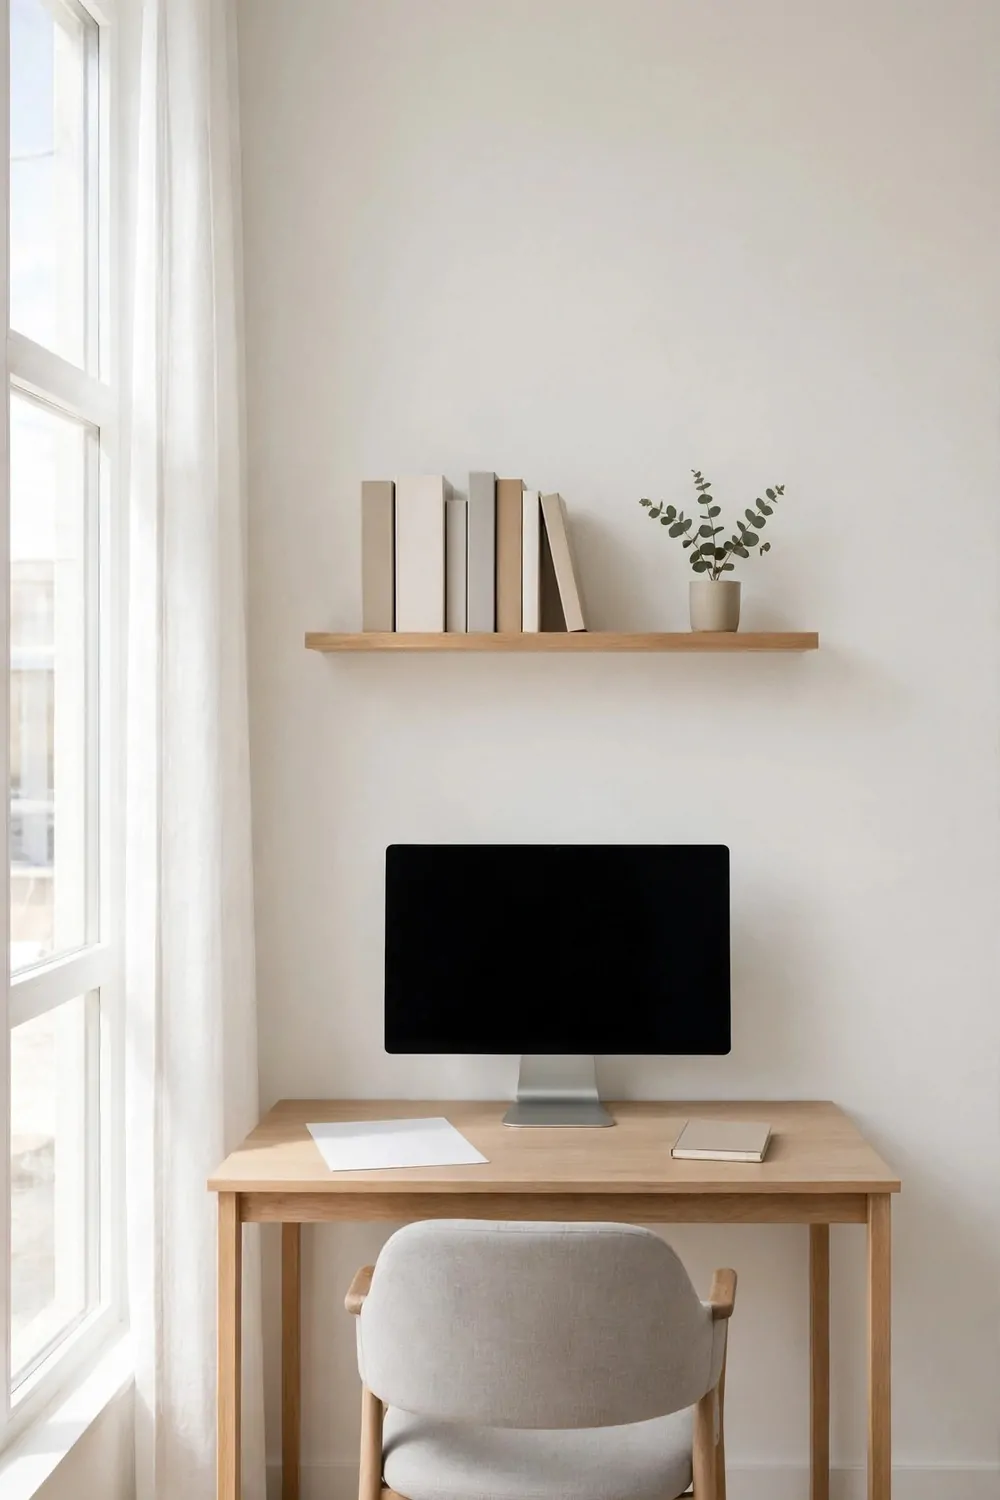
The minimal layout has just three things. A desk. A chair. One shelf. Nothing else is allowed to live in the room. It sounds stark, but it feels calm and clear.
I tried this layout when my office had grown messy and loud. I took everything out except the desk, the chair, and one shelf. My work got better in a week, because there was nothing left to distract me.
Pick a good desk and a good chair. With only three pieces, each one matters more. A wobbly desk or a sore chair will ruin the whole layout, so spend your care on those two pieces.
Put the one shelf above the desk, at arm’s reach. That shelf holds your daily essentials. A few books. A notebook. A charger. If it does not fit on that shelf, it does not live in the room.
Keep the walls bare. No art. No pinboard. No extra hooks. Bare walls are part of the calm. They give your eyes a rest, and they make the room feel bigger than it is.
Store everything else somewhere else. Files go in another room. Supplies go in a closet. The minimal room is for working, not for storing, and that rule keeps it minimal.
Clean the desk at the end of every day. With only three pieces, a messy desk stands out fast. A two-minute tidy keeps the room feeling fresh and ready for tomorrow.
This layout is not for everyone. If you need lots of paper, tools, or samples close by, you will feel starved. If you work mostly on a screen, though, you may find it frees your mind.
Try it for one month. Live with just desk, chair, and one shelf. If you feel calmer and get more done, keep it. If you keep fetching things from other rooms, add one small drawer and call it done.