17 Group Photo Studio Ideas That Fit Everyone in Frame

I counted my head in our last family photo three times before I found it. It was hiding behind my uncle’s shoulder, just a smile and one eye. That is exactly the problem these Group Photo Studio Ideas fix.
Big groups are hard to photograph. Someone always gets cut off at the edge. Someone else disappears behind a taller head. And the backdrop ends right where the last person stands.
The good news is that fitting everyone in frame is mostly about the setup, not the camera. Wide backdrops, raised rows, benches, and a little planning do all the heavy work for you.
I spent weeks looking at how real studios handle big groups. These 17 ideas are the ones that actually work, whether you are shooting in a real studio or a spare room at home.
Let us get everyone in the frame. All of them. Nobody hiding behind shoulders this time.
1. The Wide White Seamless Sweep
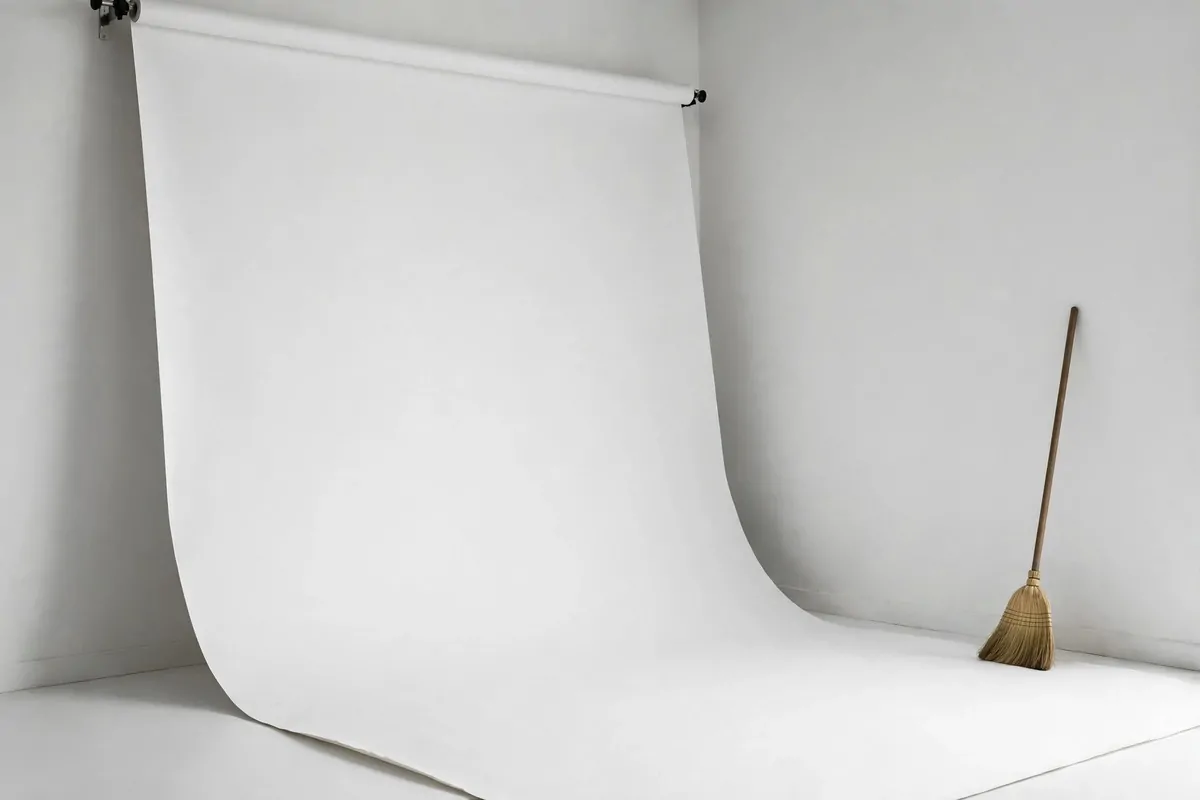
White seamless paper is the classic studio move for a reason. It is clean, it is bright, and it never distracts from faces.
For groups, the trick is width. A narrow roll fits one person nicely and ten people terribly.
Most studios keep a 106-inch wide roll just for group sessions. That is nearly nine feet of white, wall to floor, in one smooth curve.
The paper rolls down the wall and across the floor. No seam, no line where wall meets ground. Just one endless white field.
Set your group a few feet in front of the sweep. The curve of the paper catches light beautifully and fades into soft white behind everyone.
I like this setup for teams, classes, and big families. It looks expensive but it is really just paper and two light stands.
Keep the floor part clean. Feet and shoes show up fast on white, so a quick sweep with a broom before the session matters more than any camera setting.
Here is the simple part most people miss. Cut the paper fresh for each group session if you can. Even small scuff marks read loudly in a wide shot.
The light setup can stay simple too. Two soft lights, one on each side, aimed at the paper, not the people. The bounce does the rest.
If you are buying your first roll, go wider than you think you need. Extra paper can be cropped out of the photo. A backdrop that is too narrow can never be fixed later.
| Group size | Backdrop width that works |
|---|---|
| 2 to 4 people | 53 to 86 inches |
| 5 to 8 people | 86 to 106 inches |
| 9 to 15 people | 106 inches or wider |
| 16 or more people | Two rolls side by side, or a 20-foot wall |
2. Tiered Portable Risers
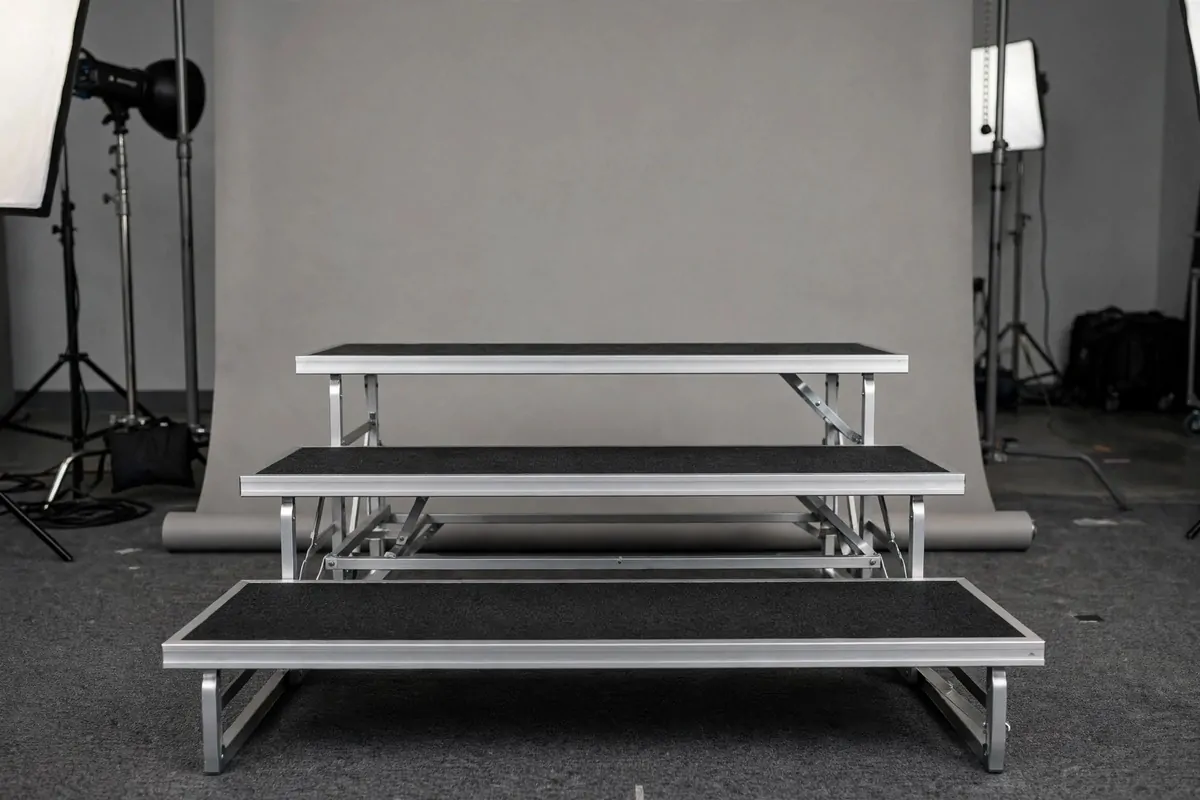
Choirs figured this out a hundred years ago. If everyone stands on the floor, the back row disappears. Put the back rows on steps and suddenly every face shows.
Portable risers are folding platforms, usually in two or three levels. Each level is about eight inches higher than the one in front.
They fold flat for storage and unfold in minutes. One person can set up a three-level riser in less time than it takes to make coffee.
This is the single best purchase for anyone who photographs groups often. Schools, teams, office groups, big families, all of them fit.
Arrange by height on the risers too. Taller people go in the back even on the riser. Shorter people take the front edge of each level.
The camera should sit at the height of the middle row’s eyes. That keeps the front row from looking huge and the back row from looking tiny.
A fun detail: risers make group photos feel organized and proud. People stand a little straighter when they have a step to stand on. It shows in the photo.
Watch the edges of the risers in your frame. Nothing ruins a group shot like a silver metal edge cutting across the bottom of the picture.
If you do not own risers, sturdy milk crates with a board across them work in a pinch for small kids’ groups. Just test the weight first, safety always wins.
3. Benches for the Front Row
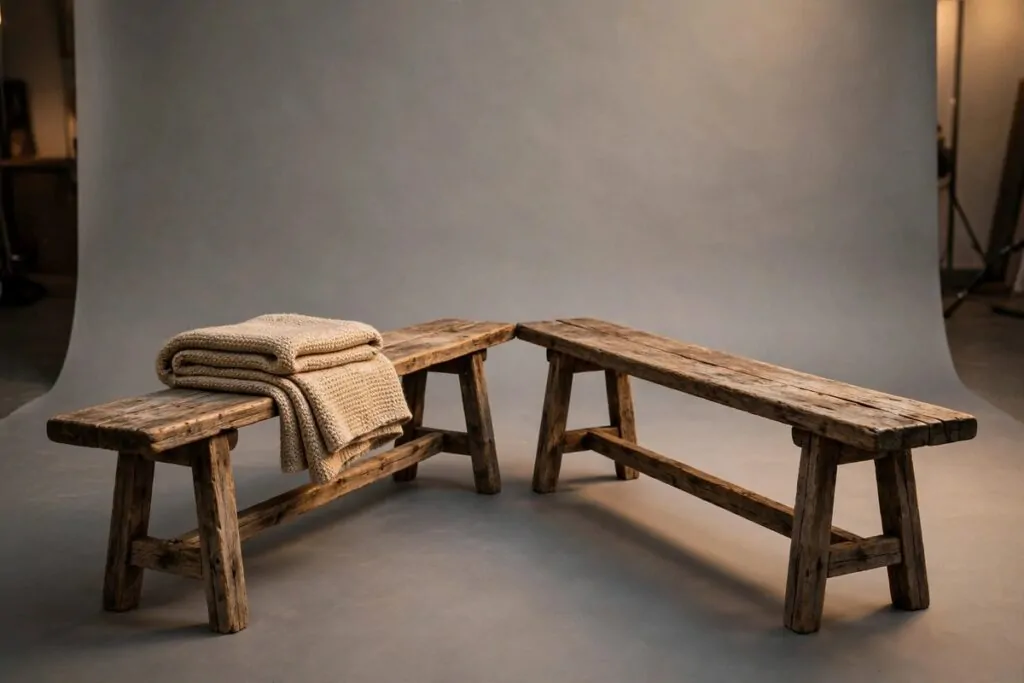
A long wooden bench in front of your standing rows changes everything. It drops the front row’s heads by a full foot, so the row behind them shows clearly.
Benches are cheap, light, and they photograph well. Wood adds warmth that plastic chairs never do.
Seat three to five people per bench depending on the bench length. Leave no gaps; shoulders should nearly touch.
Put your smallest kids or shortest adults on the bench ends. They fill the frame nicely and nobody’s head gets lost behind a neighbor.
The classic three-row formula is this: bench sitters in front, standers in the middle, standers on a riser or step stool in back. Clean and simple.
Two benches angled slightly toward each other make a shallow V shape. This pulls the group’s eye toward the camera and looks natural, not stiff.
I have seen studios keep two benches just for this job, nothing else. They earn their storage space every single week.
Dress the bench ends with a plant or a basket if you want a styled look. Small props at the edges frame the group instead of cluttering it.
Check that the bench does not wobble. A nervous sitter looks tense in photos, and a wobbly bench makes everyone nervous.
One more trick: drape a simple throw blanket over the bench seat. It hides scuffs on old wood and adds a soft layer that photographs beautifully.
4. Step Stools and Apple Boxes
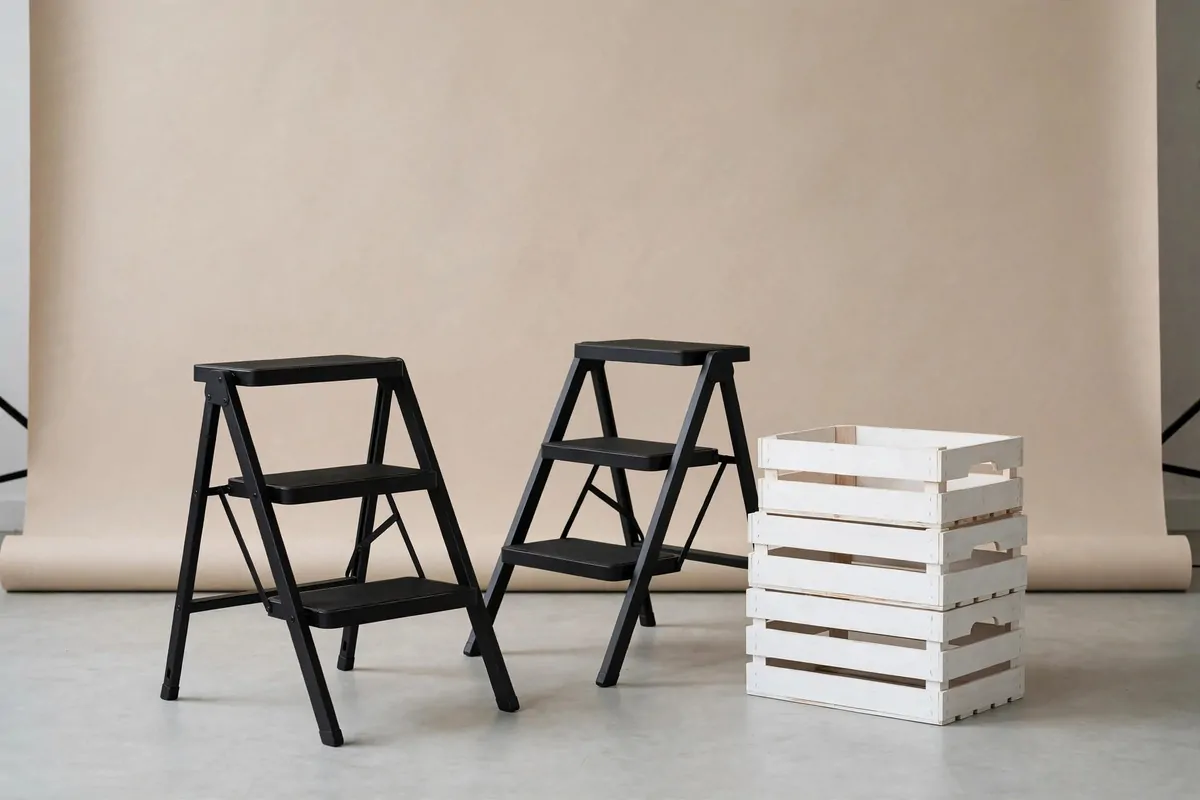
These are the secret weapons of traveling photographers. A folding step stool weighs almost nothing and fits in a car trunk.
Apple boxes are sturdy wooden boxes, about the size of a big shoebox. Studios stack them or stand people on them for instant height.
Use them in pairs behind your main row. Two people on stools, three on the floor in front of them, and suddenly you have real layers in a small studio.
The beauty is the price. A pair of folding stools costs less than one studio light, and you will use them in every single group session.
Paint your apple boxes matte black or white. Raw wood can look great too, but painted boxes disappear under feet instead of stealing attention.
For kids’ groups, low stools in front work magic. Little ones sit on the stools, parents stand behind, grandparents on the risers in back. Three generations, all visible.
Always test the stool before anyone steps up. Press down hard on the center. If it creaks or shifts, swap it out. Confidence matters when people are balancing.
A quick safety rule I follow: one step up only for anyone in heels or long dresses. Two steps only for flat shoes and steady feet.
Arrange the stools before the group arrives. Nothing kills the mood like ten people watching you drag furniture around.
Here is my favorite move. Put one stool slightly off to the side for a solo kid or a pet. It gives the photo a natural focal point and keeps the little one from wandering.
5. Classic Painted Muslin Backdrop
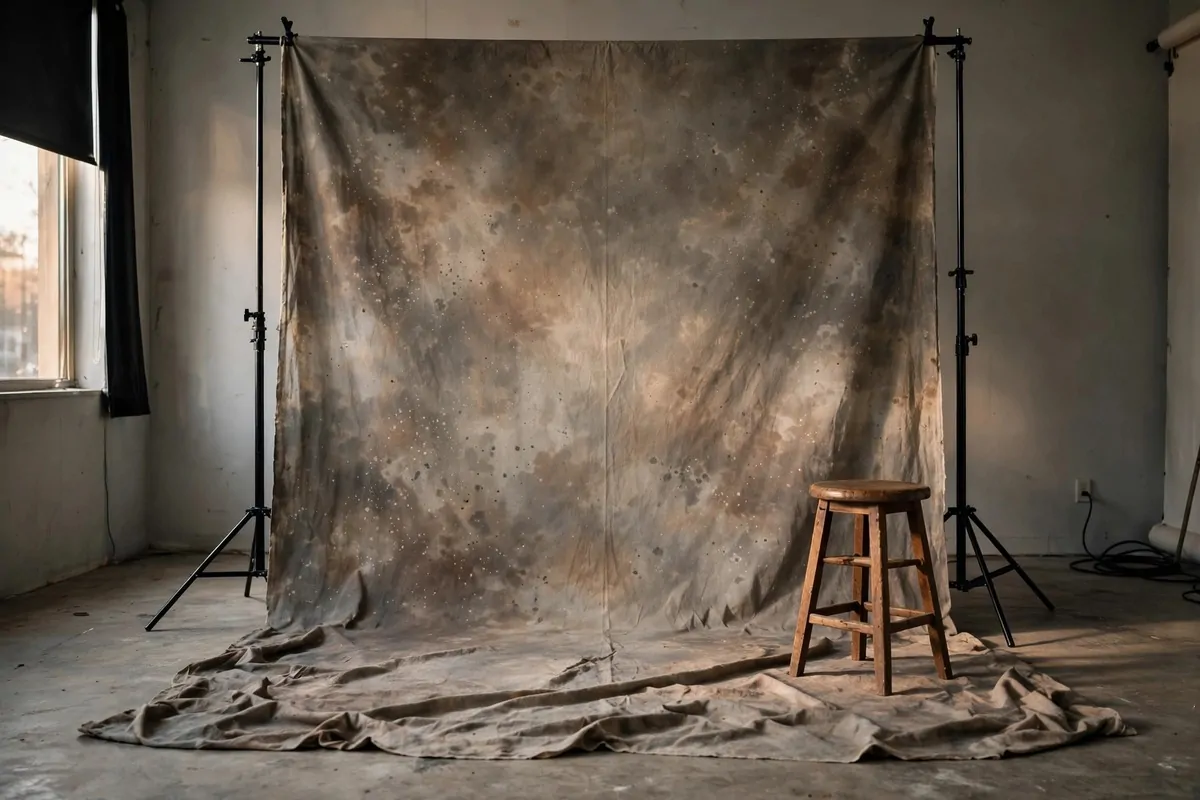
Before seamless paper took over, studios used painted canvas. Mottled grays, warm browns, soft blues, all hand-painted in cloudy swirls.
These backdrops make group photos feel timeless. A big family in front of a painted muslin looks like a portrait that could hang in a hallway for fifty years.
The painted texture hides a lot of sins. Wrinkles, small stains, and lighting that is not quite perfect all melt into the mottled pattern.
Hang it with the bottom pooled slightly on the floor. That soft pile at the base looks intentional and gives you extra coverage for feet.
Muslin comes in huge sizes, twelve feet wide and more. That is room for a very big family with space to spare on the edges.
Light it gently from the sides. Harsh front light flattens the painted texture, but side light makes the brushwork glow.
I love muslin for grandparent sessions and formal family portraits. The look says “this one goes on the wall” without trying too hard.
Steam out deep wrinkles before the session, but leave the soft ones. Perfectly flat muslin looks fake; a little texture looks handmade and real.
Pair muslin with simple wooden stools or a bench. The whole setup whispers old-school studio, and groups relax into that slower, calmer pace.
Keep one dark muslin and one light muslin if you can. Dark for drama and formal wear, light for kids and bright outfits. Two backdrops, endless looks.
6. Brick Loft Wall Backdrop
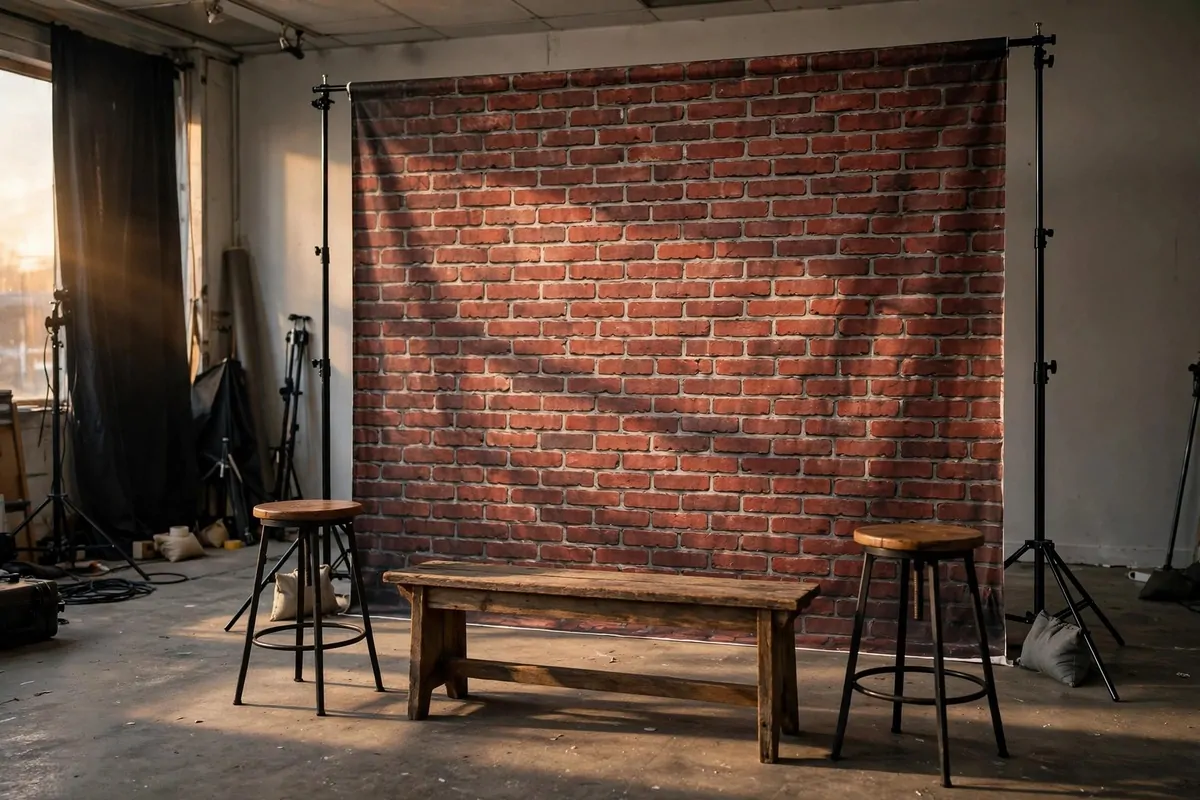
Not every group wants the clean white look. The brick wall backdrop brings city energy and works great for friend groups, bands, and teams.
Printed vinyl backdrops now look shockingly real. From six feet away, a good brick print fools almost everyone.
The texture of brick gives the photo depth without any extra props. Lines of mortar lead the eye across the group and hold the composition together.
Warm brick tones flatter skin beautifully. Reds and browns in the wall bounce a gentle warmth back onto faces, almost like a second light source.
This backdrop shines for casual groups. Jeans, jackets, sneakers, the whole crew leaning against the “wall” like they own the place.
Hang it high enough that tall people do not stick up past the top edge. Eight feet of height is the safe minimum for a standing group.
Side light makes brick look real. A light from the left or right throws tiny shadows into the mortar lines and sells the illusion completely.
Pair it with a wooden bench or a couple of bar stools. The mix of brick and wood reads “cool loft” instantly.
- Best for: friend groups, sports teams, bands, senior photos
- Skip for: formal portraits, newborns, anyone wanting a soft look
- Light it with: one strong side light for texture
- Watch out for: shiny vinyl reflections, matte fabric prints avoid this
If you shoot in a real loft space, even better. Real brick needs no setup at all. Just clear the clutter at the base of the wall and start shooting.
7. Bold Solid Color Backdrop
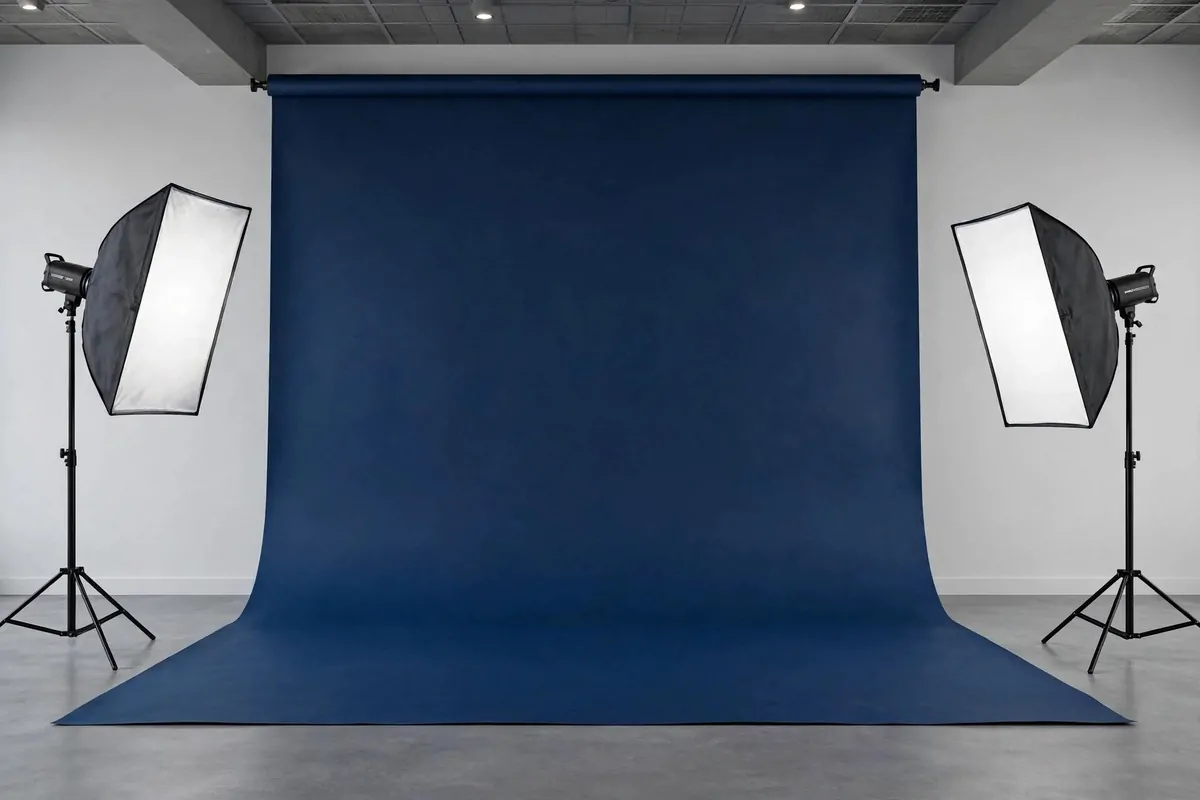
A deep navy, forest green, or rich terracotta backdrop turns a group photo into a statement. Solid color is simple, but simple is powerful.
Color backdrops work best when the group’s outfits coordinate loosely. Not matching uniforms, just a shared palette. Creams and tans pop against navy. Whites glow against forest green.
The wider the roll, the better here. Color paper in 106-inch width gives you room for ten or more people without anyone spilling off the edge.
This is the backdrop for announcements. Team launches, club photos, graduation groups, the “we did it” shot. Color makes it feel like an event, not just a picture.
Light colored paper the same way you light white, but watch your exposure. Dark colors eat light, so open up a little or move lights closer.
A trick I love: gel one side light in a warm tone and leave the other neutral. The color shift across a navy backdrop looks rich and expensive.
Keep the floor sweep generous. Color paper shows footprints even faster than white, so keep a lint roller and a small rug for people to stand on between shots.
If you are unsure which color to buy first, choose navy. It flatters every skin tone, hides dirt, and looks good in every season.
Avoid neon or very bright colors for big groups. They reflect color onto faces and make skin look strange. Deep, muted tones are always safer.
| Backdrop color | Best outfit palette | Mood it creates |
|---|---|---|
| Deep navy | Cream, tan, white, denim | Classic and confident |
| Forest green | White, beige, gold | Rich and calm |
| Terracotta | Cream, olive, brown | Warm and earthy |
| Slate gray | Anything goes | Modern and clean |
8. Curved Infinity Wall
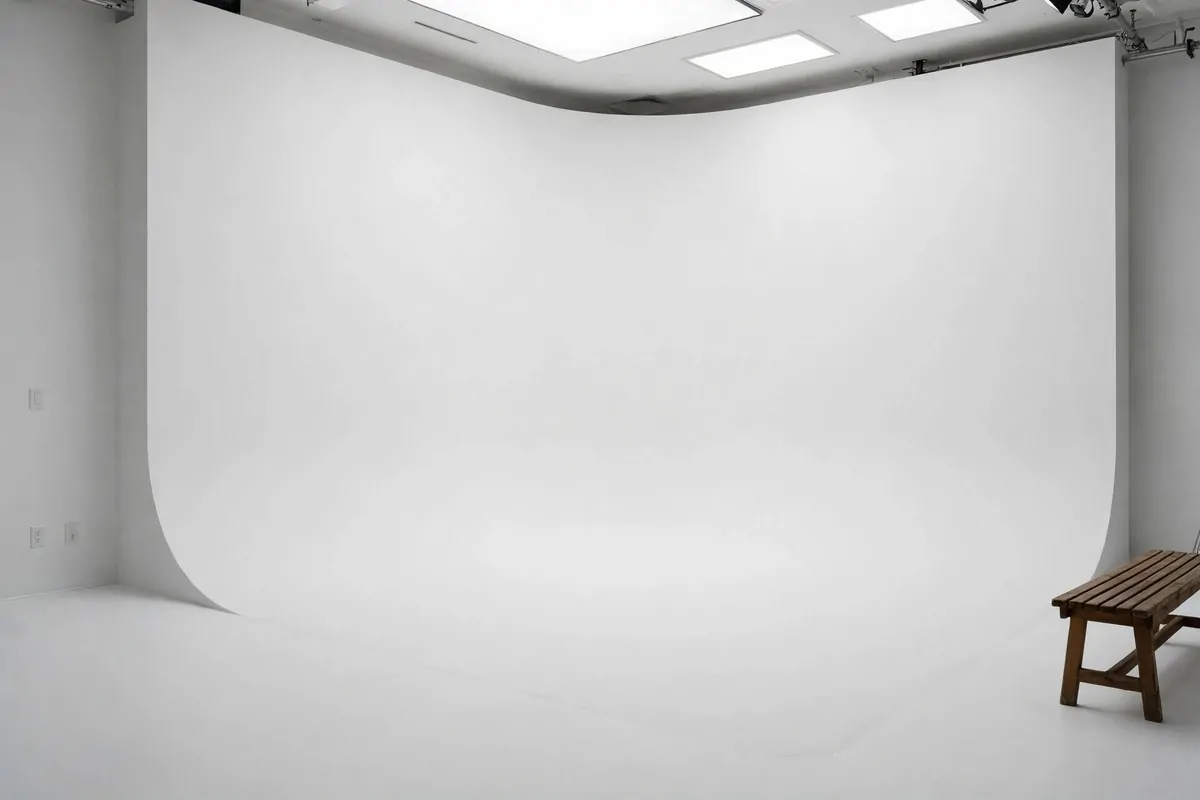
An infinity cove is a wall that curves smoothly into the floor. No corner, no line, no edge. The background just fades away forever.
Big commercial studios build these permanently. For group photos, they are the ultimate luxury backdrop because nothing in the frame says “studio.”
The curve needs to be gentle and wide. A tight curve shows up in the photo as a weird hump. A long, lazy curve disappears completely.
Groups can stand deep into the cove. Put the front row near the curve and the back rows further up, and the depth makes the group look grand.
Light the cove evenly from both sides. Any hot spot on the curve draws the eye, so feather your lights and check the whole sweep before the group arrives.
White is the classic cove color, but gray coves are magic for groups. Gray separates people from the background just enough to give every face definition.
If you cannot build a cove, a wide paper sweep fakes it well for most groups. The cove is just the permanent, perfect version of the same idea.
Clean it often. Scuffs on a cove show in every wide shot, and repainting a big curve is a weekend job nobody enjoys.
I have seen small home studios build a mini cove in a garage corner with plywood and drywall. It takes a weekend and some paint, and the group photos look like a rental studio.
9. Window Light Corner With Sheer Curtains
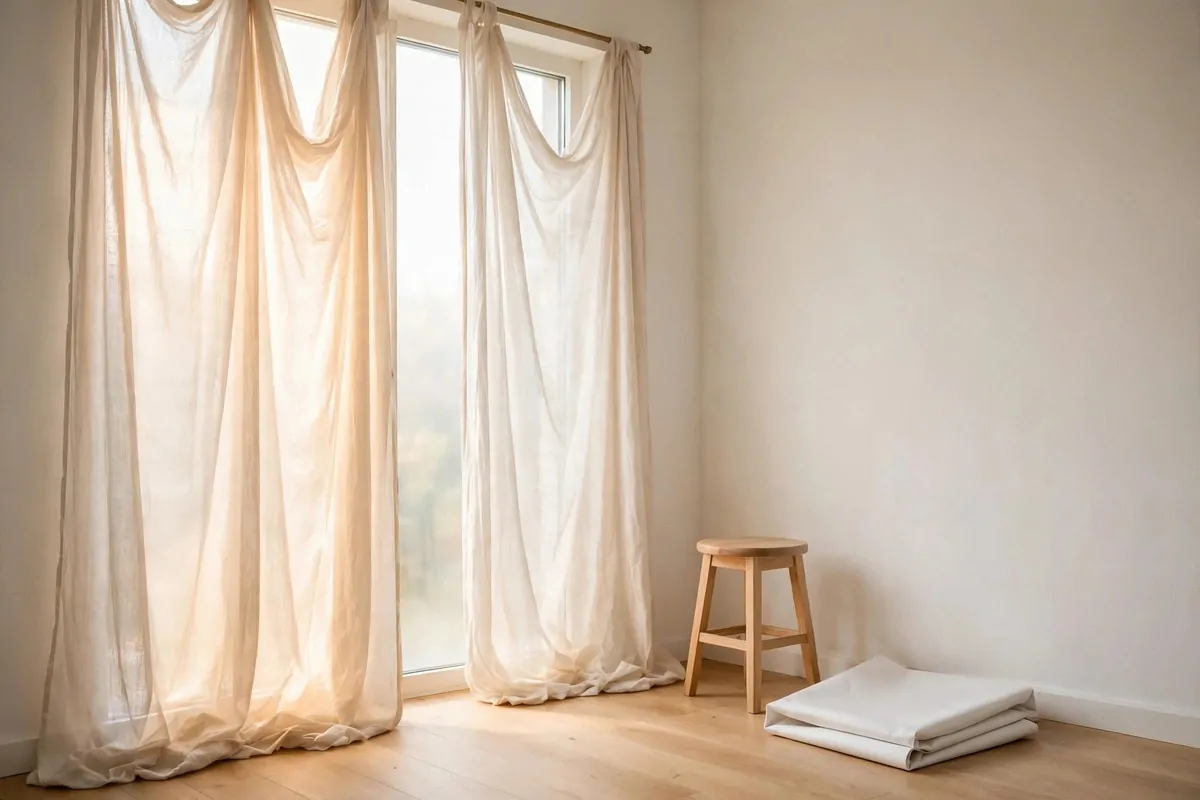
Some of the prettiest group photos use no studio lights at all. A big window with sheer white curtains gives you soft, free, gorgeous light.
Sheers do two jobs at once. They soften the daylight so nobody squints, and they turn the window into a glowing backdrop behind the group.
This setup suits smaller groups best, four to eight people. Big windows are rare, and the light falls off fast as you move away from the glass.
Arrange the group in a loose arc facing the window. The people at the edges get slightly less light, which actually looks natural and flattering.
Put a white sheet or a cheap reflector on the shadow side. It bounces window light back into faces and keeps the far side from going too dark.
Morning light is gentler than afternoon light. If your window faces east, book group sessions before noon for the softest glow.
Keep the window frame clean in your composition. A messy sill or a stack of boxes in the corner will show up in every photo, so tidy first.
Curtains in warm white look better than bright white. They take the blue edge off daylight and keep skin tones natural.
This is my go-to for lifestyle family sessions. No lights to set up, no cables to trip on, just a room, a window, and a group that can relax.
- Face the group toward the window, never with the window behind them
- Sheers closed for soft light, open for dramatic side light
- A stool or bench near the window anchors the composition
- Shoot within two hours of sunrise or sunset for the prettiest color
10. Lush Greenery Wall
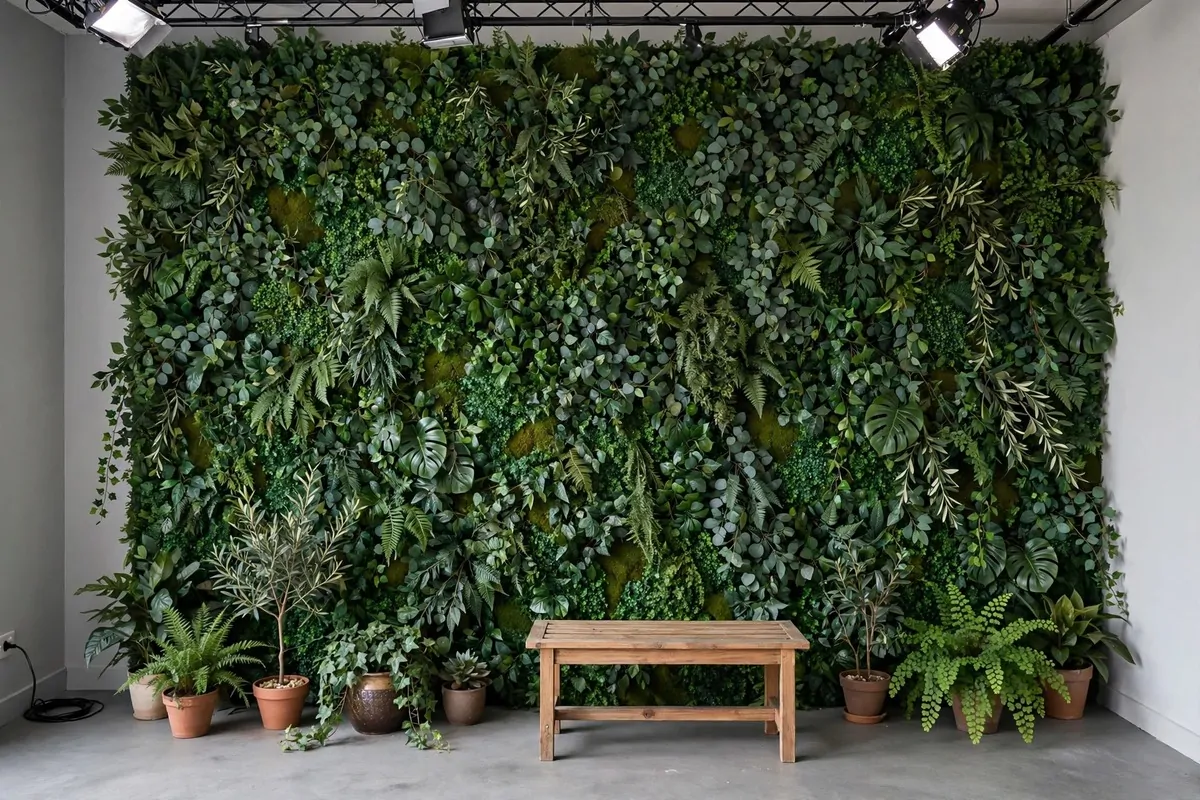
A wall of green plants behind a group feels fresh and alive. It works for spring events, garden parties, eco brands, and any group that wants energy.
Faux greenery walls have gotten very good. Good ones mix leaf shapes and shades so the wall looks deep, not flat and plastic.
The trick is depth. Hang the greenery panels with a few inches of space behind them, and add real potted plants at the base. Layers sell the illusion.
Light it bright and even. Dark corners in a greenery wall look like holes, so aim a light straight at the wall from each side.
Greenery flatters groups in light clothing. Whites, creams, and pastels pop against all that green in a way that feels joyful.
Keep the wall wide. Greenery panels come in squares, so buy more than you think you need. A narrow green strip behind a wide group looks like an accident.
Add a few hanging plants from the top edge. They break the straight top line of the wall and make the whole setup feel organic.
This backdrop photographs beautifully for announcements and celebrations. Birthday groups, bridal parties, and club photos all shine in front of green.
Dust the faux leaves before big sessions. Dust reads as gray in photos and dulls the green fast. A quick wipe makes the wall look brand new.
Mix in one or two flowering stems for color. A little white or blush bloom here and there keeps the wall from feeling like a hedge.
11. Modern Arch Panel Backdrop
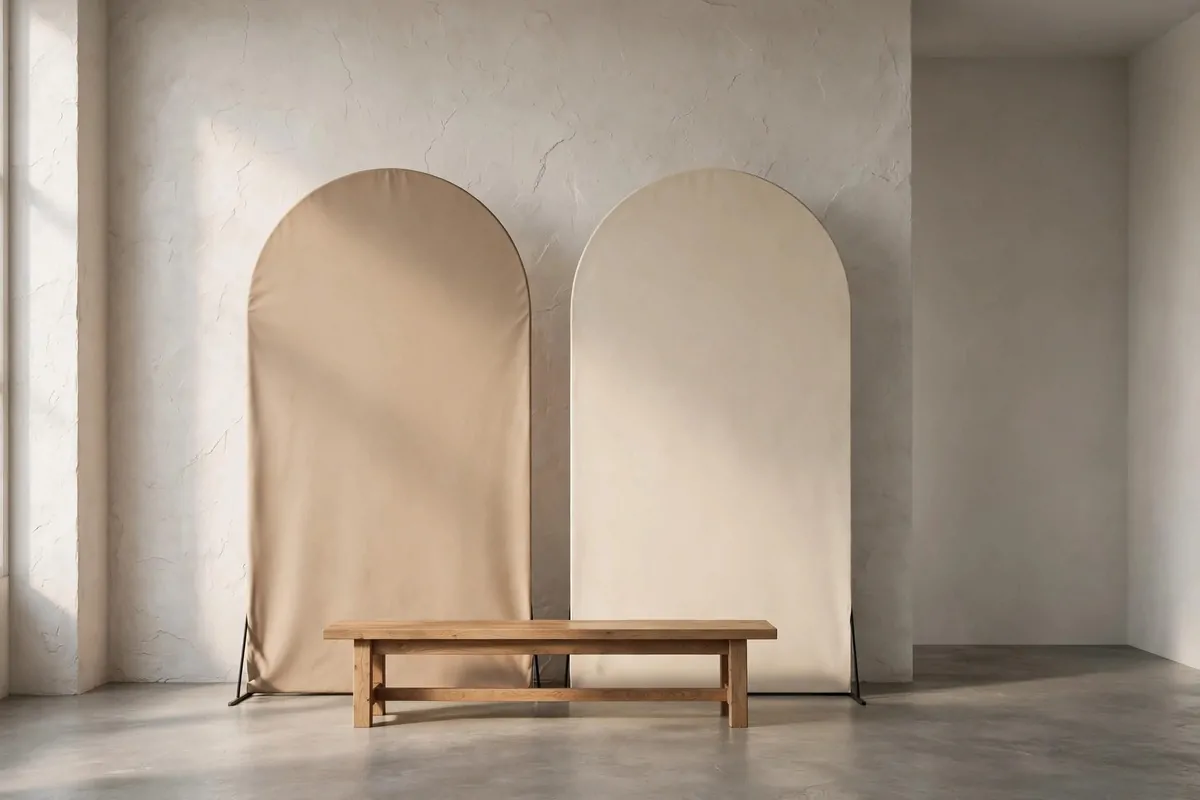
Arched backdrops are everywhere right now. A big rounded arch in warm beige or soft plaster tones feels modern, calm, and very photogenic.
For groups, use one wide arch or two arches side by side. A single narrow arch fits couples, but groups need width to breathe.
The arch shape does something clever. It frames the group in a soft curve, so the photo feels composed even when the posing is casual.
These panels are usually made of wood or foam board and stand on their own. They pack flat and set up in minutes, which event photographers love.
Warm neutrals are the safest colors. Beige, oatmeal, soft terracotta. They flatter skin and never fight with the group’s outfits.
Place a bench or a low platform in front of the arch. The arch gives you the backdrop, the bench gives you the height layer. Together they make a complete set.
Two arches in slightly different tones look designer-level. Keep the tones close though, beige and cream, not beige and navy. Harmony beats contrast here.
This setup is perfect for branding sessions and small team photos. It looks intentional and stylish without any extra decorating.
Side light brings out the panel texture. If your arch has a plaster or limewash finish, a light from the side makes it glow softly.
Keep props minimal with arches. A small stool, maybe one plant. The arch is the star, and extra stuff just crowds the frame.
12. Two-Light Clamshell Setup for Groups
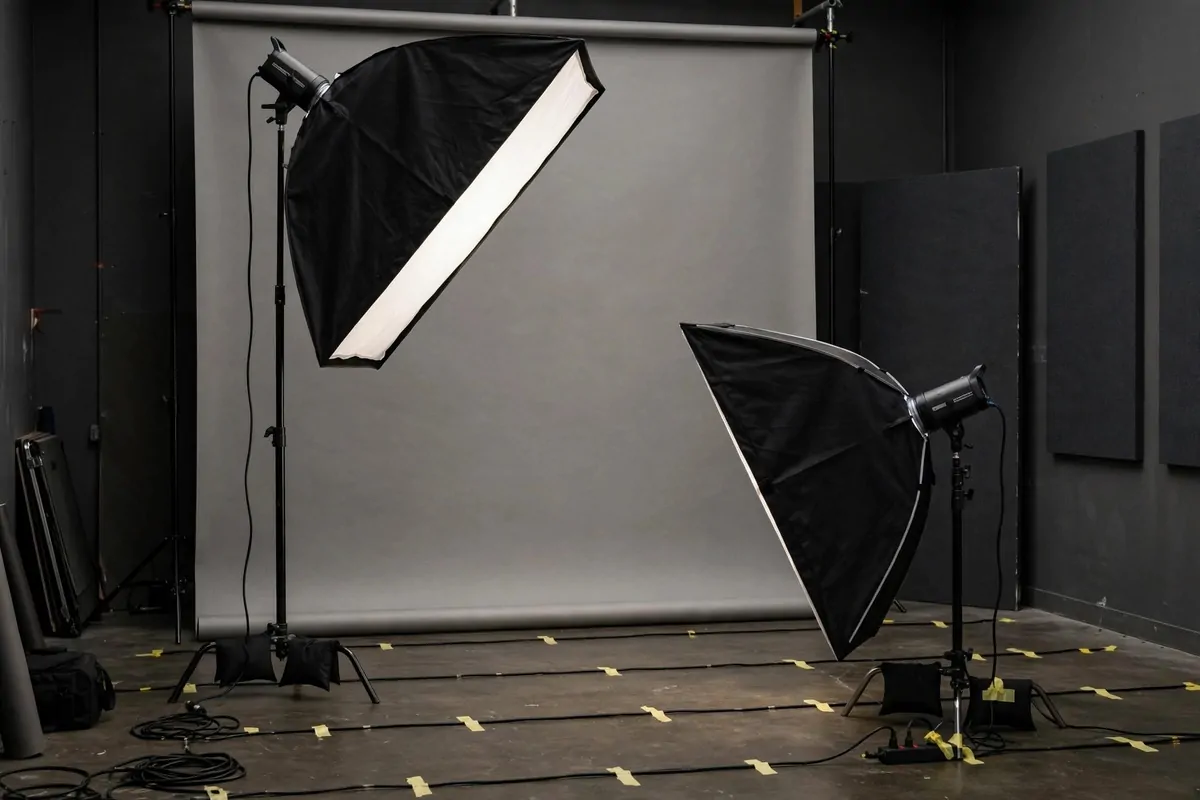
Good lighting matters more for groups than for single portraits. With ten faces, uneven light means five happy people and five squinting in shadow.
The clamshell is the classic fix. One soft light above and in front of the group, one soft light below, both aimed at faces. Even, flattering, simple.
For groups, go bigger than you would for one person. Two large softboxes, or one big umbrella up high and a reflector down low, cover a wide row of faces.
Raise the top light high enough that it clears the tallest head by a couple of feet. Then angle it down. This lights every row, not just the front.
The lower light should be gentle, just enough to fill shadows under chins and noses. Too strong and faces look flat and washed out.
Keep both lights the same color temperature. Mixed lighting turns skin tones patchy, and with a big group there is nowhere to hide it.
Test the light on one person standing at each end of the group before everyone lines up. Ends fall off first, so fix the edges and the middle takes care of itself.
This setup works with any backdrop. White, gray, muslin, brick, the clamshell does not care. It just makes faces look good.
I use this for every formal group I shoot. It takes ten minutes to set up and it never lets me down.
One warning: watch for glasses glare. Angle the top light slightly to one side if you see white reflections bouncing off lenses.
13. Step-and-Repeat Pattern Wall
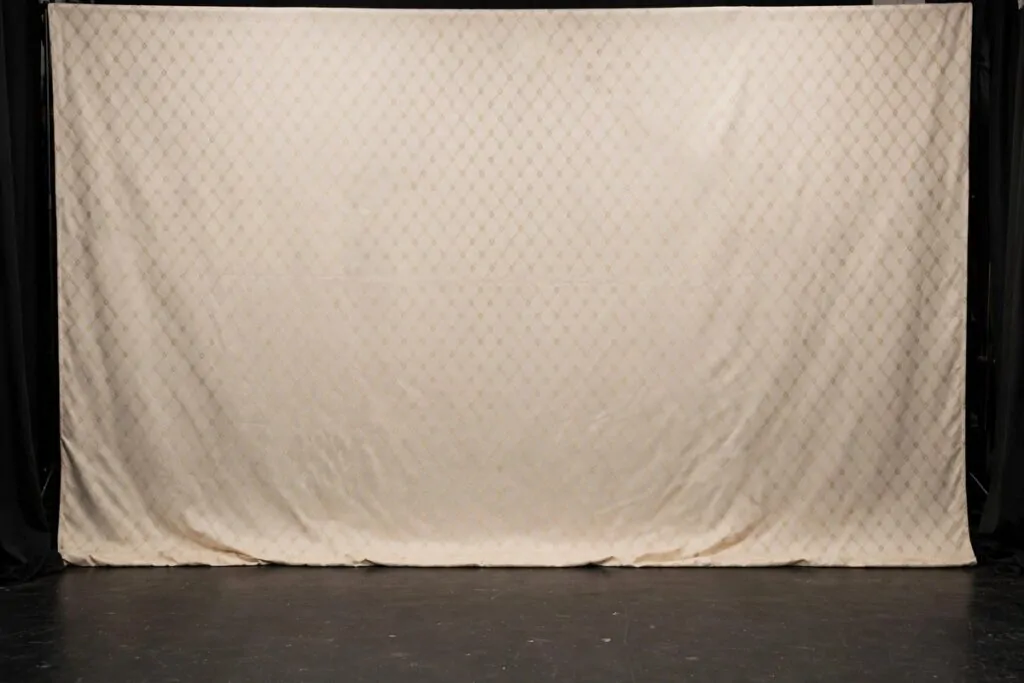
Step-and-repeat walls are the red-carpet classic. A repeating pattern fills the whole background so every photo looks like an event, even in a small room.
You do not need logos to use this idea. A simple repeating geometric pattern, subtle dots, or a soft monogram-style motif works for private groups.
The pattern must repeat cleanly across the whole wall. Any gap or stretched section shows up fast, so measure twice and hang carefully.
Wide is everything here. The wall should extend at least two feet past the group on each side. Nothing looks cheaper than a pattern wall that ends mid-photo.
Matte fabric prints photograph best. Glossy vinyl catches every light in the room and throws hot spots across the pattern.
Light the wall evenly from both sides. A step-and-repeat with a bright center and dark edges looks amateur, so feather your lights outward.
This setup loves confetti moments. Toss a little paper confetti in the air for celebration groups and the pattern wall turns it into pure party energy.
Teams and clubs adore this look. It says “official photo” and people instinctively stand a little prouder in front of it.
Keep the floor in front of the wall clean and simple. A dark rug or a plain floor keeps the eye on the group and the pattern.
- Measure the group width first, then order the wall two feet wider on each side
- Matte fabric beats glossy vinyl every time
- Two side lights keep the pattern bright edge to edge
- Works without logos, a simple geometric repeat looks classy
14. Studio Gray Seamless
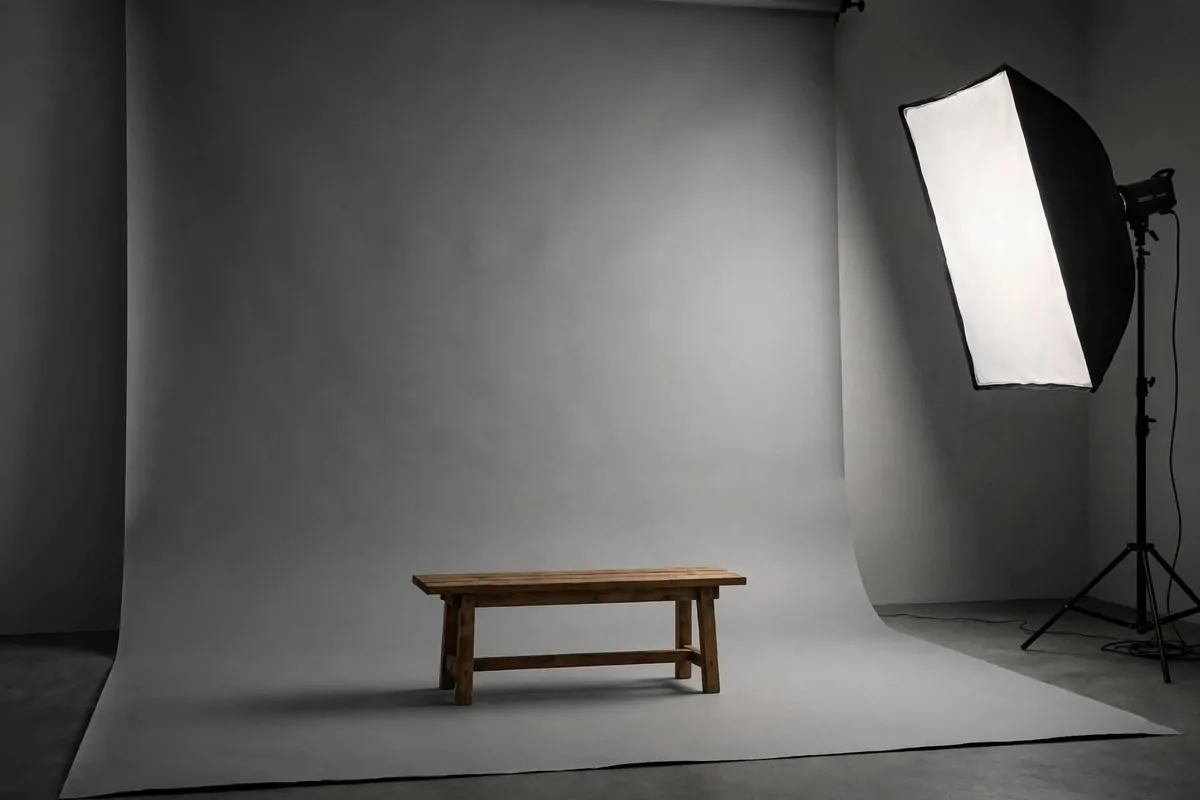
Ask a hundred studio photographers for their one desert-island backdrop and most will say gray. It is the quiet hero of group photography.
Gray separates people from the background just enough. Faces pop forward, clothes read true, and nobody blends into the wall.
It works with every outfit and every skin tone. White shirts glow against it. Dark suits look sharp. Bright colors sing. Gray never argues.
Light it brighter and it reads as light gray. Light it dimmer and it goes moody dark. One roll of paper, endless moods, just by moving your lights.
For groups, gray hides the small stuff. Scuffs, footprints, and wrinkles show less on gray than on white, which saves you retouching time.
The 106-inch roll is the group standard here too. Wide gray paper with a floor sweep handles a dozen people without breaking a sweat.
I reach for gray for office teams, school staff, and any group in mixed outfits. It makes everyone look polished without trying.
Pair it with simple posing tools. A bench, two stools, done. Gray does not need decoration, it needs good light and good faces.
Keep one light aimed at the paper behind the group. A softly lit gray background with a gentle falloff looks far more expensive than a flat-lit one.
If you buy only one backdrop this year, make it gray. It will shoot more groups well than any other single color.
15. Boho Rug Corner With Plants and Baskets
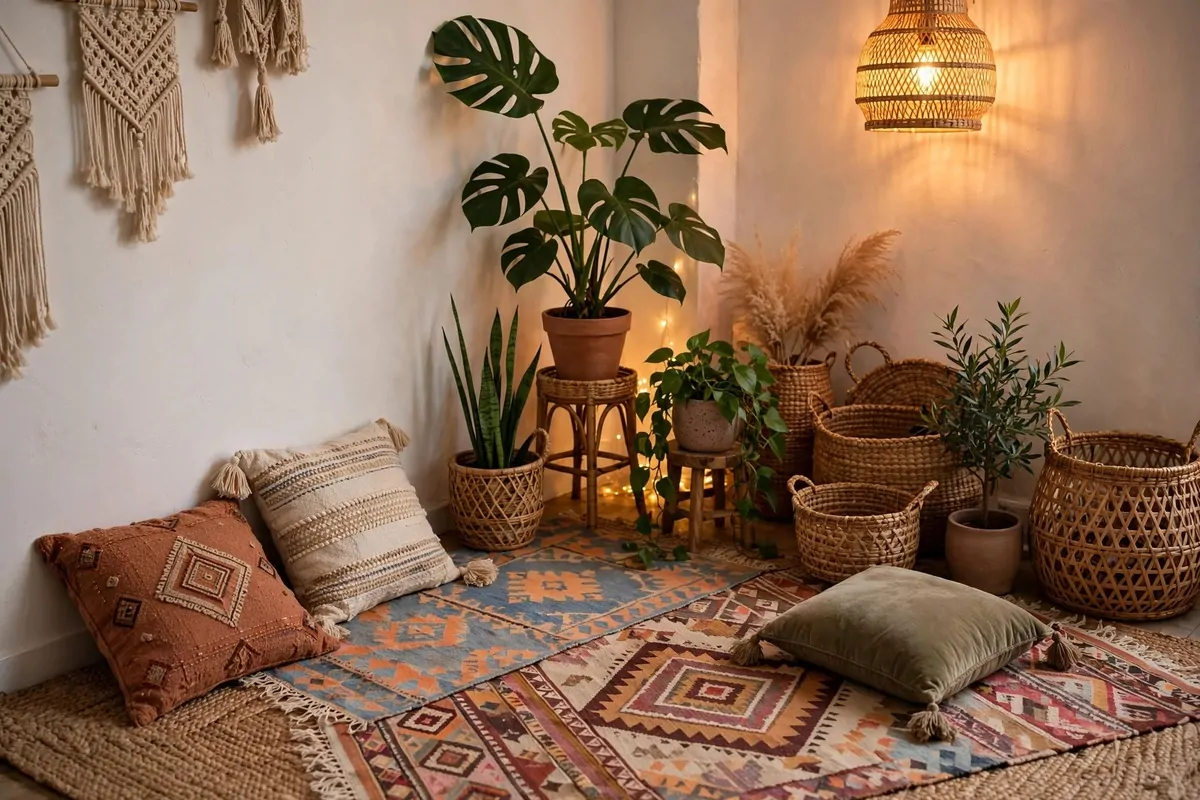
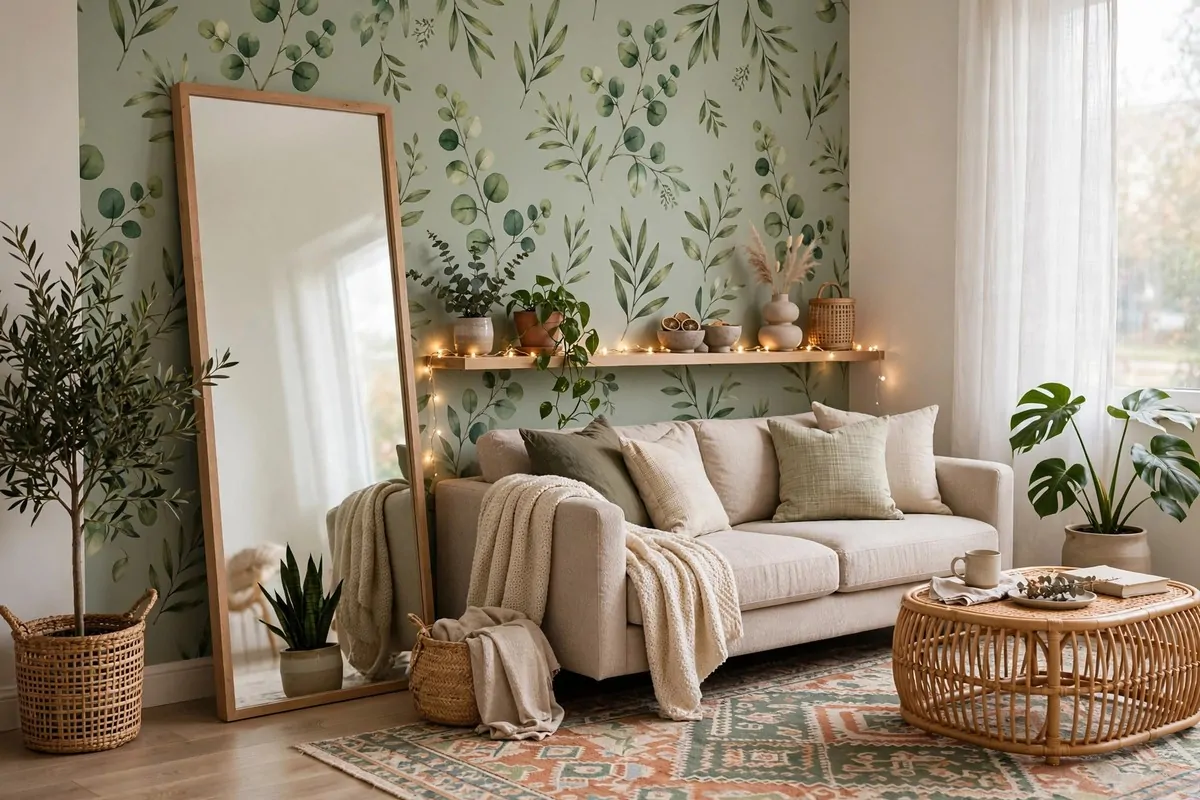
Some groups want cozy, not corporate. Layered rugs, potted plants, and woven baskets turn a studio corner into a warm little world.
Start with rugs. Layer two or three with different patterns, edges overlapping. The floor becomes the star and feet have somewhere pretty to stand.
Add plants at different heights. A tall fiddle plant in the corner, medium pots along the edges, a trailing plant on a small stool. Green everywhere.
Woven baskets fill gaps beautifully. They hide light stands, cover cables, and add texture that photographs rich and warm.
This corner suits small groups best, three to six people. It is a styled vignette, not a wide stage, and crowding it kills the charm.
Seat one or two people on floor cushions in front. The mix of standing and sitting in a cozy corner feels like a real gathering, not a posed lineup.
Warm light makes this setup glow. A softbox with a warm tone, or even a couple of floor lamps with warm bulbs, sells the boho mood completely.
Keep the wall behind simple. Warm white or soft plaster paint lets the rugs and plants do the talking.
I love this for friend groups, creative teams, and family sessions that want a relaxed feel. Nobody stands stiff in a boho corner.
One caution: check the plants for dead leaves before the session. Brown leaves photograph as obvious spots, and they are easy to trim in two minutes.
16. Dramatic Black Low-Key Setup
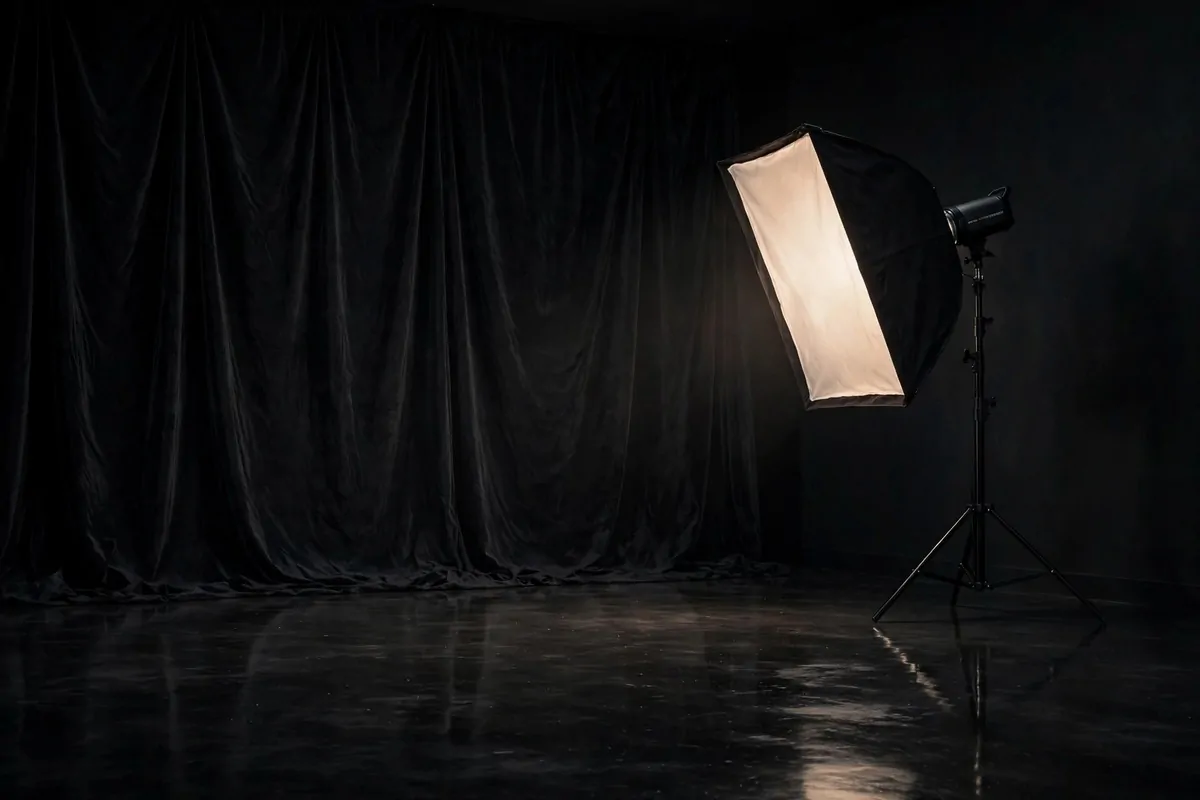
Black backdrops make groups look powerful. Faces float out of the darkness, and the photo feels like a movie poster.
The setup is simple. Black seamless paper or black velvet, one strong light from the side or front, and very little fill light.
Velvet is the premium choice. It drinks light instead of reflecting it, so the background goes truly, deeply black.
Keep the group tight together. Black backgrounds swallow space, so a loosely spread group looks lost. Shoulders close, heads near each other.
Light from one side for drama. A single softbox at 45 degrees carves faces out of the dark and gives the group a sculpted, serious look.
This is the setup for dance crews, sports teams, bands, and dramatic senior groups. It says confidence without a single word.
Watch the edges of the black paper in your frame. A gray studio wall peeking past the paper ruins the illusion, so go wide or crop tight.
Dust shows on black like stars in the night sky. Wipe the paper down and lint-roll dark clothing before you shoot. It takes two minutes and saves an hour of editing.
Exposure is the tricky part. Meter for the faces, not the background. The black will take care of itself if you let it fall dark.
- One main light, minimal fill, for maximum drama
- Black velvet beats black paper for the deepest background
- Keep the group close, black swallows empty space
- Lint-roll everything, dust glows on black
17. Textured Plaster Wall for Editorial Groups
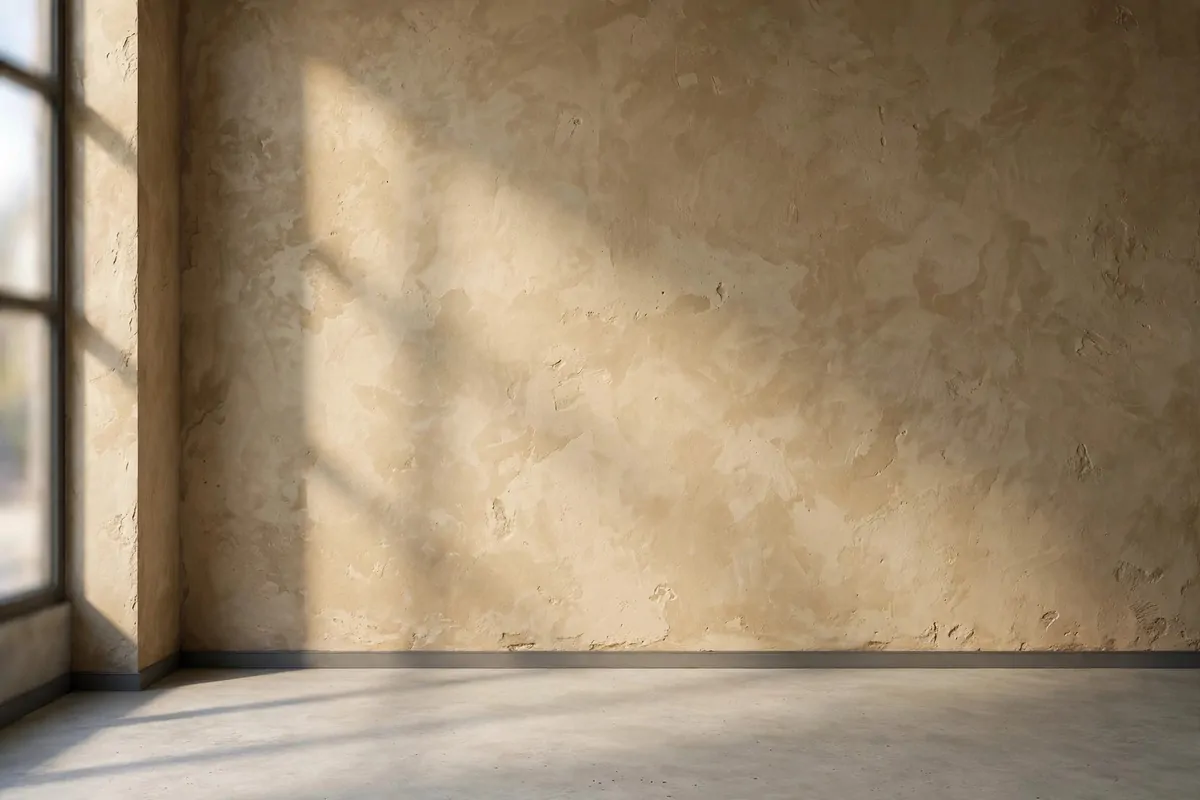
Editorial group photos have a look. Effortless, artsy, like a magazine spread. A textured plaster or limewash wall is the fastest way to get it.
The texture catches side light in tiny ridges and valleys. That subtle play of light and shadow gives the photo depth that flat backdrops cannot.
Warm plaster tones are the sweet spot. Soft beige, warm white, pale clay. They flatter every skin tone and never date the photo.
This wall loves natural posing. Lean against it, sit on the floor in front of it, grow, and gather loosely. The texture does the styling work for you.
Groups of friends and creative teams shine here. It looks like you found a beautiful old building, not a studio corner.
Build the texture yourself with limewash paint on a large panel. Two coats with a big brush, and you have a custom wall for the price of a paint can.
Side light is non-negotiable. Front light flattens plaster into plain paint. A window or a softbox from the side wakes the texture up.
Keep the bottom of the wall clean for floor-sitting poses. A quick wipe and you have room for two rows, sitters in front and standers behind.
I have shot whole branding sessions against one plaster panel. Different outfits, different poses, same wall, and every photo looks like it belongs in a magazine.
Pair it with nothing. No props, no plants, no furniture. The wall and the group are enough, and restraint is what makes it editorial.