21 Sustainable Laundry Ideas That Save Water and Money

My laundry pile used to grow faster than I could wash it, and the soap bottles piled up beside the machine.
I wanted a wash day that used less water and cost less money. I also wanted my clothes to last longer, so I started to look at each step of the wash.
I started with one small change. Then I tried another one the next week. This one post holds all 21 sustainable laundry ideas, from a cold wash to a line dry, and you can start with the swap that fits your laundry day best.
Some swaps take no money at all. Others need one plain tool that you can use again and again.
You do not need to change all of it at once.
Pick the idea that feels easy today. Your clothes, your water bill, and your wallet will thank you for it.
Let us start with the wash itself, where the biggest savings hide.
1. Wash in Cold Water
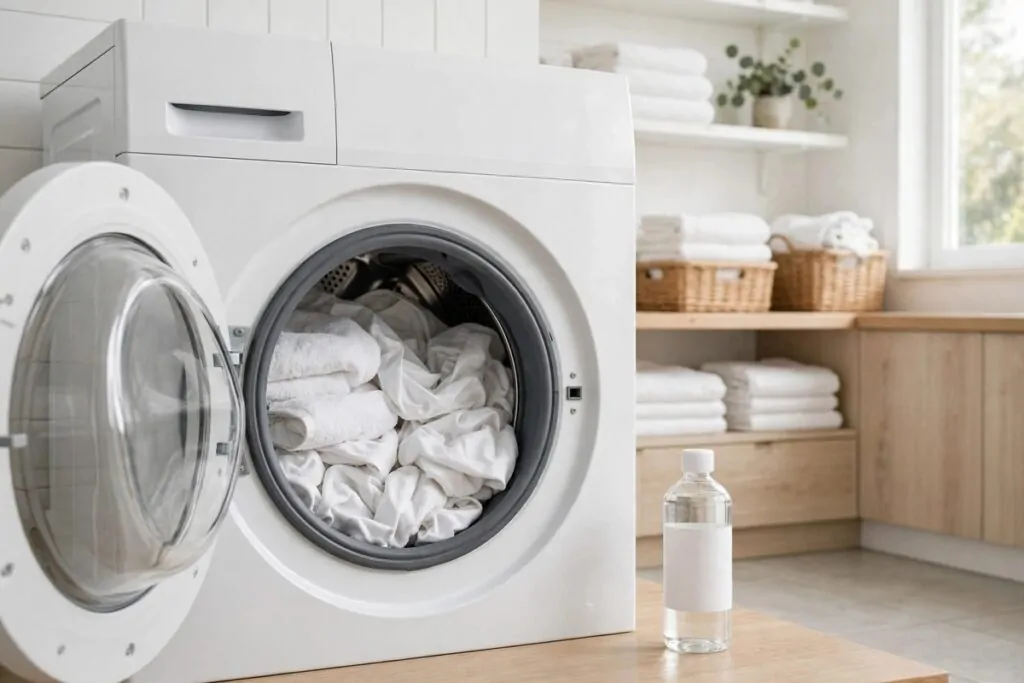
Most of my wash loads come out clean in cold water. The soap still does its job, and the colours stay bright for longer.
Hot water uses a lot of power just to heat the tub.
I turn the dial to cold for everyday clothes. Towels and sheets get the same cold wash most weeks. Only the dirtiest work clothes get a warm wash now and then.
Cold water is kind to the cloth. Shirts keep their shape, and the seams stay strong wash after wash.
You can try it on your next load and see for yourself.
Use plain soap made for cold water. A small scoop is all you need for a normal load.
Typical cost $0 to $2.
My whites still look white in a cold wash. A spoon of baking soda in the tub can help with smells. The sun does the rest when the clothes dry outside.
Start with one cold load this week. If you like the result, make cold your normal setting.
2. A Short Cycle for Light Loads
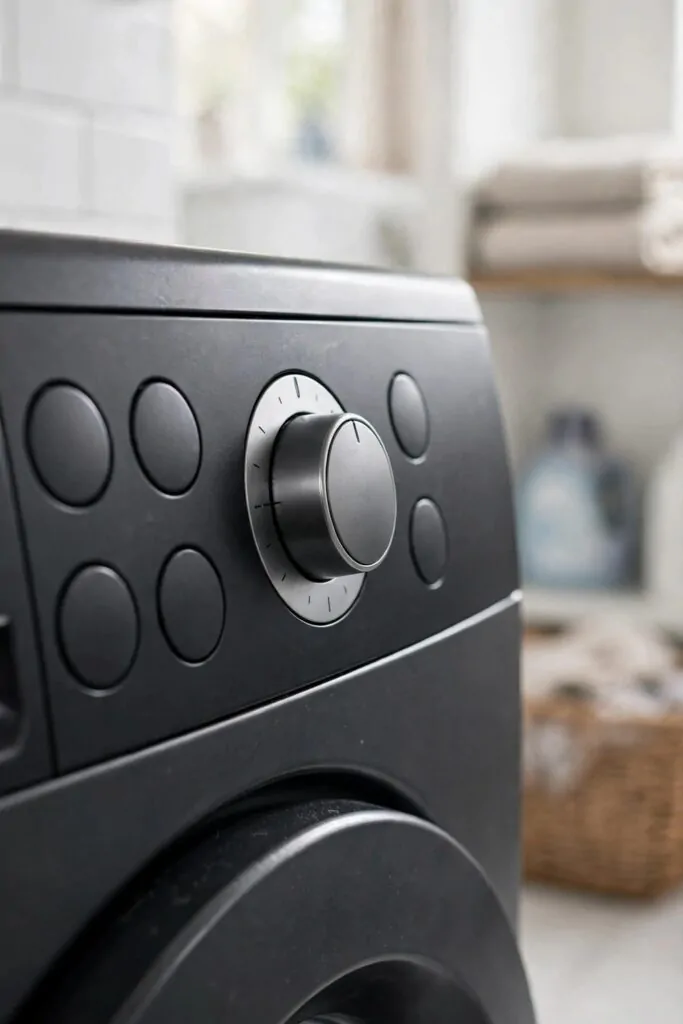
Not every load needs a long wash.
Shirts worn for one day are often just a little dusty. A short cycle gives them a fresh rinse and a spin. You save water, power, and time in one go.
I sort my wash into two piles now. The light pile gets the short cycle, and the dirty pile gets the full one.
Your machine can do the thinking if you pick the right setting.
Look at the panel and find the short or quick wash. It can cut the wash time in half on a light day.
Less time in the tub means less wear on the cloth. Seams stay neat, and prints fade more slowly. Your favourite shirt can last a whole season longer.
Typical cost $0 to $1.
Try a short cycle for clothes that are not stained. You will know in one wash if it works for your home.
I use the short cycle for school clothes and work shirts. Towels and bedding still get the full wash. The mix keeps the whole week simple, and the machine runs less each day.
3. Wait for a Full Load
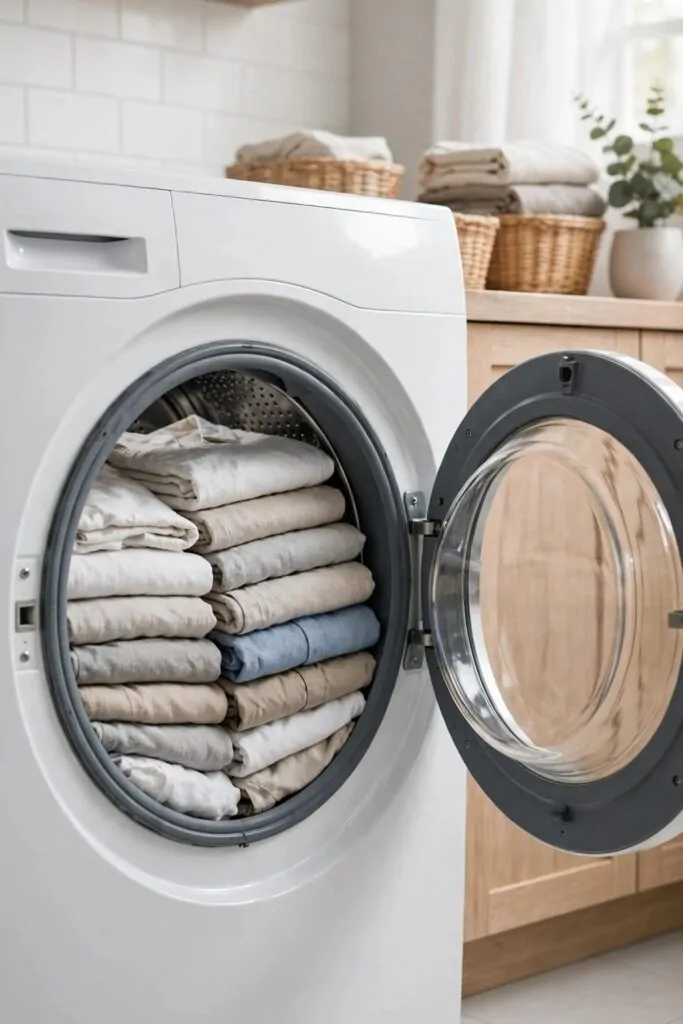
A half load uses almost as much water as a full one. The machine fills the tub the same way each time. Waiting for a full load means each wash does more work.
I keep a plain basket by the machine for clothes that wait.
When the basket is full, I run the wash. One full load can replace two small ones.
This one habit cut my wash days down to two a week. The soap lasts longer now. The machine gets a rest too, and that helps it last longer.
You can sort as you go, so a full load is ready when you need it.
Keep darks in one pile and lights in another. Each pile fills up on its own, and you never wash a tiny load by mistake.
Typical cost $0 to $0.
Small homes can still use this trick. A slim basket fits in a corner by the door. Wait one more day, and the load will be full.
Full loads save water with no extra work at all. Start this week, and count how many washes you skip.
4. Dry Clothes on a Line in the Sun
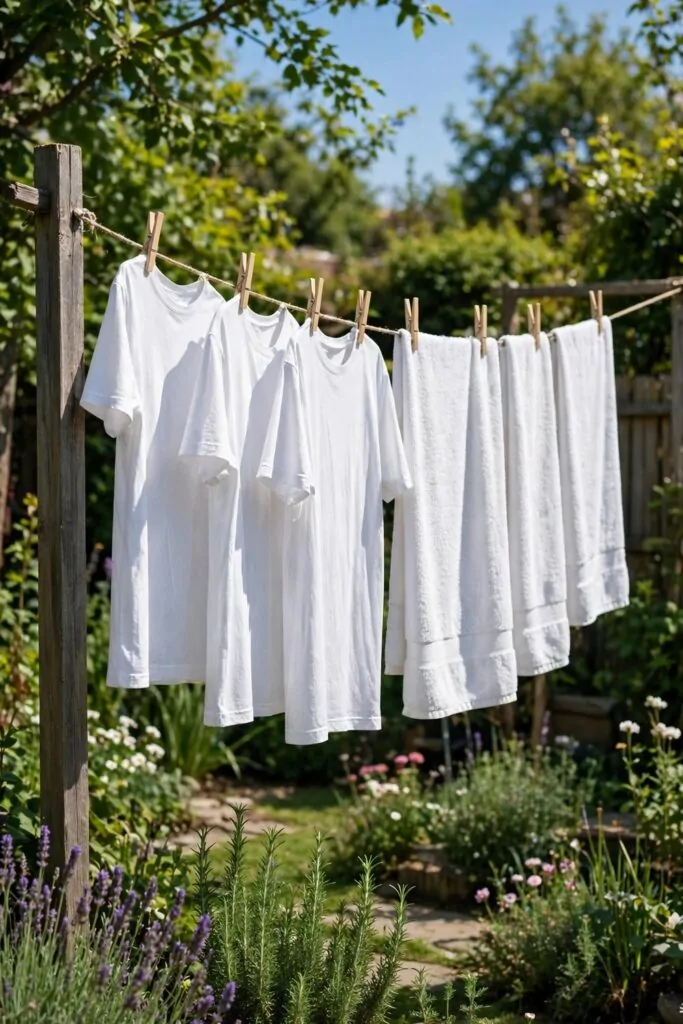
The sun dries clothes for free. A line in the garden gives every shirt fresh air and a soft feel.
I peg shirts and towels on the line in the morning. By the afternoon they are dry and smell of fresh air. The dryer stays off, and the power bill drops.
Sun can also help white cloth look bright again.
You need a line, some pegs, and a sunny spot. A simple line between two posts works well for most homes.
Shake each piece before you peg it up. Smooth the sleeves so they dry flat. Turn dark clothes inside out so the sun does not fade them.
Rain days are dryer days, and that is fine too.
Typical cost $8 to $25.
Bring the clothes in before the evening damp sets in. Fold them straight from the line, and the basket stays tidy.
A line costs little and lasts for years. Your clothes will thank you for the fresh air. Try it on a sunny day, and you may never go back to the dryer.
5. A Folding Rack by the Window
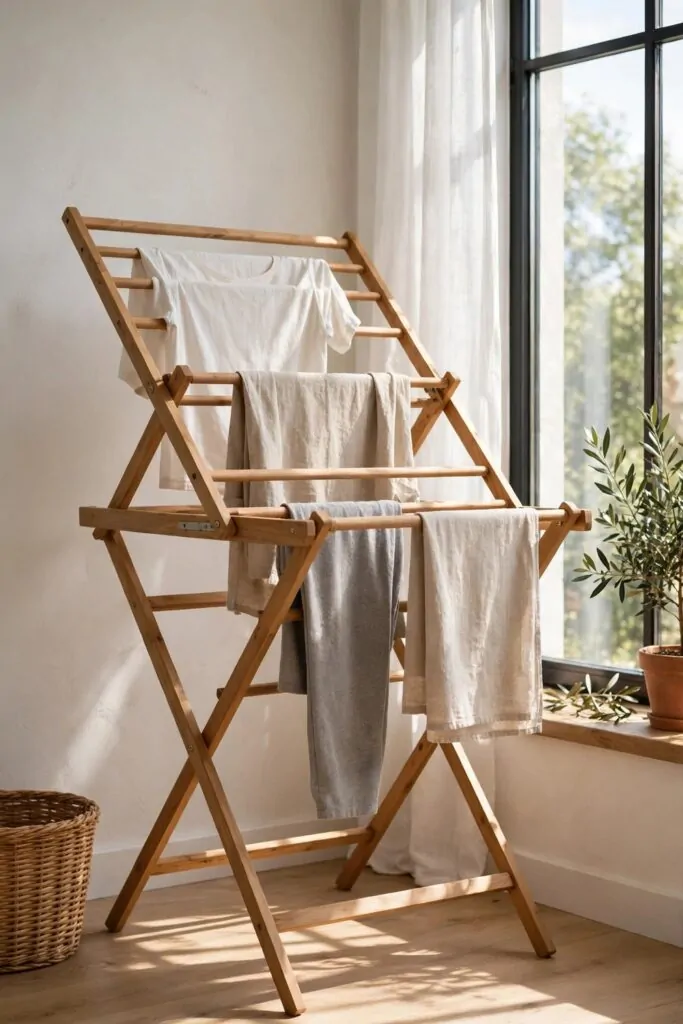
A rack by the window dries clothes without any power at all.
You can fold it flat when the wash is done. It leans by the wall till the next wash day.
Light from the window helps the cloth dry. Air moves round each piece as it hangs. Shirts dry smooth, and you may not need to press them at all.
Small homes love a rack that folds away.
Hang shirts on the top bars and small cloths below. Leave a gap so the air can pass through. Turn the pieces once, and they dry even faster.
A plain wooden rack looks neat in any room. You can move it near the window on wash day and back again after.
Typical cost $15 to $40.
Use the rack for cloths that need gentle care. It can hold a whole small load on its own.
I dry my soft tops on the rack each week. They keep their shape, and the colours stay true. A rack is one of the easiest swaps you can make.
6. Wool Dryer Balls for Soft Clothes
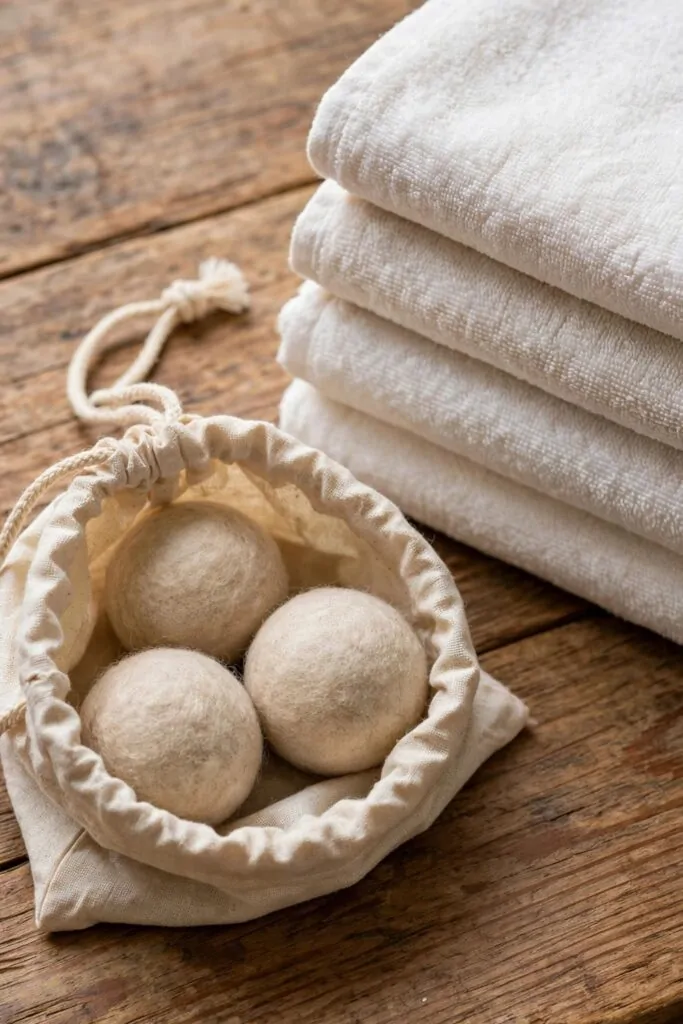
Three round wool balls can take the place of softener sheets. They bounce round the dryer and lift the cloth apart. Clothes come out soft, and the load dries faster.
You can use the same balls for years. They do not leave any coat on the cloth, so towels stay thirsty.
Just toss the balls in with the wet load.
The balls help air move through the load. That can cut the dry time on a full load.
They work best when the load has room to tumble.
Keep the balls in a small cotton bag between loads. The wool stays fresh on its own with no extra scent. Check the balls now and then, and swap them when they look worn.
Typical cost $10 to $20.
Dryer balls suit towels, sheets, and everyday clothes. They can help cut static on dry days. Your clothes feel soft with no extra rinse at all.
Start with one set of wool balls. You will feel the change in the very first load.
7. White Vinegar in the Rinse
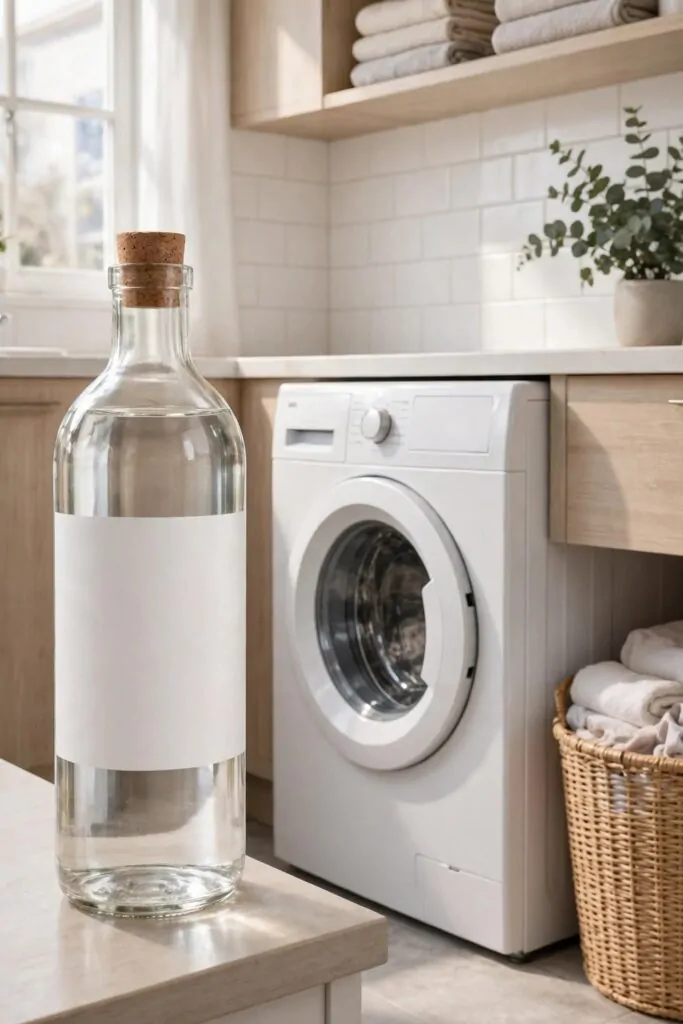
White vinegar can soften clothes in the rinse. It also helps wash away soap left in the cloth.
You add it where the rinse starts, not with the soap.
Pour a small cup into the rinse tray of the machine. The rinse water carries it through the whole load.
Towels feel soft again after a vinegar rinse. The cloth smells fresh once it dries. There is no trace of the vinegar smell at all.
Vinegar costs very little, and one bottle lasts a long time. It can take the place of softener in most loads.
Use it on towels, sheets, and everyday clothes.
Typical cost $2 to $6.
Keep the bottle by the machine so you do not forget it. A plain glass bottle with a blank label works well. One small cup is all you need for each rinse.
Try it on your towels first. You may find they feel softer from the very first wash.
8. Baking Soda for Fresh Loads
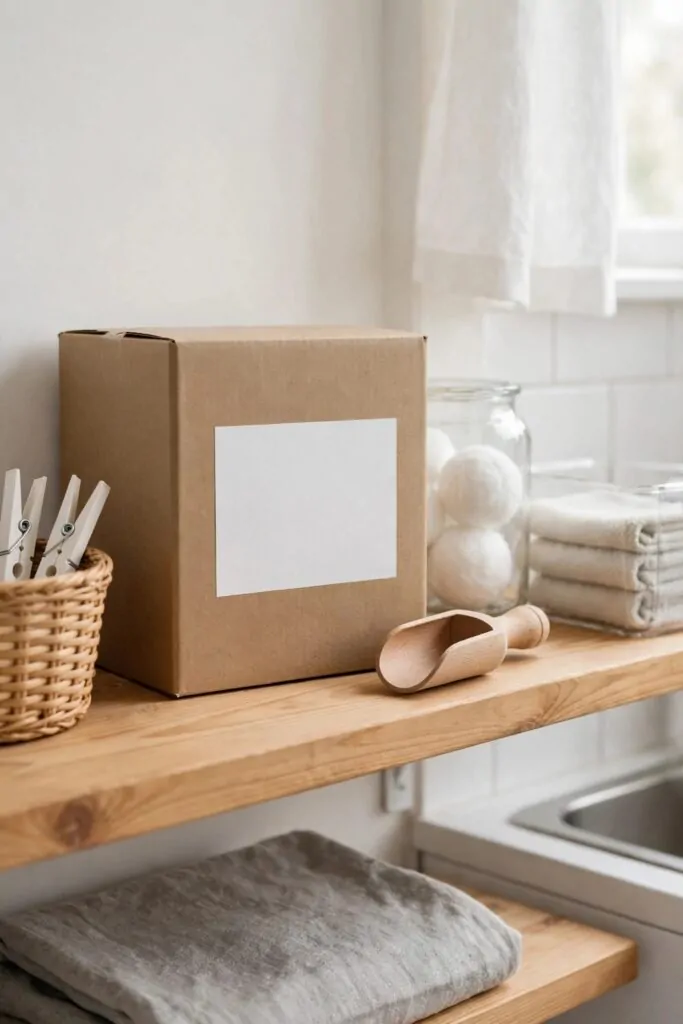
I keep a box of baking soda near my washer for fresh loads.
It helps my clothes smell clean after a wash. I add a scoop of it with my plain soap. You can try it in your next load too.
My towels feel soft and clean when I use this simple step.
Baking soda is cheap and easy to find in most shops. I buy a plain box and keep it on a shelf by the washer.
You do not need a big amount for each wash. A small scoop is enough for a full load. I stir it in with the water before I start the machine.
It can help with light smells from gym clothes and kitchen towels. I like how simple this step feels in my week.
Typical cost $3 to $6.
I keep the box closed between washes so it stays dry. A small wooden scoop makes it easy to add the right amount.
You can start with one load and see how you like it. It saves money because a box lasts through many washes. I now reach for it each time I wash towels and sheets.
9. Plain Soap Flakes for the Wash
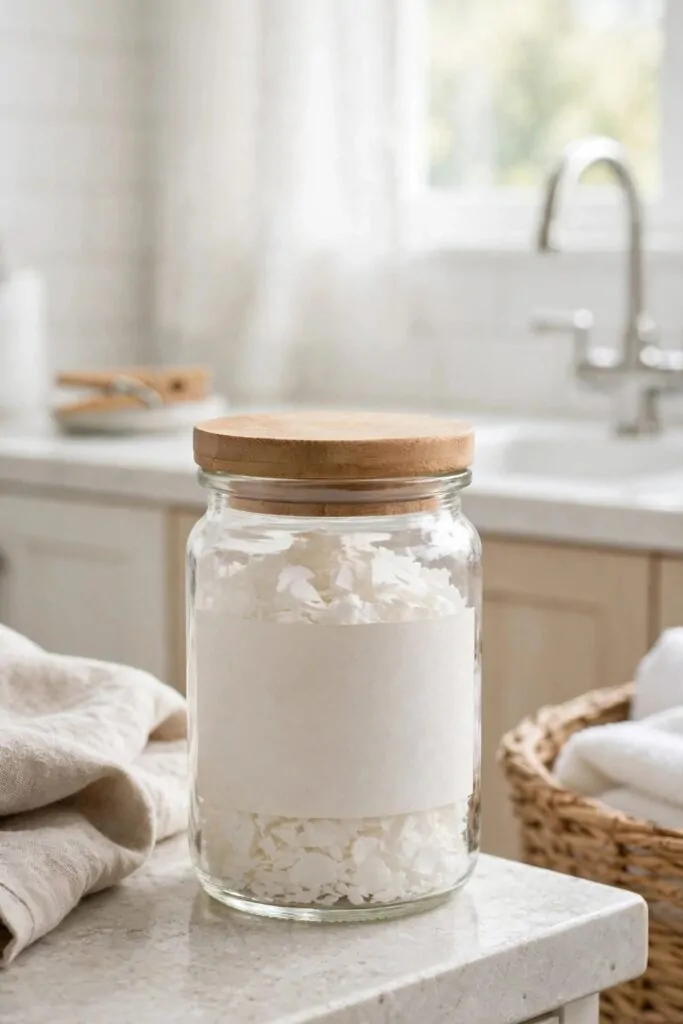
Plain soap flakes melt well in warm water. I keep a jar of them by my washer. They make my wash feel simple and calm.
You can add them straight to your machine.
I like that they have no strong smell. My clothes come out clean and soft to touch. You can try them for your everyday clothes first.
A small glass jar keeps them dry and easy to reach.
I spoon out a small amount for each load. The flakes dissolve as the water fills the machine.
This swap saves money over time. I buy plain flakes in a simple pack and they last me well.
Typical cost $4 to $9.
You can keep the jar with a wooden lid on top to stop spills. I like how tidy it looks. It helps me waste less soap each week.
Start with your towels and sheets if you want a test. You will soon know if plain flakes suit your home.
10. A Mesh Bag for Small Items
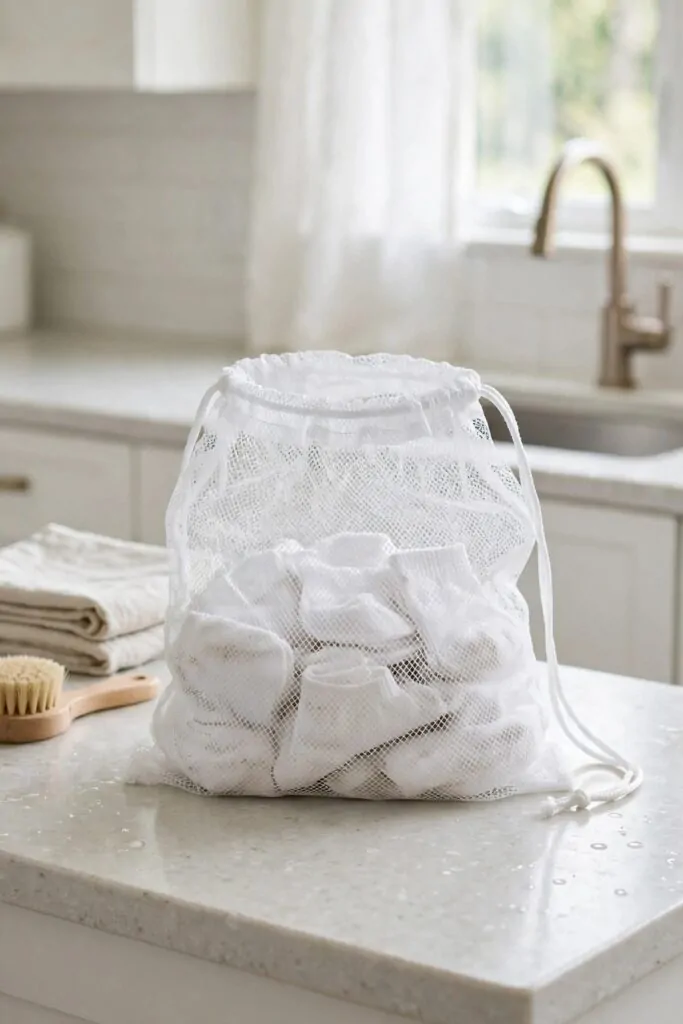
Small socks can vanish in a big wash. I put mine in a white mesh bag before I start the machine.
The bag keeps pairs together through the wash. I no longer hunt for one lost sock after wash day.
You can close the bag and drop it in with the rest.
It works for small items that slip away in the wash. I wash socks and small cloths in mine. You can keep one bag near your washer for easy reach.
My socks come out clean and still in pairs.
The mesh lets water and soap move through with ease. Your small items still get a good wash inside. I like that nothing gets tangled in the machine.
Typical cost $3 to $8.
You can rinse the bag and let it dry after each wash. I keep mine ready for the next load.
This small step saves time on wash day. You will not need to search through a pile for a match. I wish I had tried it much sooner in my home.
| Idea | Main change | Typical cost |
|---|---|---|
| Wash in Cold Water | Wash everyday loads in cold water | $0 to $2 |
| A Short Cycle for Light Loads | Use the short cycle for lightly worn clothes | $0 to $1 |
| Wait for a Full Load | Run the machine only with a full load | $0 to $0 |
| Dry Clothes on a Line in the Sun | Dry clothes on a line in the sun | $8 to $25 |
| A Folding Rack by the Window | Dry clothes on a folding rack by the window | $15 to $40 |
| Wool Dryer Balls for Soft Clothes | Toss wool dryer balls in with the load | $10 to $20 |
| White Vinegar in the Rinse | Add white vinegar to the rinse | $2 to $6 |
| Baking Soda for Fresh Loads | Add a scoop with plain soap | $3 to $6 |
| Plain Soap Flakes for the Wash | Wash with plain soap flakes | $4 to $9 |
| A Mesh Bag for Small Items | Wash small items in a mesh bag | $3 to $8 |
| Total | $45 to $117 |
11. Sort Clothes Before You Wash
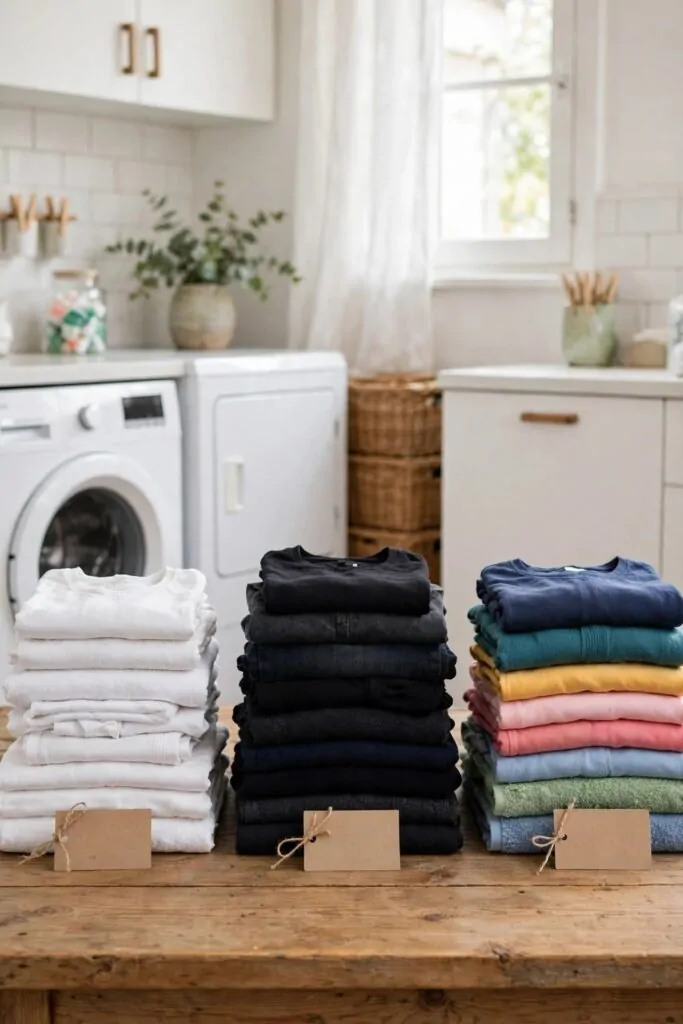
I sort my clothes before I wash them.
Whites go in one pile and darks go in one more. Colours get their own pile on the table too.
This simple step stops dark colours from moving to light clothes. My white clothes stay bright for much longer now.
You can sort while you gather clothes for wash day.
I check pockets and turn clothes the right way out first. It takes only a short time to make three piles. You can teach kids to help with this easy job too.
Sorting helps me pick the right water heat for each pile. Whites can take a warm wash and darks stay in cool water. I wash each pile on its own when I have time.
Typical cost $0 to $0.
You do not need to buy a thing for this step. I sort on a wooden table and it works well for me.
Start with a small sort if three piles feels like too much work. You will soon see how much cleaner each load looks. I now sort without even thinking about it first.
12. Treat Stains with Plain Soap First
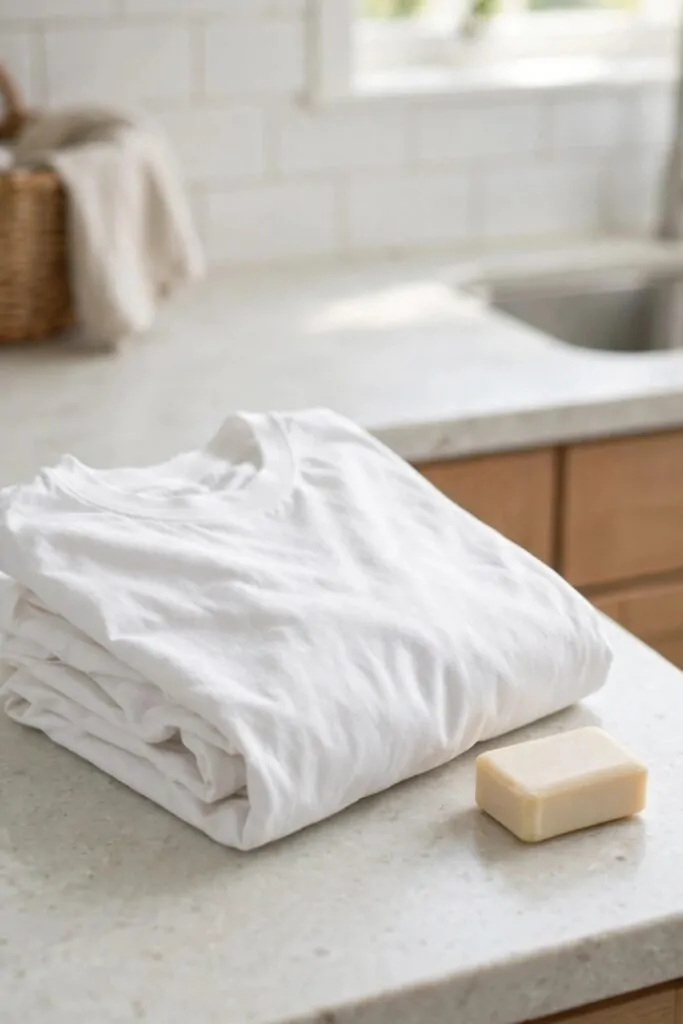
I treat a stain with plain soap before I wash the item. It works best when I act fast after a spill. You can keep a small bar of soap near your washer for this job.
I wet the stained spot with cool water first. Then I rub a small bit of plain soap over it with my hands.
I let the soap sit on the spot for a short while. Then I wash the item as I would wash it on a normal day.
Most light stains lift well with this simple step.
You do not need a strong product for a small mark. Plain soap and water can do the job for you.
I check the spot before I put the item in to dry.
Typical cost $2 to $5.
If the mark is still there, I treat it one more time. I never dry a stained item before I check it first. You can repeat this gentle step until the mark fades.
This habit saves clothes that I might have thrown away. I like how plain soap keeps my white shirts looking fresh.
13. A Lemon Soak for White Clothes
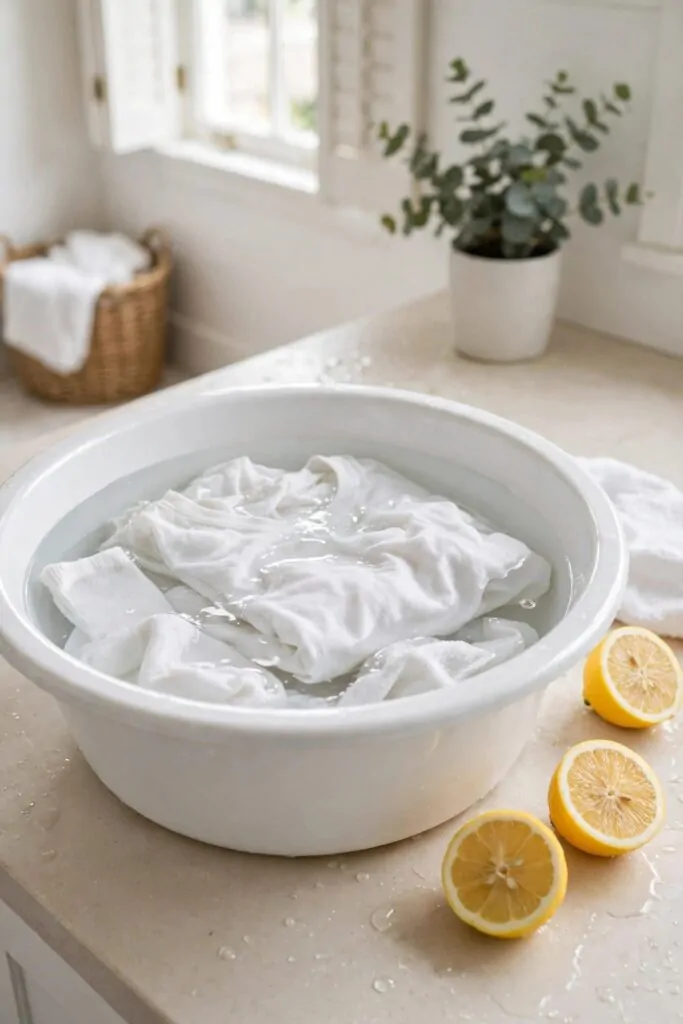
I soak my white clothes in lemon water to keep them fresh. It is a simple step that fits into my wash day with ease.
You can fill a plain basin with clear water and add lemon halves to it.
I leave the clothes in the soak for a short while before I wash them. The lemon helps lift dull looks from white cloth. My whites come out looking clean and bright after the wash.
You do not need a lot of lemon for this soak. Lemon halves are enough for a basin of water. I stir the water once so the lemon can spread through it.
I wash the clothes as normal after the soak.
This step costs very little and uses things I already have at home. You can try it with your white towels and sheets first.
Typical cost $2 to $6.
I rinse the clothes well before I hang them to dry. A good rinse keeps the lemon from staying on the cloth.
Start with your oldest white clothes if you want a test. You will see if this soak suits your home and your water. I now use it when my whites need a fresh lift.
14. Hang Clothes Straight to Skip the Iron
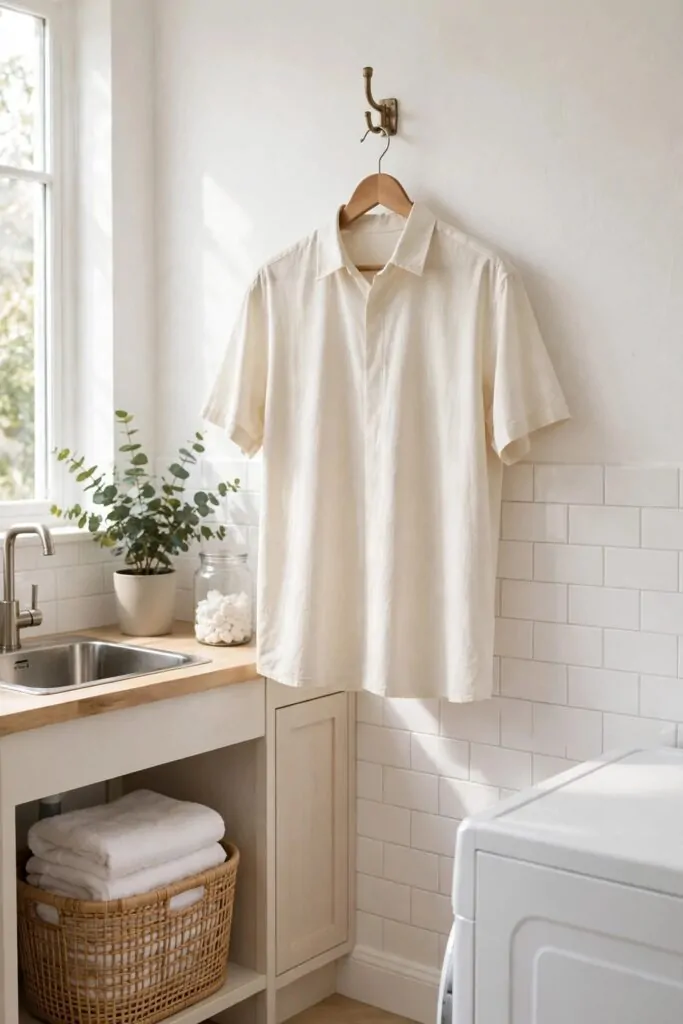
I hang my shirt straight after the wash to skip the iron.
I shake the shirt and smooth it with my hands. Then I put it on a wooden hanger and hang it on a hook. You can do the same with your plain shirts at home.
The cloth dries neat when it hangs straight. I like how smooth my shirts look when I wear them next. You can save time and power with this easy habit.
I hang shirts soon after the wash ends. Wet cloth creases fast if it sits in a pile for long.
You can hang clothes near a window or in a dry spot at home.
I smooth the sleeves and the hem before I leave it to dry. It helps the shirt dry neat without an iron.
Typical cost $0 to $5.
You can try this with a shirt first. It takes only a short time to hang it straight. I now iron much less than I did before.
This small change saves money and keeps my mornings calm. You will love how easy your wash day feels with it.
15. A Basket That Sorts as You Go
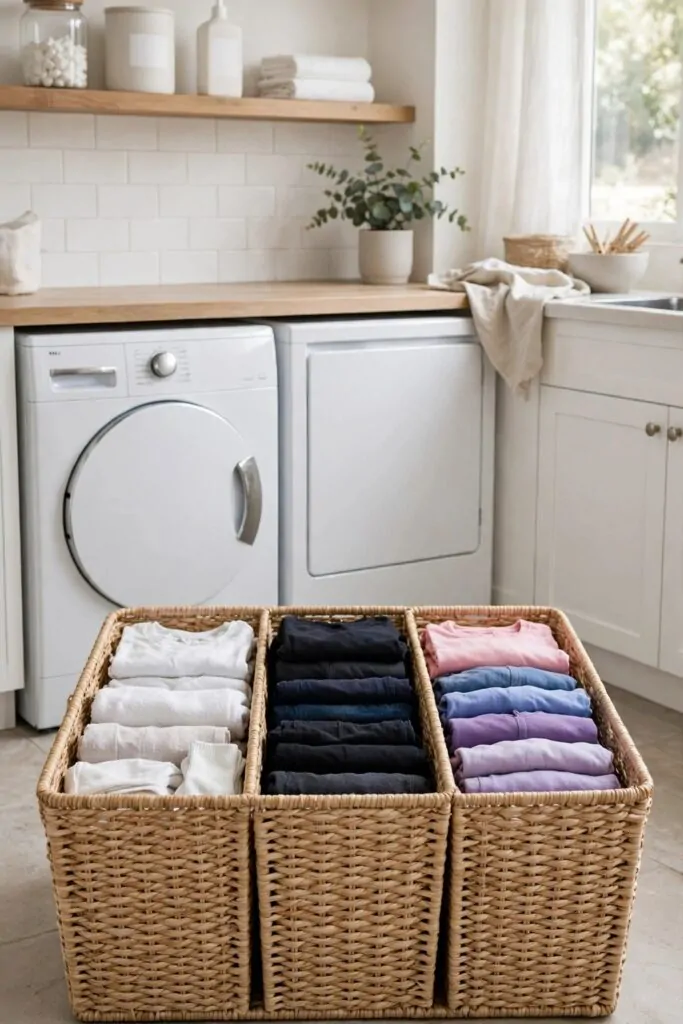
Sorting can feel slow when all the wash sits in one pile. A basket with separate parts can help you sort as you go.
You can drop each load straight into its own part as you undress. Dark clothes can go in one side and light clothes can go in another side. Towels can have a part of their own too.
This saves you time on wash day. You can lift one part out and wash it without sorting the whole pile first.
Kids can learn the habit fast when each part has a clear job.
Pick a basket that feels strong in your hands. It should hold a full load without bending out of shape.
Look for wide handles that are easy to grip. A lid can help keep the pile neat between wash days. You can set the basket near your wash spot so it is easy to reach.
Typical cost $12 to $25.
Rinse the basket out now and then so it stays fresh for your clothes.
Start with the clothes you wear most days. Add a part for towels once the habit feels easy. Soon sorting will feel like a normal part of your day, not extra work.
16. Mend Small Holes Before You Wash
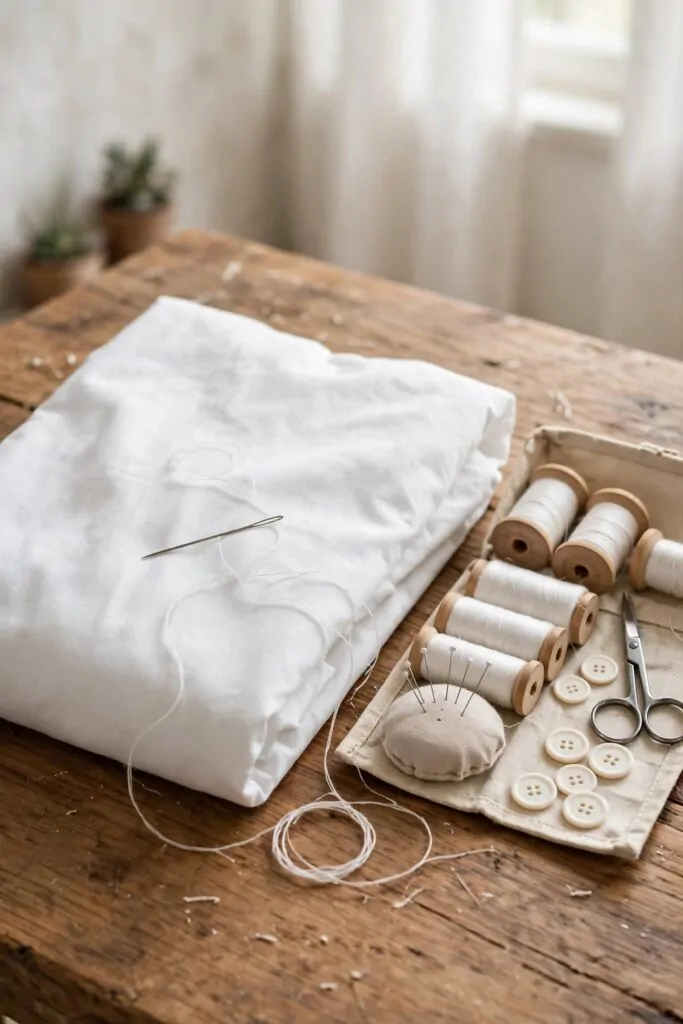
A small hole can grow big in the wash. Water and spin can pull at a weak spot. A quick mend can save a shirt you love.
Check seams and hems before you drop clothes in the machine.
Turn the cloth inside out so you can see the weak spot clear.
Thread a needle with plain thread that blends in well. Make small neat stitches across the hole and knot the end firm.
You do not need fancy skill for this job. Straight stitches can hold the cloth together well. Practice on an old cloth first if you feel unsure.
Mend while the hole is still small. It takes less time now than a big fix later.
Typical cost $3 to $8.
Keep a needle and plain thread in a small box near your wash spot. You will reach for it more when it is easy to find.
Check pockets for bits that can snag cloth in the wash. Shake clothes out before you mend them. A little care now can keep your best clothes in use for longer.
17. A Strong Line for Heavy Items
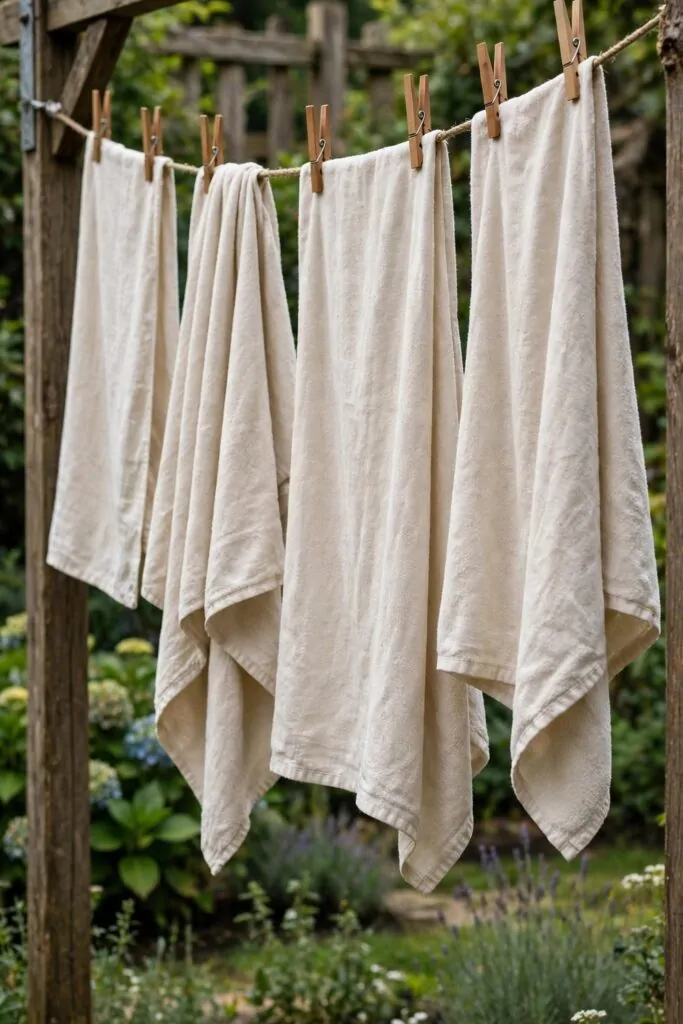
Heavy towels can stretch a weak line and sag to the ground.
A strong line can hold wet towels without dipping low. It can also dry thick cloth faster in fresh air.
Pick a line made for outdoor use and heavy loads.
Tie it tight between two firm posts. Leave a bit of slack for wind so it does not snap. Test it with a wet towel before you hang a full load.
Use pegs that grip well and do not slip off in wind. Space towels out so air can move round each one.
Hang heavy items near the posts where the line is strongest. Put lighter items in the middle where the pull is less. Turn towels once so both sides can dry in the sun.
Typical cost $10 to $20.
Bring the line in when storms come near. Wipe the line clean now and then so it does not mark your cloth. A dry line can last well with this small care.
Sun and air can leave towels soft without extra steps. Your wash can smell fresh from the line alone.
18. Air Clothes Out and Wash Less Often
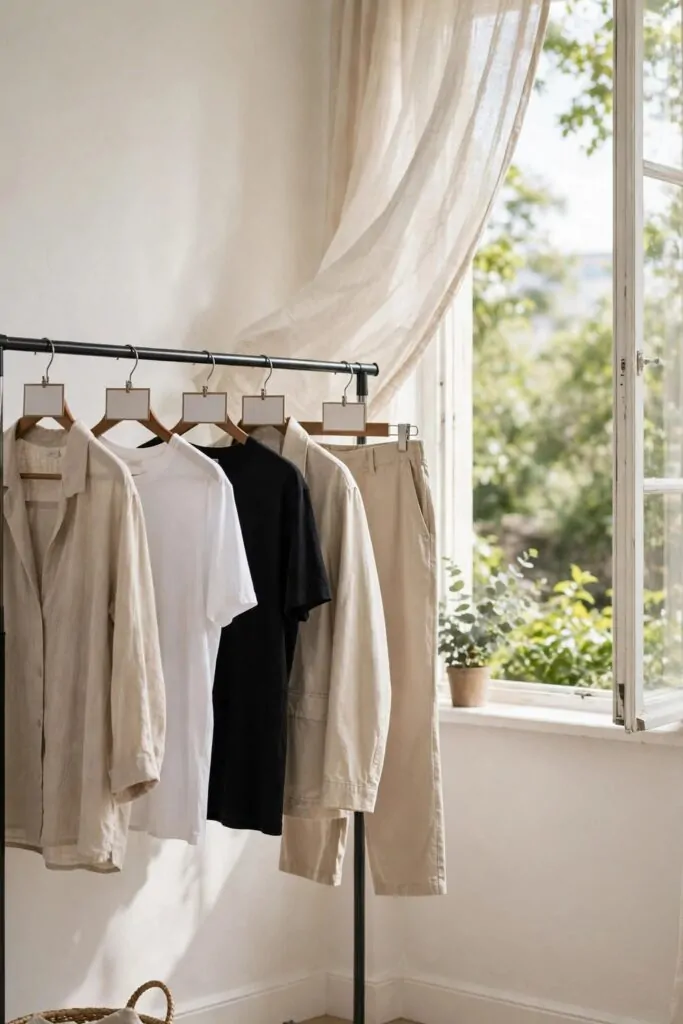
Not every worn shirt needs a wash right away. Fresh air can lift stale smells out of cloth.
Hang the shirt on a rack by an open window. Let air move through it for a while before you decide.
This habit can cut down your wash loads each week. Less washing can save water and soap too. Your clothes can also last longer when they wash less often.
Check for marks first, because air will not lift a stain.
Turn the cloth inside out to air the side near your skin. Shake it out once before you hang it up. A rack near fresh air can do this job well.
Wash it when it still smells stale after airing.
Typical cost $1 to $5.
Teach kids to air school clothes in the same way. It can turn into a quick habit before bed.
You can save time on wash day with this one change. You can save water with each load you skip. Your laundry pile can stay small and easy to handle.
19. A Small Brush for Collars and Cuffs
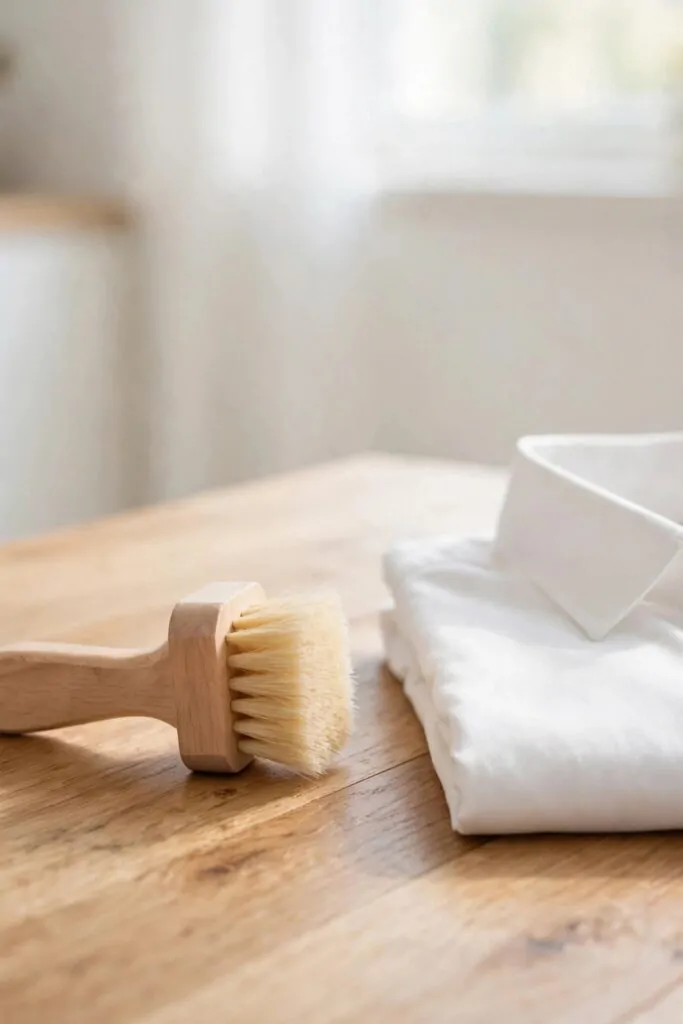
Collars and cuffs can pick up grime first. A wash alone may not lift it all. A small brush can help you work soap into those spots.
Wet the collar with plain water first. Rub a bit of plain soap over the mark with your hand. Brush soft strokes over the spot till it looks clean.
Use a brush with soft bristles that will not rough up the cloth.
Brush in one way, not back and forth. This keeps the cloth smooth while you clean it.
Rinse the spot and check it before you wash the shirt.
Keep the brush by your soap so you can reach it fast. A small brush can last well if you rinse it after each use.
Typical cost $4 to $9.
Try this on work shirts and school shirts first. You can see the change right away on a grubby collar. It can save a shirt that looked too worn to wear.
A quick brush can mean one less wash for that shirt. Your collars can stay neat with this small step each week.
20. Store Soap in a Plain Glass Jar
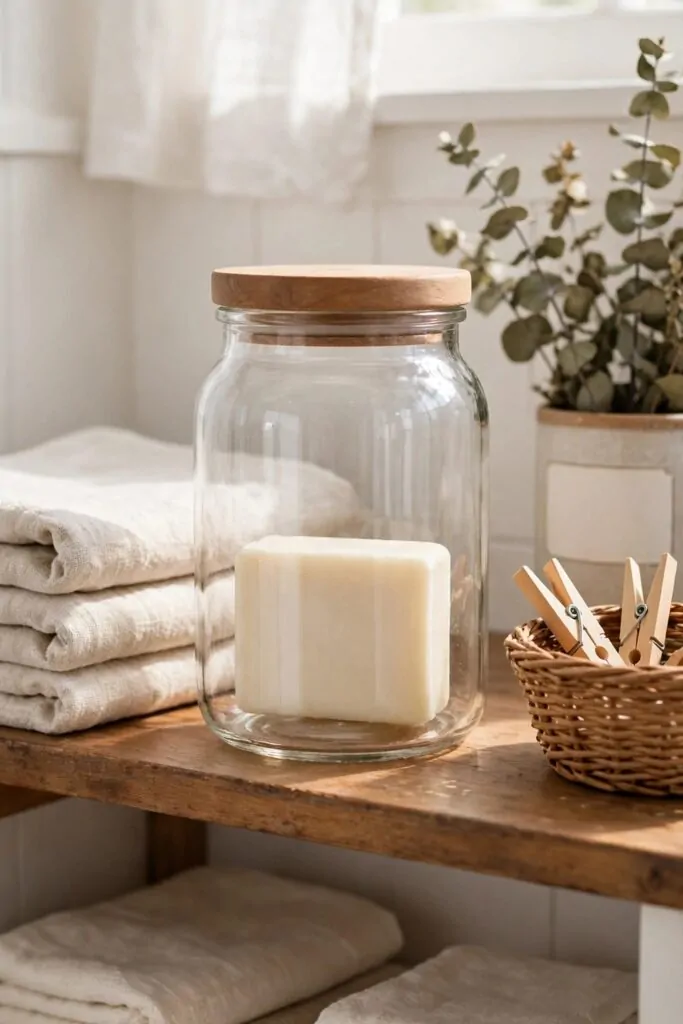
A plain glass jar can keep your soap neat and easy to reach.
You can see at a glance when the soap runs low.
Pick a jar with a lid that fits well. It can keep dust out and keep the soap dry between washes.
Set the jar near your wash spot. Put a bar of plain soap inside it. You can lift the lid and take what you need without fuss.
A glass jar can suit any wash room. It can look tidy on a shelf or beside the machine.
Wash the jar out when you swap in a fresh bar.
Typical cost $5 to $12.
Label the jar in plain words if you store more than one kind of soap. Keep it out of reach of small kids. A dry bar can last well when it stays out of water.
The same jar can work for wash after wash. This cuts waste from new packs each time. A simple jar can make wash day feel calm and neat.
| Idea | Main change | Typical cost |
|---|---|---|
| Sort Clothes Before You Wash | Sort whites, darks and colours | $0 to $0 |
| Treat Stains with Plain Soap First | Rub plain soap on stains first | $2 to $5 |
| A Lemon Soak for White Clothes | Soak whites in lemon water | $2 to $6 |
| Hang Clothes Straight to Skip the Iron | Hang shirts straight to dry | $0 to $5 |
| A Basket That Sorts as You Go | sort clothes into parts as you go | $12 to $25 |
| Mend Small Holes Before You Wash | mend small holes before they grow | $3 to $8 |
| A Strong Line for Heavy Items | hang heavy towels on a strong line | $10 to $20 |
| Air Clothes Out and Wash Less Often | air clothes out and wash them less | $1 to $5 |
| A Small Brush for Collars and Cuffs | brush collars and cuffs before washing | $4 to $9 |
| Store Soap in a Plain Glass Jar | keep soap in a plain glass jar | $5 to $12 |
| Total | $39 to $95 |
21. A Small Sustainable Laundry Kit
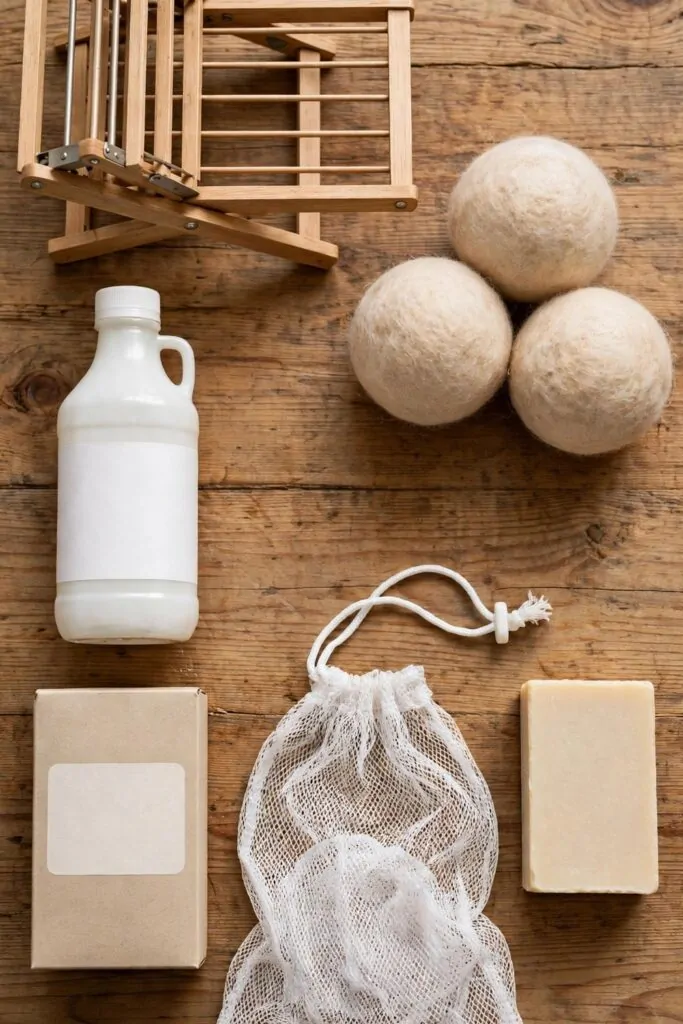
My small kit holds a folding drying rack, wool dryer balls, a white vinegar bottle, a baking soda box, a mesh wash bag and a plain soap bar.
Each item has a plain job in my wash routine. You can start with this kit and add more tools later if you like.
The rack can dry clothes with air and sun.
The wool dryer balls can help clothes dry soft in the dryer. The white vinegar bottle can help with rinse water. The baking soda box can help wash water smell fresh.
The mesh wash bag can guard small cloths in the machine. The plain soap bar can wash hands and small loads with ease.
Keep the kit in one spot so wash day feels easy.
Try one item first and see how it works for you. Add the next item once the first one feels normal.
The rack is $8 to $15, the balls are $6 to $10, the vinegar is $2 to $4, the soda is $1 to $3, the bag is $3 to $5 and the soap is $2 to $4, for a total of $22 to $41.
Wash one cold load this week, hang it in the sun, and let one small swap make your laundry day lighter and cheaper.
| Idea | Main change | Typical cost |
|---|---|---|
| folding drying rack | dry clothes with air and sun on a rack that folds away | $8 to $15 |
| wool dryer balls | soften clothes in the dryer without extra steps | $6 to $10 |
| white vinegar bottle | add a splash to rinse water for fresh cloth | $2 to $4 |
| baking soda box | lift smells from wash water with plain soda | $1 to $3 |
| mesh wash bag | guard small cloths in the machine wash | $3 to $5 |
| plain soap bar | wash small loads by hand with plain soap | $2 to $4 |
| Total | $22 to $41 |
Keep Reading
If you liked these ideas, you will love these posts too
Each post has more simple ideas you can try at home this weekend.