30 Glass Storage Ideas for a Plastic-Free Pantry

My pantry shelves used to hold torn bags and soft boxes, and every time I reached for flour a little puff of dust came out with it.
Glass keeps dry food safe in a plain way. I can see what sits inside without opening the lid. That small change makes my pantry feel calm each day.
Torn bags split and soft boxes sag on a shelf. Glass holds its shape and keeps dust out. I fill a jar once and it stays neat till it runs low.
I like glass because it does not hold smells from the last food in it. I wash it, dry it, and fill it with something new. One jar can serve my pantry for years.
You do not need a full new set to start. Pick the food you reach for most and give it one glass jar. When that jar works, you can add more in the same way.
This post walks through my pantry shelf by shelf. Each idea uses one plain glass jar or bottle and one dry food. You can copy any idea with a jar you already own.
This post brings together 30 glass storage ideas in one place, from a small spice jar to a full pantry kit, so you can pick the ones that fit your shelves and start this week.
1. A Glass Canister for Flour on the Counter
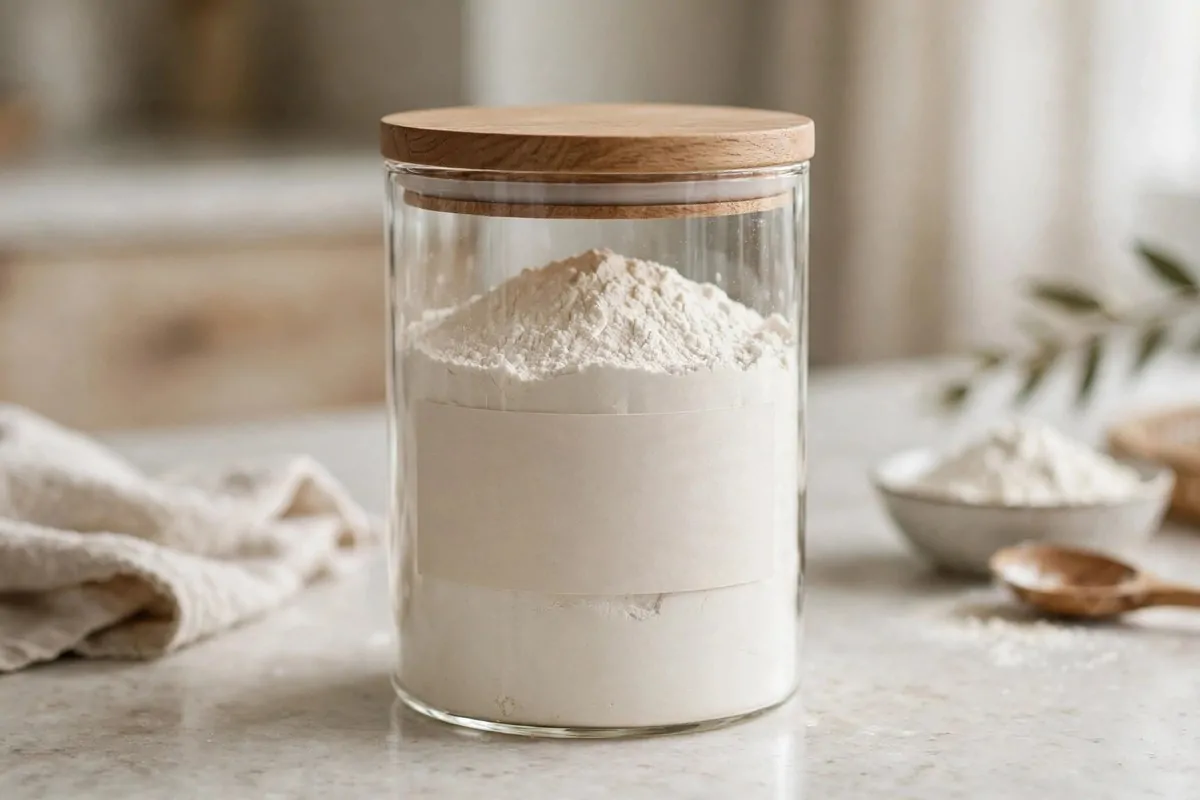
Flour puffs out of a torn bag each time I lift it. A glass canister holds it still on the counter. I can see how much flour stays inside before I bake.
I spoon flour into the canister with a slow hand. I shake the canister once with a light hand so the flour settles flat. A wide mouth makes the spoon work easy.
You can keep the canister where you mix dough. I keep mine on the counter where I bake. The lid stays shut till I need flour.
A wooden lid sits firm on top of the glass. I press it down after each use and wipe flour dust off the rim. Dry flour stays dry, and that is the whole point.
You can scoop straight from the canister when you bake. I level the spoon on the rim and tip the flour into the bowl. The canister goes back in its spot once the bowl has what it needs.
A plain label on the front can help you find it fast. I keep the label short so I can read it at a glance. You can spot it fast when you start to bake.
Typical cost $4 to $9.
I like this idea because flour stops drifting all over my counter. My shelf feels calm, and baking starts without a hunt for the bag. You can start with one canister from a shop near you.
Try it with the flour you bake with most. Fill one canister, press the lid on, and set it where you mix. When it runs low, you will see it in time to buy more.
2. A Glass Jar for Sugar on the Pantry Shelf
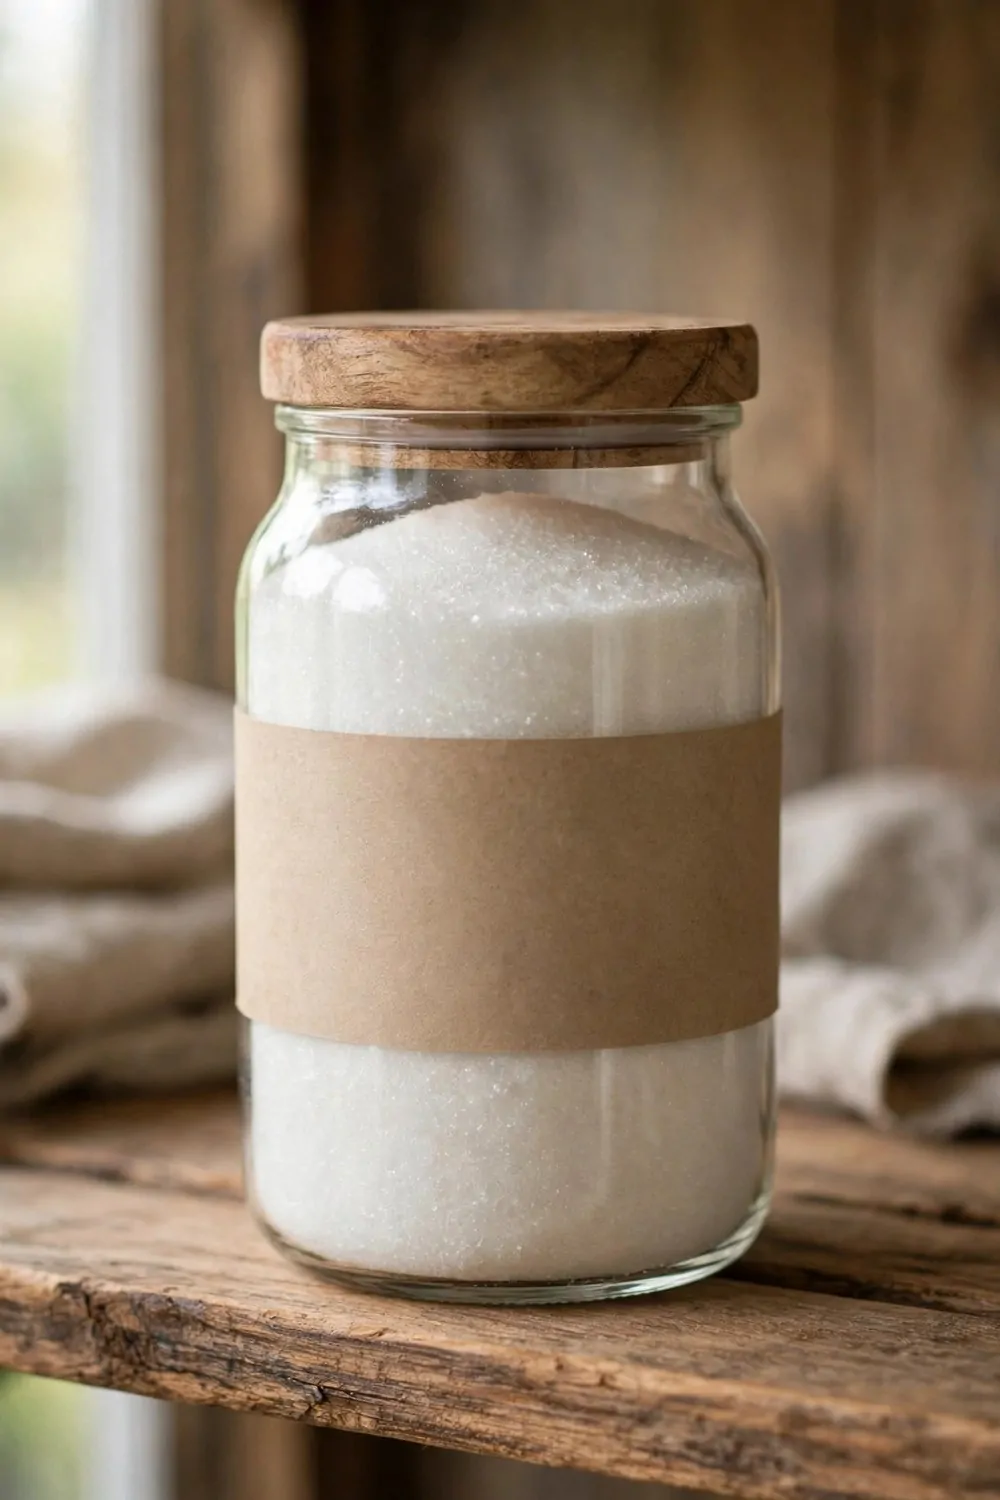
Sugar spills from a soft bag and sticks to the shelf. A glass jar holds it safe from damp and dust. I take the lid off and spoon out what I need.
I pour sugar into the jar with a funnel and a slow hand. I stop short of the rim so the lid can shut with ease. The wide top lets the sugar fall in with no mess.
You can keep the jar on a pantry shelf where you can reach it. I keep mine at hand height so I can grab it while I cook. The glass lets me check the level without opening it.
A wooden lid shuts firm on the jar. I press it down after each spoonful and brush sugar off the rim. Sugar clumps when damp air gets in, so a firm lid earns its keep.
You can spoon sugar straight from the jar for tea or baking. I use a small spoon from the drawer and put it back after. The jar stays neat on the shelf between uses.
A plain label on the front can help you tell sugar from salt. Short plain words work best, so I can read them fast when my hands are full. You can tell it from salt in one look.
Typical cost $3 to $8.
I like this idea because my pantry shelf stays free of sticky spills. I find sugar in seconds, and the jar looks tidy on the shelf. You can start tonight with one jar.
Try it with the sugar you use each day. Fill one jar, press the lid on, and put it where you reach most. When the jar runs low, the glass will show you.
3. A Glass Bottle for Olive Oil by the Stove
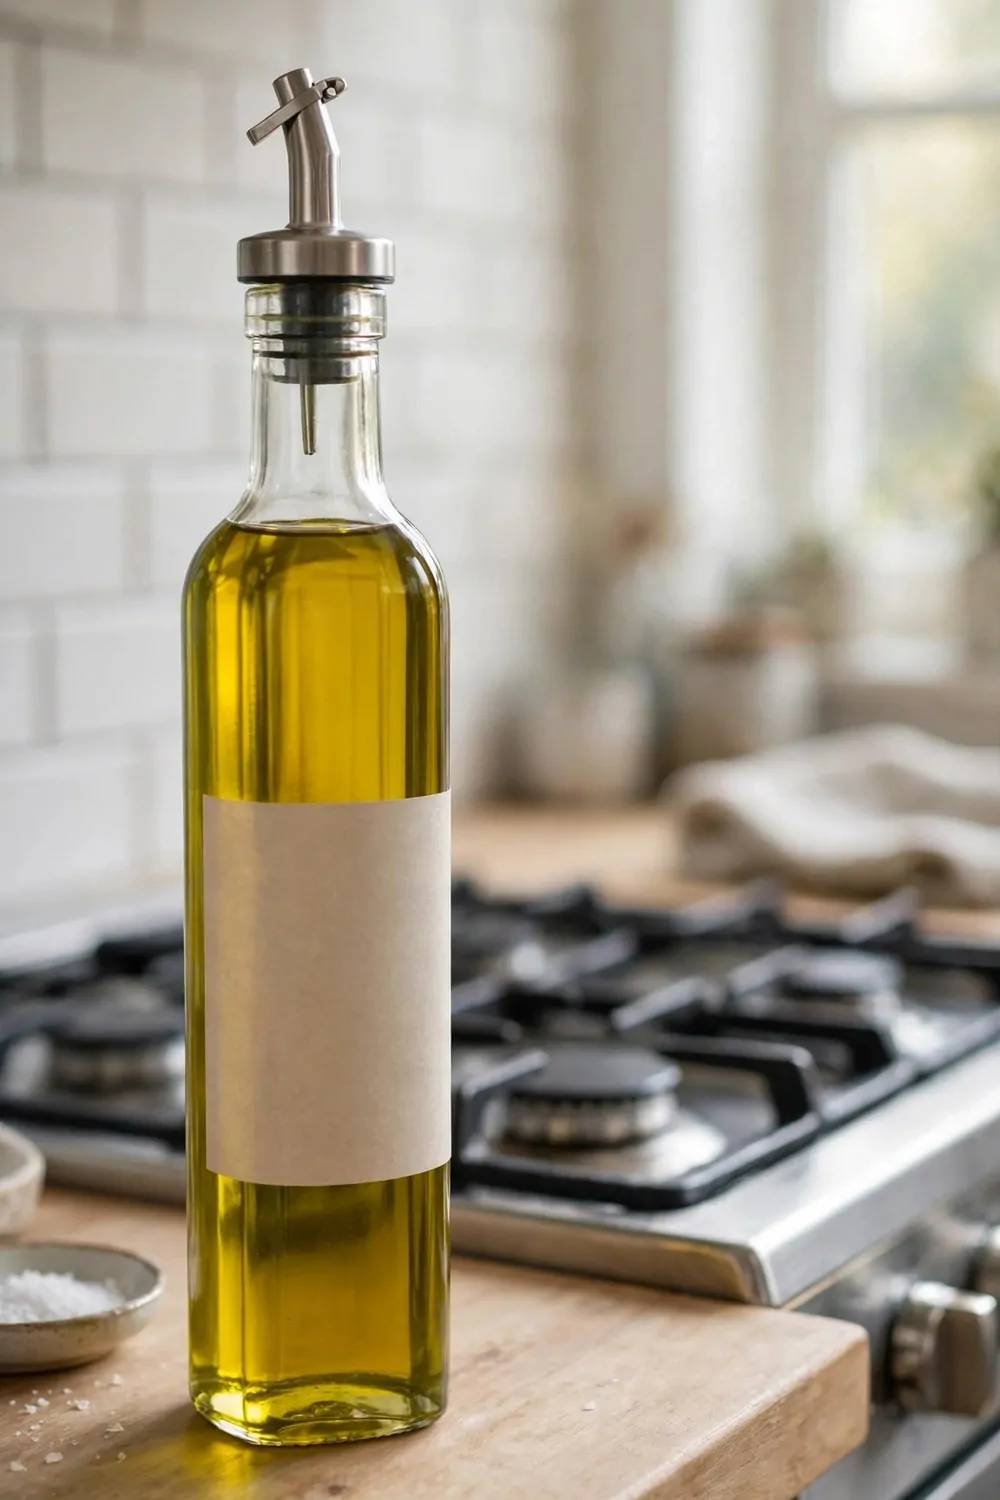
Olive oil in a big tin is hard to pour in a thin stream. A tall glass bottle with a pourer gives me control. I tip it slow and the oil lands where I want it.
I fill the bottle with a funnel and a steady hand. I stop below the neck so the pourer can sit firm. A tall shape fits well beside the stove.
You can keep the bottle where you cook each day. I keep mine by the stove, within reach of my pan. The glass shows me how much oil stays inside.
A pourer on top stops drips from running down the glass. I wipe the neck after each use and set the bottle back upright. The shelf stays free of oil marks when I wipe it each time.
You can pour oil for a pan or a salad from the same bottle. I count to three for a pan and stop. The bottle goes back by the stove once the pan has what it needs.
A plain label on the front can help you tell it from other oils in the kitchen. I keep the words short so I can read them fast while a pan heats. You can find it fast while a pan heats.
Typical cost $5 to $11.
I like this idea because cooking feels calmer with oil close at hand. I pour what I need and nothing spills on the counter. You can start with one bottle and one pourer.
Try it with the olive oil you cook with most. Fill one bottle, fit the pourer, and set it by the stove. When the level drops low, you will see it in time to buy more.
4. A Glass Jar for Coffee Beans in the Kitchen
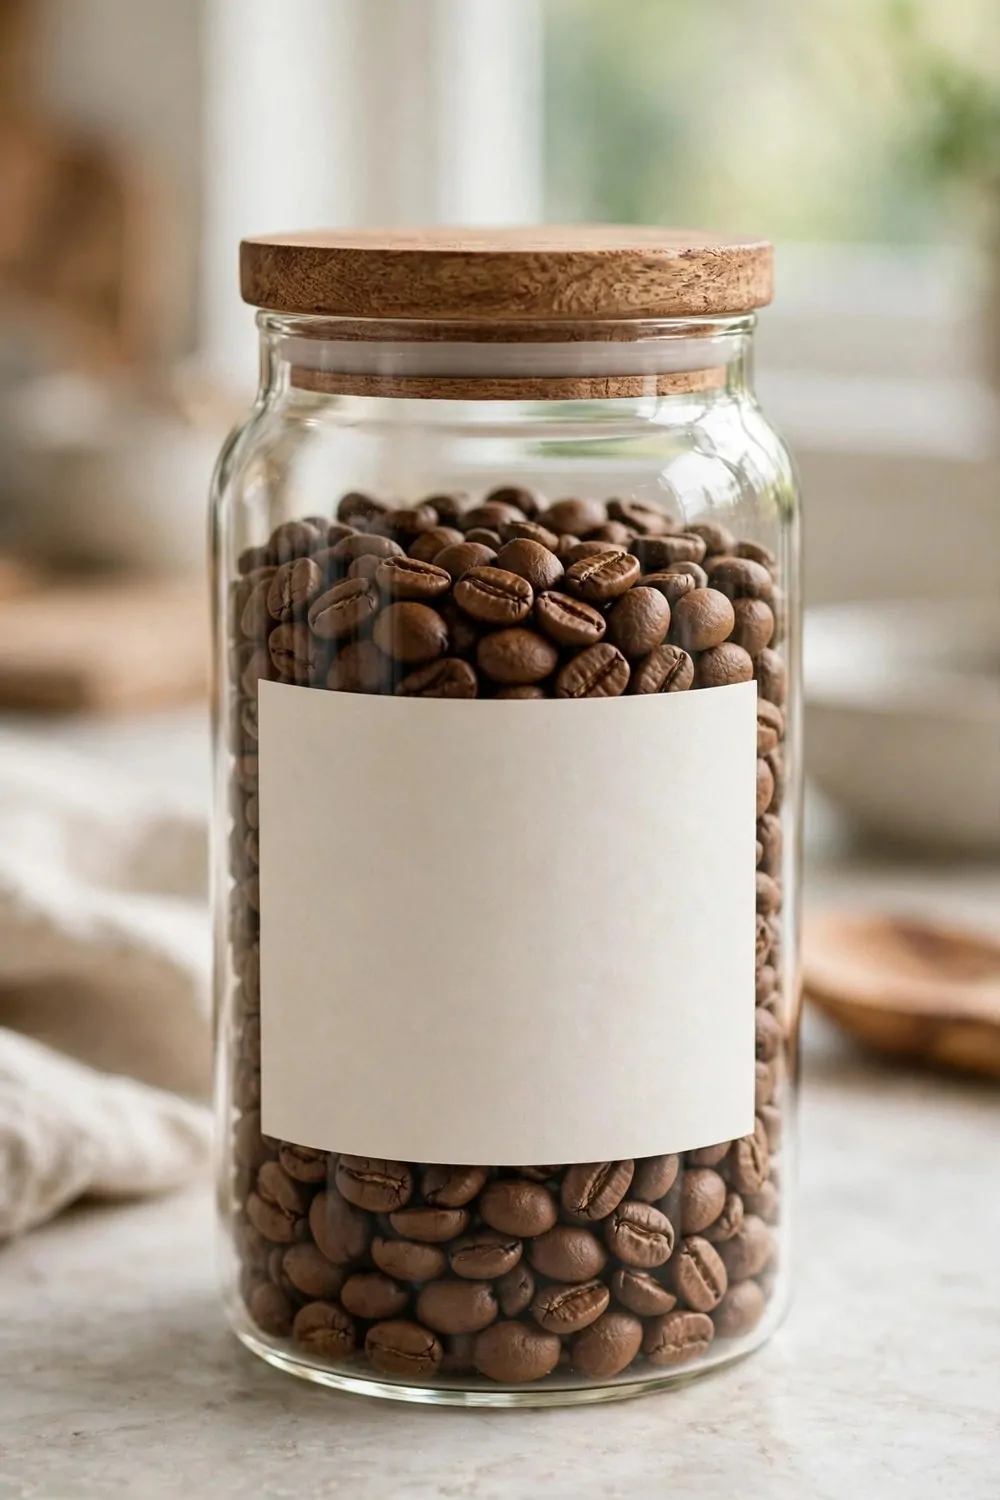
An open bag lets air at coffee beans all day, and the smell fades fast. A glass jar shuts that air out. I reach for the jar first each morning now.
I pour beans into the jar with a cup and a slow hand. I fill it near the top and press the lid down firm. The glass shows me the brown beans inside at a glance.
You can keep the jar where you make your morning drink. I keep mine on the kitchen counter where I brew. The lid stays on between cups.
The wooden lid fits snug on top of the glass. I push it down after each scoop and wipe bean dust off the rim. Dry beans keep their smell longer when the lid stays shut.
You can scoop beans straight from the jar when you brew. I measure one scoop per cup and tip it in. The jar goes back on the counter once the cup has what it needs.
A plain label on the front can help you find it on a sleepy morning. I keep the words short so I can read them before my first cup. You can find it fast on a sleepy morning.
Typical cost $4 to $10.
I like this idea because my mornings start without a hunt for the bag. The beans stay fresh, and the counter looks tidy. You can start with one jar and the beans you drink most.
Try it with the beans you drink each day. Fill one jar, press the lid on, and set it where you brew. When the jar runs low, the glass will show you in time to buy more.
5. A Glass Jar for Loose Tea Leaves
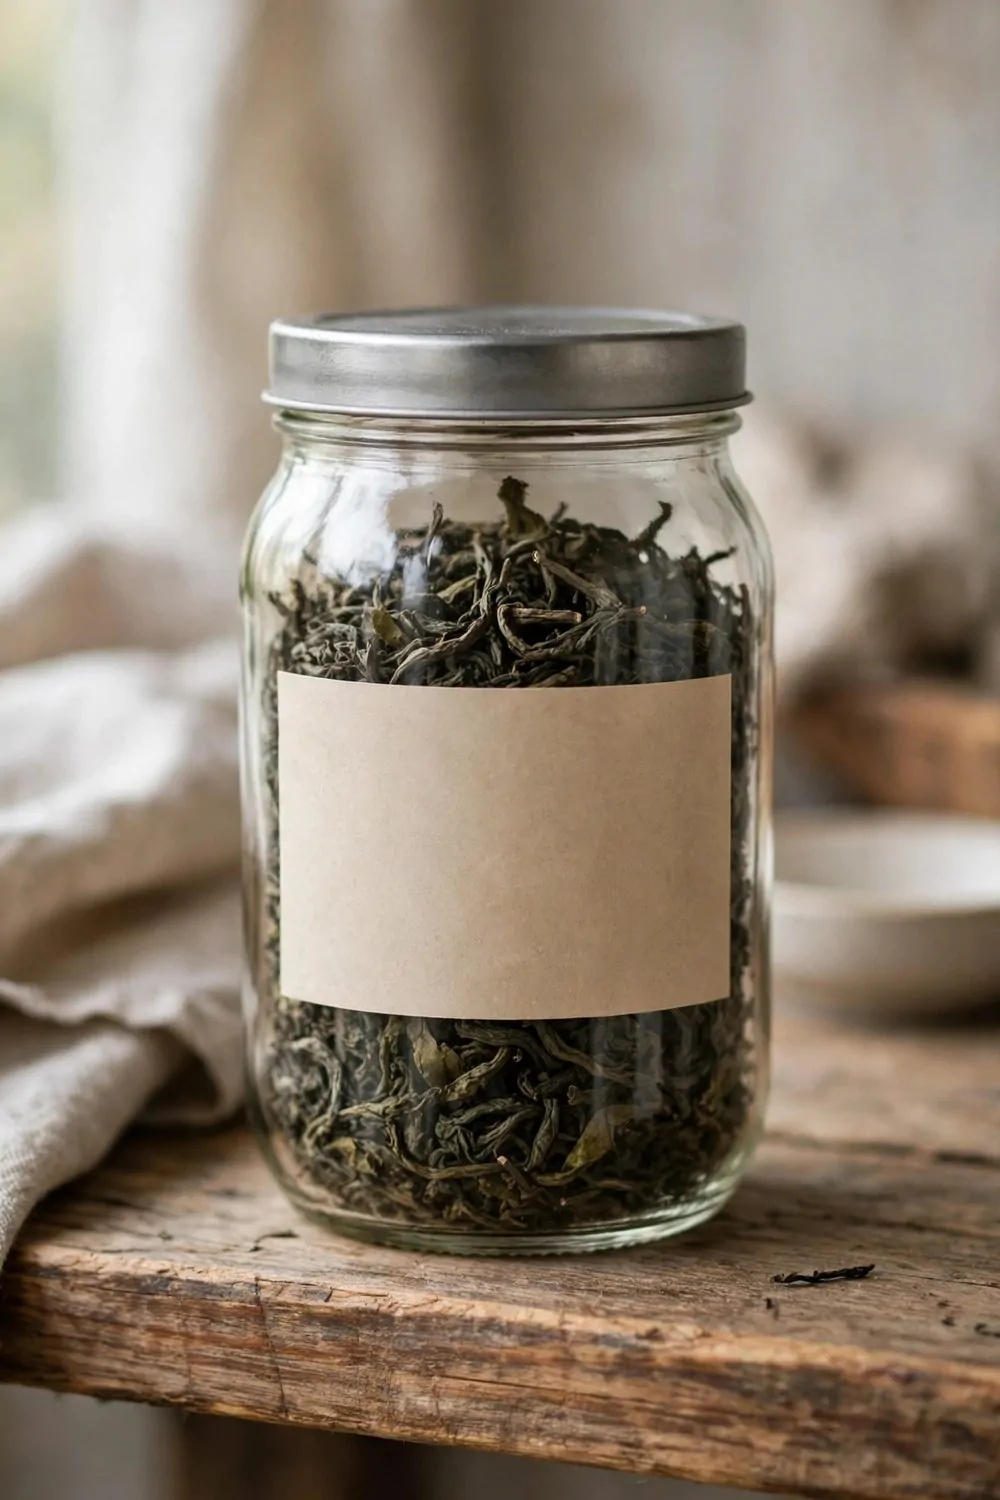
Loose tea leaves scatter from a soft bag and end up on the shelf. A glass jar holds them in one neat place. I lift the lid and spoon out what I need for a cup.
I spoon tea leaves into the jar with care. I stop a little short of the rim and press the metal lid down firm. The wide top makes it easy to spoon the leaves in.
You can keep the jar where you brew tea each day. I keep mine on the kitchen counter where I make tea. The glass lets me check how much tea stays inside.
A metal lid shuts firm on the jar. I press it down after each cup and brush leaf dust off the rim. Dry leaves keep their taste longer when the lid stays shut.
You can measure tea straight from the jar for each cup. I use one small spoon per cup and tip the leaves into the pot. The jar goes back in its spot once the pot has what it needs.
A plain label on the front can help you tell one tea from another. I keep the words big and plain, so I can read them fast while the kettle boils. You can find it fast while the kettle boils.
Typical cost $3 to $7.
I like this idea because tea time starts without a hunt through bags. The leaves stay dry, and the counter looks calm. You can start with one jar and the tea you drink most.
Try it with the loose tea you brew each day. Fill one jar, push the lid on, and set it where you make tea. When the jar runs low, you will see it in time to buy more.
6. A Glass Jar for Rolled Oats at Breakfast
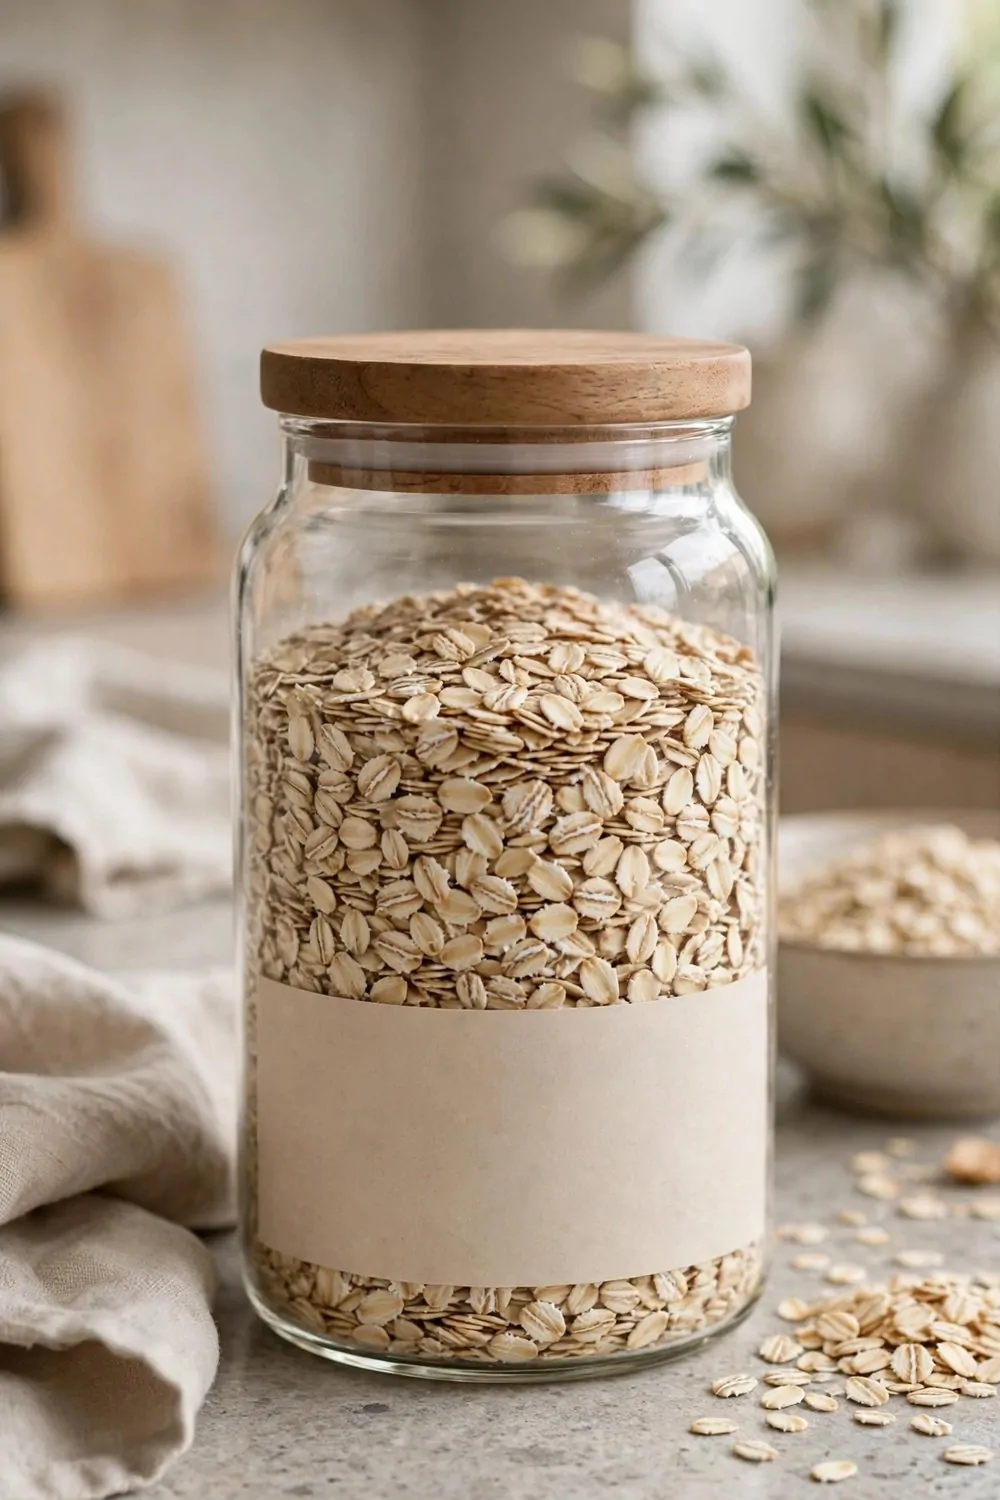
Rolled oats spill from a soft bag and land on the shelf. A glass jar keeps them in one neat place. I can see how much stays inside before breakfast.
I pour oats into the jar with a cup and a slow hand. I shake the jar once with a light hand so the oats settle flat. A wide mouth makes the cup work easy.
You can keep the jar where you make breakfast. I keep mine on the kitchen counter where I cook in the morning. The glass shows me the level at a glance.
The wooden lid rests snug on the glass. I push it down each morning after breakfast and wipe oat dust off the rim. Oats turn soft in damp air, so I keep the lid shut tight.
You can scoop oats straight from the jar for each bowl. I measure one cup per bowl and tip it into the pot. The jar goes back where it sits once the pot has what it needs.
A plain label on the front can help you spot it fast at breakfast. I keep the words short so I can read them while I reach for a bowl. You can spot it fast at breakfast.
Typical cost $3 to $8.
I like this idea because breakfast starts without a hunt for the bag. The oats stay dry, and the counter looks tidy. You can start with one jar and the oats you eat most.
Try it with the oats you eat each morning. Scoop some into one jar, put the lid on tight, and keep it where you make breakfast. When the jar runs low, you will spot it in time to buy more.
7. A Glass Jar for Cereal on a Low Shelf
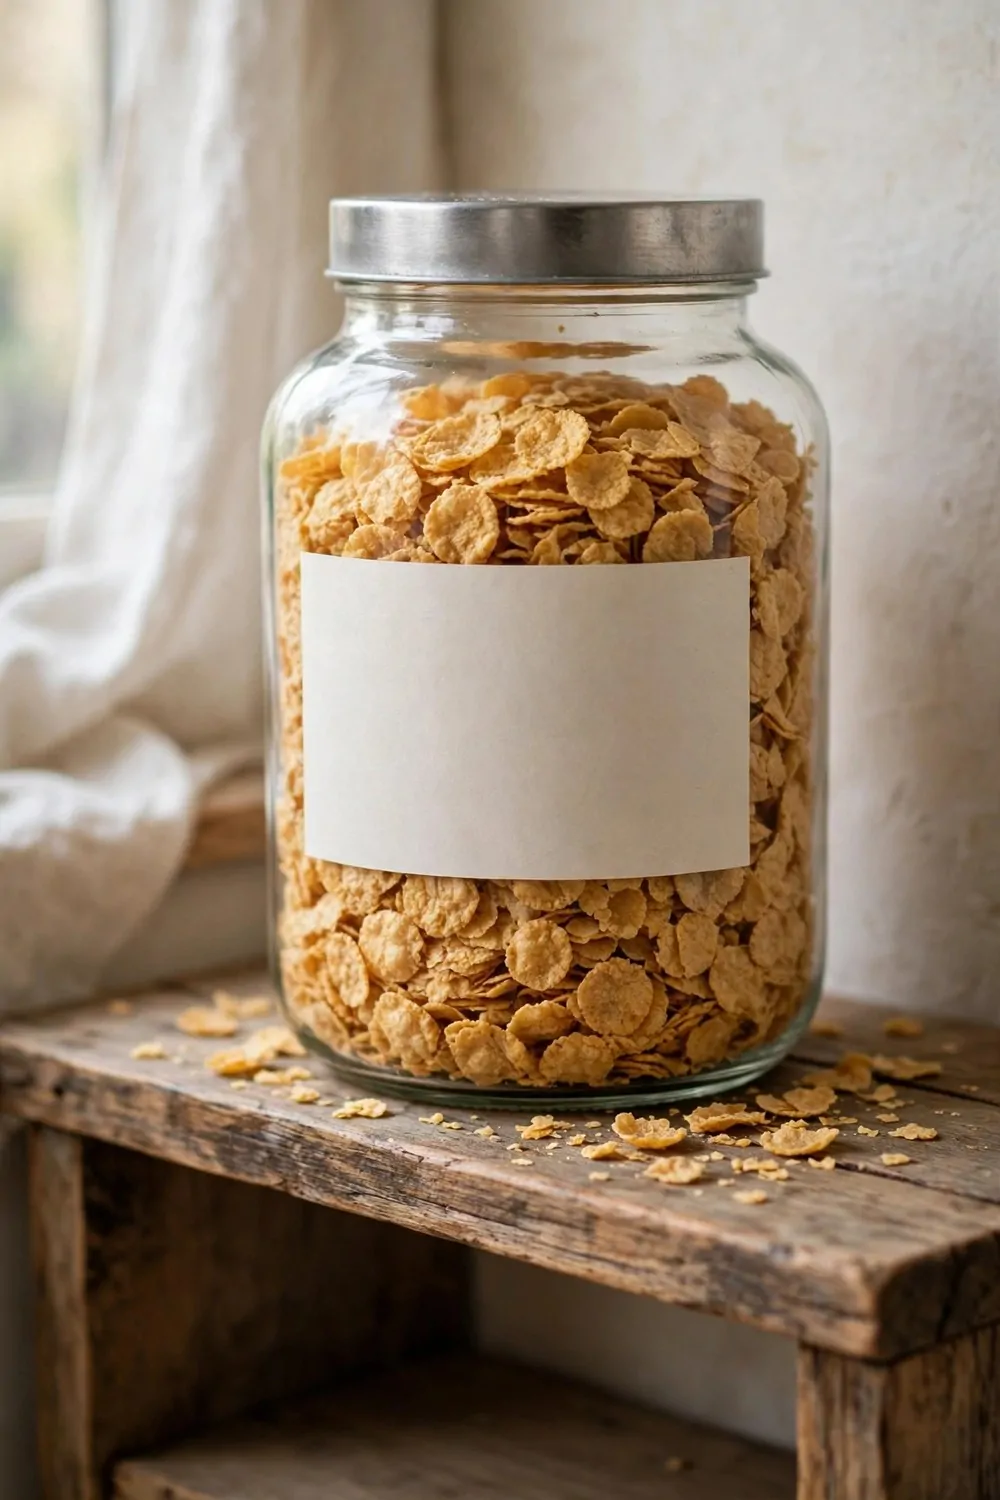
Cereal goes soft fast in an open box. A wide glass jar with a firm lid keeps the flakes crisp. I lift the lid and pour what I need for a bowl.
I pour cereal into the jar with a steady hand. I stop just short of the top and push the metal lid down firm. The wide top lets the cereal fall in with no fuss.
You can keep the jar on a low shelf where you can reach it with ease. I keep mine low so breakfast feels easy for the whole house. The glass lets me see the level without lifting the lid.
The metal lid clicks shut on the jar. I press it down after each bowl and brush crumb dust off the rim. Dry cereal stays crisp when the lid stays shut.
You can pour cereal straight from the jar into a bowl. I tilt it slow and stop when the bowl looks full. The jar goes back on the shelf once the bowl has what it needs.
A plain label on the front can help you spot the right jar on a low shelf. I write the name in big plain letters, so I can read it fast on a busy morning. You can spot the right jar fast on a low shelf.
Typical cost $4 to $9.
I like this idea because breakfast feels easy when cereal sits low and in sight. The flakes stay crisp, and the shelf looks tidy. You can start with one wide jar.
Try it with the cereal your house eats most. Fill one jar, press the lid on, and set it on a low shelf. When the jar runs low, the glass shows it before you run out.
8. A Tall Glass Jar for Dried Lentils
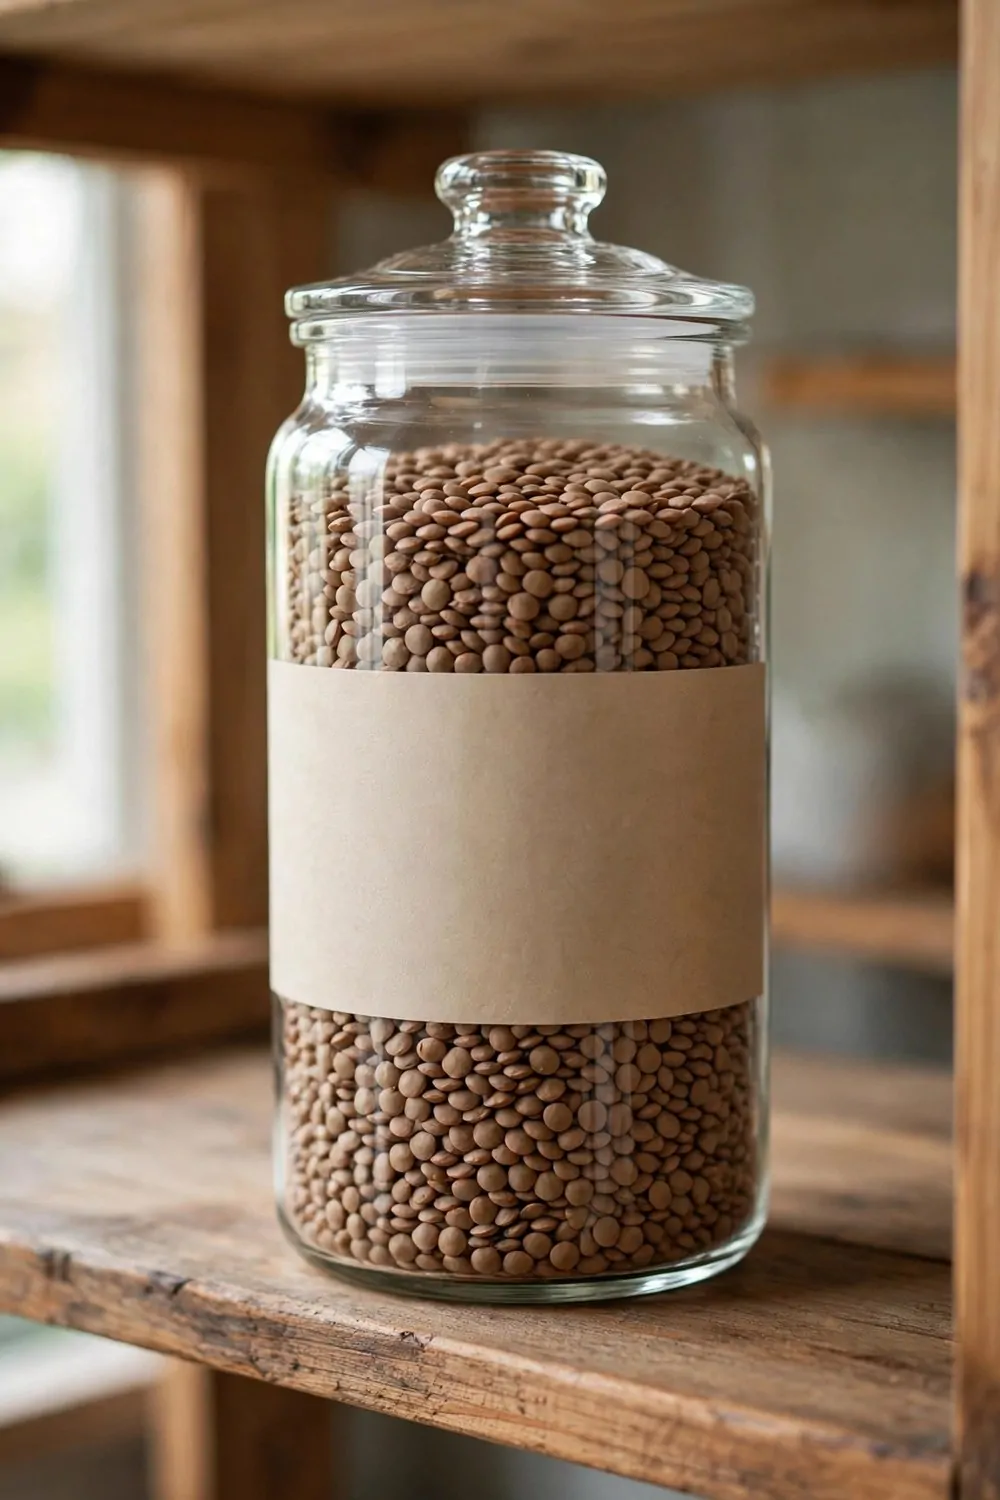
Dried lentils slip out of a torn bag and scatter on the shelf. A tall glass jar holds them in one neat place. I can see the brown lentils inside before I cook.
I tip lentils into the jar from a cup, a little at a time. I give the jar one soft shake so the lentils lie flat. A tall shape fits well on a pantry shelf.
You can keep the jar on a pantry shelf you reach each day. I keep mine where I plan dinner. The glass shows me how much stays inside at a glance.
A glass lid sits firm on top of the jar. I press it down after each use and wipe lentil dust off the rim. Lentils cook best when they stay dry, so a firm lid earns its keep.
You can scoop lentils straight from the jar when you cook. I rinse them in a bowl first, then tip them into the pot. The jar goes back to its shelf spot once the pot has what it needs.
A plain label on the front can help you tell lentils from other dry food. I keep the words short so I can read them fast while I plan dinner. You can find it fast while you plan dinner.
Typical cost $3 to $7.
I like this idea because dinner starts without a hunt for the bag. The lentils stay in one place, and the shelf looks tidy. You can start with one tall jar.
Try it with the lentils you cook with most. Fill one jar, press the lid on, and set it on a pantry shelf. When the jar runs low, you will see it before dinner needs more.
9. A Glass Jar for Dried Beans in the Pantry
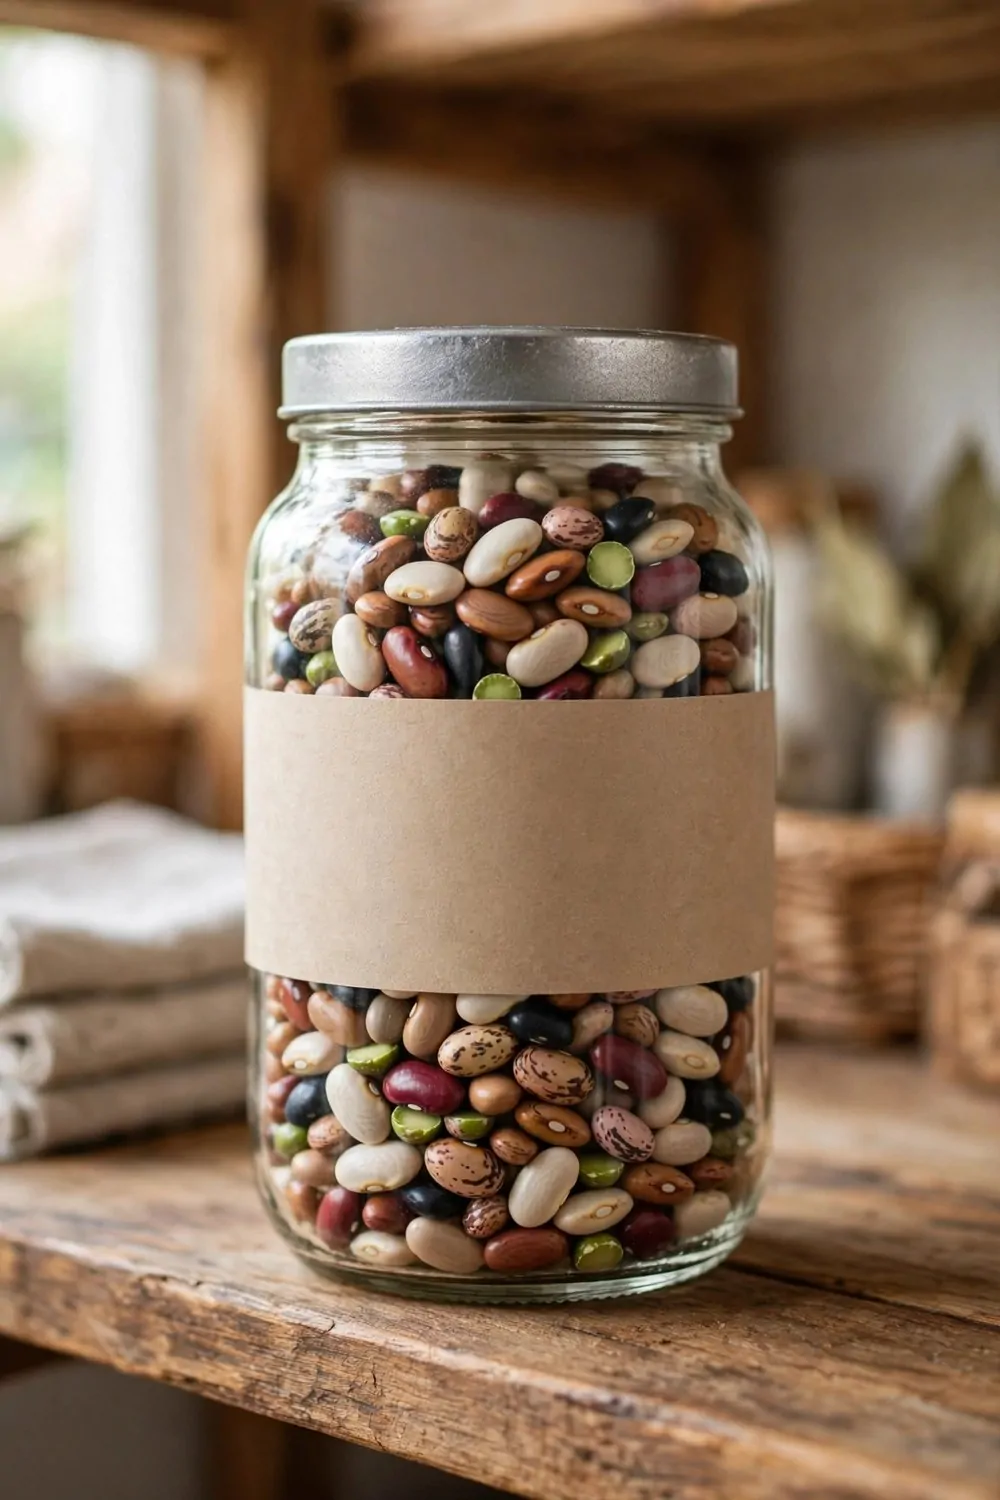
Dried beans roll out of a torn bag and hide on the shelf. A glass jar keeps them all in one spot. I can see the mixed beans inside before I cook.
I tip beans into the jar from a cup, a little at a time. I stop below the rim so the lid can shut with ease. A wide mouth makes it easy to tip the cup in.
You can keep the jar in the pantry where you cook. I keep mine on a pantry shelf where I plan meals. The glass lets me check how much stays inside.
The metal lid fits snug on the jar. I press it down after each use and wipe the rim clean with a dry cloth. Dry beans keep well when the lid stays shut.
You can scoop beans straight from the jar when you cook. I soak them in a bowl of water the night before, then tip them into the pot. I set the jar back on its shelf when the pot is full.
A plain label on the front can help you tell beans from lentils. I use one short word on the front, so I can read it fast while I plan a meal. You can find it fast while you plan a meal.
Typical cost $3 to $8.
I like this jar because it keeps the shelf free of loose beans. I find beans in seconds, and the jar looks tidy. You can start tonight with one jar and the beans you cook with most.
Try it with the beans you cook with most. Put some in one jar, press the lid on, and keep it where you plan meals. When the jar runs low, you will spot it before you run out.
10. A Glass Jar for Chickpeas on the Shelf
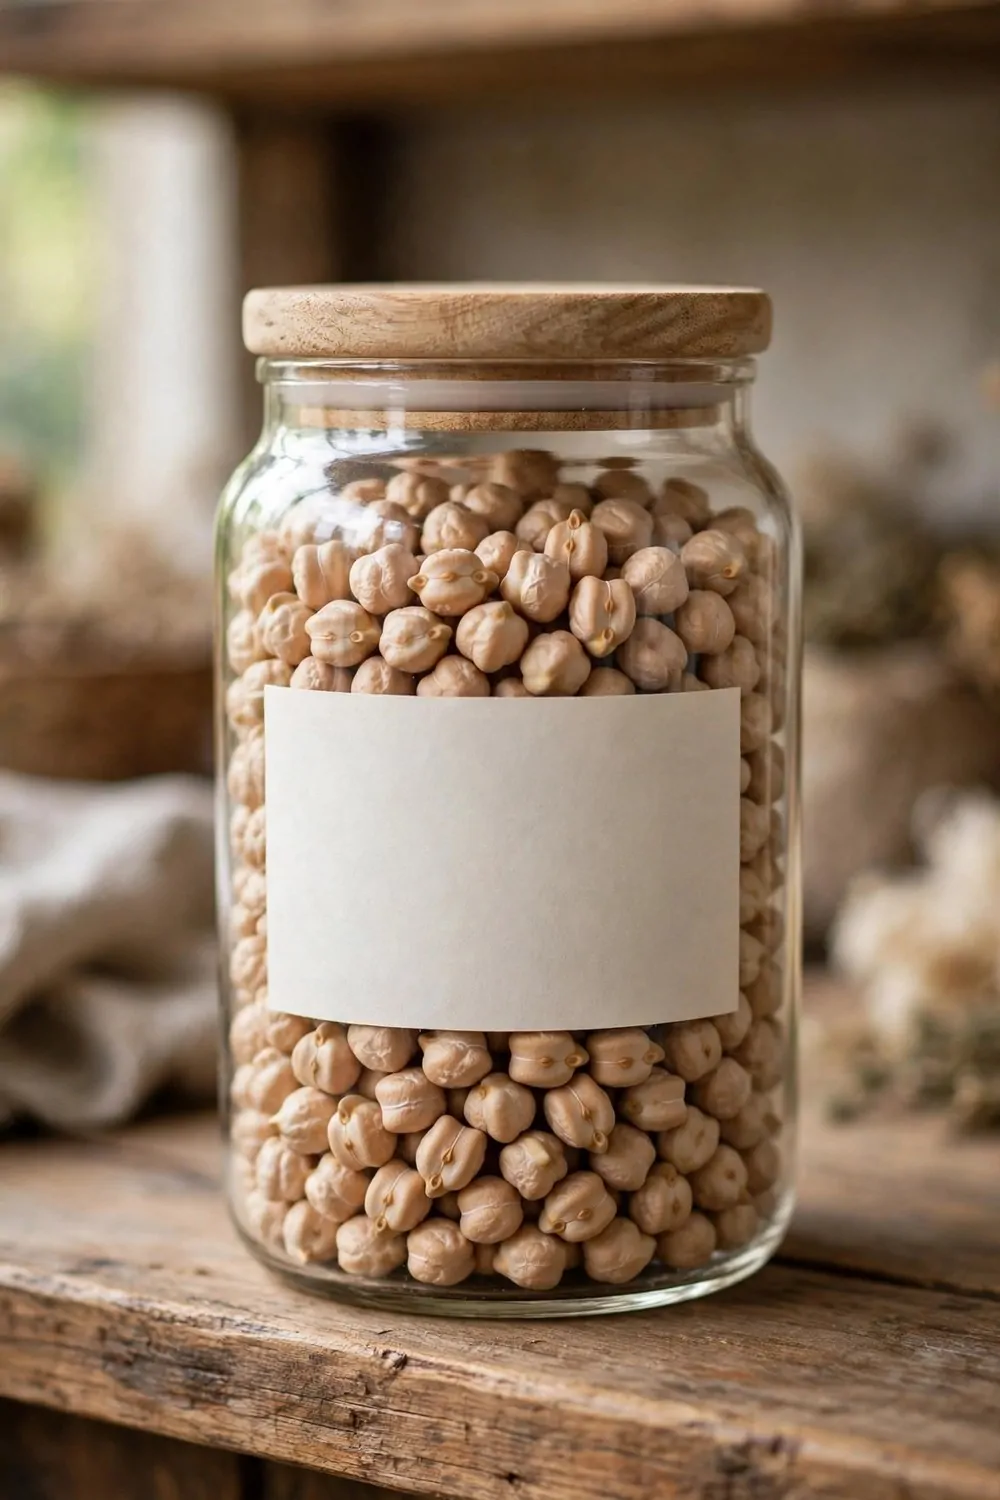
Chickpeas slip out of a soft bag and roll across the shelf. A glass jar holds them shut in one place. I can see the beige chickpeas inside before I cook.
I drop chickpeas into the jar from a cup, a scoop at a time. I tap the jar once on the counter so the chickpeas lie flat. A wide mouth makes it easy to pour the cup in.
You can keep the jar on a shelf where you can reach it. I keep mine on a pantry shelf where I cook. I can see the level through the glass in one look.
The wooden lid fits snug on the glass. I push it down after each use and wipe chickpea dust off the rim. Dry chickpeas keep well when the lid stays shut.
You can scoop chickpeas straight from the jar when you cook. I pick some out for a salad and tip the rest into the pot. The jar goes back where it belongs once the pot has what it needs.
A plain label on the front can help you tell chickpeas from other beans. I keep the words short so I can read them before I start to cook. You can find it fast before you start to cook.
Typical cost $4 to $9.
This jar is a good fit because the shelf stays free of loose chickpeas. I find them in seconds, and the jar looks tidy. You can start with one jar and the chickpeas you cook with most.
Try it with the chickpeas you cook with most. Put some in one jar, press the lid on, and set it on a shelf you reach each day. When the jar runs low, the glass shows it in time to buy more.
| Idea | Main change | Typical cost |
|---|---|---|
| A Glass Canister for Flour on the Counter | Keep flour in a glass canister on the counter | $4 to $9 |
| A Glass Jar for Sugar on the Pantry Shelf | Store sugar in a glass jar on the pantry shelf | $3 to $8 |
| A Glass Bottle for Olive Oil by the Stove | Keep olive oil in a glass bottle by the stove | $5 to $11 |
| A Glass Jar for Coffee Beans in the Kitchen | Store coffee beans in a glass jar in the kitchen | $4 to $10 |
| A Glass Jar for Loose Tea Leaves | Keep loose tea leaves in a glass jar | $3 to $7 |
| A Glass Jar for Rolled Oats at Breakfast | Store rolled oats in a glass jar for breakfast | $3 to $8 |
| A Glass Jar for Cereal on a Low Shelf | Keep cereal in a glass jar on a low shelf | $4 to $9 |
| A Tall Glass Jar for Dried Lentils | Store dried lentils in a tall glass jar | $3 to $7 |
| A Glass Jar for Dried Beans in the Pantry | Keep dried beans in a glass jar in the pantry | $3 to $8 |
| A Glass Jar for Chickpeas on the Shelf | Store chickpeas in a glass jar on the shelf | $4 to $9 |
| Total | $36 to $86 |
11. A Glass Jar for Mixed Nuts for Snacking
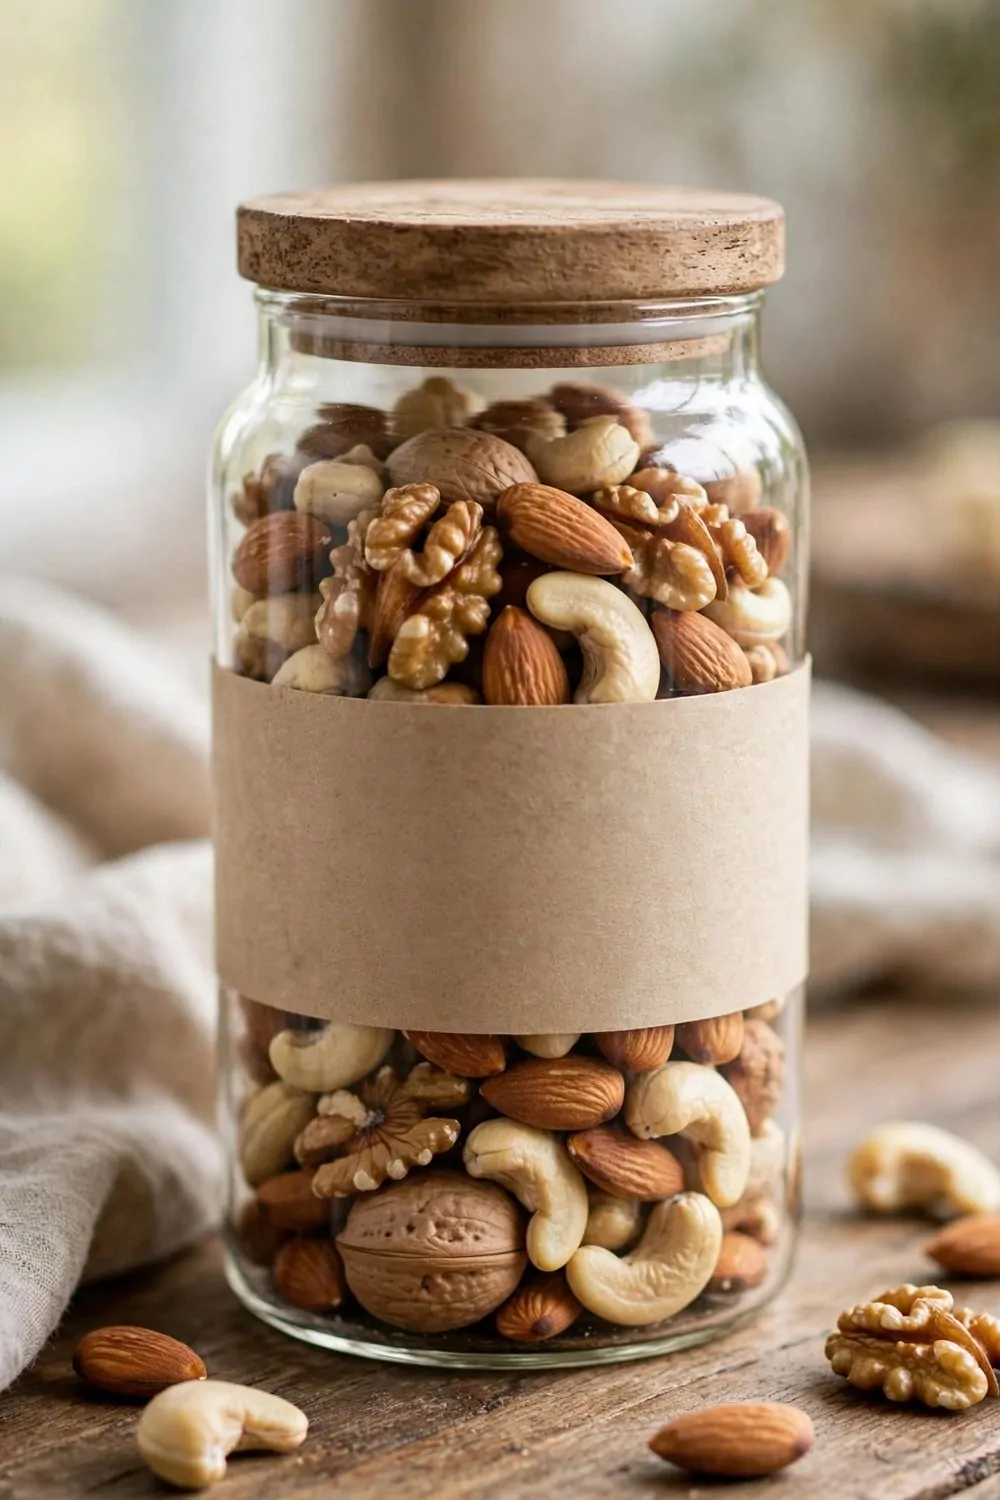
Mixed nuts spill out of the bag every time I open it.
A glass jar gives them a home where I can see what is inside.
I reach for the jar when I want a small snack in the afternoon.
Almonds, walnuts and cashews sit together in the jar with the wooden lid on.
You can pour some nuts into a small bowl and put the lid back on the jar.
A plain label on the front can help you find the jar fast when you want a snack.
Typical cost $5 to $12.
You can start with one jar and fill it from the packs you already buy.
My snack time feels calmer now and I waste less time hunting for the bag.
12. A Glass Jar for Sunflower Seeds
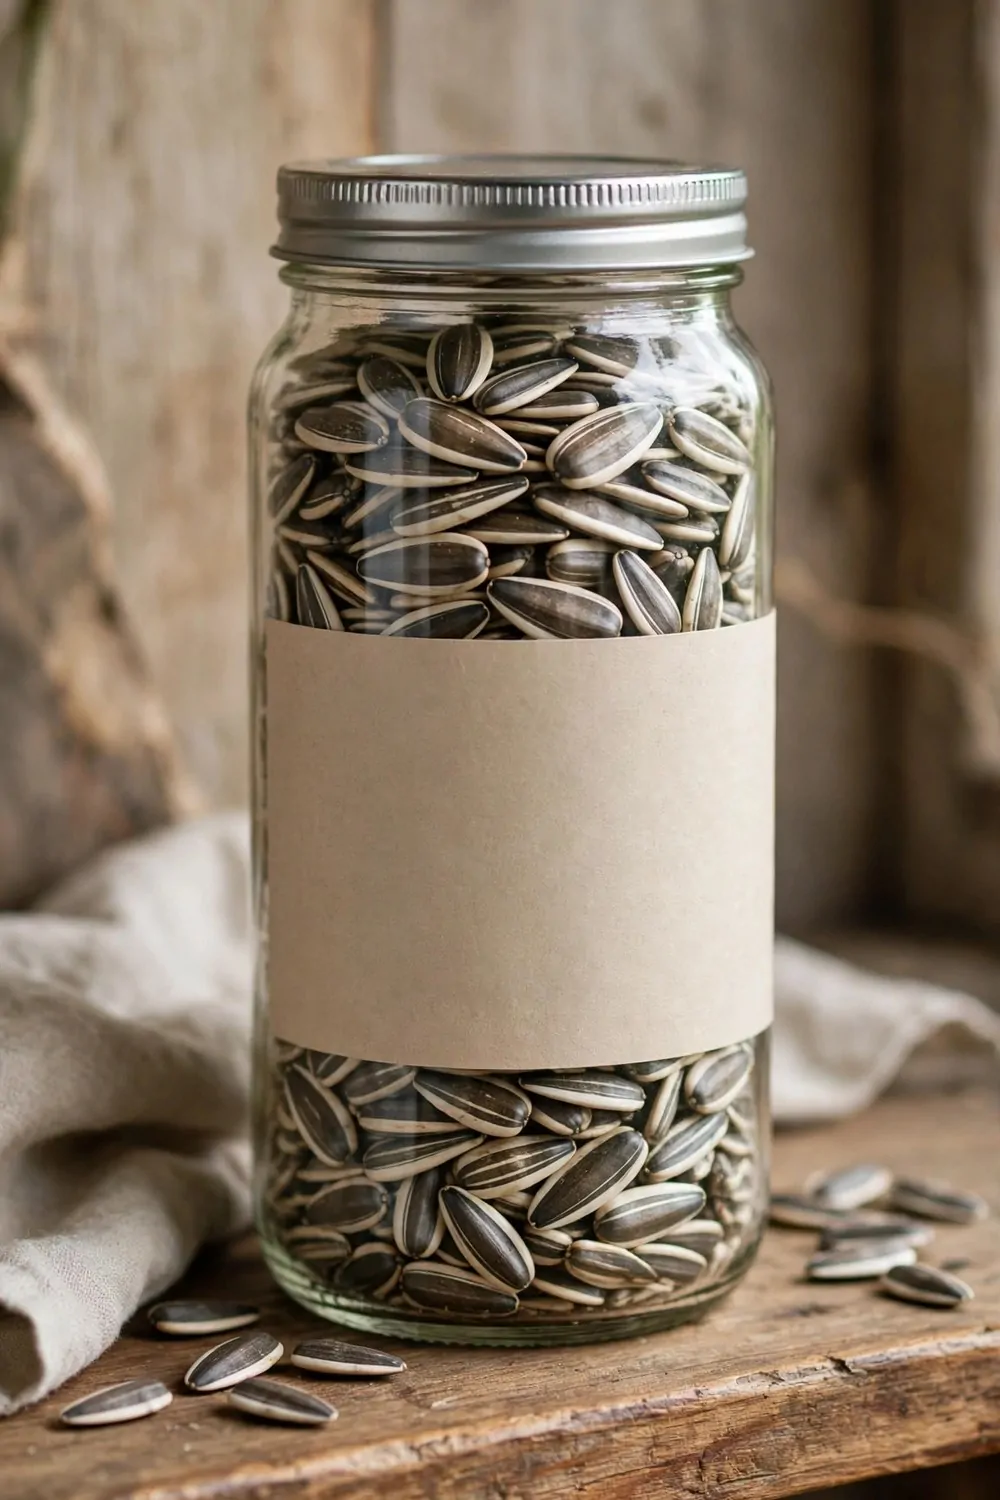
Sunflower seeds come in a bag that never closes right once I open it.
A glass jar keeps them in one place and the clear glass shows what is inside.
I like to keep the jar where I can reach it when I want a small snack.
The striped seeds sit neat in the jar with the metal lid on top.
You can pour some seeds into a small bowl and close the lid after.
A plain label on the front can help you spot the jar fast when you look for it.
Typical cost $2 to $5.
Wash the jar and dry it well before you fill it with seeds.
My seeds stay fresh longer now and snack time feels easy.
13. A Glass Jar for Dried Fruit for Baking
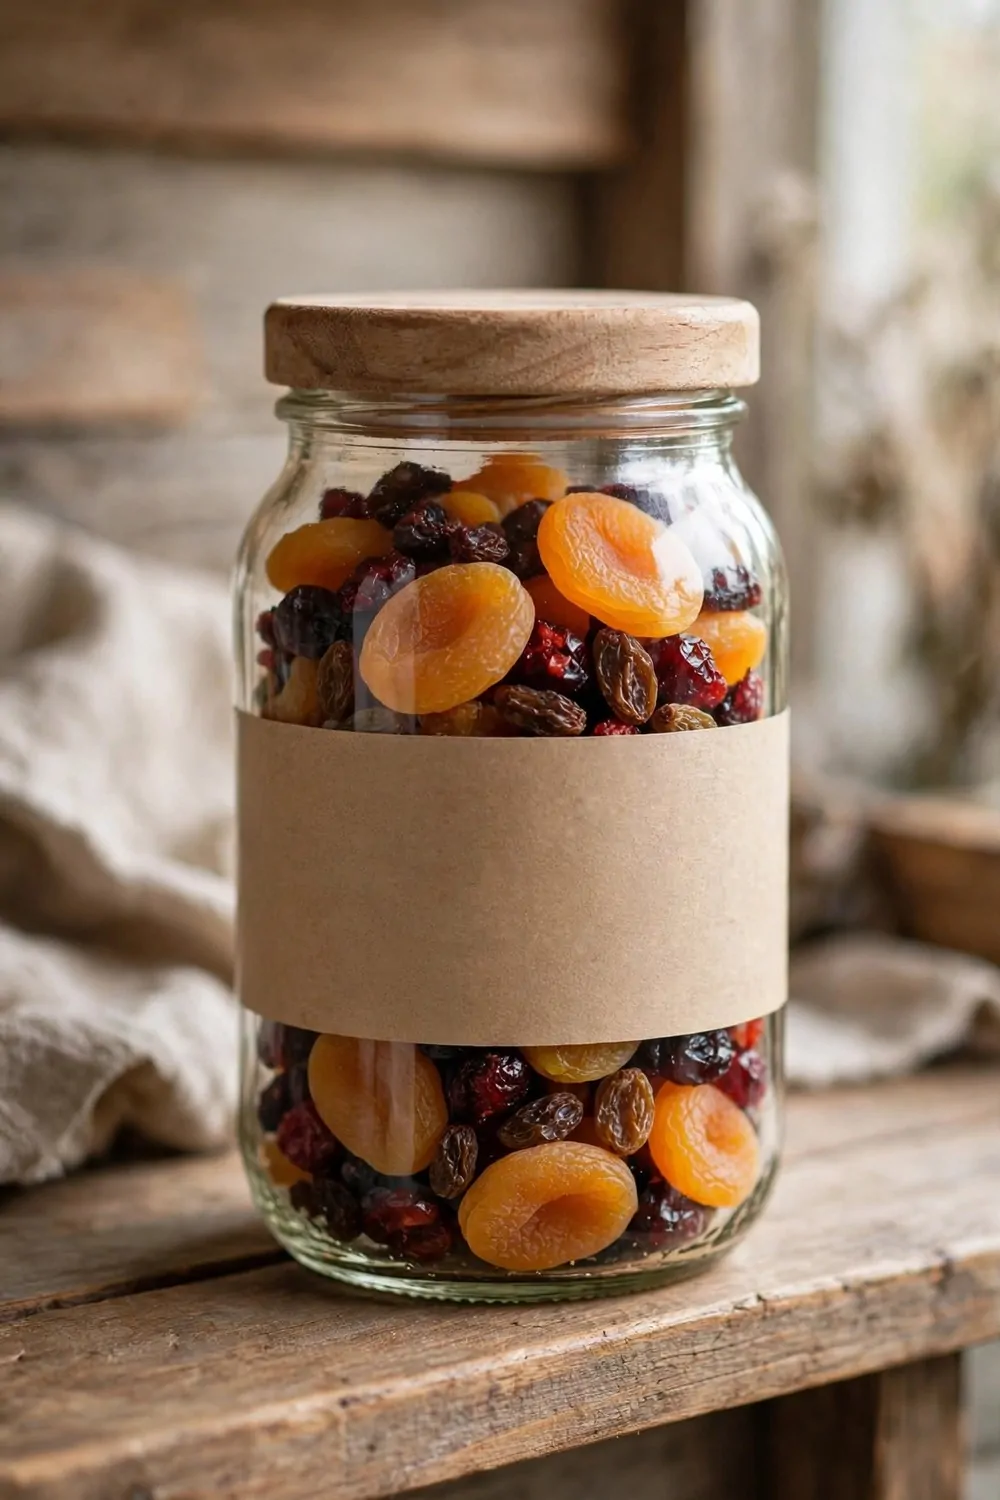
Dried fruit for baking comes in soft bags that tear and spill.
A glass jar holds the fruit and keeps it safe until I need it for baking.
Apricots, raisins and cranberries sit together in the jar and I can see them through the glass.
I reach for the jar when I plan a bake and take out what I need.
You can put the wooden lid back on after you take some fruit out.
You can stick a plain tag on the front to mark the right jar when you bake.
Typical cost $4 to $9.
Keep the lid shut between bakes so the fruit stays ready to use.
Baking feels less rushed now and I know at a glance what fruit I have left.
14. A Glass Jar for Cocoa Powder for Hot Drinks
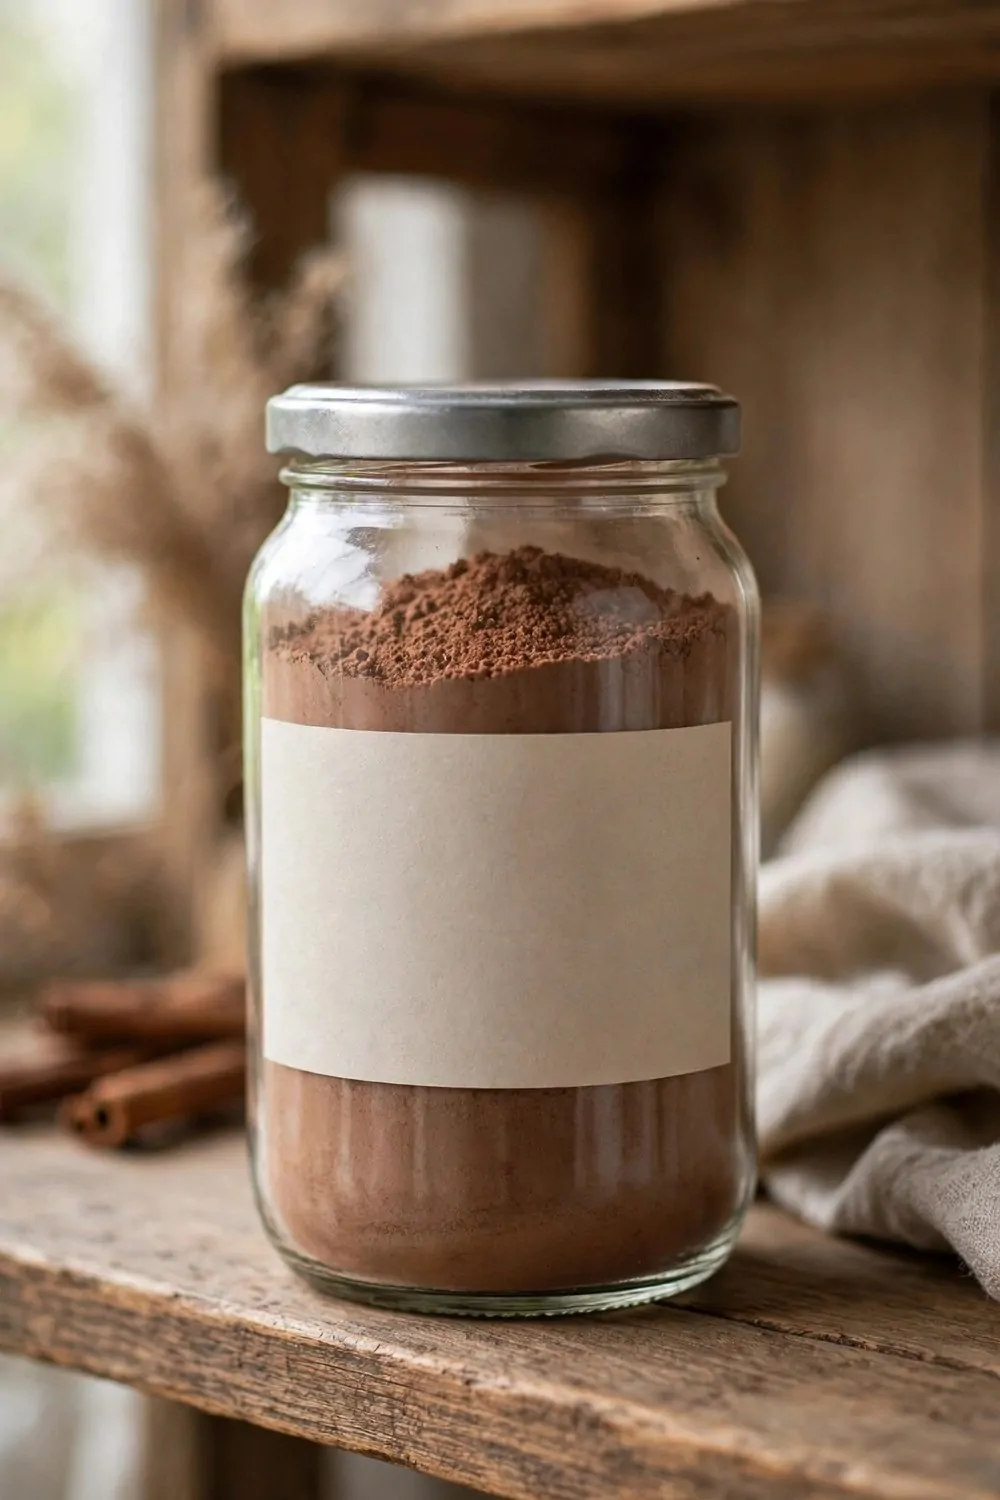
Cocoa powder gets everywhere when the tub tips over.
A glass jar holds the brown powder and keeps it dry for hot drinks.
I spoon some powder out when I make a hot drink for myself.
You can see how much powder is left through the clear glass.
The metal lid keeps the powder safe and stops it spilling out.
A plain label on the front can help you find the cocoa jar fast.
Typical cost $3 to $7.
Wipe the rim clean after you spoon powder out so the lid closes well.
My hot drinks feel easy to make now and I never hunt for the cocoa tub.
15. A Glass Jar for Baking Soda in the Cupboard
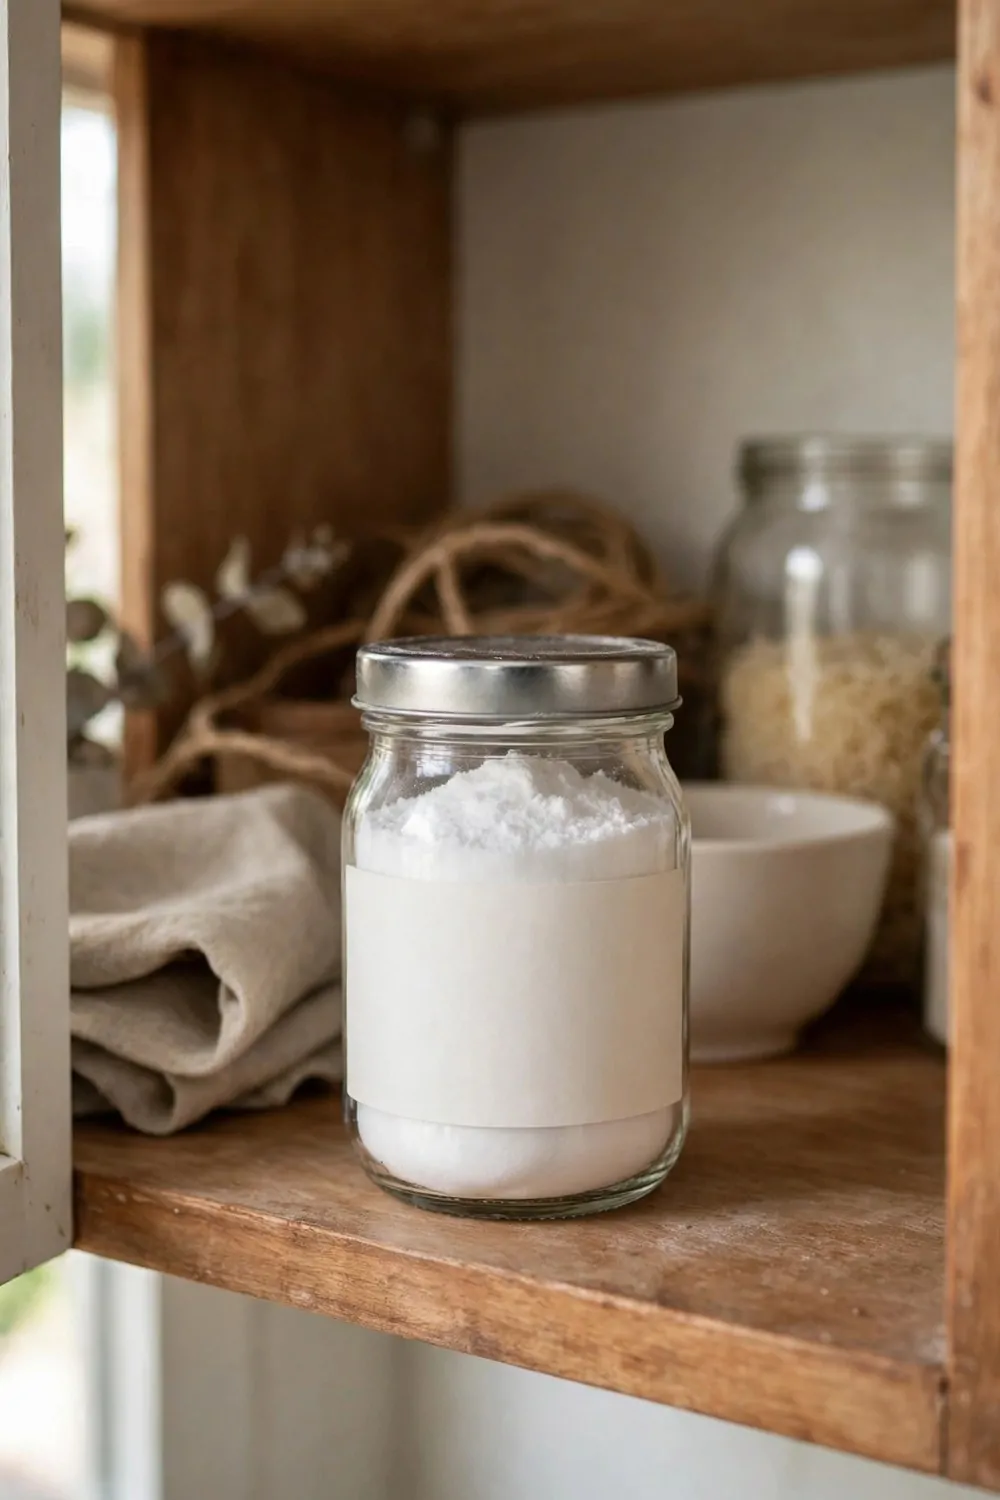
Baking soda comes in a box that goes soft and spills in the cupboard.
A small glass jar keeps the white powder safe in the cupboard.
I open the jar when I need baking soda for a bake.
You can scoop out what you need and put the metal lid back on.
The clear glass shows me when the powder runs low.
You can mark the front with a short tag to find it fast in the cupboard.
Typical cost $2 to $5.
Keep the lid shut tight so damp air never gets in.
My baking feels tidier now and I always know where the baking soda lives.
16. A Glass Jar for Sea Salt by the Stove
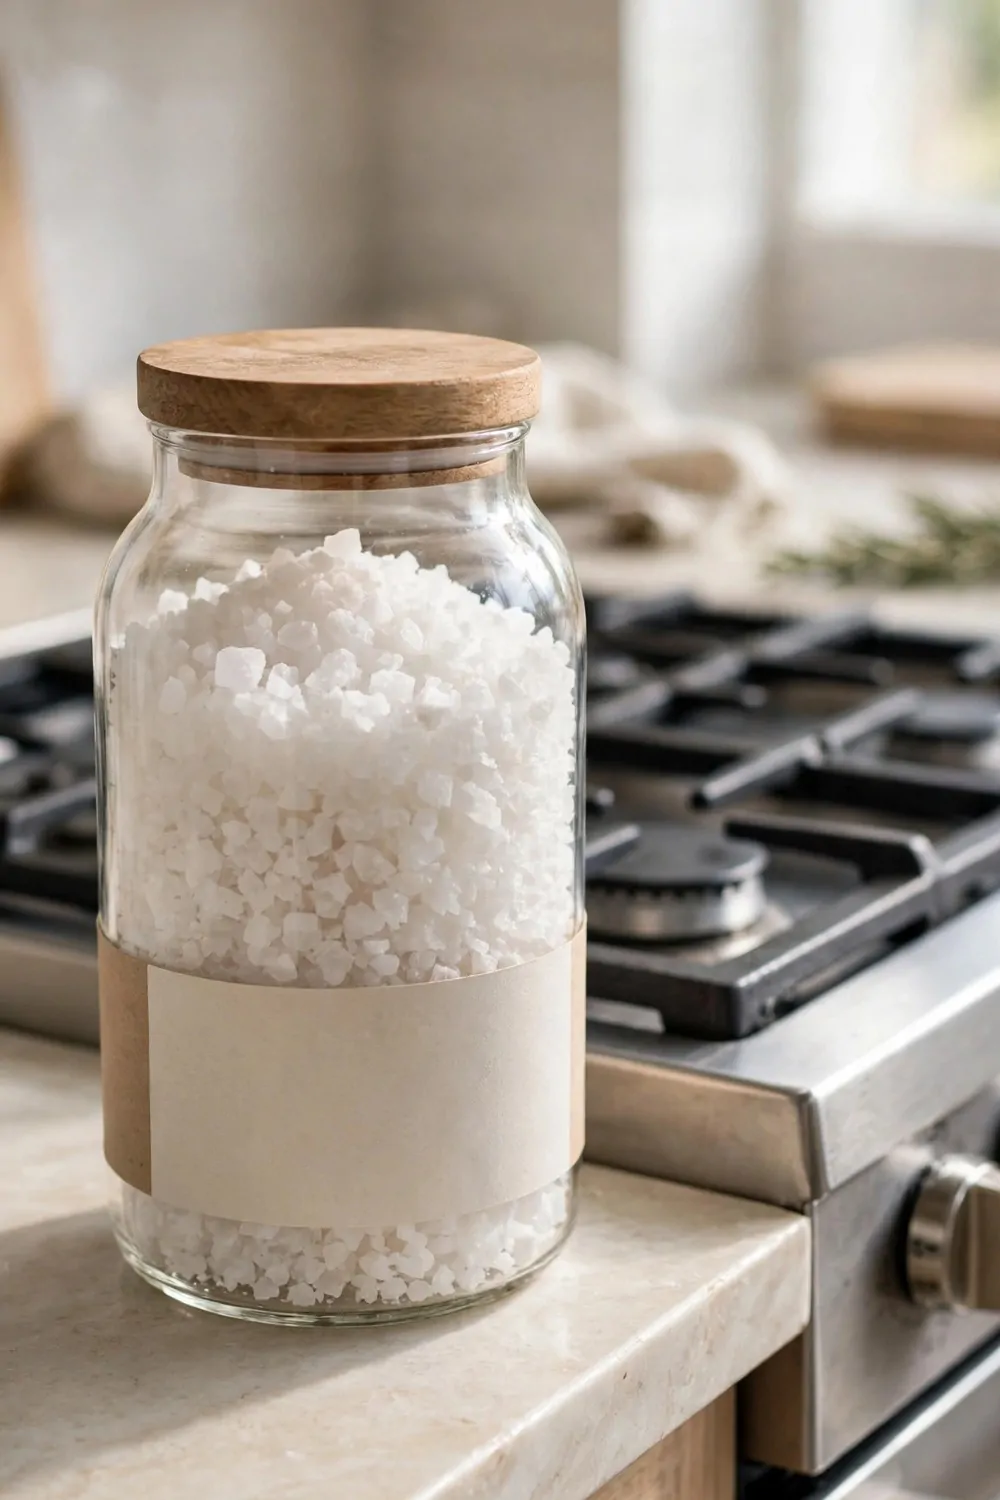
Sea salt in a bag always spills when I grab a pinch by the stove.
A glass jar by the stove keeps the white flakes close to hand.
I lift the wooden lid and take a pinch when I cook.
You can see the flakes through the glass and tell when the jar runs low.
A plain label on the front can help you find the salt fast while you cook.
Put the lid back on after you cook so steam never gets into the jar.
Typical cost $3 to $6.
You can fill the jar from a bigger pack when it runs low.
Cooking feels smoother now and my salt stays dry and easy to reach.
17. A Glass Jar for Whole Peppercorns
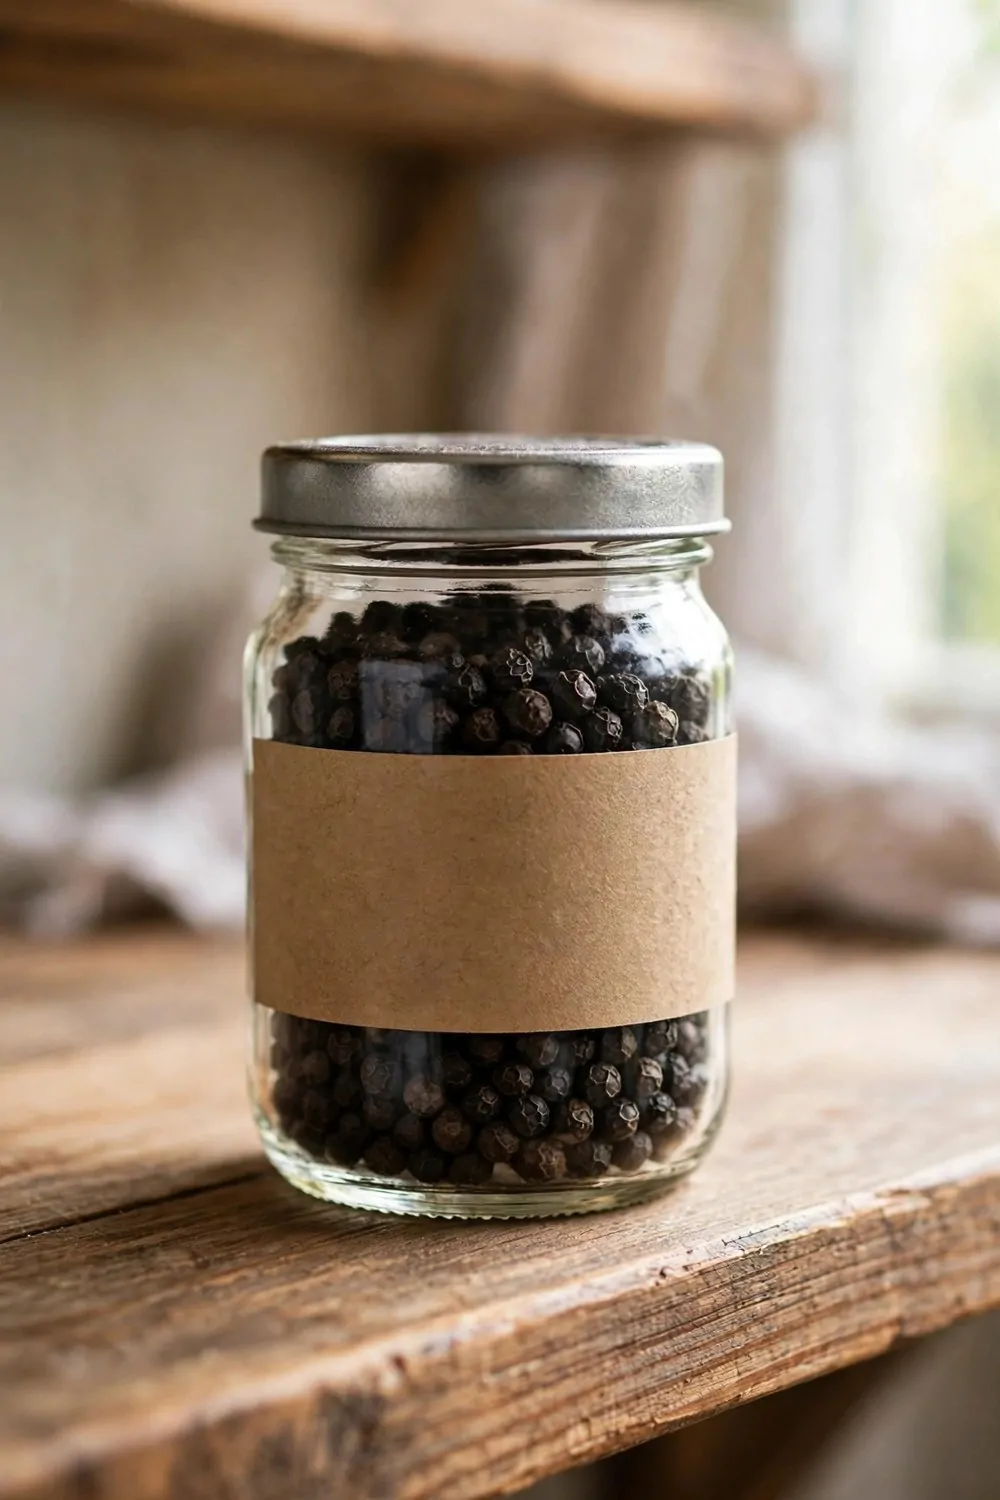
Whole peppercorns roll out of the bag and hide when I open it.
A small glass jar holds the black peppercorns in one place.
I open the jar when I need pepper for a meal.
You can take out what you need and put the metal lid back on.
The clear glass shows the dark peppercorns and how much is left.
A short tag on the front can help you find the jar fast when you cook.
Typical cost $3 to $8.
Keep the jar shut between meals so the peppercorns keep their strong taste.
My meals taste fresh now and I never chase loose peppercorns after I open the bag.
18. A Glass Jar for Dried Mint Leaves
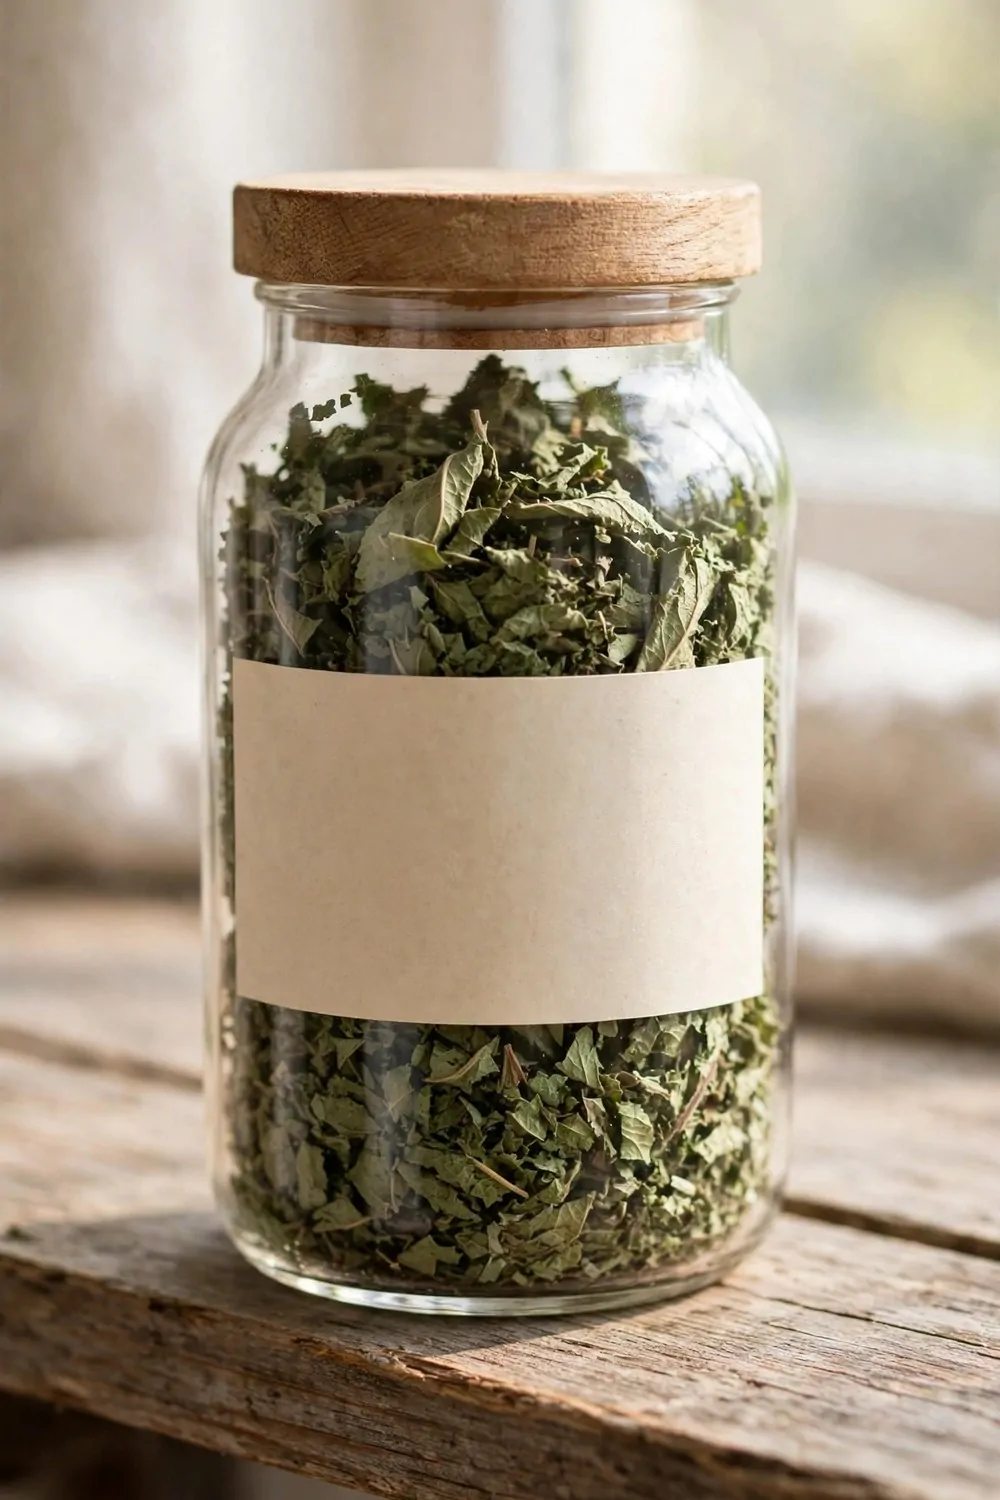
Dried mint leaves come in a bag that tears easy and spills.
A glass jar keeps the green leaves safe and I can see them through the glass.
I open the jar when I want mint for a hot drink.
You can take out some leaves and put the wooden lid back on.
A plain label on the front can help you find the mint jar fast.
Keep the lid shut so the leaves keep their fresh smell.
Typical cost $2 to $6.
You can fill the jar again from a bigger pack when it runs low.
My mint stays fresh now and making a hot drink feels simple.
19. A Glass Jar for Popcorn Kernels for Film Night
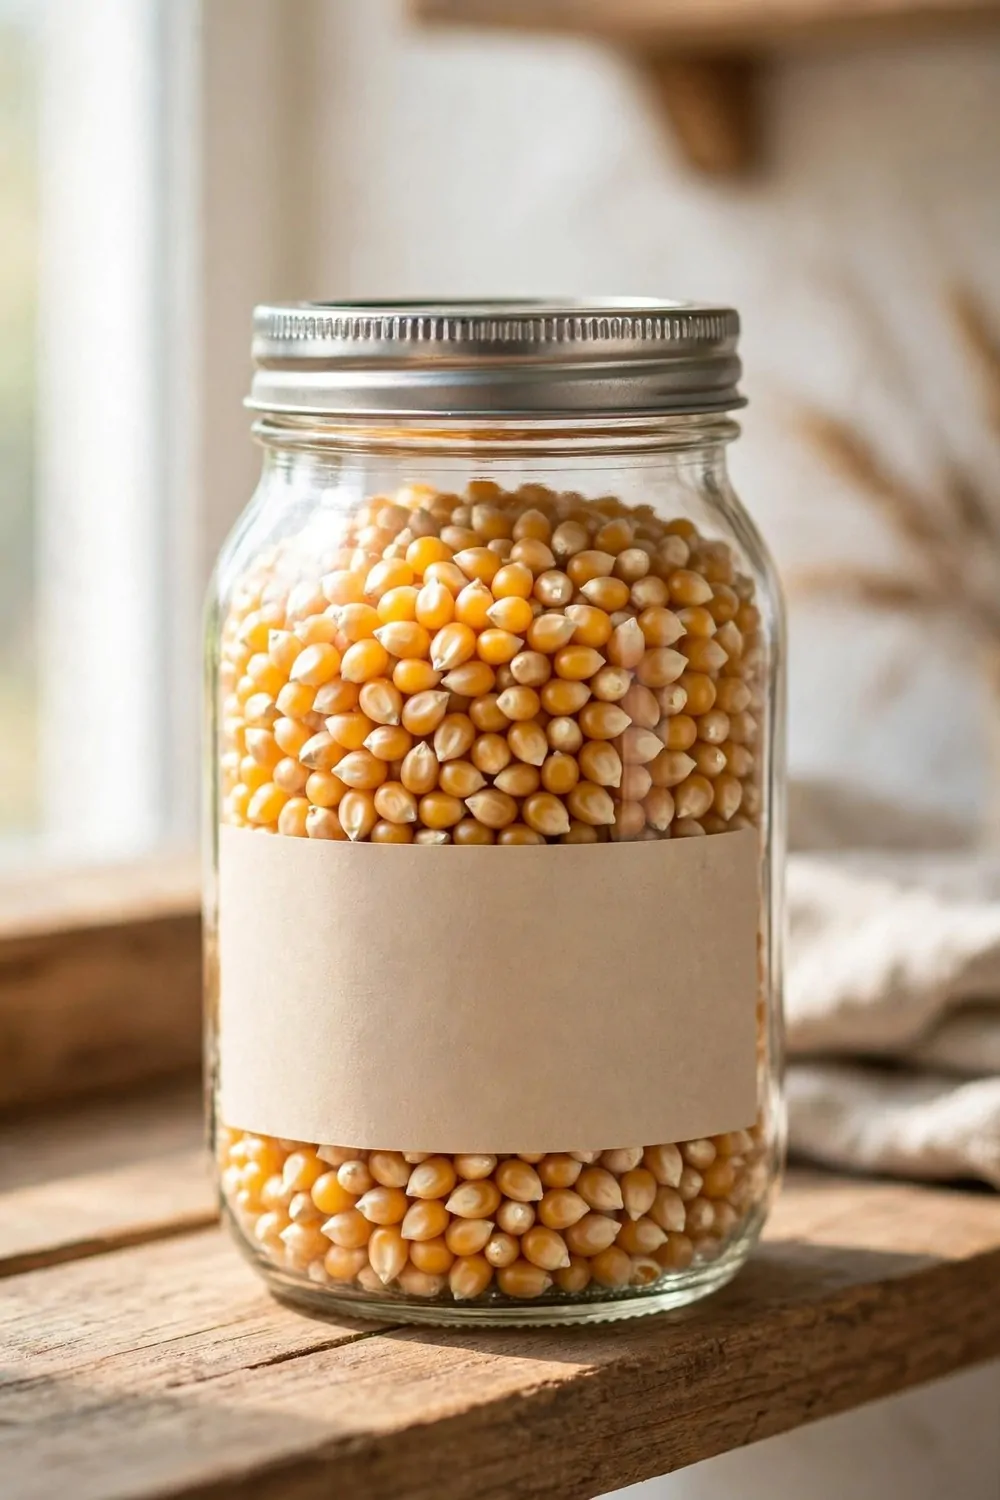
Popcorn kernels spill out of the bag when I open it.
A glass jar keeps the yellow kernels in one place for film night.
I open the jar when film night comes and take out what I need.
You can see the kernels through the glass and know when to buy more.
The metal lid keeps the kernels safe and stops them spilling out.
A small tag on the front can point to the jar fast on film night.
Typical cost $2 to $5.
Put the lid back on after you take kernels out so they stay dry.
Film night feels easy now and I never hunt for the bag of kernels.
20. A Glass Jar for Dried Pasta Shapes
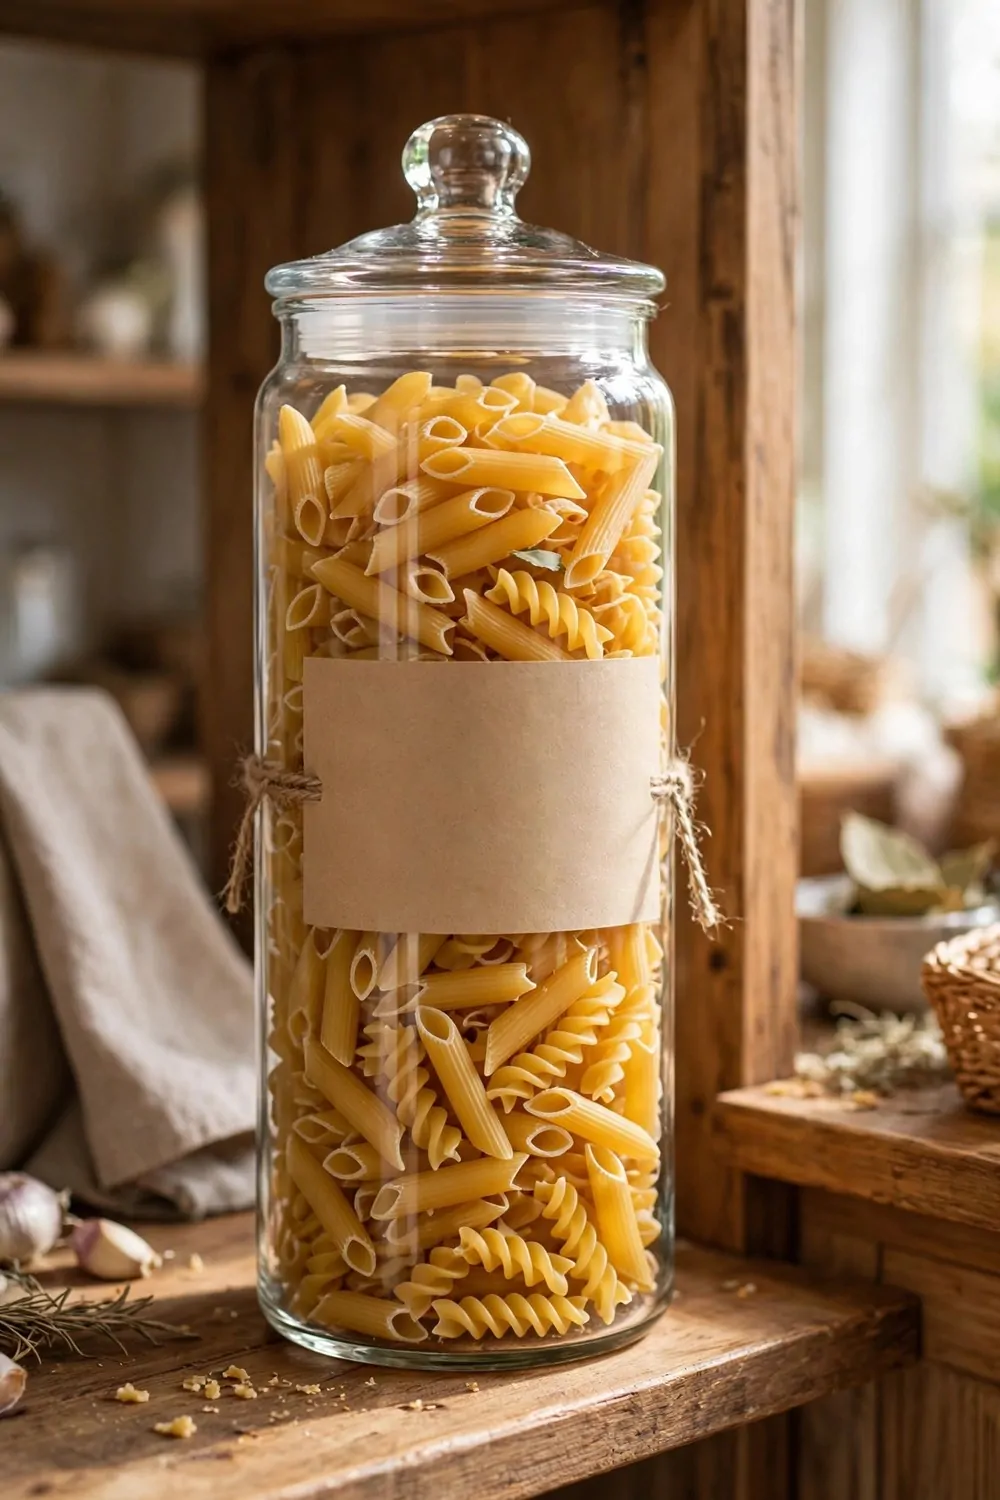
Dried pasta shapes come in bags that split and spill.
A tall glass jar holds the penne and fusilli where I can see them.
I open the glass lid when I cook pasta for dinner.
You can take out what you need and put the lid back on after.
The clear glass shows the pasta shapes and how much is left.
A small tag on the front can mark the right pasta fast.
Typical cost $3 to $8.
You can fill the jar again from a new bag when it runs low.
Cooking pasta feels easy now and I always know what shapes I have at home.
| Idea | Main change | Typical cost |
|---|---|---|
| A Glass Jar for Mixed Nuts for Snacking | Keep mixed nuts in a glass jar for snacking | $5 to $12 |
| A Glass Jar for Sunflower Seeds | Store sunflower seeds in a glass jar | $2 to $5 |
| A Glass Jar for Dried Fruit for Baking | Keep dried fruit in a glass jar for baking | $4 to $9 |
| A Glass Jar for Cocoa Powder for Hot Drinks | Store cocoa powder in a glass jar for hot drinks | $3 to $7 |
| A Glass Jar for Baking Soda in the Cupboard | Keep baking soda in a glass jar in the cupboard | $2 to $5 |
| A Glass Jar for Sea Salt by the Stove | Store sea salt in a glass jar by the stove | $3 to $6 |
| A Glass Jar for Whole Peppercorns | Keep whole peppercorns in a glass jar | $3 to $8 |
| A Glass Jar for Dried Mint Leaves | Store dried mint leaves in a glass jar | $2 to $6 |
| A Glass Jar for Popcorn Kernels for Film Night | Keep popcorn kernels in a glass jar for film night | $2 to $5 |
| A Glass Jar for Dried Pasta Shapes | Store dried pasta shapes in a glass jar | $3 to $8 |
| Total | $29 to $71 |
21. A Glass Jar for Rice Noodles in the Pantry
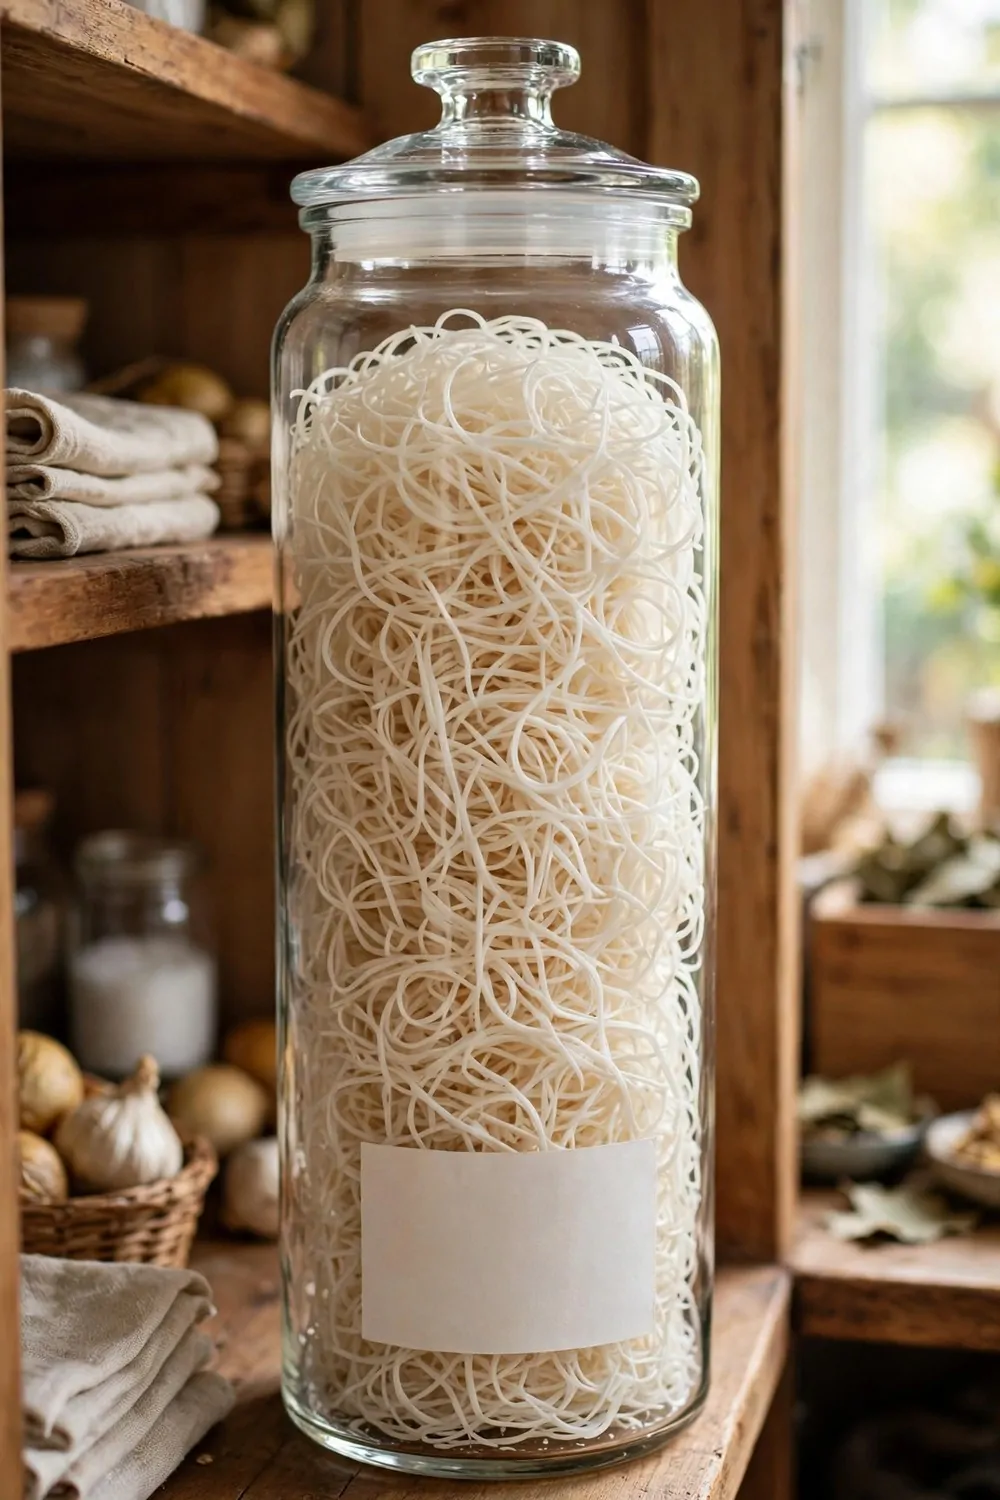
I keep rice noodles in a tall glass jar in my pantry.
The glass lid sits on top and keeps the noodles dry inside.
You can see at a glance how much is left for dinner.
Long noodles slide in whole when the jar is tall.
A plain tag on the front can help you find it fast.
I wipe the jar dry before I fill it with a fresh pack.
Typical cost $3 to $7.
The jar keeps the noodles safe from damp air in the pantry.
Try one jar for noodles and your shelf will feel more neat.
22. A Glass Jar for Honey on the Breakfast Table
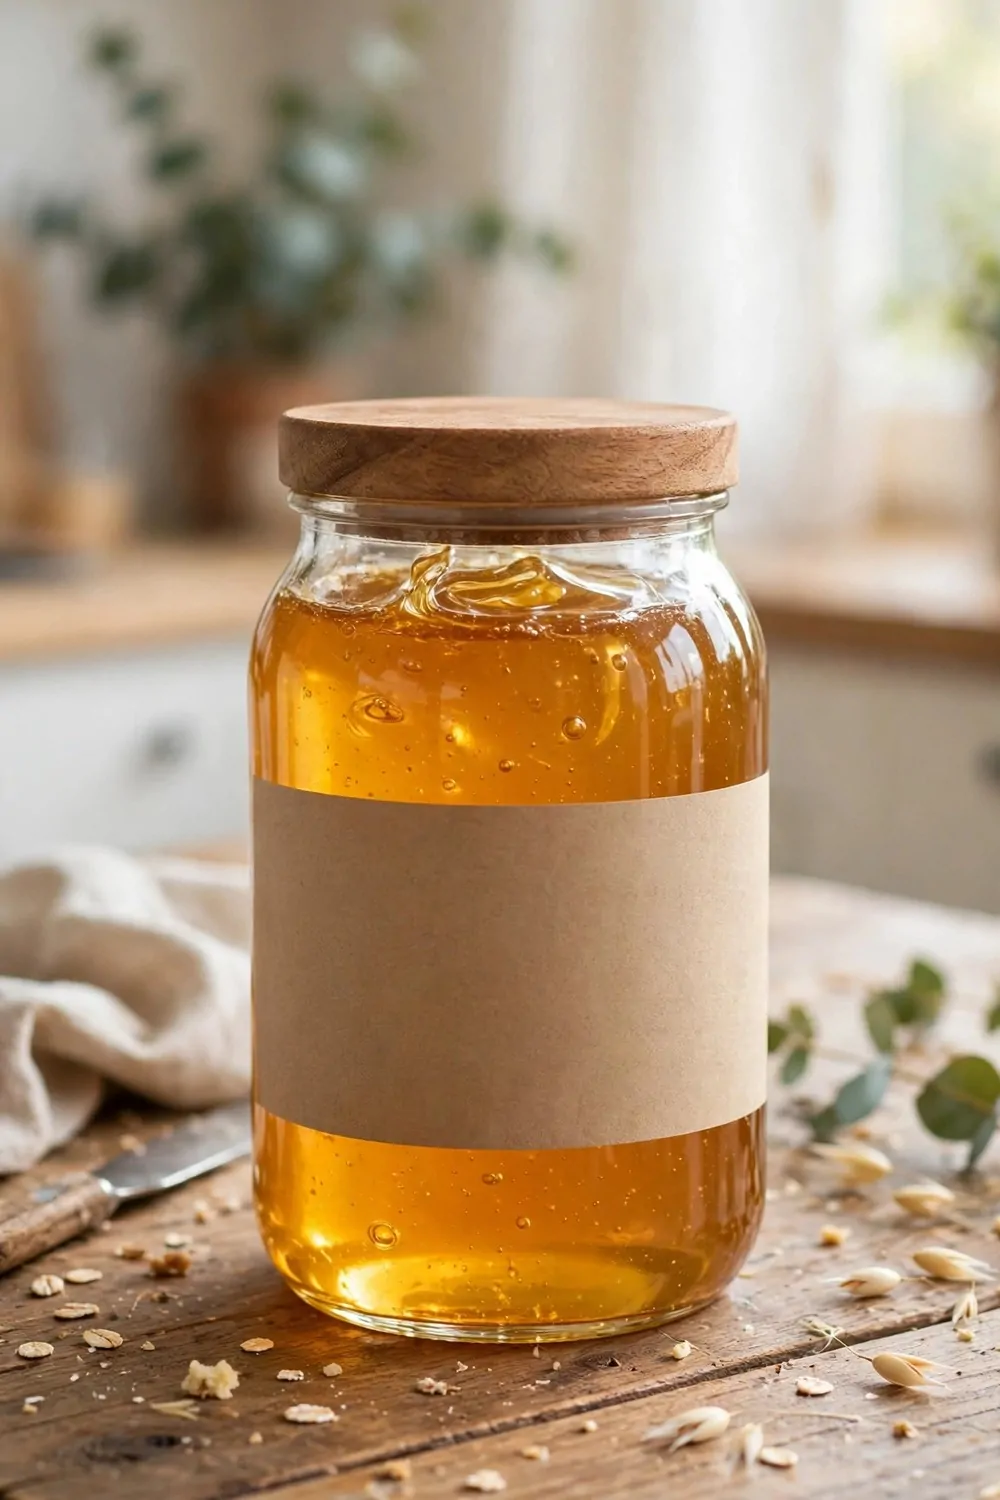
I keep honey in a glass jar with a wooden lid on my breakfast table.
The golden honey looks warm through the glass in the morning.
You can dip a spoon in and drizzle it over toast with ease.
I wipe the rim clean after each use so the lid still fits well.
The wooden lid keeps dust out while the jar waits on the table.
A plain label on the front can help you tell it apart from jam.
Typical cost $4 to $9.
Honey keeps well in glass and does not take on odd tastes.
Put a jar of honey on your table and breakfast feels a bit more bright.
23. A Glass Jar for Granola for Busy Mornings
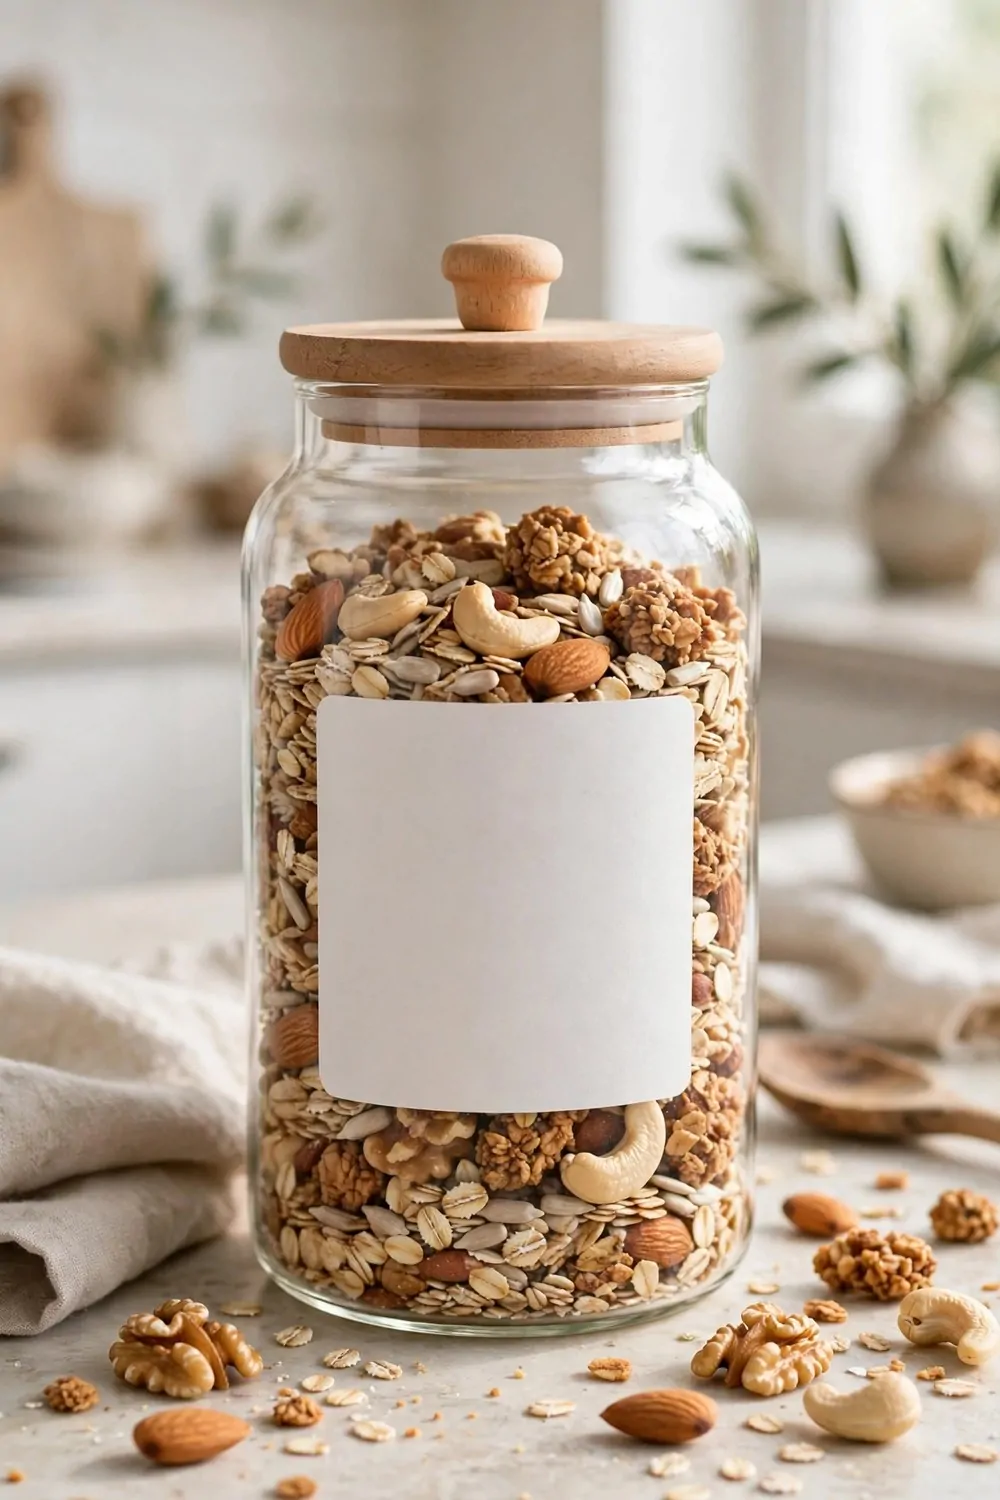
I keep granola in a glass jar with a wooden lid for busy mornings.
The oats and nuts show through the glass and look ready to eat.
You can pour a bowl fast when the morning rush starts.
I shake the jar now and then so the mix stays even inside.
The lid keeps the granola crisp from one day to the next.
A plain label on the front can help you spot it before school runs.
Typical cost $4 to $8.
I fill the jar on Sunday so the week starts with less fuss.
One jar of granola can make your mornings feel calm and quick.
24. A Glass Jar for Crackers in the Cupboard
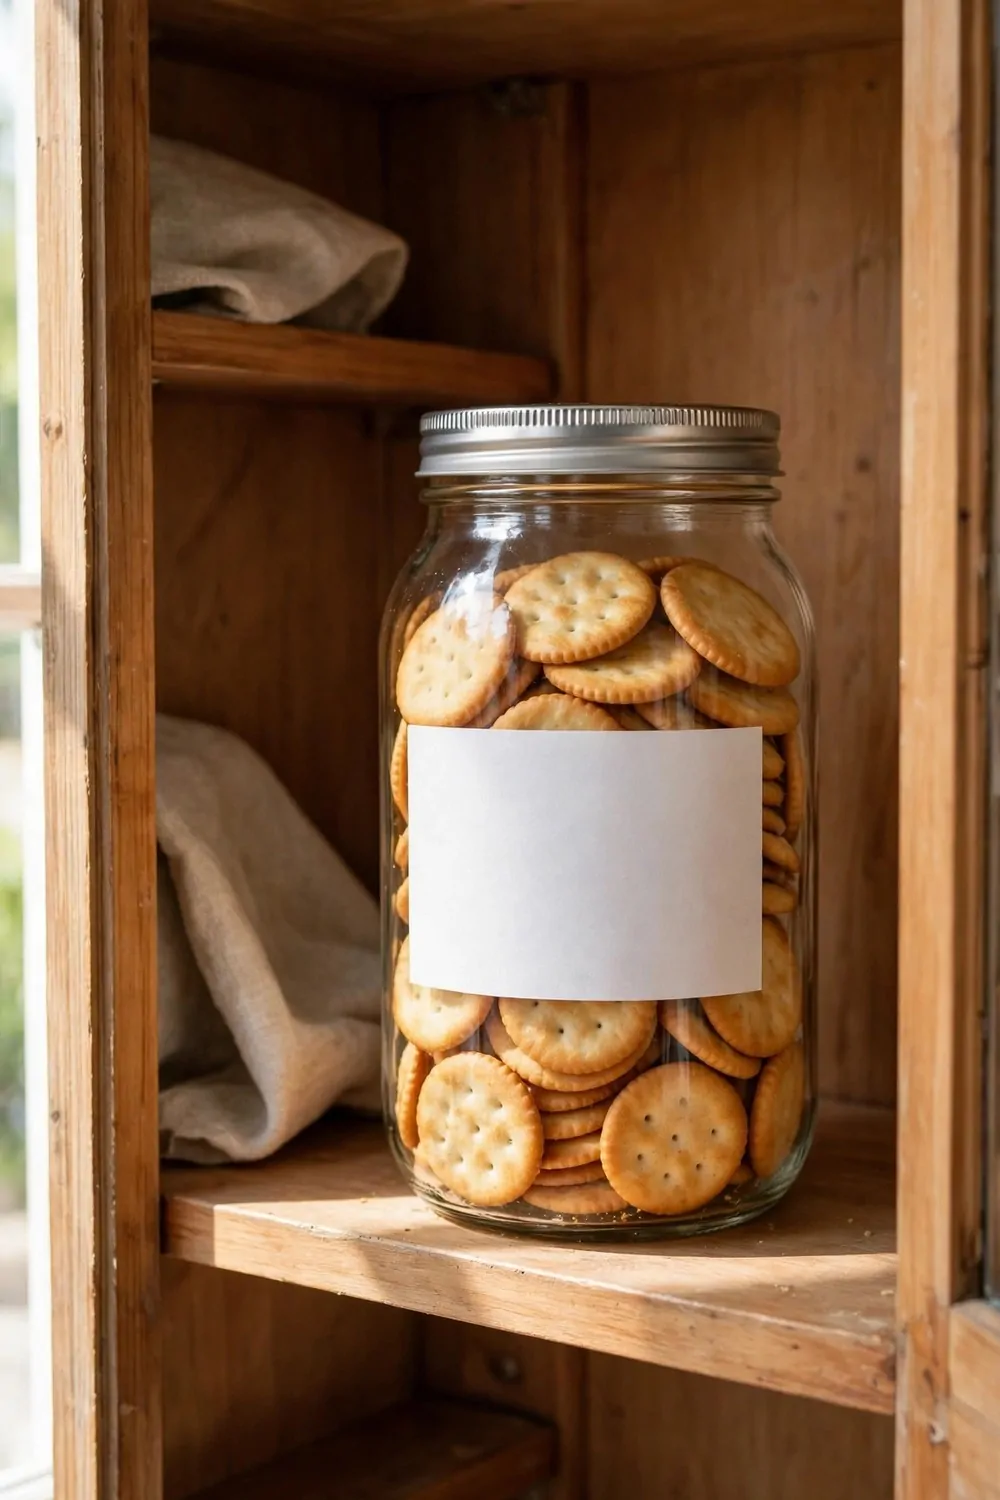
I keep crackers in a glass jar with a metal lid in my cupboard.
The round crackers stack up neat behind the glass.
You can see when the jar runs low before snack time.
I close the lid tight so the crackers stay crisp.
The jar stops crumbs from spilling across the shelf.
A plain label on the front can help you find it in a full cupboard.
Typical cost $3 to $7.
I refill the jar straight from the pack when it gets empty.
A jar of crackers in the cupboard keeps snack time simple.
25. A Glass Jar for Biscuits by the Kettle
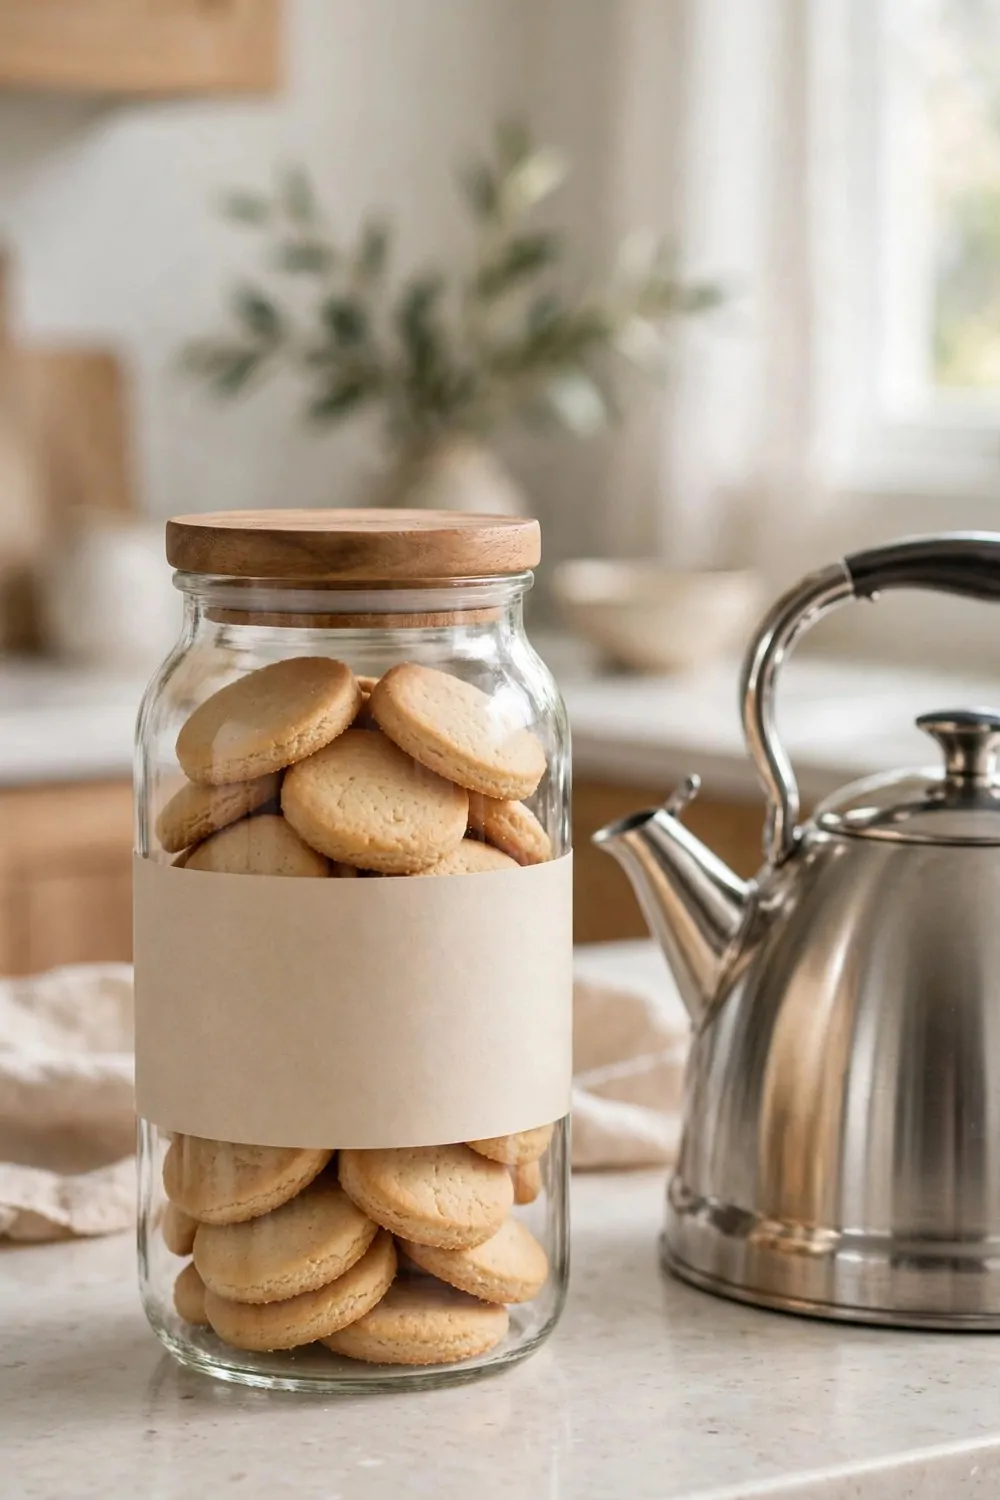
I keep biscuits in a glass jar with a wooden lid by the kettle.
The plain biscuits sit where I can reach them while the kettle boils.
You can lift the lid with one hand and take out a biscuit.
I put the jar back in the same spot each time I use it.
The lid keeps the biscuits fresh through the week.
A plain tag on the front can help you tell it apart from other jars.
Typical cost $3 to $8.
I wash the jar when it runs empty and let it dry well.
A jar of biscuits by the kettle makes tea time feel easy.
26. A Glass Jar for Dried Chillies for Cooking
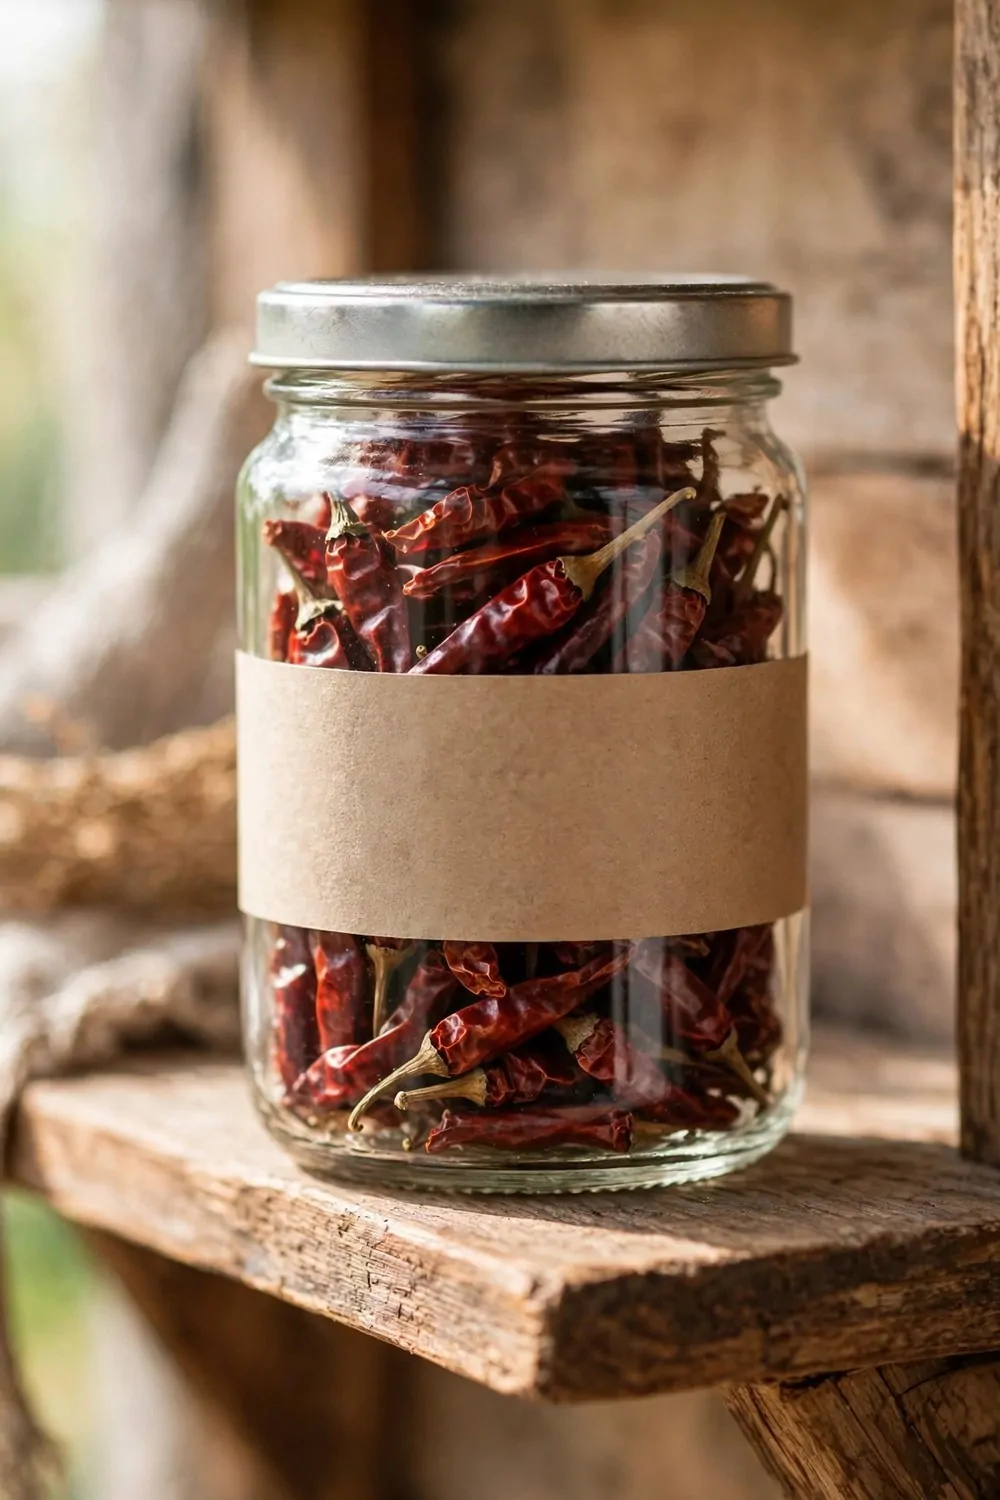
I keep dried chillies in a small glass jar with a metal lid for cooking.
The red chillies show through the glass and look bright on the shelf.
You can take out one or two when a dish needs a bit of heat.
I keep the jar shut tight so the chillies stay dry inside.
The glass lets me see how many are left without opening it.
I wash my hands after I handle the chillies in the jar.
Typical cost $2 to $6.
A small jar works well here as a little goes a long way.
Try a jar for chillies and your spice shelf will feel more tidy.
27. A Glass Jar for Cumin Seeds for Curries
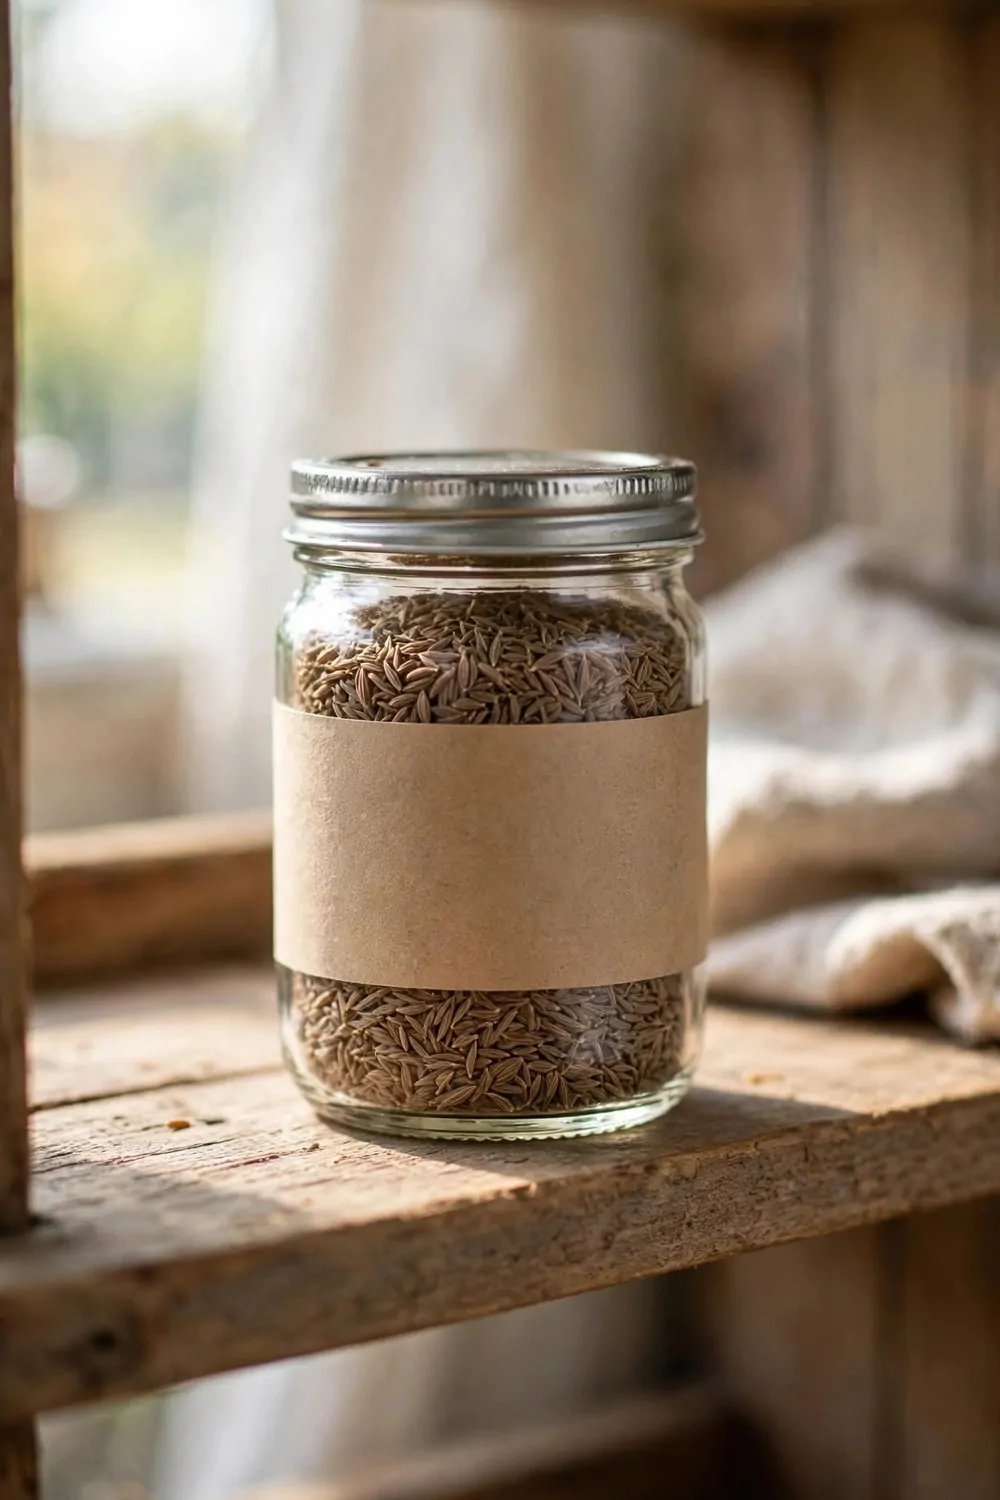
I keep cumin seeds in a small glass jar with a metal lid for curries.
The brown seeds show through the glass and look neat in the jar.
You can shake out a spoonful when a curry needs a warm taste.
I keep the lid shut so the seeds hold their scent.
The jar sits with my other spice jars where I cook.
A plain label on the front can help you pick it out fast.
Typical cost $2 to $5.
I top the jar up when it runs low so I never run out mid-cook.
One small jar of cumin can lift a plain curry with ease.
28. A Glass Jar for Almonds for Baking
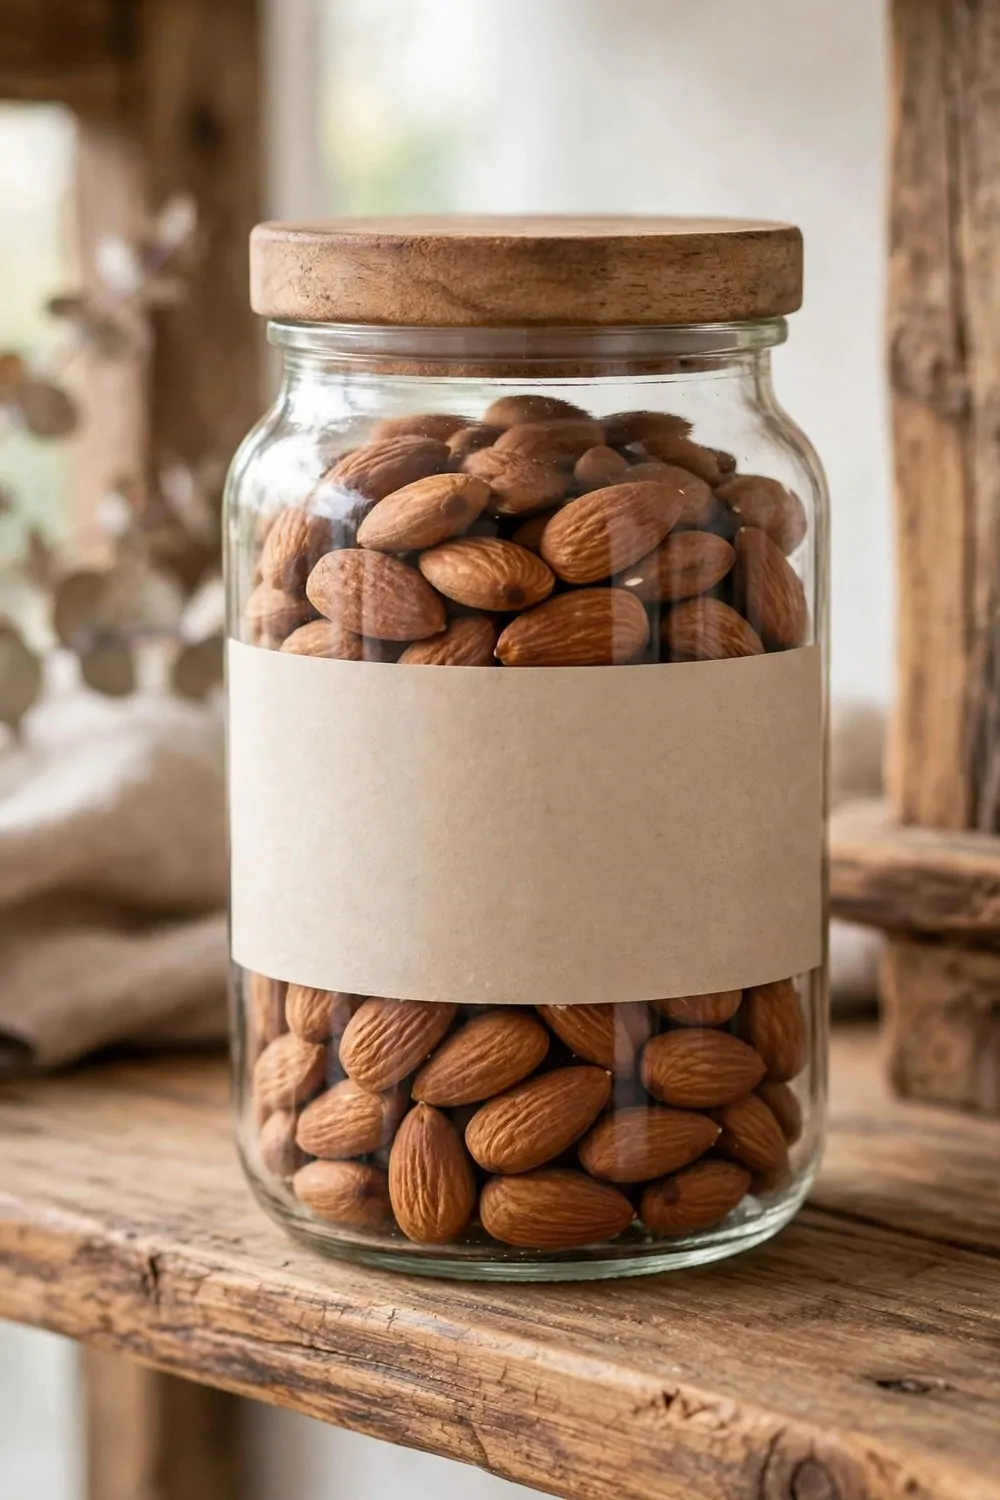
I keep almonds in a glass jar with a wooden lid for baking.
The brown almonds show through the glass and look fresh inside.
You can grab a small cupful when a cake needs a nutty top.
I keep the jar shut so the almonds stay crisp and dry.
The glass lets me see when it is time to buy more.
A plain label on the front can help you find it on bake day.
Typical cost $5 to $11.
I buy almonds in a big bag and fill the jar from it.
A jar of almonds by your bake shelf keeps baking days simple.
29. A Glass Jar for Raisins for Lunchboxes
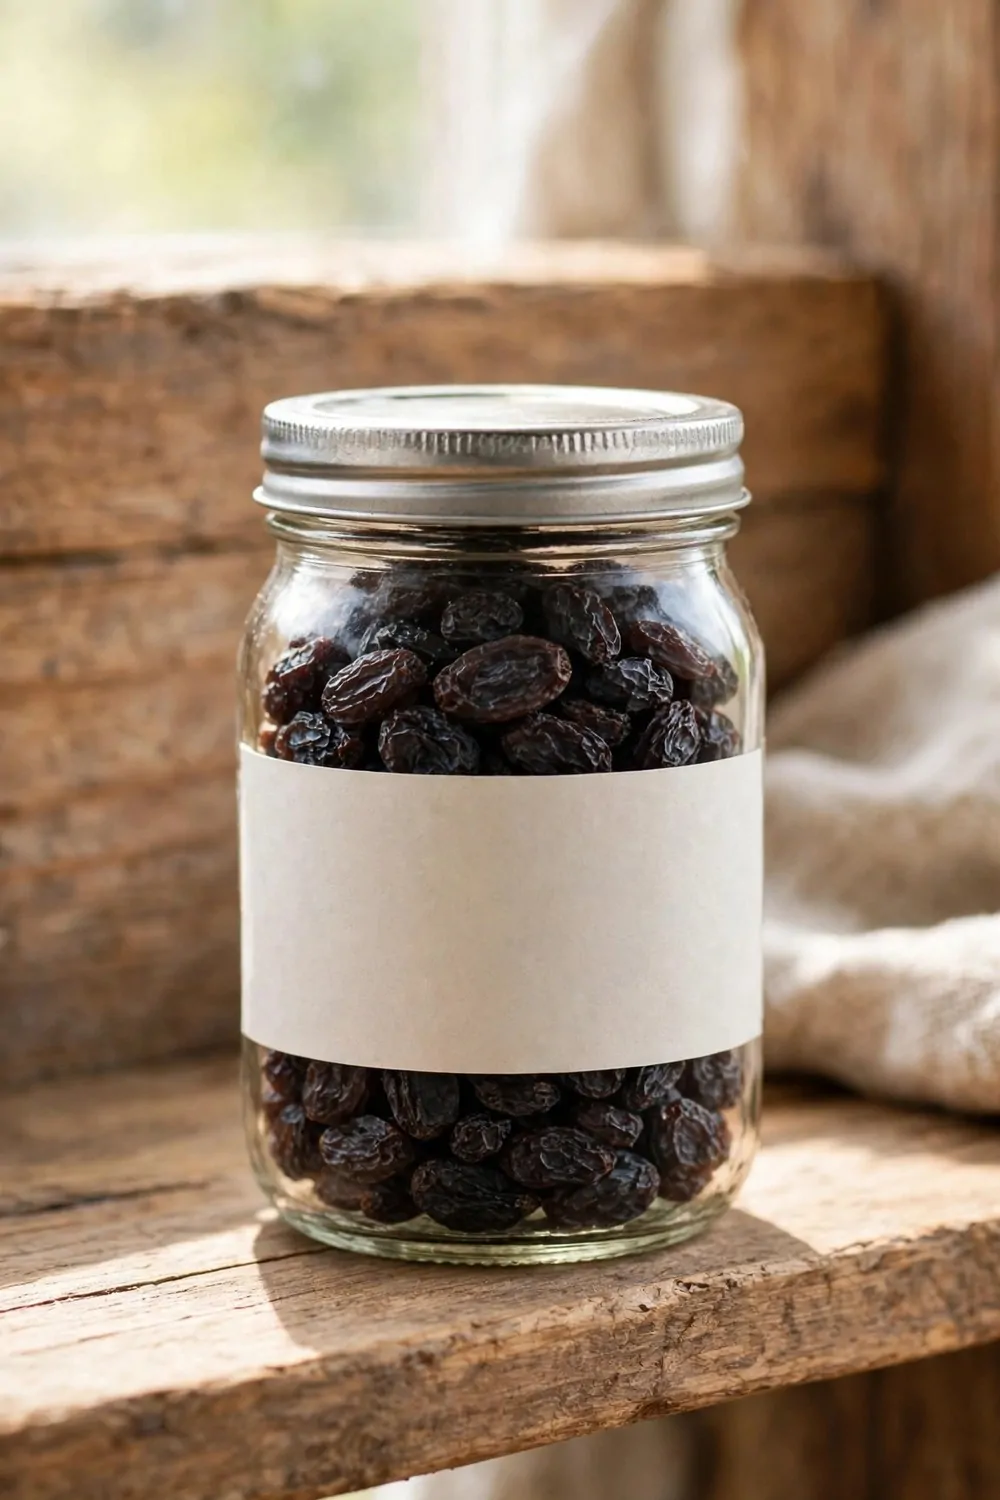
I keep raisins in a small glass jar with a metal lid for lunchboxes.
The dark raisins show through the glass and look soft and sweet.
You can spoon some into a small box in the morning rush.
I keep the lid shut tight so the raisins stay soft inside.
The jar lets me see when it needs a refill before the week ends.
A plain label on the front can help you spot it in a busy cupboard.
Typical cost $2 to $5.
I wash the jar out when it runs empty and dry it well.
A jar of raisins makes lunchbox prep feel quick and easy.
30. A Small Glass Storage Starter Kit
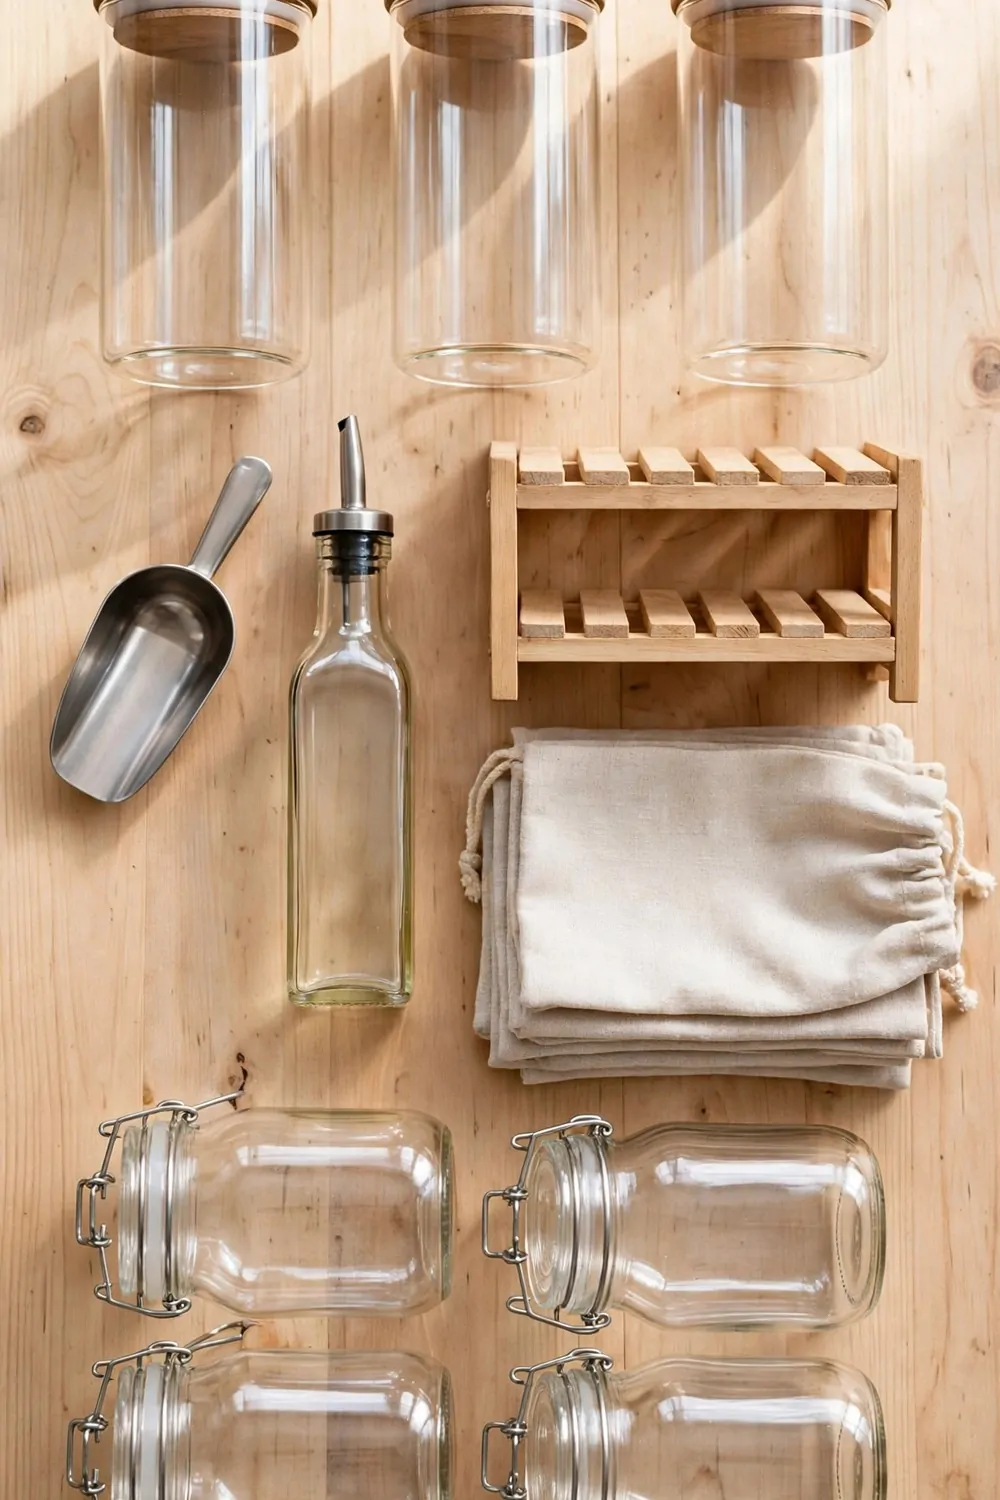
I put together a small glass storage starter kit with six pieces: a set of three glass canisters with wooden lids, a small stainless steel scoop, a plain glass oil bottle with a pourer, a set of plain linen storage bags, a small wooden pantry shelf riser, and a set of four plain glass clip-top jars.
The three canisters hold dry goods where you can see them each day.
The small steel scoop lifts out just the amount you need for a meal.
The glass oil bottle pours a thin stream so you use only what you need.
The linen bags hold loose bits that do not sit well in a jar.
The wooden shelf riser lifts jars up so the ones behind still show.
The four clip-top jars keep staples fresh with lids that shut tight.
Typical cost $12 to $20 for the canisters, $4 to $7 for the scoop, $5 to $9 for the oil bottle, $6 to $10 for the bags, $7 to $12 for the shelf riser, and $10 to $16 for the clip-top jars, for a total of $44 to $74.
Pick one glass jar from your cupboard tonight, fill it with something you use each week, and let that one small swap make your pantry feel calm and bright.
| Idea | Main change | Typical cost |
|---|---|---|
| a set of three glass canisters with wooden lids | store dry goods in glass canisters with wooden lids | $12 to $20 |
| a small stainless steel scoop | scoop dry goods with a small stainless steel scoop | $4 to $7 |
| a plain glass oil bottle with a pourer | pour oil with ease from a plain glass oil bottle | $5 to $9 |
| a set of plain linen storage bags | keep loose bits in plain linen storage bags | $6 to $10 |
| a small wooden pantry shelf riser | lift jars with a small wooden pantry shelf riser | $7 to $12 |
| a set of four plain glass clip-top jars | store staples in plain glass clip-top jars | $10 to $16 |
| Total | $44 to $74 |
Keep Reading
If you liked these ideas, you will love these posts too
Each post has more simple ideas you can try at home this weekend.