26 Rain Barrel Ideas for a Greener Garden

Every time it rained, I watched good water run off my roof and down the drain, and I wished I had a way to keep it.
This one post holds all 26 rain barrel ideas, from a plain barrel under a downspout to a full starter kit, and you can start with the idea that fits your garden best.
Rain water is free, soft, and kind to plants, and your garden will love it. I started saving it last year, and my pots have never looked better.
You do not need a big budget or a big yard to begin. One barrel and one downspout is all it takes to start.
In this post I share the ideas I tried myself and the ones my friends swear by. Some are plain and cheap, and some look lovely in a small garden.
You can mix and match them to fit your roof, your space, and your budget. Take what works for you and skip the rest.
Grab a cup of tea, read through the list, and pick your first idea today. Your garden will thank you the next time it rains.
1. A Basic Rain Barrel Under a Downspout
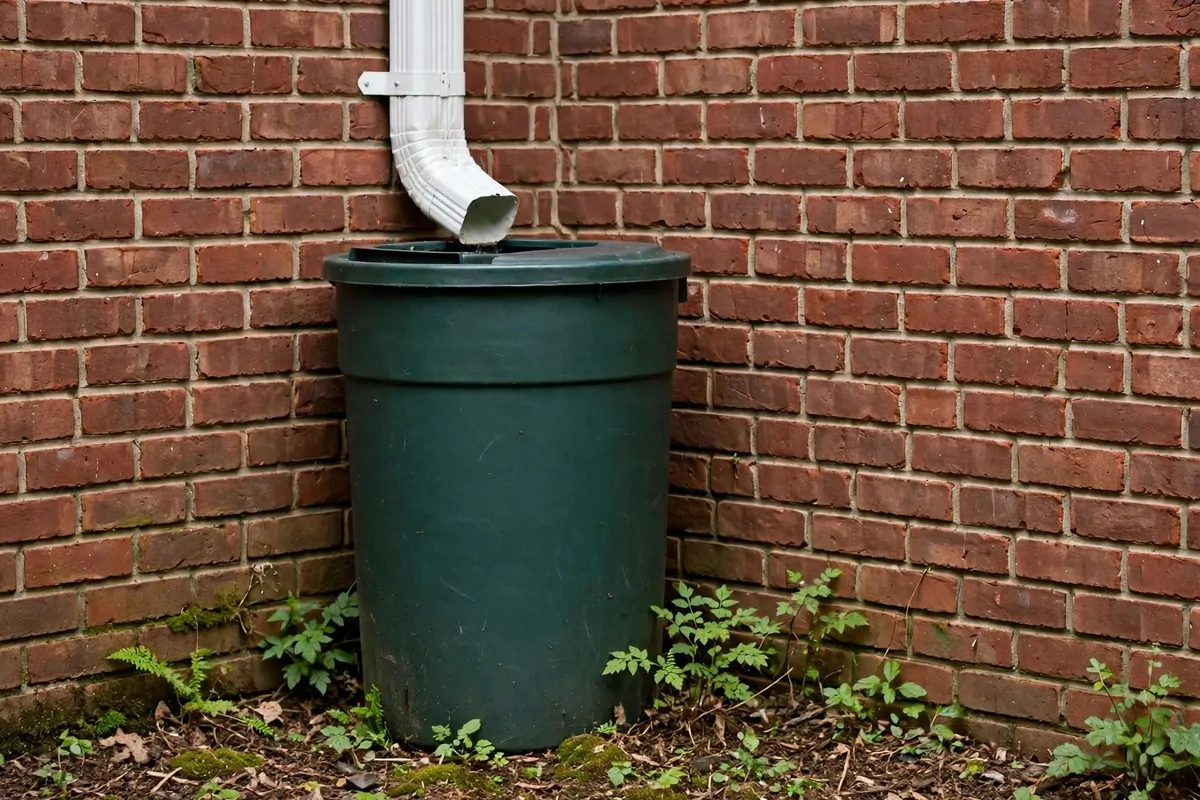
I started with the simplest setup I could think of, and it still works well for me today. A plain barrel sits under the downspout and fills up each time it rains.
You do not need fancy tools or a big plan to get going.
Rain runs off the roof and straight into the barrel through the downspout. I check the water level after a good rain and smile when I see it full. Then I use that water for my pots and beds over the next few days.
It feels good to use rain water instead of tap water for the garden.
You can fit a tap low on the barrel to fill a watering can with no fuss. Just turn it on and let the water flow out slow and steady.
You can set one up for $40 to $90, and most of that cost is the barrel itself. I found a good used barrel for less and cleaned it well before I used it. A lid keeps leaves and bits out of the water.
Start small and you will learn what works for your roof and your garden.
I water my herbs and flowers with it first, since they drink a lot in warm weeks. The beds near the house get a good soak too when the barrel is full.
Try this one first if you want a plain and easy start.
2. A Slim Barrel for a Narrow Side Yard
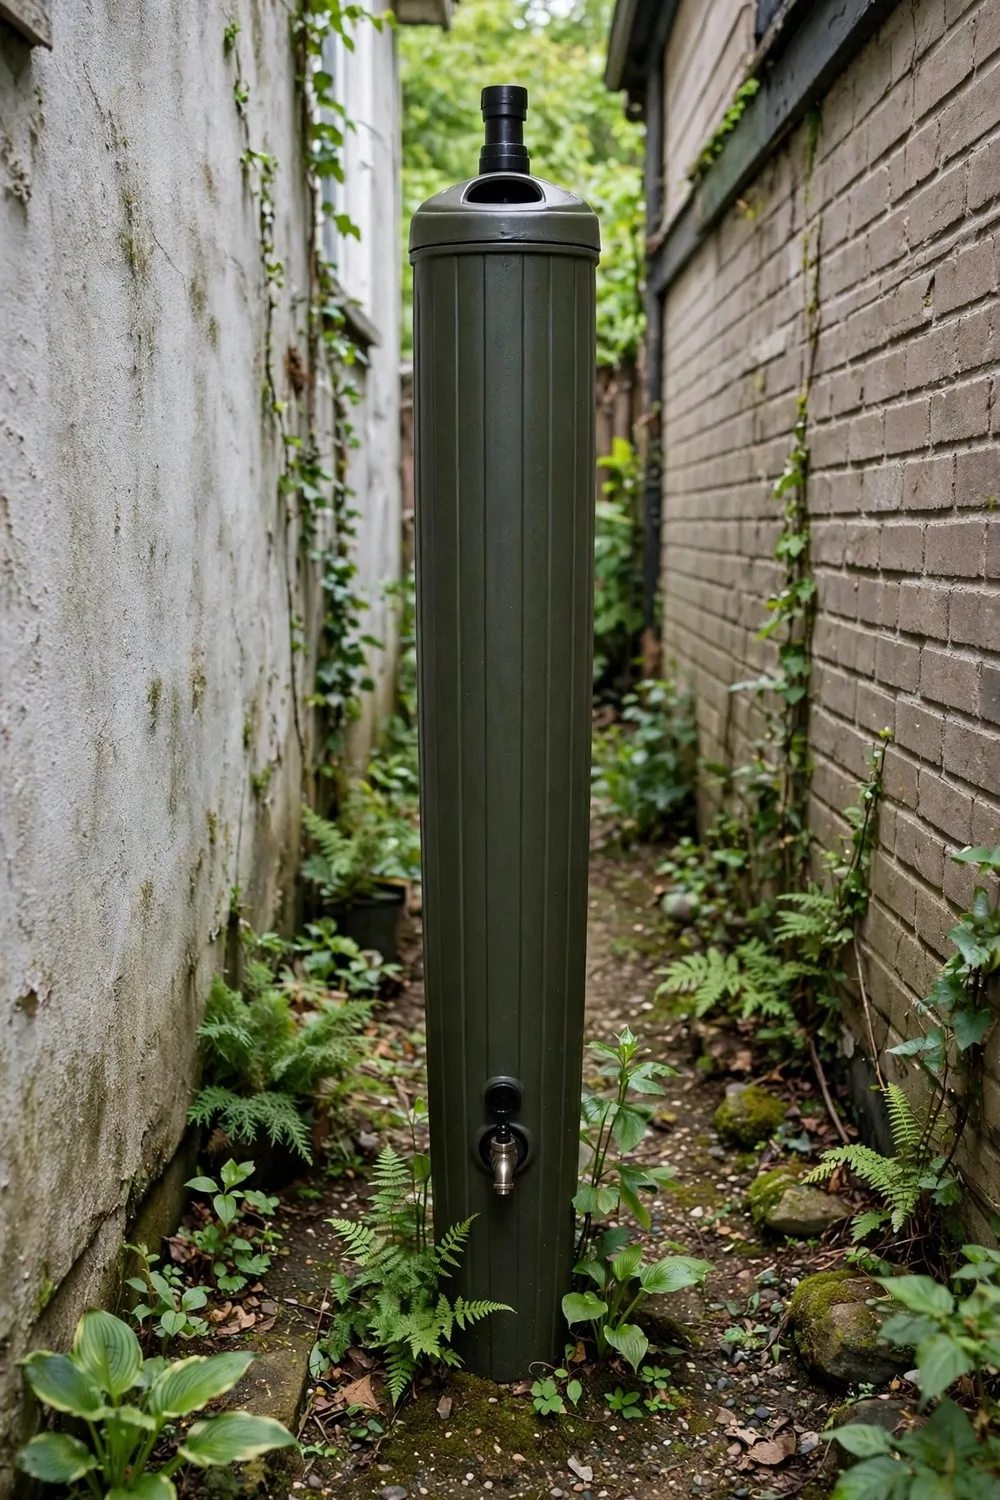
My side yard is a tight strip of space, so a wide barrel would never fit there.
A slim barrel tucks into that strip and still holds plenty of water for my pots. I set it in that strip and leave room to walk past it.
Rain from the roof still reaches it through a short run of pipe. I watch it fill after a storm and feel glad I used that dead space.
The tap makes it easy to fill a can without lifting a heavy bucket. Fill a small can there and watering takes a minute. My pots along the wall get a drink every few days from it.
Even a small garden can save a lot of rain water this way.
You can set one up for $45 to $95, and the pipe bits cost very little. I picked a barrel that fit the space and checked it for leaks first.
Measure your strip before you buy, so the barrel fits with room to spare.
I like how this idea turns a wasted strip into a useful water store. The plants near it stay green through dry weeks. You will wonder why you left that space empty for so long.
Give it a try if your side yard feels too tight for a big barrel. It may hold more water than you think.
3. A Wooden Barrel That Looks Like a Planter
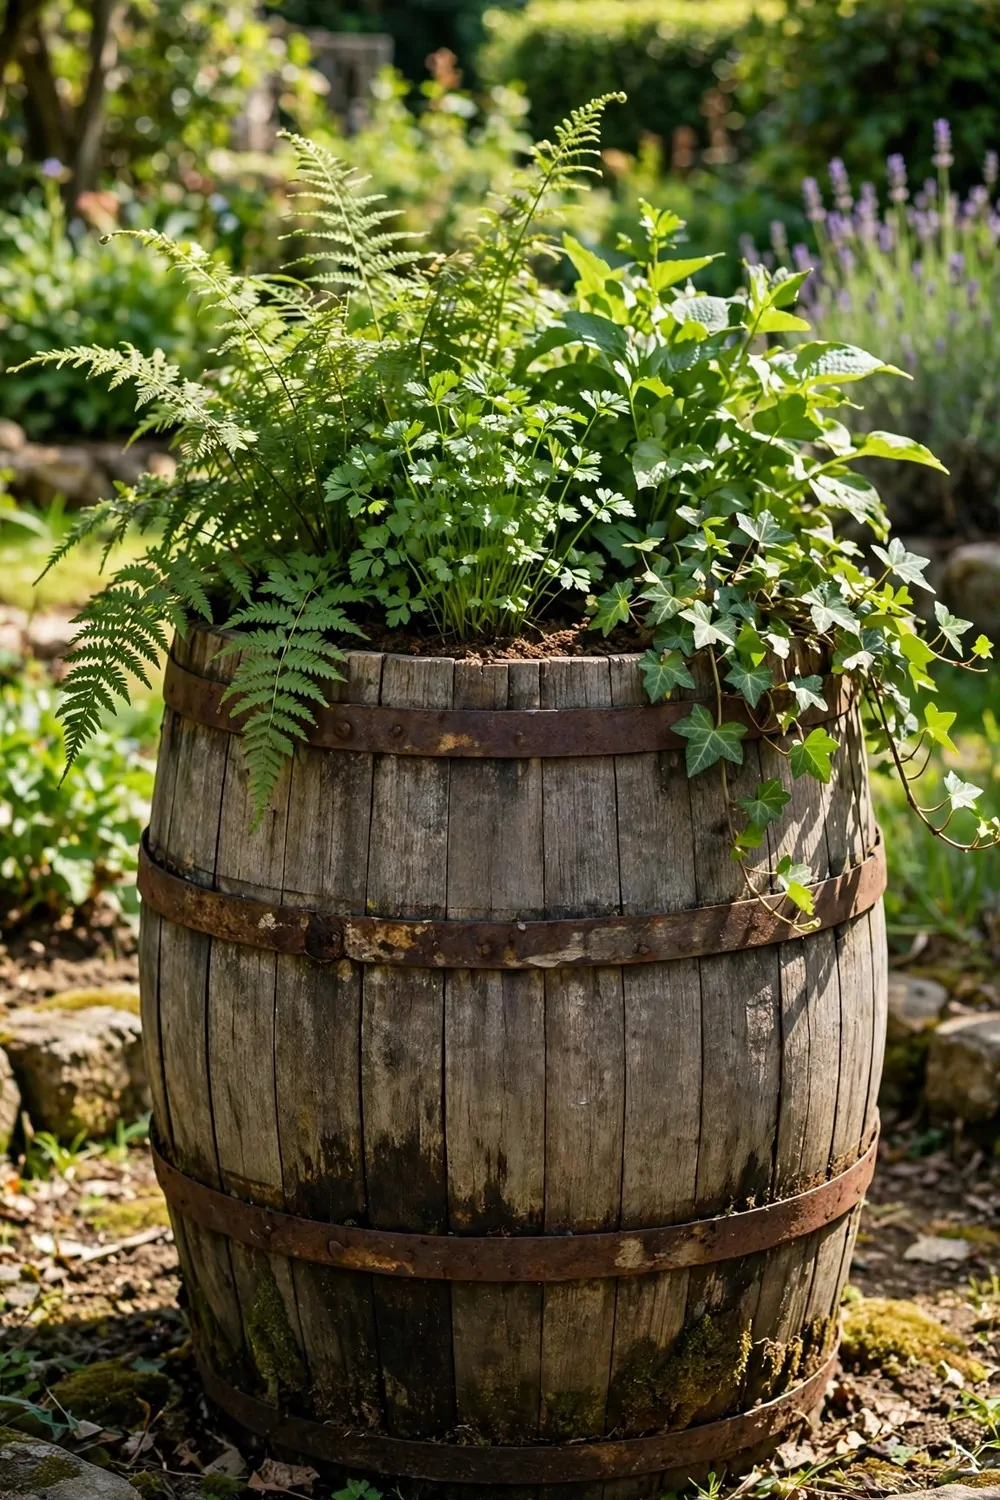
I wanted a barrel that did not look like a barrel at all. A wooden barrel blends in with my beds and pots. Guests often think it is just a big planter until I tell them it holds rain water.
Wood brings a warm and natural feel to the garden.
I fill it with rain from the roof and use it for my flowers and herbs. The wood holds up well when I keep it damp and out of harsh sun.
It looks like part of the garden, not a water tank.
You can set one up for $60 to $120, and a crafted wood look costs a bit more than plain plastic. I lined mine inside so the water stays clean for the plants. A lid keeps leaves and bits out of the water.
Green plants grow from its top, and the whole corner looks calm. The barrel fades into the scene and no one stares at it.
Check the wood each spring for small gaps or wear. A quick fix then saves you a leak later on.
Pick this one if you want your water store to look pretty too.
Your garden gets water and a nice feature in one go.
4. A Linked Pair of Barrels for More Water
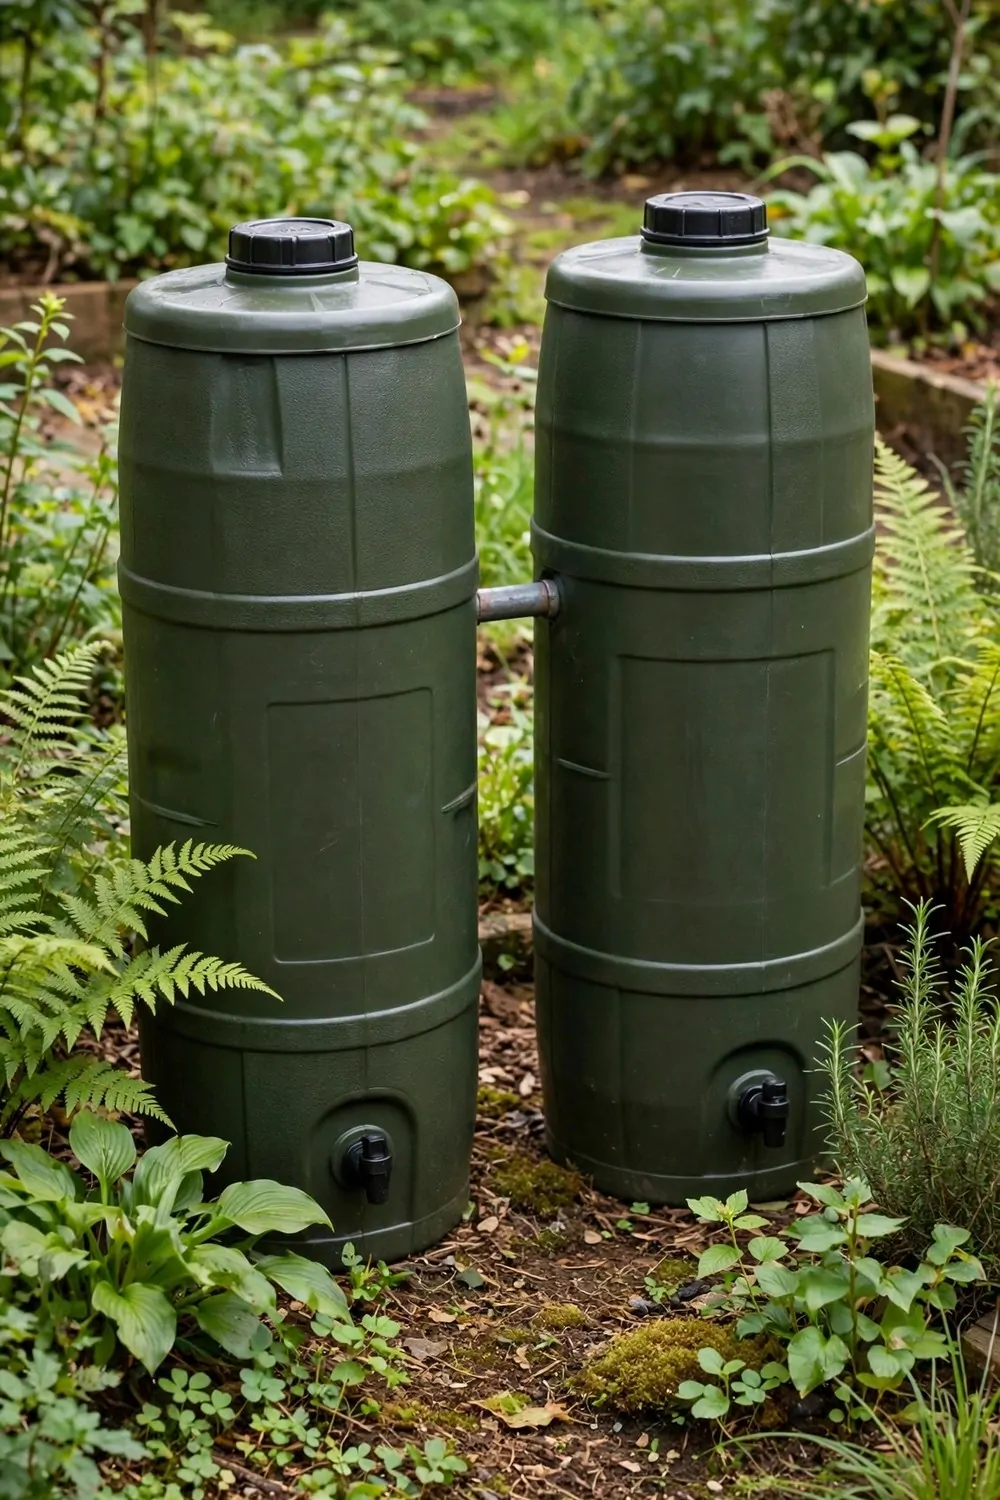
One barrel was never quite enough for my big beds, so I linked two together.
Rain fills the first barrel and then flows into the second one. I get twice the water from one roof and one downspout. My beds stay watered through dry spells that used to worry me.
Two barrels beat one when the dry weeks drag on.
A short link pipe joins them, and the water finds its own level. I fill my cans from either barrel and the pair empties nice and even.
You can set a pair up for $70 to $140, and the link kit costs only a small part of that. I bought the second barrel used and cleaned it well first.
Start with one barrel and add a second later if you like.
I use the pair for my veggie beds and my thirsty flowers. The extra water means I lean on the tap far less in warm months. It can help save water and it can help save you a few trips with the hose.
Check both barrels for leaks when you first link them. A small drip is easy to fix before it becomes a puddle.
Try a pair if one barrel runs dry too fast for you.
5. A Barrel with a Tap Near the Veggie Beds
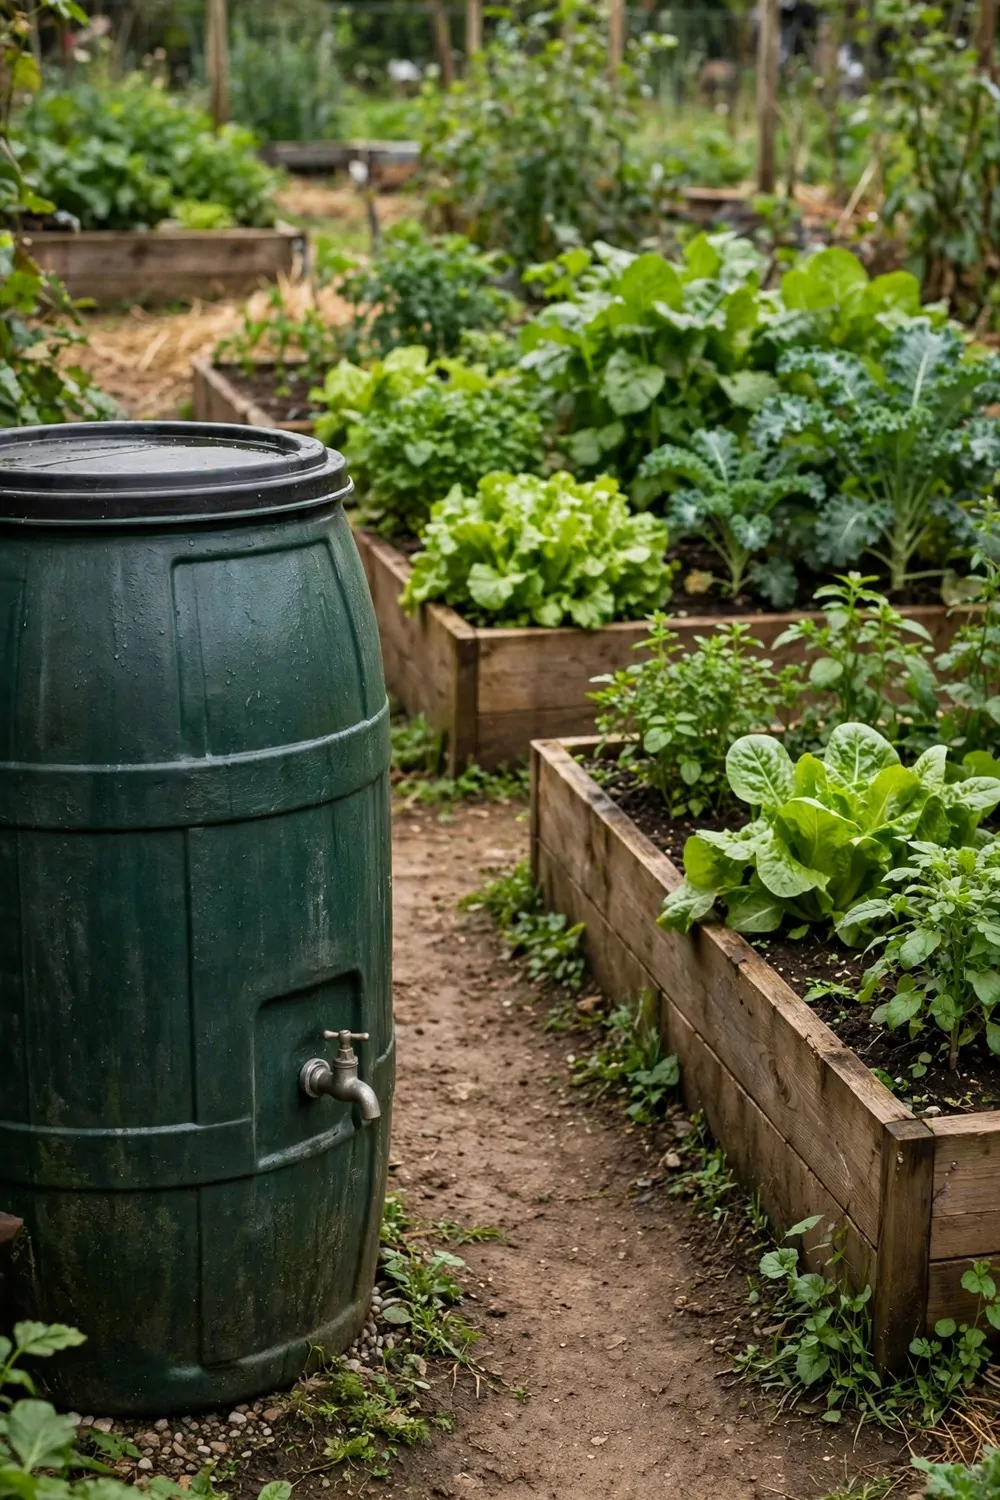
I moved my barrel close to the veggie beds, and watering got so much easier. Now I fill a can and step straight to the rows.
The tap is easy to reach, so filling a can takes only a few seconds. I water the rows and move on without any heavy lifting.
Your back will thank you for keeping the water near the beds.
Rain from the roof fills the barrel through the downspout. I check it after storms and plan my watering for the week. The leafy greens and roots drink well from this rain water.
Fresh rain water suits veggie beds so well.
You can set one up for $45 to $85, and the short pipe run costs very little.
I fill a can at the barrel for quick top ups. The beds near the path get watered first each morning.
This idea works best when the barrel sits close to where you grow food. You waste no steps and no water on the walk. I wish I had moved mine near the beds years ago.
Give this one a try if you lug cans across the garden now. Your arms and your plants will both feel the change.
6. A Raised Barrel on a Sturdy Stand
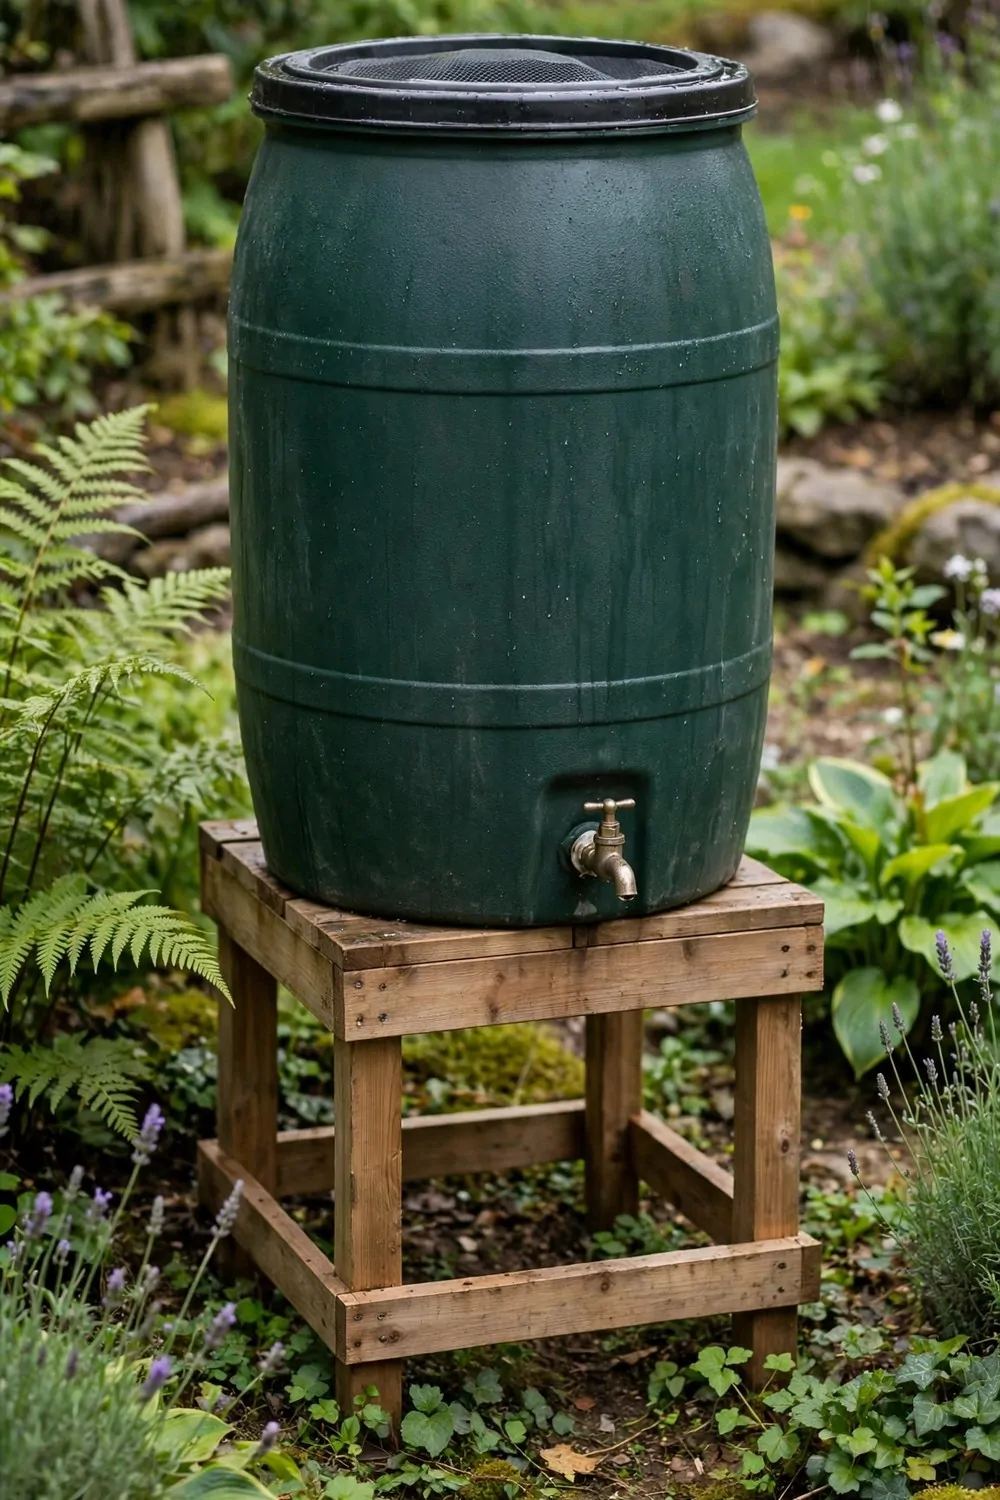
A barrel on the ground drains slow, so I set mine up on a sturdy stand.
The extra height gives the water a stronger flow from the tap.
I fill my cans fast and the water reaches the far beds with ease. The stand holds the full weight without a wobble.
I built the stand from strong timber and checked it twice before I filled the barrel. It has held firm through every storm since then.
You can set one up for $55 to $110, and the stand is the main extra cost. I used spare timber I already had and kept the build simple. A level patch of ground under the stand keeps it steady.
Make sure the stand is strong before the barrel fills up.
A full barrel is heavy, so never rush this part.
I water my pots and beds with the better flow each week. The cans fill in half the time they used to take.
This idea suits you if slow taps drive you mad. The stronger flow makes watering feel quick and easy. You will reach for the barrel first every single time.
7. A Barrel with a Mesh Lid to Keep Leaves Out
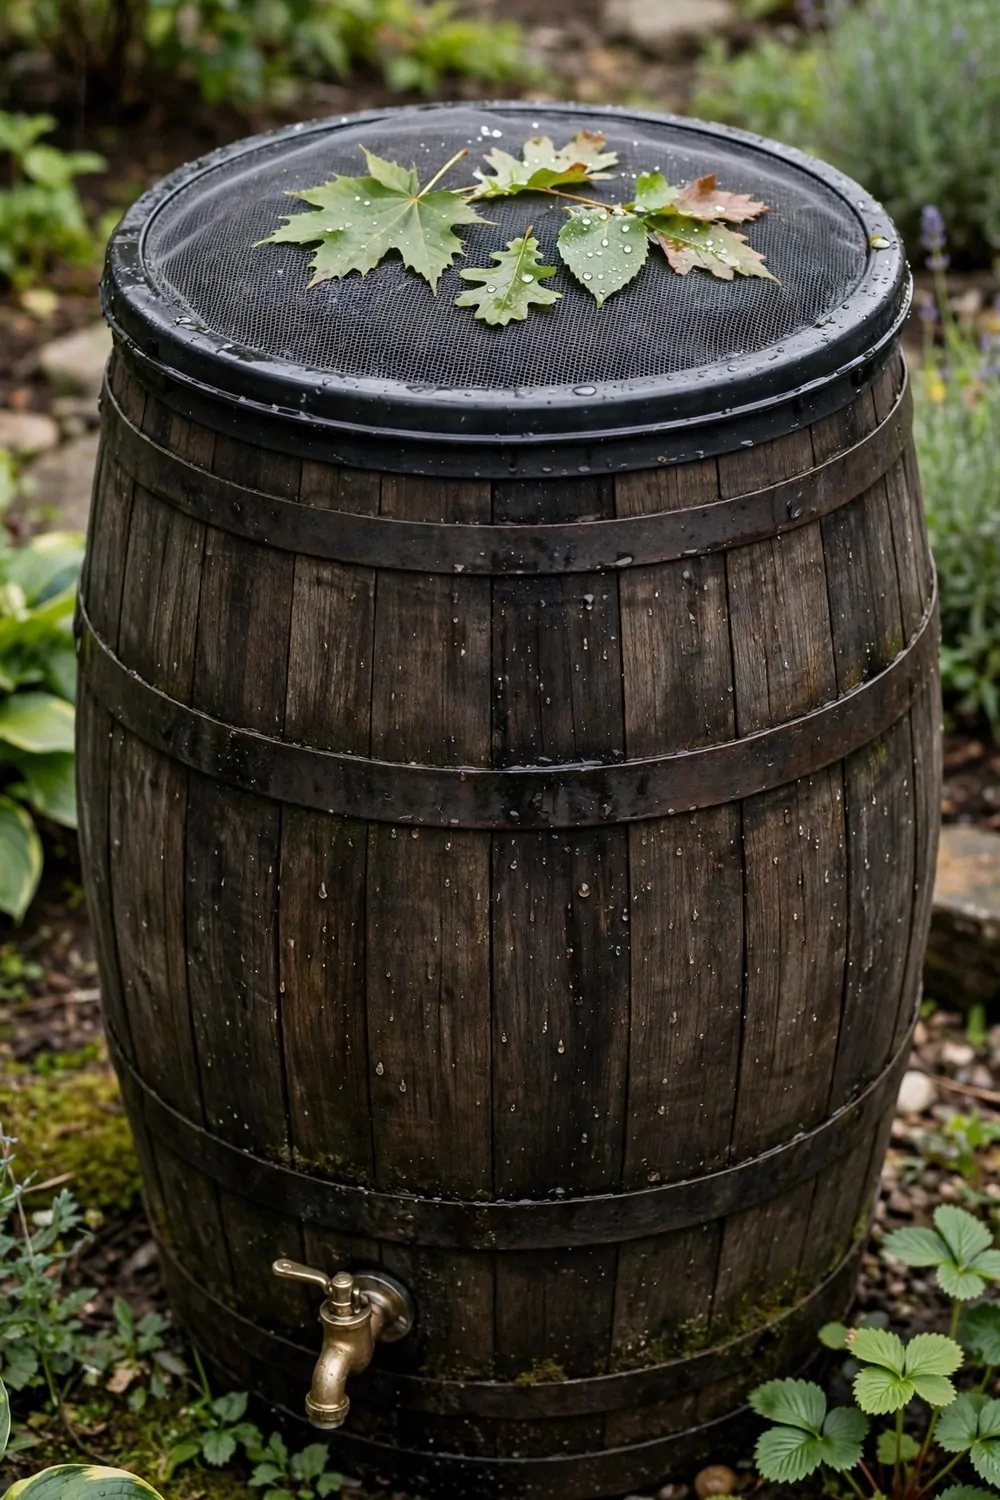
Leaves used to fall into my open barrel and rot in the water. I fixed that with a fine mesh lid that lets rain through and keeps bits out. Now the water stays much cleaner for my plants.
The mesh sits over the top and rain passes straight through it. I lift it off in a second when I need to check the water inside.
Clean water makes watering feel so much better.
A mesh lid is one of the cheapest upgrades you can make.
You can set one up for $35 to $70, and the mesh costs only a few dollars. I cut mine to fit and tied it on so wind cannot blow it away.
I rinse the mesh now and then to clear stuck leaves. It takes a minute and keeps the flow open for the next rain. My pots get clean water and my beds stay happy.
Check the mesh after big storms and clear any leaves off it.
Small fixes like this one save a lot of bother later.
Try a mesh lid if bits keep landing in your water. You will see the change the very next time it rains.
8. A Diverter That Fills the Barrel and Skips the Overflow
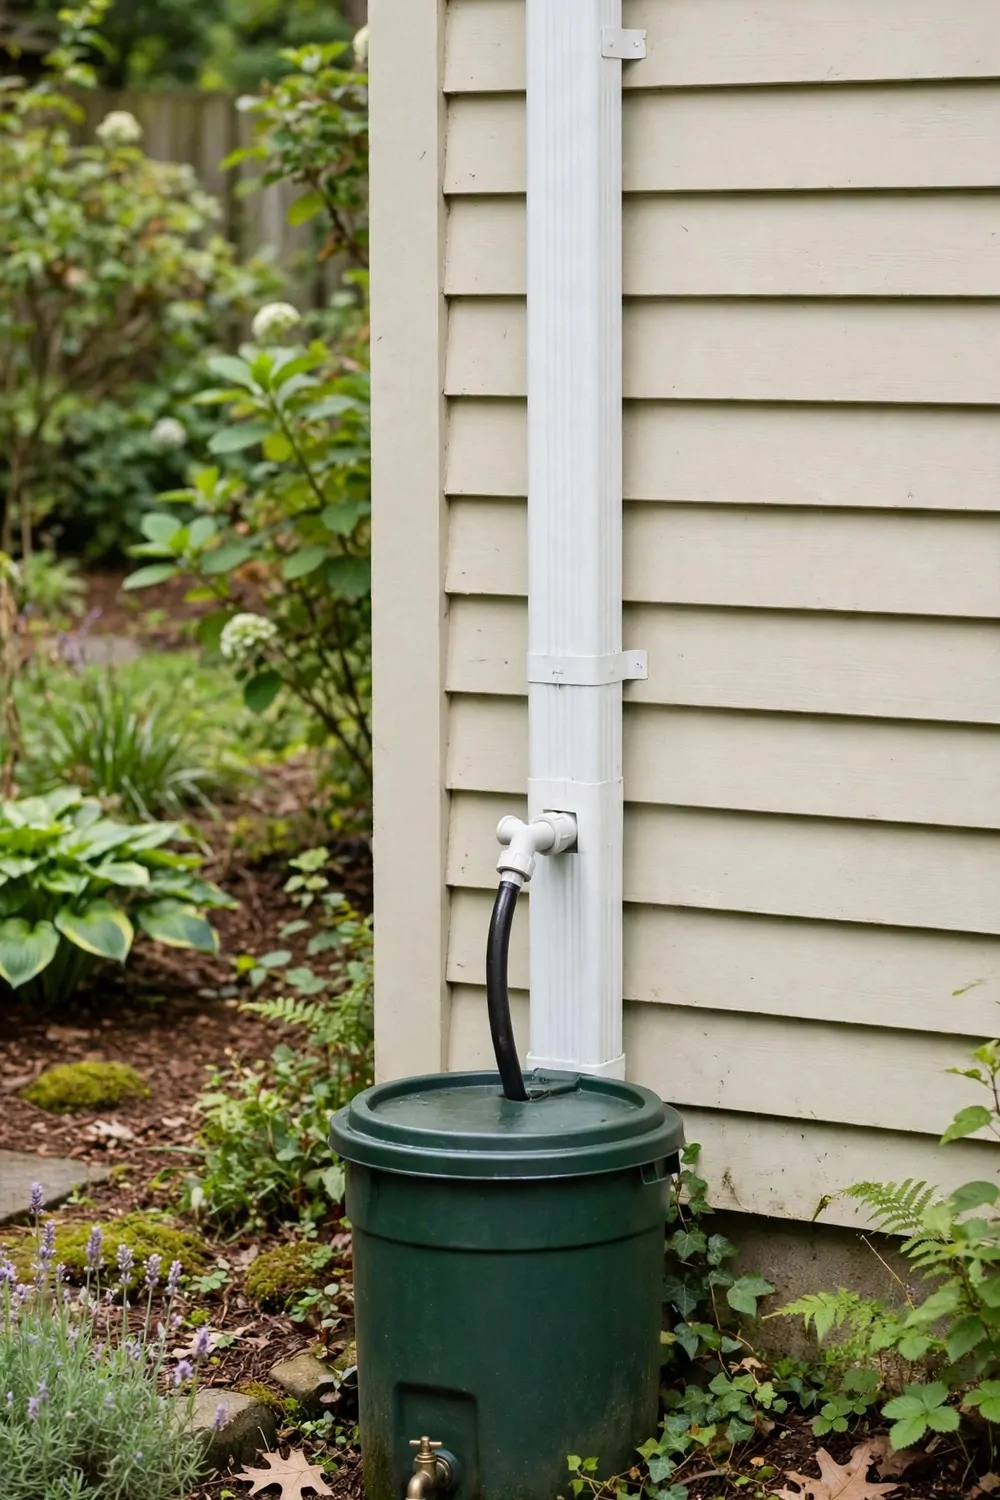
A diverter sends rain into the barrel and lets the rest flow on down the pipe. I fitted one in an afternoon and it has worked ever since.
When the barrel fills up, the extra water goes back to the drain line. Nothing spills over the sides and no puddle forms at the base. My path stays dry even after heavy rain.
It stops the barrel from overfilling and flooding the soil nearby. I like that it looks after itself while I am away.
You set it once and then forget all about it.
You can set one up for $25 to $55, and the diverter kit is the only real cost.
I checked the pipe size before I bought the kit, so it fit first time. A quick test with a hose showed it working well.
This idea suits a barrel that sits under a busy downspout. Heavy rain fills it fast, and the diverter handles the extra flow. I sleep easy through storms now, and my beds get the water they need.
Pick this one if your barrel overflows in big storms.
It is a small part that solves a big mess.
9. A Soaker Hose Fed Straight from the Barrel
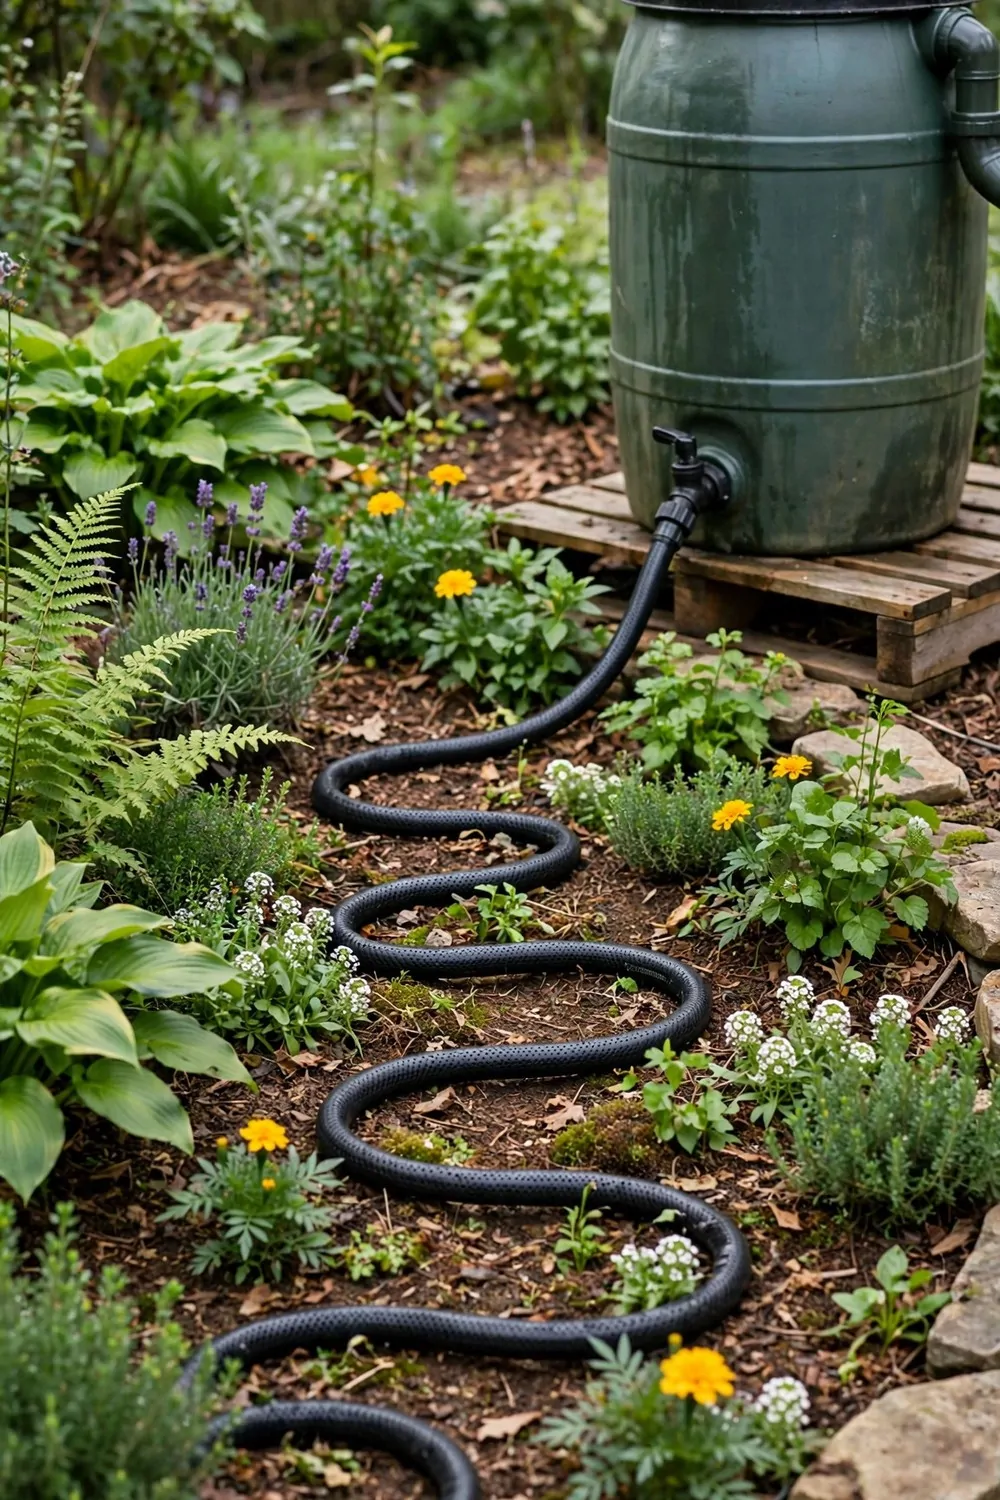
I hooked a soaker hose to my barrel and let it water the beds slow and steady.
The hose seeps water right at the soil, so very little is lost to the air. My plants drink deep and the leaves stay dry.
I lay the hose along the rows in the morning and open the tap. Water trickles out for an hour while I do other jobs. By lunch the soil feels damp all the way down.
This way the roots get water where they need it most. I use far less water than I did with a spray hose.
You can set one up for $20 to $45, and the hose is the main cost.
A raised barrel gives the hose a better flow, so think about a stand too. I check the hose ends now and then for clogs. A quick rinse keeps the water moving well.
My beds stay damp through warm weeks with this setup. The leafy greens look fresh and the soil stays soft.
Move the hose to a new row each time you water. That way every bed gets its fair share.
Try this one if you hate standing with a hose.
10. A Barrel for Watering Pots on the Patio
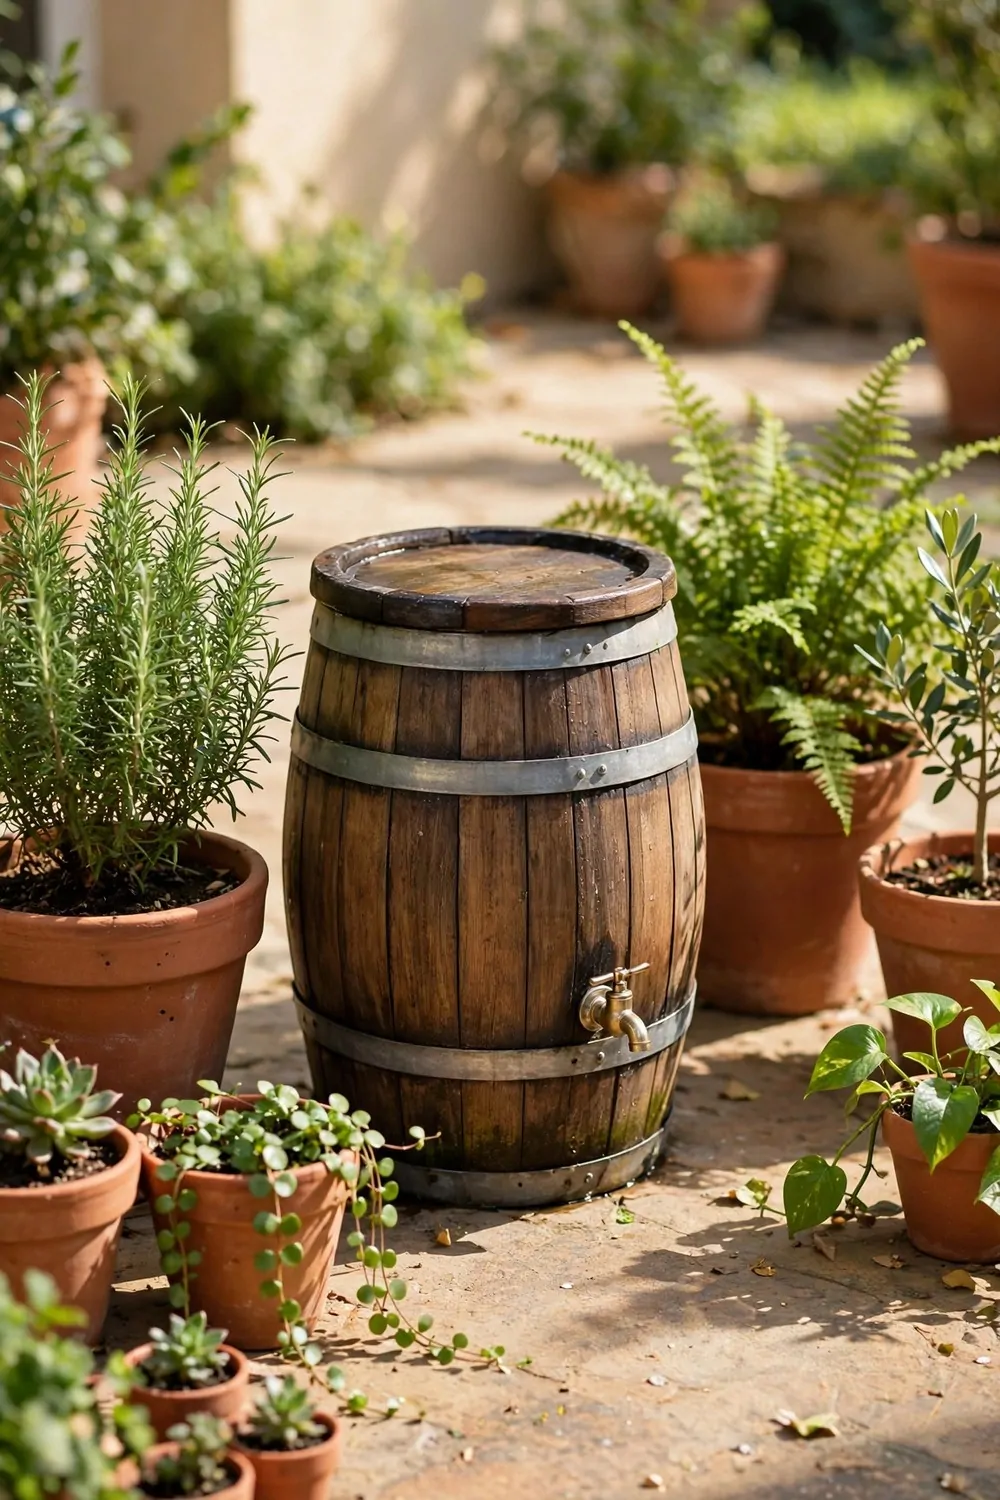
My pots on the patio dry out fast in warm weather. I keep a barrel close by so I can water them without a long walk.
I fill my watering can right at the barrel and carry it a few steps to the pots.
It saves me trips back and forth to the tap inside.
The barrel collects rain from the roof when it rains. I let the water sit and use it on dry days. My pots seem to like it, and I like that I waste less tap water.
I set my watering routine for the morning when the soil feels dry. A quick check with my finger tells me if the pots need a drink.
This simple setup cost me $30 to $65 in all.
I keep the lid shut when I am not filling my can. That keeps leaves and bits out of the water. A clean barrel means clean water for my pots.
You can start small and add a second tap later if you want more flow.
I check the water level before a hot week so I know what I have. Then I plan my watering around what is left in the barrel.
| Idea | Main change | Typical cost |
|---|---|---|
| A Basic Rain Barrel Under a Downspout | set a plain barrel under the downspout | $40 to $90 |
| A Slim Barrel for a Narrow Side Yard | fit a slim barrel into a narrow side yard | $45 to $95 |
| A Wooden Barrel That Looks Like a Planter | use a wooden barrel that looks like a planter | $60 to $120 |
| A Linked Pair of Barrels for More Water | link two barrels together for more water | $70 to $140 |
| A Barrel with a Tap Near the Veggie Beds | put a barrel with a tap near the veggie beds | $45 to $85 |
| A Raised Barrel on a Sturdy Stand | raise the barrel on a sturdy stand | $55 to $110 |
| A Barrel with a Mesh Lid to Keep Leaves Out | fit a mesh lid to keep leaves out | $35 to $70 |
| A Diverter That Fills the Barrel and Skips the Overflow | fit a diverter that fills the barrel and skips the overflow | $25 to $55 |
| A Soaker Hose Fed Straight from the Barrel | feed a soaker hose straight from the barrel | $20 to $45 |
| A Barrel for Watering Pots on the Patio | Watering pots right at the barrel | $30 to $65 |
| Total | $425 to $875 |
11. A Painted Barrel That Matches the House
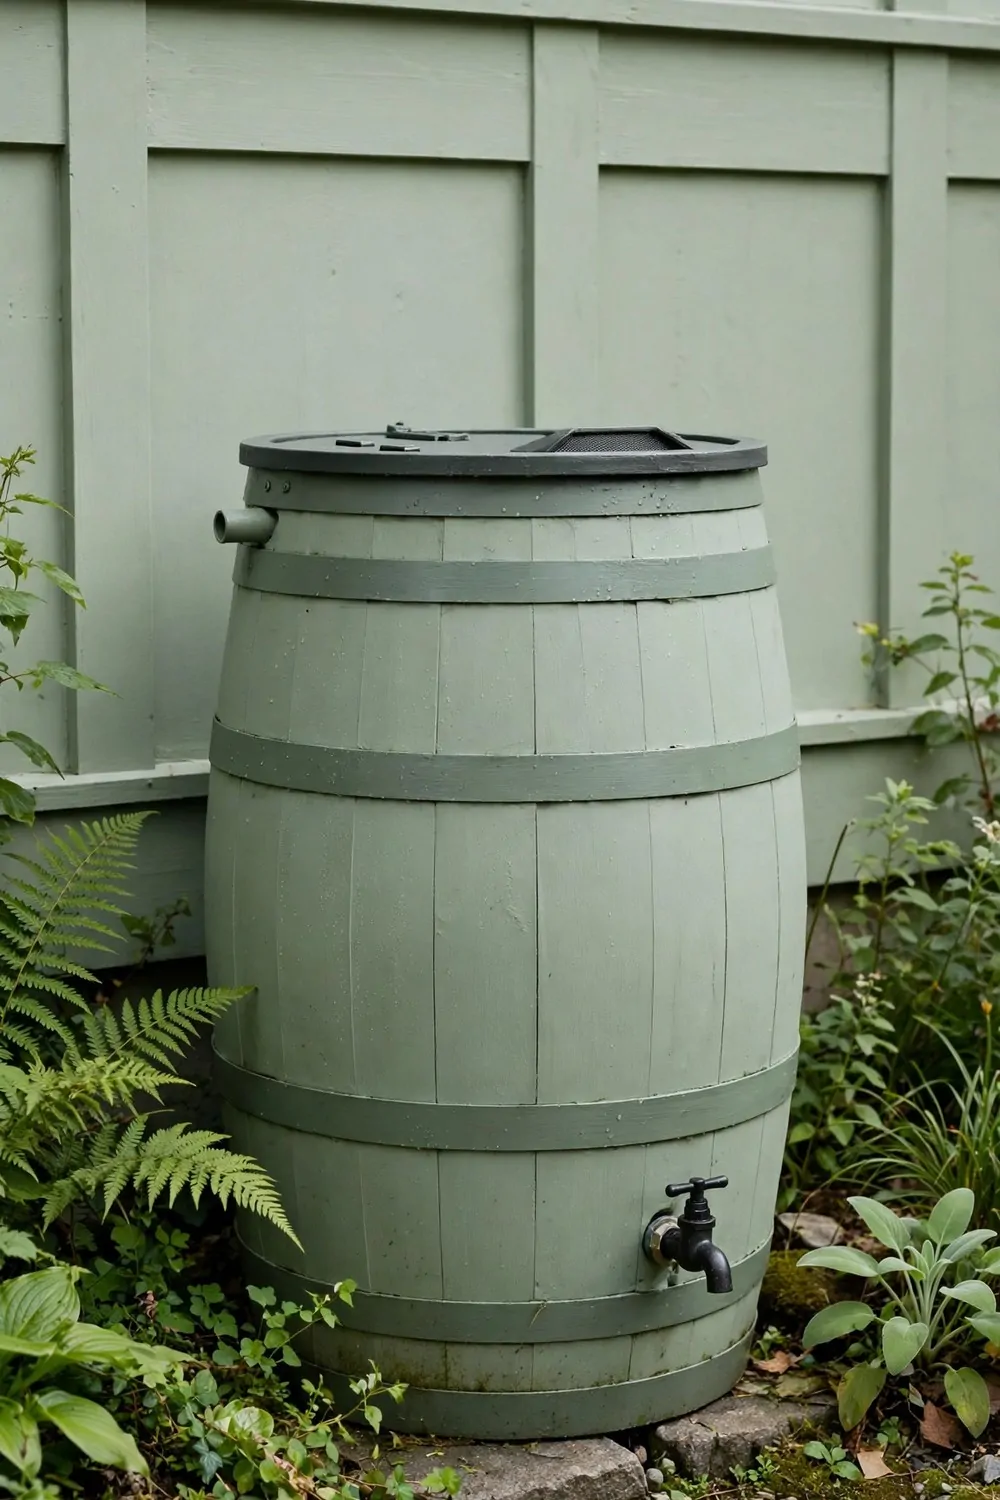
I wanted my barrel to blend in near the house, not stand out. A coat of paint made a big change. Now it looks like it belongs right where it is.
I picked a paint made for outdoor use so it holds up in rain and sun.
A light sand and a good clean came first, before any paint went on.
You can match the paint to your house trim or your fence. It is a small job that makes the whole corner look tidy.
The whole job cost me $40 to $80, paint and all.
I paint in thin coats and let each one dry first. Rushing it leaves marks I can see later. Slow work gives a smooth finish I am happy with.
I keep a little paint left over for small touch ups later. A quick dab keeps the barrel looking fresh year after year.
If you paint yours, pick a dry day and take your time.
My barrel now sits near the house and looks like part of the garden. I smile each time I walk past it and see how neat it looks.
12. A Barrel Hidden Behind a Trellis
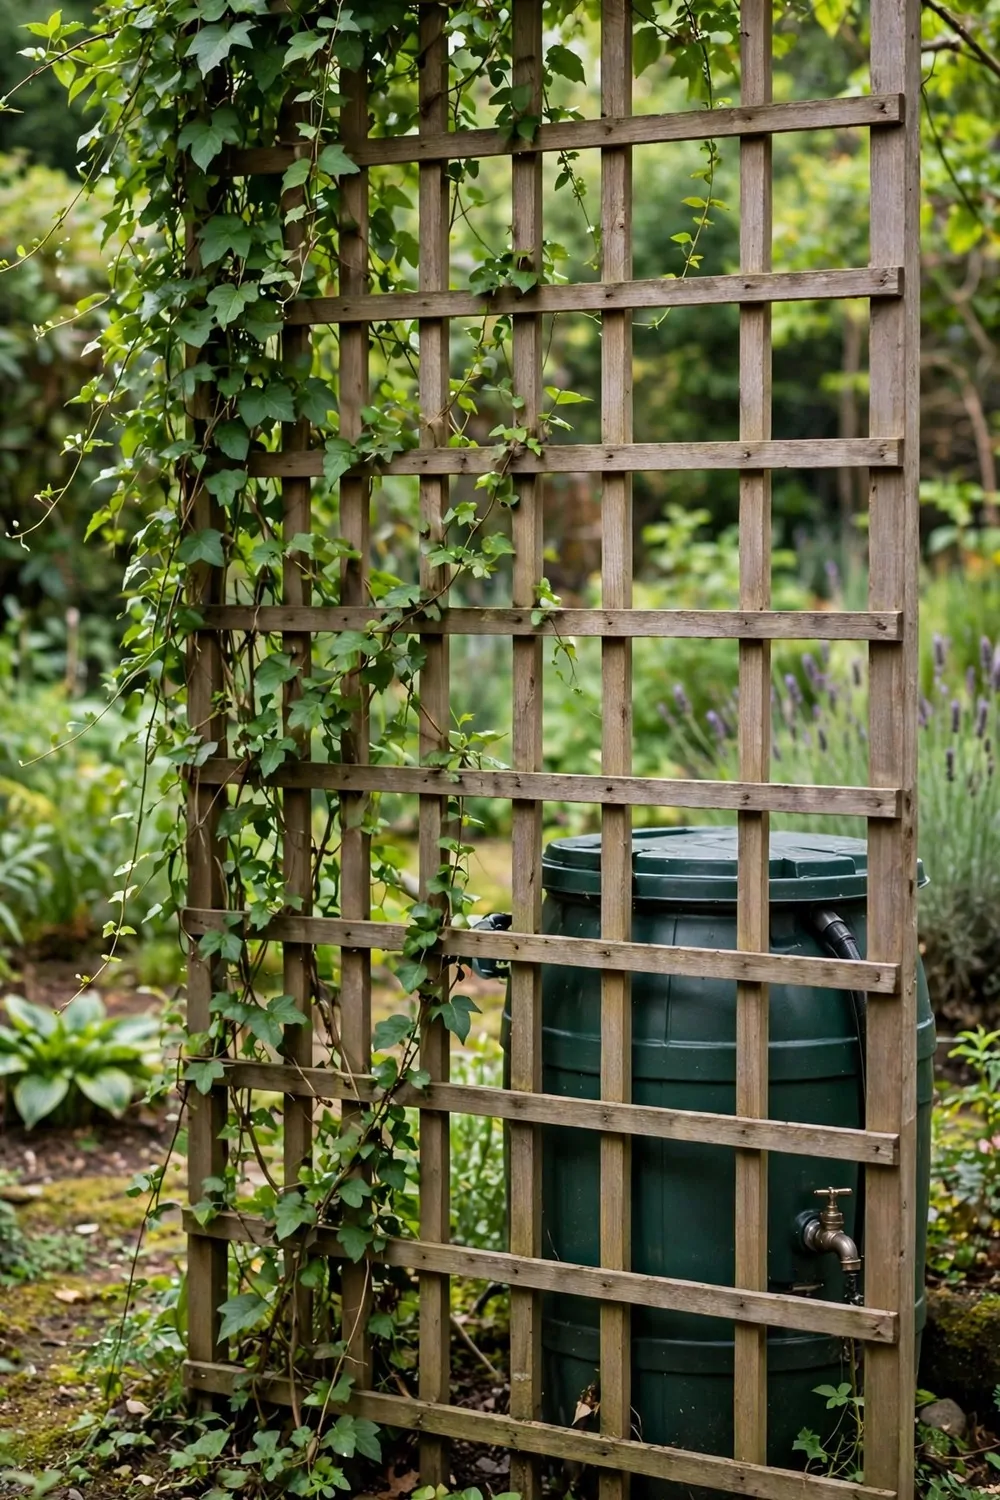
A trellis can hide a barrel and still let you reach it with ease.
I set my trellis up so the barrel sits behind it, out of plain sight. The front stays open enough for my watering can. Guests see green leaves first and the barrel second, if they see it at all.
Climbing plants grow up the trellis and soften the whole corner. I pick ones that need little care and grow well in my soil.
I leave a clear path to the tap so I never have to push past leaves. A little space makes watering quick and easy.
This hidden setup cost me $50 to $100, trellis and fixings included. I built it over one weekend, a bit at a time. It was worth it for how tidy the garden looks now.
You can move the trellis panels if you change your mind later.
I check the plants now and then and trim back any stems that crowd the tap.
Rain still fills the barrel through the pipe from the roof. The trellis does not block the water, it just hides the barrel from view.
It is a simple trick, and my garden feels calmer for it.
13. A Small Barrel for a Balcony Garden
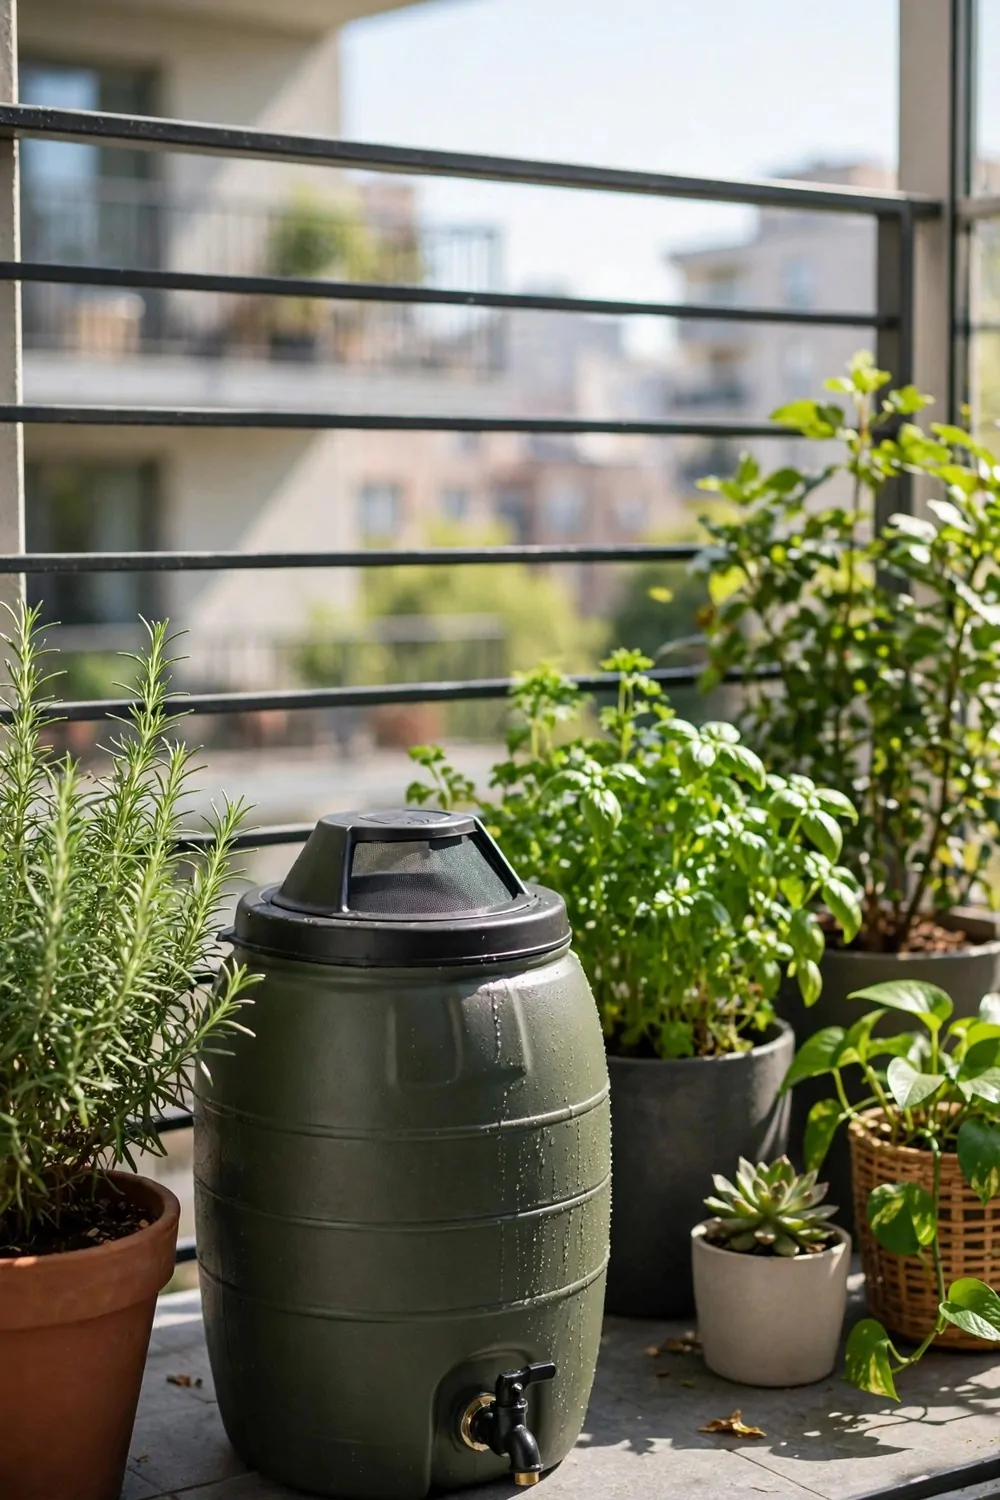
A small barrel fits a balcony garden just fine. You do not need a big yard to save rain water.
I keep mine in a corner where it stays out of the way. It holds enough water for my pots for a few days.
I water my herbs and small pots from it in the morning. A little water goes a long way when the pots are small. My plants stay happy, and I use less tap water each week.
This small setup cost me $30 to $60 in all.
I check the water level often because a small barrel fills and empties fast. A quick look tells me when rain is due to top it up.
You can add a short hose if reaching the far pots is hard.
I keep the lid on tight so nothing falls in and the water stays clean.
Balcony floors can get wet, so I keep an eye out for drips. A quick wipe each morning keeps the floor dry. Small care like that keeps the space tidy and dry.
It is proof that even a tiny garden can save rain water.
14. A Barrel with a Child-Safe Lid
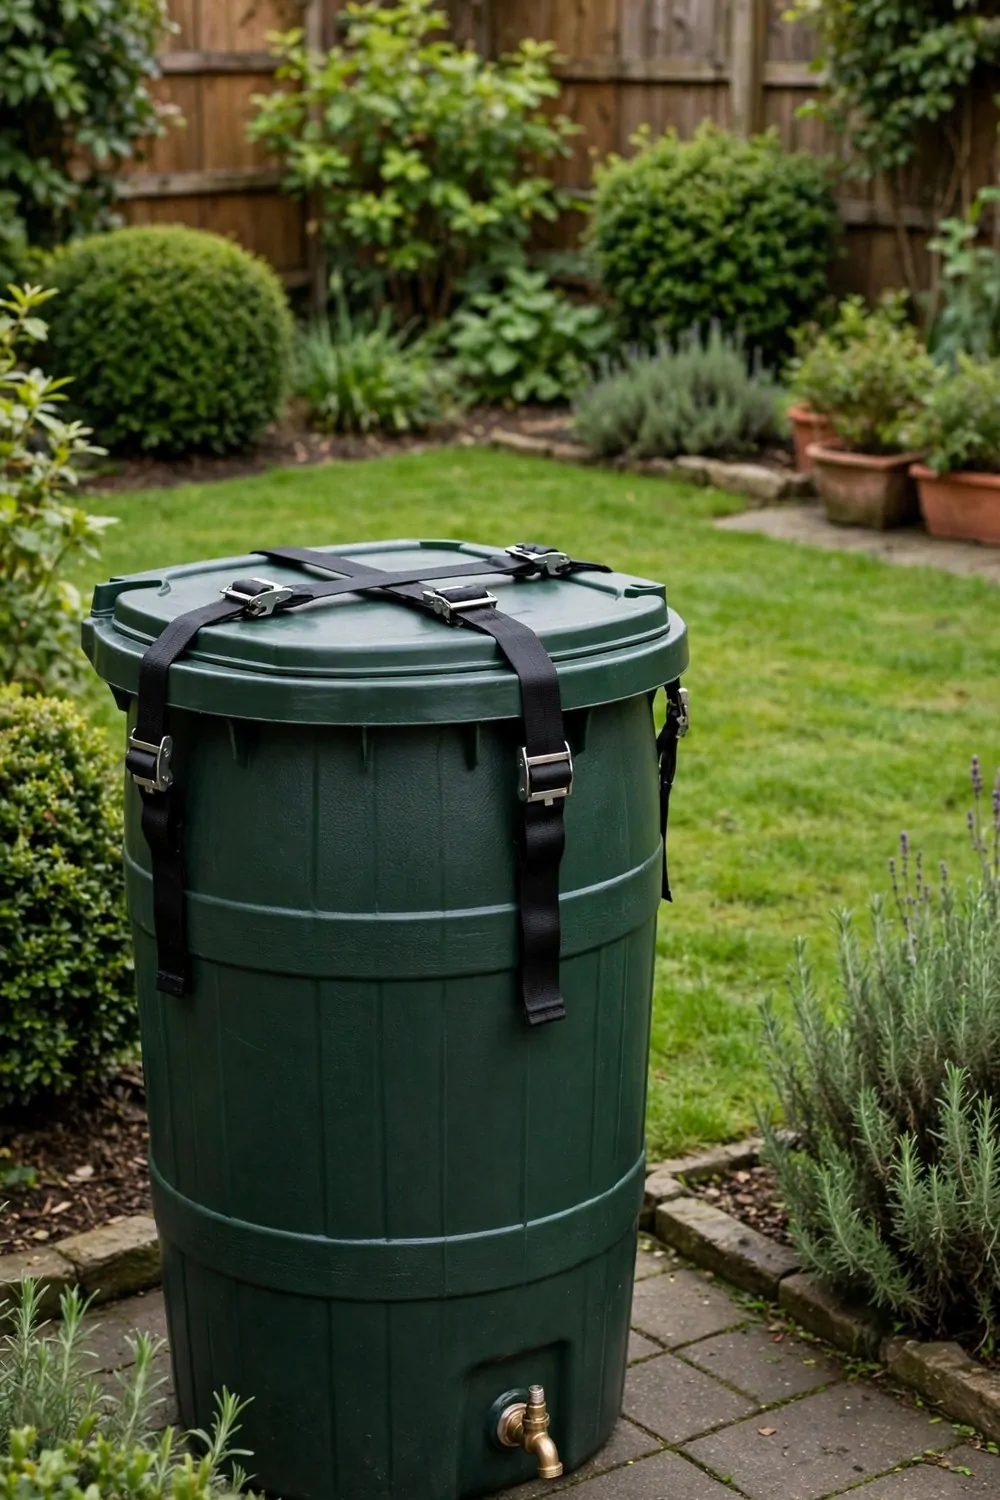
A safe lid matters more than anything else on a water barrel.
I picked a lid that fits snug and stays shut on its own.
The lid keeps leaves and dust out of the water. It also keeps the water covered when no one is near it. I check the fit each month to make sure it still holds firm.
This safe setup cost me $45 to $90, lid and barrel together. I think of it as money spent on peace of mind.
A lid that locks in place gives me one less thing to worry about.
You can test the lid by giving it a firm push. If it moves, tighten it or swap it for a better fit.
I keep the area near the barrel clear so no one trips over it. A tidy spot is a safe spot. The lid stays on at all times, even when the barrel is full.
Rain still flows in through the pipe while the lid stays shut. The cover does its job without any fuss from me.
If your lid feels loose, fix it before the next rain. A firm lid is the heart of a safe barrel.
15. A Barrel That Feeds a Drip Line
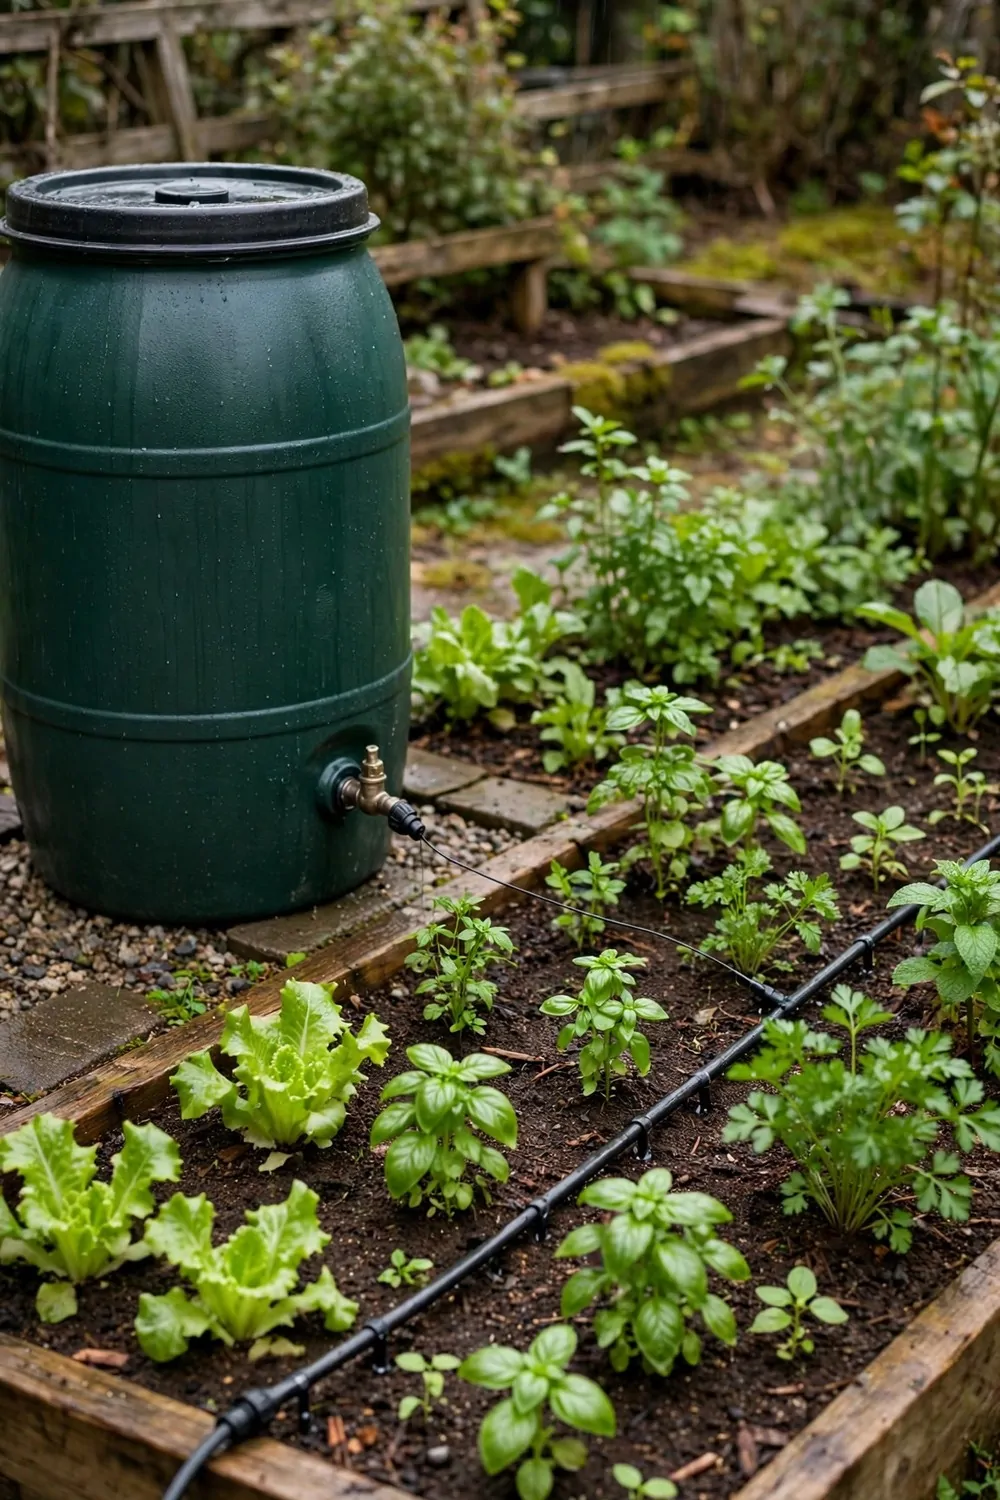
A drip line takes water from the barrel straight to my plants. It drips slow and steady, right where the roots need it. I do not have to stand and water each pot by hand.
I set the line out in the morning and let it run while I do other jobs. The soil soaks it up bit by bit through the day.
This drip setup cost me $35 to $75, line and fittings included. It can help save water because so little runs off onto the path.
You can start with one short line and add more later.
I check the small holes now and then to make sure none are blocked.
A blocked hole means one plant gets no water at all. I poke it clear with a thin stick and test it again. It takes a minute, and the plants thank me for it.
The barrel needs to sit a little higher than the plants for the line to flow well. Mine sits on a firm flat spot and the drip runs well.
I turn the line off when rain is on the way. There is no point in watering soil that is about to get wet on its own.
It is a quiet way to water, and my plants love it.
16. A Second Barrel for the Back Garden
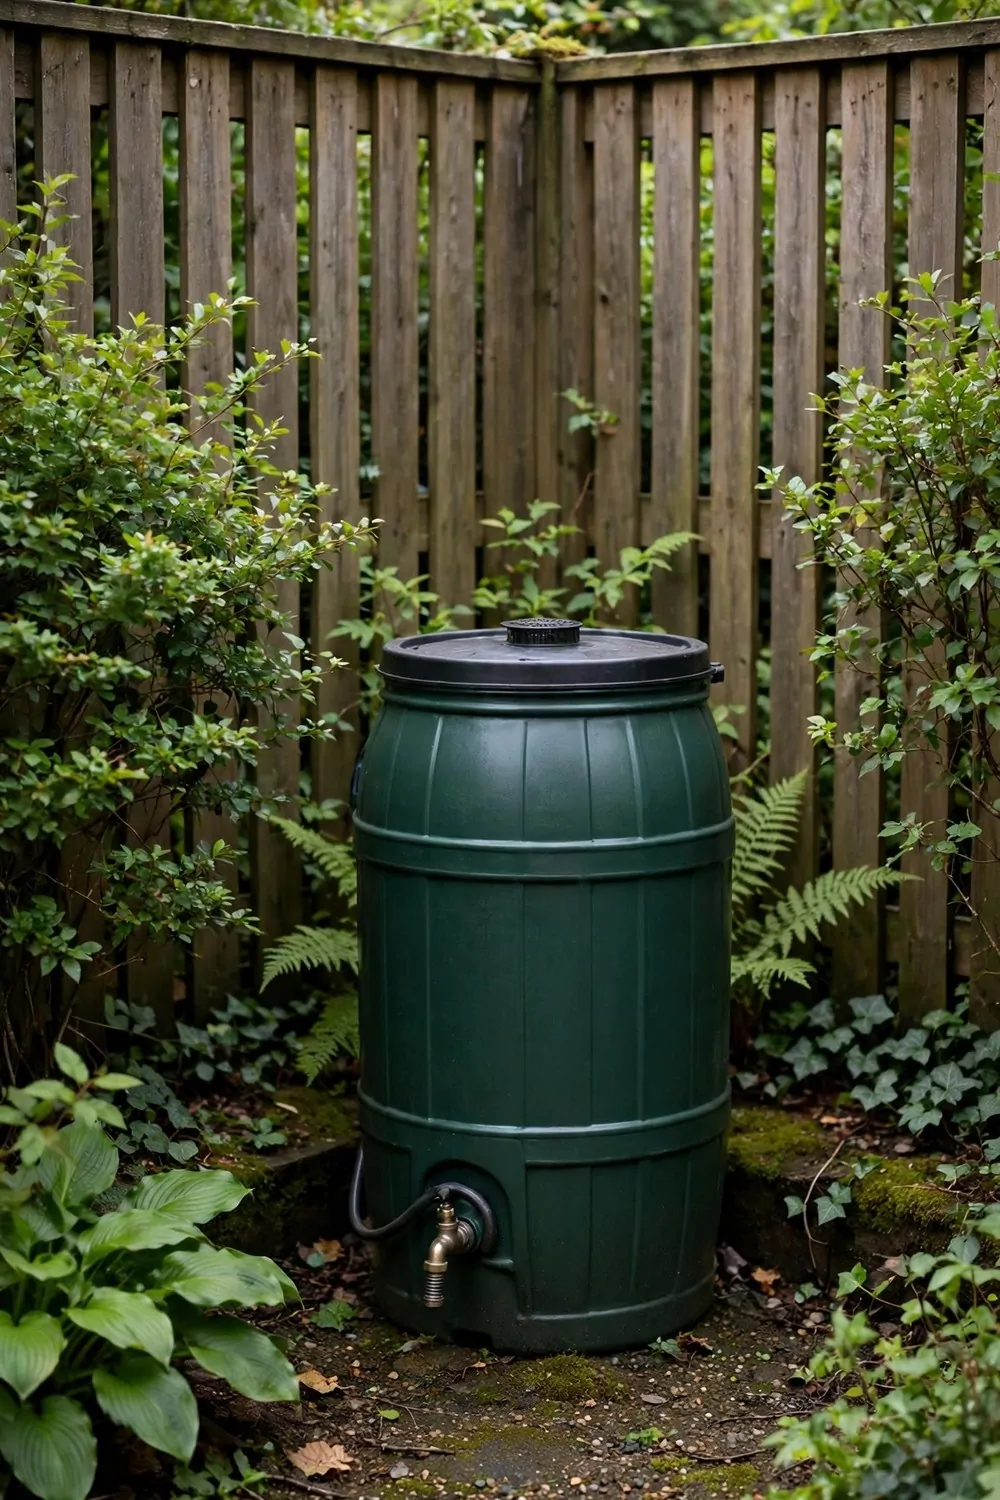
One barrel was not enough once my back garden grew. I added a second one to share the work.
The two barrels fill from the same roof when it rains.
I link them with a short pipe so water flows between them. When one fills up, the extra moves to the other. It is a simple link, and it works well.
This second barrel cost me $50 to $95, pipe and all.
I water the back beds from the nearer barrel first. That keeps the far one full for dry spells. I swap between them so neither one sits full for too long.
You can add a second barrel any time your garden grows. It is easier than it sounds, and the parts are simple.
I check both lids when I check the first one.
A quick look each week keeps both barrels in good shape.
My back garden drinks well now, even in a dry week. I like having water close to where I need it. Two barrels can help save water, and they save me steps too.
17. A Barrel on Wheels for Easy Moves
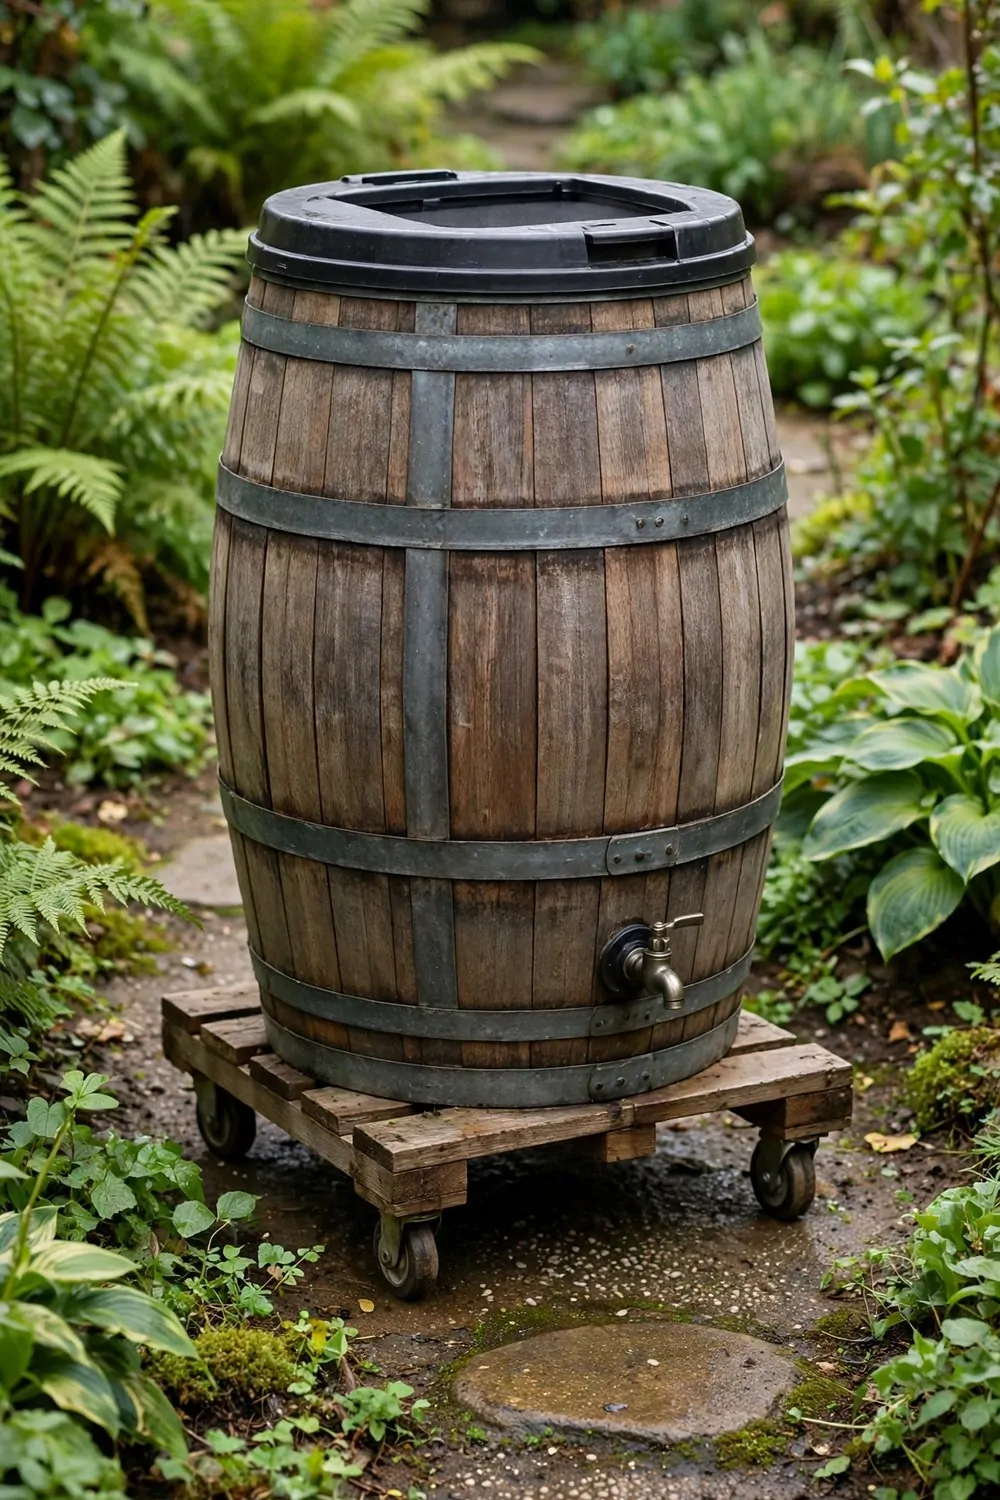
A barrel on wheels moves where I need it, when I need it.
I roll mine to the sunny beds in the morning. Then I roll it back near the house when the watering is done.
This rolling setup cost me $60 to $120, wheels and all.
I picked a base with firm wheels that turn well on my paths. It holds the weight of a full barrel without a wobble. I test it empty first, before I fill it up.
You should move it slow and steady, a bit at a time. A full barrel is heavy, so I never rush it round a corner.
I lock the wheels when the barrel is in place. That stops it from rolling off on its own.
The wheels make my small garden feel much bigger. I can water one bed, then roll on to the next. It can help save water too, since I spill less on the way.
If your paths are rough, pick wheels made for rough ground.
I check the wheels each season for wear and loose bits. A quick fix now saves a bigger job later.
18. A Barrel with a First-Flush Diverter
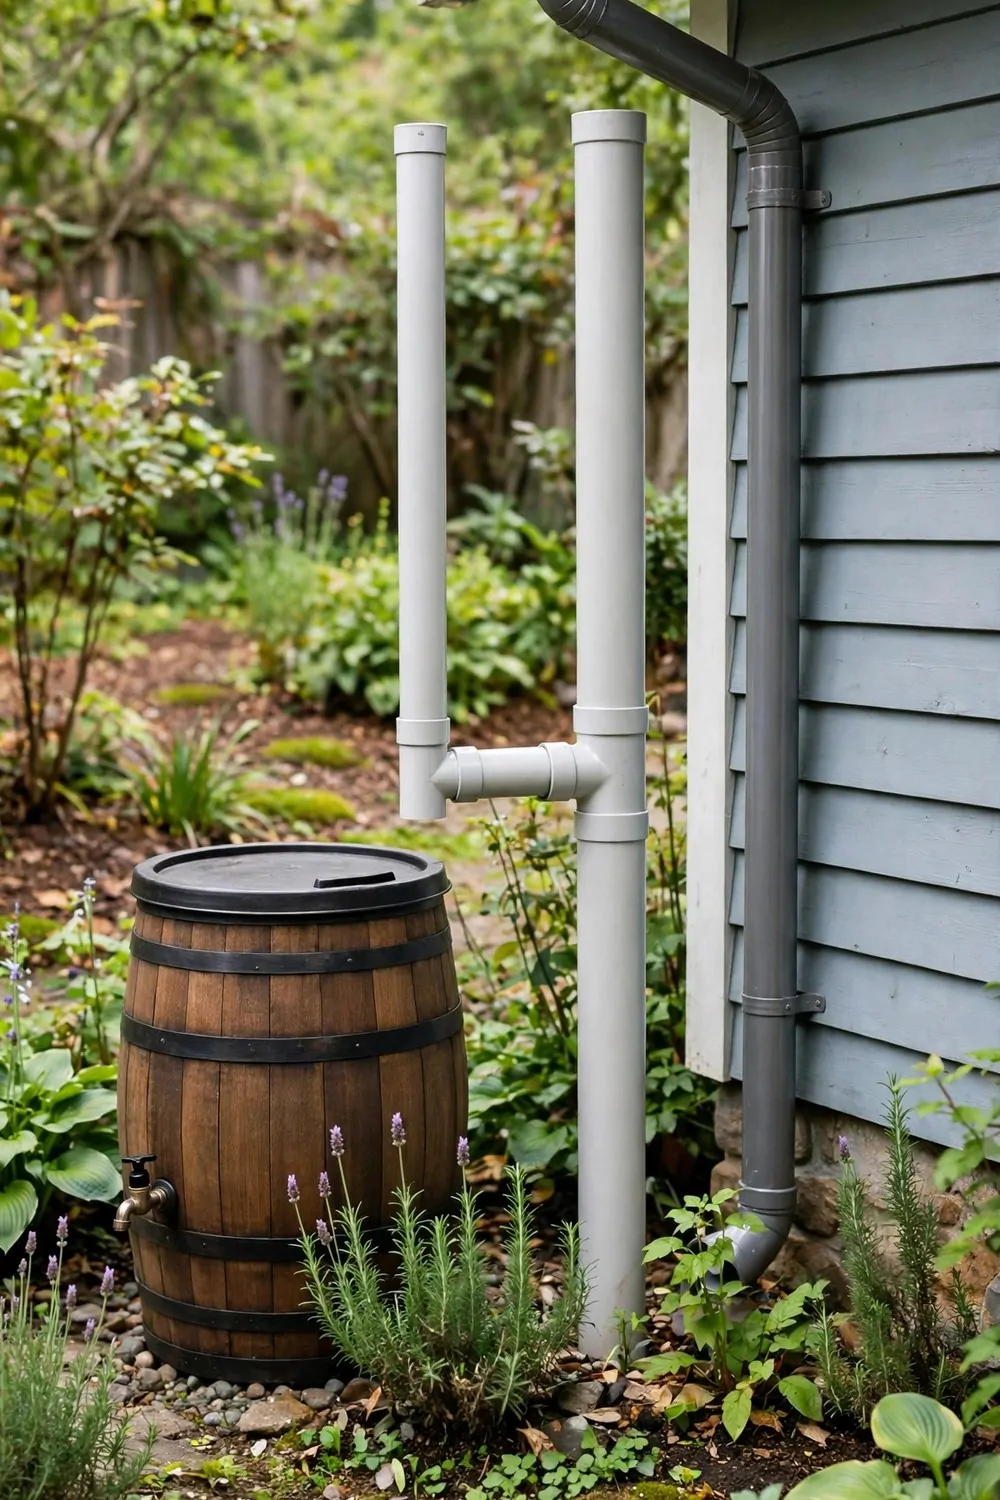
A first-flush diverter sends the first wash of rain away from the barrel. That first wash can carry dust and bits off the roof. The cleaner water that comes next flows into the barrel.
I fitted mine where the pipe meets the barrel, and it works on its own.
This diverter setup cost me $30 to $70, parts and all. It is a small add-on that makes the stored water cleaner.
You can fit one to most barrels with a few simple parts.
I empty the diverter tube after heavy rain so it is ready for the next shower. It takes a minute, and the water stays much cleaner.
The diverter does its job without me watching it. I just check it now and then to see it is clear. A clear tube means clean water in the barrel.
If you want cleaner water for your pots, this is a good place to start.
My pots get water with less dust in it now. I can see the change when I fill my can.
It is a small part with a big job. I am glad I added it to my barrel.
19. A Barrel for Rinsing Muddy Boots and Tools
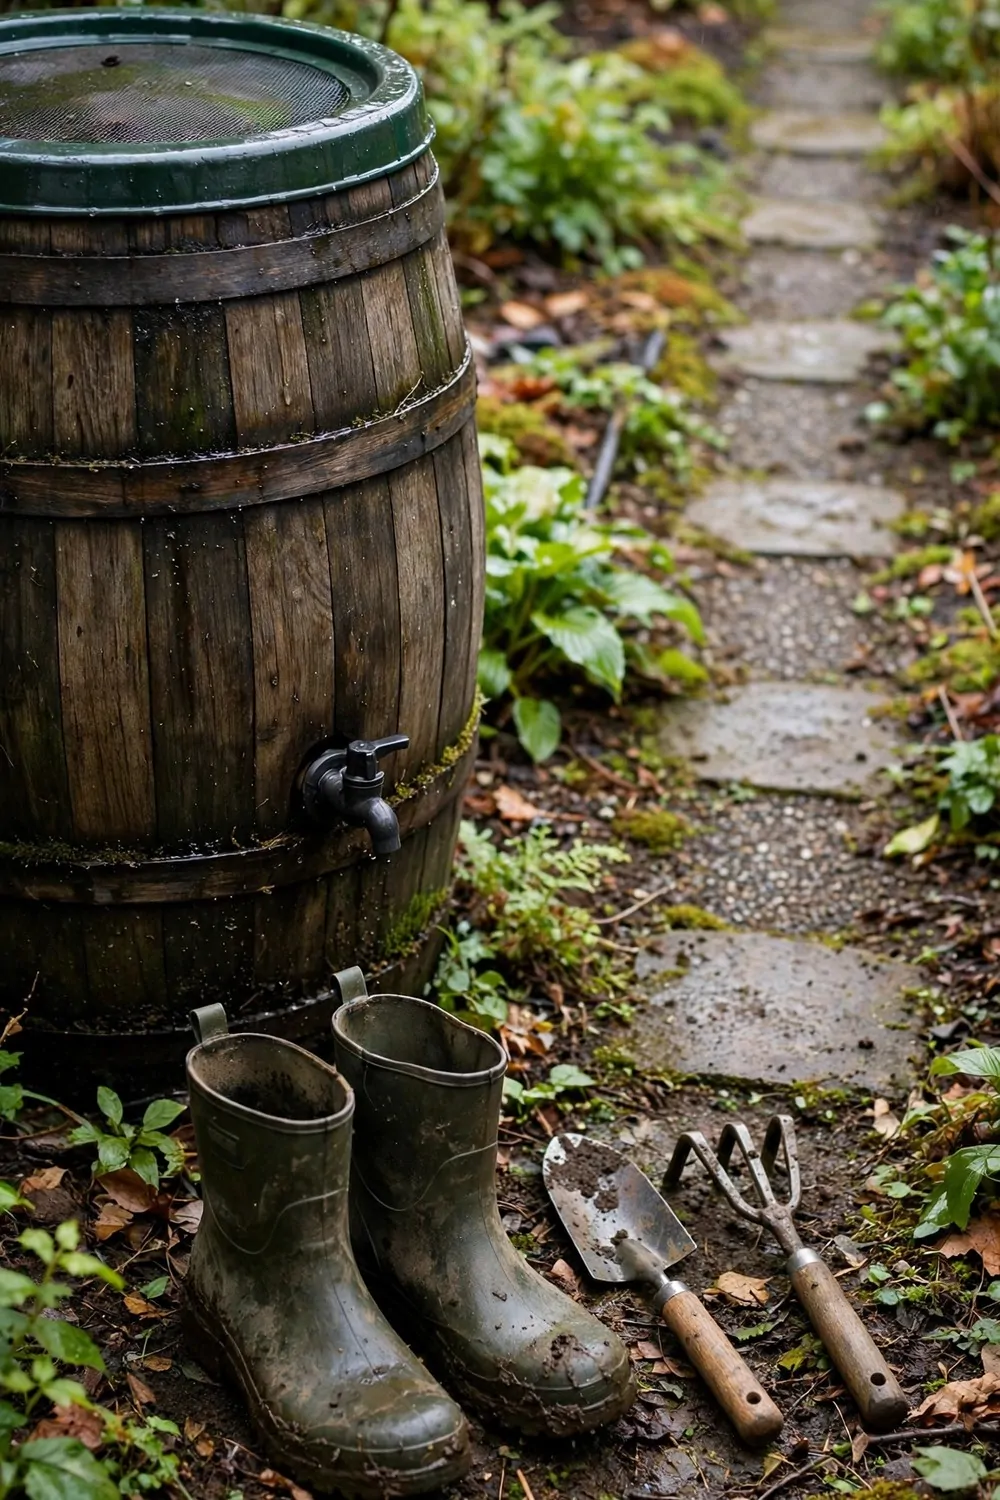
My boots get muddy fast when I work in the garden. I rinse them by my rain barrel before I go back inside.
A stiff brush takes mud off my boots fast. I wet the brush under the tap and scrub the soles clean. I also rinse my trowel and fork the same way after I dig.
It saves me from dragging mud through the house.
I rinse the boots on the soil so the water soaks straight in. I stand on dry ground and rinse one boot at a time.
Water from the tap helps me reach the mud on the sides of my boots. I let it run slow so I do not waste it. I use only what I need for a quick rinse.
A simple set up like this costs about $25 to $50.
I empty the rinse water on a patch of soil when I finish. It soaks in and the ground stays neat.
Keep a brush and a bucket close by so they are easy to grab.
It is a small job that keeps my boots and tools clean all week.
20. A Barrel Tucked Under a Raised Deck
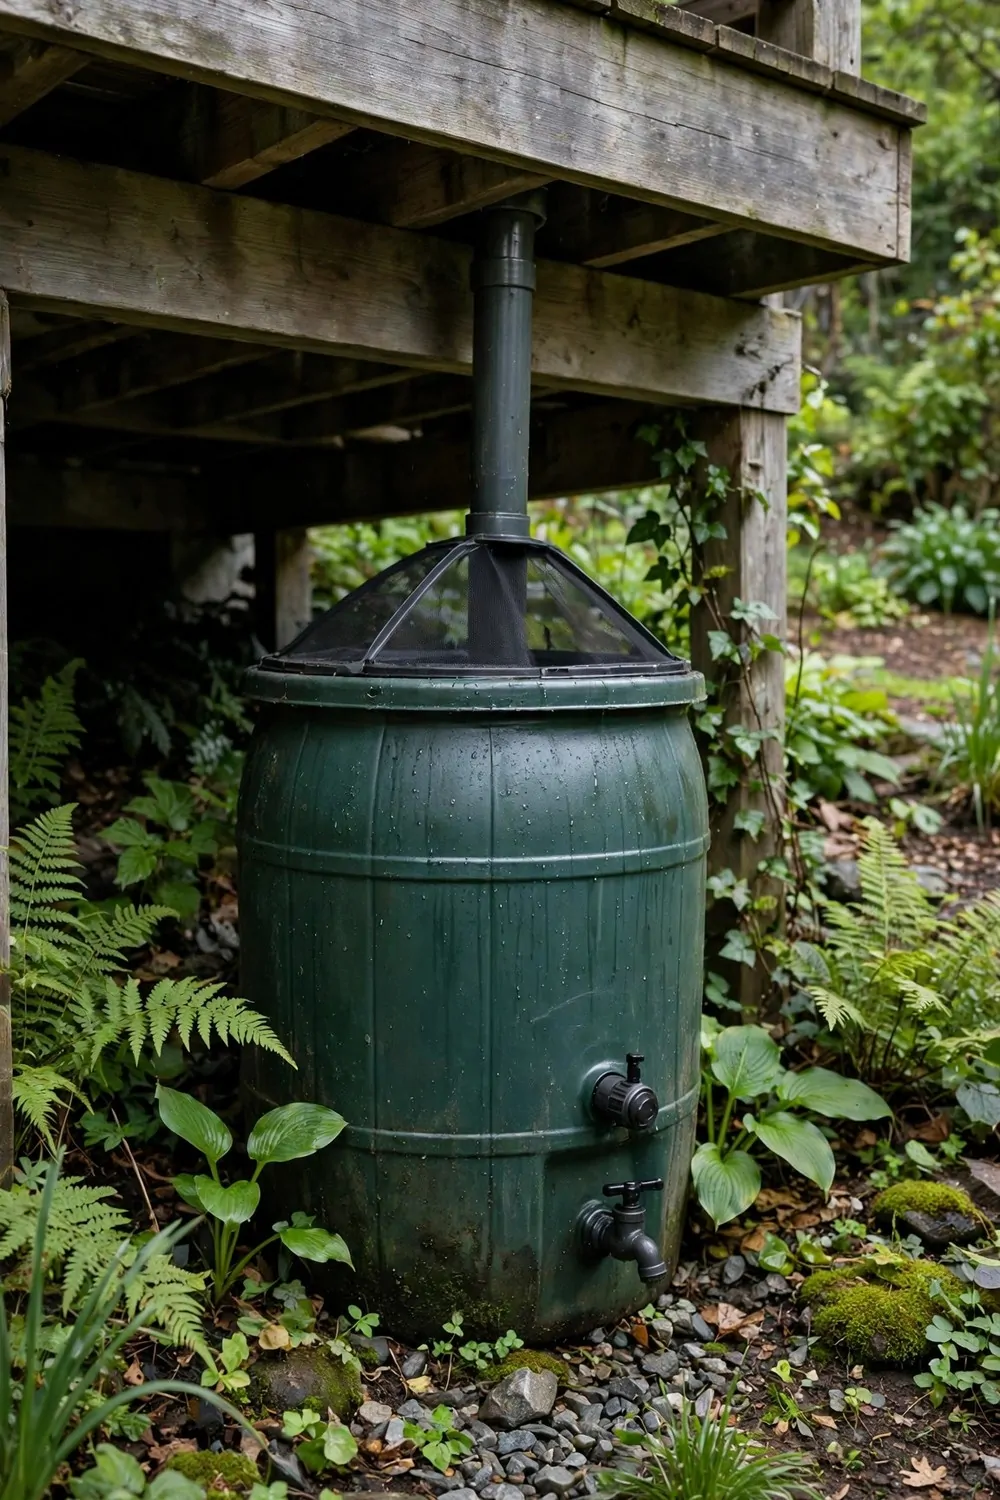
I tucked a rain barrel under my raised deck where it stays out of the way.
The downspout runs down to the barrel and fills it when it rains. I can reach the tap from the side without bending low.
The deck keeps the barrel cool on hot days. The water stays fresh for my beds.
I check the barrel each week to see how full it is.
I use a hose to carry water to my pots near the deck. I water in the morning so the leaves dry by noon. I use rain water first so I use less tap water.
A set up like this costs about $55 to $105.
I keep the top covered so leaves and dirt stay out. I lift the cover to check the water when I need to.
Put a bucket under the tap when you need some water. Carry the bucket to your herbs and pour it slow at the base. Put the bucket back under the deck when you finish.
It is a neat spot that turns rain into useful water for my garden.
| Idea | Main change | Typical cost |
|---|---|---|
| A Painted Barrel That Matches the House | Painted to match the house | $40 to $80 |
| A Barrel Hidden Behind a Trellis | Hidden behind a trellis | $50 to $100 |
| A Small Barrel for a Balcony Garden | Small barrel for a balcony | $30 to $60 |
| A Barrel with a Child-Safe Lid | Safe lid that stays shut | $45 to $90 |
| A Barrel That Feeds a Drip Line | Feeds a drip line to the plants | $35 to $75 |
| A Second Barrel for the Back Garden | Second barrel for the back garden | $50 to $95 |
| A Barrel on Wheels for Easy Moves | Barrel on wheels for easy moves | $60 to $120 |
| A Barrel with a First-Flush Diverter | First-flush diverter for cleaner water | $30 to $70 |
| A Barrel for Rinsing Muddy Boots and Tools | rinse boots and tools with rain water | $25 to $50 |
| A Barrel Tucked Under a Raised Deck | tuck a barrel under a raised deck | $55 to $105 |
| Total | $420 to $845 |
21. A Barrel with a Simple Water Level Gauge
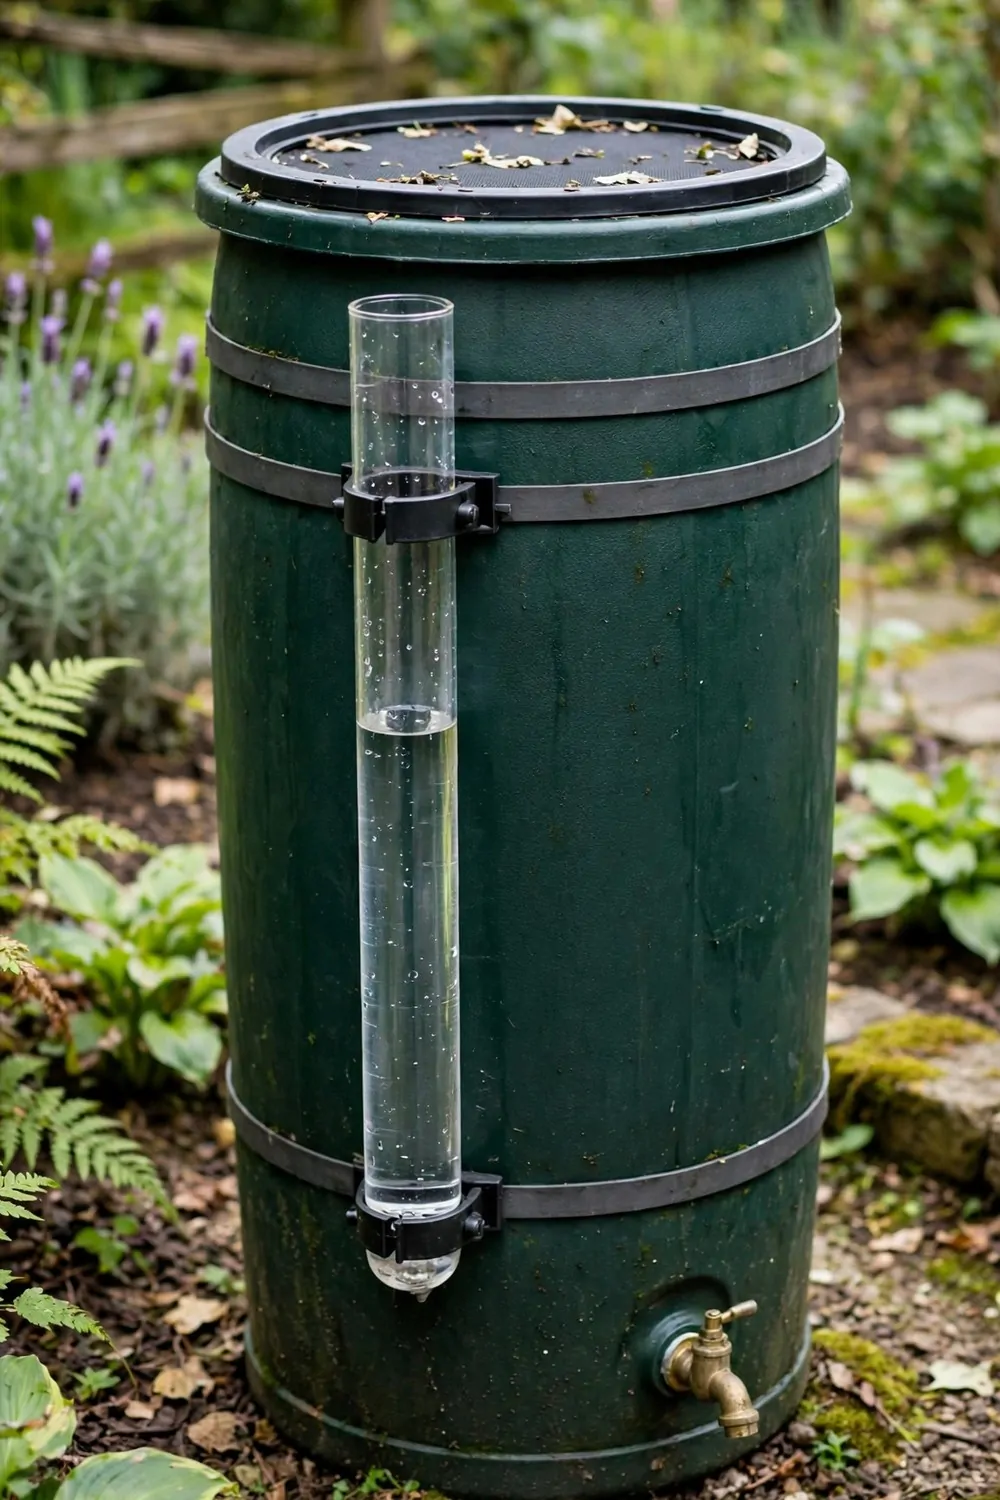
I like to know how much water is in my barrel before I start to water. I added a simple gauge so I can see the level at a glance. It helps me plan which beds to water first.
The gauge shows the water line in a simple way. I look at it each morning when I go out to the garden.
When the line is low, I save the water for my thirsty plants.
I watch the line drop after a dry week. I can see at once if I need to wait for more rain. I use tap water only when the barrel runs low.
A simple gauge set up like this costs about $20 to $45.
I check the gauge before I fill my watering can. It stops me from opening the tap when the barrel is near empty.
My kids like to watch the line rise after a good rain.
I wipe the gauge clean when dirt makes it hard to read. I do it with a soft cloth and plain water.
A gauge takes the guess out of watering for me. I know when to water and when to wait. It is a small add on that makes the barrel much easier to use.
22. A Barrel for a Small Greenhouse
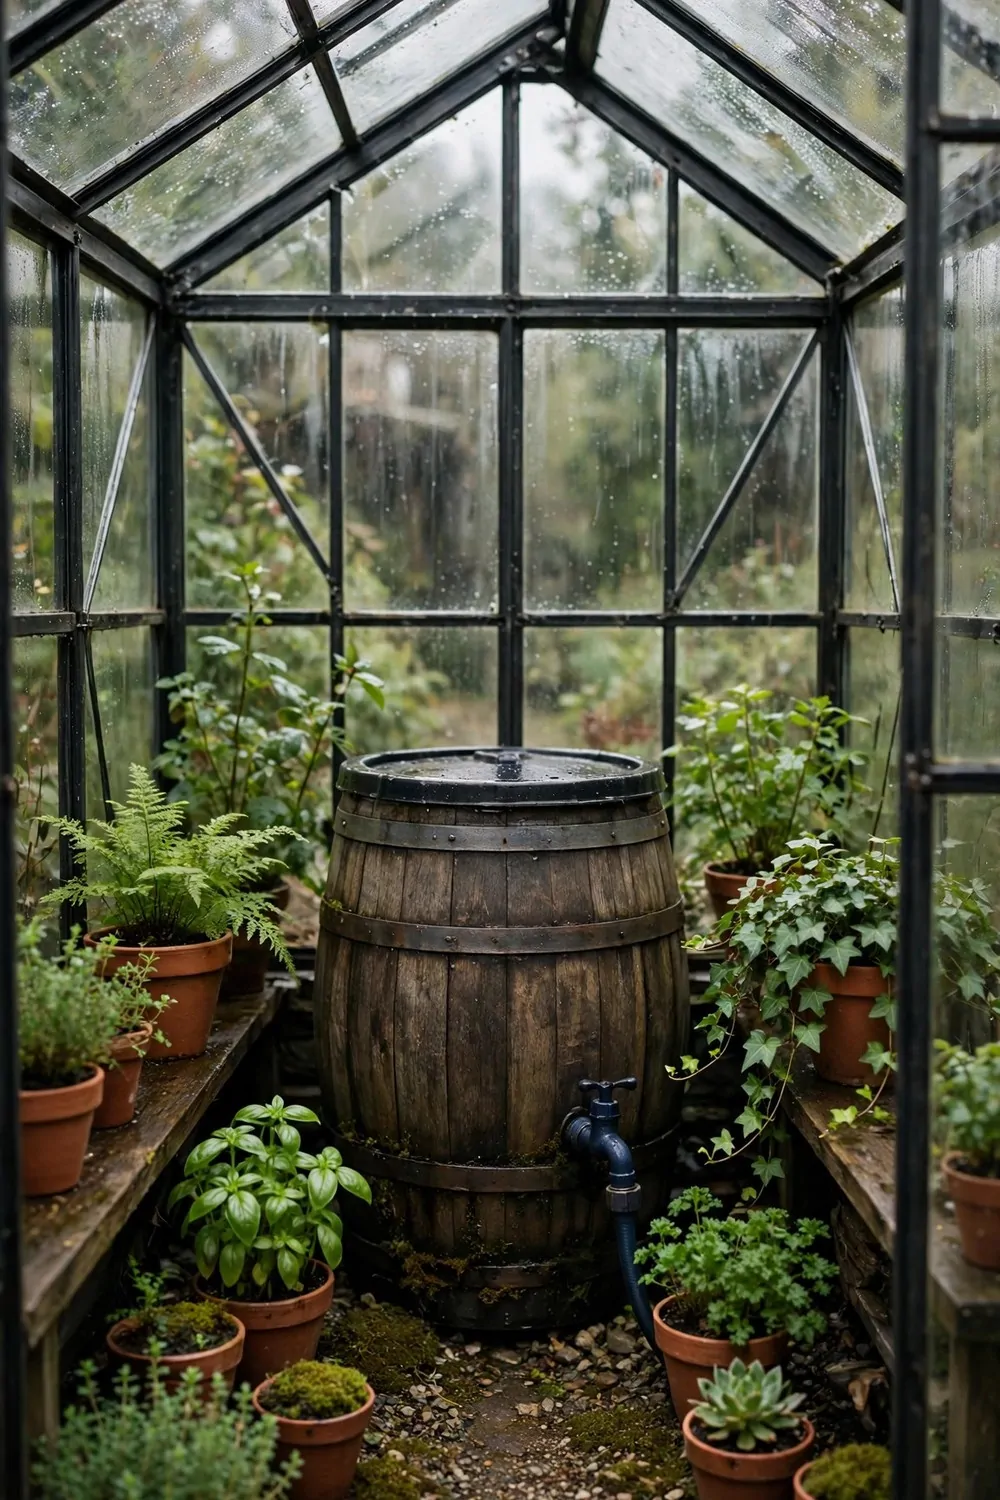
My small greenhouse stays warm and damp through the day. I keep a rain barrel inside so water is close when I need it.
I dip my watering can straight from the barrel and walk down the rows.
The water in the barrel stays mild in the warm air. My seedlings get a gentle drink and do not get a cold shock.
I water in the early morning before the sun gets strong. I pour slow at the base of each plant. I leave the leaves dry so they stay healthy in the damp air.
A barrel set up for a greenhouse like this costs about $40 to $85.
I top up the barrel from the roof when rain fills it outside.
I keep a lid on the barrel to keep dirt and leaves out. I lift it off when I need to fill my can. I put it back on when I finish so the water stays clean.
I use the rain water for herbs and greens first. I save my tap water for days when the barrel runs low.
It is a simple way to keep my greenhouse watered without a long walk. I reach for the can and the water is right there.
23. A Barrel That Waters a Herb Bed
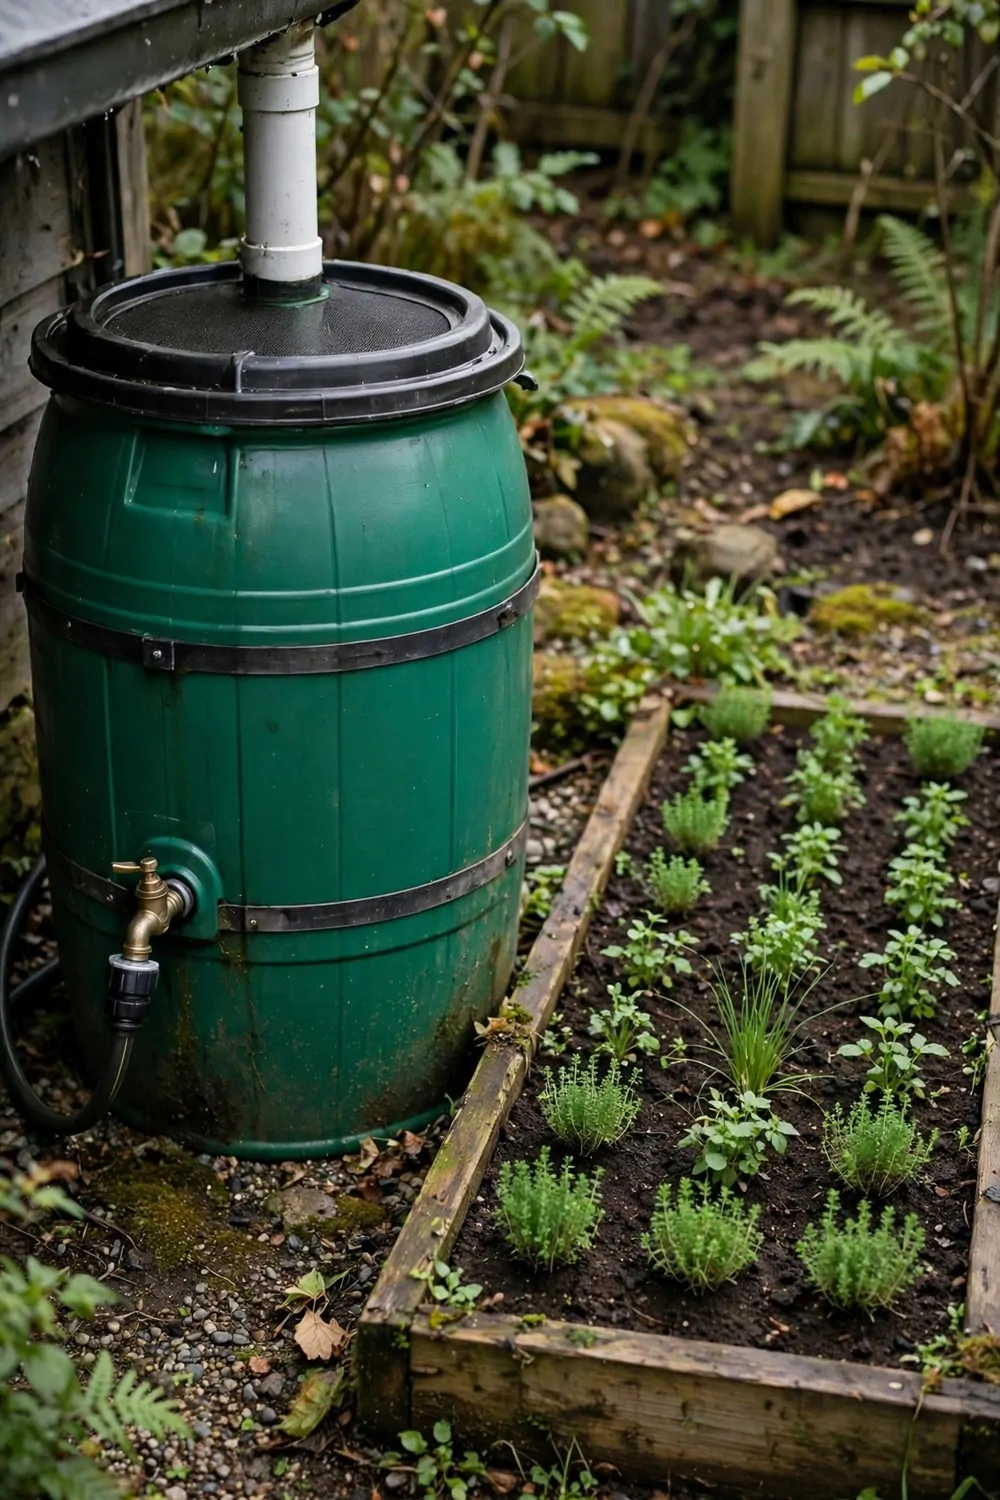
My herb bed sits close to my rain barrel so watering is quick.
I fill my watering can from the barrel each morning. I pour slow round the base of the basil and mint. I stop when the soil looks dark and damp.
Rain water feels soft on the leaves and the herbs grow well.
I pick a few leaves for dinner after I water in the evening.
I keep the barrel near the bed so I do not have to carry far. I use a hose when the bed is wide and my can feels heavy.
Before I water again, I push one finger into the soil to see if it feels dry. I wait a day if the top still feels damp. I water more on hot days when the soil dries fast.
A barrel set up for a herb bed like this costs about $35 to $70. I set it up in one afternoon and it has worked well since.
I keep the tap clear so the water runs free each time.
Herbs do not need much water to stay fresh. A barrel of rain gives them all they need most weeks.
24. A Barrel with a Slow Drip for New Trees
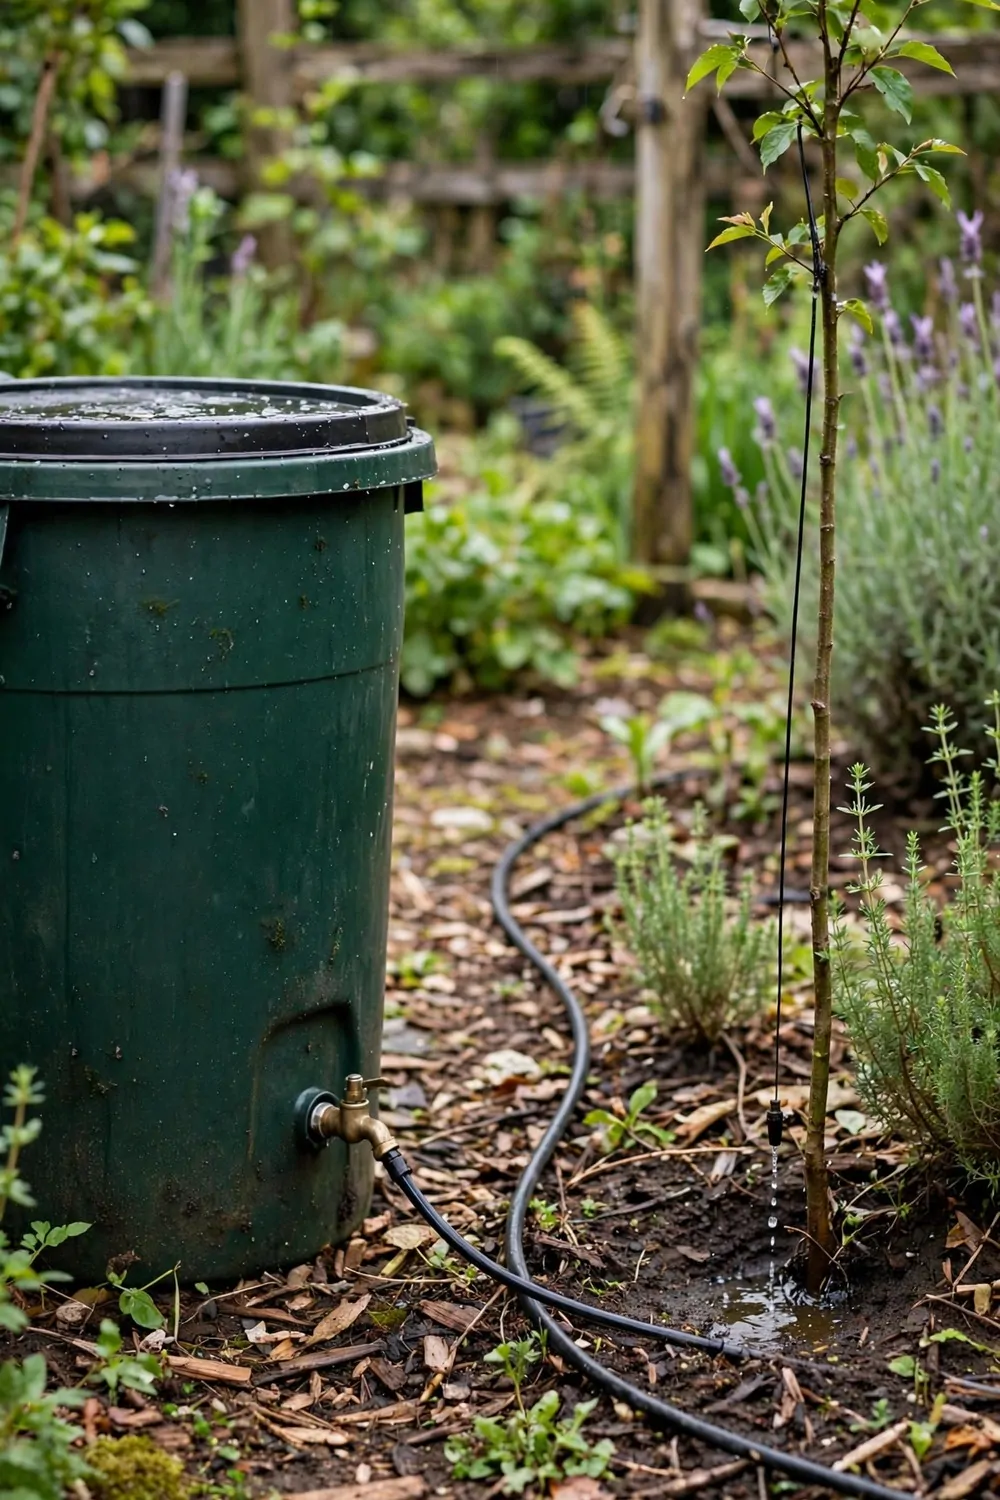
New trees need slow water so it soaks deep to the roots. I run a slow drip line from my rain barrel to the base of each tree. I let it run for a while and the soil drinks it in.
I check the soil with my hand to see if it feels damp below the top.
I set the drip to run slow in the morning. I move the line round the tree each week so all sides get water. I stop the flow when the ground feels wet enough.
A slow drip can help save water in a dry spell. I use rain water first and keep tap water for later.
A slow drip set up like this costs about $30 to $65.
I keep the line clear so the water keeps moving.
I watch the new leaves to see if the tree looks happy. I give a little more water when the days stay hot and dry.
I check the barrel level before I start the drip. I fill the barrel again when rain comes. I leave the line in place so it is ready for the next dry day.
It is a calm way to help a new tree settle in its first year.
25. A Barrel for a Community Garden Plot
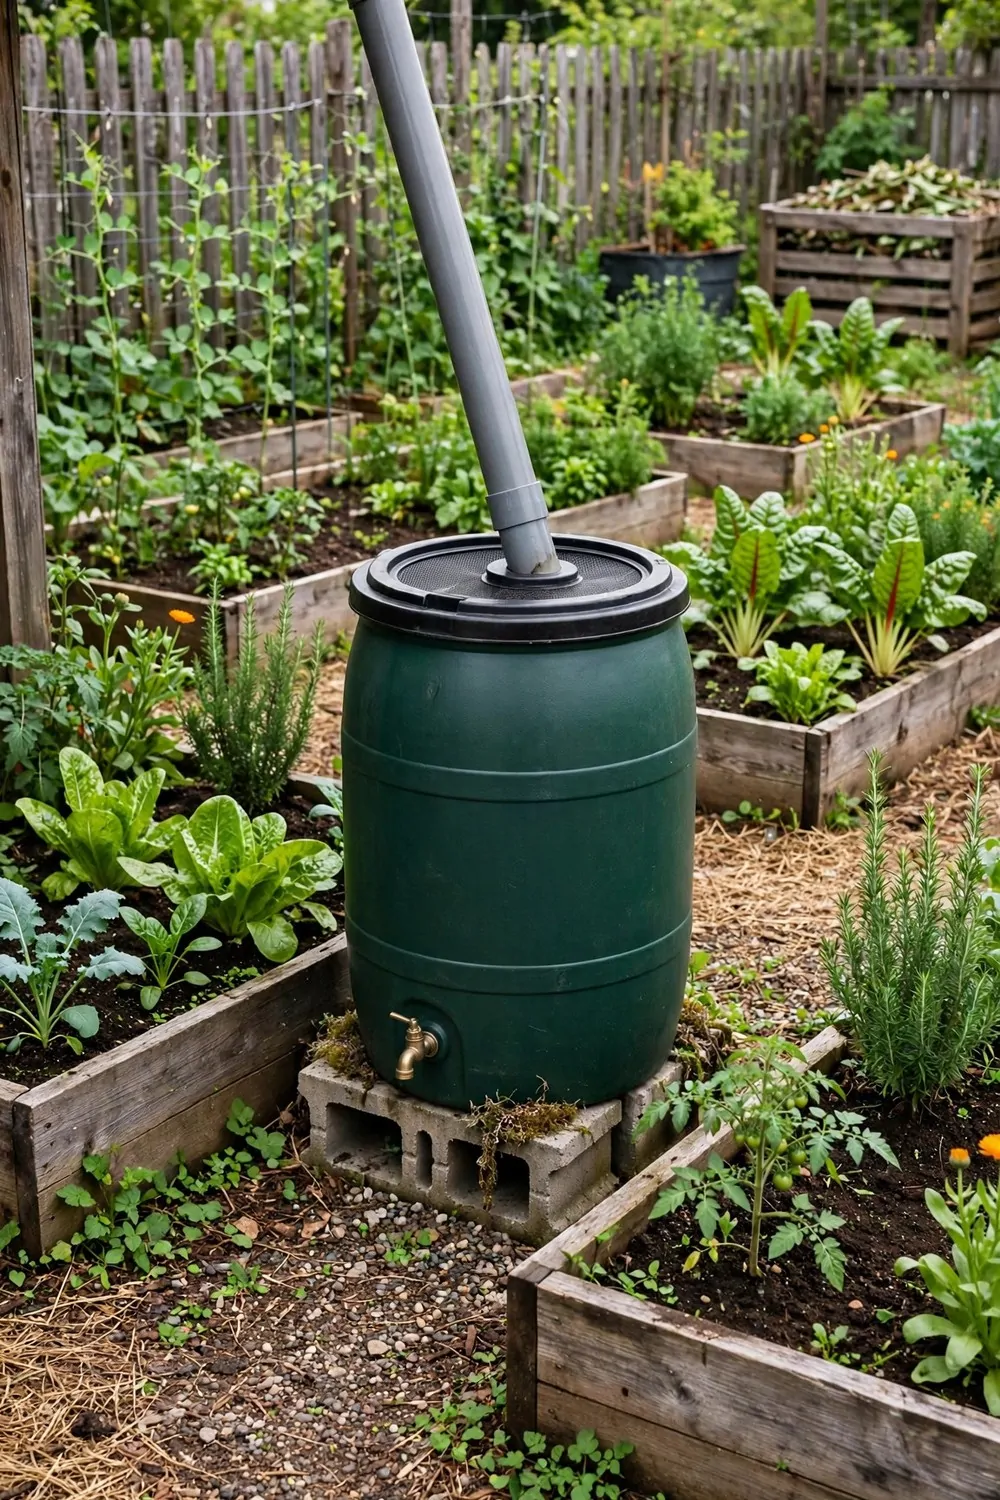
Our community garden plot shares one rain barrel near the path. We take turns to fill our cans from it through the week.
I water my plot in the morning before the sun gets high. I pour at the base so the water goes where it is needed.
We share the barrel fair so all of us get water through the week.
I bring a bucket on dry days when the barrel runs low.
I show new growers how to open the tap and fill a can. I remind them to close it tight when they finish. I wipe the tap clean if mud gets on it.
A shared barrel set up like this costs about $45 to $90. We split the cost and it works out fair for all of us.
We use the rain water for greens and flowers first. We save tap water for the hottest weeks. We check the barrel each weekend and plan our watering round it.
It is a kind way to share water and help all the plots grow.
I like that our garden works together and wastes so little.
26. A Small Rain Barrel Starter Kit
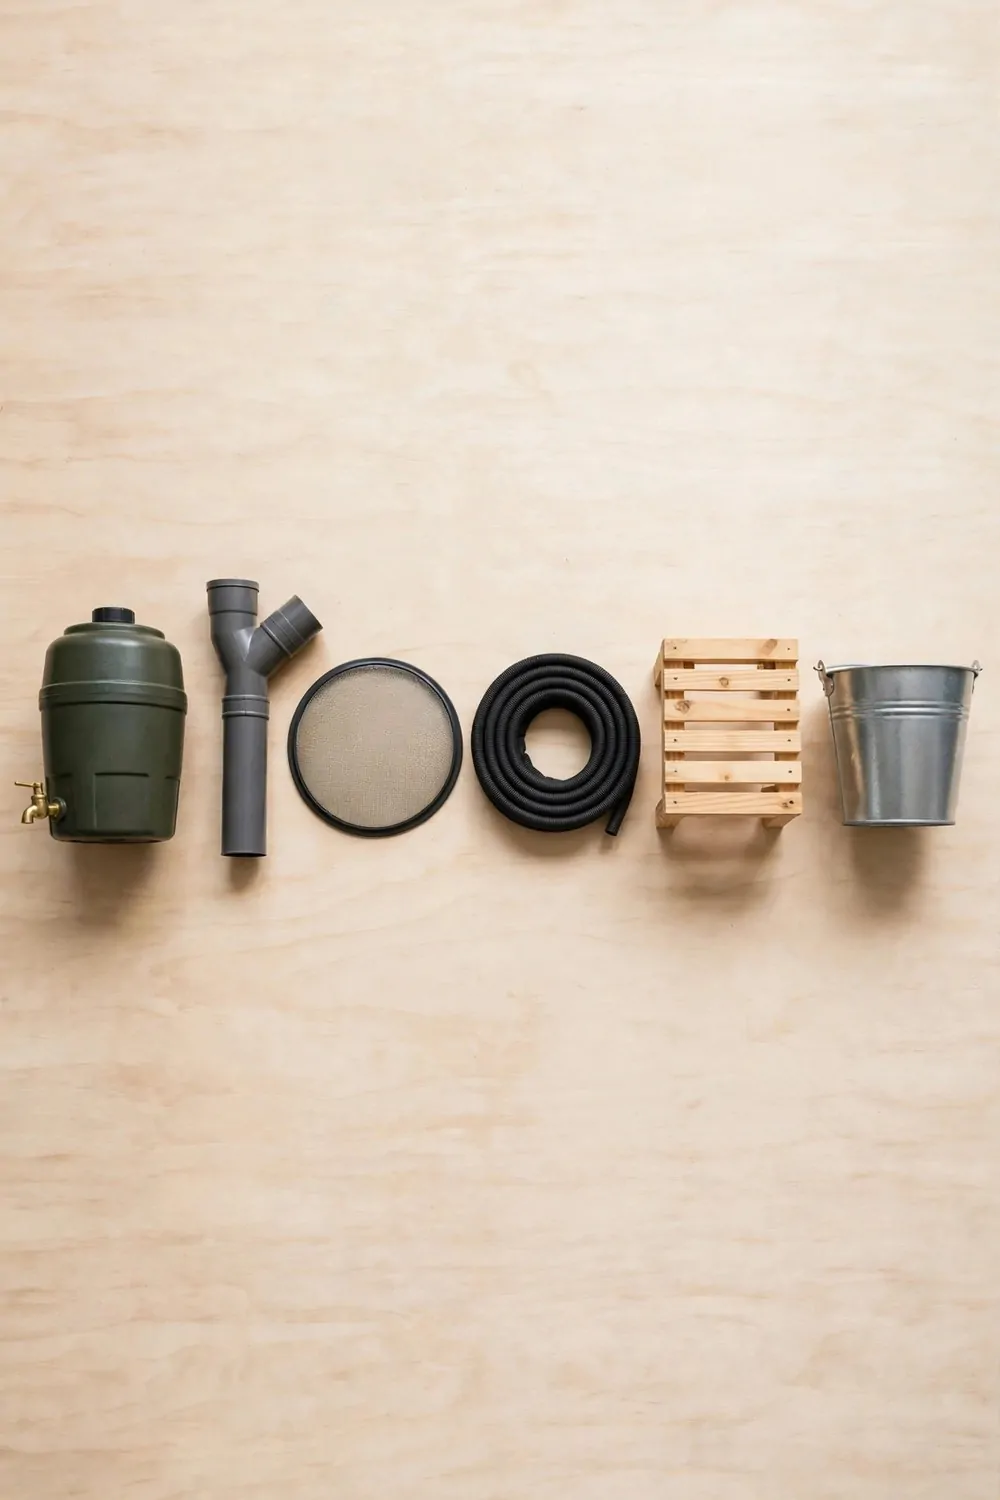
If you want to start with rain water, this small kit is a good first step.
You need only six plain pieces to get going. You can set it all up in one afternoon with simple tools.
First, pick a spot under a downspout where the ground stays firm. Next, set the stand there and lift the barrel onto it. Then fit the diverter so roof water flows into the barrel when it rains.
Put the mesh guard on top to keep leaves out of the water. Fix the soaker hose to the tap so you can water beds slow. Keep the bucket close so you can carry water to pots that sit far from the barrel.
Check the joints for drips after the first rain. Tighten them by hand if you see water leak out.
A small rain barrel costs about $35 to $60, a downspout diverter $15 to $30, a mesh leaf guard $5 to $10, a short soaker hose $8 to $15, a sturdy wooden stand $20 to $40, and a plain bucket $6 to $12, for a total of $89 to $167.
Start with one barrel and add a second one later if you need more water.
Water your beds in the morning with the soaker hose. Use the bucket for pots and small beds that need a quick drink.
Set one barrel under your downspout this weekend, and let the next rain fill it for your garden.
| Idea | Main change | Typical cost |
|---|---|---|
| small rain barrel | collect rain from the roof in a plain barrel | $35 to $60 |
| downspout diverter | send roof water into the barrel with a diverter | $15 to $30 |
| mesh leaf guard | keep leaves out with a mesh guard on top | $5 to $10 |
| short soaker hose | water beds slow with a short soaker hose | $8 to $15 |
| sturdy wooden stand | lift the barrel on a sturdy wooden stand | $20 to $40 |
| plain bucket | carry water round the garden in a plain bucket | $6 to $12 |
| Total | $89 to $167 |
Keep Reading
If you liked these ideas, you will love these posts too
Each post has more simple ideas you can try at home this weekend.