22 Art Study Ideas for Kids at Home

The first time my child really looked at a painting, she stood still for a whole minute.
Here are 22 art study ideas for kids that turn looking at pictures into a game you can play together at home.
Art study just means looking closely and talking about what you see. You do not need big words or a big plan to start.
You can sit on the floor with a picture book and point at colours together. You can ask what shapes you both spot first. You can laugh at the funny bits and enjoy the quiet bits too.
A slow look is enough.
In this list you will find small games to play with pictures and simple art to try after. Each one works with things you may already have at home.
Take your time and let your child lead the way. Praise the small things you notice, like a brave colour choice or a careful line. Art grows best when it feels safe and fun.
1. Make a Colour Wheel from Paint Dots
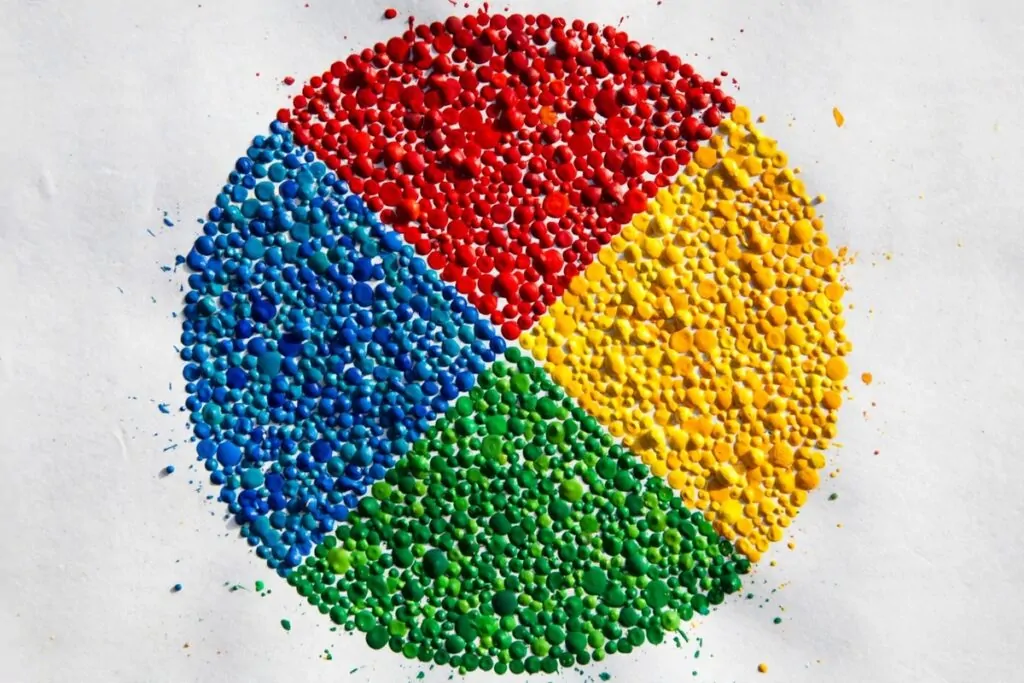
Start with a plain sheet of white paper and four paint colours. Put a small dot of red, yellow, blue and green paint in a circle.
Leave a little space between each dot so the colours stay clear.
Look at the wheel with your child and name each colour out loud. Ask which colour feels warm and which feels cool to them. Let them point to their favourite dot first.
Mix a tiny bit of yellow with blue on a spare spot and watch green appear. That small surprise is the best part of the game.
Add more dots if you like, one colour at a time.
Talk about how red and yellow sit close together on the wheel. Talk about how blue sits far from yellow in your circle of dots. Keep the talk light and let your child ask questions too.
When the dots are dry, hang the wheel where you can both see it. It makes a bright guide for your next picture.
Smile at the bright circle you made together.
Typical cost $1 to $3.
2. Look Closely at a Rainbow Painting
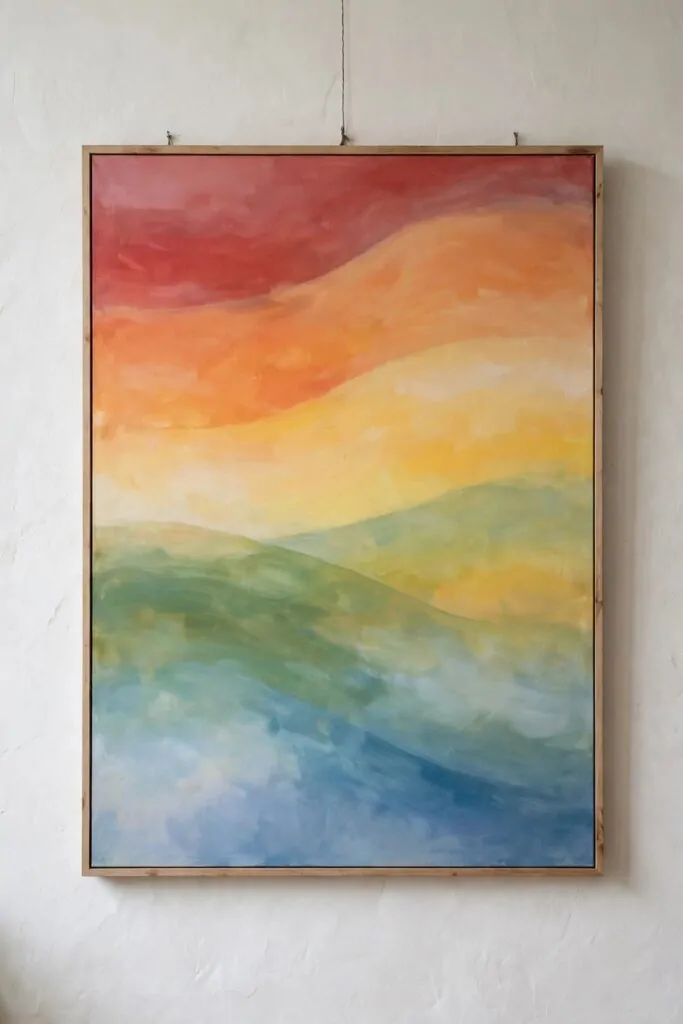
Find a rainbow picture on a wall and stand back a little. Look at the soft bands of colour from one side to the other. Let your eyes move slowly, the way you would watch clouds drift.
Name the bands together: red, orange, yellow, green and blue.
Ask your child which band they see first. Ask which band feels soft and calm to them.
There is no wrong answer here.
Talk about how the bands sit next to each other in a row. Point out where one colour fades into the next. Let your child trace the curve in the air with a finger.
Step closer and look for the soft edges between the bands. Step back again and see the whole rainbow shape at once.
A slow look helps your child see more than a quick glance.
End by asking what they would add to the picture if they could. Listen to the idea and say what you like about it.
Typical cost $0 to $1.
3. Find Shapes in a Big Abstract Picture
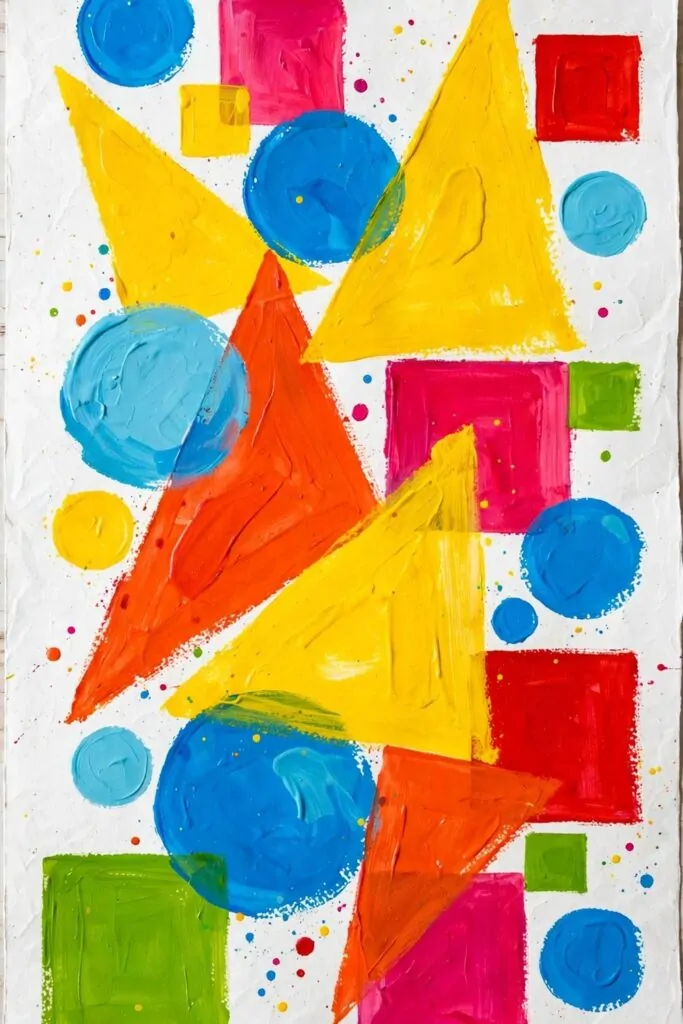
Look at a big abstract picture full of bold shapes.
Point to a triangle and say its name out loud. Point to a circle and then to a square. Let your child race you to find each shape first.
Bright colours make the shapes easy to spot.
Ask which shape is the biggest on the white paper. Ask which shape hides near the edge.
Count the circles together, one by one, in a slow voice. Then count the triangles in the same slow way.
Every shape you find is a small win.
Talk about how a triangle has three straight sides. Talk about how a circle has no corners at all. Talk about how a square has four sides that match.
Let your child draw one shape they loved on a spare sheet. Praise the shape, even if the lines wobble a bit.
Typical cost $1 to $2.
4. Study a Calm Landscape Painting
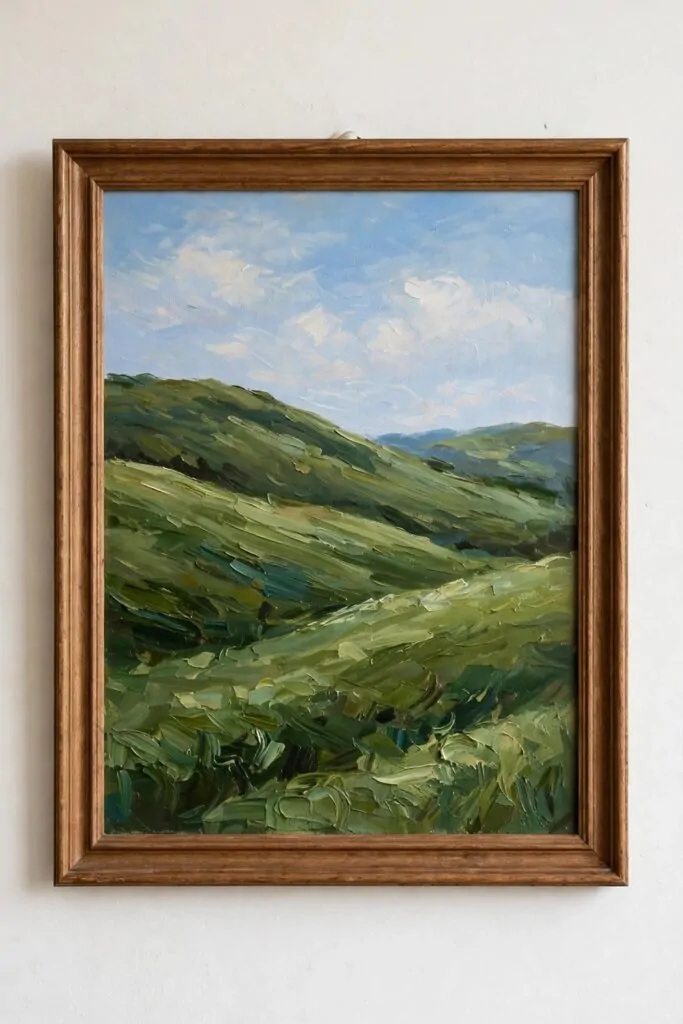
Sit down with a calm landscape painting and take a deep breath together. Look at the green hills first, then look up at the blue sky.
Find the soft white clouds and follow their shapes with your eyes. Ask your child where they would walk if they could step into the picture. Listen to the place they pick and ask what they would see there.
A quiet picture can feel like a rest.
Talk about the colours that make the hills look soft and green.
Ask which part of the picture feels far away. Ask which part feels close enough to touch.
Let your child tell a tiny story about the hills. It can be one line about a path or a hilltop. It can be a wish about a sunny day there.
There is no need to rush this look.
After you talk, draw your own hills with green and blue on paper. Keep the lines soft and let your child choose the colours.
Typical cost $1 to $2.
5. Copy the Lines of a Simple Drawing
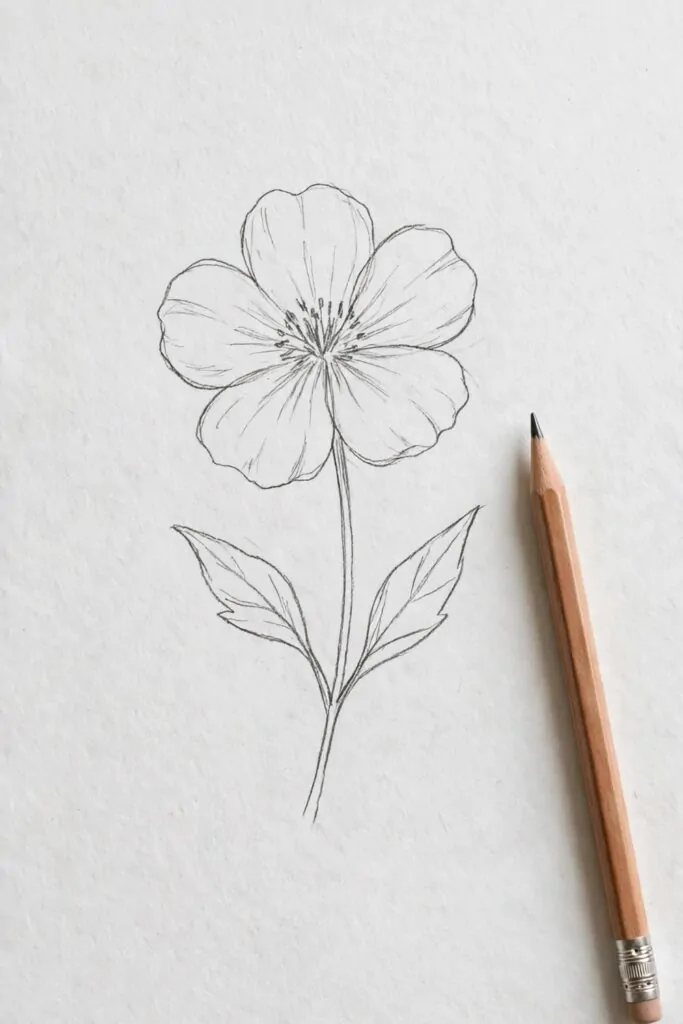
Look at a simple line drawing of a flower in pencil. Notice how the lines curve round to make each part of the flower. Notice how the stem grows down in one long line.
Put a blank sheet of white paper next to the drawing. Keep a pencil close by, ready for your first line.
Copy one line at a time, slow and steady.
Start with the stem, then add the round middle of the flower. Add one curve at a time and stop to look back at the first drawing. If a line goes the wrong way, smile and try it again.
A wobbly line is still a good line.
Praise each line your child draws.
Ask your child which line was the easiest to copy. Ask which line was the trickiest to copy.
When the flower is done, hold both drawings side by side. Look for the lines that match and the lines that look new. Tell your child one thing you love about their copy.
Typical cost $0 to $1.
6. Make a Still Life with Fruit on a Plate
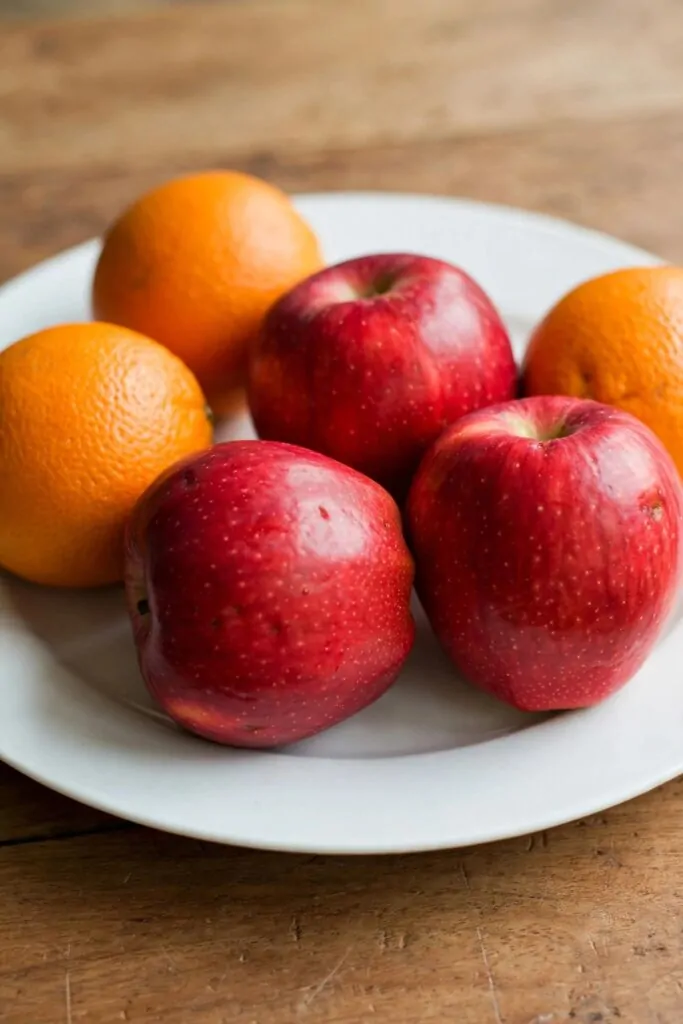
Put red apples and oranges on a plain white plate.
Set the plate on a wooden table where the light falls soft. Sit down so you can both see the fruit well.
Look at the round shapes of the apples first. Look at the bright orange colour next to the deep red. Talk about which fruit looks smooth and which looks a little bumpy.
Ask your child to name the fruit they like best. Ask them to point to the biggest piece of fruit on the plate. Ask them to point to the smallest piece too.
Draw the plate as a big oval on your paper. Add a round shape for each piece of fruit you see.
Keep the shapes simple and loose.
Colour the apples red and the oranges orange.
When you finish, hold your drawing next to the plate. Tell your child one bright thing you love about their still life.
Typical cost $2 to $4.
7. Look at Light and Shadow on a Toy
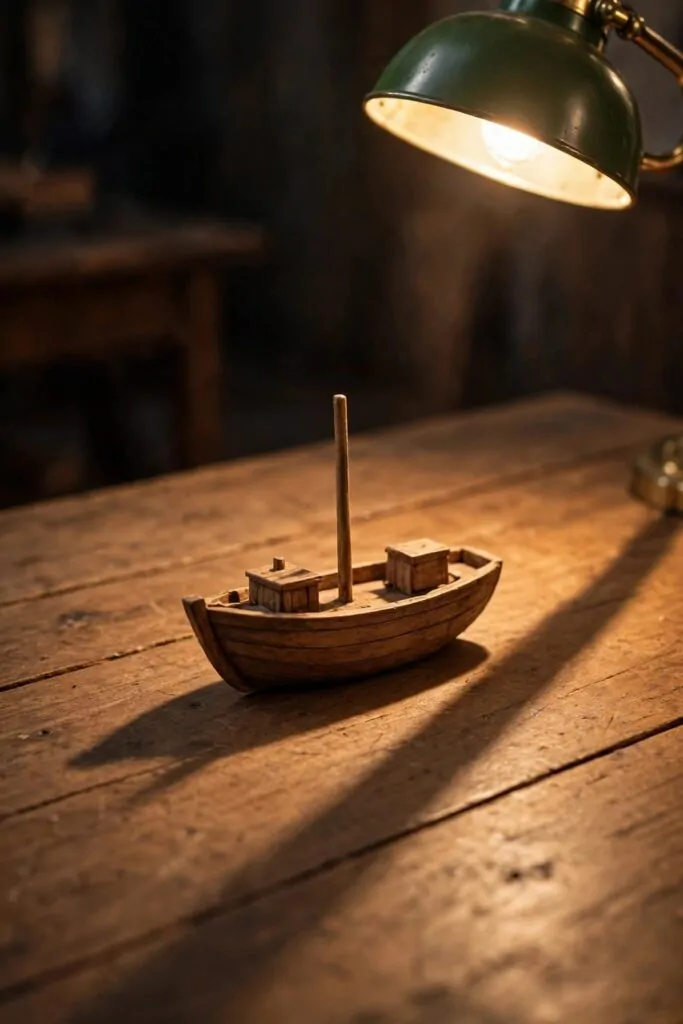
I put a small wooden toy boat on the table near my desk lamp. The lamp makes a long soft shadow that falls across the table.
I move the lamp a little and watch the shadow move too.
I look at the bright side of the boat first. Then I look at the dark side where the light does not reach. I see how one side looks warm and the other side looks quiet.
I tilt my head and look at the shape of the shadow. It looks long and soft at the edge.
I draw the boat and its shadow in my notebook.
I use a dark crayon for the shadow part. I leave the bright side of the boat plain and light.
I move the lamp to the other side now. The shadow falls the other way across the table. I draw that new shape next to my first drawing.
I like how one small lamp can change the whole look.
Typical cost $1 to $3.
8. Feel the Texture of a Rough Painting
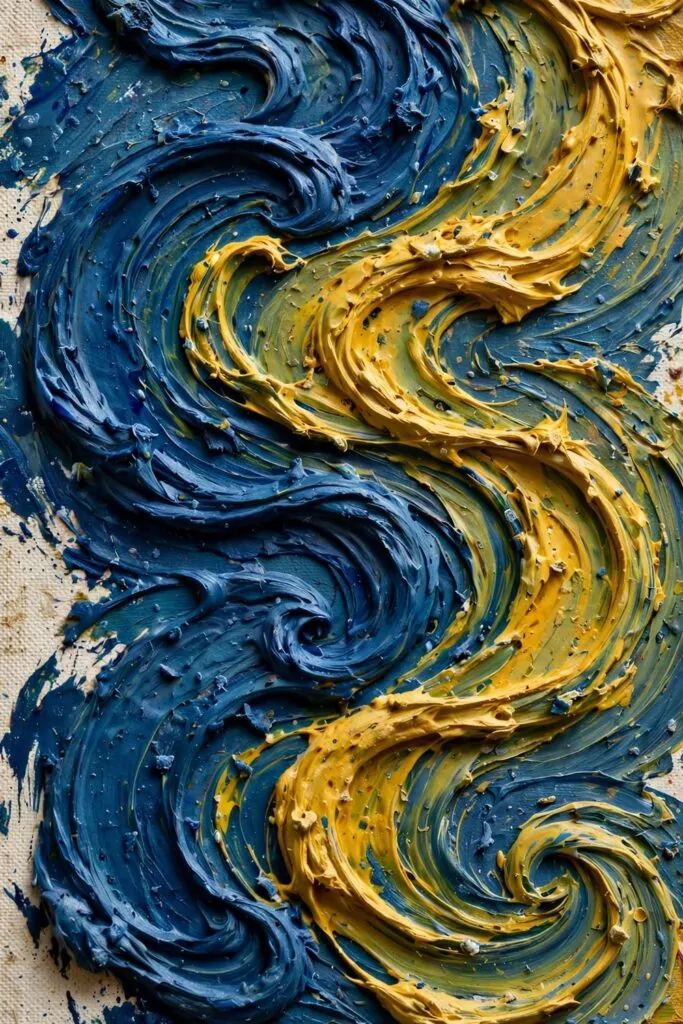
I look close at a rough painting with thick swirls of paint.
The blue swirls rise up from the surface. The yellow swirls curl around them in thick lines. I can see little ridges where the paint was pushed and pulled.
I touch the edge of the painting with one finger. The paint feels bumpy and hard under my hand.
I follow one blue swirl with my eyes from start to end.
I see where the blue paint is thick and tall. I see where it gets thin and flat near the edge.
I pick up my own thick paint and make a small swirl on paper. I push the paint with a flat stick to make a ridge. I like how the ridge holds its shape when it dries.
I try a yellow swirl next to the blue one.
I mix a little blue and yellow where they meet. The middle turns soft and green in a small patch.
Typical cost $2 to $4.
9. Make a Pattern Page with Stamps
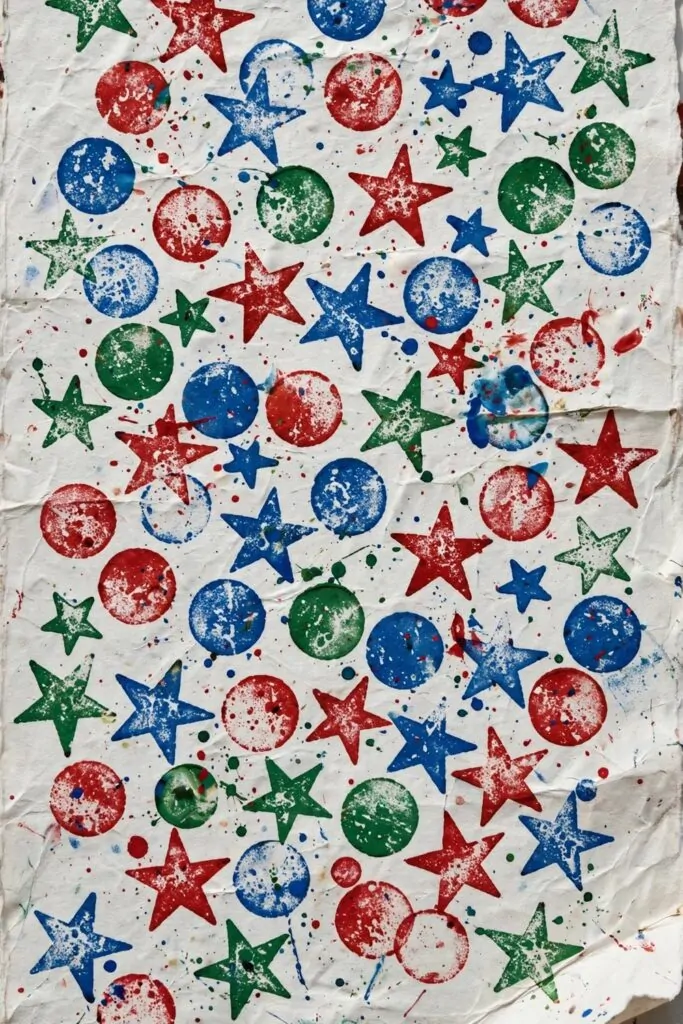
I dip a star stamp in red paint. I press it down on white paper and lift it up slow. A bright red star stays on the page.
I stamp a blue circle next to the star.
I stamp stars and circles all over the page. I leave a small space between each shape.
I add green stars among the red and blue shapes. I put blue circles here and there too. I like how the colours sit side by side.
I press soft so the shapes stay clear and neat.
I try a new mix with two circles and one star. I stamp that same set again and again across the page.
I stop and look at the whole page from far away.
The red, blue and green shapes make a happy pattern. I can see the same set pop up again and again. I smile at how neat my page looks now.
Typical cost $1 to $3.
10. Build a Tiny Art Gallery on the Wall
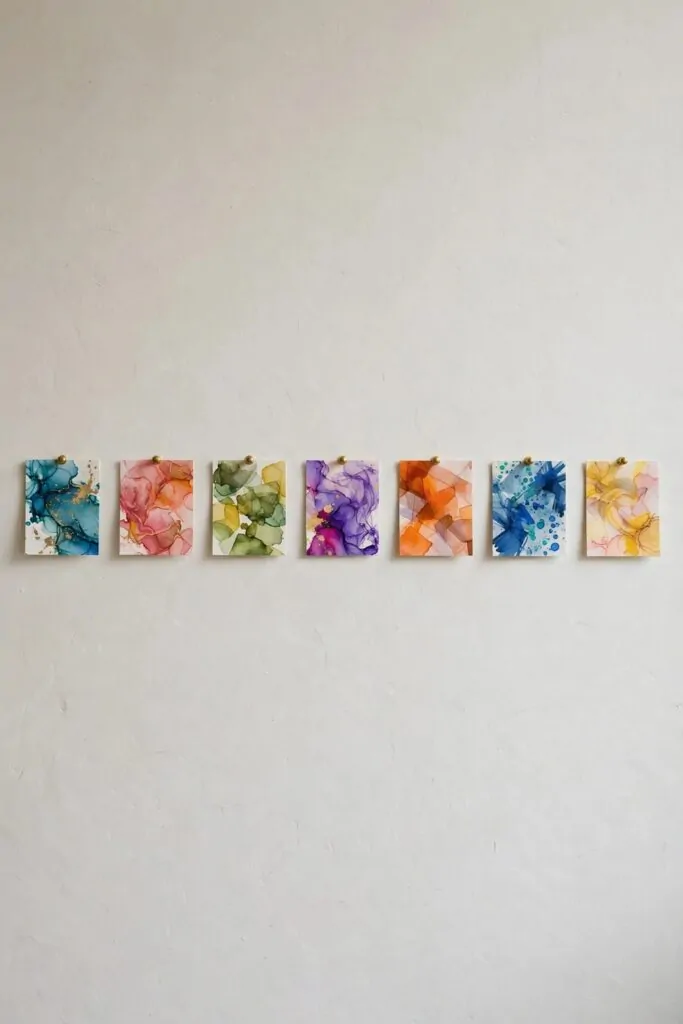
I pick my favourite small pictures from my art box. I lay them out on the floor first.
I put the brightest one in the middle. I put two soft ones on each side of it. I step back and look at the row.
I ask mum to help me pin them on the plain wall.
We pin them in a neat row at my eye level. Each picture gets a small pin at the top.
I leave a small gap between each picture. The gaps help each picture stand out on its own. I like how the plain wall makes the colours look bright.
I look at the row once more and check that each pin sits tight at the top.
I invite my family to come and look at my gallery. We walk along the row and talk about each picture.
I feel proud when I see my art up on the wall.
Typical cost $2 to $3.
| Idea | Main change | Typical cost |
|---|---|---|
| Make a Colour Wheel from Paint Dots | make a colour wheel from paint dots | $1 to $3 |
| Look Closely at a Rainbow Painting | look closely at a rainbow painting | $0 to $1 |
| Find Shapes in a Big Abstract Picture | find shapes in a big abstract picture | $1 to $2 |
| Study a Calm Landscape Painting | study a calm landscape painting | $1 to $2 |
| Copy the Lines of a Simple Drawing | copy the lines of a simple drawing | $0 to $1 |
| Make a Still Life with Fruit on a Plate | make a still life with fruit on a plate | $2 to $4 |
| Look at Light and Shadow on a Toy | look at light and shadow on a toy | $1 to $3 |
| Feel the Texture of a Rough Painting | feel the texture of a rough painting | $2 to $4 |
| Make a Pattern Page with Stamps | make a pattern page with stamps | $1 to $3 |
| Build a Tiny Art Gallery on the Wall | build a tiny art gallery on the wall | $2 to $3 |
| Total | $11 to $26 |
11. Study a Painting of the Sea
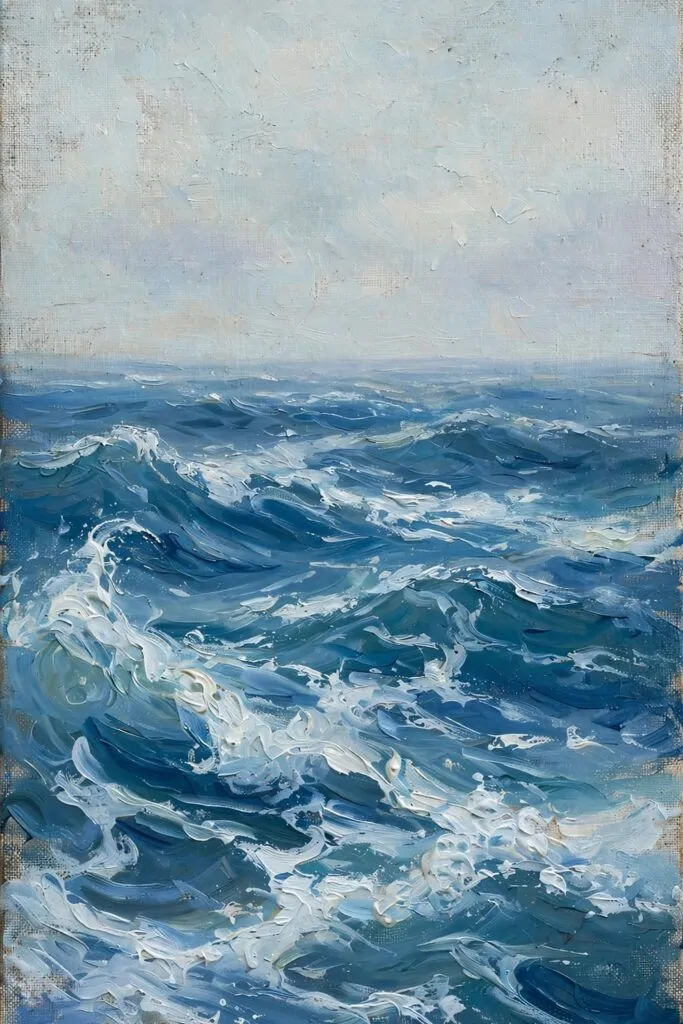
I look at a painting of the sea for a long time.
The blue waves roll across the lower part of the painting. White foam sits on top of the waves in soft curls.
I follow one wave from the left side to the right side. I see where the blue gets dark in the deep part. I see where it gets light near the white foam.
The sky above the sea looks pale and calm.
I look at how the sea meets the sky in a soft line. I think about how the painter made the water look like it moves. I point to the spot where the foam looks the brightest.
I take my blue crayon and draw a small wave on paper. I add a little white foam on top with a light hand.
I draw a pale sky above my sea.
I show my sea picture to my teacher. She smiles and asks me which wave I like best.
Typical cost $1 to $2.
12. Mix Two Colours and Watch Them Change
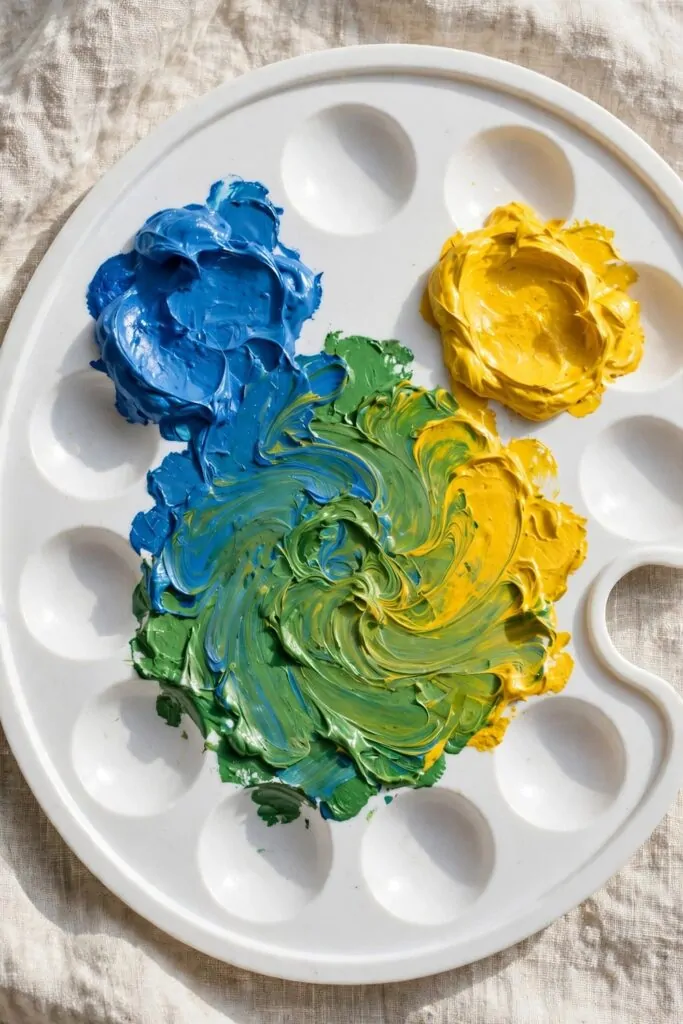
I put a dab of blue paint on my white palette. I put a dab of yellow paint right next to it. I leave a small space between the two colours first.
I take a clean brush and pull a little blue into the yellow. I watch a soft green start to show in the middle.
I stir slow and watch the green grow.
I add a little more blue and the green turns deep. I add a little more yellow and the green turns light. I like how one small dab can change the whole colour.
I paint a small green leaf with my new colour. I paint a second leaf with a lighter green.
I wash my brush before I try a new mix.
I try blue with a tiny bit of yellow first. Then I try yellow with a tiny bit of blue. I see how the two greens look different side by side.
I keep my favourite green on the palette for later. I write the word green next to it in my notebook.
Typical cost $2 to $3.
13. Make a Collage from Old Paper Pieces
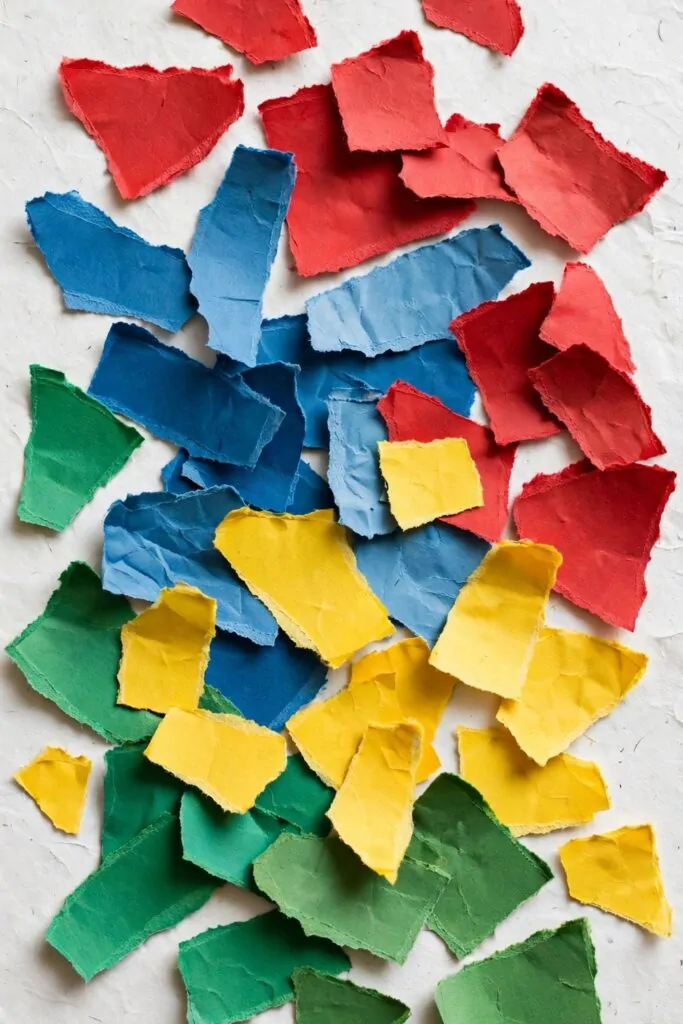
I keep a small box of old paper pieces near my table.
You can tear the pieces with your fingers and see what shapes you get. I start with a clean sheet of white paper and lay it flat in front of me.
I pick a red piece first and place it near the top. Then I add a blue piece beside it and a yellow piece below. I leave a little space between the pieces so the white paper shows through.
You can turn a piece round until it fits the spot you like. I try a green piece in the corner and smile when it looks just right.
I press each piece down with glue and smooth it with my palm.
You do not need to plan the whole picture at the start. I let the colours lead me and add one piece at a time.
My collage grows slowly as I add more torn edges and bright colours. I step back and look at it from a little way off. I feel proud when the red, blue, yellow and green pieces sit well together.
You can show your collage to mum and tell her which piece you like best.
Typical cost $1 to $3.
14. Look at a Clay Pot Like a Sculptor
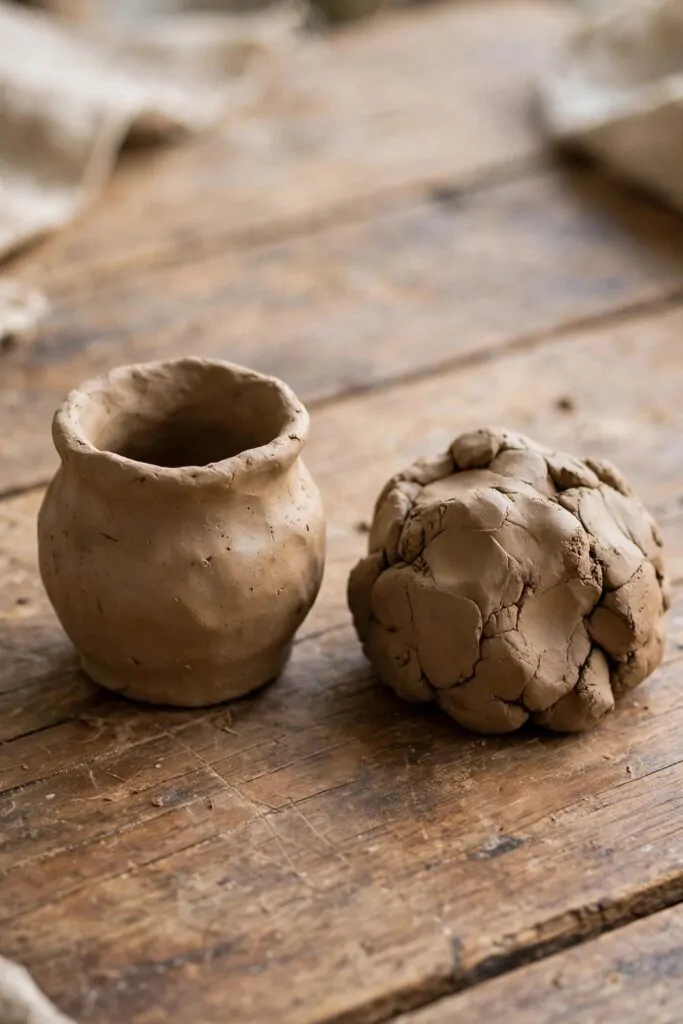
I sit at the wooden table and look at the small clay pot in front of me.
The pot was shaped by hand, so its sides are soft and a little uneven. I run my finger round the rim and feel where it dips and rises.
You can see how the hands that made it left gentle marks in the clay. Beside the pot sits a lump of soft brown clay. I press it with my thumb and watch it change shape.
You can roll a small piece of clay in your palms and make a tiny bowl of your own.
I look at the pot from the side and then from above. The shape looks a little different each time I move.
I ask myself what the pot could hold in my home. It could hold pencils, or small stones, or a few dried leaves. I like how a plain pot can be useful and pretty at the same time.
You can pat your clay gently and stop when the shape feels right to you.
I wash my hands when I finish and put the pot back on the table. I feel glad that I took time to look at it with care.
Typical cost $3 to $5.
15. Draw the Same Flower Three Ways
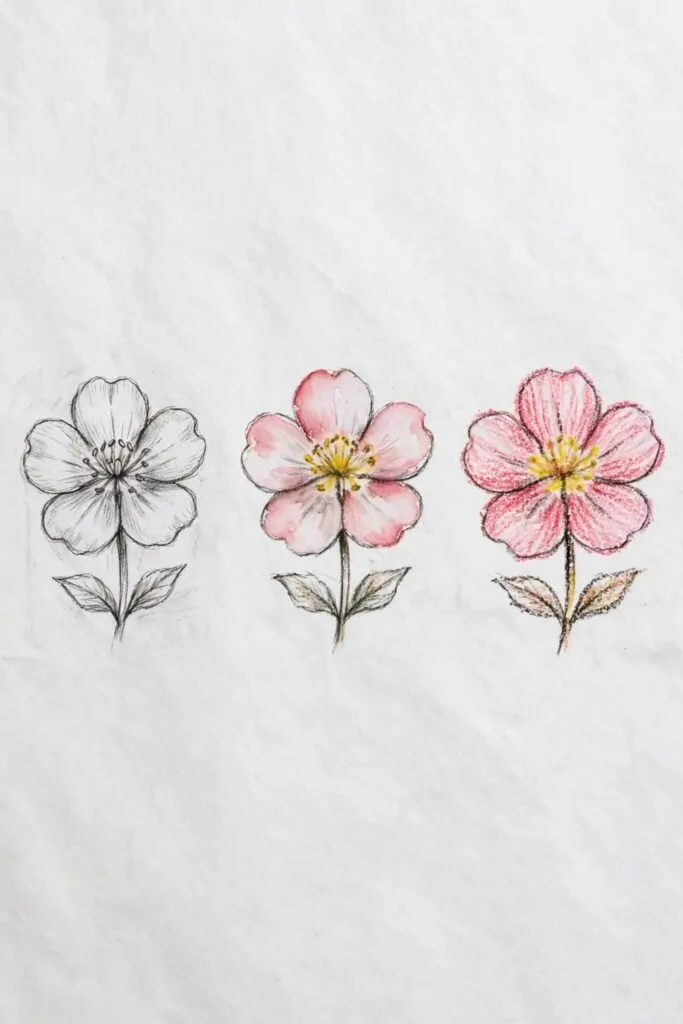
I choose one flower from the garden and set it where I can see it well. I look at the petals and the stem before I pick up a pencil. You can take your time and look first, as artists do.
My first drawing is in pencil, with light lines and soft shading. I draw the round centre and the petals one by one.
I keep my pencil lines loose and let the flower shape grow on the white paper.
Next I paint the same flower with a brush and a little water. The paint feels wet and bright, and the petals look full of colour. You can watch how the paint dries and the colour settles.
I let the paint dry while I get my crayons ready.
My third drawing is in crayon, with strong lines and bold colour. I press a little harder for the dark parts and lighter for the soft parts.
You can lay the three small drawings side by side and see how each one feels different.
The pencil one looks quiet and gentle to me. The paint one looks bright and full of life. The crayon one looks bold and full of fun, and I like all three for different reasons.
Typical cost $1 to $2.
16. Study the Colours of Autumn Leaves
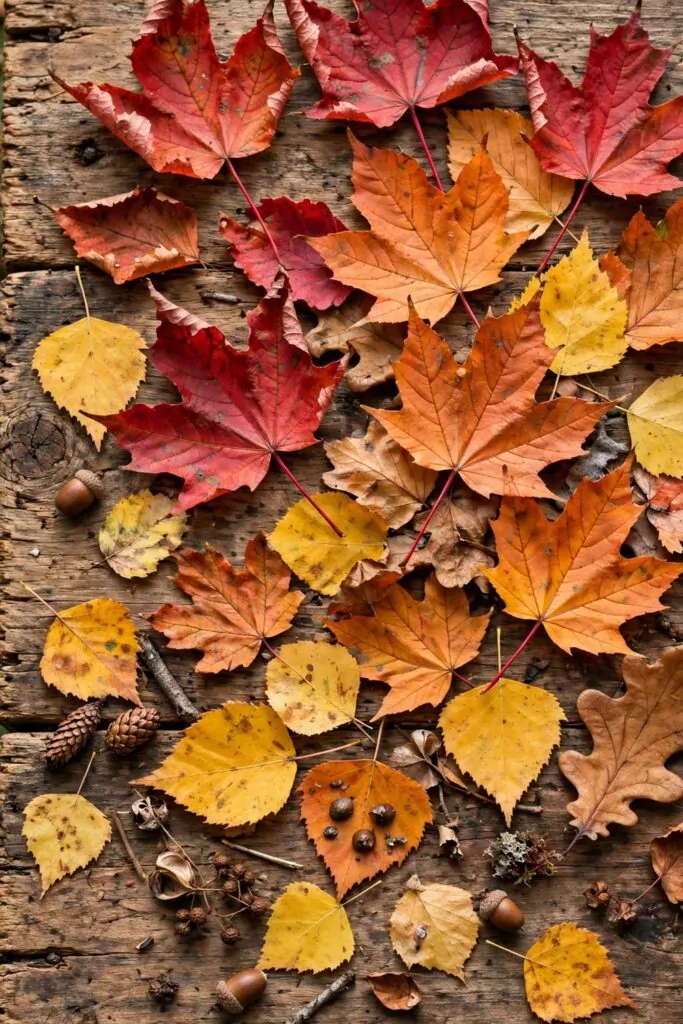
I gather autumn leaves on a walk and bring them home in my pocket. You can spread them out on the wooden table and look at them one by one. Some leaves are red, some are orange, and some are yellow.
I hold a red leaf up to the light and see its veins clearly. The orange one feels crisp at the edges, and the yellow one feels soft in my hand.
I turn one leaf over and look at its shape and its veins.
You can look at how the colours change from the stem to the tip. I see deep red near the middle and pale yellow near the edge.
I pick my favourite leaf and draw its shape in my notebook. I colour it with the same red and orange I see in front of me. My drawing does not need to be perfect, and I feel happy with the try.
You can press a leaf between two sheets of paper and keep it for later.
I look at the leaves again before I put them away. Each one has its own shape, and that makes the study fun for me.
I tell mum which colour I liked best today.
Typical cost $0 to $1.
17. Make a Frame for Your Best Picture
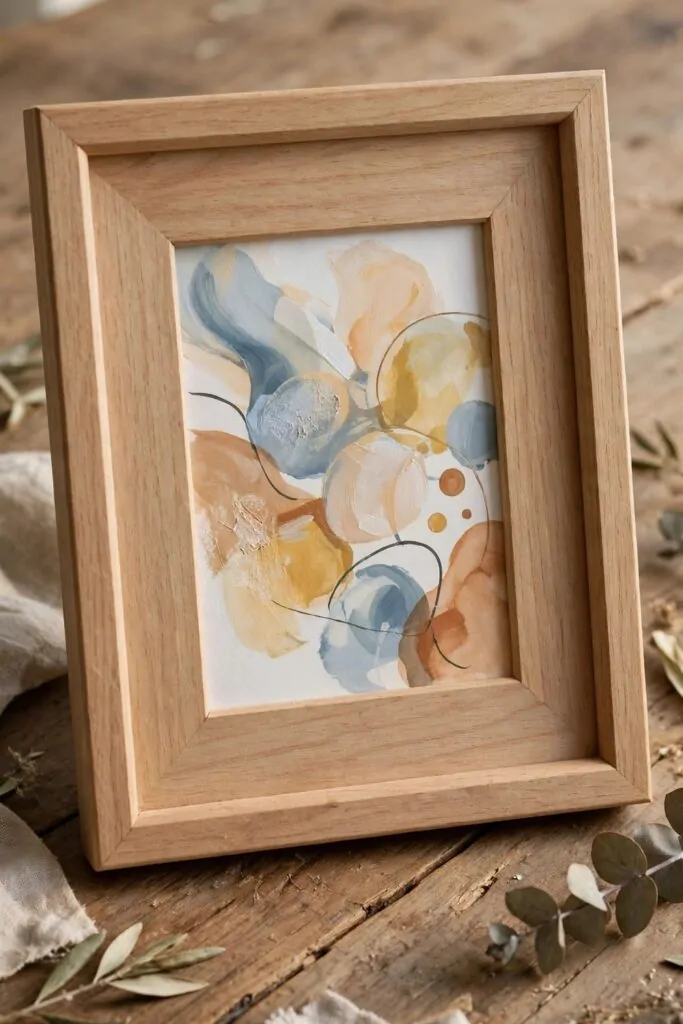
I pick my best picture and hold it up to see it clearly.
The picture is small and full of shapes and colours I made myself. You can see how the paint swirls and the lines cross in a happy way. I choose a plain wooden frame that fits the picture well.
I lay the frame flat on the wooden table and slide the picture inside. The wood feels smooth, and the picture looks neat inside the frame.
You can wipe the frame with a soft cloth so it looks clean and bright.
I stand the frame up and look at it from across the room. The picture seems to shine a little more now that it has a frame. I feel proud to see my work held up for all to see.
I ask mum where we can put the frame in our home. She helps me find a safe spot where it will not fall.
You can make a frame for a new picture each time you finish one you love.
I look at my framed picture each morning and smile. It reminds me that small steps in art add up to something lovely.
Typical cost $2 to $4.
18. Look at Art from Far Away Lands
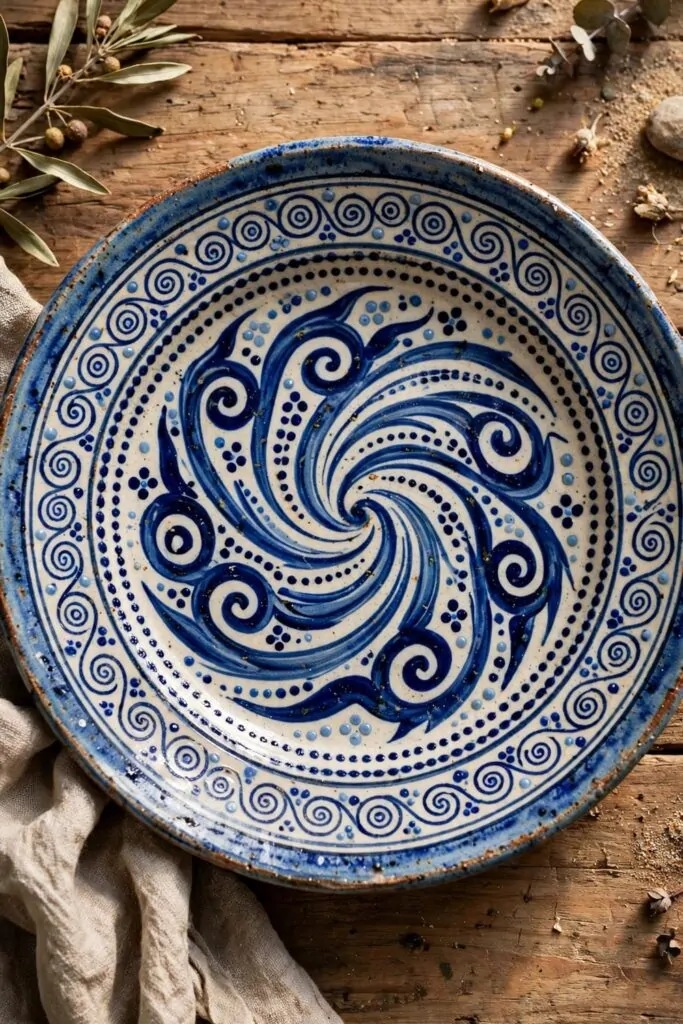
I look at a blue pottery plate that came from a far away land. The plate sits on the wooden table, and I can see swirls and dots all over it. You can trace the swirls with your eyes and follow where they go.
I notice how the blue is deep in some spots and light in others.
The dots sit in neat rows, and the swirls curl round each other. I wonder who made this plate and what they liked to draw.
You can sketch the swirls in your notebook and try a few dots of your own.
I think about the land where this plate was made and the hands that shaped it. The patterns tell me a little story about that place. I feel glad that art can travel so far and still make me smile.
I ask my teacher what the patterns might mean in that land.
My teacher tells me a short tale about the plate and its home. I listen and look at the blue swirls again with fresh eyes.
You can draw your own plate with swirls and dots in blue. I add dots round the edge and a big swirl in the middle. My plate looks different from the real one, and that is just fine with me.
Typical cost $2 to $3.
19. Paint with Water and Watch It Dry
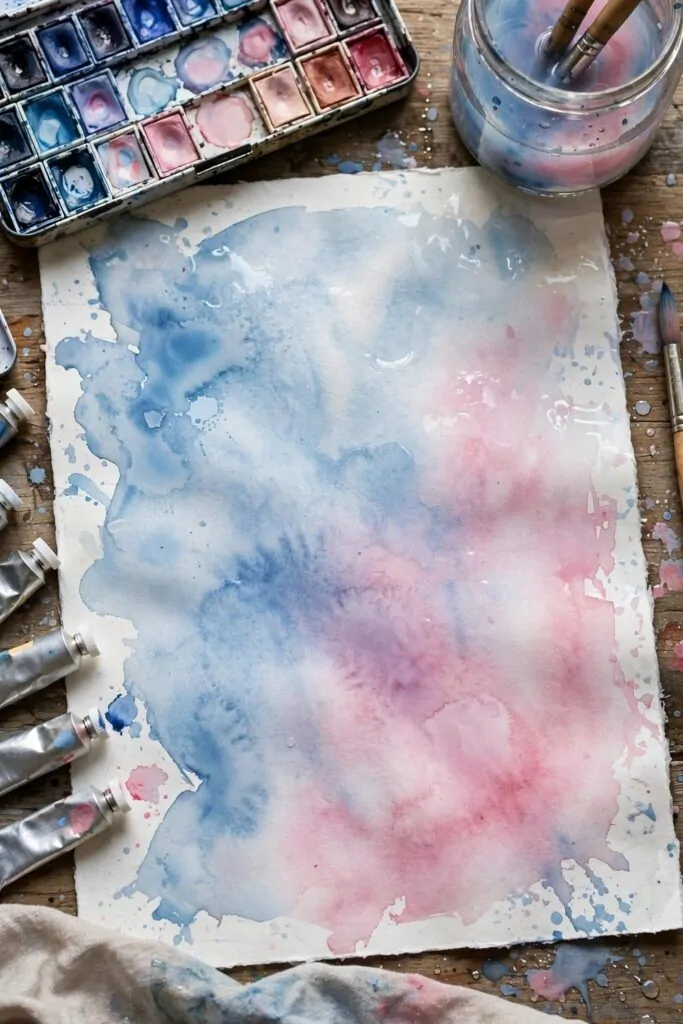
I fill a small cup with clean water and set it next to the paints. My child dips a soft brush in the water and then touches a blue paint cake.
The wet paper drinks the colour and it spreads in a soft cloud.
We watch the blue wash move slow across the sheet. A pink wash joins it at the edge and the two colours meet in the middle.
My child smiles at the soft line where they touch. I tell my child to add a little more water when the paint looks thick. The wash turns light and airy and it feels like a morning sky.
We leave a white space in one corner so the paper can shine through.
My child tries a big wash and then a small line. Both marks look soft and kind on the wet paper.
We wait and watch the paper dry a bit at a time. The blue turns a little deeper as the water goes away. The pink stays soft and sweet on the sheet.
I praise the soft wash and the brave try, and my child feels proud.
Typical cost $2 to $4.
20. Make a Mini Museum in a Shoebox
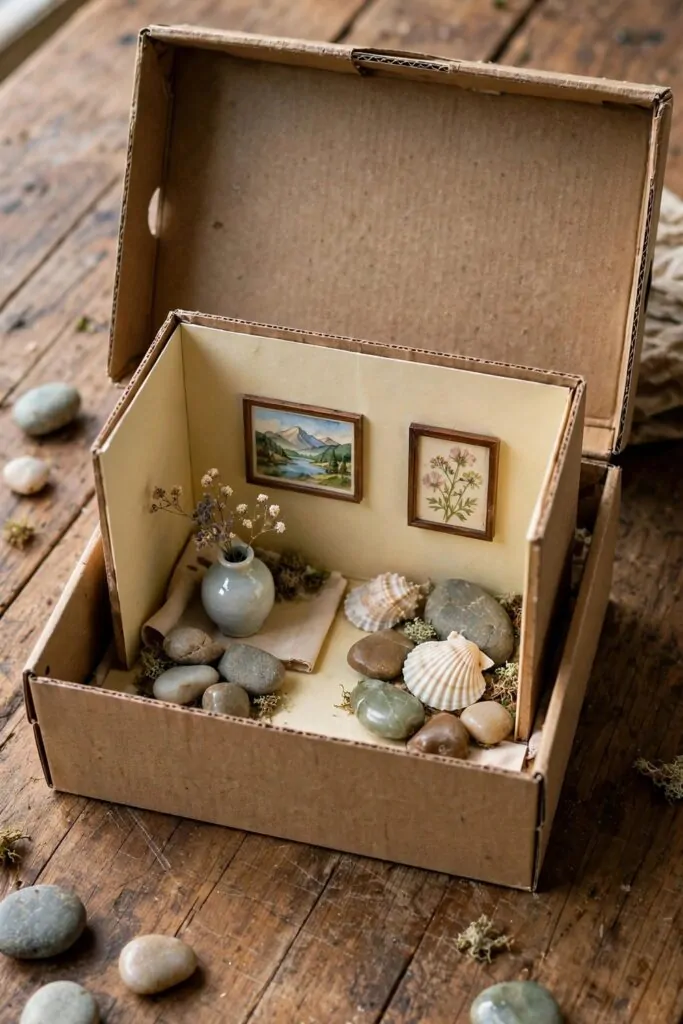
I find a clean shoebox and open the lid wide on the table. My child picks some tiny pictures to put inside the box.
We add small art objects next to the pictures. The tiny pictures stand up at the back and the small objects sit in front of them.
I lay a soft mat in the box to make a neat floor for our small things. My child sets the small vase on the mat so it stands tall.
We talk about each piece like it is a real treasure in a real hall.
My child gives the museum a name and tells it to me with a big smile. I say the name out loud so we both hear it.
We move the pieces till the box looks neat and calm. Two tiny pictures hang side by side on the back wall and the small objects sit in front of them. My child steps back and looks at the whole box with a big smile.
I ask my child to pick a loved piece and tell me why it feels glad.
We invite mum to look in the box and find her loved piece too. Mum smiles and points to a tiny picture that makes her feel calm.
Typical cost $1 to $3.
| Idea | Main change | Typical cost |
|---|---|---|
| Study a Painting of the Sea | study a painting of the sea | $1 to $2 |
| Mix Two Colours and Watch Them Change | mix two colours and watch them change | $2 to $3 |
| Make a Collage from Old Paper Pieces | make a collage from old paper pieces | $1 to $3 |
| Look at a Clay Pot Like a Sculptor | look at a clay pot like a sculptor | $3 to $5 |
| Draw the Same Flower Three Ways | draw the same flower three ways | $1 to $2 |
| Study the Colours of Autumn Leaves | study the colours of autumn leaves | $0 to $1 |
| Make a Frame for Your Best Picture | make a frame for your best picture | $2 to $4 |
| Look at Art from Far Away Lands | look at art from far away lands | $2 to $3 |
| Paint with Water and Watch It Dry | paint with water and watch it dry | $2 to $4 |
| Make a Mini Museum in a Shoebox | make a mini museum in a shoebox | $1 to $3 |
| Total | $15 to $30 |
21. Study an Artist’s Palette of Colours
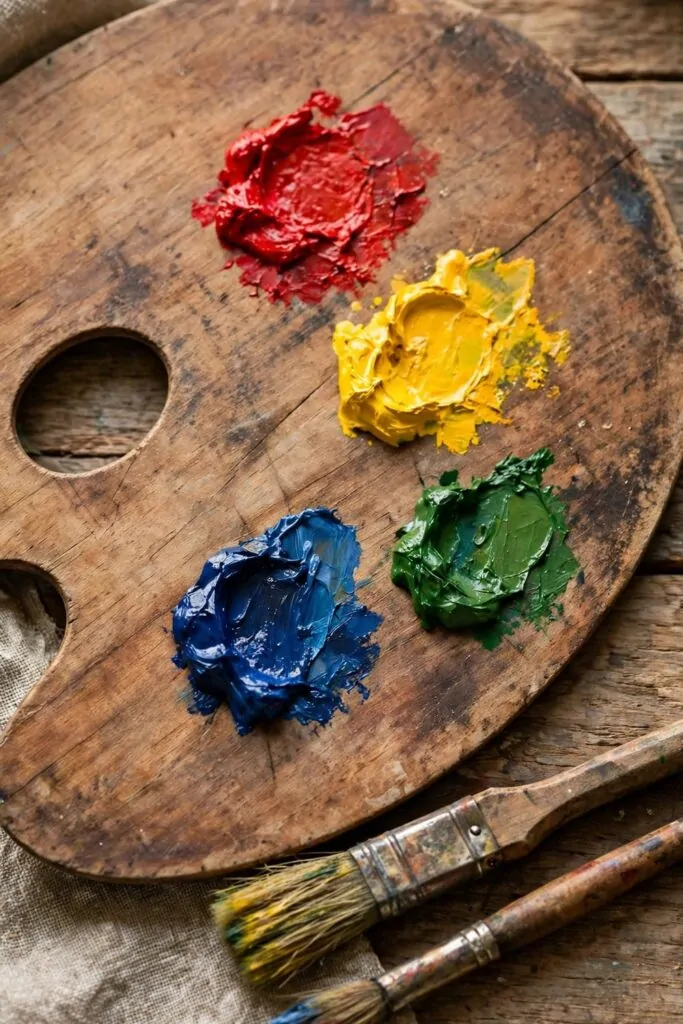
I set a wooden palette on the table with dabs of red, yellow, blue and green paint. Two brushes rest next to the palette, one wide and one thin.
My child looks at the four colours and picks red first. The red dab looks warm and bright on the smooth wood.
My child touches the yellow dab with a brush and paints a small sun shape. The yellow looks like light on a kind day.
We talk about how blue feels cool and calm next to the warm red. My child mixes a little blue with a little yellow on the palette. A soft green grows where the two colours meet, and we both smile at the new colour.
I show my child how a small dab can paint a whole flower.
My child tries each colour on a scrap of paper and sees how it looks. The red, yellow, blue and green marks sit in a neat row.
We wipe the brushes clean and put them back next to the palette.
I tell my child that a palette is a place to try and to play. No mark is wrong when we are still learning. Each dab is a small win, and we cheer for every try.
Typical cost $2 to $4.
22. Lay Out Your Art Study Kit the Night Before
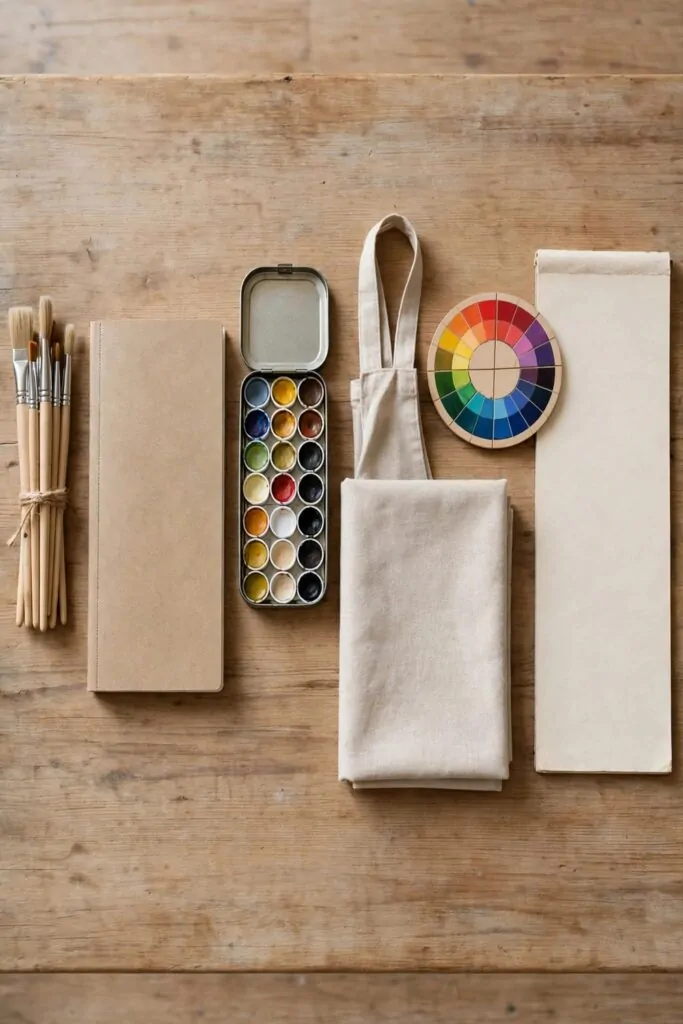
I lay out a small wooden paint brush set, a plain paper art journal, a small tin of plain watercolour paints, a plain fabric art apron, a small wooden colour wheel, and a plain paper sketch pad in a neat row on the wooden table. My child looks at the row from left to right and feels calm about the morning.
We put the brush set at the left end so it is easy to reach first. The journal sits next to it, ready for our art finds and notes. The small tin of paints sits in the middle of the row, close to the apron.
The apron lies flat in the row, ready to keep clothes clean in the morning.
I set the colour wheel next to the apron and spin it once with my child. We pick a warm colour for the first picture of the day.
The sketch pad sits at the right end of the row, with a plain cover and clean pages. My child opens it to the first page and leaves it ready. We both look at the neat row and feel glad that all is set.
I tell my child that a neat row in the night makes a calm start in the morning.
We check each item once more, from the brush set to the sketch pad. My child touches each one and says its name in a soft voice. I smile at the care my child takes with the kit.
We turn off the light and rest with glad hearts, and the neat row waits for us till the morning. Tomorrow we will open the journal, pick up a brush, and start a new picture with a smile.
The small wooden paint brush set costs $3 to $5, the plain paper art journal costs $2 to $4, the small tin of plain watercolour paints costs $3 to $5, the plain fabric art apron costs $3 to $5, the small wooden colour wheel costs $2 to $4, and the plain paper sketch pad costs $2 to $3, for a total of $15 to $26.
| Idea | Main change | Typical cost |
|---|---|---|
| Study an Artist’s Palette of Colours | study an artist’s palette of colours | $2 to $4 |
| Lay Out Your Art Study Kit the Night Before | lay out your art study kit the night before | $15 to $26 |
| Total | $17 to $30 |
| Idea | Main change | Typical cost |
|---|---|---|
| small wooden paint brush set | paint with a small wooden paint brush set | $3 to $5 |
| plain paper art journal | write our art finds in a plain paper art journal | $2 to $4 |
| small tin of plain watercolour paints | paint with a small tin of plain watercolour paints | $3 to $5 |
| plain fabric art apron | wear a plain fabric art apron for messy art | $3 to $5 |
| small wooden colour wheel | spin a small wooden colour wheel to pick a colour | $2 to $4 |
| plain paper sketch pad | sketch in a plain paper sketch pad | $2 to $3 |
| Total | $15 to $26 |
Keep Reading
If you liked these ideas, you will love these posts too
Each post has more simple ideas you can try at home this weekend.
- 24 History Activities for Kids That Bring the Past Alive
- 30 Geography Activities for Kids That Make Learning Fun
- 26 Writing Practice Ideas for Kids at Home
- 28 Reading Practice Ideas for Kids Who Struggle to Read
- 22 Science Experiments for Kids at Home
- 27 Spelling Practice Ideas That Make Words Stick