31 Furniture Painting Ideas for Beginners

My first brush was too wide for the little stool I wanted to paint, and paint dripped down my sleeve before I had even started.
I felt a bit silly that day. I had picked a big brush because I thought big would be faster.
It was not faster at all. Paint went where I did not want it, and the little stool looked messy.
I learned slow that day, one small step at a time. Now I paint in a calm way, and my pieces look neat.
You do not need fancy tools to start. You need a small piece, a small brush, and a little time.
In this post I share the first steps I wish I knew. They are plain, easy, and made for a first try.
You get all 31 ideas in this one post. There is no part two, and nothing is held back.
1. Pick a Small Brush for Your First Piece
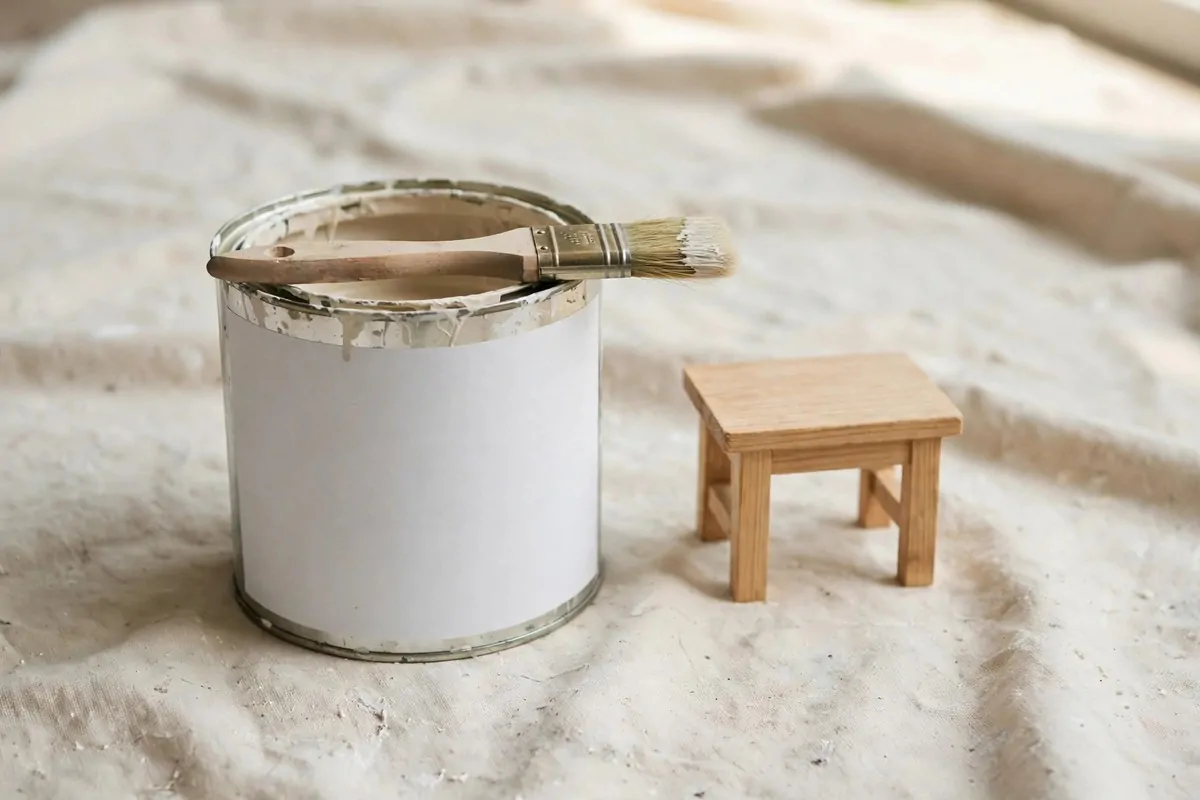
A small brush gives you more control on a little stool. You can reach the edges and the legs without a big mess.
I picked a brush about as wide as my thumb for my first stool.
It felt light in my hand. I could move it slow. I did not splash paint on the floor.
A wide brush holds too much paint for a small piece. It drips fast, and the drips are hard to fix.
Look for a brush with soft, even ends.
- A small flat brush for flat tops
- A small round brush for legs and edges
- A little tray to hold a bit of paint
Hold the brush near the middle, not right at the end. You will feel steadier that way.
Dip only the tip in the paint. Tap off the extra on the side of the tin. Then brush it on in one smooth line.
If you see a thick line, brush it out right away while it is still wet.
My first small brush made the whole job feel easy. My small brush and a little tray cost $5 to $11 in total.
2. Start With a Small Stool, Not a Big Wardrobe
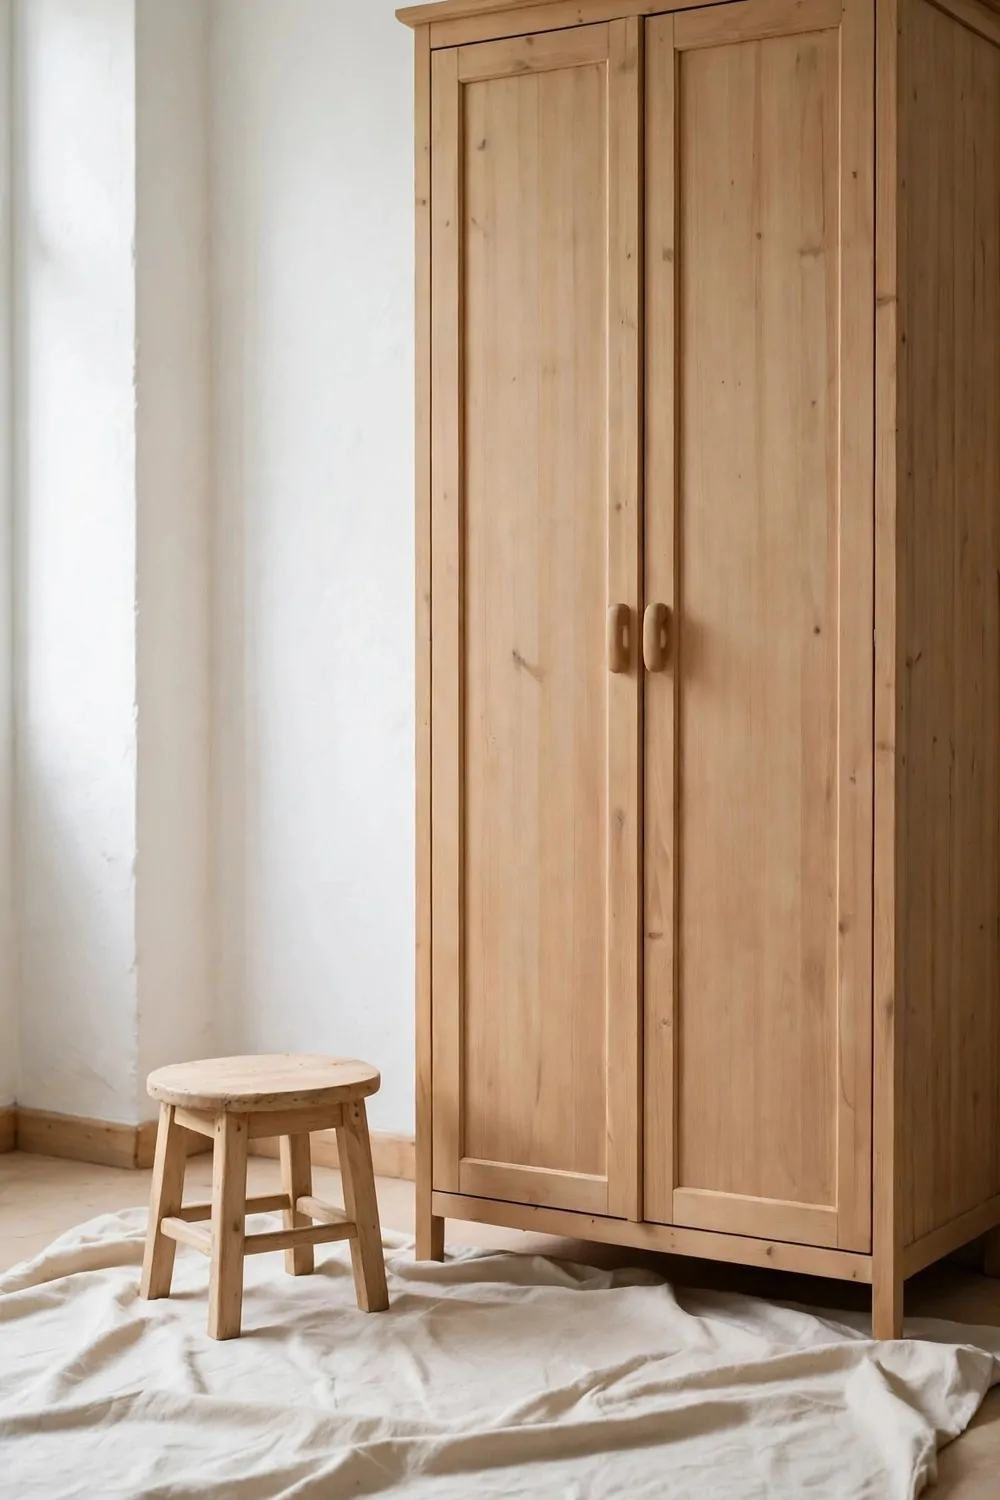
A big wardrobe can scare you off before you start. A small stool lets you learn fast and finish the same day.
I found my first stool in the corner of my room, plain and a bit worn.
It had four short legs and a flat top. It was light to move. I could turn it round with one hand.
That size is just right for a first try.
You can paint the top, then turn it over and paint the legs. You see your work grow with each side.
A small stool dries fast too. You do not wait for hours for it to dry. You can sit near it and watch the paint dry.
Pick a piece with plain, flat wood if you can. Fancy curves are hard when your hand is still new to this.
If you make a small slip, it is easy to fix on a small piece.
I felt proud when my little stool was done. My small stool and my paint cost $8 to $18 in total.
3. Wash Your Piece Before You Paint It
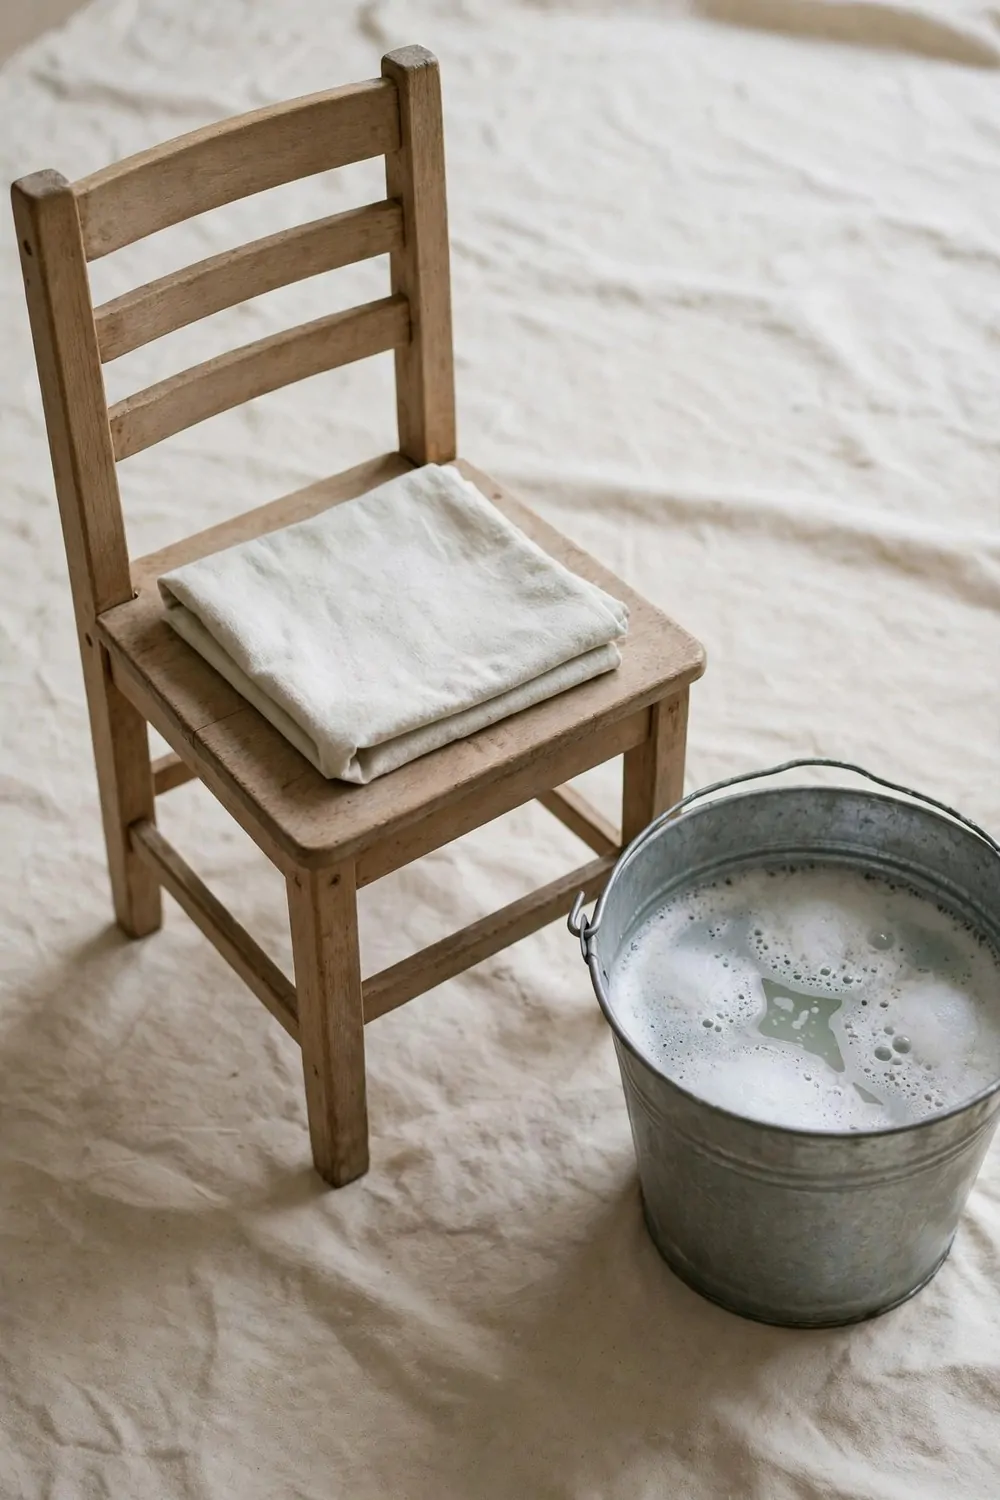
Paint will not stick well to a dusty chair. A quick wash makes the paint hold on and look smooth.
I use warm water and a little plain soap.
I wet a soft cloth and wipe the top first. Then I wipe each leg. Then I wipe the sides where my hands rest.
You will see grey dust come off on the cloth. That dust would have sat under your paint if you left it there.
Wipe twice if the piece has been in a shed or a store room.
Do not soak the wood. A damp cloth is enough, and too much water can swell the wood.
After the wash, let the chair sit till it feels dry to touch. I put mine near an open door. I checked it with my hand before I moved on.
A clean piece takes pale grey paint in a neat, even way.
Washing took me ten minutes, and it saved me a lot of trouble later. My soap, cloth and water cost $3 to $8 in total.
4. Give It a Quick Light Sand
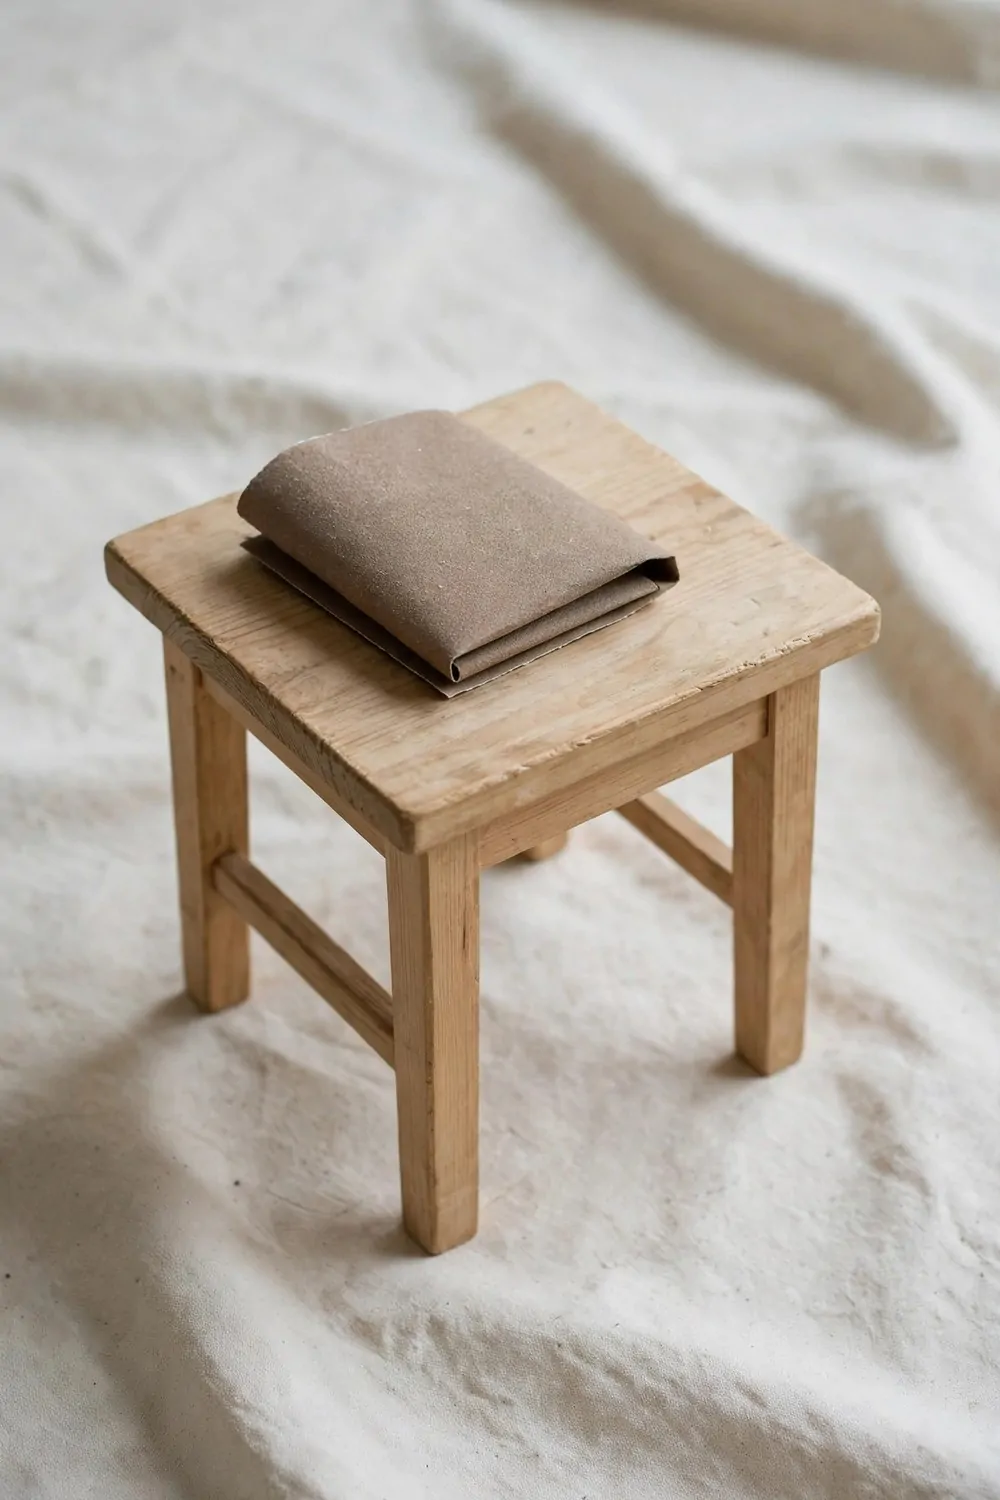
A quick light sand helps the paint grip the wood. You do not need to sand hard or take the old colour right off.
I use a small piece of fine sand paper for my stool.
I rub it soft over the top in short lines. I go over the legs next. I keep my hand light so I do not dig into the wood.
I opened the window wide and I kept my plain mask on while I sanded. Fresh air made the job feel much better.
Feel the wood with your palm when you stop.
It should feel smooth, not rough or bumpy. If one spot still feels rough, give it a few more soft rubs.
Do not press hard on the edges. The edges wear down fast. A soft touch keeps the shape of the stool true.
I brushed the loose dust off with my hand when I was done.
That light sand gave the wood a smooth base for the paint. My sand paper and plain mask cost $4 to $9 in total.
5. Wipe the Dust Off With a Damp Cloth
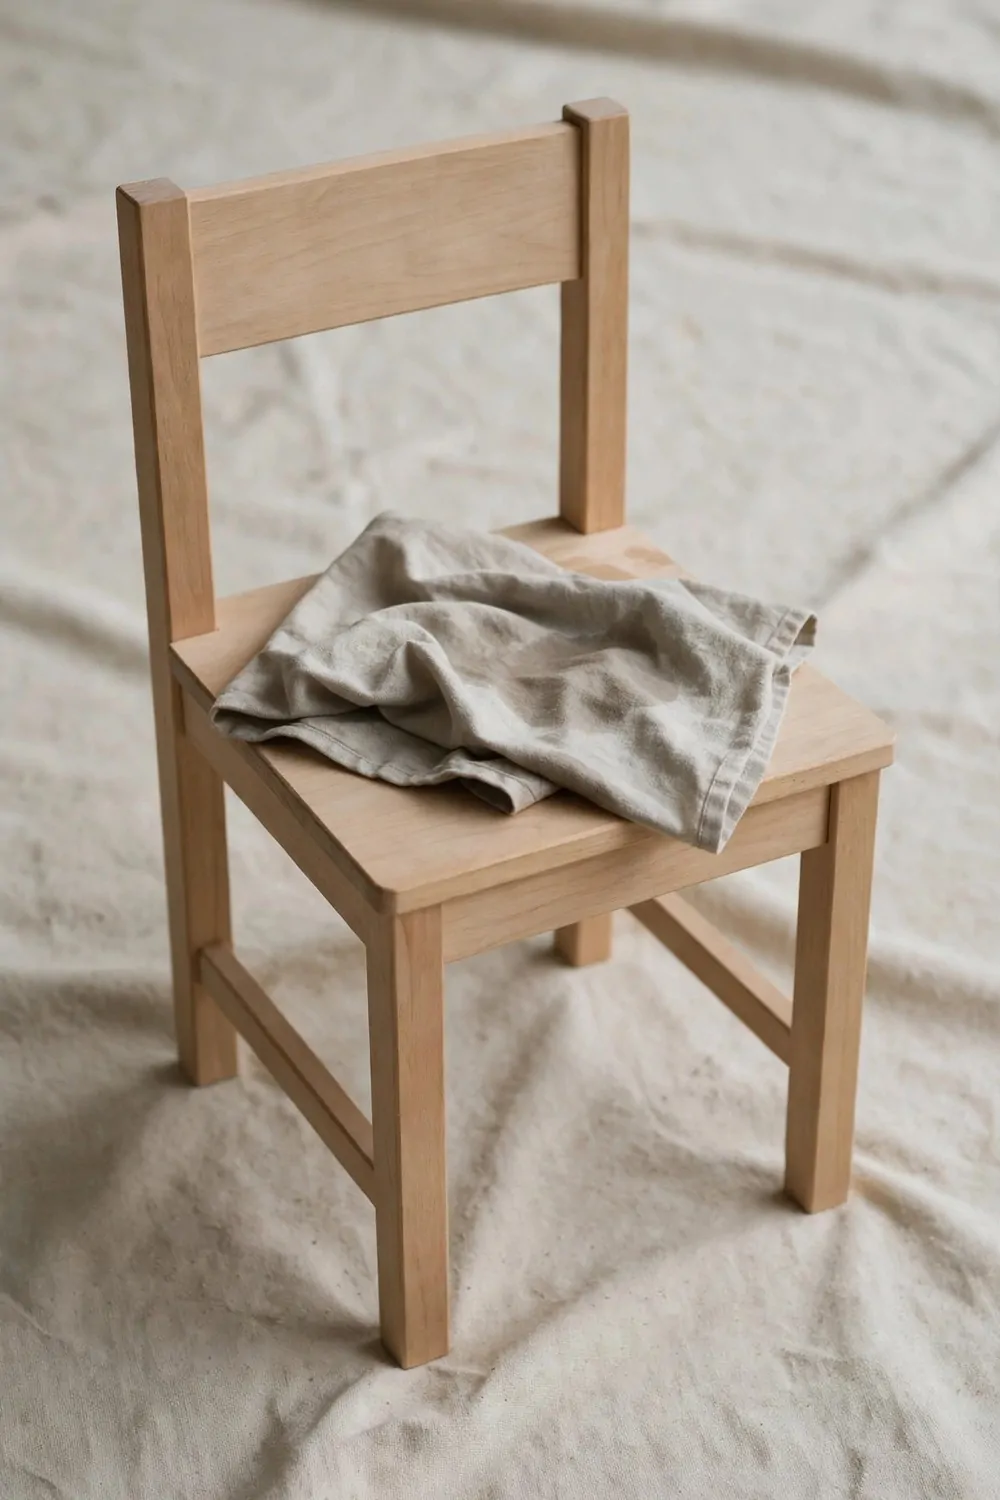
Sanding leaves fine dust all over the wood. If you paint over it, the paint will look gritty.
A damp cloth picks that dust up in one pass.
I wet the cloth and wring it out till it is just damp. I wipe the top in slow lines. I wipe the legs and the sides too.
Rinse the cloth when it looks grey. A clean cloth picks up more dust than a dirty one.
Look close at the wood in good light.
You will see the dust gone and the plain wood clear. That is the sign you are ready to paint.
I let the chair air dry for a short while. I did not rush this part. A wet top would thin the paint and make it patchy.
Touch it with the back of your hand to check it is dry.
This one small wipe made my first coat look so much smoother. My cloth and a little water cost $2 to $6 in total.
6. One Small Tin of Paint Is Enough
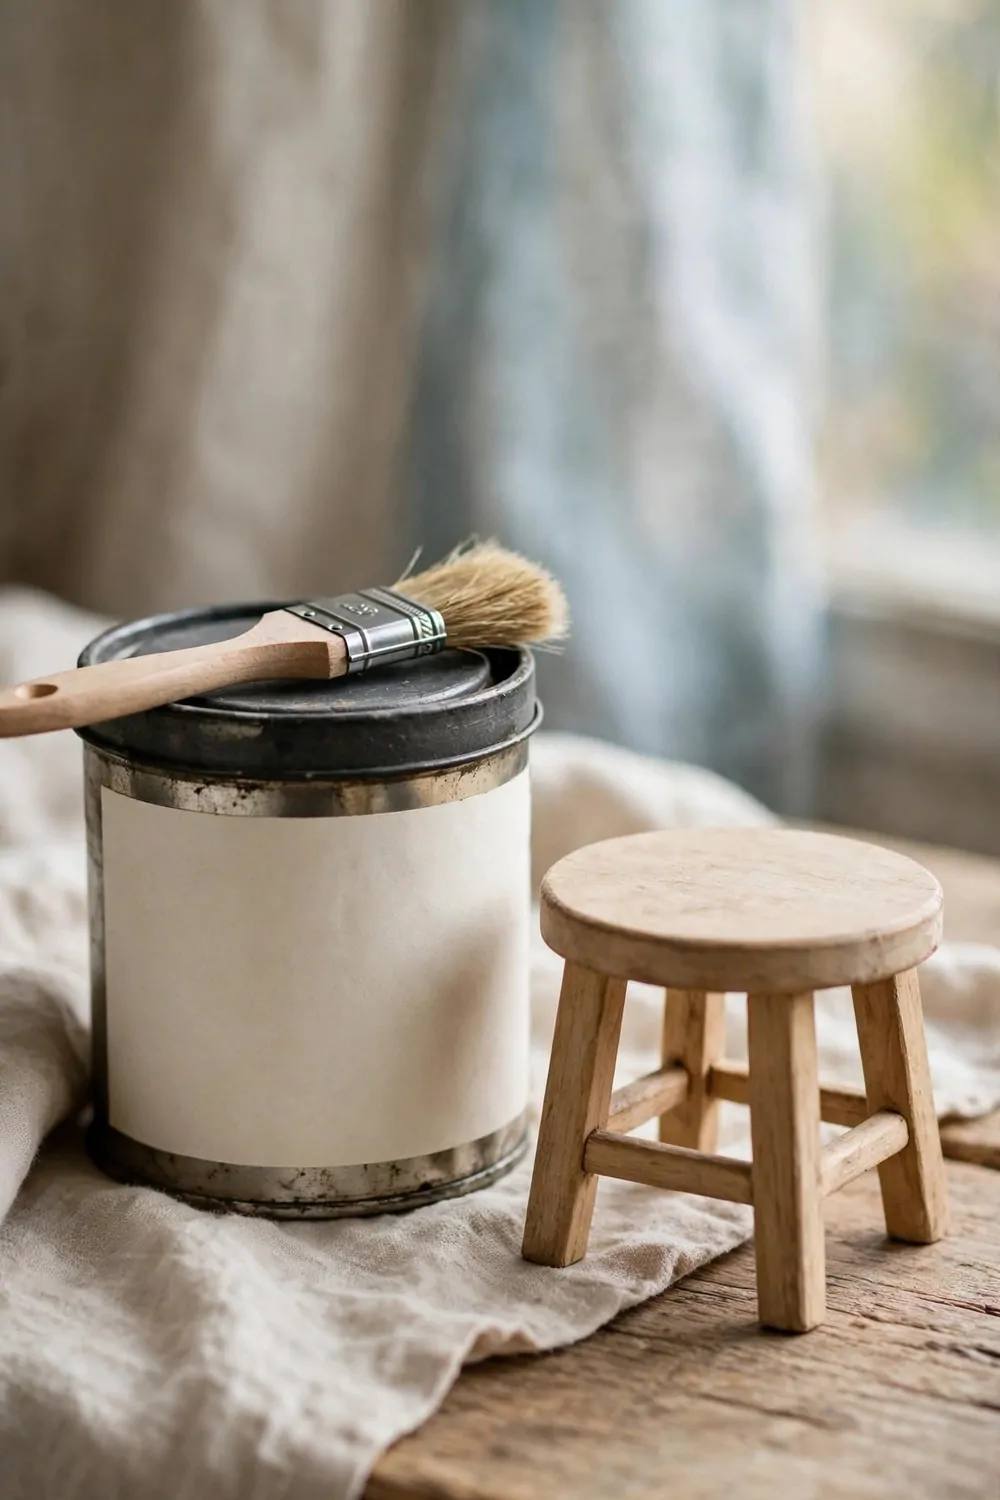
You do not need a big tin for a first piece. One small tin of pale grey or pale cream paint will cover a stool with ease.
I bought the smallest tin I could find.
It felt light in my bag. It was easy to open. It was easy to stir with a plain stick.
- One small stool
- One small chair
- One plain wooden tray
Stir the paint slow till the colour looks the same all through. Do not shake it hard, or you will get bubbles.
Pour a little paint into a small tray, not the whole tin.
That way the tin stays clean. You can close it and keep it for a small fix later.
A small tin also dries less in the tin. You waste less paint. You spend less money on your first try.
I still had paint left when my stool was done.
That left over paint fixed a small nick on the leg the next day. My small tin of pale grey paint cost $7 to $14 in total.
7. Test Your Paint on the Back First
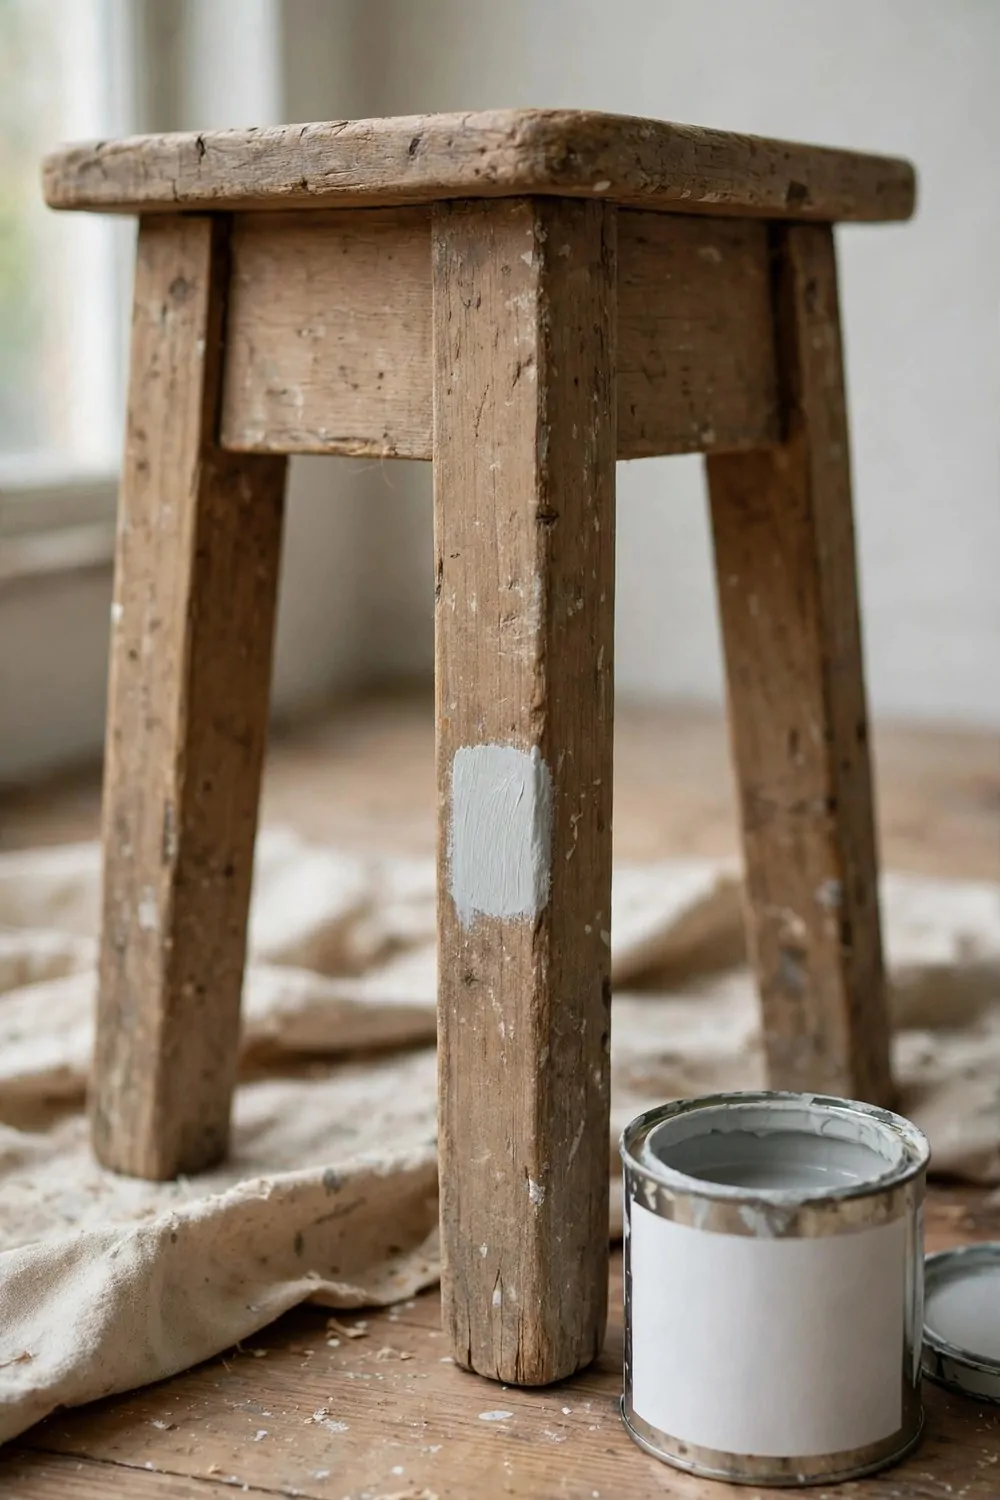
Paint can look one way in the tin and another way on wood. A quick test on the back saves you from a big shock.
I brush a small patch on the back leg of my stool.
I use just a little paint for the test. I let it dry right there. I look at it in daylight, not just in my room light.
Pale cream can look warm in one light and cool in another. The test shows you the true look before you paint the top.
If you do not like it, you can pick the other pale shade.
I tried pale grey first, then pale cream on the next stool. The test helped me see which one I liked more.
Wait till the test patch is fully dry. Wet paint always looks a bit darker. Dry paint is the real colour you will live with.
This tiny test takes two minutes and saves a whole redo.
I felt calm once I saw my test patch dry and neat. That little test patch and my small tin cost $7 to $14 in total.
8. Thin Coats Beat One Thick Coat
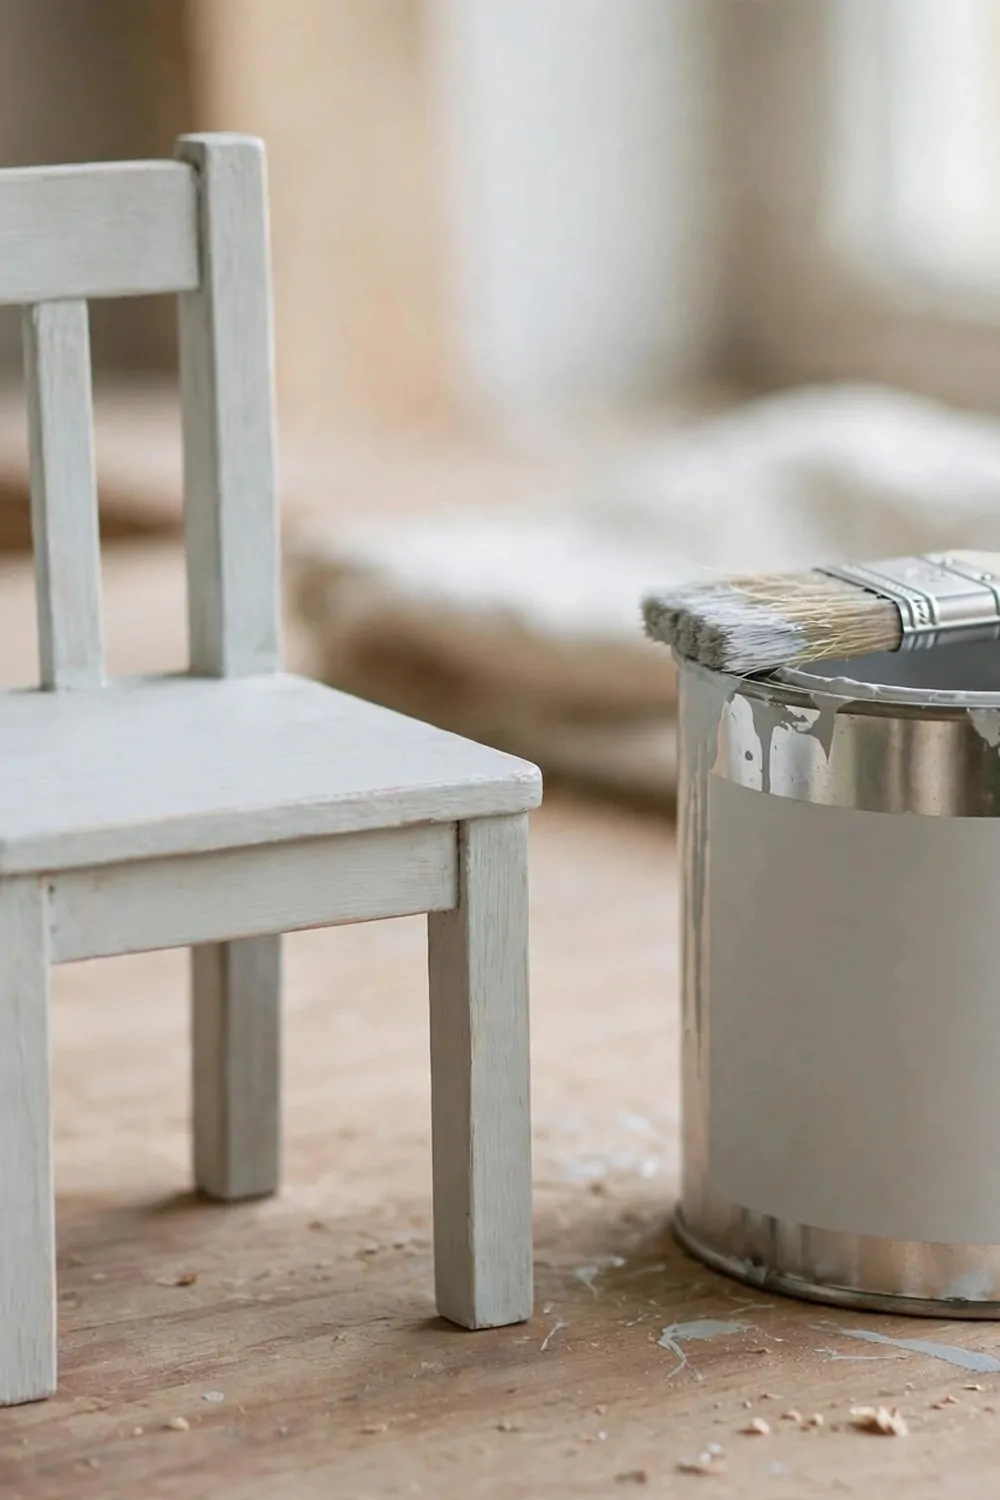
One thick coat looks fast, but it drips and dries patchy. Thin coats dry neat and look smooth.
I load my brush light for each coat.
I brush the paint on in long, even lines. I do not go back over the same spot again and again. I let the brush do the work.
You should still see a hint of wood through the first thin coat. That is normal, and it is not a mistake.
The second thin coat will cover what the first one missed.
Work from one side of the top to the other. Keep your lines in the same way so the finish looks even.
If a drip forms, brush it out soft while it is wet. Do not leave it to dry into a bump. A thin coat makes drips rare in the first place.
My chair looked much neater with two thin coats than with one thick one.
Thin coats take a little more time, but they are worth it. My thin coats and my small tin of paint cost $7 to $14 in total.
9. Let the First Coat Dry Fully
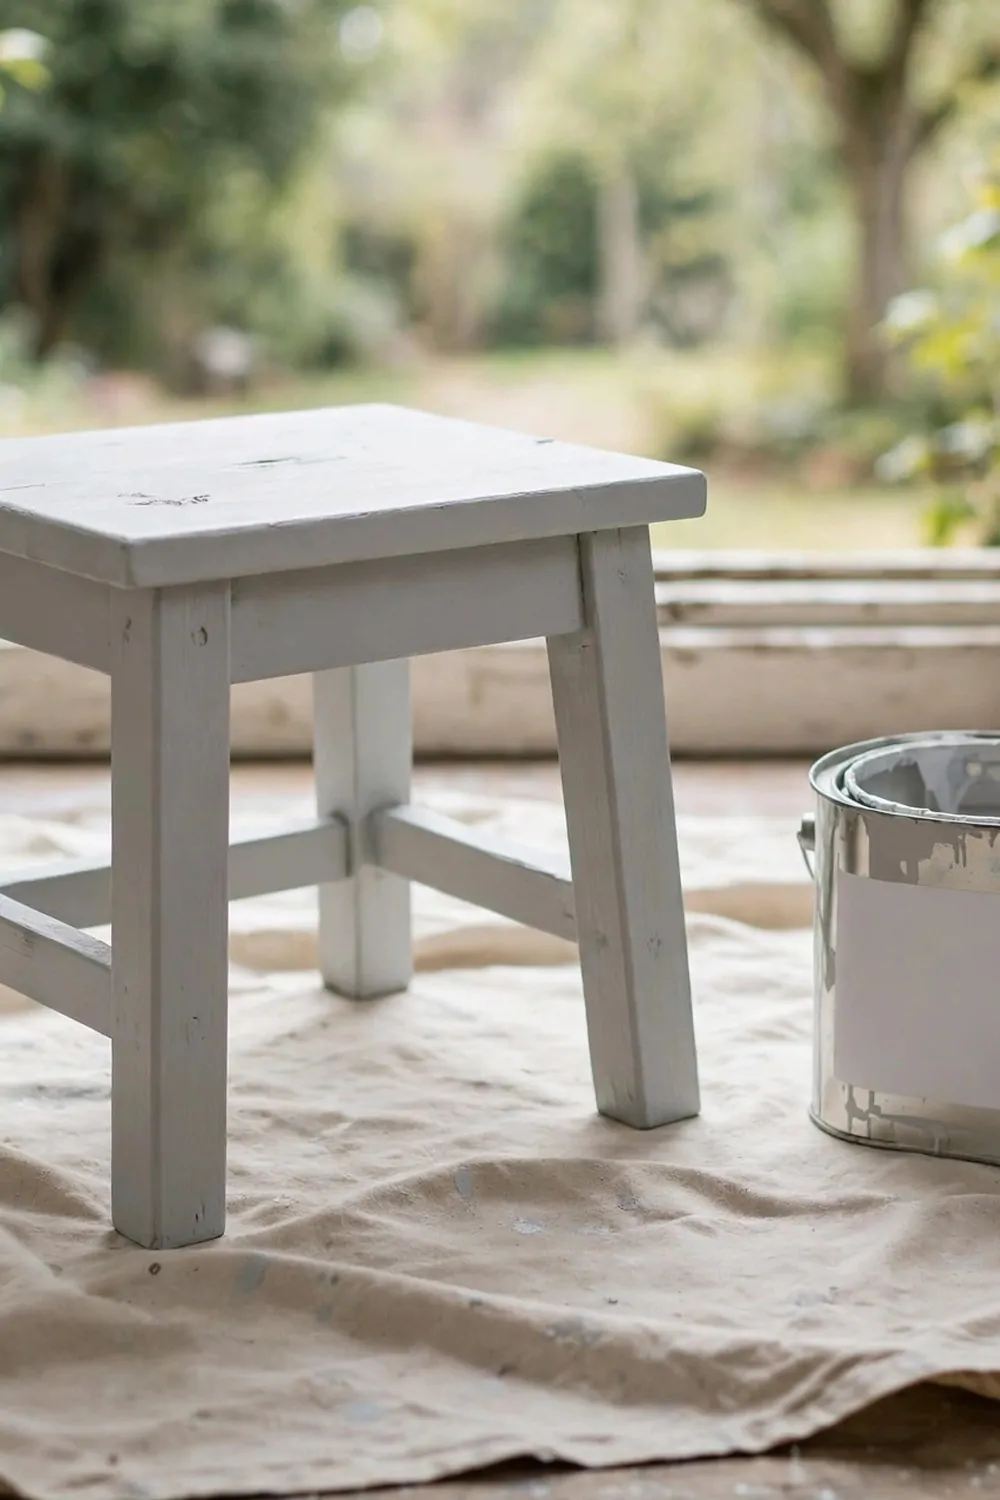
It is hard to wait when you want to see the stool done. But a wet first coat will lift off if you paint over it too soon.
I leave my stool alone till the paint feels dry all over.
I touch a hidden spot on the back leg to check. I do not press hard. I wait a bit more if it still feels cool or tacky.
Good air helps it dry in a steady way. I leave the door open and let the air move round the room.
Do not put the stool back in use till the paint is dry.
A dry first coat gives the next coat a firm base. The second coat will sit smooth and will not peel up.
I paint in the morning so the coat has the day to dry. I do my other bits while I wait. I come back to it fresh in the afternoon.
Patience here is the whole trick of a neat finish.
Waiting saved me from a sticky mess and a redo. My paint for that first coat cost $7 to $14 in total.
10. Paint the Top First, Then the Sides
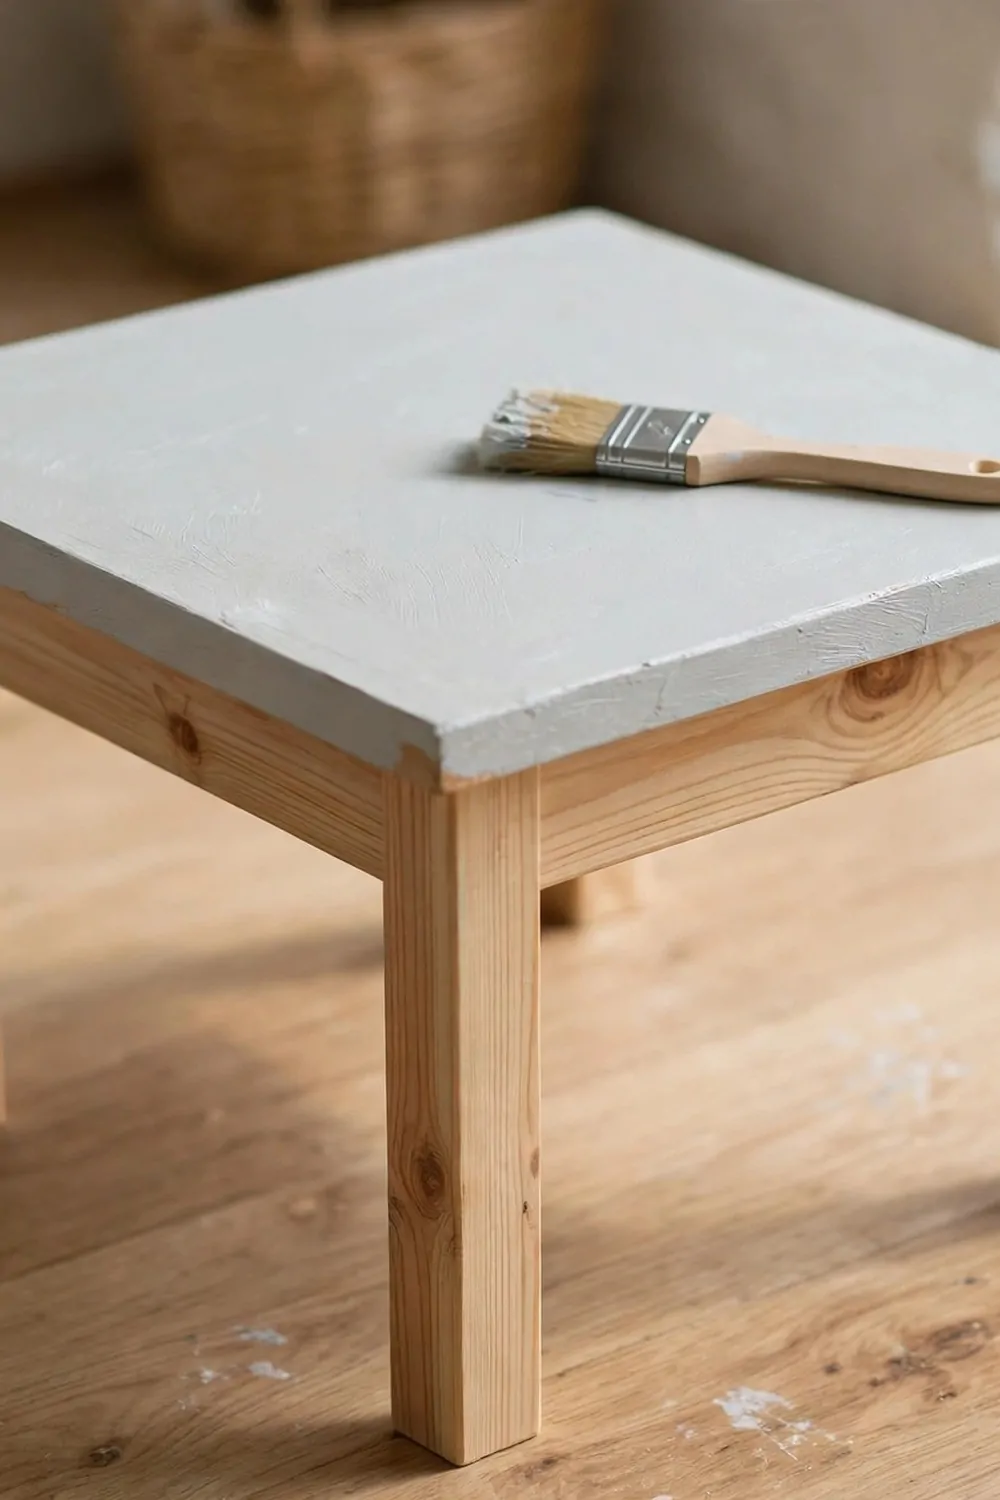
The top is the part you see most, so I paint it first. Then I work down the sides and the legs while the top dries.
I start in the middle of the top and brush out to the edges.
I keep my lines even as I go. I check the edge for drips as I move. I brush any drip down the side before it sets.
Once the top is done, I tilt the table a little and paint one side. I turn it slow and paint the next side.
Paint the legs last, from top to bottom.
This order keeps your hand off the wet top. You will not leave marks where you hold the piece.
If you paint the legs first, you have to hold the wet legs to paint the top. That is how smudges happen. Top first is the easy way.
I let the whole table dry fully before I move it back to its spot.
Top first made my table look neat from every side. My paint for the top and sides cost $7 to $14 in total.
| Idea | Main change | Typical cost |
|---|---|---|
| Small brush and a little tray | gives you control on a small piece | $5 to $11 |
| Small stool and paint | keeps your first job small and easy | $8 to $18 |
| Soap, cloth and water | cleans the piece before you paint | $3 to $8 |
| Sandpaper and plain mask | smooths the wood for a neat coat | $4 to $9 |
| Cloth and a little water | takes the dust off before you paint | $2 to $6 |
| Small tin of pale grey paint | covers a small piece in one tin | $7 to $14 |
| Test patch and small tin | shows the colour before you paint it all | $7 to $14 |
| Thin coats and small tin of paint | builds colour without drips | $7 to $14 |
| Paint for that first coat | lets the first coat dry fully | $7 to $14 |
| Paint for the top and sides | paints the top first, then the sides | $7 to $14 |
11. Use a Small Roller for Flat Parts
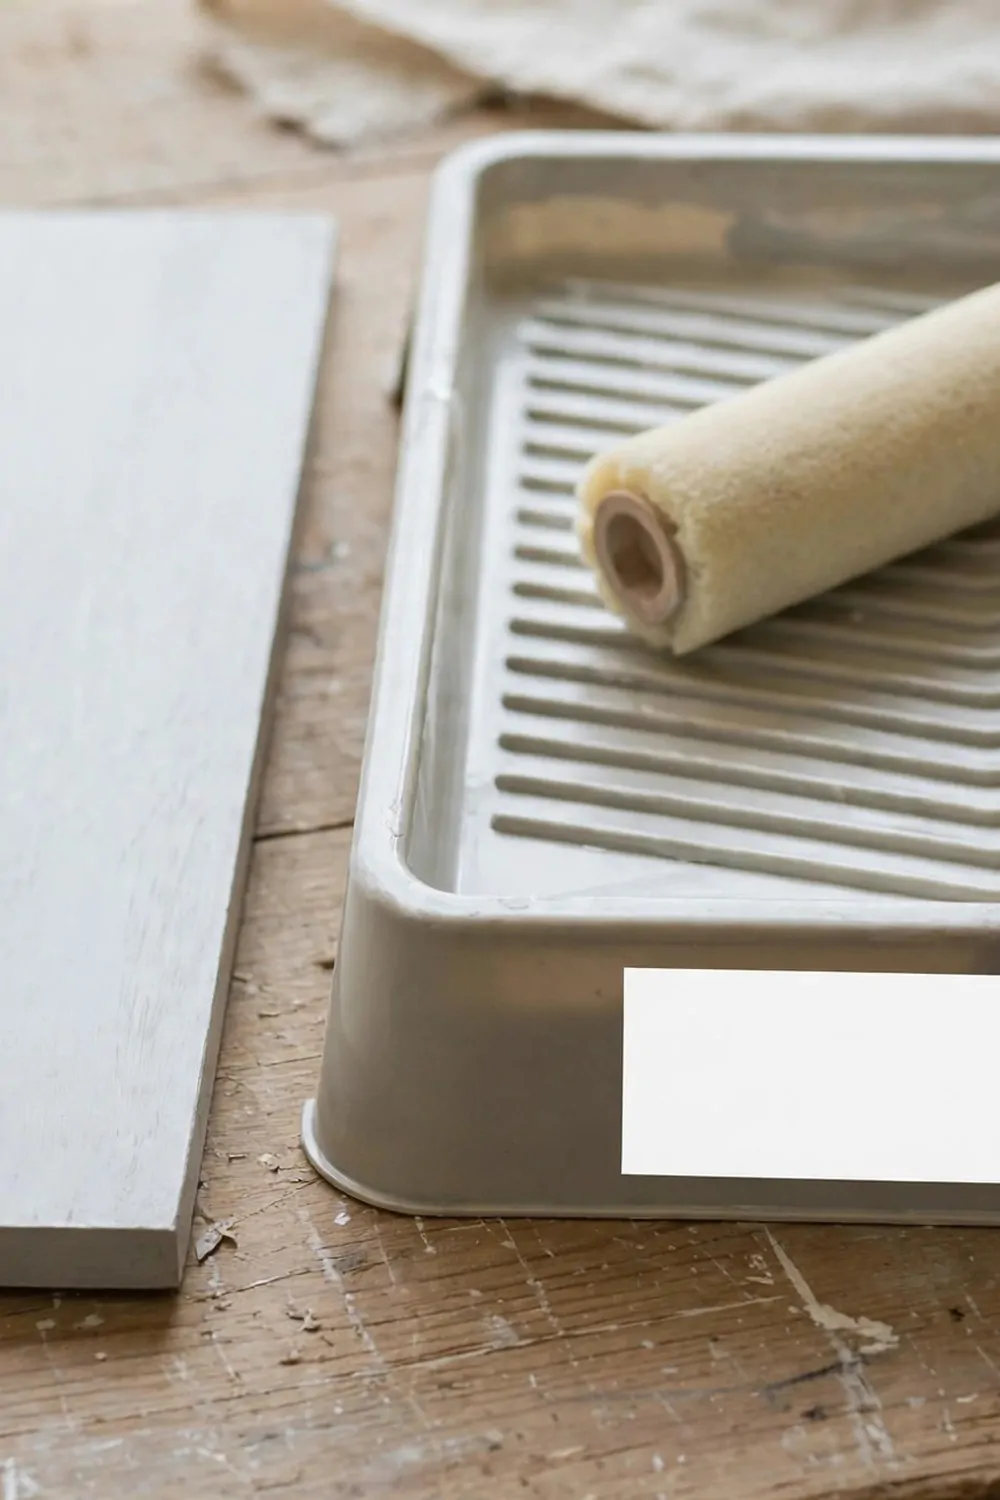
I picked up a small roller for the flat top of my little wooden stool.
My brush left small lines on the flat parts. The roller made the pale grey paint look much smoother.
I poured a little paint into a small tray first.
I rolled the roller in the tray till it felt damp all over. I did not let it drip. I wiped the extra paint off on the side of the tray.
I rolled it slow across the top in straight lines. I kept my hand light so the paint stayed thin.
The flat seat of my chair looked neat after one slow pass.
I went back over the same lines while the paint was still soft. That helped me blend the edges of each roll.
I checked the sides in good light. I saw a thin line near one edge. I rolled over it again with a light hand.
My small roller and a little tray cost $6 to $12 in total.
12. Keep a Small Brush for Edges and Corners
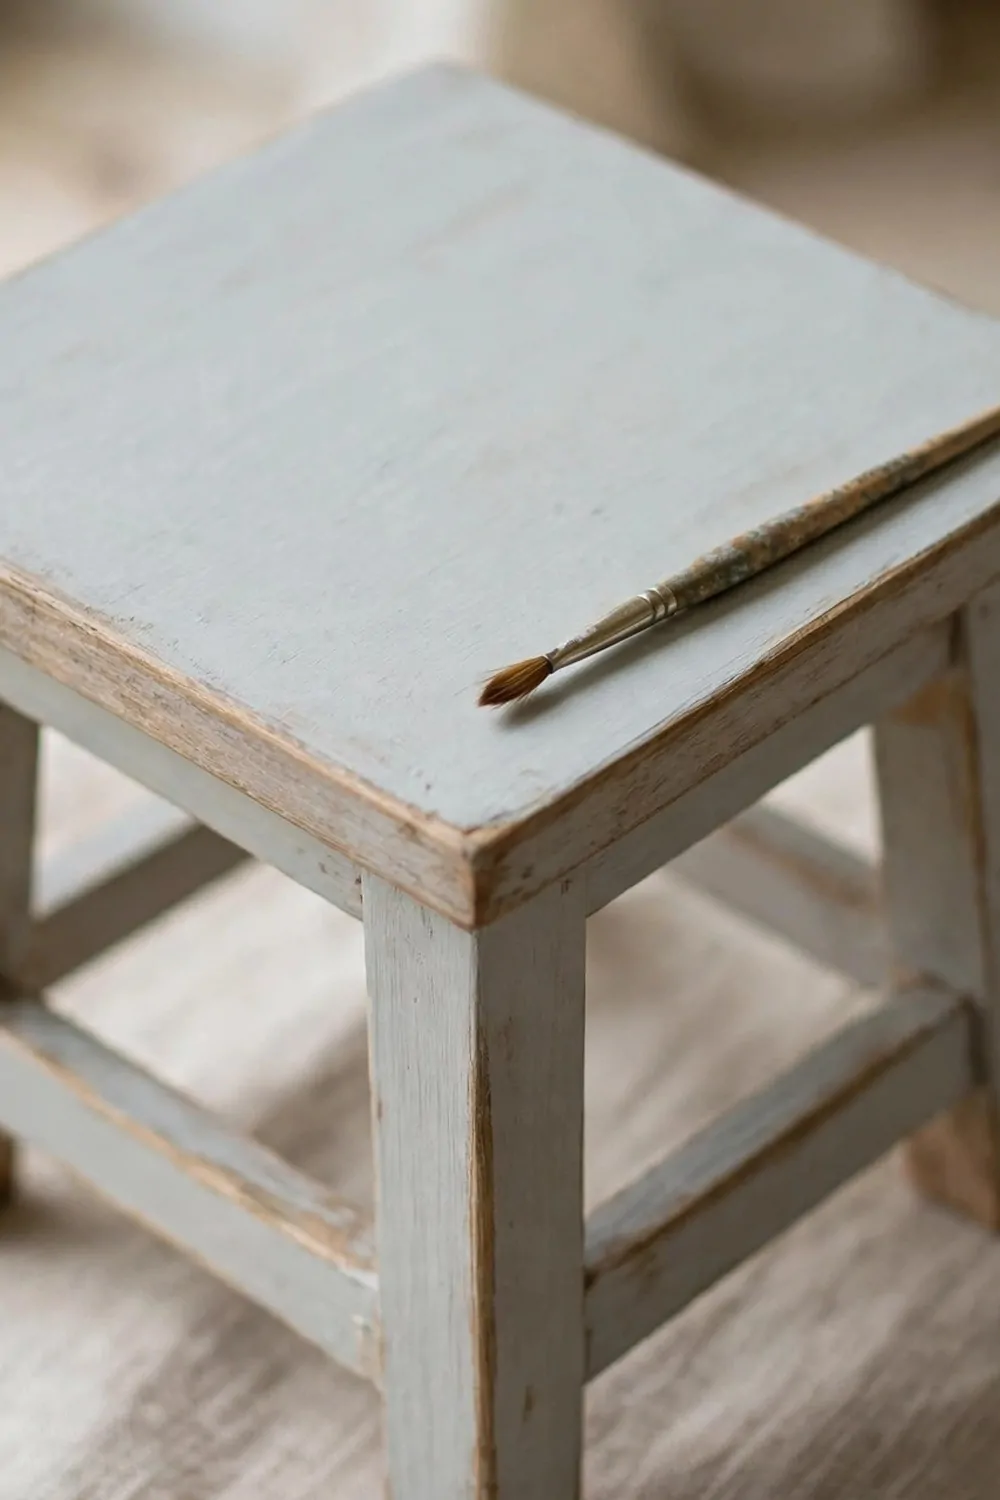
A small brush is my best friend for the tricky bits. It gets right into the edges and corners of my little stool.
I use it after the roller, not before.
I dip just the tip in the pale grey paint. I tap the extra off on the side of the pot. I brush it slow along one edge at a time.
The corners of my stool took a little extra care.
I held the brush like a pencil for better control. That stopped my hand from shaking.
I brushed the paint into the small join where the leg meets the seat. I kept the coat thin there. I wiped any thick spot away with the tip of the brush.
A small brush makes the whole piece look tidy.
I rinsed it in clean water when I took a short break. I dried it on an old rag before I used it again.
I keep this brush just for small paint jobs. My small brush cost $5 to $10 in total.
13. Keep a Damp Cloth Close for Drips
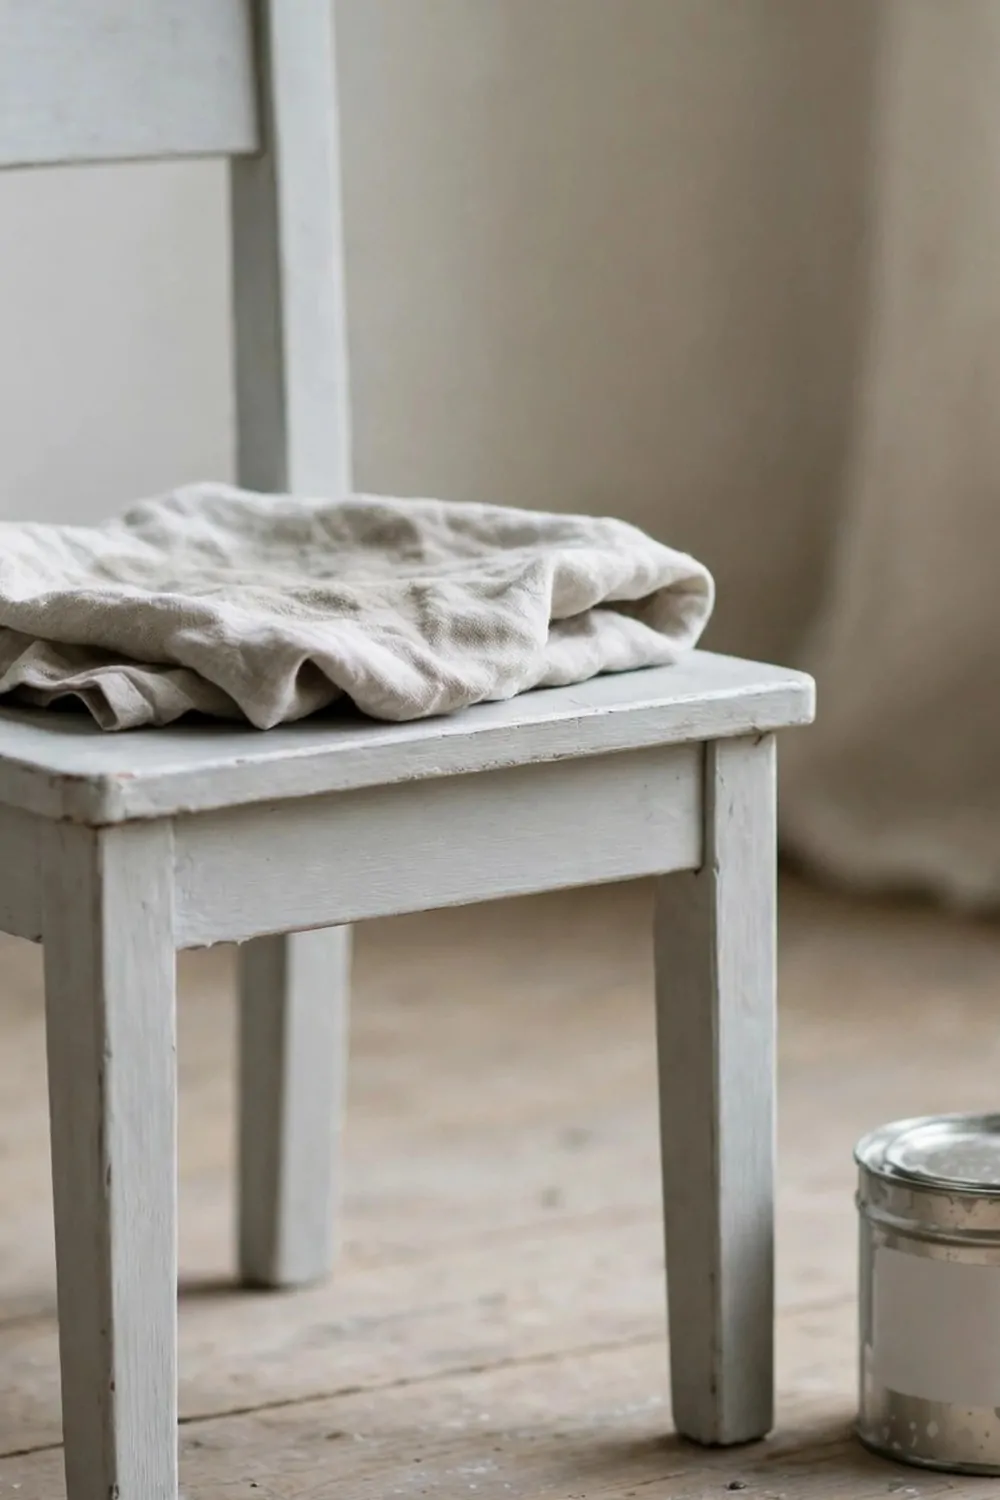
I keep a damp cloth right next to my paint pot.
Drips happen fast when you paint a small chair. A damp cloth lets me wipe them away in a second.
I wet the cloth and wring it out till it feels just damp. I fold it into a small square. I set it on the seat of my chair.
My cloth is plain and old, so I do not mind paint on it.
When a drip ran down the side of my little chair, I wiped it right away. The pale grey paint came off the edge clean.
I check the cloth often while I work. If it gets too full of paint, I rinse it out. A clean damp cloth works much better than a dry one.
I also wipe my hands on it when they get sticky.
I keep it close for the whole job, from the first brush stroke to the last. It saves me a lot of cleaning later.
- Keep the cloth damp, not wet
- Keep it near your paint pot
- Rinse it out when it gets full of paint
My damp cloth and a small bowl of water cost $3 to $7 in total.
14. Paint in Daylight by a Window
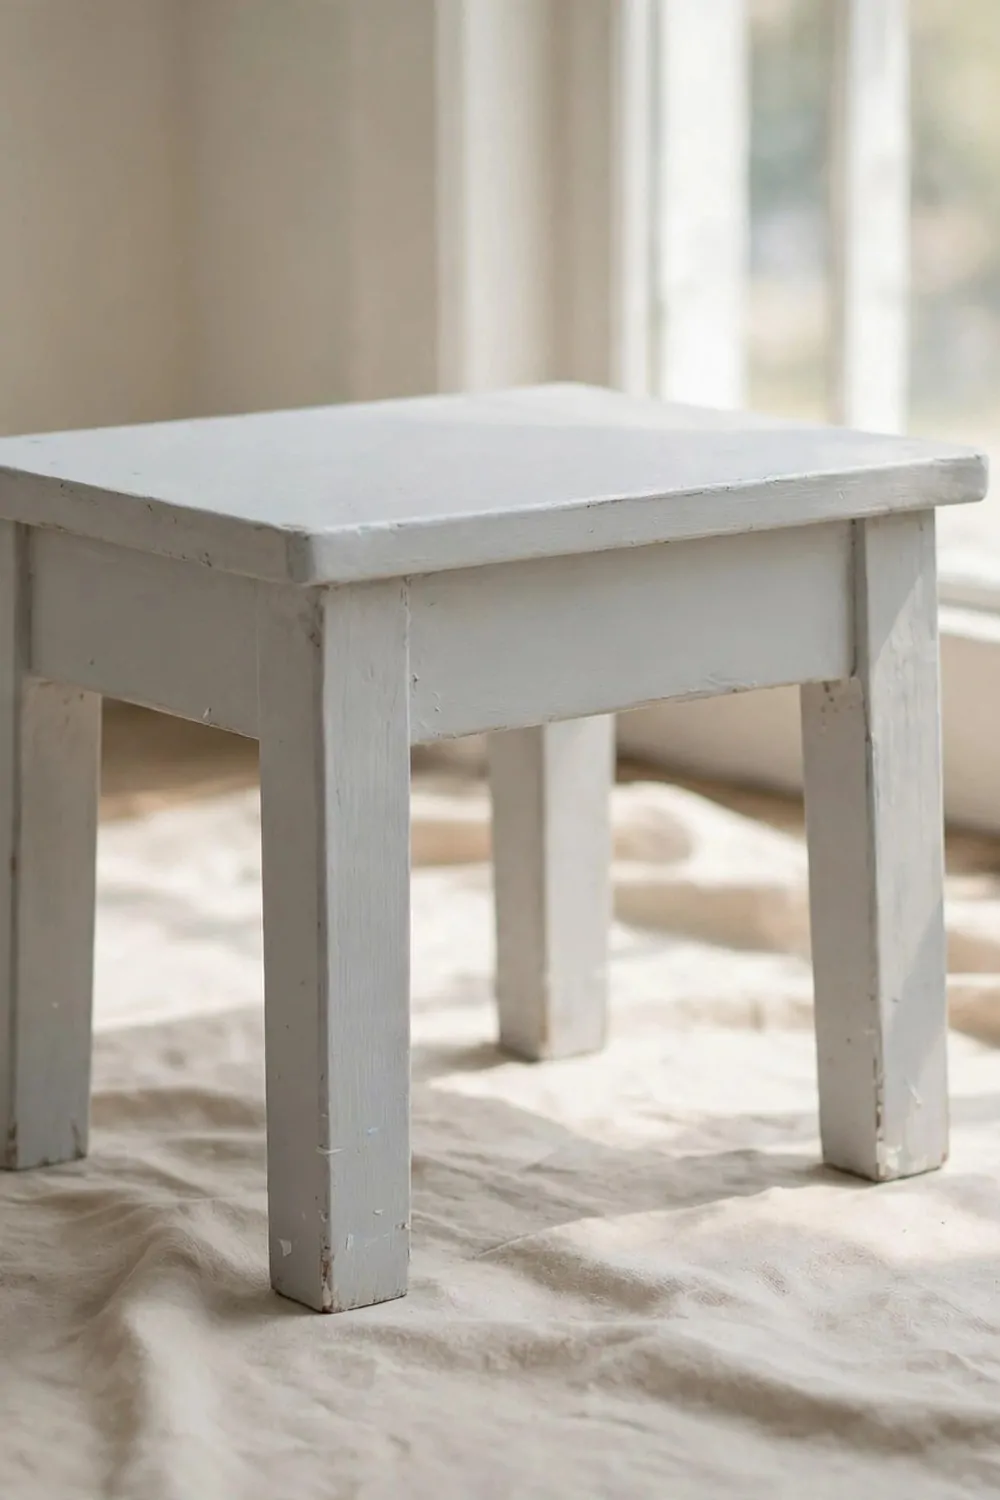
I paint by a big window in the daytime. The soft daylight helps me see every thin spot.
Pale cream paint can look patchy in dim light.
I moved my small stool close to the window before I opened the paint pot. I turned it a little so the light fell on one side at a time. I could see the true pale grey shade much better that way.
I do not paint late at night now. A lamp makes the colour look warmer than it really is.
Daylight shows me where I missed a small edge.
I lift the tray and turn it slow in the light. I look for dull spots and shiny spots. I touch up the dull spots with a light brush stroke.
I open the window a crack for fresh air while I work. The room stays bright and the paint dries in a calm way.
My little stool looked even and soft in the daylight.
A plain drop cloth and a small paint tray for my window spot cost $7 to $14 in total.
15. Put Newspaper Down Before You Start
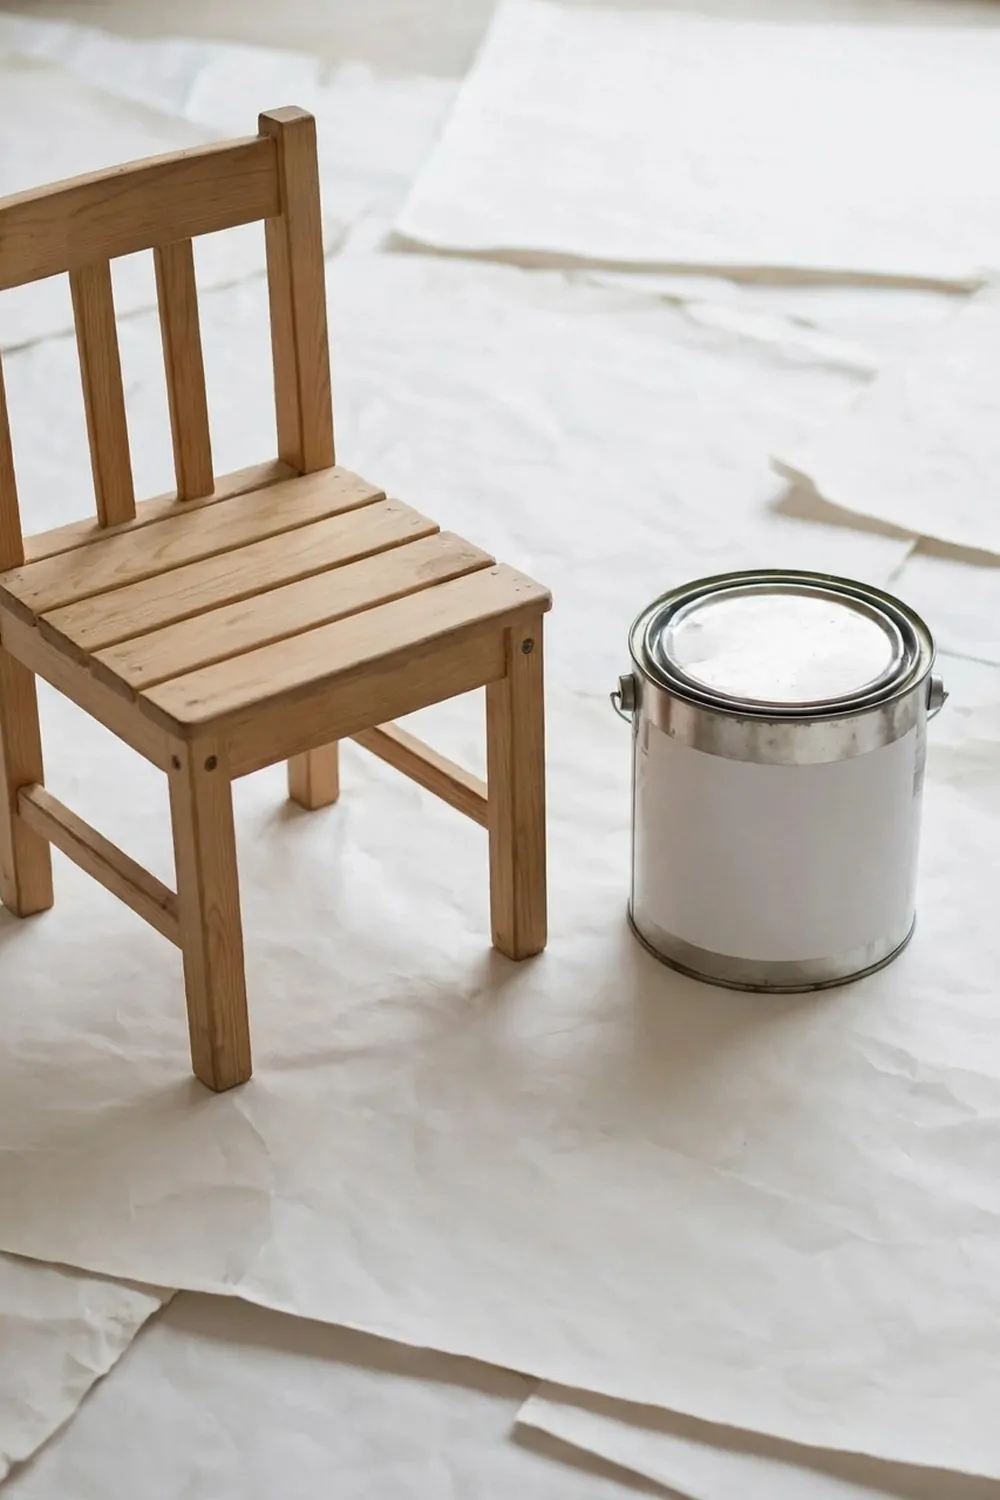
I put newspaper down on the floor before I open any paint.
Paint drips on the floor are hard to clean later. Newspaper keeps my floor safe while I work on my little chair.
I lay out a few sheets under the stool and a few more around it. I overlap the edges so no gap shows. I smooth the corners flat so they stay put.
Old paper works just as well as new paper.
I also put a sheet under my paint tray. That way a small spill stays on the paper, not on my floor.
I move the paper when I turn the piece around. I check that the floor is still covered. I add a fresh sheet if one gets too wet.
When I finish, I fold the paper up with the drips inside.
I keep a spare stack near the door for the next job. It is a simple step that saves me a lot of worry.
My stack of old newspaper and a roll of plain tape cost $2 to $6 in total.
16. Take the Knobs Off Before You Paint
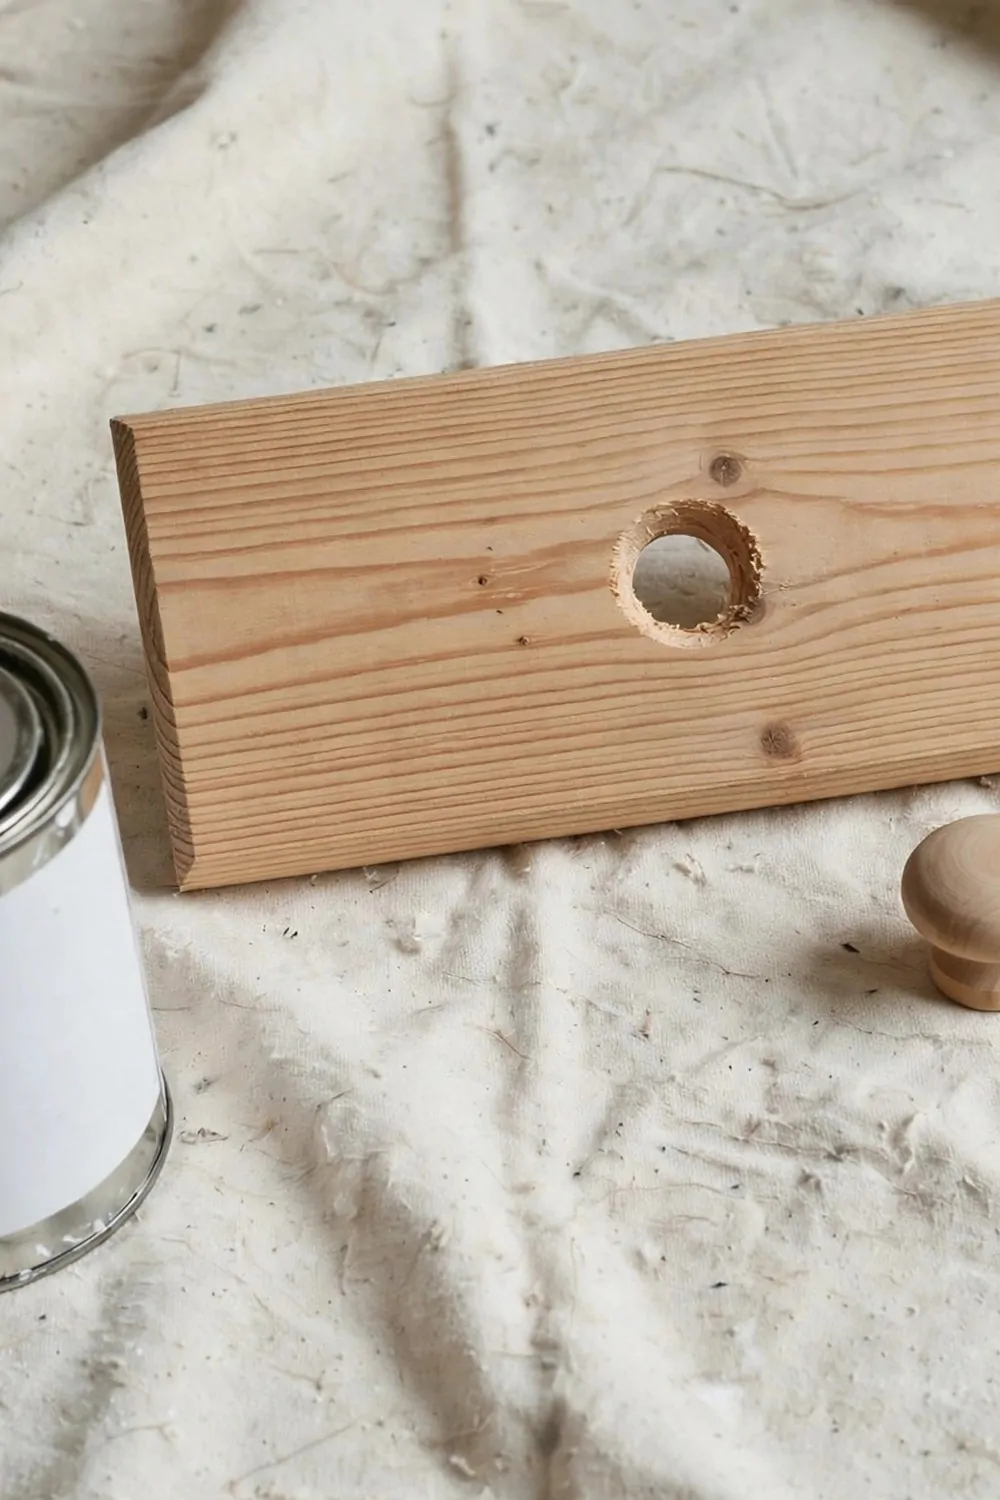
I take the knob off my little tray table before I paint it. It is much easier to paint around a flat front with no knob in the way.
I turn the knob slow till it comes loose in my hand.
I set the knob down on a small cloth beside the piece. I keep the tiny screw with it so I do not lose it. I can see the knob resting there while I paint the front.
The front of the drawer looks smooth and flat now. I brush the pale cream paint over it in one even coat.
I do not paint the knob itself, as I want it to stay plain wood.
I paint right up to the small hole where the knob fits. I keep my brush light near the hole. I wipe any paint from the edge of the hole with a dry cloth.
When the paint feels dry, I put the knob back on with its screw.
The knob will sit neat and snug again once it is back on. The whole piece will look fresh and tidy with its plain wood knob back in place.
- Turn the knob till it comes loose
- Set it on a cloth beside the piece
- Keep its tiny screw with it
My small screwdriver and a soft cloth for the knob cost $2 to $6 in total.
17. Tape the Parts You Do Not Want Painted
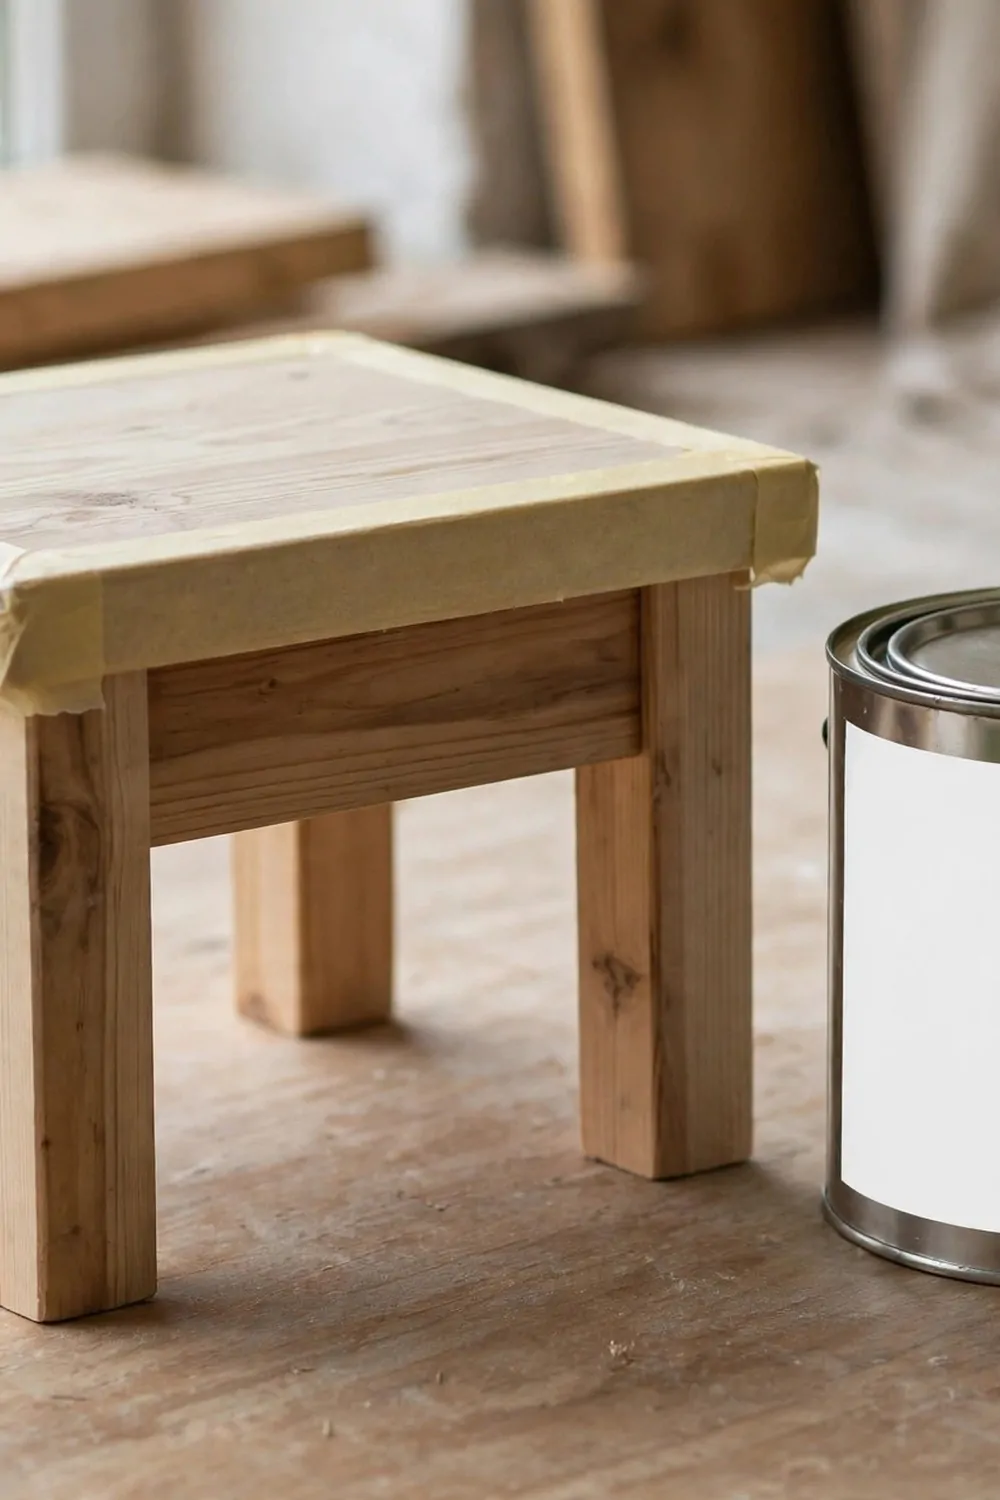
I tape the parts I do not want painted before I start.
A strip of plain tape keeps the paint line neat and straight. I use it on the plain wood rim of my little stool.
I press the tape down firm with my thumb. I smooth out any small bubbles under it. I check that the edge sits flat against the wood.
I tape the top edge of the legs too when I want them to stay plain.
I paint up to the tape with a small brush. I do not push paint under the edge of the tape.
I let the paint get a little tacky before I pull the tape off. I pull it back slow and low. The line underneath looks crisp and clean.
If a little paint sneaks under the tape, I wipe it off with a damp cloth. It is a small fix and it takes only a moment.
Tape helps a first-time painter feel brave about straight lines.
My roll of plain painter tape cost $4 to $8 in total.
18. Paint the Legs Last
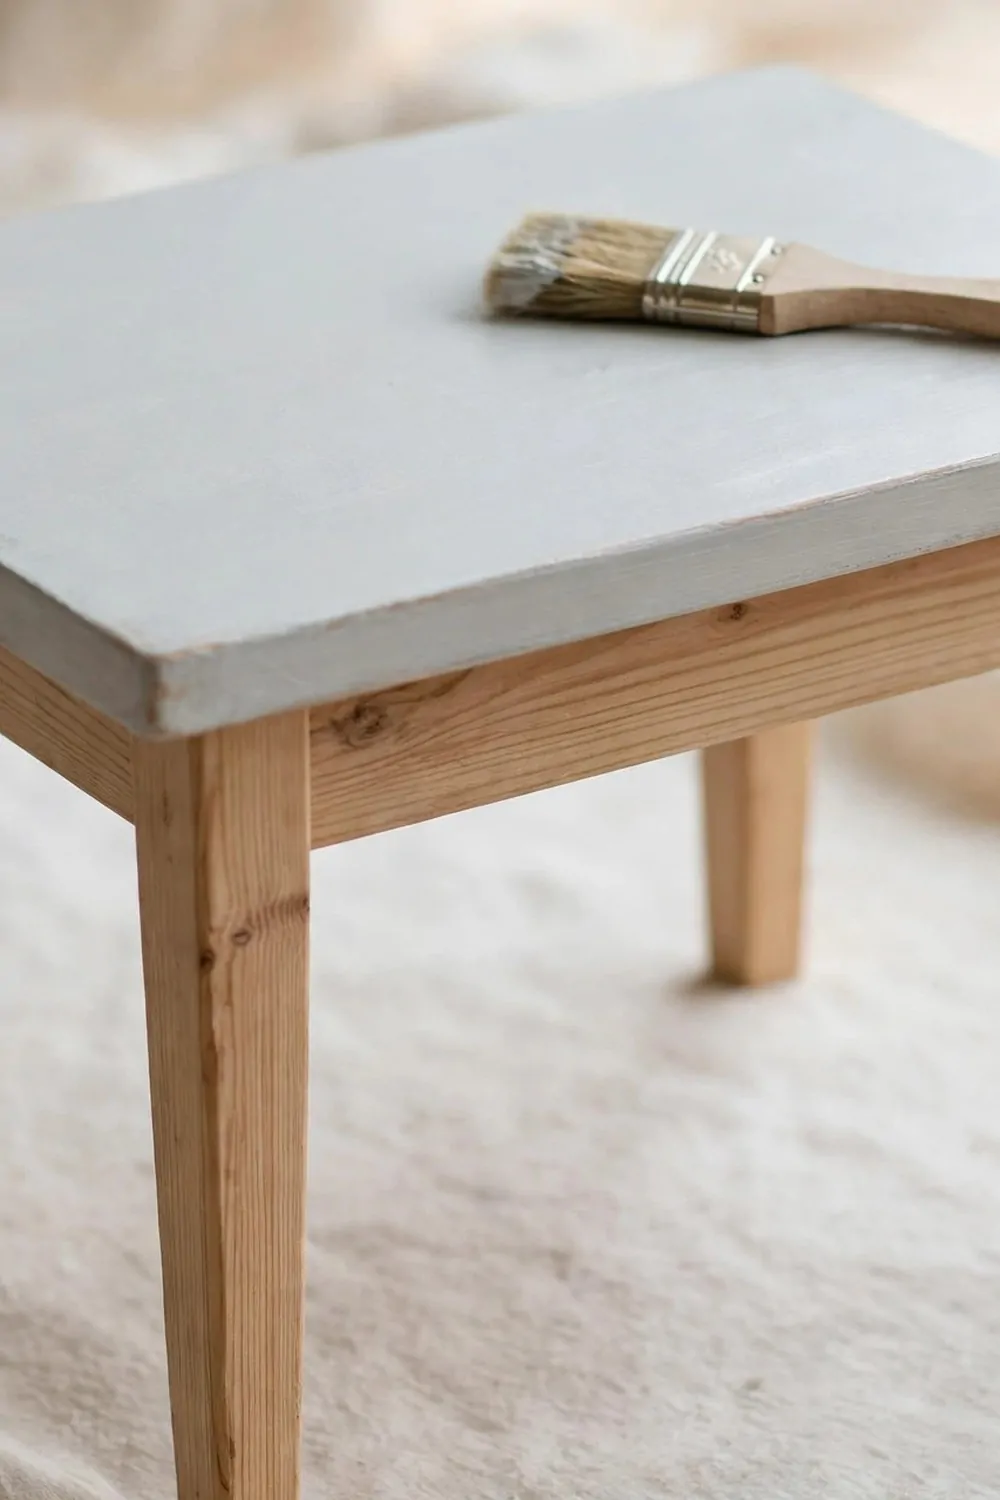
I paint the legs last on my little wooden table. The top dries first while I work on the rest of the piece.
My top is pale grey, and my legs stay plain wood.
I brush the top with slow, even strokes. I let it settle while I wipe my brush on a rag. I look at the pale grey top from the side to check for thin spots.
The plain wood legs give the table a warm, simple look.
I tape the top edge where it meets each leg. That keeps the pale grey paint off the plain wood.
I do the legs last, after the top feels dry to touch. I wipe each plain wood leg with a dry cloth to lift dust. I do not brush paint on them, as I want the wood to show.
The mix of pale grey top and plain wood legs looks calm and pretty. It suits a small room and a quiet corner.
I let the top dry fully before I move the table back.
My small brush and a roll of plain tape for the legs cost $7 to $14 in total.
19. A Second Coat Makes the Colour Look Even
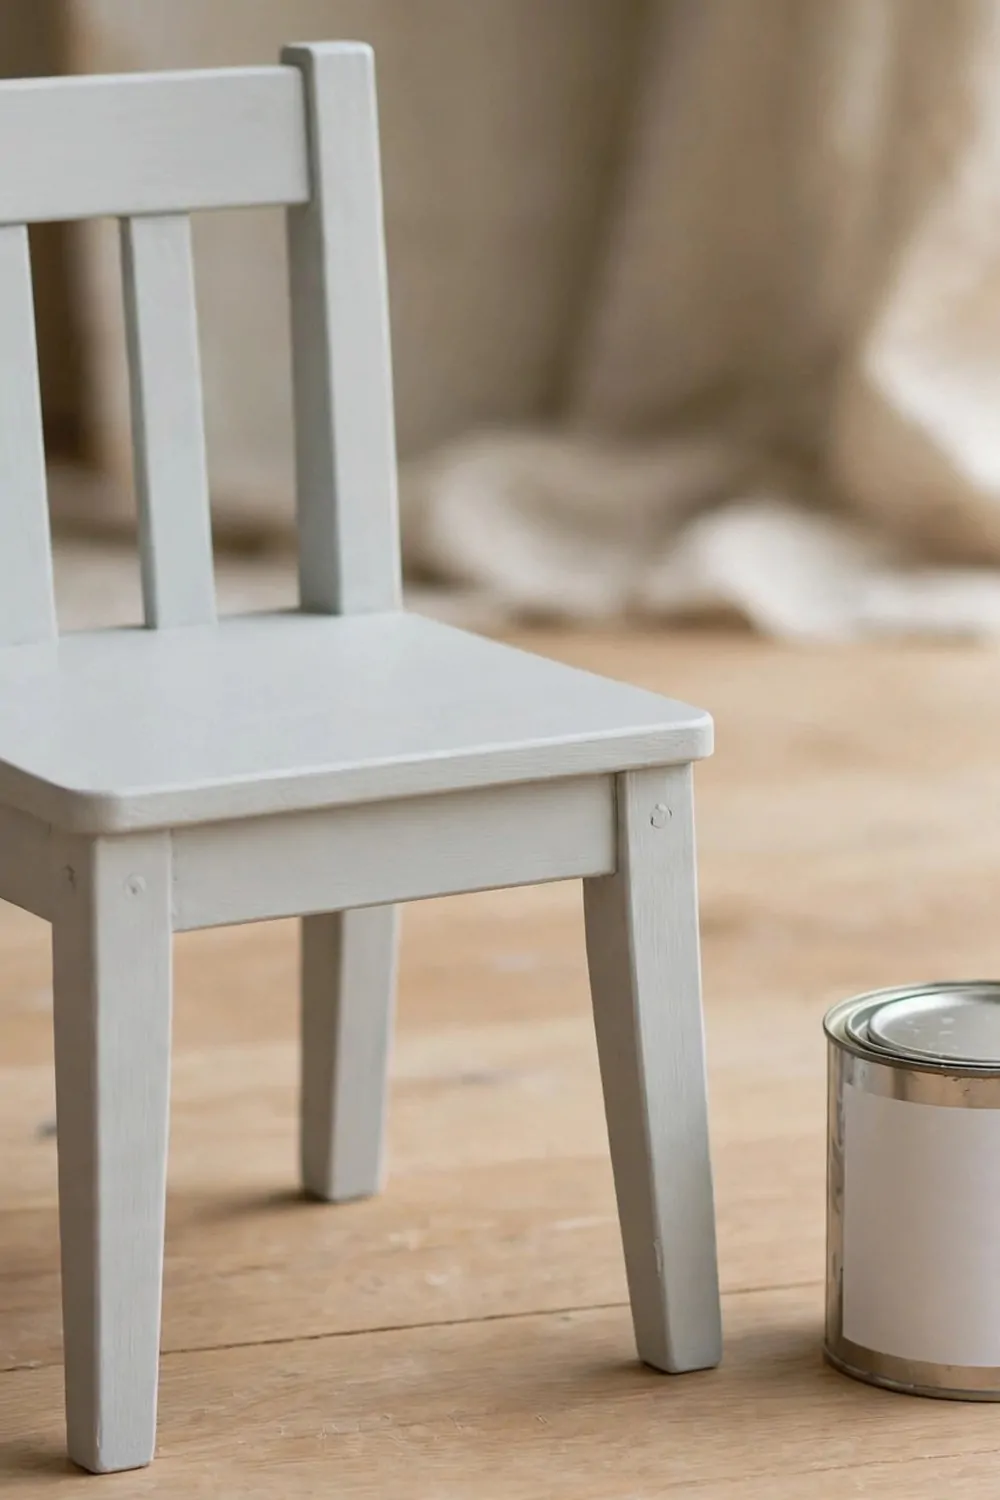
A second coat makes the colour look even on my little chair.
The first coat looked a bit thin in places. The pale grey showed the wood through it in small patches.
I waited till the first coat felt dry to my touch. I ran my hand light over the top to check it. I did not rush this part, as a wet first coat would smear.
I rubbed one rough edge smooth with fine paper near an open door, my plain mask on. The wood felt soft under my hand after that.
I stirred the paint again with a clean stick.
I rolled the second coat on in the same slow way. I kept it thin, just like the first one.
I brushed the edges again with my small brush. I looked for the pale spots I saw before. I covered each one with a light stroke.
The second coat gave the whole piece a soft, even look.
My small roller, brush and paint for the second coat cost $7 to $14 in total.
20. Fix a Drip While It Is Still Wet
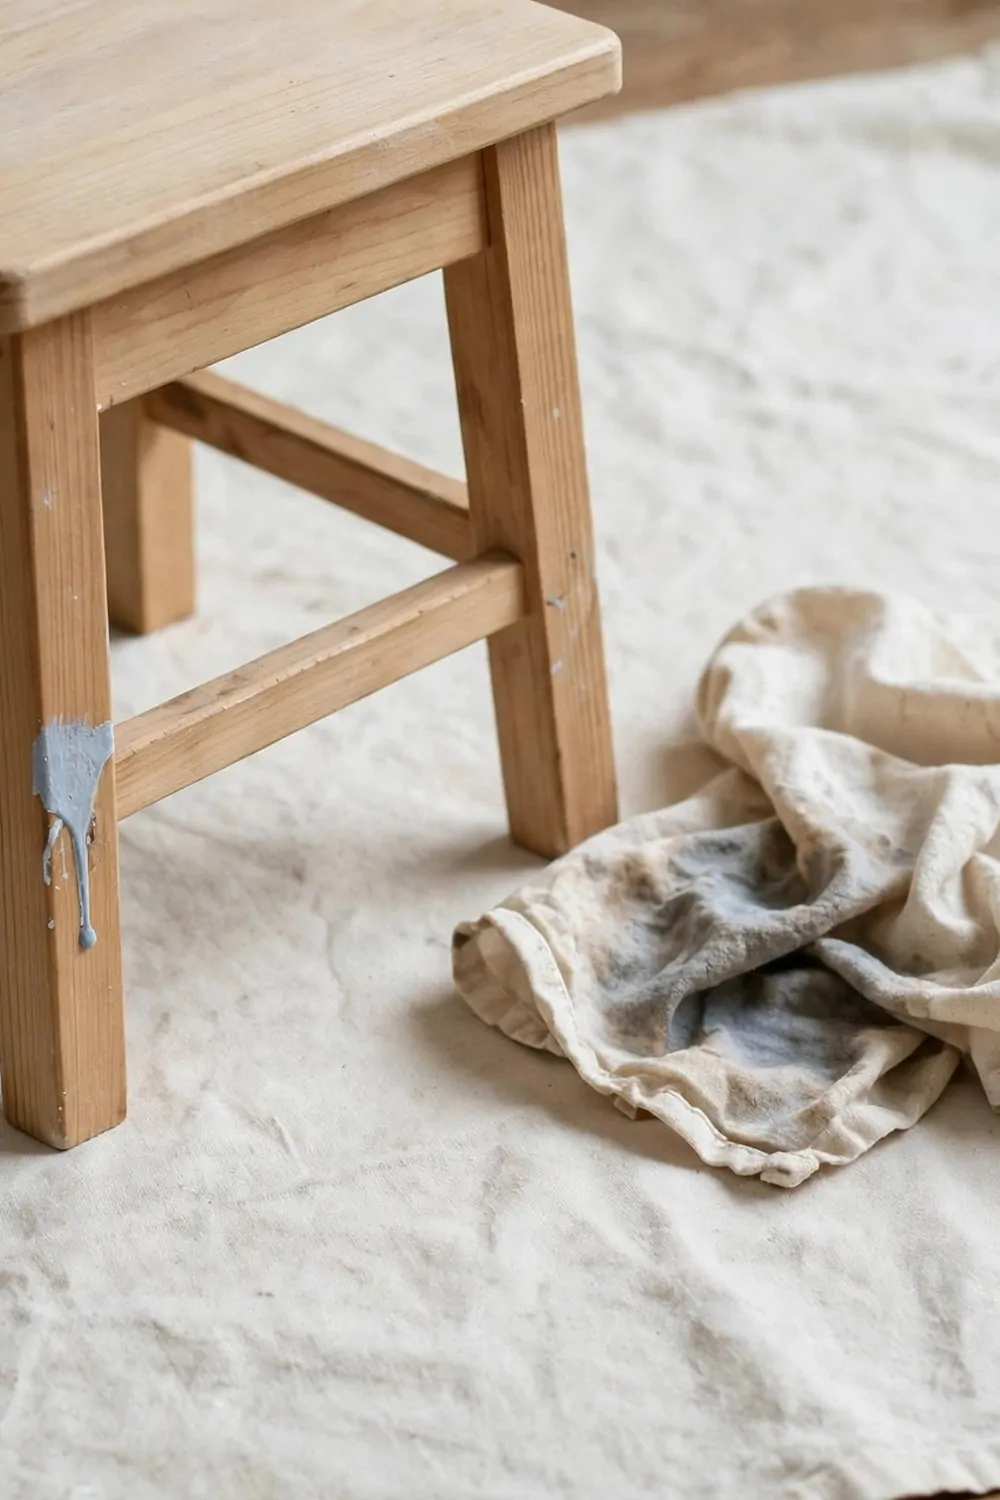
I fix a drip while it is still wet on my little stool. A wet drip wipes away fast, but a dry one is hard to smooth.
I keep my damp cloth close for this very reason.
I saw a small drip run down the side of the leg. I picked up my cloth in one quick move. I wiped the drip away with one light stroke.
I did not press hard, as hard pressure would leave a mark. I let the cloth lift the paint off soft and slow.
I brushed over the spot again with a thin coat of pale grey paint.
I checked the spot in the daylight by the window. I looked from the side for any raised edge. I smoothed it once more with the tip of my brush.
Once it dries, the side of the stool will look smooth again, with no sign of the drip.
I learned to check for drips often while I paint. A quick look after each side saves me a lot of work later.
My damp cloth and a small brush for drip fixes cost $7 to $14 in total.
21. Let It Dry Overnight Before You Use It
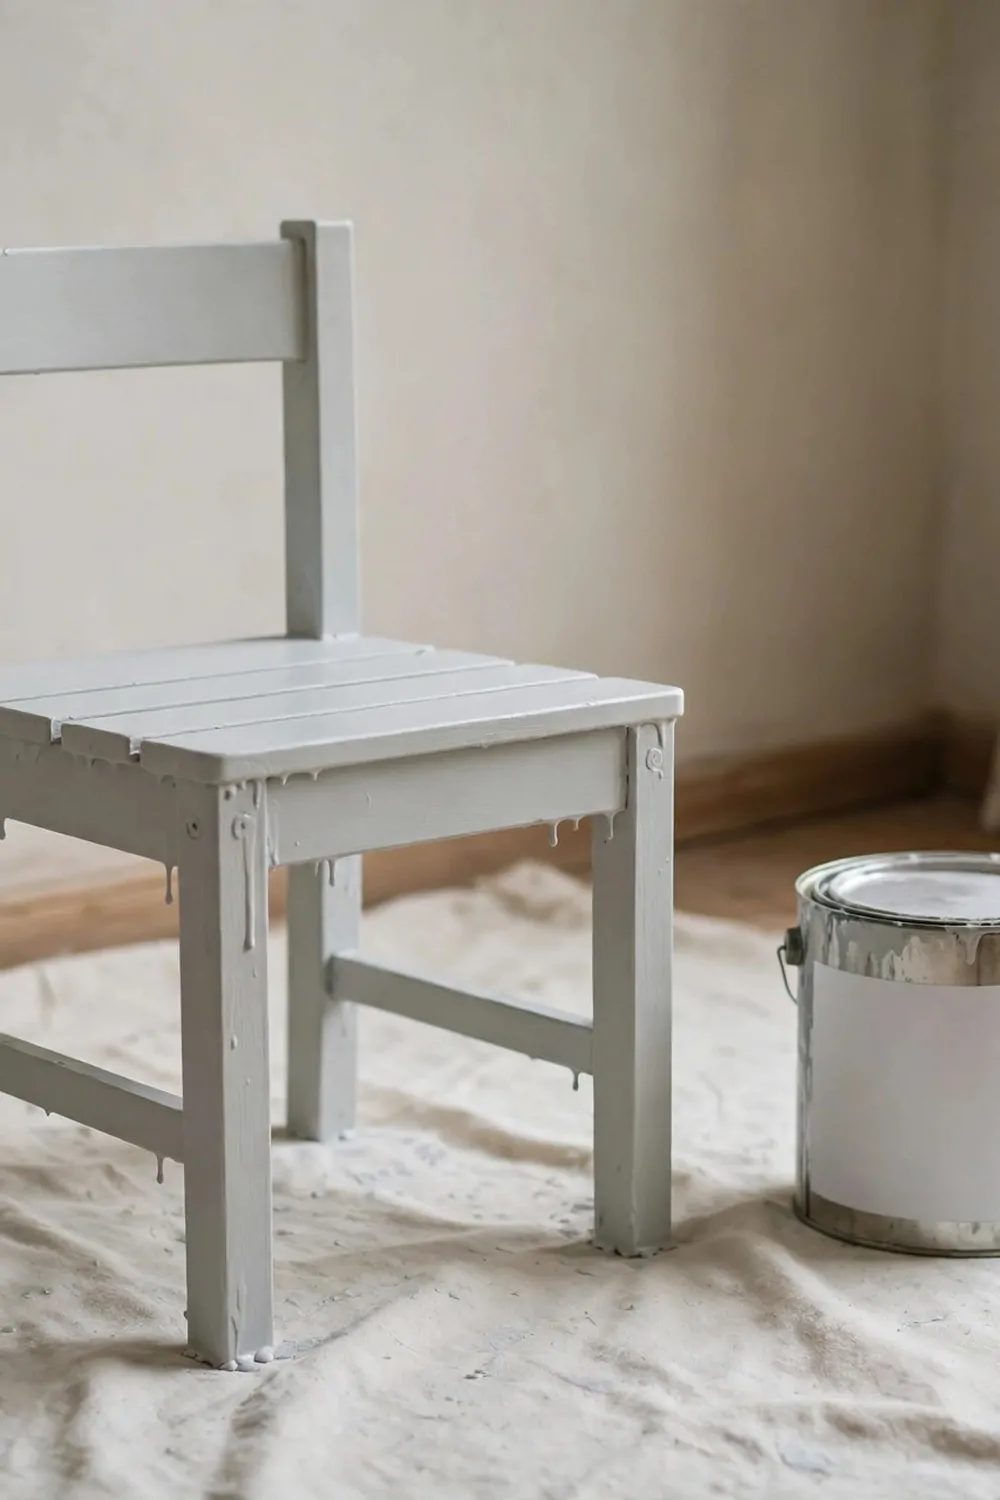
I let my little chair dry overnight before I use it.
The paint may feel dry on top, but it is still soft underneath. A night of rest lets it harden in a calm way.
I set the chair in a quiet corner of the room. I leave the window open a crack for fresh air. I do not touch the top again till morning.
I do not lean anything against the chair while it dries.
In the morning I touch the top with the back of my hand. It feels cool, hard and smooth.
I check the legs and the edges once more. I look for any sticky spot. I wipe a dusty spot with a dry cloth if I find one.
I move the chair back to its spot by the window. It looks pale, soft and fresh in the morning light.
Waiting overnight is the hardest part, but it is worth it.
My drop cloth, brush and paint for this last step cost $7 to $14 in total.
| Idea | Main change | Typical cost |
|---|---|---|
| Small roller and a little tray | smooths flat parts fast | $6 to $12 |
| Small brush | reaches edges and corners | $5 to $10 |
| Damp cloth and a small bowl of water | wipes drips while they are wet | $3 to $7 |
| Plain drop cloth and a small paint tray | gives you a bright spot to paint in | $7 to $14 |
| Stack of old newspaper and a roll of plain tape | keeps the floor safe from drips | $2 to $6 |
| Small screwdriver and a soft cloth | takes the knob off before you paint | $2 to $6 |
| Roll of plain painter tape | covers the parts you do not want painted | $4 to $8 |
| Small brush and a roll of plain tape | paints the legs last, from top to bottom | $7 to $14 |
| Small roller, brush and paint | makes the colour look even | $7 to $14 |
| Damp cloth and a small brush | fixes a drip while it is still wet | $7 to $14 |
| Drop cloth, brush and paint | lets the piece dry overnight | $7 to $14 |
22. Buff the Top Smooth With a Soft Cloth
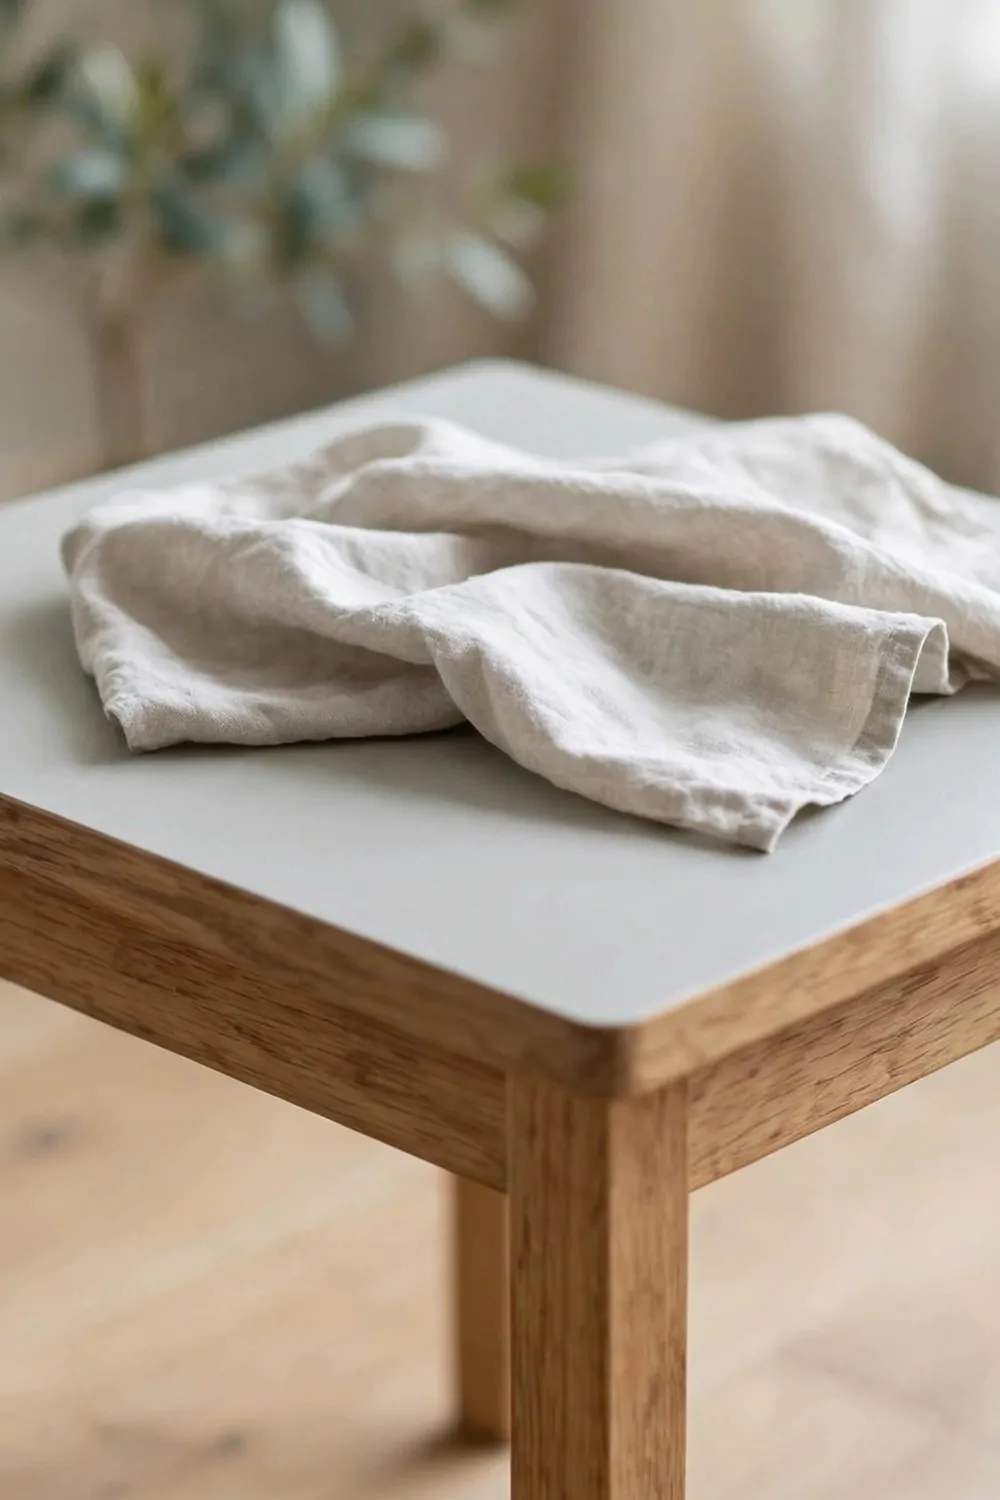
I buff the top of my small table with a soft cloth after the first coat dries.
The cloth takes off the last bits of dust. It also shows me the spots I missed.
I move the cloth in slow circles. I keep my touch light. A soft hand is enough here.
A soft cloth will not scratch the wood.
I check the edges too. The corners hold dust you cannot see at first. I wipe them with care.
If the cloth feels rough, I shake it out. Then I go over the top one more time.
You can use an old soft shirt if you have no cloth. Just make sure it is clean and dry.
A smooth top takes the next coat in a neat way. It helps the second coat look flat and calm.
I keep the cloth in my paint box for next time. A soft cloth cost $3 to $7 in total.
23. One Colour for the Whole Piece
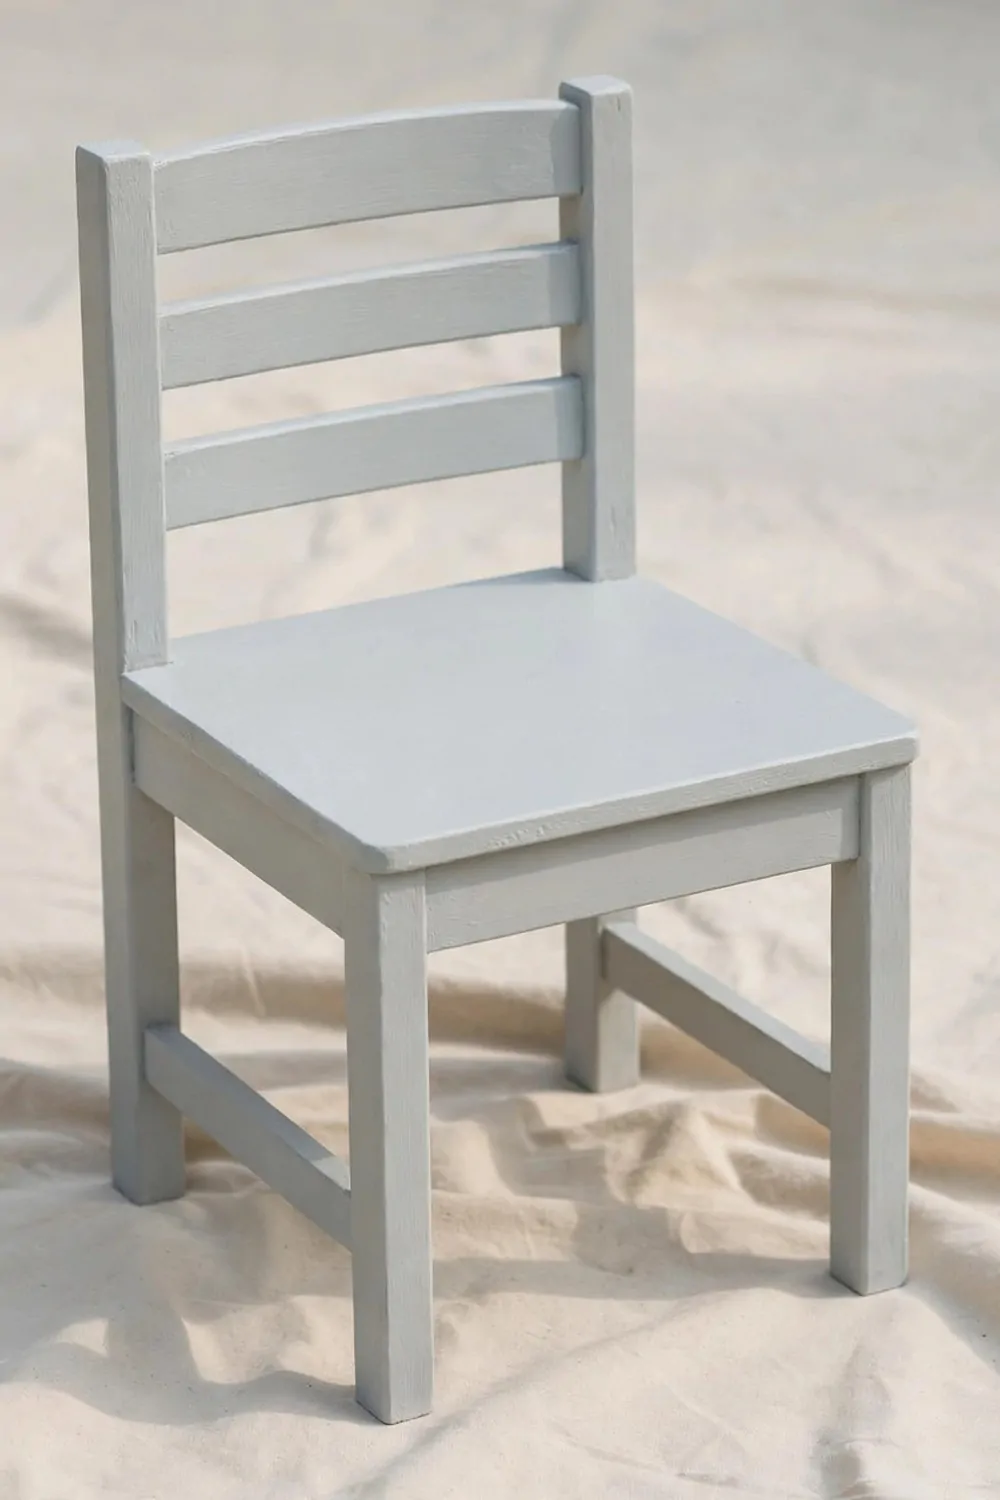
I paint my small chair one colour from top to bottom.
One colour makes a plain chair look calm and neat. You do not need to pick a second paint.
I use pale grey paint for the whole chair. It suits the legs and the seat and the back.
I start at the top and work down. That way I do not drip paint on the parts I have done.
Thin coats work best here. Two light coats look far nicer than one heavy coat. I take my time with each coat.
I let the first coat dry fully.
Then I add the second coat in the same pale grey. The colour looks soft and even.
You can try this on a small stool too. One colour keeps the job simple for a first try.
I put the lid back on the tin when I finish. A small tin of pale grey paint cost $7 to $14 in total.
24. Paint Only the Front and Leave the Back Plain
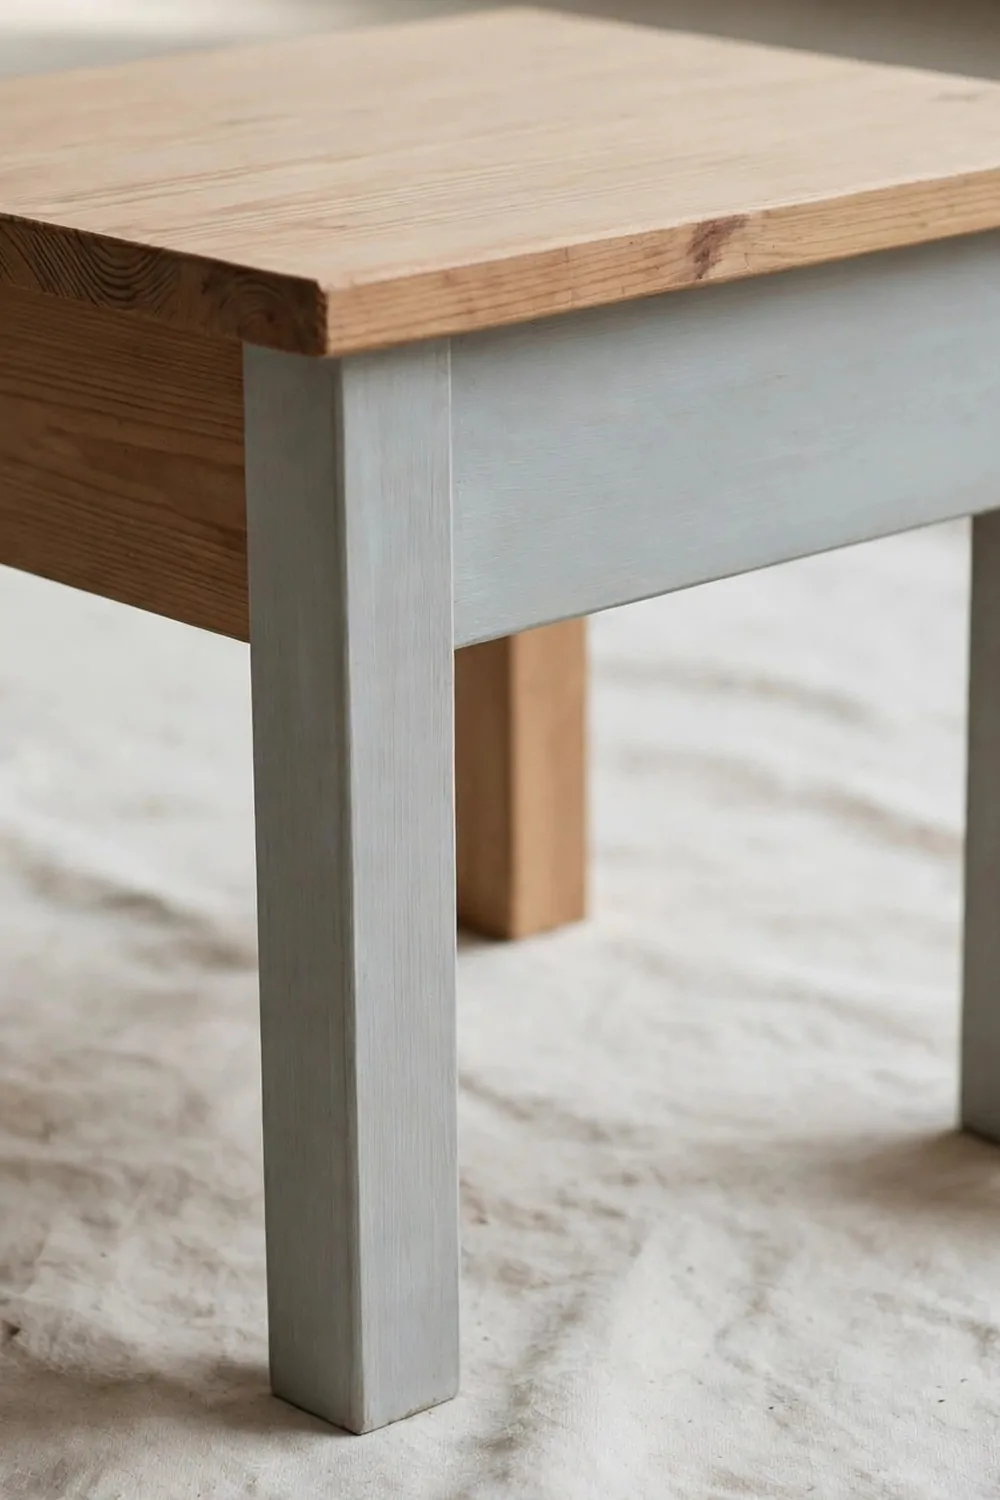
I paint only the front of my small table. The back stays plain wood.
The pale grey front looks fresh. The plain wood back keeps the old feel of the table.
I tape the sides so the paint stops in a neat line. The tape keeps the edge clean.
I paint the front legs and the front edge first. Then I paint the flat front face.
I use thin coats on the front. Two thin coats are enough for a soft pale grey.
I do not touch the back at all. Its plain wood shows the grain in a nice way. I like how the two sides sit side by side.
You can turn the table round to show the side you like best.
This idea saves paint and time. It is a good first job if you feel a bit shy.
I peel the tape off slow when the paint feels dry. A small tin of pale grey paint for the front cost $7 to $14 in total.
25. A Pale Paint Hides Small Marks Best
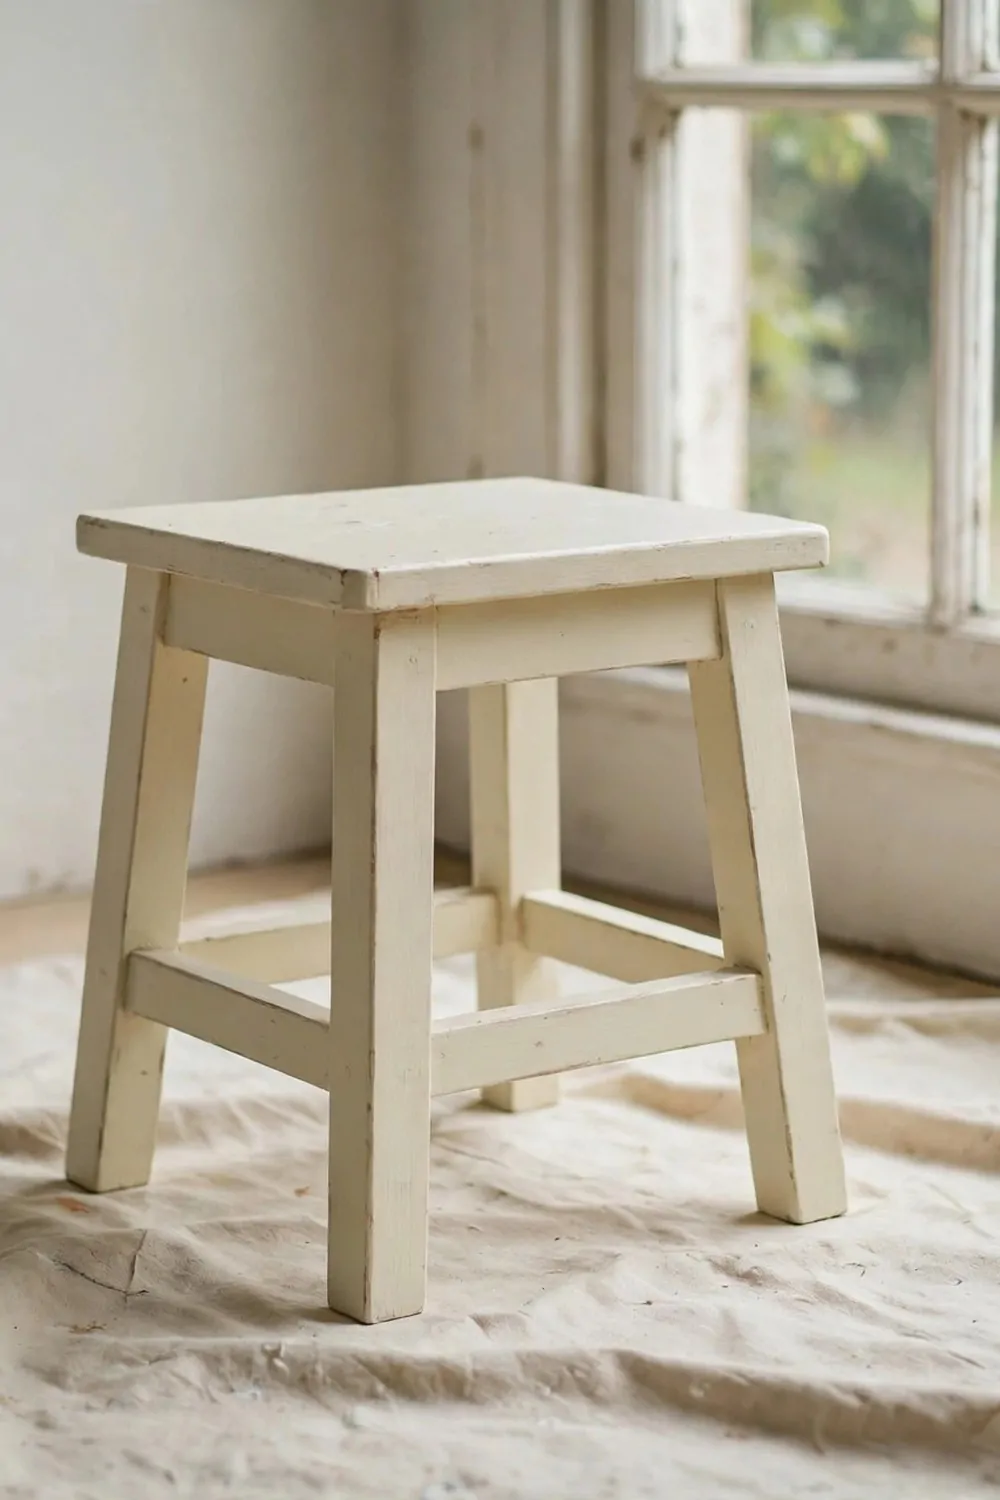
I paint my small stool with pale cream paint.
Pale cream hides the small marks on old wood. Dark paint shows each mark more.
The stool had a few small dents on the seat. The pale cream made them hard to see.
I give the seat two thin coats. The pale cream dries soft and light.
I paint the legs the same pale cream. The whole stool looks fresh and bright.
You do not need to fill each tiny mark first. The pale colour does a lot of the work for you.
I keep the stool by my front door now. It looks clean each time I walk past it.
Pale cream suits a small room too. It makes the stool feel light, not heavy. It lifts the whole corner.
I wipe the stool with a dry cloth once a week. A small tin of pale cream paint cost $7 to $14 in total.
26. Practise on a Plain Tray First
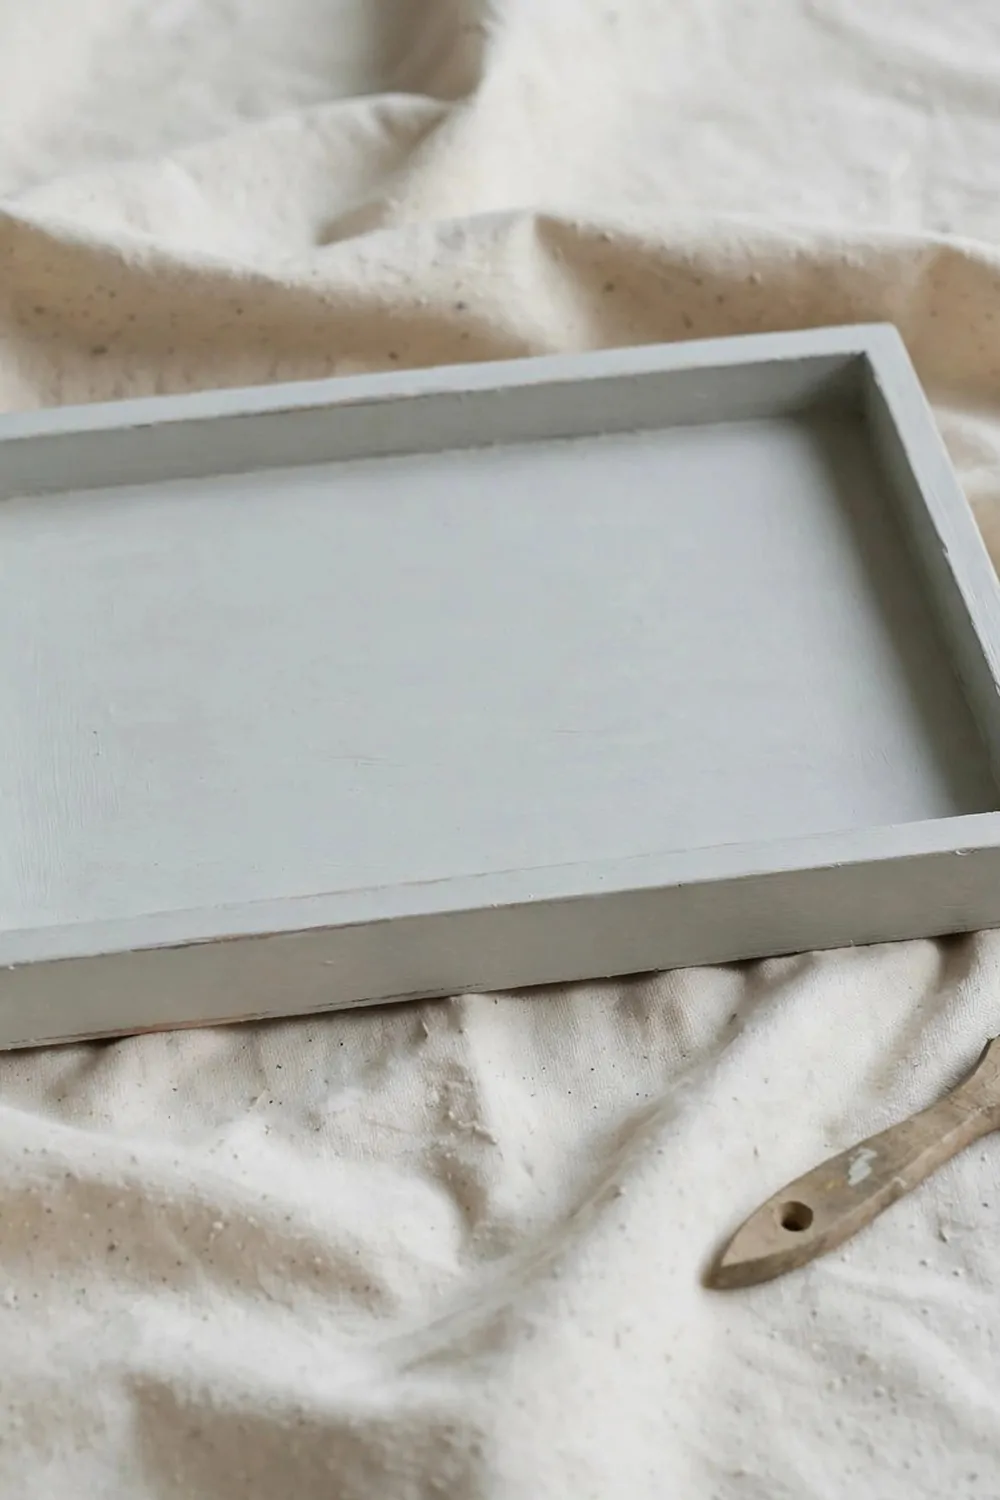
I practise on a plain wooden tray before I paint a chair.
A tray is small and flat. It is a kind place to learn.
I sand the tray light and wipe it clean. Then I try one thin coat of pale grey paint.
I learn how much paint to put on the brush. Too much paint drips. Too little paint leaves dry lines.
I try a second coat after the first one dries. The tray starts to look neat and smooth.
You can try the tray in pale cream too. Pick the colour you like best for your first chair.
My tray now holds my keys by the door.
A small tray gives you trust in your own hands. You will feel ready for a bigger piece next.
I still use my tray each day. A plain wooden tray cost $5 to $11 in total.
27. Write the Piece Name on Your Paint Tin
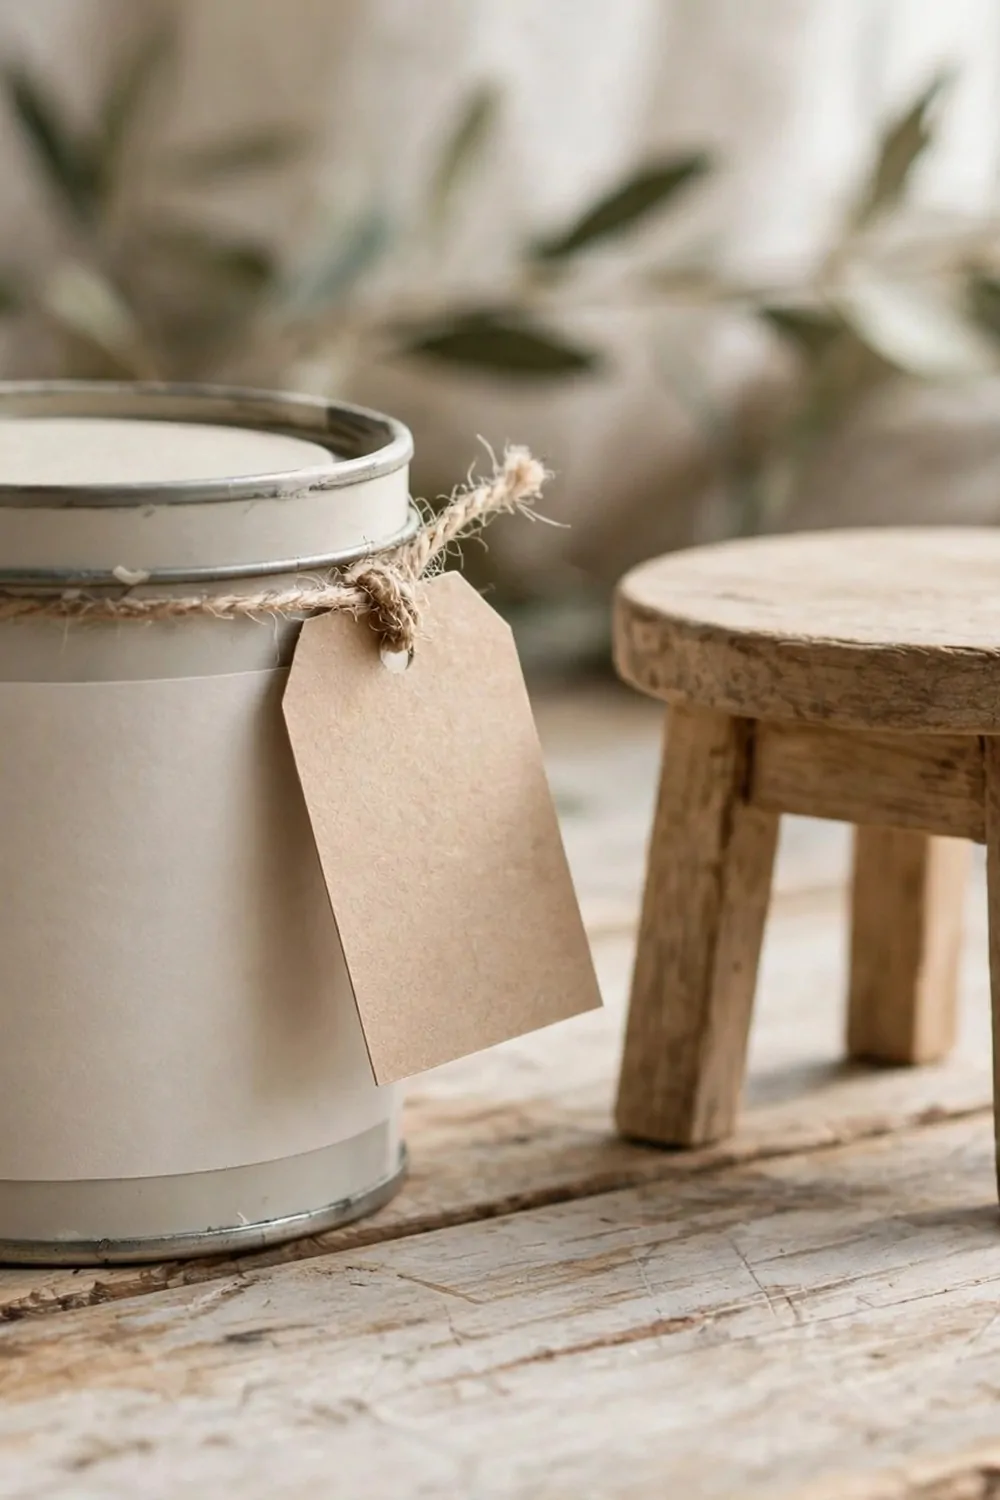
I write the piece name on my paint tin with a plain pen.
I paint a small stool in pale grey. I write “stool, pale grey” on the tin lid.
That note helps me later. I know at once which tin goes with which piece.
I also write the date on the tin. Then I know when I opened it.
You can write on a small piece of tape and stick it on the tin. The tape comes off clean.
I keep all my paint tins on one shelf. The names on the lids save me a lot of time.
If I need to fix a small mark on the stool, I find the right tin in seconds. The colour matches well.
You only need a pen and a bit of tape for this step.
It is a small step that keeps your paint box neat. A plain pen and a roll of tape cost $2 to $5 in total.
28. Rest Your Brush in Water During a Break
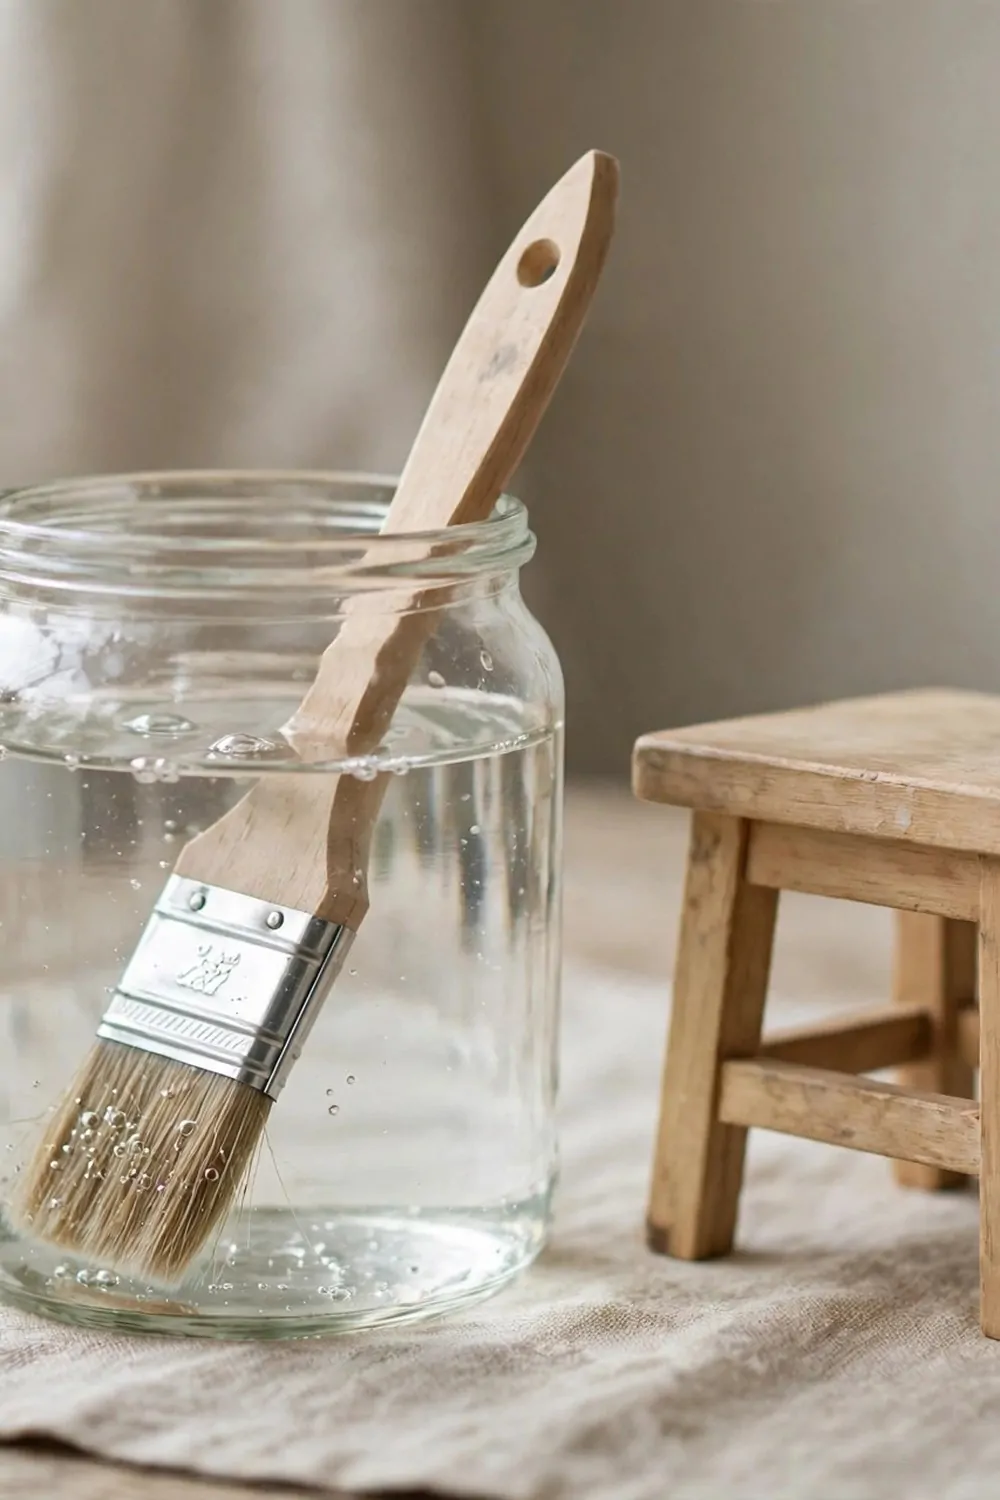
I rest my brush in a jar of water when I take a break.
The water keeps the paint soft on the brush. A dry brush gets stiff and hard to use.
I do not leave the brush in deep water. I rest it with the soft hairs down in the water.
I set the jar on a flat spot so it cannot tip over. A spill would make a mess on my floor.
When I come back, I shake the brush gently. Then I wipe it on a clean cloth.
You can take a break for lunch this way. Your brush will still be soft when you pick it up.
I do this each time I stop for a drink.
A clean jar of water is all you need. Keep it close to your chair while you paint.
I rinse the jar out at the end of the day. A plain jar and a clean cloth cost $2 to $5 in total.
29. Wash Your Brush With Warm Water and Soap
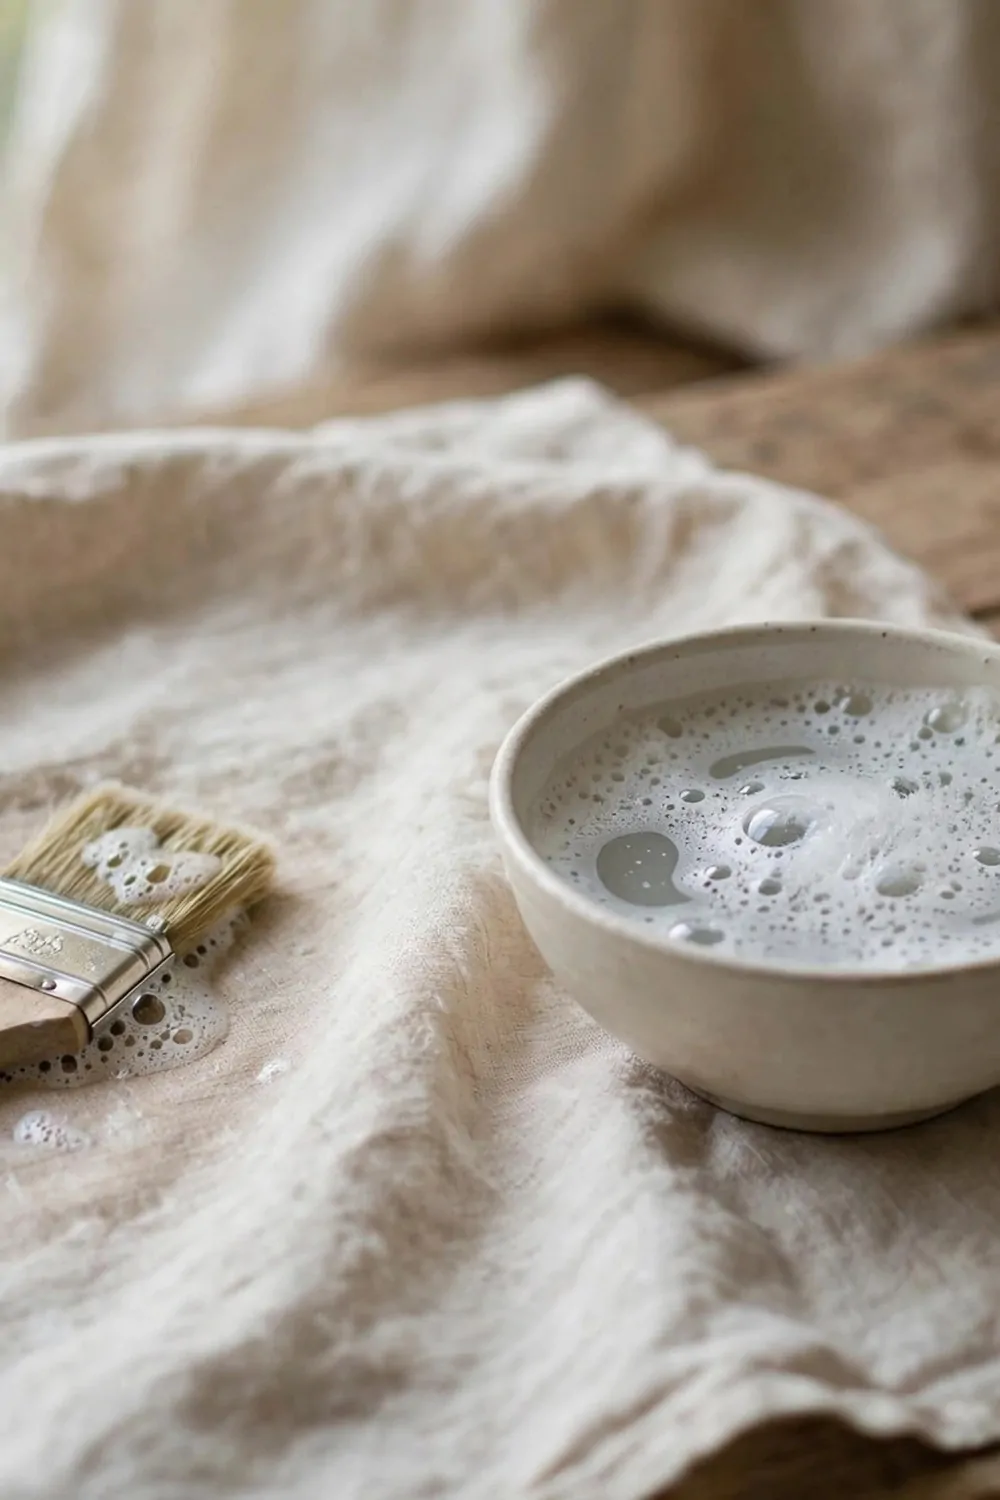
I wash my brush with warm water and soap when I finish painting.
Warm water lifts the paint from the soft hairs. Cold water takes much longer.
I rub a little soap into the brush. Then I rinse it under the tap.
I rinse it again and again until the water runs clear. That tells me the brush is clean.
I shake the brush gently over the sink. Then I shape the hairs back with my fingers.
I let the brush dry flat on a clean cloth. A brush that dries flat keeps its shape.
You can use plain soap from your kitchen. You do not need a special soap for this job.
A clean brush lasts for many small jobs.
It saves you from buying a new brush each time. A small bar of plain soap cost $2 to $5 in total.
30. Show Your First Piece to a Friend
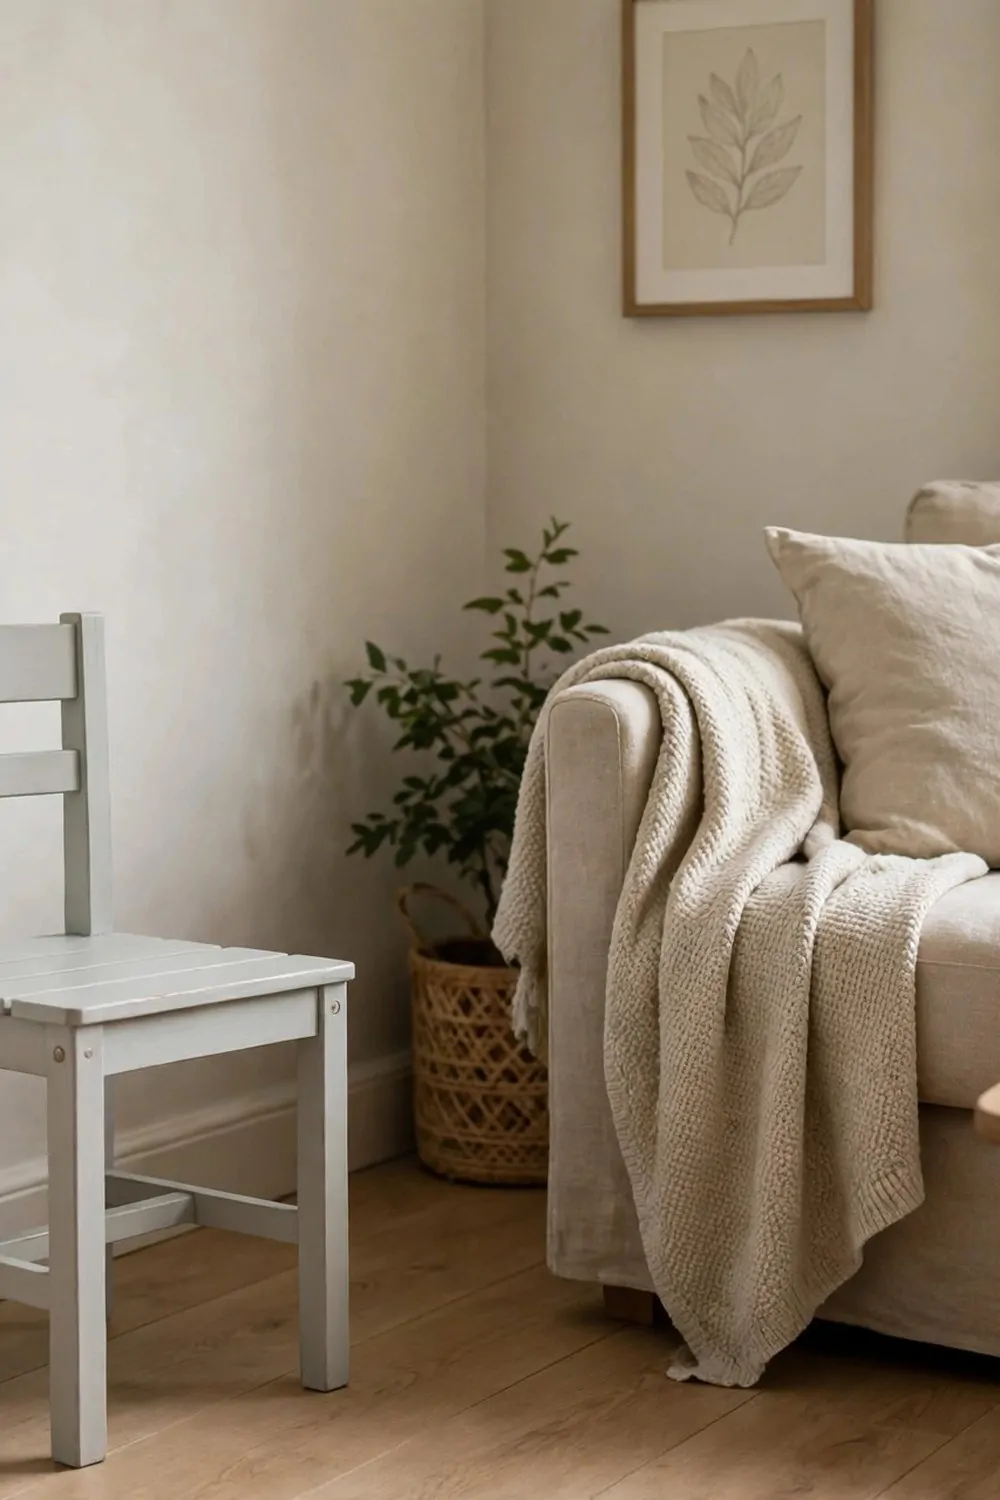
I show my first painted chair to a friend.
She looks at the pale grey seat and smiles. She asks how I did it.
I tell her it was my first try. I tell her about the thin coats and the soft cloth.
She points to the neat legs. She says the chair looks like a shop piece.
Her kind words make me feel proud. I want to paint another small piece soon.
You can show your first piece to a friend too. Pick someone who will cheer you on.
Ask your friend what she likes best. Her answer will help you pick your next piece.
A friend can also spot a small mark you missed. That helps you fix it before it goes in your room.
Showing it to a friend cost $0 in total.
31. One-Weekend Beginner Paint Plan
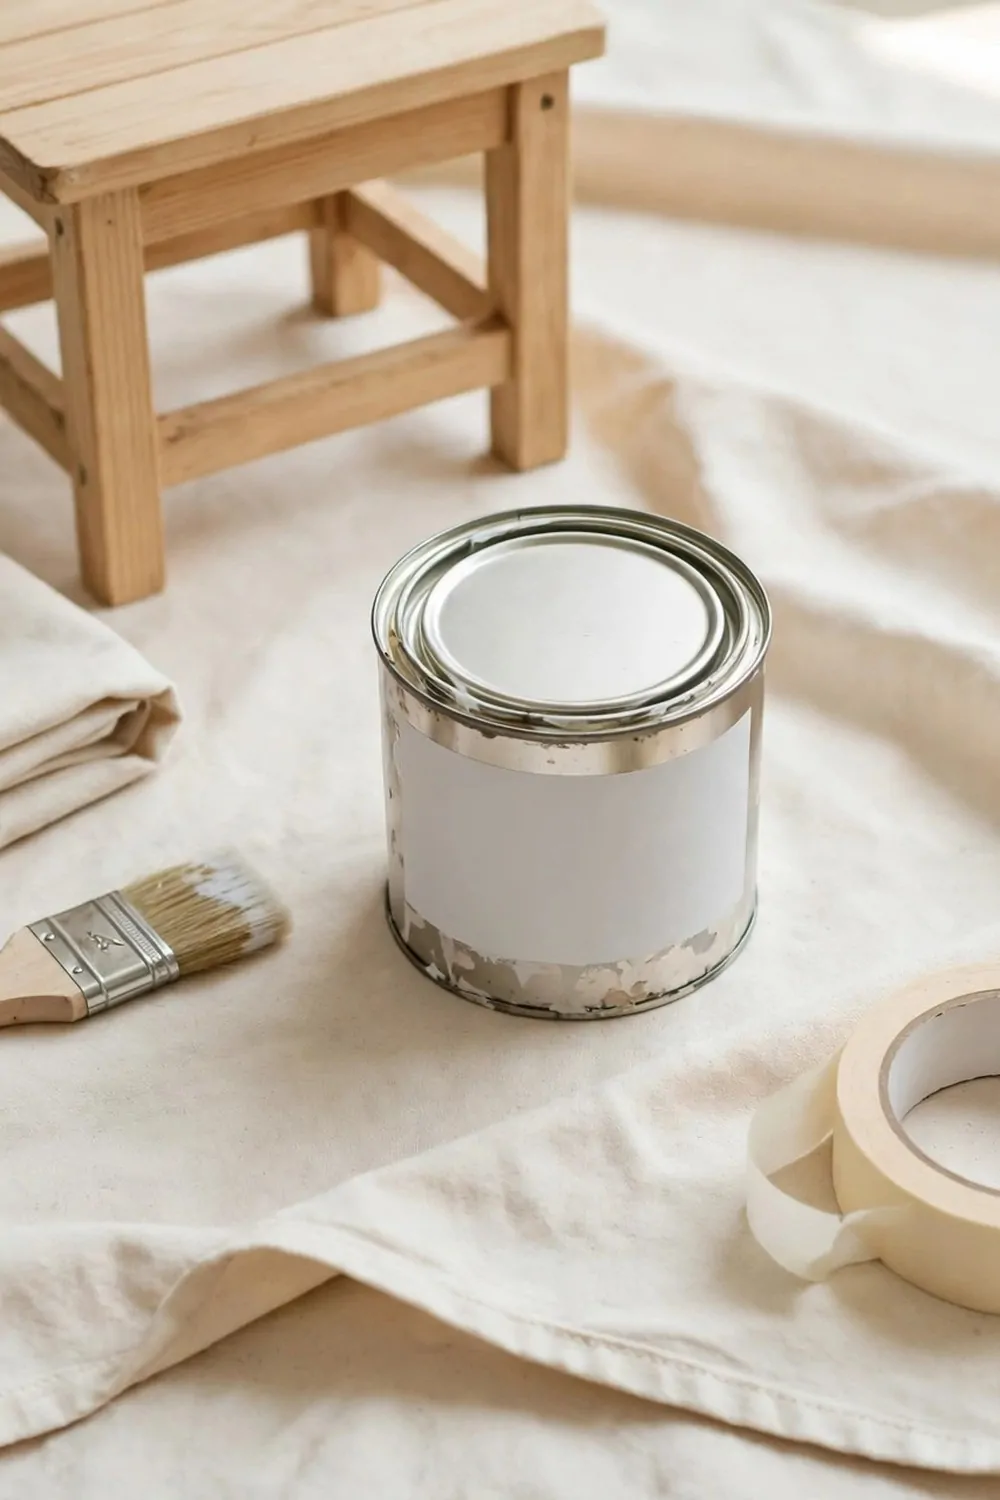
I will start on Saturday morning. I will spread my haul on a plain canvas dust sheet and clean my small stool.
I will lay the brush, the paint tin and the tape on the cloth. I will wipe the stool with a damp cloth and let it dry.
On Saturday noon I will sand the stool light. I will use soft strokes and I will wipe the dust off with a clean cloth.
I will work near an open window while I sand. I will wear a plain mask so I do not breathe the dust.
On Sunday morning I will paint the first thin coat of pale grey paint. I will start at the top and work down in slow strokes.
On Sunday noon I will add the second thin coat. I will let the first coat dry fully before I touch the stool again.
On Sunday evening I will fit a plain round knob to the stool. Then I will set the stool by the front door.
The stool will look fresh and neat by the door. I will feel proud each time I see it there.
A small flat paint brush cost $3 to $6, a small foam brush cost $2 to $4 and a pack of fine sandpaper cost $3 to $5. A plain canvas dust sheet cost $5 to $9, a roll of plain masking tape cost $3 to $5 and a small tin of pale grey paint cost $6 to $10. Pick one idea from this list tonight, paint your first small piece this weekend, and let your home show off what your own hands made.
| Item | Main change | Typical cost |
|---|---|---|
| Small flat paint brush | paints the top and sides of the small piece | $3 to $6 |
| Small foam brush | gives flat parts a smooth finish | $2 to $4 |
| Pack of fine sandpaper | takes the rough feel off the wood first | $3 to $5 |
| Plain canvas dust sheet | keeps the floor clean while you paint | $5 to $9 |
| Roll of plain masking tape | masks the edges you want to keep plain | $3 to $5 |
| Small tin of pale grey paint | gives the small piece its first colour | $6 to $10 |
| Total | $22 to $39 |
Keep Reading
If you liked these ideas, you will love these posts too.
- 27 Flea Market Finds That Make Homes Feel Unique
- 22 Nightstand Makeover Ideas That Look Brand New
- 34 Repurposed Furniture Ideas for Small Homes
- 23 Side Table Flip Ideas That Take One Weekend
- 29 Bookshelf Makeover Ideas That Turn Old Into Beautiful
- 26 Vintage Furniture Finds That Add Charm to Any Room
Each post has more simple ideas you can try at home this weekend.