22 Scrapbook Ideas for Family Memories

Our old photo box sat on the shelf for years, and one quiet evening I opened it and started a scrapbook for our family.
I found photos of birthdays, days out, and quiet days at home. Each one brought back a face, a laugh, or a small day I had almost lost.
Here are 22 scrapbook ideas for family memories that turn plain paper, photos, and small keepsakes into pages you can keep for years.
A scrapbook does not need to be perfect to be loved. It just needs your photos, your notes, and a little time each week.
You can start with what you have at home right now. A plain album, some paper, and a pen are enough to begin.
In this book I share the pages that work best for our family. Each idea is simple, slow, and easy to fit round a busy week.
Pick the idea you like most and start there tonight. Your family will thank you for it in years to come.
1. Start a Family Scrapbook with a Plain Album
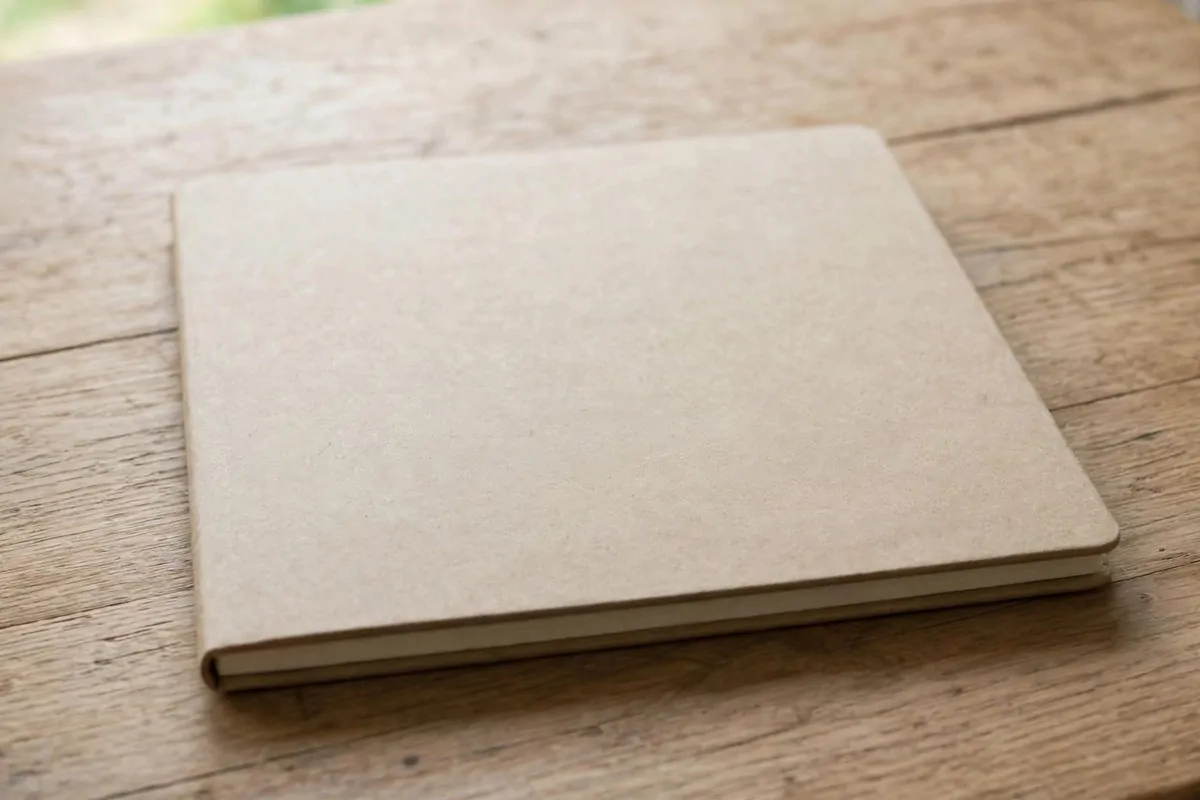
A plain album is a good place to start. It gives you room to add pages as your family grows.
Pick one that feels strong in your hands and opens flat on a table.
I keep mine on a low shelf so I can reach it in the evening. I add pages when I have a quiet hour. You can do the same in small steps and still end up with a book full of warm days.
Start with photos you already have at home. Sort them into piles by year or by event before you stick anything down.
Leave the first page blank for now and come back to it later.
Plain paper works well for the base of each page. It lets your photos stand out and it is easy to write on.
Typical cost $8 to $15.
A simple pen and some tape are all you need to begin. You can add more bits later when you know what you like.
Keep the album where you can see it so you reach for it often.
2. Make a First Page for Your Family Story
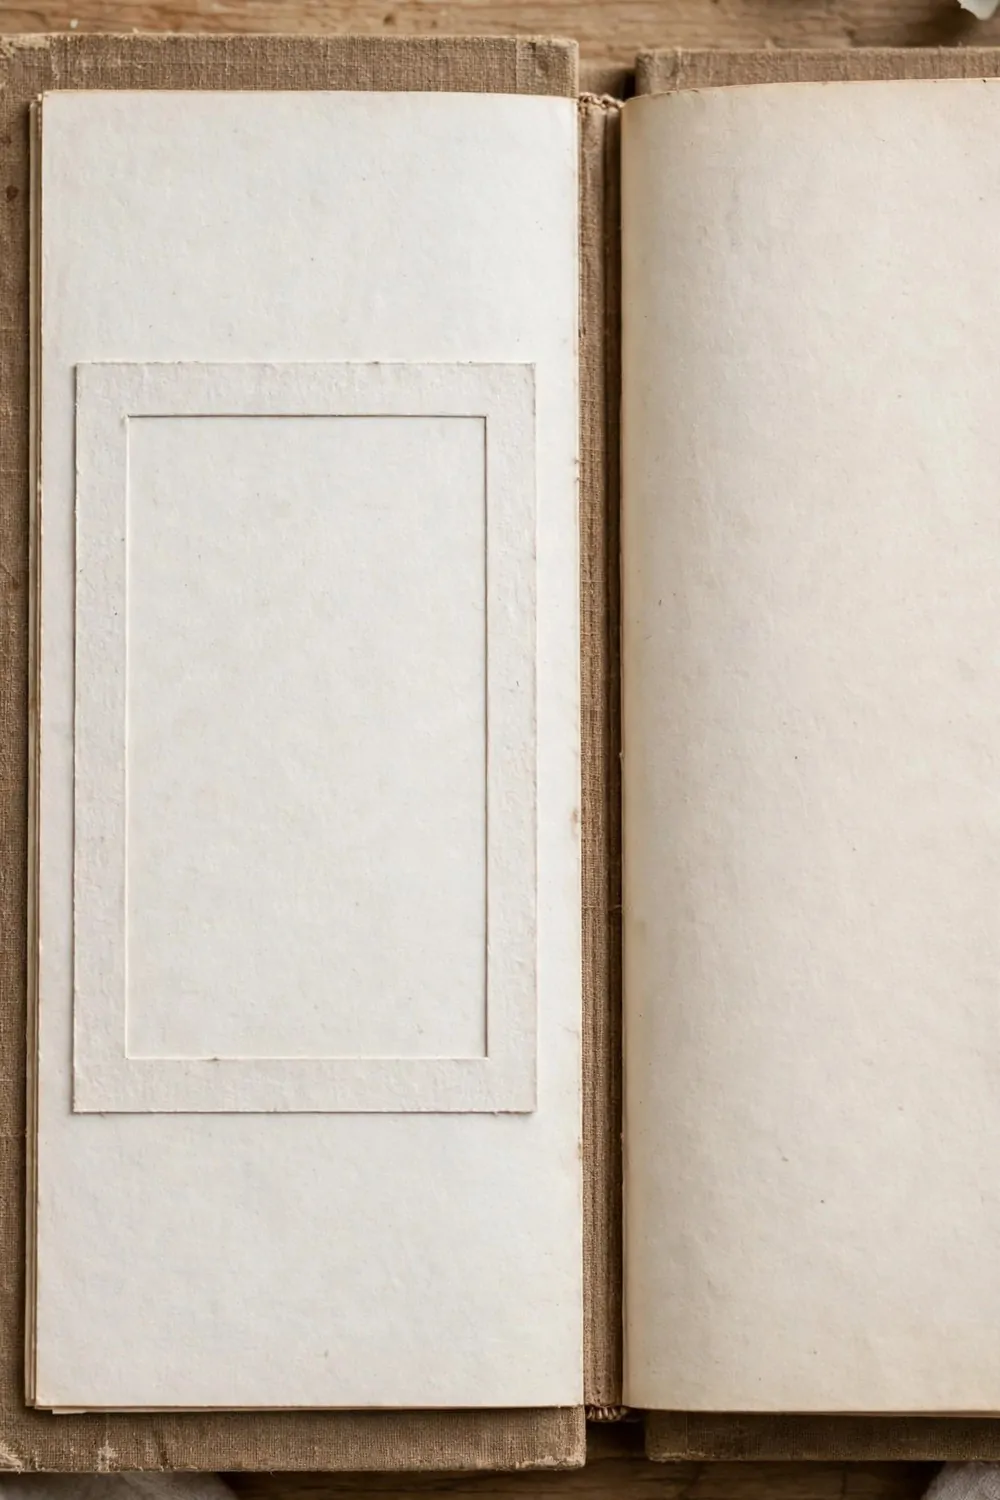
The first page sets the tone for the whole book.
Write your family name at the top in your own hand. Add the year you started the book below it.
You can add a photo of your home or your garden to go with it.
I like to keep this page simple so it does not feel crowded. A short note about who we are works well here. You can write it in your own words and keep it short.
Think about what you want to recall in ten years. That thought will guide what you put on the page.
Leave room at the edge for a small date or a short line later.
Typical cost $2 to $5.
A plain sheet and a pen are enough for this page. You do not need fancy bits to make it feel special.
Read it back once and then turn the page with a smile.
3. Add a Pocket Page for Small Keepsakes
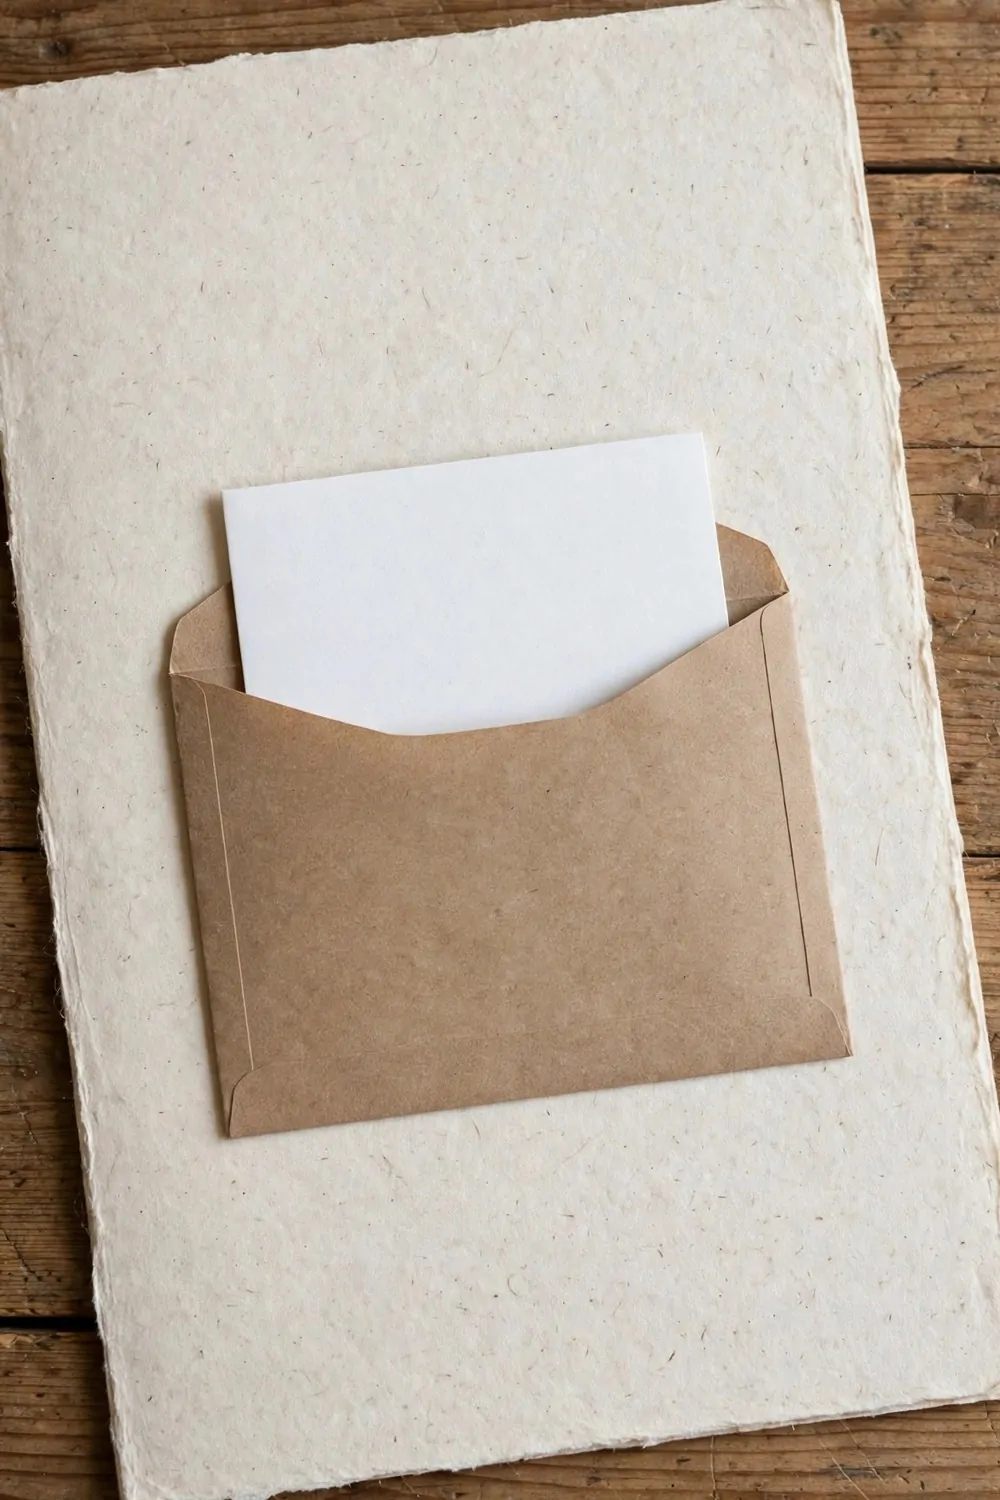
A pocket page holds the little bits that do not fit flat on a page. It keeps them safe and easy to find.
You can make a pocket from a plain sheet of paper. Fold the bottom up and stick the sides down. Leave the top open so you can slip things in and out.
Small keepsakes feel at home in a pocket like this.
- ticket stubs
- small cards
- dried leaves
- short notes
Label the pocket with a short line so you know what is inside. You can add the date on the front if you like.
Typical cost $1 to $4.
Put the pocket near the back of the book so it does not bend the pages. It will sit flat and stay shut when the book is closed.
Check the pocket now and then to make sure nothing slips out.
A pocket page turns loose bits into part of your story. It is a simple way to keep small days close.
4. Make a Birthday Page for Each Year
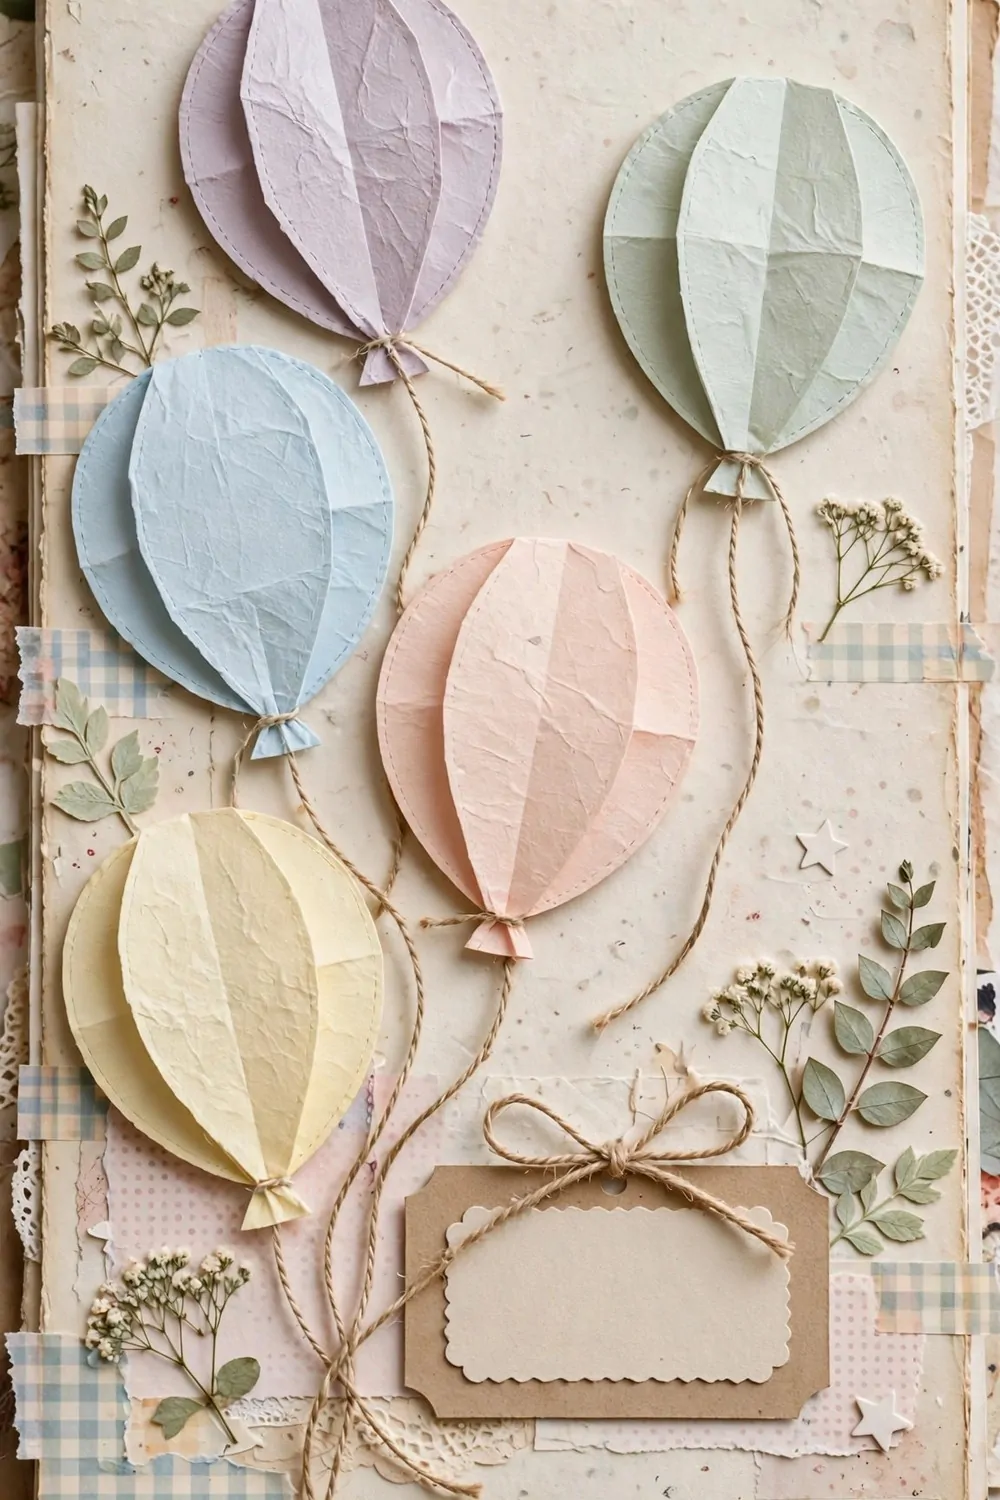
A birthday page is a happy page to turn to. I start one for each year and add to it as the day goes on. It holds the small bits of a day that passes too fast.
Pick a photo from the day that makes you smile.
Write the age and the date on the page. You can add a short line about what made the day fun.
A short note from the birthday person adds a warm touch.
You can draw a simple shape in the margin if you like. Keep it plain so the photo stays the star of the page.
Typical cost $3 to $6.
Add a new page each year and watch the book grow.
I look back at old birthday pages when I need a lift. They bring back the cake, the laughs, and the people round the table.
Keep each page in year order so the story stays clear.
5. Save Ticket Stubs on a Day Out Page
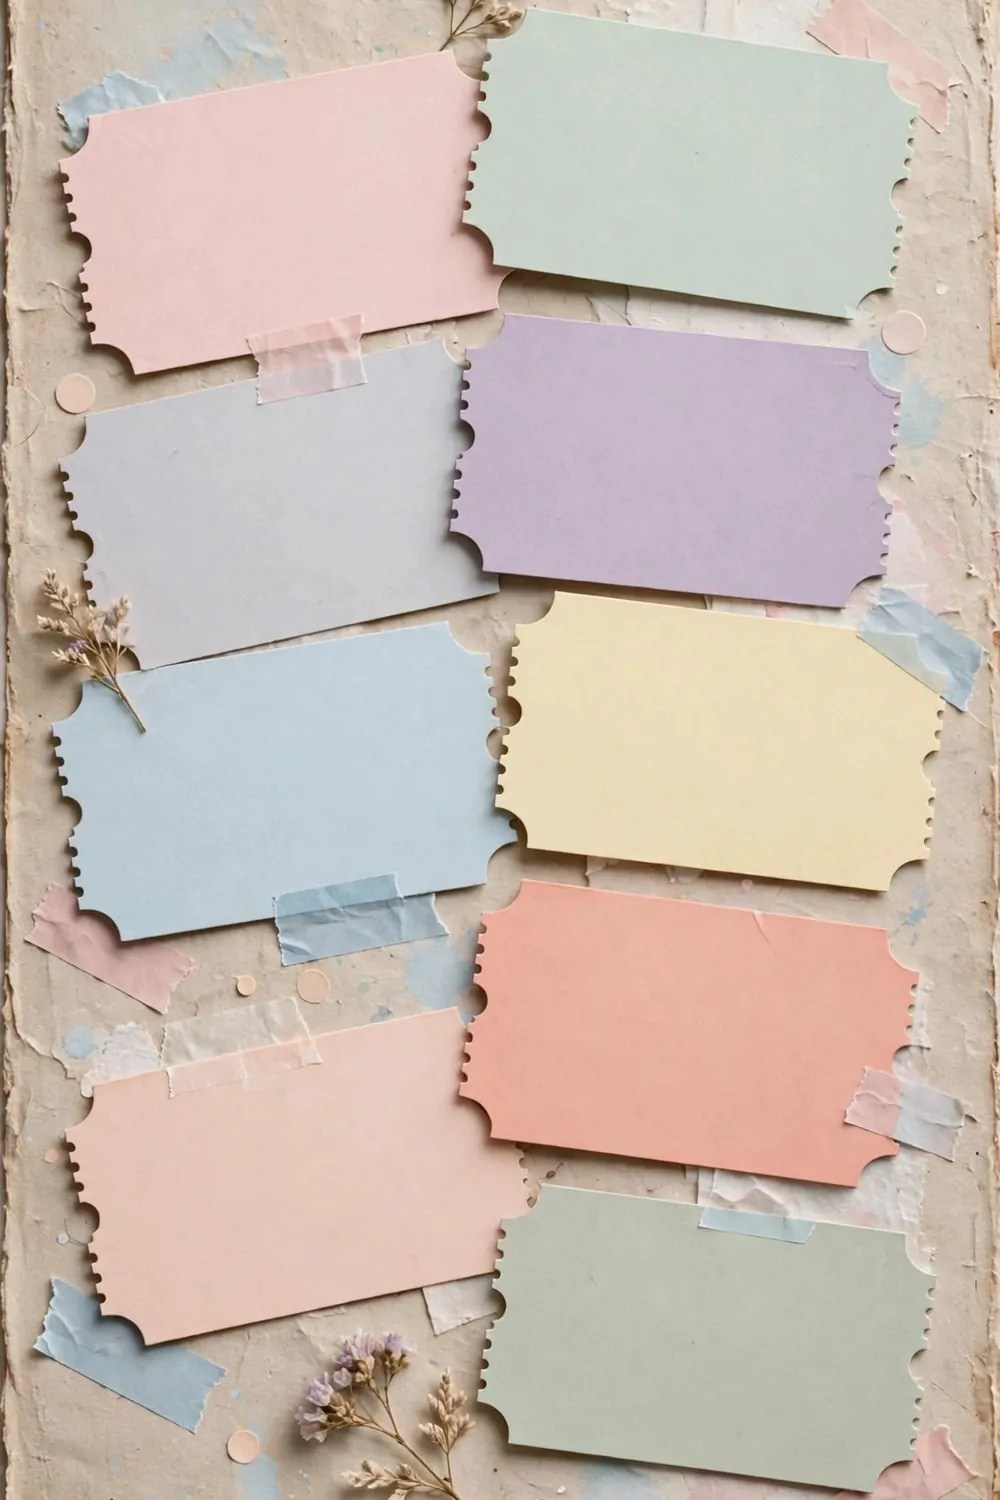
A day out leaves you with small paper bits worth keeping.
Ticket stubs are light and easy to store. I stick them on a page with a little tape. They bring the day back each time I turn to that page.
It can hold your tickets from a fair, a show, or a trip to the park. You can add a short note about the day as well.
- ticket stubs
- small maps
- short notes
Typical cost $1 to $3.
Plain tape holds the stubs in place without harm. You can lift them out later if you want to look at them up close.
Write the date on the page so you recall when you went.
This page is one I turn to often.
A day out page costs little and means a lot. It turns plain paper stubs into a day you can hold in your hands.
6. Make a Handprint Page for Little Hands
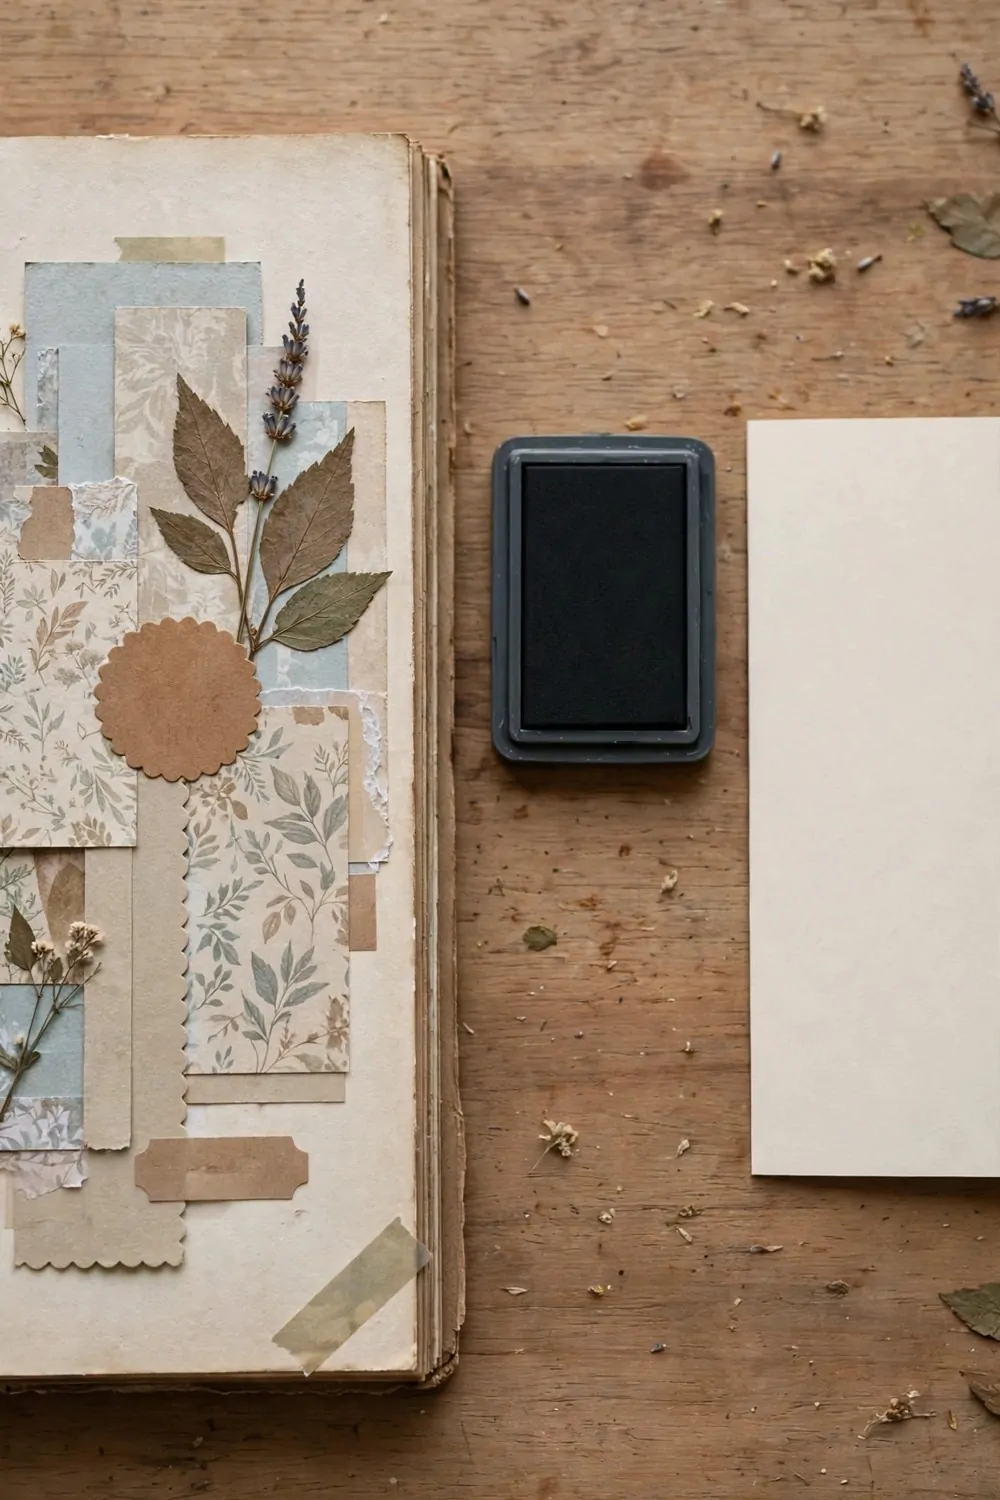
Little hands grow fast, and a handprint page holds that size for years. It is a page I love to look back on.
Press a small hand on the page with paint to make the print.
Let the print dry flat before you close the book. You can add the date and the age once it is dry.
I do this once a year so I can see how much has changed. Each print tells its own small story. You will smile when you compare one year with the next.
Typical cost $2 to $4.
Keep the print simple and let it speak for itself.
A plain page works best for this idea. It gives the print room to breathe and room for a short note.
Wash hands well after the print is done.
This page will mean more with each year that passes.
7. Add a Map Page for Family Trips
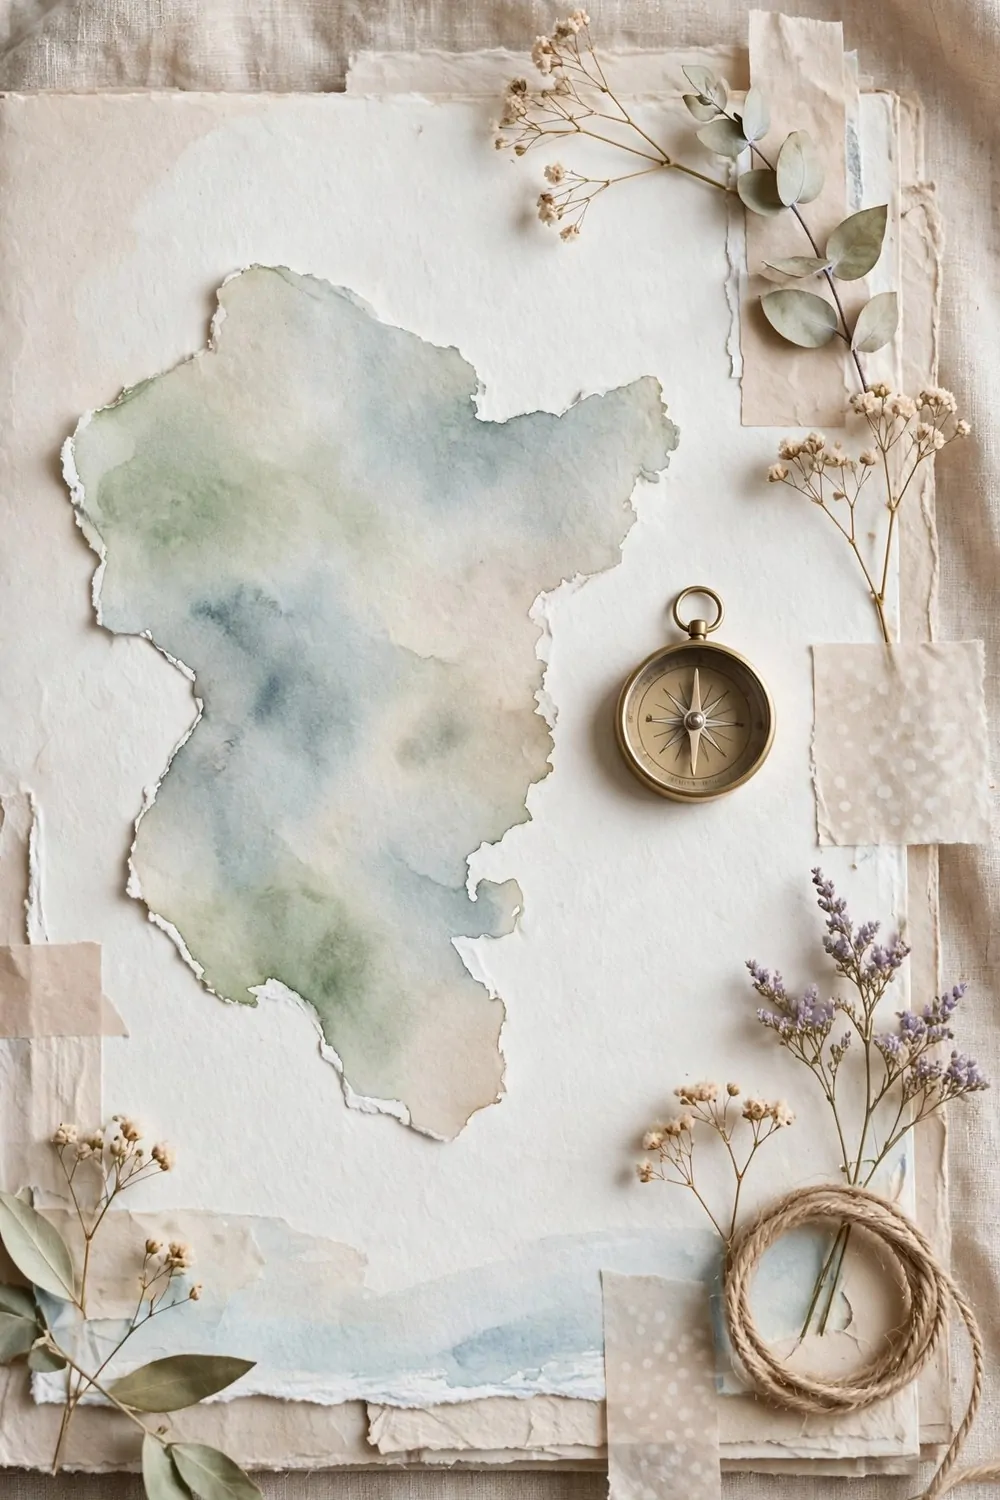
A map page is a nice way to keep your trips in one place. You can look back at it and smile at where you went together.
Start with a plain map on a full page. Pick one that shows the land and the sea in a simple way. You do not need a map with lots of small detail.
Mark each trip with a small dot or a tiny star.
You can add the year beside each mark. That way you can see when each trip took place.
Leave some space round the edge for short notes.
Typical cost $2 to $4.
Use a soft pen so the marks stay neat. A pencil works well too if you want to move a mark later.
Keep the page flat in your book so the map stays smooth.
You can build the page bit by bit over the years. Each new trip adds one more mark to the map. It turns into a story of all the places you went as a family.
8. Make a Winter Page with Plain Shapes
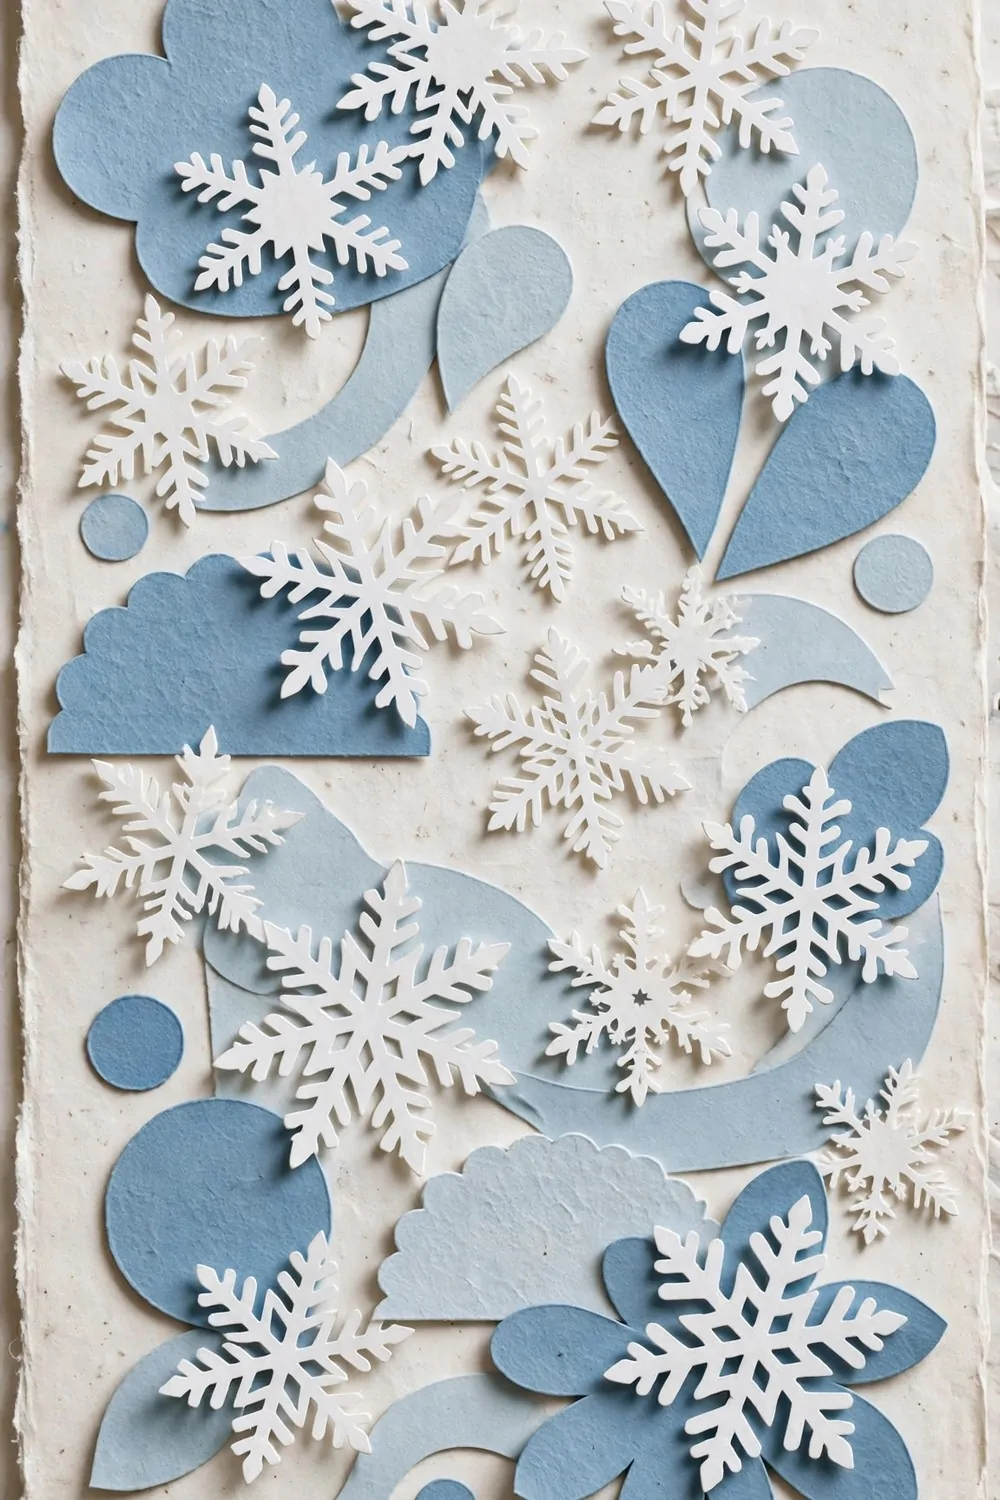
A winter page can feel calm and soft.
Plain shapes work best for this kind of page. You can cut them from plain paper in soft colours.
- soft blue and white paper
- plain shapes cut by hand
- a glue stick
- a plain pencil
Draw each shape first with a pencil. Cut round the lines with care. You can make the shapes big or small to suit your page.
Typical cost $3 to $5.
Place the shapes on the page before you glue them down.
Move them round till the page looks right to you. You can leave gaps between the shapes. The gaps are part of the look.
Press each shape flat once it is glued. That keeps the page neat when you turn it.
Add the page near your other season pages if you keep them together.
9. Press Leaves for a Nature Page
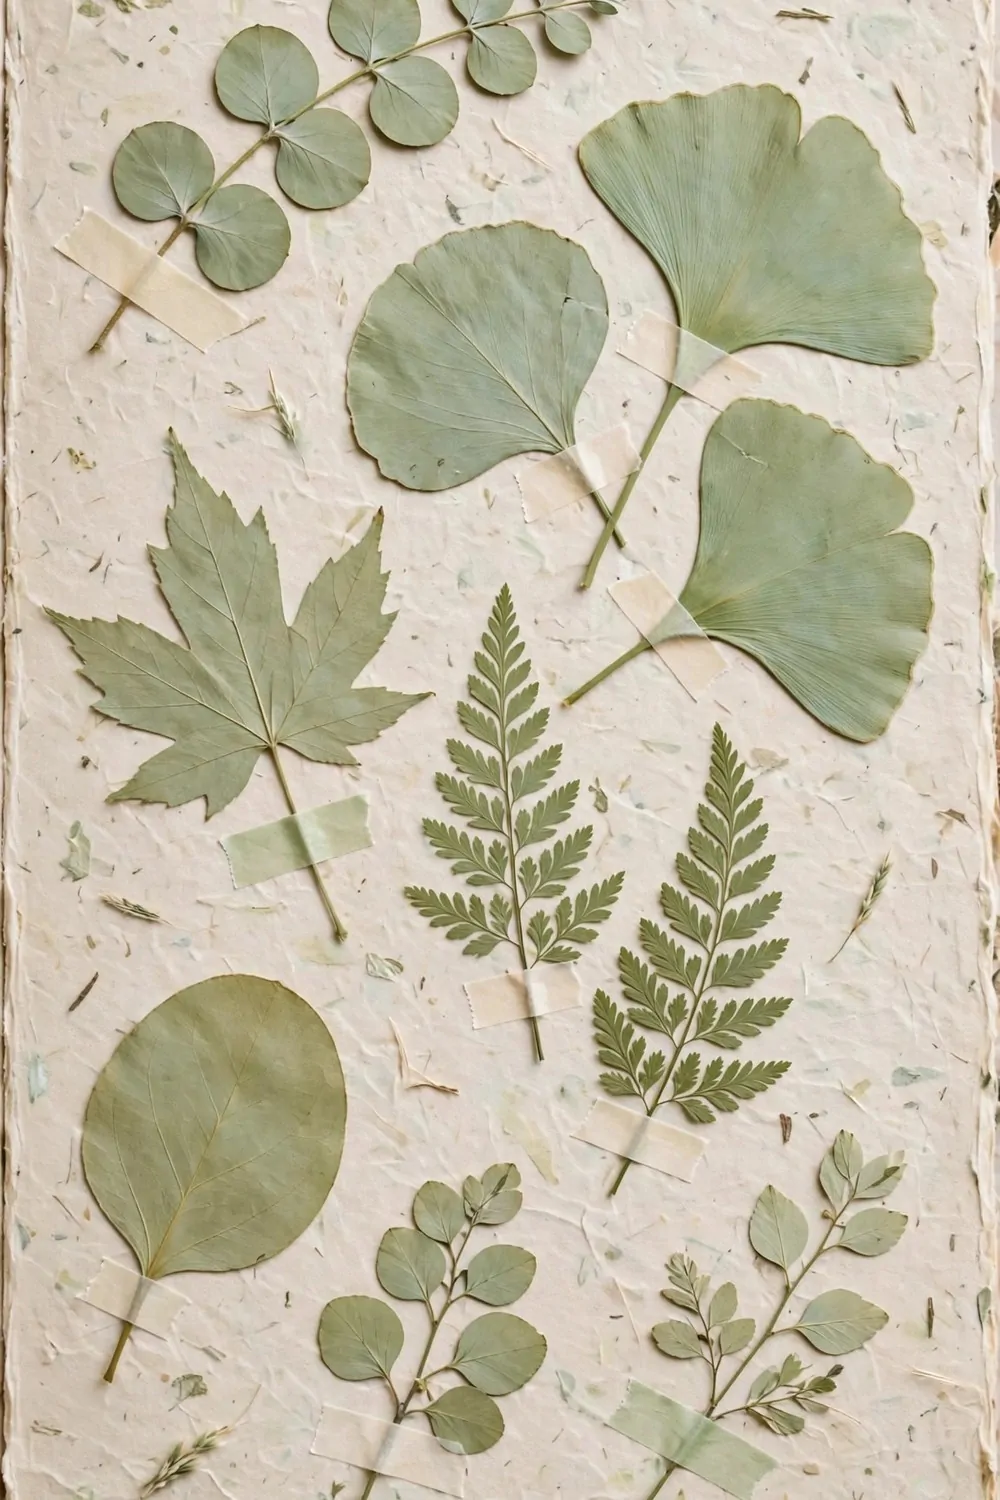
Leaves from the garden make a sweet nature page. You can press them flat and keep them in your book. Each leaf holds the shape of the day you found it.
Pick leaves that feel dry and firm in your hand.
Place each leaf between two sheets of plain paper. Put a heavy book on top and leave it for some days.
Use plain paper you already have at home for the pressing.
Soft green leaves keep their shade best when they are pressed well. You can use leaves of more than one shape. Mix wide leaves with long thin ones for a nice spread.
Typical cost $0 to $2.
Lay the flat leaves on your page with care. You can tape each one down at the stem.
Leave some space round each leaf. The page looks best when it can breathe a bit.
Write the season beside the page if you like to keep track.
10. Make a Recipe Page for Family Meals
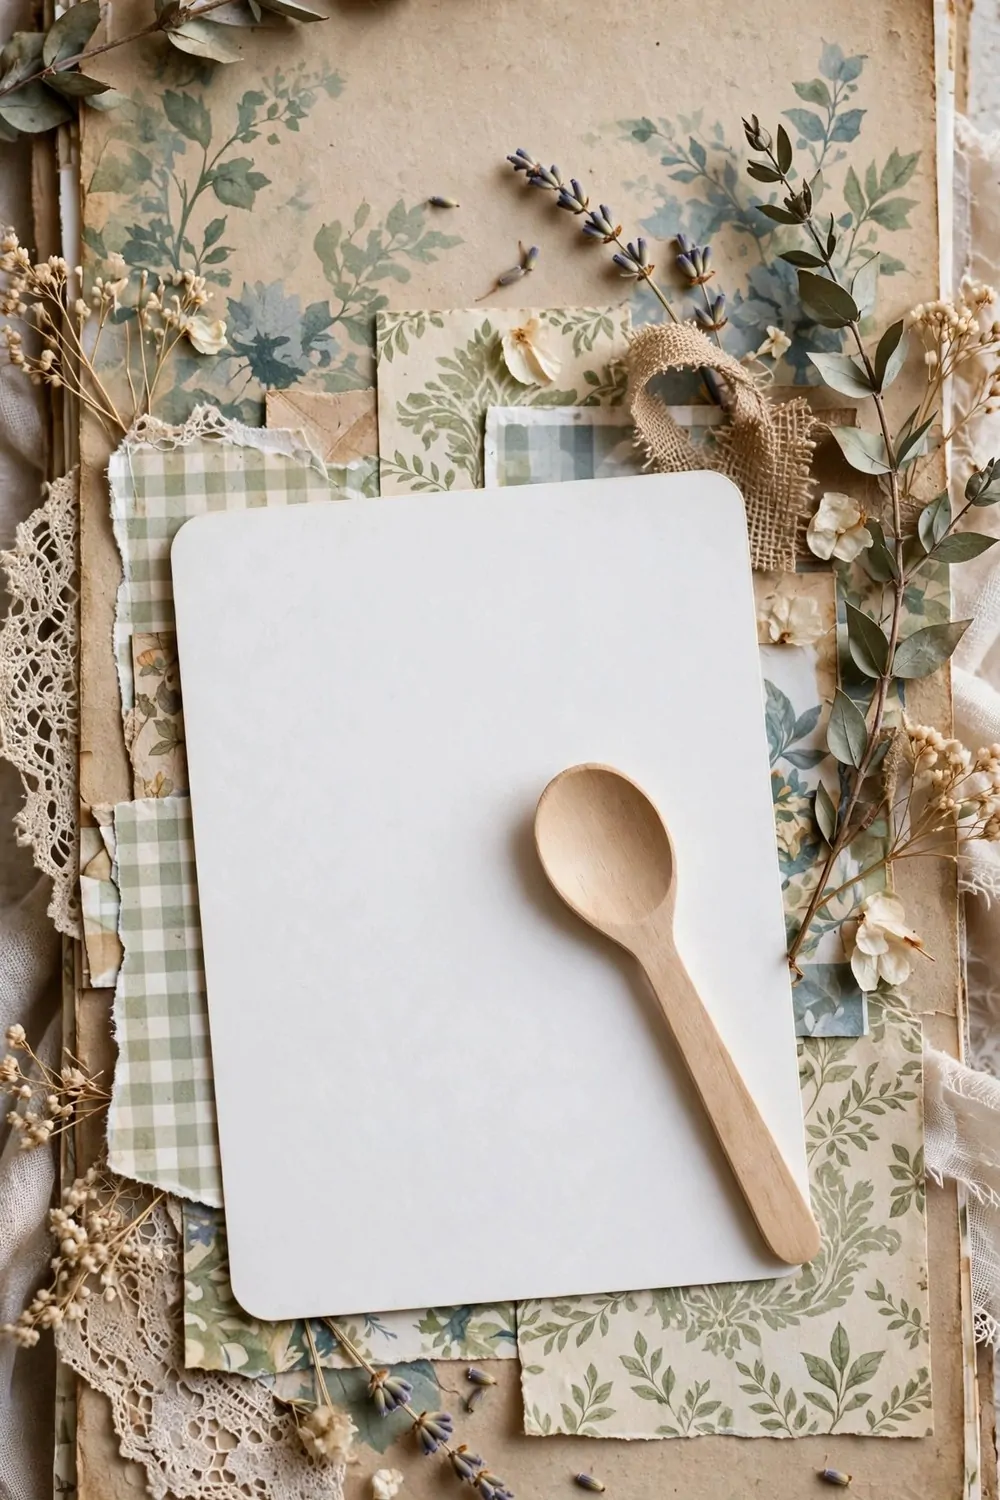
A recipe page keeps a family meal in your book for good. You can turn to it when you want to cook that meal again.
Pick one meal that your family asks for most.
Write the steps in short lines that are easy to follow.
- the name of the meal
- what you need
- the steps in order
- how long it takes
Keep the words plain so a young cook can follow them. You can add a short note about what goes well with the meal.
Typical cost $2 to $5.
Leave room at the base of the page for notes. You can add a tip you learned the last time you cooked it. Your notes make the page yours.
Use a pen that will not fade over time.
File the page with your other meal pages. It is nice to flick through them when you plan the week.
| Idea | Main change | Typical cost |
|---|---|---|
| Start a Family Scrapbook with a Plain Album | keep pages in a plain album | $8 to $15 |
| Make a First Page for Your Family Story | open the book with your family story | $2 to $5 |
| Add a Pocket Page for Small Keepsakes | slip small keepsakes into a paper pocket | $1 to $4 |
| Make a Birthday Page for Each Year | mark each birthday with its own page | $3 to $6 |
| Save Ticket Stubs on a Day Out Page | keep day out stubs on one page | $1 to $3 |
| Make a Handprint Page for Little Hands | press a small hand print on a plain page | $2 to $4 |
| Add a Map Page for Family Trips | mark trips on a plain map page | $2 to $4 |
| Make a Winter Page with Plain Shapes | cut plain shapes for a winter page | $3 to $5 |
| Press Leaves for a Nature Page | press leaves flat for a nature page | $0 to $2 |
| Make a Recipe Page for Family Meals | write a family meal on a recipe page | $2 to $5 |
| Total | $24 to $53 |
11. Add a Letter Page for Notes to Each Other
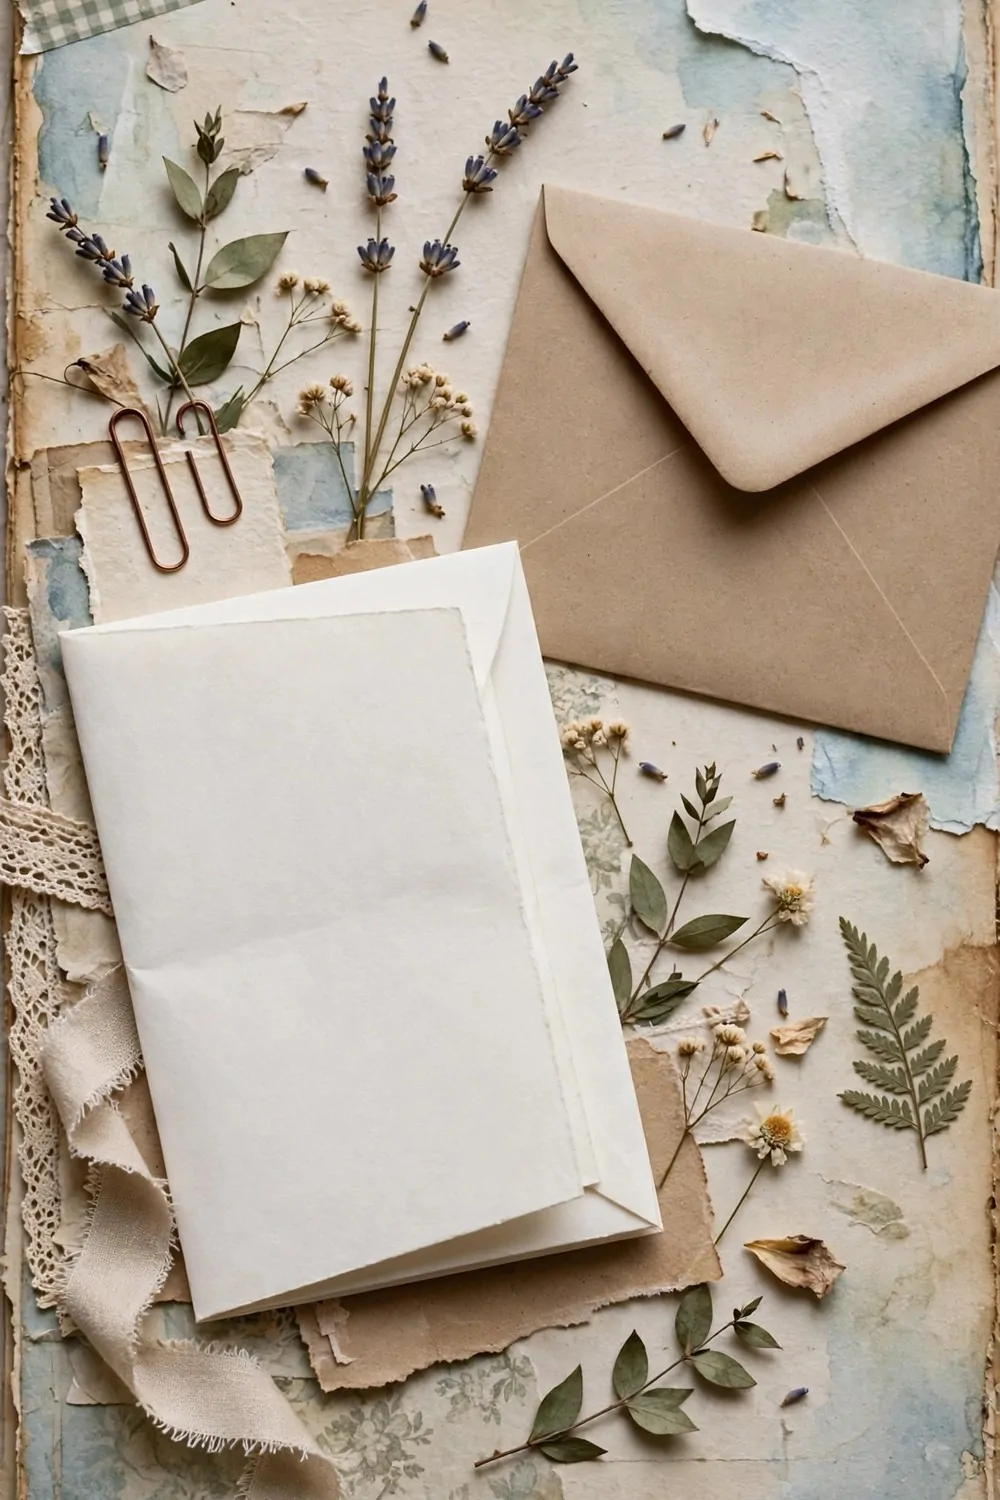
A letter page gives your family a place for kind notes.
You can write a short note to someone in your home. It can be a thank you or some warm words. The note does not need to be long to mean a lot.
Use a plain page and a pen you like. Write slowly so your words stay clear.
Fold the page in half if you want to keep the note private.
You can leave the page in the book for the person to find. It is a small surprise that can brighten a plain day.
Short notes work best when they come from the heart. You do not need big words. A plain line can say just what you feel.
Typical cost $1 to $3.
Keep some blank pages at the back of your book for new notes.
You can add a fresh letter page when you feel like it. The book grows kinder with each note you add.
12. Make a Garden Page with Cut Paper Flowers
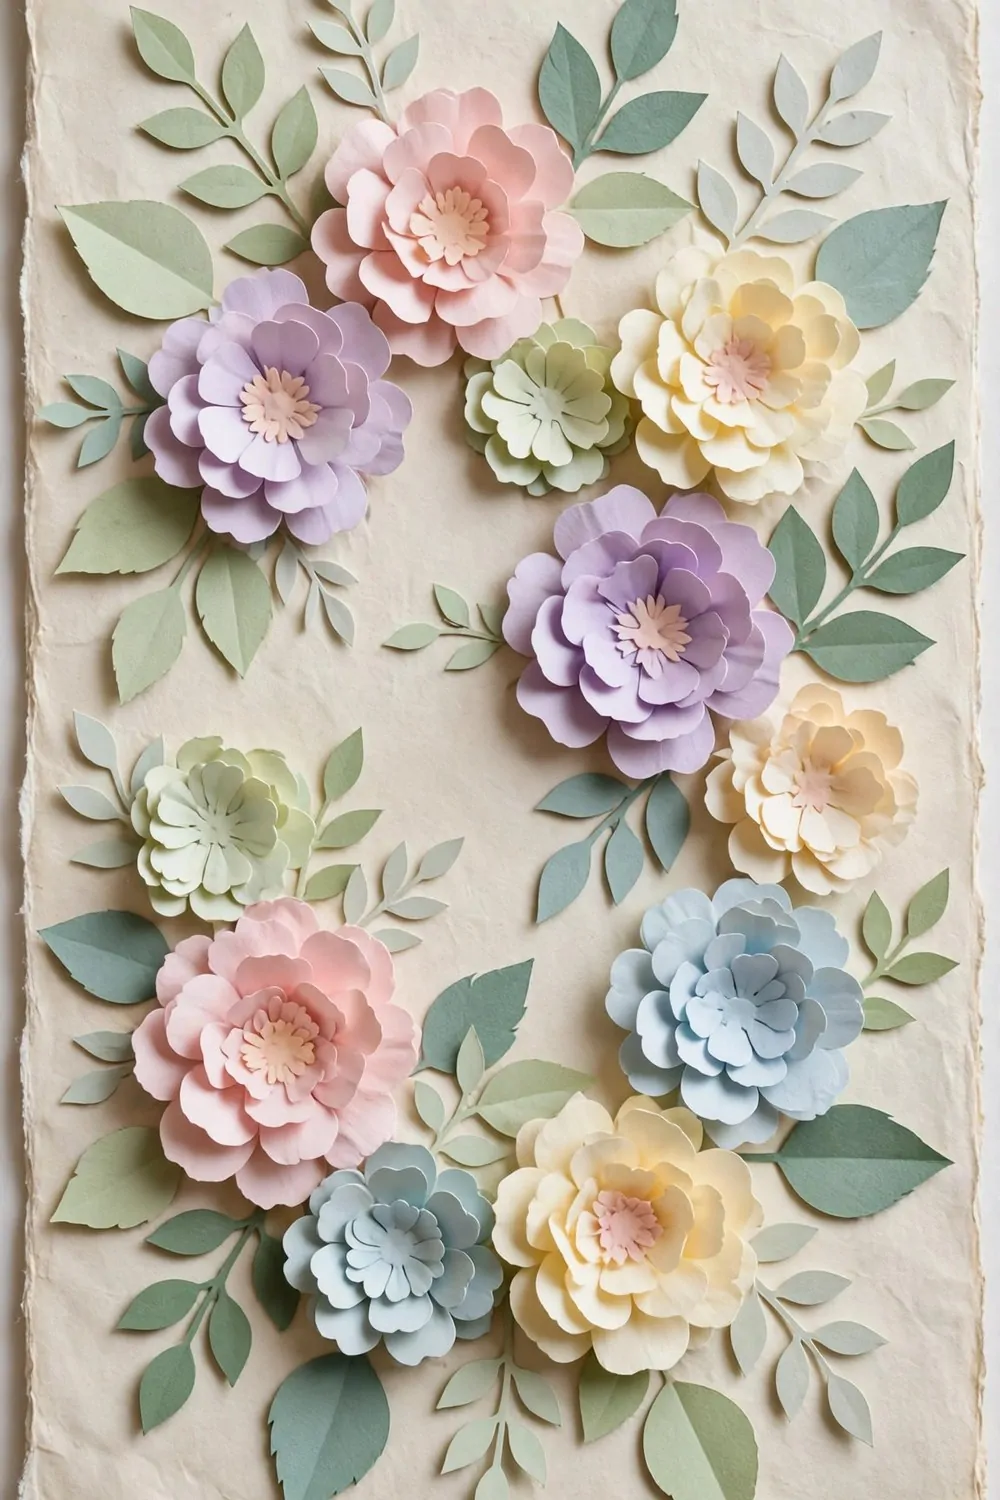
Cut paper flowers can bring your garden into your book. You can shape each bloom from plain paper in soft colours. The page stays bright all year round.
Start with simple petal shapes. You can cut them free by hand or draw them first.
Layer the petals to give each bloom some depth.
Add a plain stem and a leaf shape to each bloom.
Use a glue stick to fix the parts in place. Press each bloom flat for a short while.
Typical cost $3 to $6.
Place the blooms on the page before you glue them down.
You can fill the page with blooms of more than one size. Mix big blooms with small ones for a full look. Some plain paper round the blooms keeps the page calm.
Keep the page near your nature pages if you have them. It sits well beside pressed leaves and garden notes.
13. Make a School Days Page for Each Child
School days pass so fast that it helps to keep them in one place. I like to give each child a page of their own in our family book.
You can start with a plain sheet and a pen you already have at home. Ask your child what they liked best about school this year. Let them tell you in their own words while you write it down for them.
A short note about a kind teacher or a fun day out can make the page feel warm and true.
I add the date to the page so we can look back and see how much has changed. You can do the same with a short line about what your child enjoys learning now.
Some years feel full of new friends and new games to play at break time. Other years feel quiet and slow, and that is fine too. I write what is true for that year and I leave out the rest.
Typical cost $2 to $4.
If your child wants to help, let them draw a border on the page. It gives the page a soft finish and it makes the page feel like theirs.
I keep the page simple so the words stay clear and easy to read. You do not need fancy paper or lots of extra bits to make it special. A calm page with honest words will still make you smile when you turn back to it in later years.
When the page is done, slip it into the book and enjoy looking back at it together.
14. Add a Favourite Quotes Page
We all have lines we love to hear again when life feels hard or busy. I keep those lines on a page in our family book so I can find them when I need them.
You can use paper and a pen you already have at home, so this page can cost nothing at all.
Think of a line that lifts your mood on a dull day. Write it down in your own hand so it feels close and true. You can add a short note about why it means a lot to you and your family.
I like to add new lines as the year goes on. You can add to the page a little at a time, and it will grow into something you love to read.
- lines that make you feel brave
- lines that make you feel calm
- lines that make you laugh
- lines that help you keep going
Typical cost $0 to $3.
If you buy a new pen or some plain paper, keep the cost low and simple. I use what I have first and I only buy what I truly need. That way the page stays kind to our budget and still feels warm and full.
Read the page aloud with your family when you need a lift.
You can start this page today with a line you love. It will soon hold words that matter to all of you.
15. Make a Seasons Page Through the Year
Each part of the year brings its own feel to our home and garden. I like to give each season a page so we can see how life shifts with the weather. It helps us slow down and notice what is around us.
You can start with a plain page and a pen, and add to it as the weeks pass. Write a short line about what you see, hear, or feel outside.
A note about rain on the roof or sun through the window can bring the whole season back to you.
I add a short line about what we cooked and ate when the air turned cool. You can add a line about a walk you took with your family. Those small notes make the page feel full of real life.
Keep the words short and true, and let each season speak for itself.
You can press a leaf between the pages of a thick book and add it later when it feels dry. I do the same with petals I find on a walk, and they keep their shape well.
Typical cost $3 to $5.
If you want a soft look, use plain paper and soft colours that feel calm to you. I keep the page free of clutter so the words can breathe. You can add a drawing later if you like.
When the year ends, read the pages back in order and smile at how much has changed. It is a kind way to hold on to the year you have just lived.
16. Save Drawings on a Gallery Page
Children draw all the time, and a gallery page gives those drawings a home.
I keep the drawings we love most in our family book so we can look at them again. You can do the same with drawings your child made at home or at school.
Ask your child to pick the drawings they want to keep, and let them lead the way.
You can fix a drawing to the page with a small bit of tape. I use tape that comes off clean so the paper stays safe. If a drawing is large, you can trim it with care so it fits the page.
Write the date on the page so you can see how your child has grown. You can add a short line about what they were doing when they made it.
I like to ask my child what they drew, and I listen while they tell me. You can write their words down in your own hand if they want you to. It turns a plain page into a small story you can keep for years.
Typical cost $1 to $3.
If you have tape and paper at home, you may spend very little on this page. I keep extra tape in a drawer so I can add new drawings when they come home.
Do not worry if a drawing looks messy or unfinished to you. It is your child at that age, in that moment, and that is what makes it dear. Keep it safe, and you will be glad you did when they are older.
17. Make a Family Tree Page
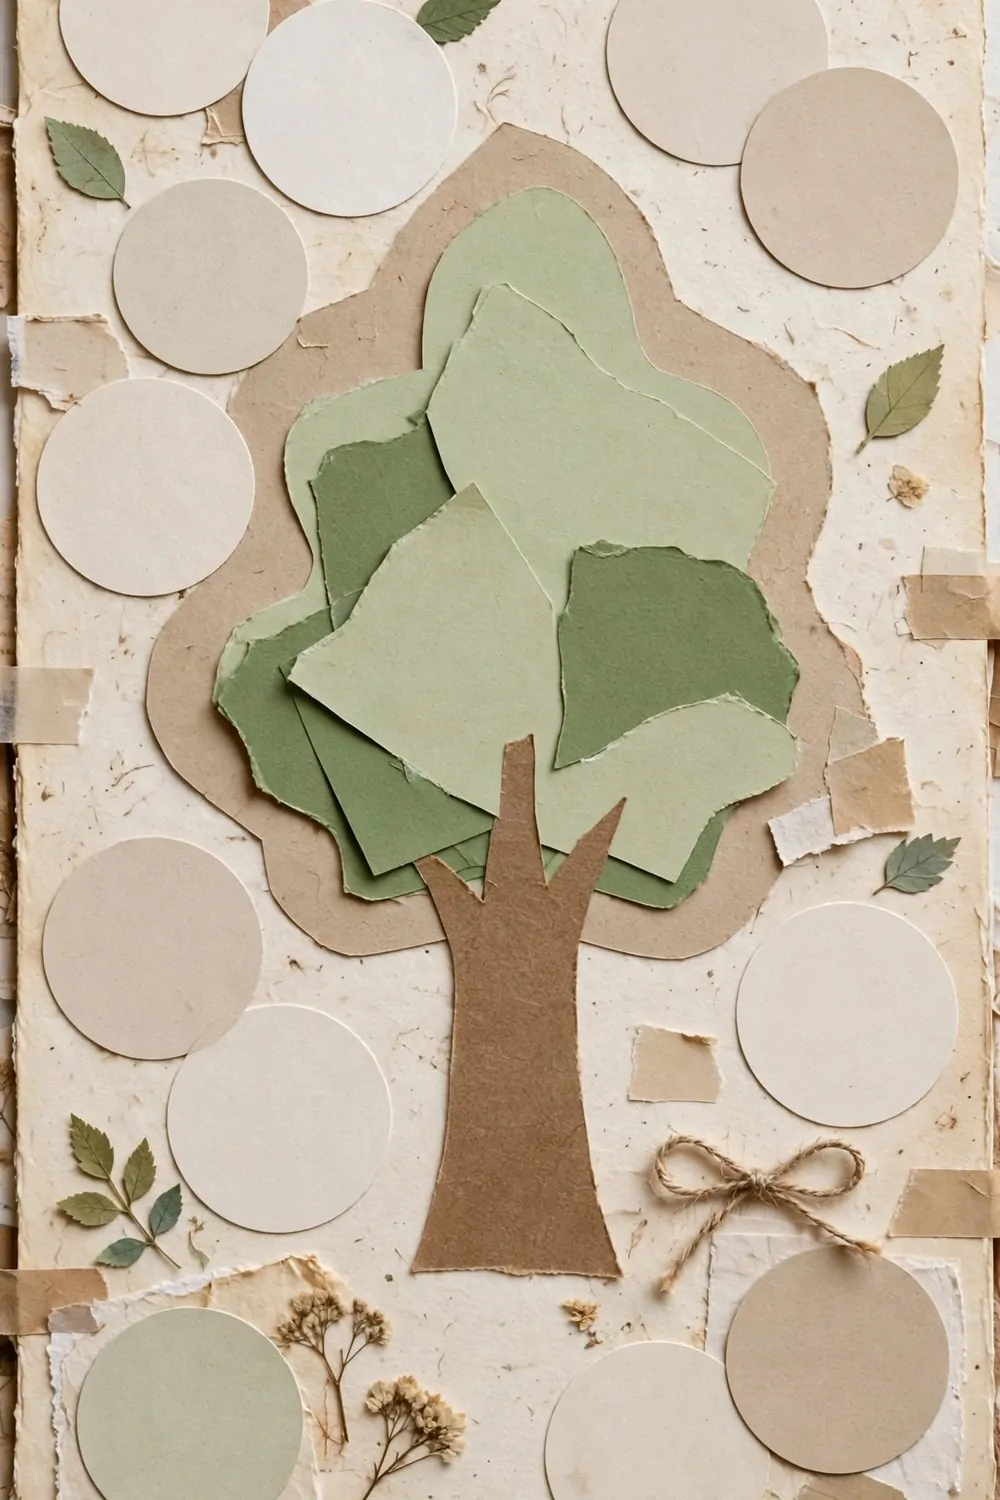
A family tree page helps children see where they belong in a big, loving family. I start with our own names and work out from there. It is a calm way to talk about the people who shape our lives.
You can draw a simple tree shape on a plain page with a pen. Add a name for each person you want to include, and keep the lines clear and easy to follow.
Ask older family members to help you spell each name right.
I add a short note about where each person lives now, if they are happy for me to share it. You can add a note about what each person loves to do. Those small notes turn names into people your child can know and love.
- parents and grandparents
- brothers and sisters
- aunts and uncles
- cousins you see often
Typical cost $2 to $5.
If you want a neat look, use a ruler to keep your lines straight. I check each name with care so no one is left out by mistake.
You can add new names as your family grows and changes.
I keep our tree page where we can find it with ease. You can look at it together on a quiet evening and talk about the people you love. It will soon feel like one of the dearest pages in the whole book.
18. Add a Milestone Page for Big Days
Big days stay in our hearts for a long time, and a milestone page helps us hold on to them. I use this page for first steps, first days at school, and other days we will never forget.
You can start with a plain page and write the date of the big day. Add a short line about what happened and how it felt. I keep the words simple so the memory stays clear and true.
If you have a photo of the day, you can add it to the page with tape. A strip of tape that lifts off clean keeps the photo safe for years.
Let your child tell the story in their own words, and write it down just as they say it.
Some big days feel loud and full of joy, with family all around us. Other big days feel quiet and soft, with just a hug and a smile. I write what is true for that day, and I leave out the rest.
You can add a small keepsake to the page if it fits and feels right. I keep the page calm so the memory, not the extra bits, takes the lead.
Typical cost $4 to $6.
If you buy a frame or a plain album page, the cost can rise a little. I use what I have first and I only buy what I truly need for the day. I buy only what the page truly needs, so the cost stays low and the page still feels special.
When you look back at this page, you will smile at how far your family has come.
19. Make a Picnic Page for Sunny Days
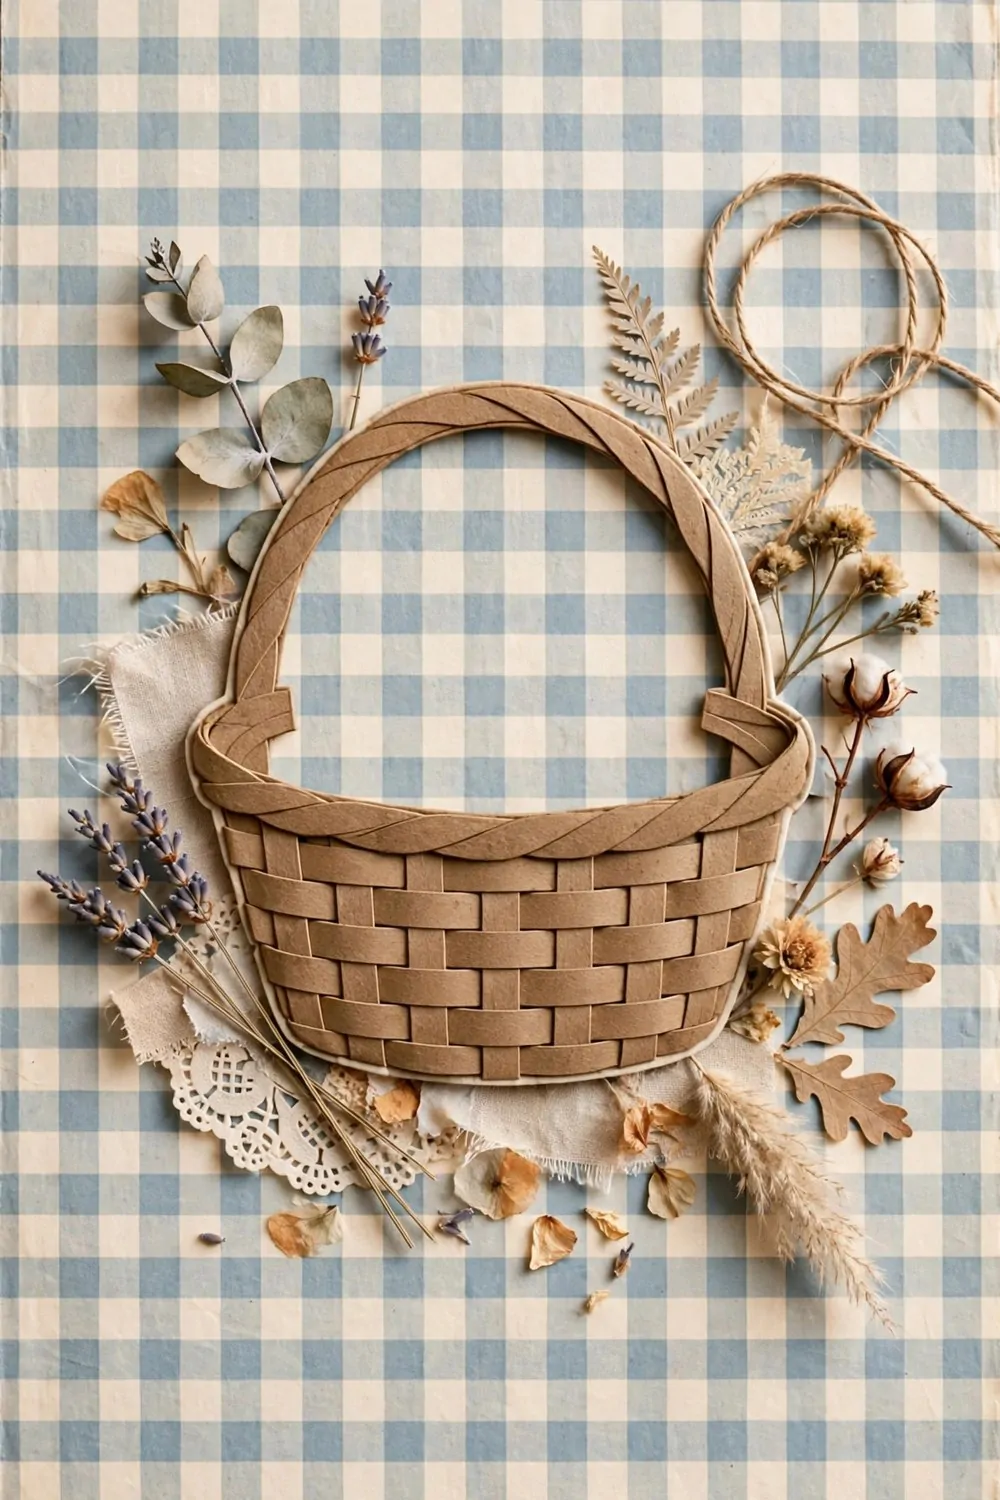
A picnic page holds one sunny day in one place. You can look back at it and feel the day again.
Start with the photos you took outside on the grass.
Pick the ones that show happy faces and full plates. Trim them small so they fit side by side. Leave a bit of space round each one so the page can breathe.
Write a short note about what you ate and where you sat. A line or two is plenty, and your own words make it yours.
Add a small sketch of a tree or a basket if you like to draw.
Use soft colours for the borders and the labels. They suit a bright day without shouting over the photos.
Typical cost $2 to $4.
You can stick in a napkin edge or a flat leaf from the day. Keep it thin so the page still shuts flat. A thin keepsake lasts longer than a thick one.
Date the page in a corner so you know which summer it was. Your future self will thank you for that small line.
20. Add a Thankful Page for Kind Moments
A thankful page is a quiet place in your album. It holds the kind things people did for you. You can turn to it on a grey day and feel warm again.
Think of one kind moment from the past week.
Write it down in your own plain words. You do not need long lines to make it matter.
Add a photo of the person if you have one. If not, a small drawing works just as well.
Typical cost $3 to $5.
Keep the page simple so the words stand out. Use soft colours and plain paper. Let the kind moment be the star of the page.
You can add a new note each month as kind moments come along. The page grows slowly, and that slow growth suits it.
Read it back to your family at the table one evening.
They will smile at the moments you kept. A thankful page turns small kindness into a keepsake you can hold.
| Idea | Main change | Typical cost |
|---|---|---|
| Add a Letter Page for Notes to Each Other | add a blank letter page for notes | $1 to $3 |
| Make a Garden Page with Cut Paper Flowers | cut paper flowers for a garden page | $3 to $6 |
| Make a School Days Page for Each Child | keep school days on one page | $2 to $4 |
| Add a Favourite Quotes Page | keep loved lines together | $0 to $3 |
| Make a Seasons Page Through the Year | follow the year through the seasons | $3 to $5 |
| Save Drawings on a Gallery Page | keep loved drawings in one place | $1 to $3 |
| Make a Family Tree Page | show your family on one page | $2 to $5 |
| Add a Milestone Page for Big Days | hold big days on one page | $4 to $6 |
| Make a Picnic Page for Sunny Days | keep picnic days on one page | $2 to $4 |
| Add a Thankful Page for Kind Moments | keep kind moments on one page | $3 to $5 |
| Total | $21 to $44 |
21. Make a Cover Page for Your Album
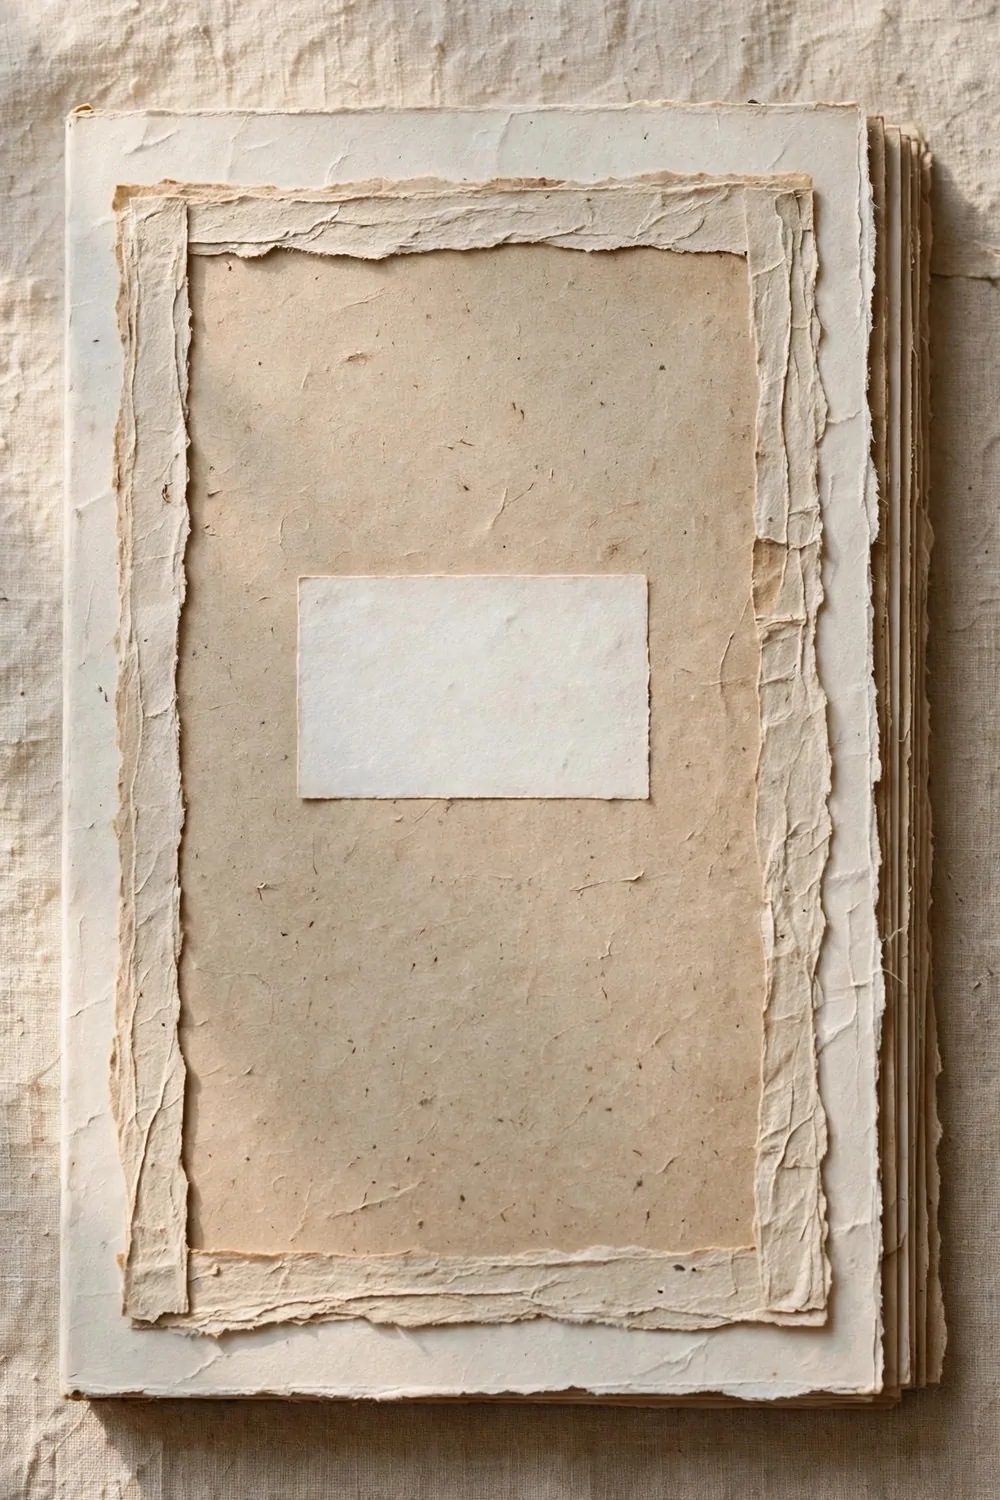
A cover page tells you what lives inside the album. It is the first thing you see when you open the book.
Pick a title that fits your family and your year. Write it big in the middle of the page. Use plain letters so it is easy to read.
Typical cost $2 to $5.
Add the year under the title. That small line helps you find the right album years later.
Use soft colours that match the rest of your pages. A calm cover suits a book full of warm days.
You can add a small photo from a happy day. Choose one that makes you smile each time you see it. Keep the rest of the page plain so the photo shines.
Press the page flat under a heavy book overnight.
Check the edges the next day and trim any rough bits. A tidy cover makes the whole album feel cared for.
Your cover is done when it feels like your family. Open the album and look at that first page. Enjoy the book you are building together.
22. Put Together a Family Scrapbook Kit for a Friend
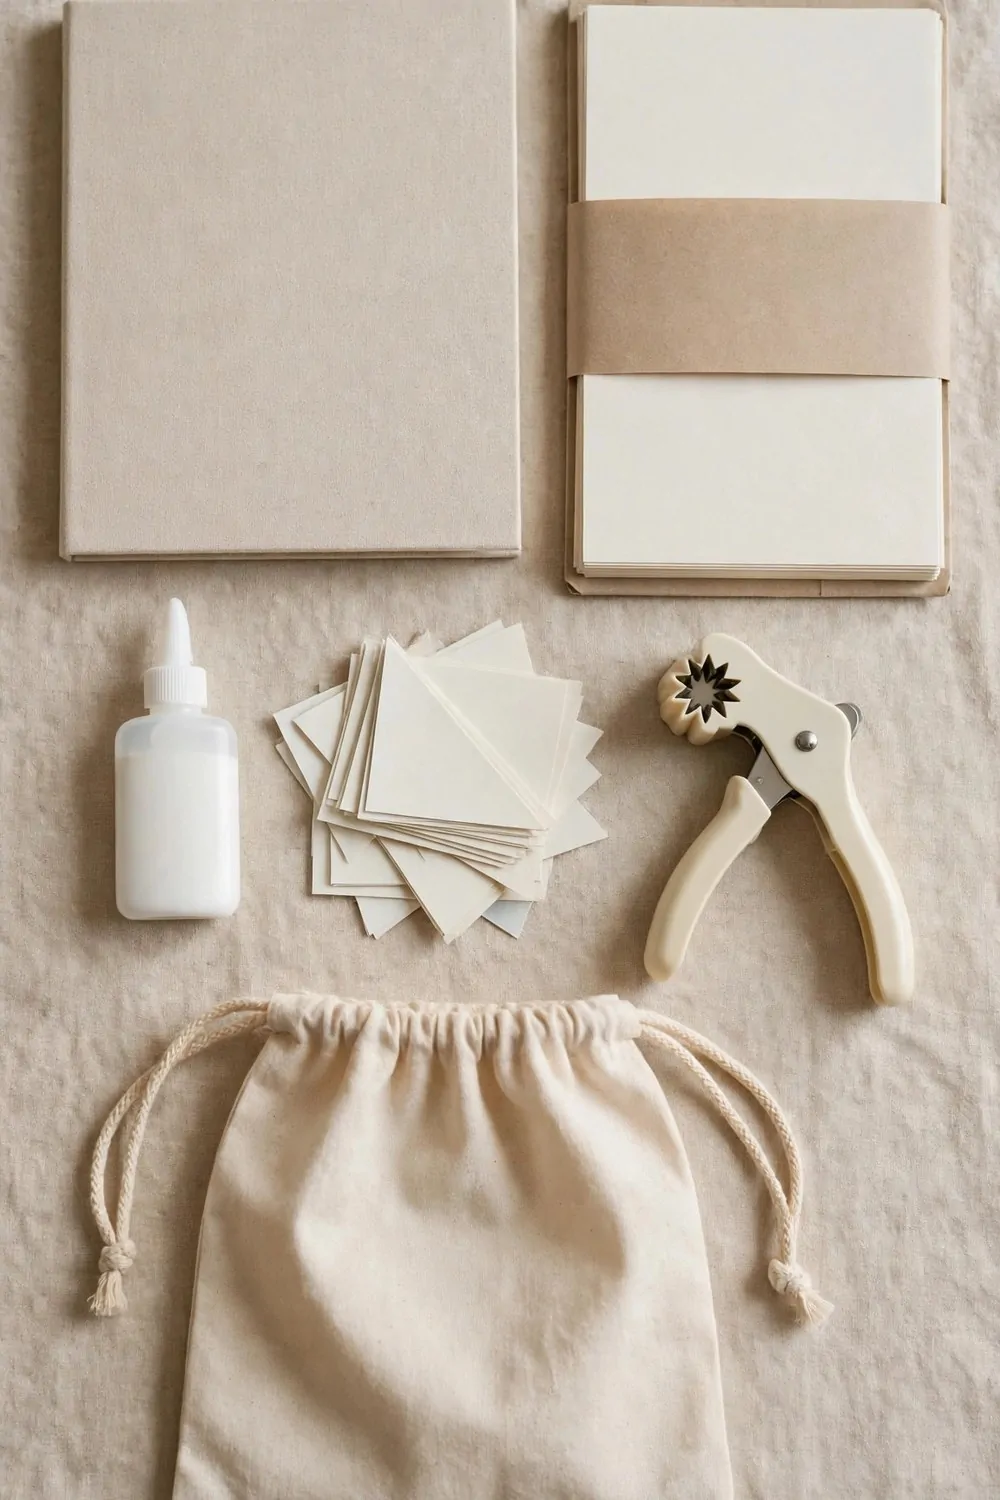
A scrapbook kit is a kind gift for a friend who wants to start. It gives them all they need in one go.
The plain scrapbook album costs $4 to $7, the pack of plain scrapbook paper costs $3 to $5, the small bottle of plain craft glue costs $2 to $4, the set of plain photo corners costs $2 to $3, the plain star paper punch costs $3 to $4, and the plain fabric scrapbook bag costs $4 to $6, for a total of $18 to $29.
Tuck the paper in first so it stays flat and neat. Set the glue and the photo corners beside it. Lay the star punch where your friend can spot it at once.
Typical cost $18 to $29.
Slip the album in last so it rests with the rest. Tie a plain tag round the handle so your friend knows it is theirs.
Write a short note to go with the kit. Tell your friend to start with one photo and one page. Remind them that a plain first page is a fine start.
You can add some spare paper from your own shelf. Some extra sheets give them room to play and learn.
Keep the kit simple and let your friend make it their own.
Your album will wait on the shelf, ready for the next page you add together. Pick one idea, open the book, and keep a small piece of today for the years to come.
| Idea | Main change | Typical cost |
|---|---|---|
| Make a Cover Page for Your Album | make a cover page for your album | $2 to $5 |
| Put Together a Family Scrapbook Kit for a Friend | put together a family scrapbook kit | $18 to $29 |
| Total | $20 to $34 |
| Idea | Main change | Typical cost |
|---|---|---|
| a plain scrapbook album | keep pages in a plain scrapbook album | $4 to $7 |
| a pack of plain scrapbook paper | cut and stick with a pack of plain scrapbook paper | $3 to $5 |
| a small bottle of plain craft glue | stick pages with a small bottle of plain craft glue | $2 to $4 |
| a set of plain photo corners | hold photos with a set of plain photo corners | $2 to $3 |
| a plain star paper punch | punch stars with a plain star paper punch | $3 to $4 |
| a plain fabric scrapbook bag | carry pages in a plain fabric scrapbook bag | $4 to $6 |
| Total | $18 to $29 |
Keep Reading
If you liked these ideas, you will love these posts too
Each post has more simple ideas you can try at home this weekend.