30 Broom Closet Organization Ideas That Hide Cleaning Tools

The broom fell out and hit my foot the second I opened the closet door. I stood there in my socks, holding the door with one hand and a dustpan with the other, and I knew the closet had to change.
That closet was small and tall, and everything inside it leaned on everything else. The mop slid down behind the bucket. The dustpan hid under a pile of cloths. I could never find the thing I needed first.
I am not a tidy person by nature. I just got tired of the same small mess greeting me every time I wanted to clean. A closet that fights you makes the whole job feel harder than it is.
So I started small. I put one hook on the door. Then I moved the bucket to the bottom shelf. Then I gave the vacuum its own corner. Each little fix took ten minutes or less.
The best part was how quiet the closet got. Nothing falls out now when I open the door. I reach in, I grab what I need, and I get on with the cleaning.
These ideas are all simple and cheap. Most of them use things you may already have at home, like a spare basket or an old tray. You do not need a big closet or a big budget to make it work.
I put all 30 ideas in this one post so you can read them in one go and pick the ones that fit your closet. Start with one or two, see how they feel, and add more when you are ready.
1. Hooks on the Door for Brooms and Mops
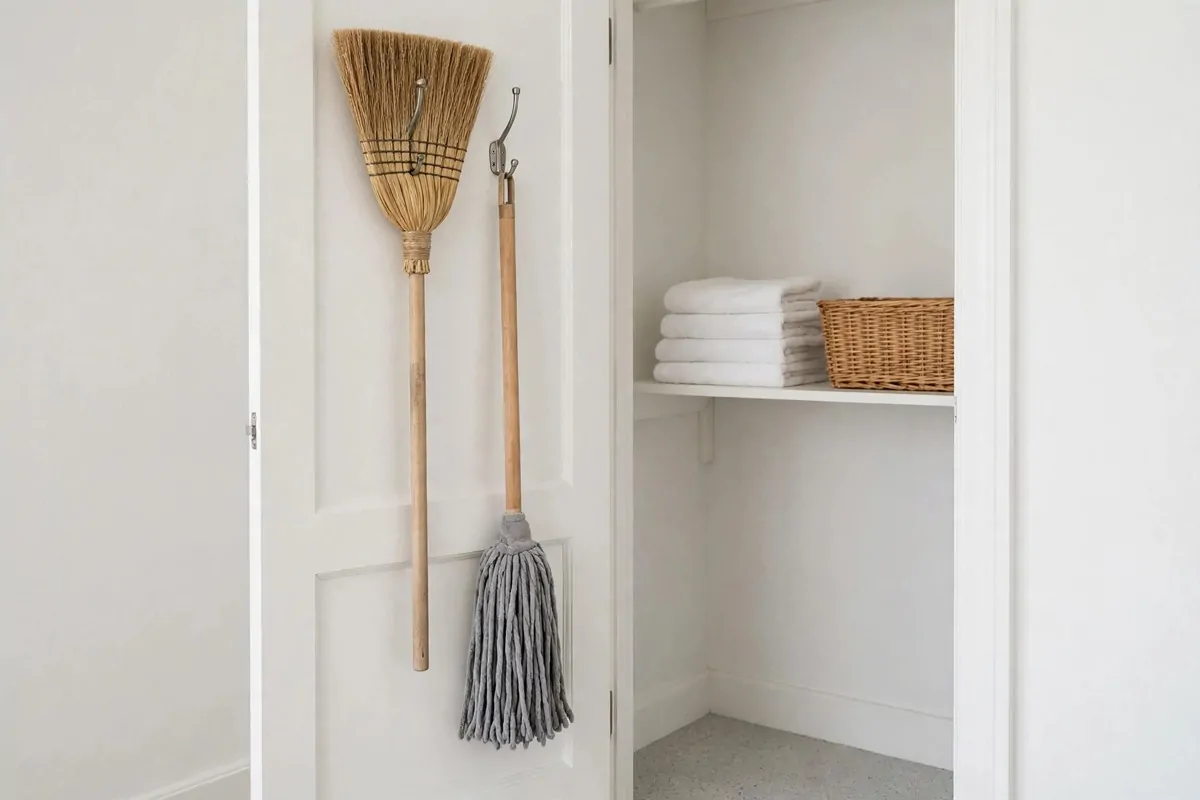
I put two hooks on the inside of my closet door, and that one change fixed half the mess. The broom and the mop used to lean in a corner and slide down every day.
Now they hang up high, off the floor, and the bottom of the closet stays clear. I can see the floor when I open the door, and that alone makes the closet feel bigger.
I picked hooks that grip the handle tight so nothing slips. A loose hook is worse than no hook, because the broom will fall anyway.
Put the broom on one side and the mop on the other, so the handles do not knock together. I learned that the hard way when my mop handle chipped the paint on the door.
If your door is thin, use hooks made for doors, not big screws that poke through. I used small screws and a hand tool, and it took me about ten minutes.
Leave a little space between the hooks so you can lift each tool off without a fight. You want to grab the broom with one hand and go.
I also hang my small brush on a third hook near the top. It is out of the way there, and I always know where it is.
Typical cost is $8 to $18 for a few good hooks. You do not need many, and cheap ones work fine if they hold firm.
Try this one first if your brooms keep falling. It is the fastest fix in the whole list, and you will feel the change the same day.
2. A Slim Shelf for Spray Bottles
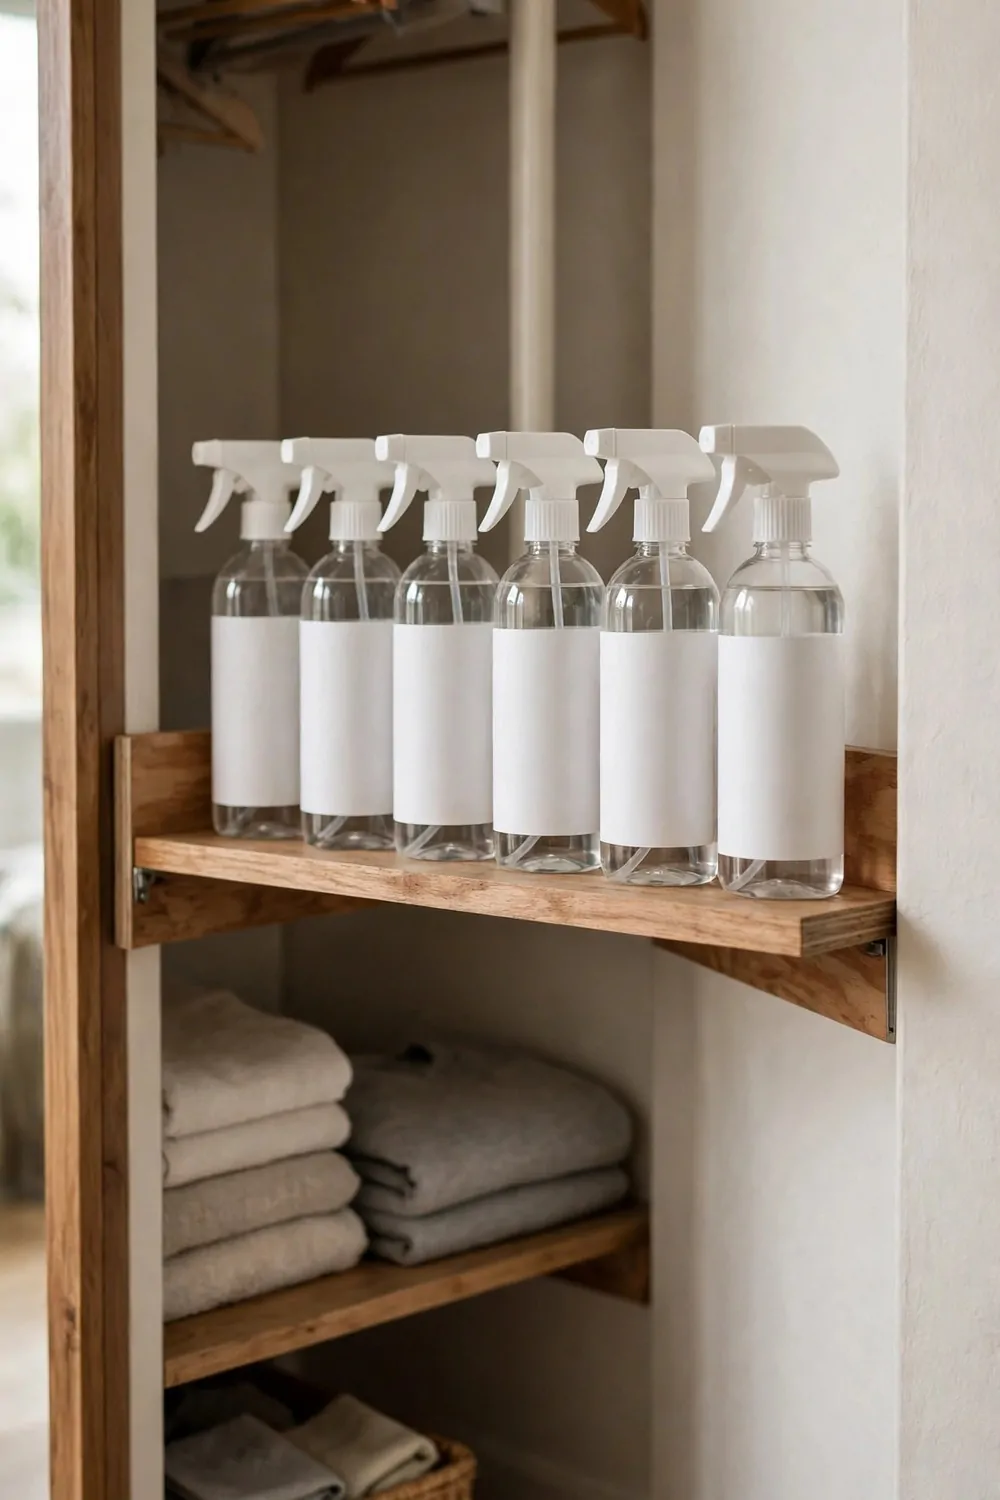
My spray bottles used to sit on the floor in a row, and they fell over every time I moved the bucket. I could never read the labels without picking each one up.
A slim shelf fixed that in one go. It sits high on the wall, out of the way, and the bottles stand in a neat line where I can see them all.
I keep the bottles I use most at the front. The soap spray is first, then the plain water spray, then the one for the glass. That order saves me time every week.
A slim shelf works best because it does not stick out far. The closet door still closes with no trouble, and the brooms can hang below it.
I wiped the shelf once a week at first, because a small drip can leave a mark. Now I just give it a quick wipe when I put the bottles back.
Make sure the shelf is level before you fix it to the wall. A tilted shelf makes bottles slide to one end, and that brings back the same old mess.
If you rent your home, look for a shelf that hangs on the door or stands on its own. You can still get the same neat row without making holes in the wall.
Typical cost runs $12 to $28 for a slim shelf. A plain wood or plastic one does the job just as well as a fancy one.
I love opening the door and seeing the bottles lined up like little soldiers. It makes the closet look cared for, even on a busy day.
3. A Bucket That Slides Under the Lowest Shelf
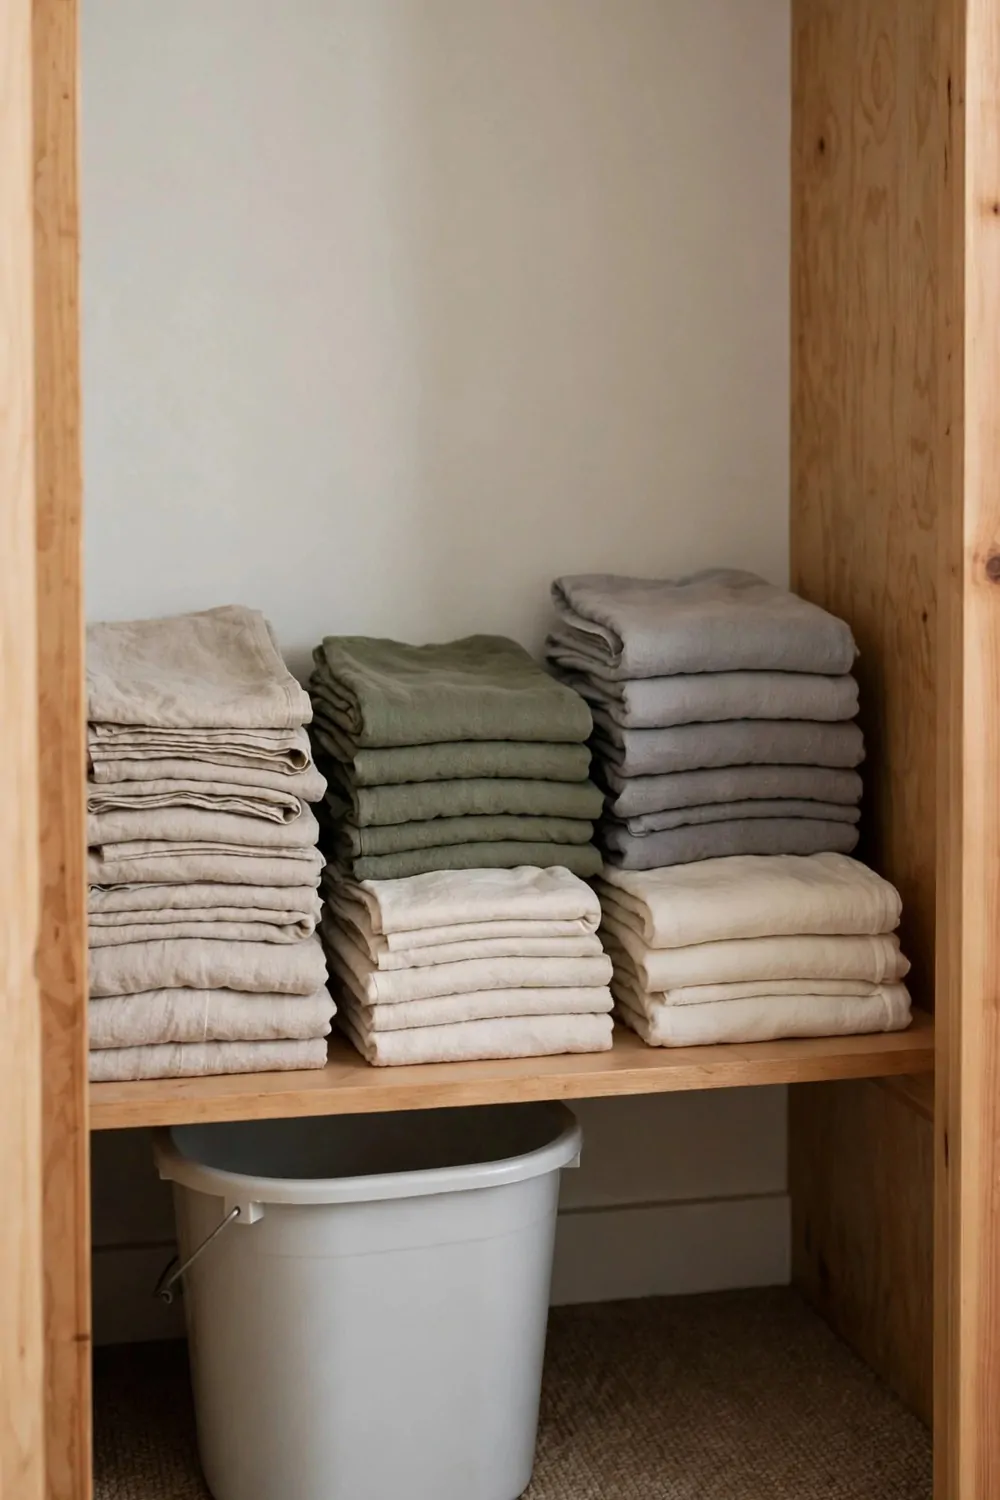
The bucket was the hardest thing to store in my closet. It is wide and round, and it never fit where I wanted it to go.
Then I cleared the space under the lowest shelf and let the bucket slide in there. It fits like it was made for that spot, and the door closes with ease.
A small bucket is best if your closet is tight. A small bucket costs $10 to $20. It holds enough water for a quick mop of the kitchen floor.
A medium bucket suits a bigger home with more floors to wash. A medium bucket costs $15 to $30. It is still light enough to carry when it is full.
A large bucket is the one to pick if you wash big rooms often. A large bucket costs $25 to $45. It holds more water, so you refill it less.
I keep a cloth draped over the bucket handle so I always have one close by. It dries there too, which keeps the closet from smelling damp.
Slide the bucket in handle down, so the handle does not snag on the shelf above. That small habit keeps the bucket from tipping when I pull it out.
I also keep the mop head resting on top of the bucket when it is dry. It stays out of the way, and I know where both things are.
Pick the size that fits your space, not the biggest one you can find. A bucket that slides in and out with ease is worth more than a big one that sticks.
| Bucket size | Typical cost | Best for |
|---|---|---|
| Small bucket | $10 to $20 | A few floors in a small home |
| Medium bucket | $15 to $30 | A bigger home with more floors |
| Large bucket | $25 to $45 | Big rooms washed often |
4. A Dustpan and Brush on One Hook
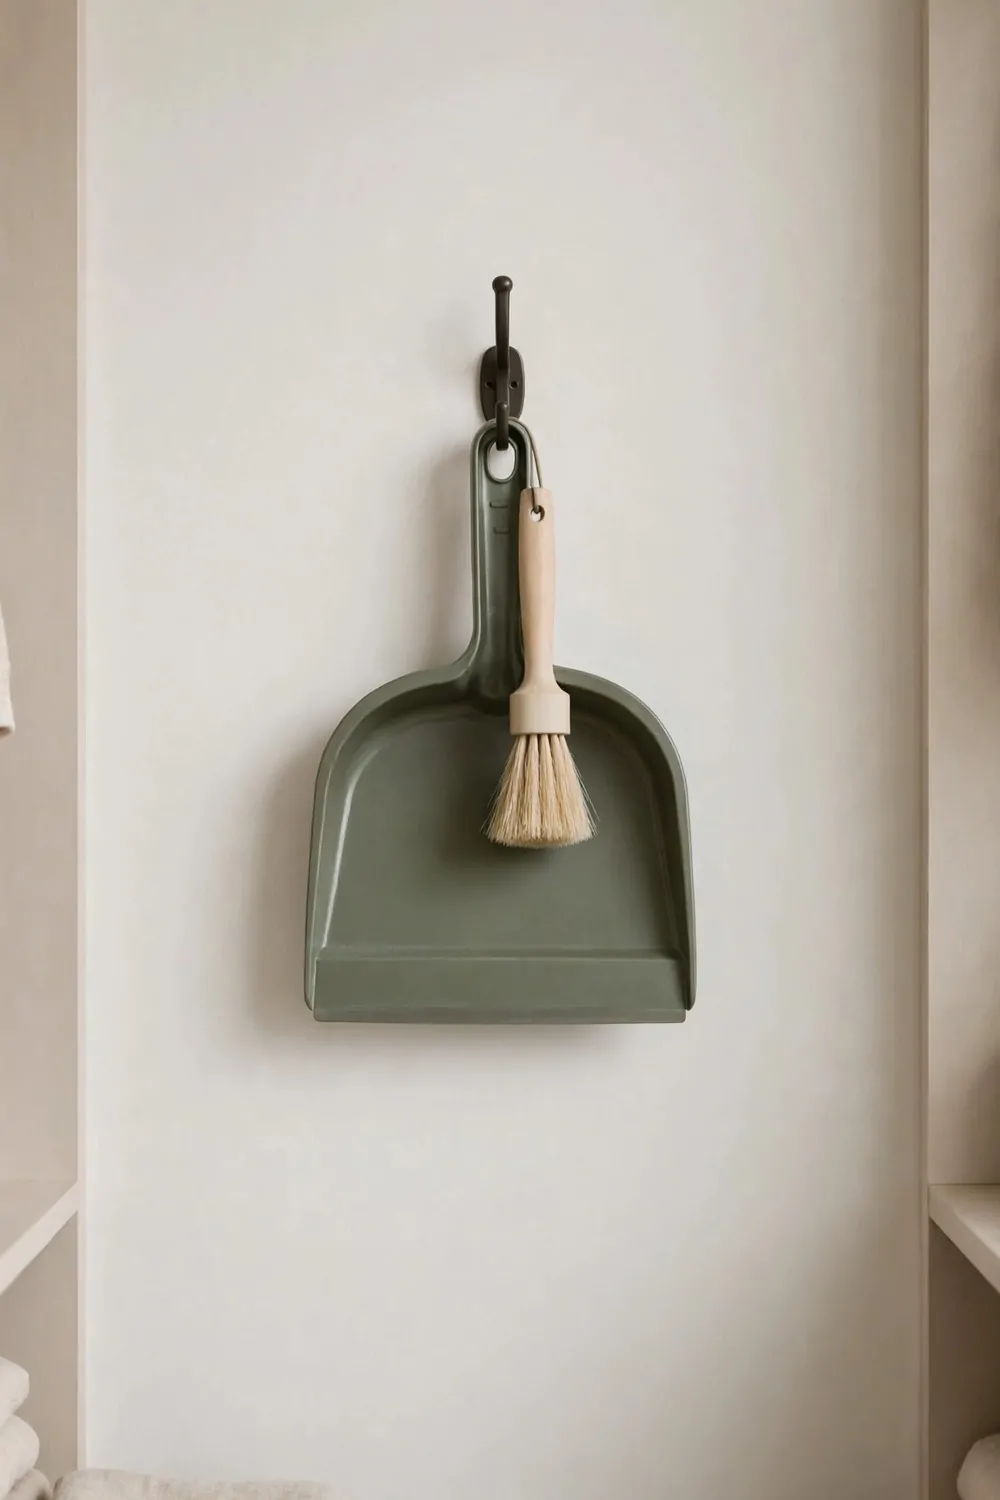
My dustpan and brush used to live in different spots, and I spent half my cleaning time looking for one of them. That sounds small, but it drove me mad.
One hook fixed it. The dustpan hangs on the hook, and the brush clips onto the dustpan. They stay together now, always in the same place.
I put the hook at eye level, right by the door, so I can grab the set on my way out. I sweep the kitchen floor most days, so this spot gets used a lot.
A short handle brush is easier to store than a long one. It hangs flat against the wall and never pokes out into the doorway.
I tap the brush clean outside before I hang it back up. That keeps dust out of the closet and keeps the brush ready for next time.
If your dustpan has a hole in the handle, use it. If not, a small clip holds it fine, and you can move it later if you change your mind.
Kids can reach this hook too, which is handy when they want to help sweep up a spill. I showed my little one where it lives, and now she puts it back herself.
Typical cost is $6 to $15 for a hook and a clip. You may already have the hook at home, and then this fix costs nothing at all.
This is one of those tiny ideas that makes a big change. Two things, one hook, one home, and no more hunting around.
5. A Vacuum That Parks Upright in the Corner
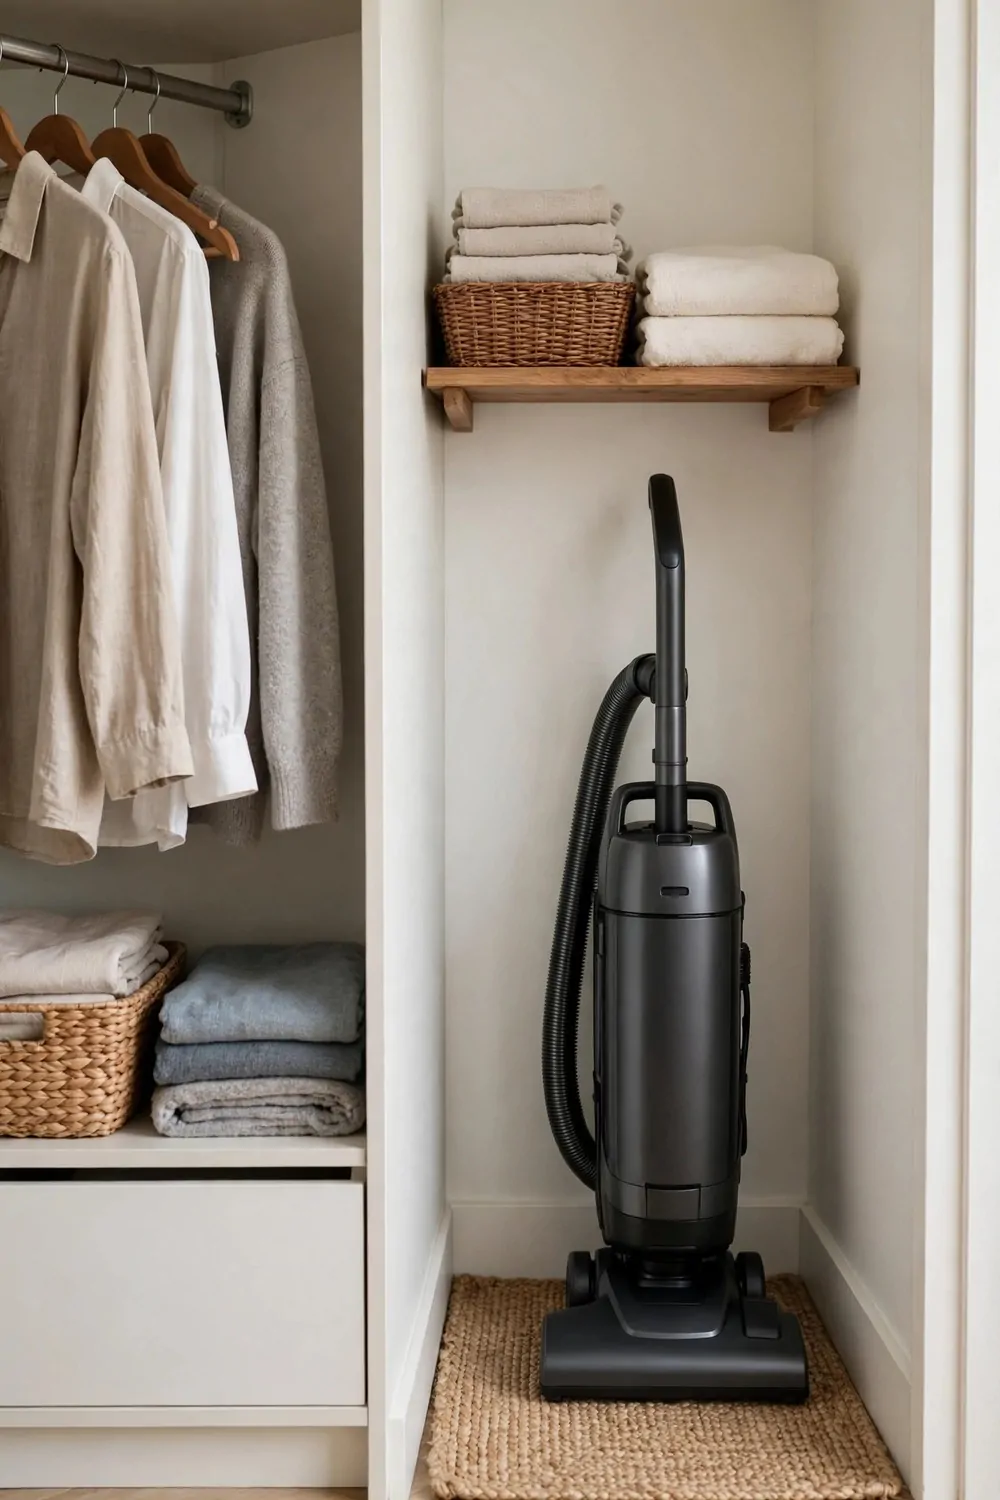
My vacuum used to lean against the wall in the hall, and it fell over at least once a week. It also made the hall look messy, even when the rest of the house was clean.
I gave it a parking spot in the corner of the broom closet instead. It stands upright there, tucked in tight, and the door closes right over it.
The trick is to pick the corner that fits the vacuum best. Measure it once, then move the other things out of that corner for good.
I wrap the cord around the hooks on the back of the vacuum before I park it. A loose cord is the main reason a vacuum tips over.
The nozzle sits on the floor next to it, not on top of it. That way nothing slides off when I open the door in a hurry.
I empty the dust cup each time I finish, so the vacuum is ready for the next use. A full cup makes the vacuum heavy and hard to lift out.
If the closet is very small, take the extra tools off the vacuum and keep them in a small basket on a shelf. The vacuum alone fits much better.
Typical cost is $0 to $10 for this one, since you only need a small mat or a bit of grip tape to keep it from sliding. Most of us can do it for free.
Parking the vacuum in the closet changed how my hall looks. The hall stays clear now, and the vacuum is still right where I need it.
6. A Small Basket for Cloths and Sponges
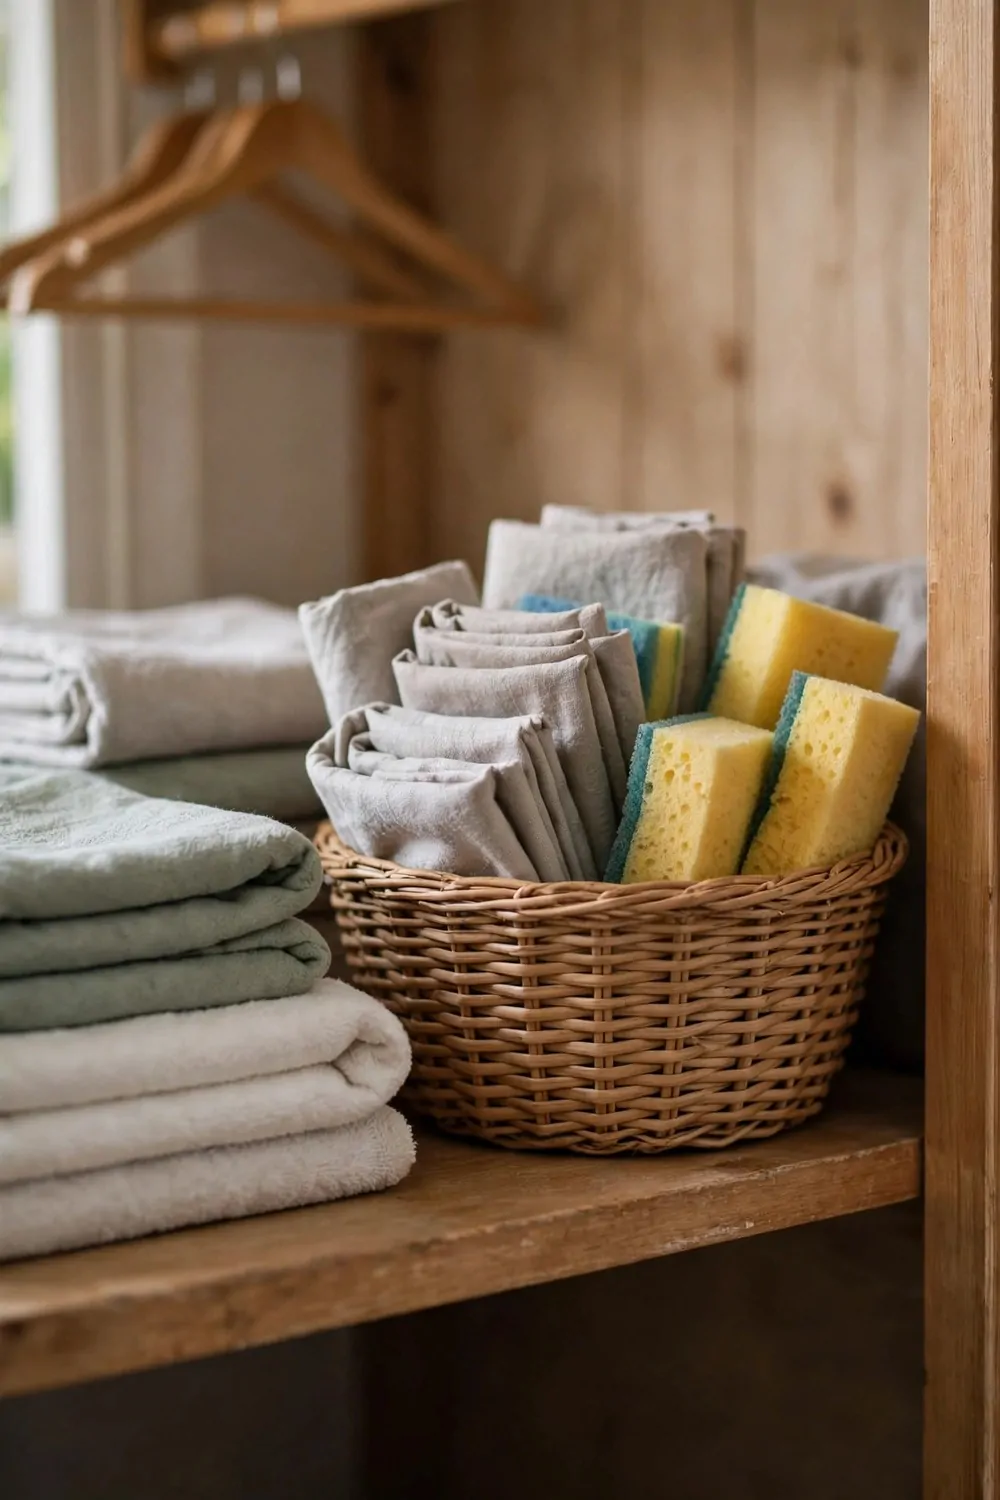
Cloths and sponges used to pile up on a shelf in a wet heap, and I hated touching that heap. It smelled damp, and I never knew which cloth was clean.
A small basket changed all that. The cloths sit in the basket, the sponges sit on top, and air can move around them so they dry faster.
I keep clean cloths on one side and used ones on the other. It sounds fussy, but it takes two seconds and saves me from grabbing a dirty cloth by mistake.
A basket with holes or gaps works best. A solid basket holds damp air inside, and damp cloths start to smell after a day or two.
I wash the cloths once a week and put them back fresh. The basket itself gets a quick rinse in the sink now and then, just to keep it fresh too.
Put the basket on a middle shelf, where you can reach it without bending down. You will use the cloths more often if they are easy to grab.
I keep a few old cut up shirts in the basket too, for messy jobs. They work just as well as shop cloths, and I do not mind throwing them away after a big spill.
Typical cost is $7 to $16 for a small basket. A plain one from a home shop does the job, and it lasts for years.
This little basket makes the whole closet feel fresh. Clean cloths, dry sponges, no wet heap, and no smell when you open the door.
7. A Tension Rod to Hang Spray Bottles
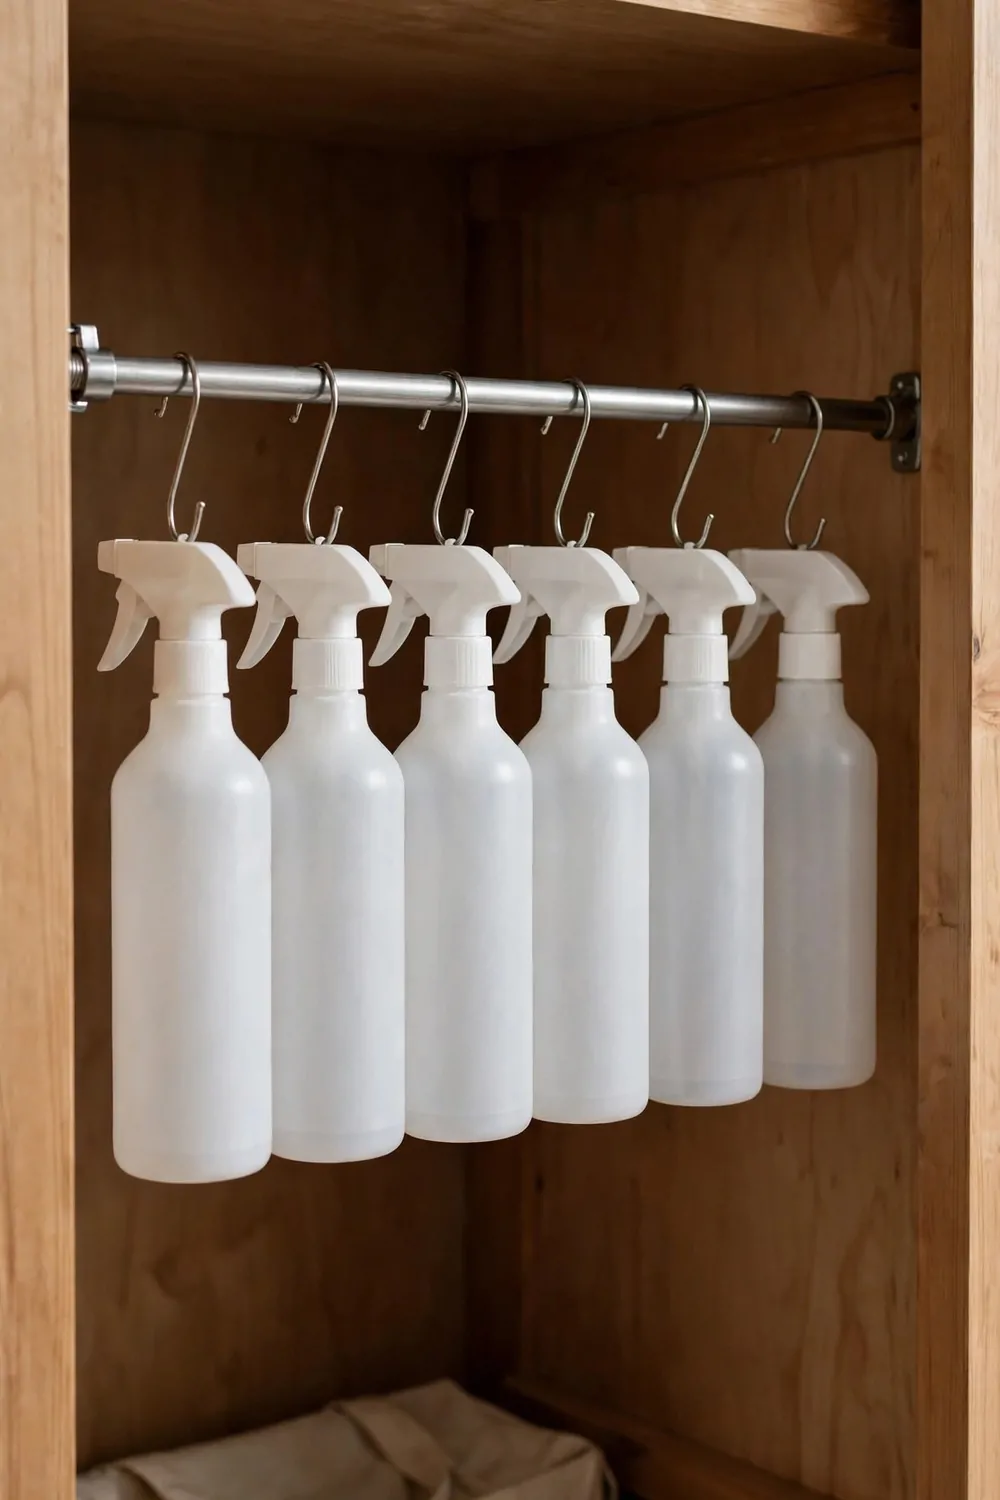
I had run out of shelf space, but I still had bottles with nowhere to go. A friend told me about a tension rod, and I tried it the same week.
A tension rod is a bar that pushes against two walls and stays put with no screws. I fixed one across the inside of the closet, and the spray bottles hang from it by their necks.
The bottles hang in a row, and I can see every label at a glance. It feels a bit clever, like a little shop display inside my closet.
You need to twist the rod until it feels firm. If it is loose, it will slip down when the bottles get heavy, so test it with a good push first.
I hang only light spray bottles on the rod, not big heavy ones. The big bottles stay on the shelf below, where they cannot fall far.
The rod also holds a small cloth draped over it, which dries there between uses. That is a handy extra, and it costs nothing.
If your closet is wide, use two short rods instead of one long one. Short rods hold firm better, and you can set each one at a different height.
Typical cost is $8 to $18 for a tension rod. It is one of the cheapest fixes here, and you can move it in seconds if you change your mind.
I smile every time I see those bottles hanging in a row. It is a small thing, but it makes the closet feel smart and well used.
8. A Magnetic Strip for Small Metal Tools
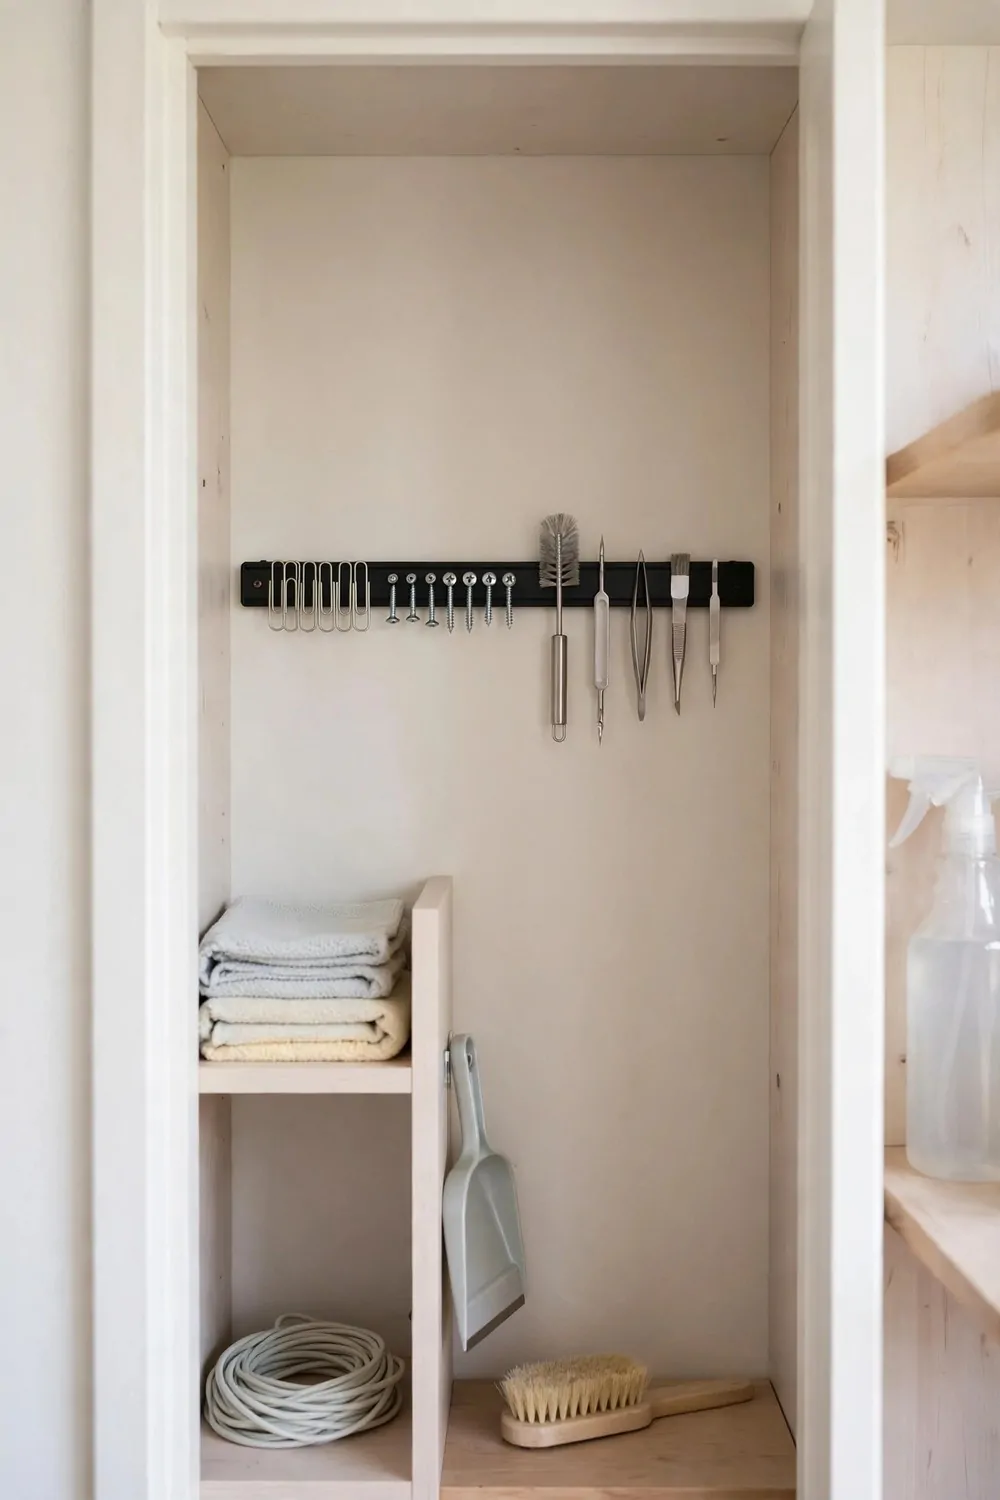
Small metal tools are the worst things to lose in a closet. Scissors, a little scraper, and a spare hook all sank to the bottom of a basket and stayed lost for weeks.
A magnetic strip on the wall fixed that for me. I stuck the strip up, and the metal tools snap onto it with a soft click. I can see them all in one line.
I put the strip at eye level, where my hand goes first when I open the door. The tools I reach for most sit in the middle, and the rest sit at the ends.
A strip works best on a flat bit of wall with nothing in front of it. I moved a shelf up a little to make room, and it was worth the small change.
Check that your tools are the kind that stick to a magnet. Most small steel tools do, but some light ones will not hold, so test each one before you trust it.
I wipe the strip once a month, because dust can make the grip weak. A quick wipe keeps everything holding firm.
Keep the strip away from the spray bottles, so no drips land on the tools. Wet metal tools can spot and stain, and that is easy to avoid.
Typical cost is $5 to $15 for a magnetic strip. A short one holds plenty, and you can add a second strip later if you need more room.
Now I never dig through a basket for a small tool. I just look at the strip, take what I need, and put it straight back when I am done.
9. A Door Rack for Cleaning Bottles
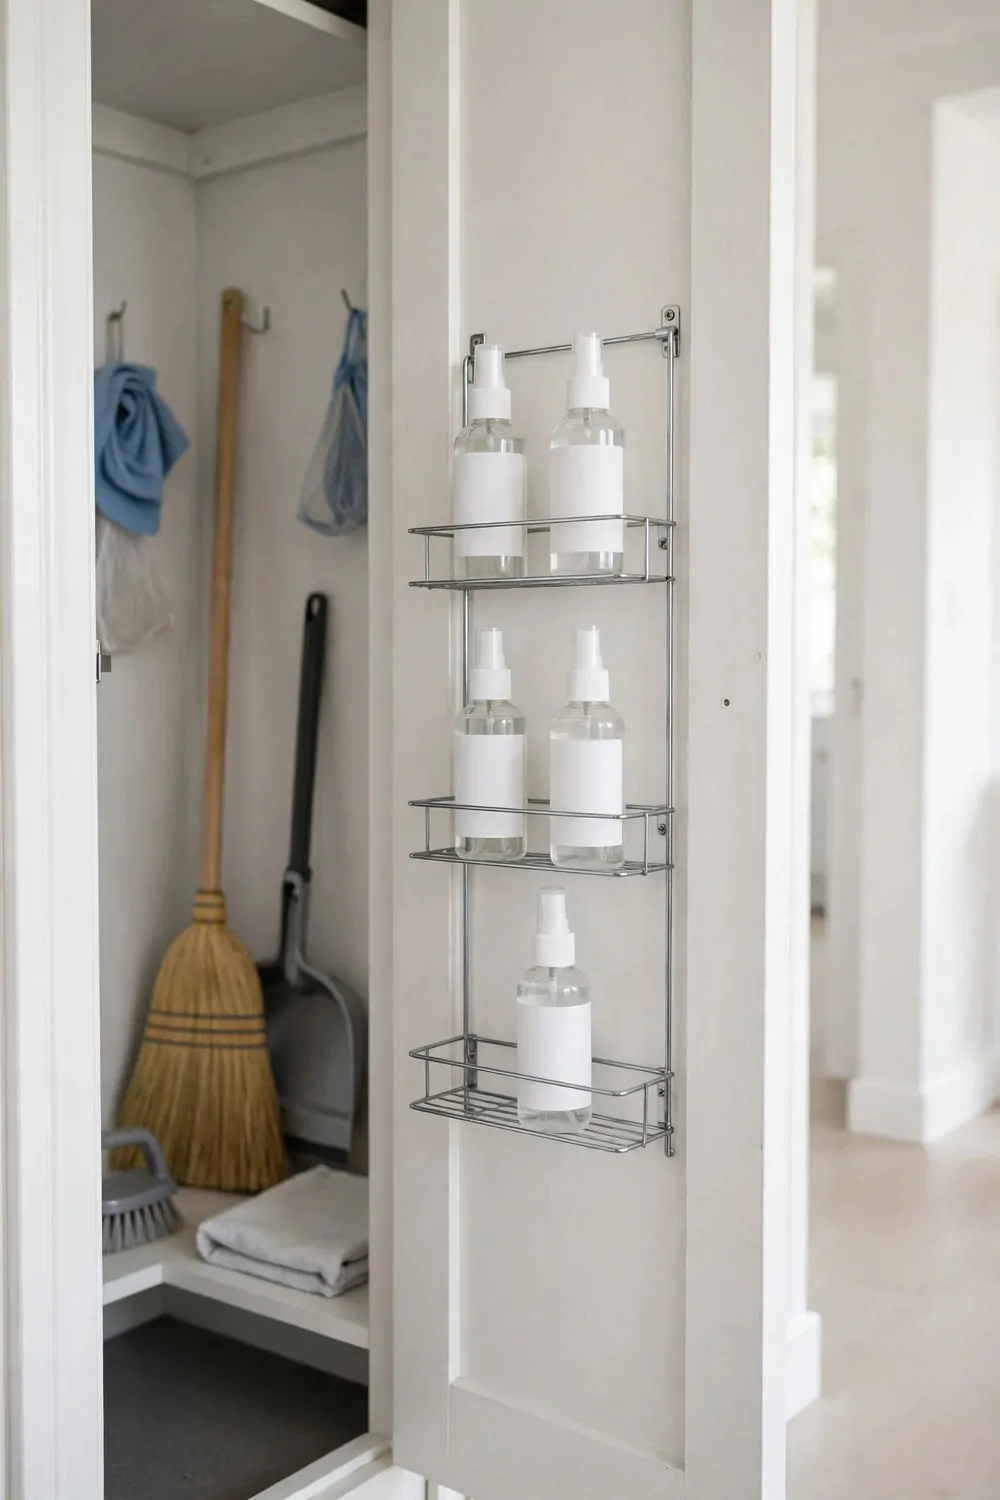
The back of the closet door was bare wall doing nothing, so I put a rack there for my cleaning bottles. It was dead space, and now it holds half my supplies.
A door rack is a set of small shelves that hang over the door or fix to it with screws. The bottles stand in the rack, and the door still opens and closes fine.
I keep the tall bottles on the bottom row and the short ones on the top. That way nothing topples when I swing the door open fast.
The rack frees up shelf space inside the closet for the bucket and the basket. I gained a whole shelf just by using the door.
Make sure the rack is not too deep, or the door will not close all the way. I measured mine before I bought it, and I am glad I did.
I put a small cloth at the bottom of the rack to soak up any drips. It takes two seconds to swap it out, and it keeps the rack clean.
If the door is light, use a rack that hangs over the top instead of one that needs screws. It is easy to take off, and it leaves no marks.
Typical cost is $15 to $28 for a door rack. It holds a lot for the price, and it turns wasted space into useful space.
Every time I open the closet, I see the bottles right there on the door. I grab one, I clean, and I put it back in the same slot.
10. A Rolling Cart That Hides in the Closet
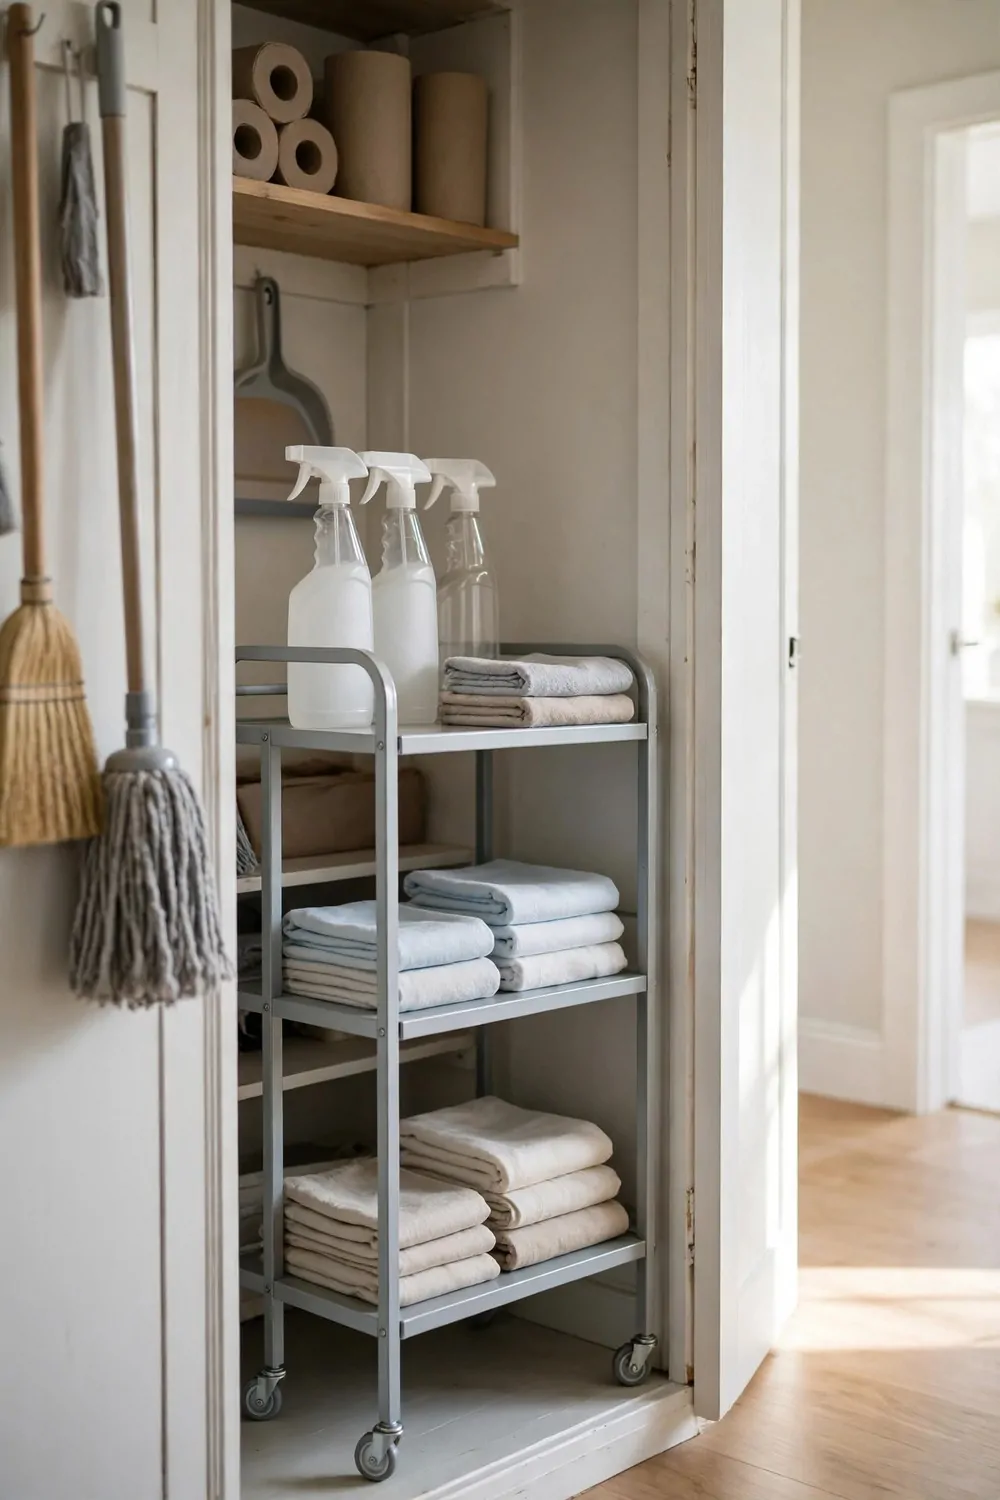
A rolling cart is a small set of shelves on wheels, and mine lives inside the broom closet. I roll it out when I clean, and I roll it back when I am done.
The top shelf holds my spray bottles and cloths. The middle shelf holds sponges and brushes. The bottom shelf holds the bucket when it is empty.
I love that I can take the whole cart to the room I am cleaning. No more trips back and forth to the closet for one more cloth.
Pick a cart that is narrow enough to fit through the closet door with ease. I measured the door first, then I picked the cart to match it.
The wheels lock, which matters a lot. A cart that rolls away on its own is no fun, and a locked wheel keeps it still while I work.
I keep the heavy things on the bottom shelf so the cart does not tip. The light things go on top, where I can reach them fast.
At the end of the day, I roll the cart back into the closet and shut the door. The whole cleaning kit hides away, and the house looks tidy again.
Typical cost is $20 to $45 for a small rolling cart. It is the priciest idea so far, but it does the work of three shelves at once.
If you clean more than one room at a time, this cart will save you steps. It is like a little cleaning station that follows you around the house.
11. A Pegboard Wall for Brushes and Tools
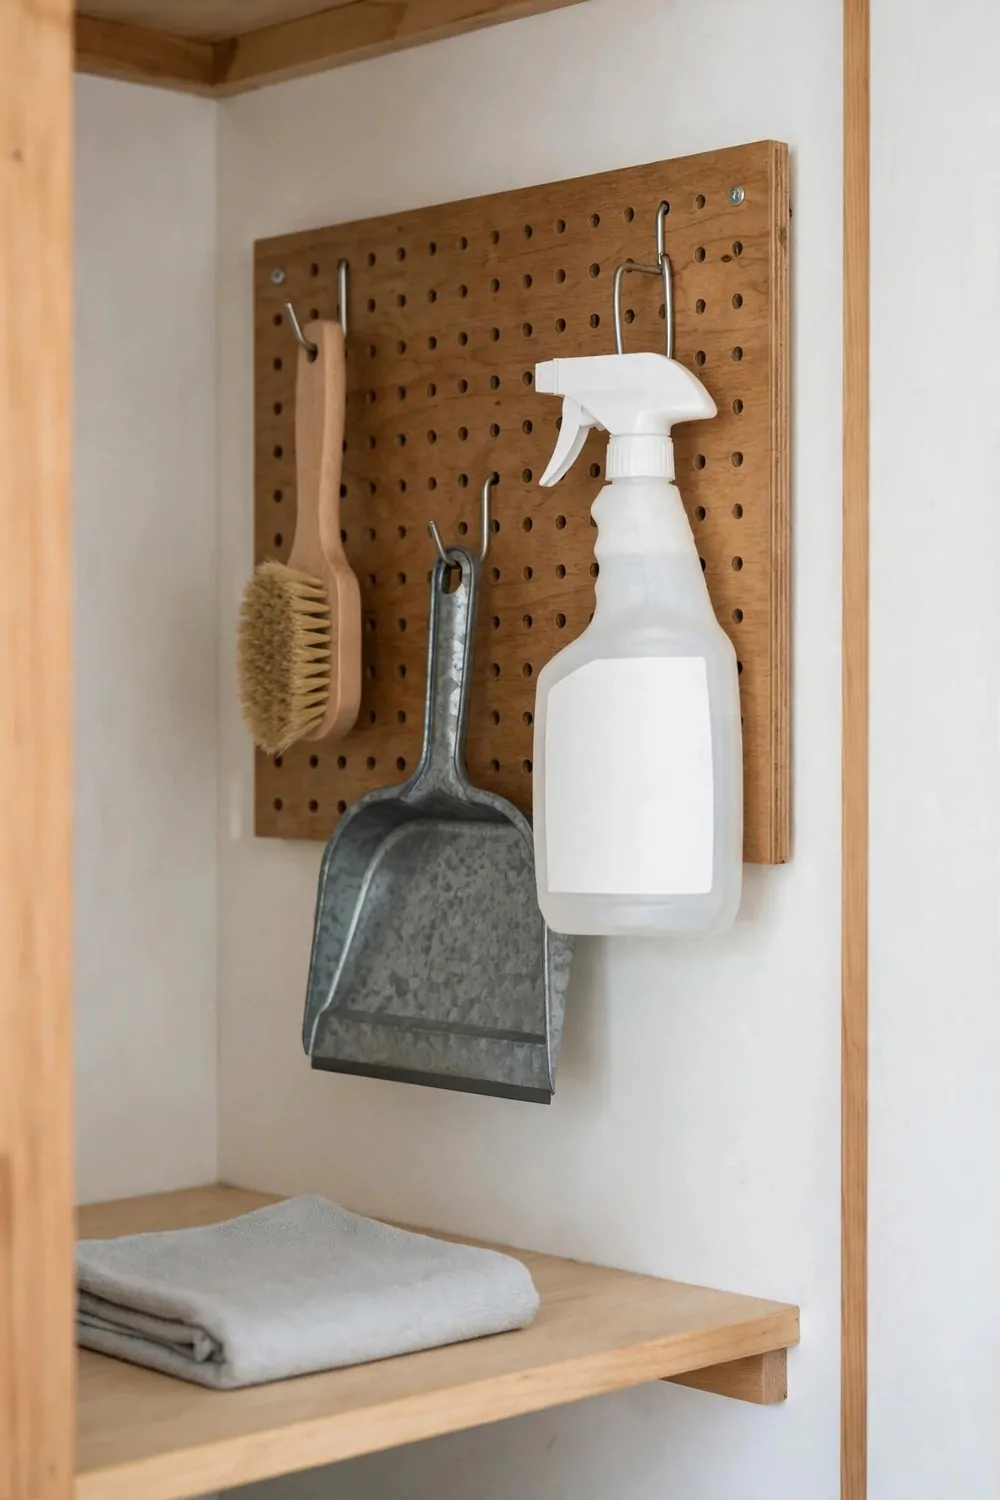
A pegboard is a flat board with rows of small holes, and you hang hooks in the holes to hold your tools. I put one on the back wall of my closet, and it holds more than I thought it would.
Brushes hang in a row, each on its own hook. I can see every brush at once, and I pick the one I need without moving anything else.
A small pegboard is a good start for a tight closet. A small pegboard costs $15 to $30. It holds the few tools you use every week.
A medium pegboard suits a closet with room to spare. A medium pegboard costs $25 to $50. It holds brushes, small tools, and a few spare hooks too.
A large pegboard is best if you have a big closet and lots of tools. A large pegboard costs $40 to $70. It can hold a whole set of brushes and tools in neat rows.
The best part is that you can move the hooks any time. If you buy a new brush, you just move a hook and make room for it.
I keep the long handled tools on the lower hooks and the short ones up high. That way nothing hangs down and blocks the door.
I put a small basket on one of the hooks for odds and ends, like spare clips and ties. It keeps the little bits from getting lost.
A pegboard makes the back wall work hard for you. It turns a blank wall into a tidy home for every brush and tool you own.
| Pegboard size | Typical cost | Best for |
|---|---|---|
| Small pegboard | $15 to $30 | A few tools you use each week |
| Medium pegboard | $25 to $50 | Brushes, small tools and spare hooks |
| Large pegboard | $40 to $70 | A whole set of brushes and tools |
12. A Label on Every Shelf and Hook
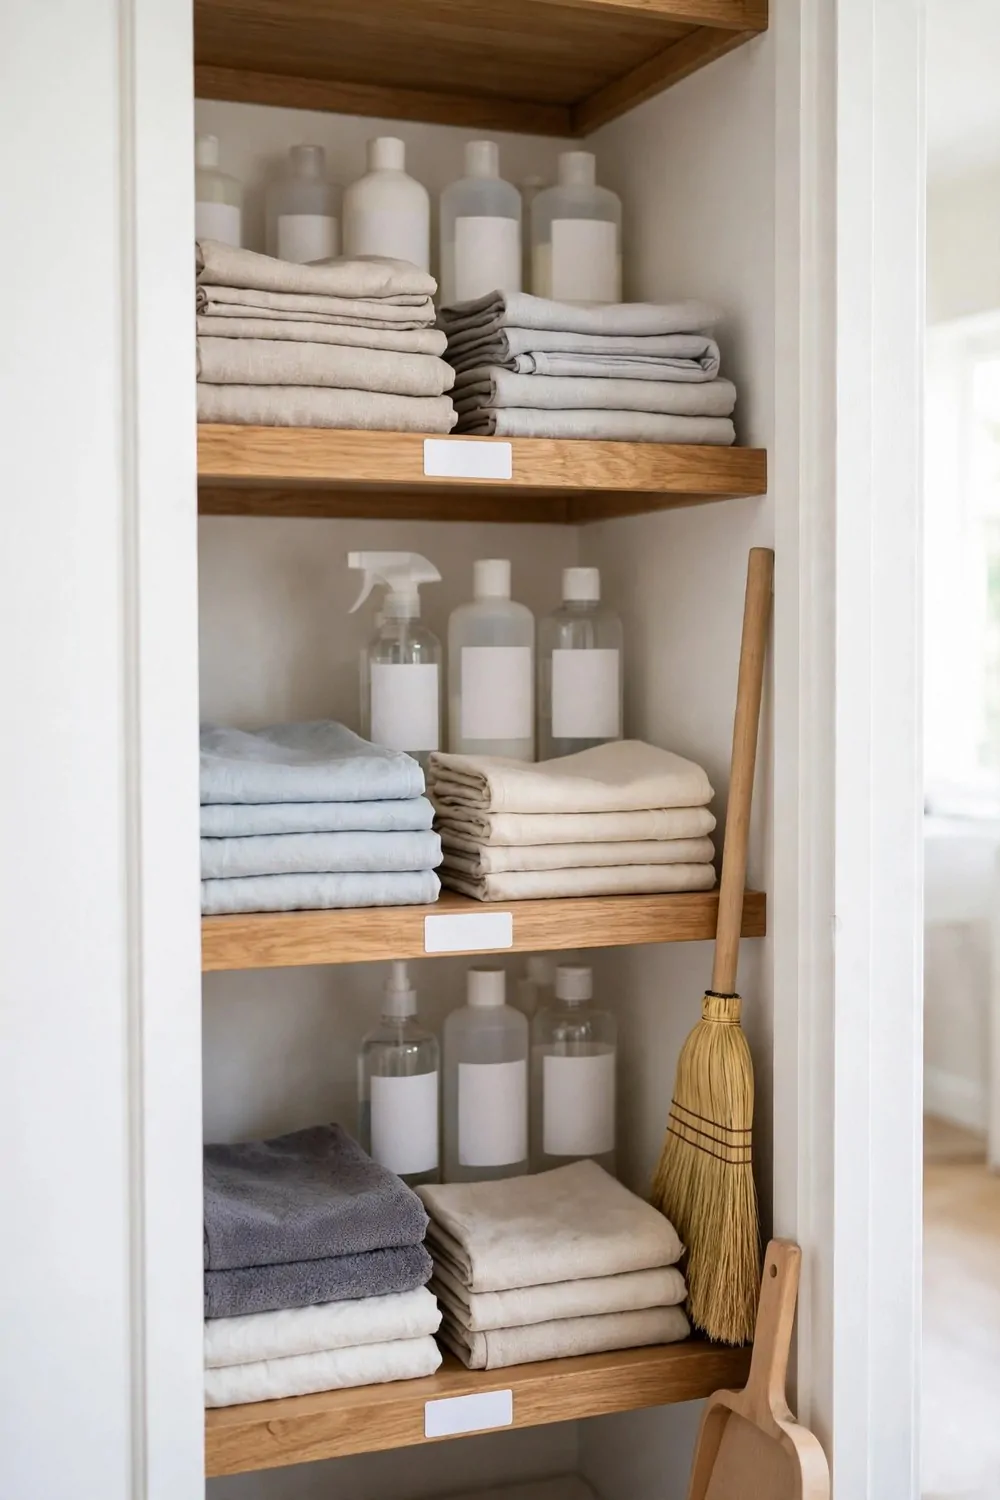
I used to put things back in the wrong spot, and the closet slowly fell apart again. Labels stopped that from happening.
A label is a small tag with a word on it, stuck on a shelf or a hook. I wrote one word on each: broom, mop, cloths, sprays, bucket. That is all it took.
Now I put each thing back where its label says it goes. It sounds too simple, but it works, and the closet stays tidy for weeks at a time.
I used plain paper tags and a pen, and they have lasted for months. You can use a marker too, or a small printed label if you like things neat.
Labels help the rest of the family too. My little one can read the word “cloths” and put the cloths back in the right basket by herself.
Stick the label somewhere easy to spot the moment you open the door. A label hidden behind a bottle does no good at all.
I check the labels once a month and fix any that have come loose. A label that falls off is just litter, so I stick it back on fast.
Typical cost is $5 to $12 for labels and a pen. It is the cheapest idea in this list, and it may be the one that helps the most.
Labels take ten minutes to make, and they keep the whole closet in order. I wish I had done this years ago, before the mess got so bad.
13. A Small Bin for Old Rags
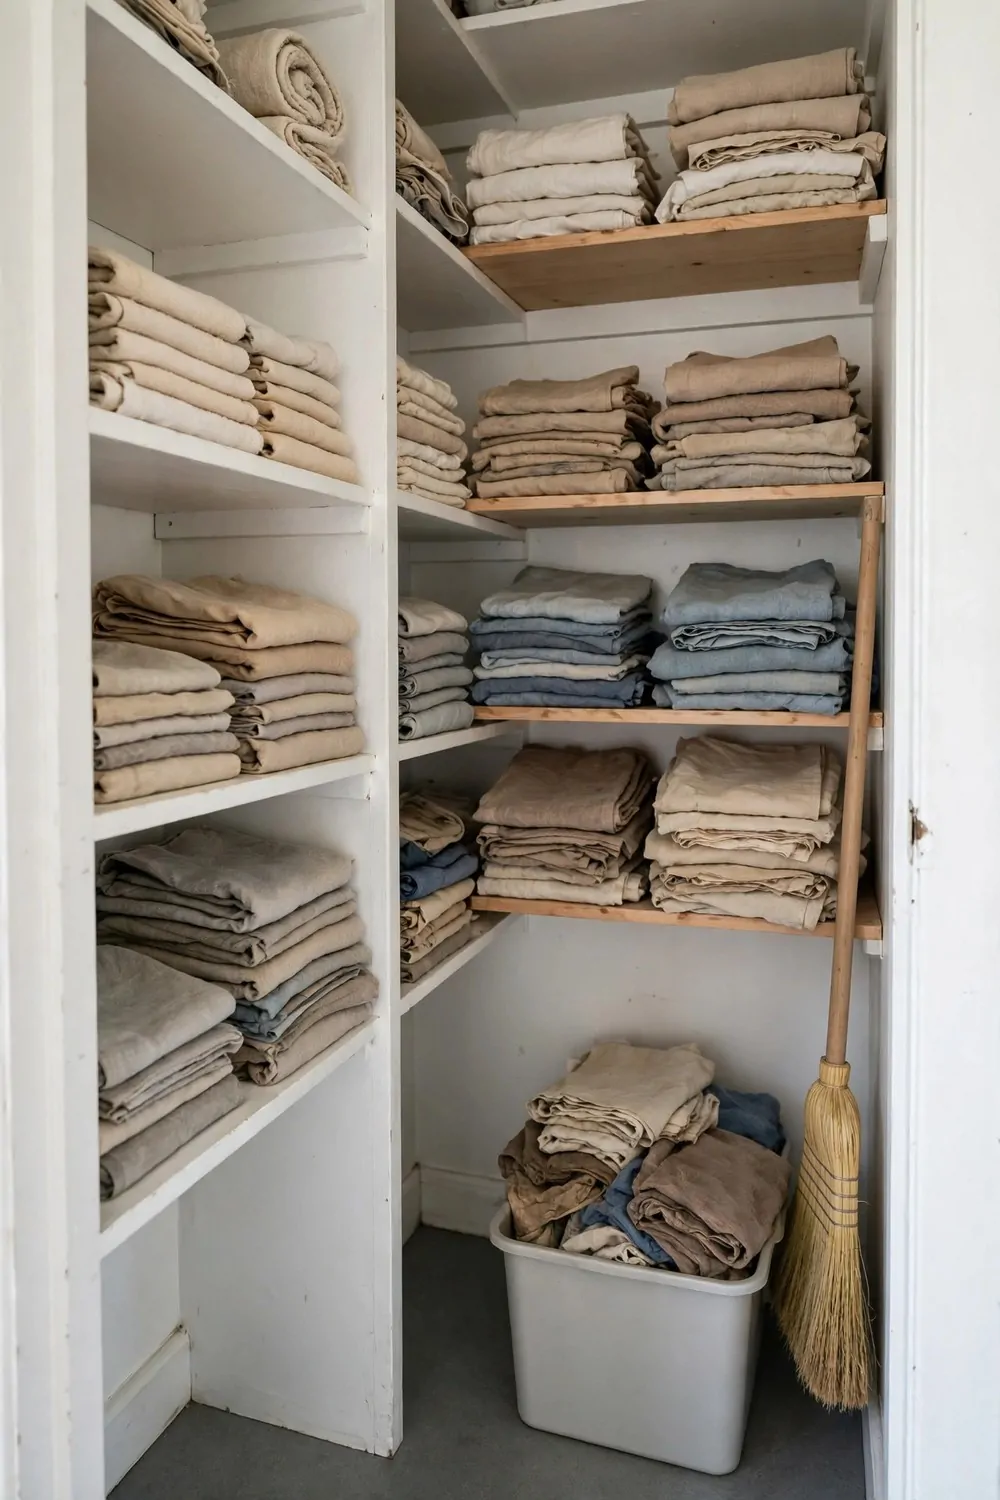
Old rags are useful, but they need their own home. Mine used to sit on top of the clean cloths, and I never knew which was which.
A small bin fixed that. The old rags go in the bin, and the clean cloths stay in their basket. No more mix ups, and no more dirty rag surprises.
I use the old rags for the messy jobs, like wiping a spill on the floor or cleaning the dust off a shelf. When a rag gets too dirty, it goes in the wash or in the bin for good.
Pick a bin with a lid if you can. A lid keeps the smell in and keeps dust out, and it makes the closet look much neater.
I keep the bin on the floor of the closet, in the corner by the door. It is easy to reach, and it does not take up shelf space.
Cut big old shirts into rags before you put them in the bin. They are soft, they soak up spills well, and they cost nothing at all.
I wash the rags once a week with the rest of the cleaning cloths. A clean rag works better, and it does not smell when you open the closet door.
Typical cost is $7 to $16 for a small bin. A plain one with a lid is best, and it will last you a long time.
This bin is a small thing, but it keeps the clean and the dirty apart. That one split makes the whole closet feel fresh and well run.
14. A Folding Step Stool That Leans Flat
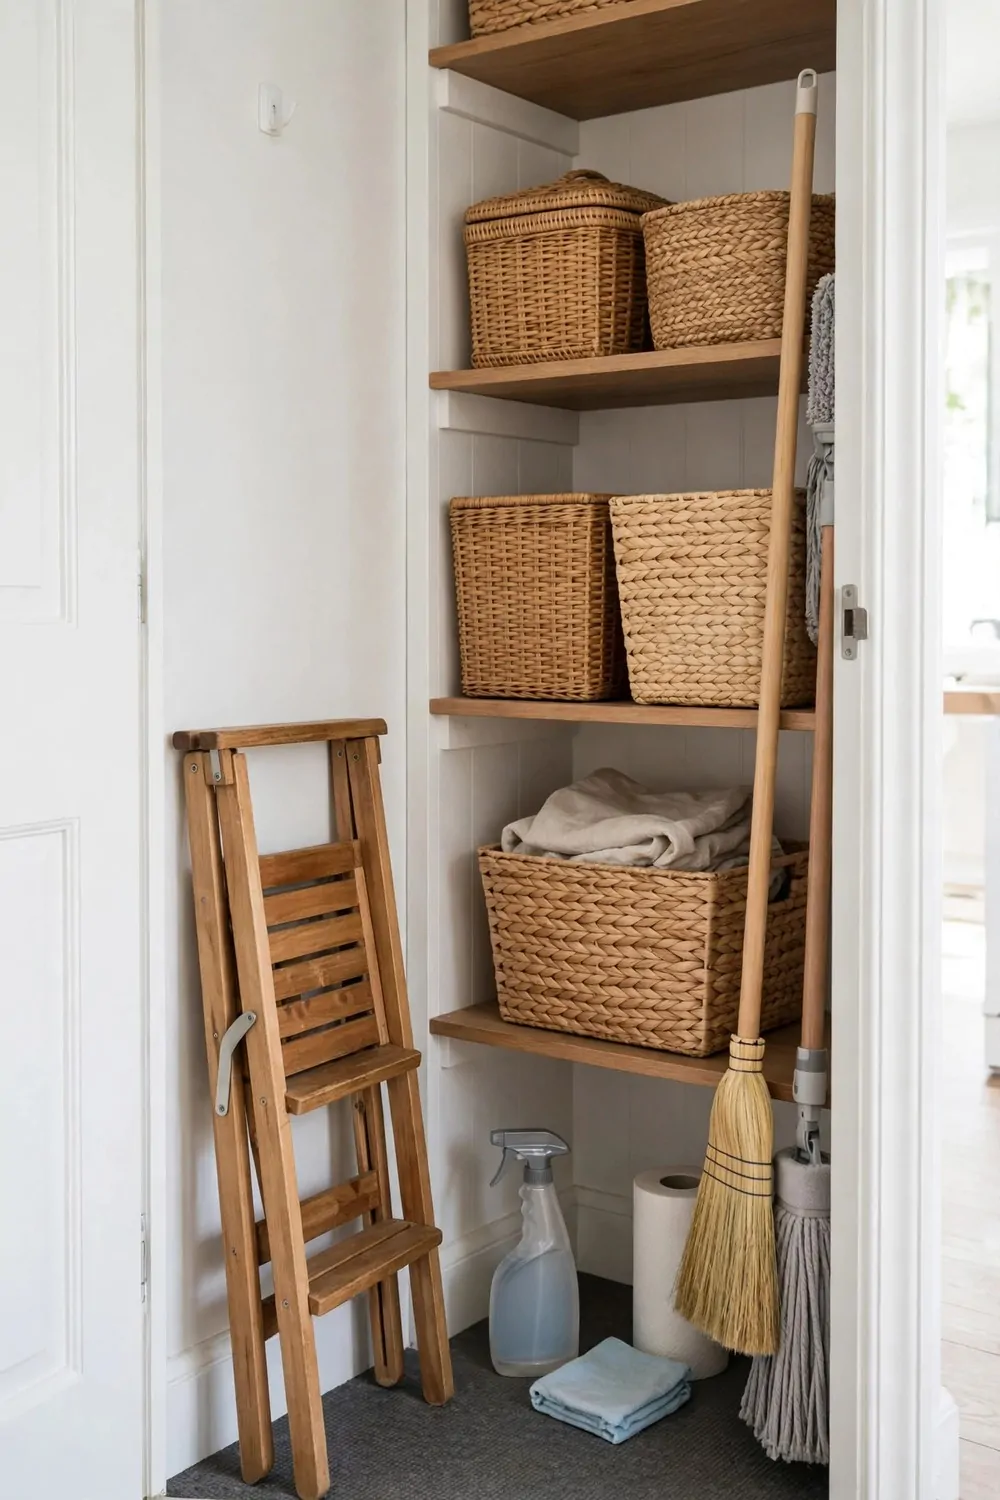
I am short, and the top shelf of the closet was out of my reach. I used to stand on a chair, which was not safe at all.
A folding step stool fixed that. It folds flat, so it leans against the wall of the closet and takes up almost no room at all.
When I need it, I pull it out, open it up, and step up to reach the high shelf. Then I fold it flat again and lean it back in its spot.
Pick a stool with a wide top step, so your feet feel steady. A narrow step makes me wobble, and I do not like that feeling at all.
The stool should have feet that grip the floor. Mine has soft rubber feet, and it does not slide, even on a smooth floor.
I keep the stool on the side of the closet, away from the broom hooks. That way it never gets in the way when I grab the broom.
The stool is handy for more than the closet. I use it to reach high shelves in the kitchen too, then I put it back in its spot.
Typical cost is $15 to $32 for a folding step stool. A sturdy one is worth the price, since you will use it for years.
If the top shelf has been out of reach for you too, this stool will change that. It folds away small, and it makes the whole closet yours again.
15. A Tray Under Leaky Bottles
One of my bottles had a slow leak, and I did not spot it for days. By the time I did, the shelf had a stain and the bottles next to it were sticky.
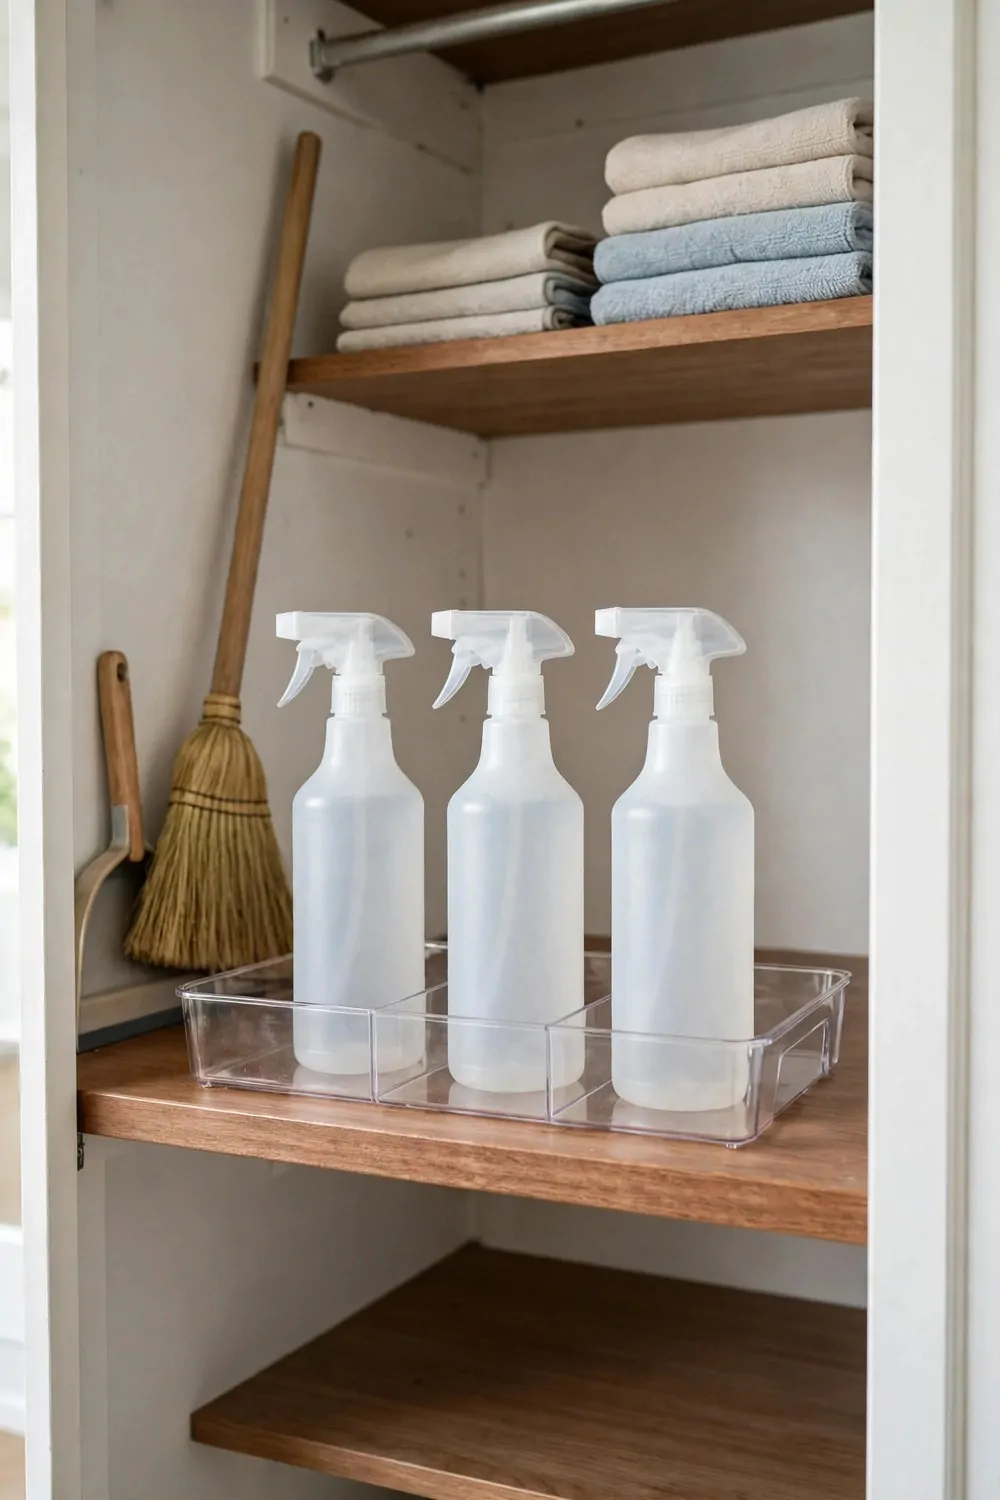
A tray under the bottles would have kept that leak off the shelf. Now every bottle stands in a tray, and any drip lands in the tray, not on the shelf.
I use a shallow tray with a small lip around the edge. The lip holds the liquid in, and I can lift the tray out and rinse it in the sink.
The tray also keeps the bottles from sliding around. They sit in a neat group, and the tray stops them from spreading across the shelf.
I check the tray once a week when I put the bottles back. If I see a puddle, I know a bottle needs a new cap or a good wipe.
A tray works under the bucket too, if your bucket drips after you wash the floor. It holds the drops and keeps the closet floor dry.
Pick a tray that leaves a bit of space around the edges of your shelf. A tray that is too big will not slide out, and that makes cleaning it a chore.
Typical cost is $8 to $20 for a tray. A plain plastic or metal tray does the job, and you can use one tray for a whole row of bottles.
This is a quiet little fix, but it saves your shelves. No more stains, no more sticky bottles, and no more leaks you only find too late.
16. A Clothesline for Drying Cloths
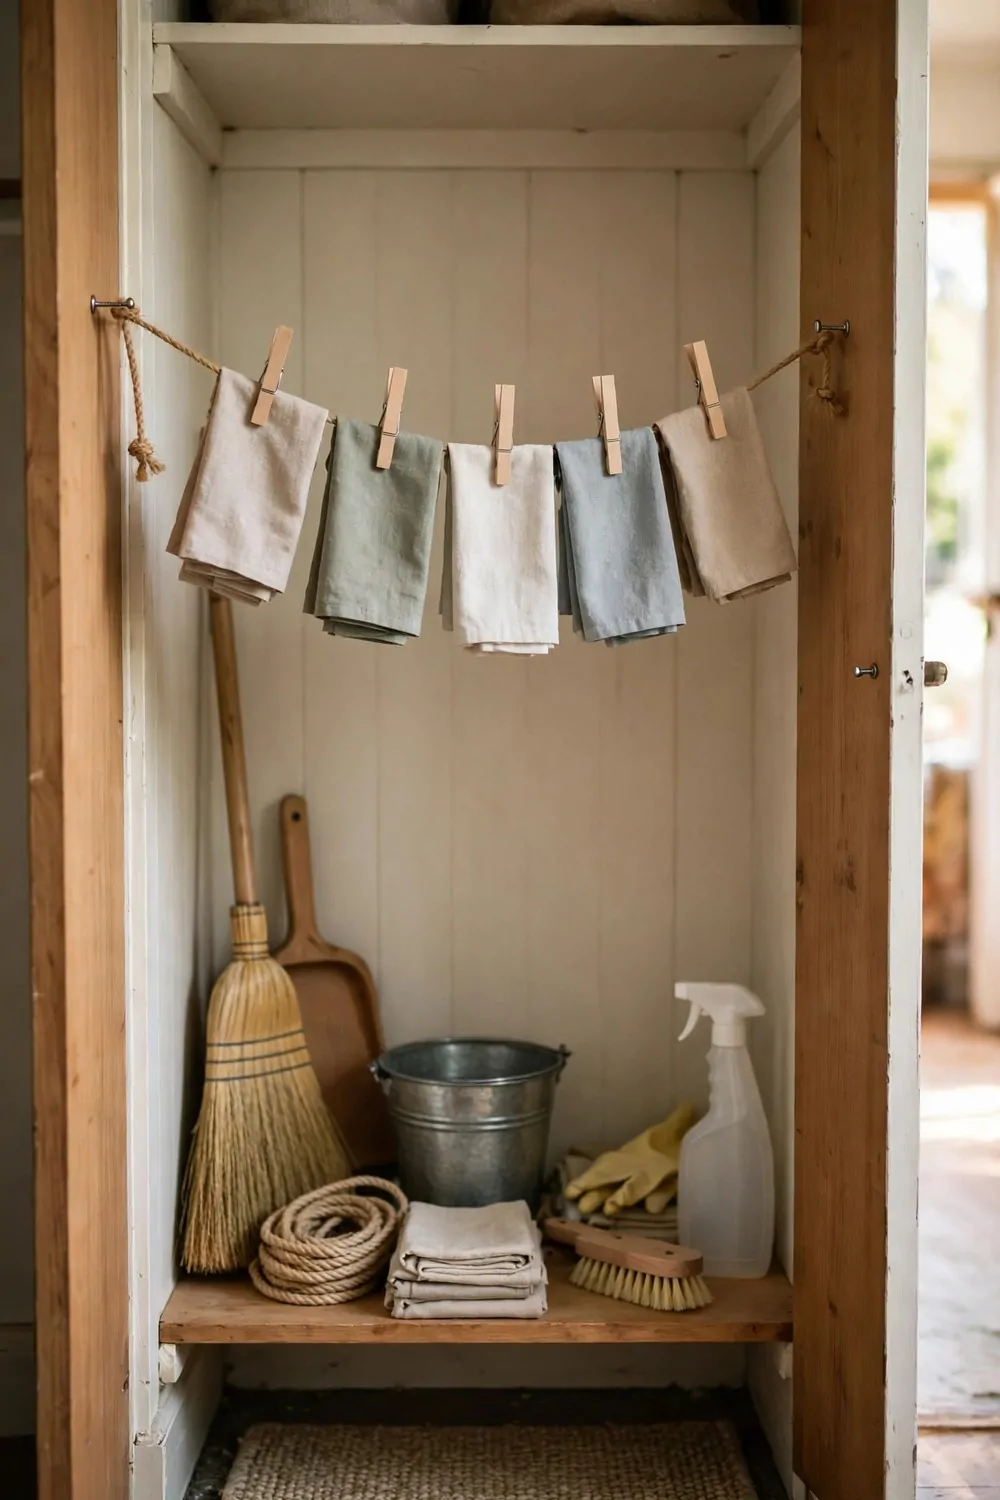
I used to toss my damp cloths in a pile at the bottom of the closet. They stayed wet for days and started to smell bad. A small clothesline fixed that fast.
I put up a short line across one side of the closet, high up where it stays out of the way. I clip my cloths on it after I rinse them. They dry in the open air instead of sitting in a damp heap.
You can use simple pegs to hold each cloth in place. I keep three or four cloths on the line at a time. When one dries, I fold it and put it back in its basket.
This trick works best when the line is near the top of the closet. The warm air up there helps the cloths dry faster. My broom and mop still fit below without any trouble.
I like that I can see all my cloths at a glance. I know which one is clean and which one needs a wash. I never grab a damp cloth by mistake now.
If your closet is narrow, a line that runs from front to back works well. It takes up almost no room at all. Your tall tools still hang on the wall next to it.
Typical cost $5 to $12 for a small line and a few pegs.
My cloths last longer now because they dry right after I use them. I wash them less often and they stay fresh. It is a tiny change that makes a big difference.
Try it this week and see how much better your closet smells. A dry cloth is a happy cloth, and your broom closet will feel fresh too.
17. A Small Box for Batteries and Bulbs
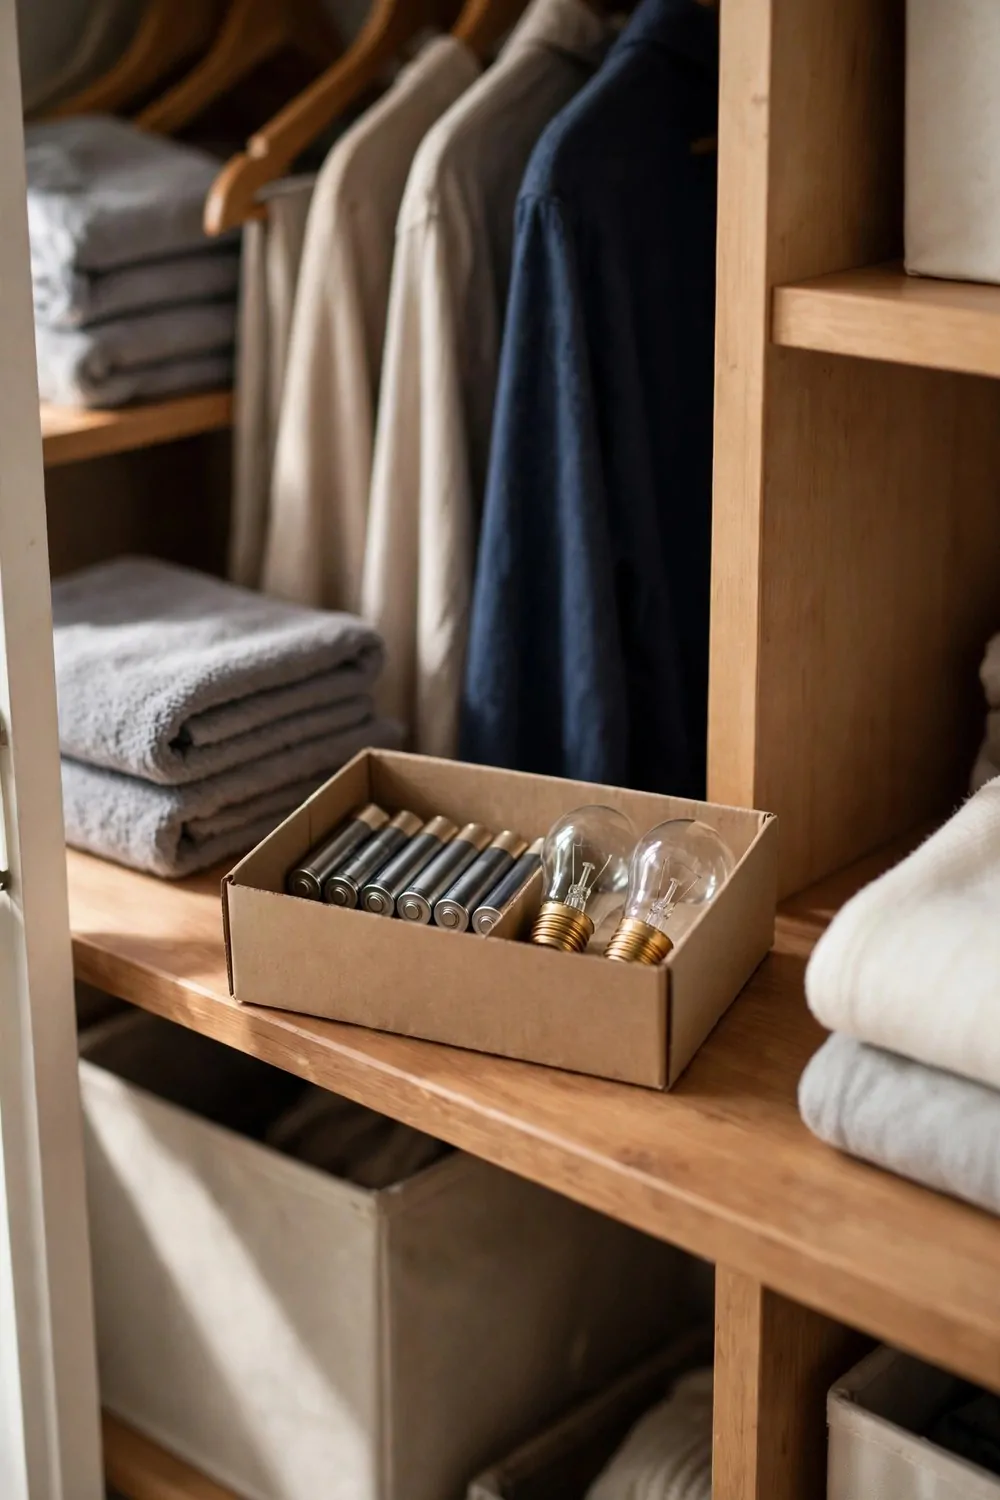
I kept losing spare batteries in the bottom of the closet. They rolled under the mop and hid behind the bucket. A small box gave them a home at last.
I picked a sturdy little box with a lid that closes tight. I put it on a shelf where I can reach it without moving the broom. Now I always know where my batteries are.
I sort the batteries by size inside the box. The small ones sit on one side and the big ones on the other. I do the same with my spare bulbs so nothing gets mixed up.
You should keep the box away from damp spots in the closet. A dry shelf near the top works best. Water and batteries do not mix well at all.
I check the box once a month to see what I need. If I am low on a size, I add it to my shopping list. I never run out in the middle of changing a bulb now.
Typical cost $7 to $14 for a small box with a lid.
My kids know not to touch the box without asking me. It sits high enough that little hands cannot reach it. That keeps everyone safe and the batteries in one place.
A clear box works well too because you can see what is inside. I used a plain one and wrote the sizes on the lid with a marker. It does the job just fine.
Give your batteries and bulbs a small box of their own. You will stop digging through the closet every time a light goes out.
18. A Hook for the Feather Duster
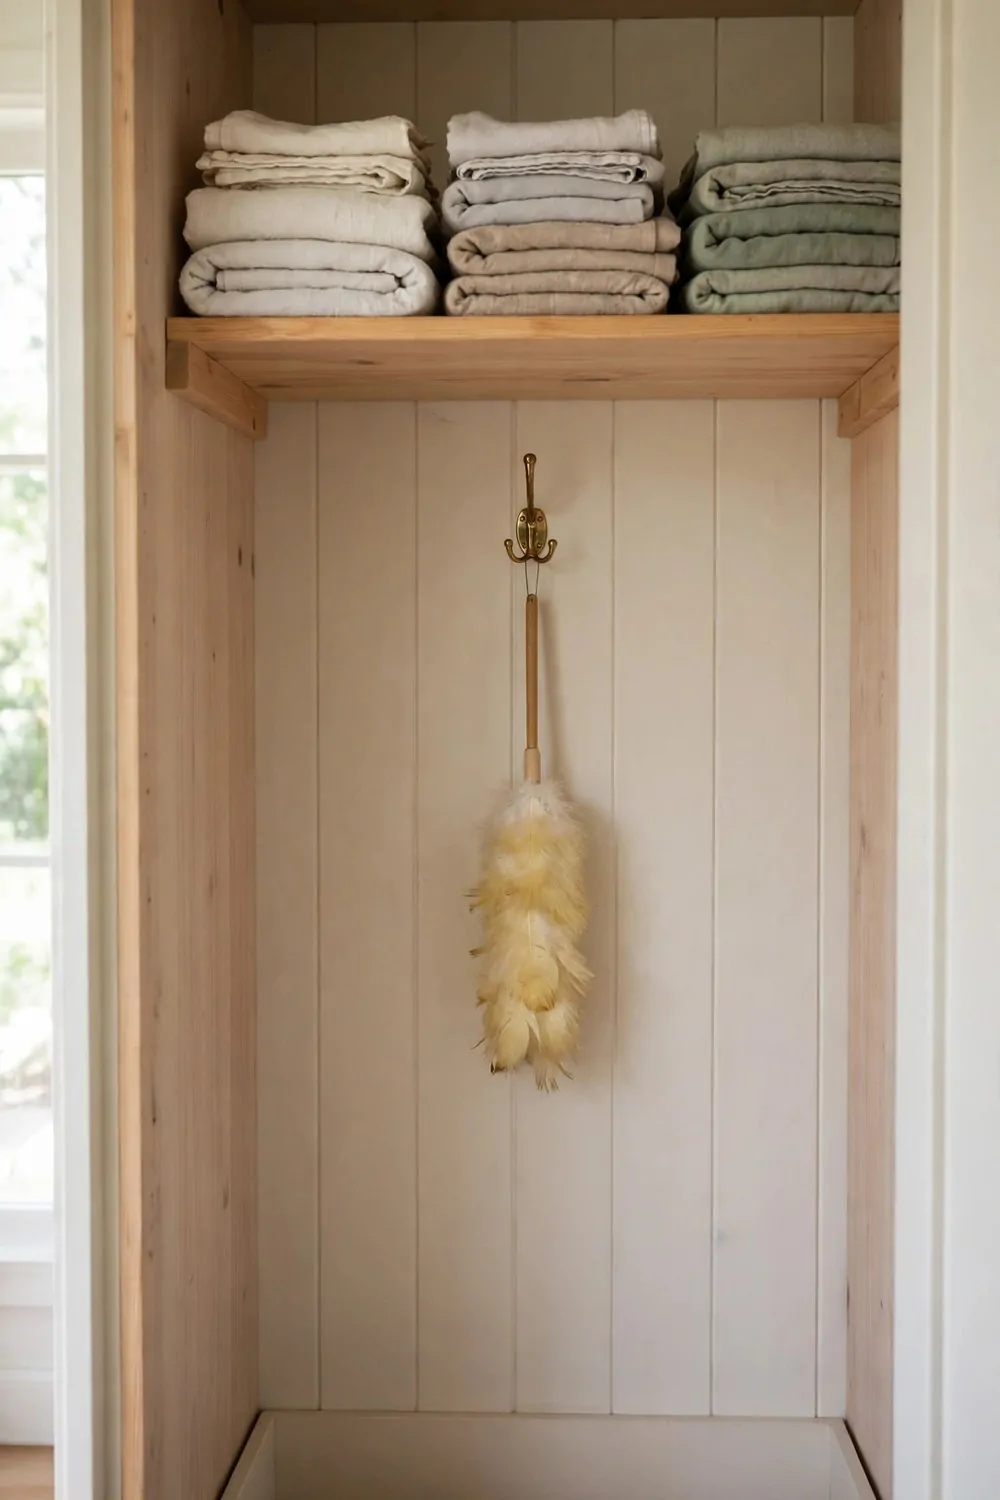
My feather duster used to fall behind the broom every single time. I would pull the broom out and the duster would drop to the floor. One hook solved the whole mess.
I screwed a small hook into the side wall of the closet, right at hand height. The duster hangs there by its loop, easy to grab. It never falls down anymore.
You can put the hook near the door so you see the duster first. I reach for it when I want a quick dust of the shelves. It takes two seconds to grab and put back.
The hook keeps the soft feathers off the floor. They stay clean and fluffy instead of picking up dust from the ground. My duster lasts much longer this way.
I like that the hook is small and simple. It does not take up shelf space at all. The broom still hangs on the other wall without any crowding.
Typical cost $5 to $12 for a strong little hook.
If your duster has no loop, you can tie a short piece of string to the end. Then it hangs just the same. I did this with my old duster and it worked fine.
Make sure the hook is fixed tight in the wall. A loose hook will drop your duster again. I tested mine by giving it a firm tug before I hung anything on it.
Hang your duster up high and out of the way. You will wonder why you ever let it lie on the floor.
19. A Shelf Just for Floor Cleaner
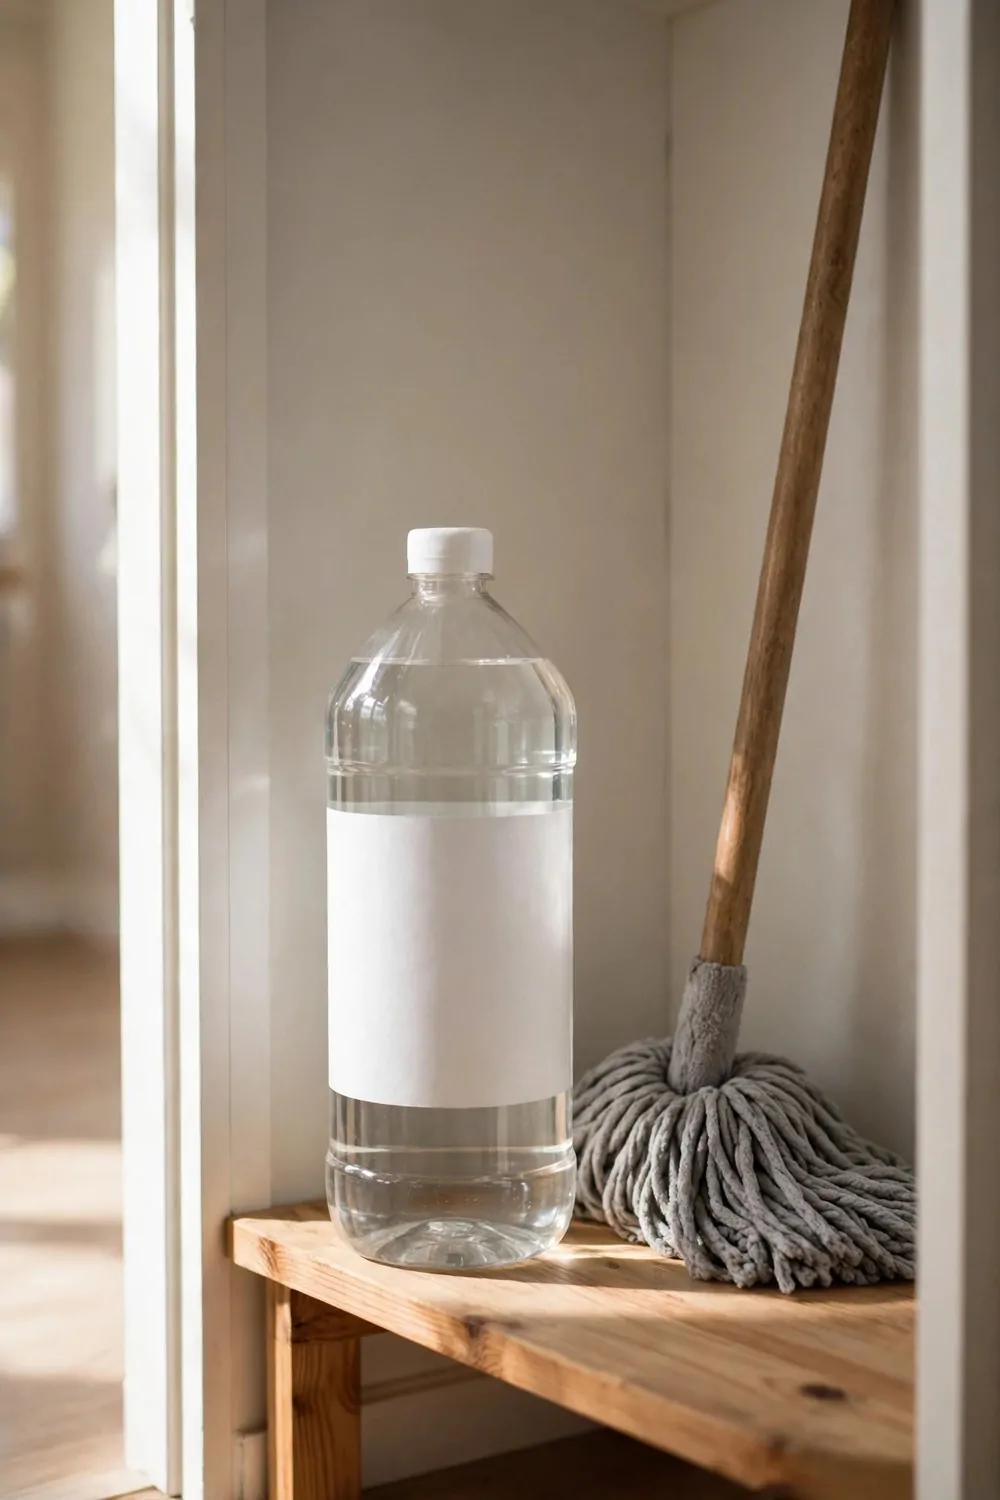
My floor cleaner bottles used to slide around on the closet floor. One would tip over and leak a little puddle. A shelf just for them ended all of that.
I put a short shelf on the wall at knee height. All my floor cleaner bottles stand in a neat row on it. I can read every label without moving a thing.
You should keep this shelf away from the broom handles. The bottles need their own space so they do not get knocked over. Mine sits on the wall across from the brooms.
I group the bottles by the floor they clean. The ones for hard floors sit on the left. The ones for other floors sit on the right. It makes cleaning day much faster.
Typical cost $12 to $20 for a short wall shelf.
A shelf with a small lip on the front edge works best. The lip stops bottles from sliding off if you bump the shelf. I learned this after one bottle took a tumble.
I wipe the shelf once a week with a damp cloth. Spills dry fast on a flat shelf and I can see them right away. The closet floor stays dry and clean.
If you have tall bottles, leave enough space above the shelf. Measure your tallest bottle before you fix the shelf in place. You do not want to squeeze it in sideways.
Give your floor cleaner its own shelf and stop chasing bottles on the floor. Your back will thank you too.
20. A Basket for Lint Rollers
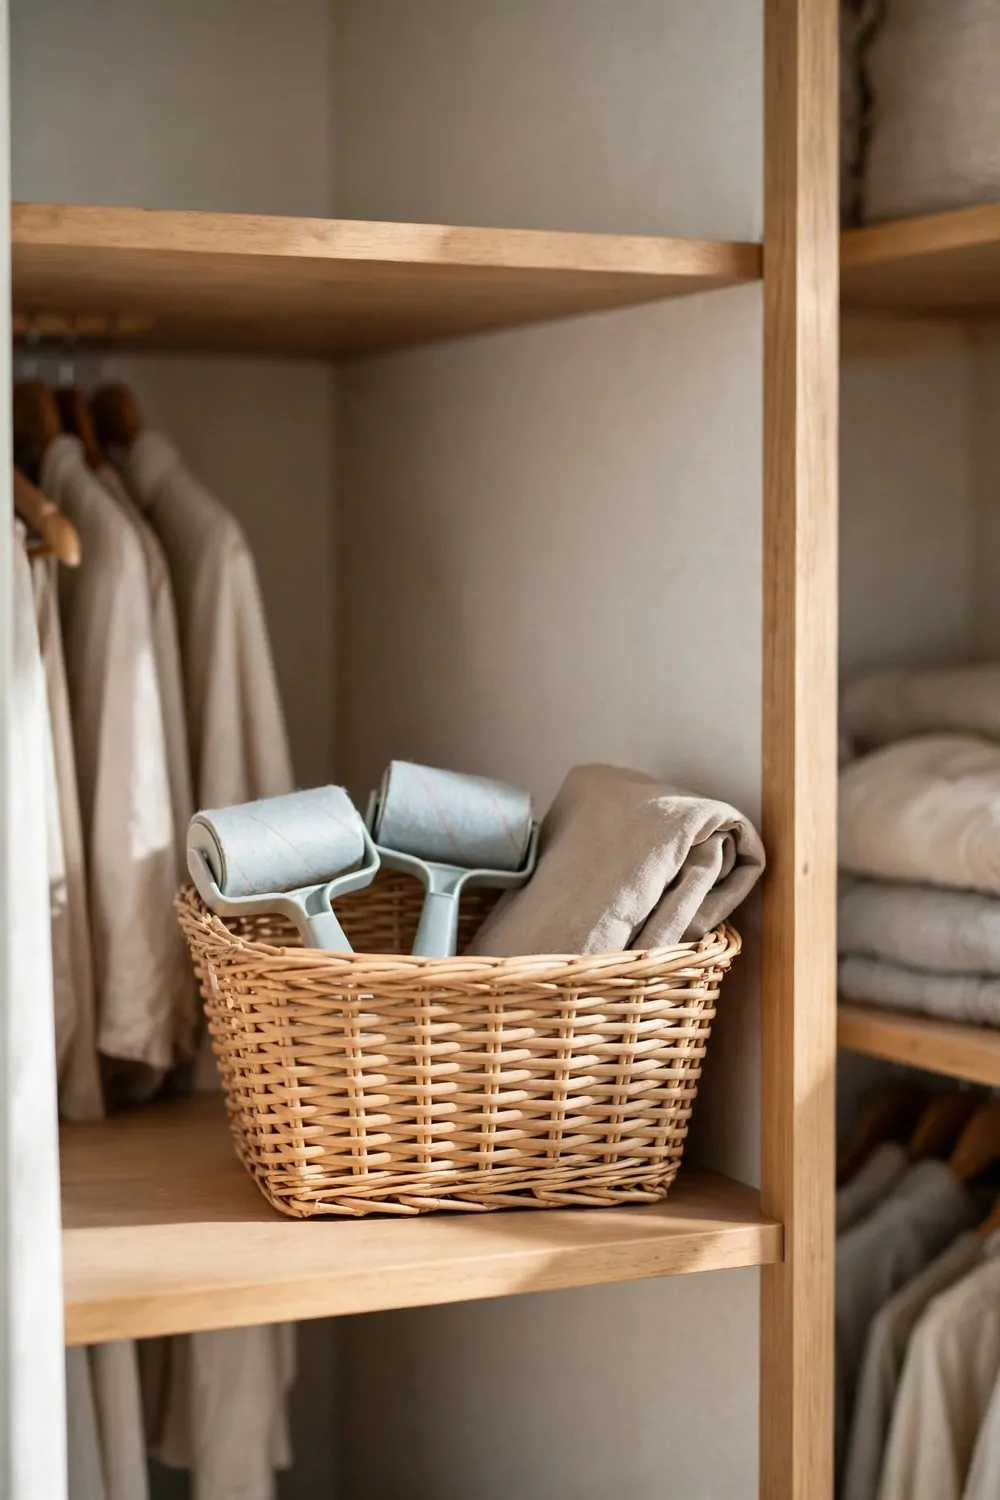
I had lint rollers rolling all over my closet. One was under the dustpan and one was behind the mop bucket. A small basket keeps them all together now.
I set the basket on a shelf near the door. Every lint roller stands upright inside it, handle down. I can grab one in a second when I need it.
You can keep the spare sticky rolls in the same basket. I stack them flat at the bottom under the rollers. Nothing gets lost or crushed this way.
The basket stops the sticky sheets from picking up dust in the closet. My rollers stay clean until I use them. That saves me from peeling off a dirty sheet each time.
Typical cost $7 to $14 for a small basket.
I picked a basket with low sides so I can see inside at a glance. Tall sides would hide the rollers from view. Low sides make it easy to pull one out fast.
If you have more than one roller, the basket holds them all in a row. Mine holds three without any crowding. Each one stands on its own and stays neat.
I check the basket when I tidy the closet each week. If a roller is empty, I swap in a fresh roll right away. It is done in a flash.
Put your lint rollers in a basket and keep them by the door. You will reach for them more often when they are easy to find.
21. A Roll of Bags in a Holder
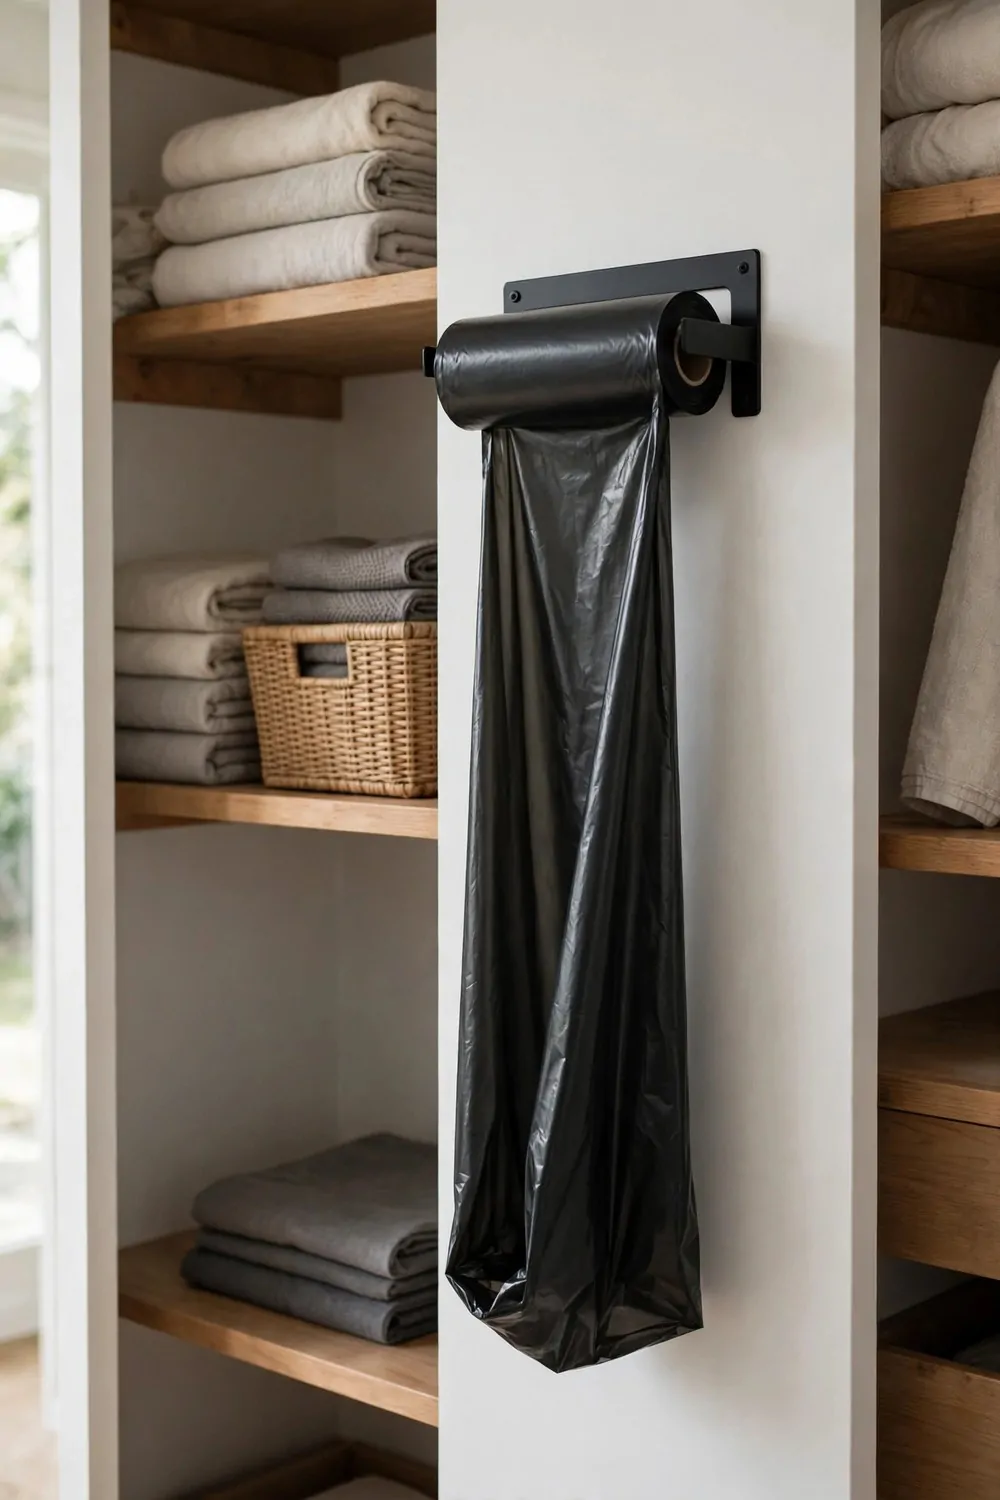
I used to keep my spare bags in a loose pile that kept falling over. They spilled out every time I opened the closet door. A holder changed all of that.
I fixed a small holder to the inside of the closet door. The roll of bags sits inside it and pulls out one at a time. I tear one off and the next one is ready to go.
You can put the holder at waist height so it is easy to reach. I mounted mine where my hand lands when I open the door. It feels natural to grab a bag there.
The holder keeps the roll tight and tidy. Bags do not unroll on their own or get tangled up. My closet looks neat even when the roll is half used.
Typical cost $6 to $13 for a simple bag holder.
I keep one spare roll on the shelf above the holder. When the first roll runs out, I swap it in right away. I never run out of bags when I need one.
If your holder feels loose, tighten the screws a little. A firm holder makes pulling a bag off much easier. Mine stayed put once I gave it an extra turn.
This works for any kind of bag you use in the house. I keep my bin bags there and they fit just right. The roll spins free and never jams.
Hang a holder on the door and your bags will stop spilling everywhere. It is one of the smallest fixes with the biggest payoff.
22. A Small Lamp Inside the Closet
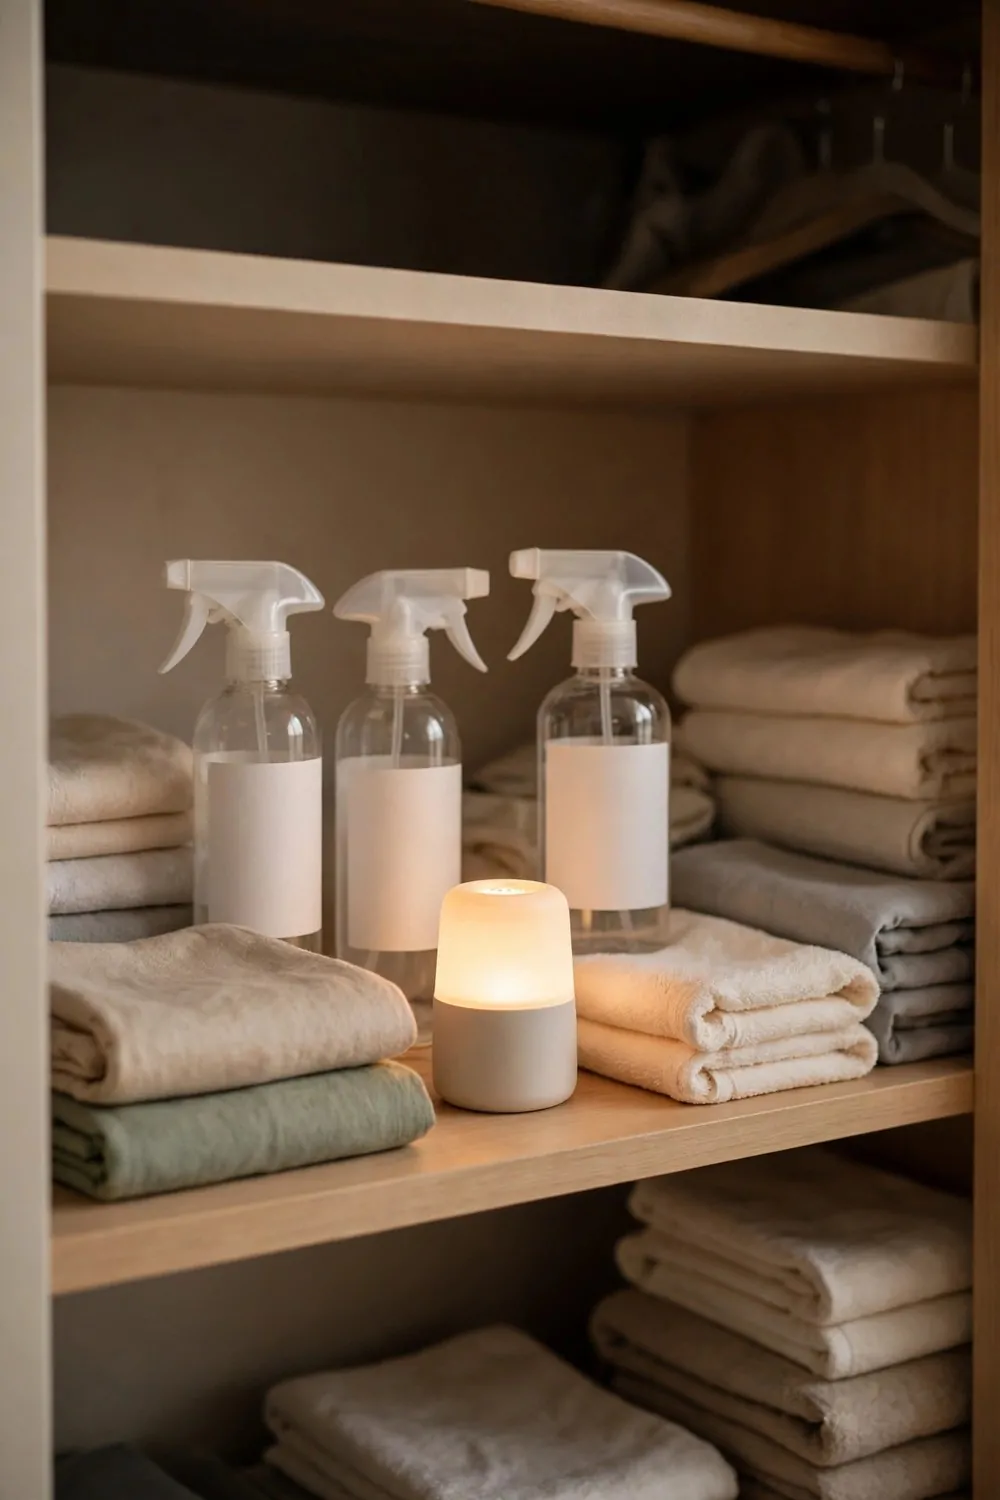
My closet was so dark I could not see what was on the back shelf. I would pull out the wrong bottle twice before I found the right one. A small lamp fixed the dark corner.
I stuck a little battery lamp on the wall near the top of the closet. It turns on with a tap and lights up the whole closet. I can see every shelf now.
You can put the lamp where it lights the back wall best. Mine sits just above the middle shelf. It lights up the broom heads and the baskets below too.
A lamp helps me find things fast in the morning. I do not waste time hunting for the dustpan anymore. I open the door, tap the lamp, and grab what I need.
Typical cost $10 to $20 for a small battery lamp.
I check the batteries in the lamp every few weeks. A dim lamp is no help at all in a dark closet. Fresh batteries keep it bright and useful.
If your closet has a plug nearby, a small plug-in lamp works too. I used a battery one because my closet has no plug. Pick the kind that fits your space.
Make sure the lamp does not block your broom handles. Mine sits flat on the wall and nothing bumps into it. The tall tools hang free below it.
Light up your closet and you will stop guessing what is on each shelf. A bright closet is a closet you actually enjoy using.
23. A Box for Gloves and Masks
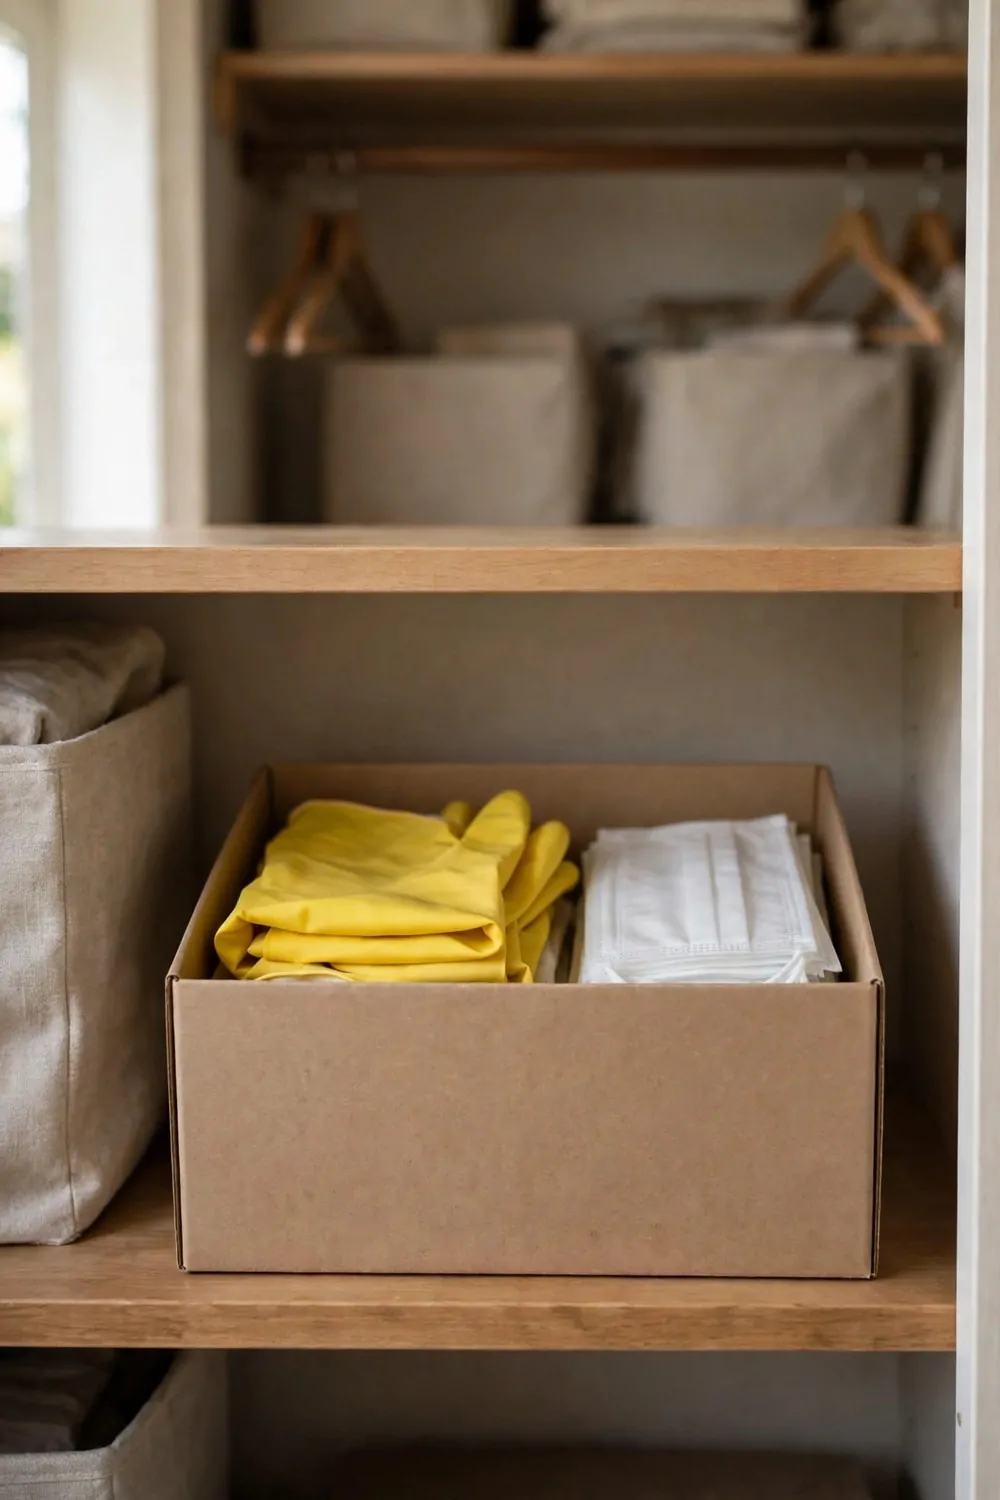
My gloves and masks were scattered across three different shelves. I could never find a matching pair when I needed one. One box brought them all together.
I put a medium box on a shelf at eye level. All my cleaning gloves go in one side and my masks in the other. I open the box and pick what I need in seconds.
You should keep the box closed with a lid if you can. A lid keeps dust off the gloves and masks inside. Mine closes tight and the things inside stay clean.
I sort my gloves by size so I can find my pair fast. The big ones sit at the back and the small ones at the front. It saves me from trying on three pairs each time.
Typical cost $8 to $15 for a medium box with a lid.
I wash my gloves after I use them and let them dry before they go back in the box. Damp gloves in a closed box will smell bad fast. Dry gloves stay fresh and ready.
If you use masks a lot, keep a few in a small bag inside the box. The bag keeps them flat and clean. I do this and my masks never get crushed.
My box sits right next to the cleaning sprays so I grab both at once. I put my gloves on before I pick up a bottle. It has become part of my cleaning habit now.
Give your gloves and masks one box and stop hunting for a pair. You will start your cleaning much faster.
24. A Shelf for Extra Mop Heads
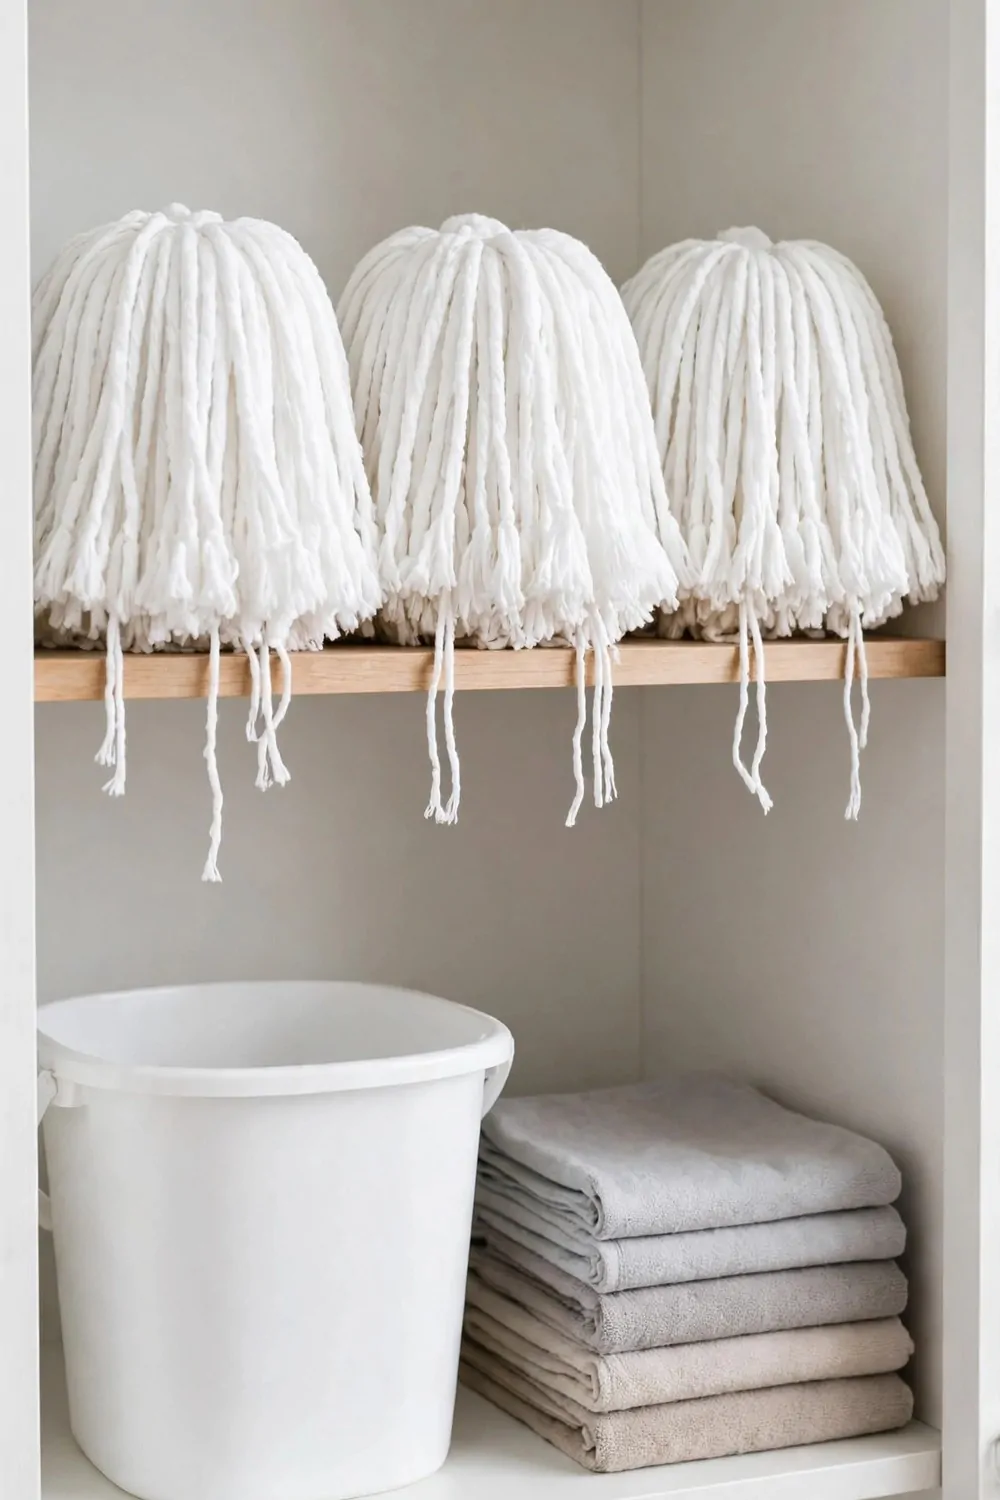
I kept my spare mop heads in a bag on the closet floor. They got damp and dusty down there. A shelf up high keeps them clean and dry.
I fixed a short shelf near the top of the closet, above the broom heads. My spare mop heads sit in a neat row on it. I can see each one without moving anything.
You can stack two or three mop heads on the shelf if you have a few. I lay mine flat so they keep their shape. They dry well up there in the open air.
The shelf keeps mop heads away from the wet floor of the closet. They stay fresh until I need to swap one in. I never grab a damp mop head anymore.
Typical cost $10 to $18 for a short shelf.
I put a clean cloth under the mop heads on the shelf. The cloth soaks up any drips and keeps the shelf clean. I wash the cloth now and then and put it back.
If you have different kinds of mop heads, keep each kind in its own spot. Mine sit in two small groups on the shelf. I know which one fits my mop without checking twice.
Make sure the shelf is strong enough to hold the weight. Mop heads are light but a weak shelf will sag over time. I tested mine by pressing down on it first.
Move your spare mop heads up onto a shelf and keep them dry. You will always have a fresh one ready when the old one wears out.
25. A Hook for the Ironing Board
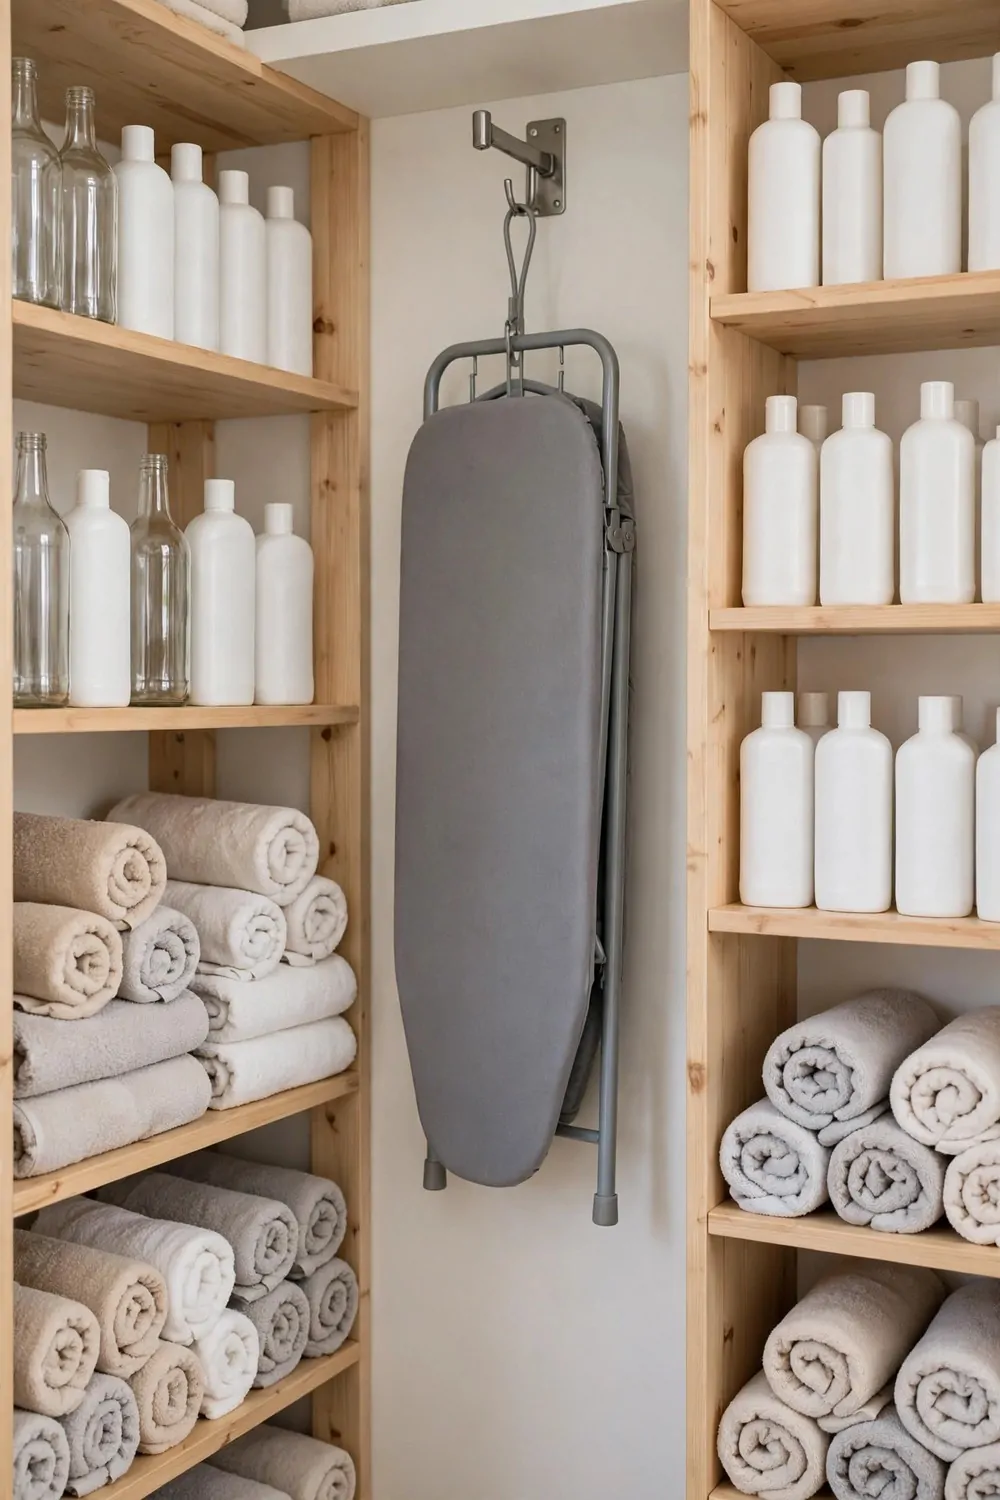
My ironing board leaned against the wall and slid down all the time. It blocked the broom and fell over when I opened the door. A hook holds it still now.
I fixed a strong hook high on the closet wall. The ironing board hangs from it by its top end, flat against the wall. It stays put and never slides down.
You should pick a hook that can hold the weight of your board. Mine is a thick metal hook screwed deep into the wall. It has held my board for months without a wobble.
The hook keeps the board off the floor and out of the way. My broom and mop hang on the other side of the closet. Everything has its own spot now.
Typical cost $8 to $16 for a strong wall hook.
I hang the board with the flat side facing the wall. This keeps it close and saves space in the closet. The door closes without bumping into it.
If your board has a cover, check it now and then for dust. A board that hangs in a closet can pick up dust over time. I give mine a quick shake before I use it.
Make sure you can lift the board off the hook with ease. I tested mine a few times to find the best height. It should come off smooth and go back just as smooth.
Hang your ironing board on a hook and free up your closet floor. You will stop tripping over it every time you open the door.
26. A Weekly Five-Minute Tidy
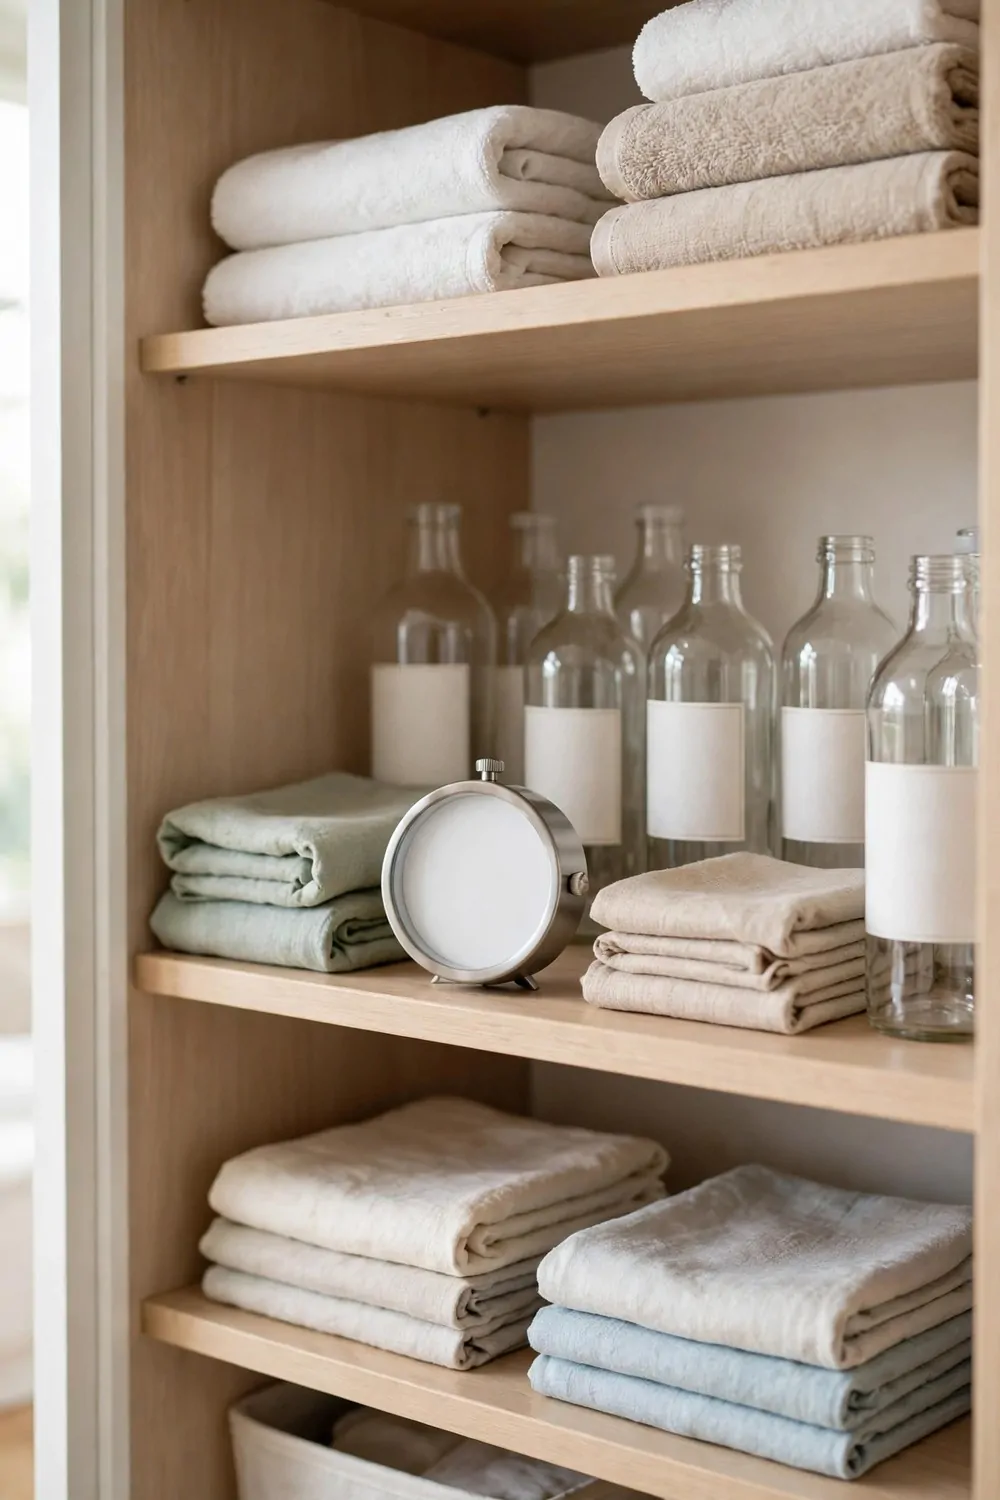
I used to let my broom closet get messy for weeks at a time. Then one day I would spend an hour fixing it all. A five-minute tidy each week stops the big mess before it starts.
I pick one day each week for my quick tidy. I set a timer for five minutes and I work fast. When the timer rings, I stop, even if a small thing is still out of place.
You can start by hanging up anything that fell down. I check the hooks first and put the broom and dustpan back in place. That alone makes the closet look much better.
Next I wipe the shelves with a damp cloth. I use plain soap and water on the cloth if a shelf is sticky. It is a quick job and the shelves look fresh.
Typical cost $0 because you need no new things for this tidy.
I toss out any empty bottles or broken bits I find. A quick check of the small bin keeps junk from piling up. My closet stays light and easy to use.
If something is in the wrong spot, I move it back to its home. The basket goes back on its shelf and the bags go back in the holder. Each thing has a place and I keep it there.
My kids help me with the tidy sometimes and it goes even faster. They hang the duster and put the cloths on the line. It has become a small habit we all share.
Try a five-minute tidy once a week and watch your closet stay neat. Small steps each week beat one big clean every month.
27. A Small Bin for Broken Bits
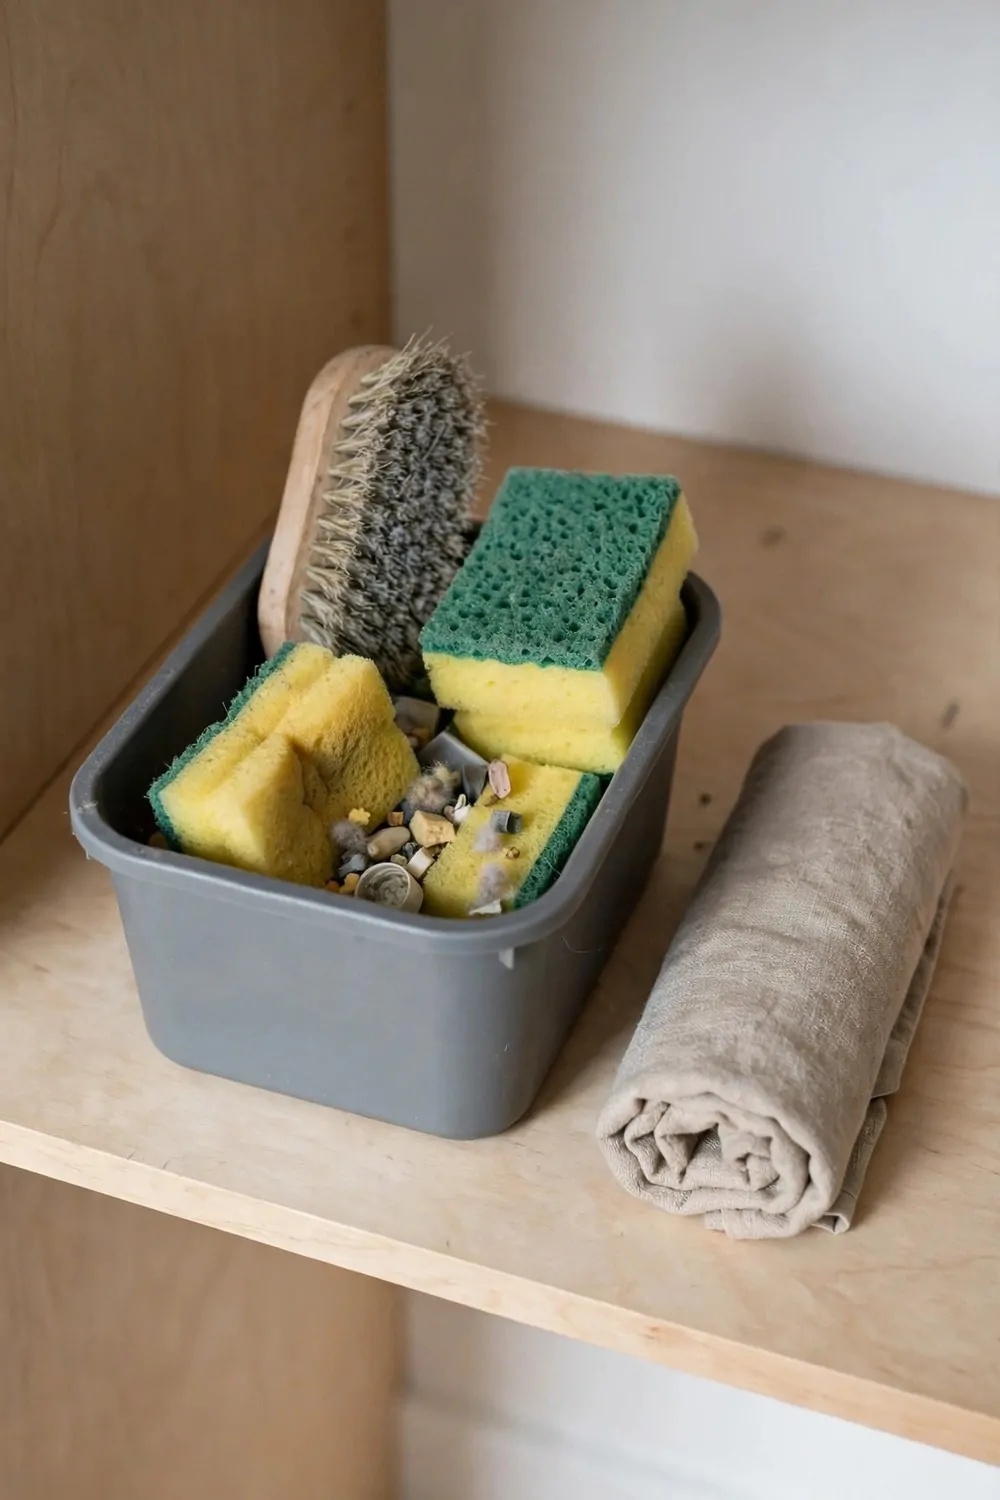
I used to keep broken bits mixed in with my good tools. A cracked dustpan handle sat next to my new one for months. A small bin keeps the broken stuff apart.
I put a little bin on the floor in one corner of the closet. Anything broken or worn out goes straight in it. I do not have to decide what to do with it right away.
You can use the bin for old sponges, torn cloths and snapped pegs. I toss in anything that no longer works well. It keeps my good tools clean and easy to find.
The bin stops broken bits from hiding in my baskets. My good mop heads stay on their shelf and my broken ones stay in the bin. I never grab the wrong one by mistake.
Typical cost $6 to $12 for a small bin.
I empty the bin once a month and throw the junk away. If a thing can be fixed, I fix it that same week. If not, it goes out and the bin stays empty.
Keep the bin small so it does not take over the closet. Mine is just big enough for a few broken bits. A big bin would tempt me to keep too much junk.
I put a label on the bin so everyone in the house knows what it is for. My kids drop broken pegs in it without asking me. It works because the rule is simple.
Give broken bits their own bin and keep them away from your good tools. Your closet will feel calmer and much easier to use.
28. A Wire Rack for Extra Shelf Space
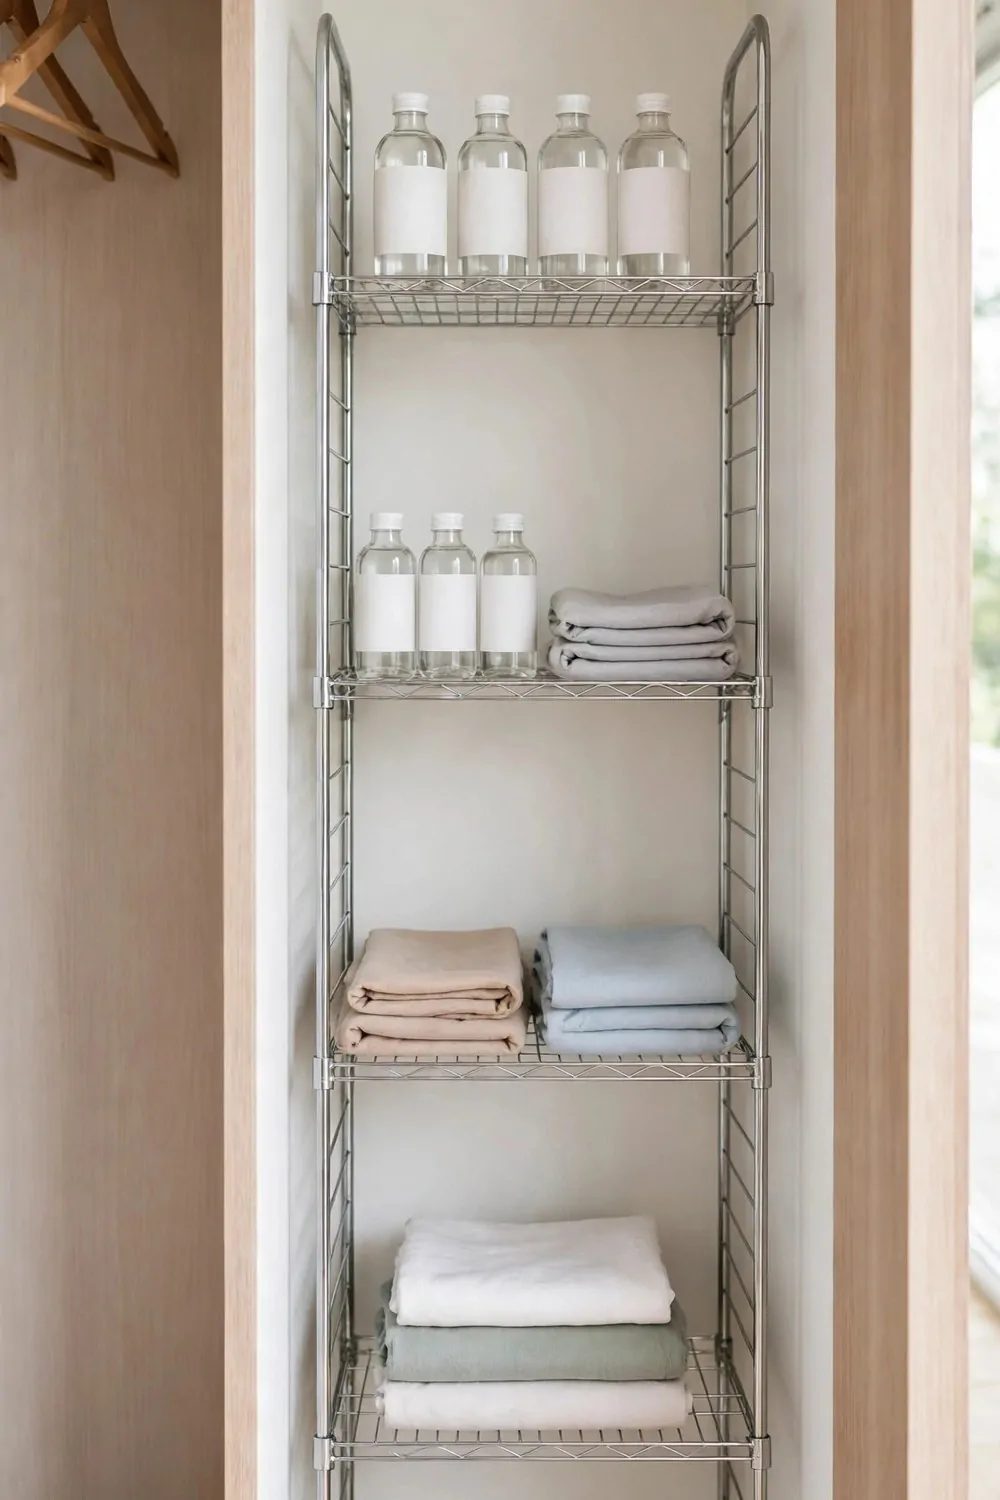
My closet shelves filled up fast and I had no room left. I needed one more spot for my small bottles. A wire rack gave me that extra space.
I set a wire rack on top of my middle shelf. It lifts my small bottles up a level and leaves room below for taller ones. I gained a whole new row of space.
You can use a wire rack to stack things without hiding them. I can see through the wires to what sits below. Nothing gets lost behind a solid shelf.
The rack is light but strong enough for bottles and small boxes. Mine holds six bottles without bending at all. I checked it by pressing down on the top before I loaded it.
Typical cost $8 to $20 for a wire rack.
I keep my small spray bottles on the top of the rack. The taller floor cleaner bottles stay below it on the shelf. Each size has a spot that fits just right.
If your rack slides around, put a small mat under it. Mine stayed still once I added a thin mat. It does not move now even when I pull a bottle out fast.
A wire rack works well in a narrow closet too. It adds space going up instead of going out. My broom still fits on the wall next to the shelf.
Add a wire rack and make room where you thought there was none. You will be glad you used the space above your shelf.
29. One Closet, One Job Only
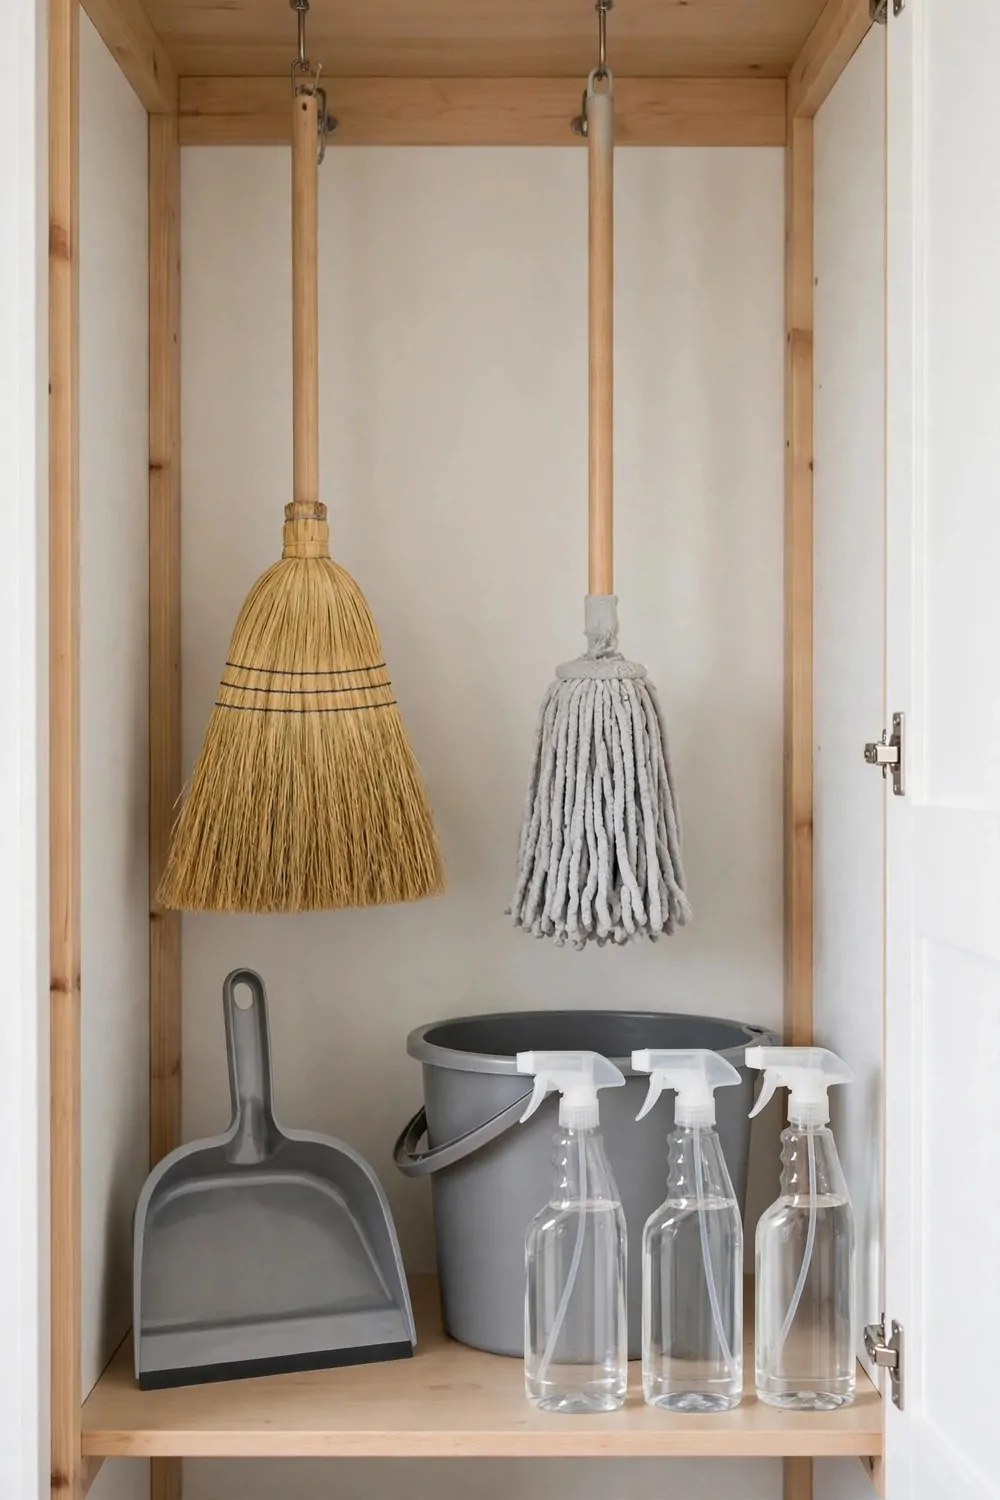
My broom closet used to hold a bit of everything. I kept old paint cans, spare shoes and cleaning tools all in one place. It was a mess and I could never find my broom.
I made a rule that this closet holds cleaning tools only. Everything else had to move out to another spot. The closet felt bigger the same day I cleared it.
You can start by taking out one thing that does not belong. I moved my paint cans to the garage first. Then I moved the spare shoes to the hall cupboard.
When a closet has one job, you always know where things are. I open the door and see brooms, mops and cloths. Nothing else crowds them out.
Typical cost $0 to $10 if you need a few small hooks to move things out.
I tell my family the rule so they do not put random stuff back in. The closet is for cleaning tools and nothing else. They know now and they respect the rule.
If you are tempted to store one extra thing in there, find it a new home instead. I keep a small box by the door for things that need a home. It stops the closet from filling up again.
My cleaning takes less time now because I am not digging past junk. I grab my broom and go. The whole job feels lighter.
Keep one closet for one job and let it do that job well. Your broom closet will thank you every day.
30. A One-Weekend Broom Closet Reset Plan
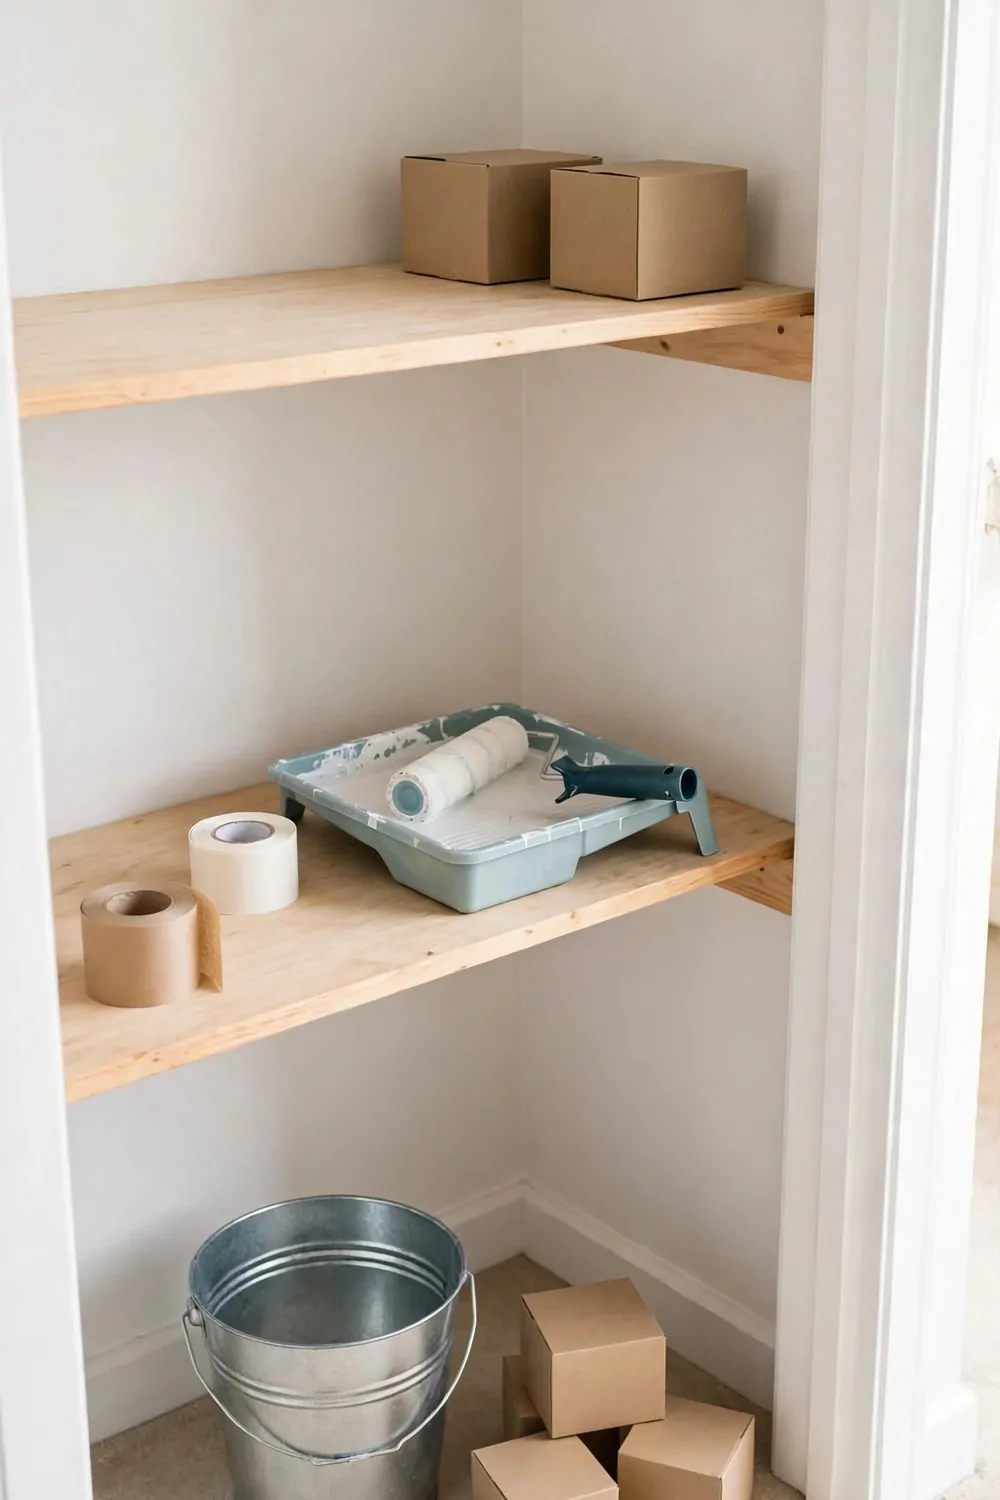
This weekend you can reset your whole broom closet in a few short steps. I did mine in one weekend and it still looks neat today. You just need a plan and a free afternoon.
Start on Saturday morning by taking everything out of the closet. Lay it all on the floor and sort it into piles. Keep what you use and toss what is broken.
Hooks cost $10 to $20. Put up strong hooks first so your tall tools hang on the walls and stay off the floor.
Shelves cost $15 to $25. Fix one or two short shelves next so your bottles and boxes have a flat place to sit.
Baskets cost $8 to $15. Add baskets for your small things like cloths, rollers and gloves so nothing rolls around loose.
Labels cost $12 to $25. Write a label for each basket and shelf so everyone in the house knows where things live.
Bin cost $10 to $15. Set a small bin in the corner for broken bits and old bits you need to throw out later.
On Sunday, wipe the shelves with plain soap and water and put everything back in its new home. Hang the broom, set the baskets and step back to look. Your closet will look like a new room.
All five parts together should run you about $55 to $100 for the whole weekend, and you can buy them a little at a time if that feels easier.
| Area | Main change | Typical cost |
|---|---|---|
| Hooks | Strong hooks for tall tools | $10 to $20 |
| Shelves | Short shelves for bottles and boxes | $15 to $25 |
| Baskets | Baskets for small things | $8 to $15 |
| Labels | Labels on every basket and shelf | $12 to $25 |
| Bin | A small bin for broken bits | $10 to $15 |
| Total | Whole broom closet reset in one weekend | $55 to $100 |
Keep Reading
If you liked these ideas, you will love these posts too.
- 26 Outdoor Furniture Storage Ideas That Protect Your Pieces
- 20 Outdoor Wall Decor Ideas for Patios and Porches
- 29 Backyard Decor Ideas on a Budget
- 22 Front Door Decor Ideas That Make a Great First Impression
- 31 Outdoor Storage Ideas for Small Yards and Patios
- 24 Deck Decor Ideas That Make Outdoor Evenings Better
Pick one small fix from this list tonight and start with that one thing, then let the rest of your closet fall into place one hook at a time.