29 Freezer Organization Ideas That Stop Food Waste

I opened my freezer last week and found a bag I could not name.
It was hard and white with frost, and I had no idea what was inside it.
I held it up to the light and I still could not tell if it was soup or fruit.
That bag went in the bin, and I felt bad about it all day.
You have had a moment like that too, I am sure of it.
A freezer should help you save food, not hide food until it is too late to use.
In this one post I share all 29 ideas, so you can pick the ones that fit your home and start today.
1. Clear Bins for Every Food Group
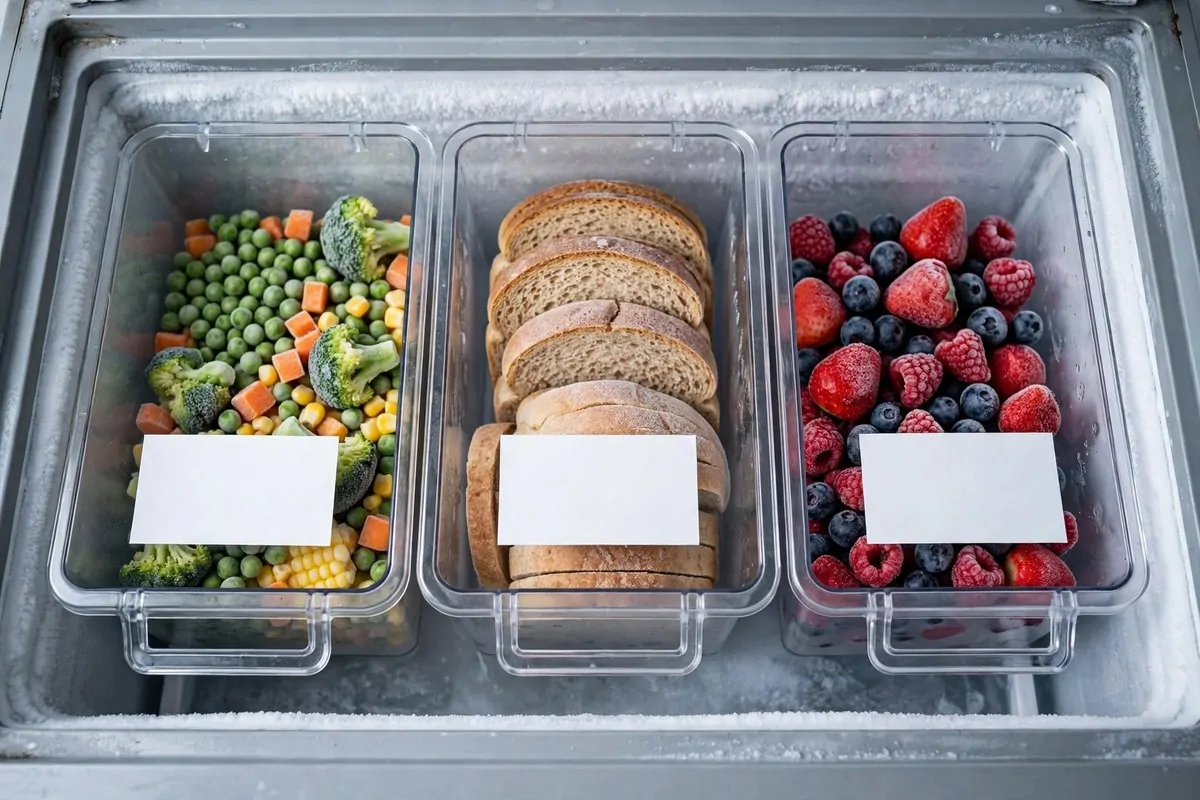
I like clear bins because I can see what is inside without opening them.
You put chicken in one bin and veg in one bin and bread in one bin.
It sounds simple, and it is simple, and that is why it works so well.
I used to toss bags in any free spot, and then I forgot half of them.
Now I open the door and I know where to look in one quick glance.
You do not need a big set to start, just three or four bins will do.
Pick bins that fit your shelf with a little room to spare on each side.
Typical cost is $10 to $25 for a small set of clear bins.
Try it for one week and you will see how much less food you lose.
2. Flat Freeze Bags Stacked Like Books
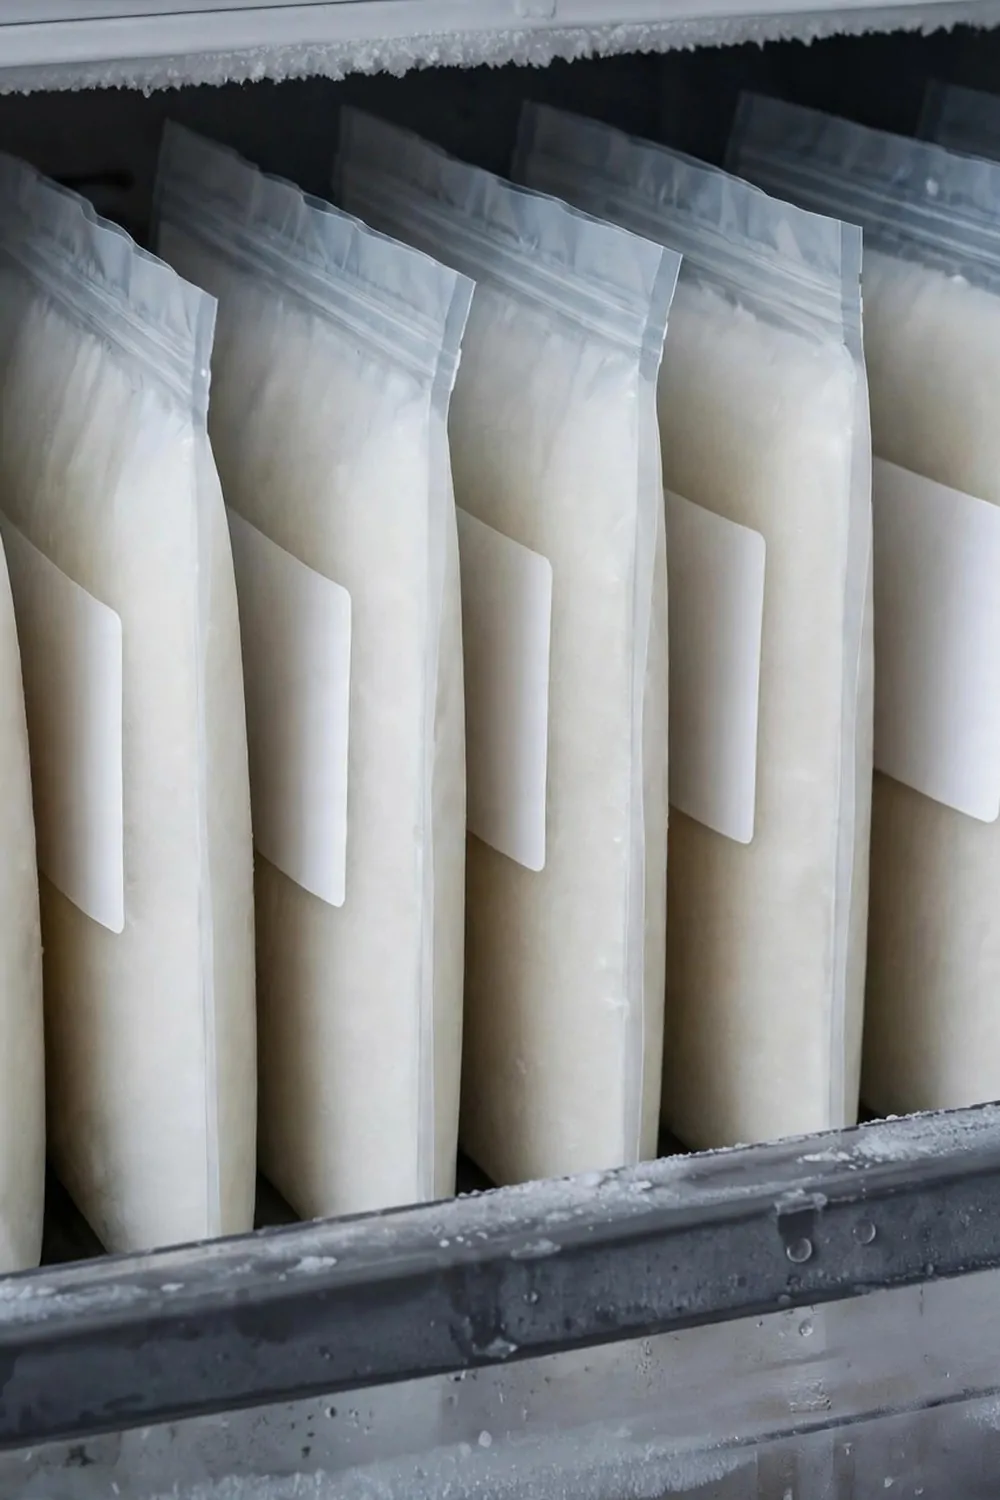
I lay my soup flat in a bag and I press the air out before I seal it.
Then I freeze it flat on a tray, and it turns into a neat thin slab.
Once it is hard, I stand it up like a book on a shelf.
You can fit so many more bags this way than if you freeze them in lumps.
I label each bag with a pen before I fill it, because cold hands and a wet bag do not mix well.
Write the name and the date in big clear letters.
You will thank yourself later when you grab the right bag in a rush.
Typical cost is $5 to $12 for a box of good freezer bags.
Start with the soup you make most, and you will love how tidy it looks.
3. Labels You Can Read Through Frost
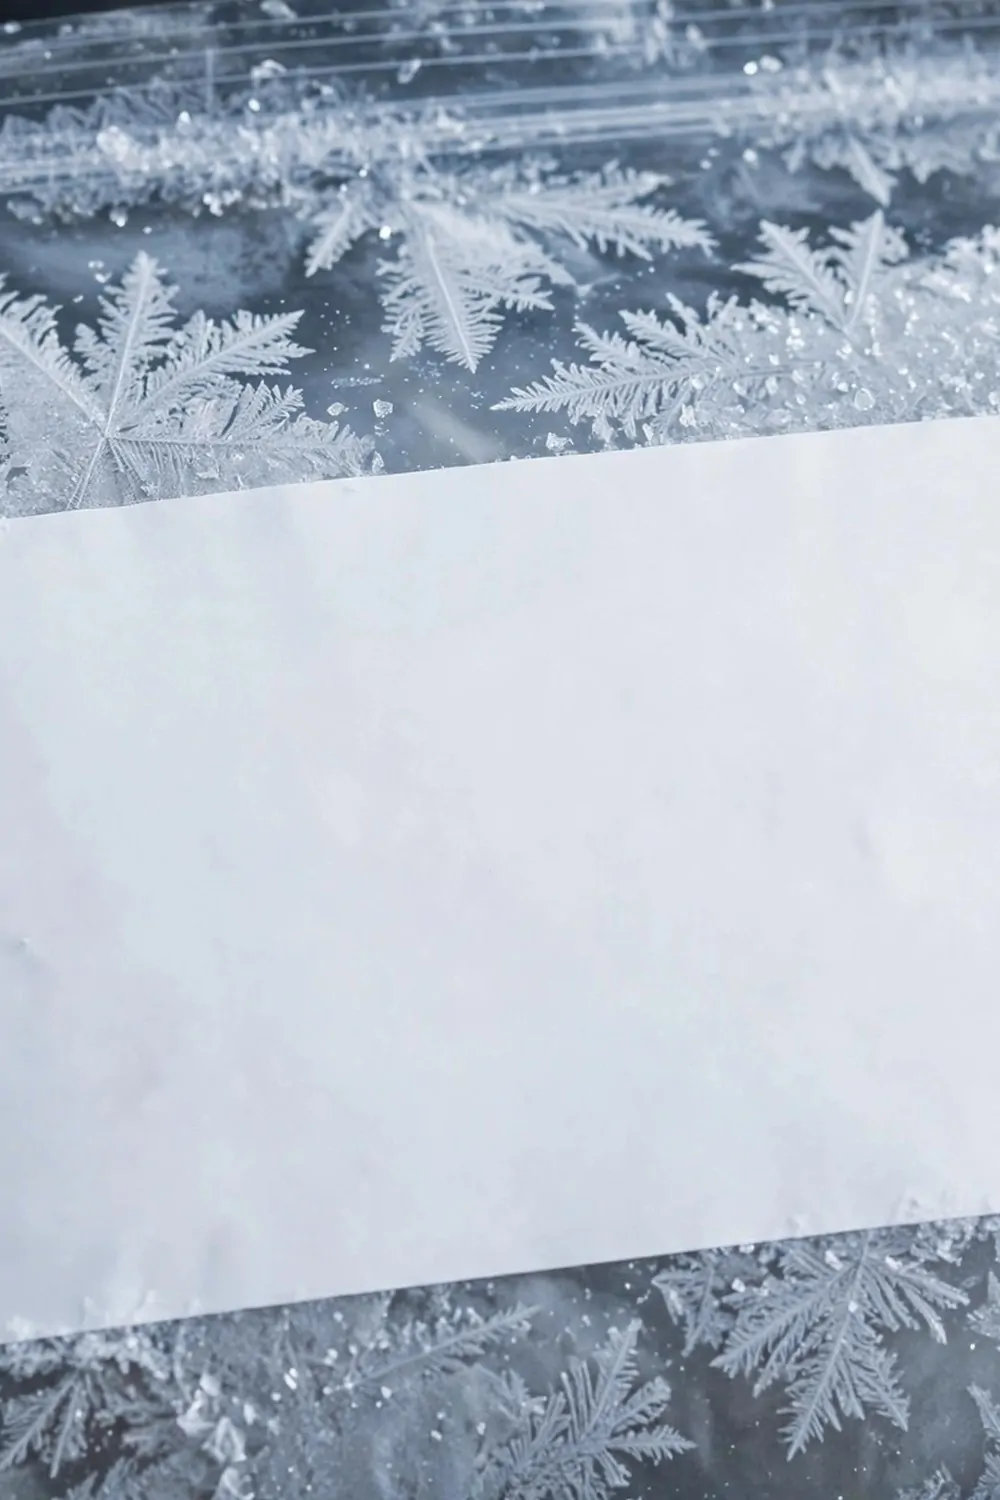
I used to write on bags with a thin pen, and the words faded fast.
Frost covered them up, and I was back to guessing what was inside.
Now I use big labels and a thick dark pen, and I can read them at a glance.
You can stick a label on the bag or on the bin, and both work fine.
Write the food name first, then the date you froze it.
I also add a short note like “for rice” when it helps me plan a meal.
A small bin costs $10 to $20. A medium bin costs $15 to $30. A large bin costs $25 to $45.
Typical cost is $5 to $15 for a roll of freezer labels and a good pen.
Clear labels save you time, and they save good food from the bin.
| Bin size | Typical cost | Best for |
|---|---|---|
| Small bin | $10 to $20 | A few bins to start with |
| Medium bin | $15 to $30 | A full shelf of food groups |
| Large bin | $25 to $45 | The whole freezer done in one go |
4. A Drawer Just for Breakfast Foods
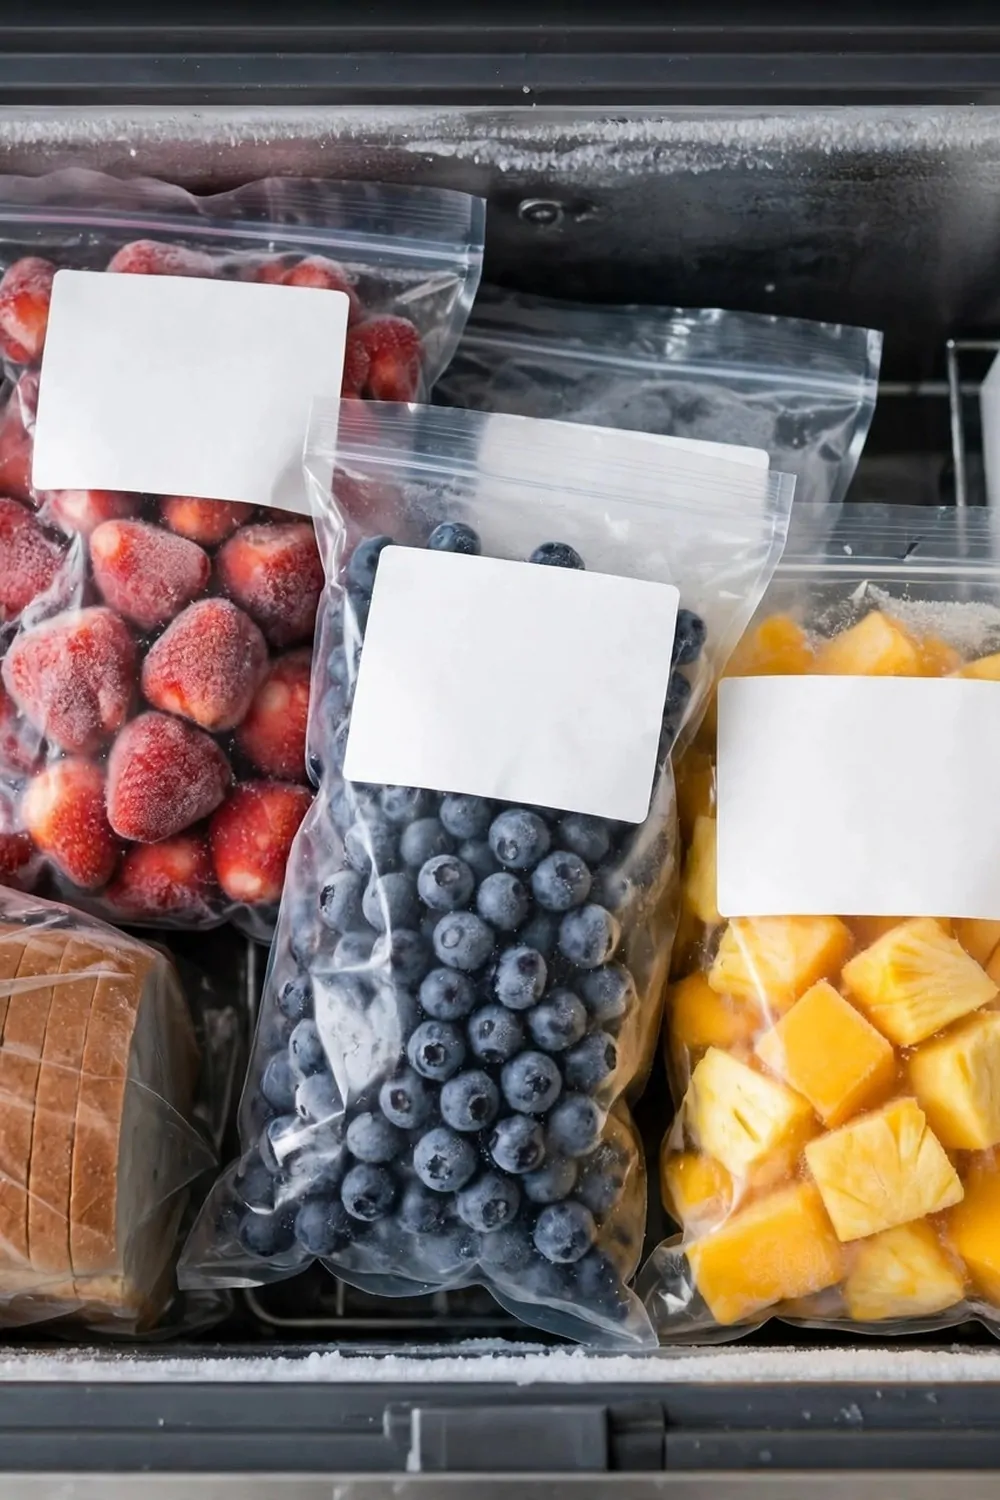
I keep all my breakfast food in one drawer, and my mornings feel calmer now.
Frozen berries sit next to bread and a small box of beans I use in wraps.
You do not have to dig past dinner food to find what you need at 7 in the morning.
I put the things my kids reach for at the front, so they can help themselves.
It is a small change, but it makes the start of the day feel easy.
Try to keep the drawer light, so nothing gets buried at the back.
If a bag is half empty, I move it to the front so I use it first.
Typical cost is $8 to $20 for a slim drawer bin that fits most freezers.
You will like how fast breakfast comes together when all of it lives in one place.
5. Soup in Flat Bags That Stack Neat
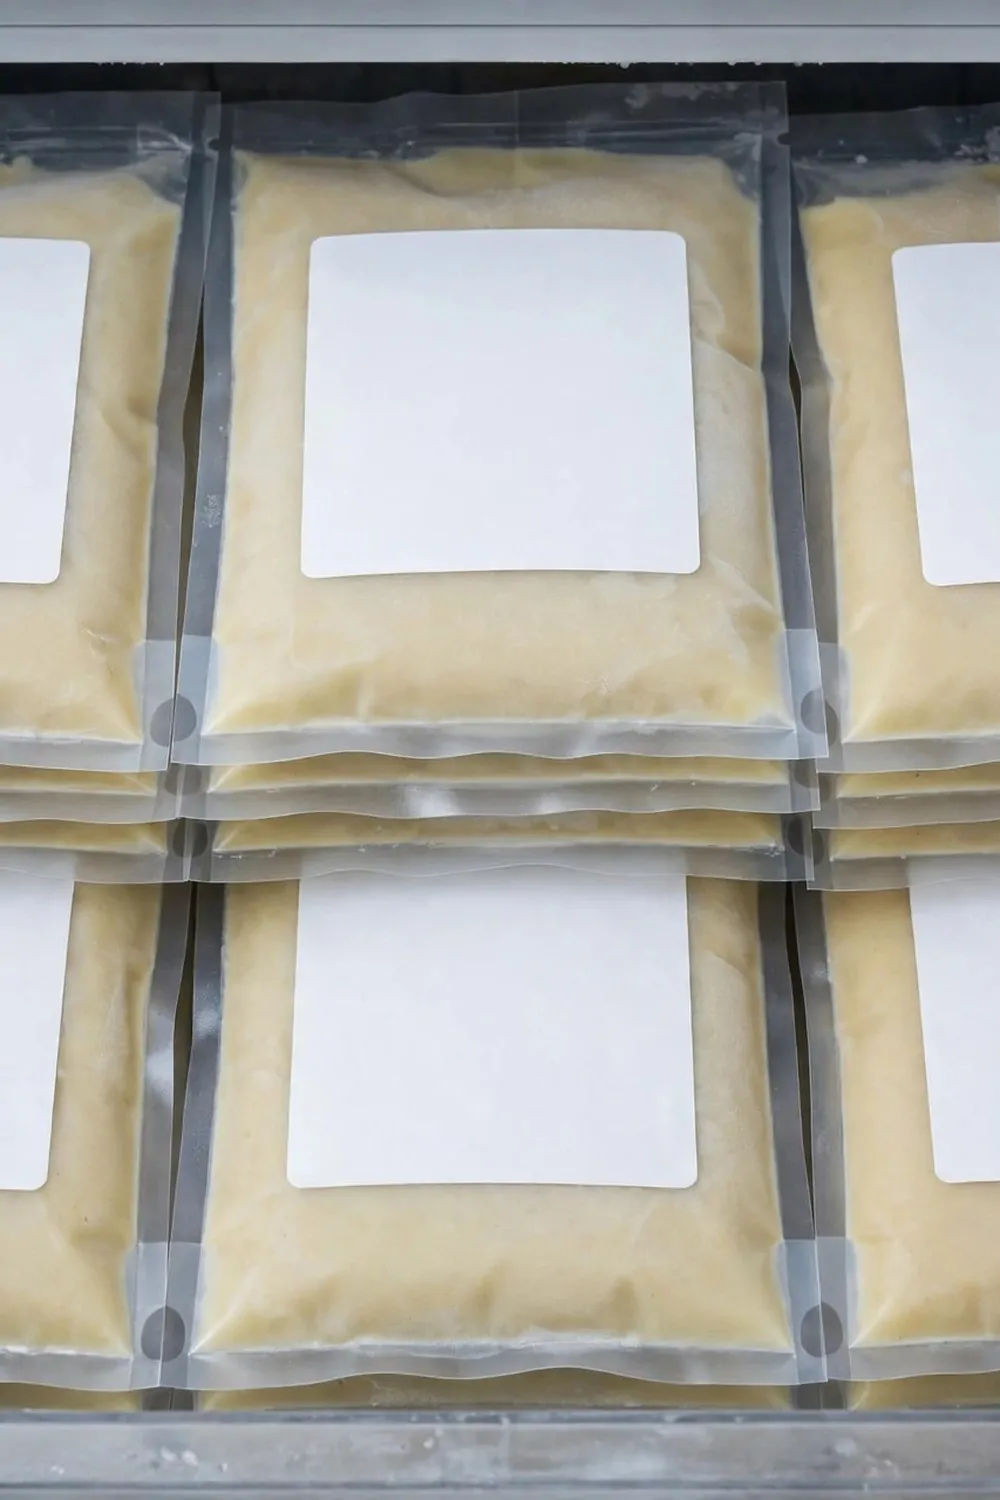
I make a big pot of soup on Sunday, and I freeze what is left in flat bags.
Each bag holds one meal, so I never thaw more than I need.
You lay the bag flat, you press out the air, and you seal it tight.
I stack the flat bags in a bin, and they stand up like files in a box.
When I want soup, I pull one bag out and I warm it in a pot.
It thaws fast because it is thin, and that helps on busy nights.
I write “veg soup” or “bean soup” on the bag so I pick the right one.
Typical cost is $5 to $15 for a pack of flat freezer bags.
This one habit has saved me more meals than any other trick in my kitchen.
6. One Bin for Chicken, One for Veg
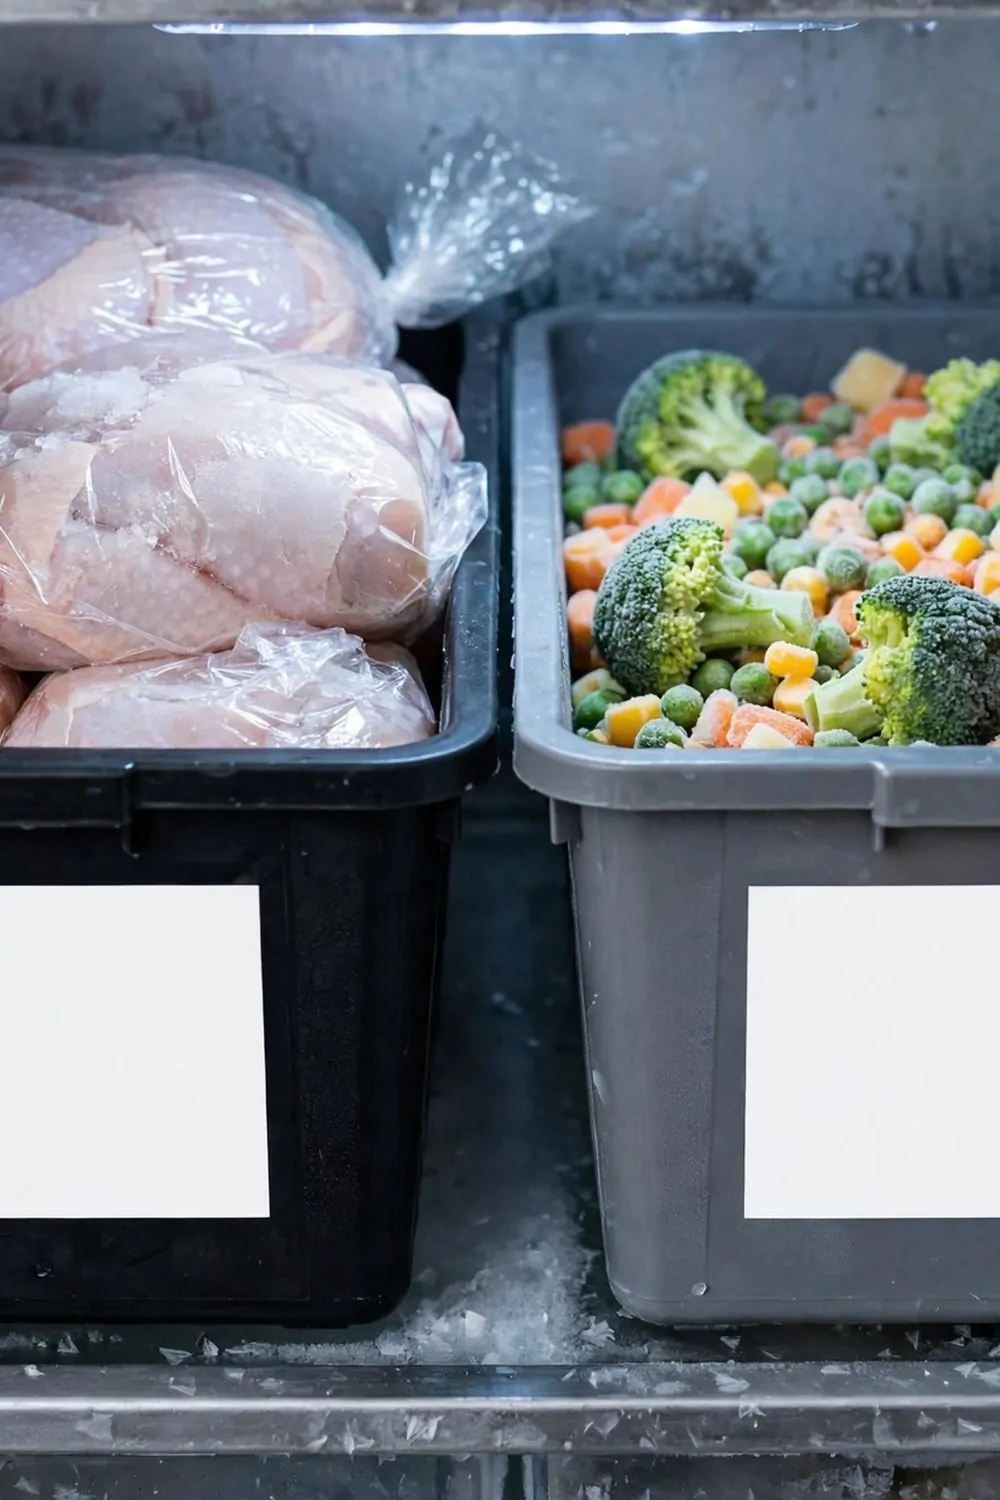
I keep chicken in its own bin, and I keep veg in a bin right next to it.
It keeps things clean, and it keeps my meal plan clear in my head.
You do not have to move five bags to reach the one bag you want.
I use a bin with high sides for chicken, so nothing slides out when I open the door.
The veg bin is wide and low, so I can see the bags of peas and beans at once.
If you cook chicken a lot, this split will save you time every single week.
I wash the bins out once a month with warm soapy water.
Typical cost is $10 to $25 for two sturdy bins.
Two bins sound small, but they change how your whole freezer feels.
7. Ice Cube Trays for Small Portions
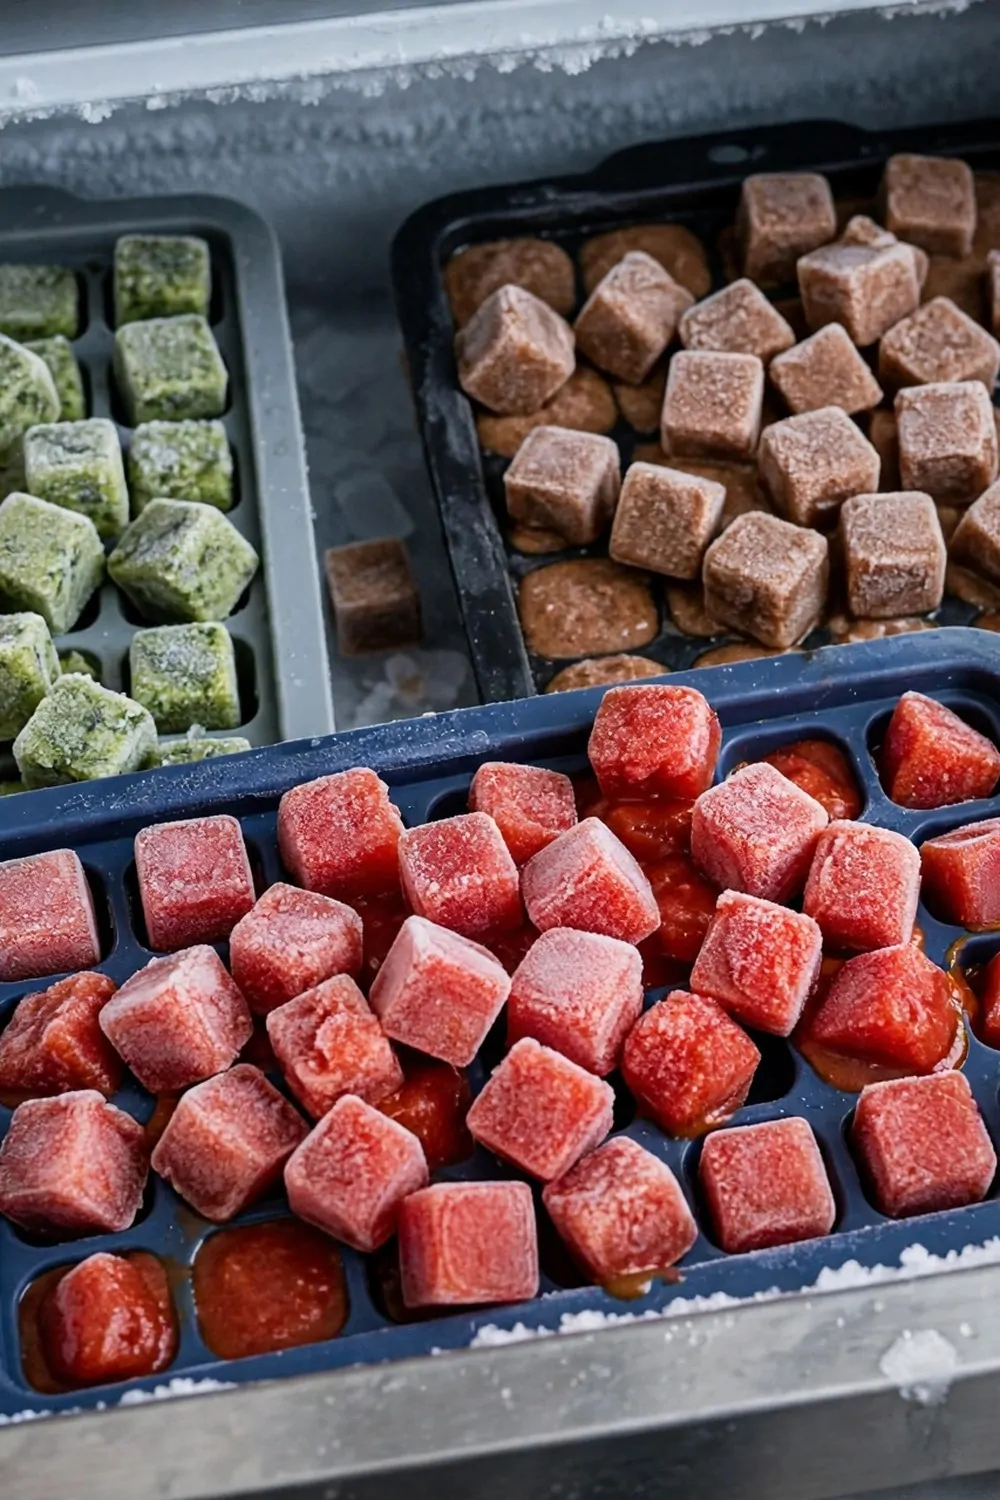
I freeze stock in ice cube trays, and it is one of my best tricks.
Each cube is just the right size for a pot of rice or a pan of sauce.
You pop out two or three cubes, and you are done, no big bag to thaw.
I do the same with leftover sauce and with fruit puree for smoothies.
Once the cubes are hard, I move them into a labelled bag so the tray is free again.
It is a neat way to use up small bits that would else go to waste.
I keep one tray just for stock, so the taste stays clean.
Typical cost is $5 to $12 for a set of ice cube trays with lids.
Small portions add up, and your freezer will thank you for it.
8. A Freezer Inventory List on the Door
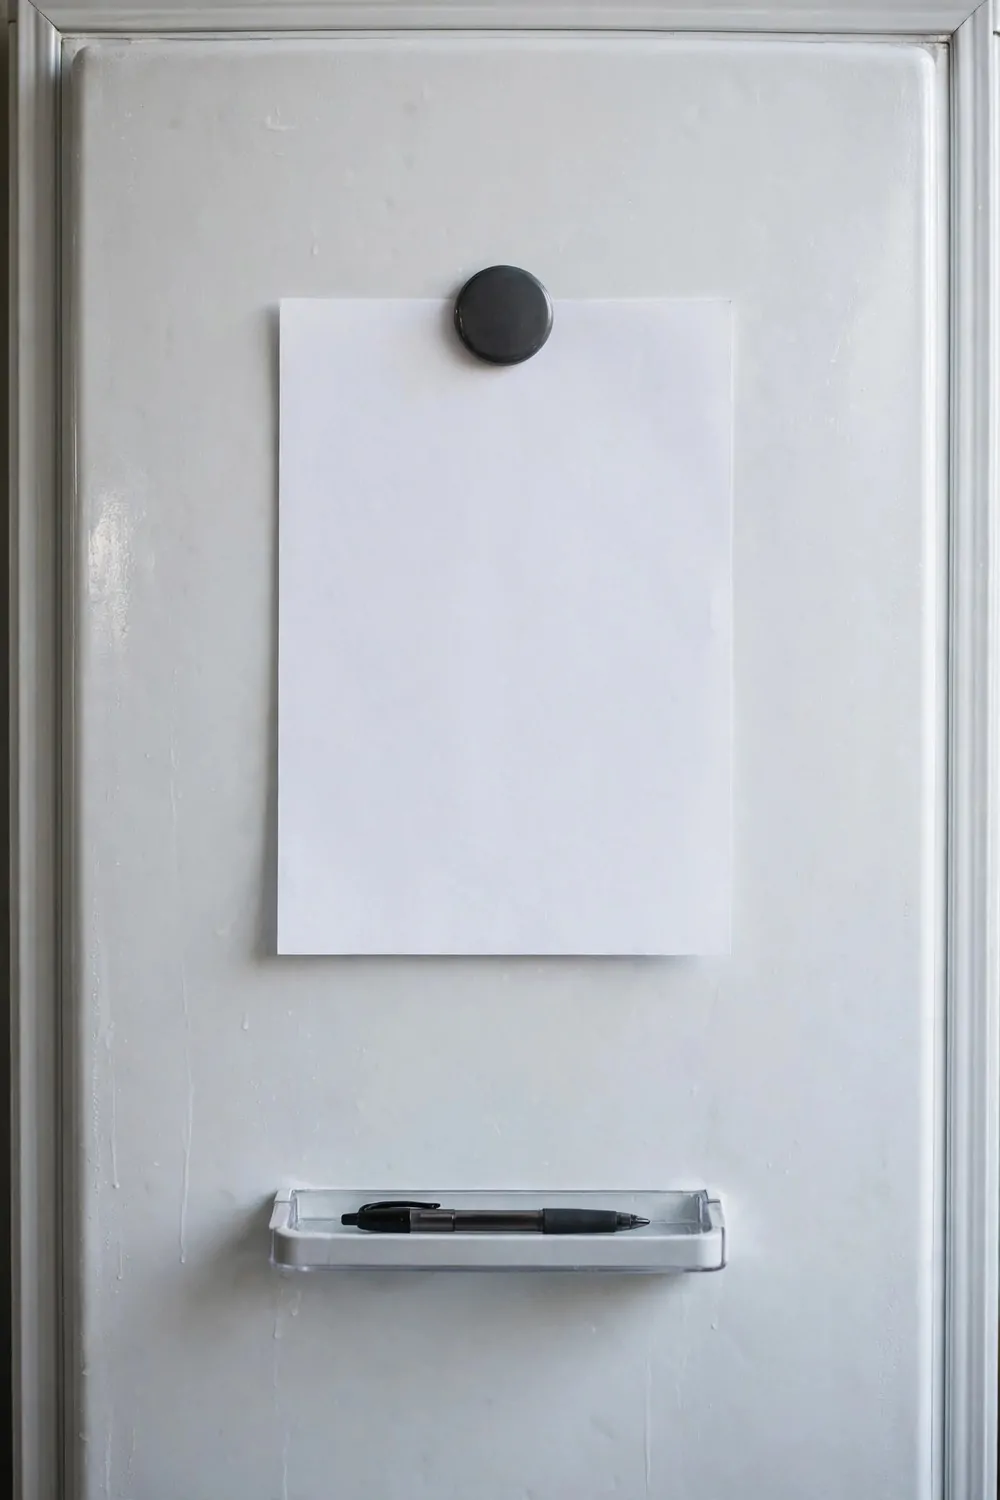
I stick a list on the freezer door, and I write down what goes in.
When I take a bag out, I cross it off the list with a pen.
You can see at a glance what you have, and you stop buying food you already own.
I use a plain sheet of paper and a magnet, and that is all it takes.
My list has three columns: food, date, and how many bags are left.
It takes me one minute to update it, and it saves me so much waste.
I check the list before I shop, and my shop list gets shorter each week.
Typical cost is $3 to $10 for a small whiteboard or a pad and magnets.
Try it for two weeks and you will wonder how you lived without it.
9. Bread in Its Own Slim Bin
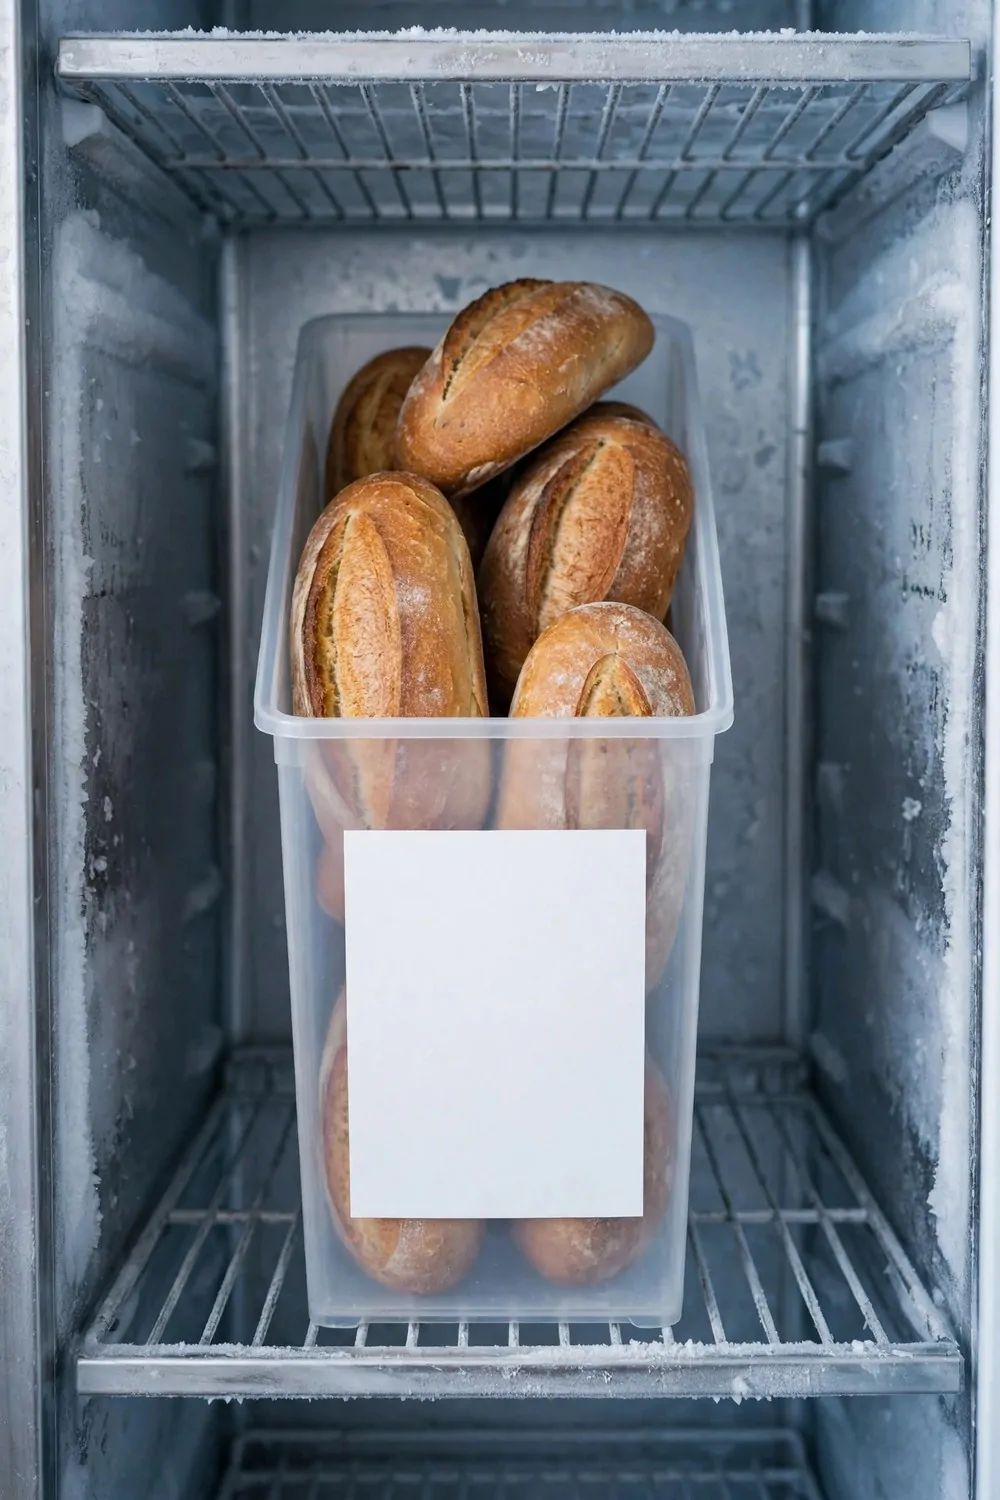
I keep bread in a slim bin of its own, and it stays fresh for much longer.
Loaves do not get squashed by heavy bags when they have their own spot.
You can slide the bin out, grab a loaf, and slide it back in one move.
I freeze bread in halves when I know I will not use a full loaf in time.
That way I thaw just what I need, and the rest stays safe in the cold.
I label each loaf with the date, so the oldest one gets used first.
If you bake at home, a slim bin is a must for your freezer.
Typical cost is $8 to $18 for a slim bread bin.
Fresh bread on a busy morning is a small joy, and this bin keeps it easy.
10. Fruit in Clear Bags You Can See
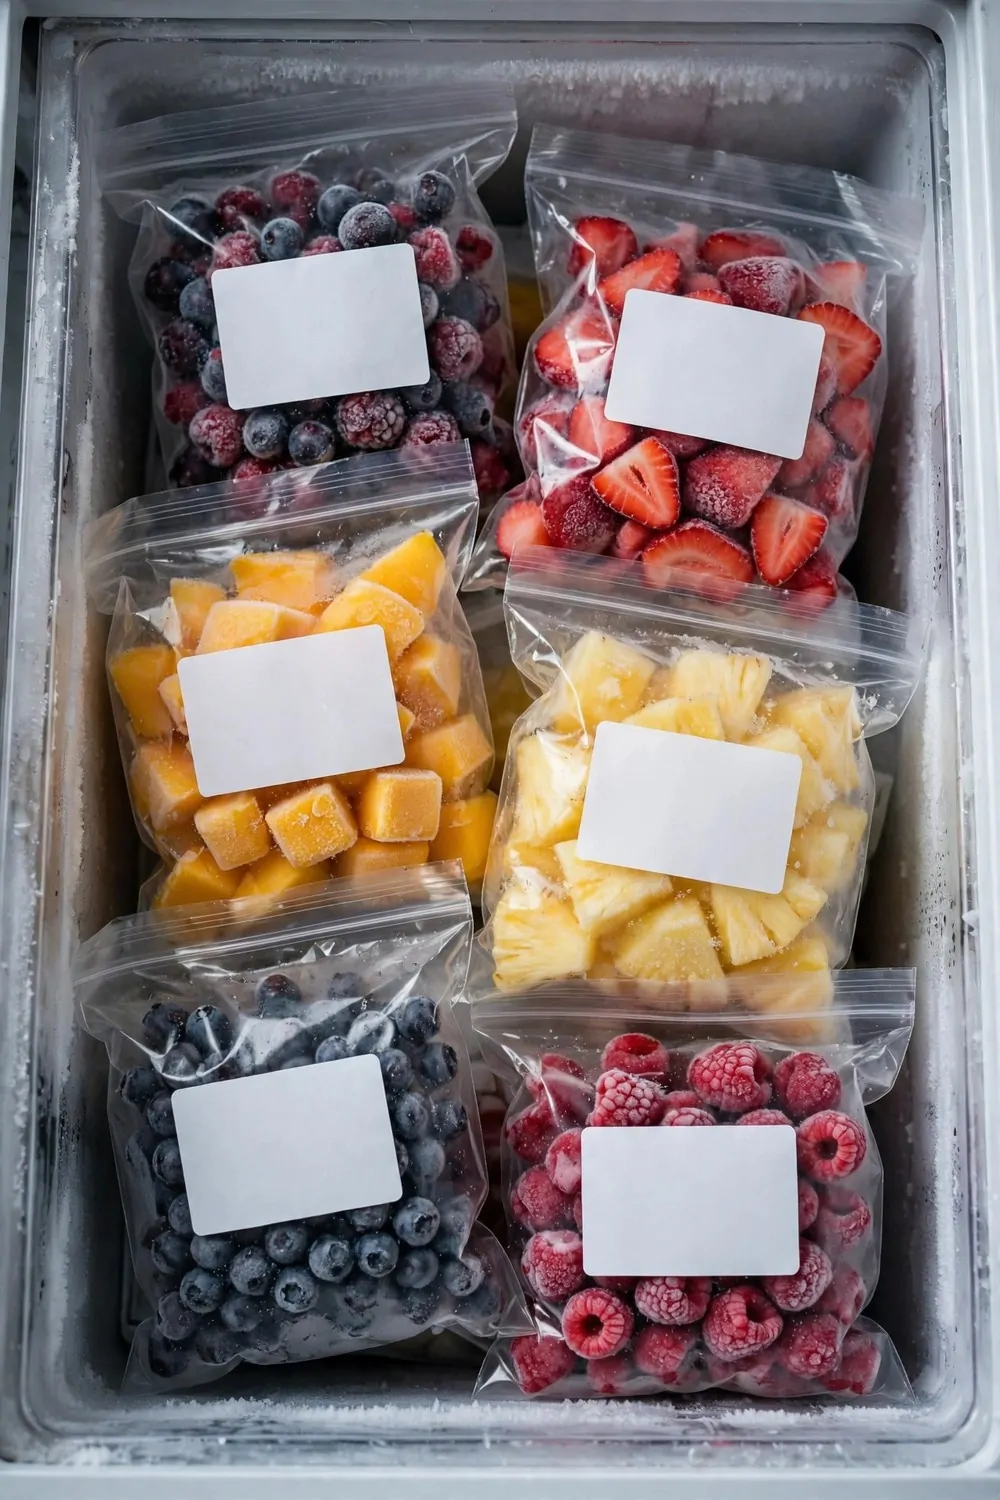
I freeze fruit in clear bags, and I can see the colour right through the plastic.
Red berries, yellow mango, green grapes, they all look bright and fresh.
You pick the bag you want without opening three bags to check.
I spread the fruit on a tray first, so the pieces freeze apart and do not stick.
Then I tip them into a bag and I press out most of the air.
It works well for smoothies, and it works well for baking too.
I write the fruit name and the month on the bag in big letters.
Typical cost is $5 to $12 for a box of clear freezer bags.
Clear bags turn a messy freezer into a fruit shelf you can read at a glance.
11. Leftovers in Single-Serve Boxes
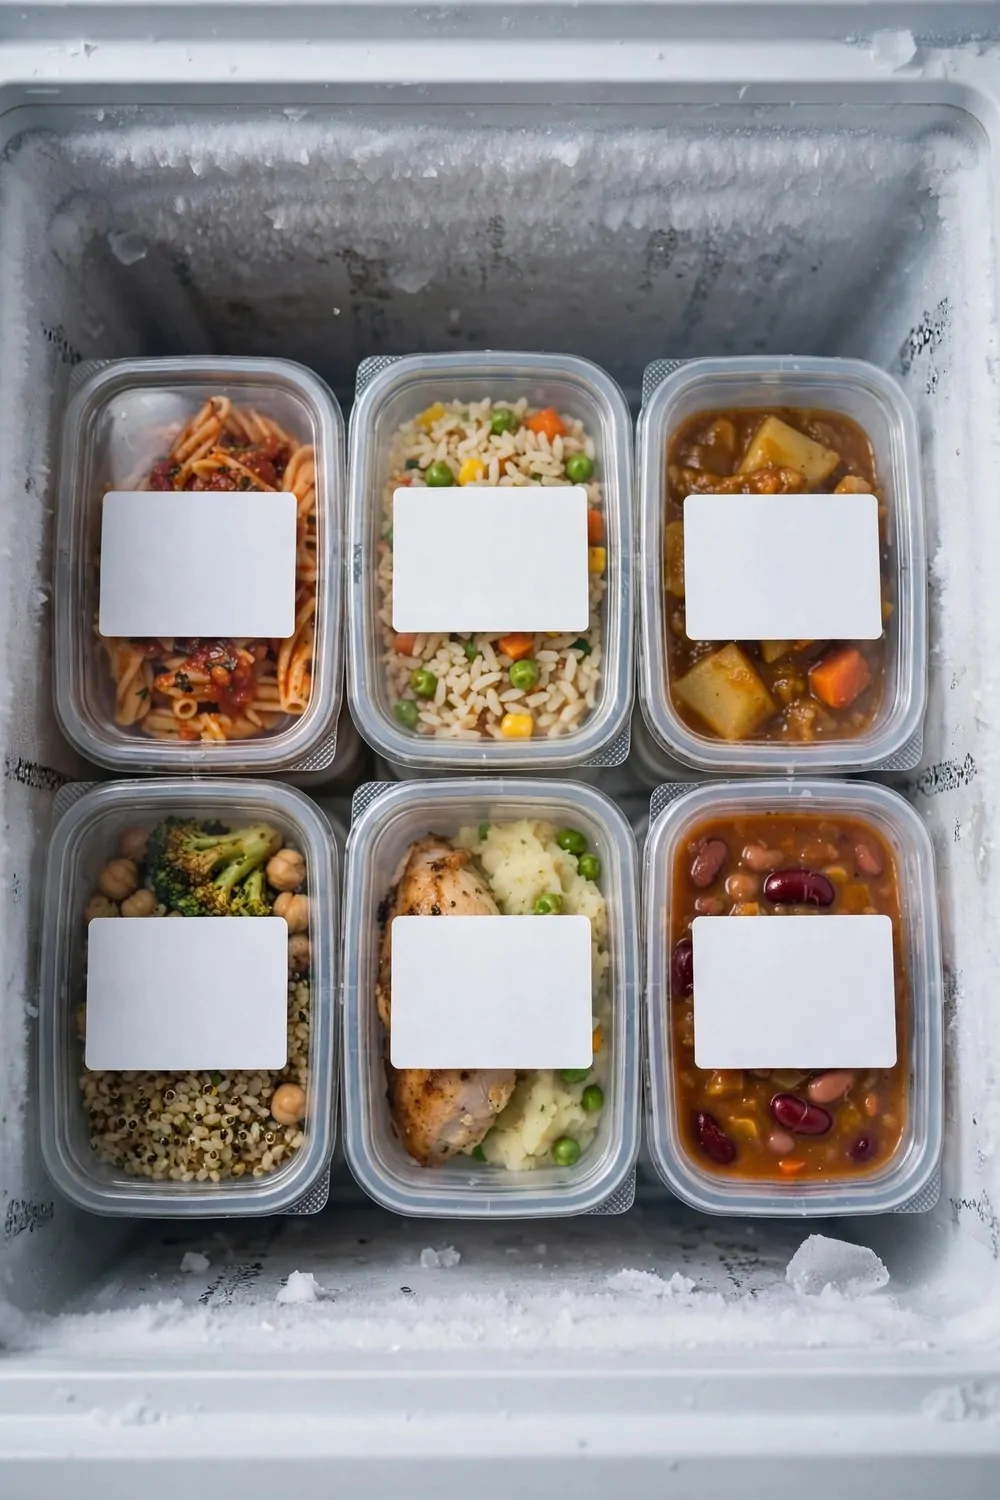
I pack leftovers into single-serve boxes, one box for one meal.
It stops me from thawing a big tub when I only need a small lunch.
You grab a box, you warm it up, and you are done.
I use boxes that stack well, so they do not topple over in the freezer.
Clear lids help a lot, because I can see the rice or pasta inside.
I label the lid with the meal name and the date I cooked it.
If a box is half full, I eat that one first the next day.
Typical cost is $10 to $25 for a set of stackable freezer boxes.
Single boxes mean less waste, and they make lunch feel ready in a flash.
12. A Shelf Just for Sauces and Stock
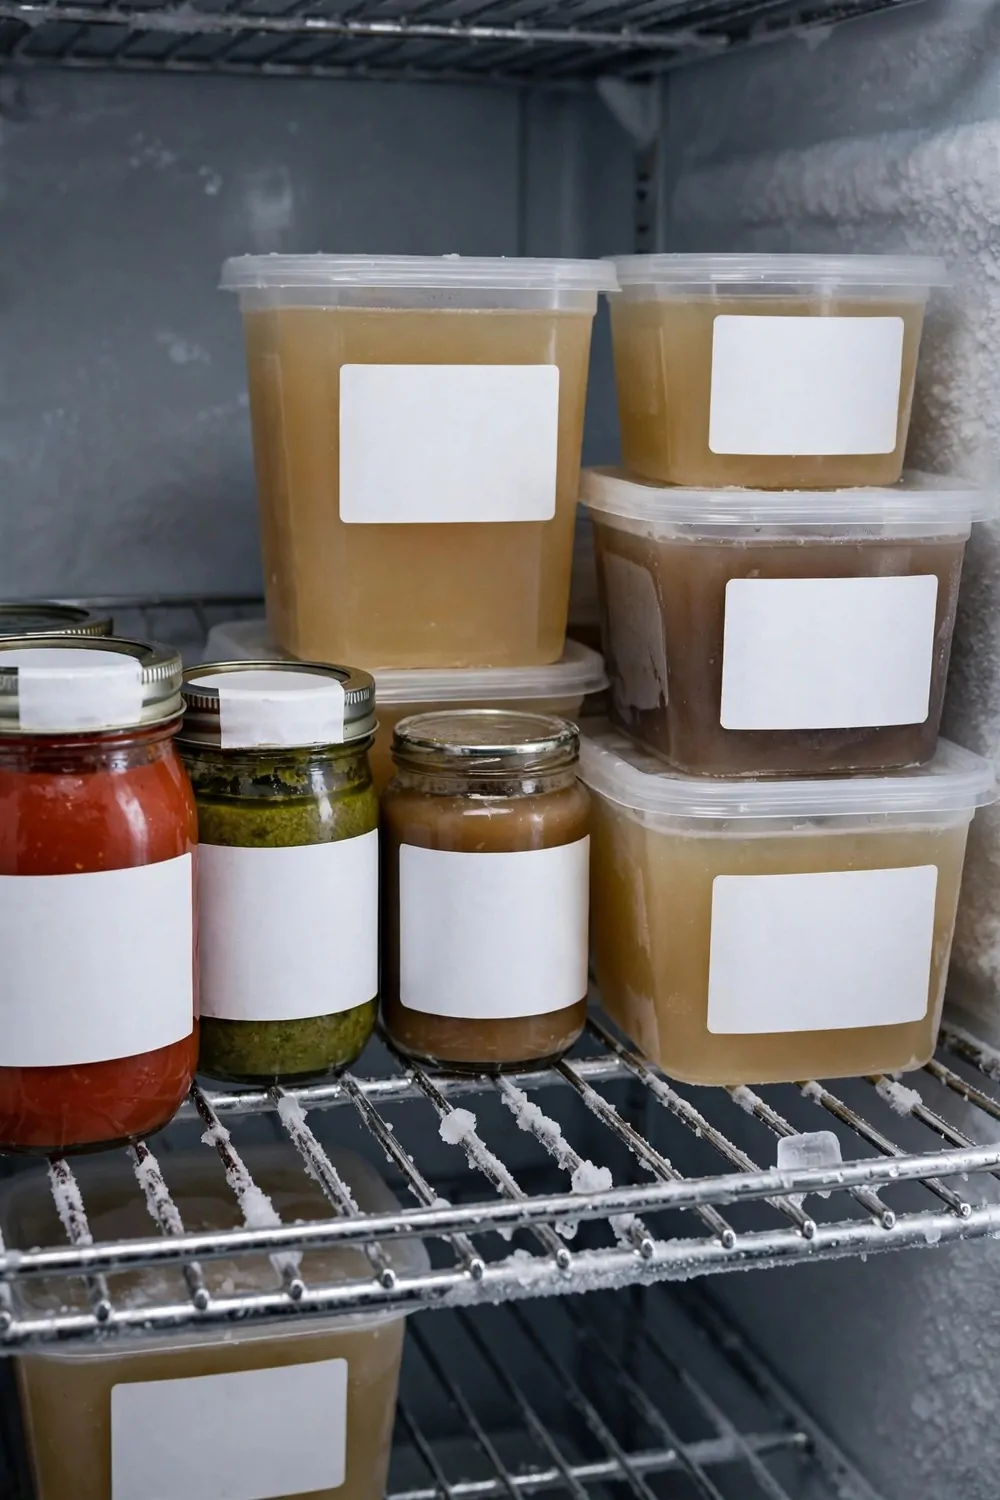
I give sauces and stock their own shelf, and it keeps my freezer calm.
Small jars and flat bags sit in a row, and I can reach them fast.
You do not have to lift a pile of veg to find a small bag of stock.
I keep tomato sauce on the left and veg stock on the right.
It is a tiny system, but it works every time I cook.
I freeze stock flat in bags, then I stand them up in a small bin on that shelf.
Jars go at the back, because I use them less often than the bags.
Typical cost is $8 to $20 for a small bin and a few jars.
One shelf for sauces means dinner starts faster, and that is a win for me.
13. Colour Dots for Quick Sorting
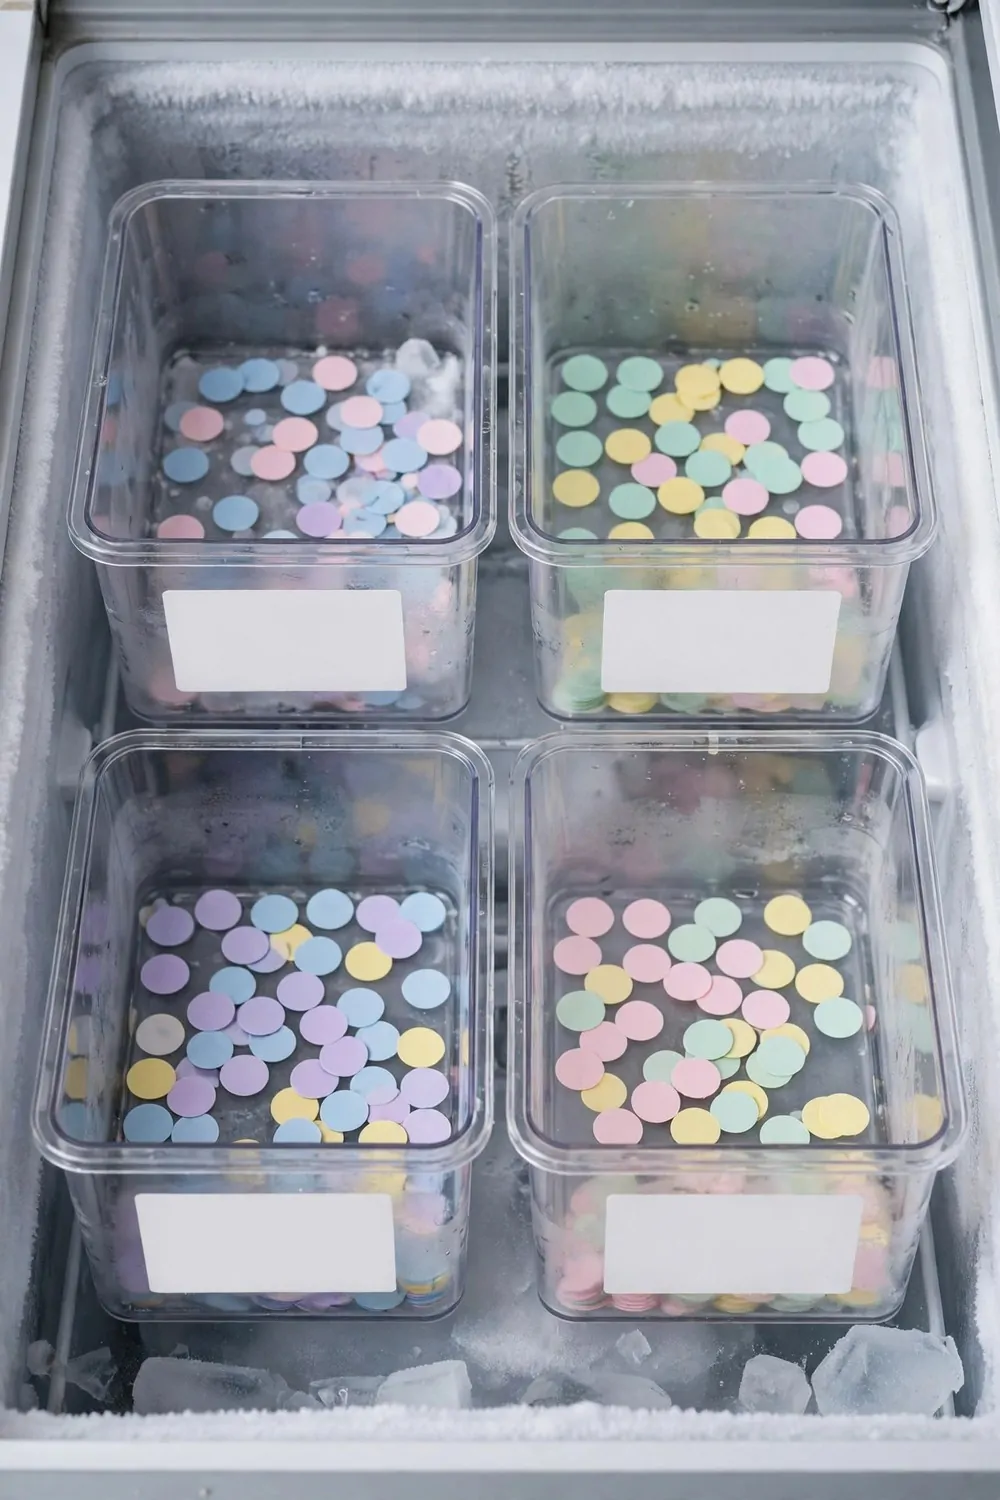
I stick colour dots on my bags, and I can sort them in seconds.
Red means chicken, green means veg, blue means fruit, and yellow means bread.
You do not need to read a label when the dot tells you the group at once.
I keep a sheet of dots on the freezer door, so I can grab one fast.
It helps my kids too, because they know the colours and they can help me put food away.
I use the same colours on my bins, so the whole freezer matches.
If a dot falls off, I stick a new one on right away.
A small pack of dots costs $3 to $8. A medium pack costs $5 to $12. A large pack costs $8 to $15.
Colour dots are cheap and simple, and they make a busy freezer feel easy.
| Dot pack | Typical cost | Best for |
|---|---|---|
| Small pack | $3 to $8 | A few bags to start with |
| Medium pack | $5 to $12 | A full freezer of bags |
| Large pack | $8 to $15 | The whole family freezer |
14. A Chest Freezer Map on the Lid
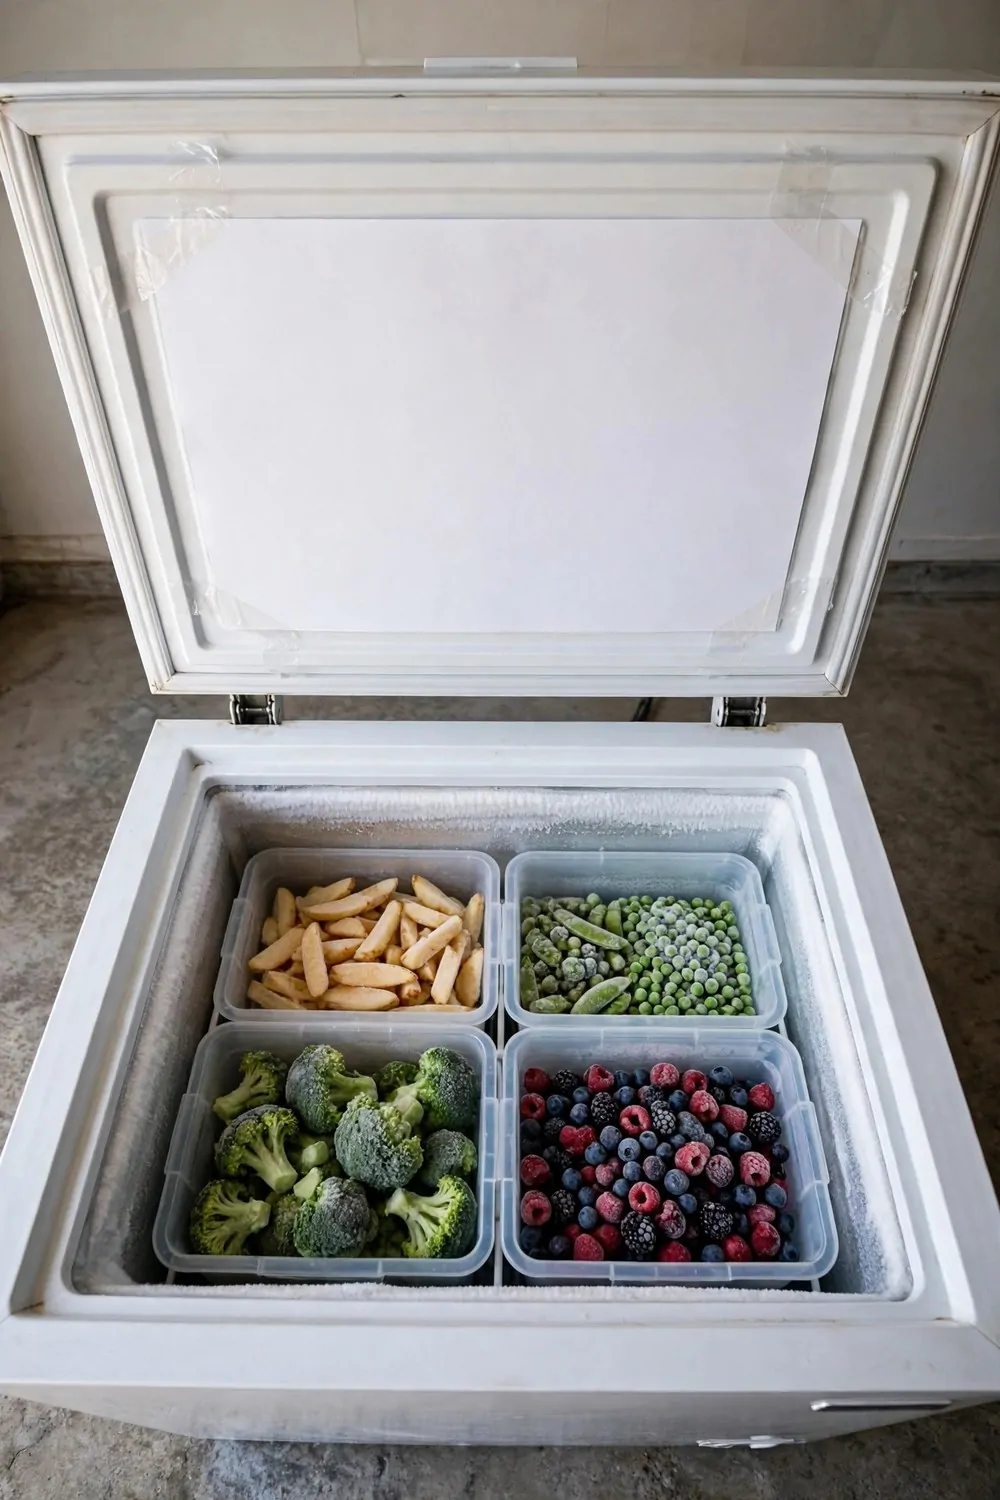
I tape a map to the inside of my chest freezer lid, and it changed everything.
The map shows where each food group lives, left to right.
You lift the lid, you look at the map, and you reach for the right spot.
I draw the map on paper with a pen, and I update it when I move things round.
Chicken goes on the left, veg in the middle, and bread on the right.
It stops me from digging through the whole chest to find one bag.
I also write the date on the map when I add a big batch of food.
Typical cost is $3 to $10 for paper, tape, and a marker.
A simple map on the lid saves your back, your time, and your food.
15. Frozen Veg in Stacked Bins
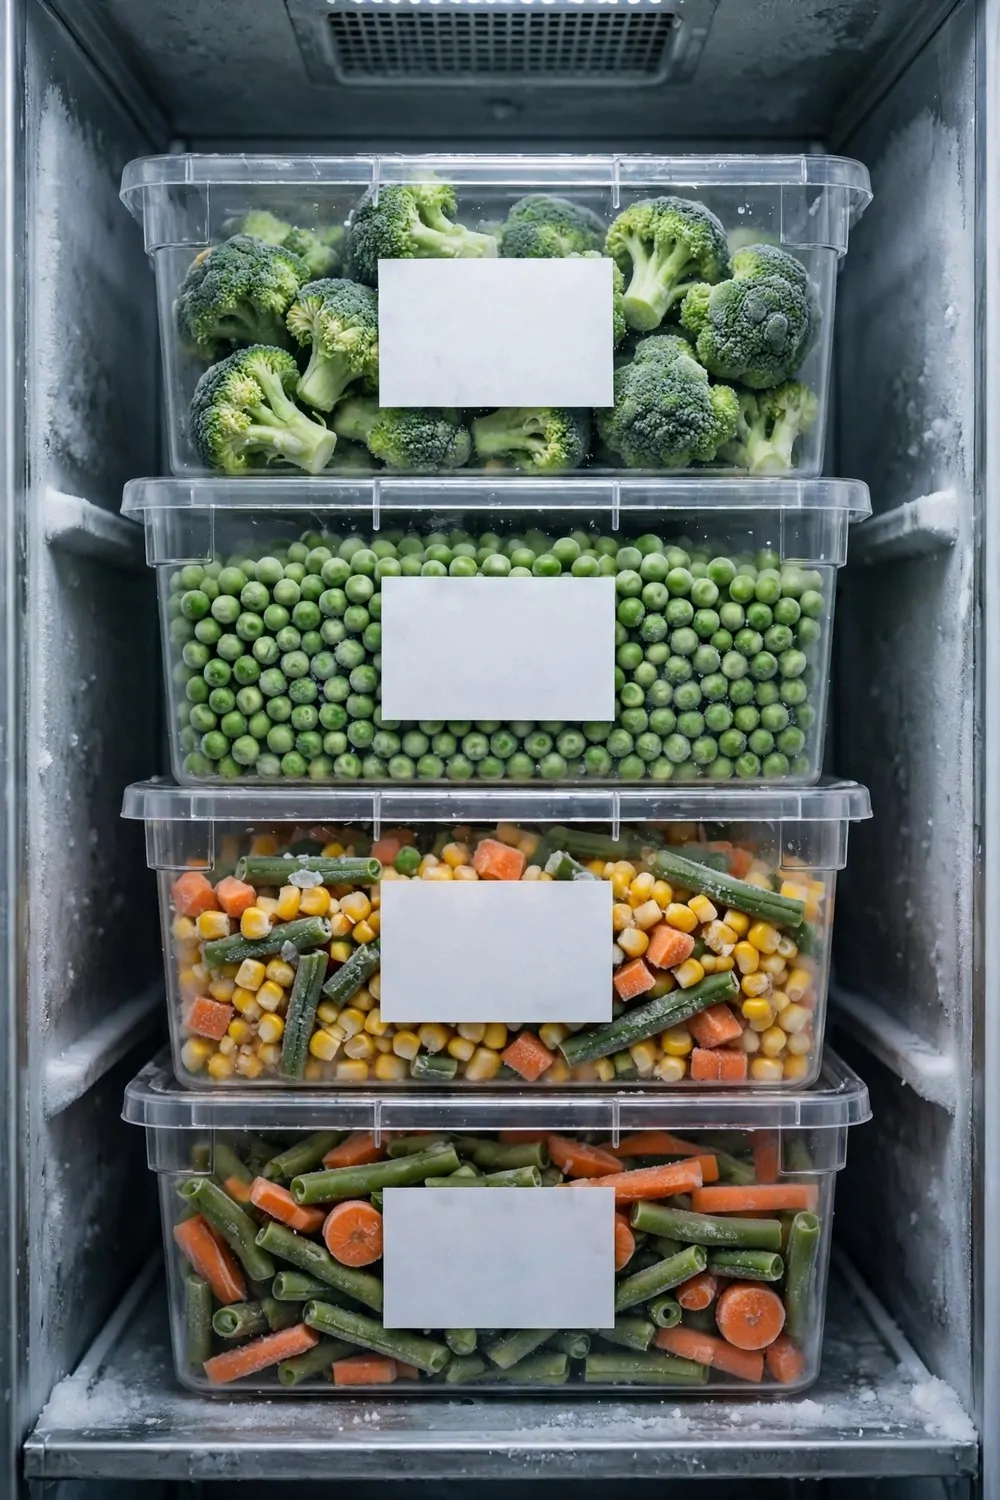
I stack my frozen veg in bins, one bin on top of the next.
Peas sit in one bin, beans in one bin, and mixed veg in one bin.
You lift the top bin to reach the one below, and it takes just a second.
I use bins that stack flat, so they do not slide about when I open the door.
It keeps the veg bags upright, and it keeps them from getting crushed.
I label each bin on the front, so I can read it without lifting it.
If a bin gets low, I add it to my shop list that same day.
Typical cost is $10 to $25 for a set of stackable bins.
Stacked bins turn a pile of veg bags into a neat little shelf you can trust.
16. A Baking Shelf in the Freezer Door
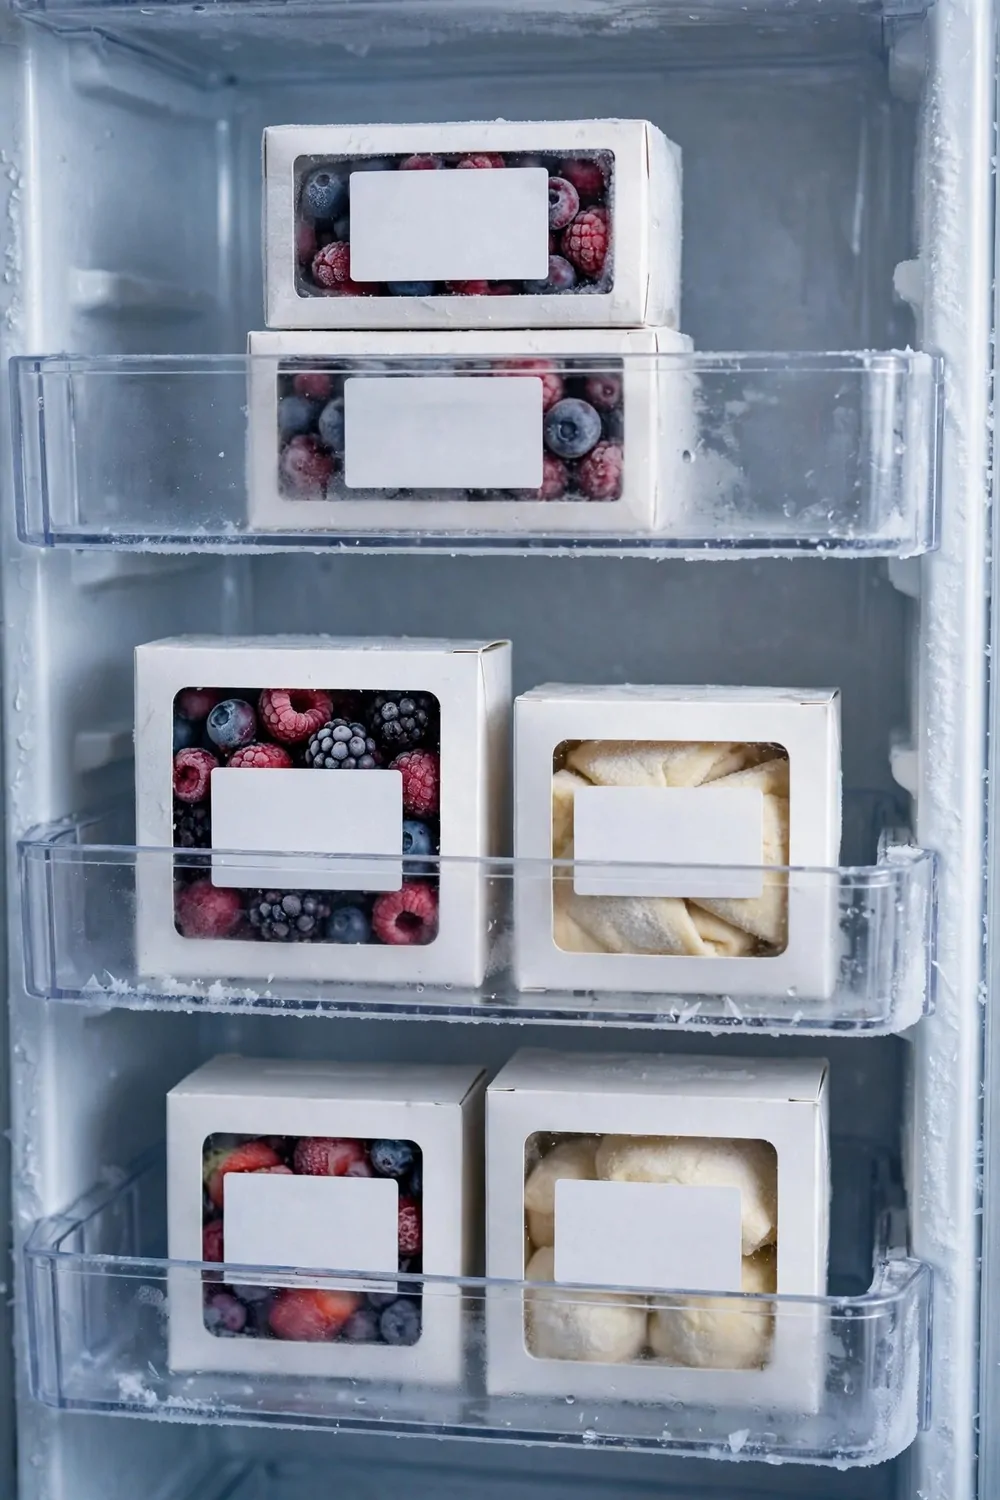
I keep a small shelf in my freezer door just for baking stuff. It holds my frozen berries and my little bags of dough.
I can see it all in one spot when I want to bake.
You do not need a big shelf for this to work. A narrow shelf fits right in the door and it stays out of the way. I reach for it first when I plan a sweet treat.
Typical cost is $8 to $20 for a small shelf that fits the door.
I put my berries in flat bags on that shelf. I stack my dough balls in a small box next to them.
I like to keep my baking bits away from the meat and the veg. It feels cleaner that way. And I do not have to dig past bags of peas to find my fruit.
You can label the shelf too if you like. I wrote “baking” on a small tag and stuck it on the front.
My kids know not to move things from that spot.
When I want to bake, I just open the door and grab what I need. I do not open the big drawers at all.
17. Small Batches in Muffin Trays
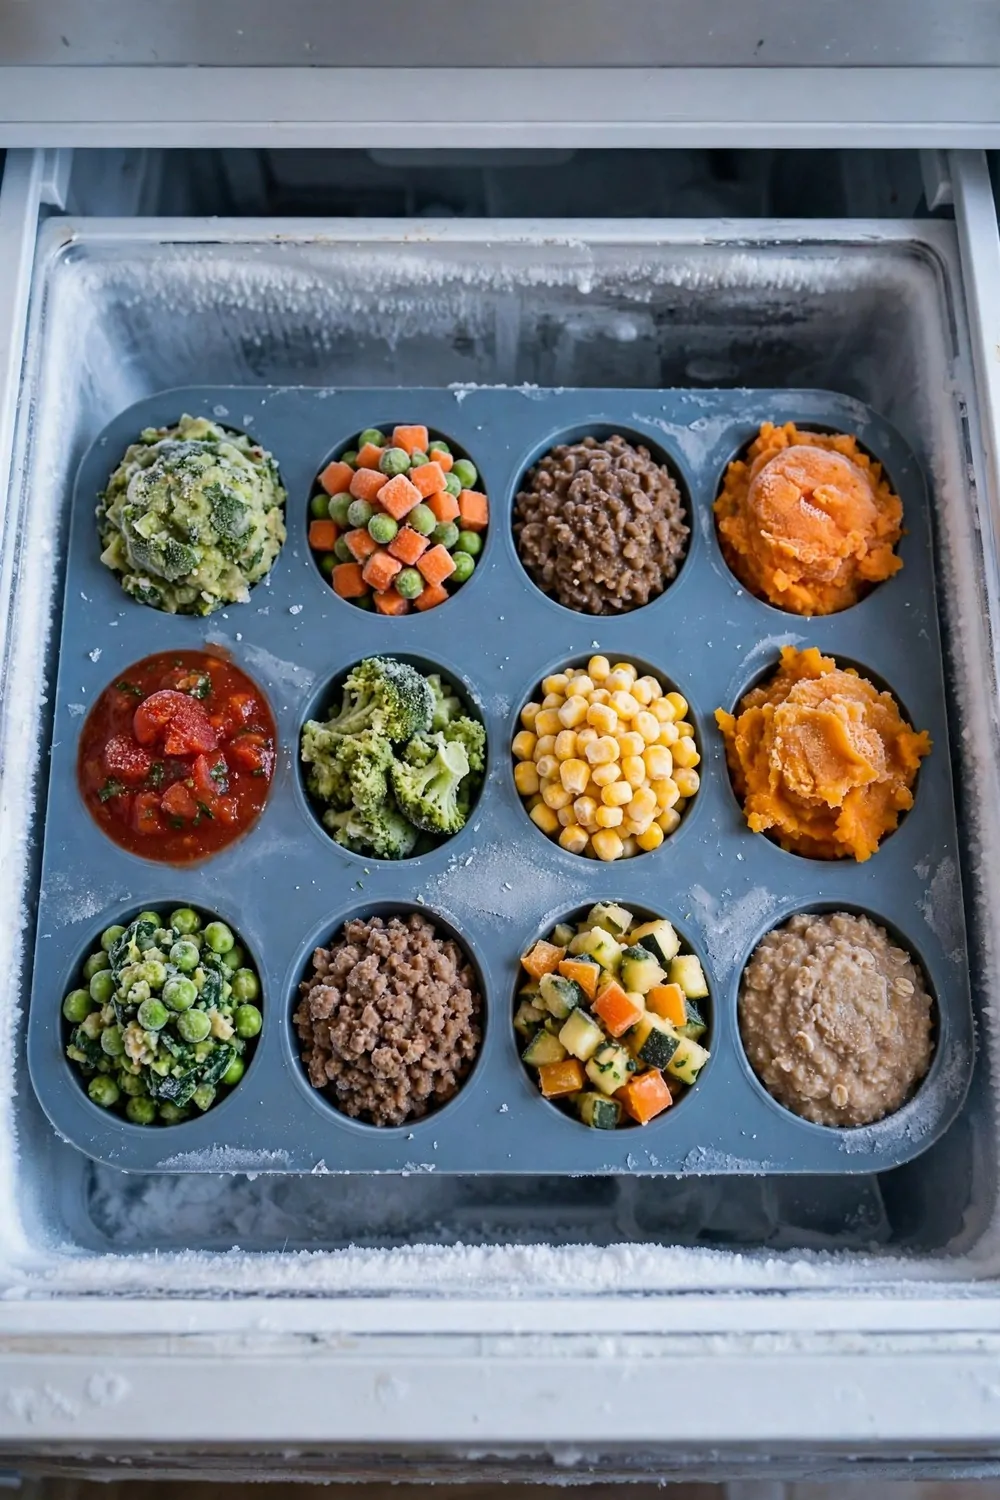
I freeze small bits of food in muffin trays.
It works so well for soup and sauce and rice. Each cup holds just the right amount for one meal.
You can freeze leftovers this way too. I pour the soup in, let it freeze, then pop the cups out. I put them in a bag and label it.
Typical cost is $5 to $15 for a plain muffin tray you can use again and again.
I love that I can take out just one cup if I need it. I do not have to thaw a whole big tub.
It stops me wasting food. I use this for small lunches too. One cup was just right for my little one when she was small.
You need to leave a little room at the top of each cup.
Food grows a bit when it freezes. I learned that the hard way when soup spilled over the top.
I keep my filled trays flat in the freezer till they are solid. Then I move the frozen cups to a bag. The tray is free again for the next batch.
18. A Bag Clip Station on the Door
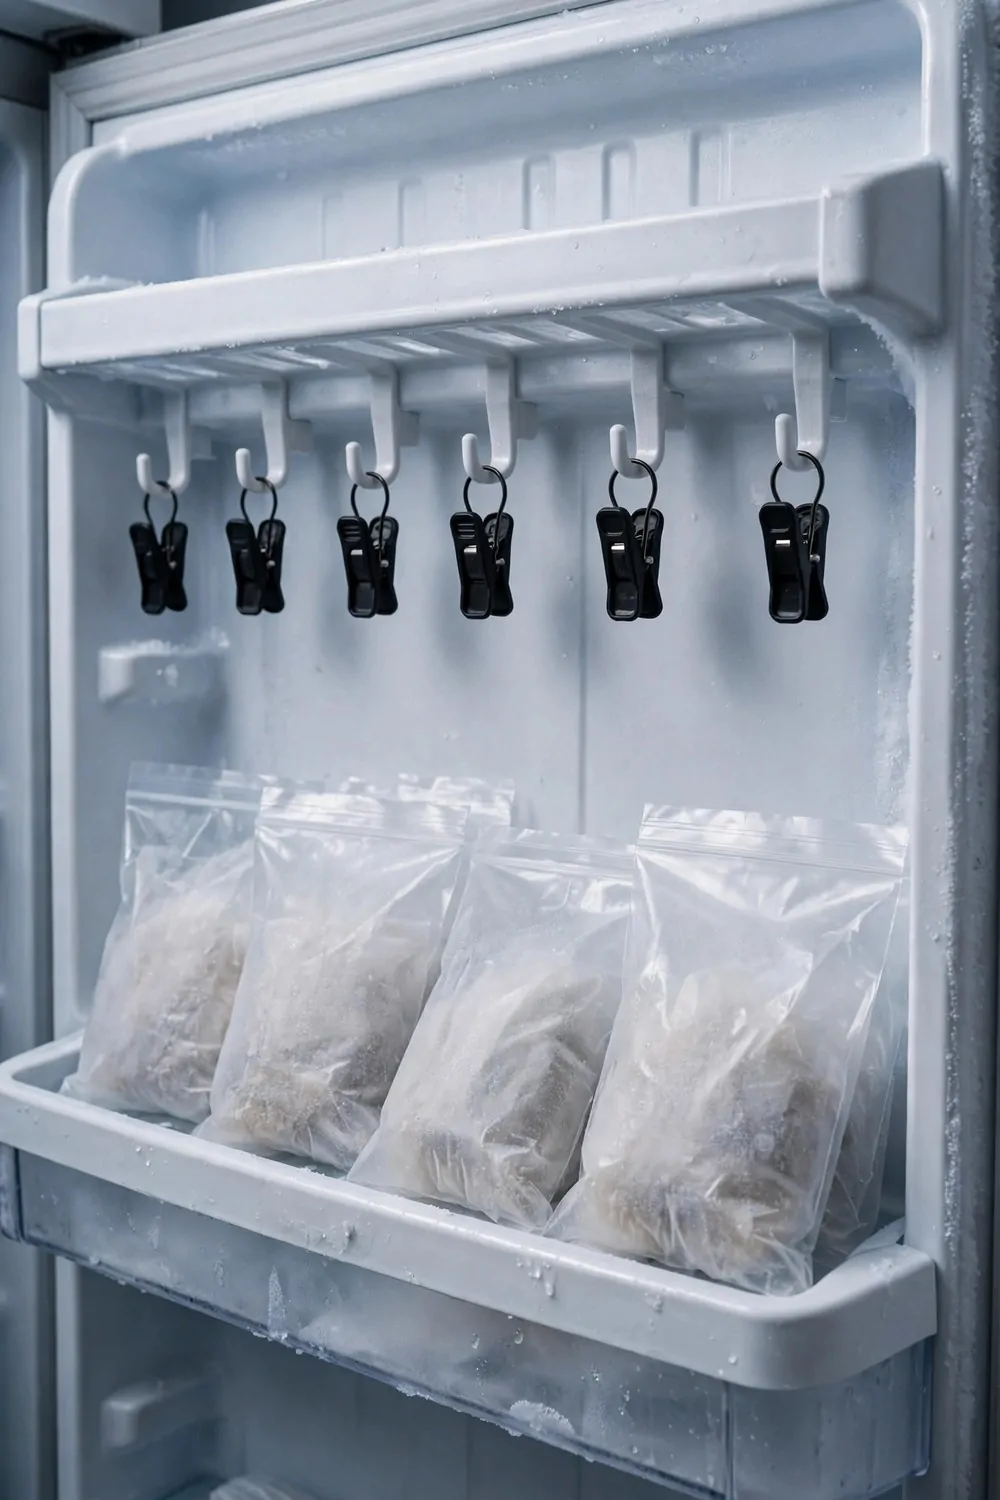
I keep all my bag clips in one spot on the freezer door. I stuck a small hook there and hung a little pouch.
Now I never hunt for a clip.
You know how it goes. You open a bag of peas and then you cannot find a clip. The bag stays open and the food gets dry.
Typical cost is $5 to $12 for a set of clips and a small hook.
Now I just reach up and grab a clip from the pouch. I close the bag in two seconds.
It feels so simple. I keep big clips and small clips in the same pouch. The big ones are for big bags of rice.
The small ones are for little bags of berries.
You can use a small jar instead of a pouch if you like. I tried a jar first and it worked fine.
When a clip breaks, I toss it and grab a new one from the pouch. I keep a few spare ones in there too. That way I am never stuck.
19. Date Every Bag Before It Goes In
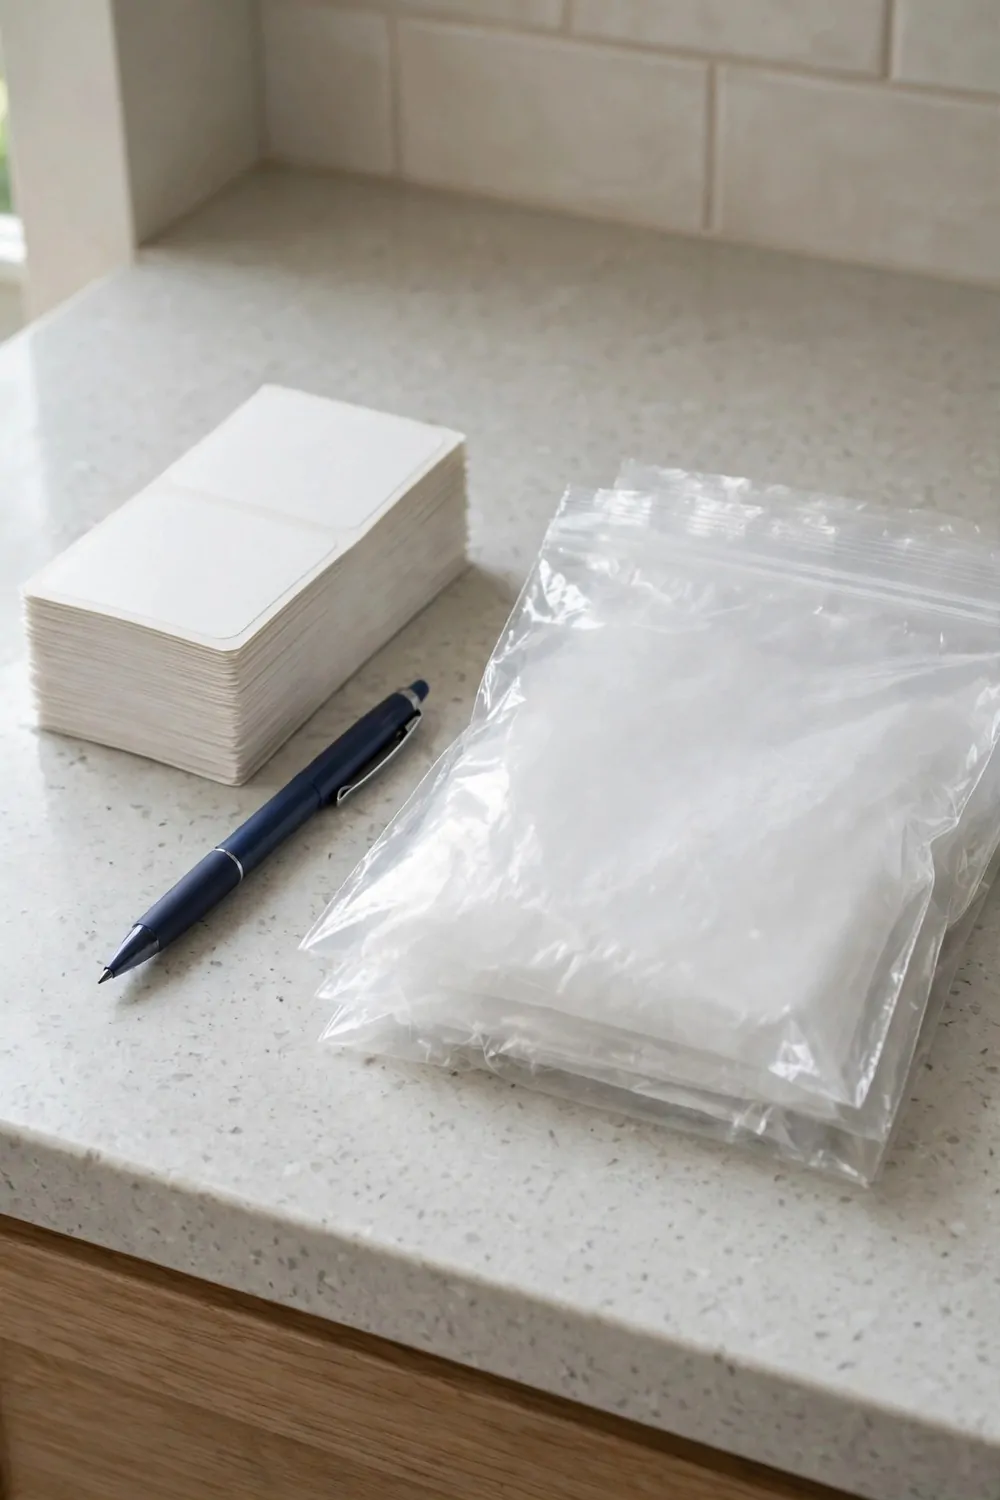
I write the date on every bag before it goes in the freezer. It takes five seconds.
And it saves me from guessing later.
You can use a marker that works on plastic. I keep one stuck to the side of the freezer. It is always right there when I need it.
Typical cost is $5 to $10 for a marker and a roll of freezer tape.
I write the date and what is inside. Like “chicken, 7 Nov” or “soup, 7 Nov”.
It is that easy. I used to find bags with no date and no name. I would stare at them and wonder what they were.
Most times I threw them out just to be safe.
Now I know exactly how old each bag is. I use the oldest ones first. Nothing sits in there for months and gets lost.
You can do this with tubs too, not just bags. I put a bit of tape on the lid and write on that. It peels off clean when I wash the tub.
20. A Deep Bin for Big Family Meals
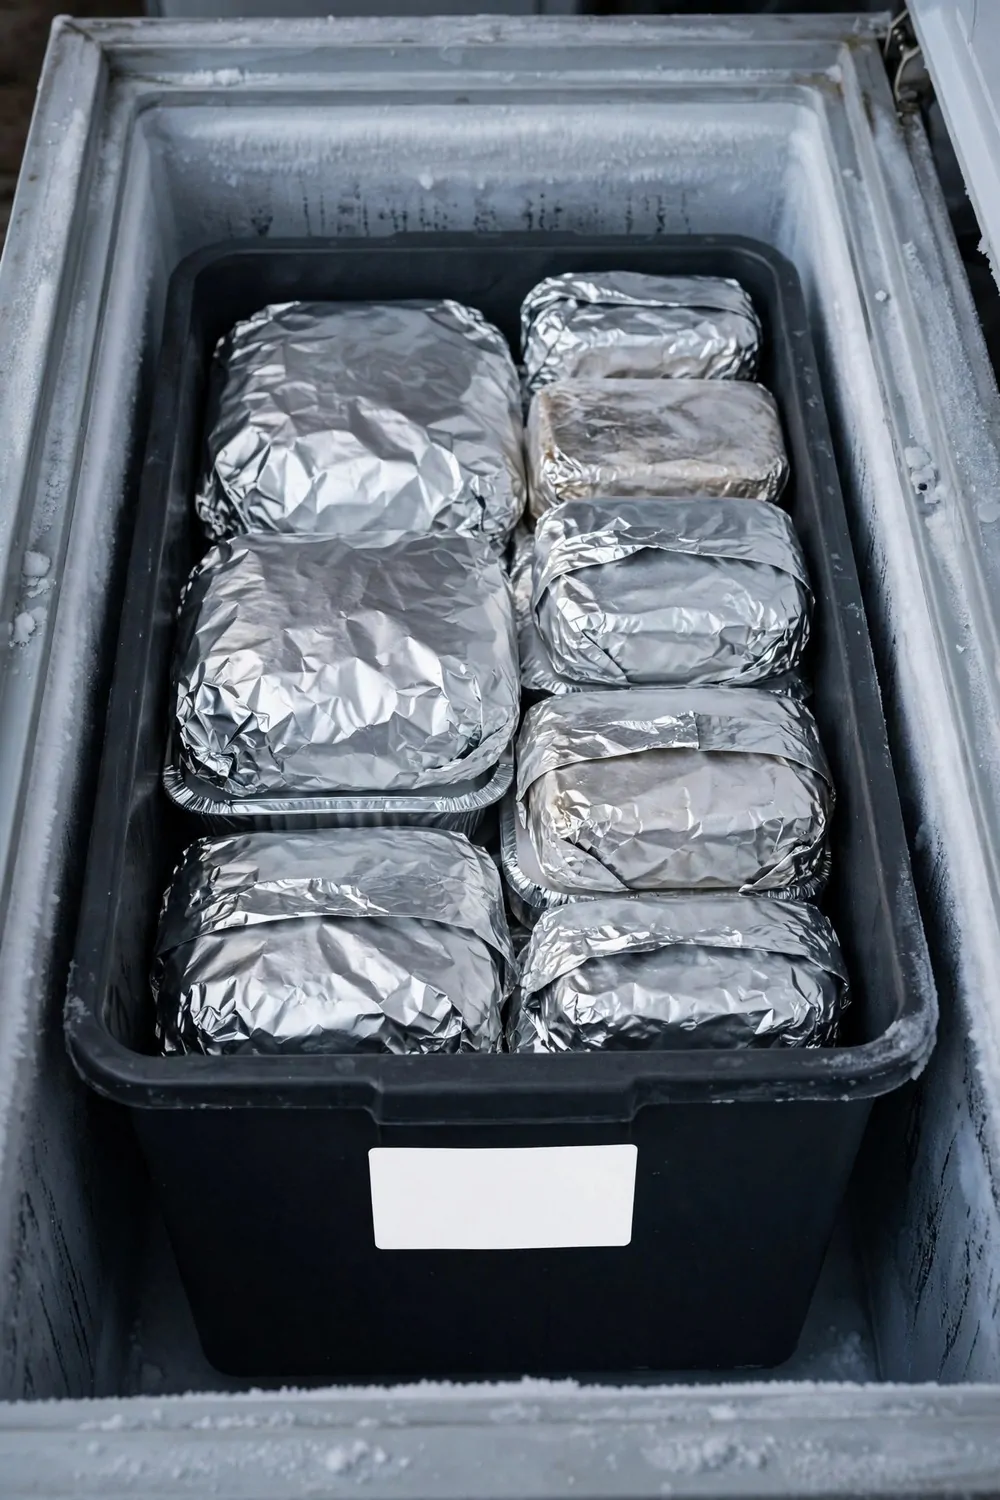
I keep one deep bin in my freezer just for big family meals.
It holds the large trays and the big bags of food. Everything for a family dinner sits in one place.
You can fit a whole tray of pasta in there. I also put in big bags of rice and veg. It is like a little home for dinner.
Typical cost is $10 to $25 for a deep bin that fits your freezer.
I like that I do not have to search three drawers for one meal. I open the bin and it is all there.
It makes cooking for a crowd feel less hard. I label the bin “family meals” so everyone knows what it is for. My kids do not put snacks in there now.
It stays just for dinners.
When I cook a big batch, I let it cool first. Then I pack it flat and slide it into the bin.
You might need to measure your freezer before you buy a bin. I measured mine with a tape and wrote the numbers down. It saved me a trip back to the shop.
21. Smoothie Packs Ready to Blend
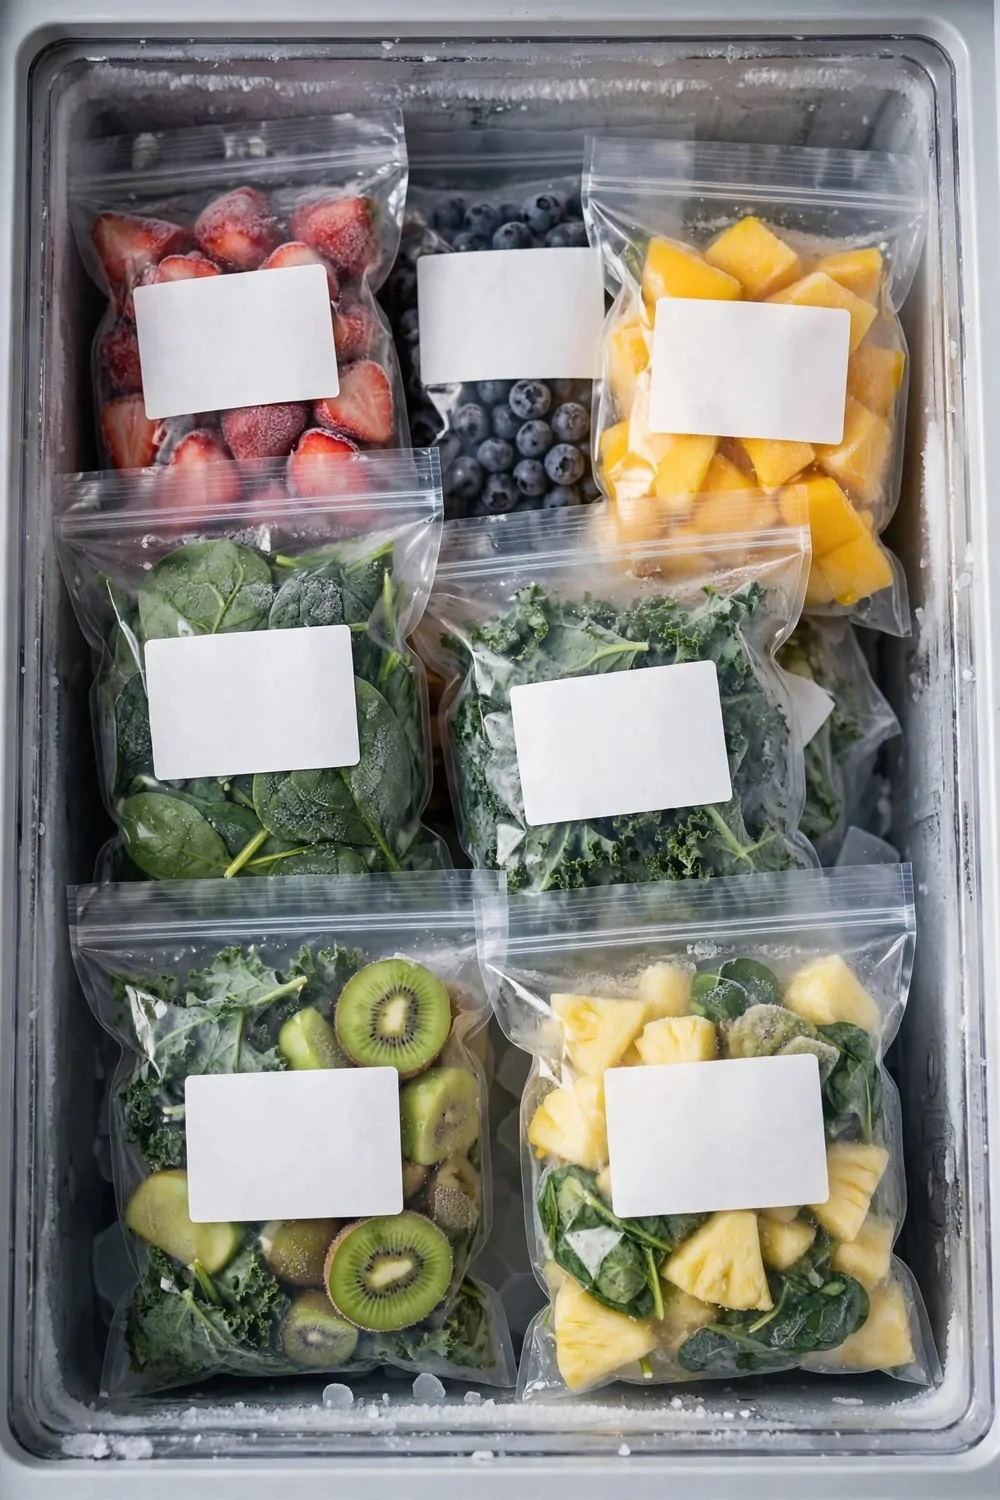
I make smoothie packs ahead of time and freeze them. Each pack has fruit and veg for one smoothie.
In the morning I just tip one into the blender.
You can use berries and banana and spinach. I wash it all, chop it up, and put it in a bag. I squeeze the air out and seal it flat.
Typical cost is $8 to $15 for a set of small freezer bags for the packs.
I love how fast breakfast feels now. I do not have to chop fruit when I am half asleep.
I just grab a pack and blend. I write what is in each pack on the bag. Like “berry banana” or “mango spinach”.
That way I can pick the one I fancy that day.
You can add oats to the pack too if you like. I add a spoon of oats to mine sometimes. It makes the smoothie feel more filling.
I make five packs on a Sunday and that covers my week. It takes me about twenty minutes.
22. A Top Shelf for Things You Use Daily
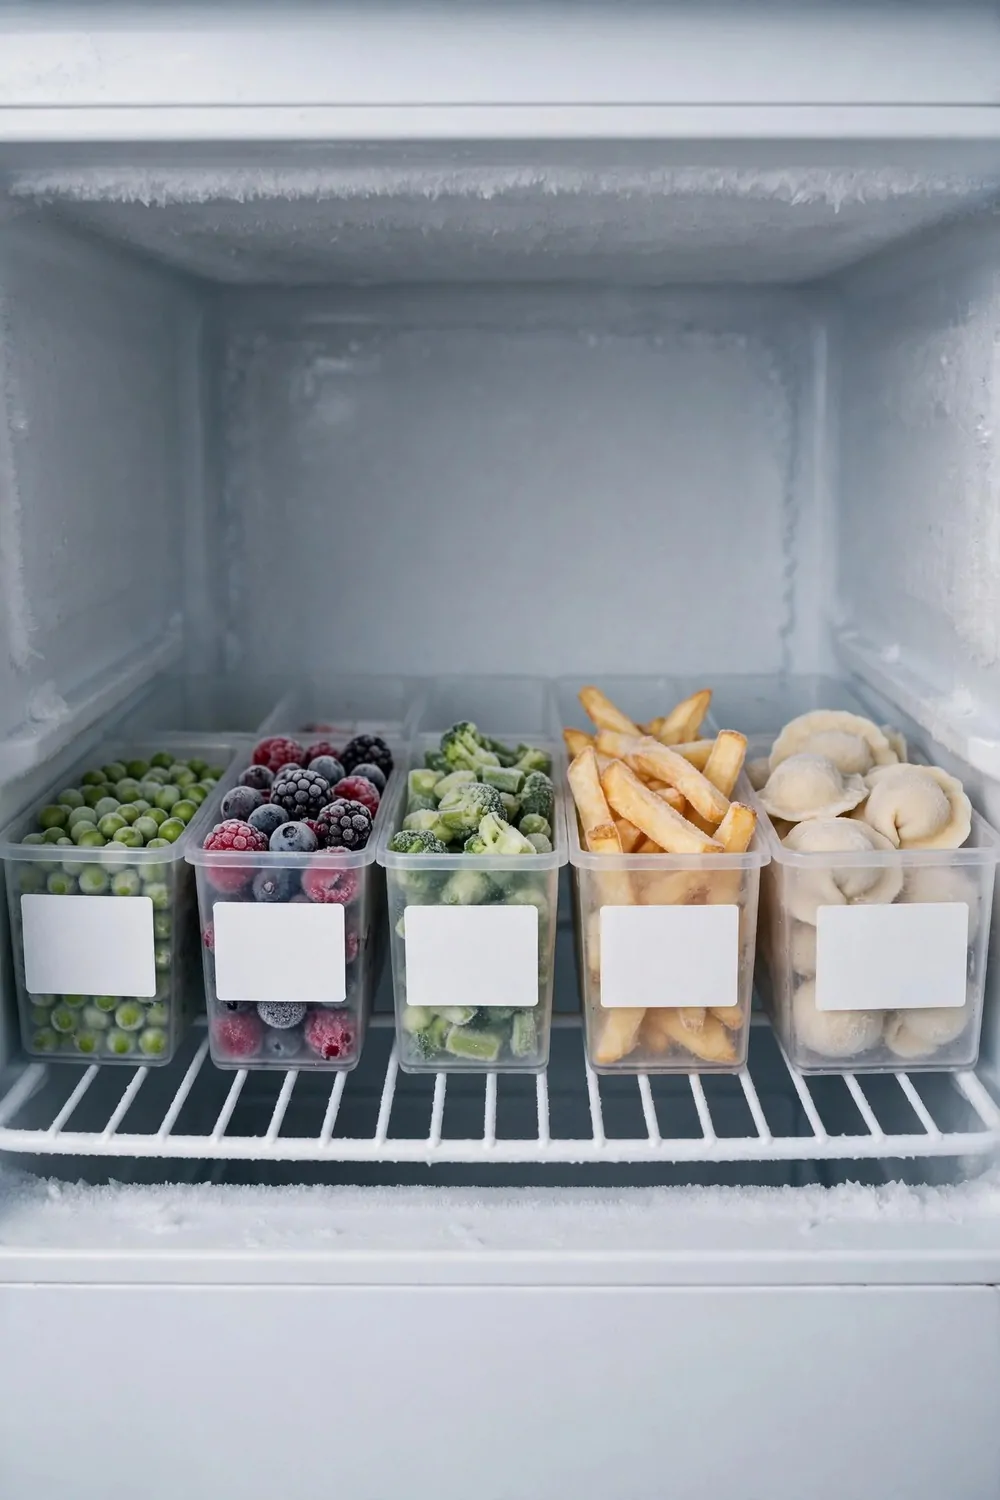
I keep the things I use every day on the top shelf of my freezer. My bread and my berries and my ice cubes live there.
I can reach them without bending down.
You use some foods almost daily, right. It makes sense to keep them at eye level. I got tired of digging to the bottom for my bread each morning.
Typical cost is $10 to $20 for a small shelf or a tray to keep the top neat.
Now I open the freezer and my daily stuff is right there. I grab it and close the door.
It takes seconds. I keep a small tray on that shelf for loose bits. My ice packs and small bags sit in the tray.
Nothing slides off when I open the door.
You can move things around till it feels right for you. I tried a few spots before I settled on the top.
I check the top shelf each night before bed. If the bread is low, I move a fresh loaf up from below. That way the morning run is smooth.
23. Silicone Bags Instead of Throwaway Ones
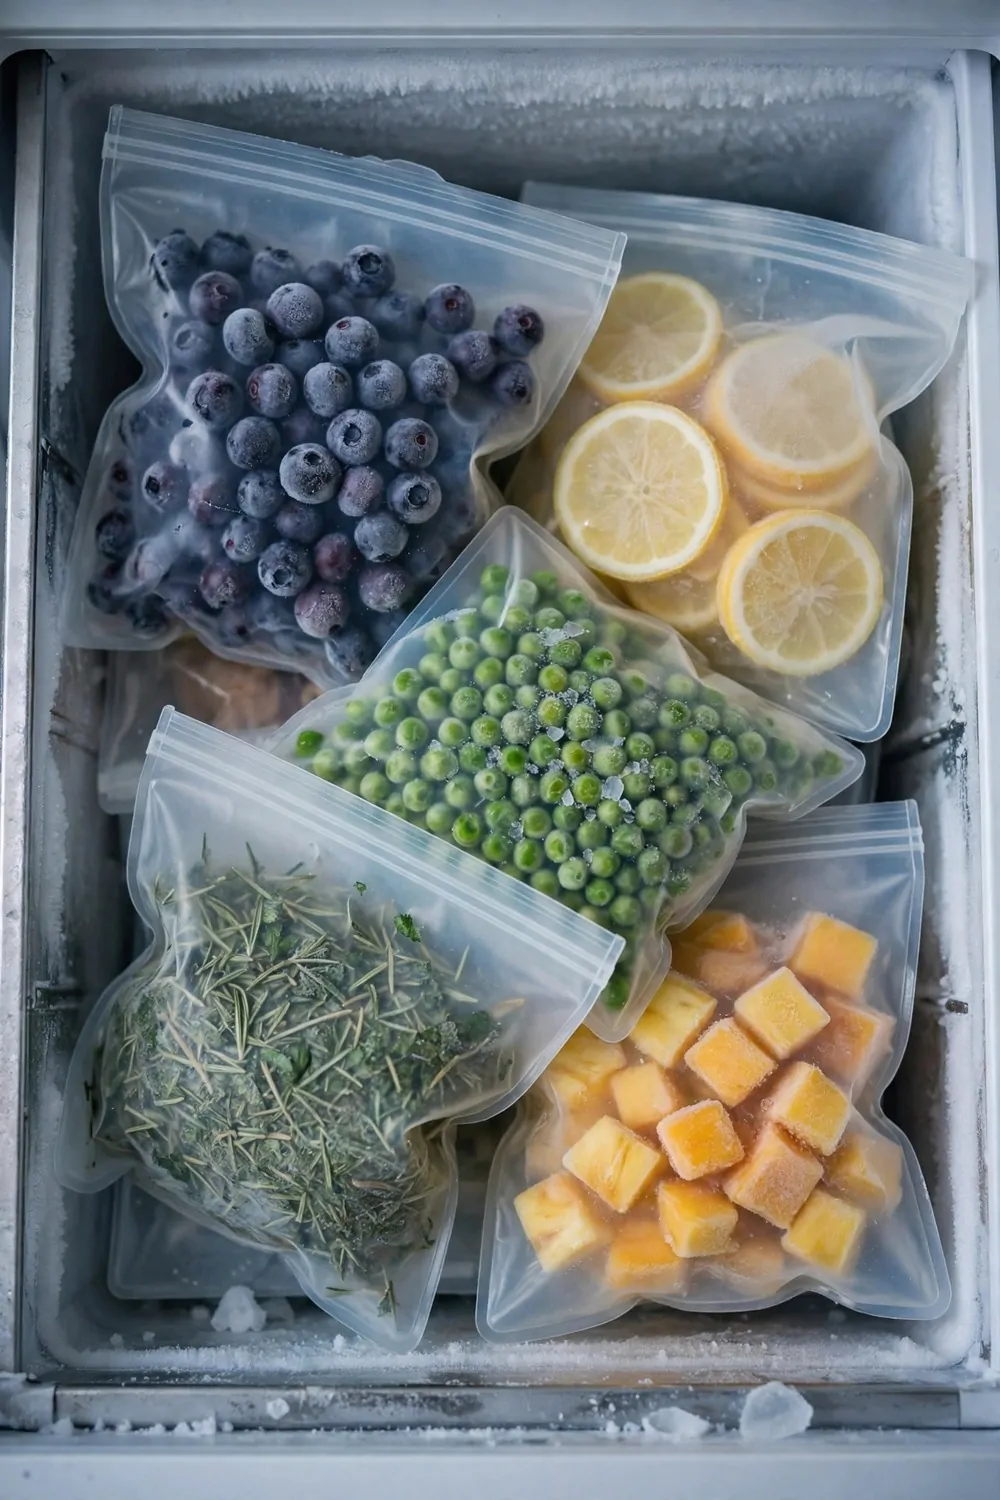
I switched to silicone bags in my freezer and I love them.
I wash them and use them again. I do not throw a bag away after one use now.
You can freeze soup and fruit and rice in them. They seal well and they lie flat. I stack them just like my old bags.
Typical cost is $10 to $25 for a set of silicone bags in mixed sizes.
I was worried they would be hard to clean. But I just turn them inside out and wash them with soap.
They dry fast on the rack. I keep a few small ones for snacks and a few big ones for meals. The small ones are great for berries.
The big ones hold a full pot of soup.
You need to let hot food cool before you fill a silicone bag. I let my soup sit on the side till it is warm, not hot.
Then I pour it in and seal it. I write on the bag with a marker made for silicone. It wipes off when I wash it.
24. A Freezer Clean-Out Day Each Month
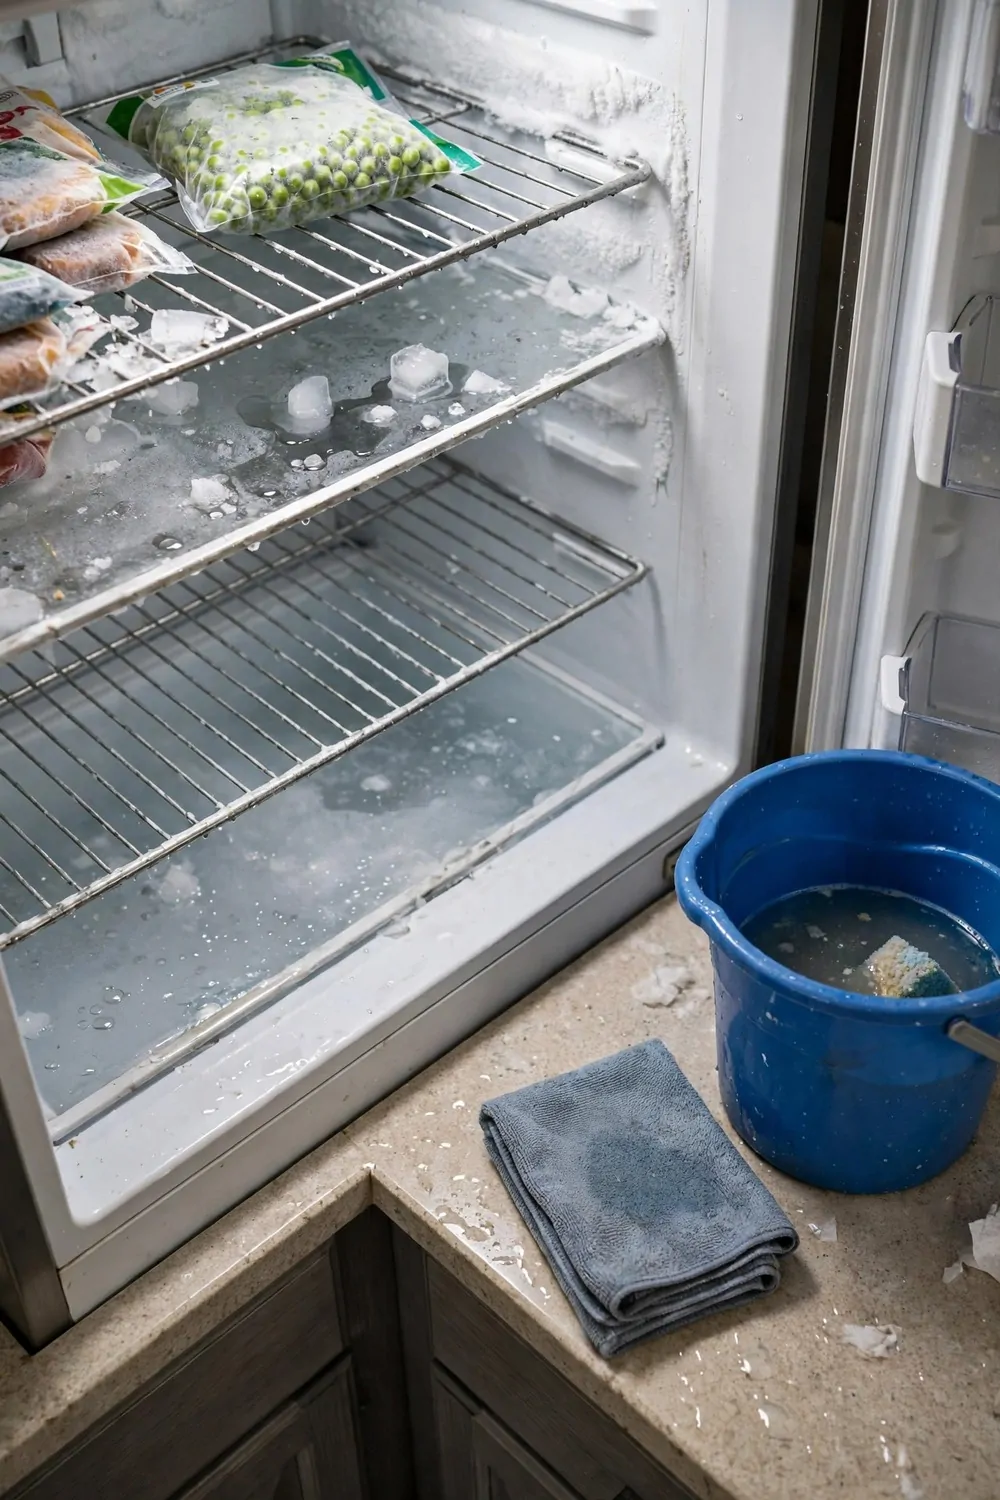
I pick one day each month to clean out my freezer. I put it on the calendar so I do not forget.
It takes me about half an hour.
You can start by taking everything out and putting it in a cool bag. Then you can see what you really have. I always find things I forgot about.
Typical cost is $5 to $10 for a cool bag and a pack of fresh labels for the clean-out.
I check each bag for a date. If it is very old or I cannot tell what it is, I let it go.
It feels good to clear that space. I wipe the shelves while the freezer is empty. I use warm water and a cloth.
It only takes a few minutes and it smells fresh after.
You can plan meals from what you find on clean-out day. I often find soup or chicken I can use that week. It stops me buying food I already have.
I put the food back in groups when I am done. Meals in one spot, fruit in another, bread on top.
25. Rice and Beans in Flat Packs
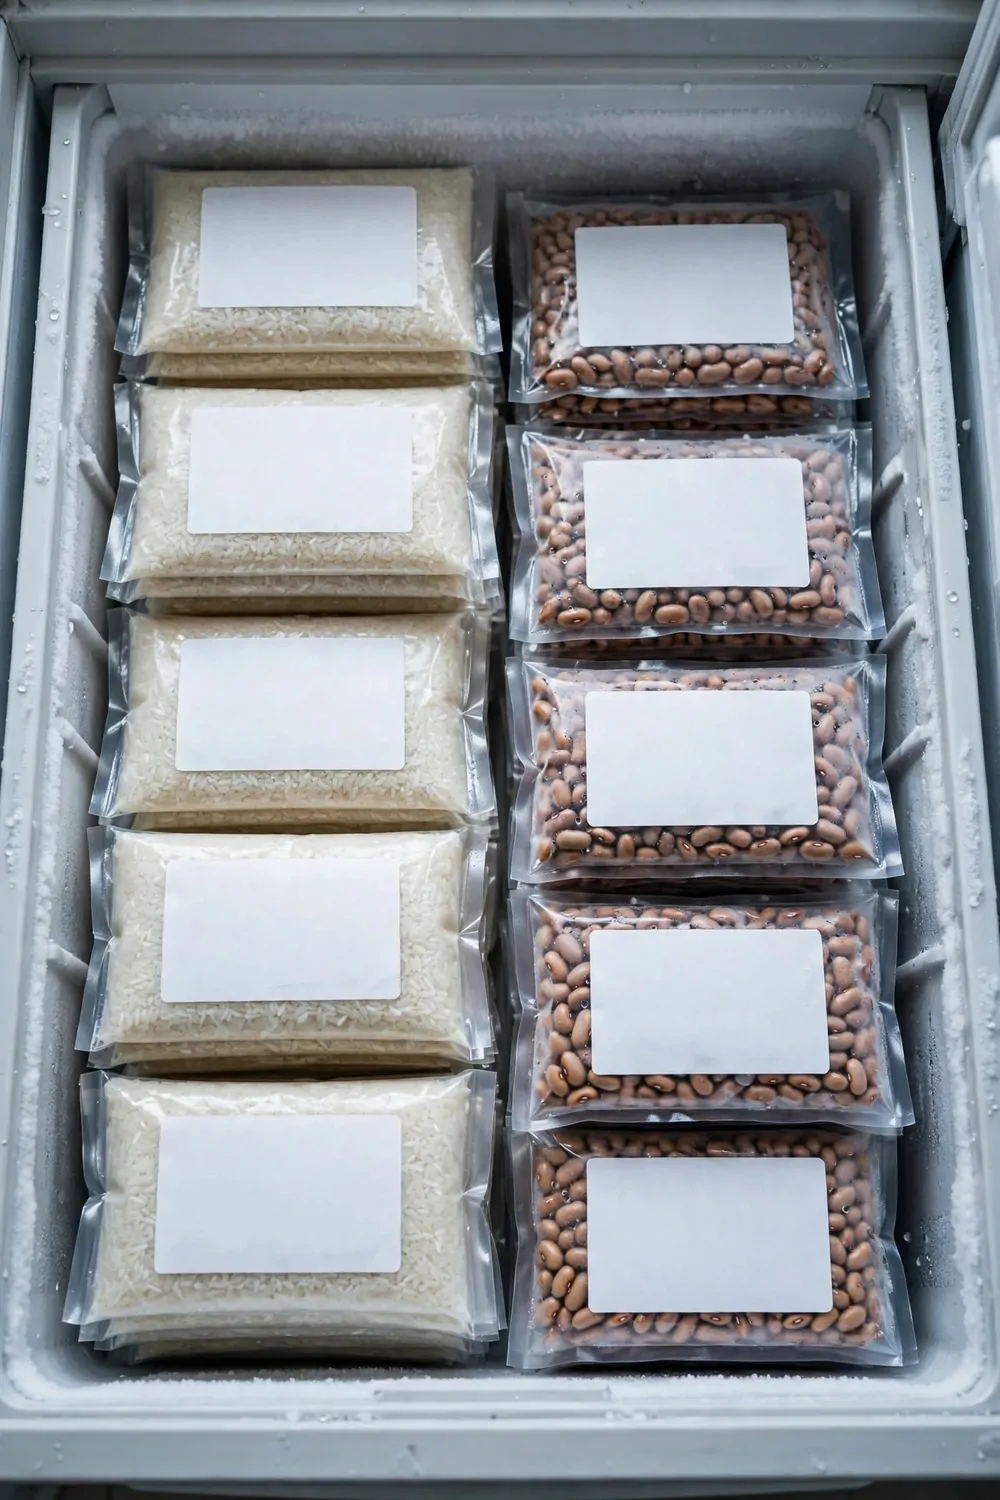
I freeze rice and beans in flat packs.
I cook a big pot, let it cool, and spoon it into bags. Then I press each bag flat before I seal it.
You can stack flat packs like books on a shelf. They take up so little room. I fit twice as much in my freezer now.
Typical cost is $8 to $15 for a roll of freezer bags for flat packs.
I love that flat packs thaw fast too. I run one under warm water for a minute and it is ready.
A thick tub would take much longer. I write “rice” or “beans” on each bag with the date. I also write how many cups are inside.
That helps me plan dinner without guessing.
You need to squeeze the air out before you seal the bag. I press from the bottom up, nice and slow.
It keeps the food fresh longer. I cook rice and beans on the weekend when I have time. I make a big batch and freeze half of it.
26. A Small Basket for Kids Snacks
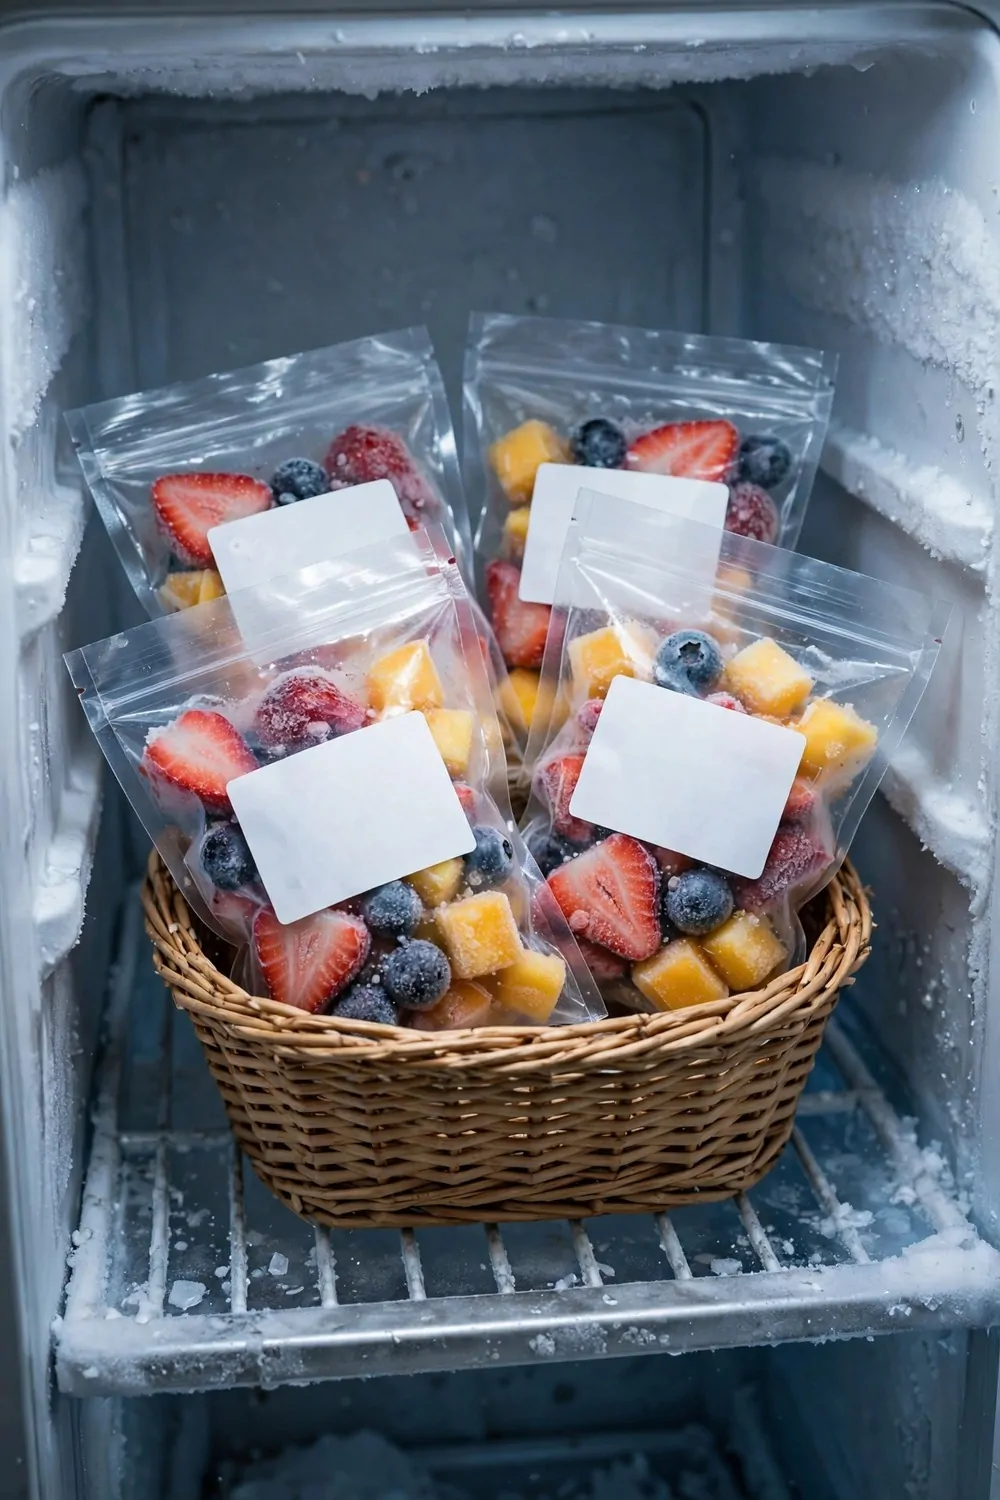
I keep a small basket in the freezer just for kids snacks. It holds frozen fruit and little yoghurt tubes.
My kids know that basket is theirs.
You can let your kids pick from the basket without making a mess. They open the freezer and the snacks are right there. They do not pull out bags of food by mistake.
Typical cost is $5 to $15 for a small basket that fits in the freezer.
I fill the basket once a week with things they like. Frozen berries and banana bites go in most weeks.
It takes me ten minutes. I label the basket with their names so it feels special. It says “snacks” in big letters.
My little one points to it every time she opens the door.
You can keep the basket on a shelf they can reach. I put ours on the middle shelf. It is low enough for them and high enough to stay neat.
I check the basket on Sunday night to see what is left. If it is empty, I fill it again for the week.
27. Leftovers Sorted by Meal Type
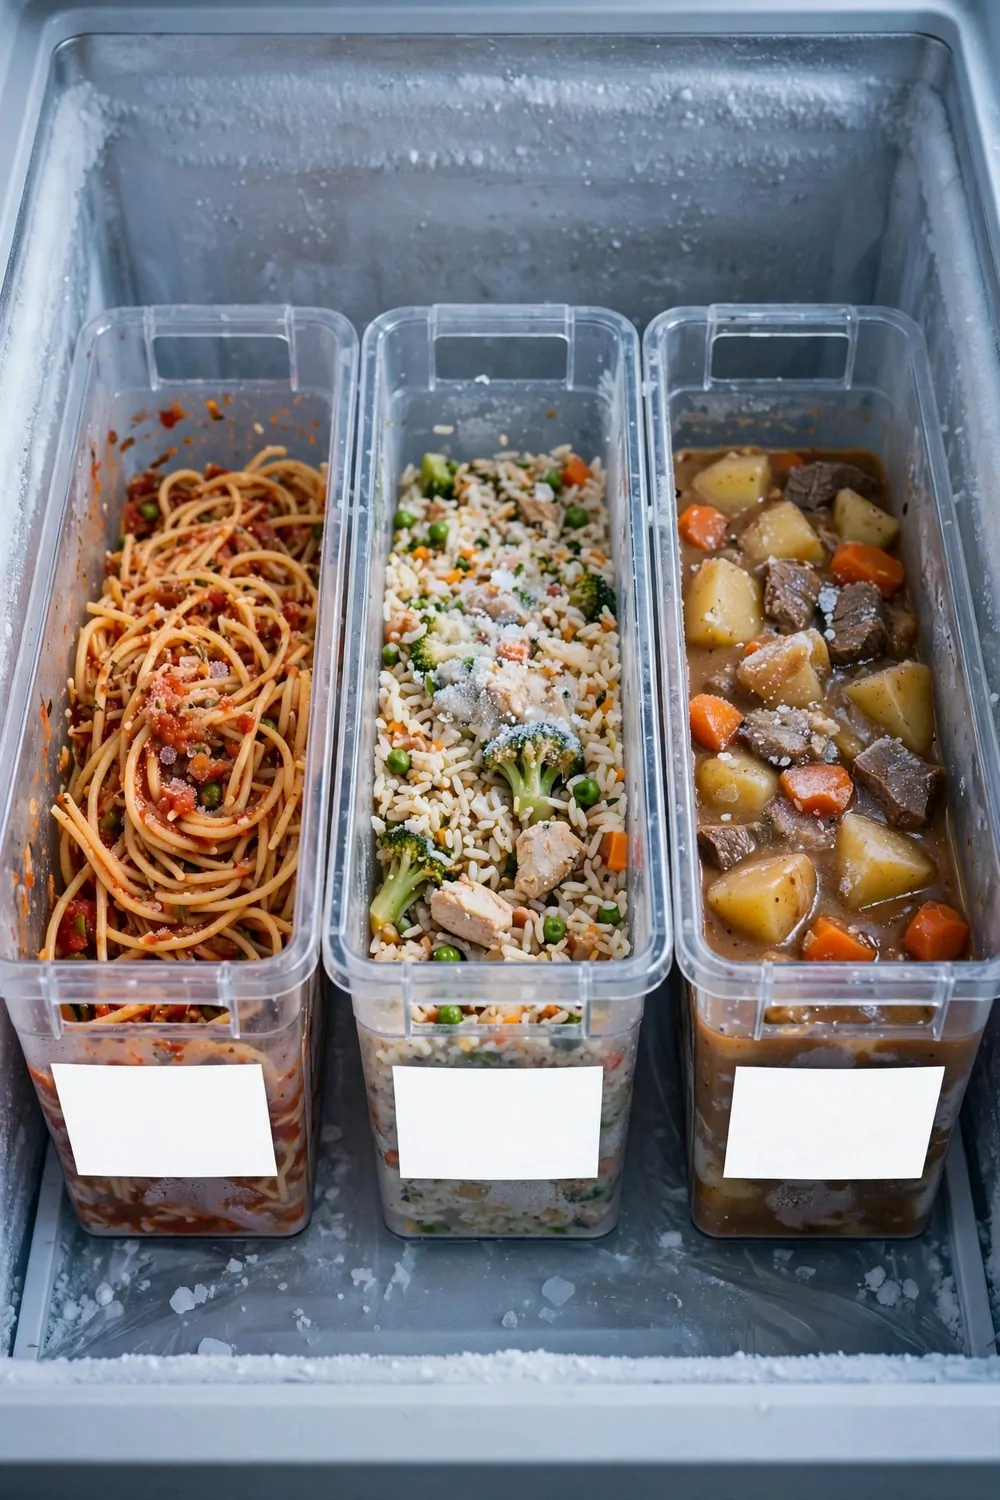
I sort my leftovers by meal type in the freezer. Soups go in one spot, rice dishes in another, and pasta in a third.
It sounds fussy but it works.
You can use small bins or just stack bags in groups. I use one bin for soup and one for rice. Pasta bags sit flat on top of the bins.
Typical cost is $10 to $20 for two small bins to sort the leftovers.
I used to put leftovers anywhere there was space. Then I could never find the soup when I wanted it.
Now I know just where to look. I label each bin with a word and a picture. Soup has a little bowl drawn on it.
Rice has a small spoon.
You can plan a whole week from your sorted leftovers. I look in the bins on Sunday and pick three meals from what I see.
It saves me cooking from scratch. I let leftovers cool fully before I freeze them. Hot food makes ice on the bag and it tastes funny later.
28. A Wire Rack for Extra Shelf Space
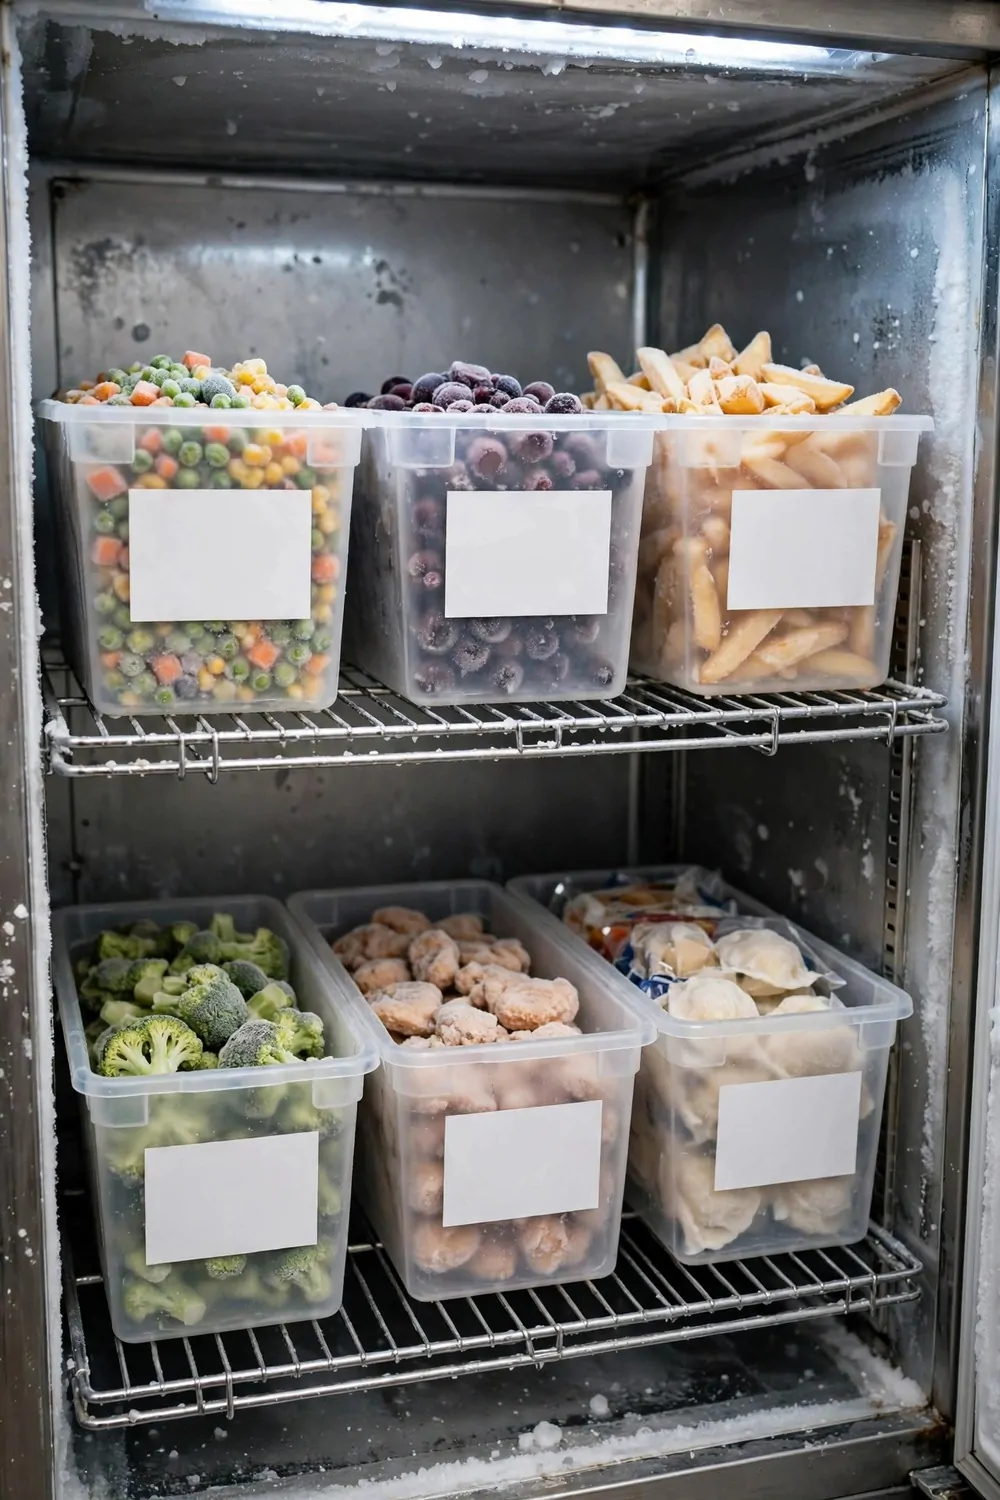
I added a wire rack inside my freezer to make an extra shelf.
It sits on top of the food and gives me a second layer. I can fit so much more in now.
You can put flat bags and small tubs on the rack. I keep my bread and my flat packs up there. The heavy stuff stays below.
Typical cost is $8 to $20 for a wire rack that fits inside a freezer.
I was worried the rack would wobble. But it sits firm once it is in place.
I gave it a little push and it did not move. I measure the inside of my freezer before I buy a rack. I wrote the width down on my phone.
It helped me pick one that fits just right.
You can slide the rack out when you need to reach the food below. I lift it out, grab what I need, and slide it back.
It takes a few seconds. My freezer feels twice as big now with that extra layer. I can see more of what I have.
29. A One-Weekend Freezer Reset Plan
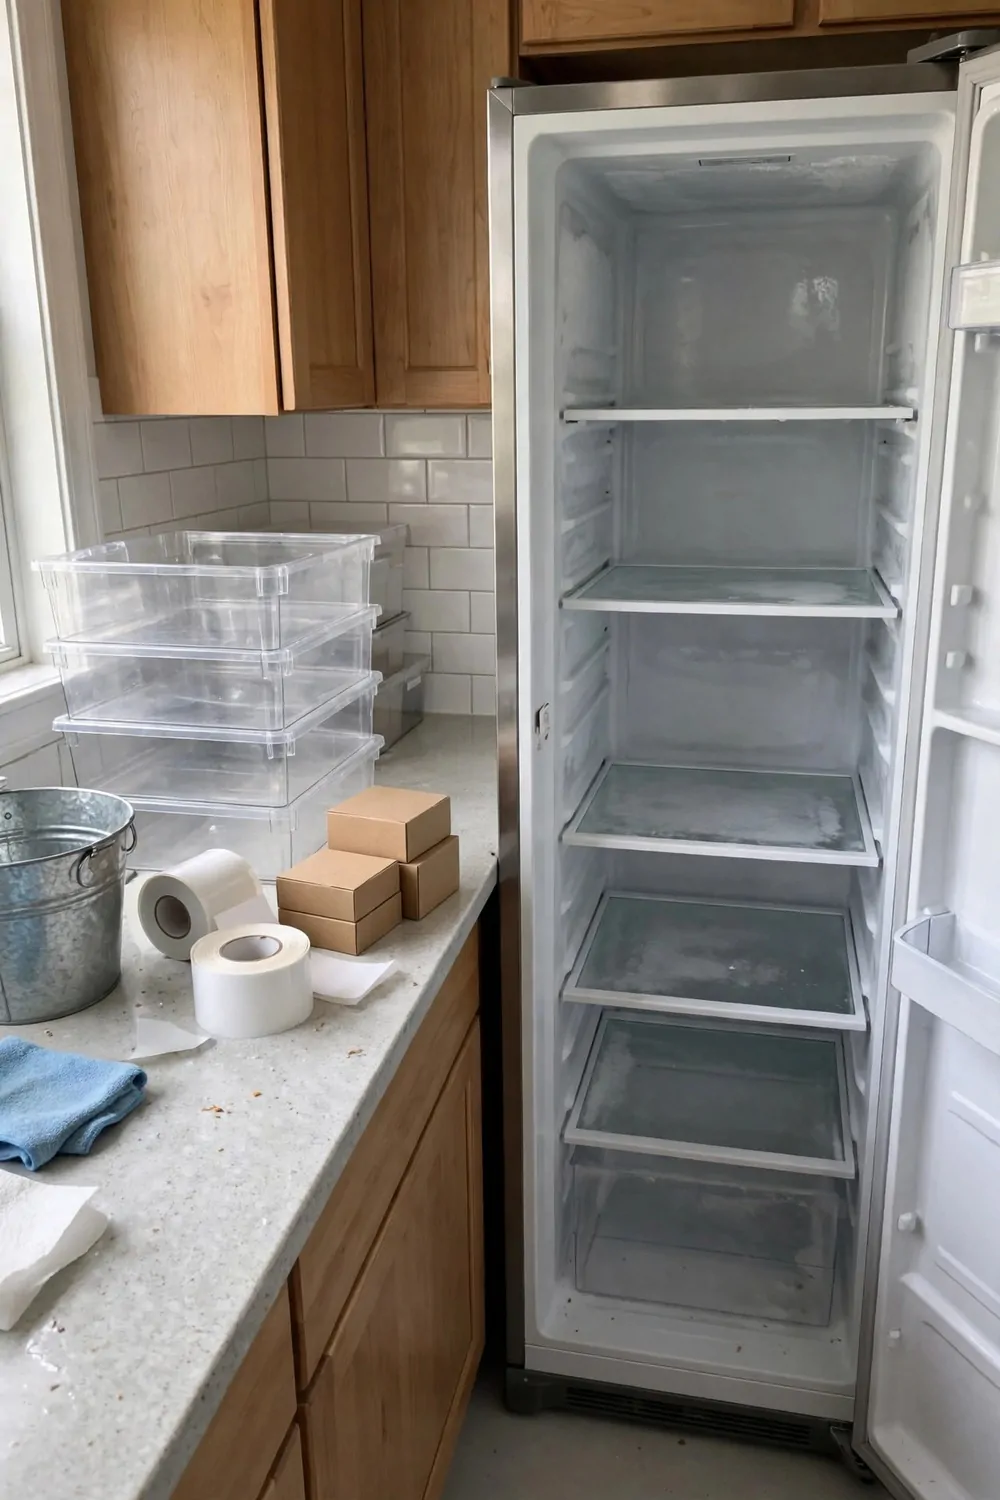
I do a full freezer reset over one weekend when things get messy. I start on Saturday morning with a clear plan.
By Sunday night the freezer feels new again.
You can do this reset in small steps so it does not feel too big. I take out one shelf at a time and sort what I find. Then I wipe it clean before I put food back.
Bins cost about $15 to $25 for the set I use to sort the food into groups.
Bags cost about $10 to $20 for the flat freezer bags I use for the reset.
Labels cost about $8 to $15 for the pack I use to date every bag and bin.
A shelf costs about $12 to $25 for the extra shelf I add to make room for daily foods.
Clips cost about $10 to $15 for the set I keep on the door to seal every bag shut.
Put the five together and the whole weekend lands close to $55 to $100.
| Area | Main change | Typical cost |
|---|---|---|
| Bins | Bins to sort food into groups | $15 to $25 |
| Bags | Flat freezer bags for the reset | $10 to $20 |
| Labels | Labels to date every bag and bin | $8 to $15 |
| Shelf | An extra shelf for daily foods | $12 to $25 |
| Clips | Clips on the door to seal bags | $10 to $15 |
| Total | Whole freezer reset in one weekend | $55 to $100 |
Keep Reading
If you liked these ideas, you will love these posts too.
- 26 Outdoor Furniture Storage Ideas That Protect Your Pieces
- 20 Outdoor Wall Decor Ideas for Patios and Porches
- 29 Backyard Decor Ideas on a Budget
- 22 Front Door Decor Ideas That Make a Great First Impression
- 31 Outdoor Storage Ideas for Small Yards and Patios
- 24 Deck Decor Ideas That Make Outdoor Evenings Better
Look in your freezer tonight and pick the oldest bag to use for dinner. One bag used up is one less bag lost, and your freezer will feel lighter by the weekend.