21 Pantry Label Ideas That Make Shelves Look Beautiful

I opened my pantry last Tuesday and stared at three jars of white powder. One was flour. One was sugar. One was salt. I had no idea which was which.
Labels changed how my pantry feels. I can find things in seconds now, and cooking feels less rushed.
I used to open five jars before I found the right one.
That wasted time. It made a mess too. Now each jar tells me what it holds, right on the front.
You do not need a big budget or a whole weekend to do this. A few labels and a pen are enough to start.
Some ideas here are plain and quick, and some are a bit more pretty.
You will find every one of the 21 ideas right here in this post, so read them all and pick the ones that fit your shelves. Some are quick. Some take a little more time.
1. Matching Glass Jars with Blank Labels
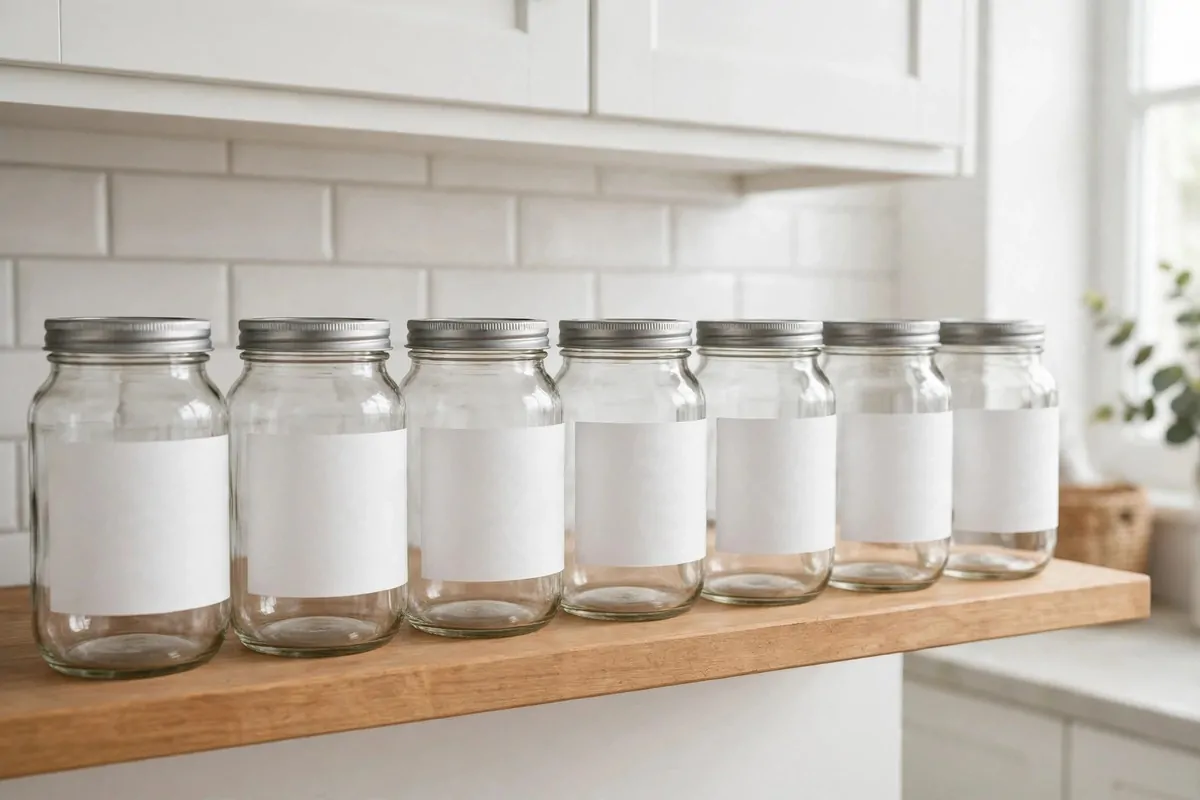
I love how glass jars look on a shelf. They show what is inside, and they make the pantry feel neat.
The trouble is that many dry foods look the same once they are in a jar.
Rice and sugar can fool you. Flour and pancake mix can fool you too. A blank label fixes that in a second.
I write the name in big clear letters. I add the date too, so I know what is fresh.
Blank labels let you change your mind later.
If you move oats into a new jar, you just peel the old label off and write a new one. It takes less than a minute. It saves a lot of guessing later.
Typical cost is $8 to $25 for a set of jars and labels, and you can start with just a few jars if you like.
Keep the writing short and plain.
One word is often enough. Your shelf will look calm, and you will find things fast.
2. Chalkboard-Style Labels You Can Wipe Clean

I like chalkboard labels because I can change them when I want.
You write with a chalk pen, and you wipe it off with a damp cloth when the jar gets a new food inside.
The dark label stands out on a light shelf. It is easy to read from a step back. It also looks a bit crafted, which I like.
I keep one chalk pen in a small cup near the pantry. That way I never have to hunt for it.
Write big, and leave a little space around the word.
If your hand shakes a bit, that is fine. A small wobble makes it look real, not printed.
Typical cost is $5 to $18 for a pack of labels and one chalk pen.
Try one label first before you do the whole shelf.
If you like how it looks, keep going. If you do not, you can wipe it clean and try a plain label instead.
3. Kraft Paper Tags Tied with Twine
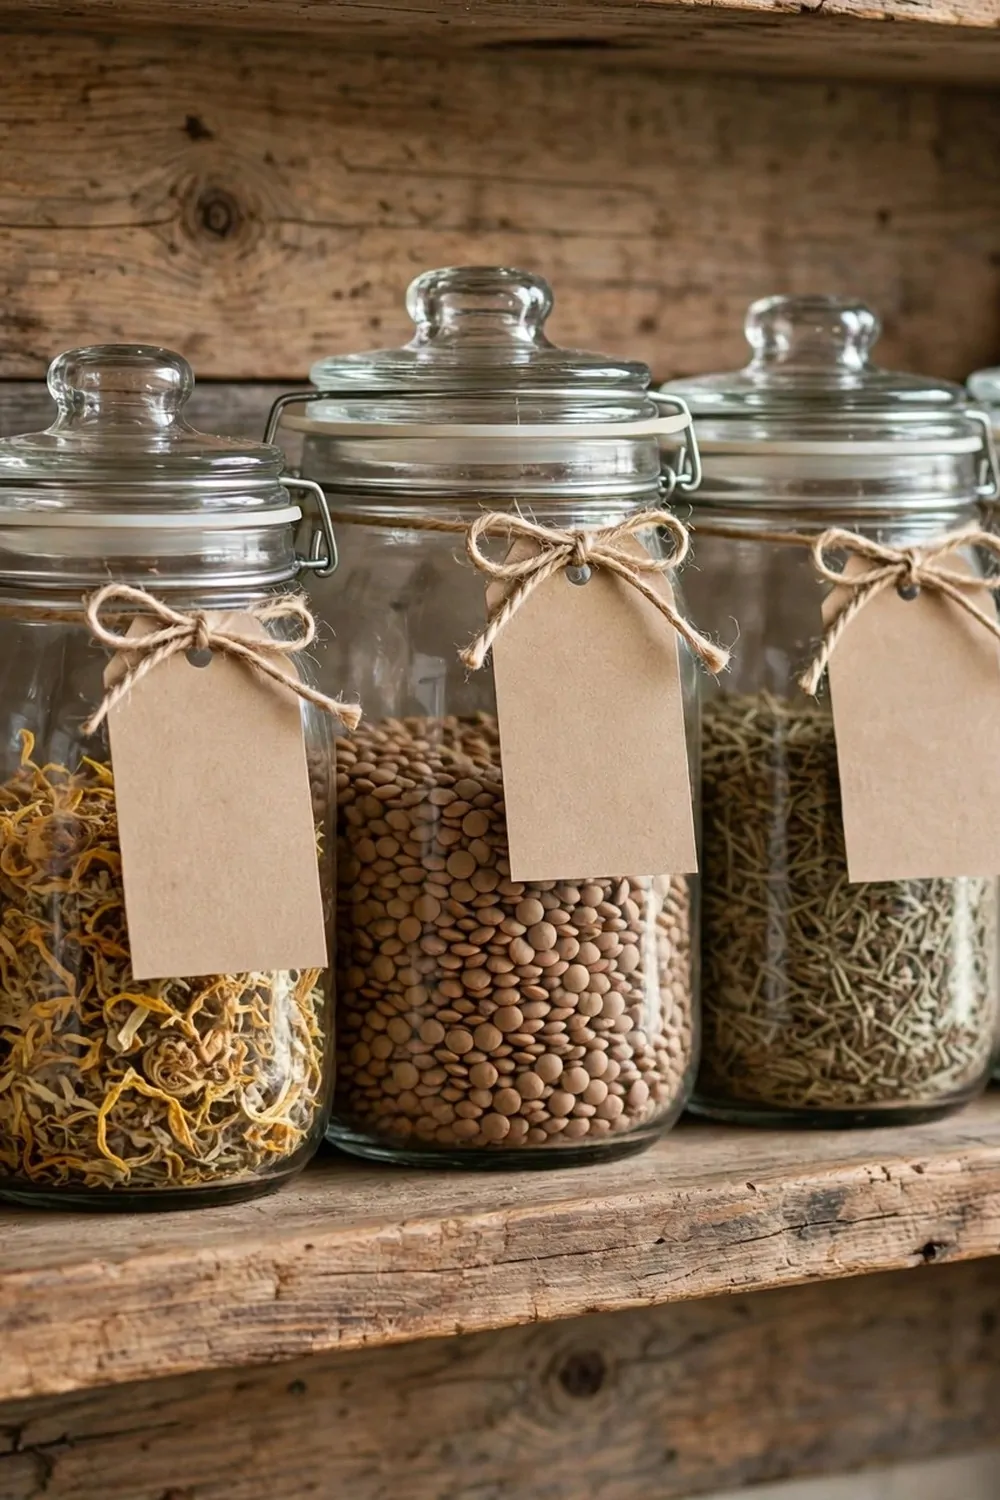
Kraft paper tags feel warm and simple. They suit a pantry that is not too fancy.
I tie each tag with a short piece of twine. A small bow is enough, and it holds well.
The paper is light, so it hangs nicely on a jar neck or a basket handle. It does not slide around much. It is easy to take off when you need to wash a jar.
Write the food name on the front. You can write the date on the back if you want.
Small tags cost $5 to $12.
Medium tags cost $10 to $20, and they give you more room to write.
Large tags cost $15 to $30, and they work best on big baskets and tall jars.
Pick one size for most of your shelf, so it looks tidy.
A mix of sizes can work too, but keep the twine the same colour for all of them so it still looks like one set.
| Tag size | Typical cost | Best for |
|---|---|---|
| Small tag | $5 to $12 | A few small jars to start with |
| Medium tag | $10 to $20 | A full shelf of daily jars |
| Large tag | $15 to $30 | Big baskets and tall jars |
4. Small White Labels on Clear Bins
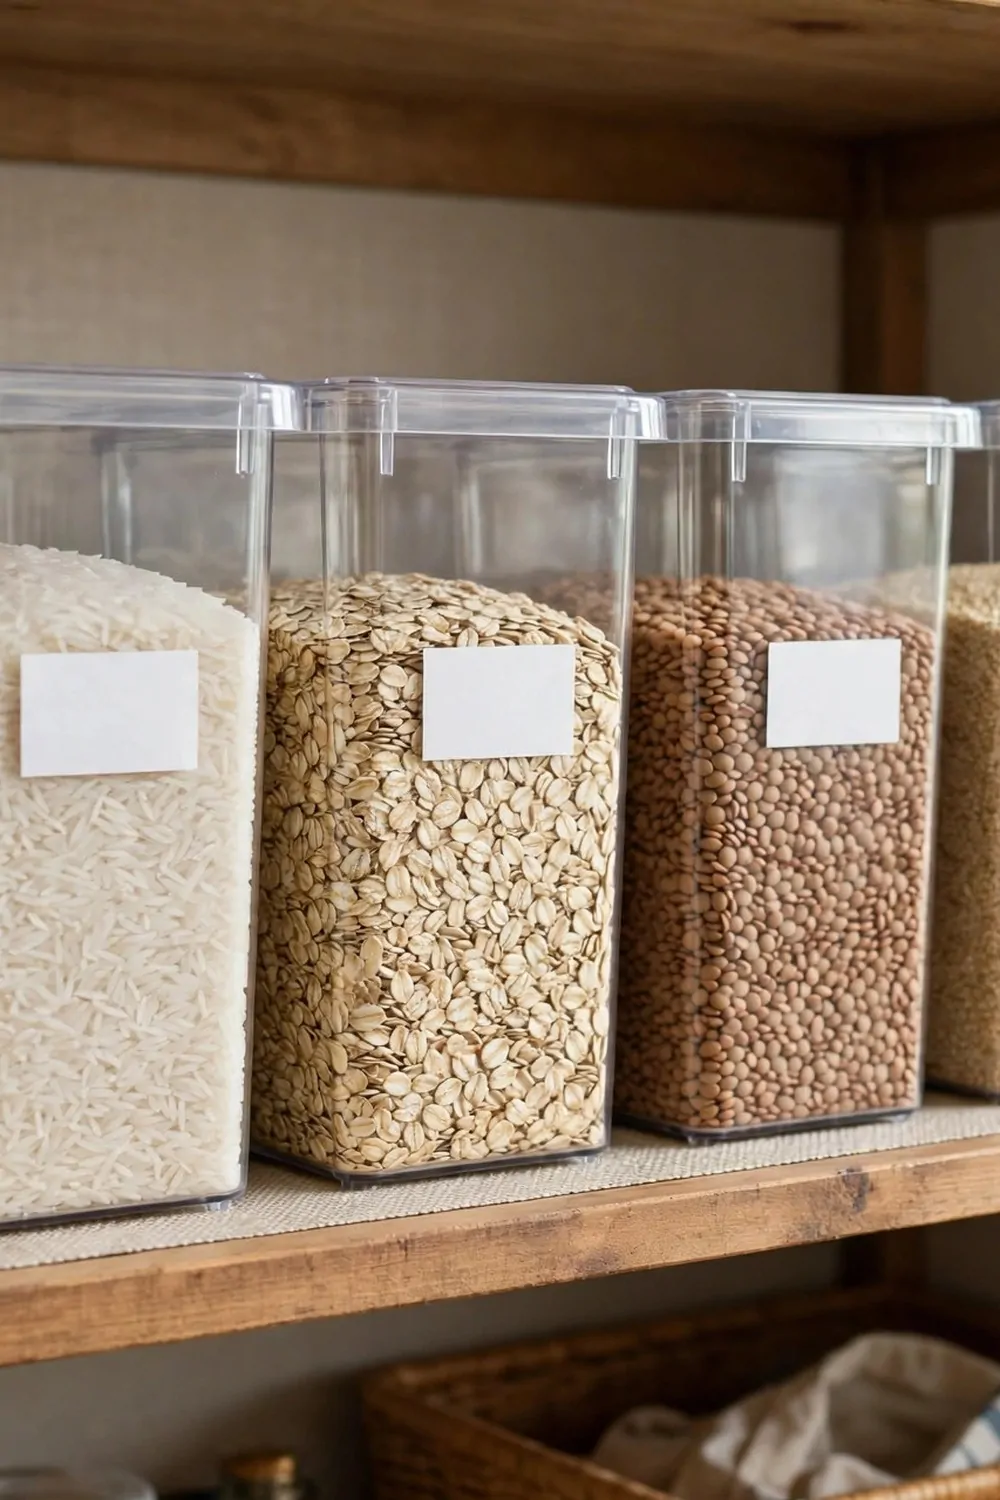
Clear bins are great for snacks and small packs. You can see what is inside without opening the lid.
A small white label on the front tells you the name in one quick look.
I put the label low on the bin, near the bottom edge. That way my hand does not cover it when I pull the bin out. It stays easy to read.
Keep the words short. One or two words is best.
White labels work on any shelf colour. They stand out, but they do not shout.
I use the same size label on every bin. That one small choice makes the whole shelf look planned.
Typical cost is $4 to $15 for a pack of labels and a pen.
If a bin changes use, peel the label off and add a new one.
It takes seconds, and your shelf stays neat. You will not have to open five bins to find the crackers.
5. Wooden Clip Labels on Baskets
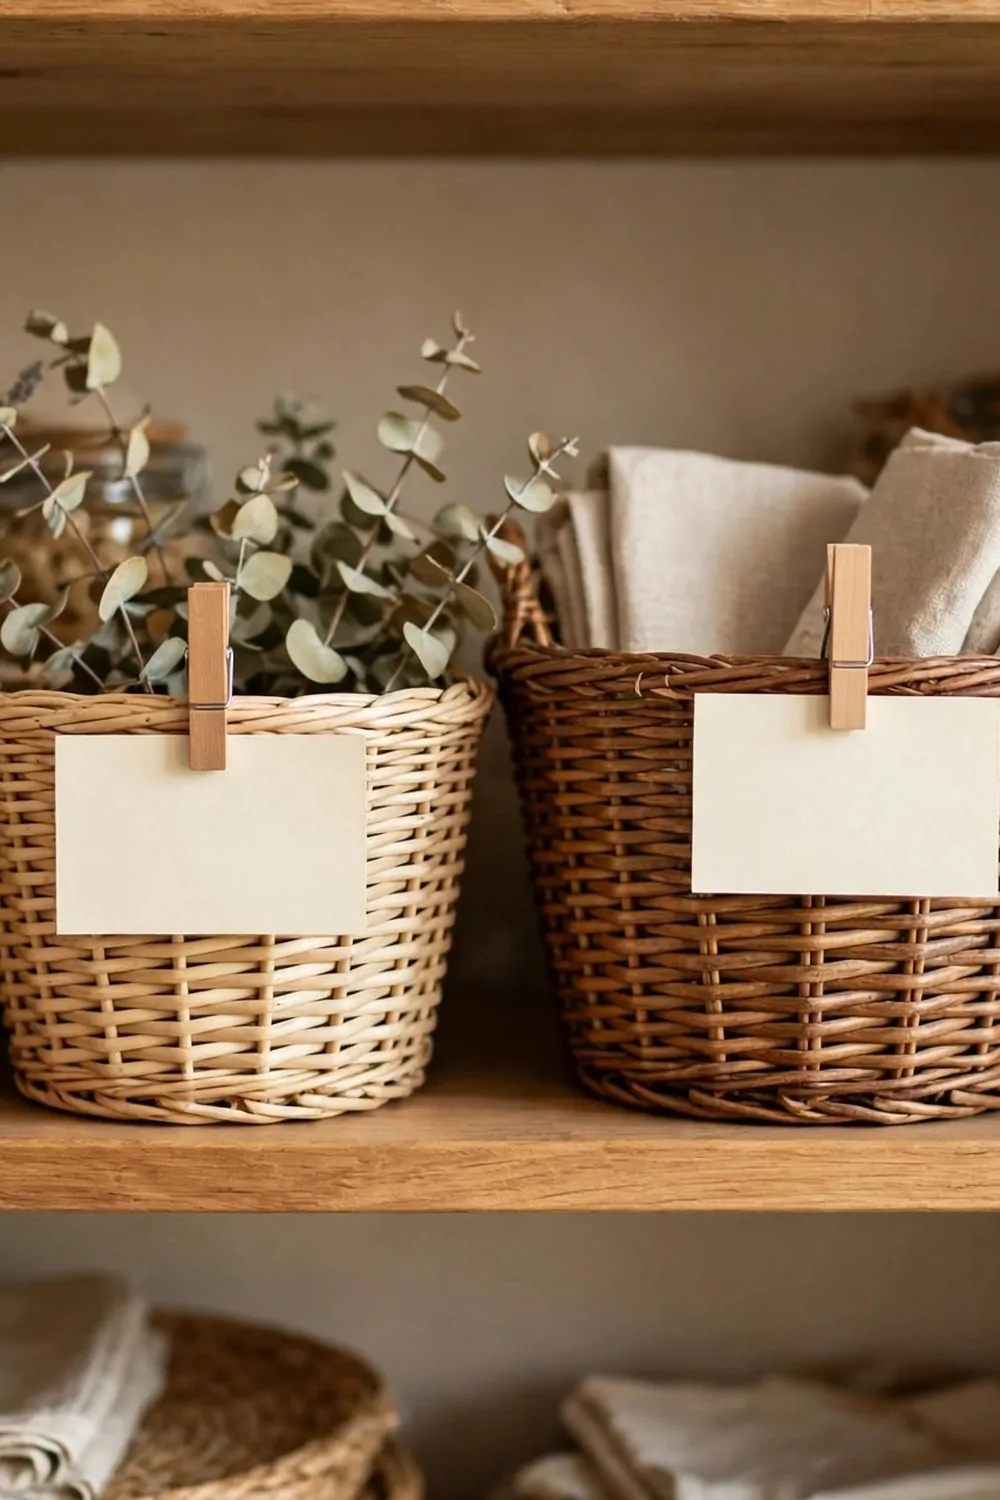
Baskets can look messy fast. A wooden clip label gives each basket a clear name.
You clip it on the front edge, and it stays put.
I like wood because it feels soft next to the basket weave. It adds a warm touch without much work. It also suits a shelf with jars and boxes.
Write the name with a dark pen so it reads well.
One basket can hold bread, and the next can hold snacks.
The clip makes it clear which is which, even for kids who are still learning to read the shelf.
Typical cost is $6 to $22 for a set of clips and a pen.
Check that the clip fits your basket edge before you buy a big set.
A clip that is too loose will fall off. A snug one will stay on for months.
6. Round Labels on Round Lids

Round lids call for round labels. The shapes match, and it just looks right.
I put the label right in the middle of the lid.
You see the name when you look down at the jar from above. That helps a lot on a high shelf. You do not need to pull the jar down to check it.
Keep the letters big enough to read from a short distance.
A round label also hides a small scratch on an old lid, which is a nice bonus.
I use the same round size on all my lids, so the shelf looks even.
Typical cost is $3 to $12 for a pack of round labels.
If you stack jars, the lid label still shows.
That is handy in a small pantry. You can find what you need without moving a whole row.
7. Big Bold Labels for the Top Shelf
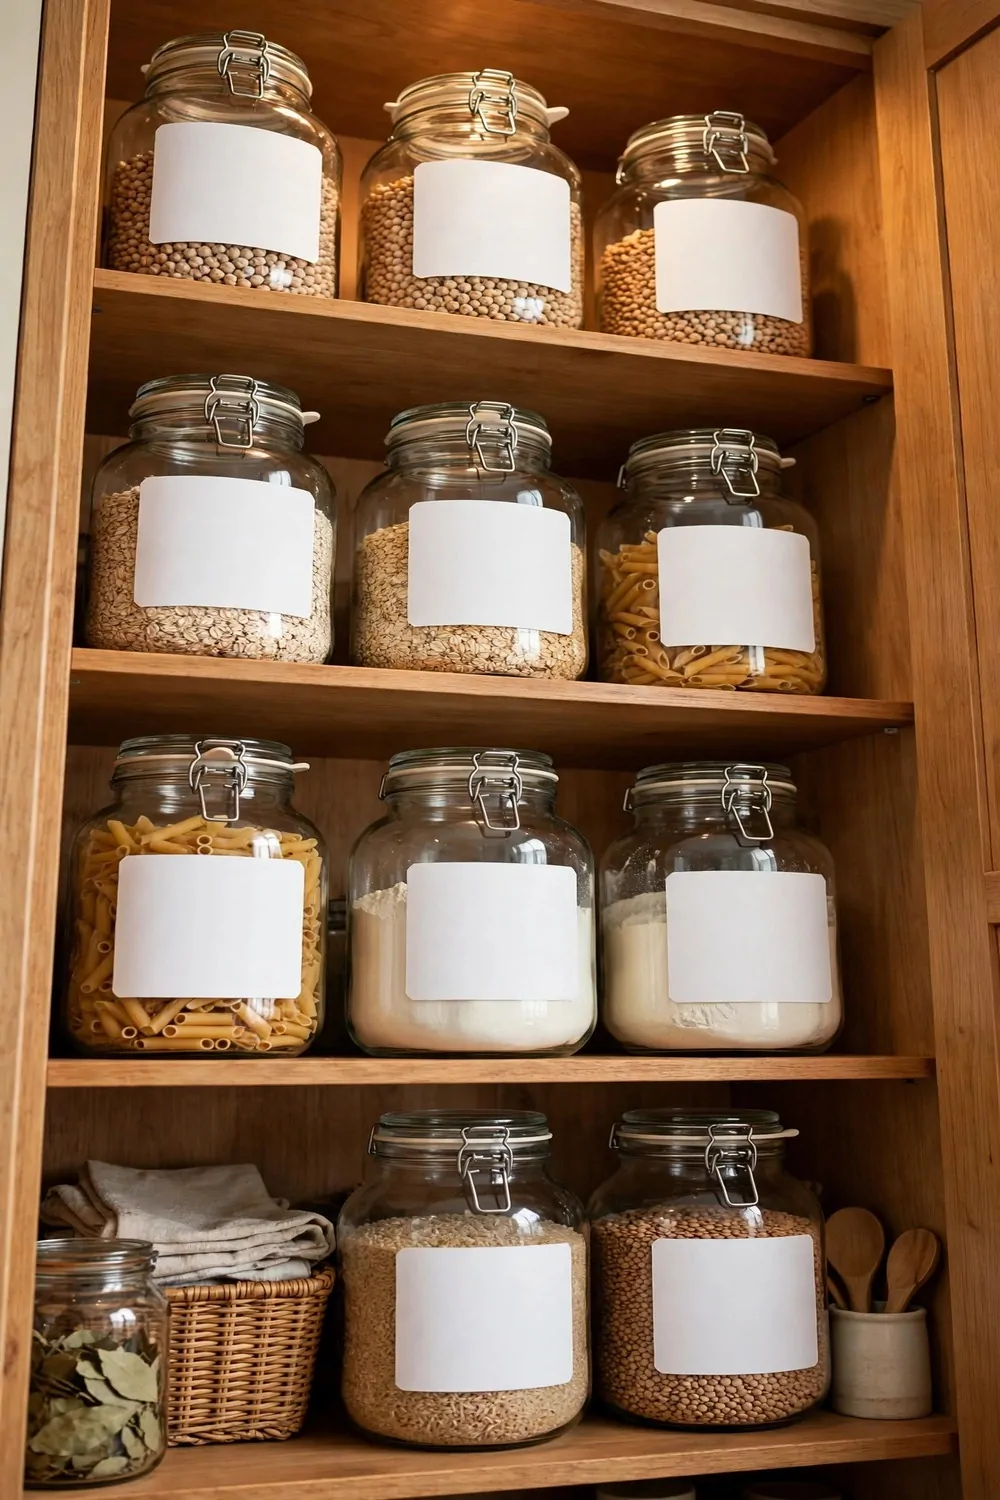
The top shelf is hard to reach, and hard to read. Big bold labels fix that.
I write the name in thick letters, and I leave lots of space around it.
You can read it from the floor without a step stool. That saves time. It also saves you from pulling down the wrong box.
Use a dark pen on a light label. The contrast matters more up high.
Put the label on the front of the box or jar, not on the top.
The front is what you see when you look up, so that is where the words should be.
Typical cost is $5 to $20 for large labels and a thick pen.
Do not crowd the top shelf with too many words.
One clear name per box is enough. Your top shelf will feel calm instead of busy.
8. Labels in One Colour for a Calm Look
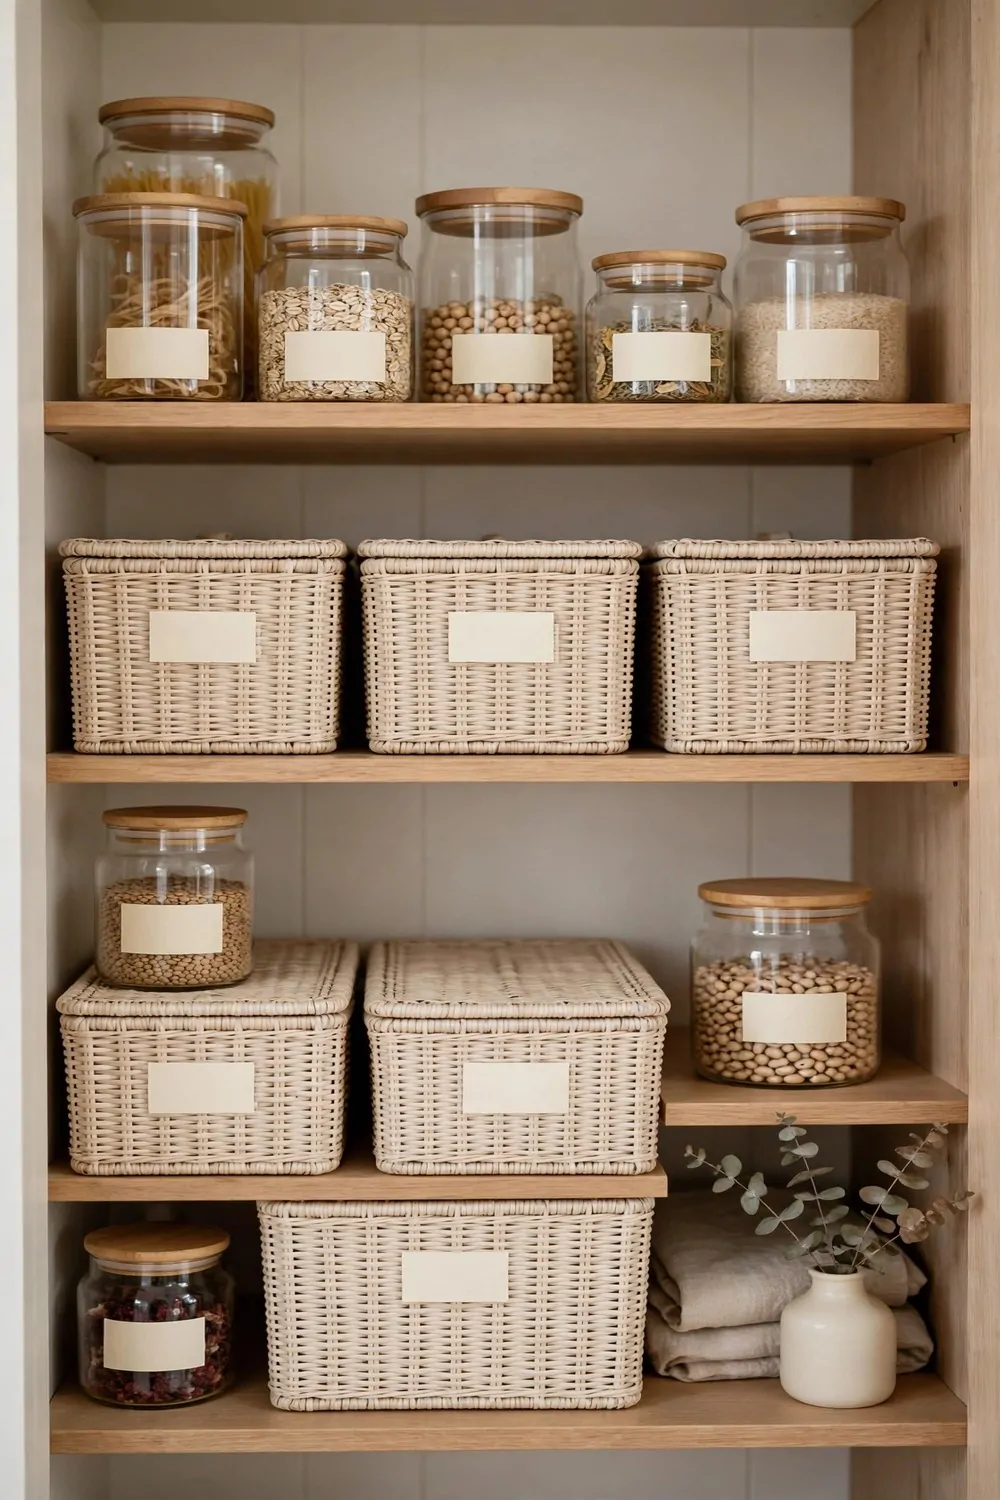
One colour for all your labels can make a busy pantry feel calm. I picked a soft green for mine.
You do not need a bright colour to make it work.
A pale blue, a warm tan, or a soft grey can do the same job. Pick the one you like to look at. You will see it every day.
When every label shares a colour, your eye rests. The food names still stand out.
I keep the writing in the same dark ink on each label. That keeps the look steady.
If you want a little change, use the same colour in a darker shade for the top shelf.
Typical cost is $4 to $16 for labels in one colour and a pen.
Start with one shelf to see if you like it.
If it feels too plain, add a small shape or a line under the word. It will still look calm and neat.
9. Labels on the Shelf Edge, Not the Jar
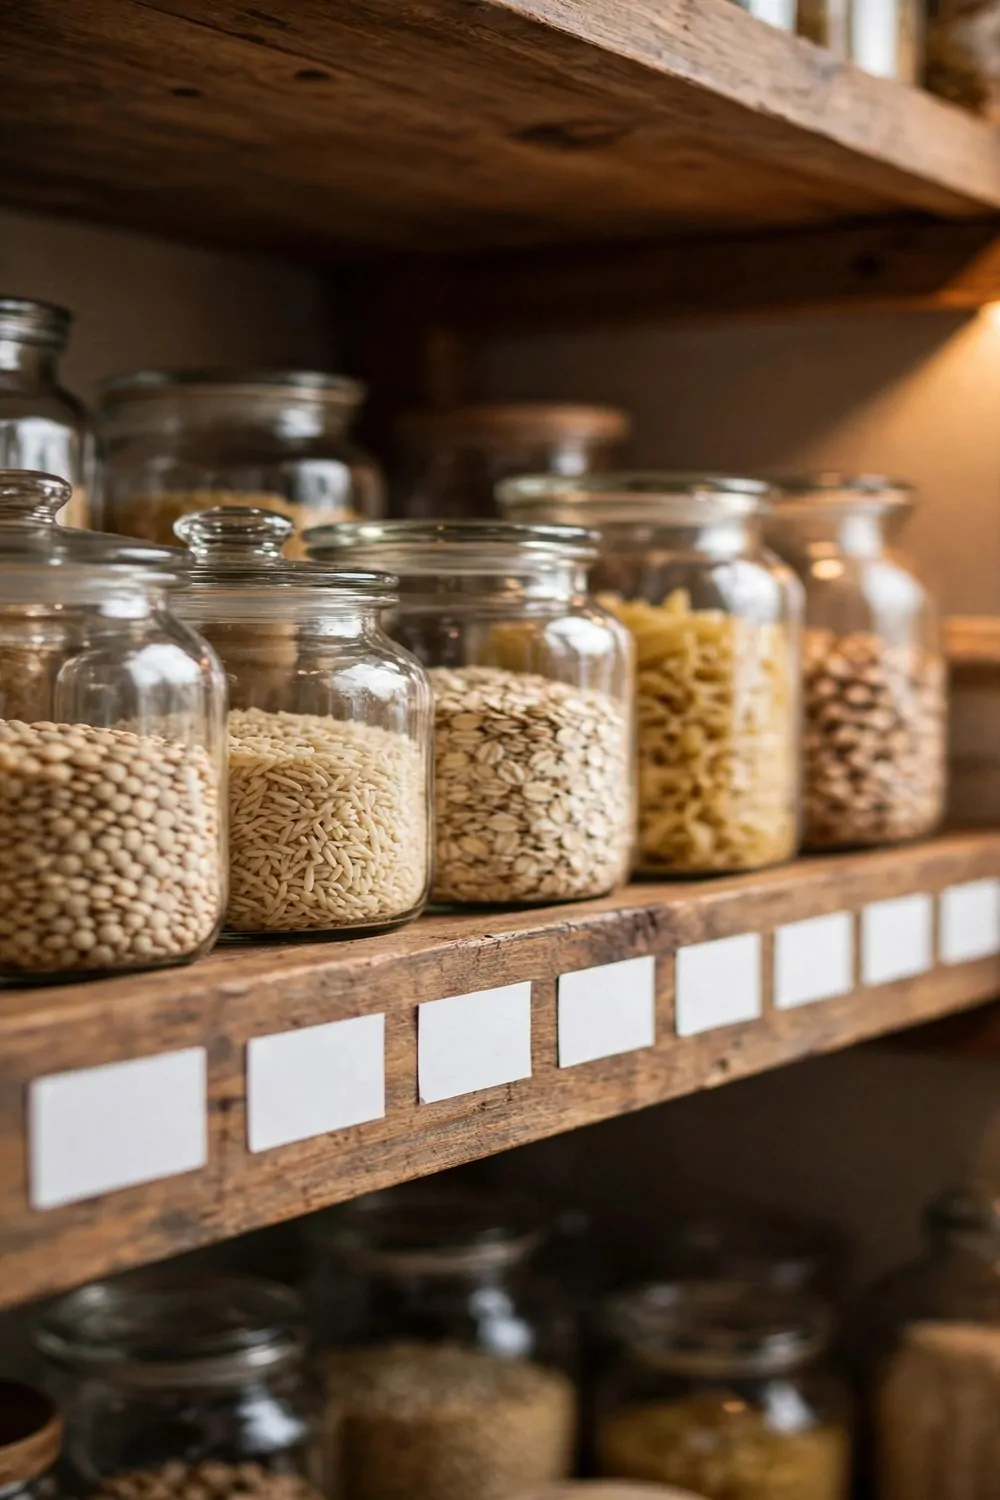
Sometimes the jar itself is too pretty to cover. A label on the shelf edge solves that.
I stick a small label right on the front edge of the shelf, under each jar.
The jar stays clean and clear. You still know what is inside. The shelf looks tidy from the front.
This works well for jars you refill a lot.
You do not need to peel a label off the glass each time. You just refill the jar and put it back in the same spot.
Write the name in a size you can read when you stand in front of the pantry.
Typical cost is $5 to $18 for shelf edge labels and a pen.
Make sure the labels stick well to your shelf edge.
If they keep falling off, try a stronger label. A label that stays put is worth the small change.
10. Waterproof Labels for the Fridge Shelf
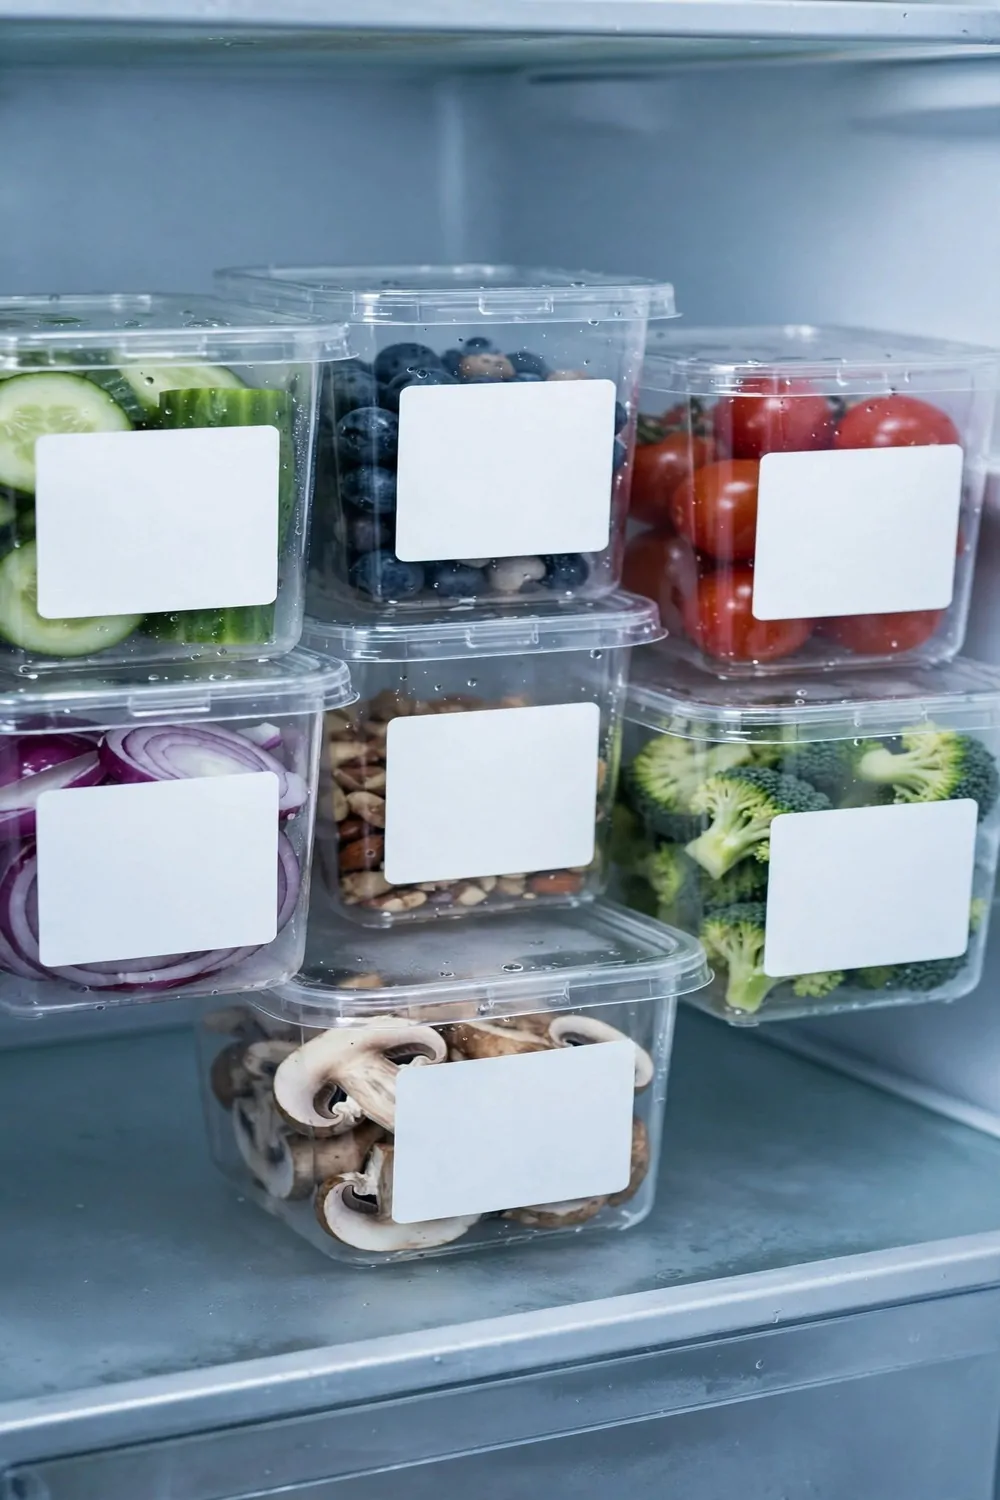
The fridge shelf needs a label that can handle cold and damp. A waterproof label does that job.
I use these for sauces, jams, and leftovers in jars.
Water will not smudge the words. Steam from the fridge will not lift the edges. The label stays clear for weeks.
Write the name and the date you opened it. That helps you use things before they go off.
Put the label where you can see it when you open the door.
The front of the jar is best, low enough that your hand does not cover it when you lift it.
Typical cost is $6 to $20 for a pack of waterproof labels and a pen.
Let the jar dry a little before you stick the label on.
A dry surface helps it grip. Once it is on, you can put the jar straight back in the fridge.
11. Labels with a Small Picture Shape
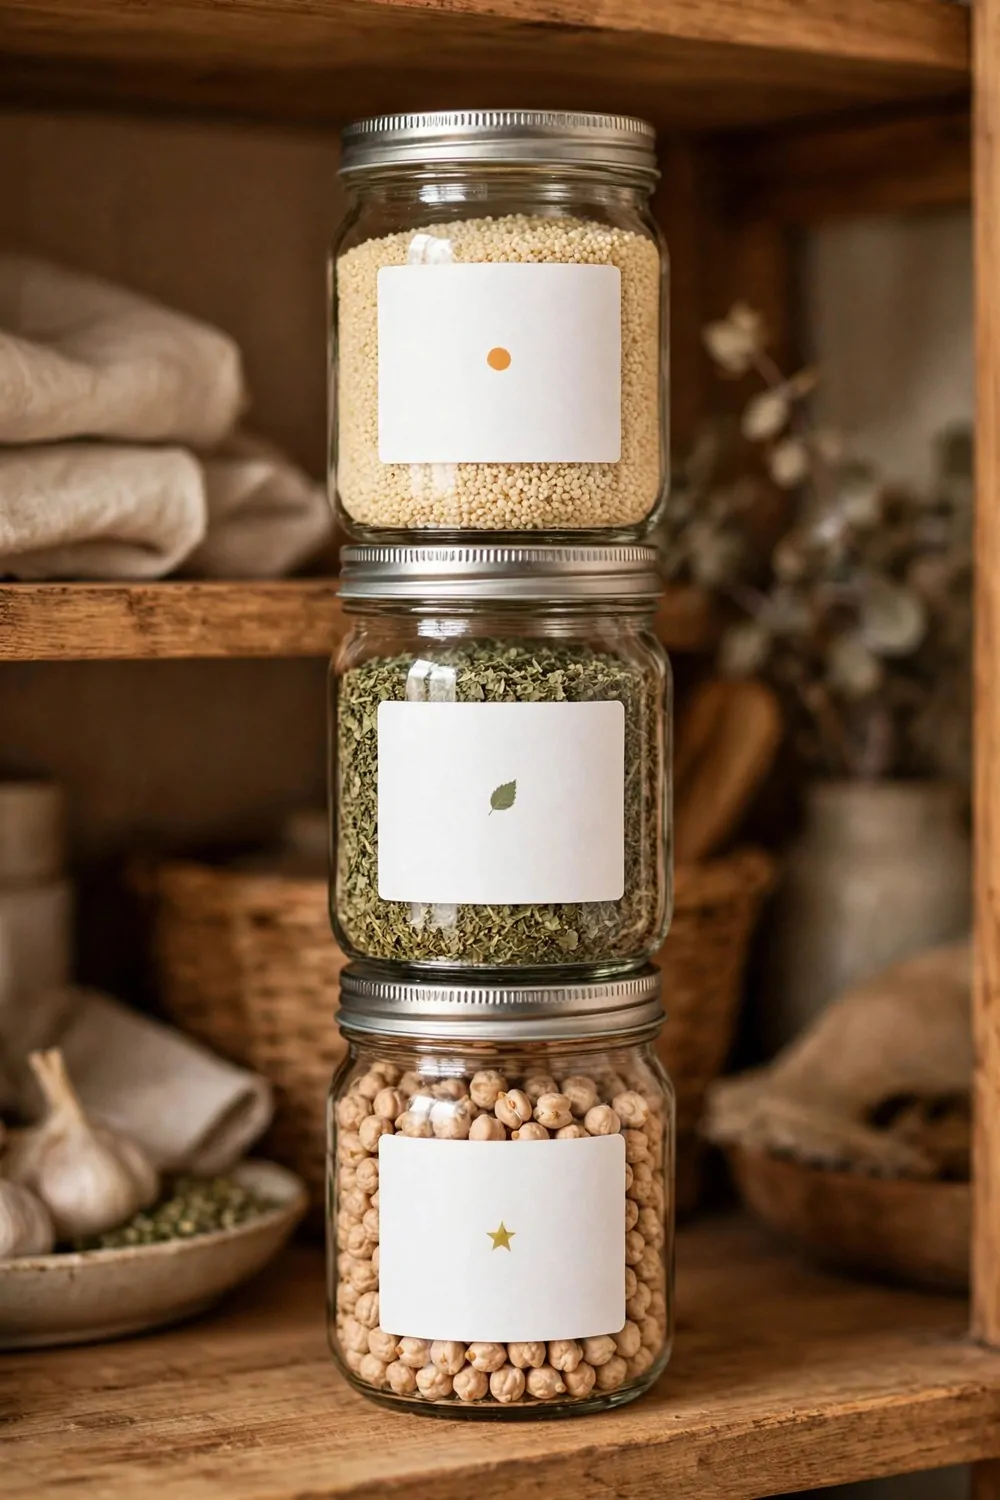
A small picture shape can help you find things even faster. I draw a tiny wheat stalk for flour.
You do not need to be good at drawing. A simple shape is enough.
A circle for rice, a square for pasta, a leaf for tea. Your brain reads the shape in a flash. It works well for kids too.
I keep the picture small, next to the word. The word still does the main job.
The picture is just a quick hint.
Use the same shape for the same food on every jar, so you learn it once and it sticks.
Typical cost is $4 to $14 for labels and a fine pen for drawing.
Try three shapes first, and see if they help.
If they do, add more. If they do not, the words alone are still fine, and your shelf will still look lovely.
12. Tiered Shelf Labels You Can Read from Below
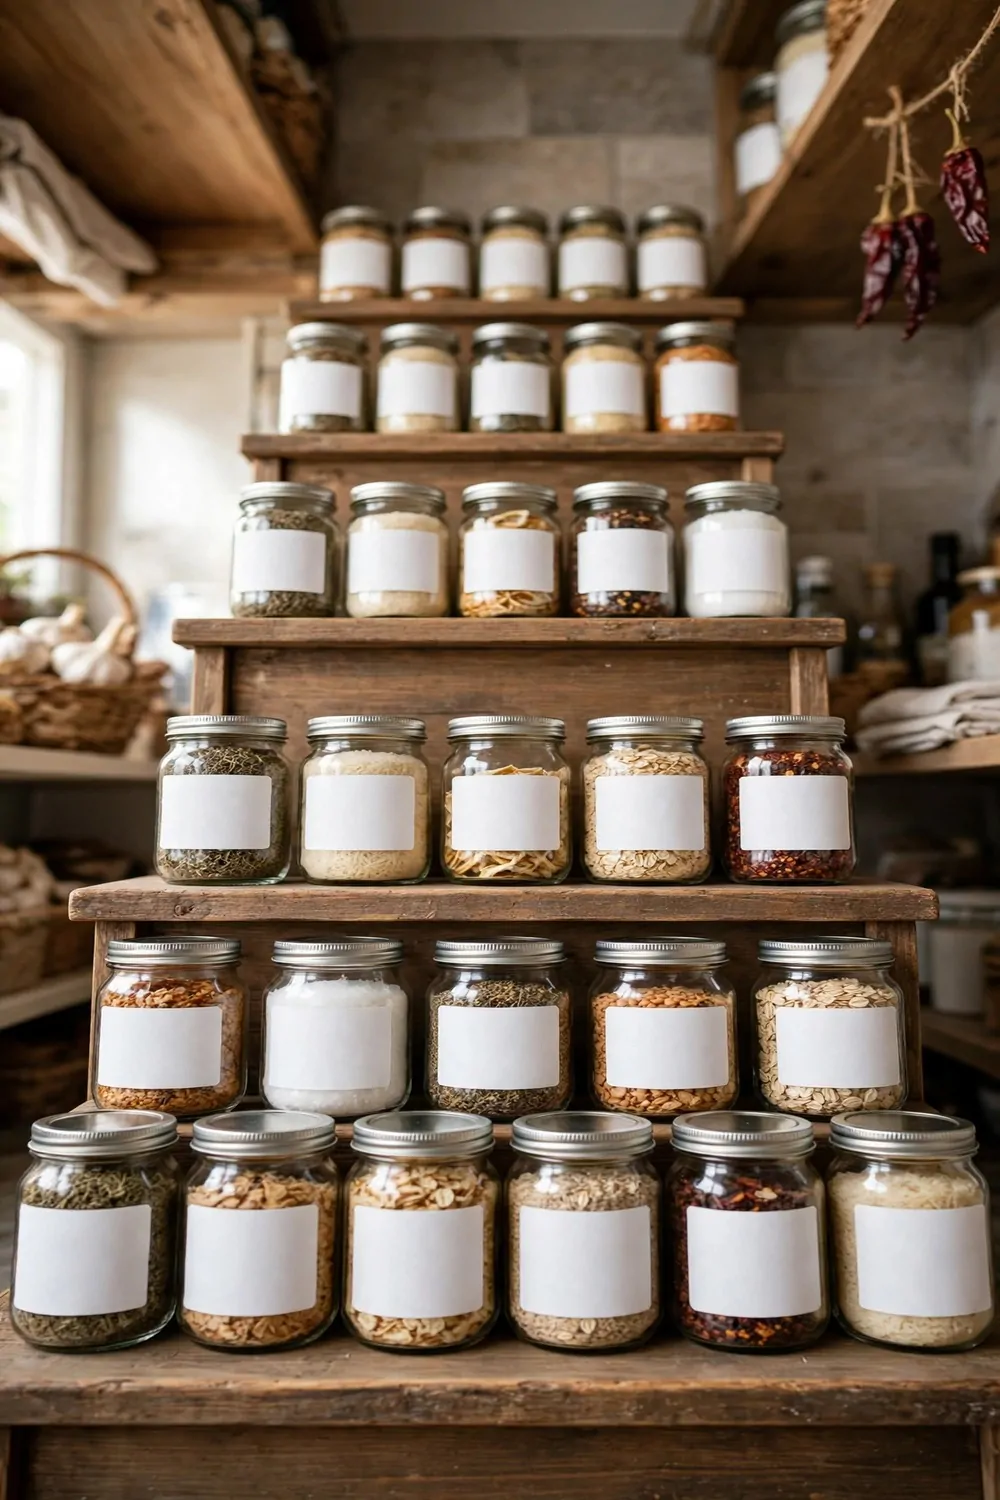
I love a tiered shelf because it lifts the back jars up where I can see them.
The labels sit low on each jar, so I can read them from below without bending my neck. You just tilt your head a little and the words are right there.
I put the name on the front of the jar and I keep it short. Oats. Rice. Flour. That is all I need.
Small labels work best here because a big label hides the jar behind it. I use a label that is about as wide as two fingers.
Typical cost is $4 to $12 for a pack of tiered shelf labels.
I stick the labels a little lower than the middle of each jar. That way the top step never covers the words on the bottom step.
If your shelves are tall, you can use the same trick on two levels. I did that in my pantry and it felt like I gained a whole new shelf.
Dark jars need light labels, and light jars need dark labels. I learned that after I put white words on a white jar and could not read a thing.
Try it tonight with just one tiered shelf. You will find your rice in two seconds instead of moving five jars out of the way.
13. Labels for Bulk Bins and Big Bags
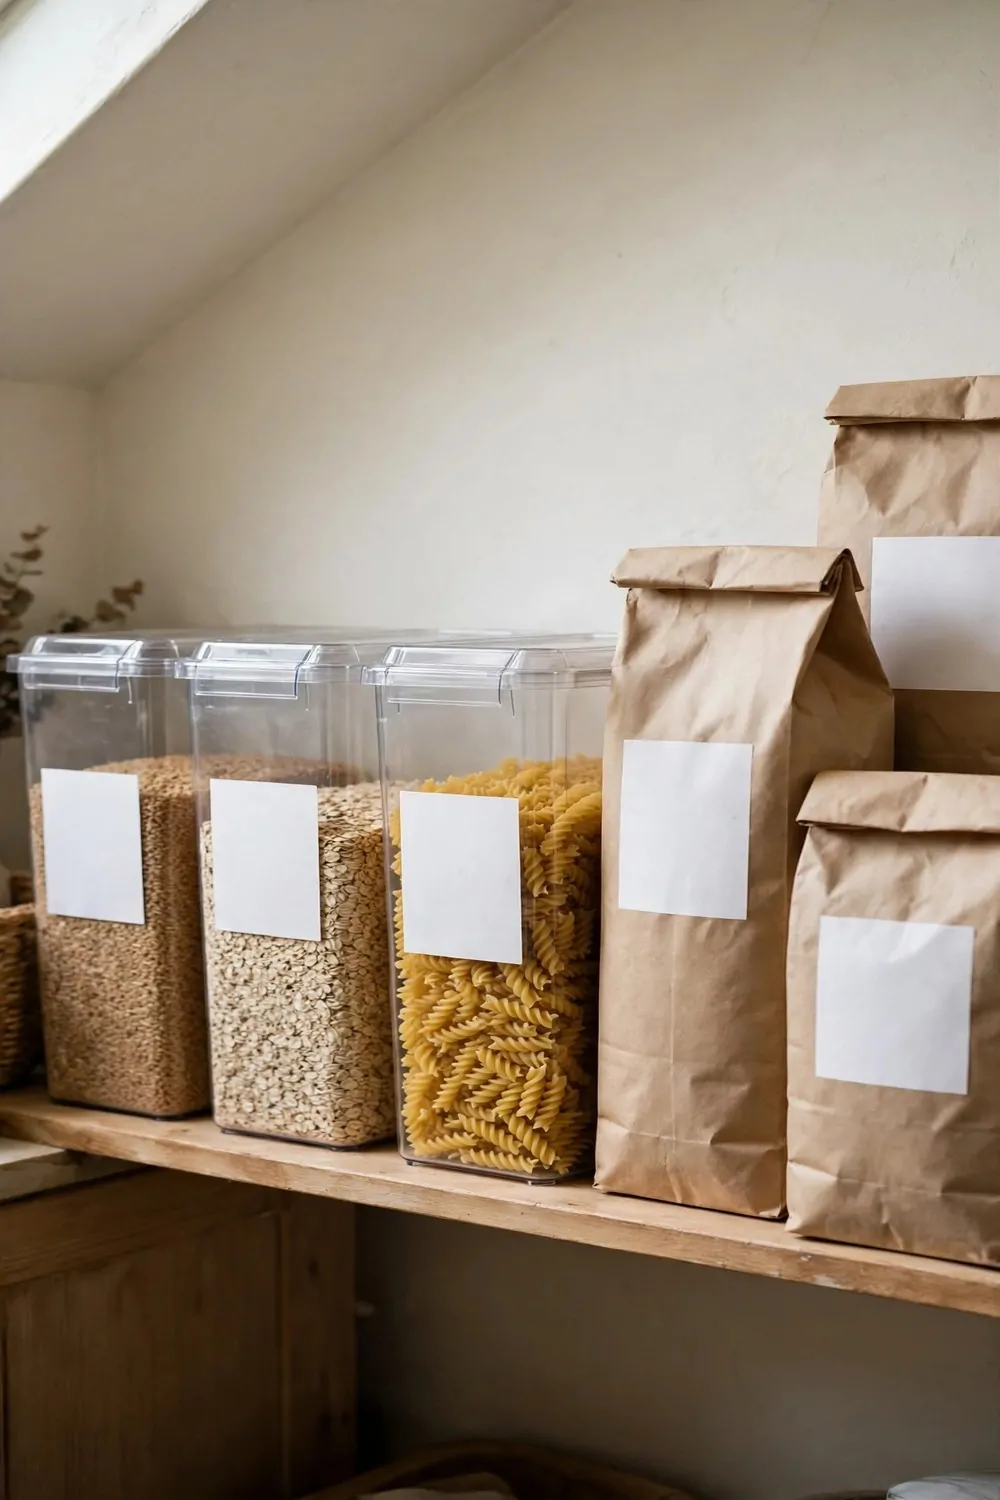
Big bins hold a lot of food, so their labels need to be big too. A tiny label on a big bin just gets lost.
I use a label that I can read from across the kitchen. It makes the whole pantry feel calm when I walk in.
Small bins cost $10 to $20.
Medium bins cost $15 to $30.
Large bins cost $25 to $45.
I put the label near the top of the bin, right where my hand reaches for the lid. You should not have to bend down to find the flour.
For big bags, I clip a small tag to the folded top instead of sticking a label on the bag. The bag moves and bends, but the tag stays put and stays easy to read.
I also write the date I filled the bin on the back of the label. That one small note tells me which bag to use first.
When your bins are all labelled, your pantry looks like a shop you made just for you. It makes cooking feel lighter, and I smile every time I open the door.
| Bin size | Typical cost | Best for |
|---|---|---|
| Small bin | $10 to $20 | A few jars in a small pantry |
| Medium bin | $15 to $30 | A full shelf of bulk food |
| Large bin | $25 to $45 | Big bags and the whole family shop |
14. Colour-Coded Labels by Food Group
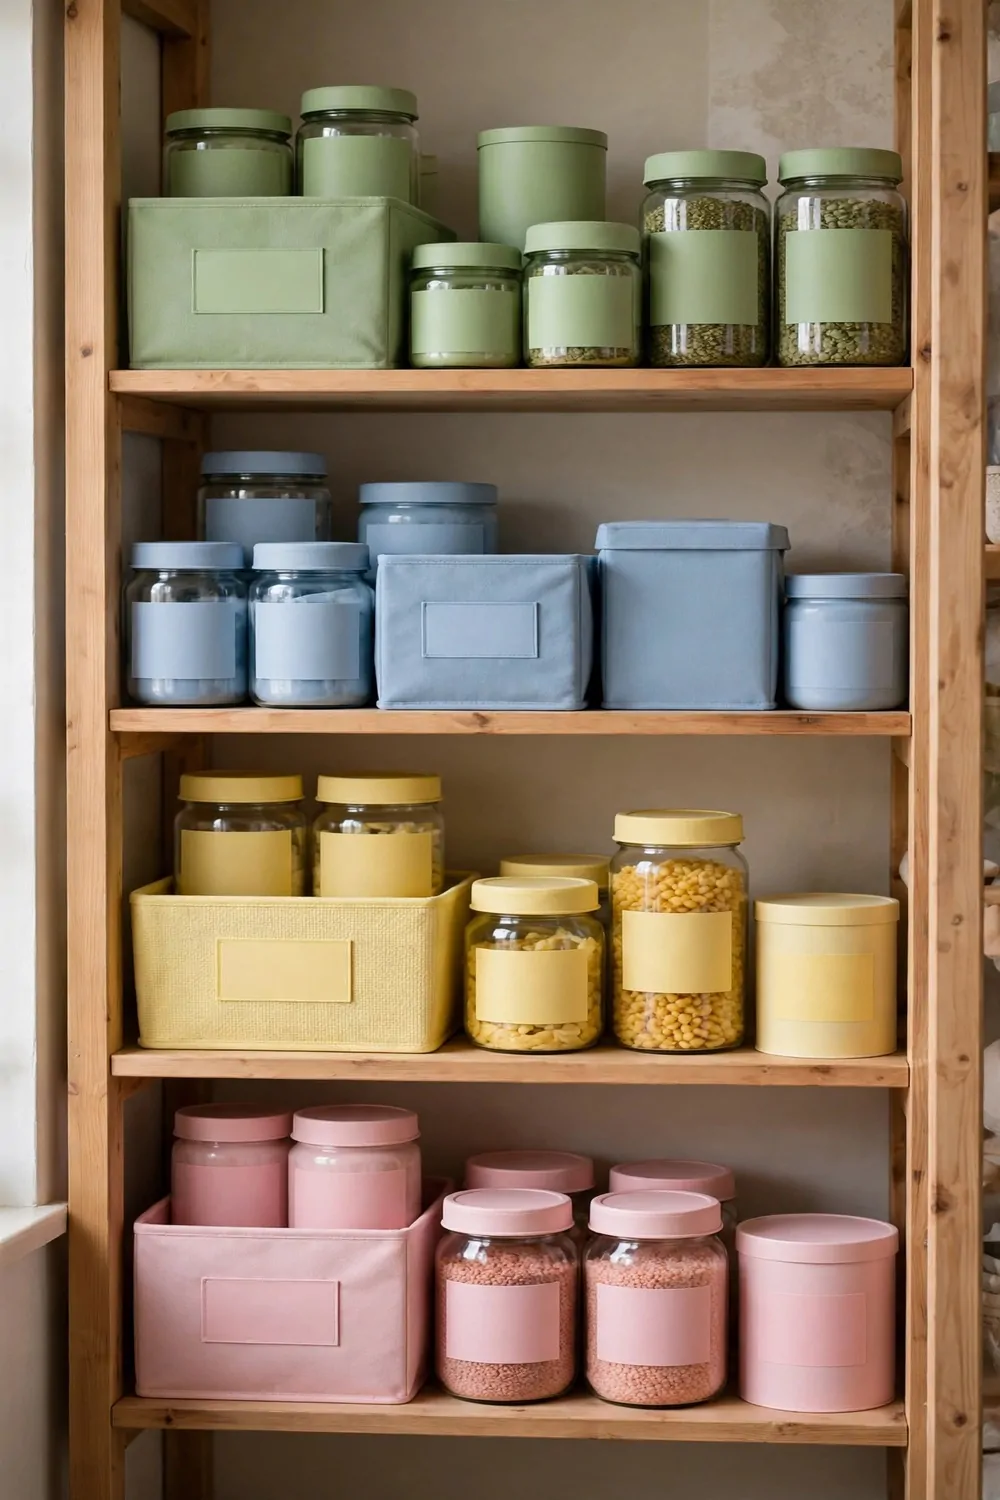
Colour makes finding food fast. I give each food group its own colour, and my eyes know where to look before I even think.
Grains get one colour in my pantry, and snacks get another. Pasta gets its own too, because we eat a lot of it in my house.
I keep the colours soft so the shelf still looks pretty. Pale green, warm yellow, soft blue. Nothing too loud.
Typical cost is $5 to $14 for a set of colour-coded labels.
You can use dots, strips, or full labels. I like small colour dots on white labels because the words stay easy to read.
Pick five colours at most. More than that and your brain has to stop and think again, which beats the whole point.
I wrote a tiny key on the inside of my pantry door. Green means grains. Blue means snacks. It took one minute and it saved me a lot of guessing.
My kids learned the colours faster than the words. They grab the blue snack box all by themselves now.
Start with just two groups this week. Add a third colour next week if it still feels fun and easy.
15. Slim Labels for Slim Jars
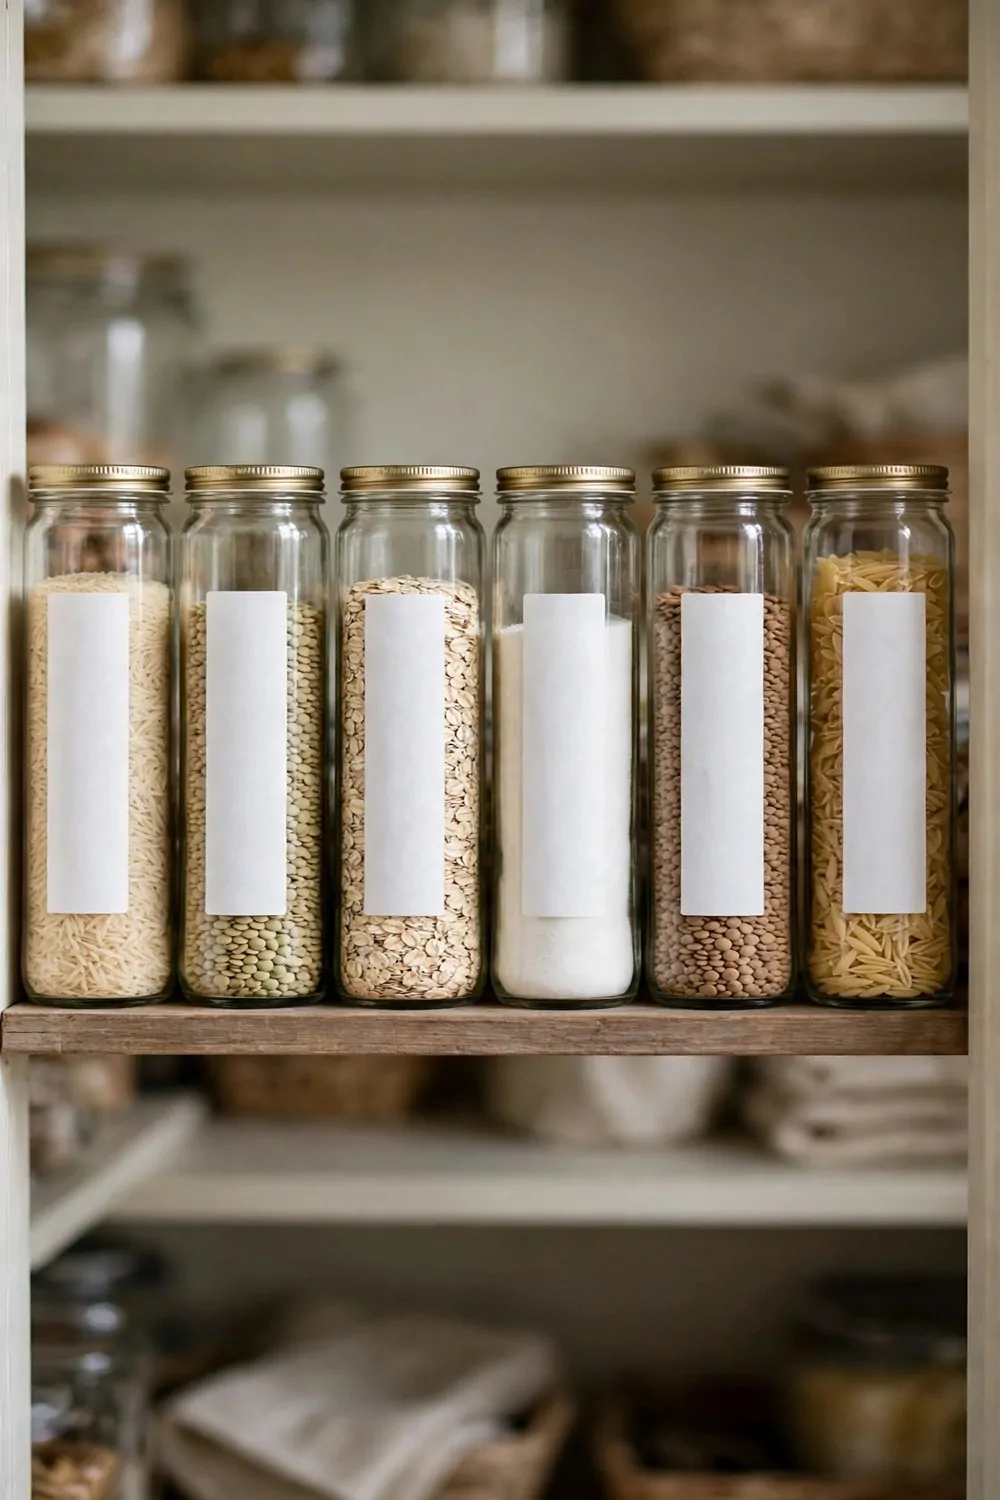
Slim jars are cute, but their labels can be a real pain. A wide label wraps around and the words bend out of sight.
I use slim labels that fit the flat front of the jar. The words stay straight and I can read them at a glance.
Write short names only. Salt. Sugar. Tea. Long words need tiny print, and tiny print is no fun to read.
Typical cost is $3 to $9 for a pack of slim labels.
I put the label in the middle of the jar, not too high and not too low. That spot is the first place my eyes land.
If the jar is very thin, I turn the label sideways and write the word up and down. It sounds odd, but it reads just fine on a spice shelf.
Clear jars with slim white labels look so clean. I lined up six of them on one shelf and my whole pantry felt new.
Leave a little space at the bottom of the label for the date. I jot it on with a pen when I refill the jar.
Try three slim jars first and see how they feel. If you like the look, you can do the rest of the shelf on the weekend.
16. Labels You Can Peel Off and Move
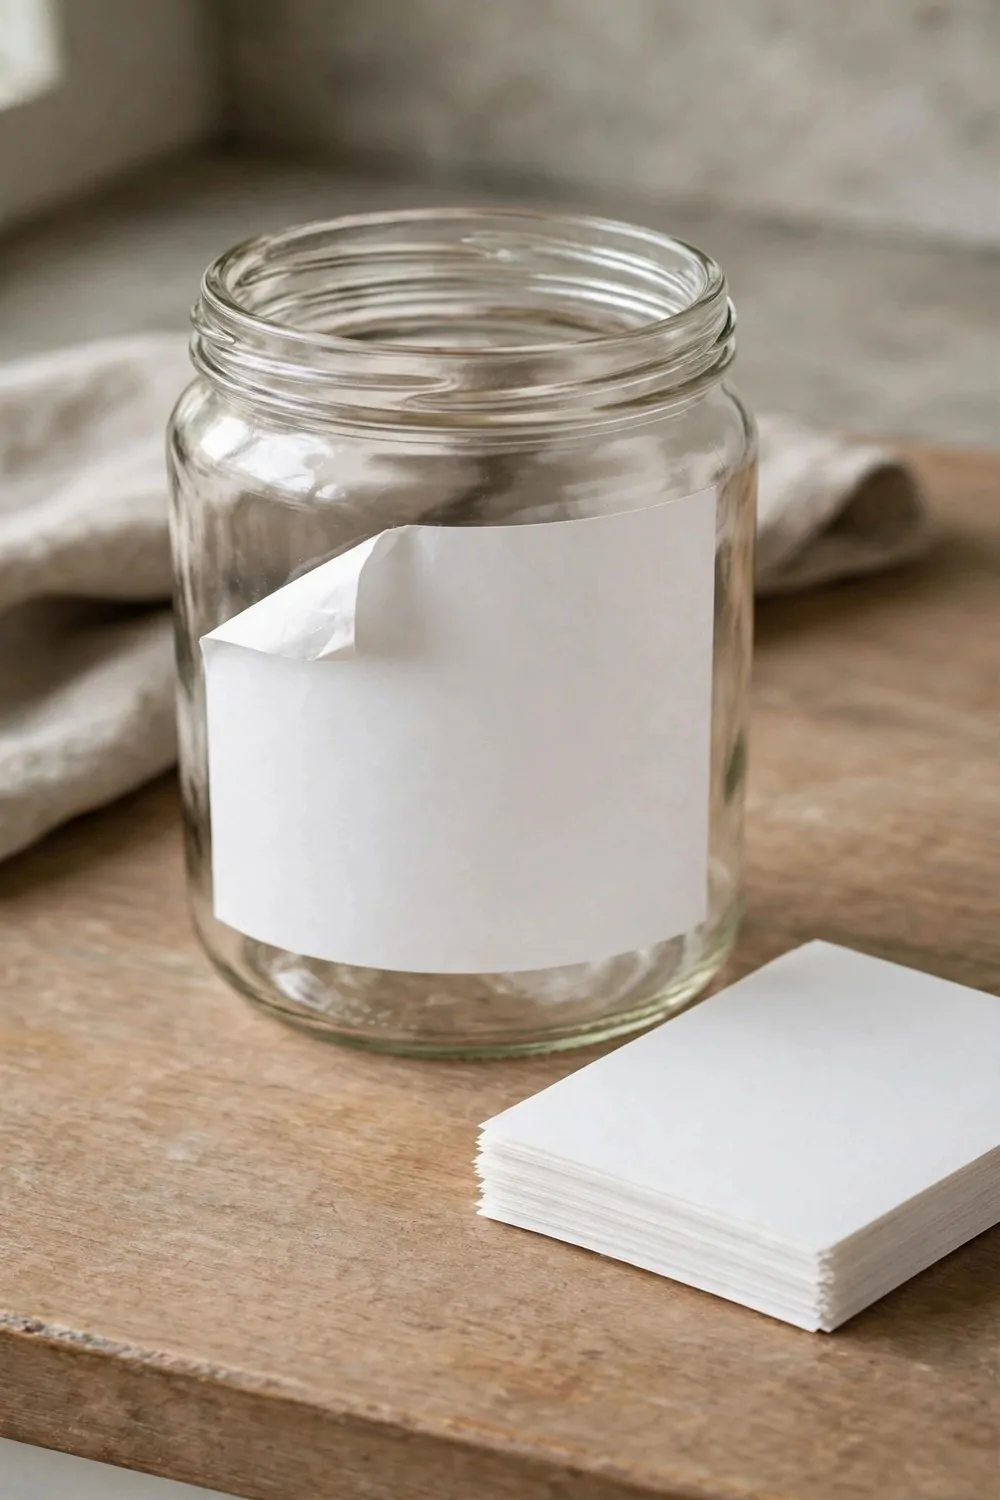
I change my mind a lot about where things go. Peel-off labels let me move a jar without starting all over.
These labels lift off clean and stick again somewhere new. No sticky mess left behind, and no torn paper to scrape off.
I use them on jars I refill with different foods. One month it holds lentils, the next month it holds nuts.
Typical cost is $6 to $15 for a pack of peel-off labels.
Press the label on with your palm, not just your finger. A flat press keeps the edges down and stops them from curling up.
If a label stops sticking well, I wash the jar with warm soapy water and dry it fully. A clean dry jar holds a label much better.
You can also write on them with a pen and wipe the words off later. I keep one pen in the pantry just for that job.
My kids love moving these labels around when we tidy the shelf together. It turns a chore into a little game.
Keep a few spare labels in a small box near the pantry. You will reach for them more than you think.
17. Labels on Canisters by the Stove
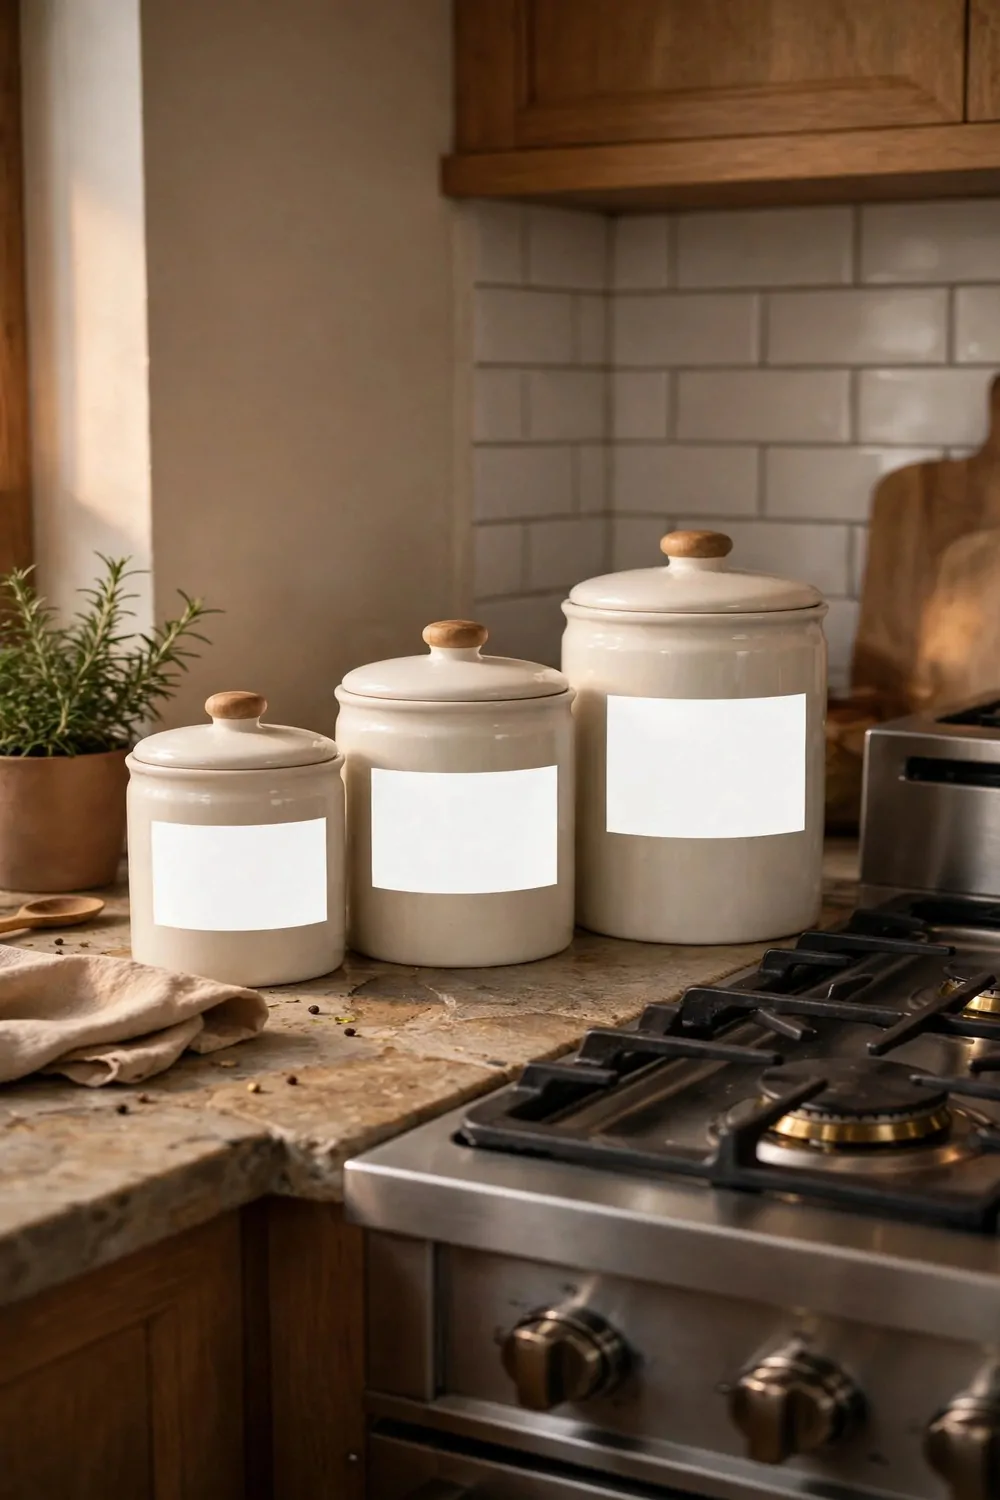
Canisters by the stove get touched a lot. Flour dust, steam, and warm hands all reach them every day.
I use thick labels that can handle a wipe with a damp cloth. Thin paper labels go soft and sad near the stove.
Put the label on the front where you can see it while you cook. You do not want to spin a hot canister around to find the salt.
Typical cost is $5 to $13 for a set of canister labels.
I keep the words big on these ones. When my hands are full of dough, I need to read the label in one quick look.
Glass canisters look lovely with simple white labels. The food inside adds the colour, and the shelf shines in the light.
Leave the lid plain so you can lift it with one hand. A label on the lid gets rubbed off fast anyway.
I label only the three canisters I use most by the stove. The rest live in the pantry, and that keeps the counter calm.
Wipe your labels once a week when you wipe the counter. It takes ten seconds and keeps them bright.
18. Labels for the Kids Snack Shelf
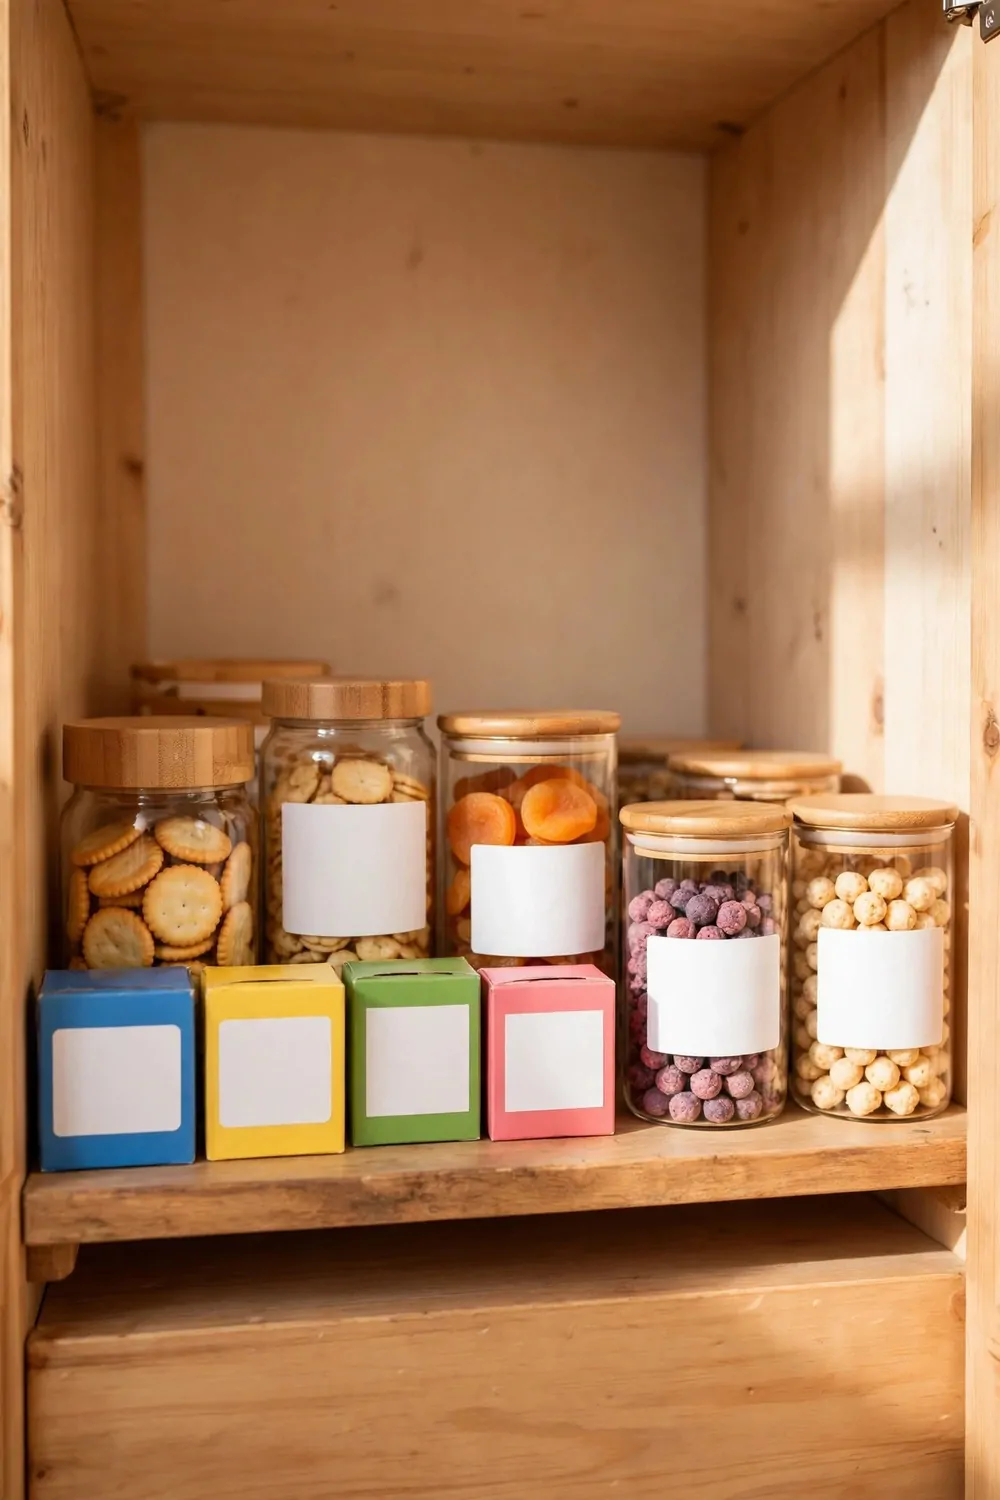
My kids have their own snack shelf, and labels make it truly theirs. They can find their food without asking me every five minutes.
I use big clear words and a small picture next to each word. A little drawing of crackers helps my youngest find her snack all by herself.
Put the shelf low so little hands can reach it. A label at eye level for a child is about waist level for me.
Typical cost is $4 to $11 for a set of kids shelf labels.
Let your child pick the colour of their own label. When they choose it, they take care of it more.
I keep only snacks I am happy for them to grab on that shelf. The grown-up treats stay higher up, out of reach.
We refill the shelf together on Sundays. My kids put each snack back in its labelled spot, and it feels like a game to them.
If a label gets torn, we make a new one together. It takes two minutes and my daughter loves picking the next picture.
A snack shelf with labels gives your kids a little bit of freedom. And it gives you five quiet minutes while they choose.
19. Labels in a Pretty Script Style
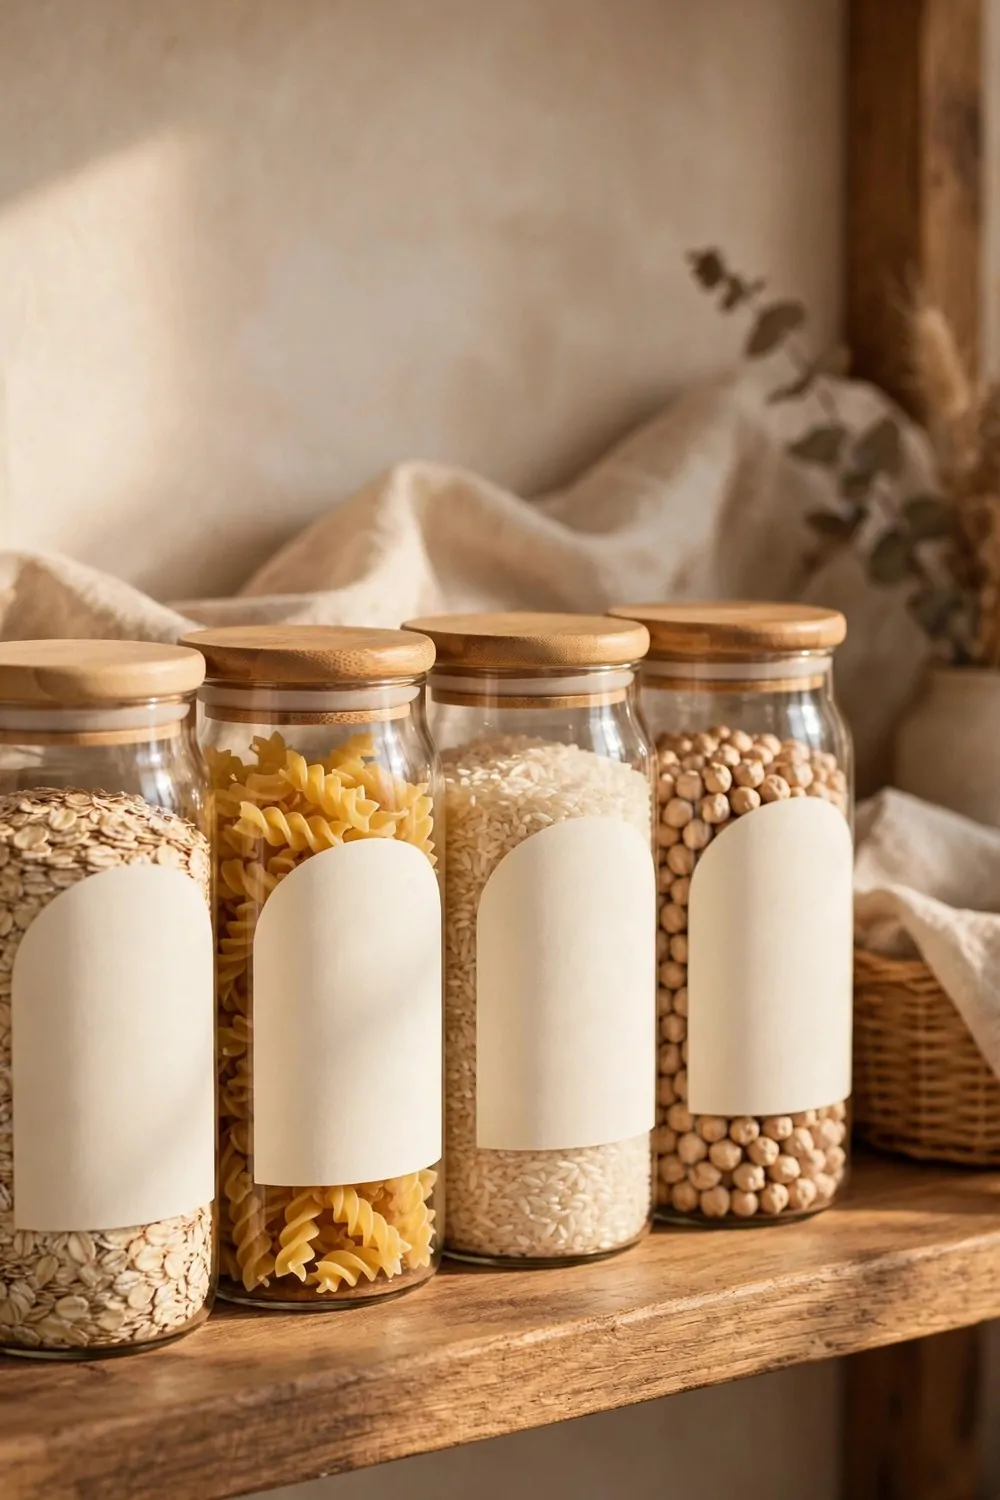
Script letters make a pantry feel soft and pretty. The swirly words turn plain jars into something that looks made with love.
I use script for the main word only, like Honey or Oats. The rest of the words stay plain so they are easy to read.
Do not make the script too small. Pretty letters need room to breathe, or they turn into a squiggle.
Typical cost is $6 to $16 for a set of script style labels.
Black script on a white label is my favourite look. It suits almost every kitchen, and it never goes out of style.
You can write script by hand if you like to draw letters. I am not great at it, so I use printed labels and they still look lovely.
Keep the script words short. One word per label looks best, and two words at the very most.
I put script labels on my prettiest jars and plain labels on the rest. That mix keeps the shelf pretty without being hard to read.
Try script on just the top shelf first. Step back and look. If it makes you smile, you can add more.
20. Labels That Match Your Kitchen Colours
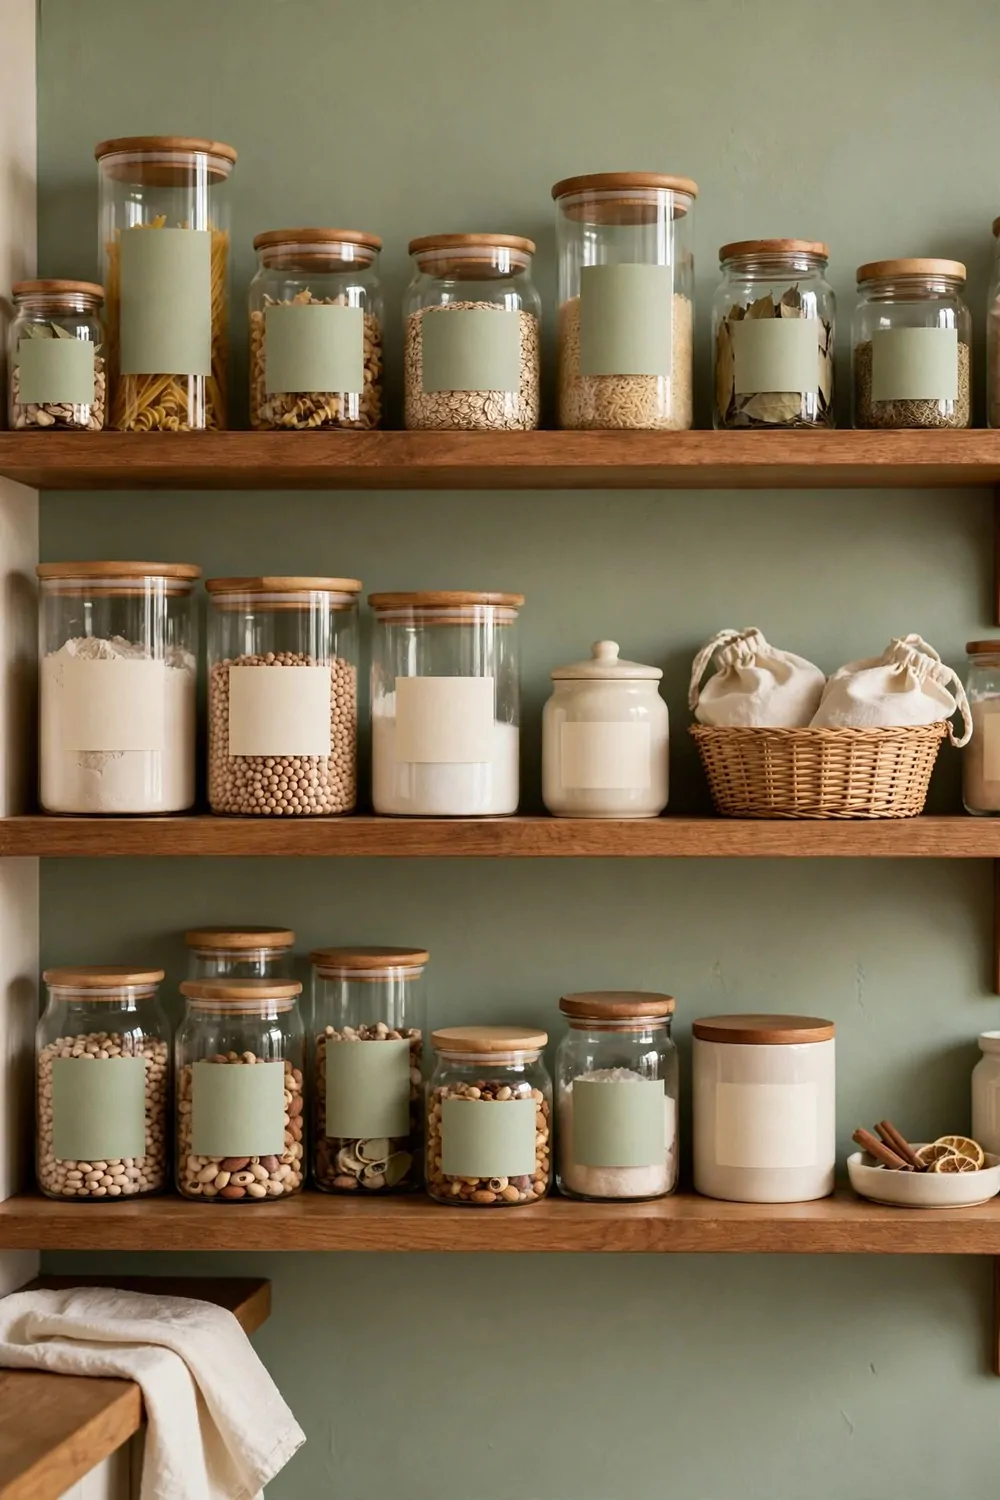
When labels match your kitchen, the whole room feels pulled together. It is a small touch that makes a big change.
I picked labels in the same soft green as my kitchen walls. The jars blend in, and the pantry looks like part of the room.
You can match your cabinets, your tiles, or even your kettle. Pick the colour you see most when you walk into the kitchen.
Typical cost is $5 to $14 for a set of matching labels.
Keep the words dark on light labels so you can still read them. Pretty is good, but readable is better.
If your kitchen has two main colours, use one for the label and one for the words. That little contrast looks smart and tidy.
I tried gold words on cream labels once and they looked so warm in the morning sun. The shelf felt like a sunny corner of the room.
Do not match every single thing in the kitchen. Just the labels and one or two other small bits is plenty.
Hold a label up against your wall before you stick it on. If it looks right in your hand, it will look right on the jar.
21. A One-Weekend Pantry Label Reset Plan
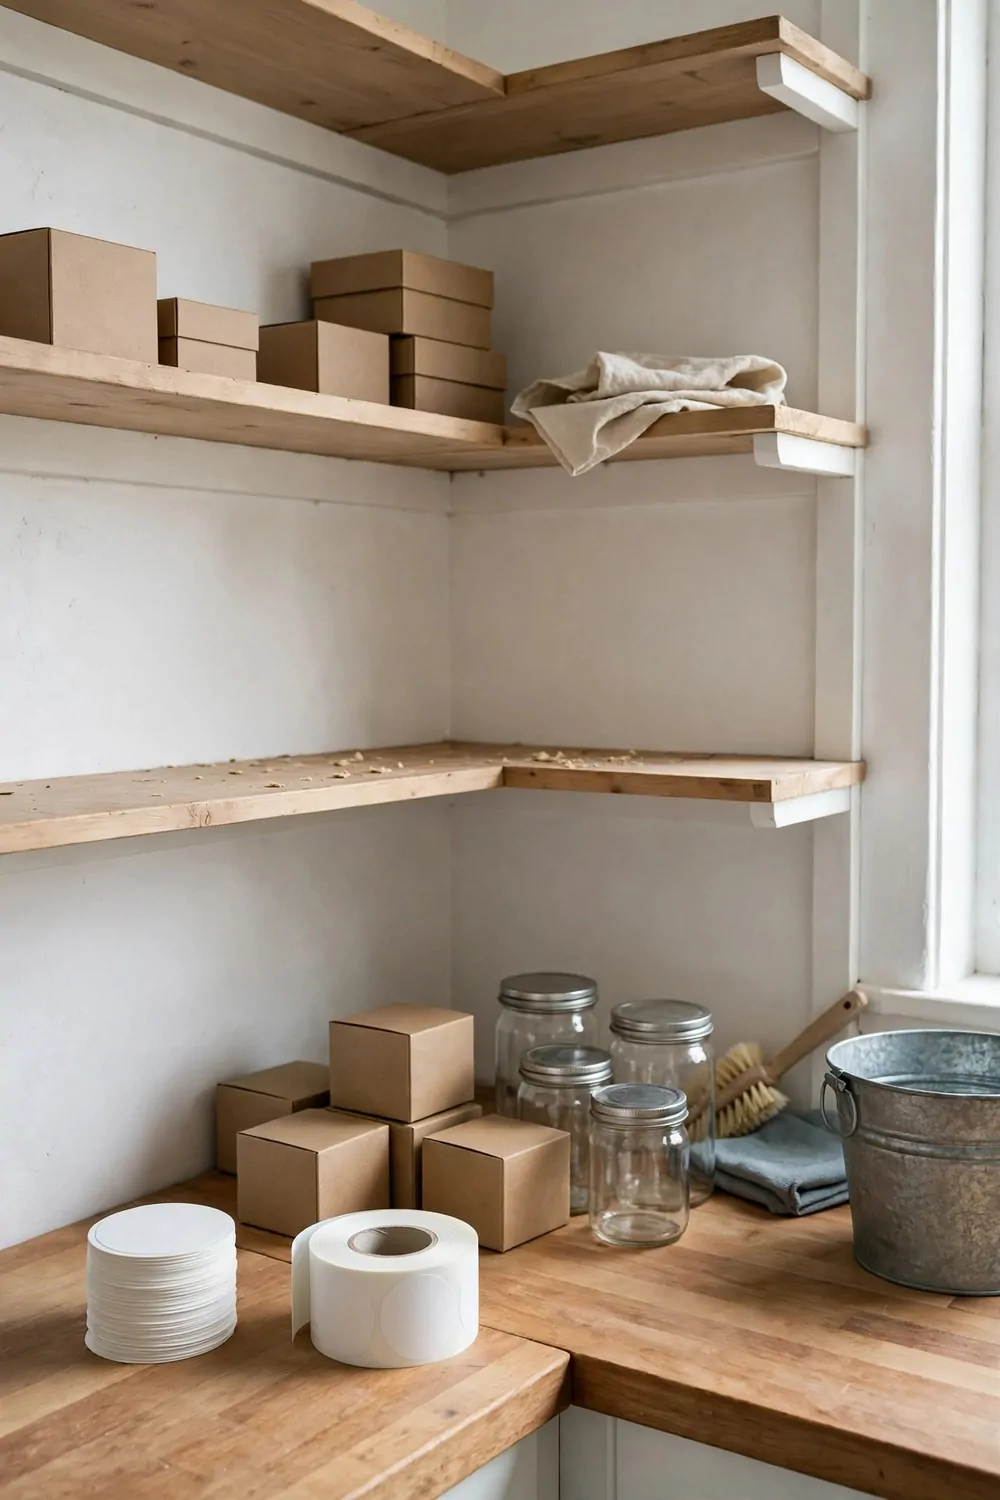
You can reset your whole pantry in one weekend. I did it last month, and it felt so good I wished I had done it sooner.
Start on Saturday morning by taking everything off one shelf. Wipe the shelf clean and sort the food into piles on the table.
Put the foods you use most at eye level and the rest a little higher. That one small change makes cooking faster all week.
A pack of labels runs $12 to $25. Jars cost $15 to $25.
Bins cost $10 to $20. Tags cost $8 to $15. Shelf cost $10 to $15.
When I add all five together, the weekend total sits near $55 to $100.
On Saturday afternoon, label the jars and bins for that one shelf only. Do not try to do the whole pantry in one day or you will get tired and quit.
On Sunday, do the next shelf the same way. Take it off, wipe it, sort it, label it, and put it back neat.
By Sunday night your pantry will look brand new. You will open the door on Monday and find your breakfast in seconds, and I promise that feels like a small win to start the week.
| Area | Main change | Typical cost |
|---|---|---|
| Labels | Blank labels for every jar | $12 to $25 |
| Jars | Matching jars for every shelf | $15 to $25 |
| Bins | Clear bins for bulk food | $10 to $20 |
| Tags | Kraft tags for baskets and bags | $8 to $15 |
| Shelf | One tidy shelf to hold it all | $10 to $15 |
| Total | Whole pantry reset in one weekend | $55 to $100 |
Keep Reading
If you liked these ideas, you will love these posts too.
- 26 Outdoor Furniture Storage Ideas That Protect Your Pieces
- 20 Outdoor Wall Decor Ideas for Patios and Porches
- 29 Backyard Decor Ideas on a Budget
- 22 Front Door Decor Ideas That Make a Great First Impression
- 31 Outdoor Storage Ideas for Small Yards and Patios
- 24 Deck Decor Ideas That Make Outdoor Evenings Better
Label five jars on one shelf tonight and see how it feels. One tidy shelf can make your whole kitchen feel calm by the morning.