21 Content Creator Setup Hacks for Better Lighting and Sound

People watch your videos with two senses, and most creators only fix one of them.
They buy a better camera. They learn about light. They frame the shot until it looks lovely. Then they press record, and the sound comes out thin and echoey, like they are talking from inside a bathroom.
Or the other way round. They buy a fine microphone and record beautiful clean audio, and the video looks dark and gray, like it was filmed in a basement at midnight.
Viewers forgive a lot. They will forgive a plain background. They will forgive an old camera. They will not forgive bad sound, and they will not stay on a video they can barely see.
The good news is that better lighting and better sound are mostly small hacks, not big spending. A window, a white board, a rug, a blanket, a lamp moved two feet to the left. That is the stuff this list is made of.
Here are 21 content creator setup hacks for better lighting and sound. Each one is cheap, each one works in a real home, and each one fixes something you can hear or see in your very next video.
1. The Window Is Your First Light
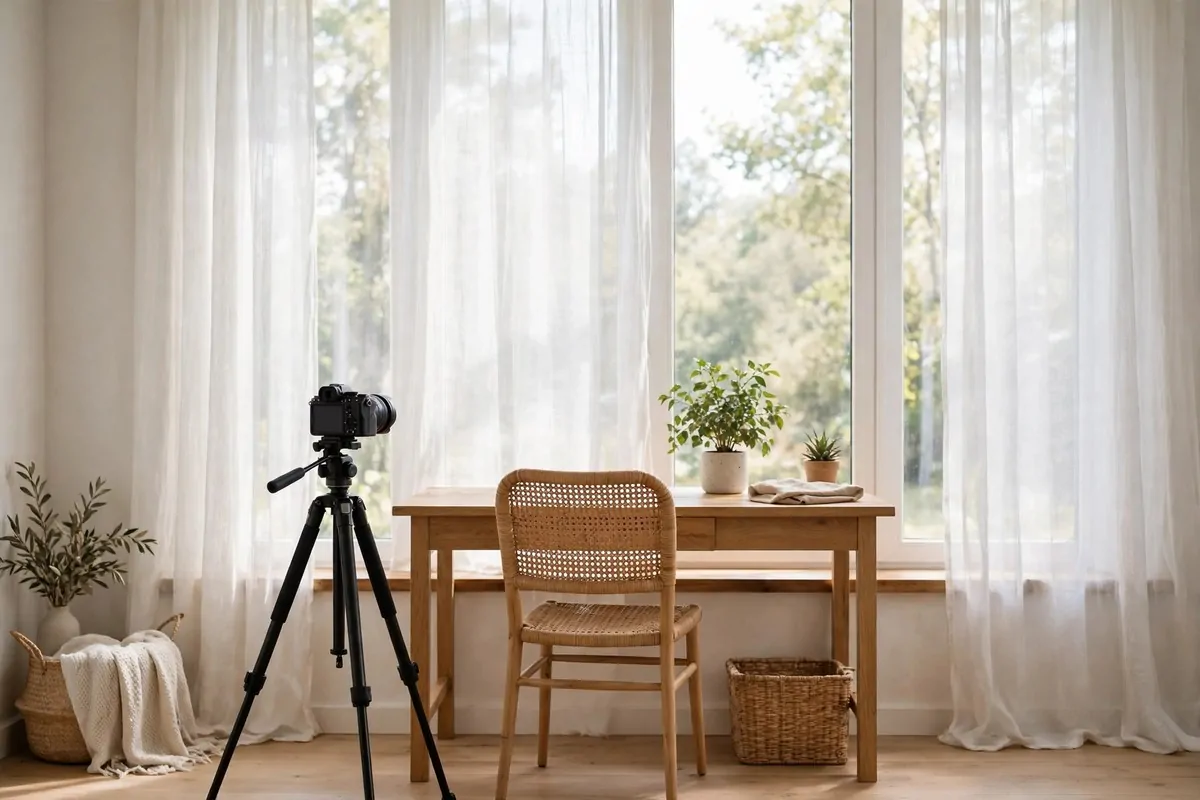
Window light is free, and it is the kindest light a camera will ever see. It softens skin, it keeps colors true, and it never flickers.
Face the window when you film. The light should fall on your face, not on your back. Light from behind turns you into a dark shape, and no camera setting fixes that.
Put your chair about three feet from the glass. Too close and one side of your face goes too bright. Too far and the room eats the light before it reaches you.
Here is how window light changes through the day, and what each direction gives you:
| Window direction | Light through the day | Best for filming |
|---|---|---|
| North | Soft and even, almost no glare | Long filming days |
| East | Bright mornings, calm afternoons | Early filming |
| South | Strong light most of the day | Winter filming |
| West | Soft mornings, golden evenings | Late filming |
Film in the morning if you can. Morning light is steady and calm. Afternoon light moves fast and changes color every half hour.
Keep the background simple. One plant, one shelf, one picture. The window is doing the work, and the background just needs to stay out of the way.
Watch the weather, because a cloudy day is a gift. Clouds spread the light flat and even, and your footage looks smooth and clean.
A window light setup costs nothing. It costs a little thought about where you sit. Sit facing the light, keep the glass clean, and the camera will love you.
2. The Bounce Board That Costs Almost Nothing
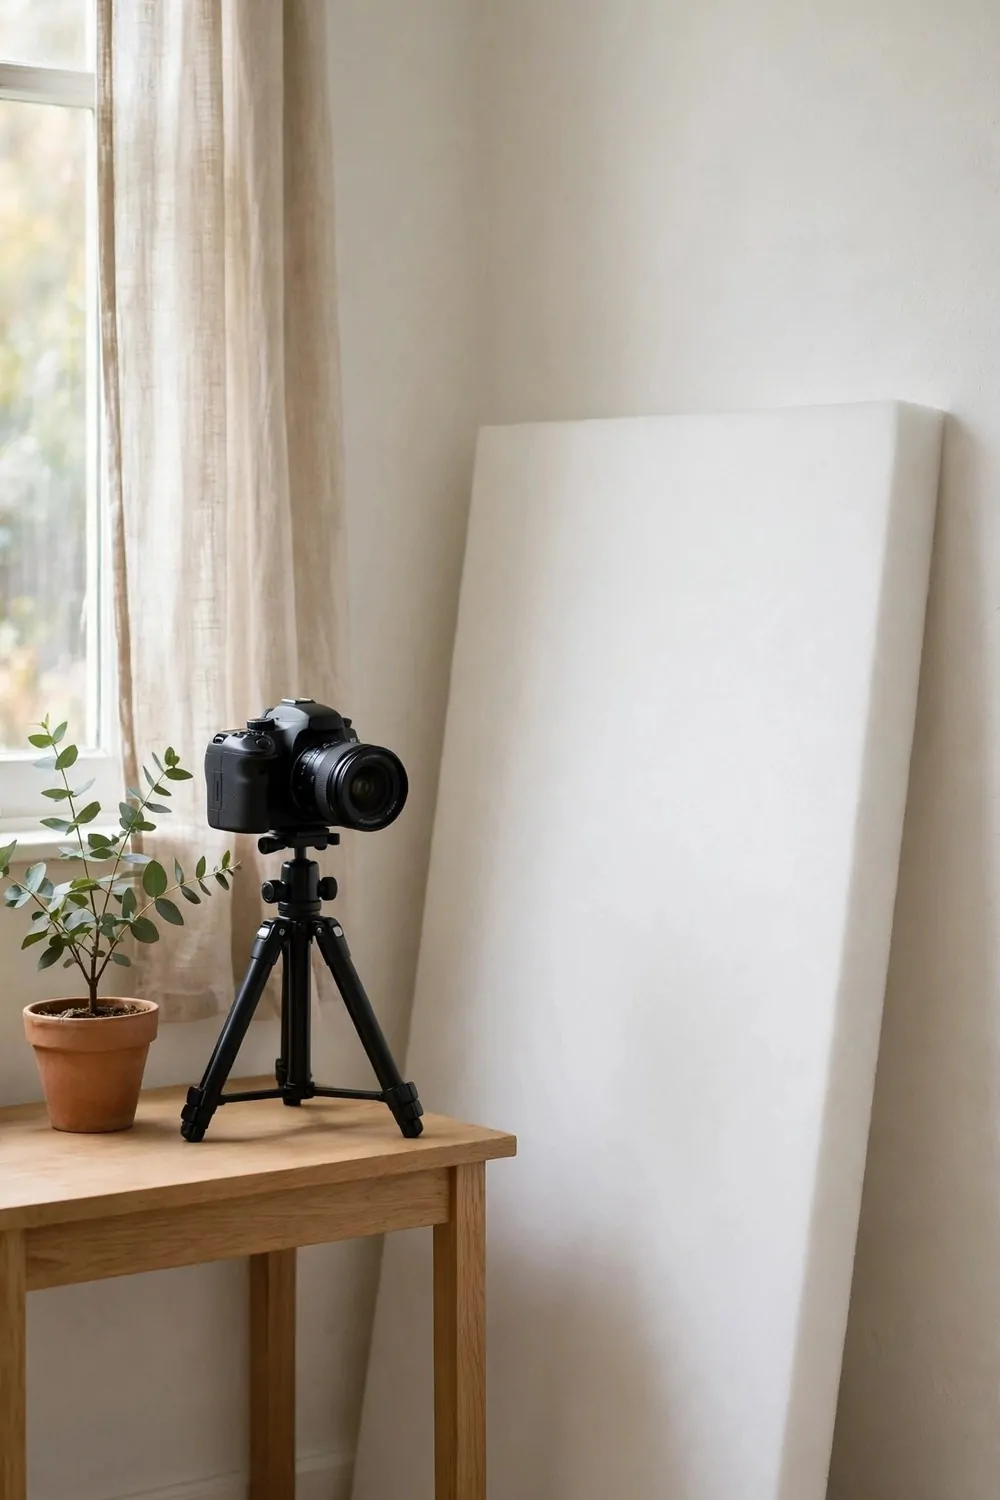
One side of your face is bright. The other side is in shadow. That is the classic window light problem, and a white board fixes it for almost no money.
A bounce board is just a big white surface that throws light back at you. A foam board from a craft shop works. A white bedsheet stretched over a frame works. Even a large piece of white cardboard works.
Stand the board on the dark side of your face, opposite the window. Angle it until you see the shadow soften. You do not need to measure anything. Your eyes will tell you when it looks right.
Keep the board close, about an arm’s length away. Light falls off fast. A board across the room does almost nothing. A board right beside you fills the shadow in beautifully.
White is the safe choice. Silver boards throw harder light, and gold boards throw warm light. Both are useful later, but white is kind and hard to get wrong.
Lean the board against a chair or a stack of books. You do not need a stand. A board that leans is a board that works, and you can move it in ten seconds.
Check the result on camera, not in the room. Stand where the camera stands and look at the frame. The frame is the truth, and the room can lie to you.
A bounce board is the cheapest lighting upgrade there is. One white board, one window, and the shadow side of your face stops looking like a different person.
If you buy only one lighting tool this year, make it a white foam board. It will do more for your videos than any lamp in the same price range.
3. The Two-Lamp Triangle
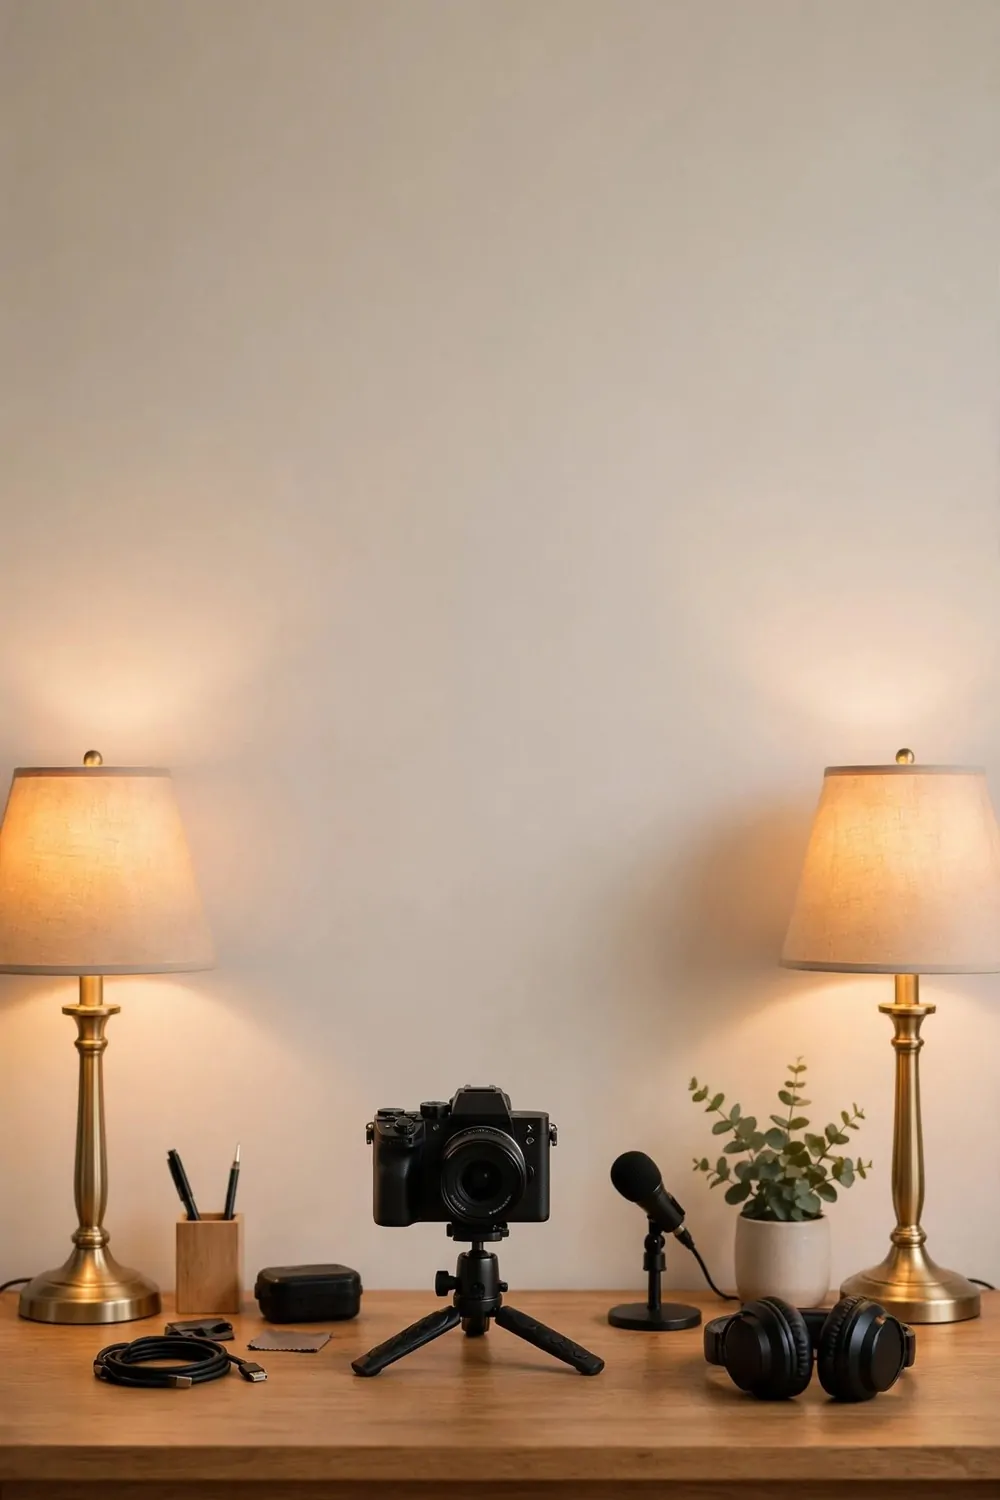
One lamp makes one shadow. Two lamps, placed right, make almost no shadow at all. That is the whole idea behind the two-lamp triangle.
Put one warm lamp to your left and one to your right, both a little in front of you. You sit at the point of the triangle. The camera sits just behind the lamps, looking at you.
Keep both lamps at the same height, about face height when you sit. A lamp too low lights your chin like a campfire story. A lamp too high puts shadows under your eyes.
Use the same kind of bulb in both lamps. Same warmth, same brightness. Two different bulbs make two different colors on your face, and the camera shows the mismatch clearly.
Warm bulbs are the kind choice, around 2700K on the box. Warm light makes skin look good and rooms feel like evening. Cool white light feels like an office, and offices are not flattering.
Dim both lamps a little if you can. Full power washes out skin and makes eyes look glassy. Three quarters power is the sweet spot in most rooms.
Keep the lamps out of the frame if you can. The glow should show, not the lamp itself. Move them just past the edges of the shot and check the frame before you record.
Two lamps and a chair is a studio. It fits in a corner, it packs away in minutes, and it makes every video look like you thought about it.
Try the triangle tonight. Two lamps, one chair, one test clip. You will see the difference in the first five seconds of playback.
4. The Closet Vocal Booth
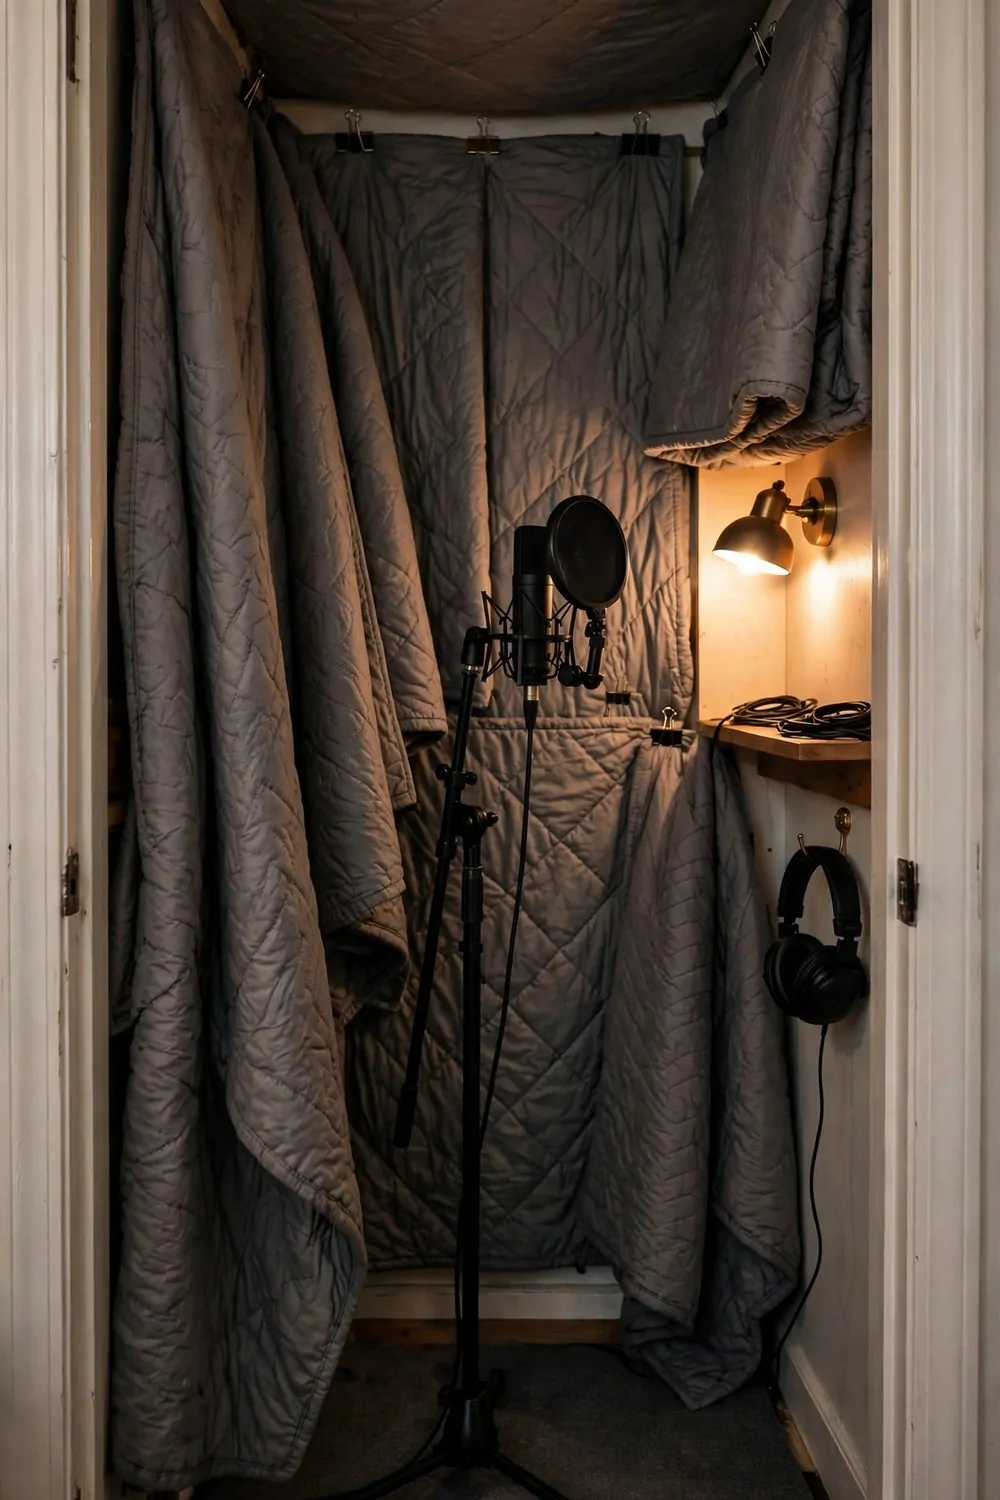
The best recording booth in most homes is a closet full of clothes. It sounds funny, but it is true, and sound engineers have known it for years.
Clothes soak up echo. A closet packed with coats and jumpers is a room full of soft surfaces. Sound goes in and does not bounce back out again.
Clear a little space in the middle of the closet. You need room to stand or sit, and room for a microphone on a stand. That is all. The clothes do the rest.
Hang one thick blanket over the closet door opening if the door is open. A moving blanket or a heavy quilt works well. It closes the gap and keeps the room sound out.
Put a small warm lamp inside, because closets are dark. A clip-on lamp on a shelf is enough. You need to see your notes, and you need to feel like a person, not a prisoner.
Keep the microphone a fist away from your mouth. Closer than that and every breath pops. Farther than that and the room starts to creep back into the recording.
Record a test clip and listen with headphones. You will hear the difference right away. Your voice sounds close, warm, and dry, like a real studio.
A closet booth is not glamorous. Nobody posts photos of one. But your listeners will hear it in every single episode, and that matters more than how it looks.
If your recordings echo, try the closet before you buy anything. It costs nothing, it takes ten minutes, and it might be the best sound you ever get at home.
5. The Rug That Eats Echo
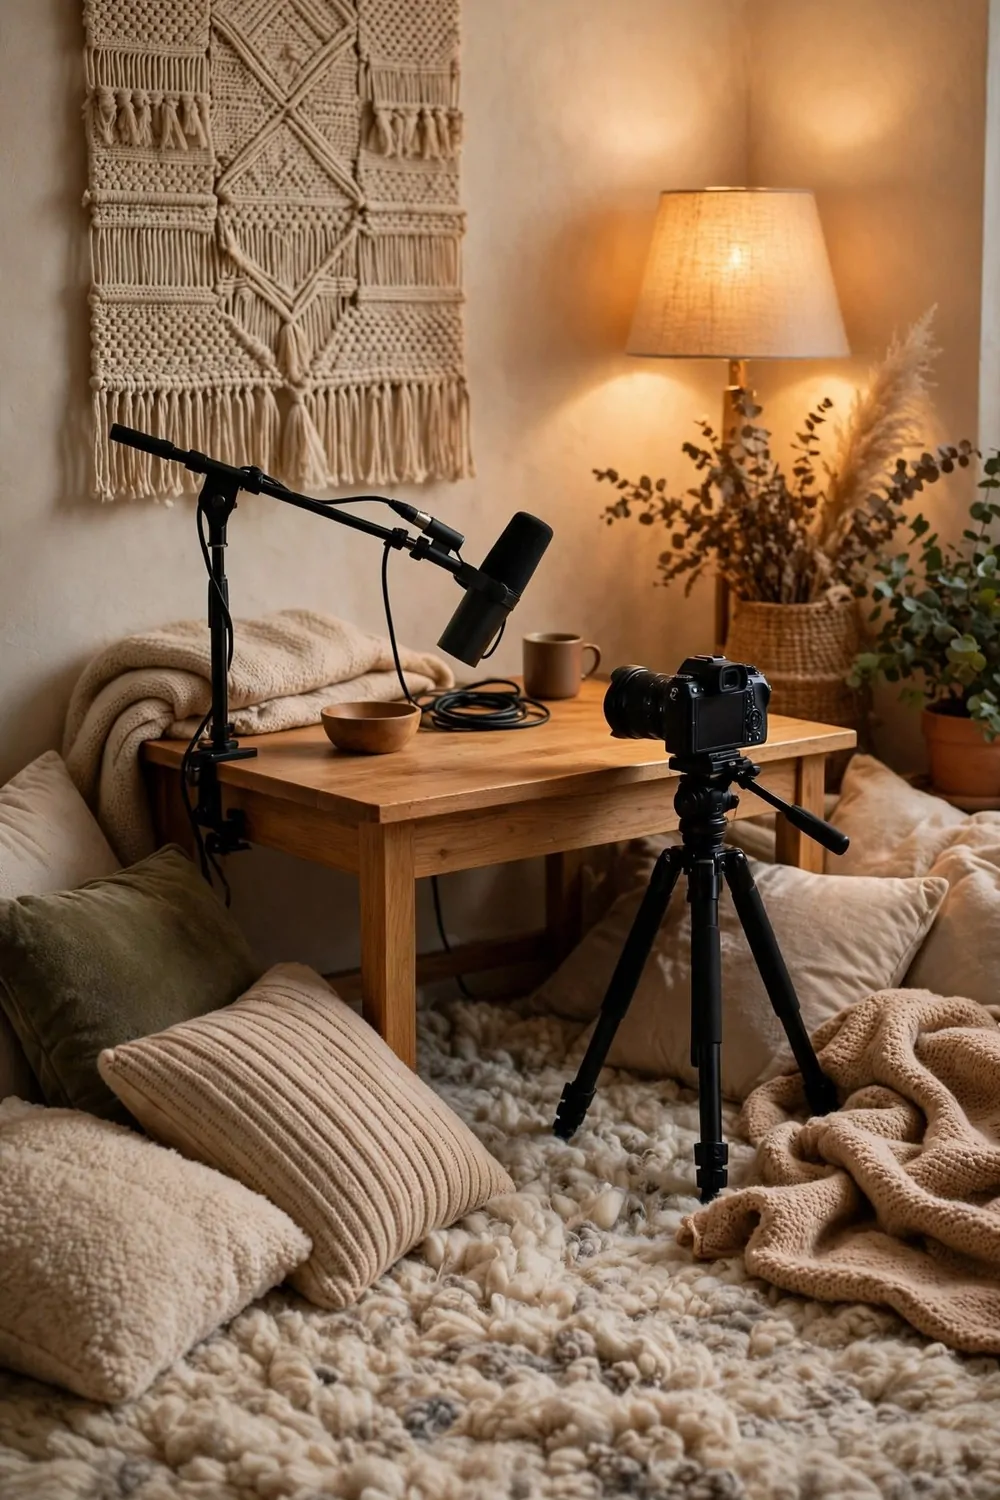
Hard floors are the enemy of good sound. Your voice hits the floor, bounces up to the ceiling, and comes back as echo. The microphone hears all of it.
A thick rug under your desk breaks that bounce. It soaks up the sound on its way down, and the echo never gets started. One rug can change a whole room.
Bigger is better here. A small mat under your chair helps a little. A rug that covers the whole filming zone helps a lot. Cover the floor you actually use.
Thick and soft beats thin and flat. A deep wool rug or a shaggy rug eats more sound than a thin flat weave. If you can press your fingers into it, it is doing the job.
Add soft things around the rug too. Cushions on a chair, a fabric wall hanging, a throw over a shelf. Every soft surface helps, and they add up fast.
Keep the rug clean. Dust and crumbs do not change the sound, but they do change how you feel about the room. A quick shake outside once a week keeps it fresh.
Test it with a clap. Clap once on the bare floor, then clap once on the rug. Your ears will hear the echo die. That is what your microphone hears too.
A rug is furniture that works two jobs. It makes the room look warm, and it makes the room sound warm. Both jobs matter on camera.
If your room sounds hollow, start at the floor. A rug first, panels later. Most rooms never need the panels once the floor is soft.
6. The Bookshelf That Breaks Up Sound
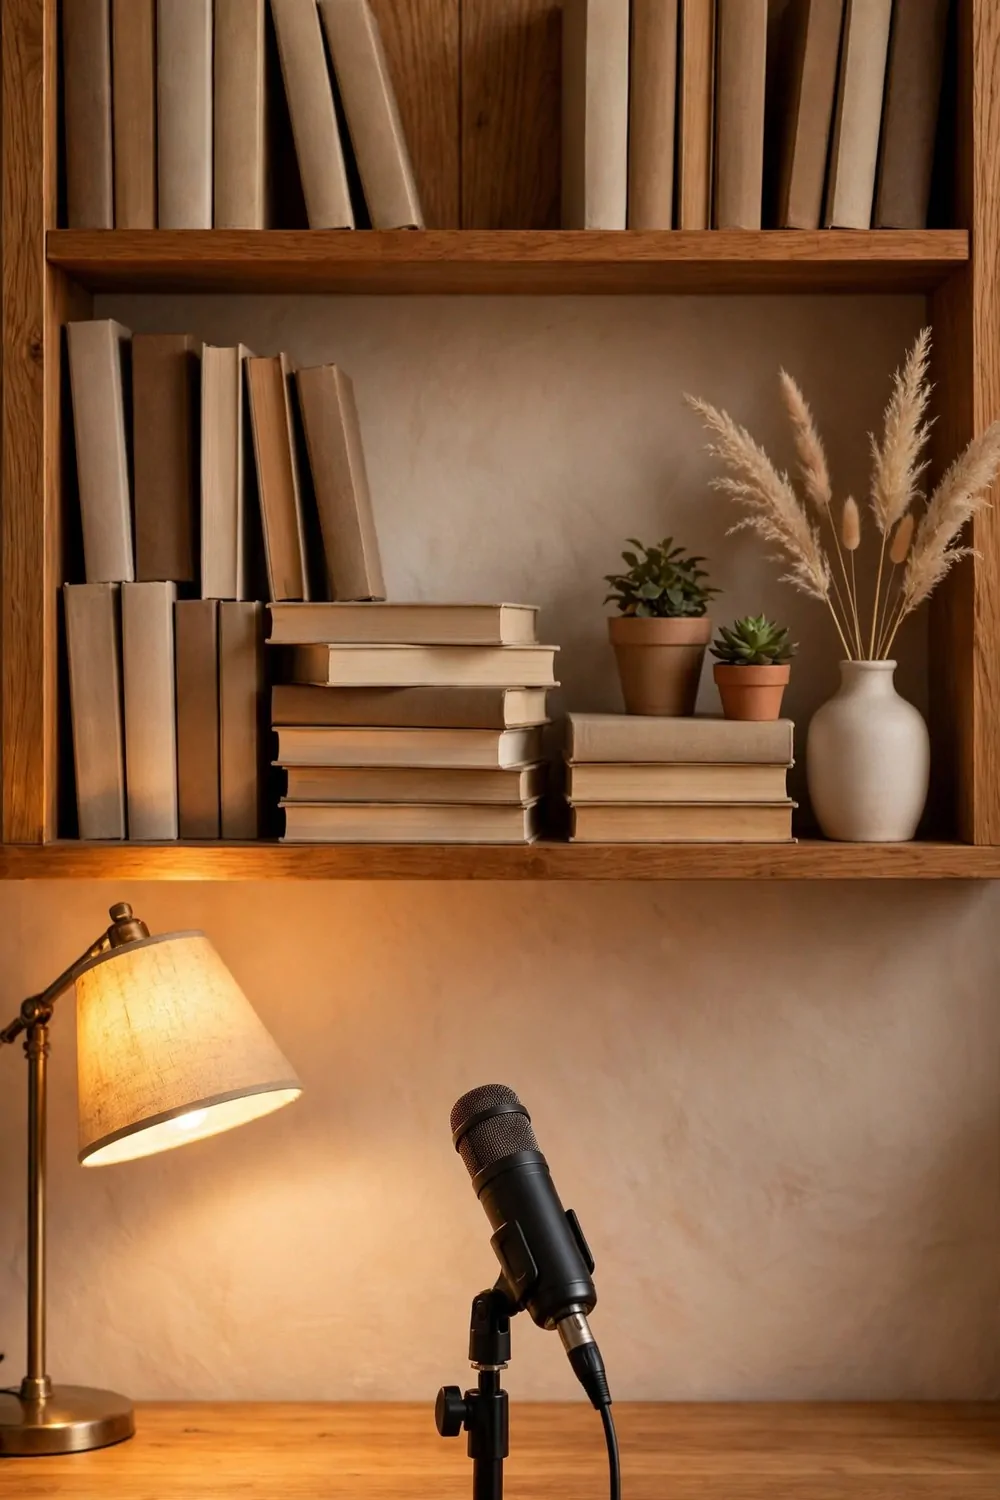
Flat walls bounce sound straight back at the microphone. A bookshelf breaks that bounce into a hundred little pieces, and the echo falls apart.
The trick is uneven depth. Books standing upright, some stacked sideways, a few pulled forward, a few pushed back. Every bump in the surface scatters sound in a different direction.
Leave some air on the shelves. A shelf packed edge to edge is almost as flat as a wall. A shelf with space between groups is a much better diffuser.
Mix in other objects too. A small plant, a plain vase, a wooden box. Different shapes scatter sound differently, and the shelf looks more like a real room and less like a library.
Put the bookshelf behind you or beside you, not behind the camera. The microphone hears the walls around you. The wall behind the camera barely matters.
Dust the shelves before you film. The camera sees dust on book spines faster than your eyes do in the room, and a dusty shelf looks sad on video.
Keep the book spines plain. This is not the place for bright titles and loud covers. Plain spines read as calm on camera, and calm is what you want behind your head.
A bookshelf is a diffuser that also looks good. It tells viewers you read, it softens your sound, and it costs nothing if you already own the books.
If you have one bare wall in your filming room, put a bookshelf against it. Your ears and your viewers will both thank you.
7. The Headphone Check That Saves Every Video
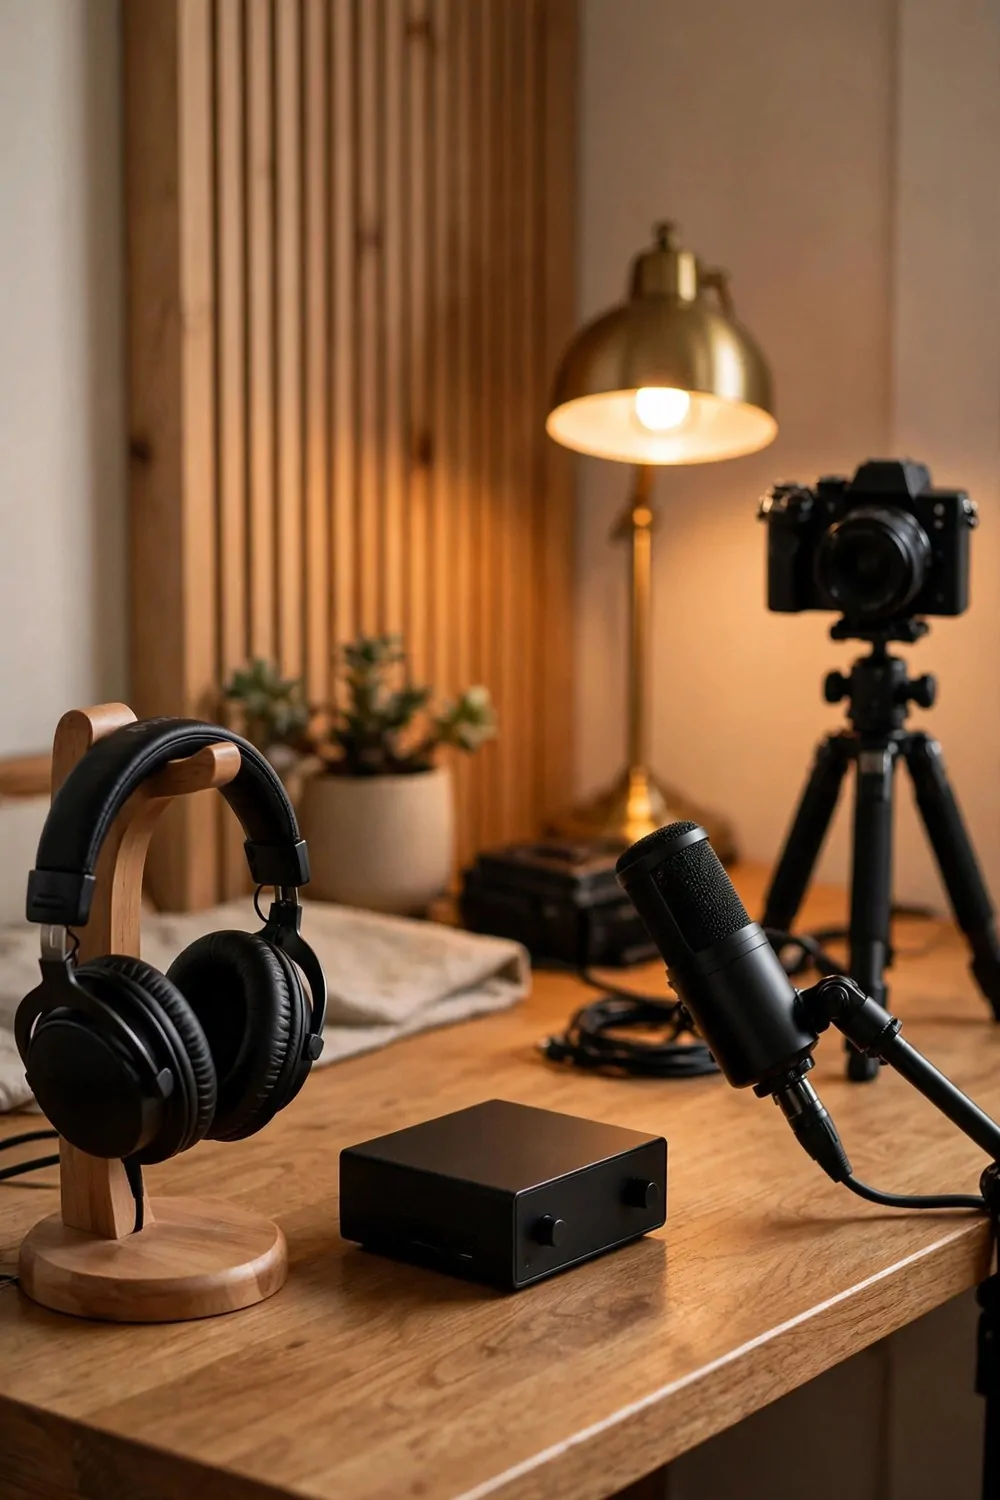
Never trust your room. Trust your headphones. What sounds fine in the room can sound terrible in the recording, and you will not know until it is too late.
Put your headphones on and listen to a test recording before every session. Thirty seconds of listening saves hours of fixing, or worse, a video you have to scrap.
Listen for the small things. A fridge hum. A fan whine. A clock ticking. A neighbor’s dog. Headphones catch all of it, and your bare ears miss most of it.
Here is my headphone check list, in order:
- Record ten seconds of silence and listen for hums and buzzes
- Clap once and listen for echo and ring
- Read one sentence and listen for pops on P and B sounds
- Move your chair and listen for squeaks and creaks
- Check the whole test clip at full volume, not half
Use closed-back headphones if you can. They seal out the room and let you hear only the recording. Open headphones let the room in, and the room lies to you.
Keep the headphones on a stand on your desk. Headphones with a home get used. Headphones in a drawer get forgotten, and the check never happens.
Check at full volume. Problems hide at low volume. A hum you cannot hear at half volume will shout at your viewers through their earbuds.
Fix what you hear before you record for real. Move the mic, close a door, switch off the fan. Small fixes now beat big fixes later, every single time.
The headphone check takes one minute. Make it a habit, like checking the frame, and your audio will stay clean for good.
8. The Fist Rule for Mic Distance
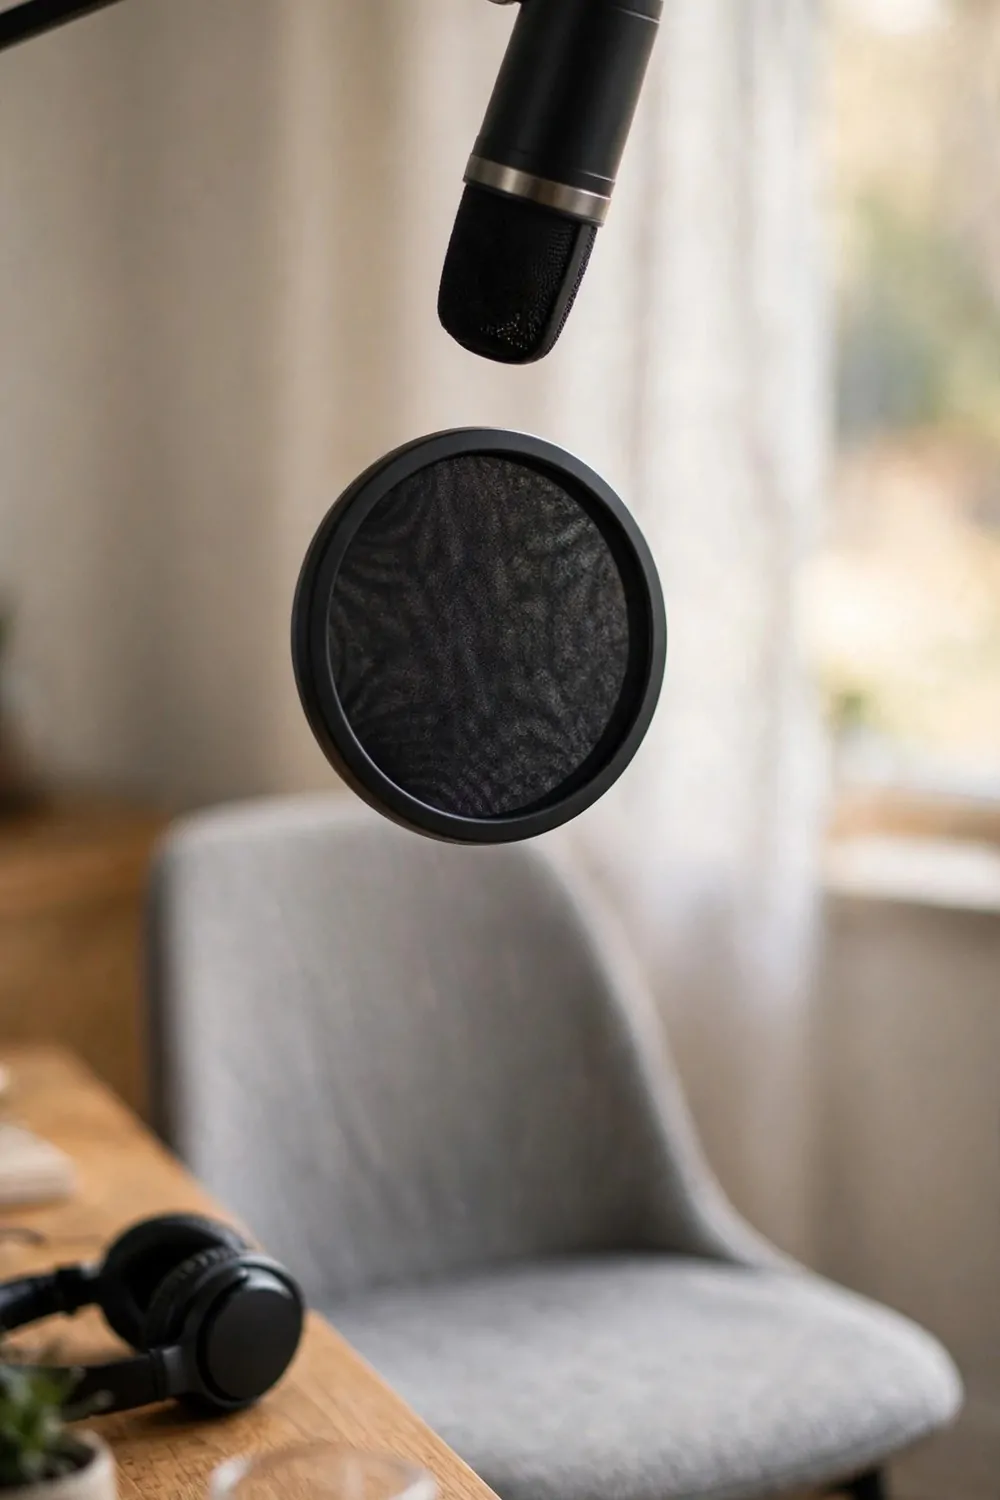
Mic distance is the one setting most creators get wrong. Too far and you sound distant and echoey. Too close and every breath pops like a drum.
The fist rule is simple. Make a fist, put your thumb against your lips, and your little finger should just touch the microphone. That is the distance. About a hand’s width.
Here is a quick guide for common mic setups:
| Mic type | Distance from your mouth | Watch out for |
|---|---|---|
| Boom arm mic | One fist, about 15 cm | Popping on P and B sounds |
| Desk stand mic | One fist, angled up at you | Desk thumps when you type |
| Clip-on lav mic | Clipped at chest height | Clothes rustling against it |
Use a pop filter if you have one. It is a thin screen that sits between you and the mic and softens the bursts of air on hard consonants. A cheap one works fine.
No pop filter? Talk slightly across the mic instead of straight into it. Angle the mic a little to one side. The air from your words misses the capsule, and the pops vanish.
Stay at the same distance for the whole recording. Moving closer and farther makes your voice swell and fade, and listeners notice even when they cannot name it.
A boom arm helps a lot here. It holds the mic exactly where you put it, and it keeps desk thumps out of the recording. A mic on a desk stand picks up every tap.
Mark the spot if you move the mic a lot. A small piece of tape on the boom arm shows you where it was last time. Consistency is half of good sound.
The fist rule takes five seconds to check. Do it at the start of every session, and your voice will sit in the same warm spot every time.
9. The Blanket Fort Fix
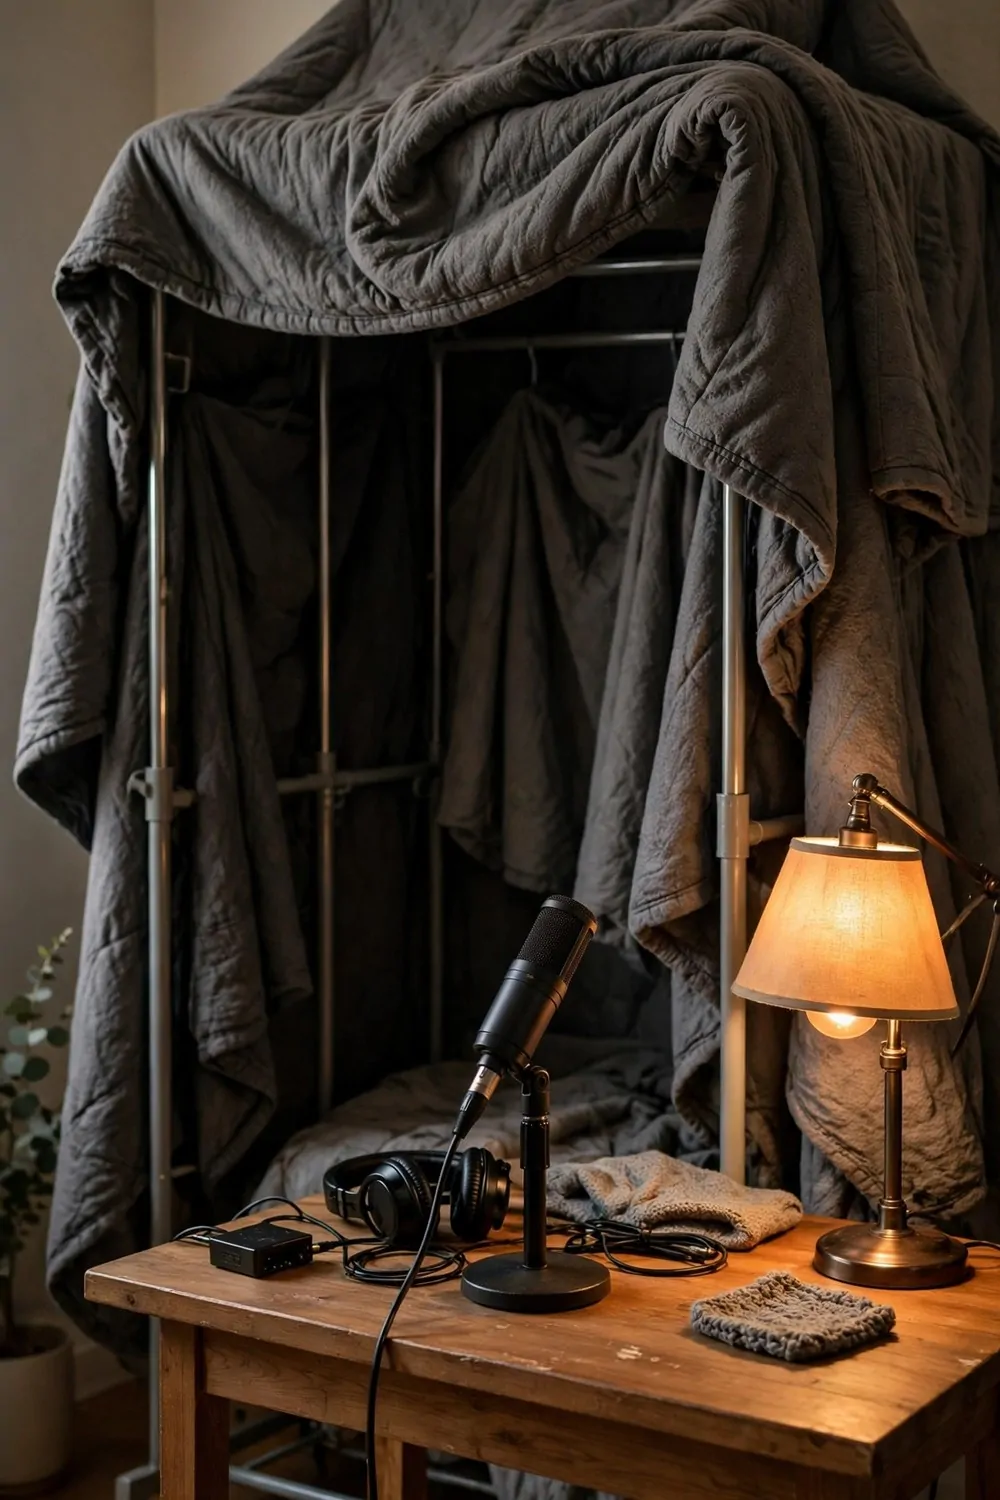
Some rooms echo so badly that no rug or shelf can save them. Bare walls, high ceilings, hard floors. For those rooms, build a fort.
A blanket fort is two frames with heavy blankets draped over them, set up behind you and to one side. It makes a small soft room inside the big hard room.
Use the heaviest blankets you own. Moving blankets are best, because they are thick and dense. A heavy quilt works too. Thin sheets do almost nothing, so do not bother with them.
Drape the blankets so they hang loose, not stretched tight. Loose fabric soaks up more sound. Tight fabric bounces it back, almost like a wall.
Leave the front open, facing the camera. You sit inside the fort, the camera looks in, and the soft walls catch the sound before it can bounce around the room.
Put a warm lamp inside the fort. Blankets block light as well as sound, and a dark fort feels like a cave. One clip-on lamp keeps it bright and friendly.
Keep the fort tidy at the edges. Blankets trailing on the floor look messy in the frame. Tuck the bottoms behind the frames, and the camera sees clean lines.
A fort looks silly. Say it out loud and move on. Your viewers never see the fort, because it sits behind the camera or just out of frame. They only hear the difference.
When a room fights you, build a smaller room. A blanket fort is the fastest acoustic treatment there is, and it packs away into a cupboard when you are done.
10. The Corner That Traps the Boom
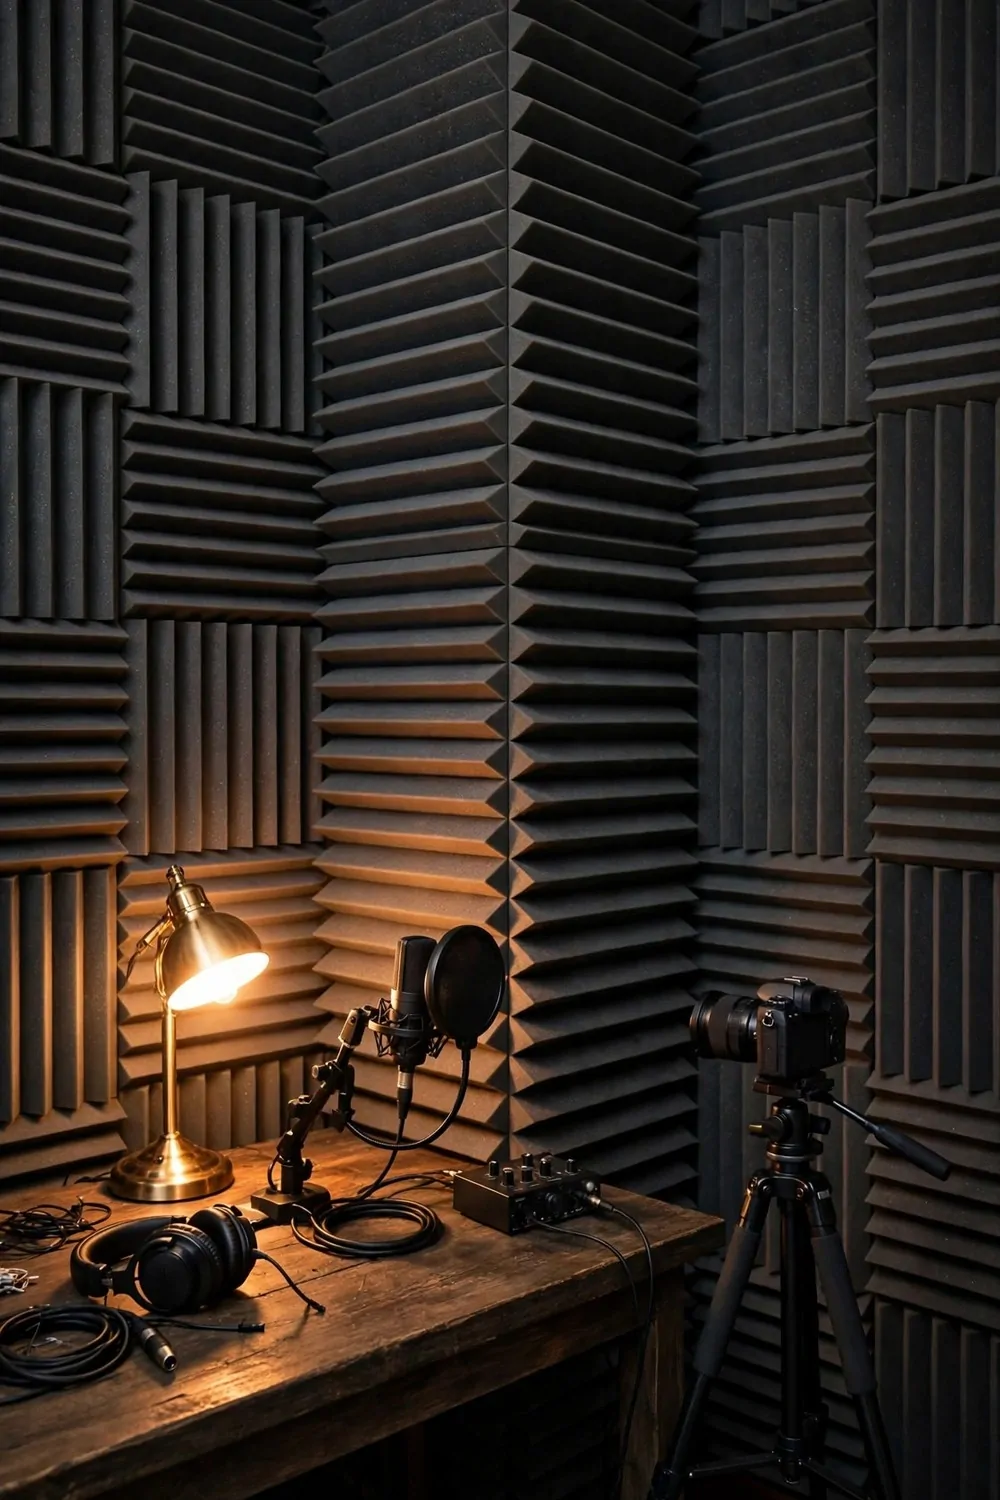
Low sounds love corners. Bass builds up where two walls meet, and it makes your voice sound boomy and muddy, like you are talking into a box.
Bass traps are thick soft panels that sit in the corners and soak up those low sounds. Foam wedges work. Thick cushions work. A stack of blankets in the corner works in a pinch.
Start with the two corners behind you. Those are the ones the microphone hears most. The corners behind the camera matter much less.
Go floor to ceiling if you can. Bass collects along the whole corner, not just at ear height. A short panel helps a little. A tall stack helps a lot.
Dark colors are the smart choice for corner panels. Charcoal or deep gray blends into the corner and disappears on camera. Bright colors shout from the corners.
Keep the panels snug into the corner. Gaps behind them let sound sneak through and bounce anyway. Push them tight, and check from the side that they touch both walls.
Test with your voice, not with music. Read a sentence with low, warm tones and listen back. Boom shows up on deep vowels first, so read slowly and listen hard.
Most small rooms need only two corners treated. Do those two, test again, and only add more if the boom is still there.
Corners are where bad sound hides. Treat them, and your voice comes out cleaner, tighter, and much easier to listen to for a long video.
11. The Dimmer Switch Trick
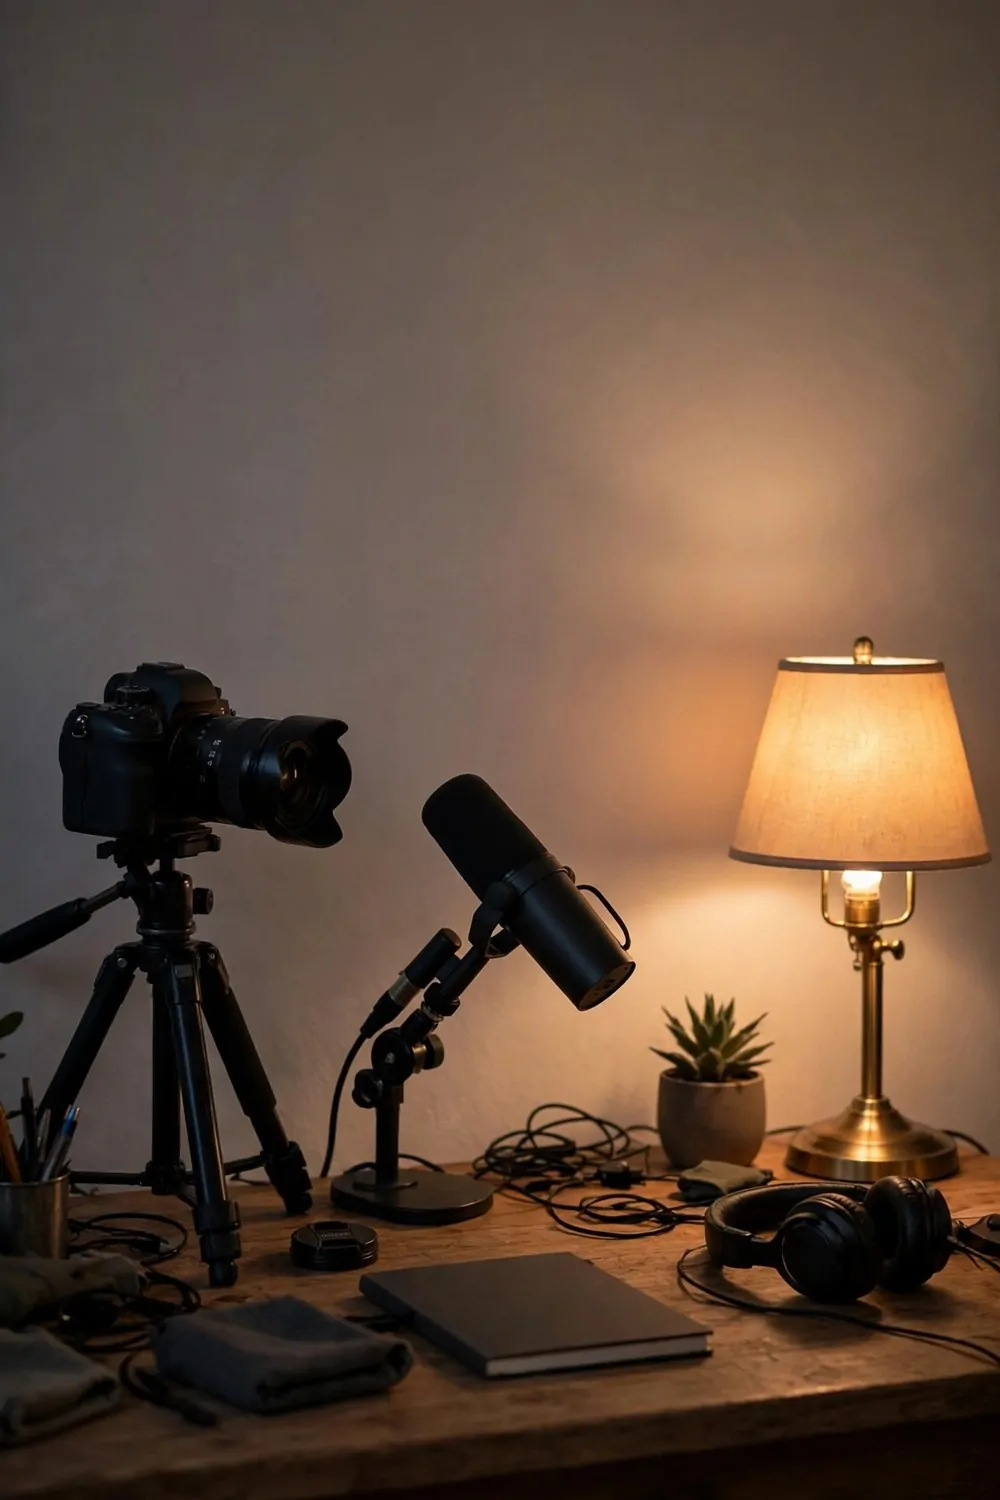
Bright overhead light flattens your face. It puts shadows under your eyes and makes the room feel like an office. A dimmer fixes that in one twist.
A dimmable lamp lets you set the mood exactly where you want it. Bright enough to see clearly, soft enough to look kind. That middle spot is where good video lives.
If your lamp has no dimmer, use a smart bulb. They cost very little now, and they dim from your phone. One bulb, one app, and every lamp in the room becomes adjustable.
No smart bulb? Move the lamp farther away. Light falls off fast, so doubling the distance drops the brightness a lot. A lamp across the room is a dim lamp.
Dim the room light and let a warm lamp do the work. Evening filming looks best this way. The lamp becomes the star, and the room glows around you.
Match your lamps when you dim them. Two lamps at the same level look even. One bright and one dim makes one side of your face look like a different day.
Check the frame after every change. Dimming changes how the camera reads color too. What looks warm to your eyes can look orange on camera, and the frame tells the truth.
Film a short test at each dimmer level. Ten seconds per level, played back in a row, shows you exactly where the sweet spot sits for your room.
A dimmer is control. It turns one harsh light into ten different lights, and you pick the one that makes you look your best.
12. The Phone You Already Own
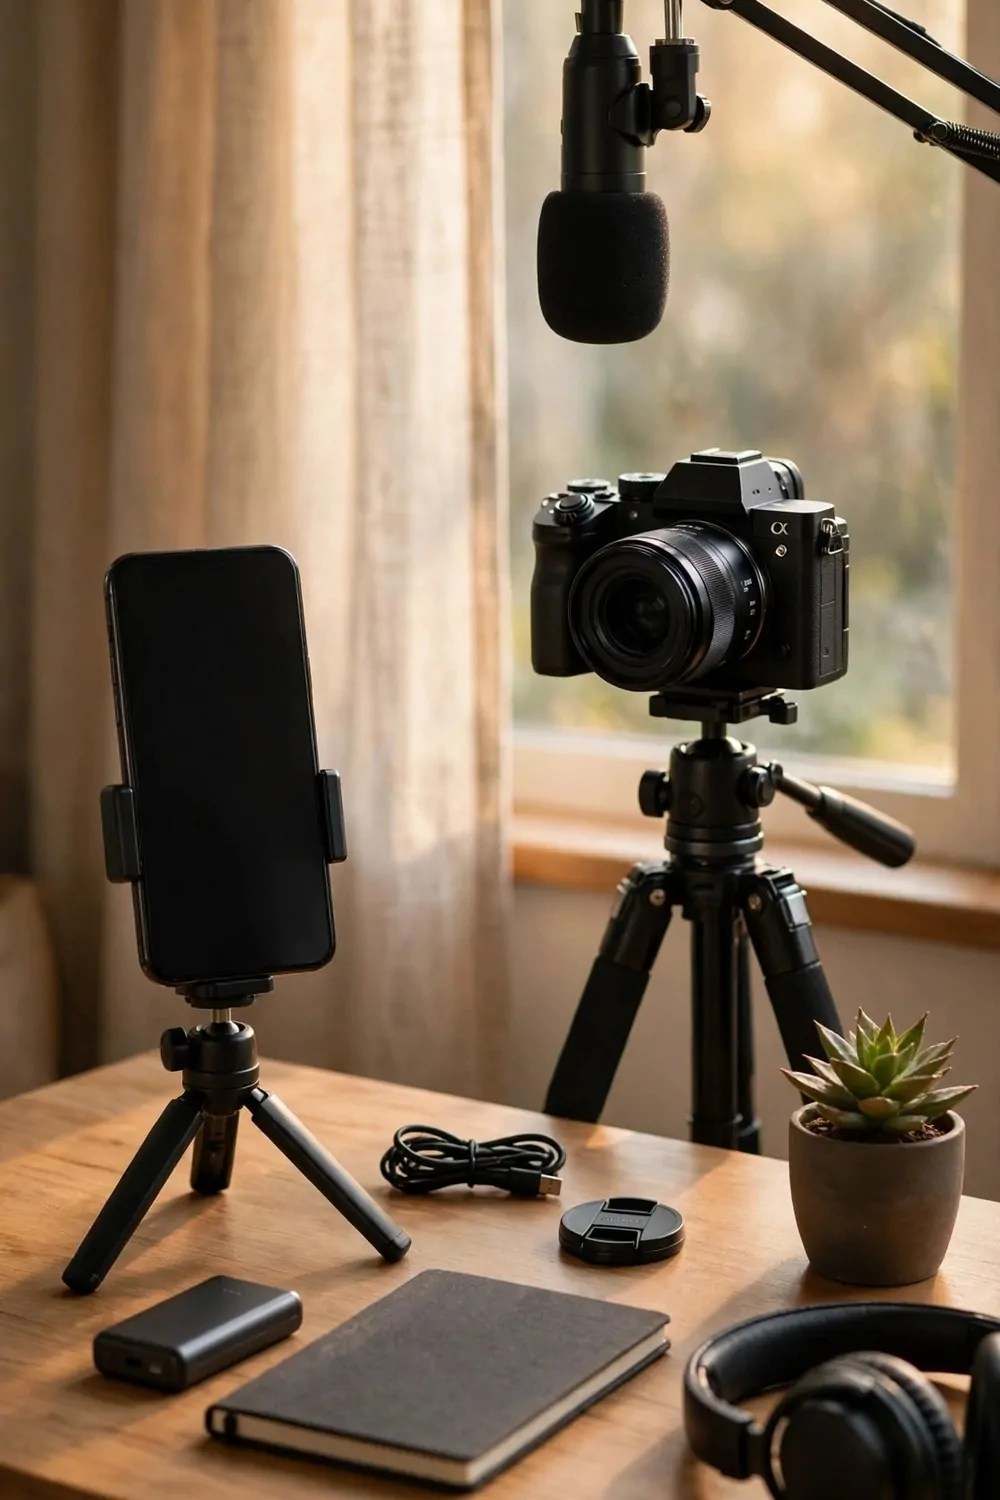
A second camera angle makes a video feel edited and professional. You do not need to buy one. Your phone is already a fine second camera.
Set the phone on a small tripod to one side, angled at about forty-five degrees to your face. The main camera films you straight on. The phone films the side angle.
Cut between the two angles when you edit. Straight on for the main point, side angle for a story or a joke. The cut wakes the viewer up, and the video feels alive.
Match the light on both cameras. The phone sits in the same room, so it sees the same lamps. Just check that no lamp glares straight into the phone lens.
Record sound on the main camera or the mic, not on the phone. The phone is for pictures only. Use its video, ignore its audio, and sync the two clips by one loud clap at the start.
Clap once on camera at the start of every take. Both cameras hear the clap, and the spike in the audio shows you exactly where to line the clips up. One clap saves ten minutes of guessing.
Keep the phone charged and in flight mode. A call buzzing in the middle of a take ruins the clip, and a dead battery ruins the second angle.
Use the rear camera, not the selfie camera. The rear camera is sharper, and the framing is steadier. Prop the phone up and check the frame on its screen before you start.
A phone second angle is free polish. Two angles, one clap, and your videos look like someone edited them on purpose, because someone did.
13. The Cables You Never See
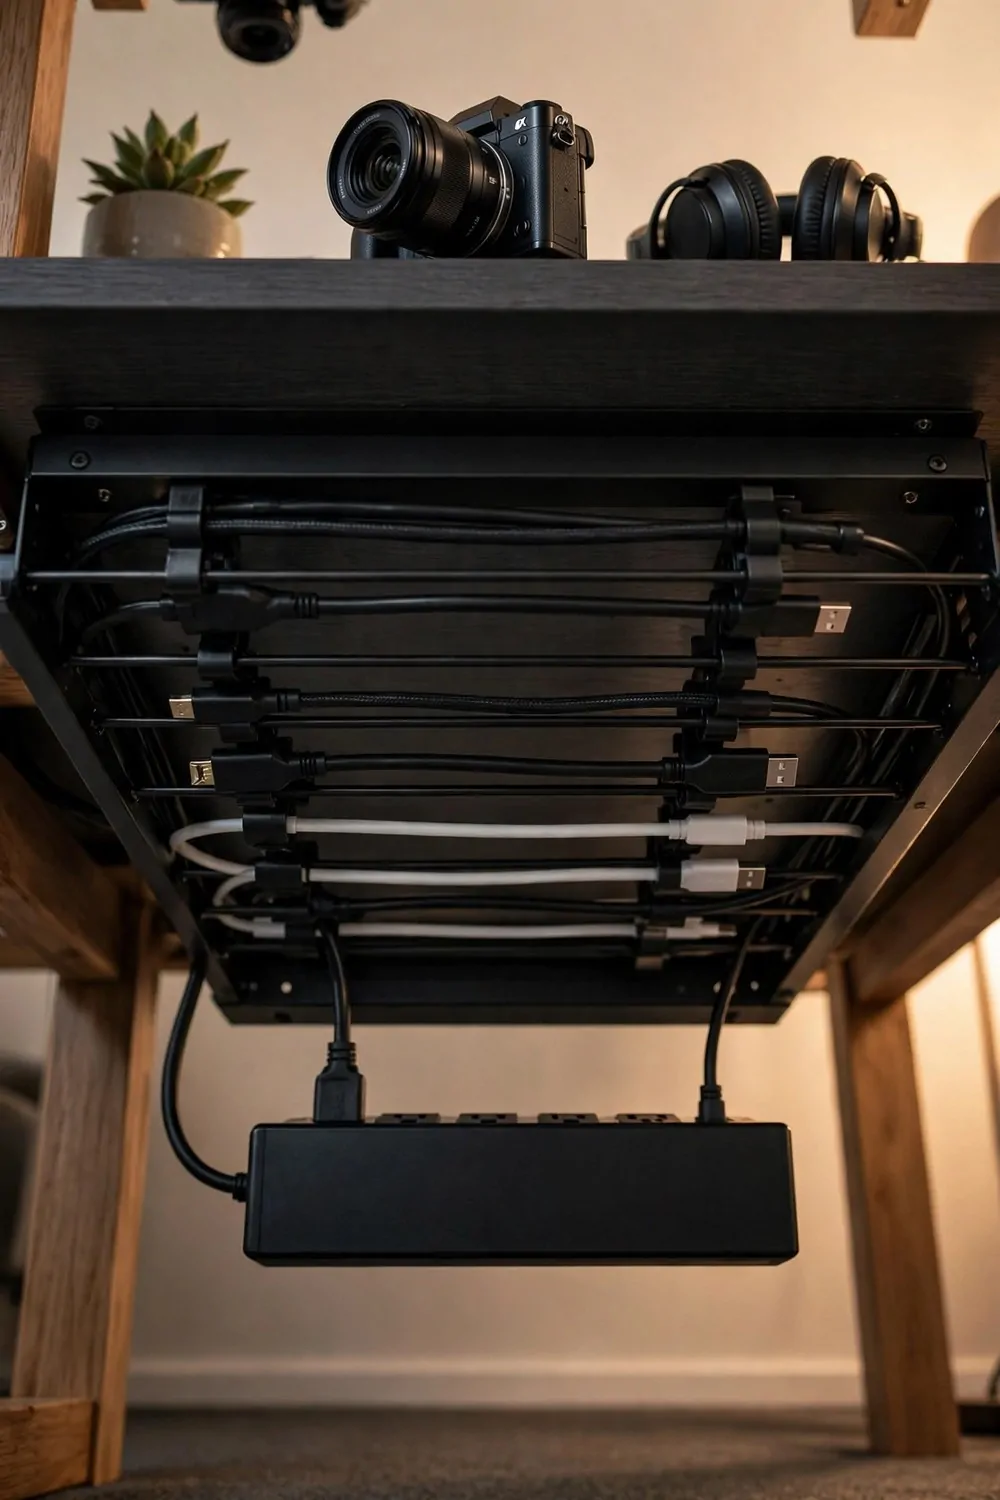
Cables ruin more shots than bad lighting. One black snake across a white desk, one charger dangling off the edge, and the whole frame looks messy.
Run every cable under the desk. A screw-on cable tray holds them all, and clips along the desk leg keep them tight. The desk surface stays clear, and the camera sees nothing.
Here is the tidy cable kit in one list:
- One under-desk cable tray, screwed to the back edge
- Adhesive cable clips along both desk legs
- Short cables, bought to the right length
- One box or cover for the power strip
- Velcro ties, not tape, for every bundle
Buy short cables. A two meter cable where thirty centimeters would do is a coil of mess waiting to happen. Short cables lie flat and stay out of sight.
Label both ends of every cable. A small tag or a strip of tape with one word on it. When something stops working, you find the right cable in seconds instead of pulling them all out.
Keep power cables and mic cables apart. Power cables can hum into audio cables when they run side by side. A few inches of space between them kills the hum.
Check under the desk once a month. Cables creep. A tidy tray in January is a tangle by March. Two minutes of tidying keeps it clean.
Velcro ties beat tape every time. Tape leaves sticky marks and gets worse with heat. Velcro opens, closes, and never leaves a mark on anything.
Cables you never see are cables you never think about. Tidy them once, and every video after that looks calmer before you even press record.
14. The Felt Wall That Looks Like Art
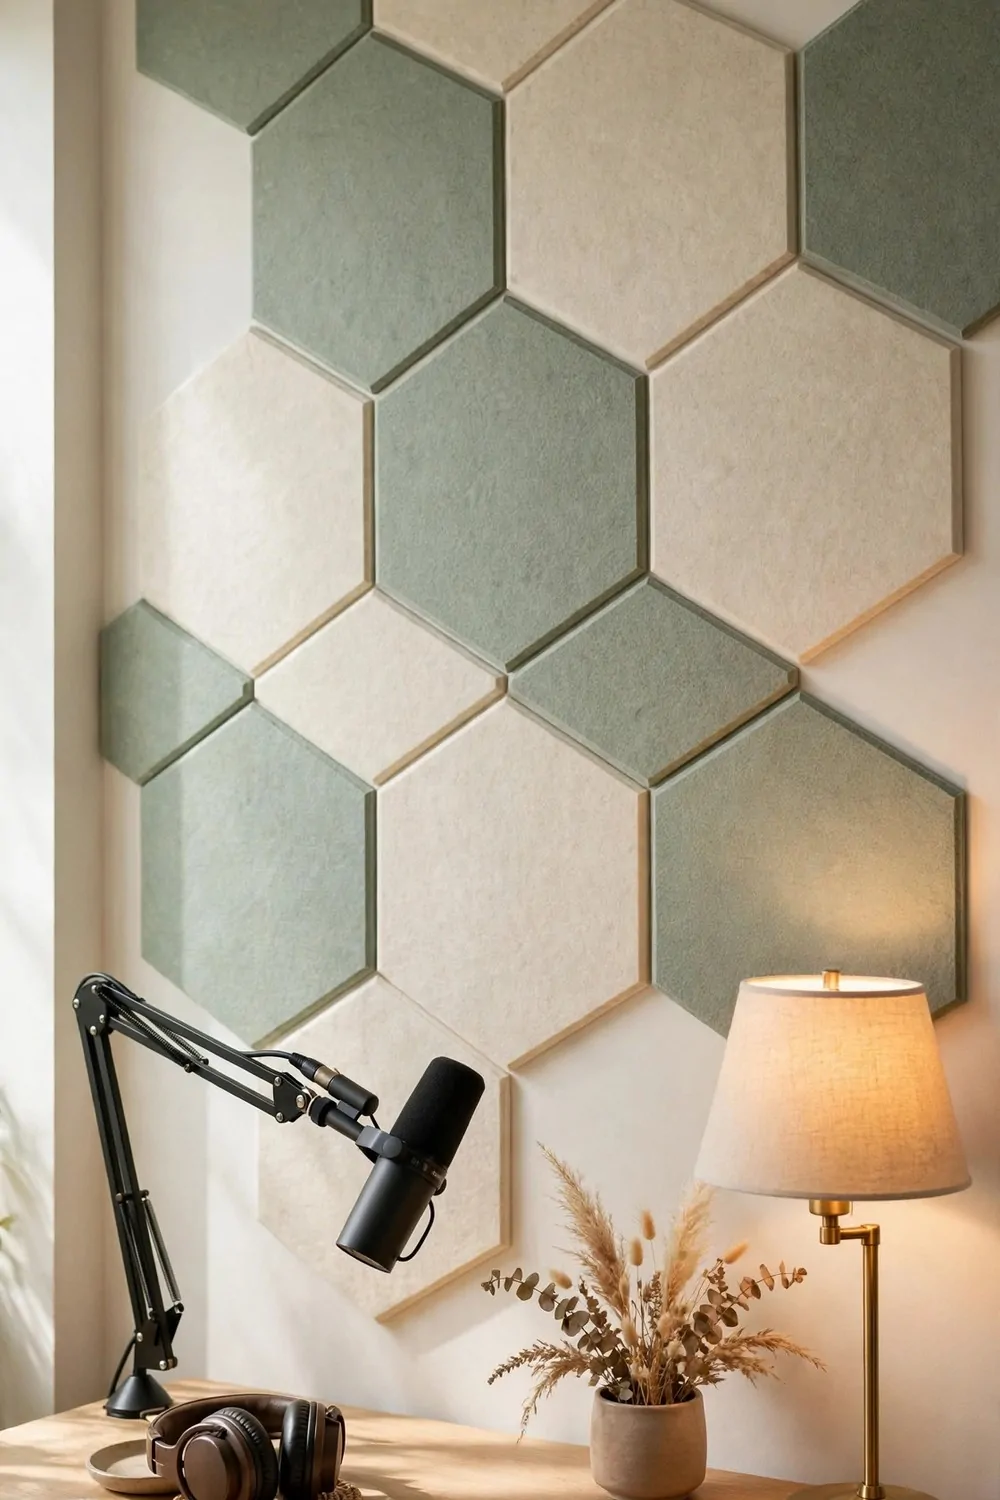
Acoustic panels work, but most of them look like a recording booth. Felt panels are the exception. They come in colors and shapes, and they look like art on the wall.
Arrange them in a pattern. A grid with gaps, a diagonal row, a scattered layout. A pattern reads as design. A solid block reads as padding.
Put the panels on the wall behind you and the wall beside you. Sound bounces off every hard surface, and two treated walls cut the echo far more than one.
Here is how the main panel types compare:
| Panel type | Look on camera | Cost |
|---|---|---|
| Felt panels | Smart, many colors | Higher |
| Foam panels | Plain, like a recording booth | Lowest |
| Fabric panels | Softest look, custom colors | Highest |
Pick panel colors that match the room. Charcoal, cream, sage, dusty blue. Panels that match the wall look like art. Panels that clash look like an afterthought.
Keep the panels dust free. Felt and fabric collect dust, and dusty panels look gray on camera. A lint roller once a week keeps them sharp.
Start with six panels, not sixty. Six well placed panels change a room. Sixty panels turn it into a padded cell, and nobody wants to film in a padded cell.
Stick them with removable strips if you rent. Good strips hold felt panels fine, and they come off clean. Your deposit stays safe, and your sound stays clean.
A felt wall says you care about sound and you care about looks. Viewers may not know the word acoustic, but they feel the difference in every sentence you record.
15. The Door Gap That Lets the World In
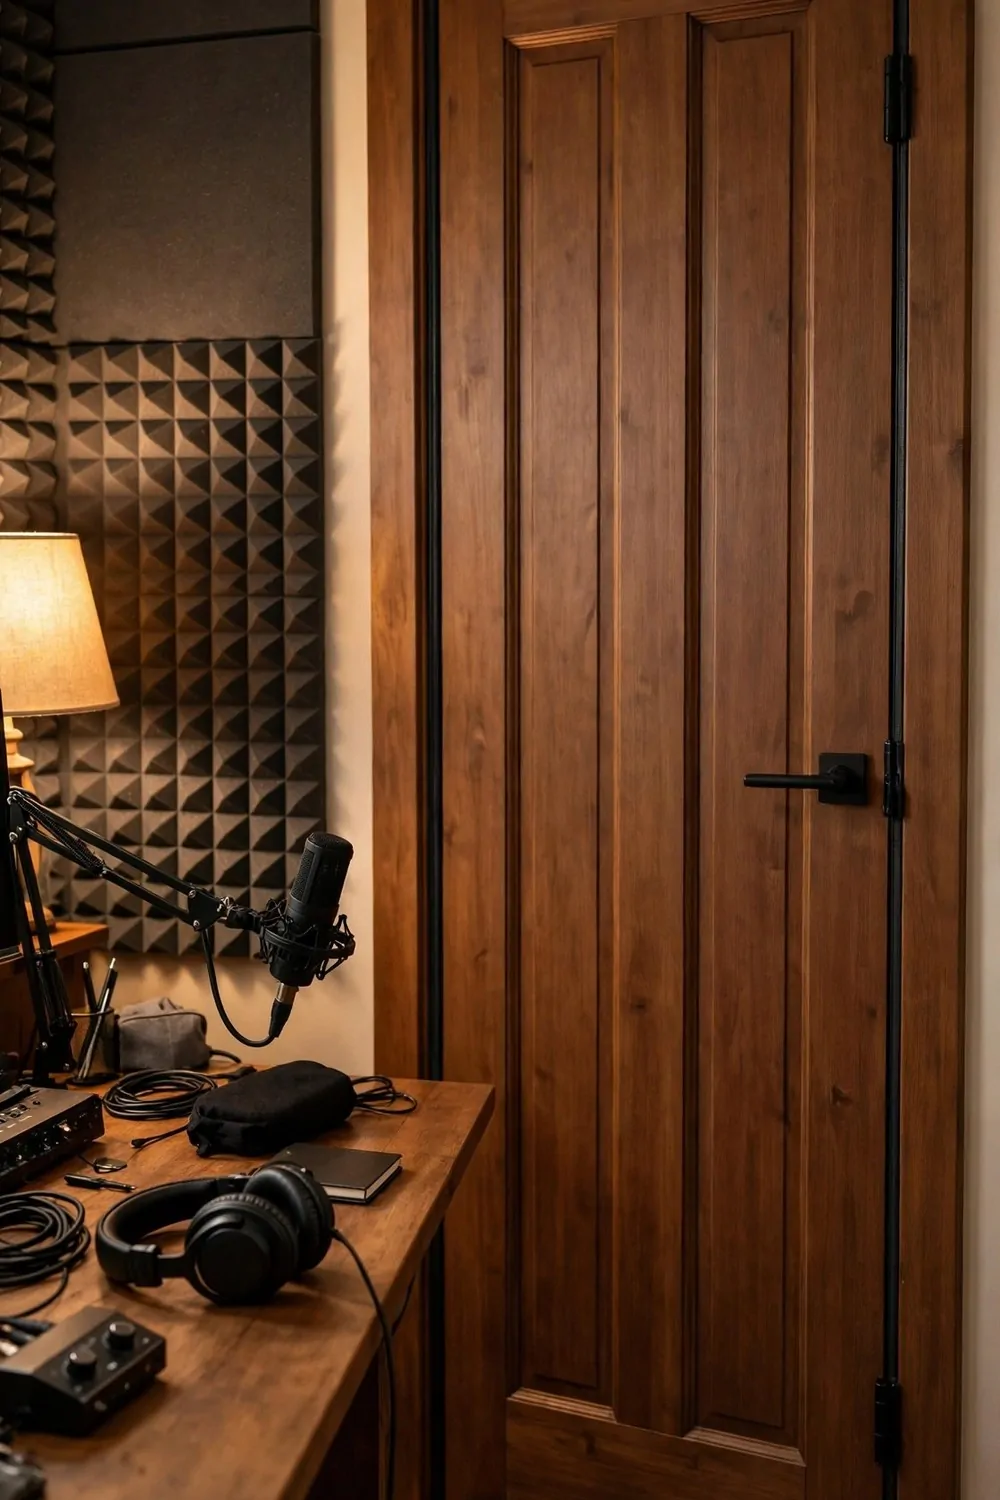
Most room noise does not come through walls. It comes through the gap under the door. That thin strip of air carries voices, televisions, traffic, and dogs, straight into your microphone.
Fit a draft stopper along the bottom of the door. A brush strip or a heavy fabric sausage both work. The goal is simple. No air gets through, so no sound gets through.
Seal the sides and top too, with thin foam strips. They cost very little and stick to the frame. Close the door and check for light leaking through. Light leaks are sound leaks.
Close the door for every recording. It sounds obvious, and it is obvious, but an open door is the number one cause of ruined takes in a busy house.
Tell the house you are recording. A small sign on the door, a message in the family chat, a word before you start. People are happy to stay quiet when they know. They just need to know.
Record away from the noisiest side of the house if you can. A room with one shared wall beats a room with three. The quietest room is usually the one farthest from the kitchen and the street.
Heavy curtains over a window help too. They block a little sound and a lot of light glare. Two jobs, one curtain, and the room gets calmer in both senses.
Test the seal with the headphone check. Record ten seconds of silence with the door closed, then listen. If you hear the house, the gap is still open somewhere.
A sealed door is the cheapest soundproofing there is. No builders, no panels, no permits. Just a stopper, some foam strips, and a closed door.
16. The Light Bar on Top of Your Screen
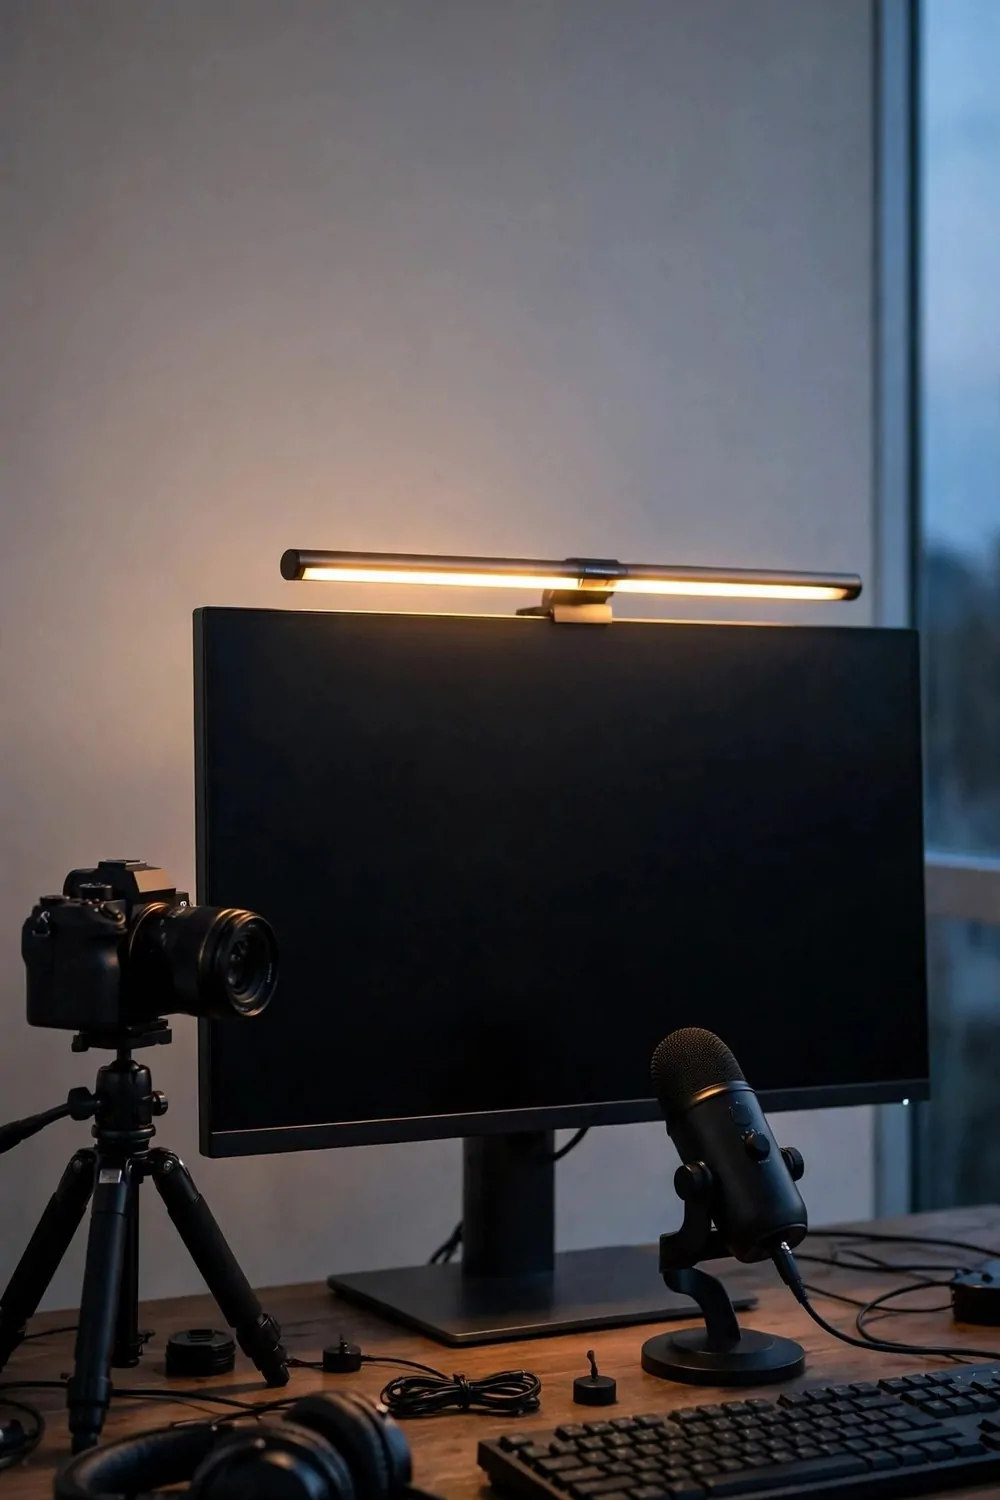
A monitor light bar sits on top of your screen and throws soft light down onto your desk. It lights your face, your keyboard, and your notes, without lighting the whole room.
The light points down and forward, not at the screen. That matters. Light hitting the screen causes glare, and glare ruins the picture. A good bar aims the light away from the glass.
Keep the bar warm, around 2700K, to match your lamps. A cool bar over a warm room makes your face look two colors at once. Matching warmth keeps you looking natural.
Dim the bar until your face looks soft, not lit. You want a gentle fill, not a spotlight. If you can see the light working, it is probably too bright.
A light bar also helps your eyes. Working under one even light beats squinting at a bright screen in a dark room. Long filming days feel shorter.
Keep the bar out of the camera frame. It sits on top of the monitor, so it usually hides itself. Check the top edge of the frame before you record, just in case.
Pair the bar with one lamp behind you. The bar lights your front, the lamp lights the background, and the frame has depth instead of looking flat.
Light bars cost little and install in seconds. They clip on, plug in, and work. No stands, no tripods, no floor space lost.
If your desk faces a wall and your face sits in shadow, a light bar is the fix. One bar, one warm setting, and the shadow is gone.
17. The Quiet Hours Rule
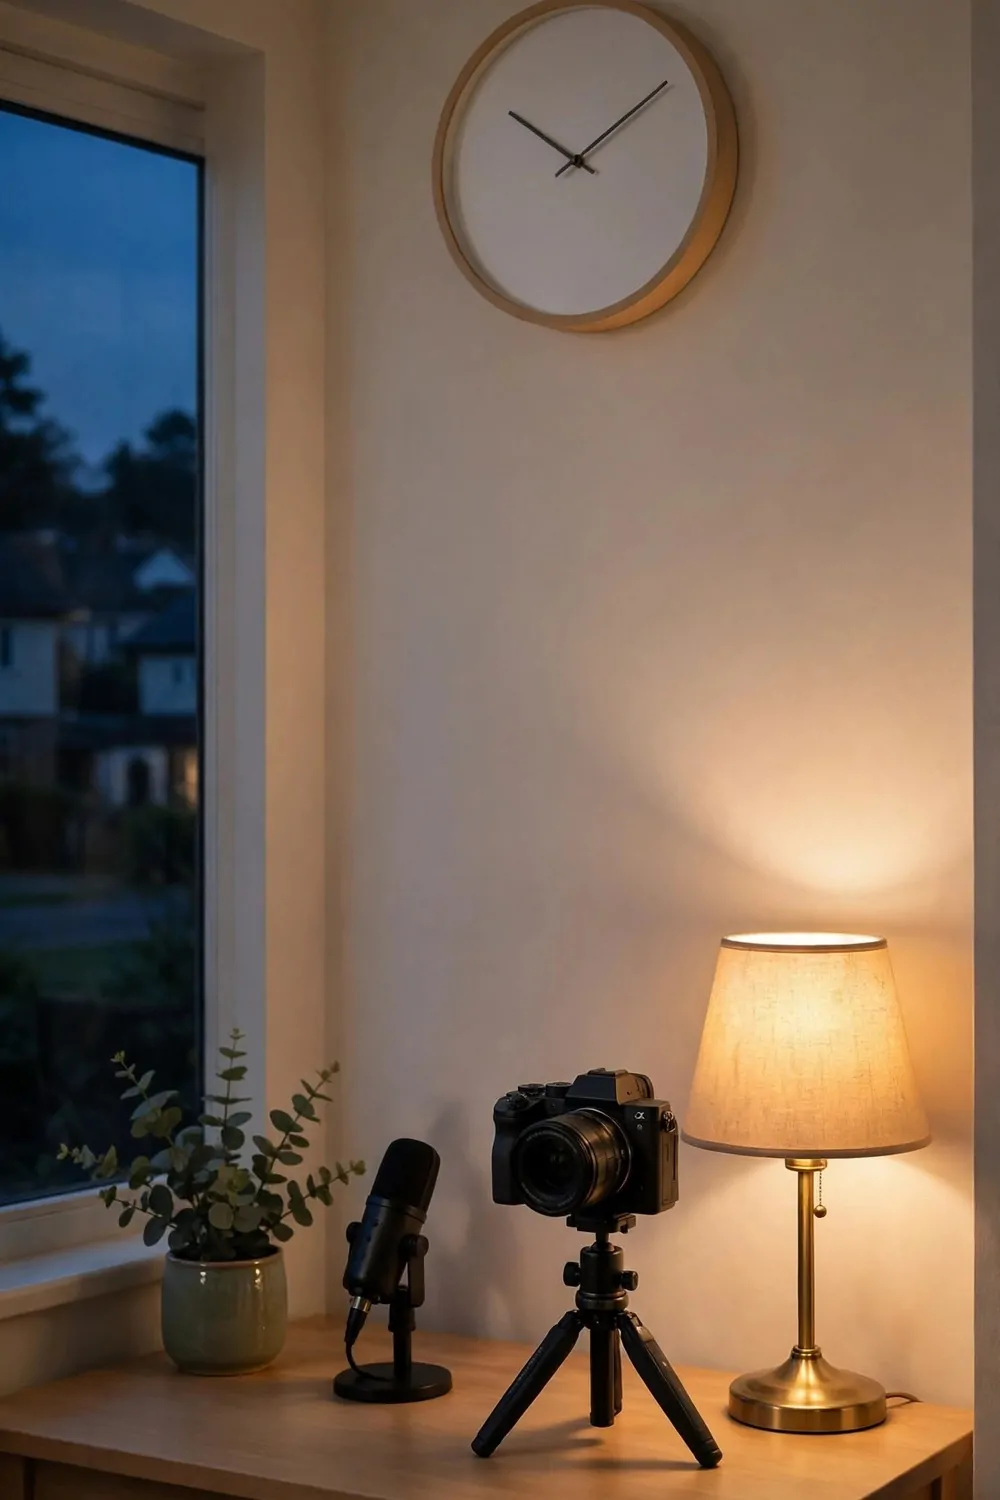
Every house has a noisy hour and a quiet hour. The washing machine, the traffic, the neighbors, the dogs. Your best recordings happen in the quiet hour, so find it and guard it.
Listen to your house for one day. Note when the street goes calm, when the fridge stops humming, when the neighbors settle down. That window is your recording time.
Film at the same time each day if you can. The light is the same, the sound is the same, and every video matches the last one. Consistency looks professional, even when the room is small.
Mornings are quiet in most homes. The traffic is light, the house is asleep, and the light is soft and steady. If you can film in the morning, do it.
Evenings work too, once the day settles. The light is warmer, the house is calmer, and the lamps do the heavy lifting. Pick the window that fits your life and keep it.
Put your recording time on the family calendar. Not as a wish, as a booking. When it is on the calendar, people respect it. When it lives only in your head, nobody knows.
Switch off the noisy things before you start. The fan, the air purifier, the washing machine. Two minutes of switching off saves an hour of editing out hums.
Keep a backup window too. If the quiet hour gets ruined by a delivery or a drill next door, the backup saves the day. Two chances beat one.
Quiet hours are free. They cost no money and no gear. They just ask you to listen to your house for one day and then show up at the right time.
18. The Thirty-Second Test Clip
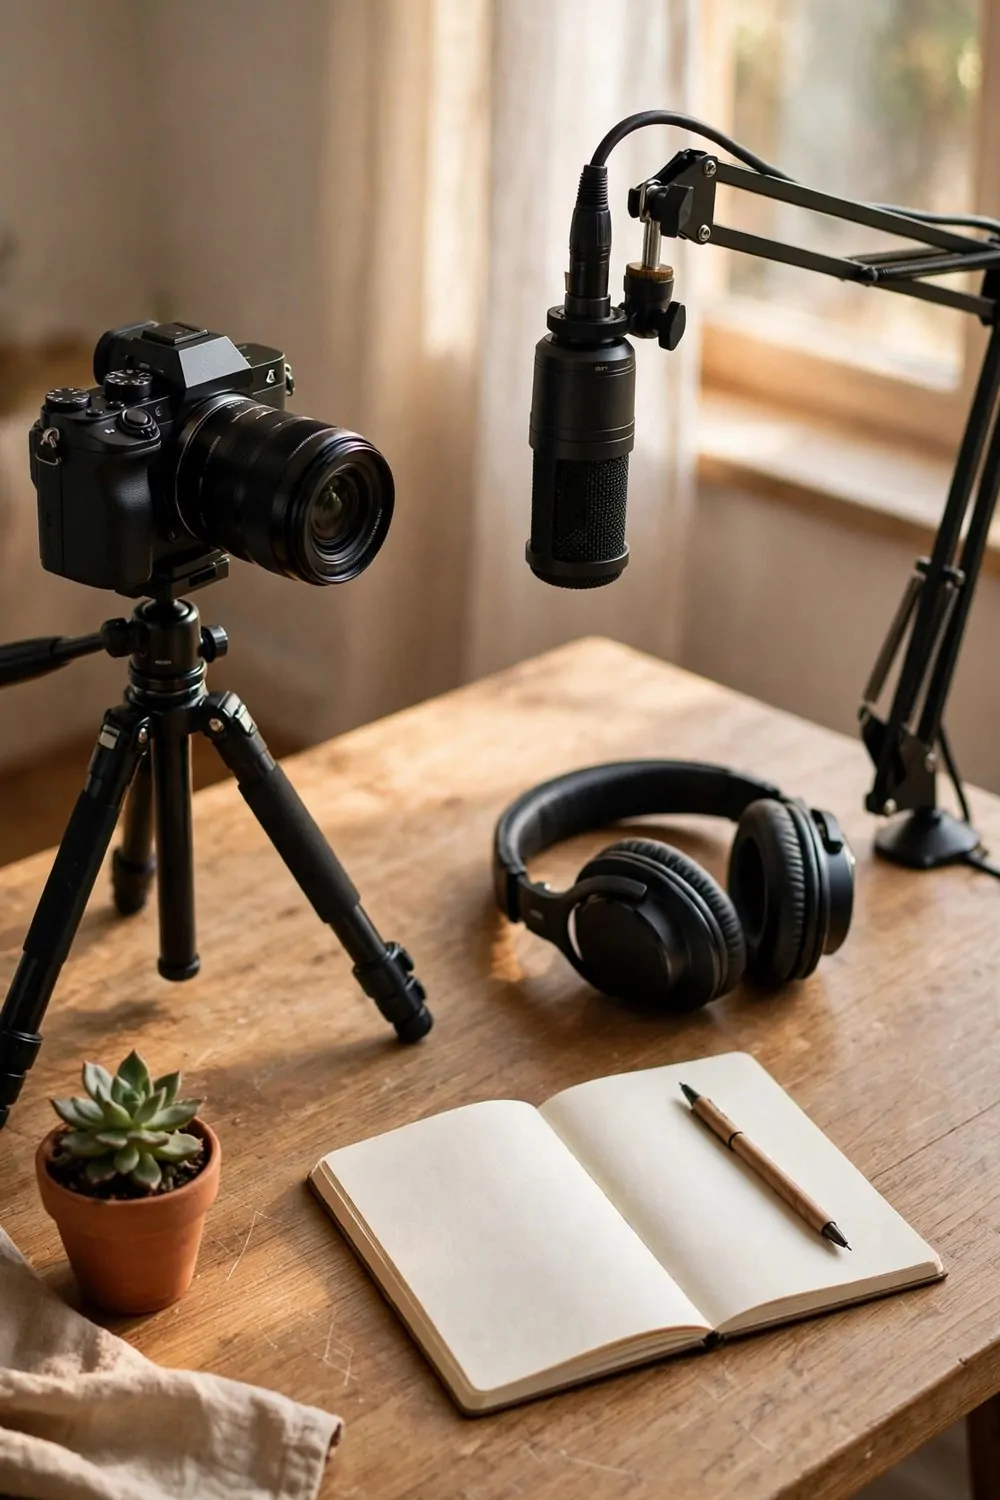
Never record a full video without a test clip first. Thirty seconds, played back with headphones, tells you everything that is wrong before it costs you an hour.
Record yourself reading the first lines of your script. Same chair, same mic, same lamps. The test must match the real thing, or it tells you nothing.
Play it back and watch for three things. Light on your face, sound in your ears, and the frame behind you. If one of the three is off, fix it now.
Check the frame edges. A cable sneaking in from the left, a door handle catching the light, a plant leaf poking into your hair. Edges are where mess hides.
Listen for pops, hums, and echo. The test clip is where you catch them. A pop filter moved one inch, a fan switched off, a door closed. Small fixes, done early.
Check your levels too. Your voice should peak in the healthy middle of the meter, not slammed at the top and not whispering at the bottom. Aim for the middle and stay there.
Keep a notebook beside the desk for test notes. One line per test is enough. “Lamp too bright.” “Mic too far.” The notebook stops you making the same mistake twice.
Re-test after every change. Move a lamp, record again. Move the mic, record again. Each change gets its own thirty seconds, and the last test is the one you trust.
Thirty seconds now saves thirty minutes later. Make the test clip a habit, like checking the frame, and bad takes become rare instead of routine.
19. The Plant That Softens the Room
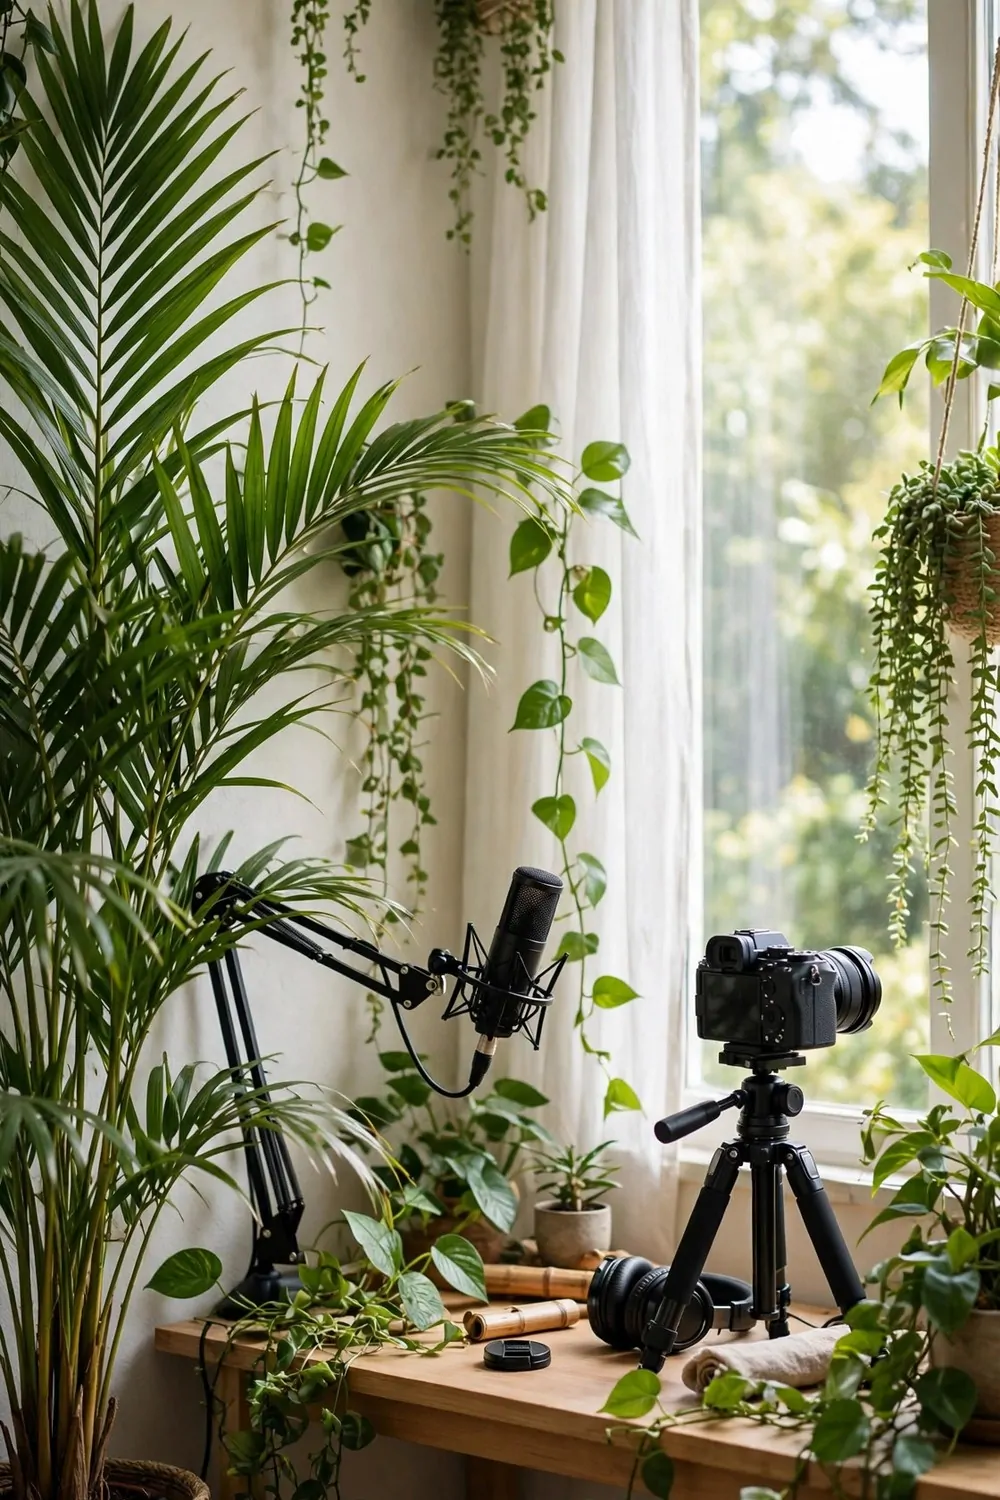
Plants do more than look nice. Leaves scatter sound, soften echo, and break up flat walls. A leafy corner is a gentle diffuser that also happens to be alive.
Start with one tall plant. A palm, a fig, or a bamboo in a big pot, placed just behind your shoulder or in the corner the mic hears most.
Add one trailing plant on a high shelf. It softens the top of the frame and pulls the eye upward. A room with green at two heights feels alive in a way no poster can match.
Choose matching pots. Same color, same material, two or three of them. Matching pots turn separate plants into one deliberate look. Mismatched pots turn the corner into a garden sale.
Keep the leaves clean. Dusty leaves look dull on camera. Wipe the big leaves with a damp cloth once a week, and they catch the light and glow.
Water on the same day each week. Plants on camera get looked at a lot, and a drooping plant is sadder on video than in real life. A weekly habit keeps the frame green.
Do not let a leaf block your face. Check the frame before you press record. A leaf poking out of your head is funny once and distracting forever. Move the plant two inches and the joke is gone.
Plants also help the light. They break up harsh sunbeams and soften shadows on the wall. Green is kind to cameras in every sense.
One plant is a decoration. Three plants at three heights is a design, and a design that quietly makes your sound better too.
20. The Night Recording Glow
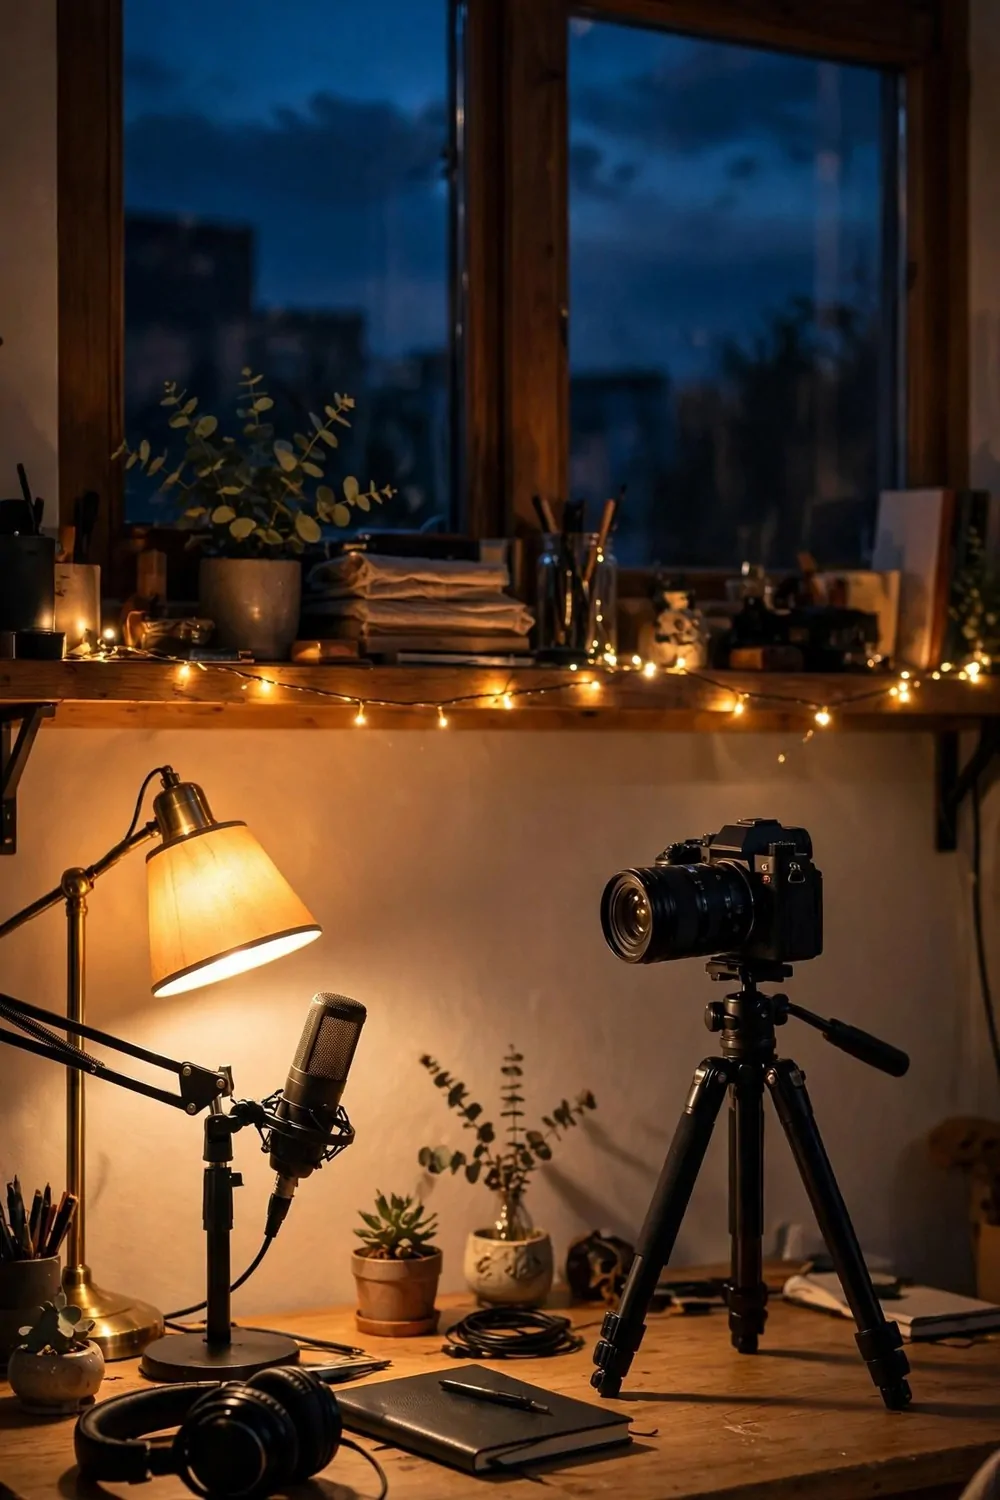
Night recording has a mood all its own. Warm lamps, string lights, a dark window. The frame feels cozy, and viewers settle in to listen longer.
Turn the big ceiling light off at sunset. It flattens everything and kills the mood. Live by lamp light alone, and the room feels smaller in the best way.
Layer three kinds of light, and the frame changes its mood with one click:
- A floor lamp beside your chair, for warm side light
- A small table lamp on the desk, for close glow
- A string of warm lights along a shelf, for pure magic
Warm bulbs, always. Around 2700K on the box. Warm light makes skin look good, and rooms feel like evening. Cool white light at night feels like an office that forgot to close.
Put one lamp on a timer. A lamp that switches itself on at dusk means you sit down to a glowing room, not a dark box. It feels wonderful every single day.
Dim your screen before you film. A glowing laptop fights the lamps and wins. Lower the brightness, and the frame keeps its glow. Your eyes rest better too.
Keep the window uncovered after dark. The evening sky, the distant lights, and the dark blue glass are part of the look. A curtain drawn at dusk hides the best view the setup owns.
Night sound is cleaner too. The street is quiet, the house is calm, and the microphone hears mostly you. Night is when a home studio does its best work.
A night glow setup welcomes viewers in. Turn the big light off tonight, let the lamps do their work, and watch your videos feel warmer.
21. The Shield Behind the Mic
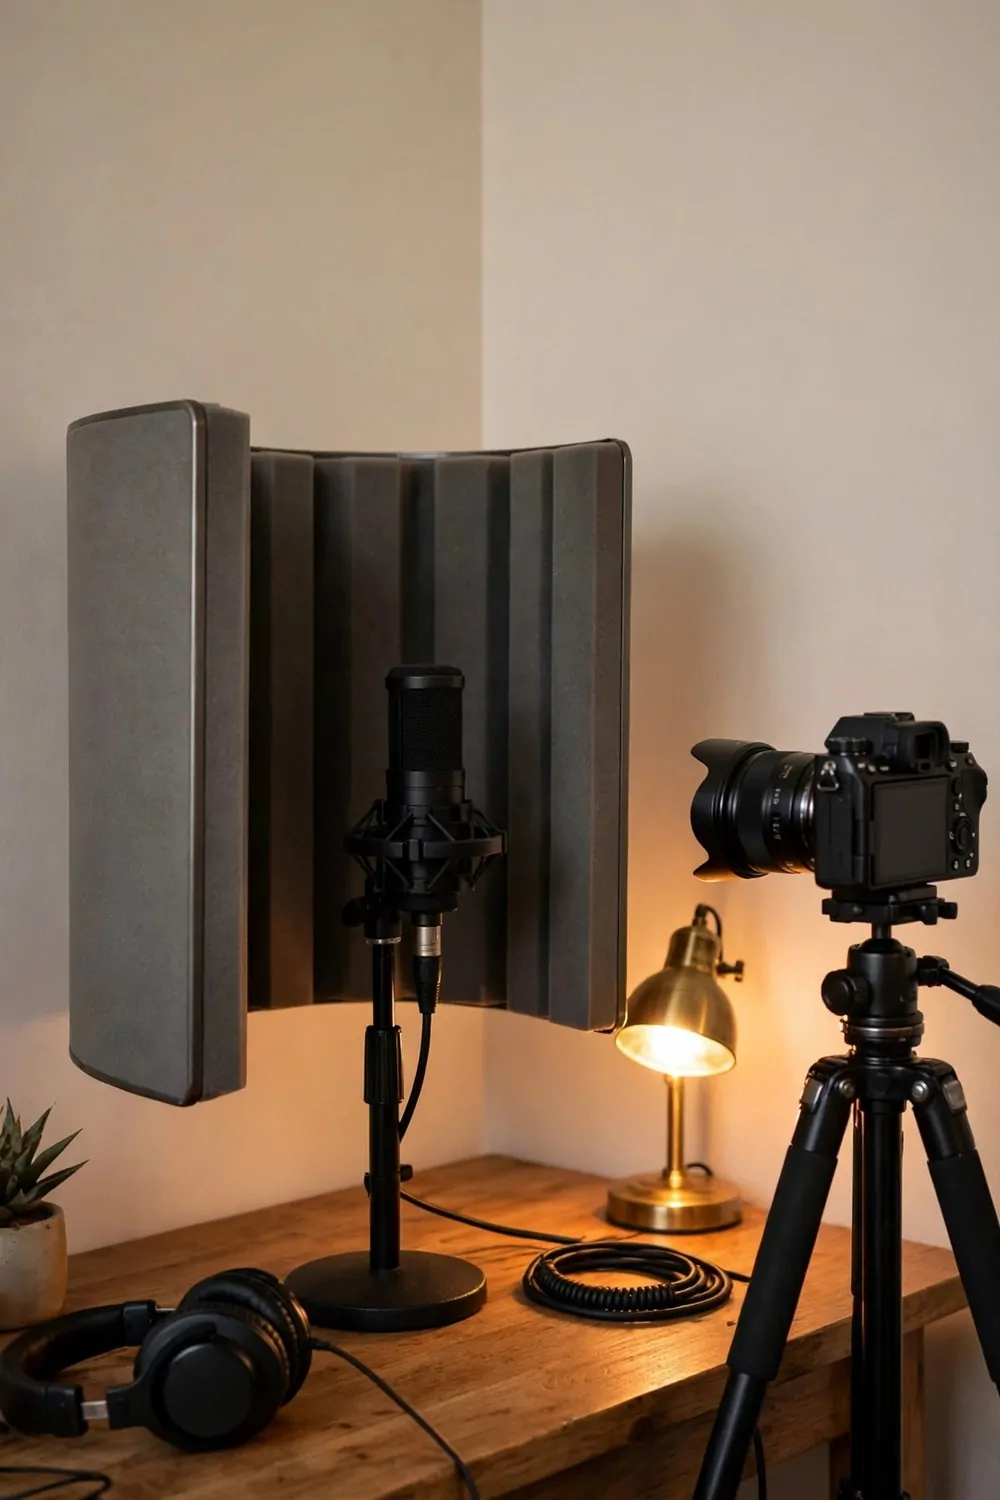
A reflection shield is a curved screen that stands behind your microphone. It catches your voice before it can bounce off the wall behind the mic, and it sends it back into the mic instead.
Set the shield so the mic sits in the middle of the curve, with the open side facing you. The shield wraps the back of the mic, not the front. You speak into the open side.
Keep the shield close to the mic, an inch or two behind it. A shield across the room does nothing. A shield hugging the mic does the whole job.
Pair the shield with one soft surface behind you too. A rug, a curtain, a blanket on a chair. The shield handles the back, the soft surface handles the front, and the echo has nowhere left to go.
Shields fold flat for storage. Open it, clip it to the mic stand, record, fold it away. It takes less than a minute, and it lives in a cupboard between sessions.
Check the frame before you record. A shield is not pretty, and it can creep into the shot from the side. Move it a fraction until the frame is clean.
Use the shield when the room is hard. Bare walls, big windows, tiled floors. In a soft room you may not need it. In a hard room it earns its keep every time.
Do not expect magic. A shield is one tool, not a whole studio. It helps a lot with reflections, and it helps most when the rest of the room is already fairly soft.
One shield, one mic, one close fit. That is the last hack on the list, and it is a good one to end on. Small, cheap, and it works the moment you set it up.
That is all twenty one. Twenty one hacks, and not one of them needs a big budget or a builder. A window, a board, a rug, a blanket, a lamp moved two feet to the left.
You do not need to do all twenty one this weekend. Pick three. The window seat, the fist rule, and the thirty second test clip. Those three alone will change how your next video looks and sounds.
Then add one more next week. Slow setup beats fast setup every time, because slow setup stays. Fast setup ends up in a box in the storage room by winter.
Save the hacks you love. Start with the one that made you nod. Your videos do not need a bigger room or a bigger budget. They need a little more light in the right place, and a little less echo in the wrong one.