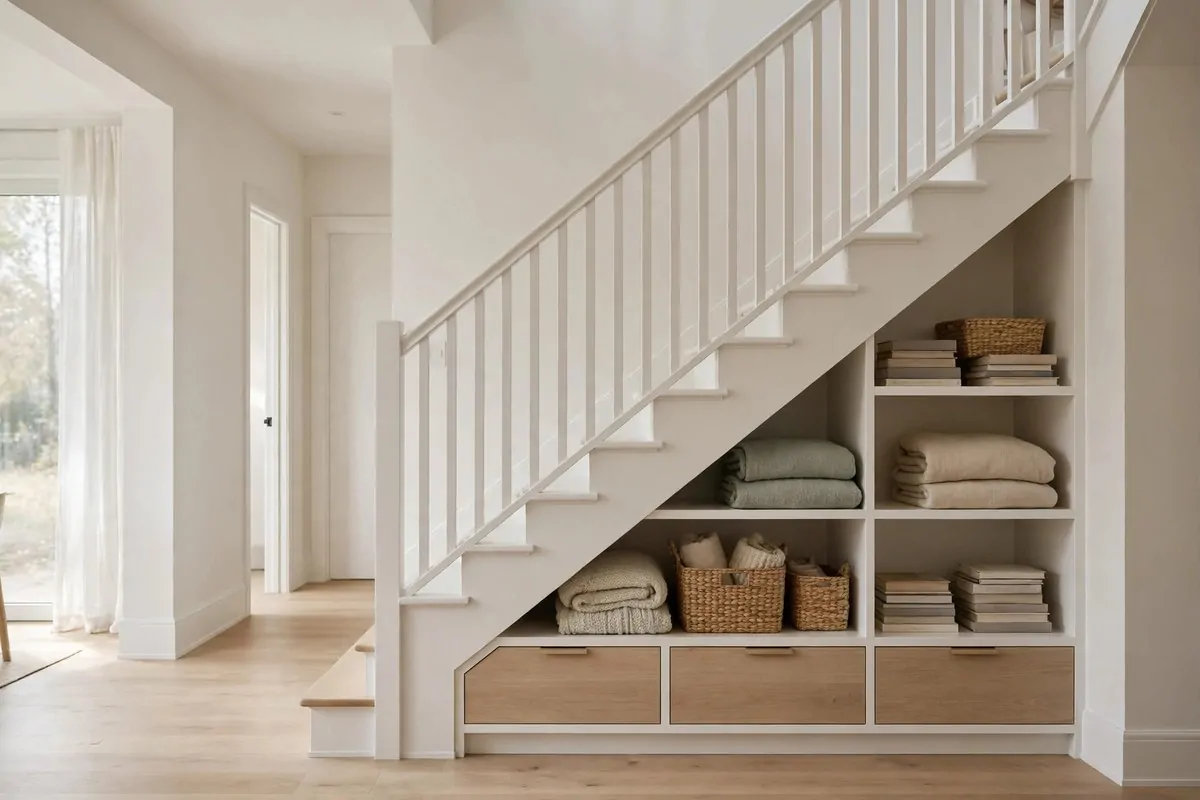
34 Mudroom Remodel Ideas That Keep Entryways Tidy

Shoes piled by our front door every single night. I tripped over them in the dark more times than I want to say. One pair fell behind the door and stayed there for a week.
I got tired of the mess at the door. It made the whole house feel untidy before I even took my coat off. I wanted a small space that worked hard and looked calm.
Our entry was just a bare wall and a thin mat. Coats hung on the door knob and bags slid to the floor. Nothing had a place of its own.
I started small and I learned as I went. I moved one thing at a time and I watched what my family really used. The changes were slow but they stuck.
A mudroom does not need to be big. It needs a bench to sit on and hooks that hold. It needs a spot for shoes and a spot for keys.
I tried cheap fixes first and then I added the bigger changes. Some ideas took ten minutes and some took a full day. All of them made the door feel easier.
You will find all 34 ideas in this one post, from the first clear out to the last locker wall, so you can read through and pick the ones that fit your home.
1. Clear Out the Entry and Start Fresh
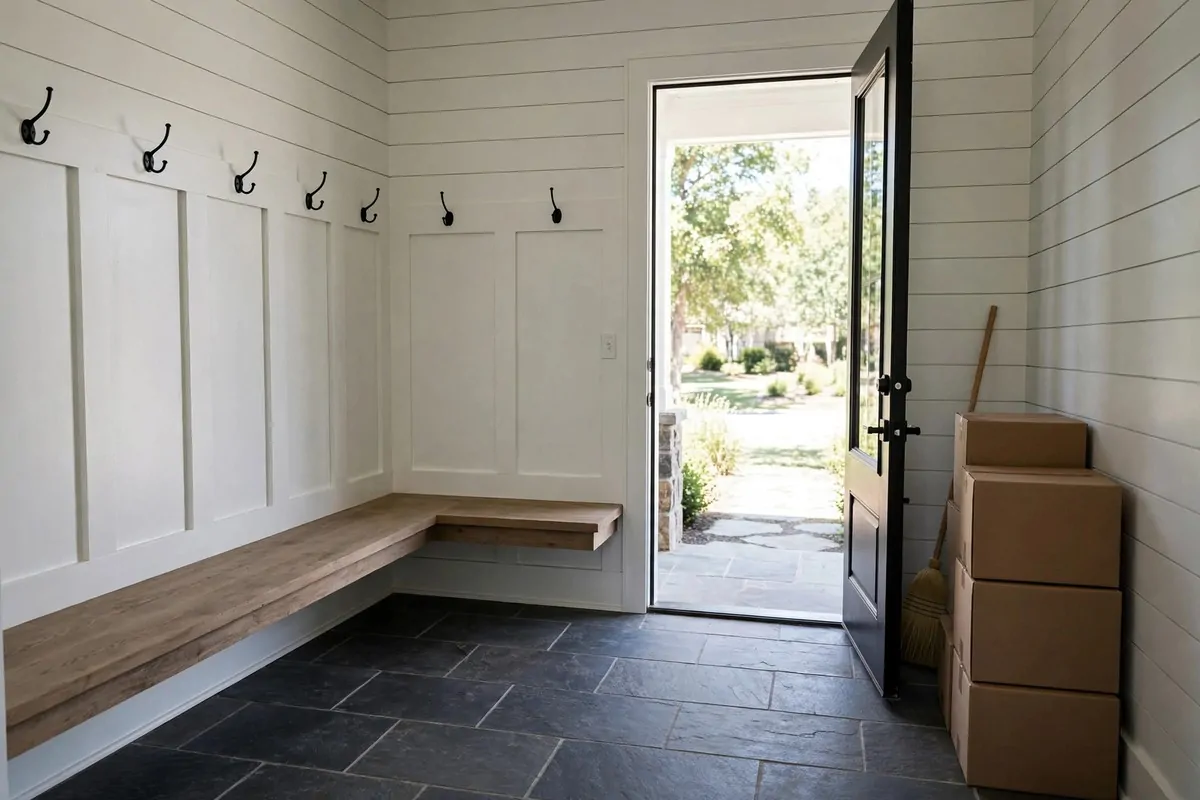
Take every single thing out of your entry first. Shoes, coats, bags, and old mail all come out. You need to see the bare space before you plan it.
I put three big bags on the floor for sorting. One bag was for things to keep by the door and one was for things to move to another room. One bag was for things to give away.
Old shoes with holes went straight out. Coats no one wore in a year went out too. It felt hard at first and then it felt light.
Wipe the floor and the walls when the space is empty. Plain soap and water works fine for this job. Let it dry fully before you put anything back.
Look at what is left and ask what you use each day. If you use it daily, it can stay by the door. If you use it once a month, it can live somewhere else.
Keep only one pair of shoes per person by the door for now. Put the rest in a closet or a bedroom. The floor will look wider right away.
I spent about $40 to $120 on bags and a few small bins for this first clear out.
Take a photo of the empty entry before you start again. It helps you see how far you have come. It also helps you spot what still feels crowded.
Do this clear out on a quiet morning if you can. You will think better with no rush. A fresh start makes every idea after this one easier.
2. Add a Row of Strong Wall Hooks
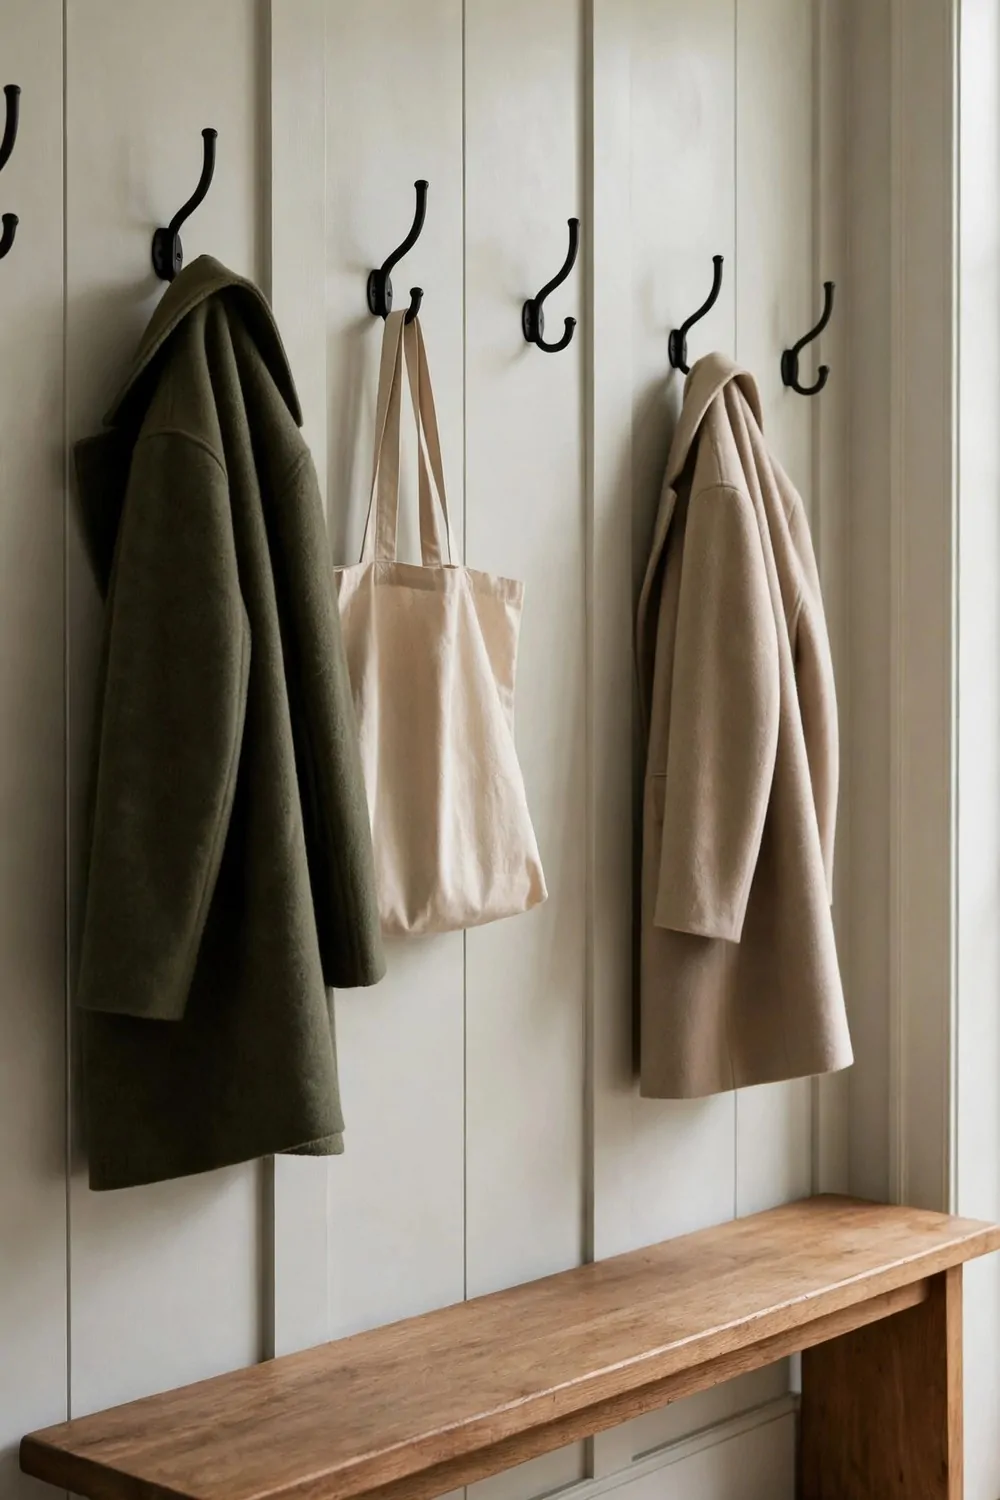
Wall hooks change a mudroom in one afternoon. They lift coats off the floor and off the door knob. They give every coat a clear home.
Pick hooks that feel heavy in your hand. Thin hooks bend and they drop coats at night. A strong hook holds a wet winter coat with no trouble.
Put the hooks at a height your family can reach with ease. I put ours at shoulder height for the tall people and lower for the kids. No one has to stretch or jump.
Space the hooks wide enough so coats do not bunch up. I left about a hand width between each hook. Air can move and coats dry faster.
Use wall anchors if you do not hit a stud. A hook that pulls out of soft wall board is no use. Take time to fix each hook firm.
Give each person one hook to start with. It is easy to add more later if you need them. One hook each keeps the row neat.
A set of good hooks with screws and anchors often runs $25 to $90 in total.
Try a mix of single hooks and double hooks. Double hooks hold a coat and a bag at once. Single hooks look clean in a small row.
Hang a coat on each hook and step back to look. The row should feel even and calm. If one coat crowds the next, move that hook a little wider.
3. Build a Bench With Shoe Storage Under It
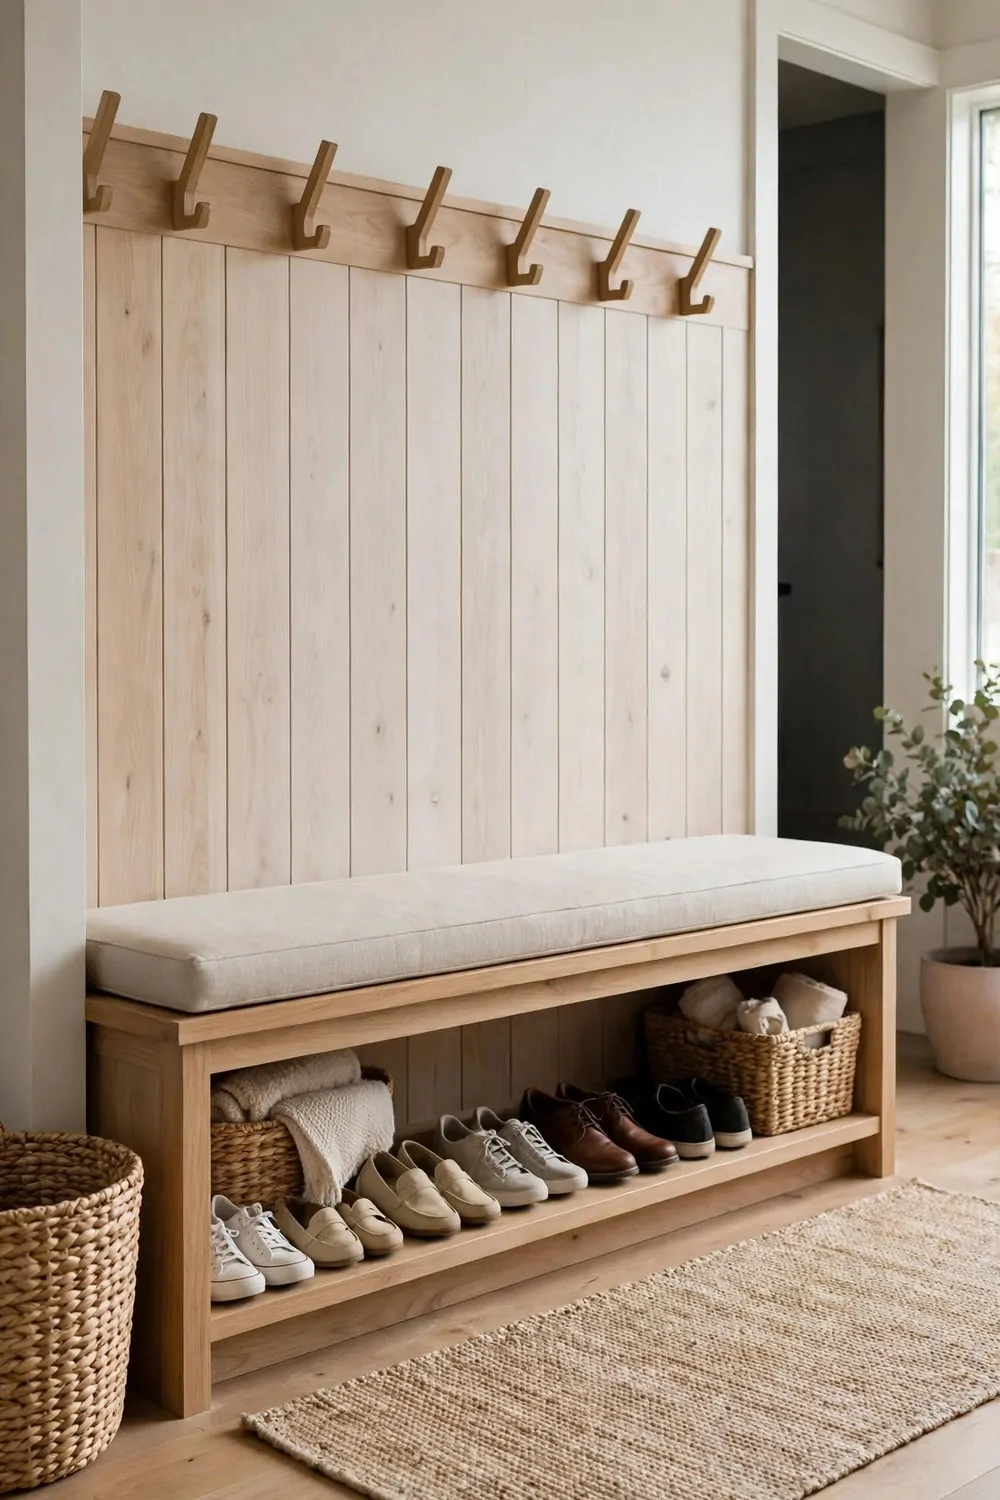
A bench by the door makes mornings so much easier. You can sit down to pull your shoes on. You do not have to hop on one foot by the wall.
I built ours from plain wood boards and a few screws. The top is wide enough for two people to sit at once. The legs feel solid when you sit down hard.
Leave open space under the bench for shoes. Two rows of shoes fit well if the bench is tall enough. Boots need more height than flat shoes.
Add a low shelf under the bench if you want more order. Shoes sit in pairs on the shelf and they do not slide around. It is a small step that keeps the floor clear.
Paint the bench in a colour that hides scuffs. I used a soft pale paint with a wipe clean finish. Plain soap and water takes off most marks.
Put a small cushion on top if you like soft seats. A thin cushion is easy to wash and it makes the bench feel warm. Pick a fabric that can take daily use.
A simple bench with shoe space below can run $180 to $550 if you buy the wood and paint yourself.
Measure your wall before you cut any wood. A bench that is too long blocks the door swing. A bench that is too short wastes good wall space.
Sit on it and test it with your family. If it wobbles, add a brace at the back. A firm bench will last for years of daily use.
4. Give Every Person Their Own Cubby
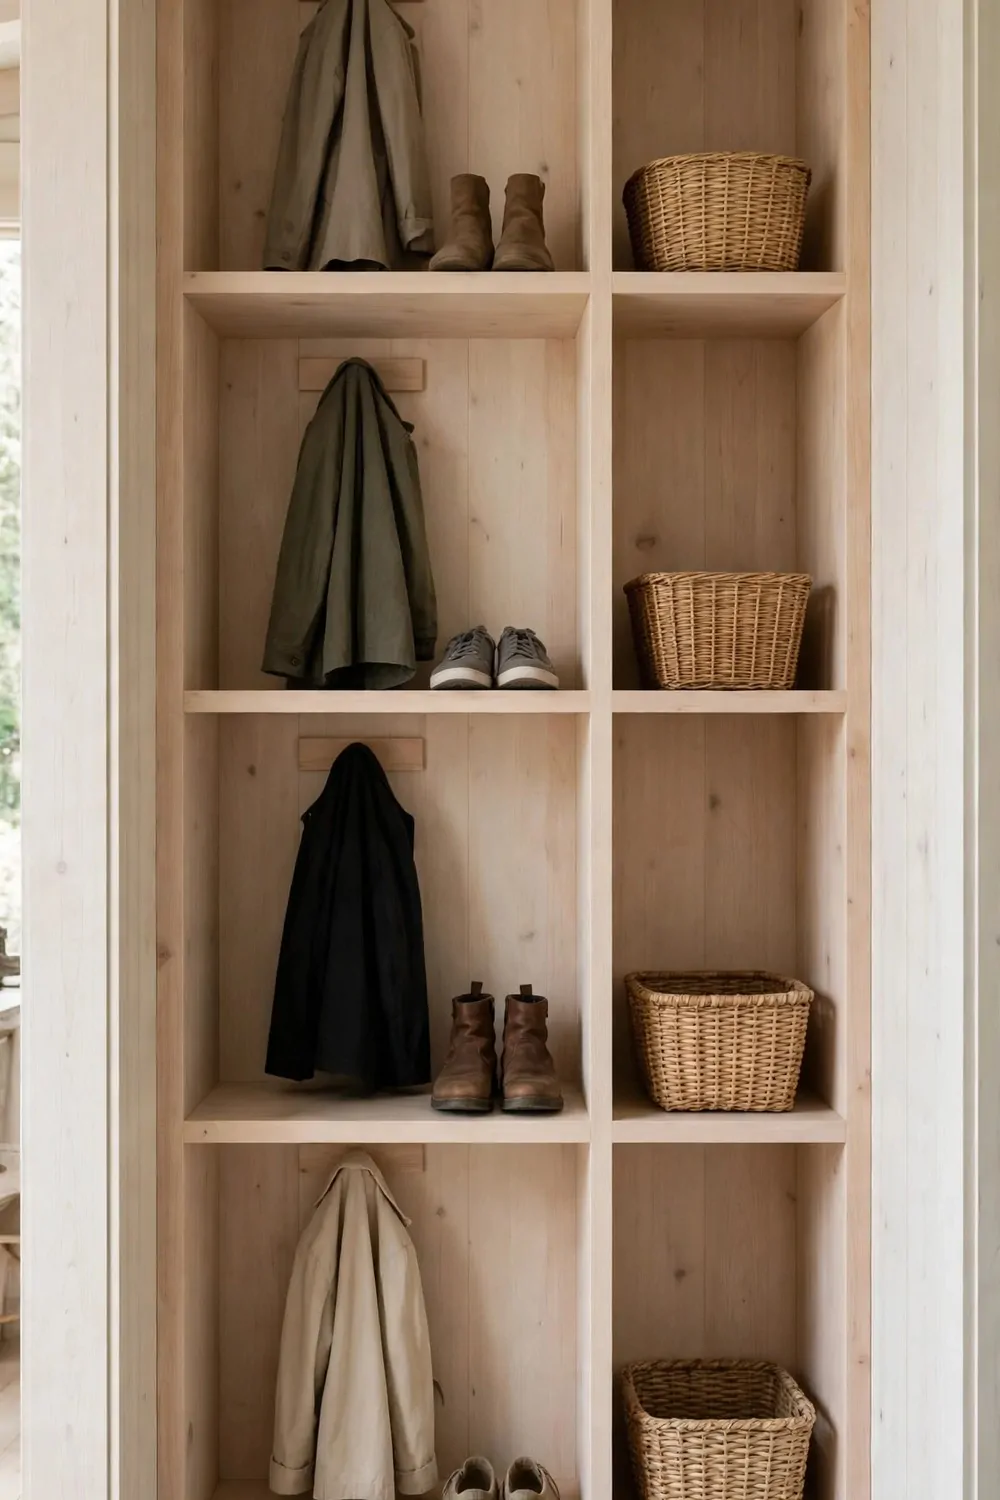
Cubbies stop the mix up at the door. Each person gets one box space for their own things. No one has to hunt for their bag in a pile.
I made four cubbies in a row above the bench. Each one is wide enough for a school bag and a coat. Labels help small kids find their own spot fast.
Use simple wood dividers to make the cubbies. The dividers do not need to be fancy. They just need to stay straight and hold their shape.
Put a name tag on each cubby if you have kids. I wrote names on small wood tags with a pen. The kids loved seeing their own name at the door.
Keep the cubby for daily things only. A bag, a coat, and one pair of shoes is enough. Extra things can go in a closet.
Leave one cubby free if you have room. Guests can use it when they visit. It also gives you space when one cubby gets full.
Building a row of four plain cubbies usually comes to $150 to $420 for wood, paint, and fixings.
Clean each cubby once a week with a quick wipe. Things pile up fast if you skip a week. A fast wipe keeps the cubbies fresh.
Watch how your family uses the cubbies for a few days. Move a divider if one cubby feels too tight. Small tweaks make the whole row work better.
5. Add Open Shelves Above the Bench
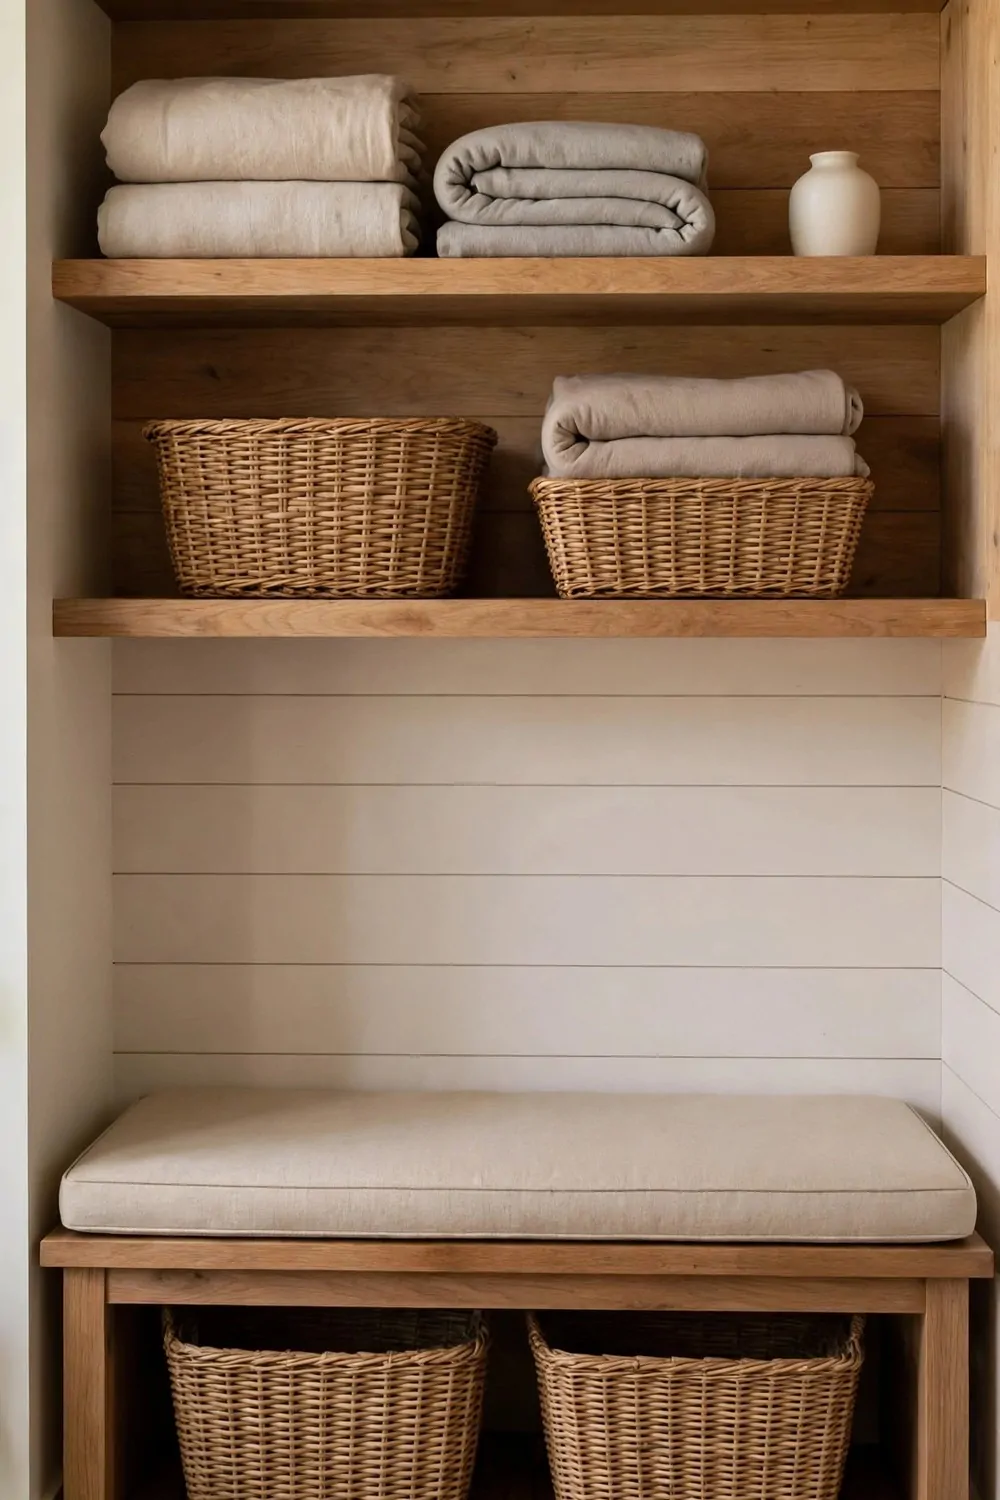
Open shelves use the wall space above the bench. They hold baskets, hats, and small boxes with ease. They keep the bench top clear for sitting.
I put two long shelves above our bench. The lower shelf is easy to reach. The upper shelf holds things we use less often.
Keep the shelves shallow so they do not bump your head. A shelf about as deep as a book works well. Deeper shelves feel heavy over a bench.
Use baskets on the shelves to hide small clutter. A basket for gloves and a basket for scarves keeps things tidy. You can pull a basket down and put it back in seconds.
Fix the shelves into studs so they hold weight. A shelf full of baskets is heavier than it looks. Strong fixings keep it safe.
Leave some empty space on each shelf. A shelf packed full looks messy even when it is tidy. A little air makes the whole wall feel calm.
Two plain wood shelves with brackets and paint may cost $90 to $260 from start to finish.
Put the things you grab daily on the lower shelf. Put spare things up high. You will reach for the lower shelf most days.
Step back and look at the shelf line from the door. The shelves should feel level and even. A small tilt will stand out every day, so fix it now.
6. Put a Boot Tray by the Door
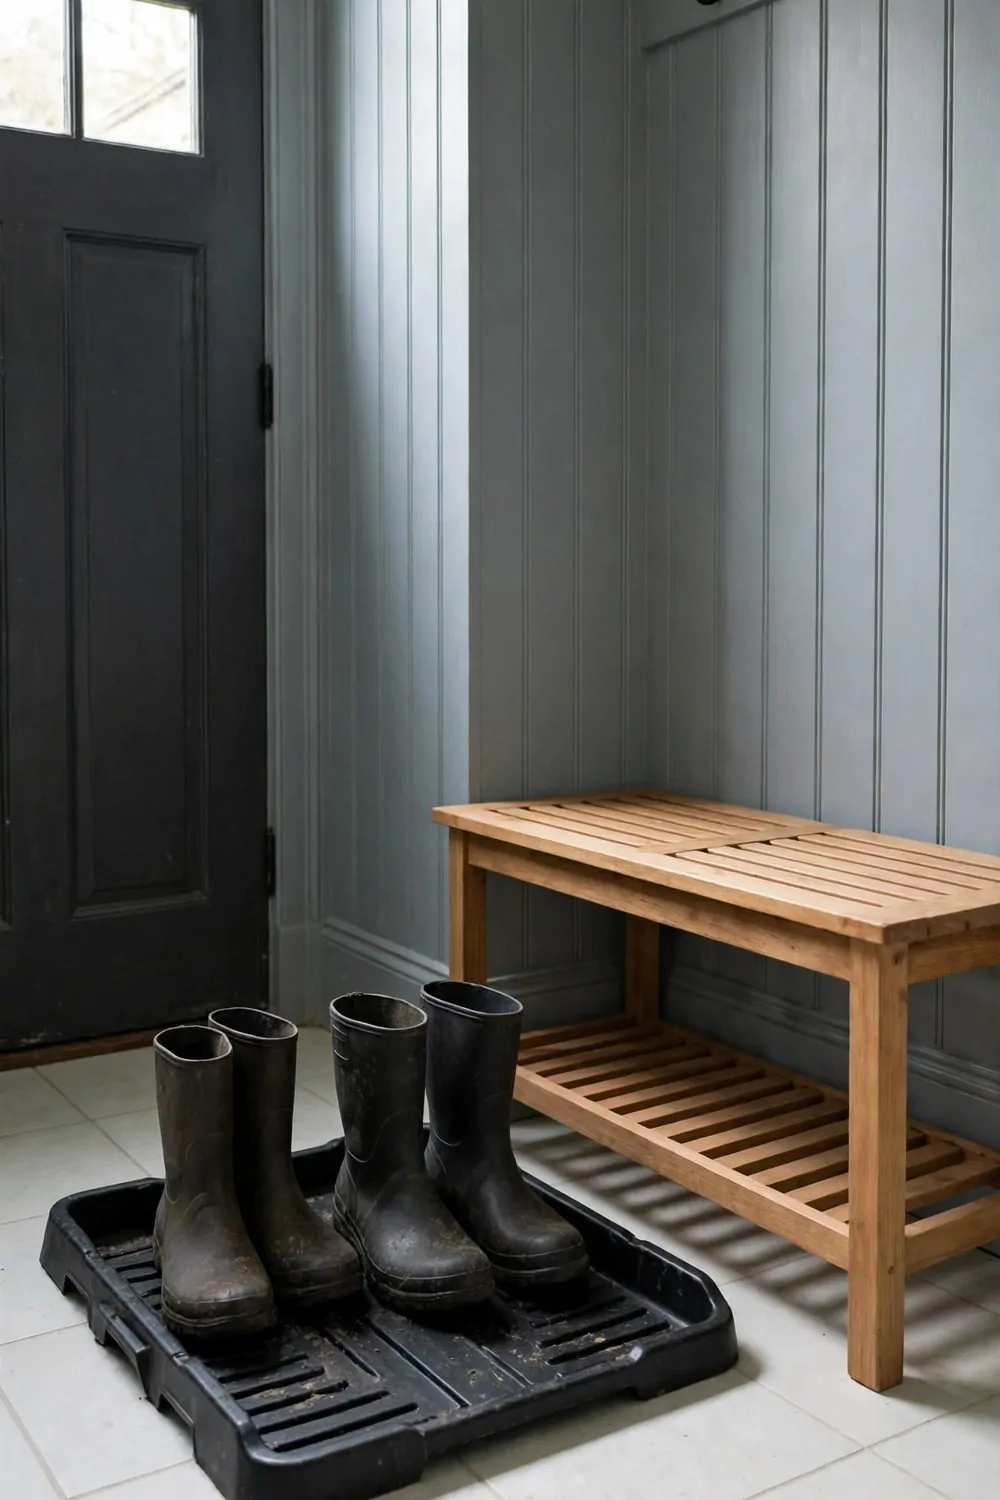
A boot tray saves your floor from wet shoes. Water and mud stay in the tray and not on the wood. You just tip the tray out at the end of the day.
Pick a tray with a low rim all round. The rim stops water from running off the edge. A flat tray with no rim does not help much.
Put the tray right by the door where shoes come off. If it is too far away, wet shoes will drip on the way. Close to the door is best.
Choose a tray big enough for two pairs of boots. A small tray fills up fast on a wet day. A wide tray gives each pair its own space.
Look for a tray with a raised grid inside. The grid lifts shoes out of the water. Shoes dry faster when air can move under them.
Rinse the tray with plain soap and water once a week. Mud dries in the corners if you leave it. A quick rinse keeps it fresh and clean.
You can find a good boot tray for $20 to $65, and a larger one with a grid may be a bit more.
Keep a small towel near the tray for quick wipes. A towel by the door helps on rainy days. Hang it on a hook so it dries between uses.
Teach everyone to step straight onto the tray. It takes a few days to build the habit. Soon it feels normal to kick shoes off right there.
7. Hang a Big Mirror to Open the Space
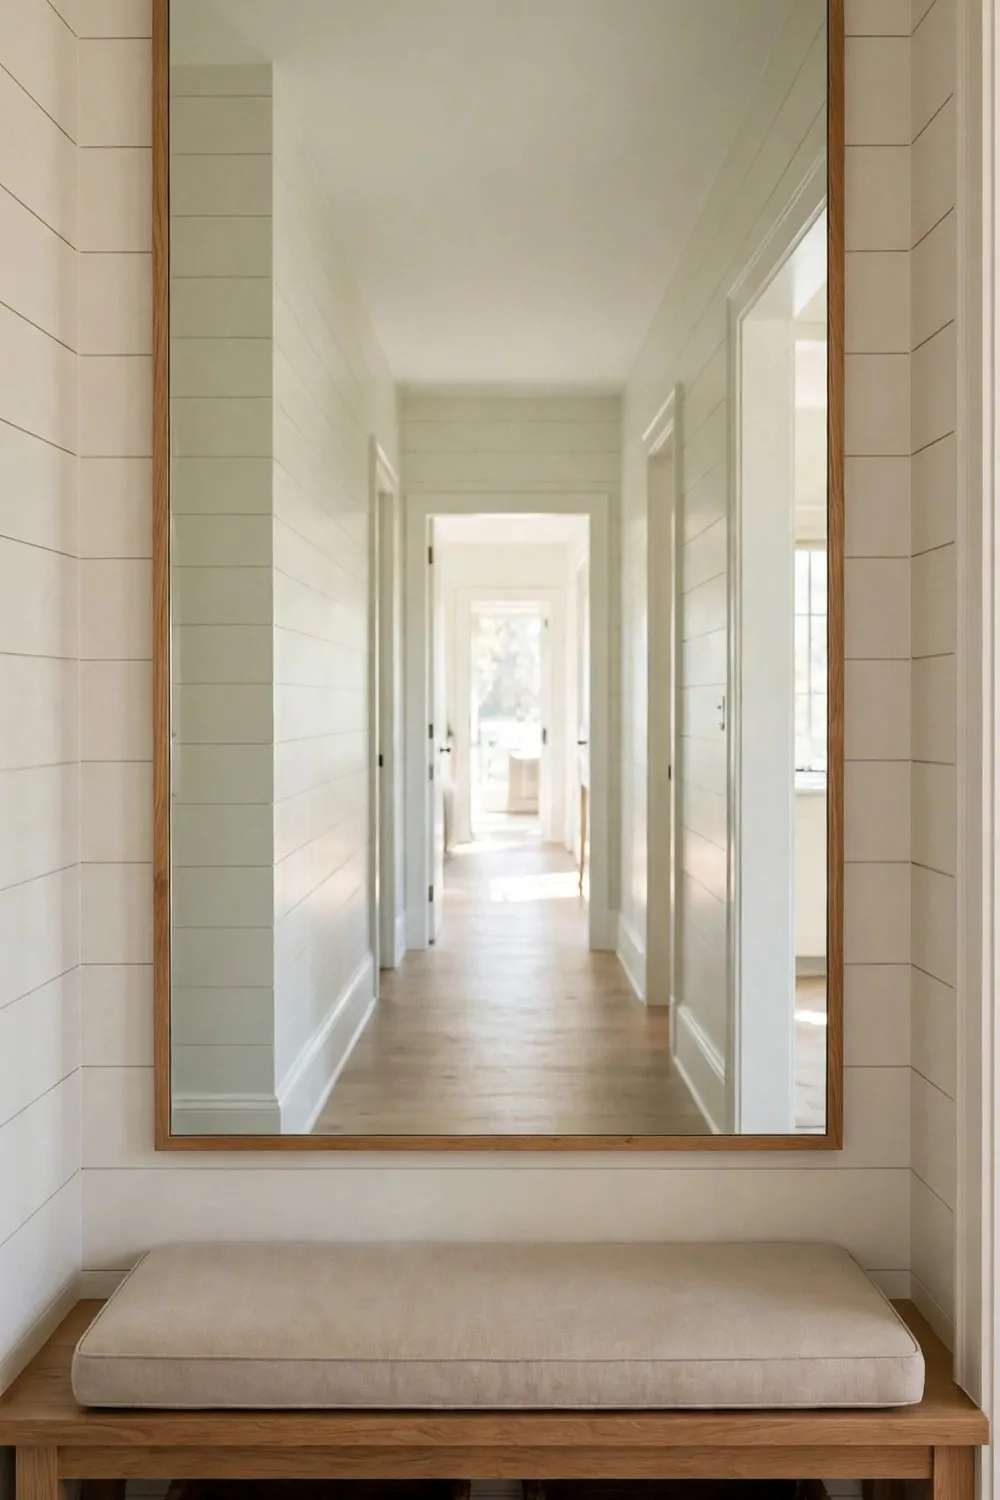
A big mirror makes a small entry feel twice as wide. It bounces light round the room. It also lets you check your coat before you leave.
Hang the mirror on the wall across from a window if you can. The light from the window will fill the space. The entry will feel bright even on a dull day.
Pick a mirror with a simple frame. A plain wood frame fits most mudrooms. A fancy frame can look too busy in a small space.
Hang the mirror at eye height for most of your family. I hung ours so I could see my full coat. The kids can see their faces with a small step.
Fix the mirror with strong hooks made for its weight. A big mirror is heavy and it must not slip. Check the fixings twice before you let go.
Clean the mirror with plain soap and water and a soft cloth. Wipe in small circles to avoid streaks. A clean mirror makes the whole entry look fresh.
A large plain mirror with a wood frame often costs $80 to $240 depending on size.
Do not hang the mirror where the door hits it. Open the door fully and mark the swing first. A mirror in the door path will get knocked.
Stand at the door and look into the mirror. You should see light and space, not clutter. Move a basket if it shows up in the mirror view.
8. Paint the Walls a Warm Pale Colour
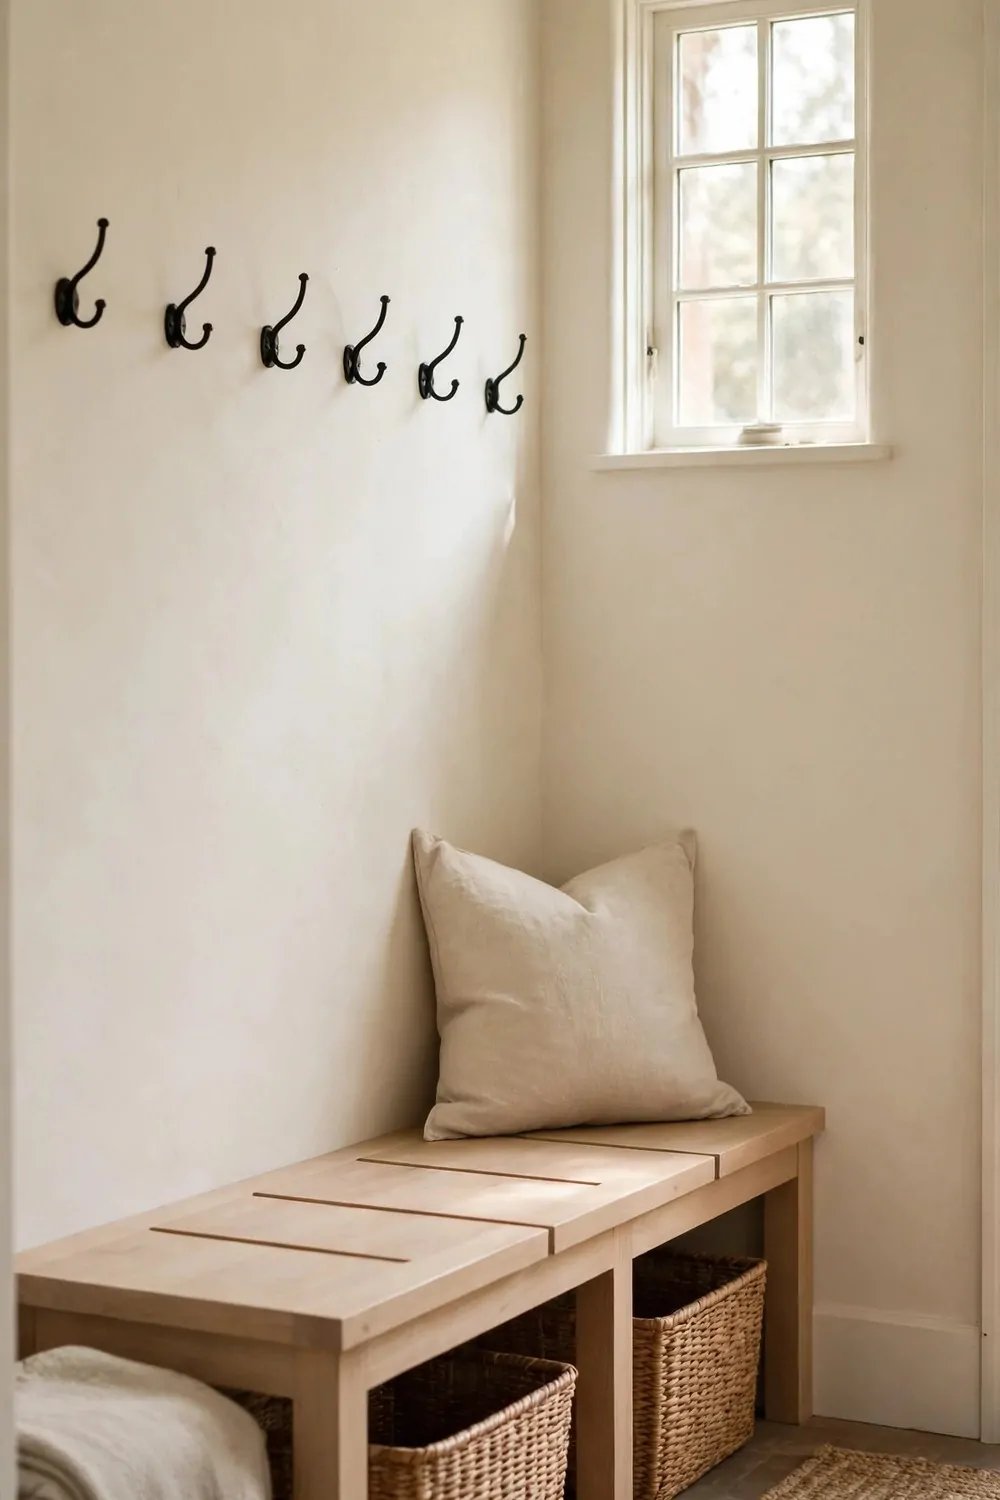
Paint is the fastest way to change a mudroom. A warm pale colour makes the space feel soft and bright. It also hides small marks better than stark white.
I picked a pale warm tone with a hint of cream. It looks calm in morning light and in evening light. It works well with wood and with tile.
Test the paint on a small patch first. Paint looks different on the wall than it does on the card. Let the patch dry and look at it in daylight.
Use a paint finish you can wipe clean. Mudroom walls get touched a lot by hands and bags. A wipe clean finish saves you from repainting.
Paint the wall behind the bench first. That wall gets the most wear and it shows the most. A fresh coat there lifts the whole room.
Take the hooks and shelves off before you paint. It is faster than painting round them. Put them back once the paint is fully dry.
Paint and tools for a small entry often add up to $60 to $180 for two coats.
Keep a small pot of the same paint for touch ups. A dab of paint fixes a scuff in minutes. Store the pot in a cool dry place.
Let the paint dry fully before you hang things back. Wet paint marks coats and bags. A full day of drying is worth the wait.
9. Lay Tough Tile on the Floor
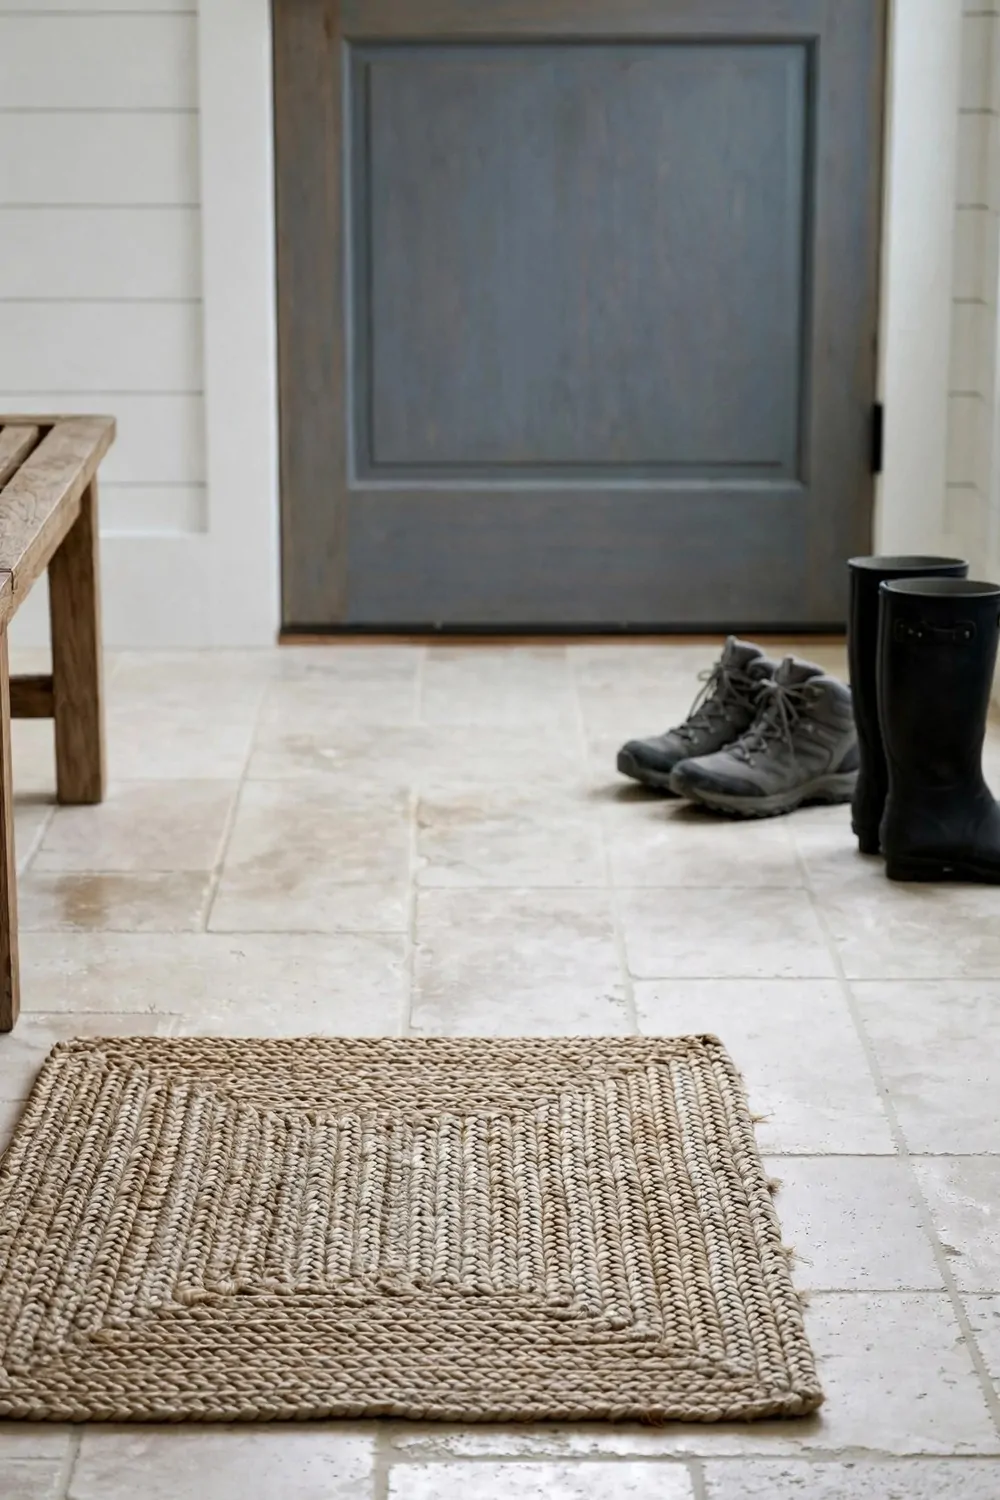
Tile is the best floor for a mudroom. It takes wet boots and muddy shoes with no fuss. You can mop it clean in minutes.
Pick a tile with a rough surface so feet do not slip. Smooth shiny tile gets slick when wet. A matte tile with grip feels safe.
Choose a mid tone tile that hides dirt between cleans. Very pale tile shows every mark. Very dark tile shows dust and lint.
Lay the tile from the door toward the back wall. Start straight at the door edge so the first row looks neat. A wonky first row shows all the way across.
Use grout that resists stains if you can. Mud sits in grout lines and it can stain them. A good seal on the grout helps a lot.
Mop the tile with plain soap and water after wet days. Sweep first to lift grit and sand. Grit can scratch tile if you drag it round with a mop.
Laying tile in a small entry can run $300 to $900 for tile, grout, and tools if you do the work yourself.
Keep a few spare tiles in a closet. A cracked tile is easy to swap if you have a spare. A missing tile is hard to match later.
Test the floor with wet shoes before you call it done. Walk in with damp boots and see how it feels. The floor should feel firm and safe underfoot.
10. Add a Slim Console Table for Keys
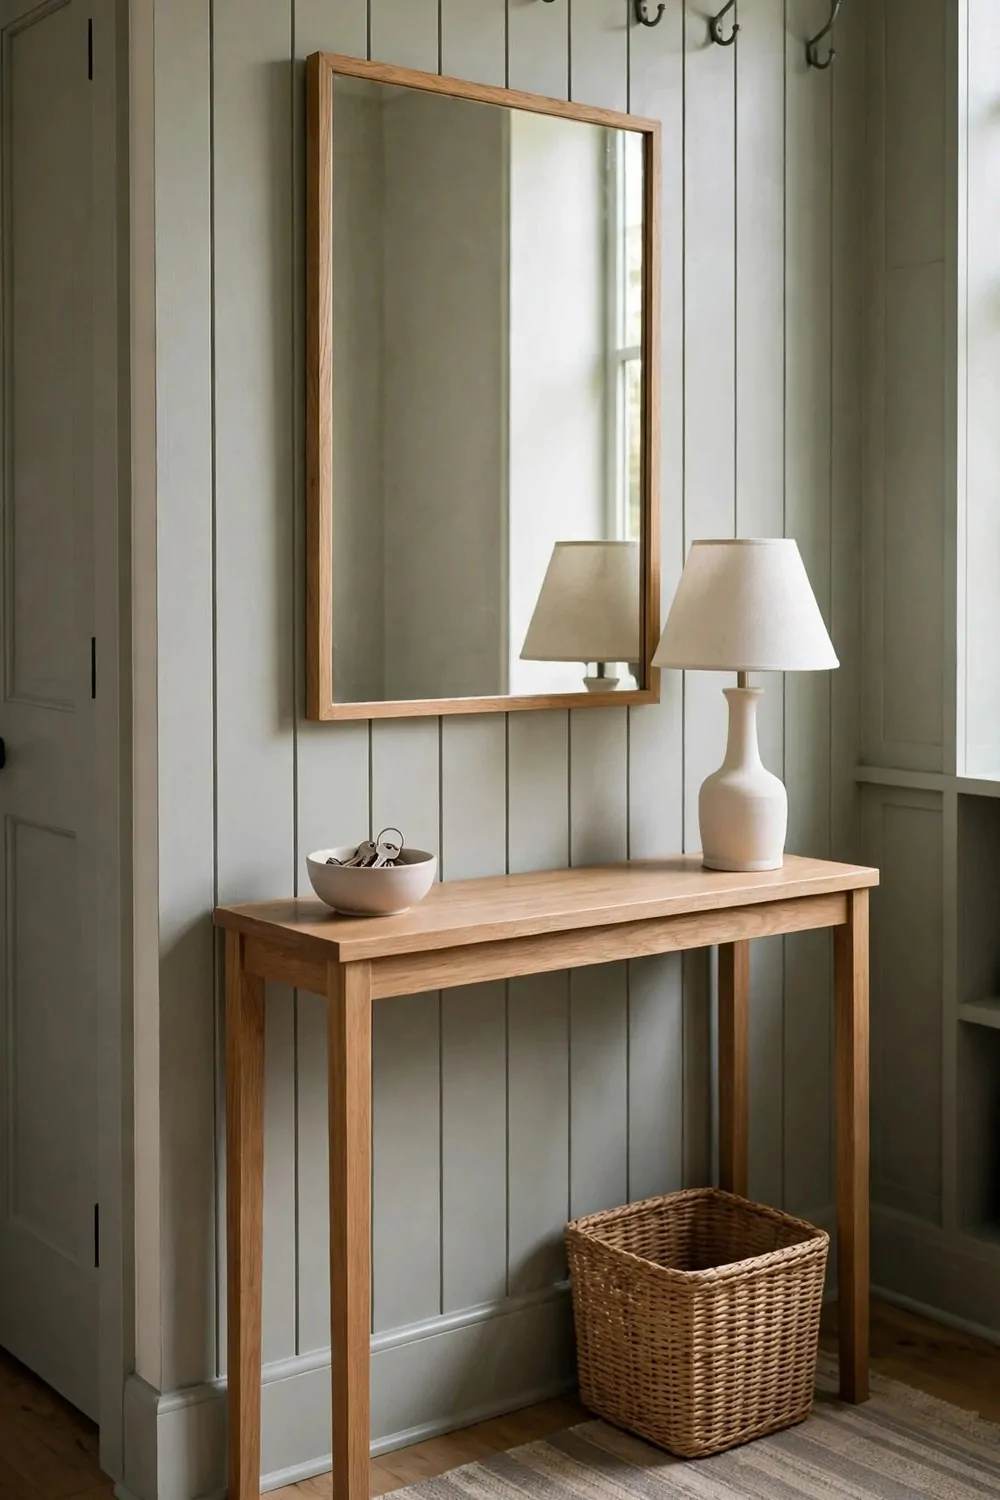
A slim console table gives keys a home by the door. You can drop your keys as you walk in. You will find them in the same spot each morning.
Pick a table that is narrow so it does not block the walkway. A deep table sticks out and you will bump it. A slim table fits a hall with ease.
Put a small bowl on the table for keys and coins. A bowl keeps small things from sliding off. Each person can have their own small bowl if you like.
Keep the table top mostly clear. One bowl and one small plant is enough. A crowded table top defeats the point of a drop spot.
Use the shelf below for bags or books. A lower shelf holds things you grab on the way out. It keeps the top free for keys.
Wipe the table with a soft cloth once a week. Dust builds up fast near a door. A quick wipe keeps the wood looking fresh.
A slim console table in plain wood can cost $110 to $380 depending on size and finish.
Put the table on the wall where you naturally stop. If you pass it without thinking, it is in the right place. If you have to turn back, move it.
Try the table for a week and see what lands on it. If mail piles up, add a small tray for mail. Small tweaks keep the table useful.
11. Put a Basket for Hats and Gloves
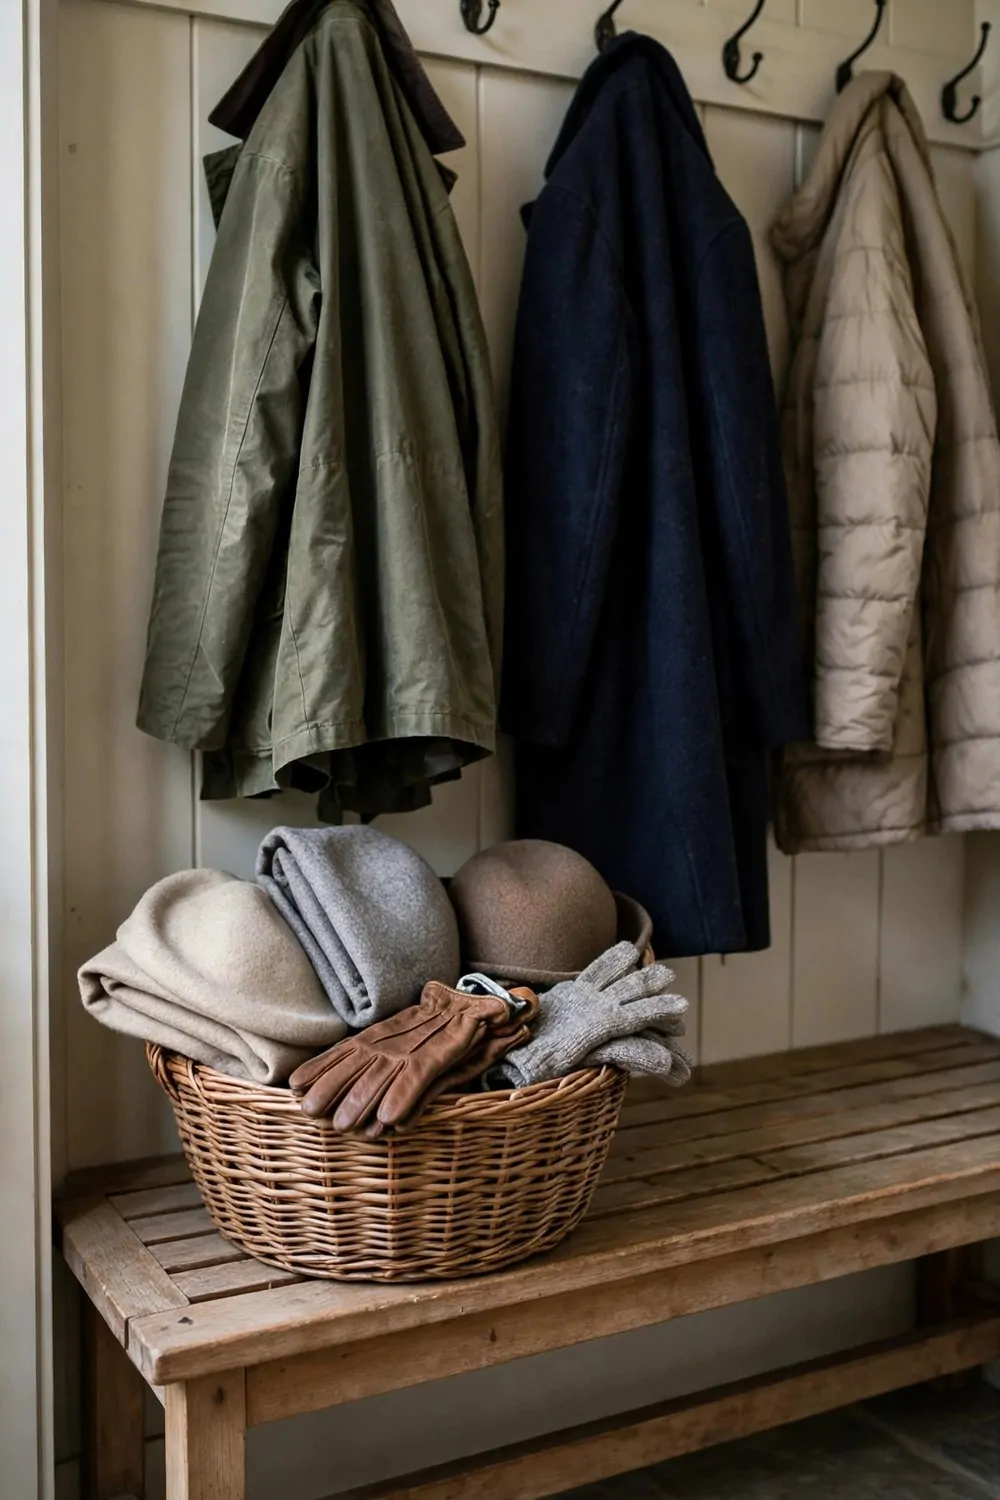
A basket for hats and gloves stops the small things from getting lost. Gloves hide in coat pockets and under benches. A basket keeps them in one place.
Pick a basket that fits on a shelf or under the bench. It should be easy to lift down and put back. A basket with handles is best for kids.
Use one basket for hats and one for gloves if you have room. Two small baskets are easier than one big jumble. You can find what you need fast.
Label the baskets if your family mixes things up. A small tag on the front helps a lot. Kids learn to put things back when the spot is clear.
Empty the basket at the start of each season. Old gloves with holes can go. Warm hats you no longer wear can go to someone else.
Wash the baskets now and then if they are fabric. A quick wash freshens them up. Wicker baskets just need a shake outside.
Two sturdy baskets with handles are often $30 to $85 for the pair.
Put the basket where hands reach it on the way out. If it is too high, gloves will end up on the bench. Easy reach makes tidy habits stick.
Check the basket each night for one stray glove. A single glove left out is easy to miss. Pop it back in the basket before bed.
| Idea | Typical Cost |
|---|---|
| Clear Out the Entry and Start Fresh | $40 to $120 |
| Add a Row of Strong Wall Hooks | $25 to $90 |
| Build a Bench With Shoe Storage Under It | $180 to $550 |
| Give Every Person Their Own Cubby | $150 to $420 |
| Add Open Shelves Above the Bench | $90 to $260 |
| Put a Boot Tray by the Door | $20 to $65 |
| Hang a Big Mirror to Open the Space | $80 to $240 |
| Paint the Walls a Warm Pale Colour | $60 to $180 |
| Lay Tough Tile on the Floor | $300 to $900 |
| Add a Slim Console Table for Keys | $110 to $380 |
| Put a Basket for Hats and Gloves | $30 to $85 |
12. Add a Coat Rail for Guests
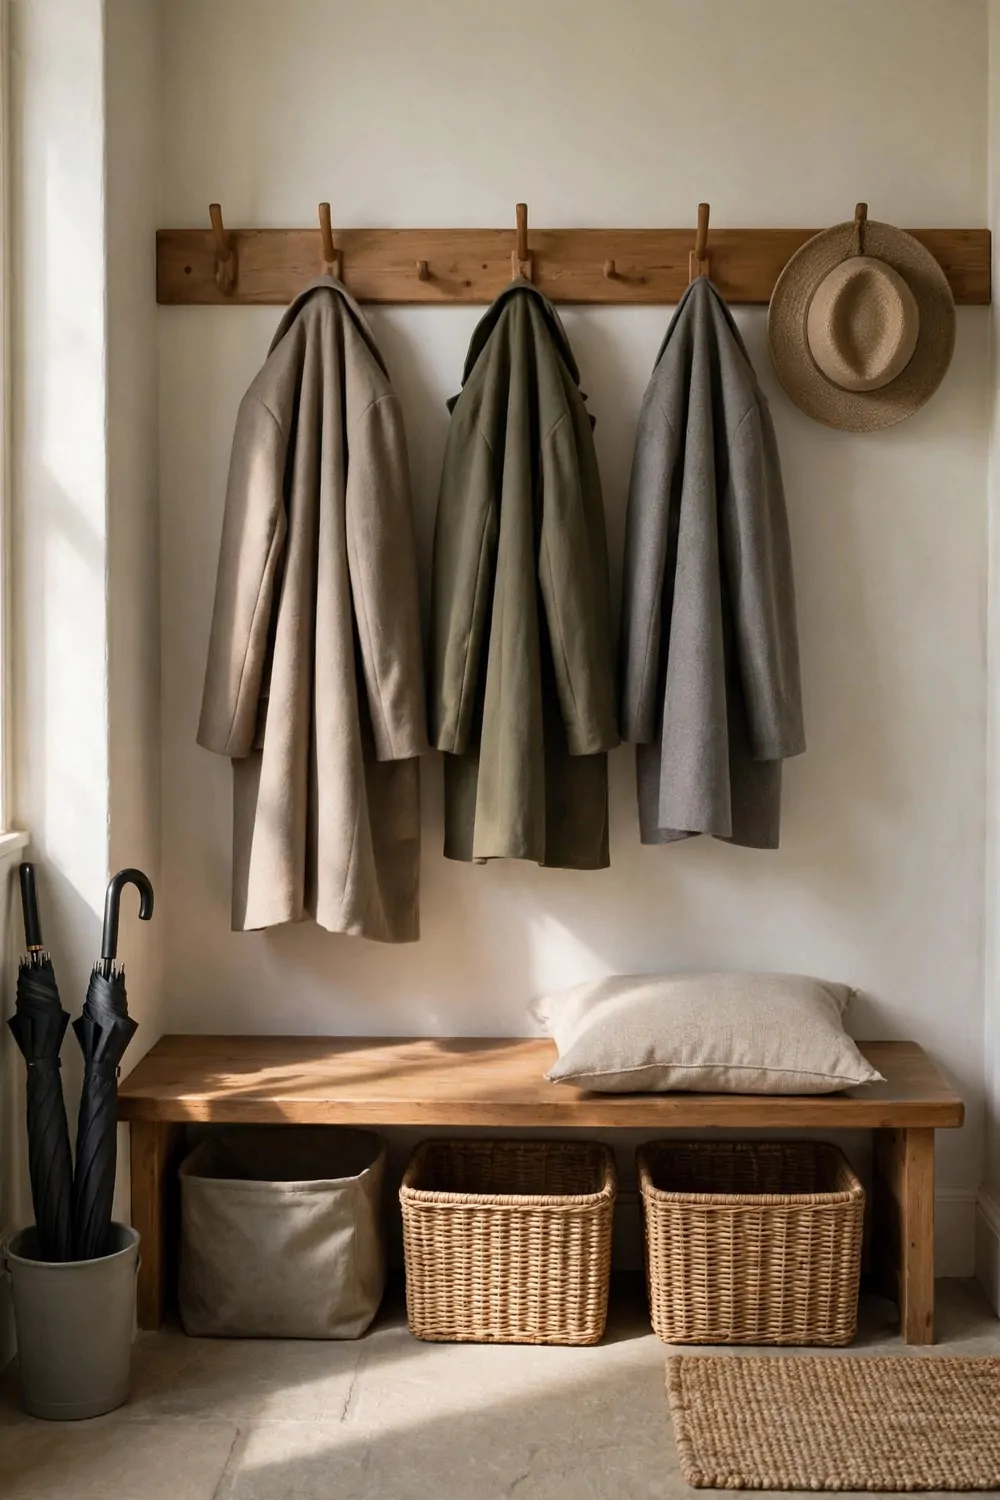
A coat rail for guests keeps their coats off your bench. Guests feel welcome when they have a clear place to hang a coat. Your family hooks stay free too.
Put the rail near the door but out of the main walkway. Guests should see it as soon as they step in. It should not block the door swing.
Pick a rail with five or six pegs. That is enough for a small group of guests. A rail with too few pegs fills up fast.
Use pegs that are smooth and rounded at the ends. Sharp pegs can snag coat fabric. Smooth pegs hold coats with care.
Fix the rail firmly to the wall with long screws. Guest coats can be heavy when wet. A firm rail will not pull away from the wall.
Keep the guest rail clear when no one visits. An empty rail looks tidy and calm. It is ready in seconds when the doorbell rings.
A plain wood coat rail with pegs and fixings may come to $45 to $140 all in.
Hang a small sign or tag if guests miss the rail. A simple note helps first time visitors. Most guests will find it on their own after one visit.
Take coats off the rail after guests leave. A rail left full looks messy for days. A quick clear keeps the entry ready for the next visit.
13. Make a Drop Zone for School Bags
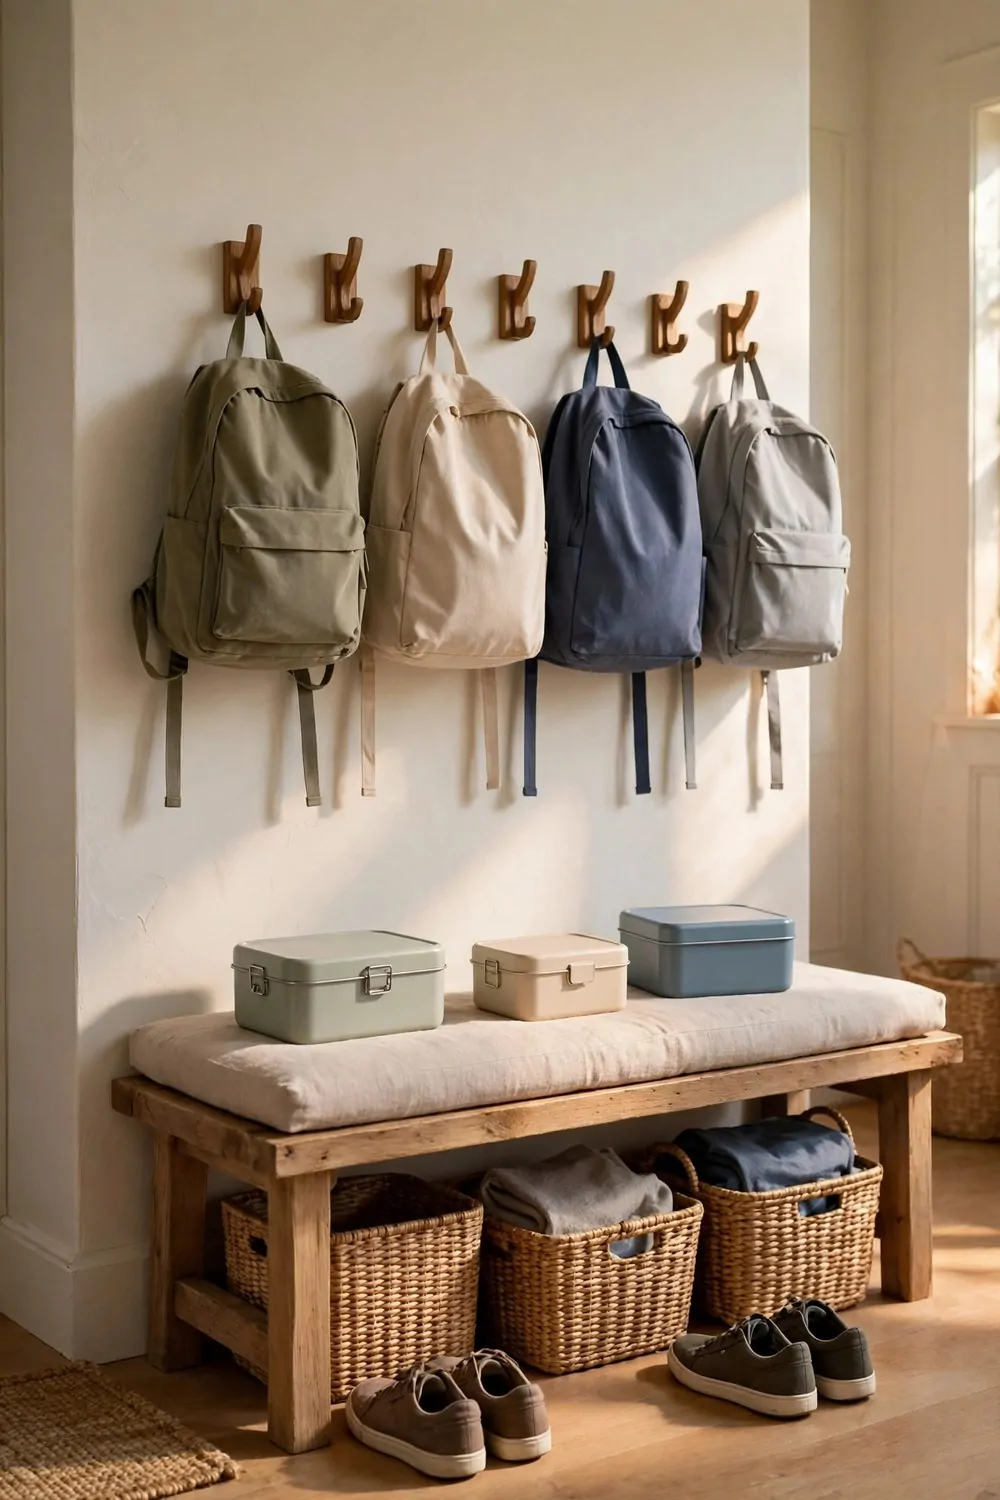
School bags land in a heap by the door each day. A drop zone gives each bag a place to rest. The floor stays clear and mornings feel calmer.
Put a low shelf or a set of hooks just for bags. Bags hang best on a wide hook that holds the strap. A narrow hook lets the bag slide off.
Keep the drop zone at kid height. If kids cannot reach it, bags will land on the floor. Low hooks help kids hang their own bags.
Add a small tray below for lunch boxes and water bottles. A tray keeps food bits off the floor. It also makes packing the next day faster.
Clear the drop zone each night after homework. Bags packed and hung ready save time in the morning. A five minute tidy at night helps a lot.
Use a basket for loose papers and notes from school. Papers in a basket do not get crumpled under bags. You can sort them once a week.
Setting up a bag drop zone with hooks, a shelf, and a tray can be $70 to $210 in parts.
Let each child pick a hook colour or a tag. A small choice makes them want to use it. They will hang their bag with pride.
Watch the zone for a week and move things that do not work. If bags still fall, the hook is too high or too small. Fix the hook and the habit will follow.
14. Add a Memo Board for Notes and Lists
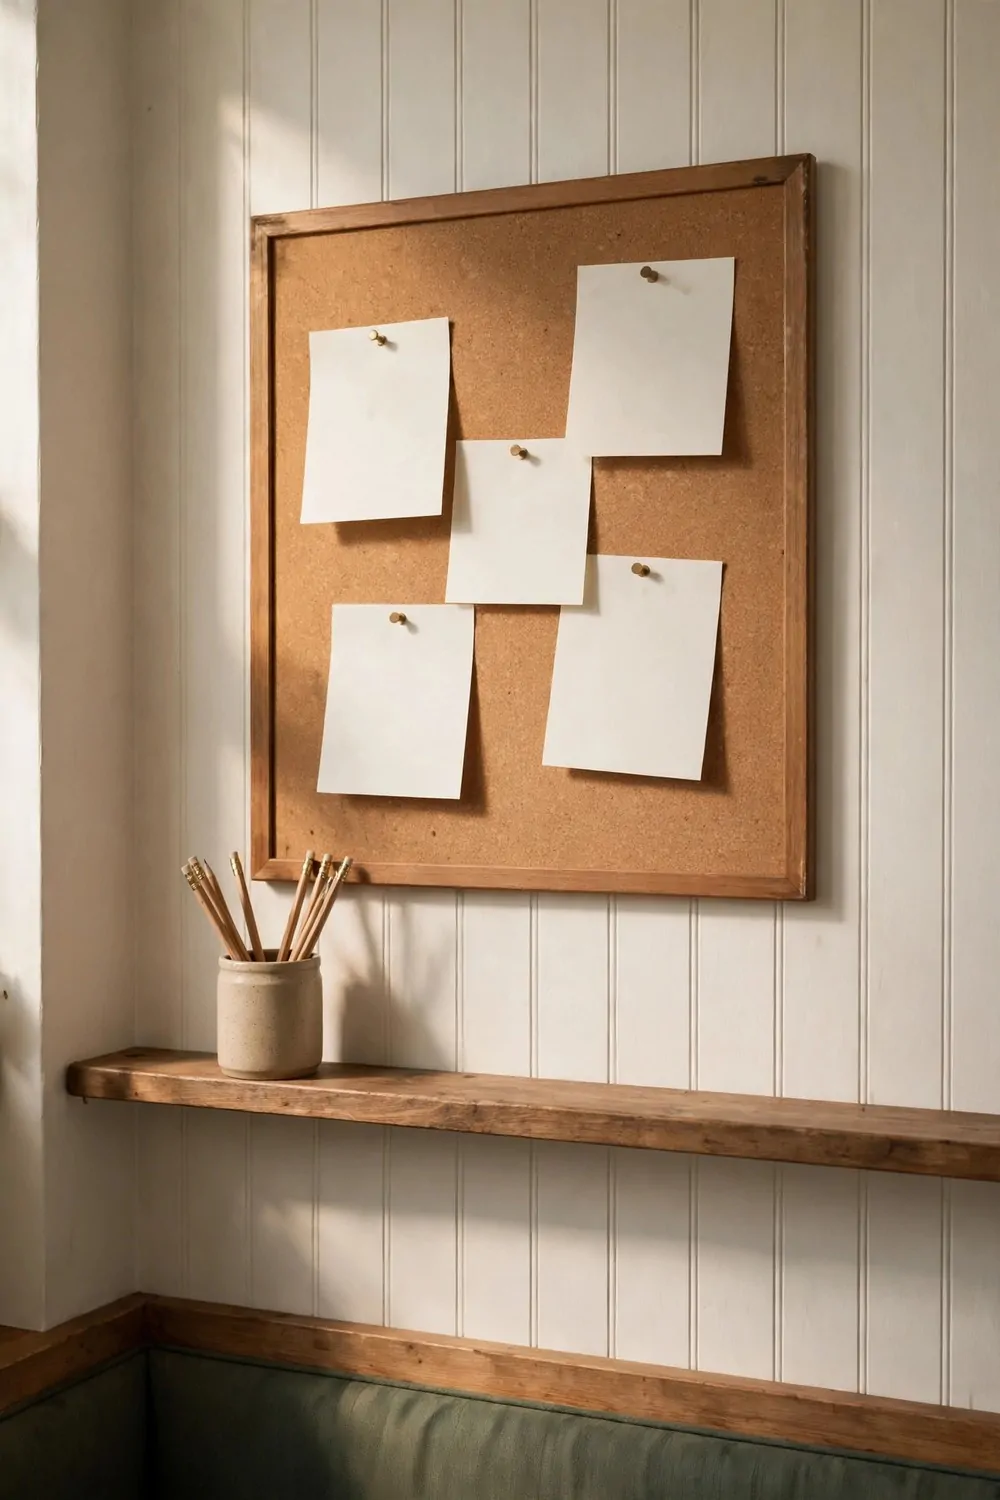
A memo board by the door keeps notes where you will see them. Lists, reminders, and school notes live in one spot. You will not forget them on the way out.
Pick a board big enough for a few notes at once. A tiny board fills up in a day. A board the size of a school book works well for most homes.
Hang the board at eye height near the keys. You will glance at it as you grab your keys. A board hidden round a corner gets ignored.
Use pins or clips that hold paper firm. Loose notes fall behind the bench. A firm clip keeps each note where you put it.
Keep only current notes on the board. Old notes make the board hard to read. Clear old notes every Sunday night.
Write lists in big clear letters. A list you can read from the door is useful. Small cramped writing gets missed in a rush.
A memo board with pins, clips, and a pen holder often costs $35 to $110 to set up.
Put a pen on a string by the board. A pen that stays by the board gets used. A pen that wanders off never comes back.
Check the board each morning before you leave. One quick look can save a trip back. It takes ten seconds and it helps a lot.
15. Put Down a Rug That Hides Mud
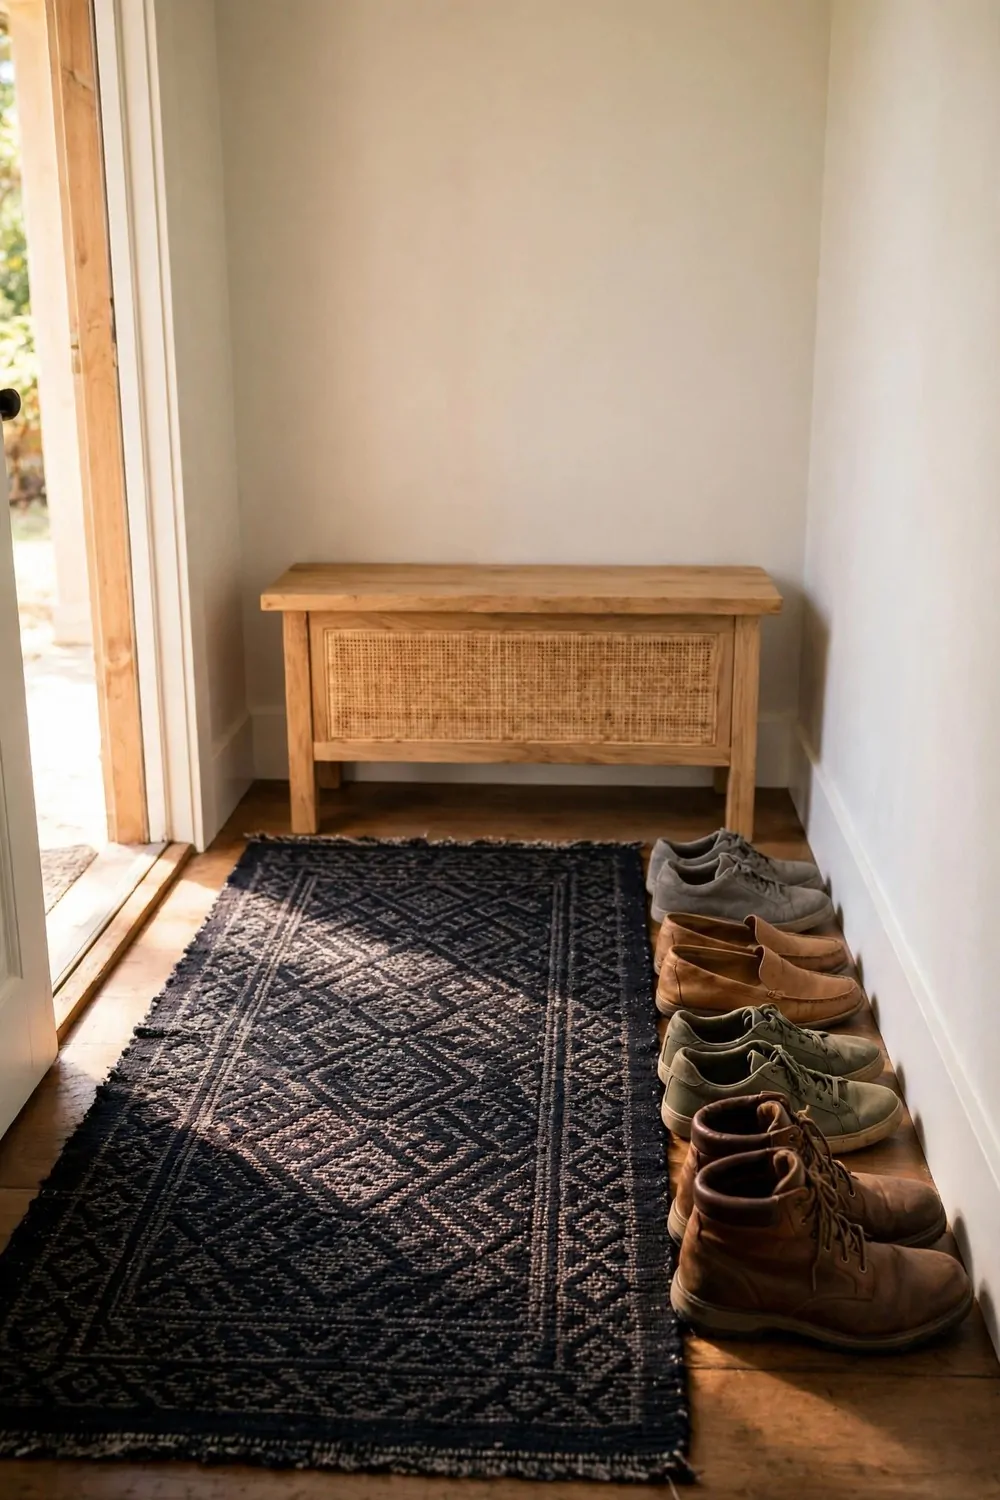
A rug by the door softens the entry and hides mud. It gives shoes a place to wipe. It also makes the floor feel warm under bare feet.
Pick a rug with a busy pattern in mid tones. A busy pattern hides mud marks between washes. A plain pale rug shows every footprint.
Choose a rug that is easy to wash. A washable rug can go in the machine on a gentle cycle. A rug you cannot wash will look tired fast.
Make the rug long enough for two steps. One small mat is too short for muddy boots. A longer rug gives feet time to wipe clean.
Use a non slip pad under the rug. A rug that slides is a trip risk. A pad keeps the rug flat and safe.
Shake the rug outside once a week. Dust and grit fall out with a good shake. Vacuum it too if you have time.
A washable entry rug with a non slip pad can run $50 to $160 for a good size.
Put the rug just inside the door, not under it. The door should swing clear over the rug edge. A rug stuck under the door will bunch up.
Try the rug for a wet week and see how it holds up. If mud still reaches the floor, add a boot tray beside it. The two together work well.
16. Add Warm Ceiling Light
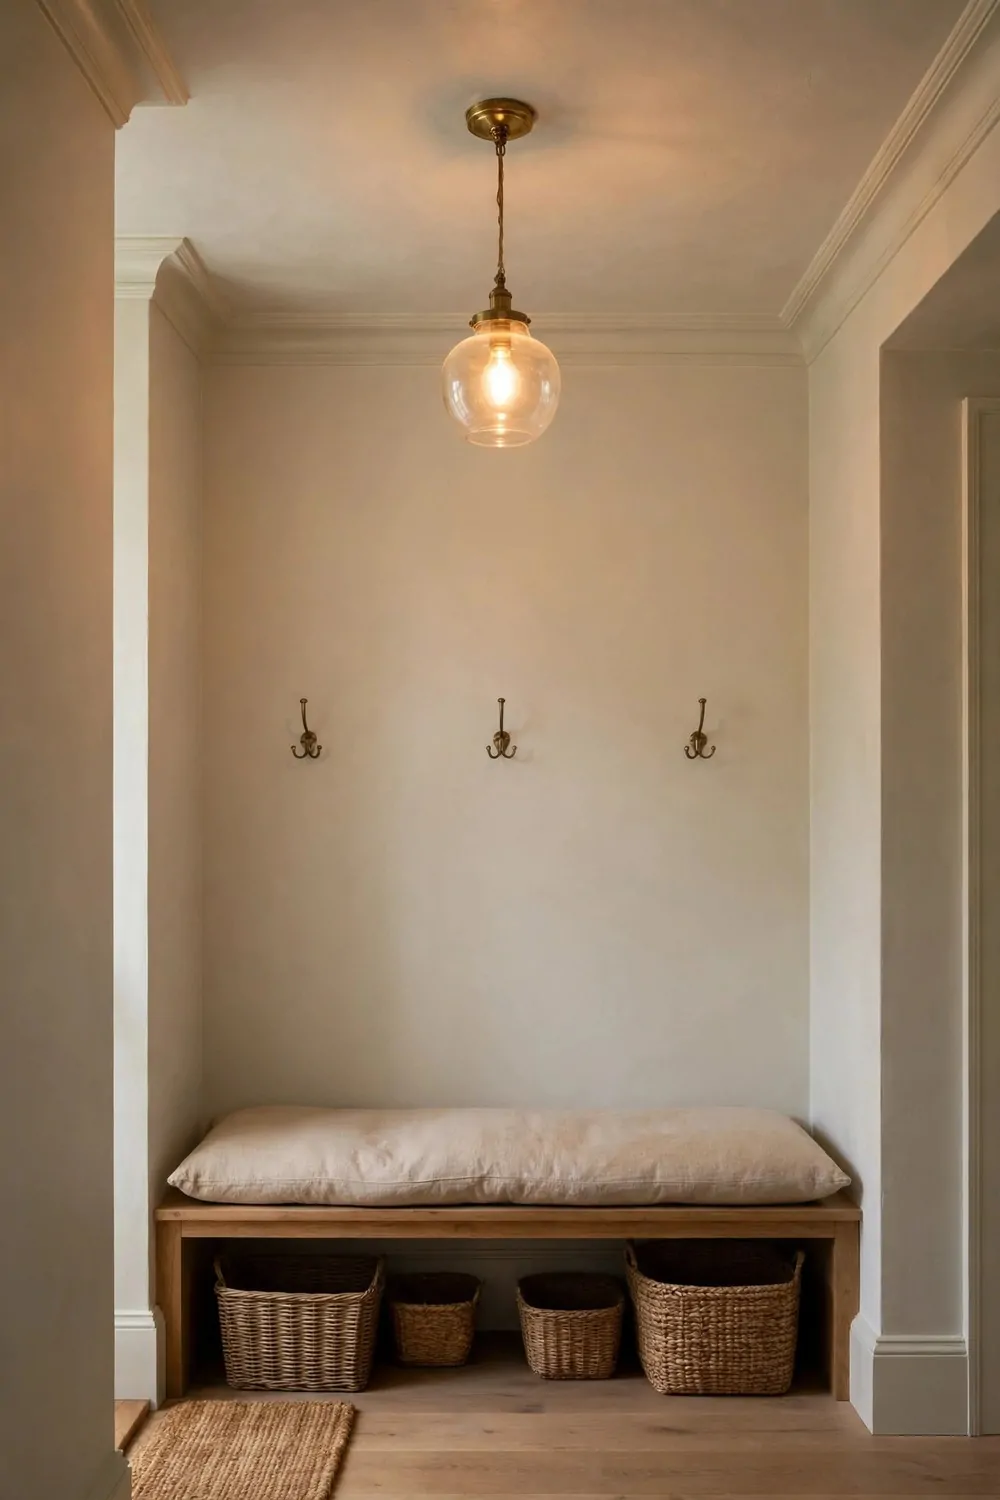
Warm light makes a mudroom feel cosy at night. Cold bright light feels harsh by the door. A warm glow welcomes you home.
Pick a ceiling light that spreads light wide. A small light in a corner leaves dark spots. A central light fills the whole entry.
Choose a warm bulb, not a cold white one. Warm bulbs make wood and paint look soft. Cold bulbs make the space feel like a shop.
Put the light on a dimmer if you can. A dimmer lets you lower the light at night. Low light feels calm when you come home late.
Clean the light shade once a month. Dust on the shade dims the light a lot. A quick wipe brings the brightness back.
Check that the light does not glare in the mirror. A light that glares hurts your eyes. Move the shade a little if the glare is bad.
Swapping in a warm ceiling light with a dimmer can cost $90 to $280 for parts and a simple fit.
Test the light at night with the door open. You should see the bench and hooks with ease. Dark corners mean you need a second small light.
Leave the light on low when guests are due. A lit entry feels safe and warm. It is a small touch that makes a big first feel.
17. Build a Locker-Style Wall
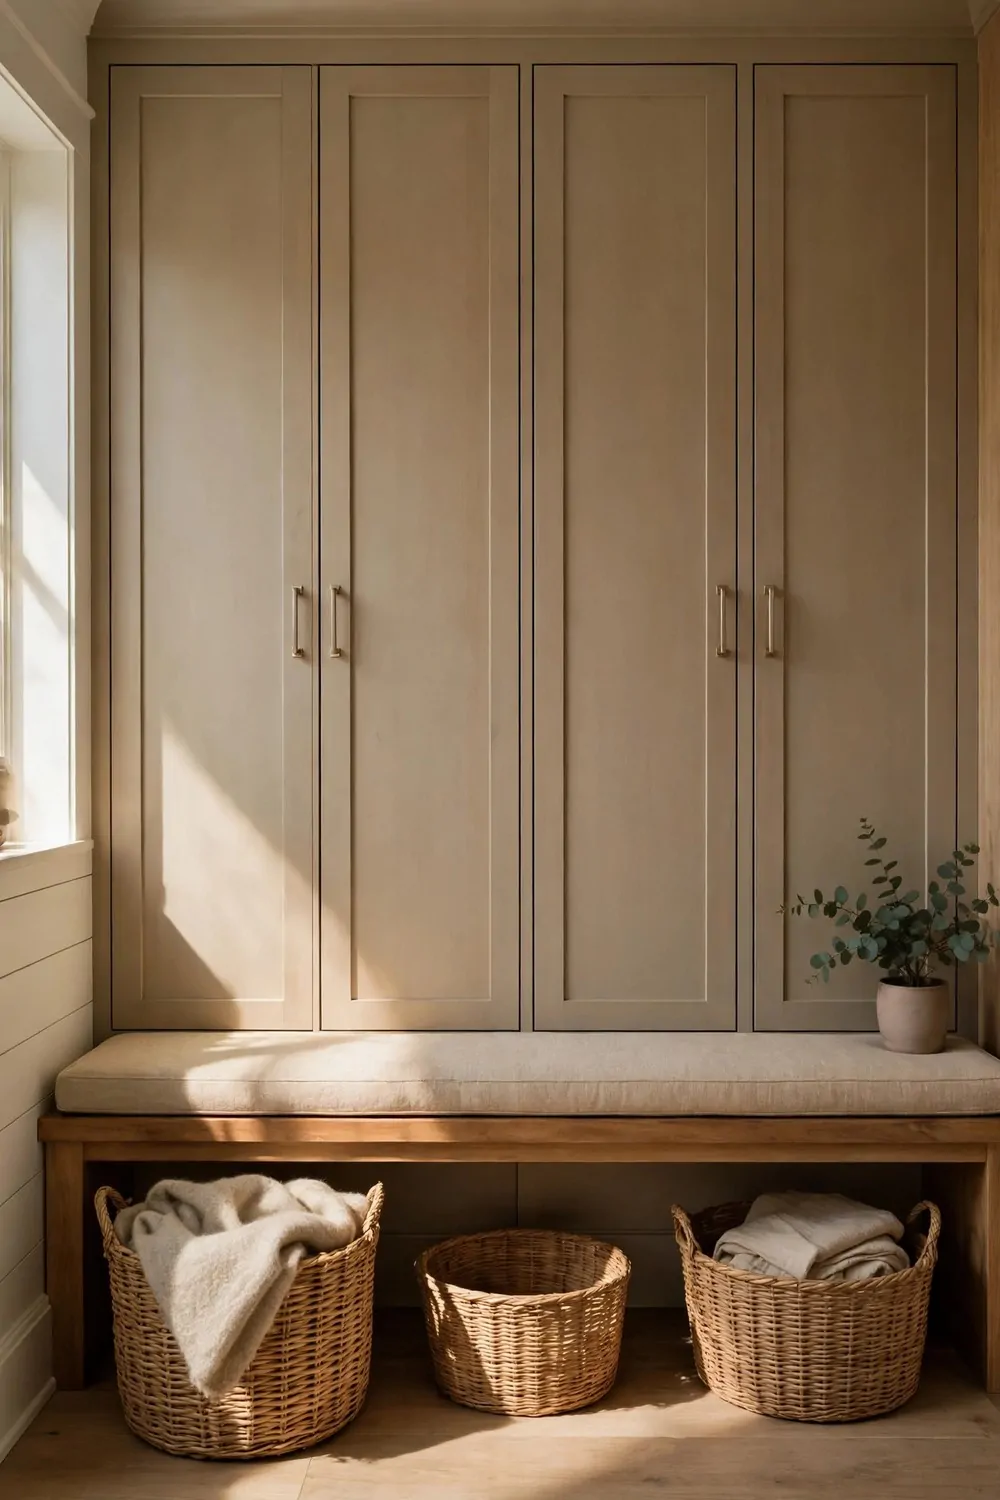
A locker style wall gives the entry a smart built in look. Tall lockers hold coats, bags, and shoes in one place. Each locker feels like its own small closet.
Build the lockers from floor to shelf height. Tall lockers use the full wall and waste no space. Short lockers leave a gap that collects dust.
Give each locker a hook and a shelf inside. The hook holds a coat and the shelf holds a bag. A small rail at the base holds shoes.
Add a door or leave the lockers open. Open lockers are easy for kids to use. Doors hide clutter but they slow kids down.
Paint the lockers the same colour as the wall trim. Matching paint makes the wall look built in. A contrast colour can look bold if you like that style.
Leave a gap at the top for baskets. Baskets on top hold spare hats and gloves. They are out of the way but still easy to reach.
A locker wall with three tall bays often comes to $600 to $1500 for wood, paint, hooks, and fixings.
Measure the wall twice before you build. A locker wall that is a bit too wide will not fit. A small gap at the end looks much better than a forced fit.
Open each locker and test it with a full coat and bag. The hook should hold the weight with no bend. A firm locker wall will serve your family for years.
18. Add a Soft Cushion to the Bench
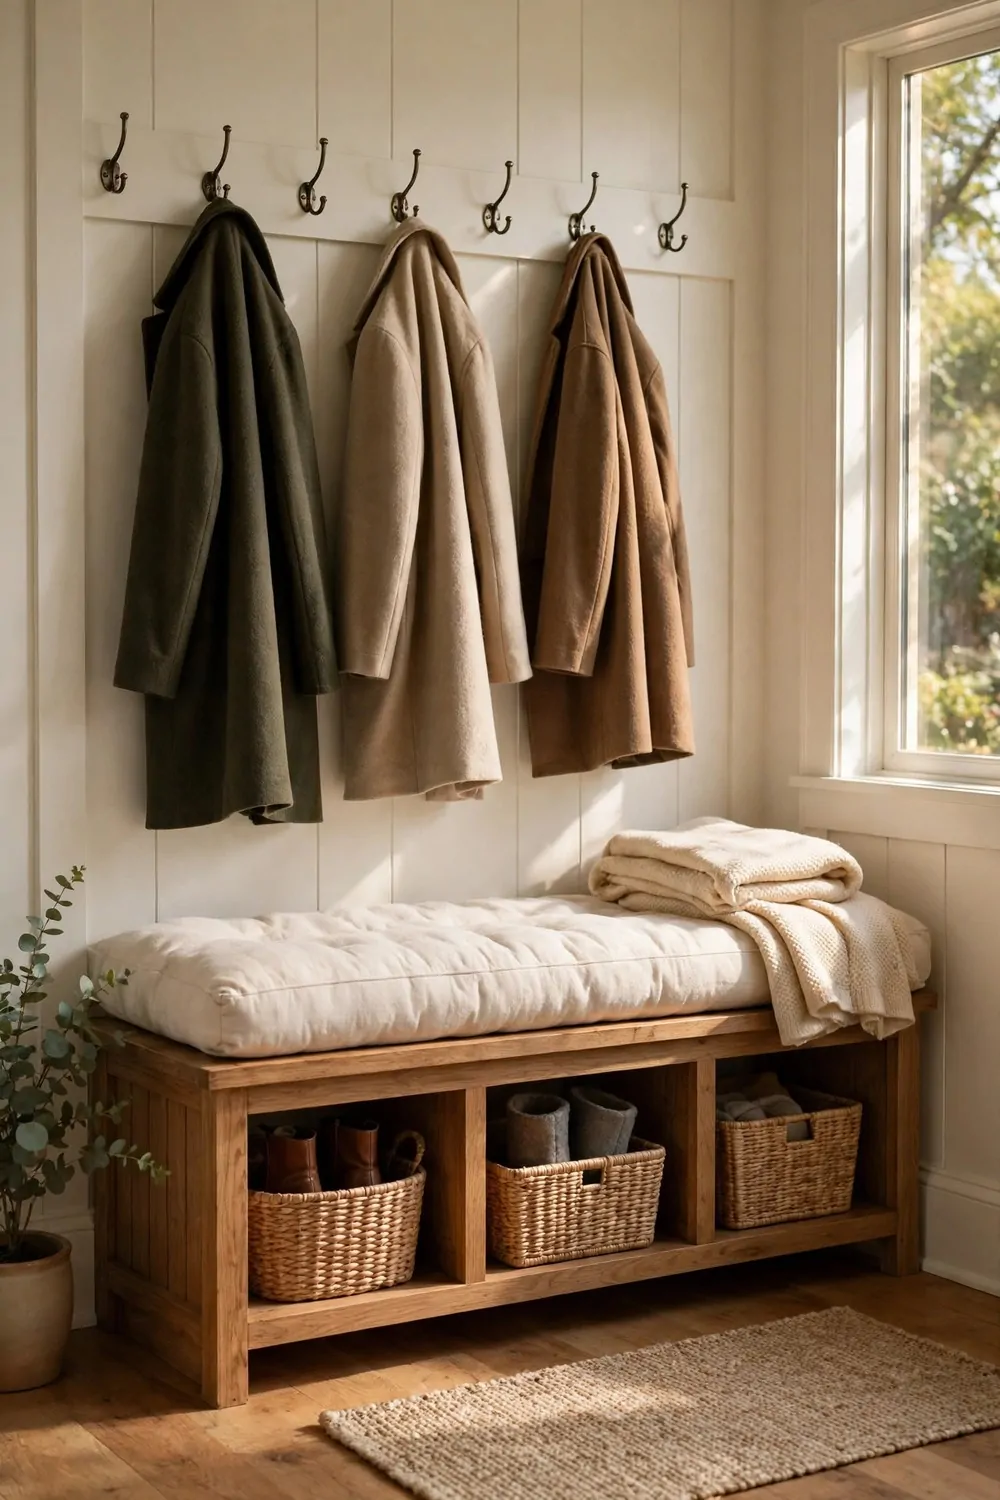
I sit on my bench a lot when I pull my shoes on. A hard wood seat felt cold on winter mornings. A soft cushion changed that in one day.
I picked a thick cushion in a plain cream. It feels warm when I sit down. It also makes the bench look soft and kind.
I like a cushion with ties at the back. The ties stop it from sliding off. I do not have to fix it each time I sit down.
I chose a cover I can wash in my machine. Mud and dust land on it all the time. A washable cover keeps it fresh.
A good bench cushion often runs $35 to $80 when you buy one ready made in a shop.
I keep a spare cover in a cupboard near the door. I swap it when the first one is in the wash. The bench still looks tidy while I wait.
My kids sit on the cushion to tie their laces. They do not rush now. They sit still and get their shoes on right.
I fluff the cushion up once a week. I pat the sides back into shape. It stays plump and it does not go flat in the middle.
You can pick a bright colour if your mudroom feels dull. A soft red or a warm mustard can lift the whole room. I went plain, and I still smile each time I sit down.
19. Use Woven Baskets on the Shelves
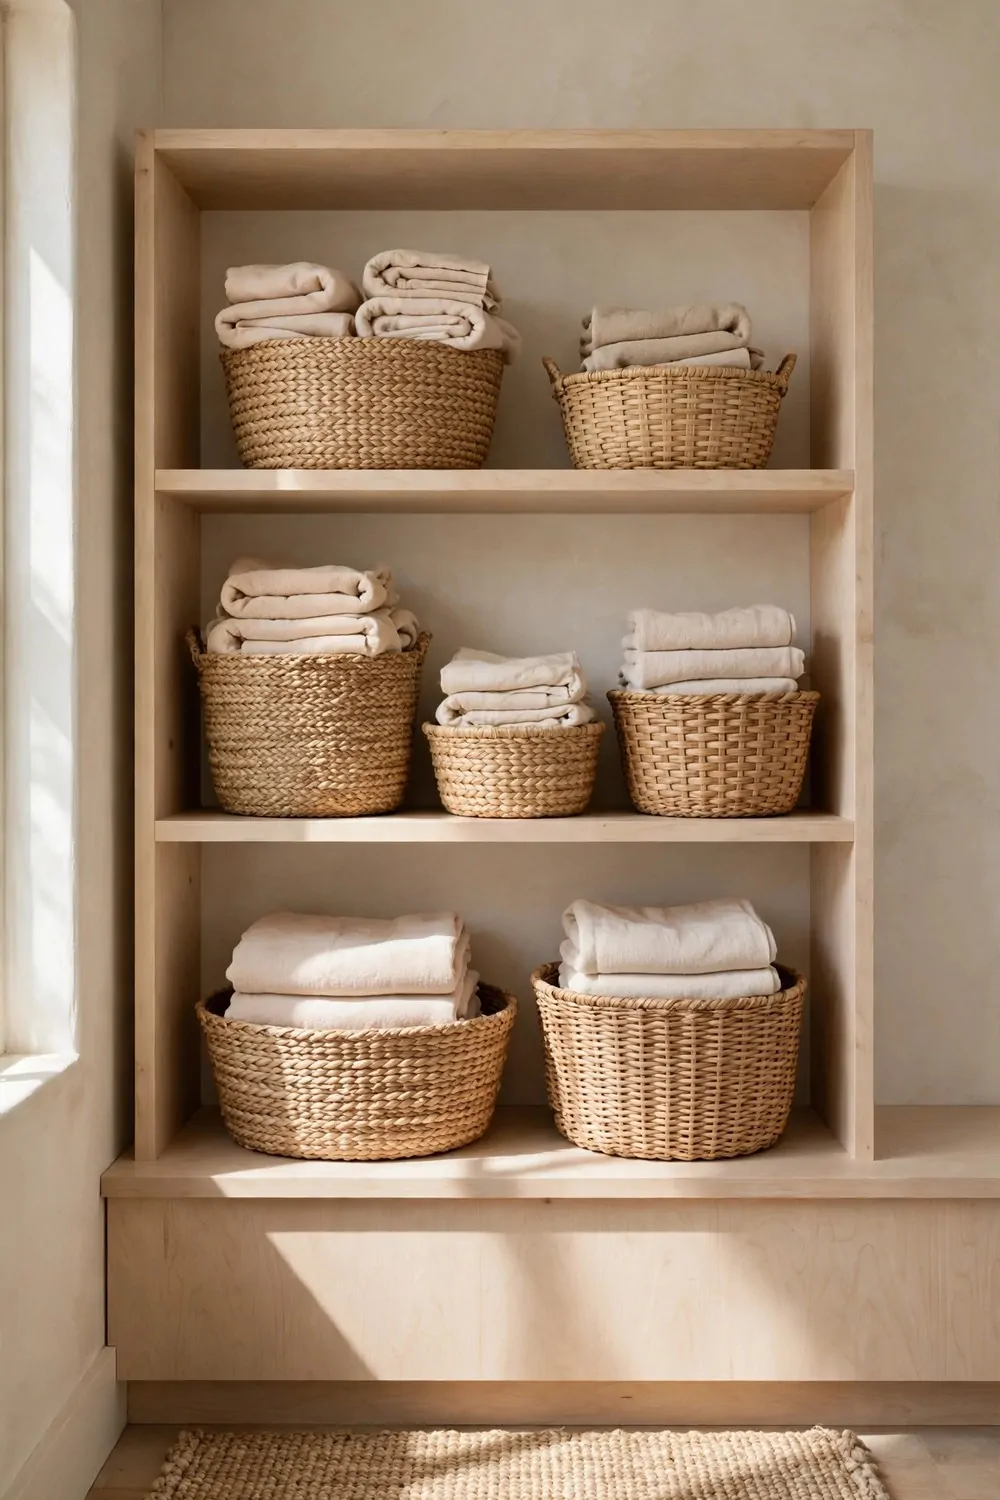
My shelves looked messy before I added baskets. Small things fell over and piled up. Baskets gave each thing a home.
I use woven baskets in three sizes on my shelves. Big ones hold hats and gloves. Small ones hold keys and spare laces.
I like how the woven look feels warm. It softens the plain wood shelves. It makes the room feel calm, not stark.
I put a little label on the front of each basket. My family knows where each thing lives. No one has to ask me now.
I keep one basket just for bits that come in with the post. It holds small parcels and letters till I sort them. That one basket stops paper piling up on the bench.
Most woven baskets I looked at were priced $18 to $55 each, so three of them stay kind to my purse.
I dust the baskets with a dry cloth once a week. Dust sits in the weave if I leave it. A quick wipe keeps them clean.
I do not fill a basket right to the top. A full basket looks messy again. I leave a little space at the top so I can see inside.
You can mix round and square baskets if you like. I kept mine all round so they sit neat in a row. Pick what suits your shelves best.
20. Add a Shelf for Post and Parcels
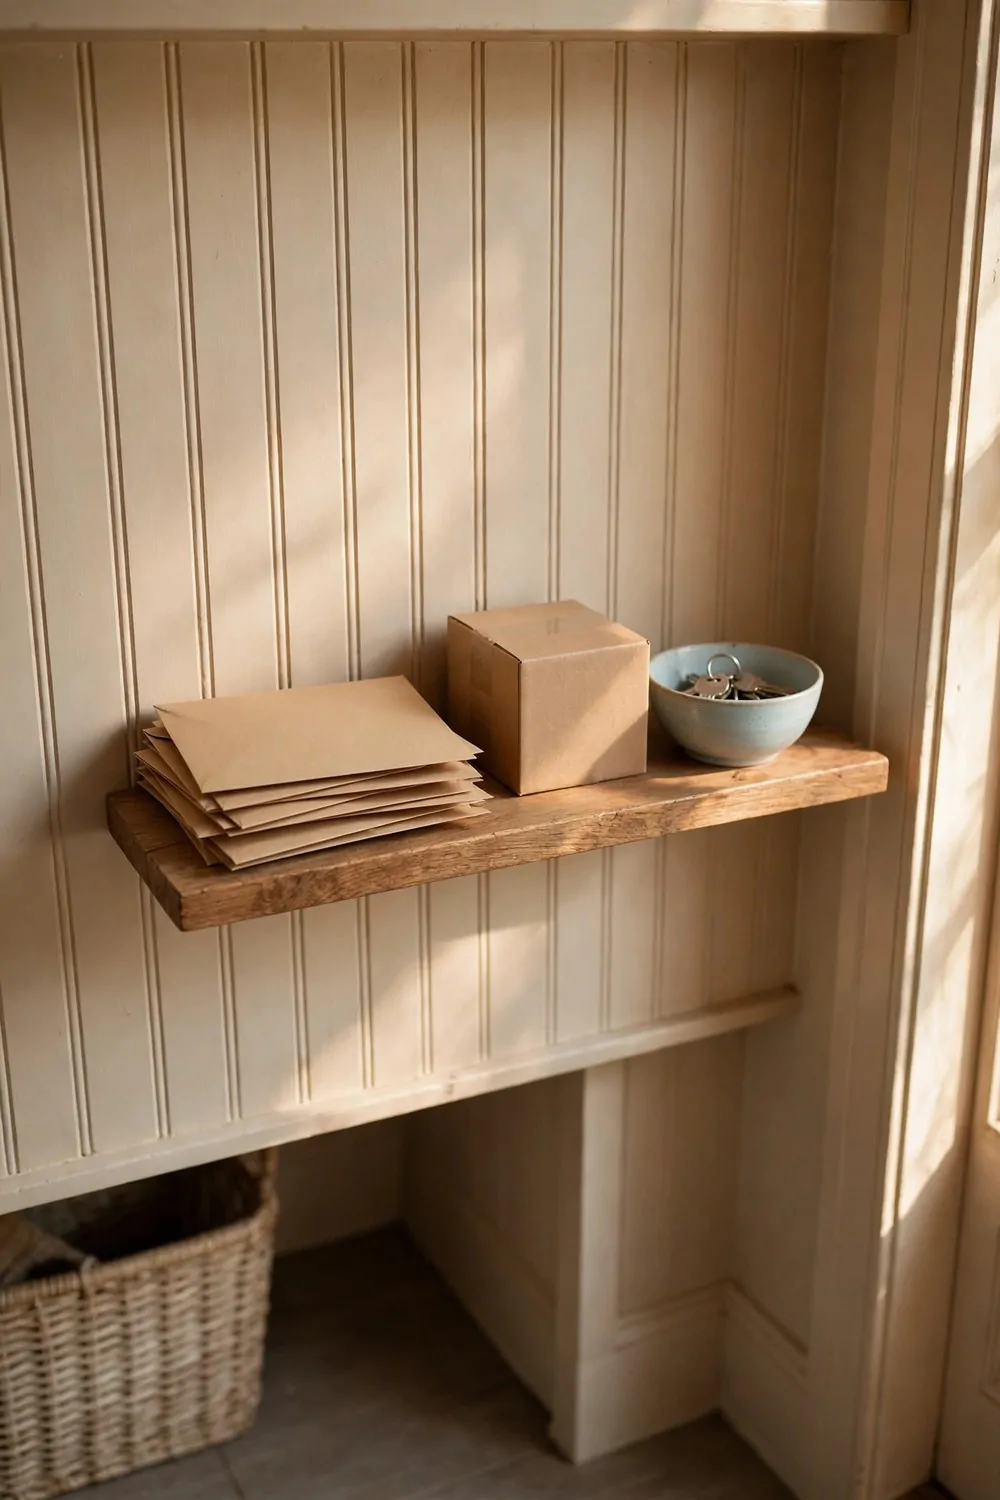
Post used to land all over my bench. Letters slid off and parcels blocked the seat. A small shelf fixed that mess.
I fixed a slim shelf on the wall by the door. It holds the post where I can see it. I sort it when I walk in, not later.
I keep a small tray on the shelf for keys and coins. Everything I need when I leave sits in one spot. I do not hunt for keys now.
Parcels sit on the lower shelf till I open them. Big boxes go on the floor below. The bench stays clear for sitting.
I added two small hooks under the shelf for my shopping bags. I grab a bag on my way out. It saves me a trip back inside.
Putting up a shelf like mine can come to $40 to $110, with the wood, brackets and screws counted in.
I wipe the shelf down each evening. Dust and mud spots build up fast by a door. A clean shelf makes the whole room feel tidy.
My family knows the rule now. Post goes on the shelf, not on the bench. It took a week, and now they do it without thinking.
You can paint the shelf the same colour as your wall. I left mine plain wood. It blends in and it does the job well.
21. Hang a Rail for Wet Coats
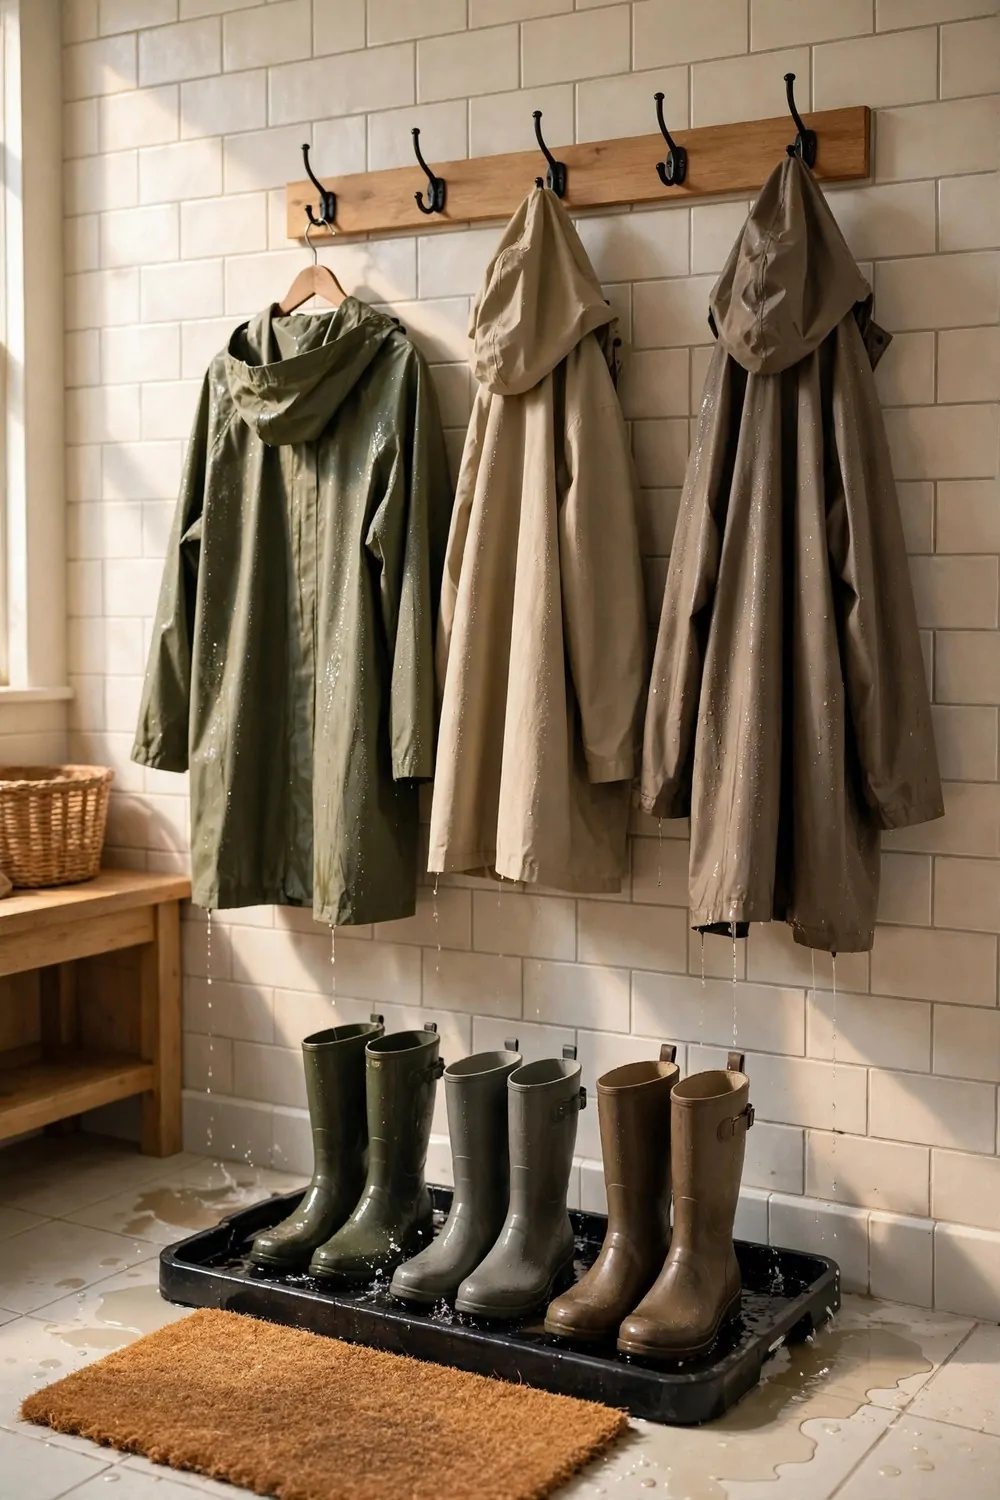
Wet coats used to drip all over my floor. I hung them on a hook and the floor stayed wet. A rail gave them a place to dry right.
I fixed a strong rail high on the wall by the door. Coats hang in a row with space between them. Air can move round each one.
I put a boot tray under the rail. Drips fall into the tray, not on my floor. I tip the tray out when it fills up.
I like a rail with a lip at the front. Hangers do not slide off the ends. Coats stay put, even when the door slams.
I keep my rain coat at the end nearest the door. I grab it fast when rain starts. I do not have to dig past other coats.
A sturdy wall rail with fixings tends to cost $45 to $120 in most home shops.
I wipe the rail once a week with a damp cloth. Wet coats leave marks if I leave them. A quick wipe keeps it looking new.
My kids hang their coats at their own height on a lower rail. They can reach it on their own. They do not drop coats on the floor now.
You can add a few spare hangers on the rail. Guests can hang a coat when they visit. It makes them feel welcome at once.
22. Add a Drawer for Scarves and Small Bits
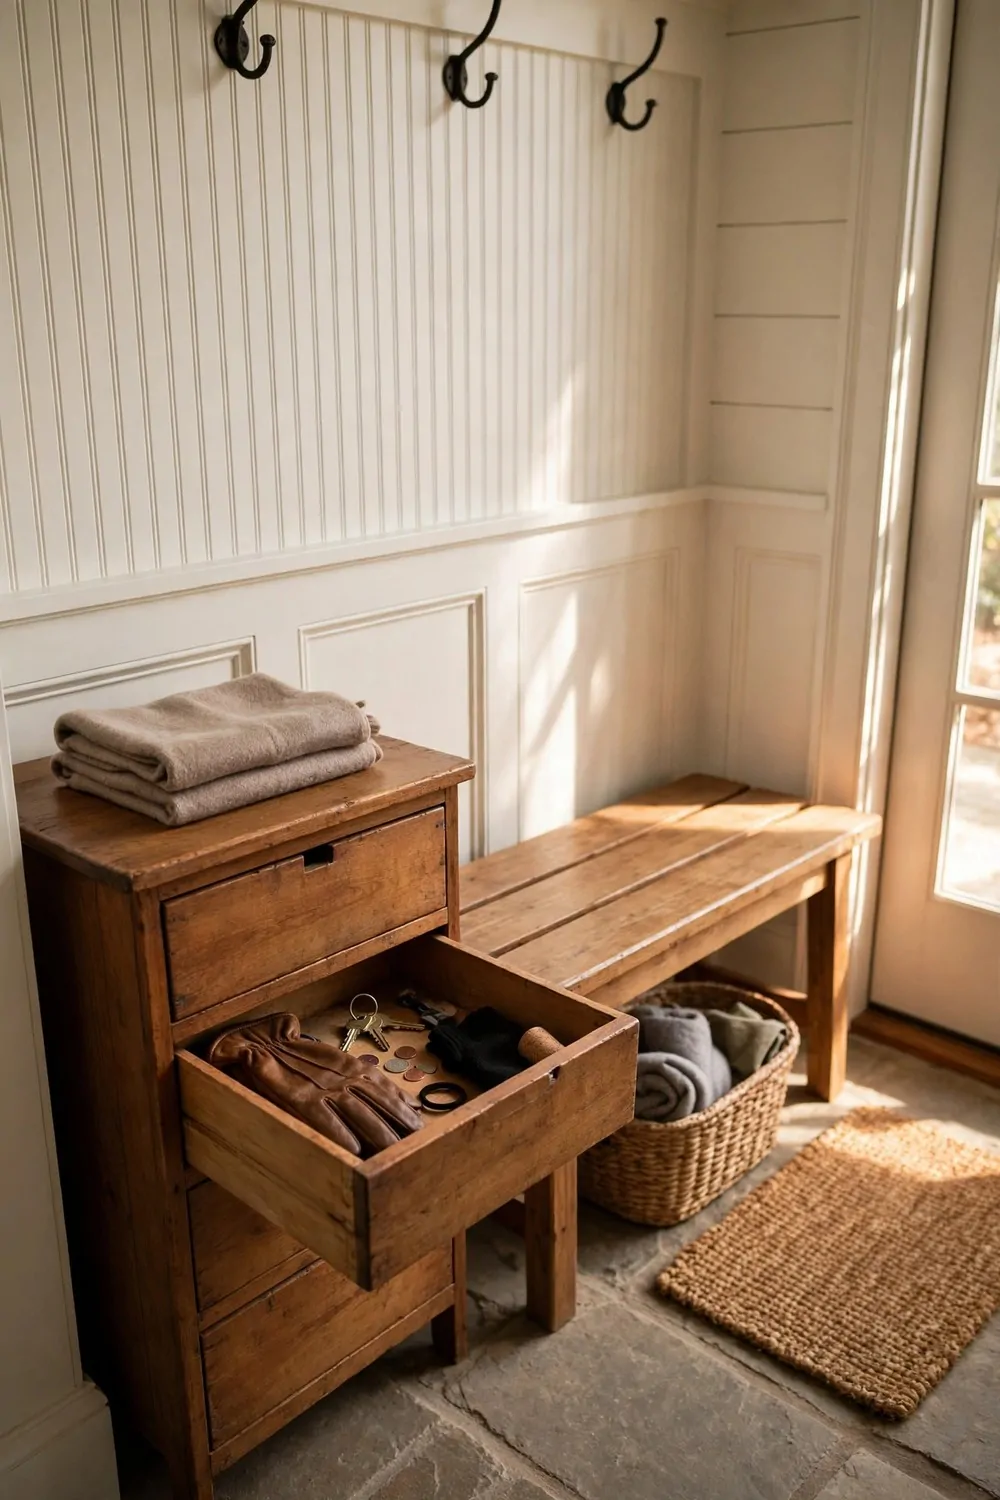
Scarves used to end up in a pile on the bench. Gloves hid under coats and hats went missing. One small drawer sorted it all out.
I added a shallow drawer under my bench. It pulls out smooth and it shuts with a soft push. Small things stay out of sight but close at hand.
I put scarves in one side and gloves in the other. I use a small cloth box inside to split them up. I find what I need in seconds.
I keep spare laces and a small torch in the back of the drawer. I reach for them when I need them. I do not have to hunt through a cupboard.
My kids have their own small drawer each. They keep their hats and gloves in it. They learn to put things back where they belong.
For a small drawer unit like this, I would plan on $60 to $150, based on the size and the wood you pick.
I clear the drawer out once a month. Old bits creep in if I do not check. A quick clear keeps it useful, not full of junk.
I line the drawer with plain paper. It stops small marks on the wood. I swap the paper when it looks tired.
You can add a small pull that is easy to grip. I picked a small slot pull. It suits the bench and it feels neat in my hand.
| Idea | Typical Cost |
|---|---|
| Add a Coat Rail for Guests | $45 to $140 |
| Make a Drop Zone for School Bags | $70 to $210 |
| Add a Memo Board for Notes and Lists | $35 to $110 |
| Put Down a Rug That Hides Mud | $50 to $160 |
| Add Warm Ceiling Light | $90 to $280 |
| Build a Locker-Style Wall | $600 to $1500 |
| Add a Soft Cushion to the Bench | $35 to $80 |
| Use Woven Baskets on the Shelves | $18 to $55 |
| Add a Shelf for Post and Parcels | $40 to $110 |
| Hang a Rail for Wet Coats | $45 to $120 |
| Add a Drawer for Scarves and Small Bits | $60 to $150 |
23. Put in a Two-Tier Shoe Rack
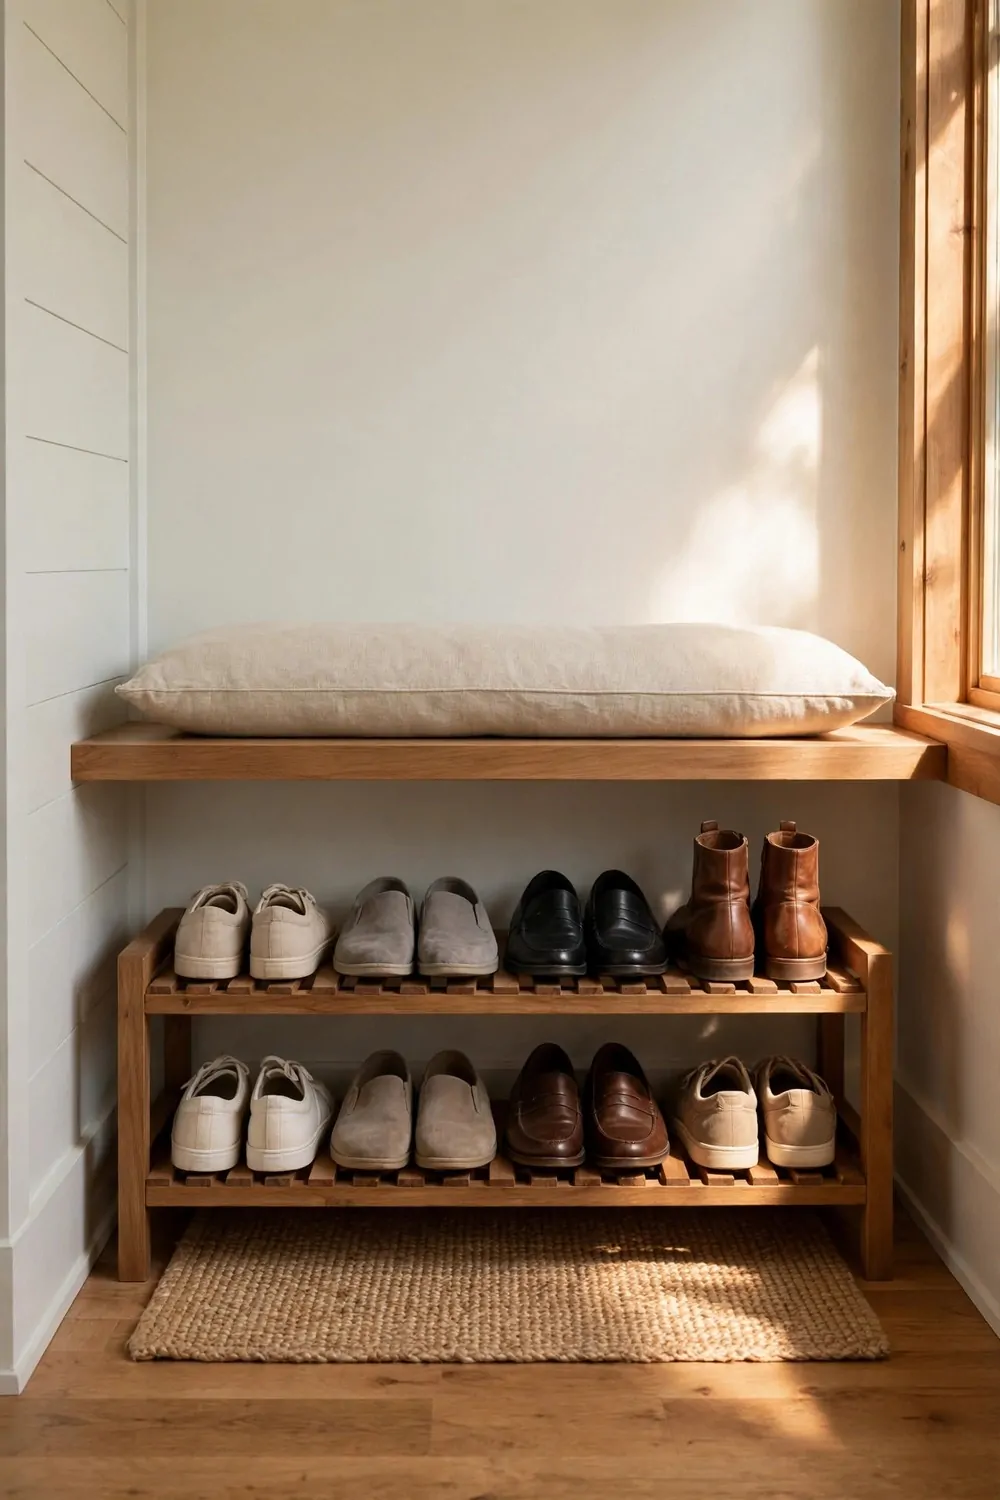
Shoes used to pile up by my door in a big heap. I tripped over them more than once. A two-tier rack gave them a tidy home.
I put the rack just inside the door, against the wall. The top tier holds the shoes we wear most. The bottom tier holds spare pairs and wellies.
I like that I can see every pair at a glance. I do not have to lift shoes to find mine. I pick a pair and I go.
I keep a small mat under the rack. Mud drops on the mat, not on the floor. I shake the mat outside once a week.
My kids put their shoes on the low tier. They can reach it with no help. They feel proud when they line their shoes up neat.
A two-tier rack in plain wood or metal will often cost $50 to $130, which felt fair to me for how much it helps.
I wipe the rack down with a damp cloth on Sundays. Dust and mud build up fast near a door. A clean rack makes the room feel fresh.
I do not keep more than two pairs each on the rack. Extra shoes live in a cupboard. The rack stays tidy and it does not overflow.
You can pick a rack with a slatted top. Air moves through and wet shoes dry faster. Mine has slats, and my shoes smell much better now.
24. Add a Fold-Down Shelf for Bags
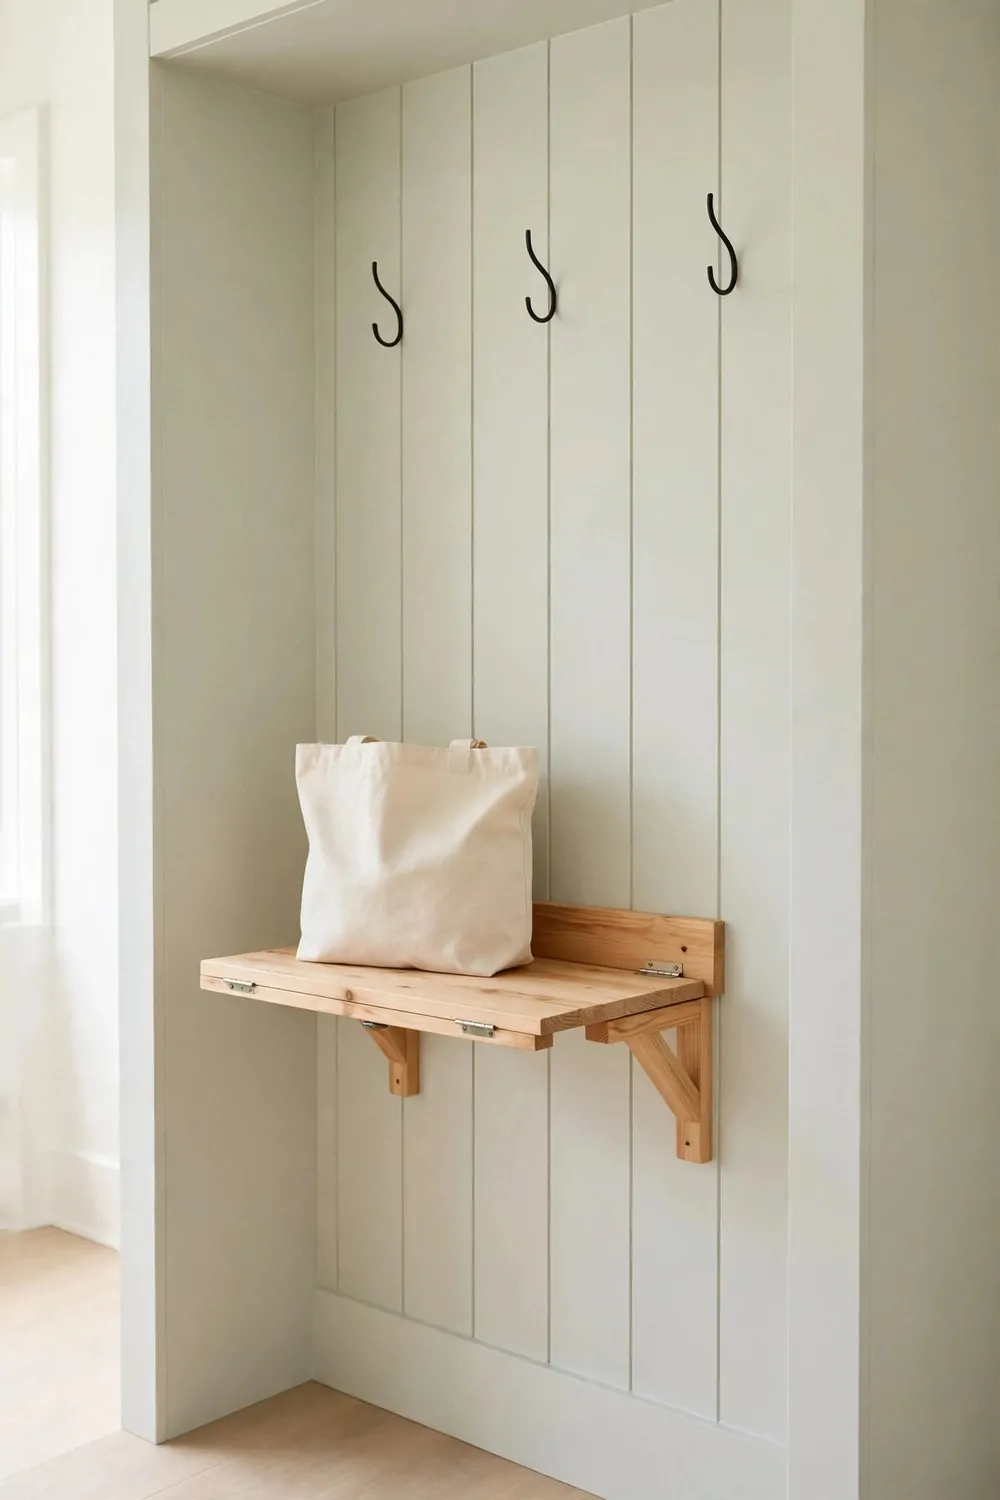
Bags used to sit on my bench and take up the seat. I had nowhere to sit when I came in. A fold-down shelf gave bags a spot of their own.
I fixed the shelf on the wall at waist height. I pull it down when I need it and I fold it up when I do not. It takes up no space when it is shut.
I put my shopping bag on it when I come in. I unpack fruit and bread on the shelf. Then I fold it away and the wall is clear again.
I like that the shelf holds a fair bit of weight. It takes a full bag without bending. I checked the fixings twice before I used it.
My kids use it for their school bags in the morning. They pack lunch and books on the shelf. It keeps the bench free for shoes.
I found fold-down shelves in shops for $55 to $140, with the stronger ones at the top of that range.
I wipe the shelf after I use it for food bags. Crumbs fall on it sometimes. A quick wipe keeps it clean for next time.
I keep the wall below the shelf clear. Nothing blocks it when it folds down. I can open it in one smooth move.
You can paint the shelf to match your bench. I left mine plain pine. It looks simple and it works every day.
25. Paint the Bench a Deep Colour
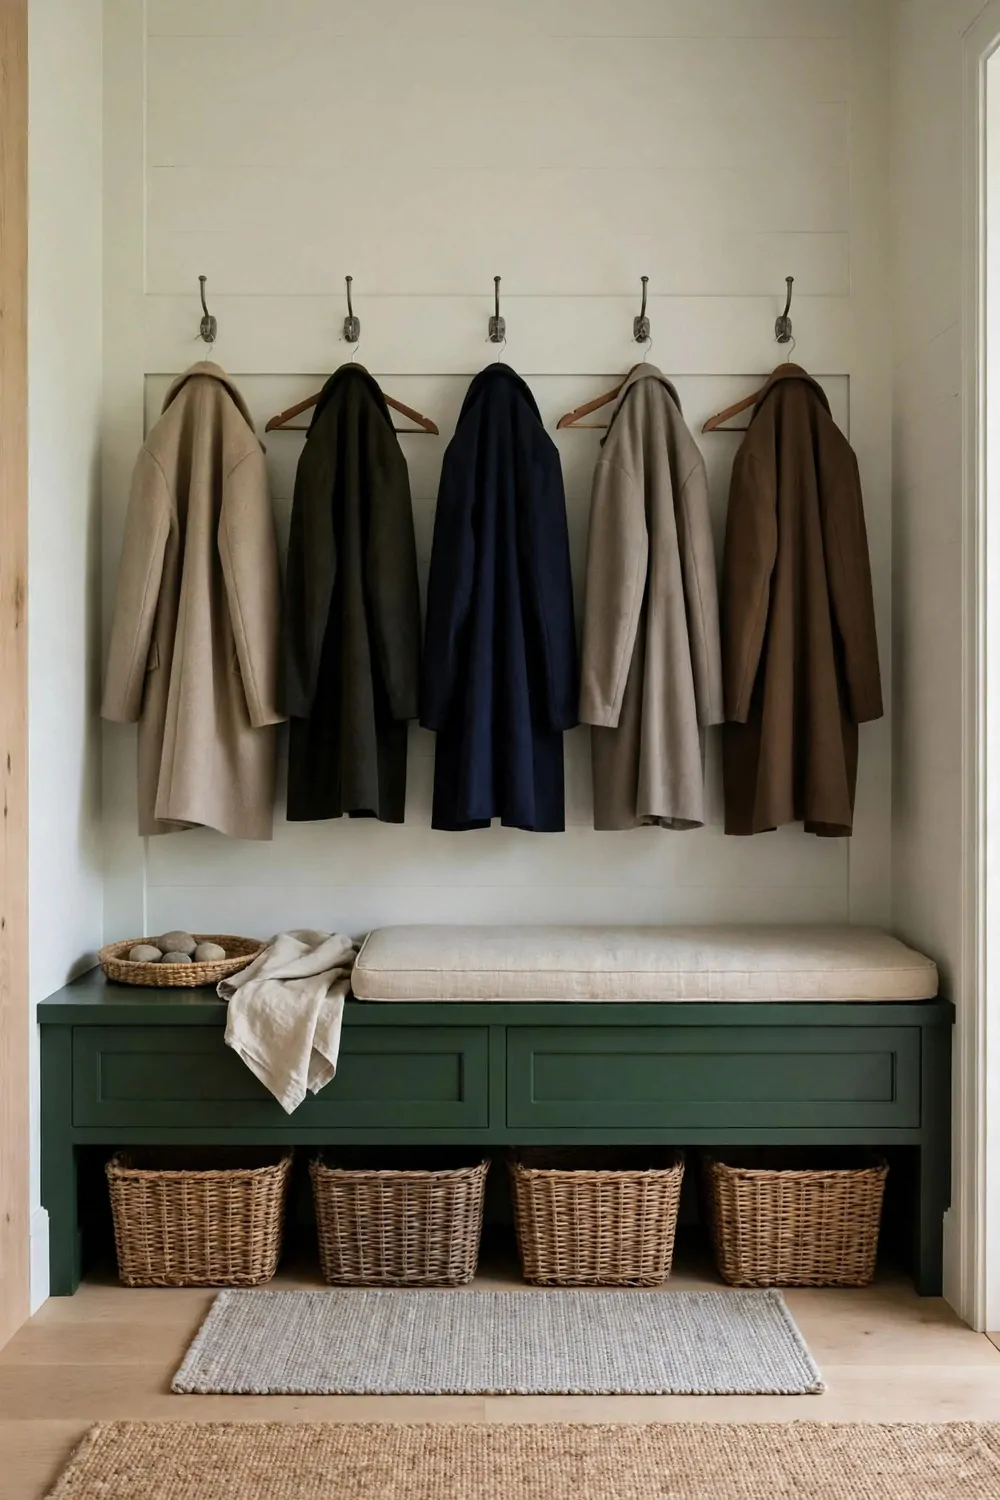
My bench was plain pale wood and it looked washed out. Marks showed up fast and it felt dull. A deep colour gave it a whole new life.
I picked a deep green for my bench. It looks rich against my pale walls. It hides small scuffs much better than pale wood did.
I cleaned the bench first with soap and water. I let it dry all the way through. Paint sticks much better to a clean dry bench.
I used two thin coats, not one thick coat. Thin coats dry smooth and they do not drip. I waited a full day between coats.
I put a plain cream cushion on the top. The deep colour shows on the sides and legs. That mix looks smart and it feels warm too.
Paint and brushes for a bench this size should run $30 to $75 if you buy a small tin and good brushes.
I touch up small chips when I see them. I keep a little paint in a jar for that job. A quick dab keeps the bench looking new.
My kids helped me pick the colour. They chose green in the end. They feel proud each time they sit on it now.
You can try deep navy blue or a warm plum if green is not your taste. Pick a colour you love to look at. You will see it every day when you walk in.
26. Add a Small Plant by the Window
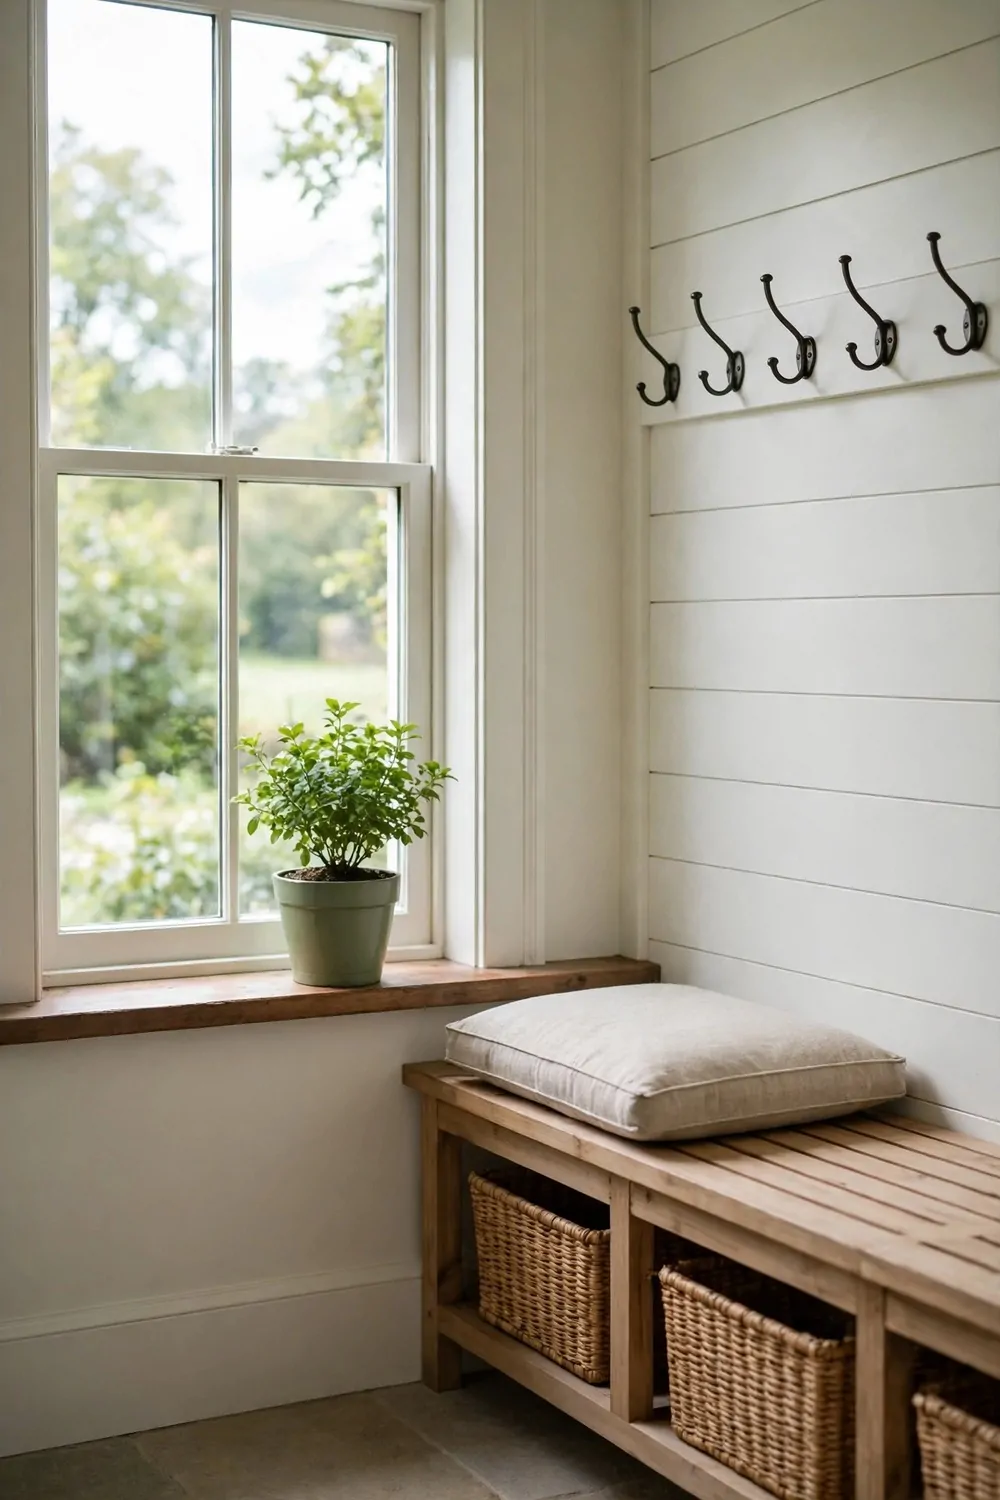
My mudroom felt bare and a bit cold. Hard floors and plain walls made it feel stark. A small plant by the window softened it at once.
I picked a small green plant that likes bright light. It sits on the sill where the sun falls in the morning. It looks fresh all year round.
I water it once a week, no more. Too much water makes the leaves go soft. A little water keeps it happy and green.
I chose a plain green pot for it. The pot suits the wood in my mudroom. It does not fight with the other colours in the room.
I wipe the leaves with a damp cloth now and then. Dust settles on them near a door. Clean leaves look bright and they grow better.
A small potted plant with a plain pot can be had for $12 to $35, which makes it one of the cheapest changes here.
My kids like to check if the plant needs water. They press a finger in the soil to test it. It gives them a small job they enjoy.
I move the plant back from the window in very cold snaps. Frost can hurt the leaves. It goes back once the cold eases off.
You can pick a trailing plant if your sill is wide. Its leaves fall soft over the edge. Mine is upright, and it suits my small sill just right.
27. Use Peg Rails for Bags and Hats
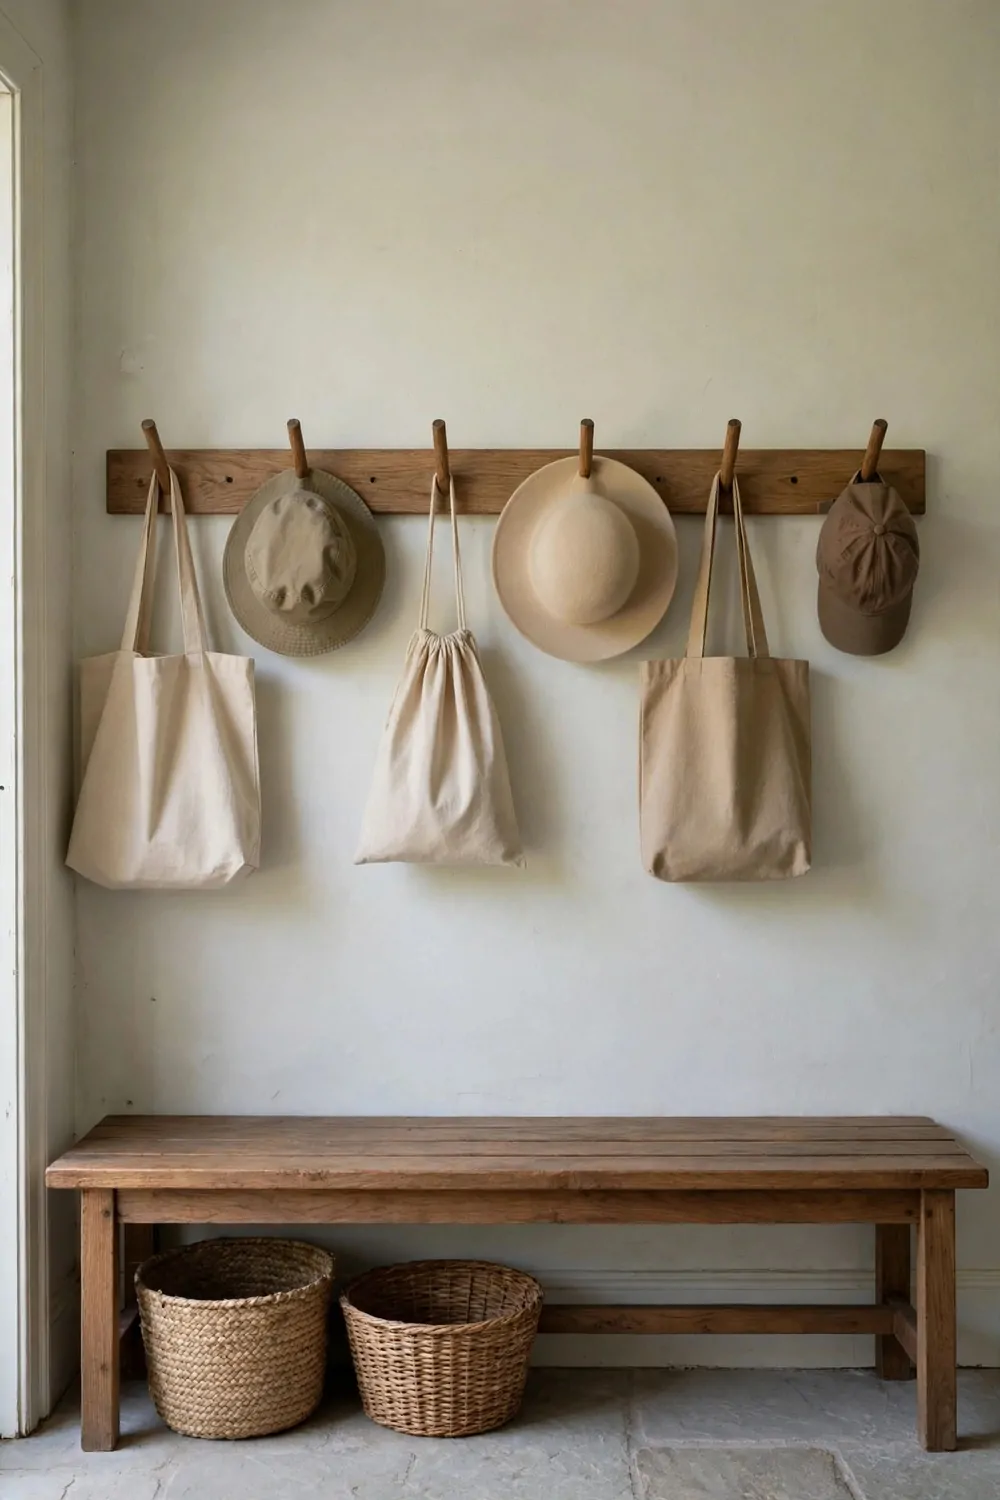
Bags and hats used to end up on the bench. They piled up and I lost the seat. Peg rails gave each one a hook of its own.
I fixed a long peg rail on the wall at my height. Bags hang in a neat row. Hats sit on the pegs above them.
I like pegs with a rounded end. They hold a bag strap well. They do not poke a hole in the strap.
I keep my work bag on the first peg by the door. I grab it as I leave. I do not have to search the house for it.
My kids hang their school bags on the low peg rail. They can reach it with no help. They hang their hats there too in winter.
A long wood peg rail with fixings will usually set you back $25 to $70, based on the length you need.
I wipe the pegs once a week. Dust and mud spots land on them. A quick wipe keeps the wood looking fresh.
I do not hang more than one bag on each peg. Two bags pull the peg down and they look messy. One bag per peg stays neat.
You can paint the rail the same colour as your wall. I left mine plain wood so it stands out a little. It looks simple and it works hard every day.
28. Add a Wall Rack for Drying Wet Coats
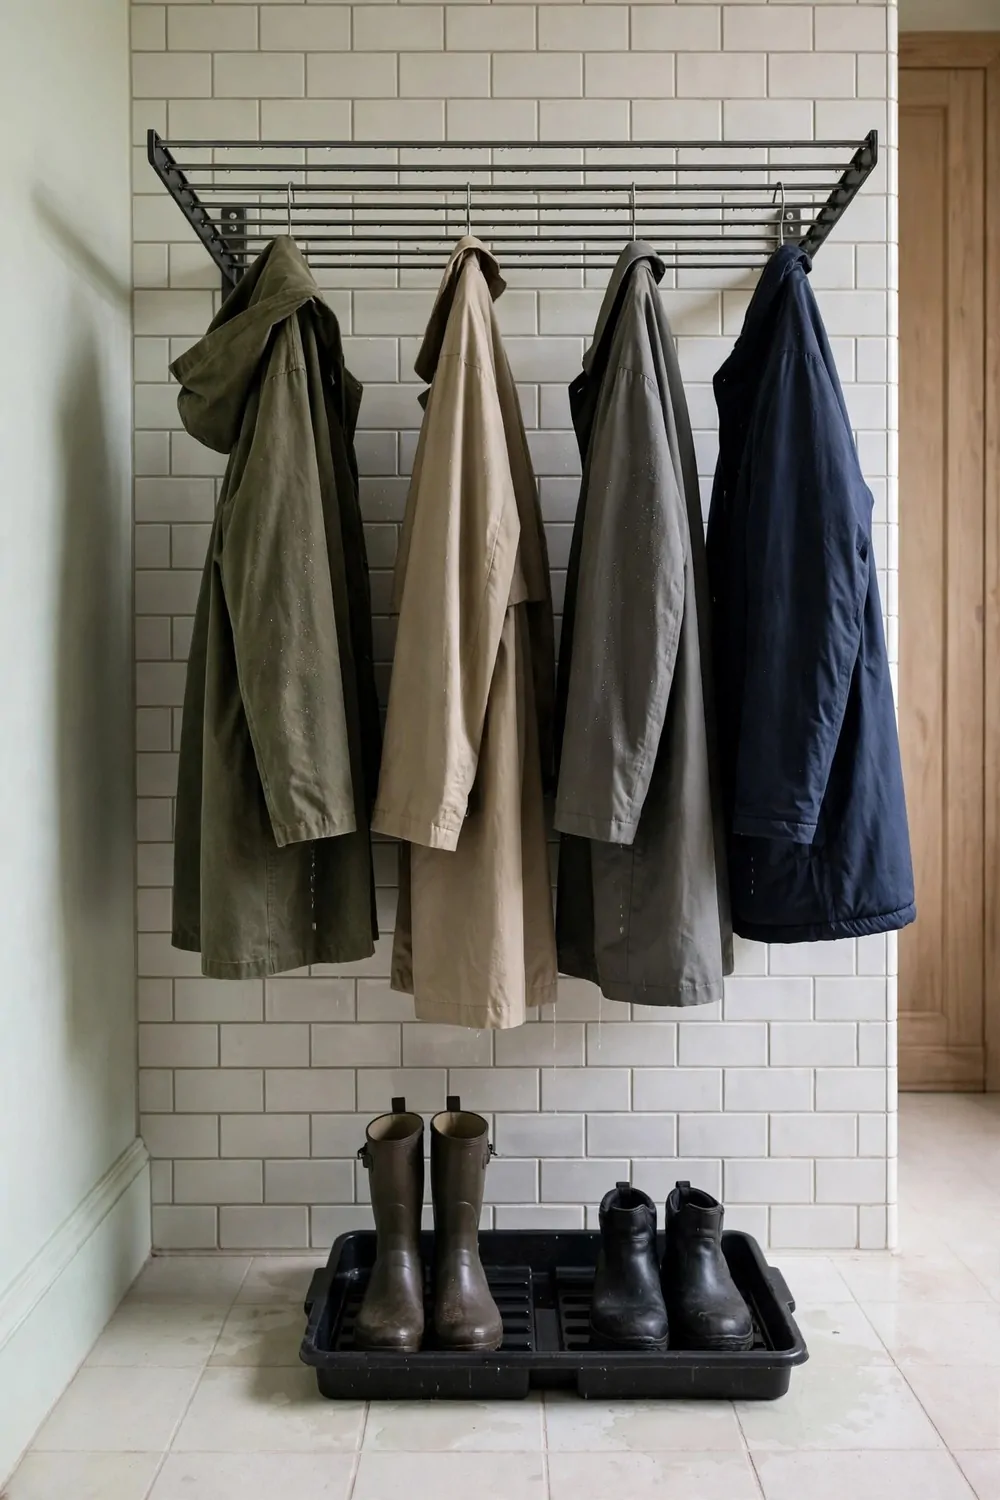
Wet coats need air to dry, not a pile on the floor. Mine used to stay damp all night. A wall rack fixed that in a week.
I fixed a slatted rack on the wall near the door. Coats hang with gaps between them. Air moves through and they dry much faster.
I put the rack where the warm air from the hall reaches it. It dries coats by morning. I do not put on a damp coat now.
I use wide hangers on the rack. Thin hangers leave marks on coat shoulders. Wide ones keep the shape right.
I keep a small tray below the rack for drips. I empty it when it fills. The floor stays dry, even on rainy days.
A wall drying rack with strong fixings often comes in at $70 to $160, which felt worth it for dry coats each morning.
I check the fixings once a month. Wet coats are heavy and they pull on the rack. Tight screws keep it safe on the wall.
My kids hang their wet coats on the low end of the rack. They can reach it on their own. Their coats dry by school time.
You can add a small fan near the rack in damp months. It moves air across the coats. I use mine on rainy weeks and it helps a lot.
29. Put a Small Lamp on the Console
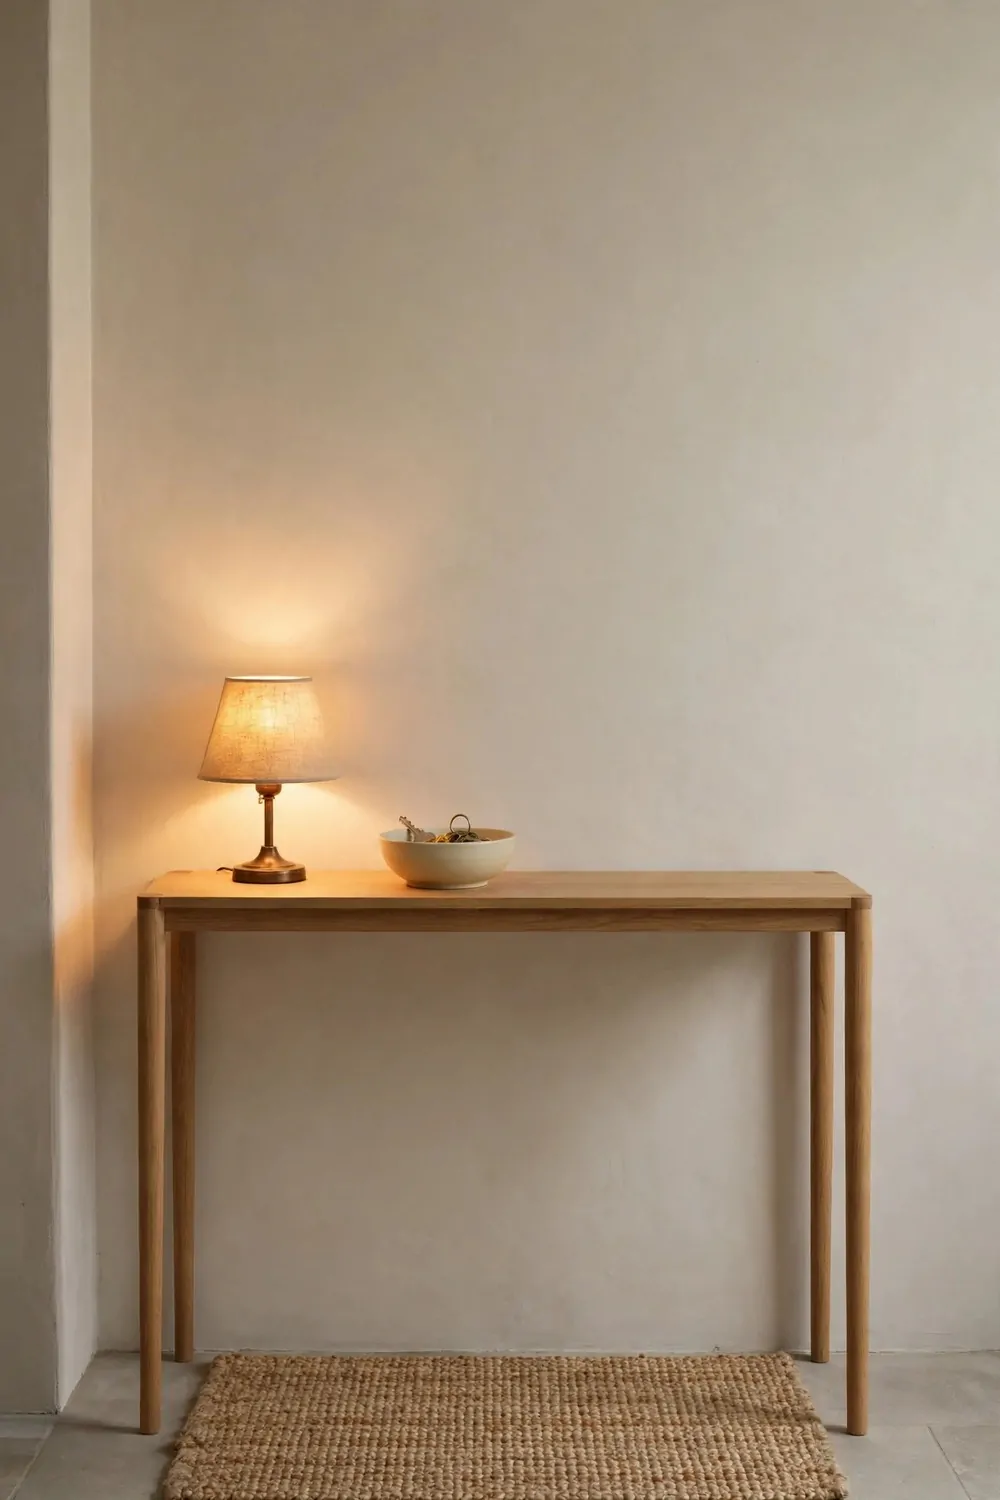
My mudroom felt dark in the early morning. I fumbled for keys in the gloom. A small lamp on the console changed that at once.
I picked a lamp with a warm soft glow. It lights the keys and the post tray. I can see what I need before I leave.
I put the lamp at the back of the console. It leaves room at the front for bags and post. It does not get knocked over.
I use a low-watt bulb so the light stays soft. Bright light feels harsh in a small room. Soft light feels calm and kind.
I turn the lamp on when I get home in the evening. The mudroom feels warm and welcoming. It is a small thing, but I love it.
A small table lamp for a console will often be $28 to $65 in the shops I checked.
I dust the lamp shade once a week. Dust dulls the light if I leave it. A clean shade gives a clear soft glow.
I keep the lamp cord tucked behind the console. It does not trail across the floor. No one trips on it now.
You can pick a lamp with a plain base that matches your bench. Mine is plain brass. It blends in and it does its job well.
30. Add a Family Week Board
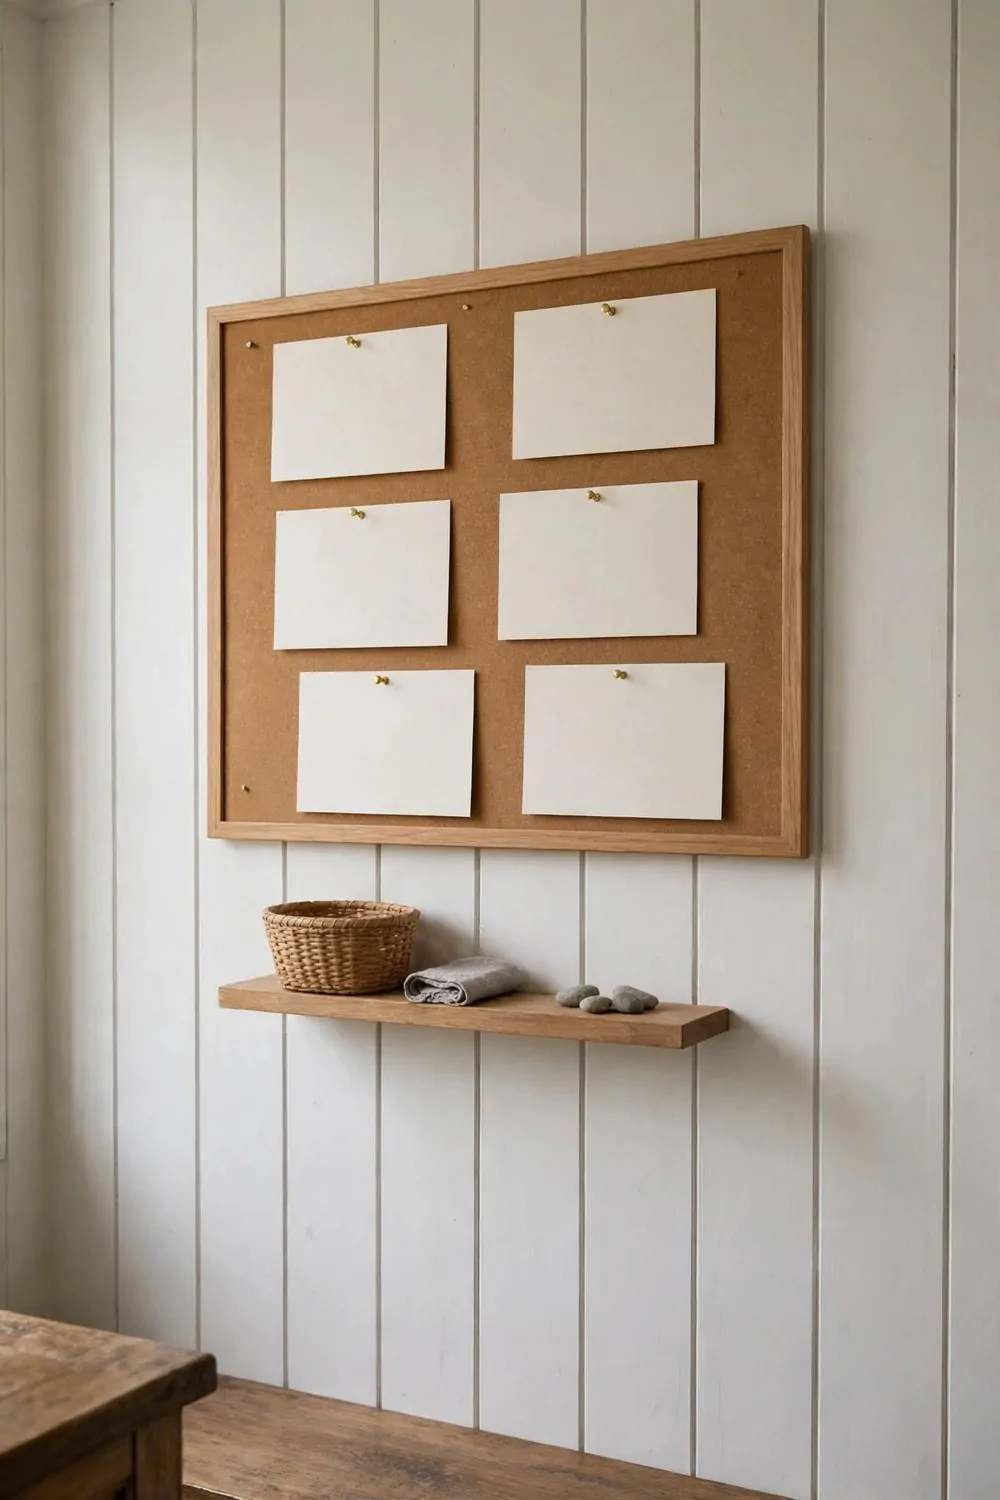
We used to forget who had what each day. Notes got lost and plans clashed. A family week board put it all in one place.
I fixed a large board on the wall by the door. It shows the whole week at a glance. Each person has a row of their own.
I use chalk pens on a dark board. The writing wipes off clean each Sunday. I write the new week fresh on Sunday night.
I add school times, work shifts and lifts on the board. We check it each morning before we leave. No one misses a lift now.
My kids write their own plans on their rows. They feel proud to add their own notes. They check the board without me asking.
A good family week board with pens should cost $30 to $80, based on the size you pick.
I wipe the board clean each Sunday night. Old notes can confuse us. A fresh board starts the week clear.
I keep a small shelf below the board for pens. Pens do not get lost now. They sit in a little pot, ready to use.
You can add a small clip for letters from school. I clip them at the side of the board. We see them each day and we do not lose them.
31. Make a Charging Spot by the Door
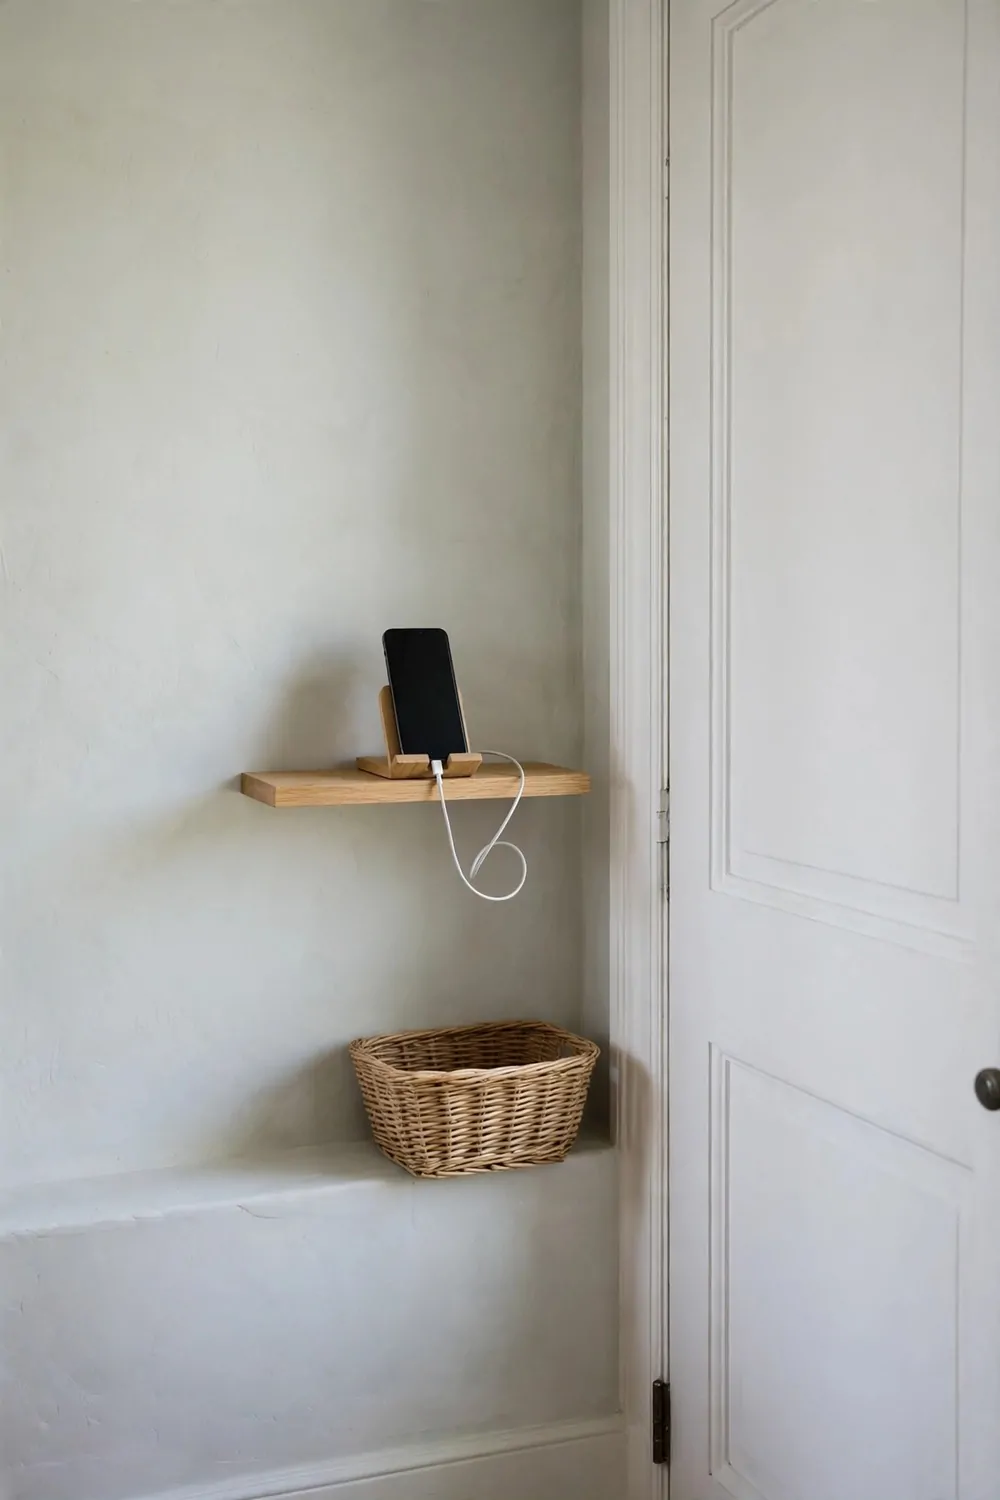
Phones used to charge all over the house. I hunted for mine each morning. A charging spot by the door fixed that.
I fixed a small shelf with a power point near the door. Phones sit there to charge overnight. I pick mine up as I leave.
I use a short lead for each phone. Long leads tangle and they trail on the floor. Short leads stay neat in a small tray.
I keep a small box on the shelf for spare leads. They do not get lost now. I grab one when a guest needs a charge.
My kids charge their tablets on the lower shelf. They know the rule. Devices stay by the door, not in bed.
Setting up a small charging shelf with a power strip can come to $35 to $90, based on the parts you pick.
I check the leads once a month for wear. A worn lead can fray and it is not safe. I swap it at once if I see damage.
I label each lead with a small tag. We know whose lead is whose. No one unplugs the wrong phone now.
You can add a small clock above the shelf. I glance at it as I grab my phone. It helps me leave on time each morning.
32. Add a Slim Umbrella Stand
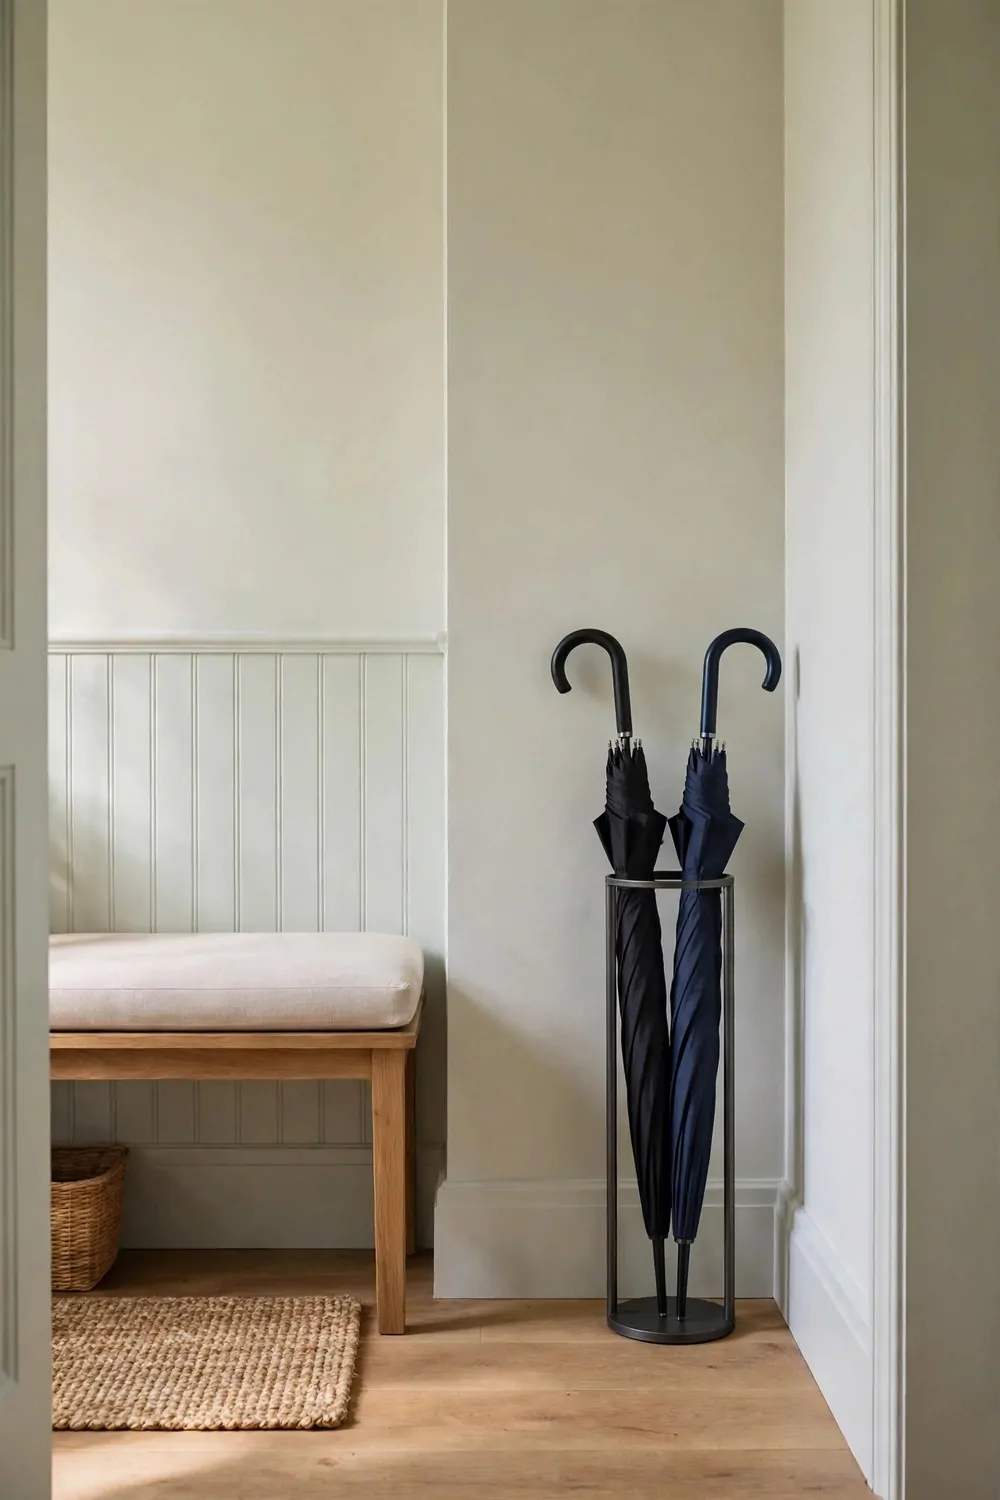
Umbrellas used to lean in a corner and fall over. They blocked the door and they dripped on the floor. A slim stand sorted it out.
I picked a tall slim stand that fits by the door. It holds four umbrellas with room to spare. It takes up very little floor space.
I like a stand with a drip tray at the base. Rain runs down into the tray. I tip the tray out after a wet day.
I keep my big umbrella at the front of the stand. I grab it fast when rain starts. I do not have to dig past the others.
My kids put their small umbrellas in the stand too. They can reach it with no help. They feel proud to put them back neat.
A slim umbrella stand in metal or ceramic will usually run $22 to $60 in most shops.
I wipe the stand once a week with a damp cloth. Mud spots land on it near the door. A quick wipe keeps it looking smart.
I do not cram too many umbrellas in the stand. A full stand tips over. Four umbrellas is just right for my family.
You can pick a stand that matches your bench colour. Mine is plain dark metal. It blends in and it does the job well.
33. Put Hooks Low Enough for Kids
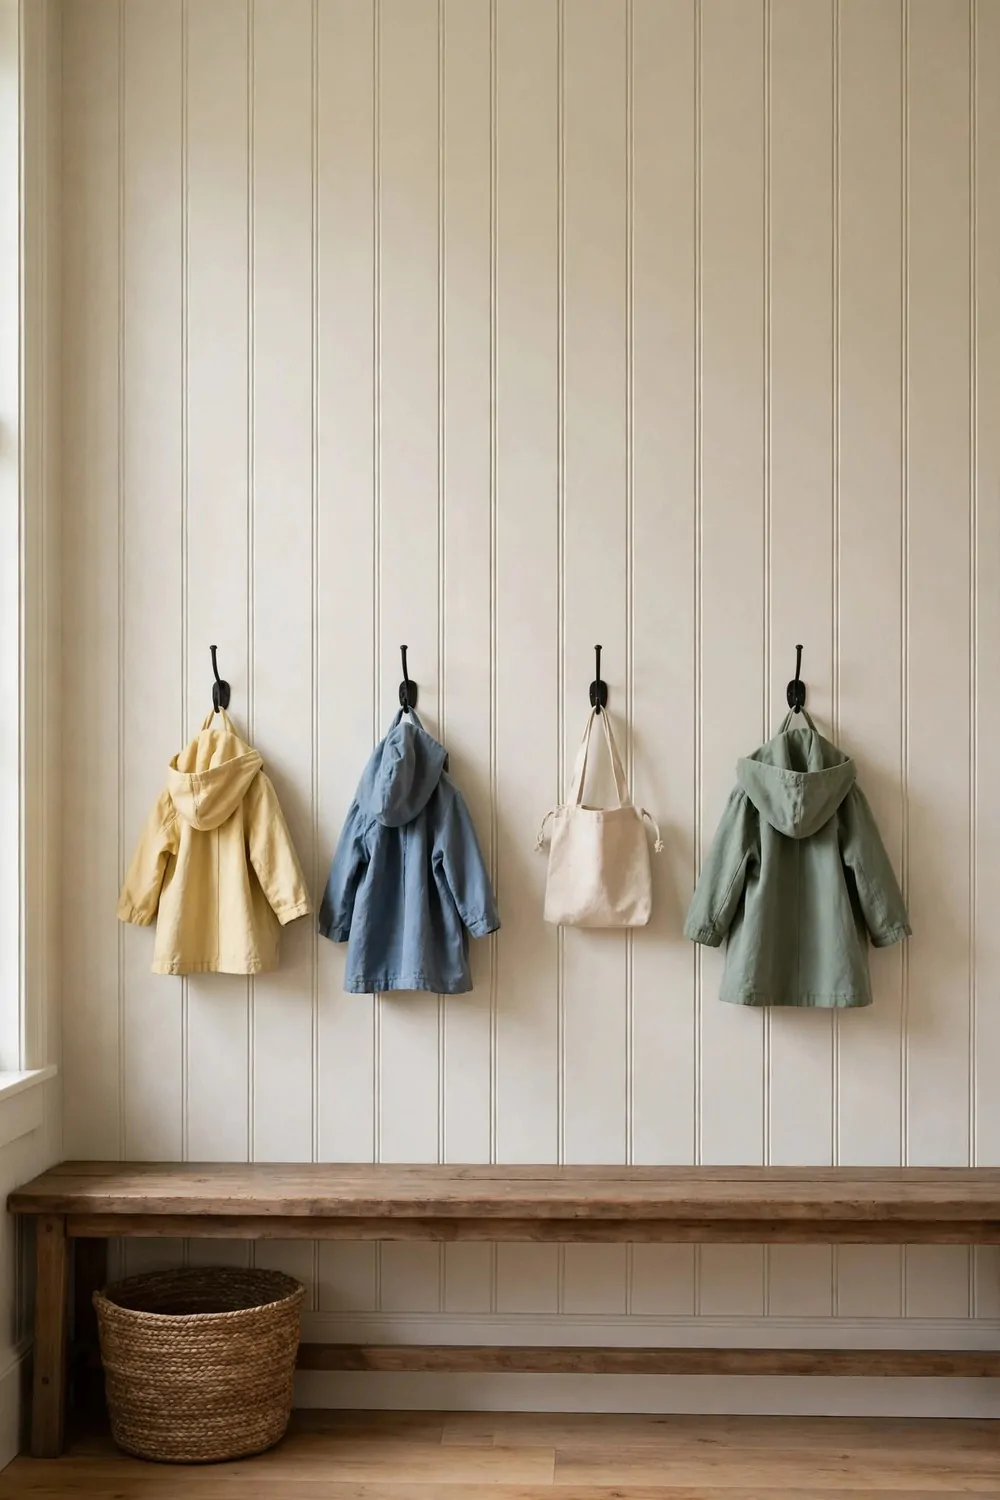
My kids could not reach the high hooks. Their coats ended up on the floor. Low hooks changed that in one day.
I fixed a row of hooks at their shoulder height. They hang their own coats with no help. They feel proud to do it on their own.
I picked hooks with a round smooth end. They do not snag on coat fabric. They feel safe for small hands.
I put one hook each for each child. They know which hook is theirs. They do not mix up their coats now.
I keep a small stool nearby for the smallest one. She stands on it to reach her hat peg. She loves to do it all by herself.
A set of low wall hooks with fixings should come to $20 to $55, based on how many hooks you fit.
I check the hooks once a month. Kids pull on them hard. Tight screws keep them safe on the wall.
I wipe the hooks once a week. Muddy hands leave marks on them. A quick wipe keeps them clean and bright.
You can paint the hooks a bright colour if you like. I left mine plain wood. They blend in and the kids still spot them at once.
34. A One-Weekend Mudroom Tidy-Up Plan
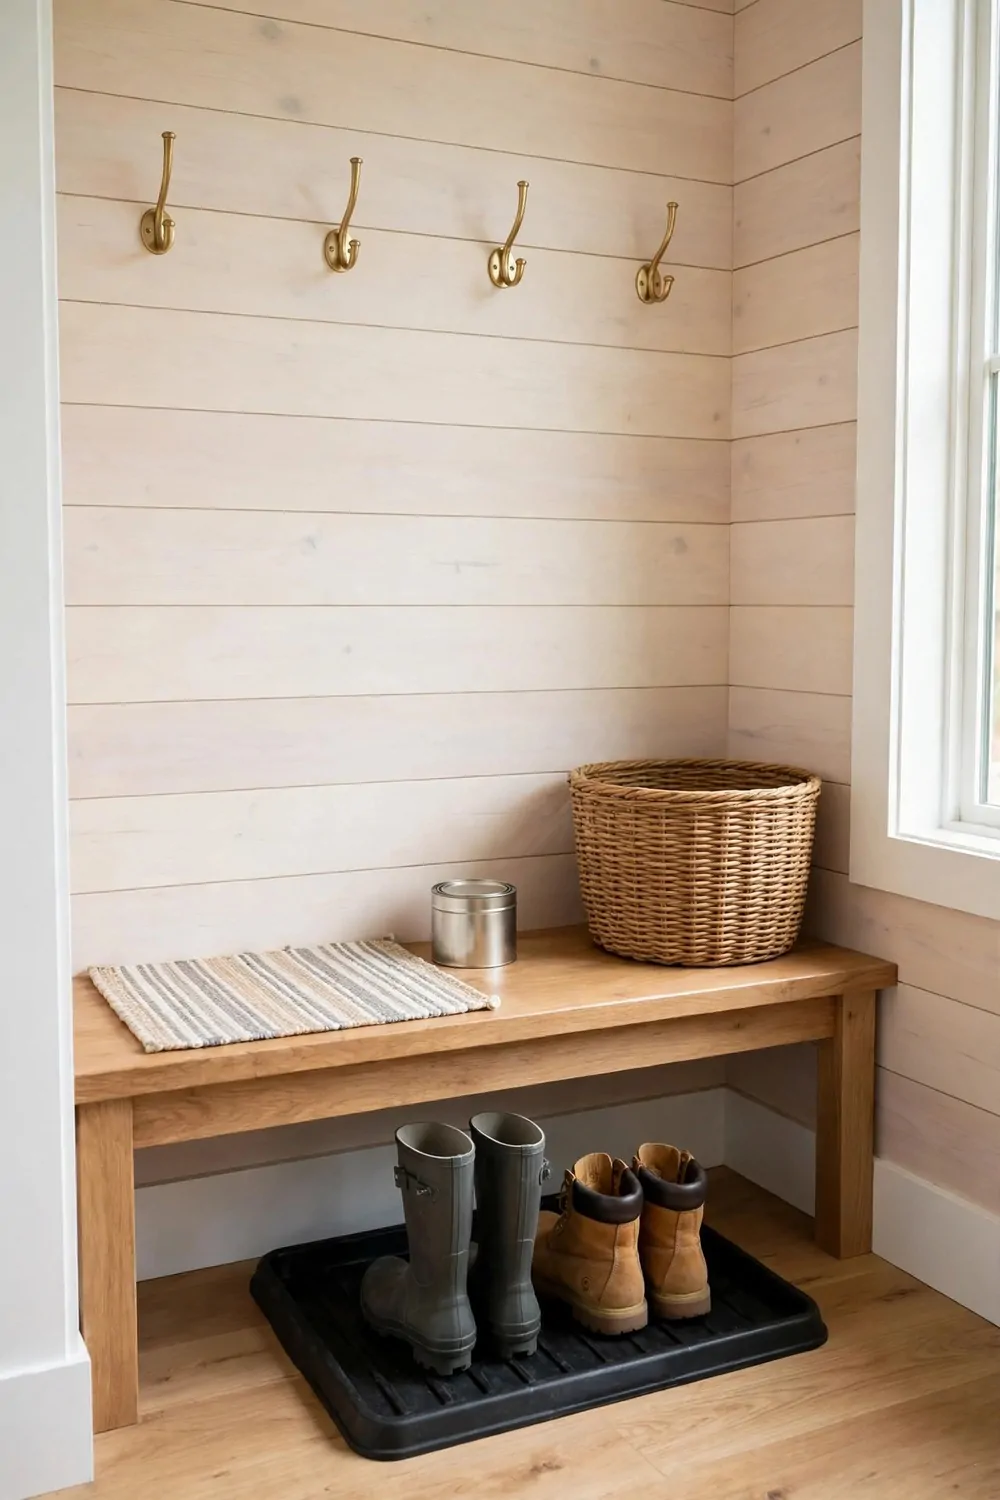
Start on Friday evening with a clear-out. Take every coat, shoe and bag out of the mudroom. Put back only what you wear each week, and bag the rest for the cupboard.
On Saturday morning, fit the new bits on the walls. Put up the low hooks for the kids and the slim umbrella stand by the door. Check each fixing twice so nothing wobbles.
On Saturday afternoon, sort the storage. Line up the woven baskets on the shelves and set the boot tray under the coat rail. Put a label on each basket so everyone knows where things live.
On Sunday morning, add the soft finishing touches. Lay the new rug by the door and set the small lamp on the console. Smooth the rug flat and sit down to enjoy the tidy room.
A sturdy boot tray for wet shoes will run $15 to $30 in most shops, and it keeps mud off your floor.
A hard-wearing rug for the doorway often costs $25 to $60, based on the size and the weave you pick.
A small lamp with a warm glow tends to be $20 to $45, which is a fair price for a bright welcome each morning.
A thick bench cushion in a washable cover will usually set you back $18 to $40, and it makes sitting down feel soft.
A slim umbrella stand will come to $20 to $35, and your five small buys add up to $98 to $210 in all.
| Area | Main change | Typical cost |
|---|---|---|
| Boot tray | A sturdy boot tray for wet shoes | $15 to $30 |
| Rug | A hard-wearing rug for the doorway | $25 to $60 |
| Small lamp | A small lamp with a warm glow | $20 to $45 |
| Bench cushion | A thick bench cushion in a washable cover | $18 to $40 |
| Umbrella stand | A slim umbrella stand by the door | $20 to $35 |
| Total | Whole mudroom refresh in one weekend | $98 to $210 |
Keep Reading
If you liked these ideas, you will love these posts too.
- 27 Small Bathroom Remodel Ideas That Look Expensive
- 30 Kitchen Remodel Ideas With Before and After Photos
- 28 Basement Remodel Ideas That Turn Dead Space Into Living Space
- 24 Attic Remodel Ideas That Add a Whole New Room
- 31 Open Plan Kitchen Ideas That Make Small Homes Feel Big
- 35 Whole Home Remodel Ideas Room by Room
Pick one idea this week and make one small change by your front door. A clear floor or a warm light can shift how the whole entry feels. Then move on to the next idea when you are ready.