17 Closet Converted to Office Projects Worth Copying

I have a rule about good ideas. If I see one in someone else’s home, I steal it. Not the furniture. Just the idea.
That rule is how my spare closet became my office. I saw a friend’s closet desk on a video call, copied the layout that same weekend, and I never looked back.
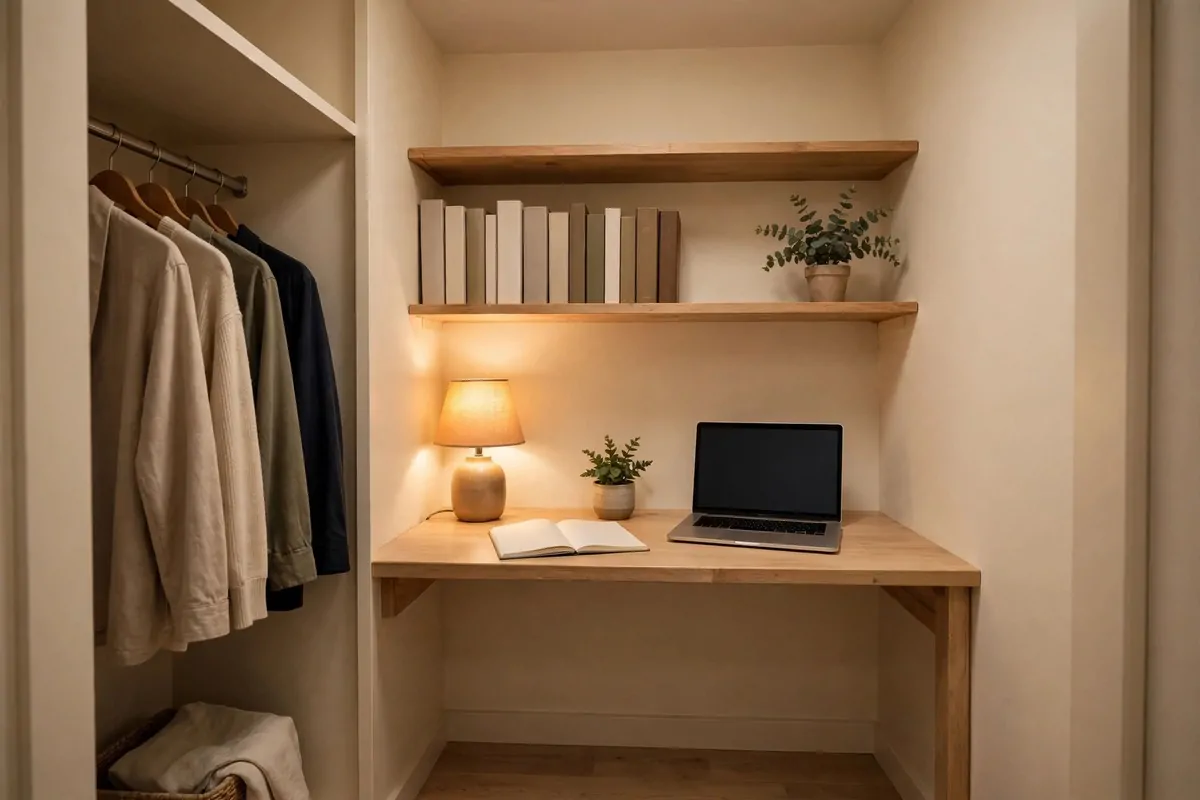
A closet converted to office is not a compromise. It is a small room with walls that hold you in a good way, a door that shuts, and no floor space wasted, because the closet was already there doing nothing much.
These 17 Closet Converted to Office projects are all worth copying. Each one is a real project you can copy in your own home, with simple tools and one weekend of work.
Pick the one that fits your closet and start there. Copy it exactly the first time, then change the small bits to fit your life.
The Measure-First Project
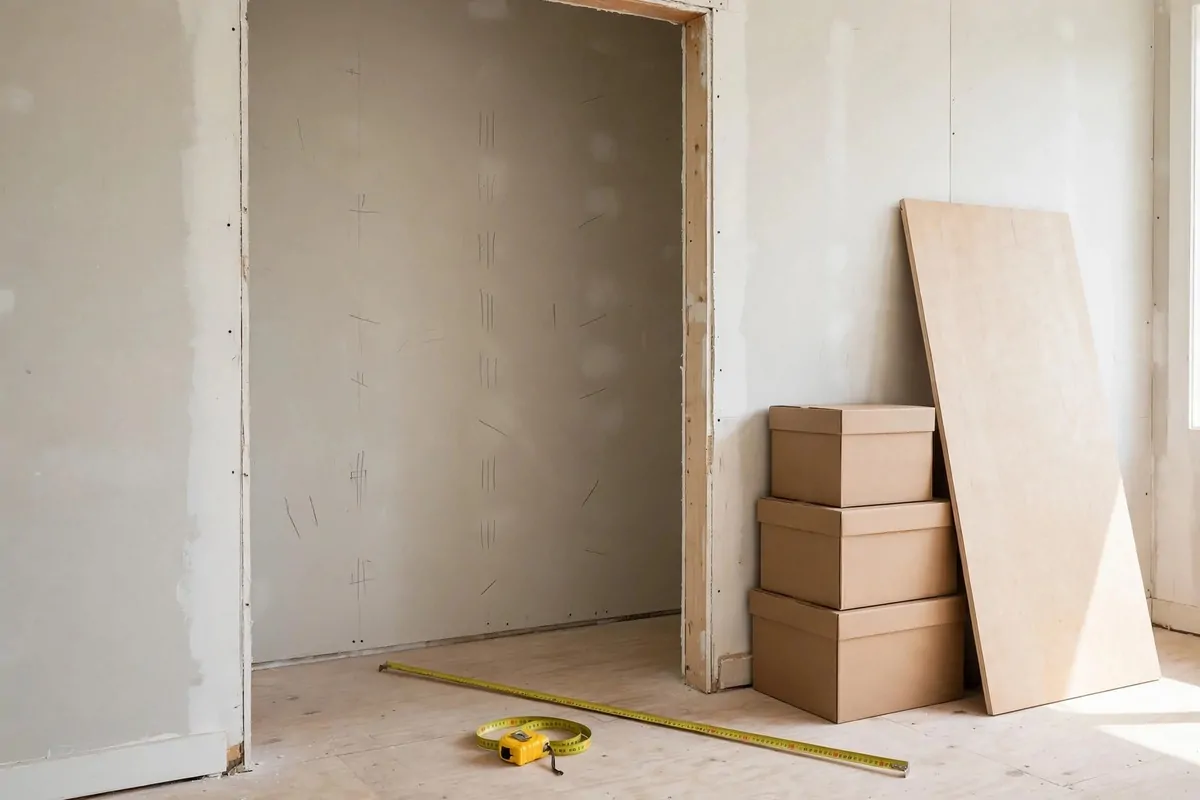
I used to skip measuring and just buy things. That cost me a desk board that did not fit and a chair that would not turn around.
Now I measure first and shop second. It takes one evening and it saves a whole weekend of returns.
Start with an empty closet and a notebook. Write the date on the first page so you know which notes are the new ones.
Stand inside the closet and stretch your arms out to the sides. If your elbows touch both walls, the closet is narrow and your desk will be short. Write that down.
Sit on a low stool where the desk will go and rest your arms like you are typing. Ask someone to mark the wall at your elbow height with a small bit of tape. That mark is your desk line.
Walk your chair into the closet and spin it around. If the back hits the wall, the chair is too big. A stool or a slim chair fits better in a tight closet.
Here is a table for the measuring routine I use now.
| Step | Tool | Write this down |
|---|---|---|
| Stand inside and stretch | Your arms | How wide your reach is |
| Mark the desk line | Painter’s tape | The height that suits your elbows |
| Walk the chair in | Your chair | Does it spin without scraping |
| Find the plugs | A phone charger | Which wall the socket sits on |
| Look up at midday | Your eyes | Where the dark corners are |
Find every plug before you buy anything. Plug your phone charger into each socket and see which one you can reach from the desk. The socket behind the door is no good if you have to stretch across the room.
Look up at the light at the time you plan to work. A closet that feels bright at noon can feel like a cave at six in the evening. Note the dark corners so you know where a lamp must go.
Tape the shape of your desk on the floor with painter’s tape and live with it for one evening. Walk past it, sit inside it, open the door past it. If it feels wrong, the tape moves in seconds and the board does not have to.
Keep the notebook in the closet while you build. Every time you wonder about a size, the answer is already on the wall. Measuring once and writing it down beats measuring five times and guessing.
The Desk-Board Project
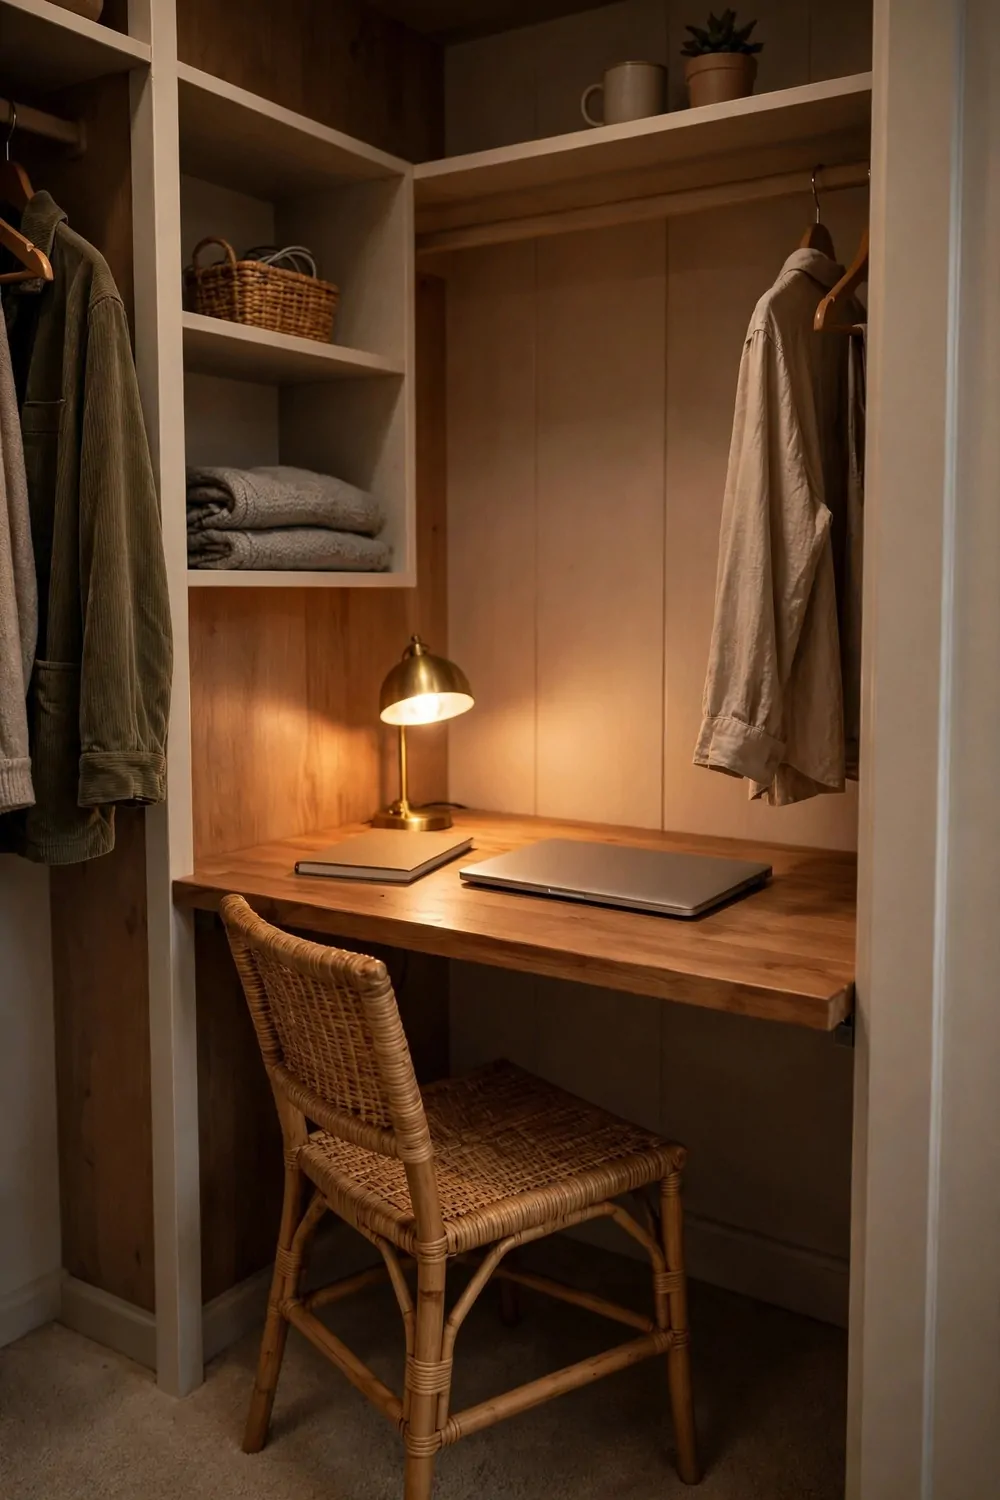
The desk board is the one piece of wood that turns a closet into an office. Everything else is extra.
I like a board with a story. My first one was an old shelf from a junk shop, sanded down and oiled. It had marks on it and I liked that.
If you buy new, ask for a piece of birch plywood instead of pine. It costs a little more, but it stays flat and it does not dent when you drop a mug on it.
Another good trick is a hollow-core door. Cut it to fit and you get a wide, light desk for very little money. Seal the cut edge with tape so it looks finished.
Mount it with a ledger strip, not just brackets. A thin strip of wood screwed into the studs along the back wall holds the whole back edge. The board sits on it like a shelf, and it never sags in the middle.
Add one bracket under each front corner for extra hold. Two small brackets and a ledger strip beat four big brackets, and you see less metal.
Round the front corners with sandpaper before you mount it. Square corners catch your hips every time you slide the chair in. Round ones do not.
Rub the top with a little oil or wax once it is mounted. It keeps coffee rings from staining the wood, and it makes the board feel smooth under your wrists.
Cut a wide slot at the back for cables instead of a small round hole. A slot fits a laptop plug, a lamp plug, and a phone cable all at once, and you can push them through without unplugging.
Sit at the board for ten minutes before you call it done. Type a few lines, open a notebook, rest your coffee on it. If your wrists feel happy, the height is right. If they ache, move the ledger strip down half an inch and try again.
The Floating-Shelf Project
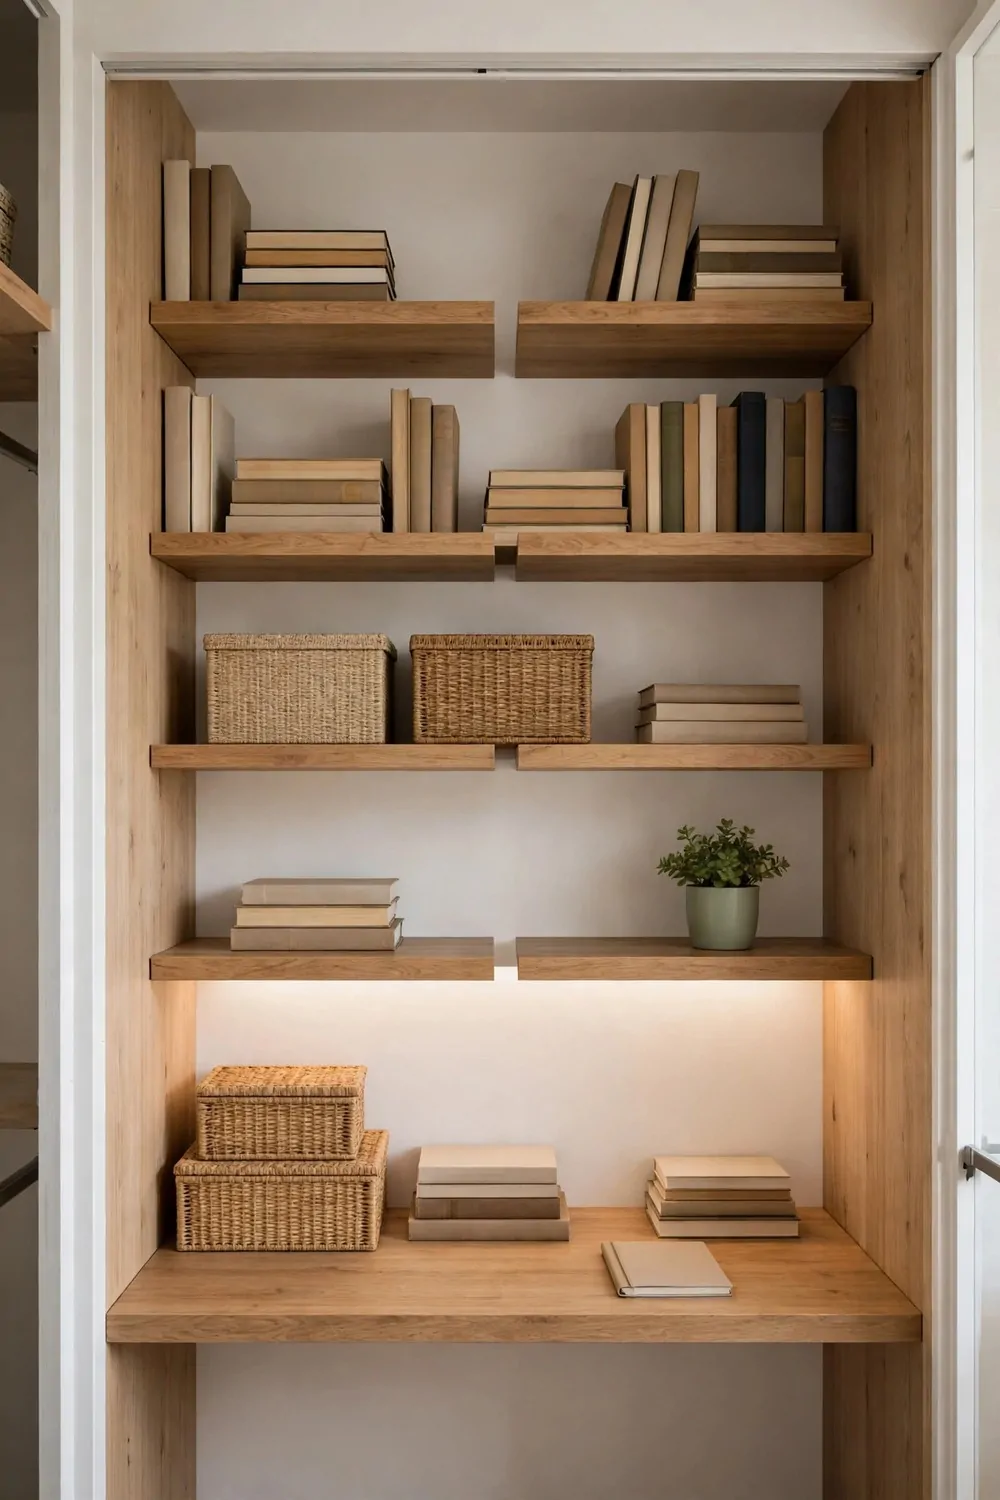
A closet office has no floor to spare, so the walls have to hold everything. Shelves are how you get a whole office onto three walls.
I sort my shelves by how often I touch things. The shelf at eye level holds what I grab every day. The top shelf holds what I grab once a month. The bottom shelf holds what I almost never touch.
Start with the eye-level shelf and put only five things on it. A notebook, a pen pot, a small plant, a book you are reading, and one empty spot. Five things look calm. Fifteen things look like a shop shelf.
Hidden brackets make a floating shelf look like magic. The shelf slides onto two metal rods and there is nothing to see underneath. It costs a little more than a normal bracket, but the clean look is worth it.
Mix one closed box in with the open shelves. A lidded box holds the ugly stuff, like spare cables and old chargers, and the open shelves hold the pretty stuff. One box keeps the whole wall honest.
Put the heavy books on the lowest shelf, not the top one. Heavy books up high make a shelf sag over time, and they are a pain to lift down. Light things go up high. Heavy things stay low.
Leave a gap between the shelf and the ceiling. That gap is where tall things live, like a rolled poster or a spare lamp. A shelf jammed against the ceiling wastes the best hiding spot in the closet.
Try the one-in-one-out rule for a month. Every time a new book or box joins the shelf, an old one leaves. The shelf stays the same size, and you never have to do a big clear-out again.
Wipe the shelves when you wipe the desk. Open shelves show dust fast, and a dusty shelf makes the whole office feel tired. One minute with a cloth on Sunday keeps them bright.
Shelves are the quiet hero of a closet office. Nobody walks in and says wow, nice shelves. But a week later you will wonder how you worked with everything piled on the desk.
The Pegboard Project
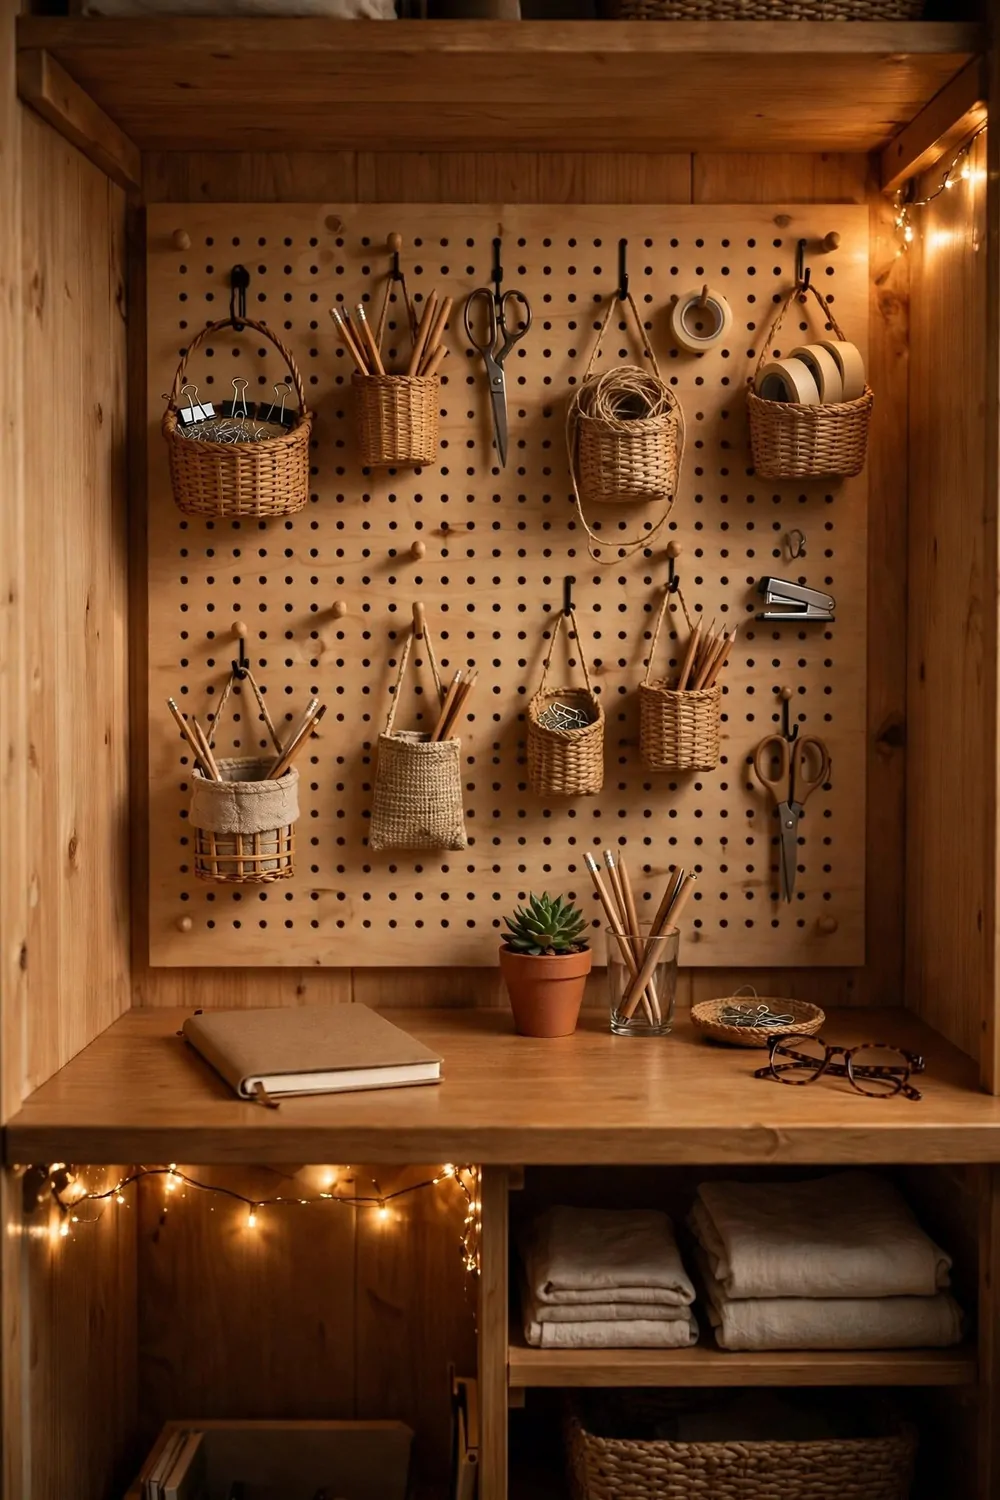
I used to think a pegboard was just for tools. Then I hung one over my desk and it became my whole planning system.
Split the board into three zones with a bit of tape. Today on the left, this week in the middle, later on the right. A note moves across the board as the week goes on, and you can see your whole week without opening an app.
Hang a small clock on the top corner of the board. A clock you can see without turning your head keeps you honest about time. My clock is the reason I stop work at five instead of seven.
Use coloured hooks for different jobs. Blue hooks hold work things, like scissors and cables. Red hooks hold personal things, like keys and a lanyard. You find things by colour before you even read a label.
Clip a small shelf to the board for your phone and your mug. A phone on the desk gets knocked over. A phone on a pegboard shelf stays put, and you stop picking it up every two minutes.
Hang your headphones on the biggest hook you have. Headphones on a desk get tangled in everything. Headphones on a hook are always where you left them, and the cable hangs straight down instead of coiling into a knot.
Change the board when the season changes. In summer I hang a small fan on it. In winter I hang a scarf hook and a hand cream. A pegboard that changes with your life never goes stale.
Keep a spare hook empty on purpose. That empty hook is where new things go, like a new charger or a new notebook. A board with no spare hook has no room for your next idea.
If the board starts to look busy, take half the things off and put them in a drawer for a week. If you do not miss them, they stay in the drawer. A pegboard works best when it holds ten things, not thirty.
Copy this project if your desk is always covered in small things. The board takes them all off the desk, and the desk goes back to being a desk.
The Door-Back Project
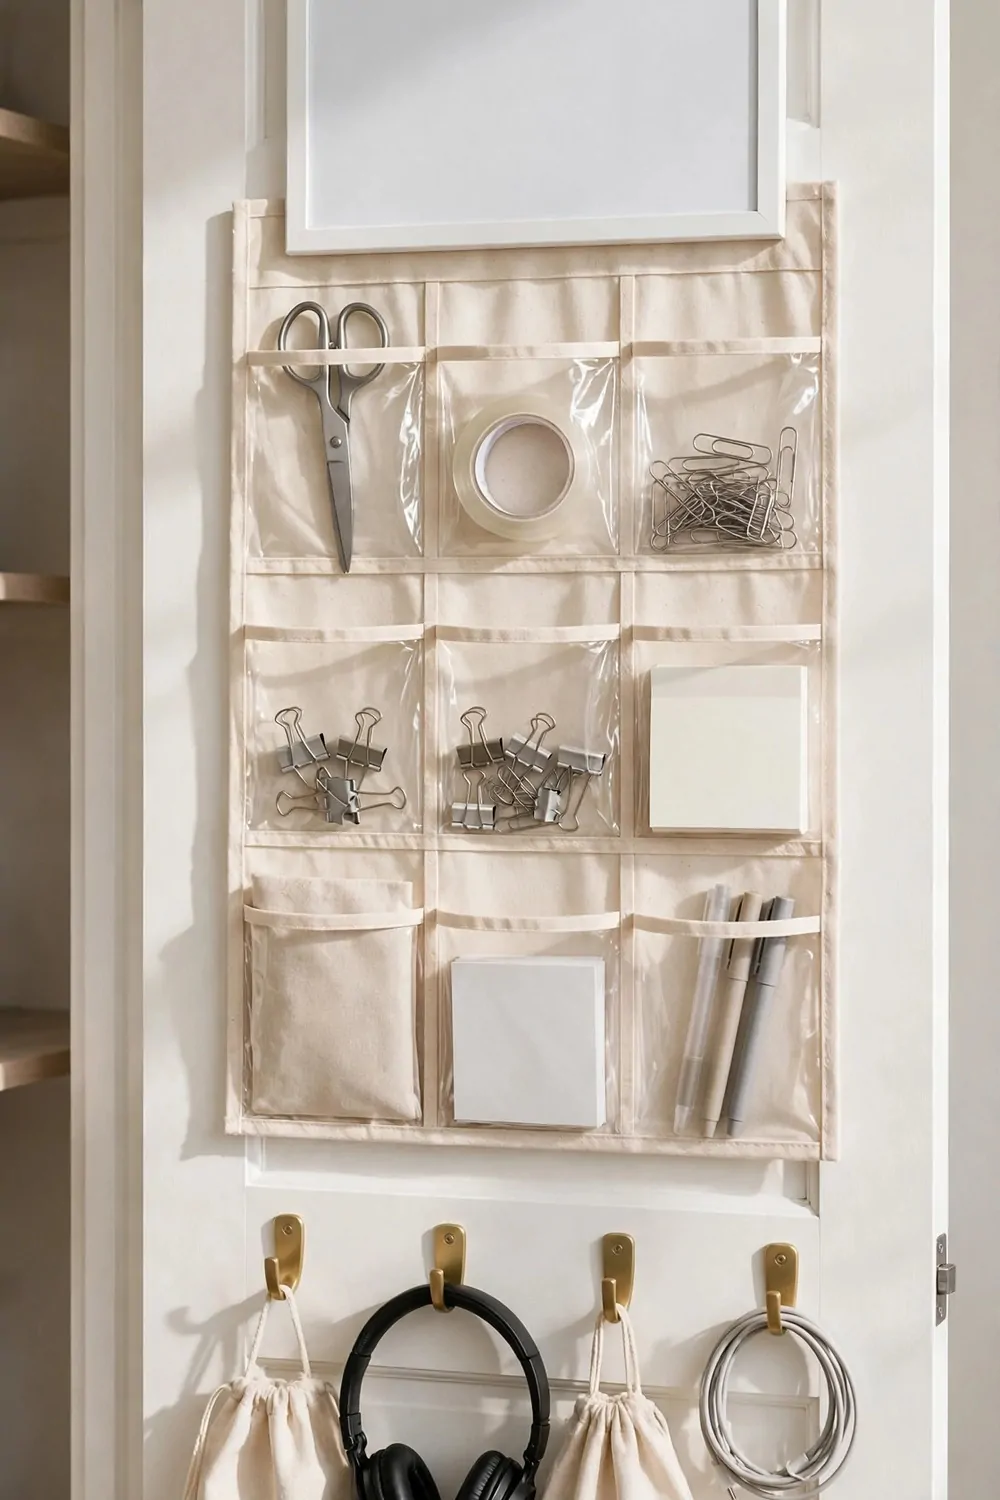
The back of a closet door is free wall space, and most people never use it. This project fixes that in one afternoon.
Hang an over-door organizer on the inside of the door. The kind with clear pockets holds pens, cables, sticky notes, and all the small things that pile up on a desk. You can see everything at a glance, and nothing takes up desk space.
Add a few strong hooks beside the organizer. Headphones hang on one. Your work bag hangs on another. A lanyard or a set of keys hangs on the third. The door becomes a coat rack for your workday.
Stick a small whiteboard or a corkboard on the door too. A whiteboard holds today’s three jobs. A corkboard holds the note you keep forgetting. Either one beats a pile of paper on the desk.
Keep what you hang light. A door full of heavy books will sag on its hinges and start to stick. Pockets, hooks, and one small board are plenty. If it feels heavy when you swing the door, take something off.
Do not hang anything on the front of the door that faces the bedroom. The front should stay calm and plain, so the room looks like a bedroom when the office is shut. The back does all the work.
This is the cheapest project on this list. One organizer, a few hooks, and a small board. It takes an hour, it needs no tools, and it gives your desk back a whole drawer of space.
Check the hinges after a week. Open and close the door a few times and listen. If it creaks, a drop of oil on each hinge fixes it. A quiet door is a small luxury, and it costs almost nothing.
Copy this one first if your desk is drowning in small things. The door was already there. It was just waiting for a job.
The Monitor-on-the-Wall Project
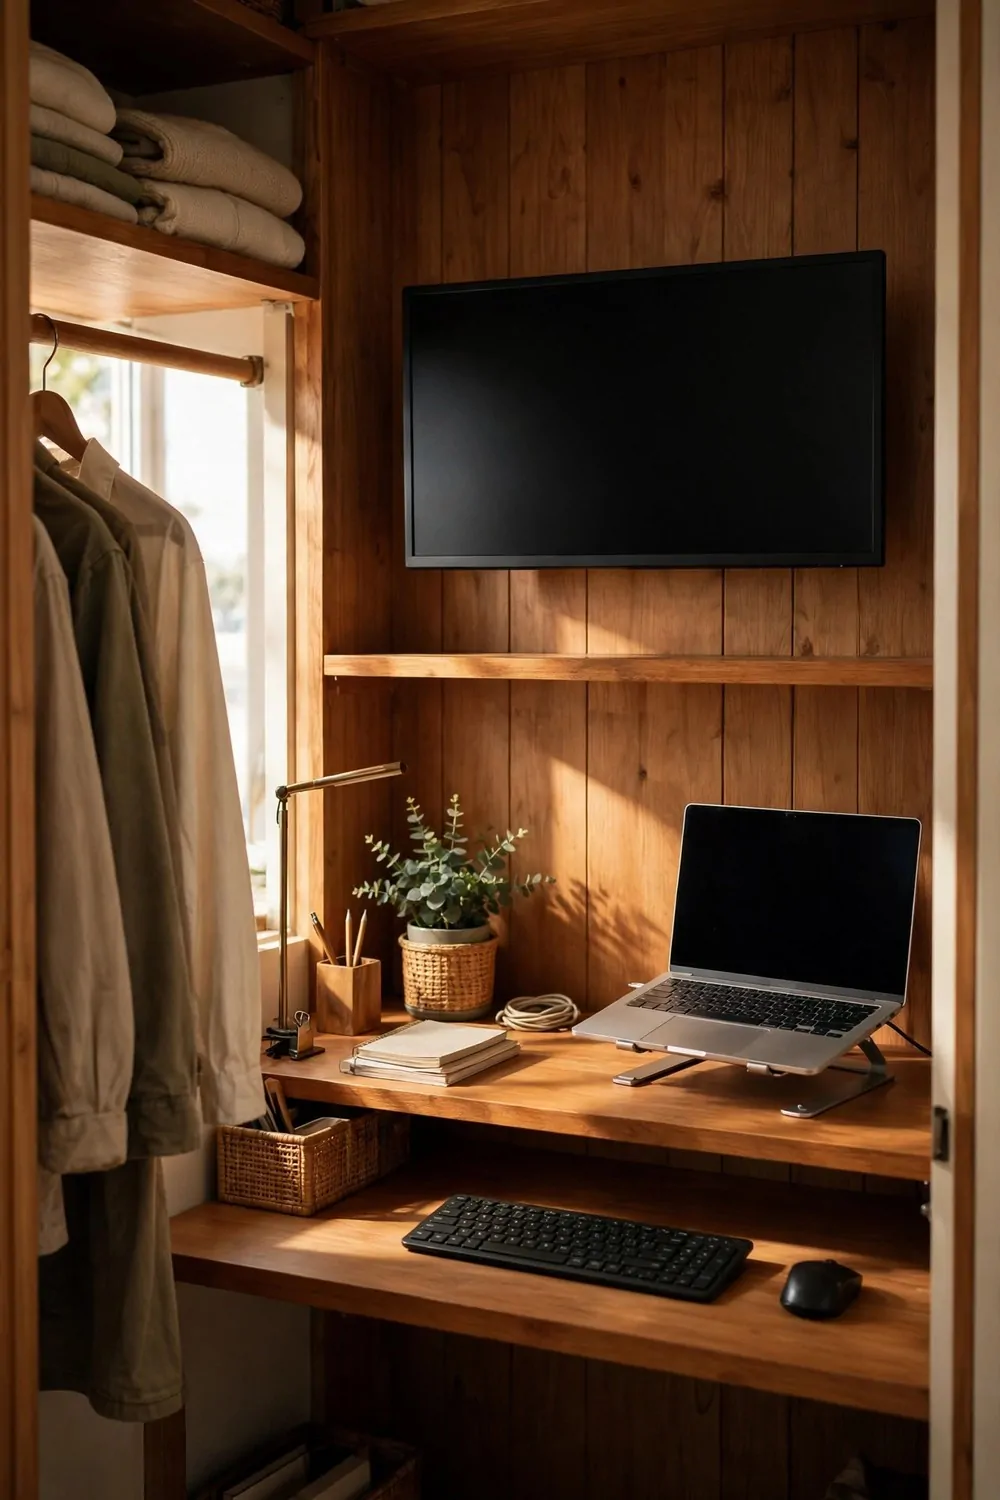
A monitor eats desk space. A big screen on a small desk leaves no room for a notebook, a mug, or your hands. This project moves the screen to the wall and gives your desk back.
Mount the monitor on the wall above the desk, at eye level when you sit up straight. Your neck stays level, your shoulders drop, and the whole desk top is free again. It feels like you bought a bigger desk, but you only bought a small mount.
Put the laptop beside the monitor, on a small stand, and use it as a second screen. Email on one screen, real work on the other. You stop flipping between windows all day, and that alone saves you more time than you think.
A keyboard and a mouse fit easily now that the desk is clear. A full-size keyboard is kinder on your wrists than a laptop keyboard, and a real mouse beats a trackpad for a long workday.
Run the cables down the wall behind the desk. A small stick-on cable channel hides them, and the wall looks clean. Loose cables hanging down the wall catch on everything and collect dust.
Test the height before you drill anything. Stack books on the desk to the height you think is right, set the monitor on top, and sit there for ten minutes. Too high and your neck aches. Too low and you hunch. Move the books until it feels right, then mark the wall.
Renters can copy this project too. A monitor arm that clamps to the back of the desk holds the screen up with no drilling at all. It slides off when you move out, and the wall never knows it was there.
This project costs less than a new chair and changes how the whole desk feels. Copy it if your desk always feels too small. The desk is not too small. The screen was just in the wrong place.
The Drawer-Unit Project
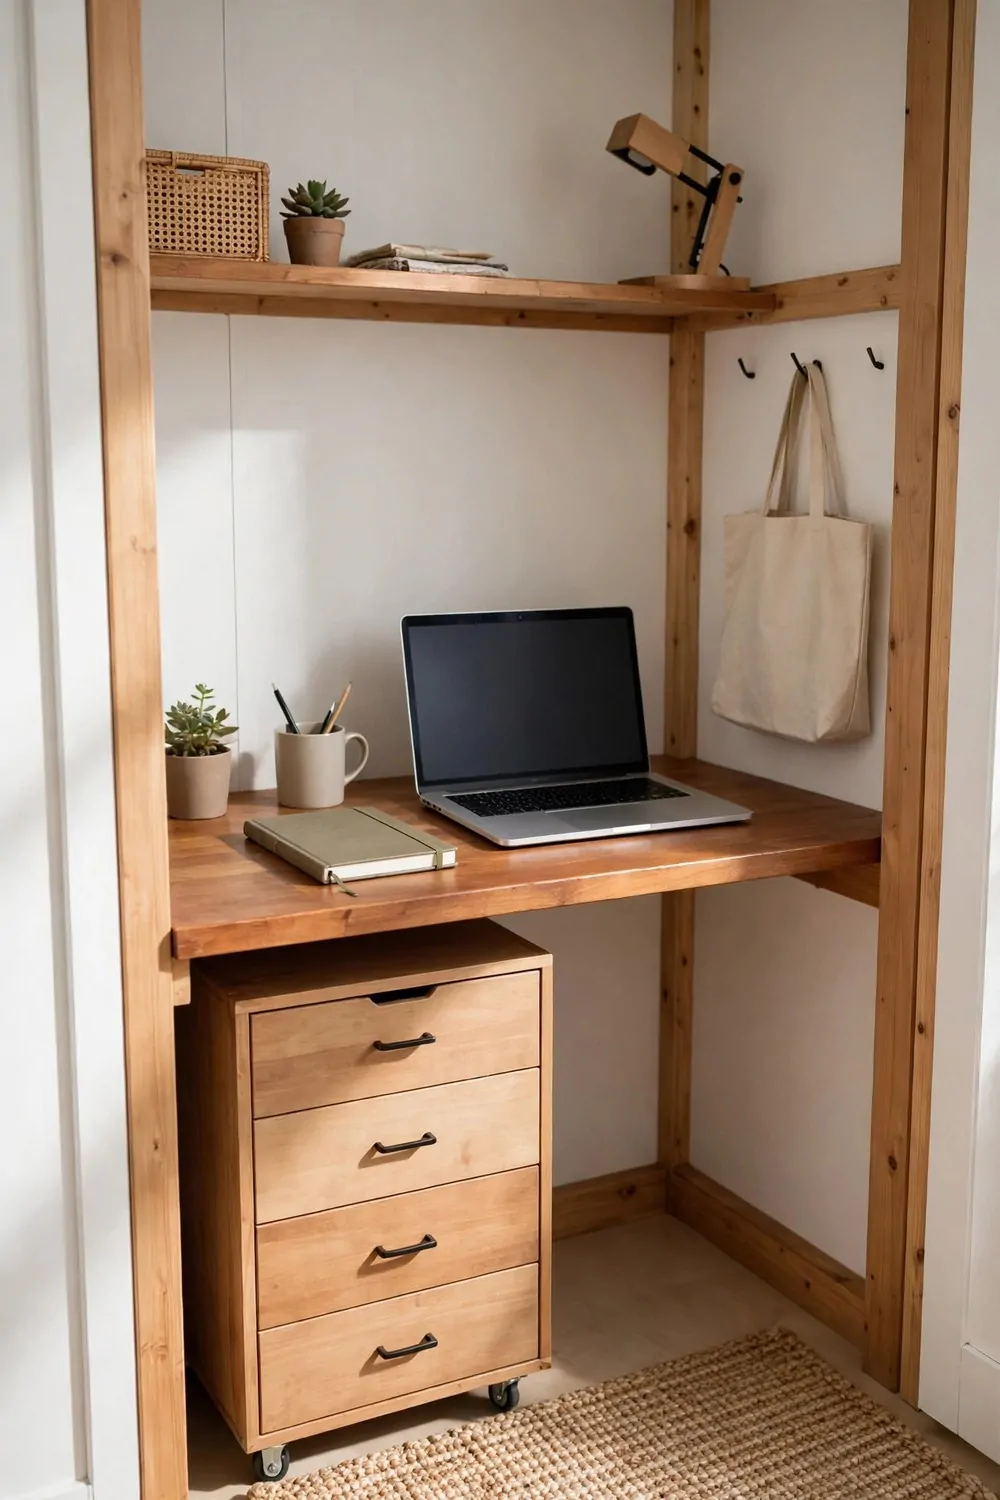
Drawers beat piles. That is the whole idea behind this project, and it is worth copying exactly as it is.
Slide a small rolling drawer unit under your desk board. Three drawers is enough for most people. The unit sits on little wheels, so you can pull it out, spin it around, and push it back without a fuss.
Give each drawer one job. The top drawer holds pens, chargers, and sticky notes, the things your hand reaches for all day. The middle drawer holds notebooks and papers. The bottom drawer holds cables, spares, and the stuff you need once a month.
Label the drawers in plain words on small cards. “Pens” beats “Stuff” every time. When a drawer has a label, you stop opening all three to find one pen.
Here is the clever part. A drawer unit can hold up one end of your desk board. Instead of brackets on both walls, one side rests on the unit and the other side gets a bracket. It is solid, it is simple, and it saves you a trip for hardware.
Keep one drawer a little bit empty. An empty drawer is breathing room for the things you will buy next month. A unit with no spare space falls apart the first time you bring something new home.
Push the unit in at the end of the day. A drawer unit sticking out into the room catches your hip every time you walk past. Pushed in, it looks like part of the desk, and the room feels calm.
This project is quiet and cheap, and it is the one that keeps your desk clear for good. A clear desk is not about willpower. It is about having a drawer for everything, so nothing has to live on top.
The Fold-Down Project
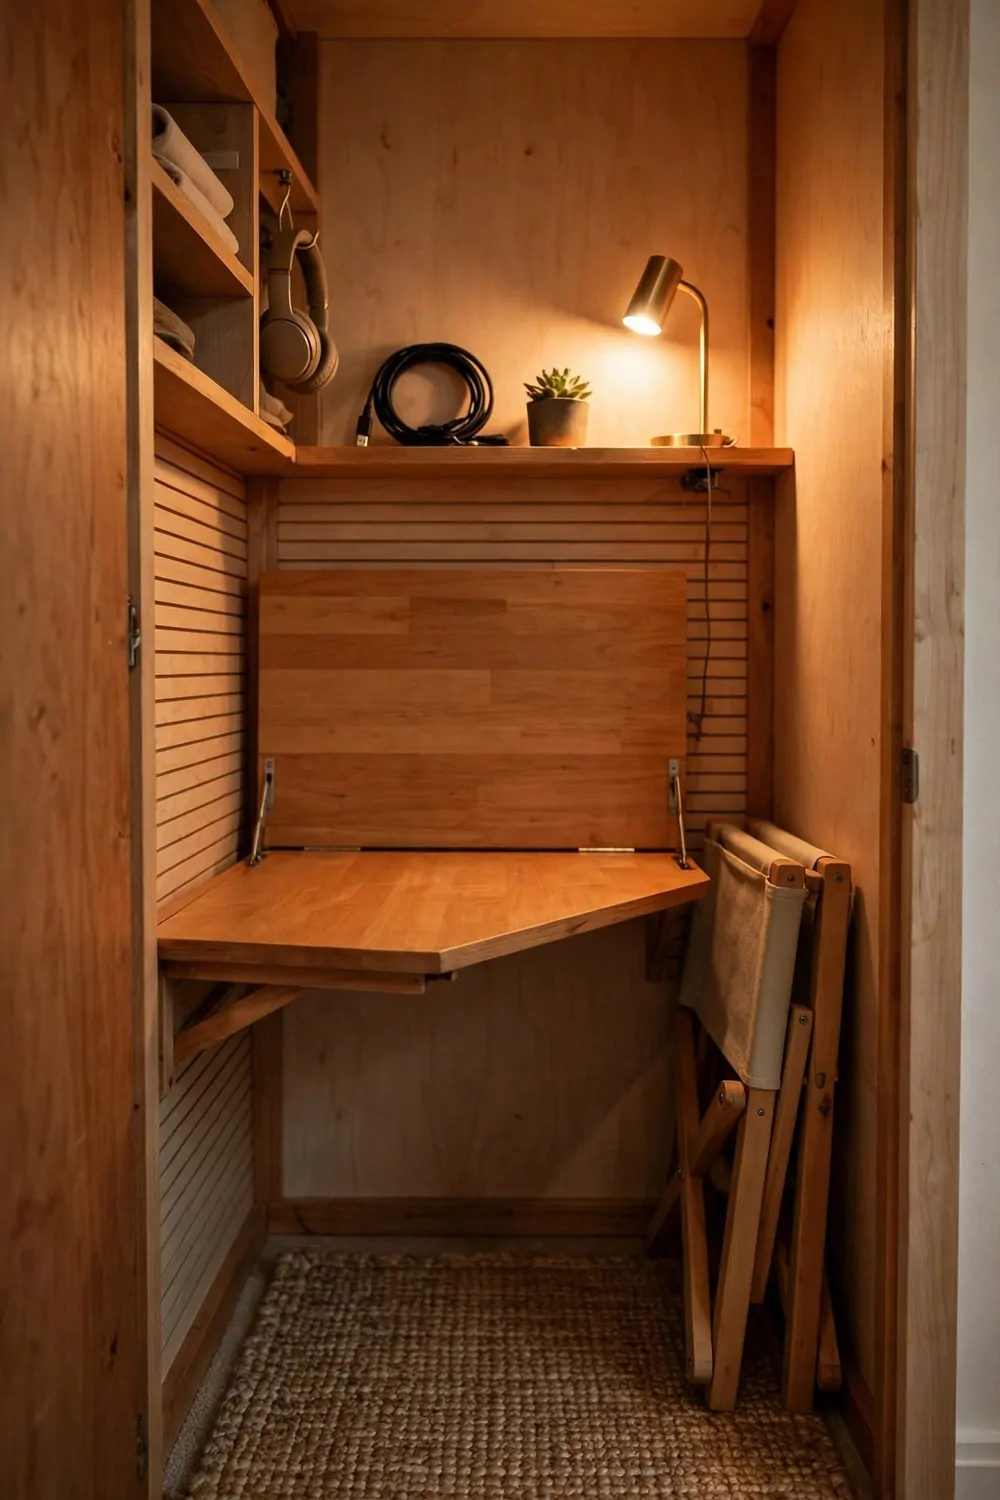
My spare room is a guest room first and an office second. A fold-down desk lets it be both, and the guests never know I work in there.
The trick is a piano hinge along the back edge. One long hinge spreads the weight across the whole board, so it never sags on one side. Two small hinges hold the weight in two spots, and the board dips between them over time.
I use chain stays instead of folding brackets. Two short chains hold the board level when it is down, and they fold flat against the wall when it is up. No moving parts to jam, and no bracket to pinch your fingers on.
Paint the underside of the board with chalkboard paint. When the desk is folded up, the underside faces the room and works as a little note board. Shopping lists, reminders, and one silly drawing live there.
Keep a folding stool on a hook beside the desk, not under it. A stool under a fold-down desk gets in the way of the fold. A stool on the wall is out of the way and easy to grab.
Store nothing on the board when it is folded up. No laptop, no mug, no notebook. A fold-down desk only works if the fold takes ten seconds, and it only takes ten seconds if the board is empty.
Try it as a homework desk first if you have kids. Kids love a desk that appears and disappears. They fold it down after school, fold it up when homework is done, and the room is a bedroom again by dinner.
Check the wall behind the board once a year. Hinges loosen a little over time, and a loose hinge makes the board wobble. One turn of a screwdriver fixes it, and the desk feels new again.
The best part is the sound it makes. A soft click when it folds up, and the room changes jobs. Work is over, the desk is gone, and the closet looks like a closet again.
Copy this project if your room has to be two rooms at once. A fold-down desk is the cheapest way to give a room a second job without giving it a second piece of furniture.
The Two-Screen Project
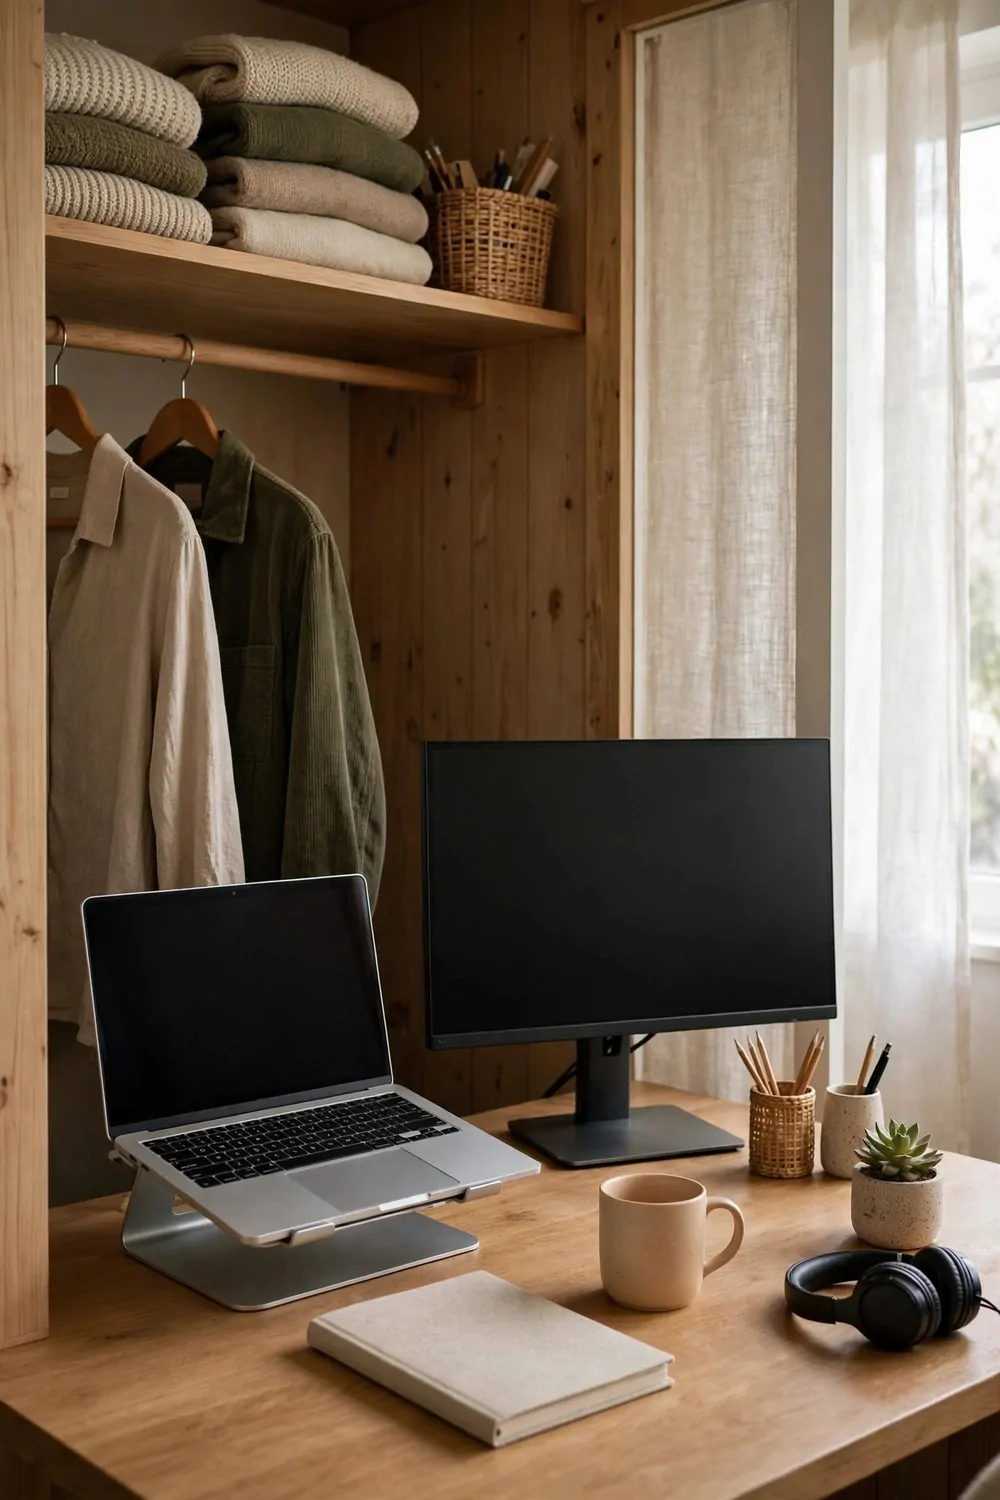
One screen is never quite enough. You have your work open, then you need to check an email, then you need a file, and you spend the day flipping between windows like a game of cards.
This project adds a second screen to your closet office. Your laptop sits on a small stand at eye level. A second screen stands beside it. Work on one, reference on the other, and the flipping stops.
Pick a stand that lifts the laptop so its screen lines up with the second screen. Two screens at different heights make your neck ache by lunch. Two screens level with each other feel like one wide desk.
Use one keyboard and one mouse for both screens. A small wireless set keeps the desk clear, and you stop reaching across the laptop keyboard to type. Your wrists will notice the difference by the end of the first week.
Give each screen a job and keep it. Email and chat live on the left. Real work lives on the right. When every window has a home, you stop hunting for things, and your brain stays in the work instead of in the windows.
The second screen does not have to be new. An old monitor from a spare room works fine. A tablet on a stand works too. The point is the extra space, not the price tag.
Run the cables behind the desk and tie them into one bundle. Two screens mean twice the cables, and loose cables on a small desk look messy fast. One bundle, one tie, and the desk looks calm.
Copy this project if your workday is full of flipping. It is the project that makes a tiny desk feel like a proper office, and it costs less than most people think.
The Standing-Desk Project
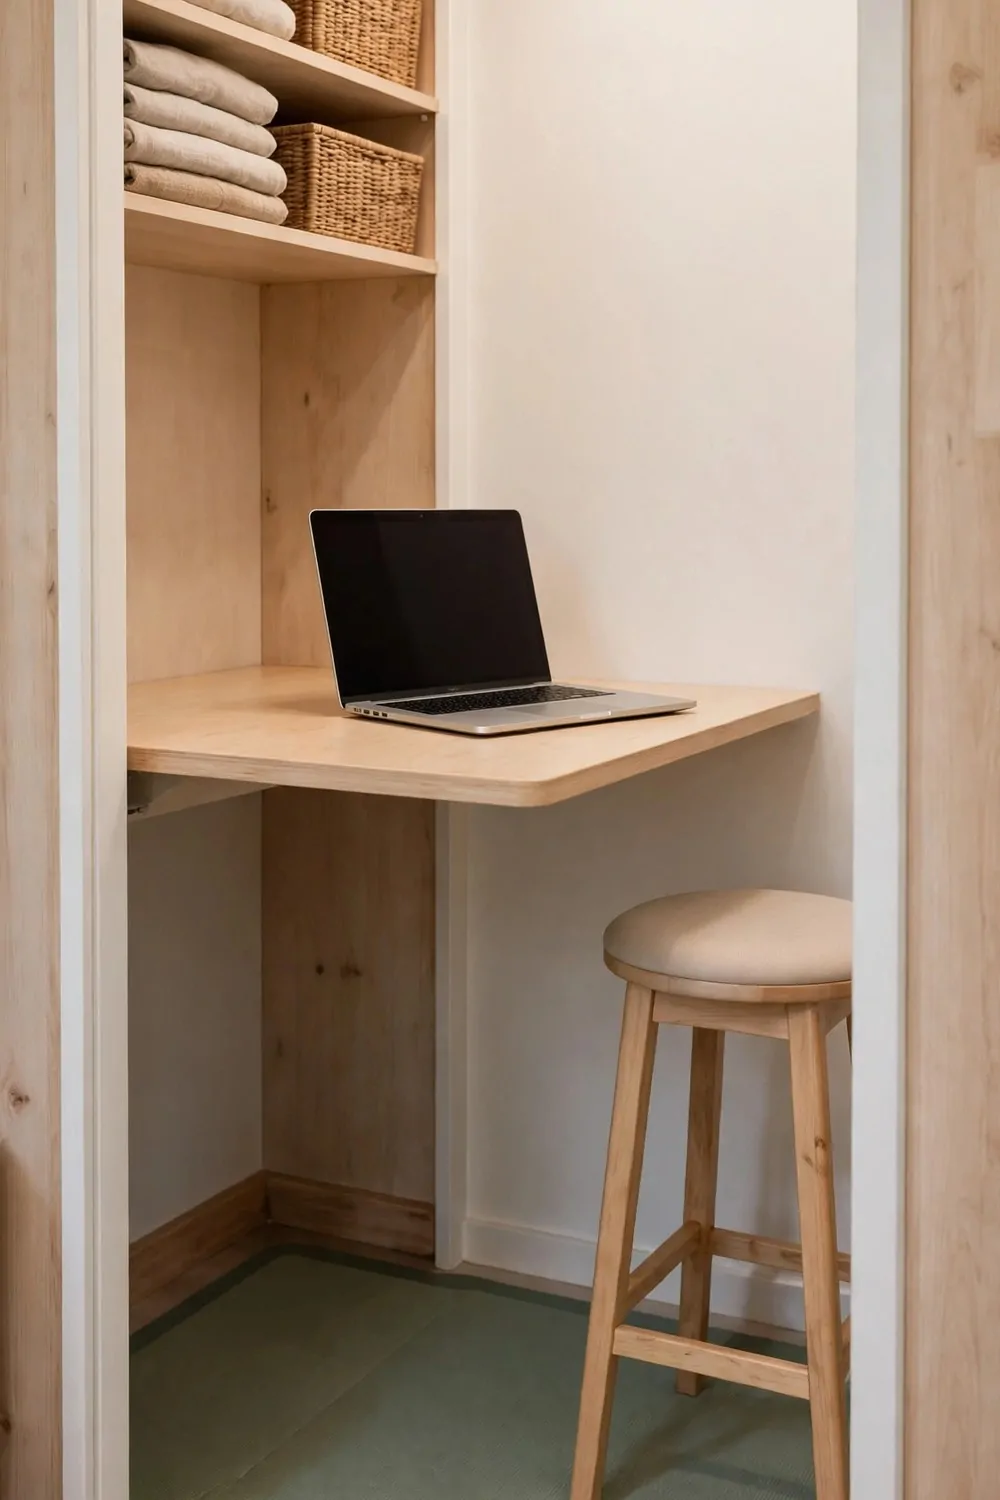
Sitting all day makes your back ache and your legs stiff. This project gives your closet office a standing option, so you can switch between sitting and standing without leaving the room.
The simplest version is a second board, mounted higher on the wall above your sitting desk. When you want to stand, you lift the laptop onto the high board and keep working. When you want to sit, you bring it back down.
A laptop riser on your normal desk does the same job for less work. A small folding riser lifts the laptop to standing height in seconds, and folds flat when you sit again. No second board, no extra holes.
Put a soft mat on the floor where you stand. A kitchen mat or a thick rug works fine. Standing on a hard floor for an hour hurts your feet. Standing on a soft mat feels like a different job entirely.
Keep a stool nearby for breaks. Standing all day is no better than sitting all day. The trick is switching. Stand for a while, sit for a while, and let your body choose.
Wear soft shoes when you stand. Hard shoes on a hard floor will end the experiment by lunch. Soft trainers or bare feet on the mat keep you going much longer.
Start with short standing stretches. Twenty minutes standing, then sit down. Add a little more each day. Your legs need a week to get used to it, and rushing it just makes you sore.
Listen to your body, not to a rule. If your back hurts, sit down. If your legs feel restless, stand up. The closet is small, so both options are one step away, and that is the whole point.
The Homework-Nook Project
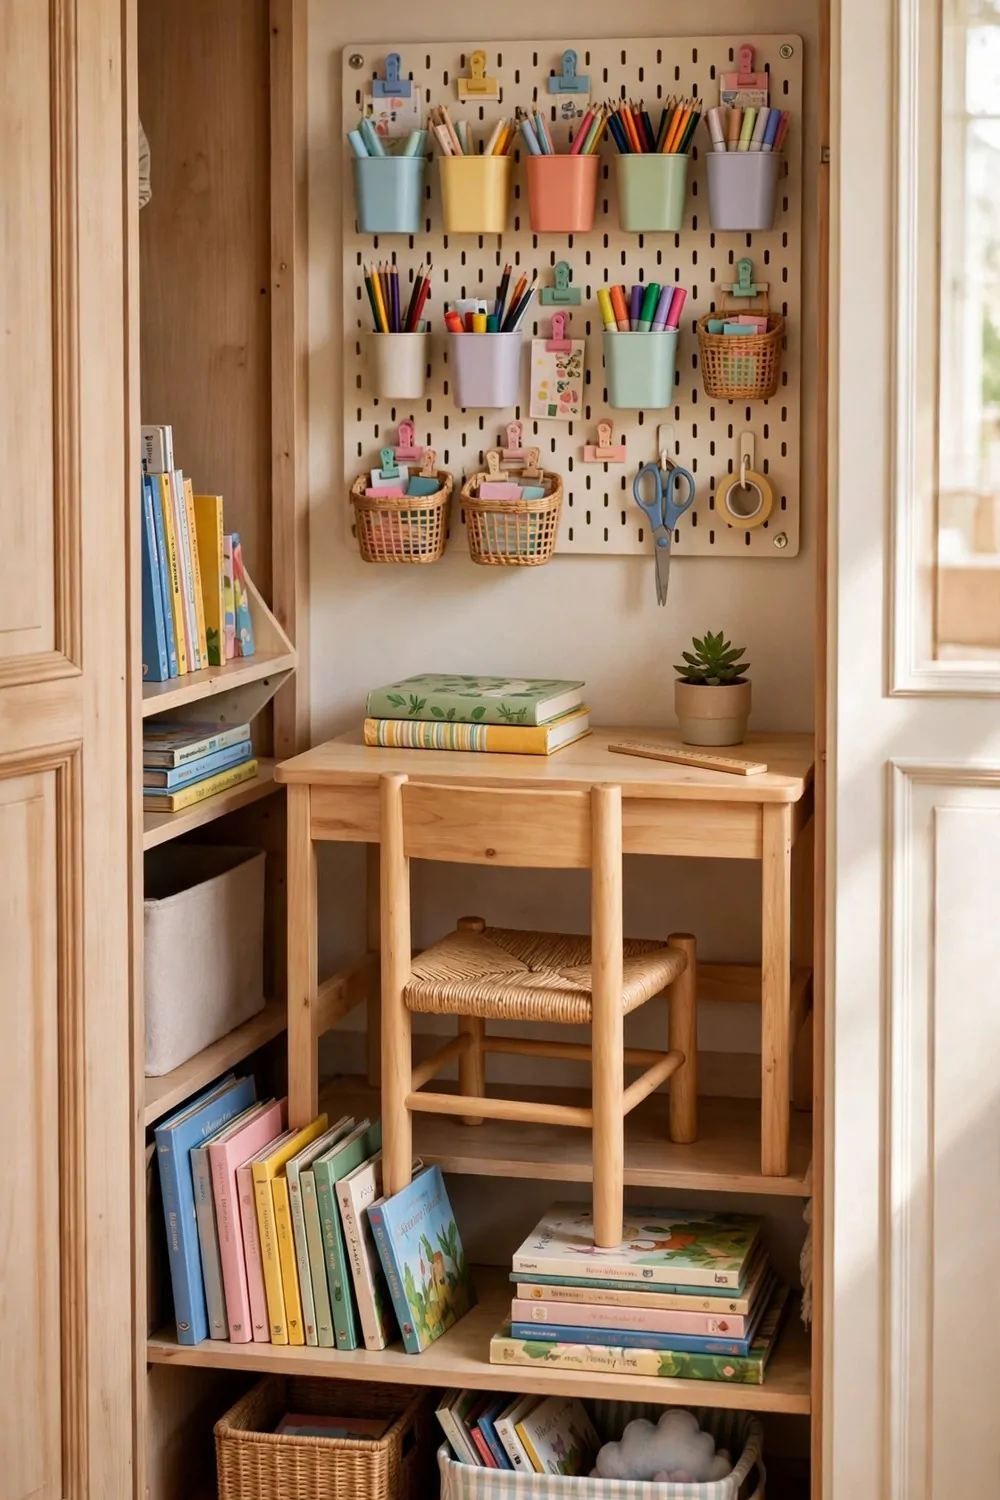
Kids need a study spot of their own. A spare closet makes a brilliant homework nook, and this project is one worth copying for any family.
Start with a desk board at child height, about 24 inches from the floor. That is low enough for small legs and high enough for elbows. The board can go up as they grow, so the nook grows with them.
Add a pegboard above the desk in a bright colour. Hooks hold pencils and scissors. Small baskets hold crayons and glue. A few art prints pinned up make it feel like their room, not like a school desk.
Put bookshelves on the side walls, low enough for small arms to reach. Books spine-out, sorted by colour, look pretty and make it easy to find the right book. A basket on the floor holds the books that are too big for the shelf.
Stick a chalkboard strip along the bottom of one shelf. Homework lists, spelling words, and little drawings all live there. A chalkboard turns a plain wall into a place to think out loud.
Give them a small stool with a cushion, not a big office chair. A stool slides fully under the desk when homework is done, and the closet looks tidy again. A cushion in their favourite colour makes the stool feel like theirs.
Set a homework routine, same time every day. The nook works best when the habit matches it. School bag on the hook, books on the desk, pencil in hand. Twenty minutes later, the stool slides back under the desk.
Keep the nook for homework only. No toys on the desk, no games on the shelf. When a space has one job, kids learn to use it for that job. When it has five jobs, it just becomes another messy corner.
Copy this project if your kids do homework at the kitchen table. The kitchen table is for dinner. The closet is for homework. Both jobs get better when they stop sharing one table.
The Craft-Corner Project
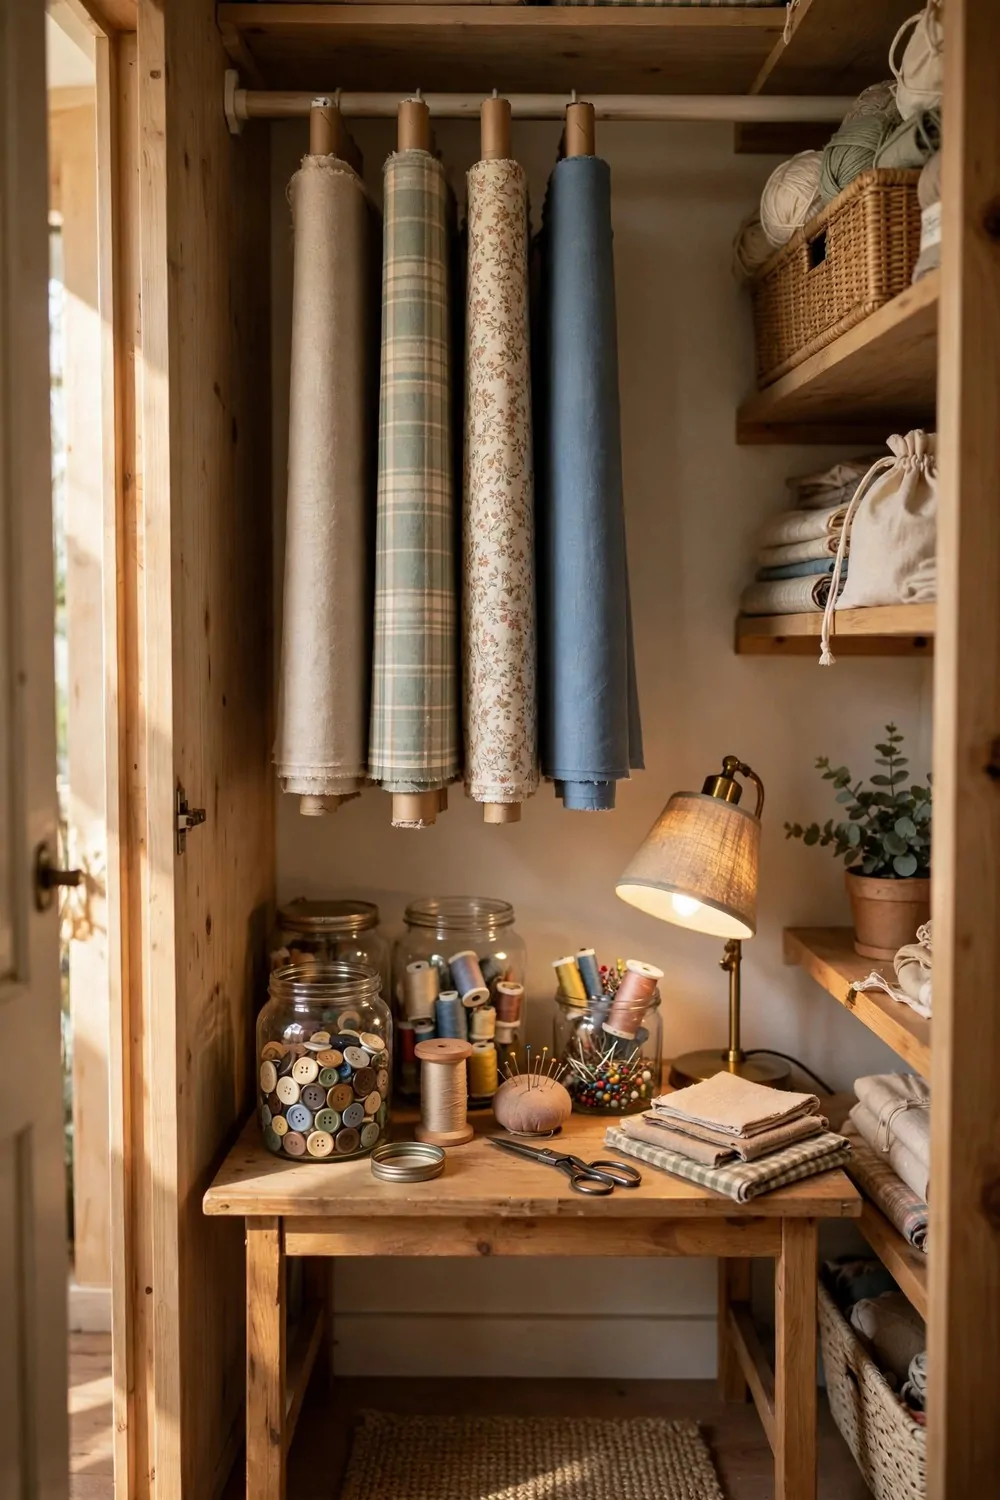
Craft supplies take over a house if you let them. Boxes of fabric on the dining table. Jars of buttons on the kitchen counter. This project gives them all one home inside a closet.
Start with a desk board at a comfortable height for cutting and sewing. A board a little deeper than a normal desk helps here, because fabric and paper need room to spread out. Keep the middle of the board clear for the work in progress.
Put jars on the shelves above the desk. Clear jars for buttons, thread, beads, and all the small things that vanish into drawers. When you can see it, you use it. When it hides, you buy it twice.
Hang fabric rolls on a short rail on the side wall. Rolled fabric takes up less space than folded fabric, and you can see every pattern at a glance. A rail with rings holds the rolls neatly, like a little fabric shop.
Light matters more for craft than for typing. A daylight lamp on the desk shows true colours, so the blue thread you pick is actually blue. A warm lamp is cozy, but it lies about colours. Keep a daylight bulb in the craft closet.
Add a small fold-down leaf on one side wall for extra cutting space. It folds flat when you are done, and the closet stays tidy. A leaf the size of a tray is enough for most cutting jobs.
Tidy up at the end of every session. Everything goes back in its jar, its basket, or its box. A craft closet that stays tidy is a craft closet you want to use. A messy one just makes you feel guilty every time you open the door.
Keep one project out at a time. That is the rule that makes this project work. One project on the desk, the rest on the shelves. When you finish it, you pick the next one. Five half-finished projects on one small desk is how craft corners die.
Copy this project if your craft supplies live in three rooms at once. One closet, one desk, one rule. Your dining table will thank you.
The Renter-Safe Project
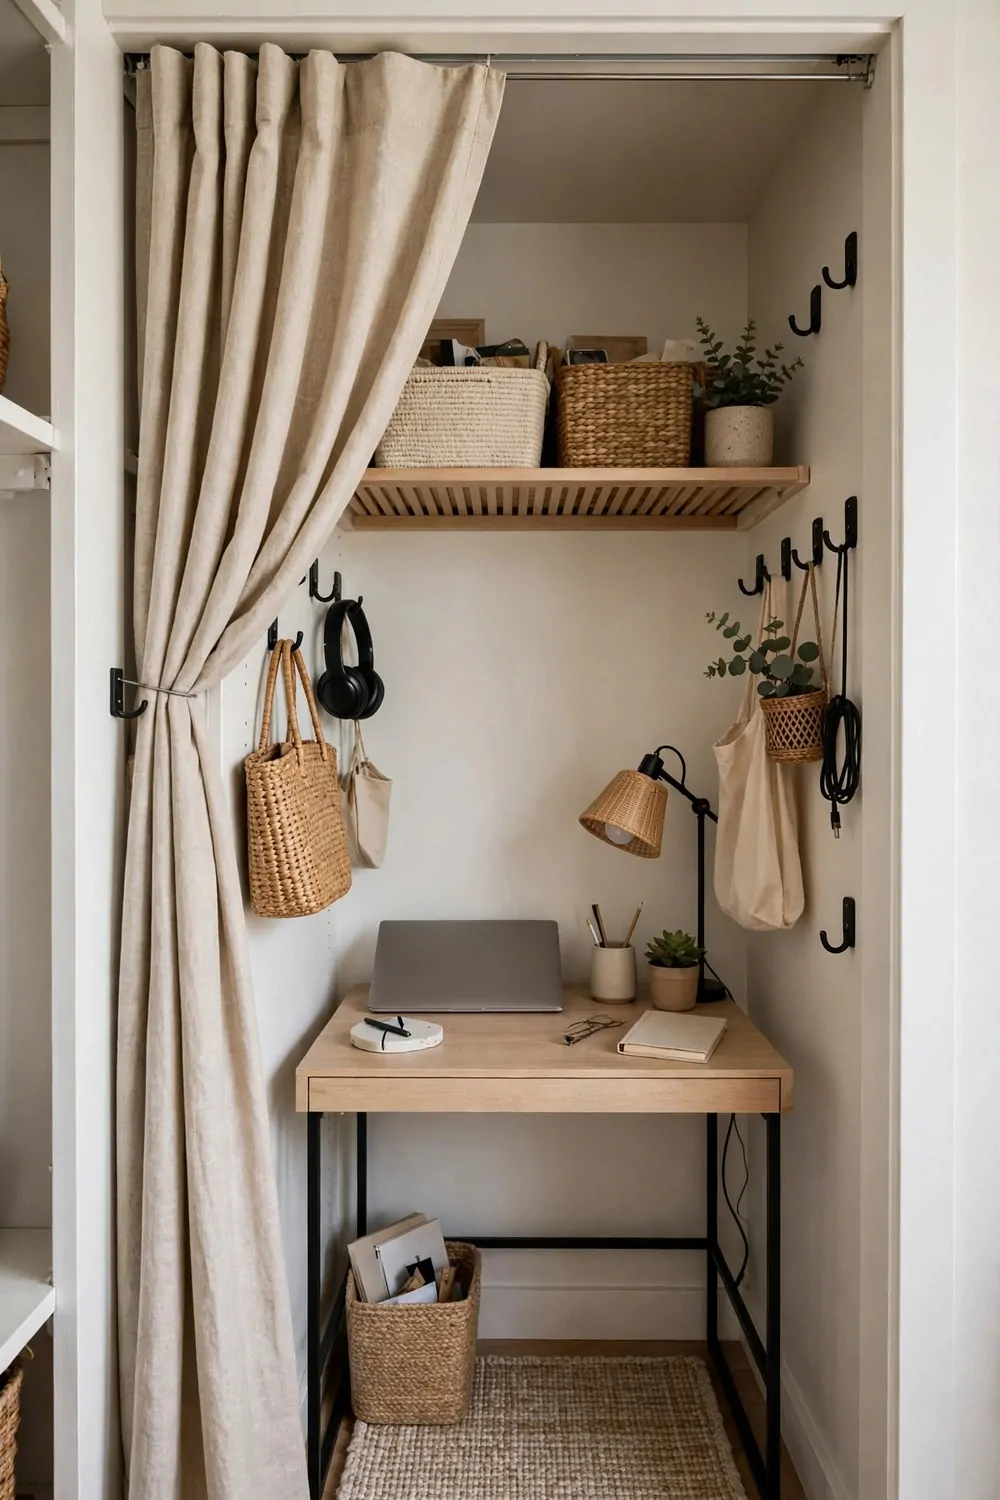
My first home office was in a rented flat, and the landlord had one rule. No holes in the walls. That rule made me creative.
Start with the floor, not the walls. A thick rug under the desk protects the floor from chair wheels, and it marks the office as its own little room. When you move out, you roll up the rug and take it with you.
Hang pictures with command strips instead of nails. They hold a surprising amount of weight, and they peel off clean when you leave. I hang my calendar and one small print this way, and the walls stay perfect.
Use a rolling cart for supplies instead of shelves on the wall. The cart parks in the closet while you work, and it rolls into the bedroom when you need the floor. It is a shelf on wheels, and it moves house with you.
Light the closet with battery puck lights. They stick on with a magnet or a bit of tape, and they run for months on one set of batteries. Tap one and the desk lights up. No wires, no sockets, no landlord letters.
Here is a short list of renter-safe swaps that worked in my flat.
- Command strips for pictures and a calendar instead of nails.
- A rolling cart for supplies instead of wall shelves.
- A thick rug under the desk to protect the floor from chair marks.
- Battery puck lights instead of a wired light.
- A magnetic board on the door instead of a screwed-in board.
Put a magnetic board on the inside of the closet door. It sticks on with strong magnets or a bit of tape, and it holds notes, photos, and a shopping list. When you move, it peels off and the door looks new.
Keep a small box of touch-up supplies for moving day. A bit of white filler, a tiny brush, and a cloth. If a hook leaves a mark, you fix it in five minutes before the landlord ever sees it.
Take a photo of every wall on the day you move in, and keep the photos in a folder on your phone. If anyone asks about a scuff, the photo shows it was already there. It takes two minutes and it saves a whole argument.
Renting does not mean living with a bare closet. A rug, a cart, a few strips, and a battery light give you a real office, and the whole thing packs into two boxes when you move.
The Light-It-Right Project
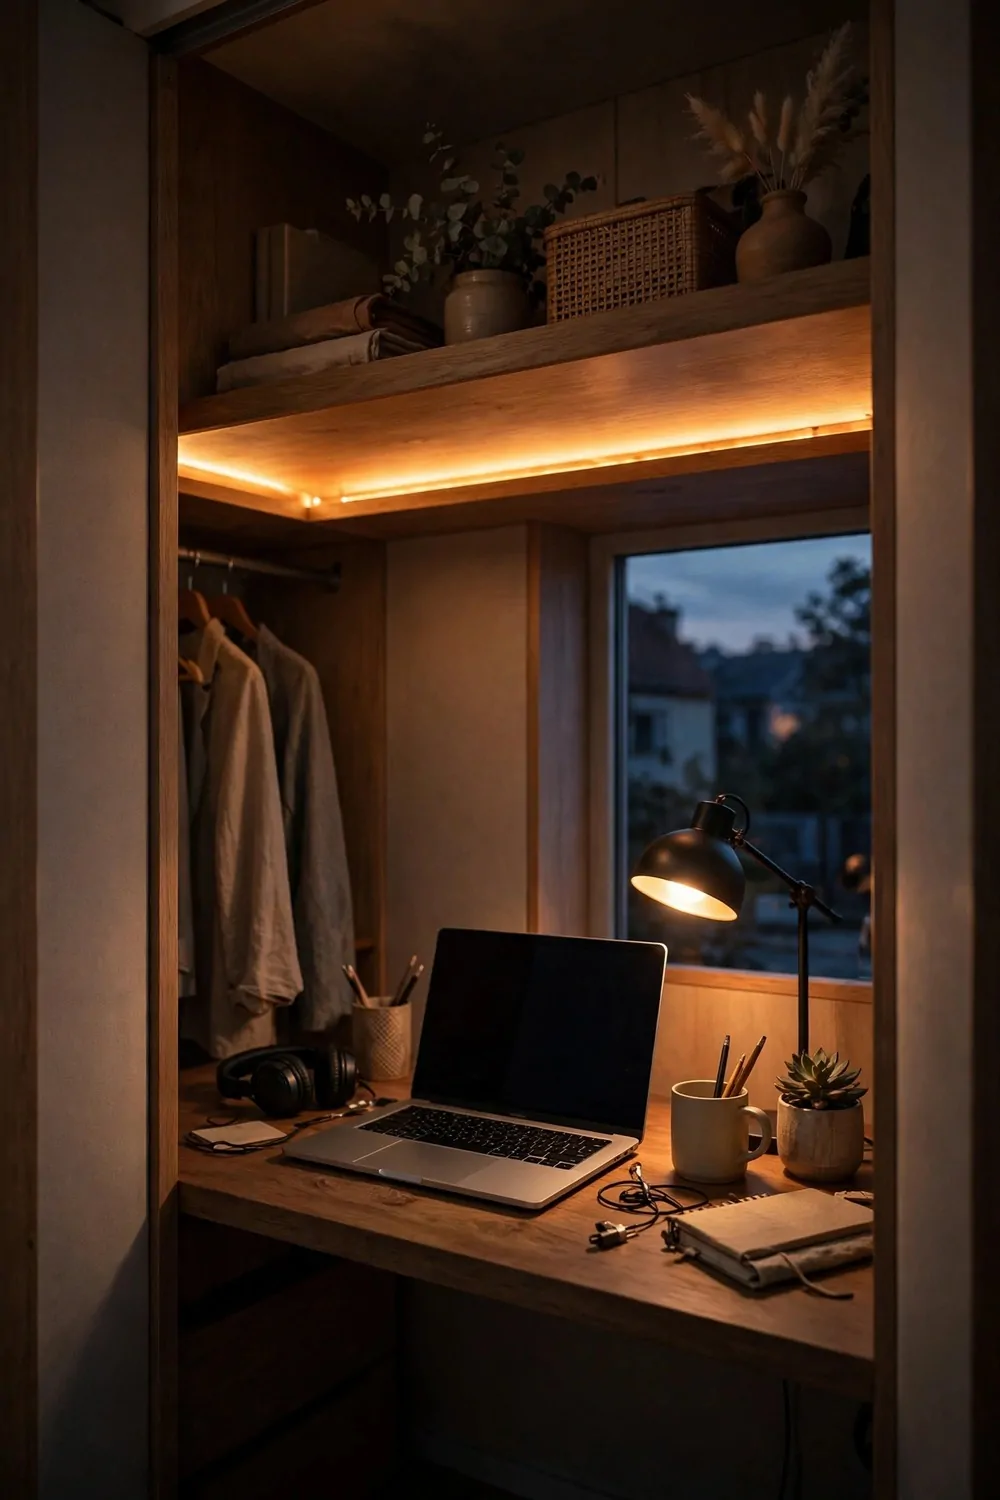
I used to work in my closet with one ceiling bulb, and by lunch my eyes hurt and my head ached. The problem was not the closet. It was the light.
Think of light in layers, like clothes. One layer is never enough, and three thin layers beat one thick one every time.
The first layer is the task light. A small clip-on light on the top of your laptop or on a shelf shines right where your hands are. It moves with you, and it costs less than a takeaway dinner.
The second layer is the face light. If you take video calls, put a small lamp behind your laptop, pointing at your face. Your face looks bright on camera, and your eyes do not squint into a dark screen.
The third layer is the evening light. A battery puck light stuck under a shelf gives a soft glow when the day is done. Tap it on when you tidy the desk, and the room feels calm instead of dark.
A mirror on the wall doubles whatever light you have. Hang a small mirror across from the lamp, and the light bounces back into the room. It is the cheapest extra lamp you will ever buy, because it is not a lamp at all.
Pick a light-coloured desk top if you can. A pale board bounces light up onto your hands and your notebook. A dark board swallows light, and the desk feels gloomy even with two lamps on.
Try a daylight bulb in your desk lamp for mornings and a warm bulb for evenings. Swap the bulb, not the lamp. Two bulbs cost less than one new lamp, and your eyes get the right light at the right time.
Test your light with a video call to a friend. Ask them if your face looks bright or shadowy. A friend will tell you the truth in ten seconds, and you can move the lamp before your next real meeting.
Good light is the cheapest upgrade in a closet office. Fix the light first, and the desk, the shelves, and the chair all start working better. Bad light makes a good office feel like a cupboard.
The Cable-Tidy Project
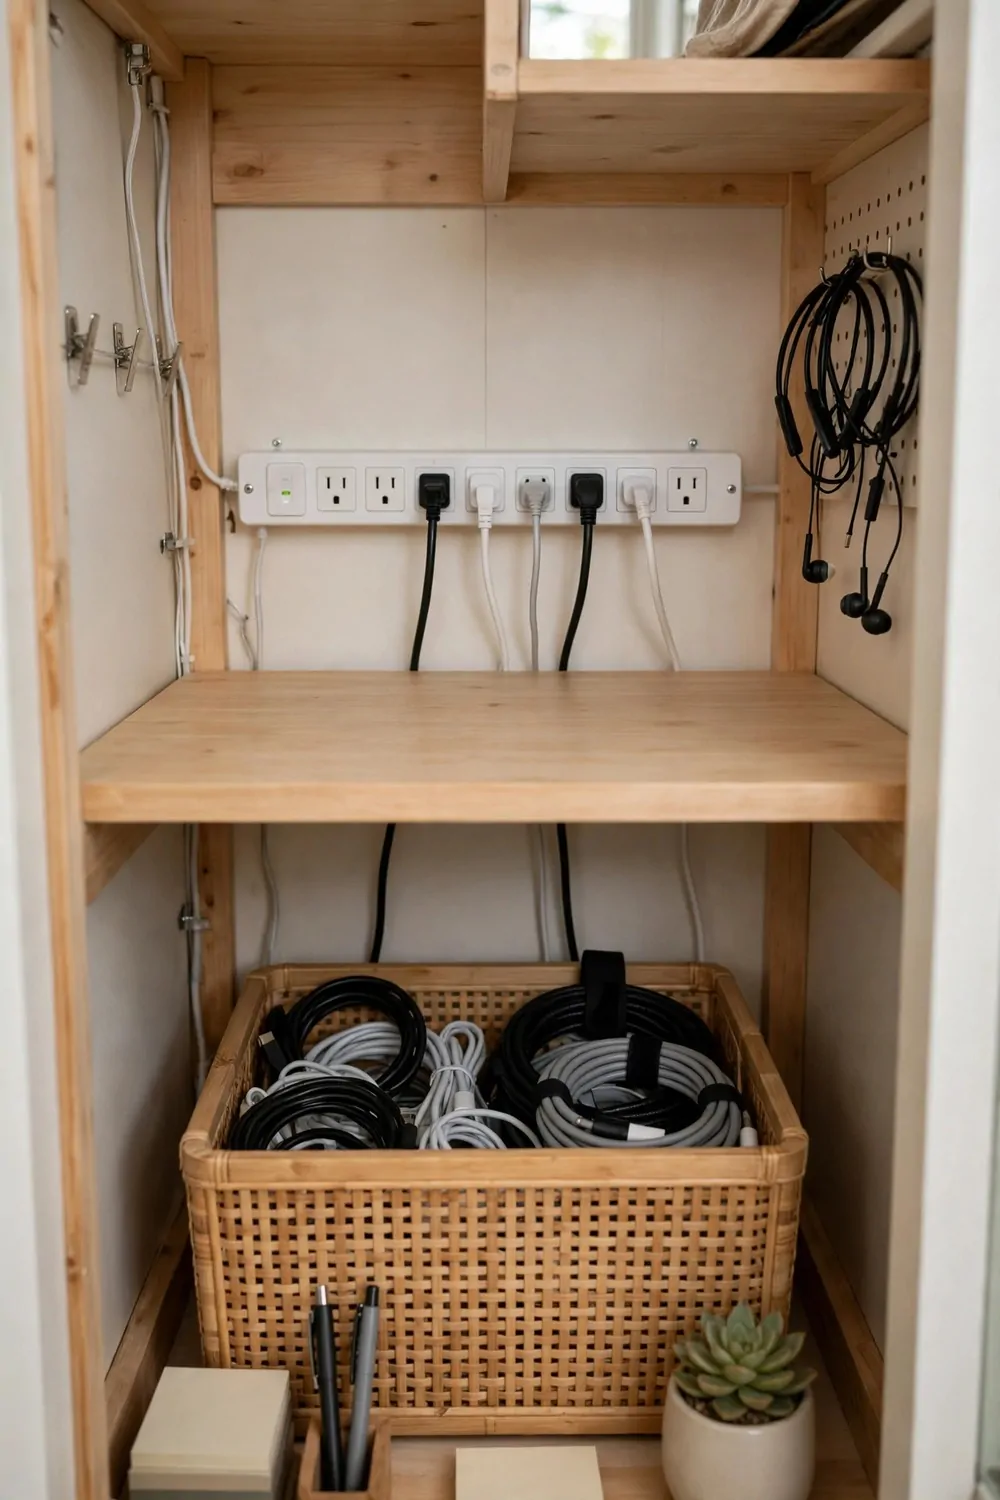
Cables are like weeds. Leave them alone for a week and they take over the whole desk.
Plan your cable routes before you plug anything in. Stand at the desk and point to where each cable will run. Wall, floor, or desk edge. Every cable gets a route before it gets a plug.
Start with the wall route. A flat cable runs down the wall behind the desk leg, held by a stick-on channel. The channel hides the cable, and the wall looks clean from the doorway.
Use the floor route for the power strip cable. Run it flat along the skirting board under a rubber cover strip. Feet walk over the strip, not over the cable, and nobody trips.
Clip the cables you touch every day under the front edge of the desk. Small adhesive clips hold a laptop cable and a phone cable right where your hand falls. They hang in a neat line instead of pooling on the desk.
Here is a table for the five cable routes in my closet office.
| Route | How it runs | What keeps it tidy |
|---|---|---|
| Wall route | Flat cable behind the desk leg | A stick-on channel |
| Floor route | Flat along the skirting board | A rubber cover strip |
| Desk edge route | Clipped under the desk board | Small adhesive clips |
| Shelf route | Spare cables coiled in a basket | A label on the basket |
| Charging route | Phone and earbuds in one basket | One short cable each |
Make a charging station in a basket. One basket on the shelf holds your phone cable, your earbuds, and a spare charger. Everything charges in one spot, and the desk stays free of cables.
Label each cable with a little flag of tape. Write “laptop” on one flag and “lamp” on another. When a cable stops working, you know which one to pull without unplugging everything.
Use velcro ties instead of twist ties. Velcro opens and closes a hundred times, and it never cuts into the cable. Twist ties kink the cable and snap after a few uses.
Check your cables once a month. Pull out the ones you do not use anymore and put them in the spare basket. A closet office only needs the cables it uses every day. The rest are just weeds.
The Paint-and-Paper Project
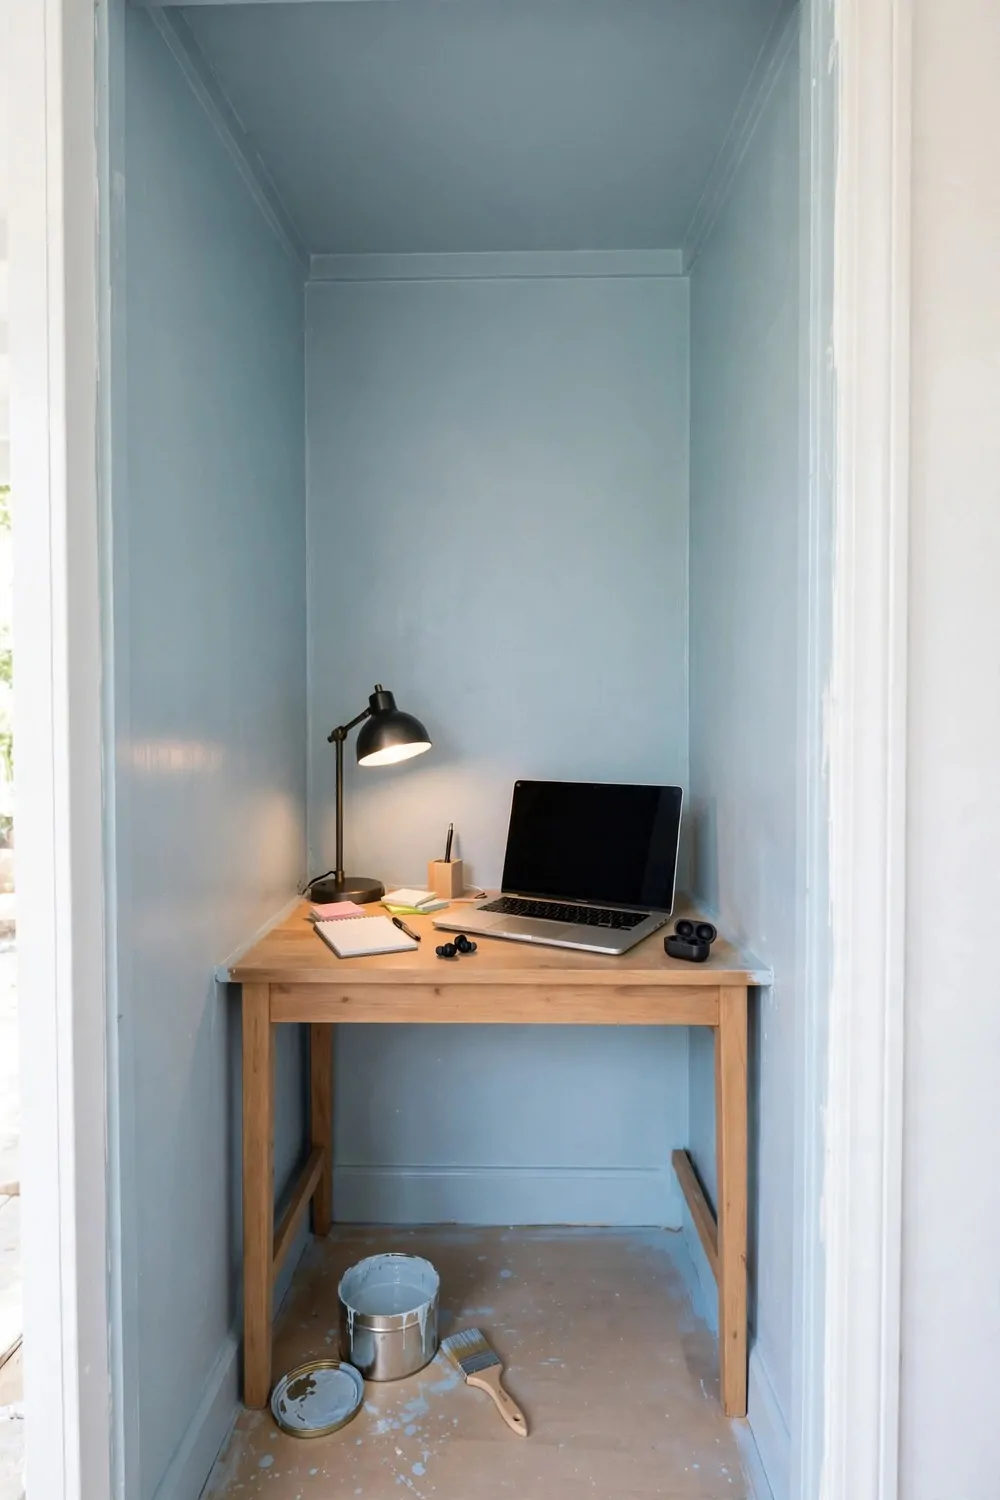
Paint is the fastest way to make a closet feel like a room you chose, not a room you got stuck with.
Try two tones on the walls. Paint the bottom half a warm colour and the top half a pale one, with a straight line between them. The line hides scuffs from chairs and bags, and the room looks taller than it is.
Paint the inside of the closet door a bold colour. The door is the first thing you see when you open the closet, and a bold door feels like a welcome. The rest of the walls can stay pale and calm.
Add a stencilled border along the top of the back wall. A simple shape, like a small leaf or a dot, repeated in a row. It takes an hour with a stencil and a sponge, and it looks like you hired someone.
Paint a chalkboard strip on one side wall. A strip about a foot tall holds your to-do list in chalk, and you can wipe it clean every Monday. It turns a plain wall into a planning tool.
Pick your colour by the mood you want. Soft blue helps you feel calm on busy days. Warm yellow feels bright on grey mornings. Try a test patch on the wall and live with it for a week before you paint the whole closet.
Paint the ceiling the same pale colour as the top half of the walls. A ceiling that matches the walls makes the closet feel taller, because your eye does not stop at a hard line.
Use a small foam roller for the flat walls and a brush only for the corners. A foam roller leaves no brush marks, and it holds more paint, so you finish faster with fewer drips.
If paint feels like too much work, stick peel-and-stick paper on the back wall only. One patterned wall behind the desk is enough. The pattern does the talking, and the whole closet feels finished.
Let the paint dry a full day before you put the desk back. A desk leg on soft paint leaves a mark you will see every morning. One patient day saves you a whole repaint.
The Weekend-Timeline Project
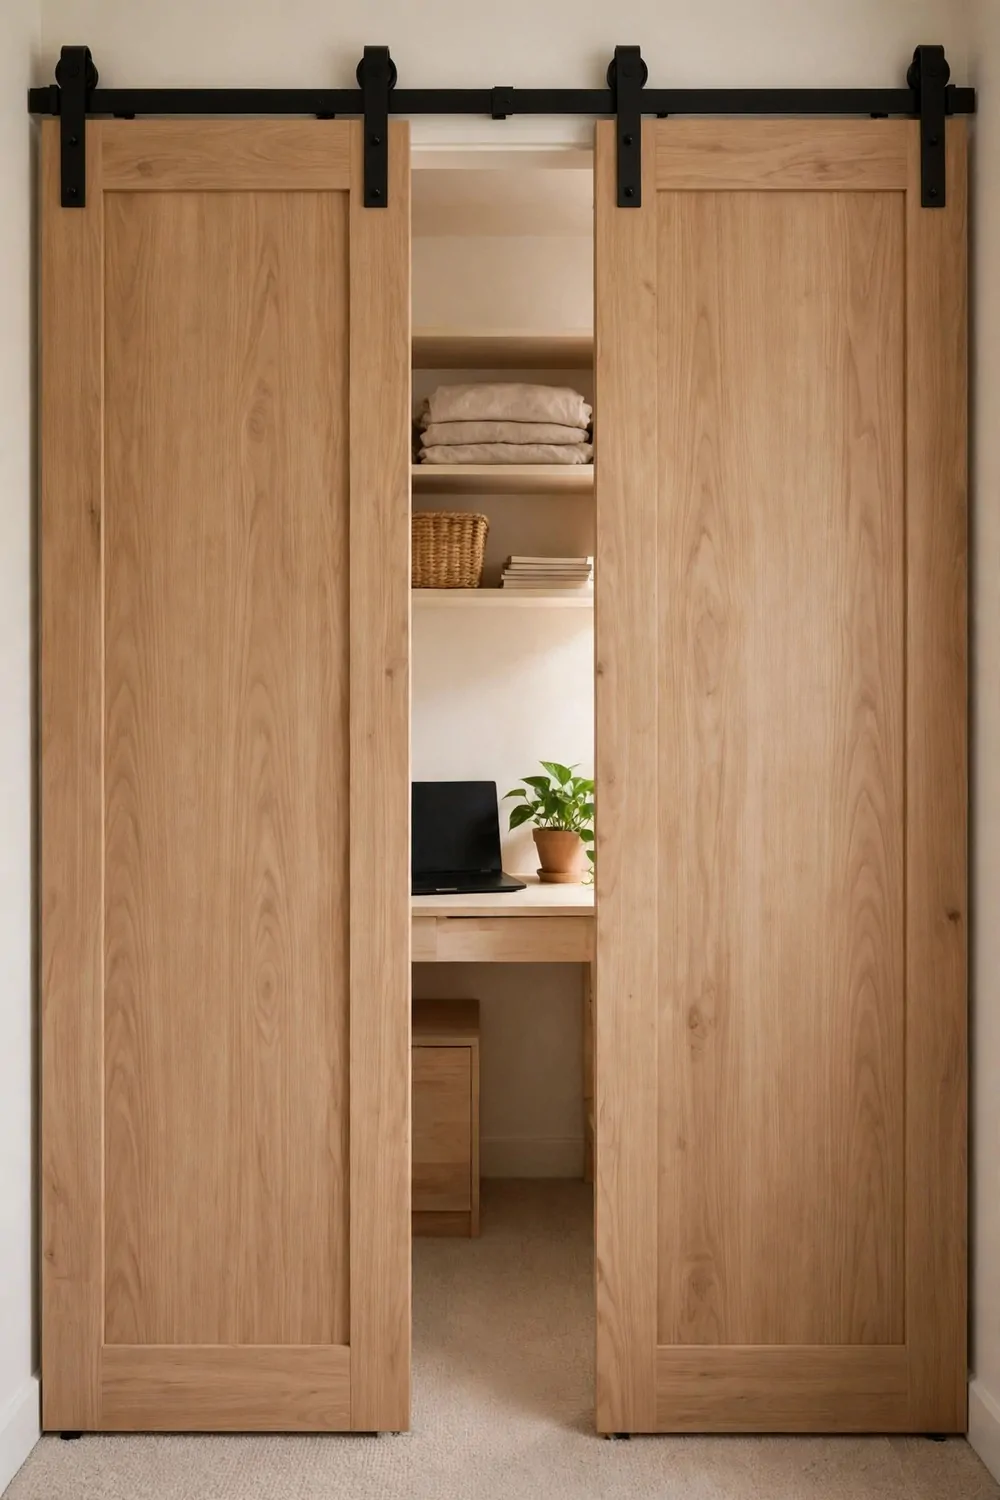
A plan beats a wish. This last project is not a build. It is a timeline for one weekend, and it is the project that makes the other sixteen actually happen.
Friday evening is clear-out time. Take everything out of the closet and sort it into three piles. Keep, give away, and throw away. Measure the empty space and tape the numbers to the wall. Two hours, and the closet is empty and measured.
Saturday morning is paint and prep. Paint the walls if you are painting. Patch the little holes. Let the first coat dry while you eat lunch. A closet is small, so the painting never takes as long as you fear.
Saturday afternoon is build time. Mount the desk board and the shelves. Hang the pegboard. Put the drawer unit in place. By dinner, the closet has a desk, and the room looks like an office for the first time.
Sunday morning is lights and cables. Hang the lamp. Stick the LED strip under the shelf. Run the power strip and tie the cables into one bundle. Test everything while the light is good.
Sunday evening is tidy time. Put the books on the shelves. Hang the headphones on the door. Clear the desk down to the laptop, the lamp, and the plant. Then shut the door and call it done.
Here is the timeline in one place.
| When | Job | Time it takes |
|---|---|---|
| Friday evening | Clear out and measure | About 2 hours |
| Saturday morning | Paint and prep | About 3 hours |
| Saturday afternoon | Build desk and shelves | About 3 hours |
| Sunday morning | Lights and cables | About 2 hours |
| Sunday evening | Tidy and shut the door | About 1 hour |
The shut-the-door habit is the part that keeps it all working. Set a finishing time and stick to it. When the time comes, clear the desk, close the laptop, and shut the door. That soft click is the end of the day.
In the morning, open the door and the office is right there, tidy and ready. You did not have to clean it in the morning, because you cleaned it last night. Mornings start calm instead of messy.
Copy this timeline exactly the first time. One weekend, five blocks of time, and a closet that does a whole job. Start this Friday and see how different Monday feels.
Keep Reading
If you liked these closet projects, these closet office ideas will give you even more ways to make a small space work hard.
- 15 Office and Closet Combo Room Setups That Work Twice as Hard
- 17 Tiny Closet Office Ideas for Even the Smallest Spaces
- 18 Closet Office Ideas Small Walk In Setups That Actually Fit
One closet can do a whole job well. It just needs a clear plan, a desk board, a little light, and a small habit to keep it tidy. Pick your favourite project from this list, copy it this weekend, and let your closet surprise you.