27 Bathroom Vanity Organization Ideas That Make Mornings Easier

My mornings used to have a villain, and it was not my alarm clock. It was the top drawer of my bathroom vanity.
Every morning I opened that drawer and it was the same mess. Bottles on their sides. Hair ties tangled around a brush. A lipstick with no cap rolling into the corner.
I would dig for my moisturizer while the clock ticked. Some days I found it. Some days I gave up and left the house with dry skin and a bad mood.
Then I changed one thing. I stopped buying more stuff and started giving every single thing a home.
It sounds small. It changed my whole morning. Now I walk in, I grab what I need, and I am out the door in half the time.
You can do the same thing. You do not need a new vanity. You do not need a big budget. You just need a plan that fits your real morning.
So here are 27 bathroom vanity organization ideas that make mornings easier. Each one is simple. Each one works in a real bathroom. Pick three to start with this weekend, and your mornings will feel different by Monday.
1. Clear the Countertop Completely
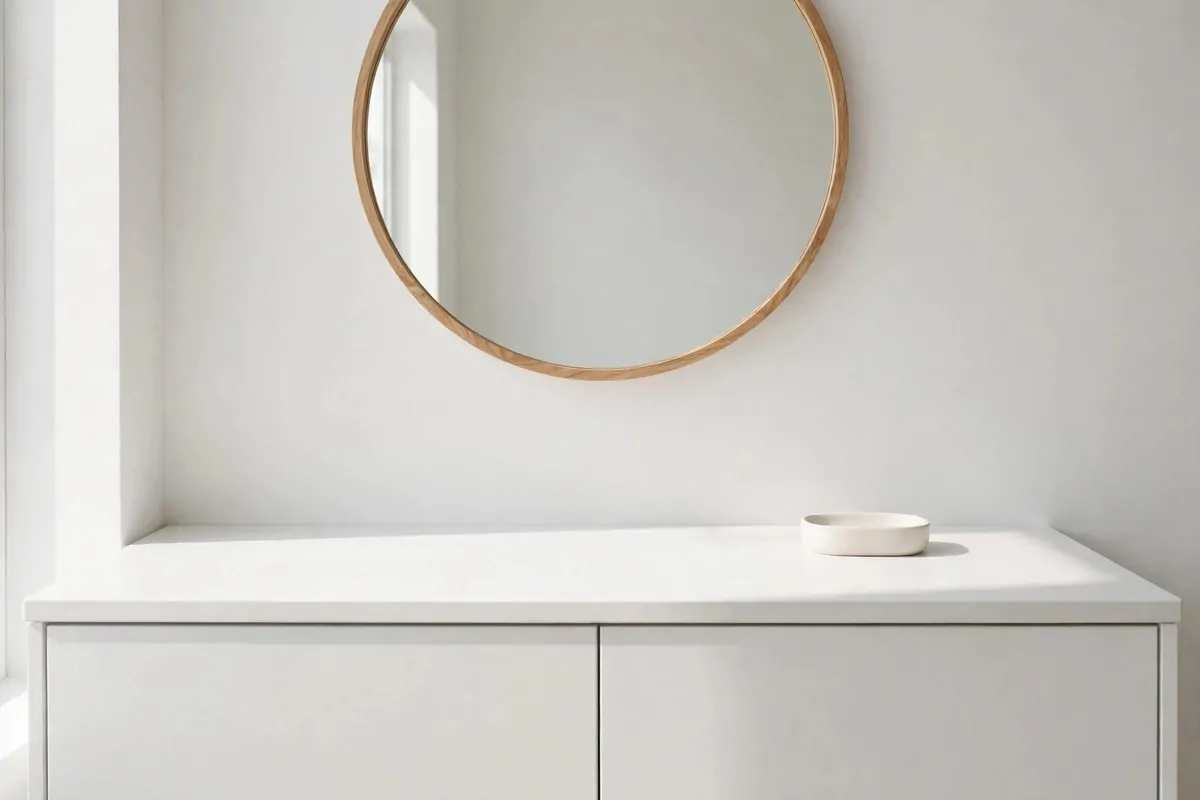
Start with an empty counter. Take everything off your vanity and put it on the bed or on a towel on the floor.
Yes, everything. Every bottle, every brush, every random cotton ball that has been sitting there since last month.
Now look at the bare counter. It probably looks bigger than you remember. That is the whole point. A clear counter gives your eyes a rest, and it gives your hands room to work.
Next, wipe it down. A quick spray and a cloth is all it takes. You will be surprised how much dust and dried toothpaste lives on a busy counter.
Now here is the rule that changes everything. Only the things you use every single morning earn a spot back on the counter. Everything else lives in a drawer or a cabinet.
Ask yourself one question about each item. Did I use this yesterday morning? If the answer is no, it does not go back on the counter.
Most people end up with five or six things back on the counter. Toothbrush, soap, moisturizer, maybe a hairbrush and one cream. That is a calm counter. That is what you want.
Here is a simple way to decide what stays and what goes.
| Item | Keep on the counter | Put it away |
|---|---|---|
| Toothbrush and toothpaste | Yes, in a cup | No |
| Daily moisturizer | Yes | No |
| Hairbrush you use daily | Yes | No |
| Perfume you wear once a week | No | Yes, in a drawer |
| Nail polish and extras | No | Yes, in a box |
| Backup bottles and refills | No | Yes, under the sink |
Do this clear out once, and then keep the rule going. Every night, take thirty seconds to put stray things back where they belong. A clear counter in the morning starts with a clear counter at night.
2. Give Every Item a Home With Drawer Dividers
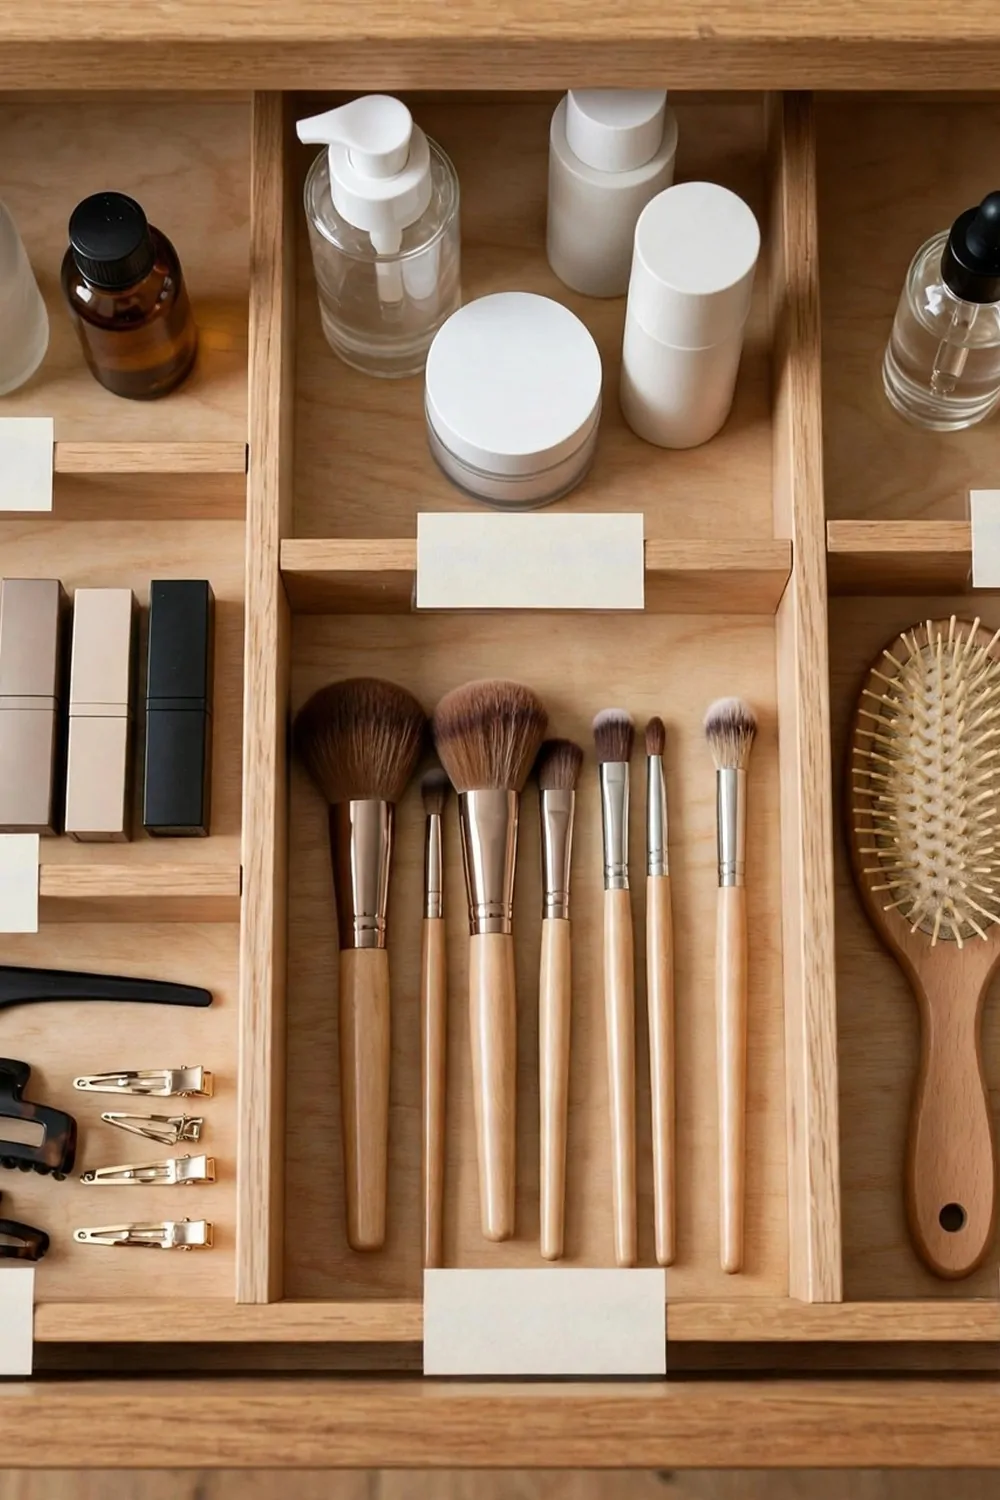
A drawer with no dividers is just a small box where things go to hide. Open it and everything has slid into one big pile at the back.
Drawer dividers fix that in one move. They turn one messy drawer into five or six small homes, and each home holds one kind of thing.
You can buy simple dividers that expand to fit your drawer. Typical cost is around five to fifteen dollars for a set, and they last for years. Bamboo ones look warm and pretty. Clear plastic ones let you see everything at a glance.
Measure your drawer first. I know that sounds boring, but it saves you a trip back to the shop. Write the width and the depth on a little piece of paper and take it with you.
Now sort what goes in the drawer before you put the dividers in. Make small piles on the counter. Hair things in one pile. Skincare in another. Makeup in a third. Little bits like pins and clips in a fourth.
Put the dividers in so each pile gets its own space. Leave the biggest space for the pile with the most stuff. Do not try to make every space the same size. Real life is not that neat.
Here is the trick most people miss. Leave one small space empty on purpose. That empty spot is for the new thing you will buy next month. If every space is full on day one, the system breaks the first time you bring something new home.
When you open the drawer in the morning, your hand should go straight to what you need. No digging. No lifting three things to reach the one at the bottom. That is the test. If you still have to dig, move things around until you do not.
My own drawer has six spaces. Brushes on the left. Creams in the middle. Little things on the right. I have not dug for anything in months, and my mornings are better for it.
3. Sort by Morning Order, Not by Size
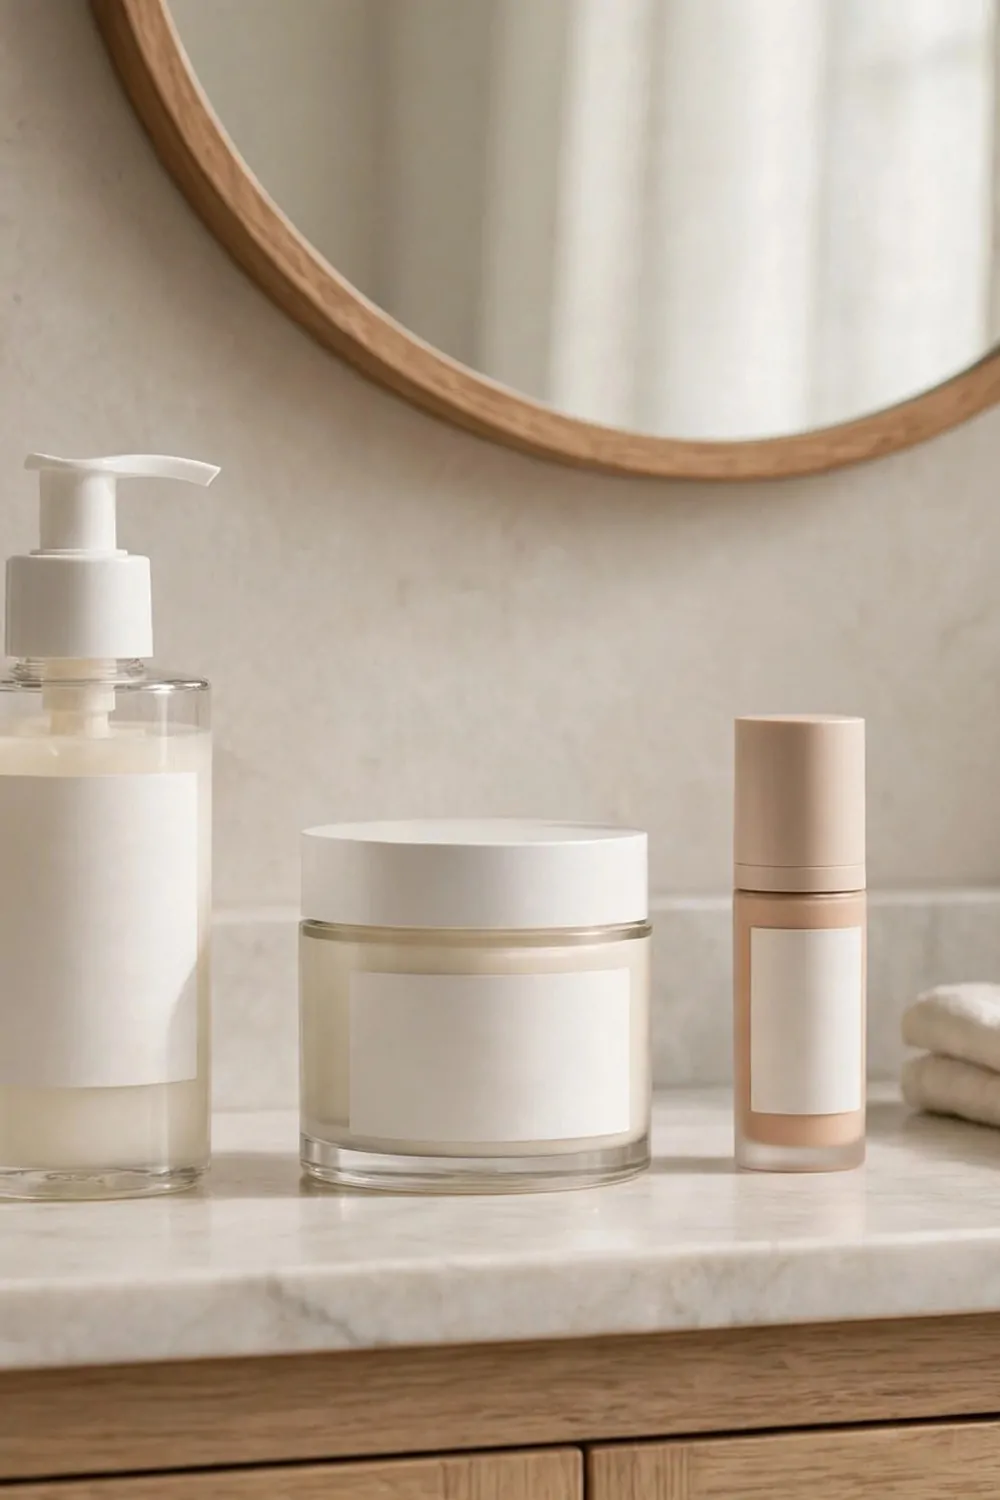
Most people sort their vanity by size. Tall bottles at the back, small jars at the front. It looks tidy in a photo, but it does not help you in the morning.
Sort by the order you use things instead. Think about your real morning, step by step. What do you touch first? What comes next?
For most of us the order is simple. Wash your face. Brush your teeth. Put on moisturizer. Then makeup or sunscreen. Then hair. That is your morning in five moves.
Now set up your vanity so the first thing you reach for sits closest to your hand, and the last thing sits furthest away. Left to right works well if you are right handed. Right to left if you are left handed.
This small change saves you more time than you would think. You stop scanning the whole counter for each step. Your hand just moves along the line, one thing after the next, like a little morning train.
It also stops the pile up. When things sit in usage order, you put each one back in its place without thinking. When things sit by size, you put them down wherever there is a gap, and the mess creeps back in a week.
Here is what a morning order looks like on a normal vanity.
| Step | What you do | Where it lives |
|---|---|---|
| 1 | Wash your face | Closest to the sink |
| 2 | Brush your teeth | Next to the sink, in a cup |
| 3 | Moisturizer and serum | Middle of the counter |
| 4 | Makeup or sunscreen | Right side, standing up |
| 5 | Hairbrush and styling | Far end, near the mirror edge |
Try it for one week. If a step feels awkward, swap two spots and try again. Your morning order is personal, so your layout should be personal too.
And if someone else shares the bathroom with you, make a second little line for them on their side of the sink. Two short lines beat one long shared pile every single time.
4. A Small Tray for Your Daily Five
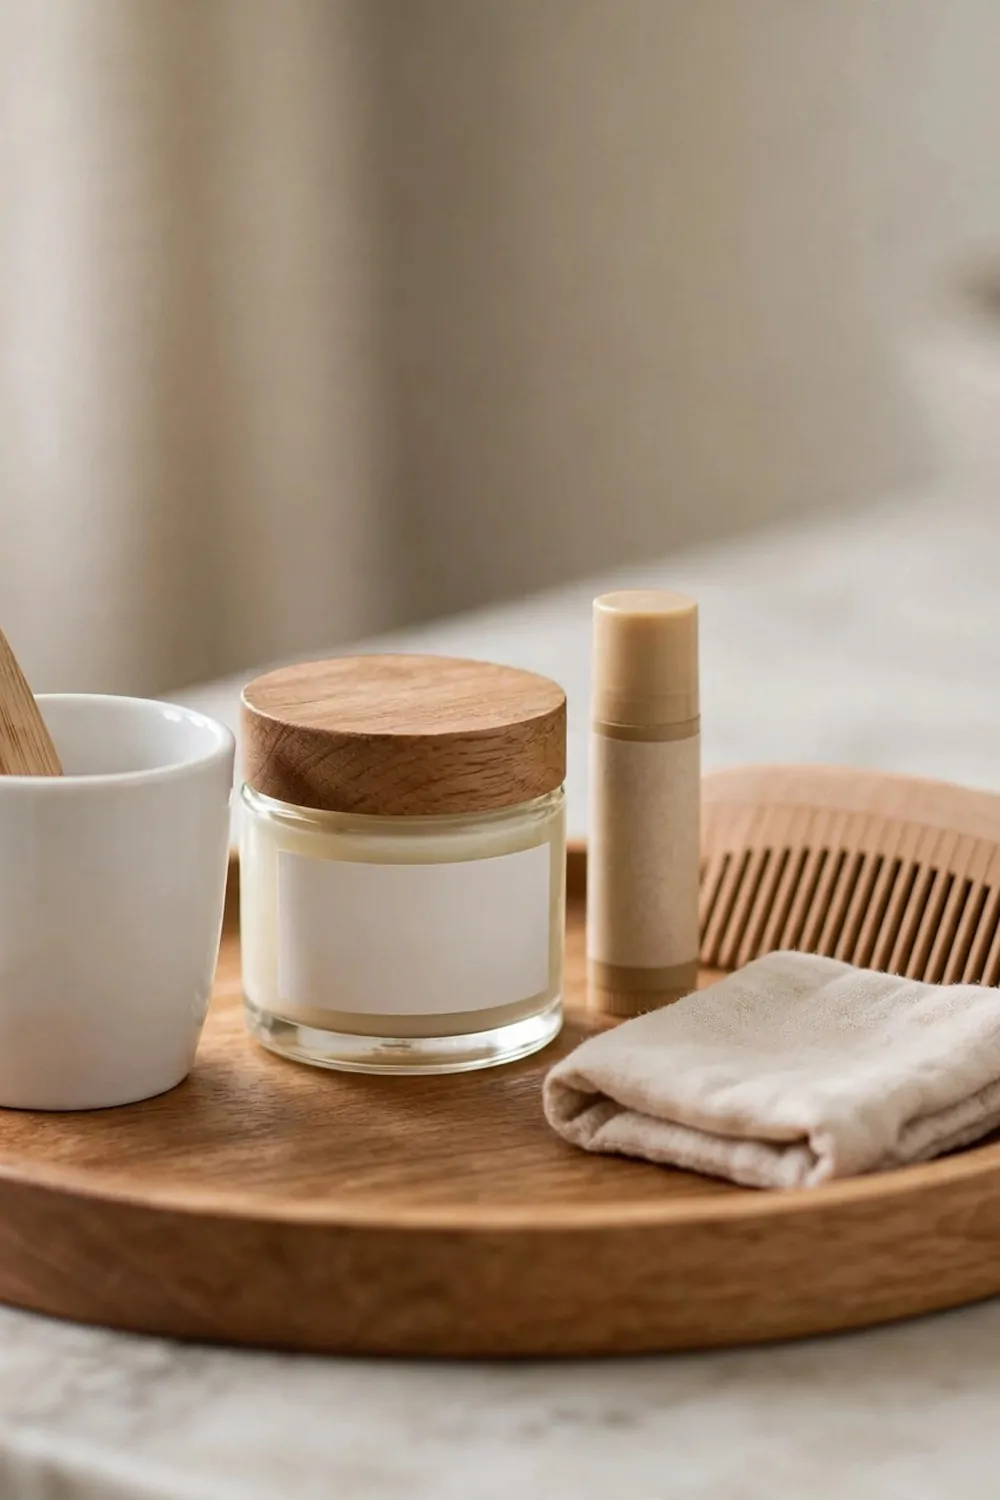
Pick the five things you use every single morning. Just five. Those five live on a small tray, and the tray lives on your counter.
That is the whole idea. A tray turns five loose bottles into one neat group that you can lift and move in one hand.
Choose a tray that fits your style. A round wooden tray looks warm. A small ceramic tray looks clean. A mirrored tray catches the light and makes the corner feel fancy. Typical cost is around eight to twenty dollars, and you will use it every day.
Now pick your five. For me it is my toothbrush cup, my face cream, my lip balm, my hairbrush, and my sunscreen. Your five will be different, and that is fine. The number matters more than the items.
Here is a good test for what makes the cut. If you skipped it yesterday and your morning still worked, it is not a daily five item. It goes in a drawer.
Put the tray on the side of the counter where your hand naturally rests. Not in the middle where it blocks the sink. Not in the back corner where you have to reach over everything. Just off to one side, close and easy.
The best part of a tray is cleaning day. You lift the whole tray, wipe the counter underneath, and put it back down. Thirty seconds. No picking up ten separate bottles and trying to remember where each one sat.
When friends visit, your counter still looks calm. Five things on a tray reads as tidy. Fifteen things scattered reads as chaos. Same bathroom, same stuff, totally different feeling.
- Toothbrush and toothpaste in one cup
- Your daily face cream
- Lip balm or lipstick you wear every day
- Hairbrush or comb
- Sunscreen or your one daily makeup item
If you share the bathroom, give each person their own small tray. Two little trays side by side look much better than one big shared mess in the middle.
5. Stackable Drawers Under the Sink
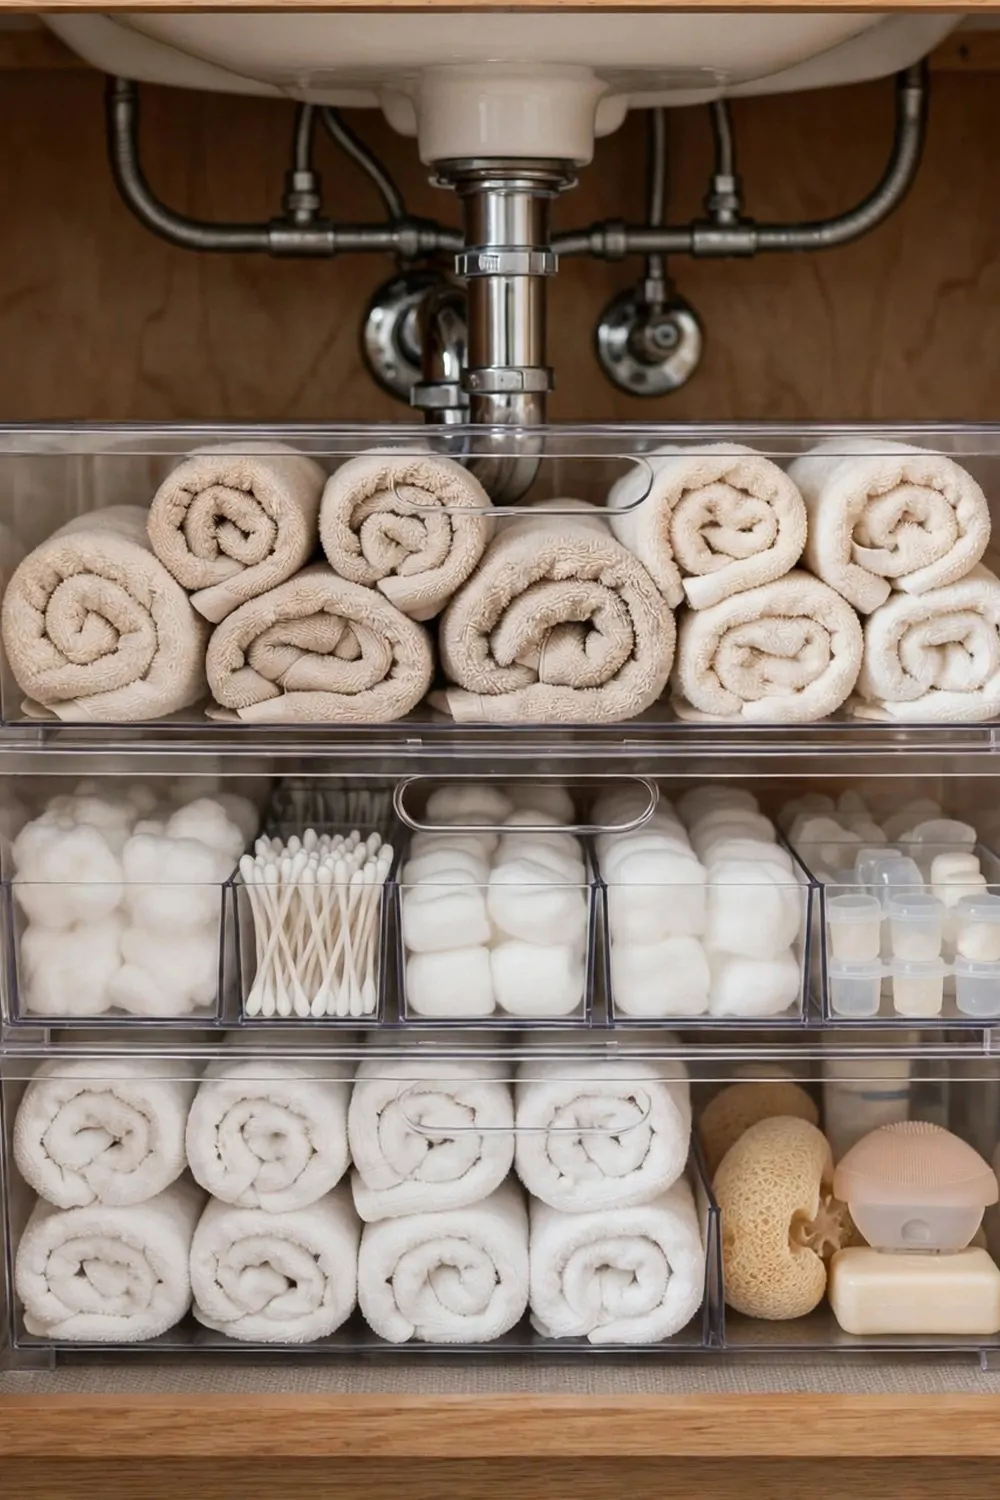
The space under your sink is probably doing nothing. Pipes take up the middle, and the rest is just empty air with a few bottles rolling around on the floor of the cabinet.
Stackable drawers fix that. They are small plastic or bamboo drawers that sit on top of each other, and they turn that dead space into real storage.
Measure around the pipes first. The drawers need to fit on one side of the pipes, so take the width of the free space before you buy anything. A quick photo of the pipes on your phone helps a lot at the shop.
Put the things you use most in the top drawer. Extra toothpaste, cotton pads, the cream you are saving for later. The bottom drawer holds the backups and the things you only touch once a week.
Here is a rough guide to what these little organizers cost and what they are best for.
| Organizer | Typical cost | Best for |
|---|---|---|
| Stackable drawers | 10 to 25 dollars | Under the sink, backups and extras |
| Drawer dividers | 5 to 15 dollars | Top drawer, daily items |
| Small tray | 8 to 20 dollars | Countertop, your daily five |
| Turntable | 8 to 18 dollars | Deep corners and cabinets |
| Tiered organizer | 12 to 25 dollars | Skincare steps in order |
Clear drawers are my favorite for under the sink. You can see what is inside without pulling the drawer out. In a dark cabinet, that matters a lot.
Do not stack them too high. Two or three levels is perfect. Four levels gets wobbly, and the top drawer becomes hard to reach past the pipes.
One more small tip. Put a little shelf liner or a folded hand towel under the stack. It stops the drawers from sliding around when you open and close them, and it catches any drips from a leaky bottle.
6. A Lazy Susan for Deep Vanity Corners
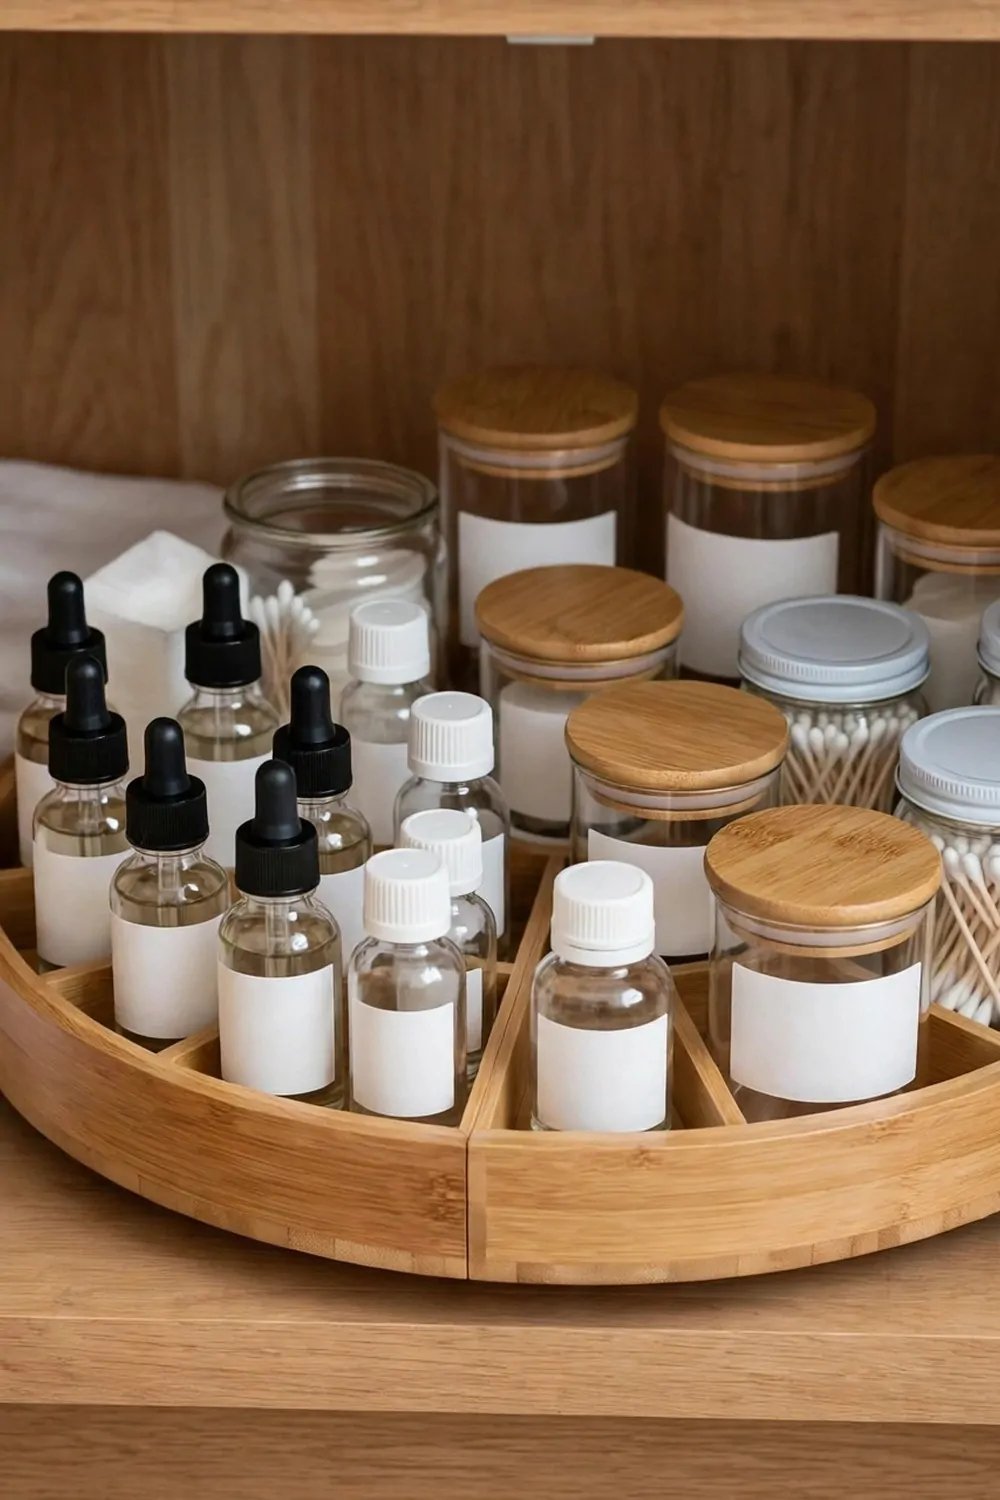
Every vanity has a dead corner. It is the spot at the very back of the cabinet where bottles go in and never come out again.
A lazy susan, which is just a round turntable, brings that corner back to life. You spin it, and the bottle you want comes right to your hand.
Pick a turntable with a low edge around it. The little rim stops bottles from sliding off when you spin it fast in the morning. A flat one looks simple, but things fall off it all the time.
Two small turntables beat one big one. One can hold your skincare, the other your hair products. Or one for you and one for the person you share the bathroom with.
Put the tall bottles in the middle of the turntable and the short ones near the edge. That way nothing tips over when it spins, and you can still read the front of every bottle.
The best spot for a turntable is inside the cabinet under the sink, or on a deep shelf where your arm cannot reach the back. On the countertop it works too, if your counter is wide enough.
I keep my nighttime creams on a turntable inside the cabinet. Spin, grab, done. Before that, those same creams sat at the back of the shelf for months because I could not be bothered to reach for them.
Clean the turntable once a month. Just lift it out, wash it in the sink, dry it, and put it back. It takes two minutes, and it stops the sticky rings that build up under bottles.
7. A Magnetic Strip for Metal Tools
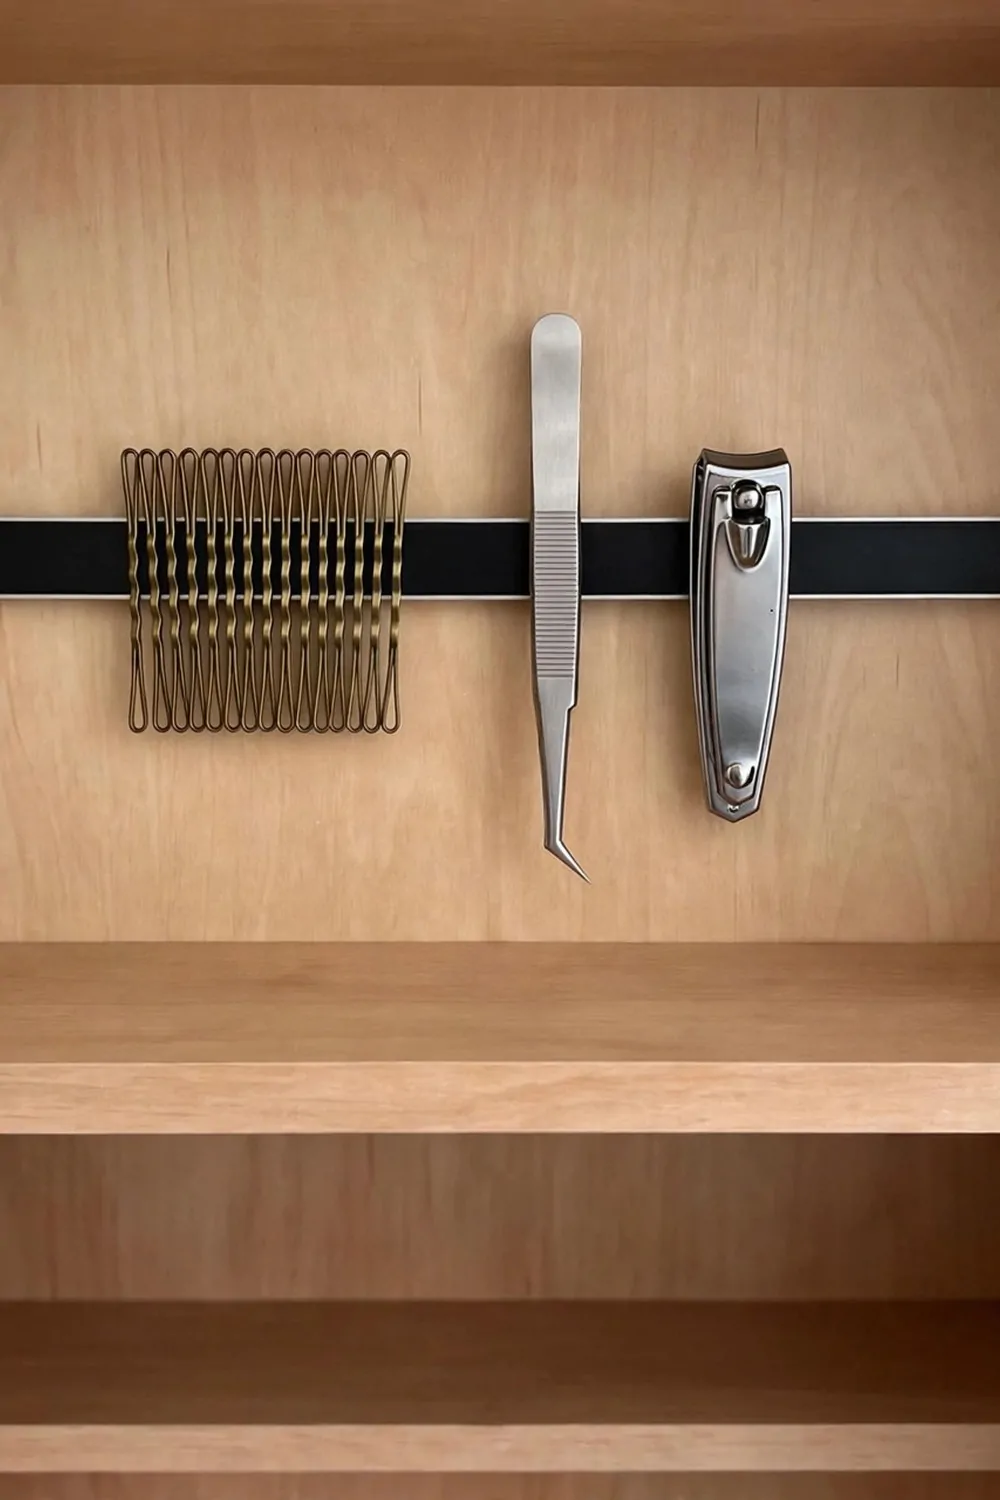
Bobby pins are the great escape artists of the bathroom. You buy a pack of fifty, and within a month you can only find three.
A magnetic strip ends the great escape. Mount a small magnetic strip inside a cabinet door or on the wall beside your mirror, and all your metal tools stick to it in one neat row.
Bobby pins, tweezers, nail clippers, small scissors. Anything metal will cling to it. You can see them all at a glance, and you grab what you need without opening a drawer.
You can buy a magnetic strip at a hardware shop for a few dollars. The kind made for kitchen knives works perfectly. Cut it to the length you need, or use a small one made for craft tools.
Stick it on with strong tape or two small screws. Inside the cabinet door is my favorite spot because it keeps the tools hidden but still easy to reach. On the wall next to the mirror works too if you like seeing everything.
Keep the strip at eye level or a little lower. If it is too high, you will not use it. If it is too low, things will slide off when the door closes.
One thing to watch out for. Do not put the strip right next to your phone charger or your electric toothbrush charger. Magnets and chargers are not good friends, so give them a little space.
This is one of the cheapest ideas on this whole list, and it saves the most morning time. No more digging through a drawer for one bobby pin while your hair falls in your face.
8. A Tiered Organizer for Your Skincare Steps
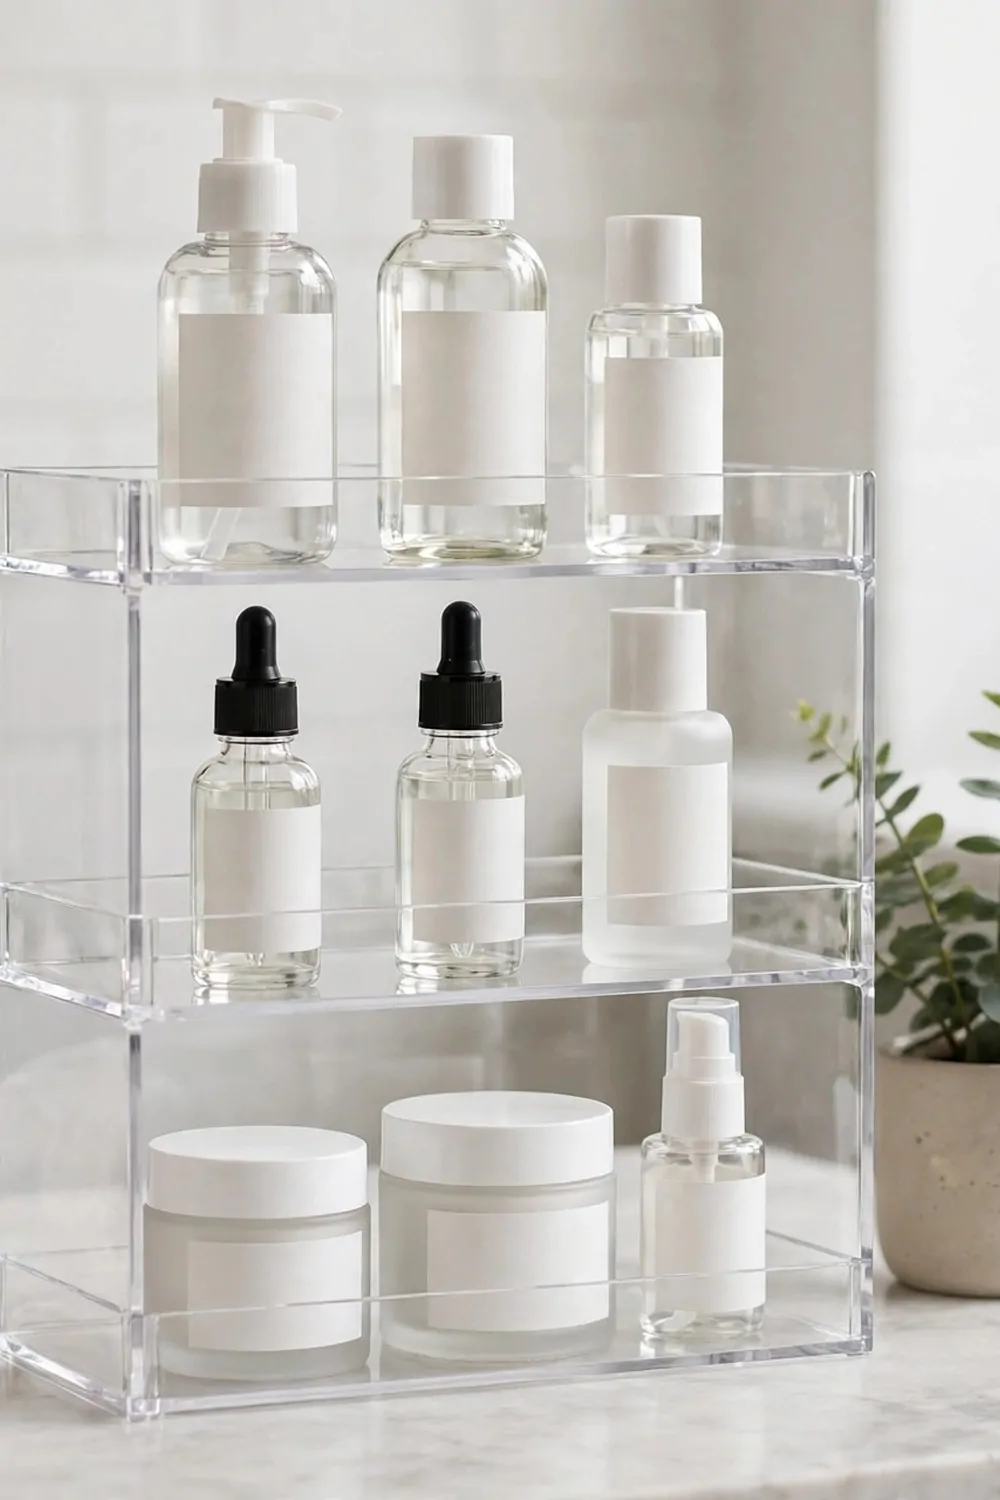
Skincare has steps. First the cleanser, then the toner, then the serum, then the cream. If those bottles live in a straight line, you use them in order without thinking.
A tiered organizer makes that order visible. It is a little set of steps, like a tiny staircase, and each step holds one part of your routine.
Put your first step on the bottom tier. That is the one you reach for first, so it should sit closest to your hand. The last step goes on the top tier.
This works because your eyes follow the steps up, and your hand follows your eyes. You never pick up the wrong bottle first, and you never skip a step because it was hiding behind something else.
Choose a tiered organizer that fits your counter height. A two tier one is enough for most people. Three tiers hold a longer routine, but make sure the top bottles do not hit the shelf above.
Acrylic ones look clean and let the light through. Wooden ones look warm and feel solid. Either one works, so pick the one that matches your bathroom.
If your routine changes with the seasons, the tiered organizer changes with it. Swap the summer serum for the winter cream, and the order stays the same. The steps never move, only the bottles do.
I also keep a tiny spare tier for the new product I am trying. If I like it after two weeks, it earns a real spot. If I do not, it leaves, and the steps stay tidy.
When the organizer starts to look crowded, that is your sign to check what is really in it. A tiered organizer should hold your routine, not your whole collection.
9. Clear Bins So You Can See Everything
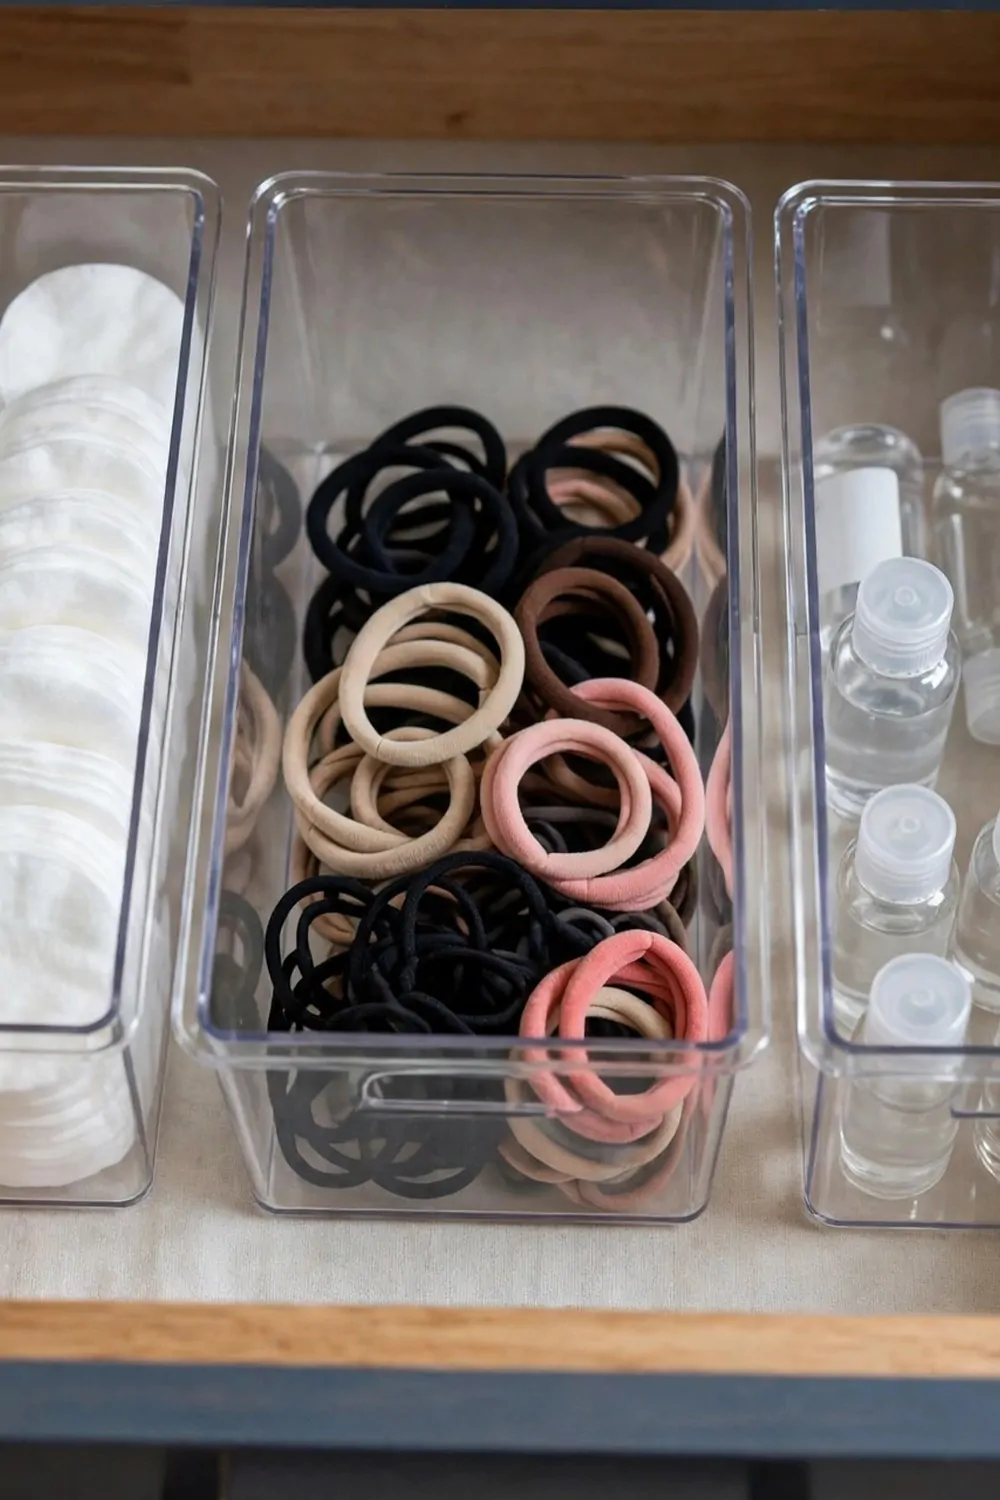
Solid boxes hide things. You open a drawer, you see the tops of three boxes, and you have no idea what is inside any of them. So you open all three.
Clear bins fix that. You see everything through the sides, and you grab the right bin on the first try.
Use one bin for each kind of item. Cotton pads in one. Hair ties and clips in another. Small bottles in a third. When every bin holds one kind of thing, you never have to guess.
Pick bins with straight sides, not rounded ones. Straight sides fit together without wasting space, and they stack better too. A set of small clear bins costs around ten dollars, and you can mix sizes.
Here is a good way to start. Empty the drawer. Sort everything into piles on the counter. Then put one pile in each bin. If a pile is too big for one bin, split it into two smaller piles, like hair ties and hair clips in their own bins.
Do not fill the bins to the top. Leave a little room at the top of each one so you can see inside and reach in without knocking things over. A bin that is full to the brim is almost as bad as no bin at all.
Clear bins also show you when you are running low. You can see the cotton pads getting thin, so you add them to the shopping list before they run out completely. No more morning panic when the last pad is gone.
Wash the bins every few months. They pick up dust and little spills, and a quick wash in warm soapy water makes them look new again.
If you have kids sharing the bathroom, give each child their own clear bin with their own color of hair ties or toothbrush inside. They can find their own stuff, and they stop mixing up yours.
10. Label Everything, Even the Obvious Bins
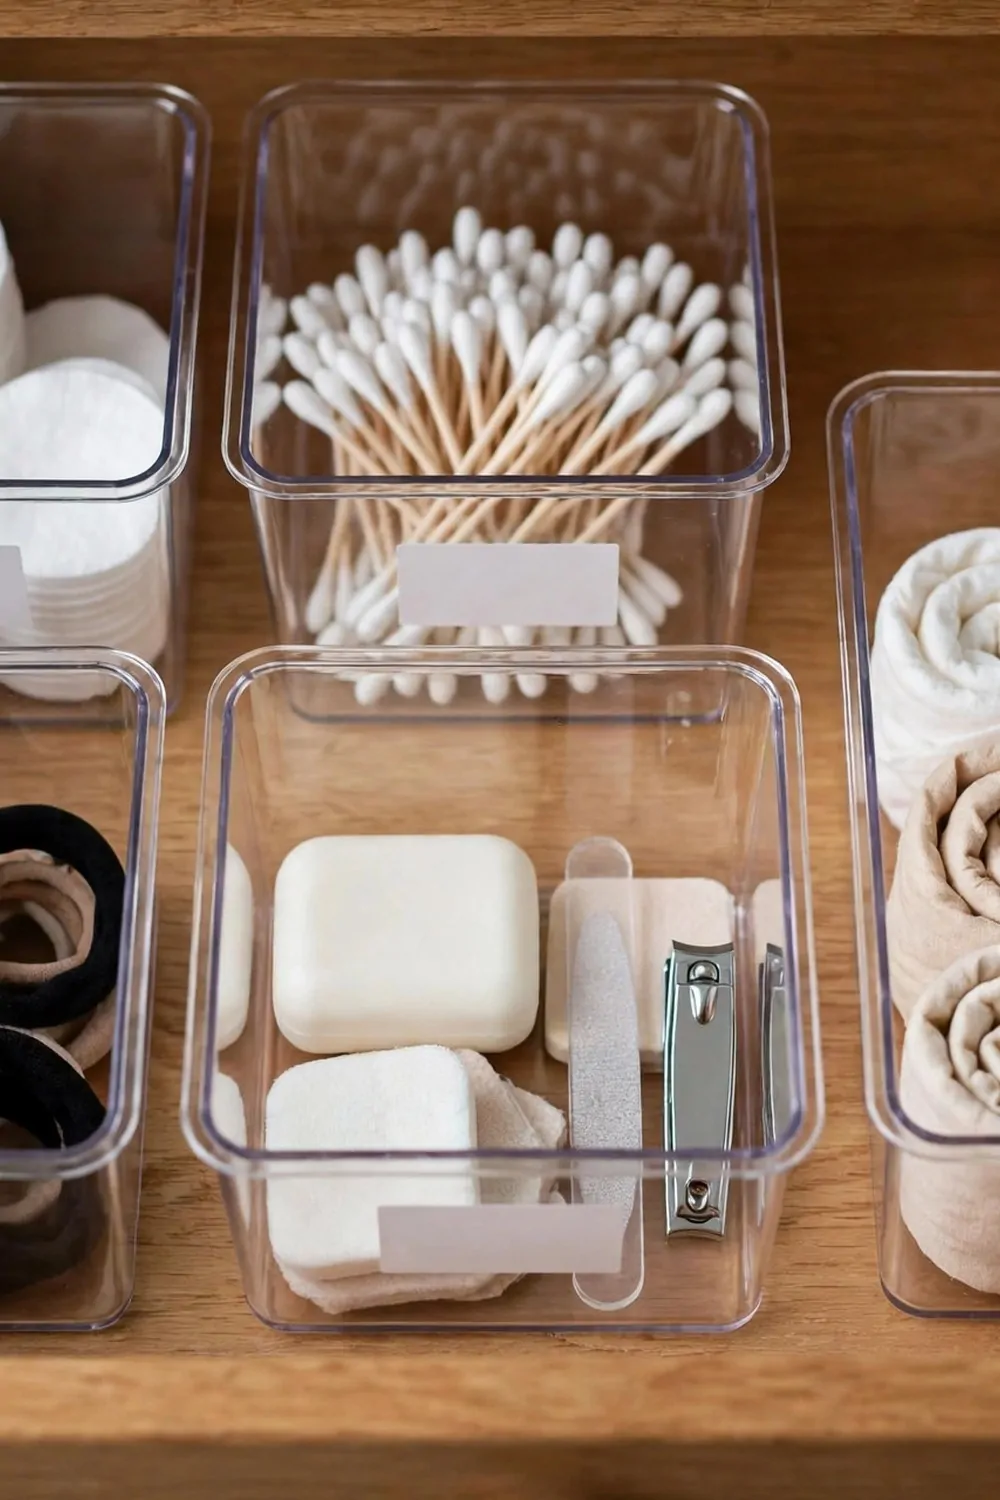
Labels feel silly at first. You know what is in the bin. You just put it there.
But labels are not for today. Labels are for next month, when you have forgotten what you put where, and for everyone else who shares the bathroom with you.
A label takes ten seconds to make and saves you a hundred little searches. Write the word on a small piece of tape, or use a label maker if you have one. Stick it on the front of the bin where you can read it without picking the bin up.
Label the bins in the drawer. Label the boxes under the sink. Label the little baskets on the shelf. If it holds something, it gets a label.
Keep the words short. One word is best. “Cotton.” “Hair.” “Creams.” “Backups.” Long labels are hard to read in a hurry, and short ones stick in your memory faster.
Use the same style for all your labels. Same color, same size, same handwriting. It sounds fussy, but a matching set of labels makes the whole drawer look calm and planned instead of random.
Here is a mistake I made when I first started labeling. I labeled things with cute names. “Morning magic” for my creams. “Hair helpers” for my pins. A month later I could not remember what “morning magic” meant. Use plain words. Future you will thank present you.
If you share the bathroom, labels end the daily question game. Nobody has to ask where the cotton pads are. The bin says cotton. Done.
Labels also help you notice when a bin is doing two jobs. If you need two words on one label, that bin needs to be split into two bins.
11. A Charging Spot for Your Electric Toothbrush
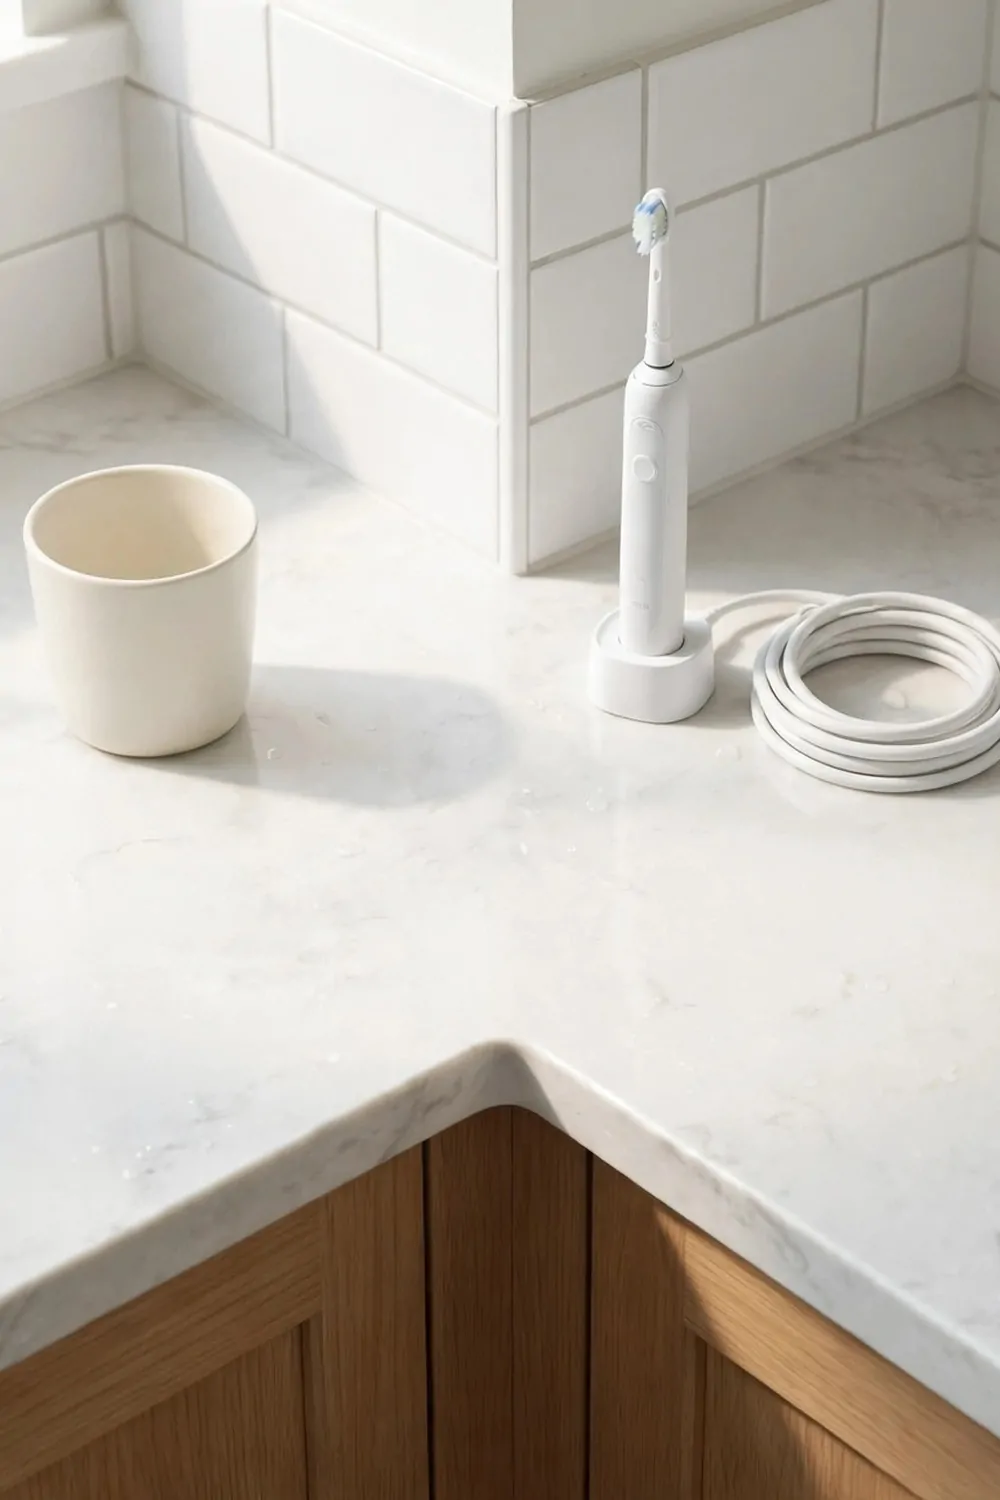
An electric toothbrush with a dead battery is just a heavy manual toothbrush. And the charger always seems to live in the wrong room.
Give your toothbrush a charging spot right on the vanity. One small corner, near an outlet, where the charger base sits all the time.
Pick the corner furthest from the sink if you can. Water and chargers do not mix well, and a little distance keeps the base dry. A small tray under the charger catches any drips and keeps the counter clean.
If your vanity has no outlet nearby, a short extension cord tucked behind the vanity works fine. Run it along the back edge and hold it in place with a small clip so it does not dangle into the sink area.
Charge on a schedule, not when the battery dies. I charge mine every Sunday night while I do my weekly reset. It is always full on Monday morning, and I never think about it during the week.
The same spot can charge your other small tools too. An electric razor, a facial cleansing brush, a small trimmer. One charging corner keeps all the cords in one place instead of spread across the whole counter.
Keep the cord tidy. Wrap the extra length in a loose loop and hold it with a small cord clip. A tangled cord is almost as annoying as a dead battery.
This is a tiny change, but it removes one more morning problem. You pick up the brush, it works, you brush, you put it back. No searching for the charger, no dead battery surprise.
12. Hang Your Hair Dryer on the Cabinet Door
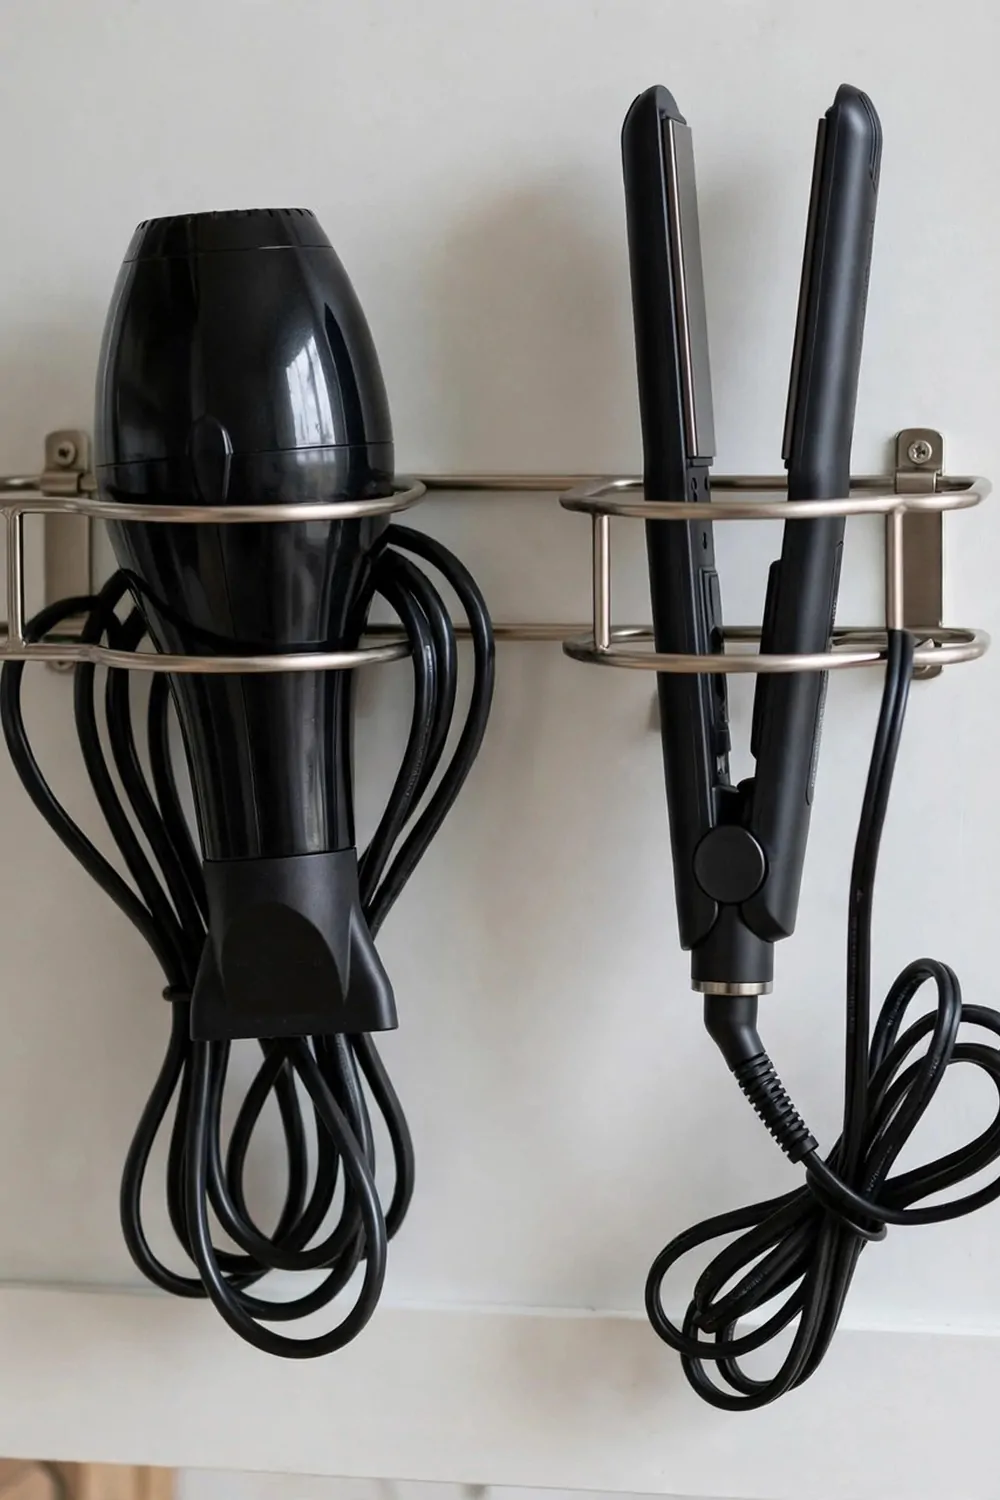
A hair dryer is big, awkward, and always in the way. It sits on the counter taking up space, or it lives in a drawer where the cord tangles around everything.
Hang it on the inside of the cabinet door instead. A simple metal holder screws or sticks onto the door, and the dryer slides in barrel first.
The cord hangs down in a loop beside it. No tangles. No digging. You open the door, you pull out the dryer, and the cord follows without a fight.
Measure your dryer before you buy a holder. Dryers come in different sizes, and a holder that is too small will squeeze the barrel. Most holders fit standard dryers, but a big professional dryer needs a wider one.
The same holder can hold a flat iron too. Many holders have two loops, one for the dryer and one for the iron. Or mount a second small holder right next to the first one.
Put a heat safe mat or a small piece of tile on the shelf below the holder. If you slide a warm iron back into the holder too fast, the mat catches the heat and protects the wood.
This idea works best on a cabinet door that opens fully without hitting the wall. Check the swing of the door first. If the dryer bumps the wall when the door opens, pick a different door or a slimmer holder.
I hung mine two years ago, and my counter has been clear ever since. The dryer used to eat a third of my counter. Now it eats nothing at all.
13. Roll Your Towels Instead of Folding Them
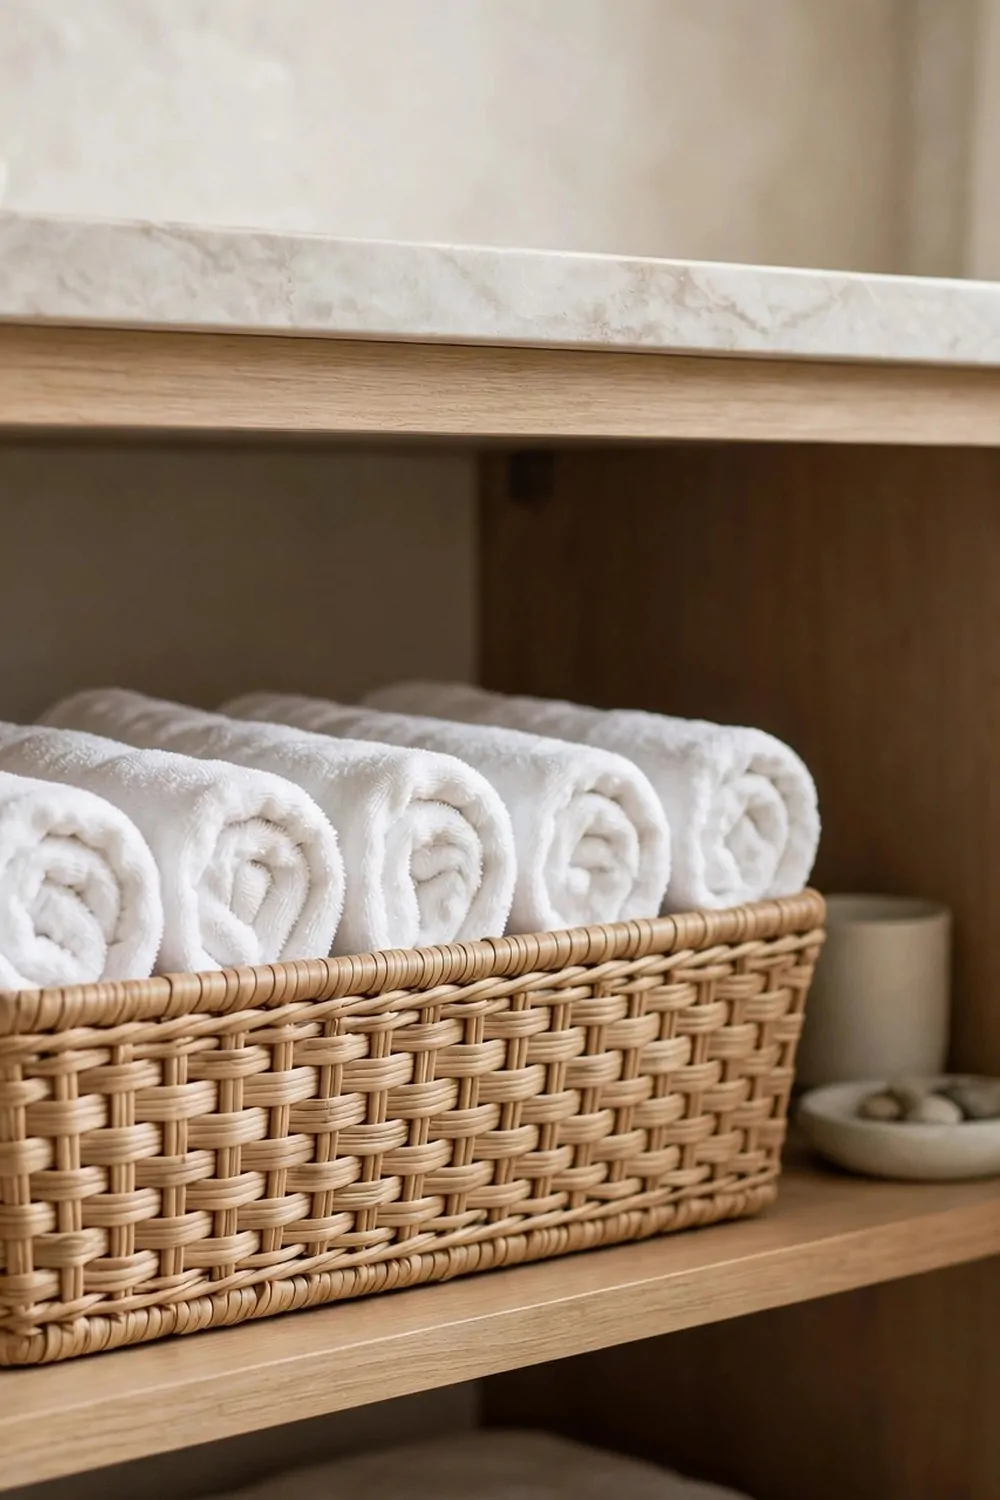
Folded towels look neat for about a day. Then someone pulls one from the middle of the stack, and the whole pile leans like a tower about to fall.
Rolled towels stay put. You roll each towel into a tight little log, and you stand them side by side in a basket or on a shelf. Pull one out and the rest stay right where they were.
Rolling also saves space. A rolled towel takes up less room than a folded one, so you can fit more towels on the same shelf. In a small bathroom, that matters a lot.
Here is the quick way to roll a towel. Lay it flat. Fold it in half lengthwise. Then roll it up tight from one short end to the other. Smooth the roll with your hand so it stays firm.
Use a basket to hold the rolls. A woven basket looks warm and spa like. A wire basket looks clean and modern. Either one keeps the rolls from falling over.
Put the fresh rolls at the back and pull the used ones from the front. That way you always use the oldest towel first, and the basket never holds a damp towel for too long.
Keep one small basket on the vanity shelf and the rest of the towels in the linen closet. Refill the basket once a week during your Sunday reset, and you will never run out mid morning.
This works for hand towels and face cloths too. Little rolled face cloths in a small basket look so pretty that guests think you planned it for weeks. It took you two minutes.
14. The One In, One Out Rule for New Products
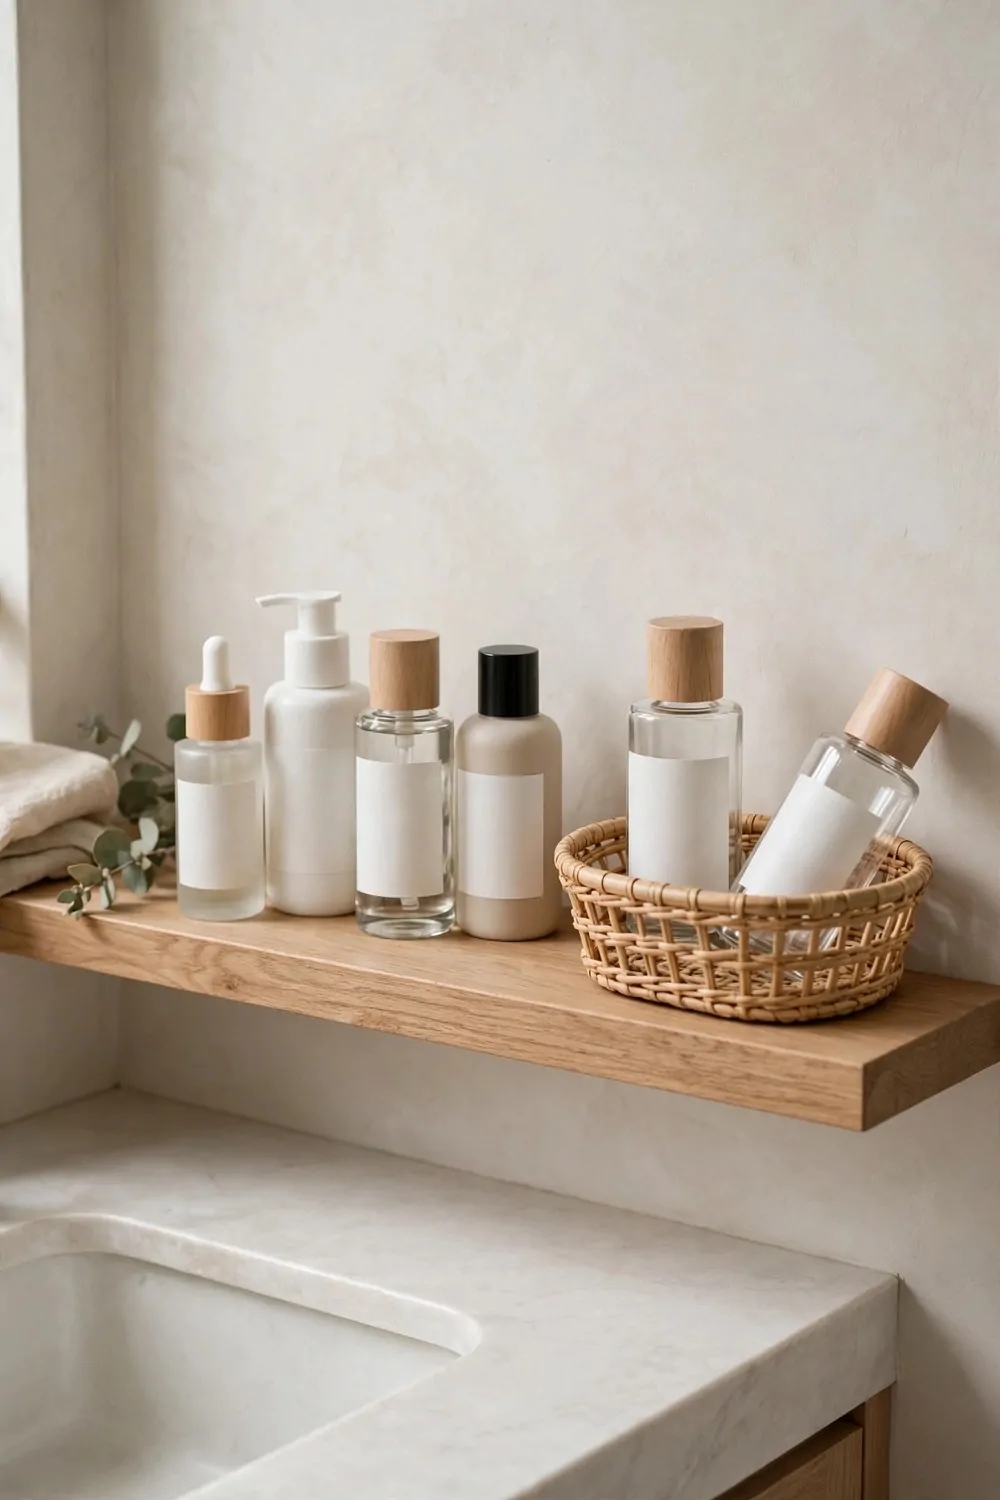
New products are fun to buy. A new cream here, a new shampoo there, a little bottle that was on sale and looked too good to leave behind.
But every new bottle needs a home, and your vanity only has so many homes. That is where the one in, one out rule comes in.
The rule is simple. When a new product comes into your bathroom, an old one has to leave. Finished, empty, or given away. One in, one out. No exceptions.
Keep a small basket under the sink for the products on their way out. When a bottle is empty, it goes in the basket. When the basket has three empties, you recycle them and the basket is empty again.
This rule also stops you from buying doubles. Before you buy a new moisturizer, you have to decide which old one is leaving. If you cannot pick one to give up, you do not need the new one yet.
It works for samples too. A free sample counts as a new product. If you bring three samples home from the shop, three old things have to go. That sounds harsh, but samples are the fastest way to fill a vanity.
The first month is the hardest. You will find bottles you forgot you owned. Old creams that expired last year. A shampoo that did not suit your hair but stayed anyway. Let them go.
After a month, the rule becomes a habit. Your vanity stays the same size. Your mornings stay calm. And you actually finish the products you buy, which saves you money too.
Tell the people you live with about the rule. If they keep adding bottles without removing any, your vanity will fill up again no matter how tidy you are.
15. Use the Inside of the Cabinet Door
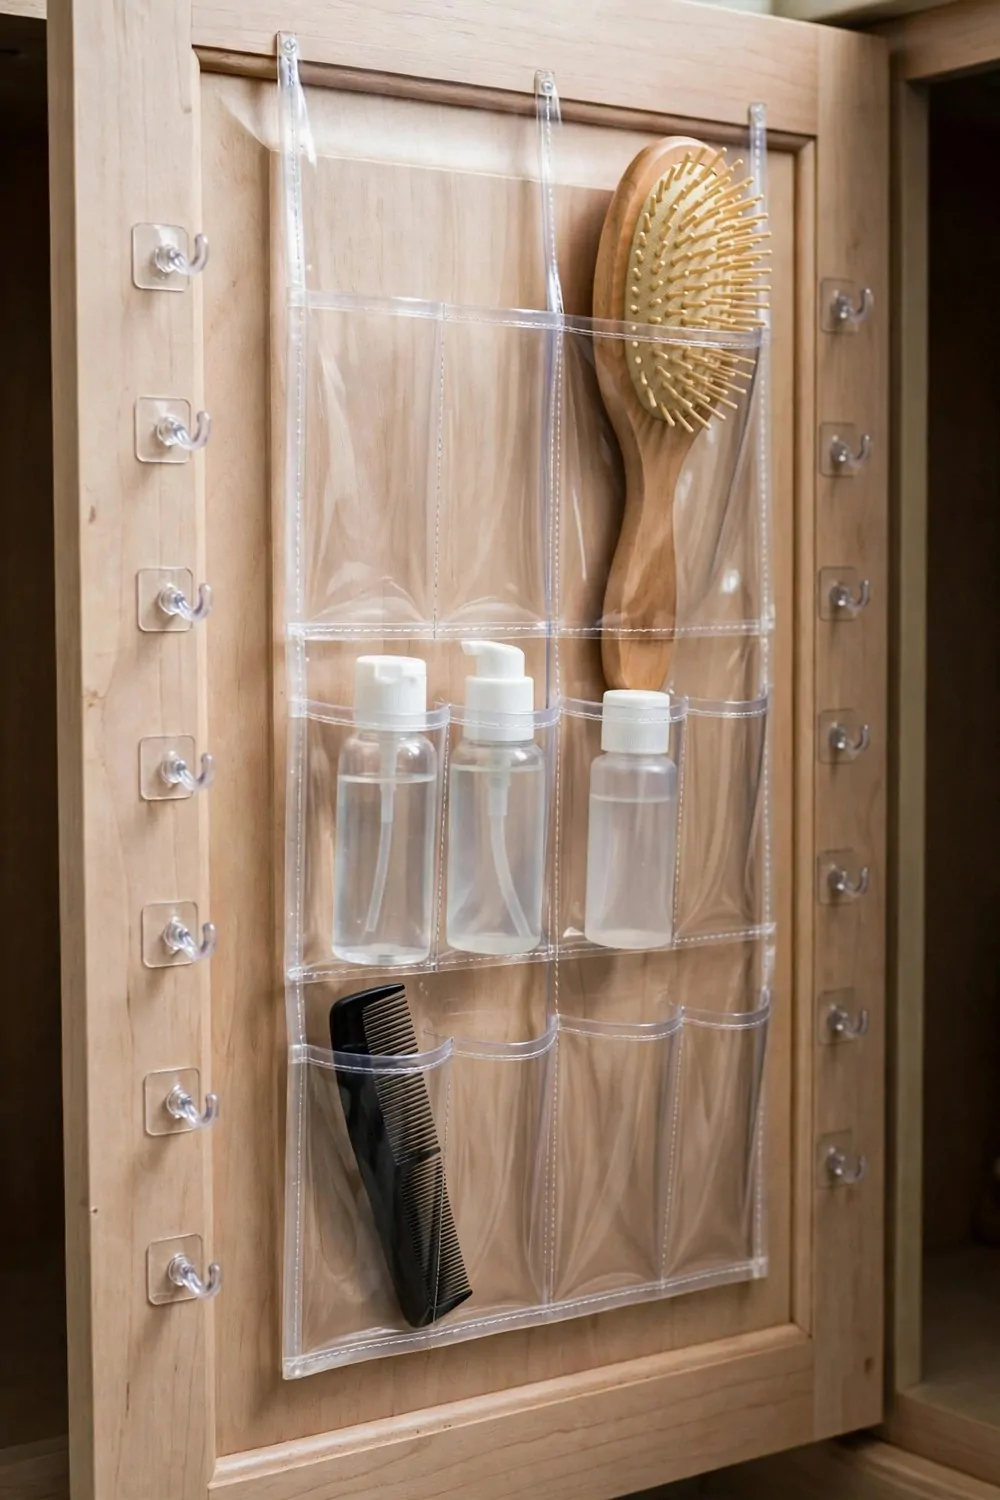
The inside of your cabinet door is empty wall space that you open and close every single day. It is doing nothing, and it could be holding half your small stuff.
Stick a few small hooks on the inside of the door. A hook holds a hairbrush. Another hook holds a small bag of clips. A third hook holds your hand mirror.
Add a clear pocket organizer if you have room. The kind with three or four see through pockets. One pocket for cotton pads, one for tweezers, one for nail clippers. You see everything, and nothing rolls around.
Use strong adhesive hooks made for bathrooms. The steamy air loosens weak tape, and you do not want your brush falling into the sink at six in the morning. Press each hook on firmly and leave it for a day before you hang anything heavy on it.
Do not overload the door. Three or four light things is perfect. A heavy hair dryer needs a proper holder, not a sticky hook. Keep the door storage light and flat so the door still closes easily.
Check the depth before you stick anything on. Close the door slowly and watch that nothing bumps into the shelves inside. If a pocket sticks out too far, move it to a different door or a lower spot.
This is free storage. You already own the door. You are just using the side of it that was wasted before.
I keep my tweezers and my small mirror on my door. They are the two things I used to lose every week. Now they hang in the same place every single day, and I have not lost either one since.
16. Separate His and Hers Zones
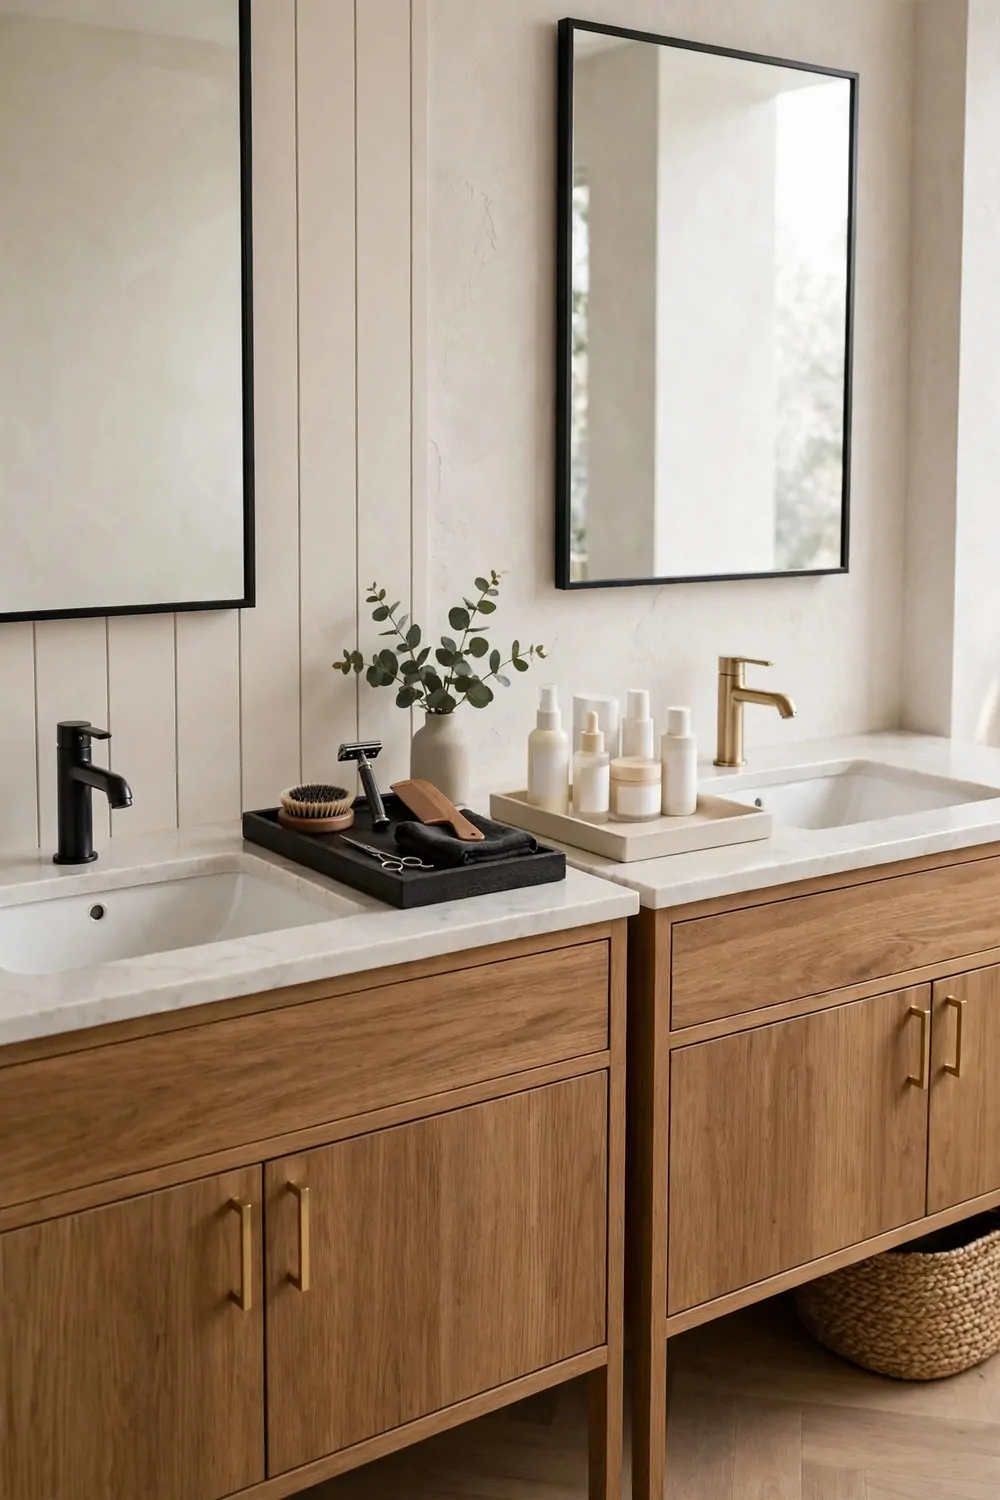
Two people sharing one vanity can work. One shared pile cannot.
Give each person their own zone. One side of the sink is yours, the other side is theirs. Or one shelf each inside the cabinet. The line does not have to be perfect, but it has to exist.
Each zone gets its own tray, its own cup, its own little corner of the counter. When your things live in your zone, you stop moving their things by accident, and they stop moving yours.
Talk about the split together. It takes five minutes and saves a hundred small fights. Agree on where the line is, and agree that neither person crosses it without asking.
Inside the cabinet, give each person one shelf or one side of a shelf. Use different colored bins if it helps. A blue bin for him, a white bin for her, or any two colors you both like. Color makes the split obvious at a glance.
Shared things live in the middle. Hand soap, the shared toothpaste, the hand towel. Those belong to both of you, so they sit on the line between the zones.
If one person has more stuff than the other, the zones do not have to be equal. Give the bigger collection more space and the smaller collection less. Fair is not always fifty fifty. Fair is what fits real life.
The real test is simple. Can each person find their own things in the morning without touching the other person’s stuff? If yes, the zones work. If no, move the line and try again.
17. A Five Minute Sunday Reset
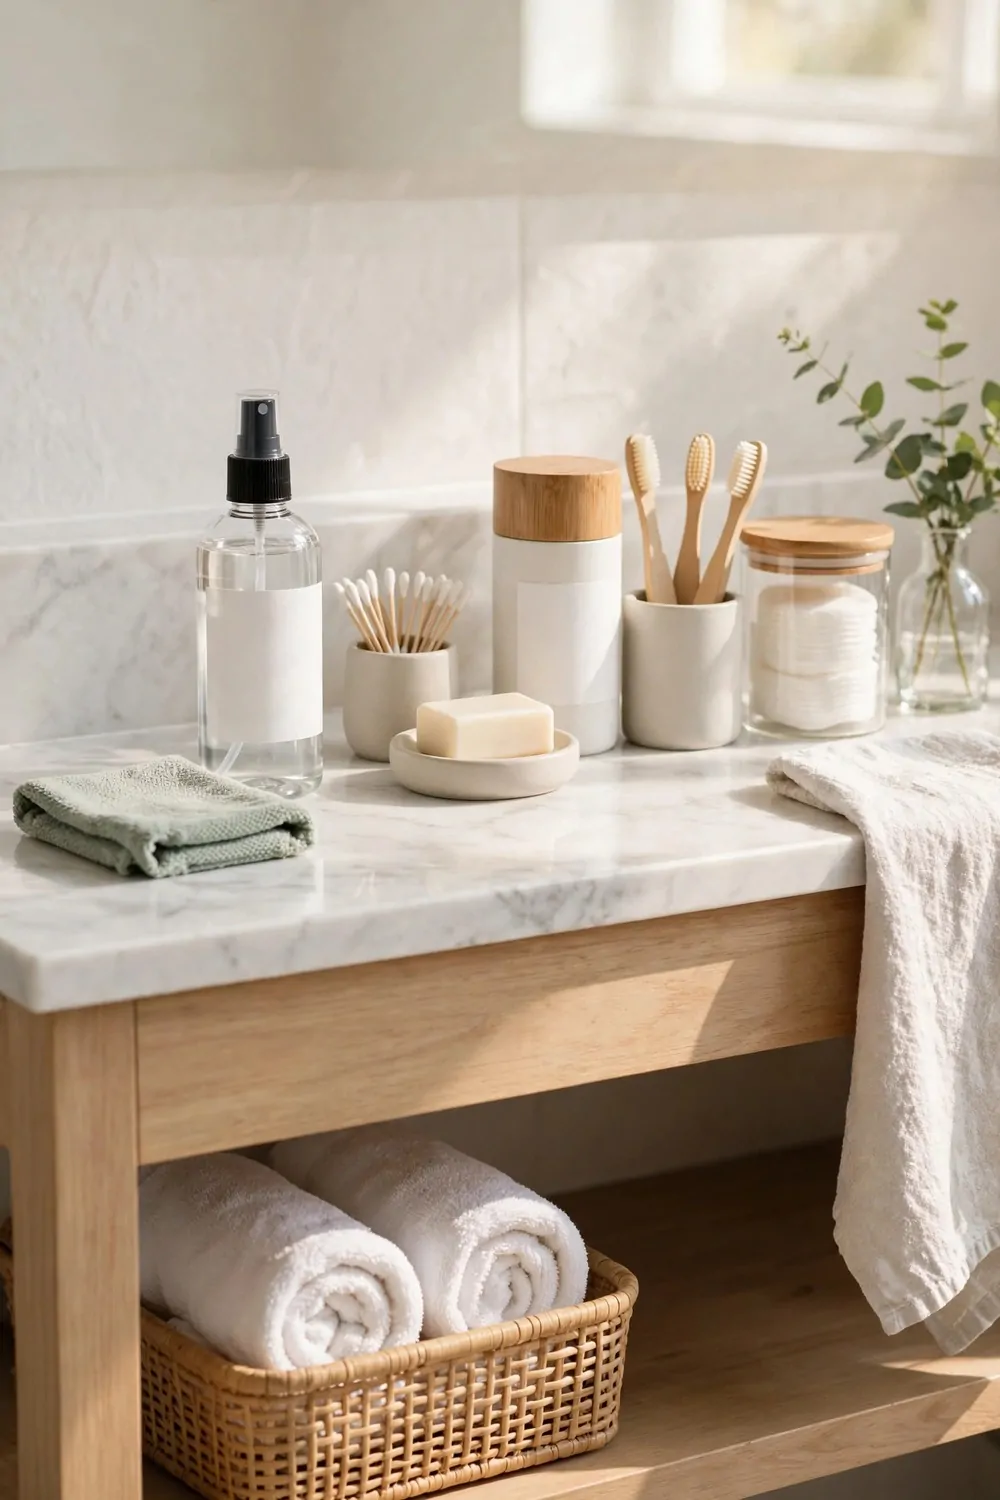
A vanity does not get messy all at once. It gets messy five seconds at a time, one bottle left out here, one cotton pad dropped there, all week long.
A five minute Sunday reset stops the slow mess. Pick a time every Sunday, set a timer for five minutes, and do a quick tidy.
Wipe the counter. Put stray bottles back in their homes. Throw away empty containers and used cotton pads. Check if anything has run out and add it to the shopping list.
Here is a simple checklist to follow each week.
- Wipe the counter and the mirror
- Put every item back in its home
- Throw away empties and trash
- Check what is running low
- Refill the towel basket
- Shake out the little trash bin
Do not deep clean during the reset. That is a different job for a different day. The reset is just a quick return to tidy, five minutes and done.
Do it at the same time every week so it becomes a habit. Sunday evening works well because Monday morning is the payoff. You wake up to a clean vanity, and the whole week starts better.
If you miss a Sunday, do not skip two in a row. A missed week is fine. Two missed weeks is how the mess comes back. Just do the next reset a little longer, ten minutes instead of five, and you are caught up again.
Get the kids involved if you have them. Give each child one small job, like wiping the mirror or refilling the towel basket. Five minutes together is faster than five minutes alone, and they learn the habit early.
18. Keep a Travel Bag Always Packed
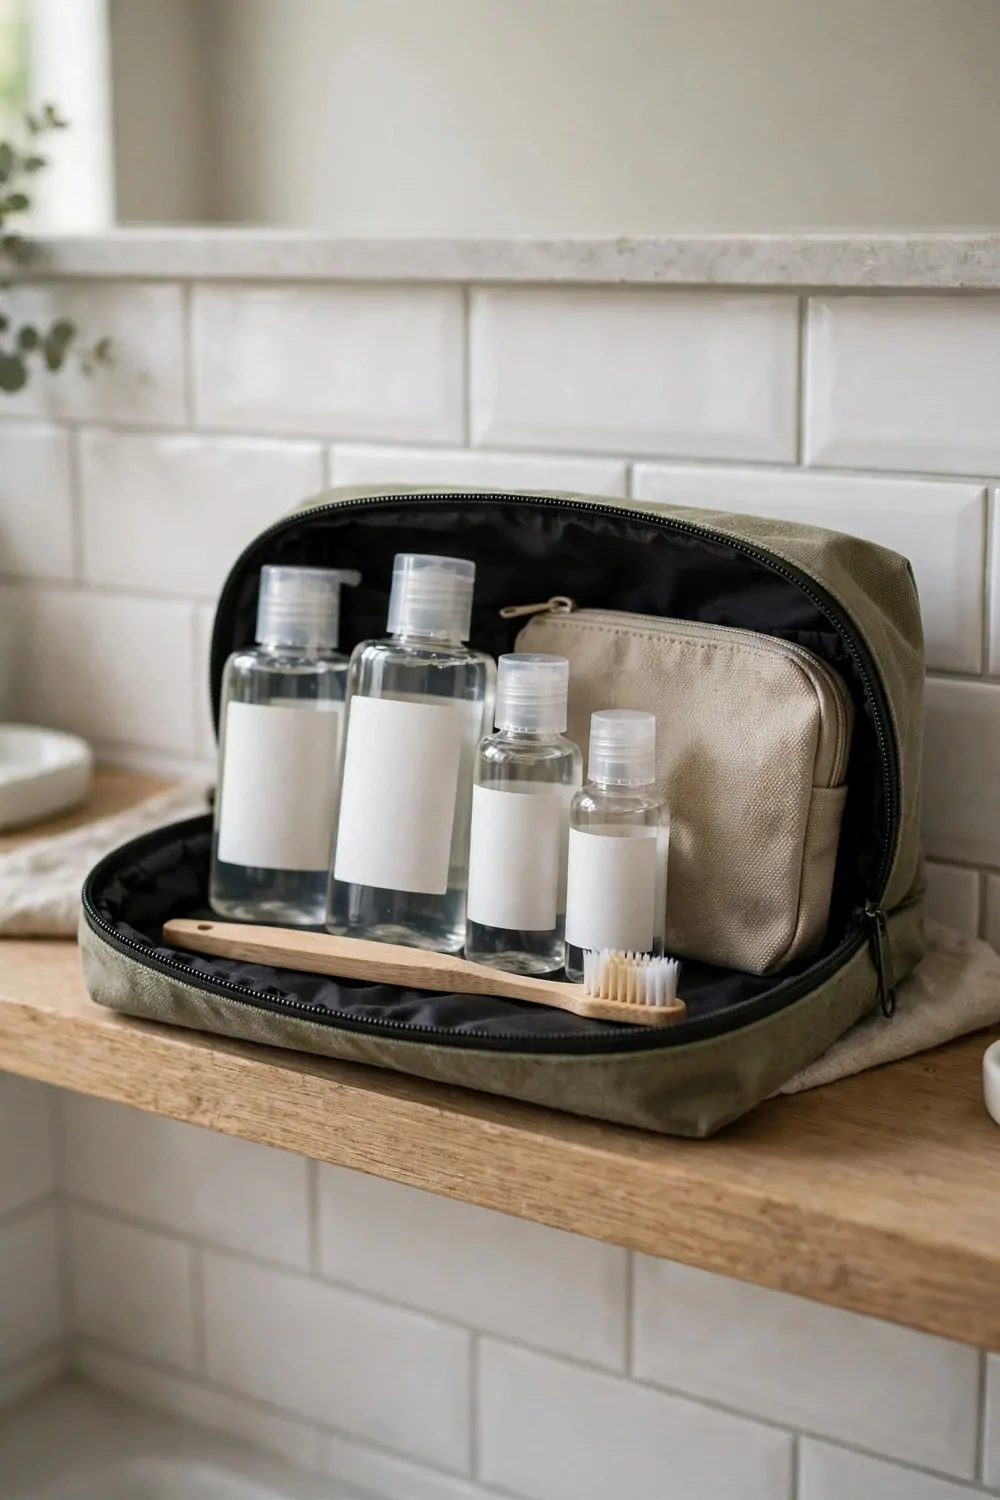
Packing for a trip always takes longer than you think. You run around the house hunting for travel bottles, a toothbrush, the small things you need, and you always forget one.
Keep a travel bag always packed instead. A small toiletry bag that lives on a shelf, filled with travel size versions of your daily things, ready to grab and go.
Fill it with small bottles of your shampoo, your face wash, your cream, and your toothpaste. Add a toothbrush, a hair tie, and a few cotton pads. That is the whole bag.
Use travel size bottles, not full size ones. They are lighter, they fit the bag, and they follow the rules for hand luggage on planes. You can buy empty travel bottles and fill them from your big bottles at home.
After each trip, refill the bag the same day you unpack. Wash the bottles, top them up, put the fresh toothbrush in, and zip the bag closed. The next trip starts with a bag that is already ready.
Keep the bag somewhere you can see it. On a shelf in the bathroom closet, or in a drawer near the door. If it hides at the back of a cupboard, you will forget it exists and pack a second bag from scratch.
This also saves your daily products. Your big bottles stay home, safe on the vanity. The travel bag has its own little set, so your morning routine at home never gets disturbed by packing.
I packed my travel bag three years ago and I have never packed toiletries from zero since. It is one of the best little systems in my whole house.
19. Give Sample Sizes Their Own Small Box
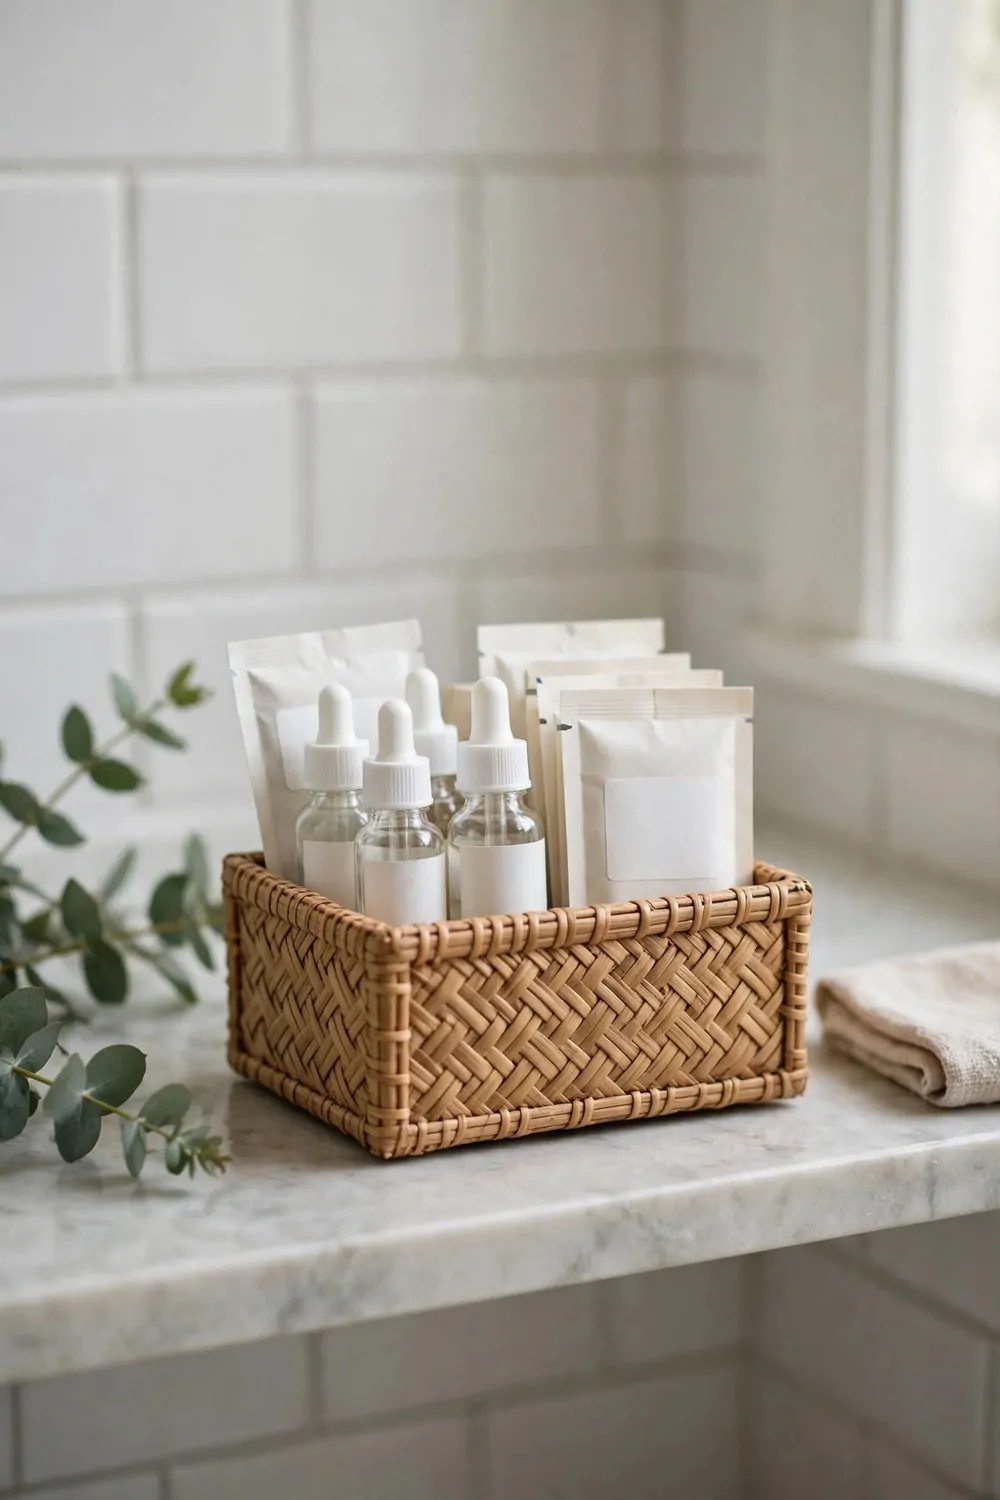
Free samples are the sneakiest clutter in any bathroom. They come home in your shopping bag, they sit on the counter for a week, and then they slide into a drawer where they live forever.
Give them their own small box. One box, with a lid, that lives on a shelf. Every sample goes in the box the day it comes home. No sample ever lives on the counter.
The box should be small. A shoe box is too big. A small gift box or a little storage box about the size of a book is perfect. When the box is full, that is your sign to stop taking new samples.
Sort the box once a month. Pull out the samples you actually want to try and put them in your daily routine for a week. Throw away the ones that are old, dried out, or for a skin type that is not yours.
Use the samples on purpose. A sample is a free test, not a souvenir. Try the cream for three mornings. If you love it, buy the full size. If you do not, throw the rest away and move on.
Keep the box closed between sorts. An open box of samples looks messy, and little packets fall out every time you open the drawer. A lid keeps everything in one place.
This one box will save your whole vanity. Without it, samples spread like weeds into every drawer and every corner. With it, they stay in one spot, and you actually use them instead of just storing them.
I found seven-year-old samples in my drawer once. Seven years. They went straight in the trash, and the little box has kept my vanity clean ever since.
20. Store Makeup Standing Up
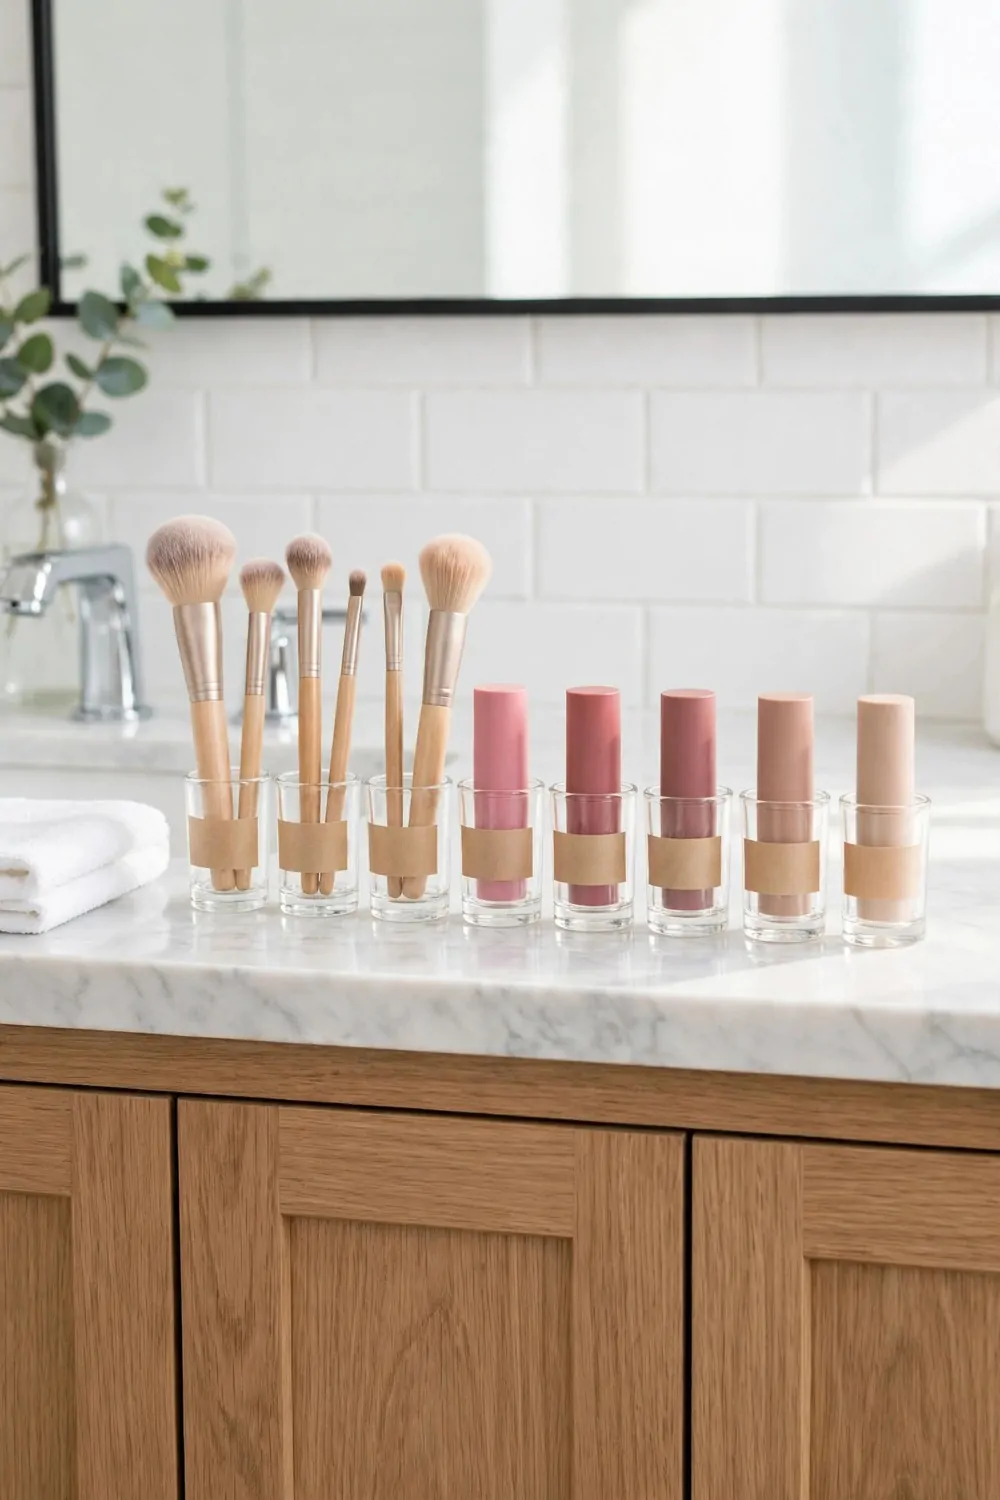
Makeup lying flat in a drawer is makeup you cannot see. You open the drawer, you see the backs of ten lipsticks, and you pick the same one every day because it is the only one you can reach.
Store your makeup standing up instead. Lipsticks stand in a small holder. Brushes stand in a cup. Palettes lean against the side of a box like little books on a shelf.
When makeup stands up, you see the color and the label at a glance. You use more of what you own, and you stop buying a fifth red lipstick because you forgot you already had four.
Use small glass jars or cups as holders. A short glass holds lipsticks perfectly. A taller cup holds brushes. A small box with dividers holds palettes and compacts upright.
Keep the daily makeup on the counter in its holders, and the special occasion makeup in a drawer. You do not need twenty lipsticks in front of you every morning. You need the three you actually wear.
Clean the holders once a month. Makeup dust builds up at the bottom of cups, and a quick wash keeps everything fresh. Just tip the brushes out, wash the cup, dry it, and put them back.
If a lipstick is too short to stand up anymore, lay it flat in a small bin and use it up first. Short lipsticks are a sign you love that color, so finish it before you open a new one.
Standing makeup up also protects it. Lipsticks lying flat get squashed under other things. Brushes lying flat bend their bristles. Standing up, they stay in good shape for much longer.
21. A Brush Holder That Works Like a Cup
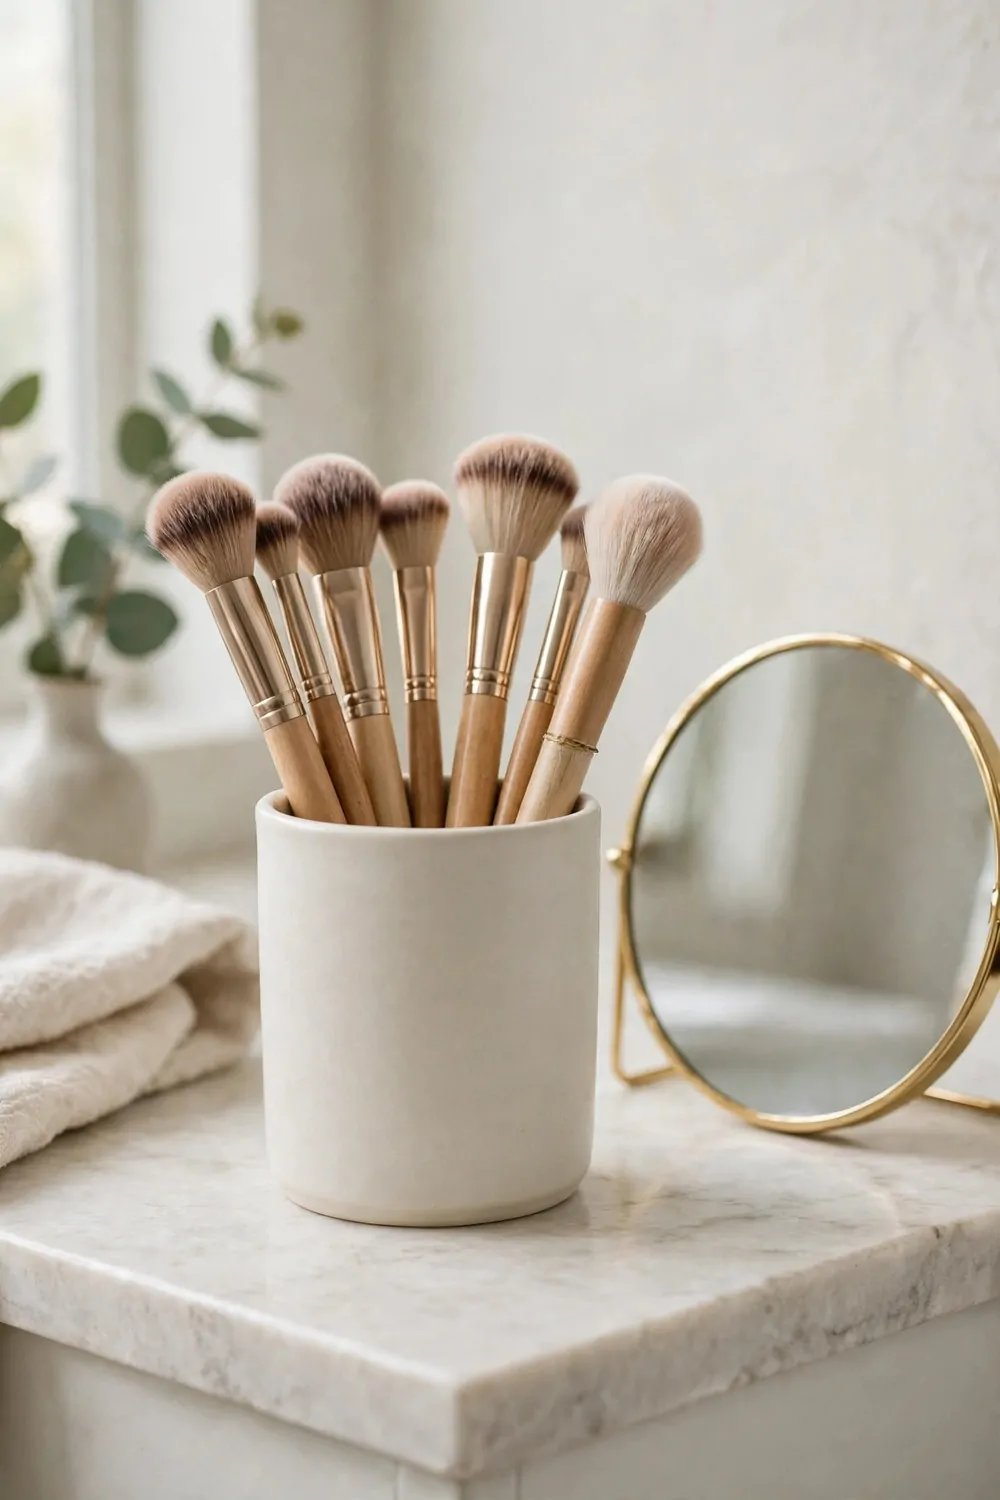
Makeup brushes and hairbrushes need a home that is easy to reach and easy to clean. A simple cup does both jobs better than any fancy organizer.
Pick a cup that is heavy enough not to tip over. A ceramic mug works perfectly. A small glass jar works too, but a heavy mug stays put when you pull a brush out in a hurry.
Put a few clean pebbles or a small handful of dry beads in the bottom of the cup. They hold the brushes upright and stop them from sliding around. It looks pretty too, like a little vase.
Keep one cup for face brushes and one cup for eye brushes if you have a lot of them. Or one cup for makeup brushes and a second cup for combs and hairbrushes. Two cups beat one crowded cup every time.
Wash your brushes every week if you can, or at least every two weeks. Dirty brushes spread old makeup and germs on your skin. A quick wash with gentle soap and warm water, then let them dry bristles down overnight.
Dry the cup too. Water sits at the bottom of brush cups, and it can get musty. Turn the cup upside down on a towel once a week and let it dry out completely.
Put the cup on the same side of the counter every day. Your hand will learn where it lives, and you will reach for the right brush without looking. That is the whole point of a good home for your brushes.
A cup costs almost nothing, and it saves your brushes and your mornings. Sometimes the simplest holder is the best one.
22. A Night Before Prep Tray
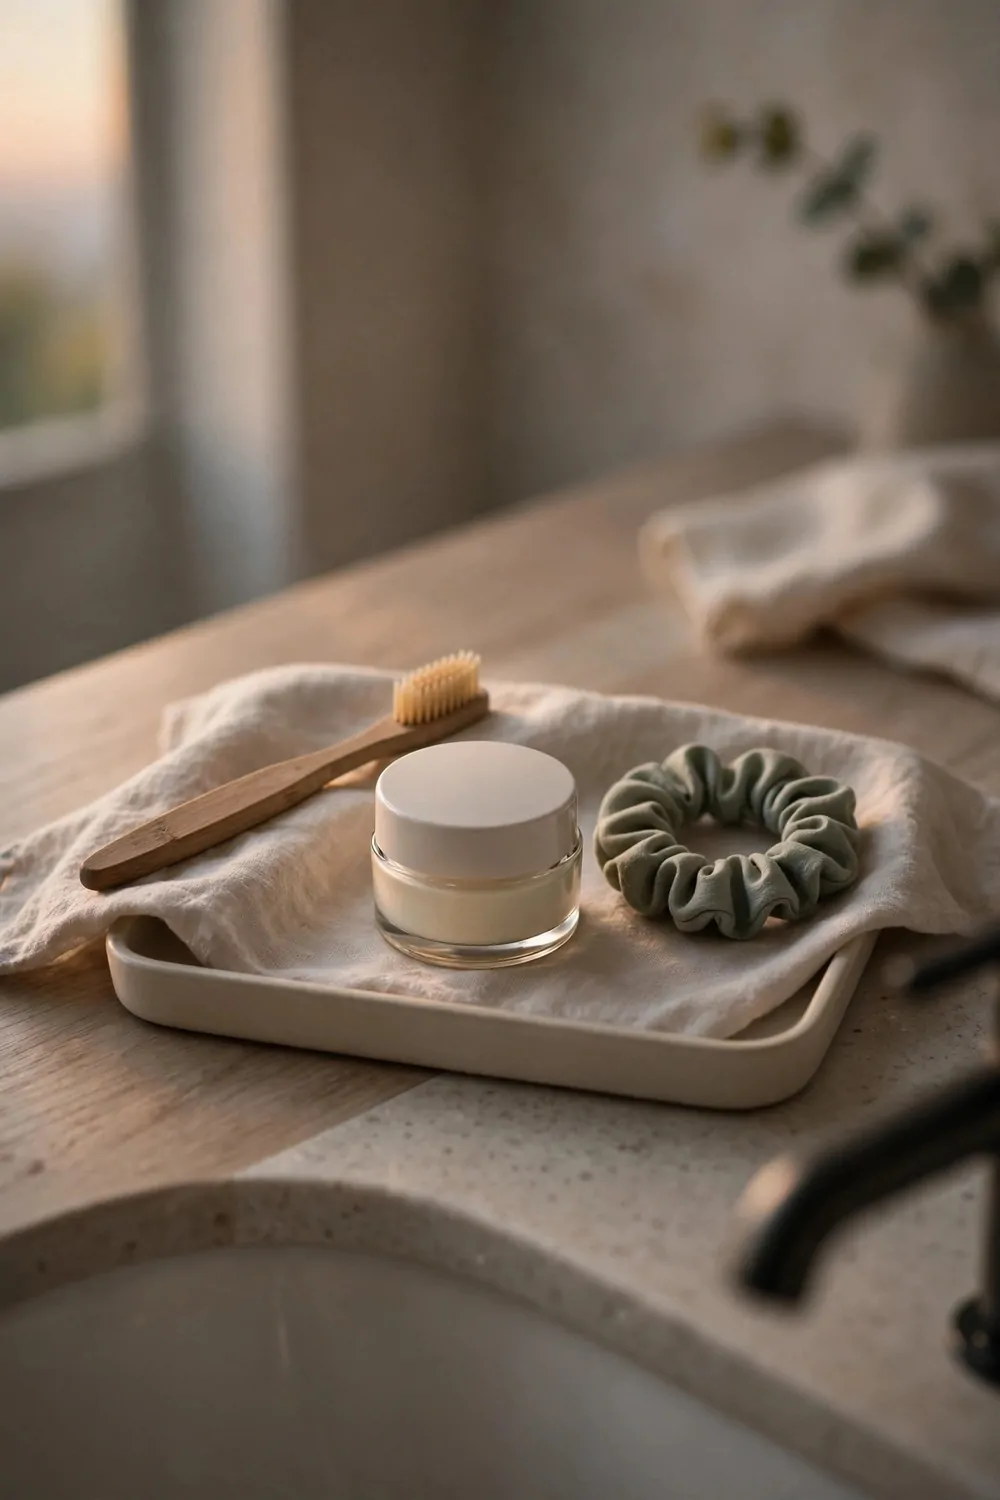
The calmest mornings do not start in the morning. They start the night before.
Set up a small night before prep tray. It is a little tray where you lay out tomorrow morning’s essentials before you go to bed. Toothbrush, face cream, hair tie, the lipstick you want to wear.
It takes two minutes at night, and it saves you ten minutes of hunting in the morning. You walk in half asleep, and everything you need is already waiting for you in one spot.
Use a different tray from your daily five tray. This one lives on the counter overnight and gets cleared after your morning routine. Or use a small cloth or a folded hand towel as the tray. It does not need to be fancy.
Change the tray with your plans. A work day gets your work makeup and your neat hairbrush. A lazy Sunday gets just the basics. A special day gets the good lipstick and the nice perfume.
This is also a great trick for kids. Lay out their toothbrush and their hairbrush the night before, and the morning rush gets much easier. They can see their things waiting for them, and they feel ready.
Keep the tray small. If it is too big, it becomes a second counter full of stuff. A tray the size of a book is perfect for one person’s morning essentials.
I started this when my mornings felt like a race. Now my night time tray is part of my evening routine, like brushing my teeth. Two quiet minutes at night, and the morning takes care of itself.
23. Keep Medicine and Vitamins in One Spot
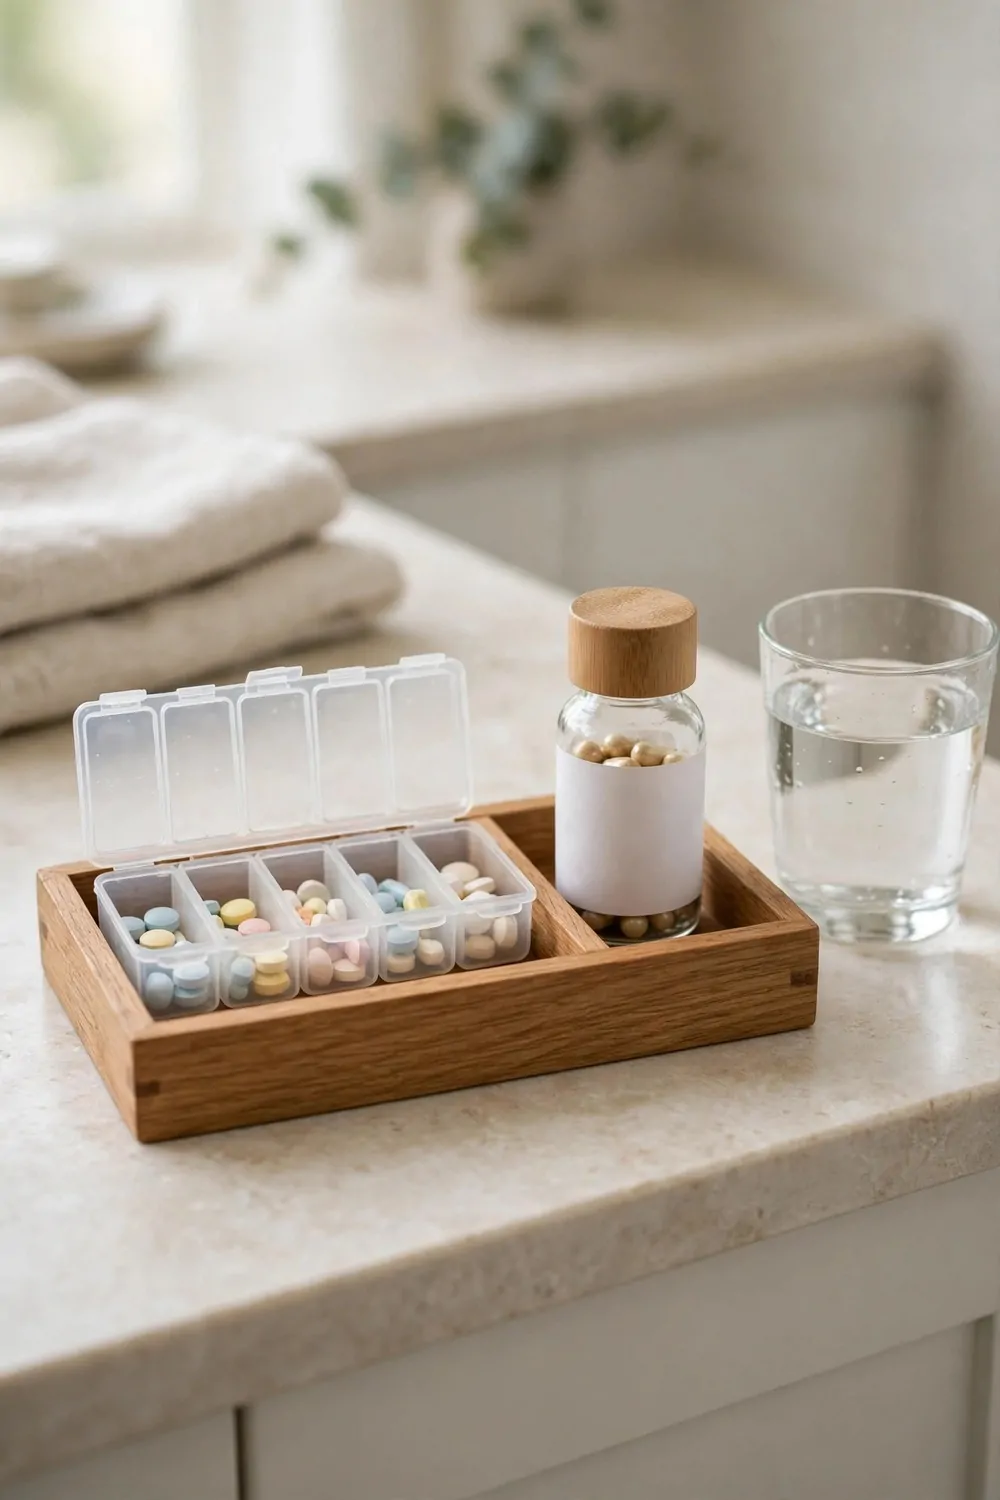
Morning vitamins and medicine are easy to forget when they live in three different places. One bottle in the kitchen, one in the bedroom, one at the back of the bathroom cabinet.
Keep them all in one spot on your vanity. A small tray or a little basket that holds your morning pills, your vitamins, and a glass of water.
Use a weekly pill organizer if you take more than one thing. The little boxes with days of the week on them make it obvious if you took today’s dose or not. Fill it every Sunday during your reset, and the whole week runs itself.
Put the tray where you will see it while you brush your teeth. The toothbrush is the reminder. You pick up the brush, you see the tray, you take your vitamins. One habit reminds you of the other.
Keep the tray away from the sink edge so water does not splash on it. A small spot on the far side of the counter, or on a shelf at eye level inside the cabinet, works well.
Here are a few things to keep in your morning spot.
- Your daily vitamins in one bottle
- Any morning medicine in its own box
- A small glass for water
- Your weekly pill organizer, filled on Sunday
Check the dates on your bottles once a month. Vitamins go out of date, and old medicine does not work the way it should. Throw away anything past its date and add a fresh bottle to your shopping list.
If other people in the house take medicine too, give each person their own small tray. Mixing up medicine is a real risk, so keep every person’s spot separate and clearly their own.
24. Move Cleaning Supplies Somewhere Else
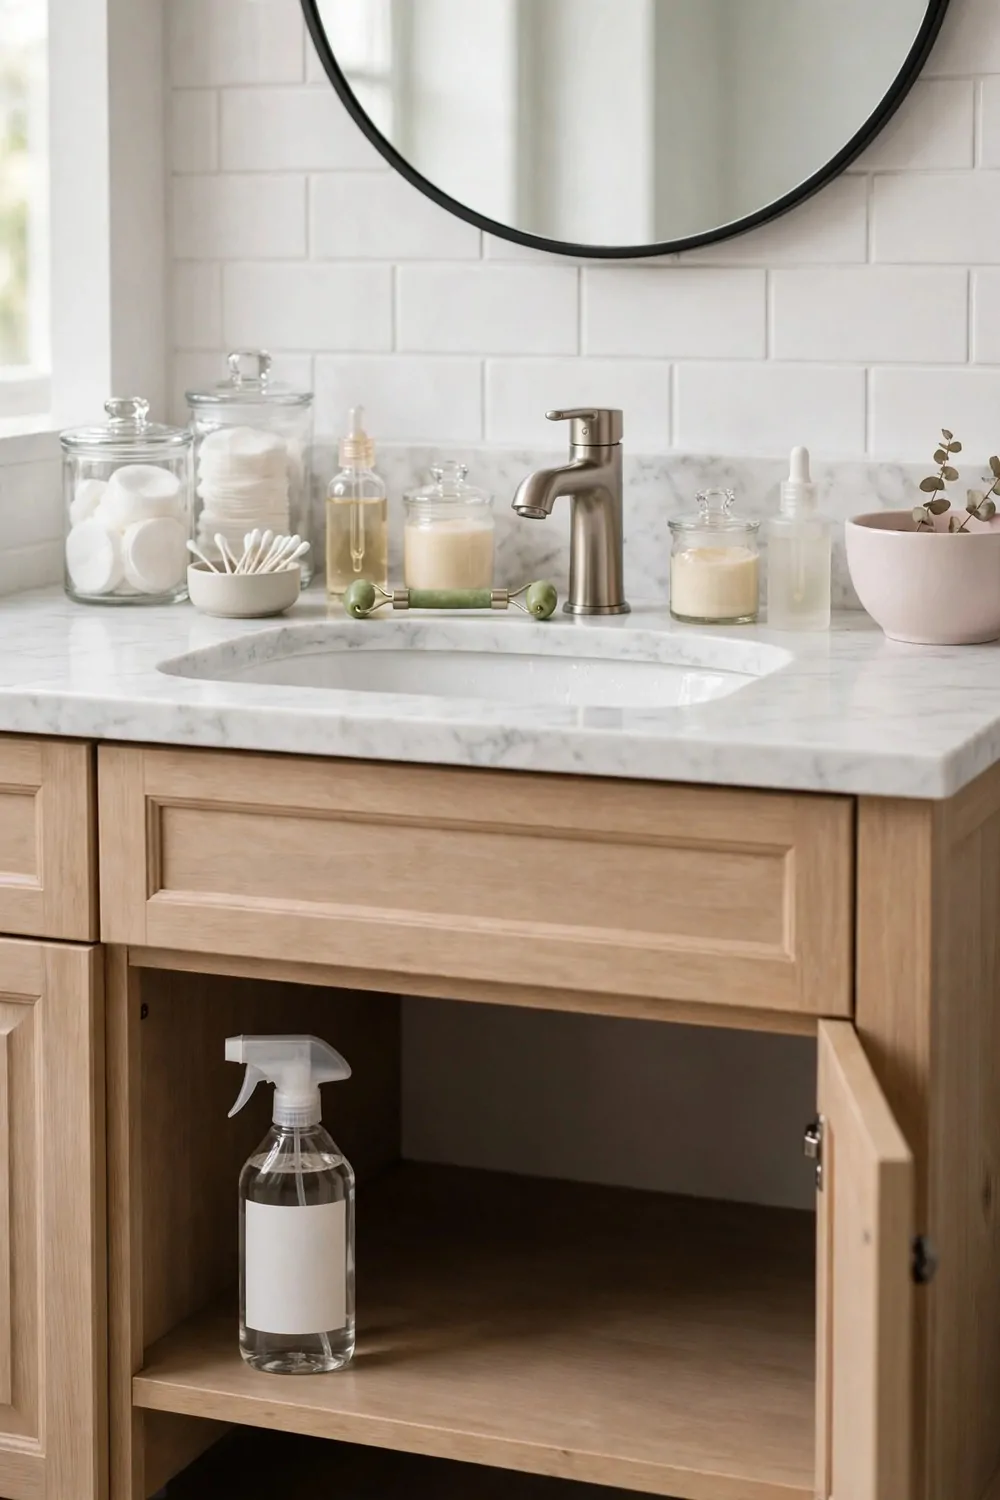
Your vanity is for getting ready, not for cleaning the bathroom. But somehow the spray bottle, the scrub, and the spare sponges always end up living right next to your face cream.
Move them somewhere else. Cleaning supplies belong under the sink, in a caddy, or on a shelf in the laundry area. Anywhere except the vanity counter.
Keep one small spray bottle and one cloth in the bathroom for quick wipes. That is all you need for daily touch ups. The rest of the cleaning supplies can live in their own spot.
Use a caddy with a handle under the sink. It holds all the bottles in one place, and you can carry the whole caddy to any room when it is cleaning day. No more hunting for the right spray.
The rule is simple. If you put it on your face, it lives on the vanity. If you spray it on the floor or the toilet, it lives somewhere else. Two different jobs, two different homes.
This also keeps your skincare safe. Cleaning sprays can leak, and a leak on your face cream is a mess you do not want. Keeping them apart protects the things you put on your skin.
When the counter has no cleaning bottles on it, it feels like a getting ready space again. Pretty bottles, soft light, calm mornings. The cleaning supplies are still close by, just not in your way.
Check under the sink once a month. Cleaning bottles pile up fast, and half used bottles of things you do not like anymore just take up space. Let them go.
25. Add Better Light to Your Vanity
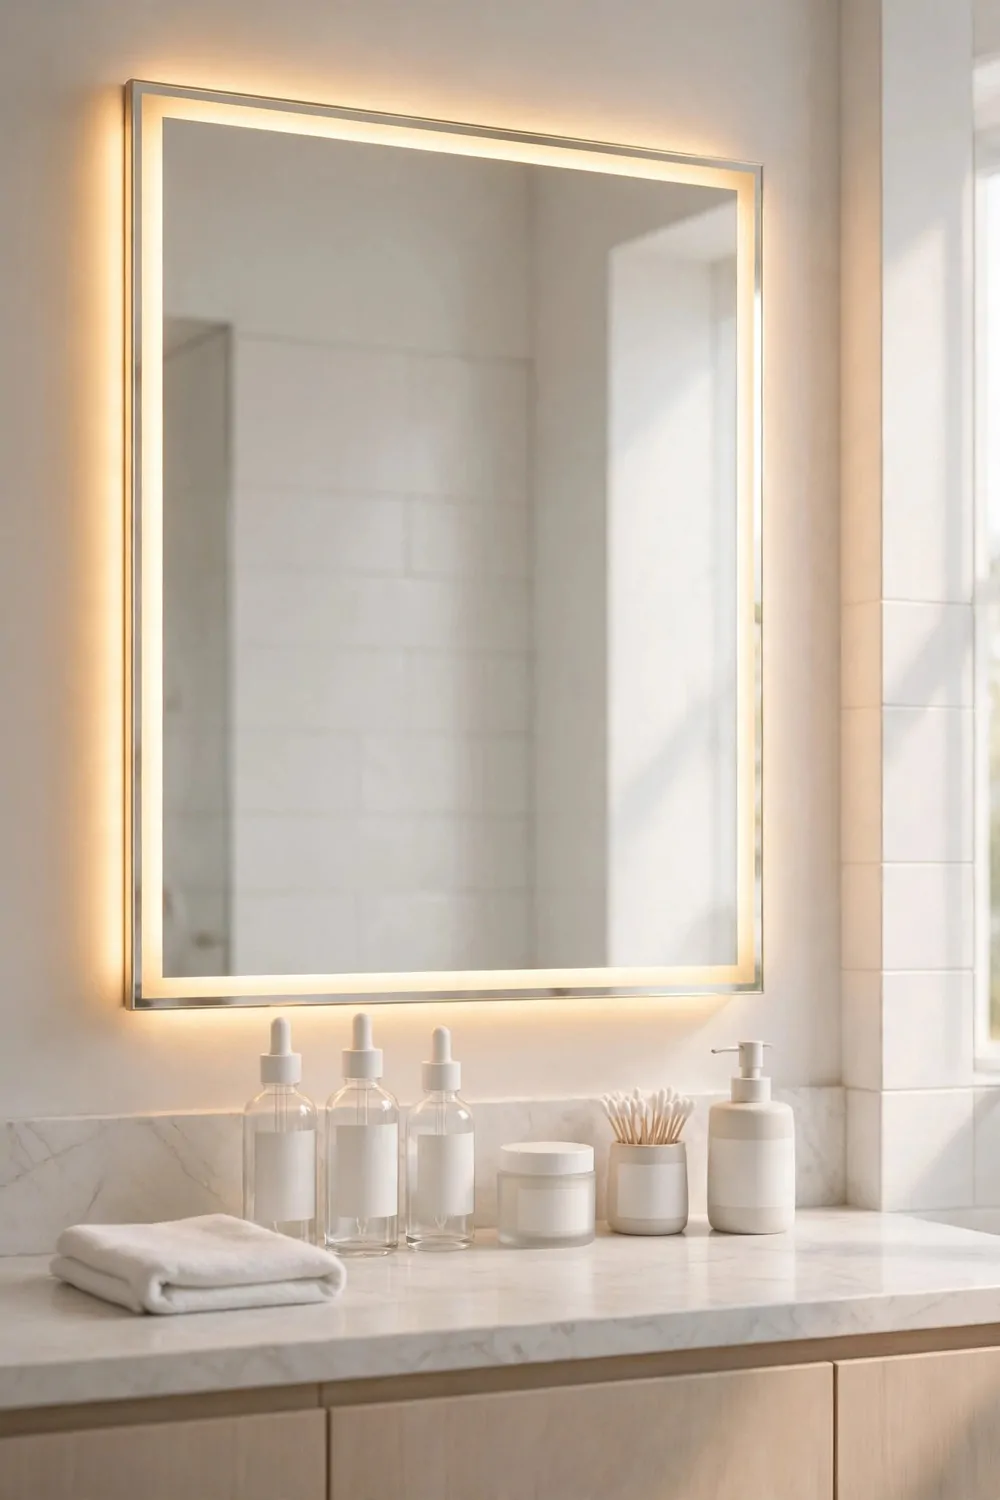
Bad light makes every morning harder. You put on makeup in a dim bathroom, then you step outside and it looks totally different. Or you miss a spot shaving because the mirror was in shadow.
Better light fixes that. You do not need to rewire the bathroom. A few small changes make a big difference.
Start with the bulbs. Swap dim yellow bulbs for bright daylight bulbs in the same fitting. Daylight bulbs show your real skin color, so your makeup looks right in the morning and right outside too.
Add a light strip around the mirror if you can. A small LED strip with warm white light sticks to the edge of the mirror and lights your face evenly from both sides. No more shadows under your chin.
A small mirror with its own light helps too. A lighted makeup mirror on the counter gives you a close up view for the detailed work, like eyeliner or tweezing. Typical cost is around fifteen to thirty dollars.
Keep the light at face level, not just above your head. Light from above casts shadows down your face. Light from the sides fills those shadows in. That is why mirrors with side lights work so well.
Clean the mirror and the light fittings once a week. Dust and water spots dim the light more than you think. A quick wipe makes the whole bathroom brighter.
Good light also helps you see the mess. A bright vanity shows the dust and the clutter, which sounds annoying, but it also means you notice the mess sooner and tidy it faster.
26. A Seasonal Swap Box for Your Products
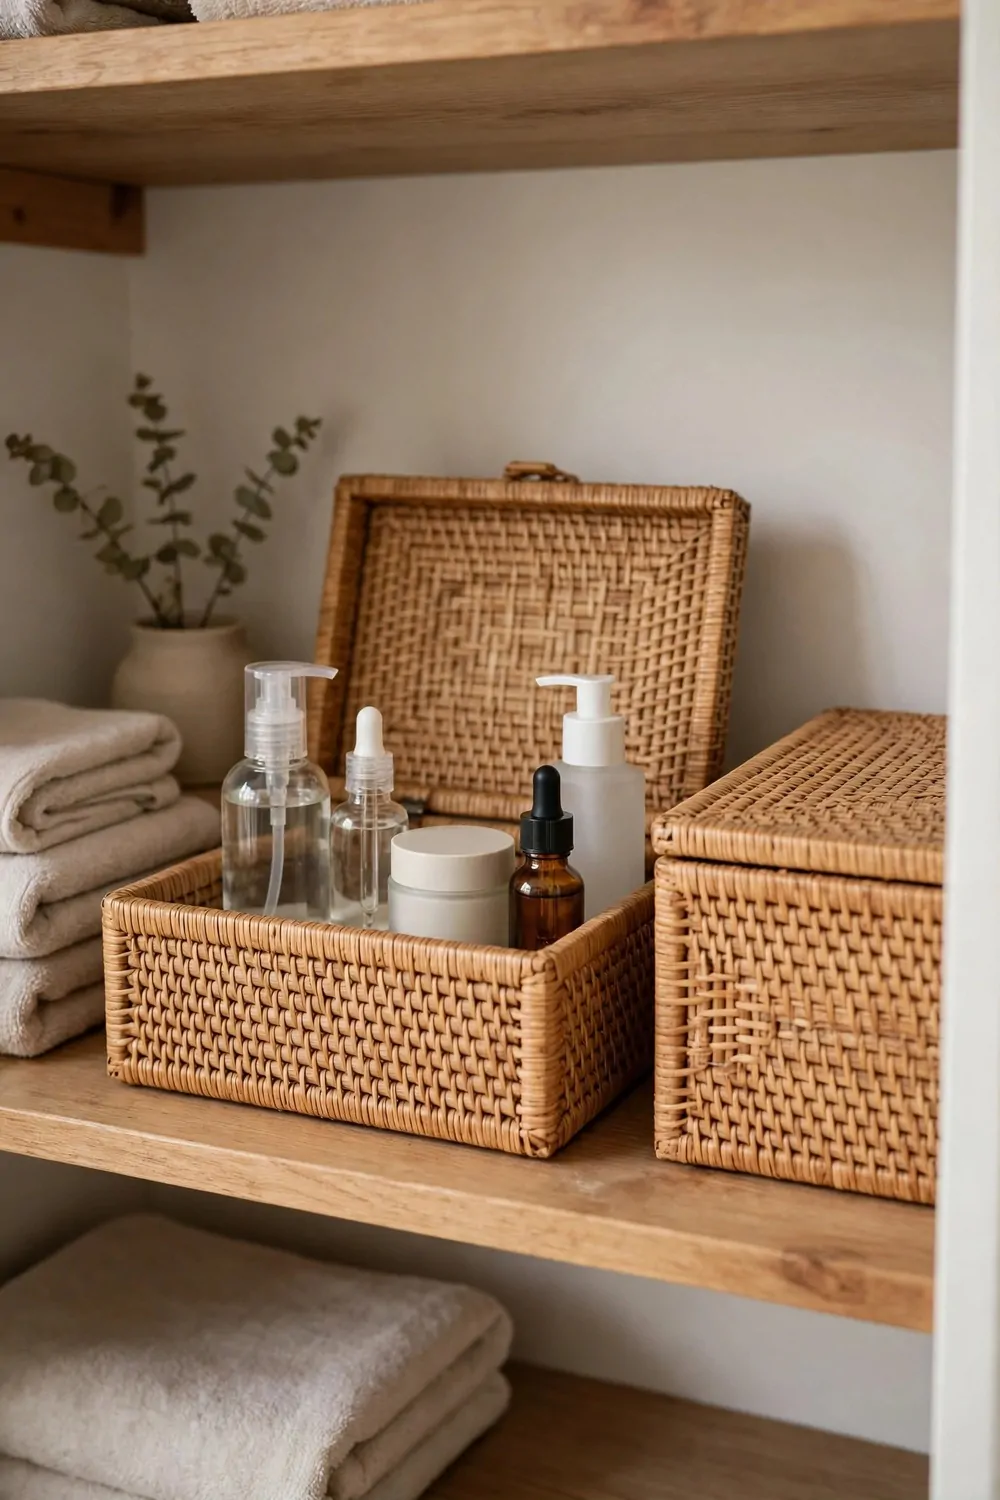
Your skin needs different things in summer and winter. A light cream in July, a rich cream in January. A fresh scent in spring, a warm one in autumn.
A seasonal swap box holds the products you are not using right now. When the season changes, you swap the box contents with the products on your vanity.
Use a sturdy box with a lid that fits on a closet shelf or under the sink. Label it with the season it holds. “Summer” on one box, “Winter” on another. Or one box that you refill each season.
Do the swap four times a year, at the start of each season. Take the current products off the vanity, put them in the box, and take the new season’s products out of the box. It takes ten minutes.
Check each product as you swap it. Is it still good? Does it smell right? Has it changed color? If something looks off, throw it away instead of storing it for another season.
The swap is also a good time to check what you really use. If a product sat in the box for a whole year without being used, you do not need it. Let it go and free the space.
Keep the box somewhere dry. A damp bathroom closet can ruin creams and lotions. If your bathroom gets very steamy, keep the swap box in a bedroom closet instead.
This little box stops your vanity from holding two seasons at once. One season on the counter, one season in the box, and your mornings stay simple all year long.
27. A Tiny Trash Bin Right at the Vanity
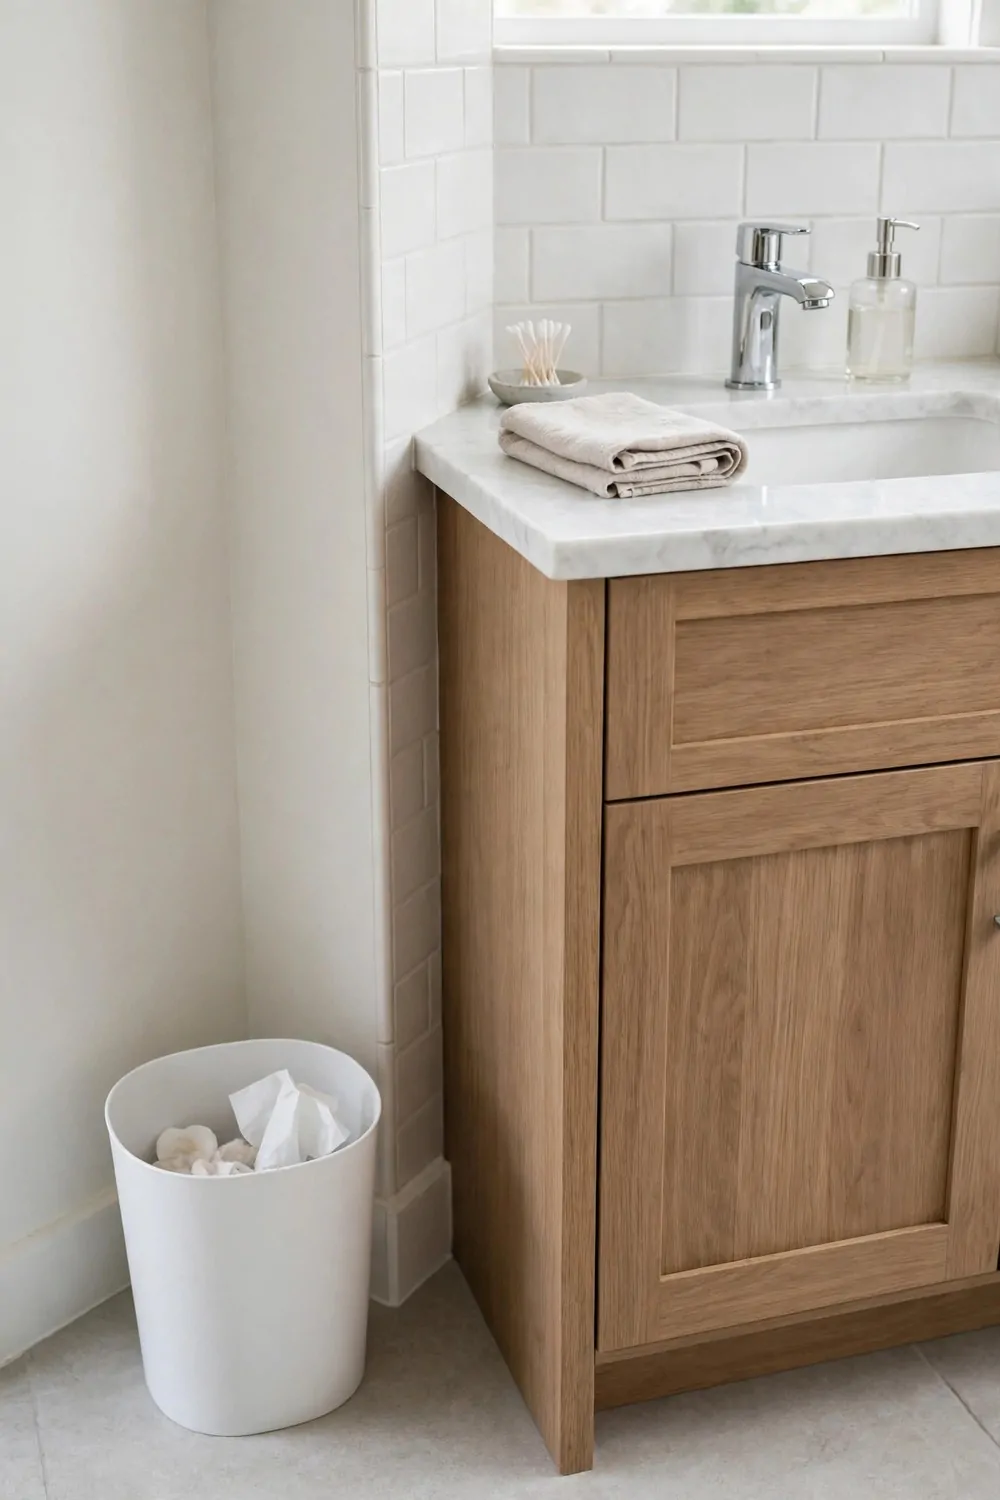
Cotton pads, used tissues, the little plastic seal from a new bottle. These tiny bits of trash have nowhere to go, so they pile up on the counter.
A tiny trash bin right at the vanity solves it. Not a big bin. A small one, about the size of a large mug, that sits on the floor beside the vanity or on a low shelf.
Empty it every day or two. A tiny bin fills up fast, and an overflowing tiny bin is worse than no bin at all. Tip it into the big bathroom bin each evening and it is ready again.
Line it with a small bag or a folded piece of old newspaper. That makes emptying it clean and quick, and it stops sticky bits from coating the inside of the bin.
Keep it on the side where your hand naturally drops things. If you are right handed, put it on the right side of the vanity. If you have to reach across your body to throw something away, you will not use it.
This is the smallest idea on the whole list, and it makes one of the biggest differences. A counter with no little piles of trash on it just looks calmer. You notice it every single morning.
Wash the little bin once a week with warm soapy water. It picks up makeup dust and tiny spills, and a clean bin keeps the whole corner smelling fresh.
You have now seen all 27 ideas. You do not need to do all of them today. Pick the three that made you nod while you read. Do those this weekend. Then come back and pick three more next weekend.
Your mornings will not change overnight. But one small home for each thing, one clear counter, one calm start, and a few weeks from now you will wonder how you ever lived with that messy drawer.
Start with the counter. Clear it tonight. Tomorrow morning will already feel different.
Keep Reading
- 24 Bathroom Decor Ideas Under $50 That Look Brand New
- 26 Closet Organization Ideas That Make Mornings So Much Easier
- 24 Built-In Drawer Organizer Ideas for a Clutter-Free Home
- 27 Beautiful Storage Furniture Ideas Worth Investing In
- 25 Home Organization Upgrades That Are Worth the Investment
- 42 Premium Home Organization Products That Make Everyday Life Easier
Pick your three ideas tonight, and let tomorrow morning be the easy one.