25 Walkway Ideas That Make Your Home Feel Welcoming

The path to my front door used to be a worn strip of bare dirt, and guests stepped round the puddles after rain.
I wanted a path that said welcome before I even opened the door.
A good walkway does more than keep shoes clean.
It guides your feet, it frames the front yard, and it makes the whole house feel cared for.
I learned that small changes work best, one stone or one plant at a time.
You do not need a big budget or a big yard to make it feel warm.
You will find all 25 walkway ideas together in this one post, so read through them here and pick the ones that suit your front yard best.
1. A Neat Stone Path to the Front Door
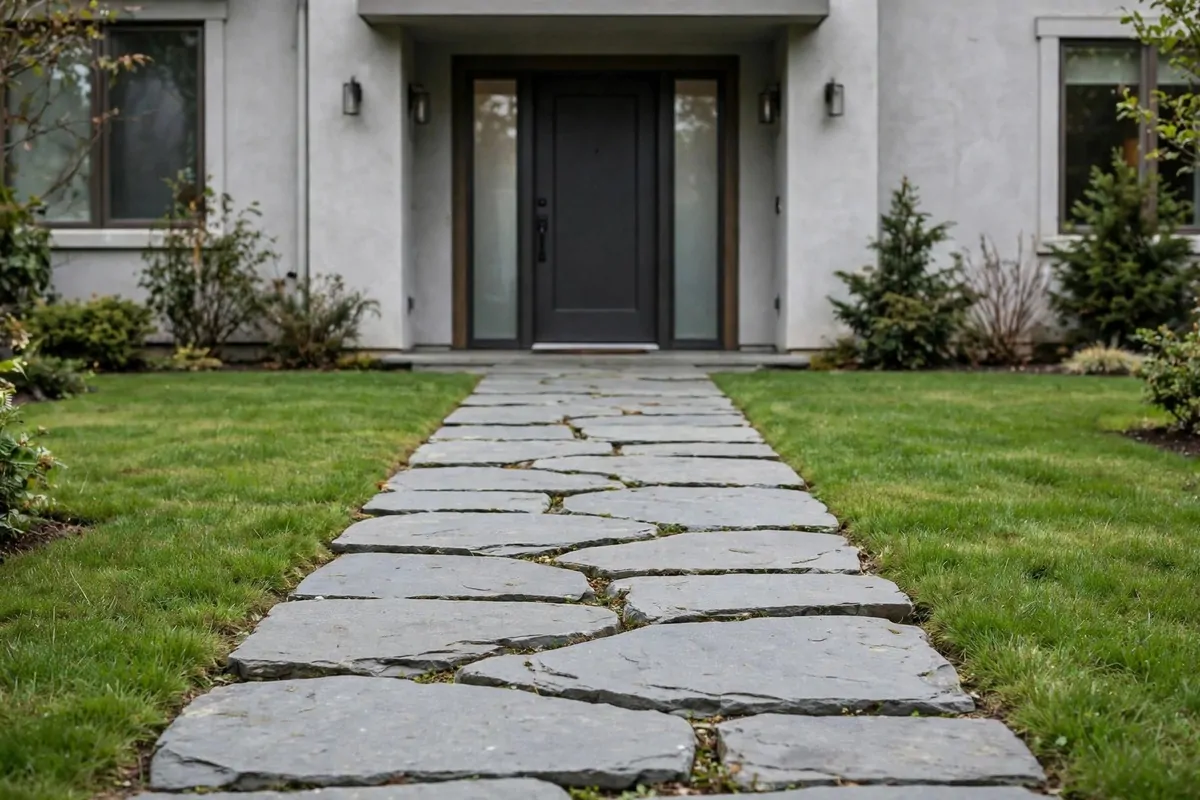
My front path used to be a patch of worn grass and mud. Guests stepped around the bare spots and I felt shy about it.
I picked flat stones in soft grey tones. Each one sits level with the next so feet do not trip.
I set the stones on a bed of sand. A little sand under each one keeps it steady through rain.
The gaps hold small green plants. They soften the edges and fill the space between stones.
I swept sand into the joints after I laid them. That step locks each stone in place.
Typical cost $180 to $320.
I hose the stones off once a month. Leaves and dust wash away fast with plain water.
A stone path suits a small front yard well. It looks neat without a lot of work.
You can lay a short path in one weekend. Start at the door and work your way to the gate.
2. A Gravel Walkway with Soft Edges
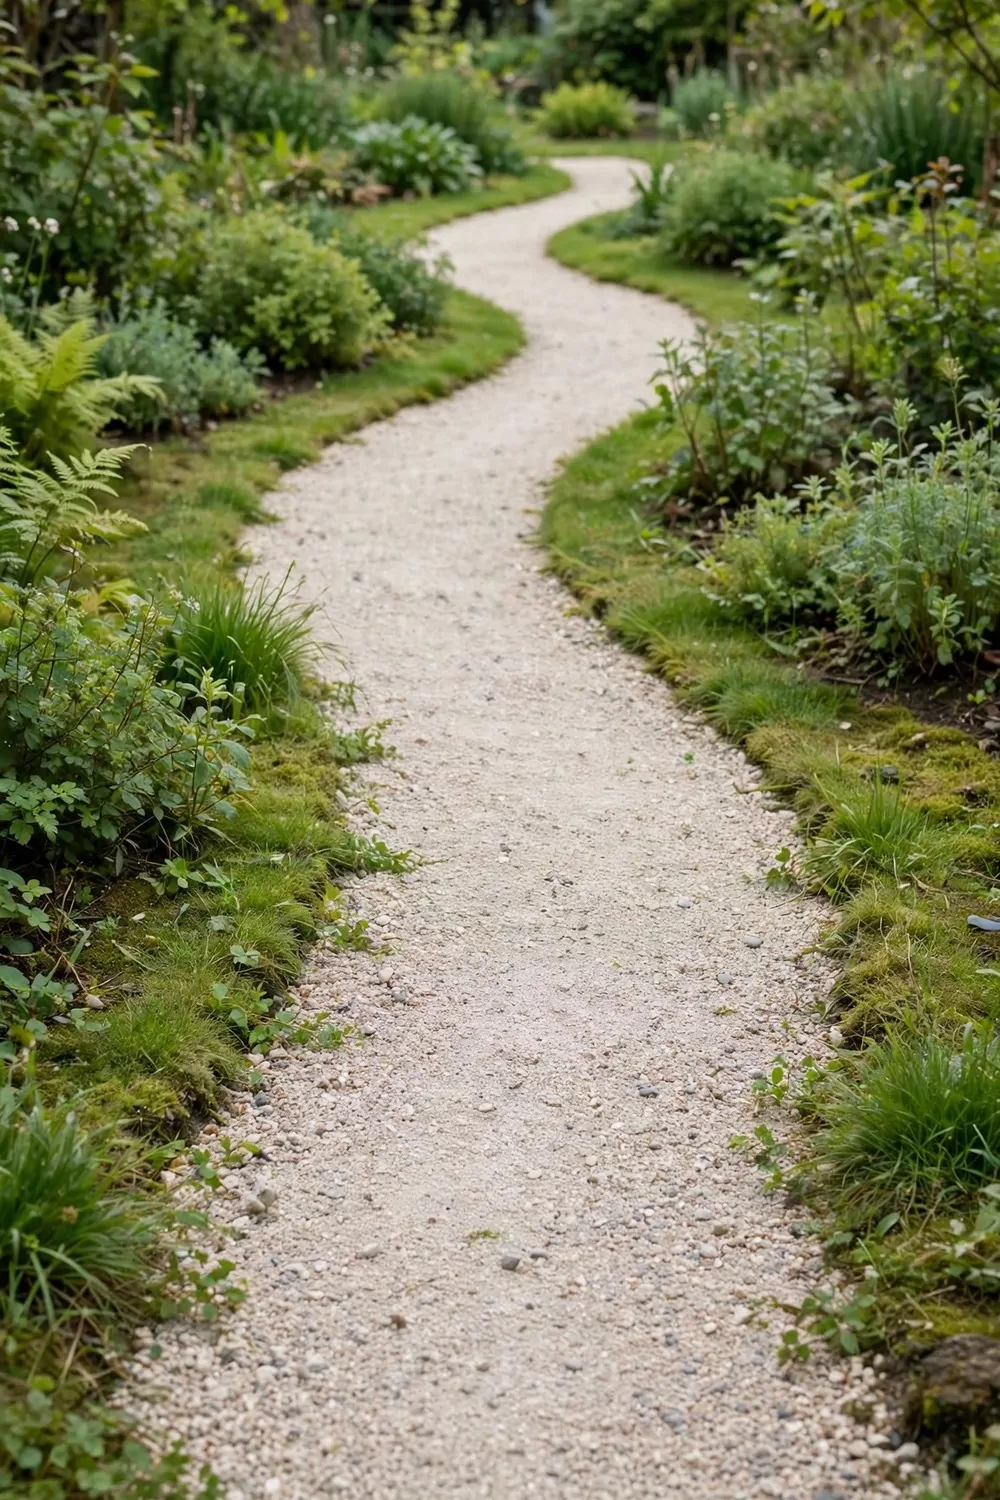
Gravel gives a soft crunch under your shoes. It fits a garden path that curves a little.
I spread a thick layer over plain fabric. The fabric stops weeds from pushing up through the stones.
I chose small pale stones for this walk. They look light next to green grass and shrubs.
Soft grass grows right up to the edges of my path. It frames the pale stones and keeps the line looking natural.
I rake the top smooth every few weeks. A quick rake pulls the stones back into place.
Typical cost $60 to $120.
Rain drains through gravel with no fuss. Puddles do not sit on top for long.
You can top up the layer once a year. One fresh bag fills the thin spots.
This path works well for a side gate too. It takes little time and stays tidy.
3. A Warm Brick Path in Soft Red Tones
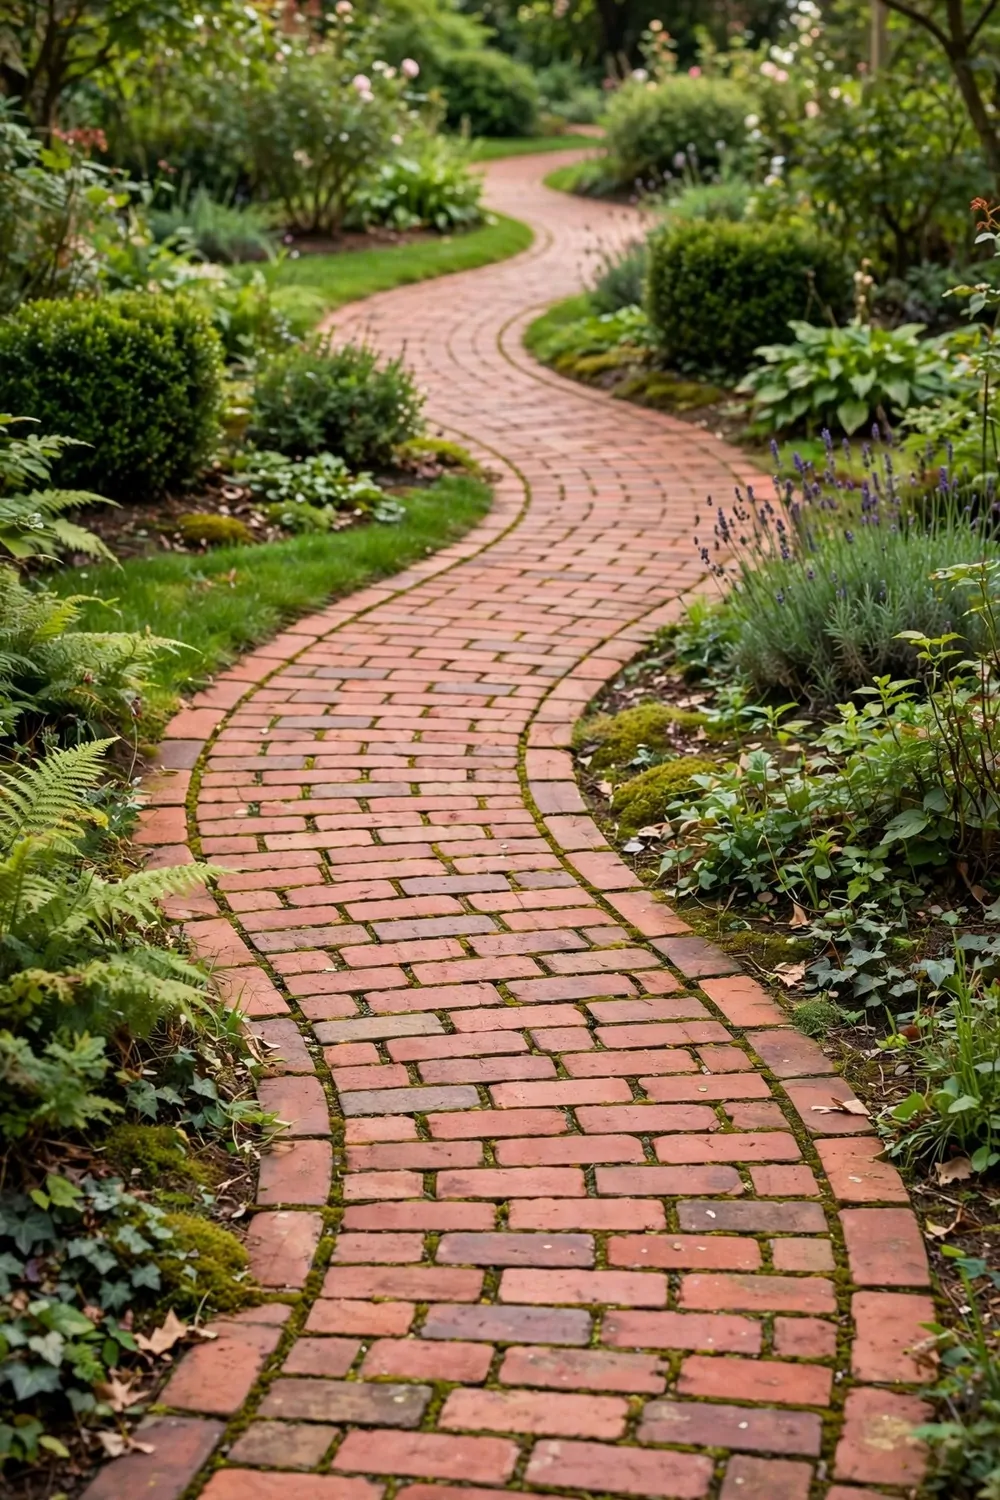
Warm red bricks make a front path feel kind. The colour stands out next to green plants.
I laid the bricks in a simple running pattern. The rows follow the soft curve of the path.
Each brick sits on packed sand. I tapped it down with a rubber mallet till it felt firm.
The joints hold fine sand. I brushed it in and watered it lightly to settle it.
Moss can grow in the shady spots. I scrub those spots with a stiff brush in spring.
Typical cost $150 to $280.
A brick path lasts for years with small care. One cracked brick can be lifted and swapped.
I plant low green shrubs along the sides. Their leaves soften the hard red line.
Try this path if your house has red brick walls. The match makes the whole front look planned.
4. Flat Stepping Stones Set in Green Grass
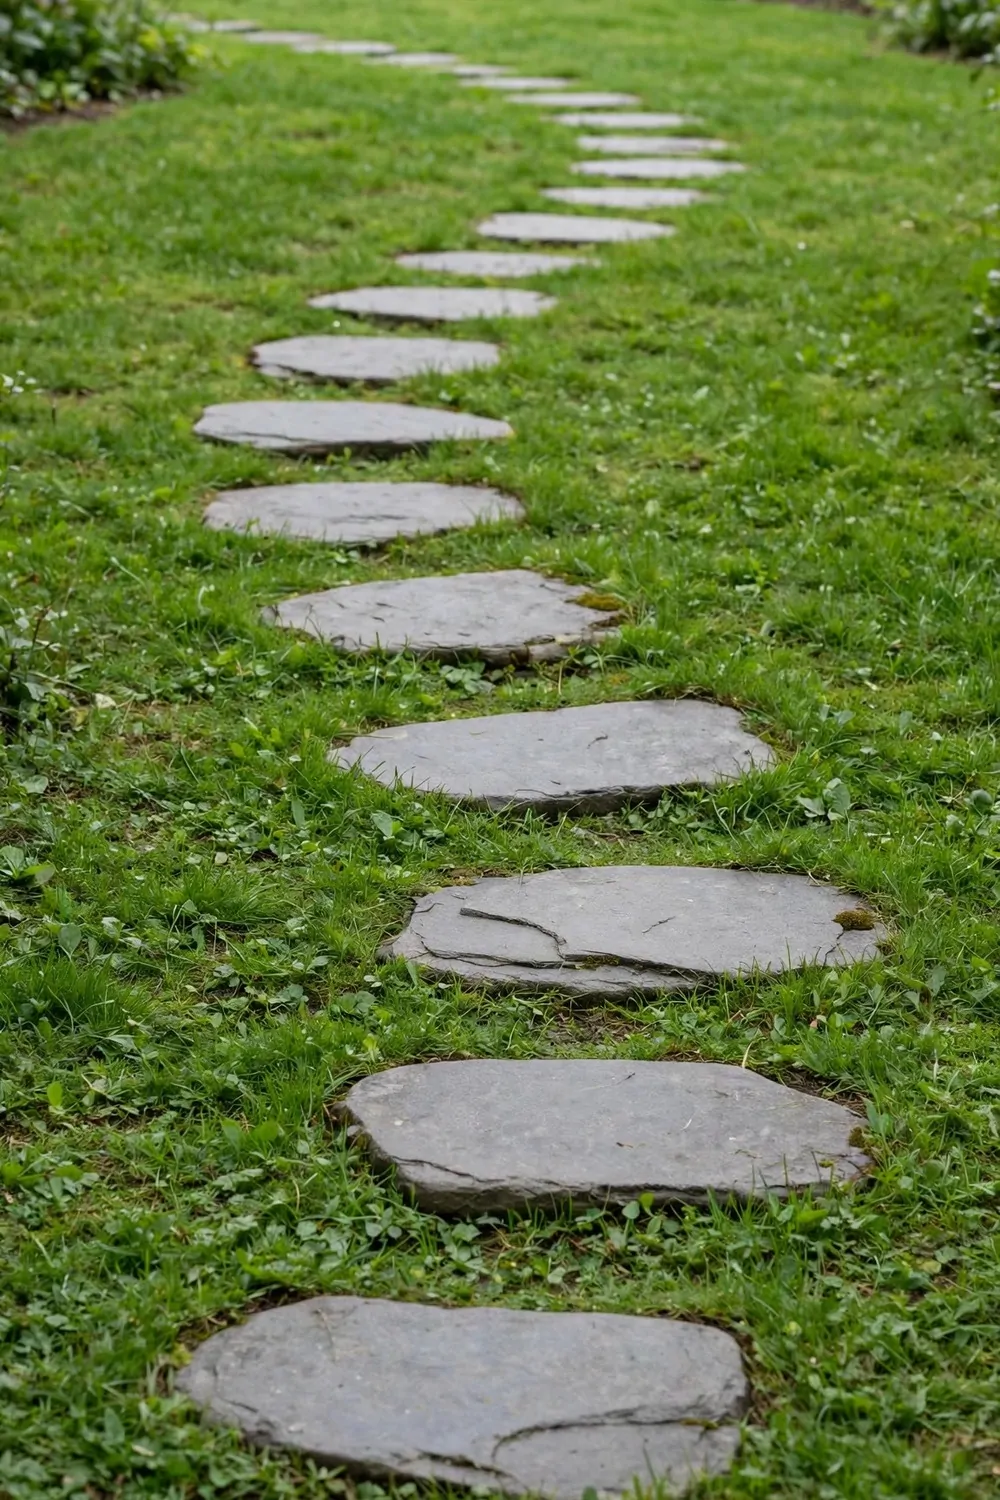
Big flat stones sit in my lawn like a trail. You step from one to the next with ease.
I spaced them at a normal walking pace. That way you do not need to stretch or hop.
Each stone sits a little below the grass top. My mower can pass right over the edges.
I dug a shallow hole for every stone. A sand base under each one stops it from rocking.
Grass grows tight around the rims. The green frame makes the grey stones look soft.
Typical cost $90 to $180.
Wet stones can feel slick after rain. I picked rough tops so shoes grip better.
Kids hop along this path to the back gate. It turns a plain lawn into a fun walk.
Keep the stones level each spring. A lifted corner is easy to fix with fresh sand.
5. A Wide Concrete Walkway with a Smooth Finish
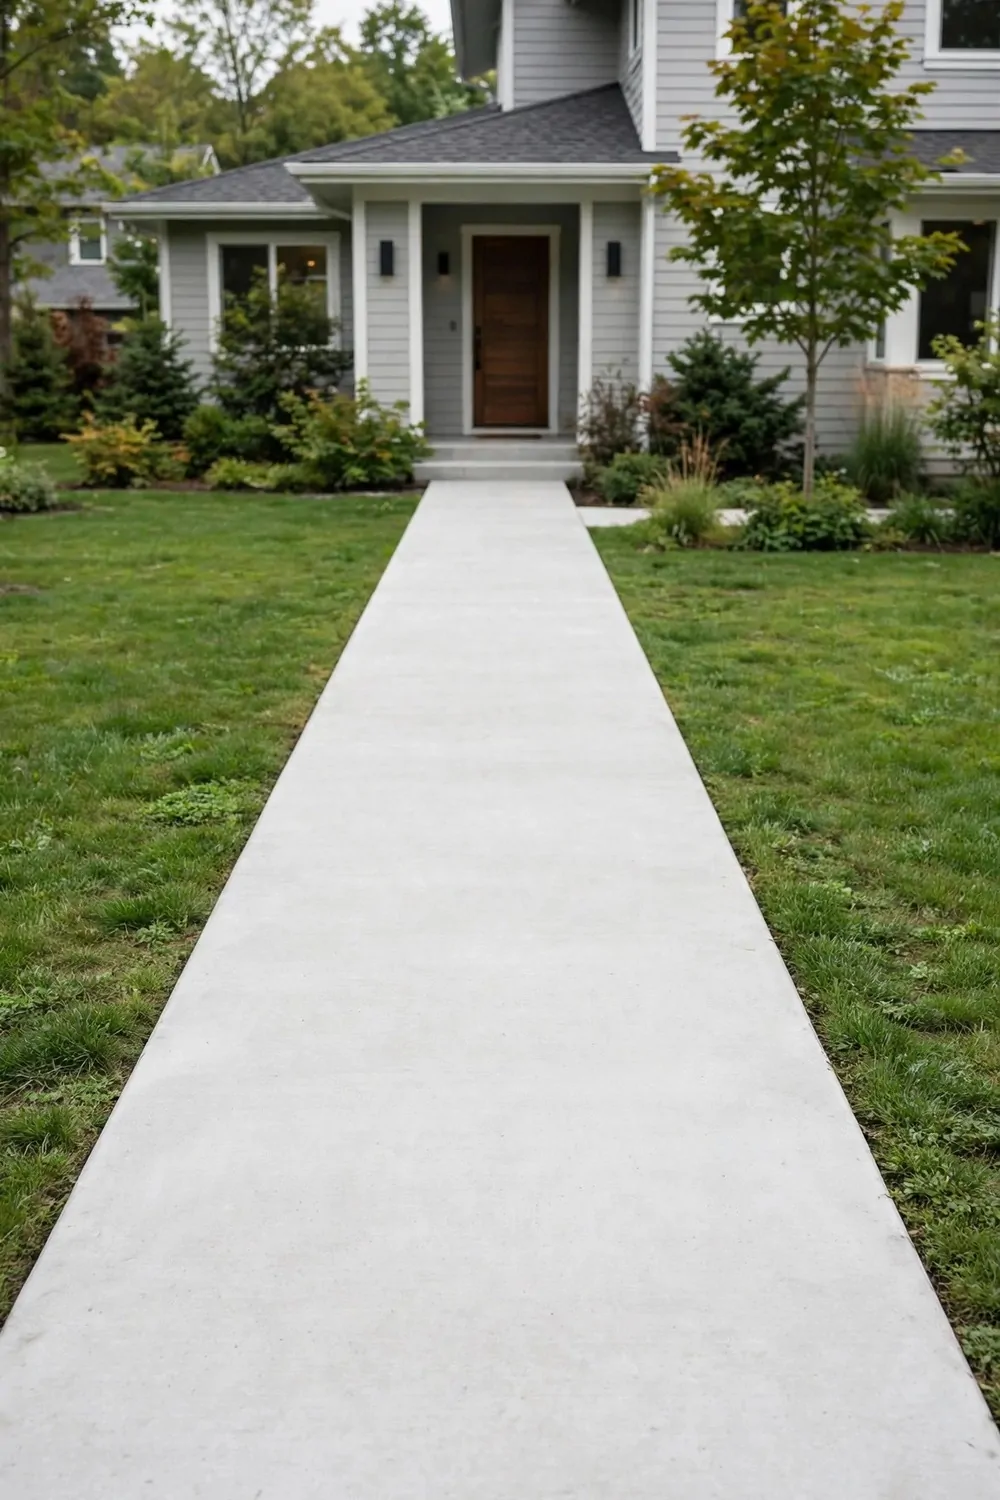
A wide concrete walk gives room for two people side by side. No one needs to step onto the grass.
I poured it in one long smooth slab. It gives a clean straight line to the house.
The top has a light brush finish. That texture keeps feet steady on wet days.
Green lawn runs along both sides. The grass softens the long grey strip.
I wash the slab with a hose in summer. Dust and fallen leaves rinse off in minutes.
Typical cost $200 to $400.
Small cracks can show up over time. I fill them early with plain filler so they stay small.
This walk suits a house with a long front yard. It links the gate to the door in a straight line.
Pick a soft grey tone for the mix. It stays cool in sun and looks clean next to brick.
6. A Wooden Boardwalk Path Through the Garden
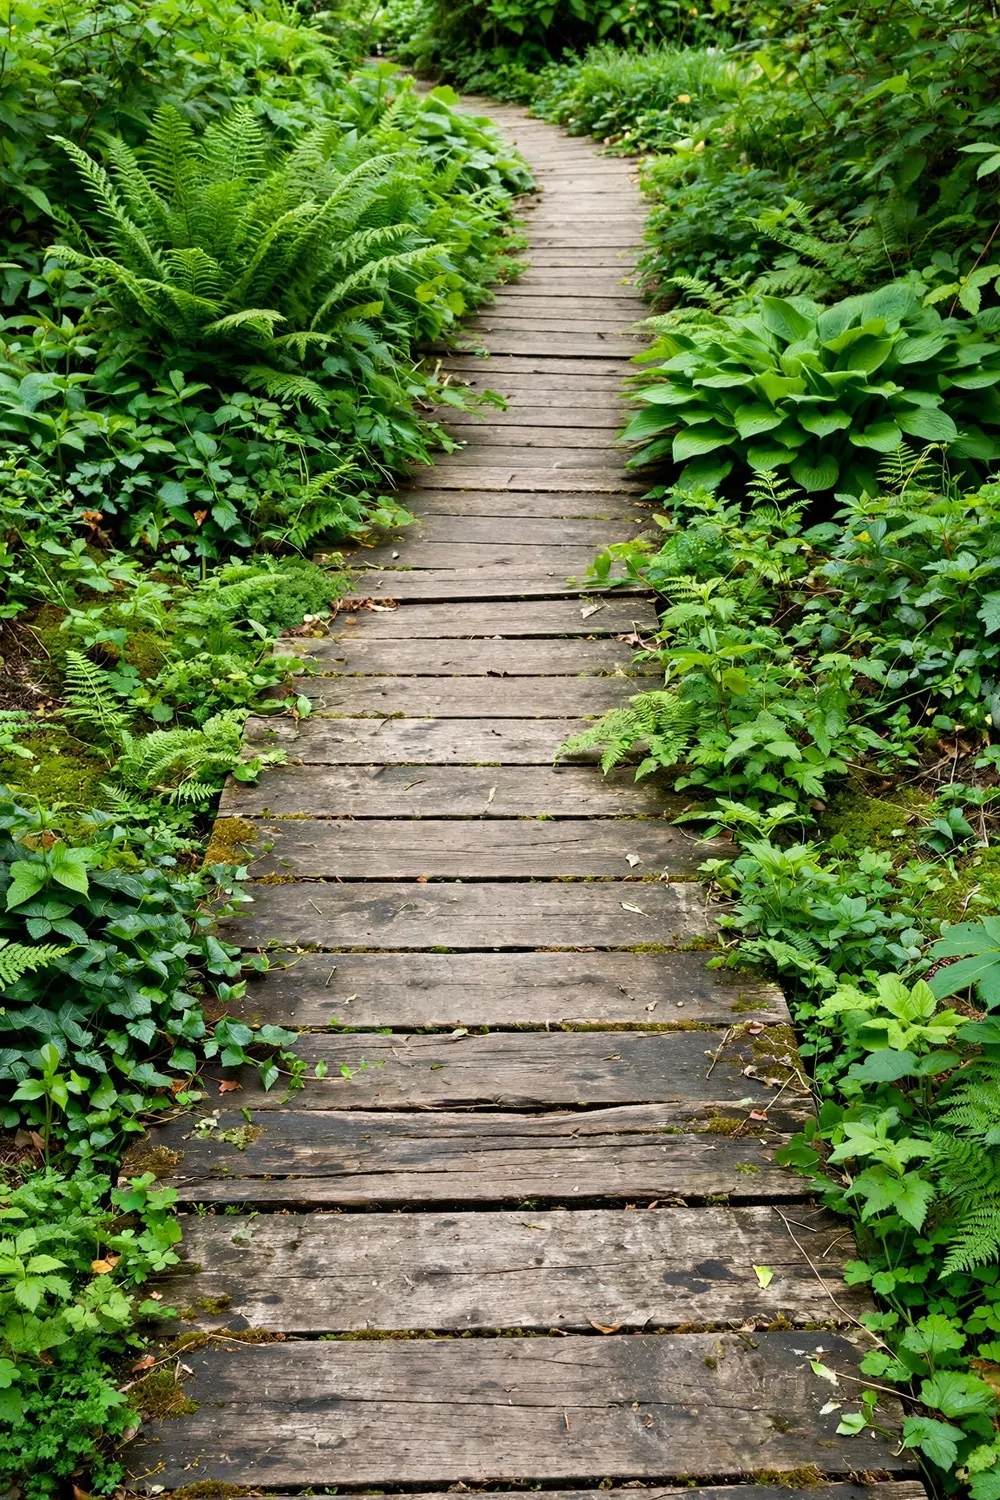
Wooden boards make a garden path feel warm. They bridge the damp spots where grass stays wet.
I used thick planks with small gaps between them. Rain slips through the gaps and the boards dry fast.
The boards sit on low wooden beams. Those beams lift the walk just above the soil.
I sealed the wood with a clear coat. The coat keeps rain out and slows the grey fade.
Green ferns grow close on both sides. Their leaves brush the edges and soften the straight line.
Typical cost $220 to $380.
I sweep leaves off the boards each week. Wet leaves can make the wood slick if they sit too long.
A boardwalk fits a shady garden well. It gives you a dry route to the back fence.
Check the screws once a year. A loose board is quick to fix before it starts to wobble.
7. A Pebble Walkway with Low Green Plants
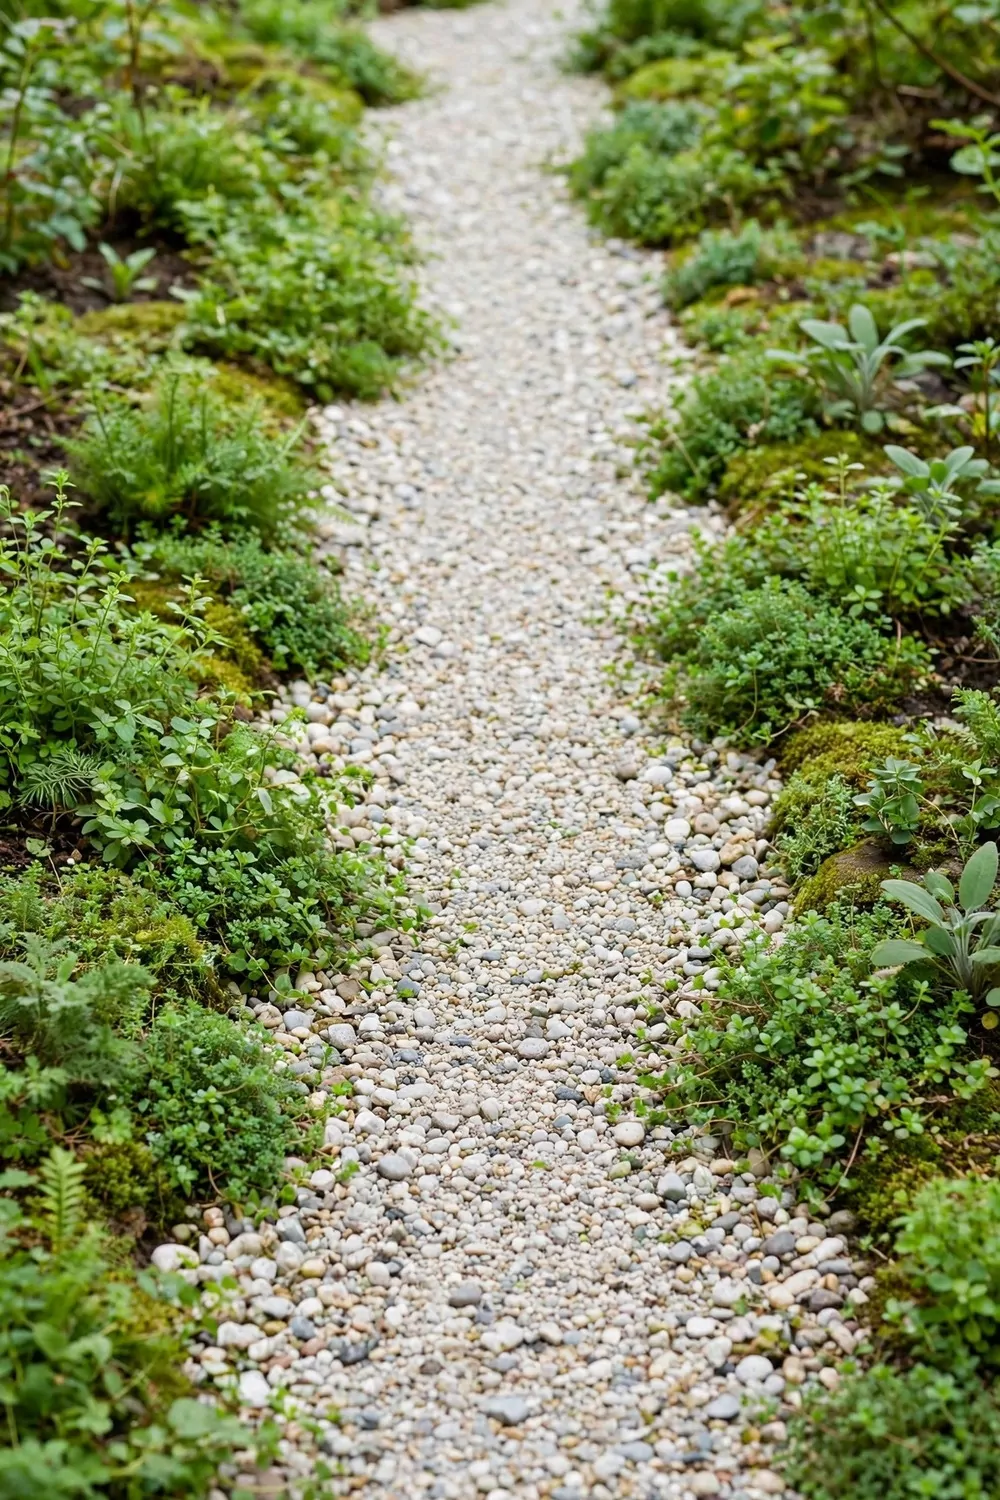
Small pebbles make a soft path underfoot. Their round shapes feel kind on bare feet in summer.
I mixed pale and grey pebbles for a soft look. The mix looks calm next to green leaves.
Low green plants grow along both edges. They spill a little over the rim and hide the hard border.
I laid plain fabric under the pebbles first. It keeps weeds down and stops stones from sinking.
The plants crowd thick along both edges. They hold the pebbles in place and soften the hard line.
Typical cost $70 to $140.
I top up thin spots with one bag each year. A quick pour and rake brings it back to full.
This walk fits a small front garden well. It links the gate to the steps in a gentle line.
Pick pebbles with smooth tops for comfort. Sharp stones are no fun to walk on.
8. A Curved Path That Slows the Walk Down
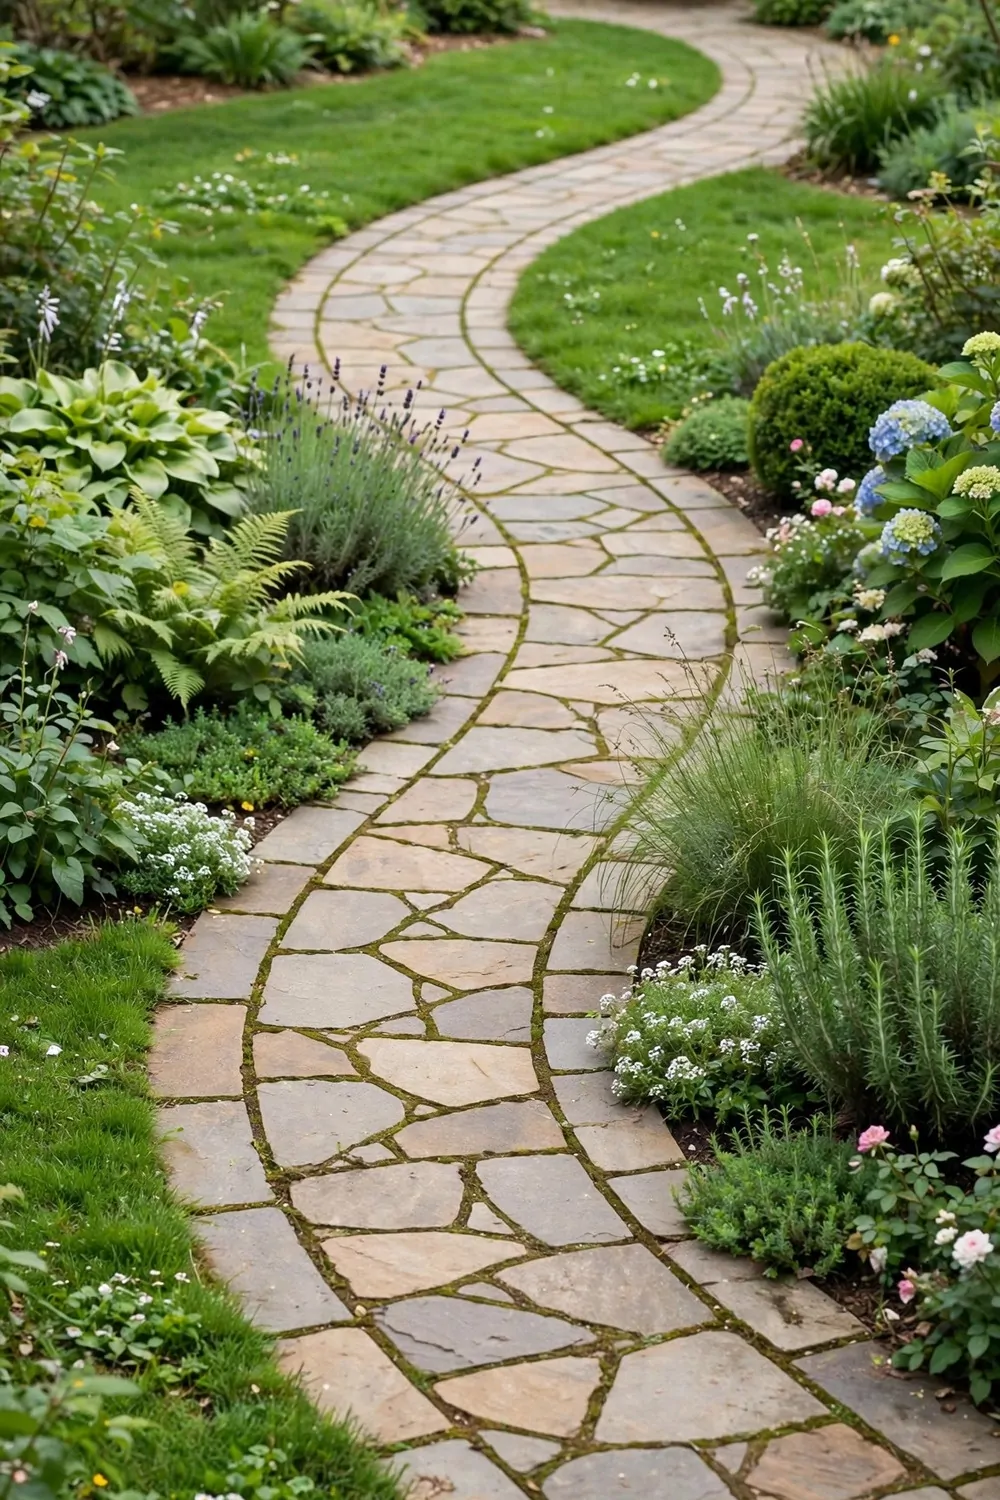
A curved path makes you slow down a little. You notice the garden more than on a straight walk.
I marked the curve with a garden hose first. That gave me a soft line to follow with the stones.
Flat stones follow the bend in neat steps. Each one turns a little so the line feels smooth.
Plants fill the inside of the curve. Their leaves make the bend look soft and full.
I left the outer edge open to the lawn. The grass meets the stones with no hard border.
Typical cost $130 to $260.
A curve takes more stones than a straight line. I bought a few extra to cover the turns.
Walk it slow on your first evening home. The bend hides the door till the last few steps.
This shape suits a wide front yard best. A small yard can still hold one gentle bend.
9. Solar Lights Along Both Sides of the Path
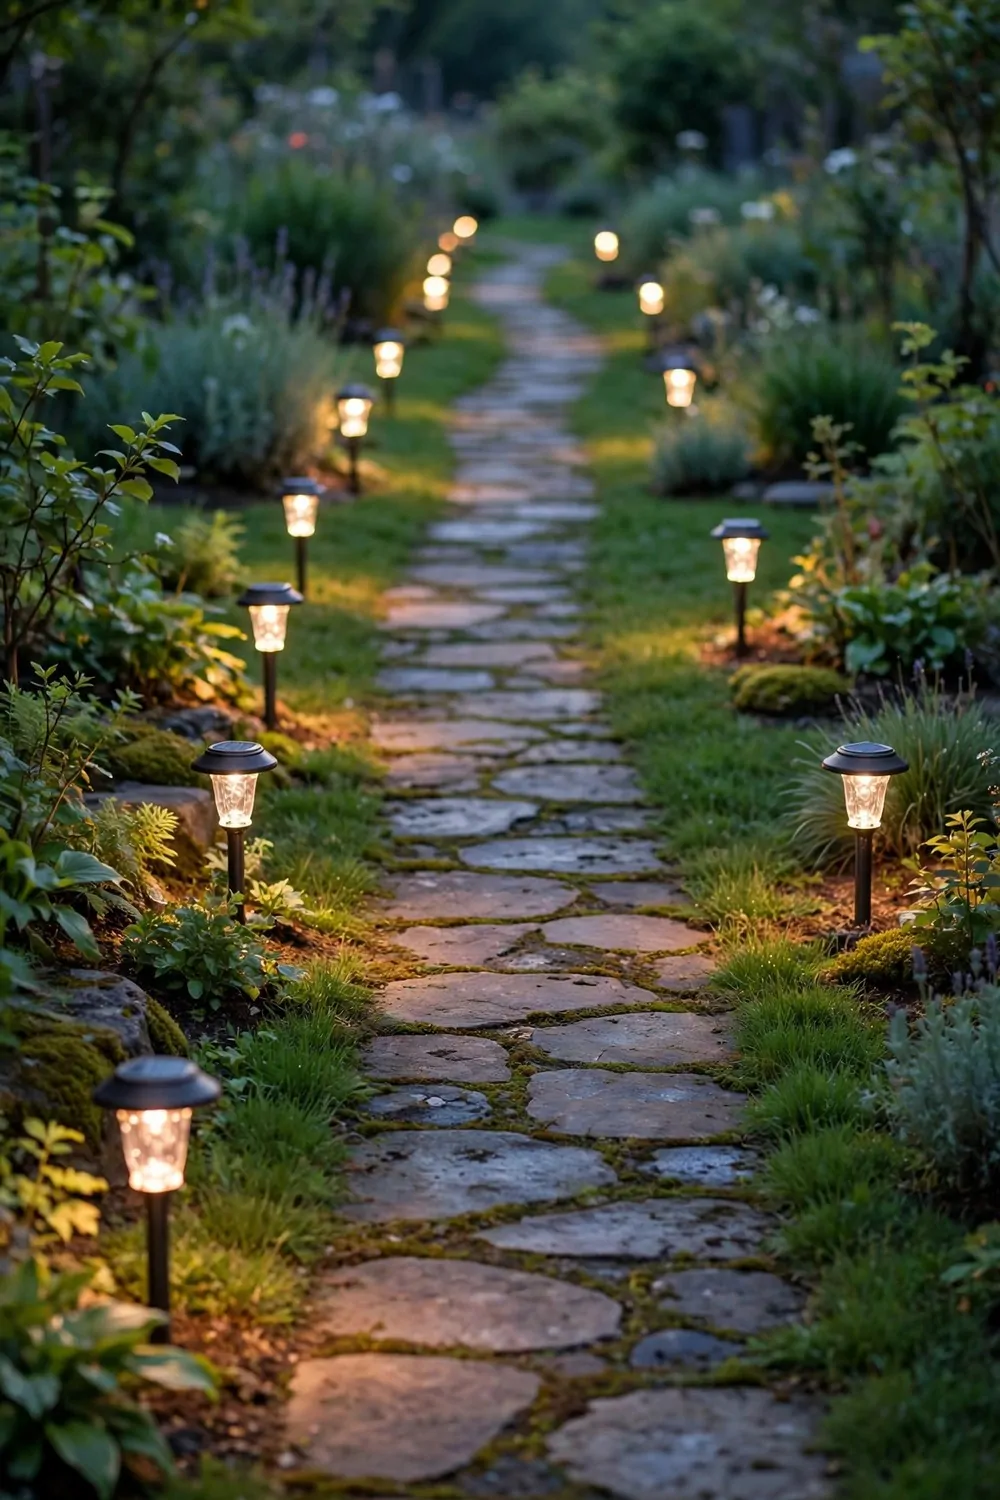
Small solar lights line my path at dusk. They glow soft and show the way to the door.
I pushed each stake into the soil by hand. No wires run under the path at all.
The tops face the sun all day. A full day of sun gives a full night of light.
I spaced them about two steps apart. That gap lights the whole walk with no dark spots.
Warm white bulbs suit a front yard best. They feel soft next to grey stone and green grass.
Typical cost $35 to $75.
I wipe the tops clean once a month. Dust blocks the sun and dims the glow.
These lights need no switch at all. They turn on by themselves when the sky turns dark.
Try them first with one small set. You can add more lights later if a corner stays dim.
10. A Plain Doormat at the End of the Walkway
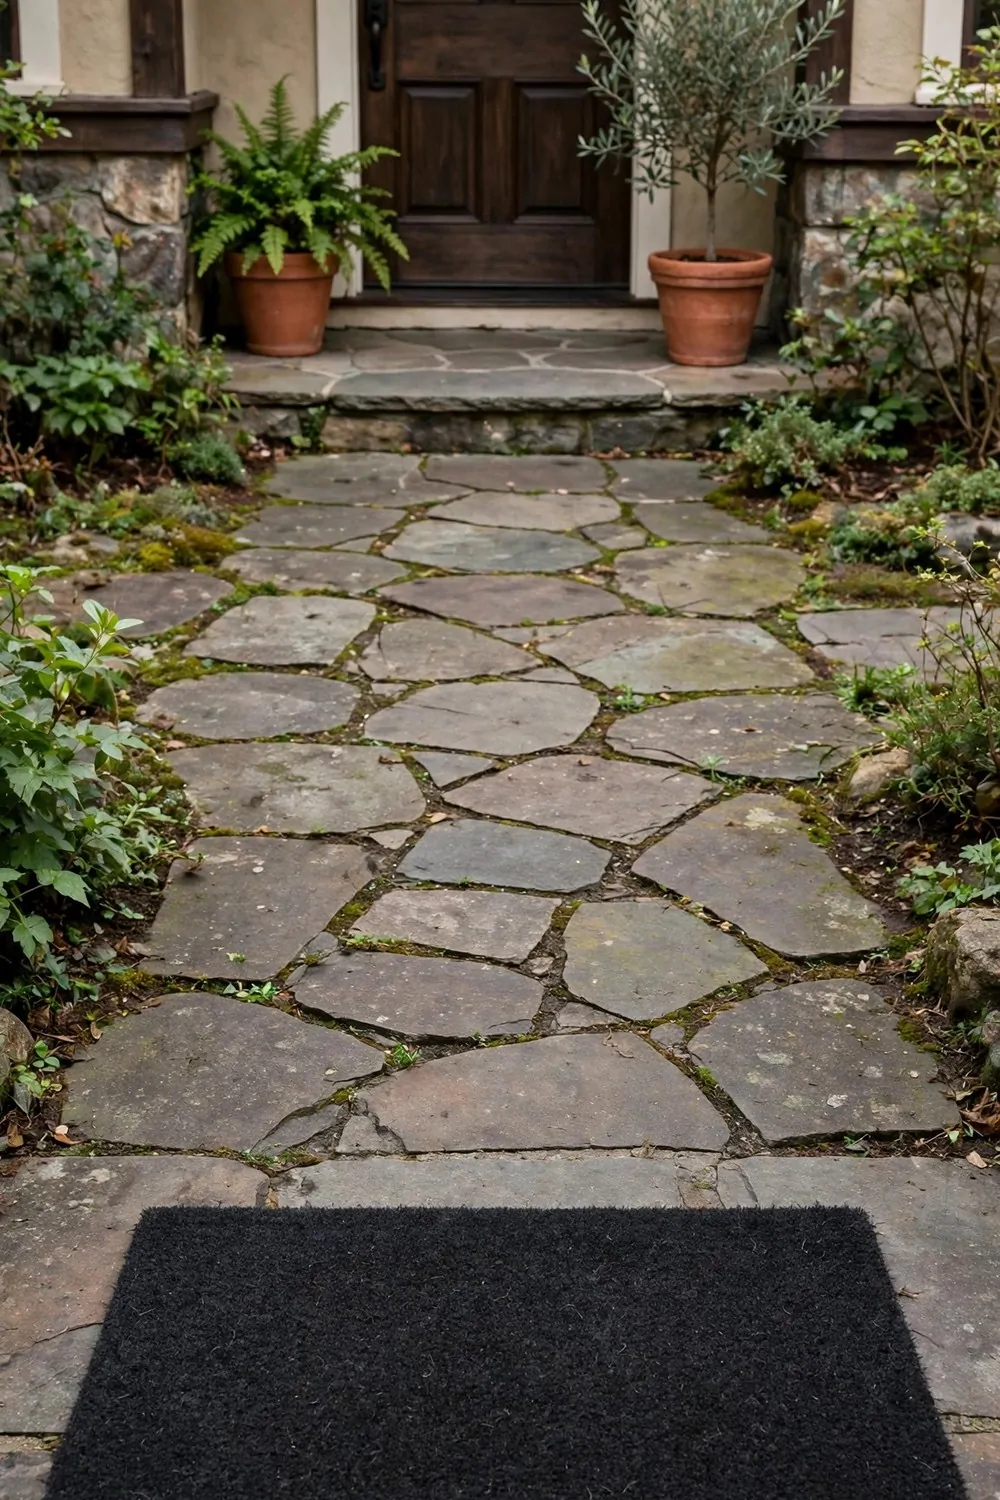
A plain doormat sits at the end of my walk. It gives shoes a last wipe before the door.
I picked a flat mat in a plain dark tone. It blends with the stone path and the front steps.
The mat has a rough woven top. Dirt and grit brush off shoes with two quick steps.
A rubber base keeps it from sliding. Rain will not push it across the porch.
I shake the mat out every few days. Dust falls off fast with a good shake by the fence.
Typical cost $15 to $35.
A mat this size fits most front doors. It leaves room for the door to swing open wide.
I swap mine out when the fibres wear flat. A fresh mat costs little and looks tidy at once.
Keep the mat dry under a small porch roof. It lasts much longer out of the rain.
| Idea | Main change | Typical cost |
|---|---|---|
| A Neat Stone Path to the Front Door | Lay flat stones on sand with plants in gaps | $180 to $320 |
| A Gravel Walkway with Soft Edges | Spread gravel on fabric with soft grass edges | $60 to $120 |
| A Warm Brick Path in Soft Red Tones | Lay red bricks in a soft curve on sand | $150 to $280 |
| Flat Stepping Stones Set in Green Grass | Set flat stones level in lawn at walking pace | $90 to $180 |
| A Wide Concrete Walkway with a Smooth Finish | Pour one long smooth slab to the front door | $200 to $400 |
| A Wooden Boardwalk Path Through the Garden | Build plank walk on beams with clear coat | $220 to $380 |
| A Pebble Walkway with Low Green Plants | Lay pebbles on fabric with low plants | $70 to $140 |
| A Curved Path That Slows the Walk Down | Lay flat stones along a soft garden curve | $130 to $260 |
| Solar Lights Along Both Sides of the Path | Stake solar lights along both path sides | $35 to $75 |
| A Plain Doormat at the End of the Walkway | Place plain woven mat at the front door | $15 to $35 |
| Total | $1150 to $2190 |
11. Low Stone Edging Along the Walkway
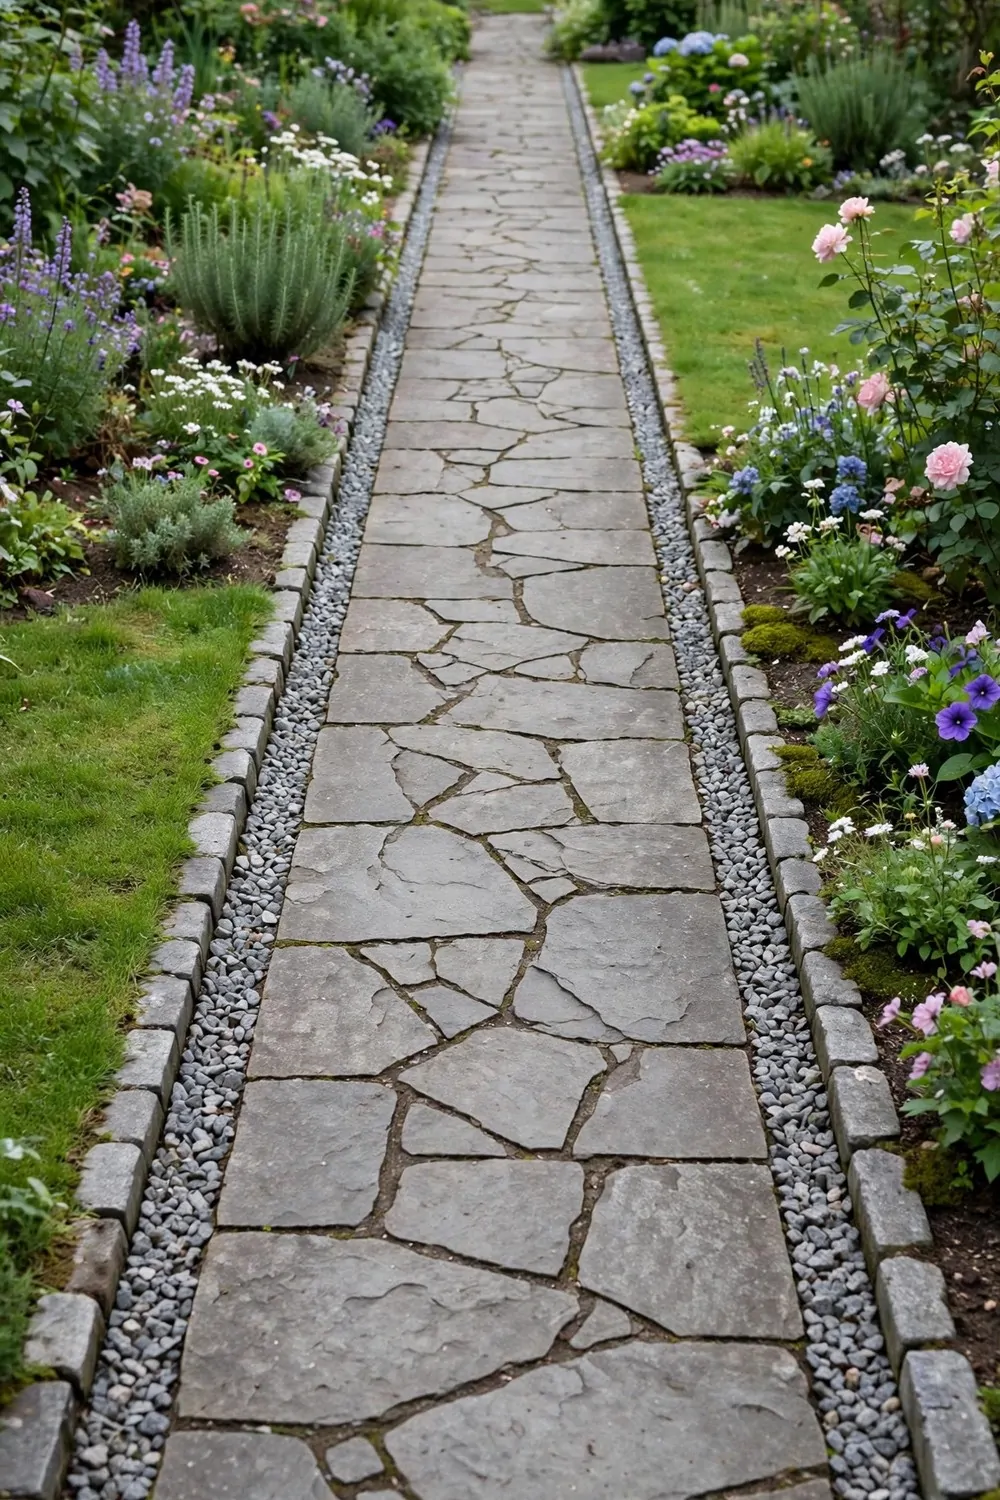
I like a low stone edge along my walkway. It keeps the path neat and stops the dirt from sliding over the stones.
You can use small flat stones from the garden shop. Pick ones that are close in size so the line looks tidy.
Dig a shallow line along each side of the path. The stones should sit half in the ground so they stay put.
I press each stone in with my hands and tap it firm. A little gap between stones is fine and looks natural.
Typical cost $30 to $55.
If a stone tips over after rain, I just push it back in. It takes a minute and needs no tools.
You can paint the stones a light colour if you want. I left mine plain so they match the path.
A stone edge also helps when I sweep leaves off the path. The broom stops at the stones and the dirt stays out of the grass.
It is a small job you can finish in one afternoon. The path looks cared for right away.
12. Flower Borders That Line the Path
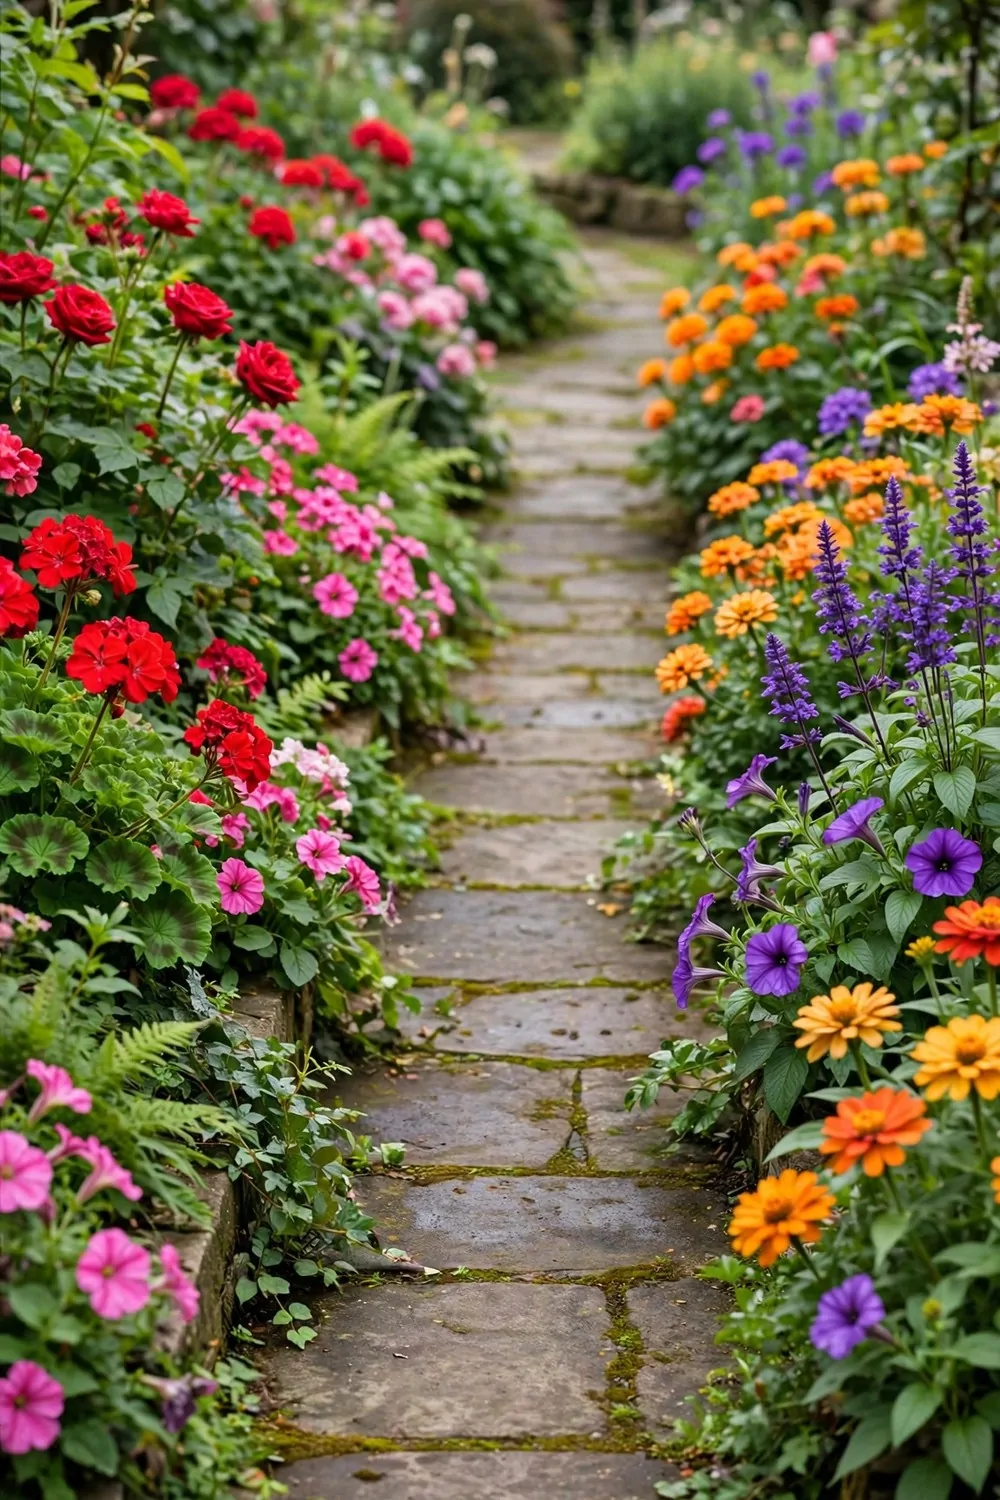
I plant a row of flowers on each side of my walkway. It makes the path feel warm the moment you step on it.
Bright flowers fill both sides of my walkway. I use a mix of tall blooms and low ones that stay close to the ground.
Dig a narrow bed along the path and add fresh soil. The flowers will settle in fast if you water them well the first week.
I mix bright colours so the border does not look flat. Pink and white sit well next to green leaves.
Typical cost $20 to $45.
Keep the border tidy by cutting off dead heads each week. It takes five minutes and the flowers keep coming back.
If you have a shady path, pick flowers that like shade. The shop can tell you which ones will do well there.
You can edge the bed with a few small stones. It stops the soil from washing onto the path when it rains.
A flower border changes the whole front yard. I smile every time I walk past it now.
13. A Small Wooden Bridge Over a Dry Stone Bed
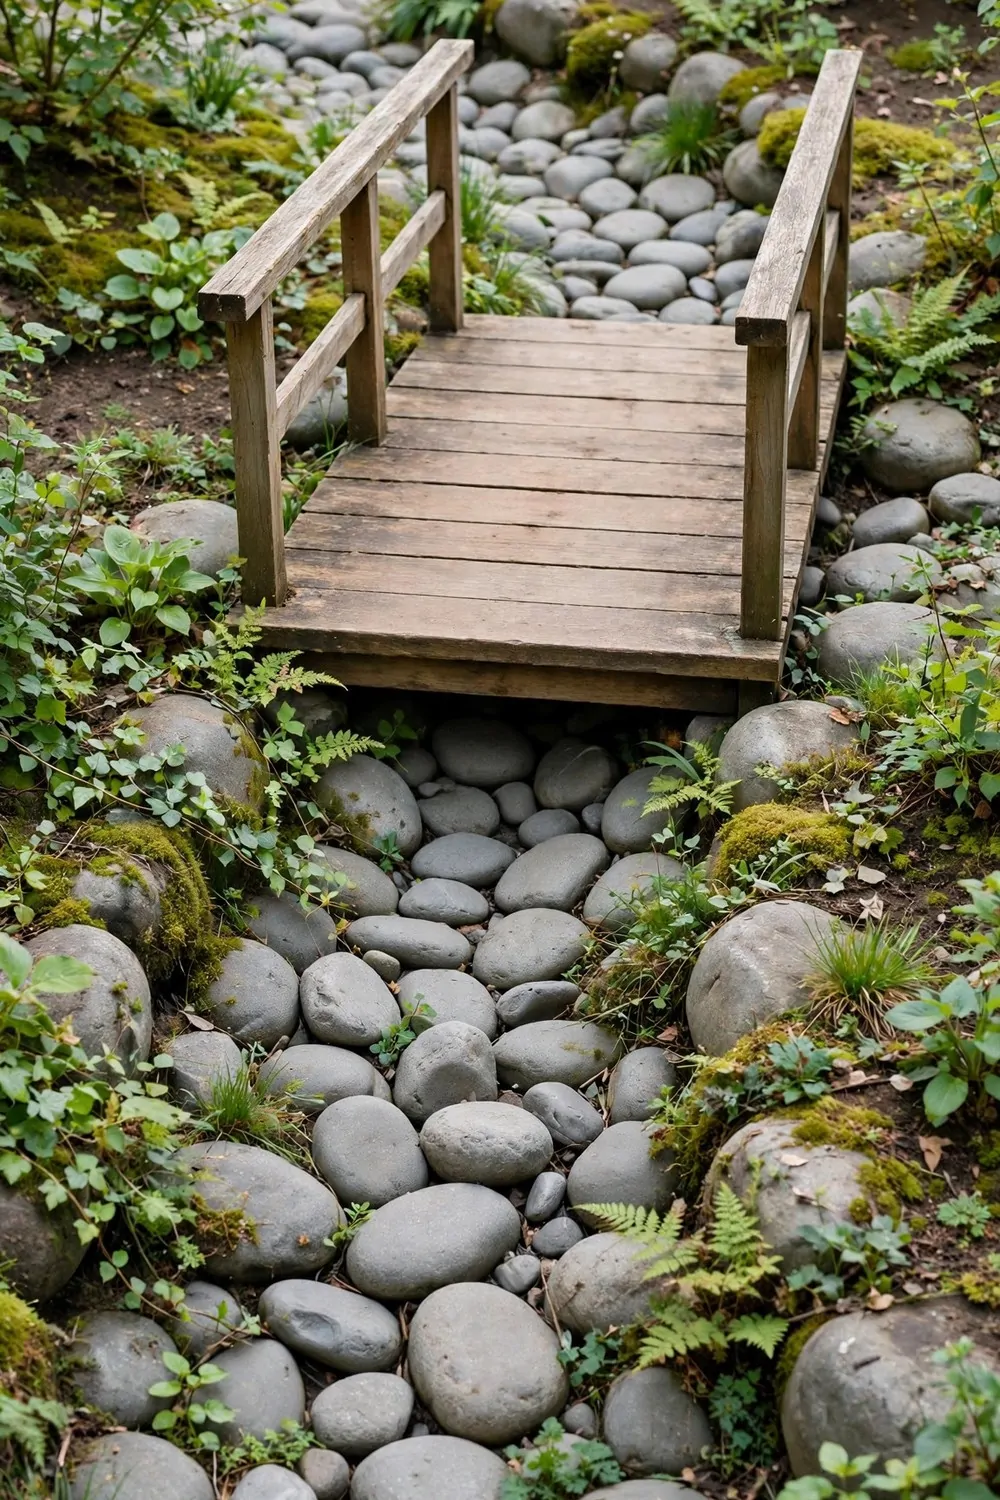
I built a small wooden bridge over a bed of dry stones. It turns a plain walk into a fun little crossing.
The bridge is short and low, just a few steps across. You do not need a big one for it to look nice.
Lay smooth round stones under the bridge first. They make a dry bed that looks like a tiny stream without any water.
I used plain wooden planks with a small gap between them. The gaps let rain fall through so the wood dries fast.
Typical cost $60 to $120.
Check the screws now and then to make sure they stay tight. A loose plank is easy to fix with one turn.
You can stain the wood a soft brown to keep it safe from rain. I used a light stain so the grain still shows.
Put a few stones at each end of the bridge. They hide the edges and make the bridge look like it belongs there.
It is a sweet spot on the path. I stop on it most days just to look at the stones below.
14. A Mosaic Tile Path in Soft Colours
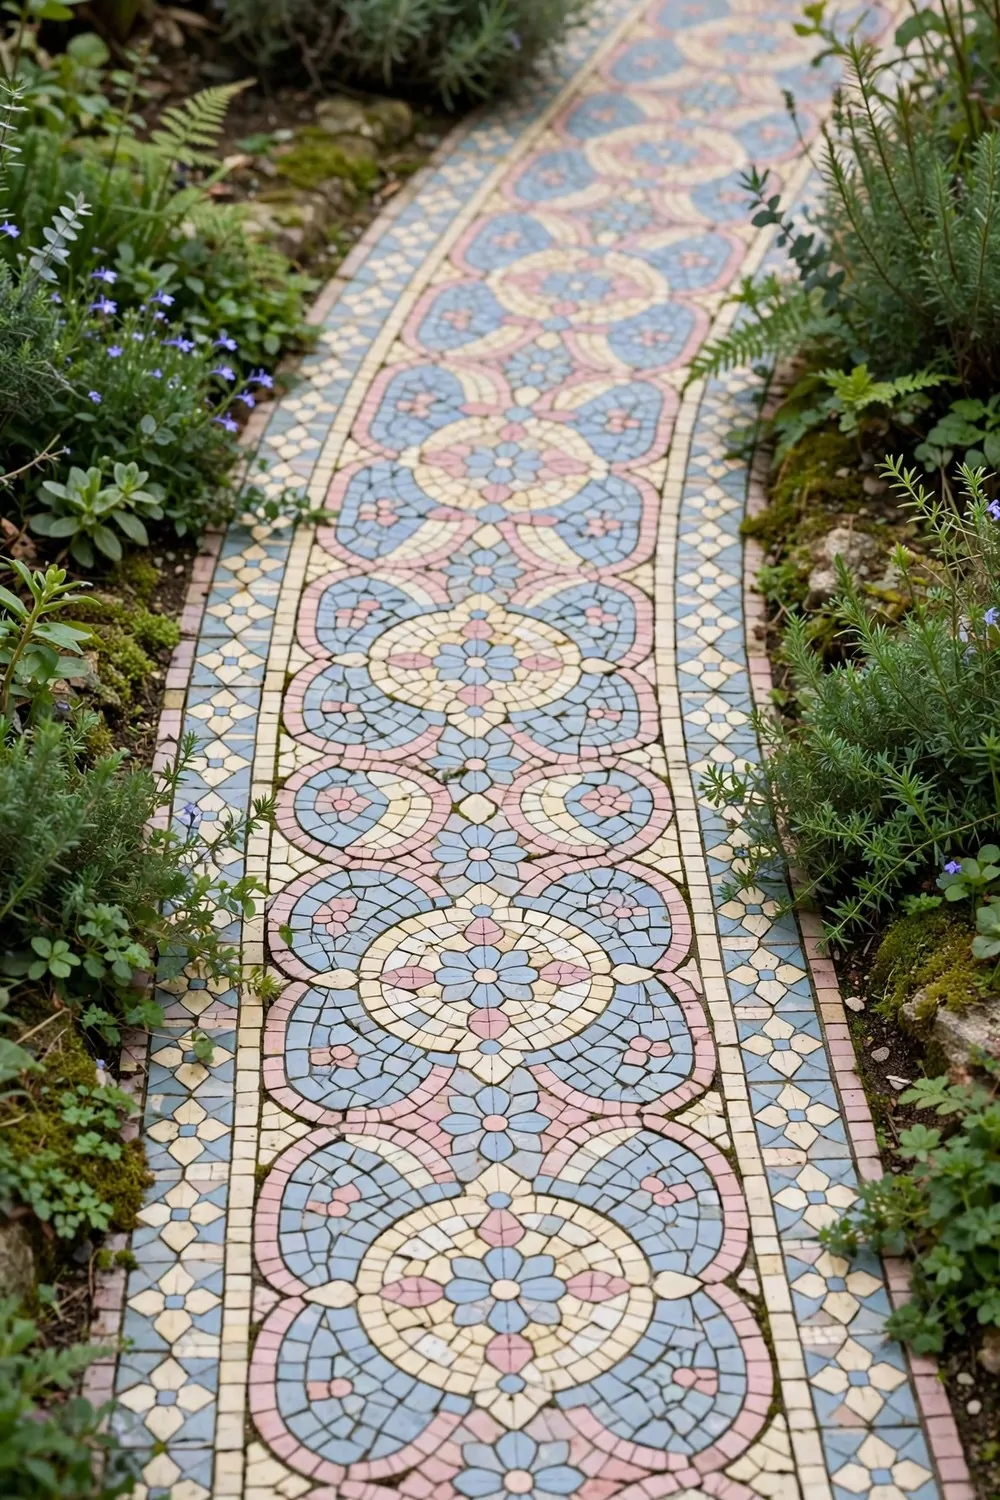
I laid a mosaic path with small tiles in soft colours. It feels like art under your feet.
The tiles are tiny pieces set close together. You can use broken tiles or buy a sheet of small ones from the shop.
Spread a thin layer of mortar on the ground first. Press each tile in gently so it sits level with the next one.
I kept my colours soft, like cream, pale blue and pink. They look calm next to the grass.
Typical cost $45 to $90.
Once the tiles are set, fill the gaps with grout. Wipe the top clean before it dries so the colours stay bright.
A mosaic path needs a sweep now and then. Dirt hides in the gaps if you leave it too long.
If one tile cracks, you can lift it out and set a new one. It is a small fix that takes ten minutes.
This path gets more compliments than any other part of my yard. I am glad I tried it.
15. A Sand Path with Plain Timber Edges
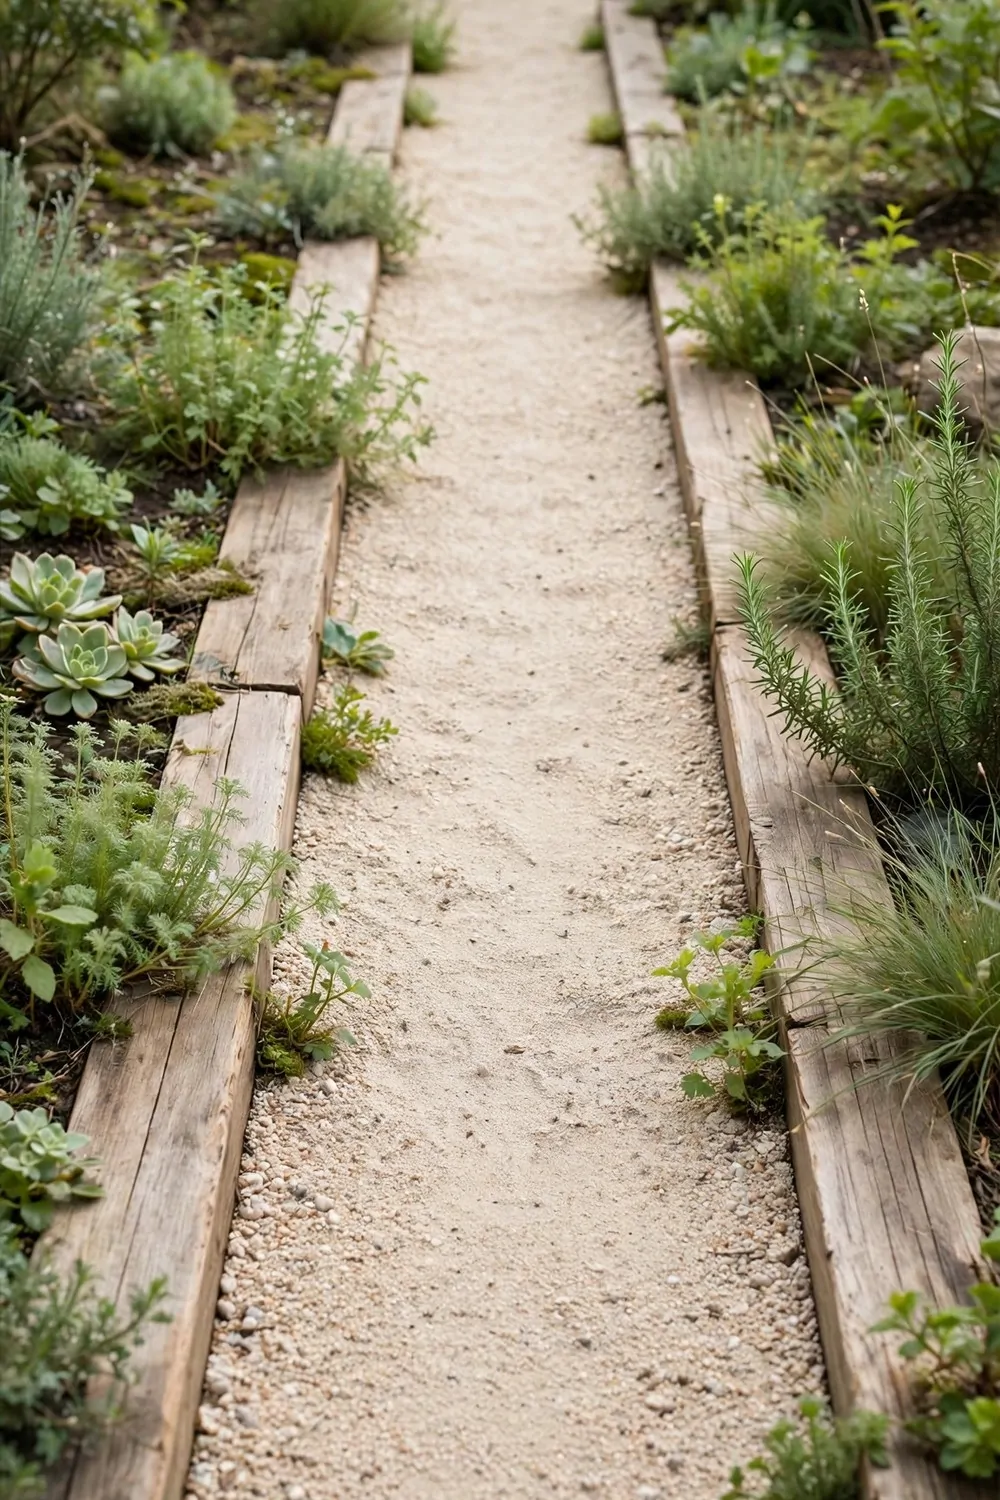
I made a sand path with plain timber boards along the sides. It feels soft under your feet and looks very natural.
The timber keeps the sand in place. Without it, the sand spreads out onto the grass after a few weeks.
Dig a shallow trench and lay a sheet of fabric down first. It stops weeds from poking up through the sand.
I used short timber boards laid flat along the sides. They sit low so they do not trip you as you walk.
Typical cost $25 to $50.
Pour the sand in and rake it flat. A little extra sand on top fills the low spots after rain.
Sweep the path once a week to keep it even. It only takes a few minutes with a stiff broom.
You can add a few flat stones in the sand for a firm step. They give you a solid spot to stand on when the sand feels soft.
This path suits a cottage style yard best. It is simple, cheap and easy to keep up.
16. A Slate Walkway in Soft Grey Tones
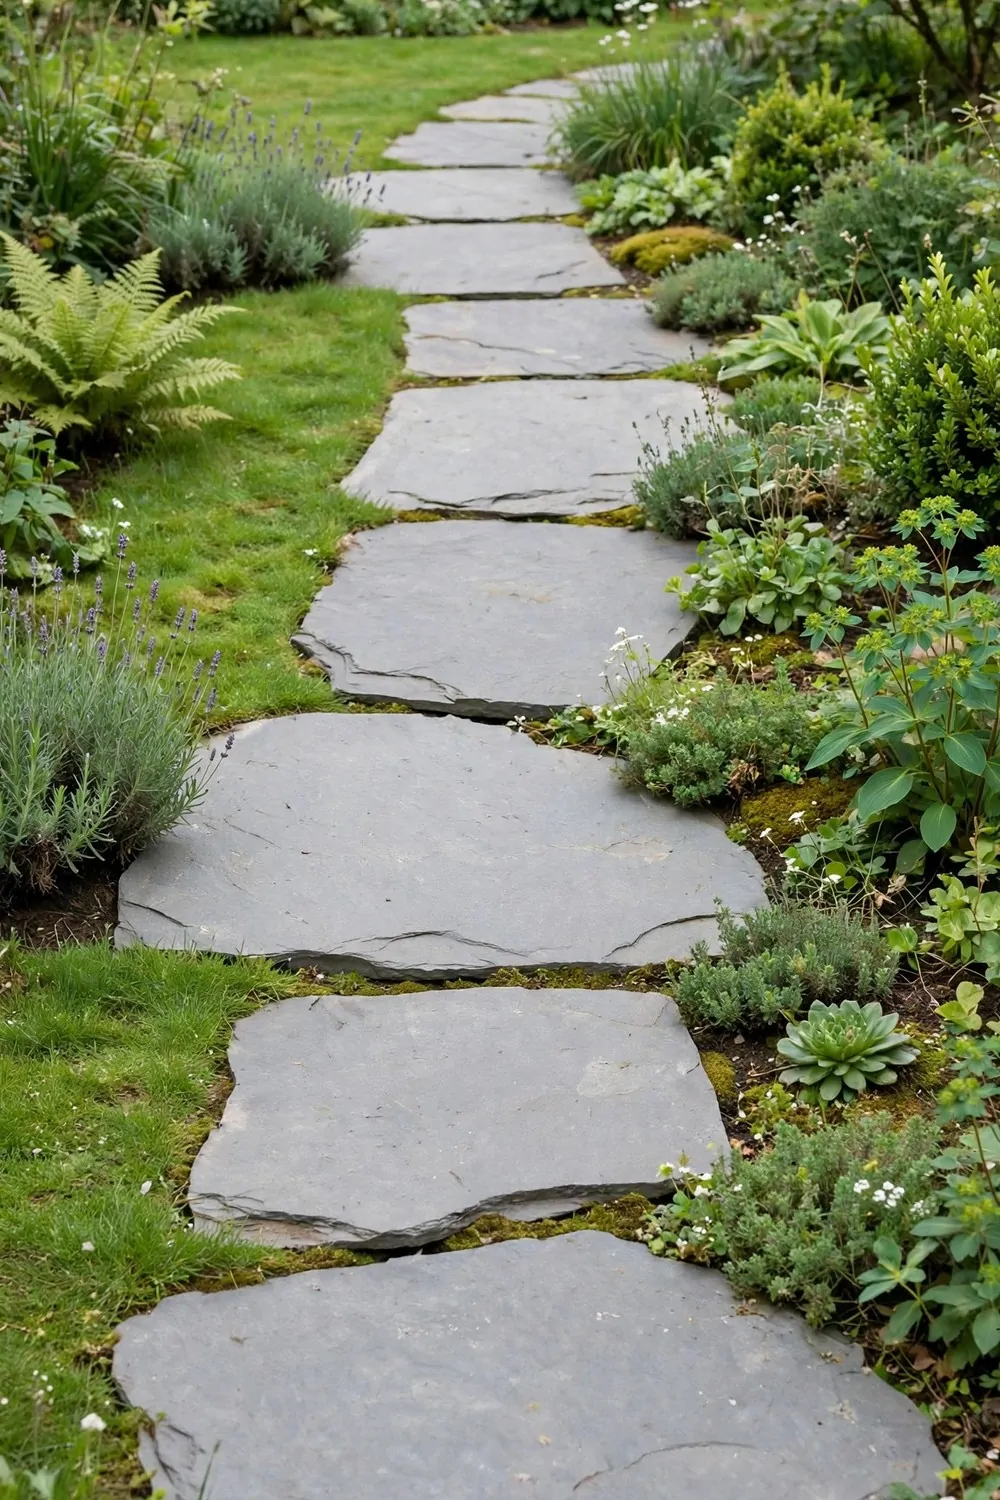
I laid a slate walkway in soft grey tones. The grey stones look cool and calm next to the green grass.
Slate comes in flat pieces that are easy to walk on. Pick pieces that are thick enough so they do not crack.
Lay the pieces with small gaps between them. Fill the gaps with sand or tiny stones so the path stays firm.
I set each piece on a bed of sand and tapped it level. A wobbly stone is no fun to step on.
Typical cost $70 to $140.
Slate can get slick when it rains, so I picked pieces with a rough face. The rough top gives your shoes a grip.
Hose the path down once a month to keep it clean. The grey tones look fresh again right away.
If a piece shifts, lift it up and add more sand under it. It takes a minute and the path is level again.
This walkway feels solid and quiet. I like how it leads you straight to the front door.
17. Potted Plants That Mark the Path Corners
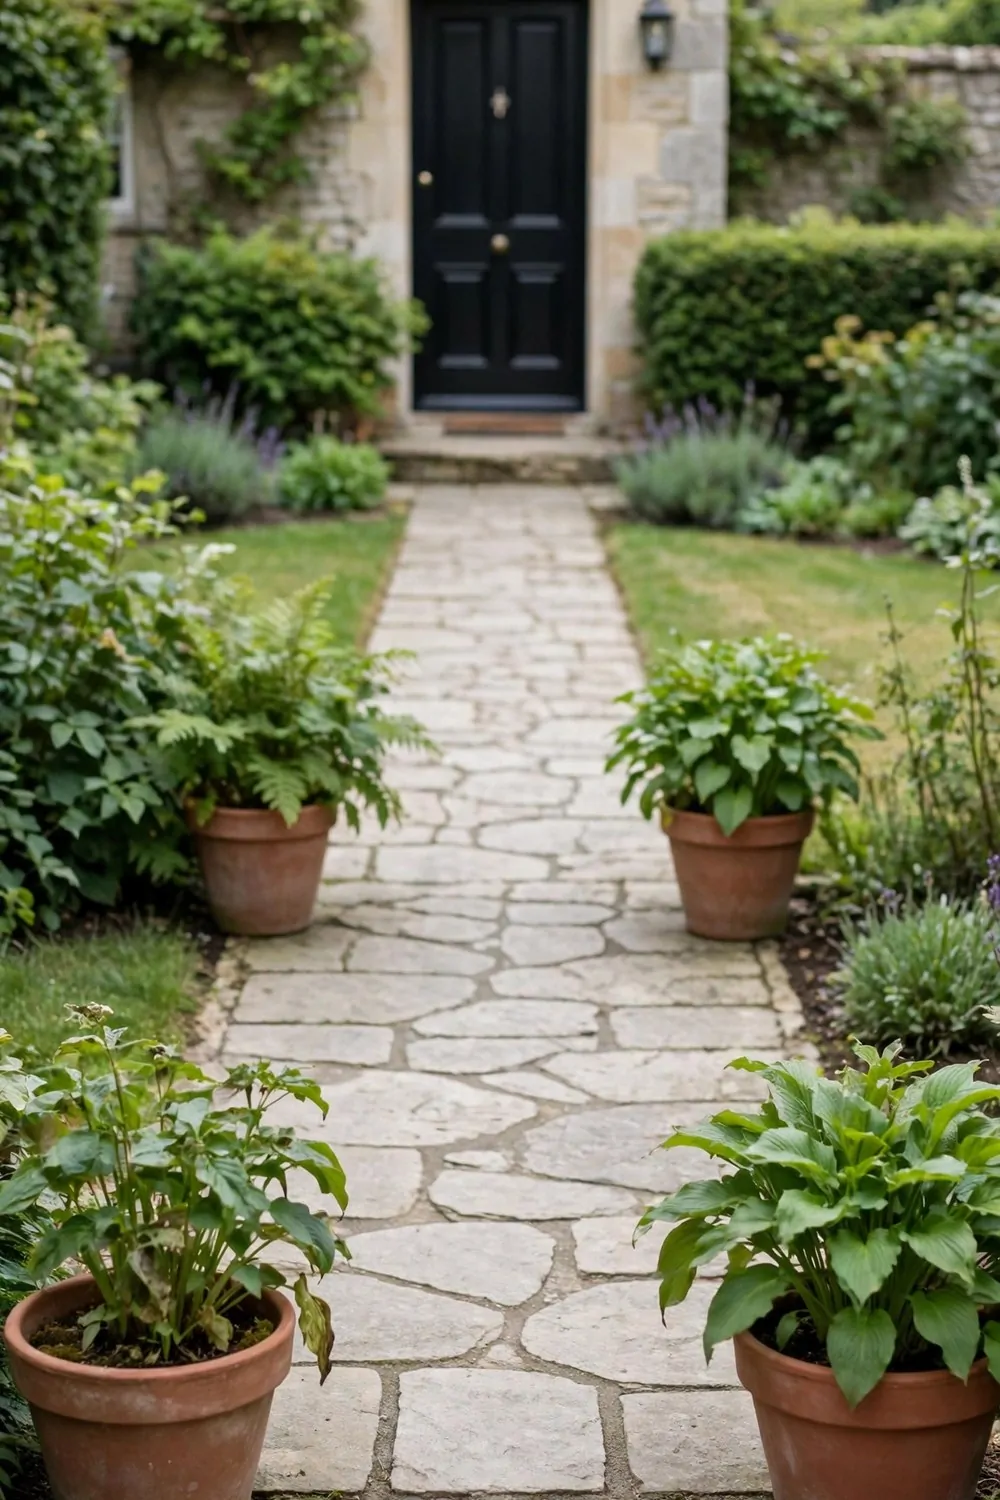
I put potted plants at the corners of my walkway. They mark the turns so you know where the path goes.
You can use big pots or small ones. I picked medium pots that are easy to move if I change my mind.
Fill each pot with fresh soil and a plant that fits the spot. I use leafy green ones that stay full all year.
Put the pots just off the path, not on it. The path stays clear and the pots do not get kicked over.
Typical cost $20 to $45.
Water the pots when the soil feels dry on top. A quick check each morning is all it takes.
If a plant grows too tall, trim it back a little. The pot should frame the path, not block it.
You can swap the plants when the season changes. I like a fresh look in spring and a fuller one in summer.
These pots make the path feel planned and loved. They are the first thing I see when I come home.
18. A Covered Walkway with a Simple Plain Roof
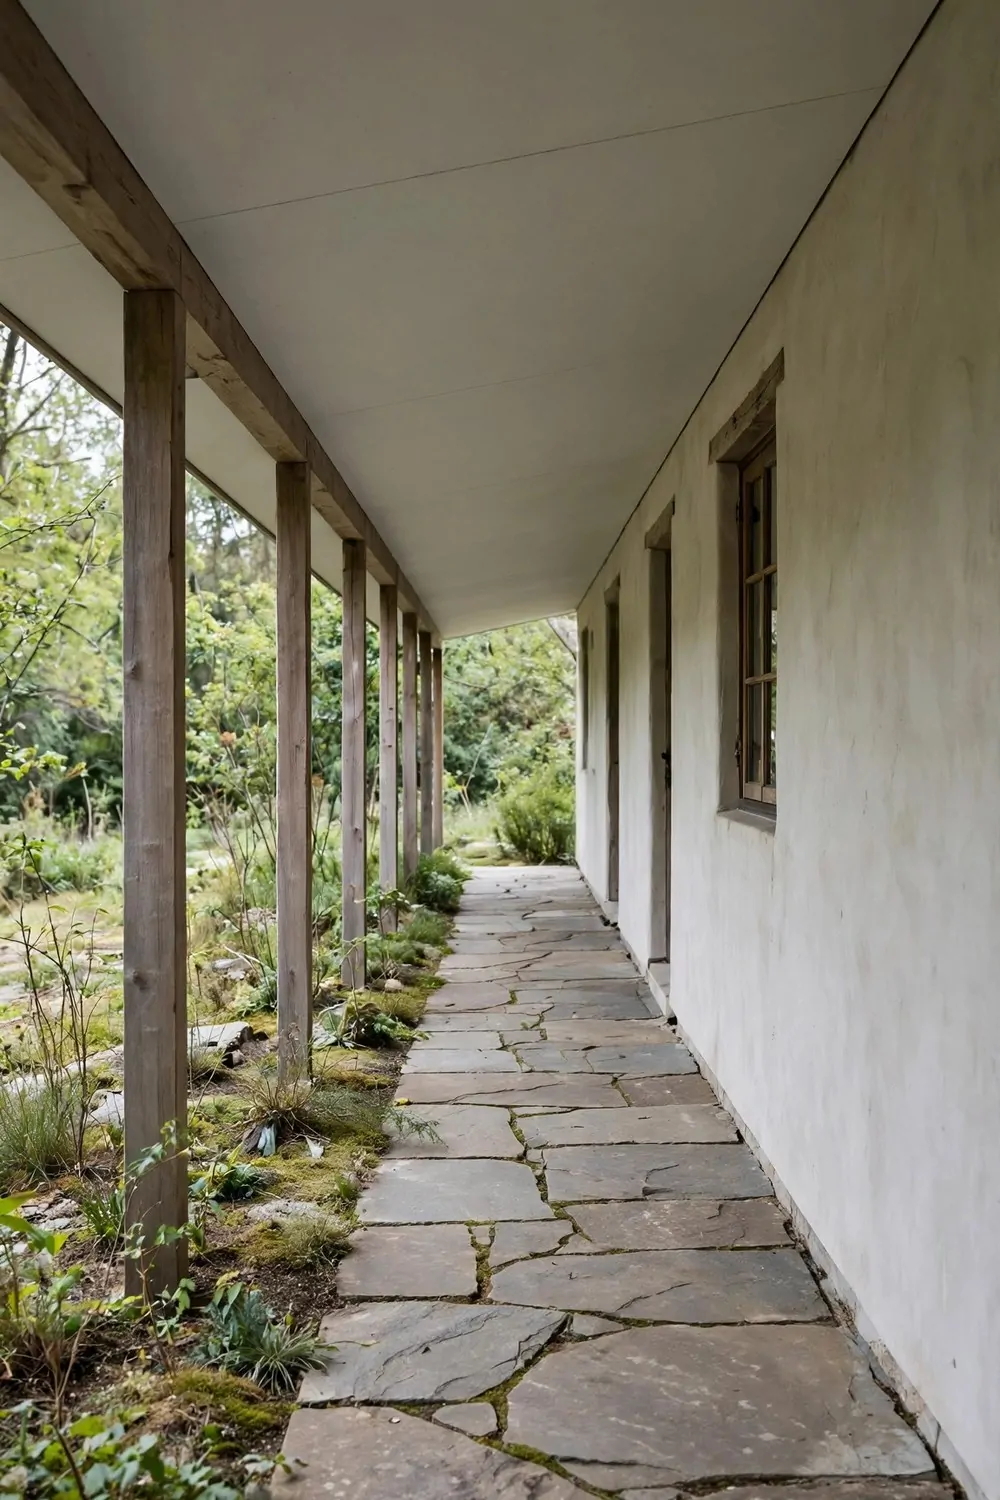
I added a simple plain roof over part of my walkway. It keeps the rain off when I walk to the door.
The roof is just a flat sheet on plain wooden posts. You do not need anything fancy for it to work well.
Set the posts firm in the ground first. They hold the roof up and keep it steady in the wind.
I used a light roof sheet in a soft white. It lets some light through so the path does not feel dark.
Typical cost $90 to $180.
Check the roof after a storm to make sure it is still tight. A loose screw is a quick fix.
You can hang a small lantern under the roof for night walks. It makes the covered path feel warm after dark.
Keep the roof clear of leaves in the fall. A pile of wet leaves can stain the sheet if you leave it.
This covered spot is my favourite part of the path now. I can walk to the door dry even in heavy rain.
19. A Small Sitting Spot Halfway Along the Path
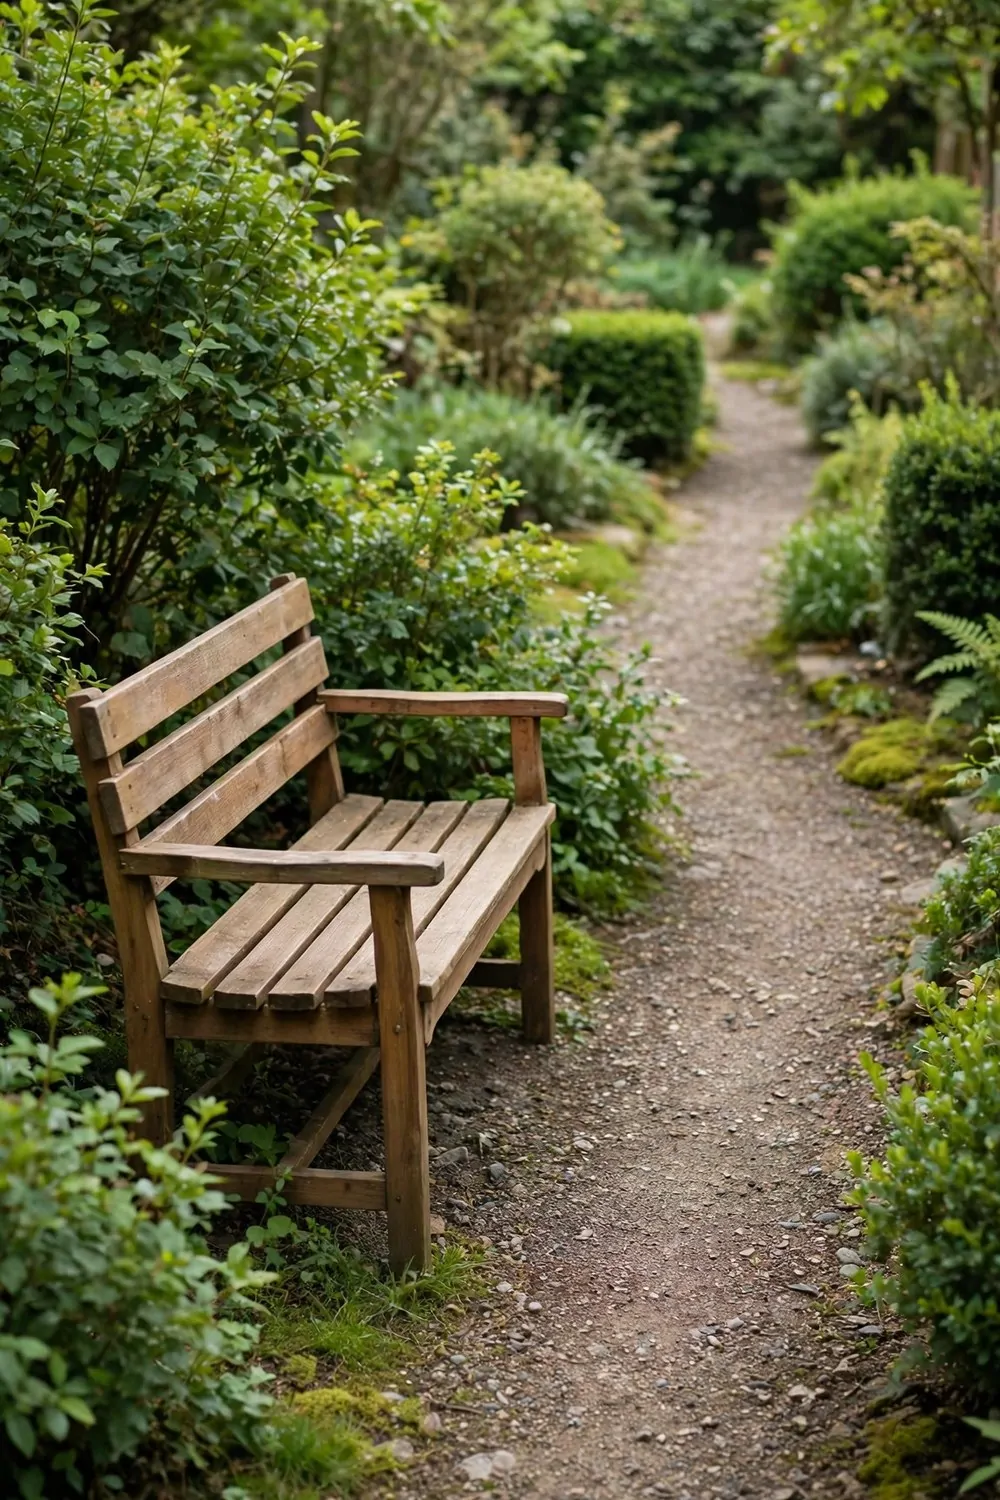
I made a small sitting spot halfway along my path. It gives me a place to rest and enjoy the yard.
The spot is just a flat patch with a bench. You do not need much room for it to feel right.
I set the bench on firm ground beside the path. The legs stay steady and the seat feels solid.
A small bench in a soft wood tone fits best. I picked one with a plain back so it looks simple.
Typical cost $40 to $85.
Put a pot or two near the bench for colour. It makes the spot feel like a little garden room.
I sit here with a cup of tea in the morning. It is quiet and the birds are out in the yard.
Keep the spot swept so leaves do not pile up. A clean bench is one you will use more often.
This sitting spot turned a plain walk into a place I love. I stop here almost every day.
20. White Gravel That Brightens a Shady Walk
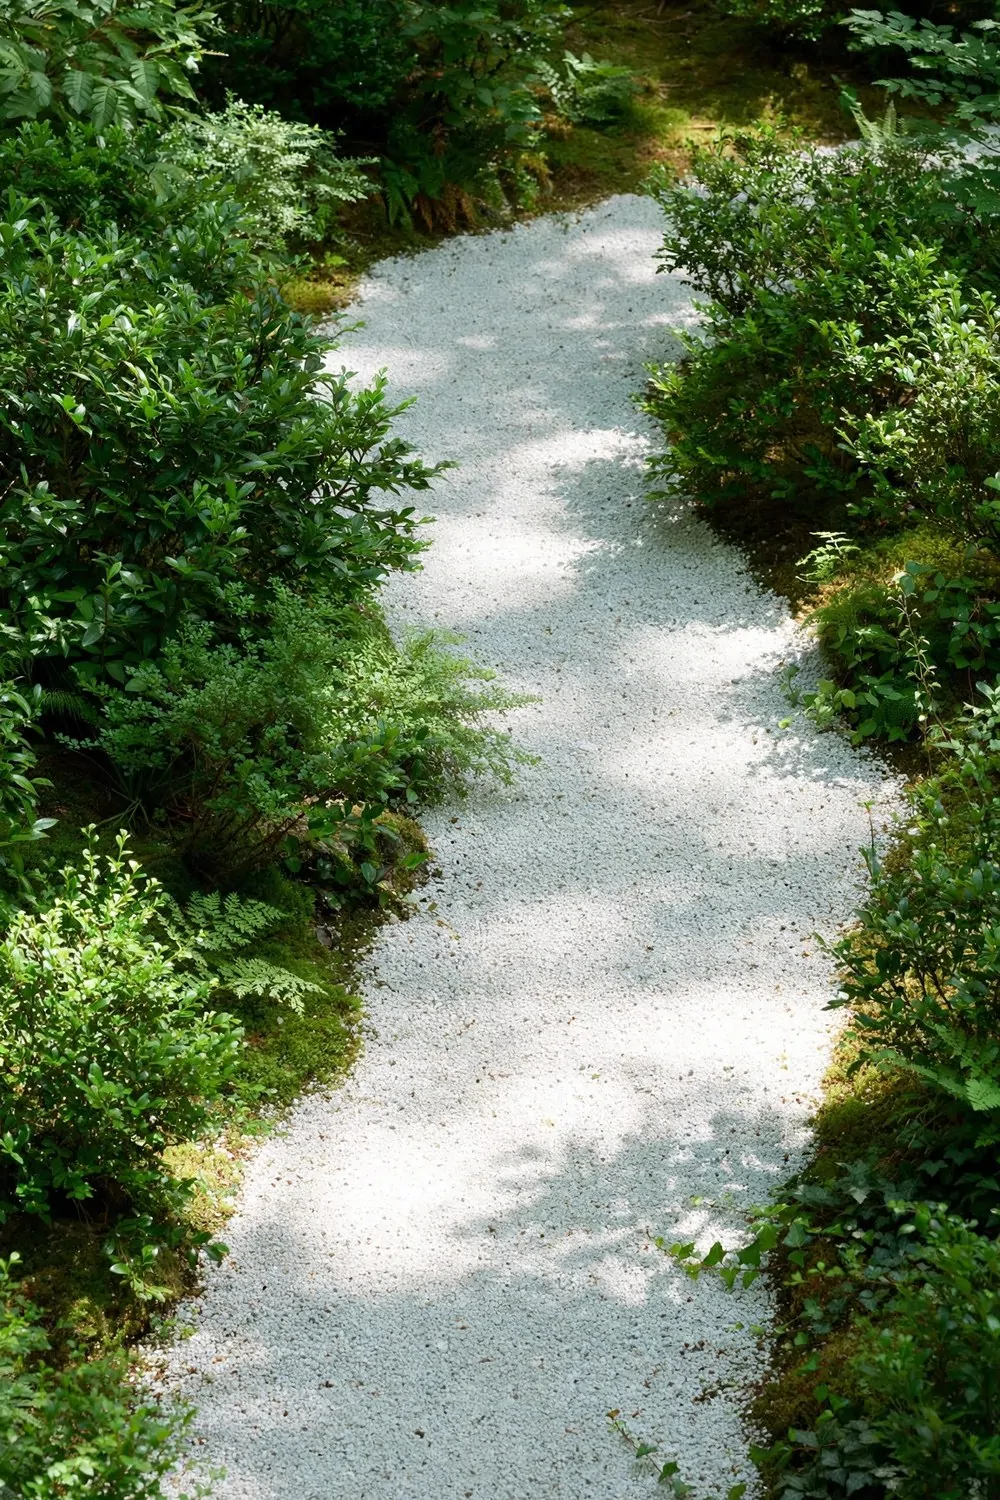
I spread white gravel on my shady walkway. The bright stones make the dark corner feel light and open.
White gravel works best where the sun does not reach. It bounces the light around and the path feels wider.
Lay a sheet of fabric under the gravel first. It stops weeds from coming up and keeps the stones clean.
I used small stones about the size of a coin. They pack down well and feel firm under your feet.
Typical cost $25 to $50.
Rake the gravel now and then to keep it even. The stones shift a little when you walk on them each day.
Add a fresh bag of gravel once a year to top it up. The path stays bright and full.
Green shrubs grow close on both sides. They hold the gravel in and keep the path looking soft.
This was the cheapest change I made to my yard. The shady walk looks fresh and bright now.
| Idea | Main change | Typical cost |
|---|---|---|
| Low Stone Edging Along the Walkway | Low flat stones set half in the ground | $30 to $55 |
| Flower Borders That Line the Path | Bright flowers in fresh soil along each side | $20 to $45 |
| A Small Wooden Bridge Over a Dry Stone Bed | Short wooden bridge over a dry stone bed | $60 to $120 |
| A Mosaic Tile Path in Soft Colours | Small soft-colour tiles set in mortar | $45 to $90 |
| A Sand Path with Plain Timber Edges | Sand over fabric with low timber edges | $25 to $50 |
| A Slate Walkway in Soft Grey Tones | Flat grey slate pieces set on sand | $70 to $140 |
| Potted Plants That Mark the Path Corners | Medium pots with leafy plants at corners | $20 to $45 |
| A Covered Walkway with a Simple Plain Roof | Flat light roof sheet on wooden posts | $90 to $180 |
| A Small Sitting Spot Halfway Along the Path | Small wooden bench on firm ground halfway along | $40 to $85 |
| White Gravel That Brightens a Shady Walk | Small white stones over fabric in shade | $25 to $50 |
| Total | $425 to $860 |
21. A Recycled Brick Path with Old Charm
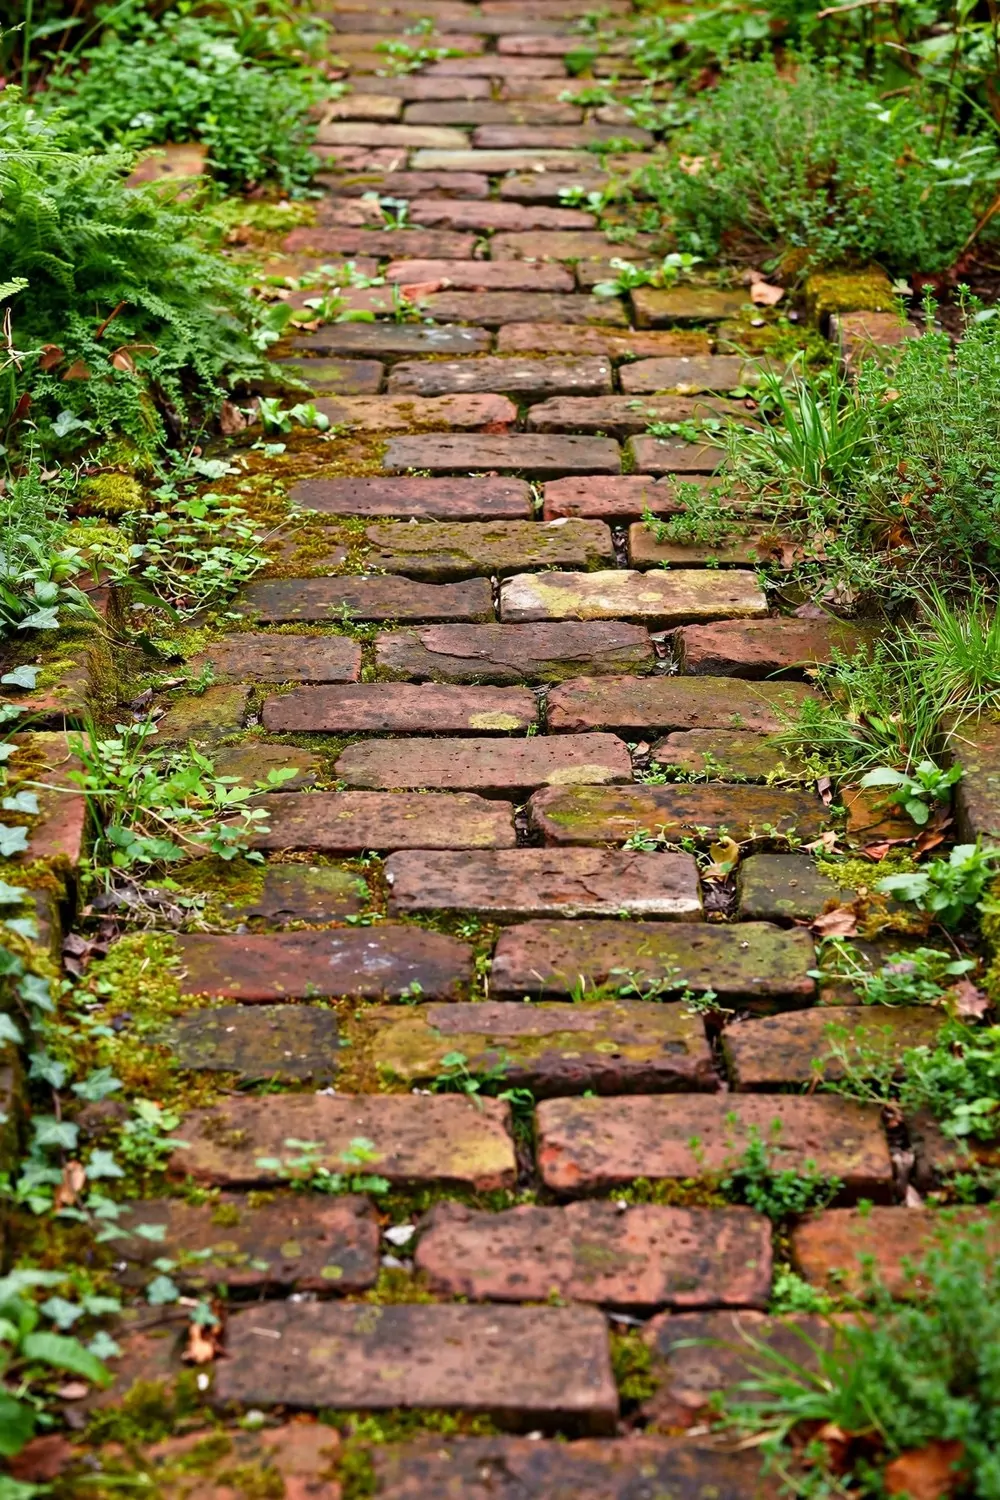
Old bricks carry a warm red tone that new stone cannot copy.
I found mine at a salvage yard, and each one had a slightly different shade.
You can lay them flat in a simple running pattern, and the gaps fill with sand.
A brick path feels solid underfoot, and it suits a cottage front yard well.
Typical cost $40 to $85.
I brush sand into the joints twice a year, and the path stays firm.
Weeds can sneak up between the bricks, so I pull them out when they are small.
A gentle curve looks softer than a straight line, and it slows your steps a little.
Wash the bricks with plain water in spring, and their warm colour comes back.
22. A Path Lined with Low Green Shrubs
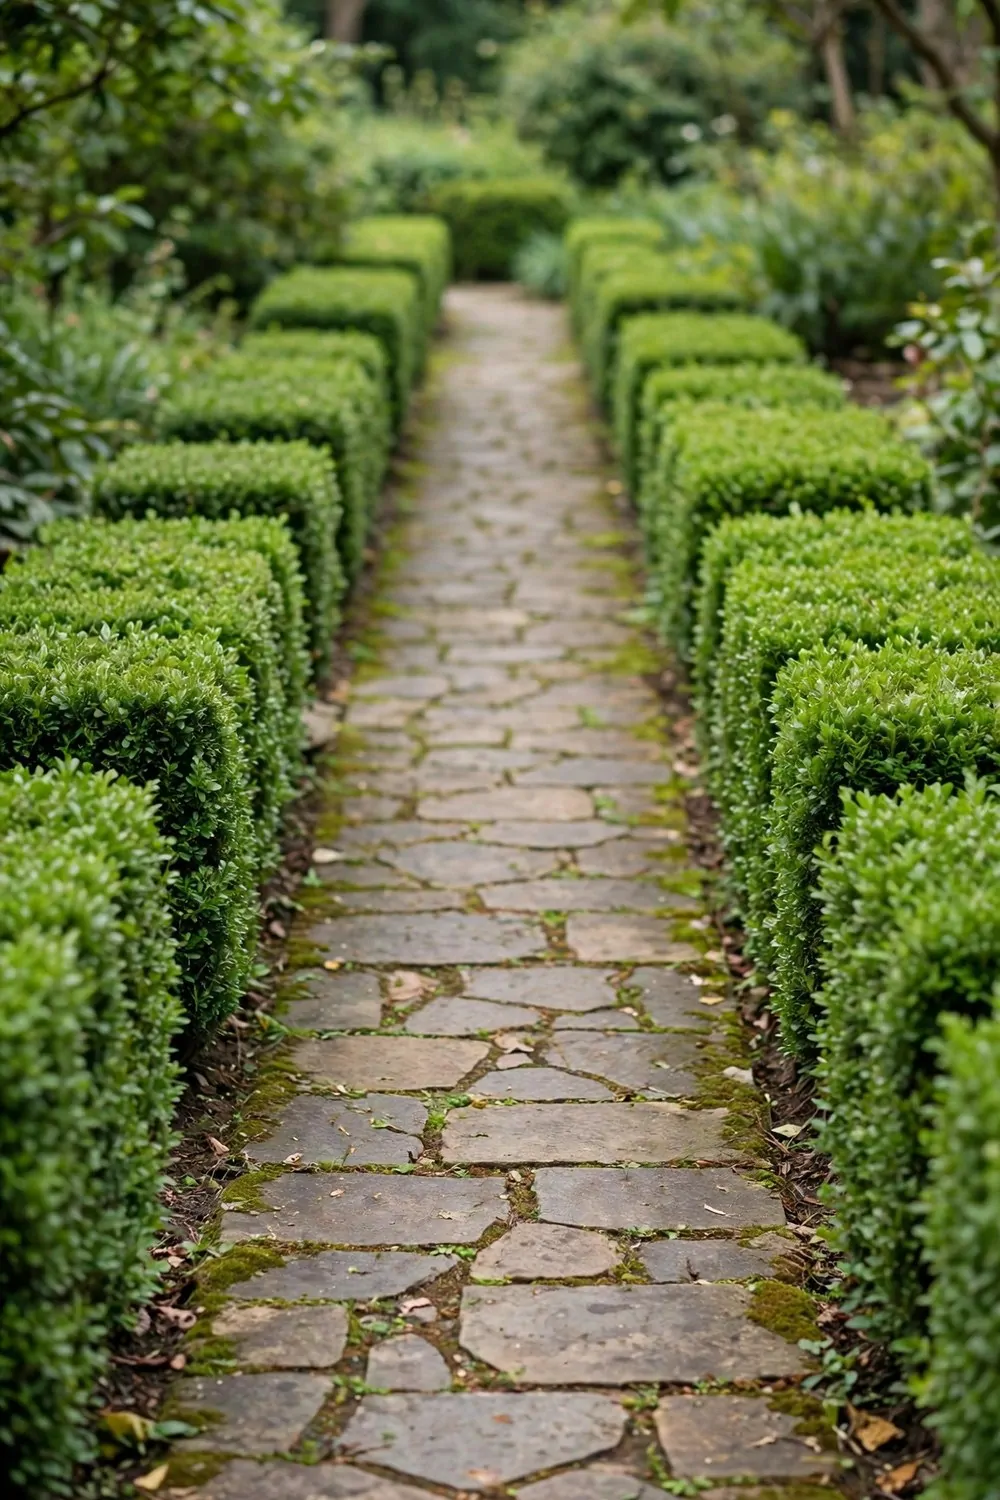
Low shrubs frame a path without blocking the view of the front door.
I picked small neat shrubs that stay tidy with one trim each spring.
You can space them a foot apart, and they soon join into a soft green edge.
They look best when all the shrubs are about the same height.
Typical cost $25 to $60.
Water new shrubs well for the first few weeks, and they settle in fast.
A layer of plain mulch round the base keeps the soil damp and the weeds down.
I trim the tops lightly in late spring, and the line stays tidy all summer.
Choose shrubs that suit your sun and soil, and they will need little care.
23. A Step Path Up a Gentle Slope
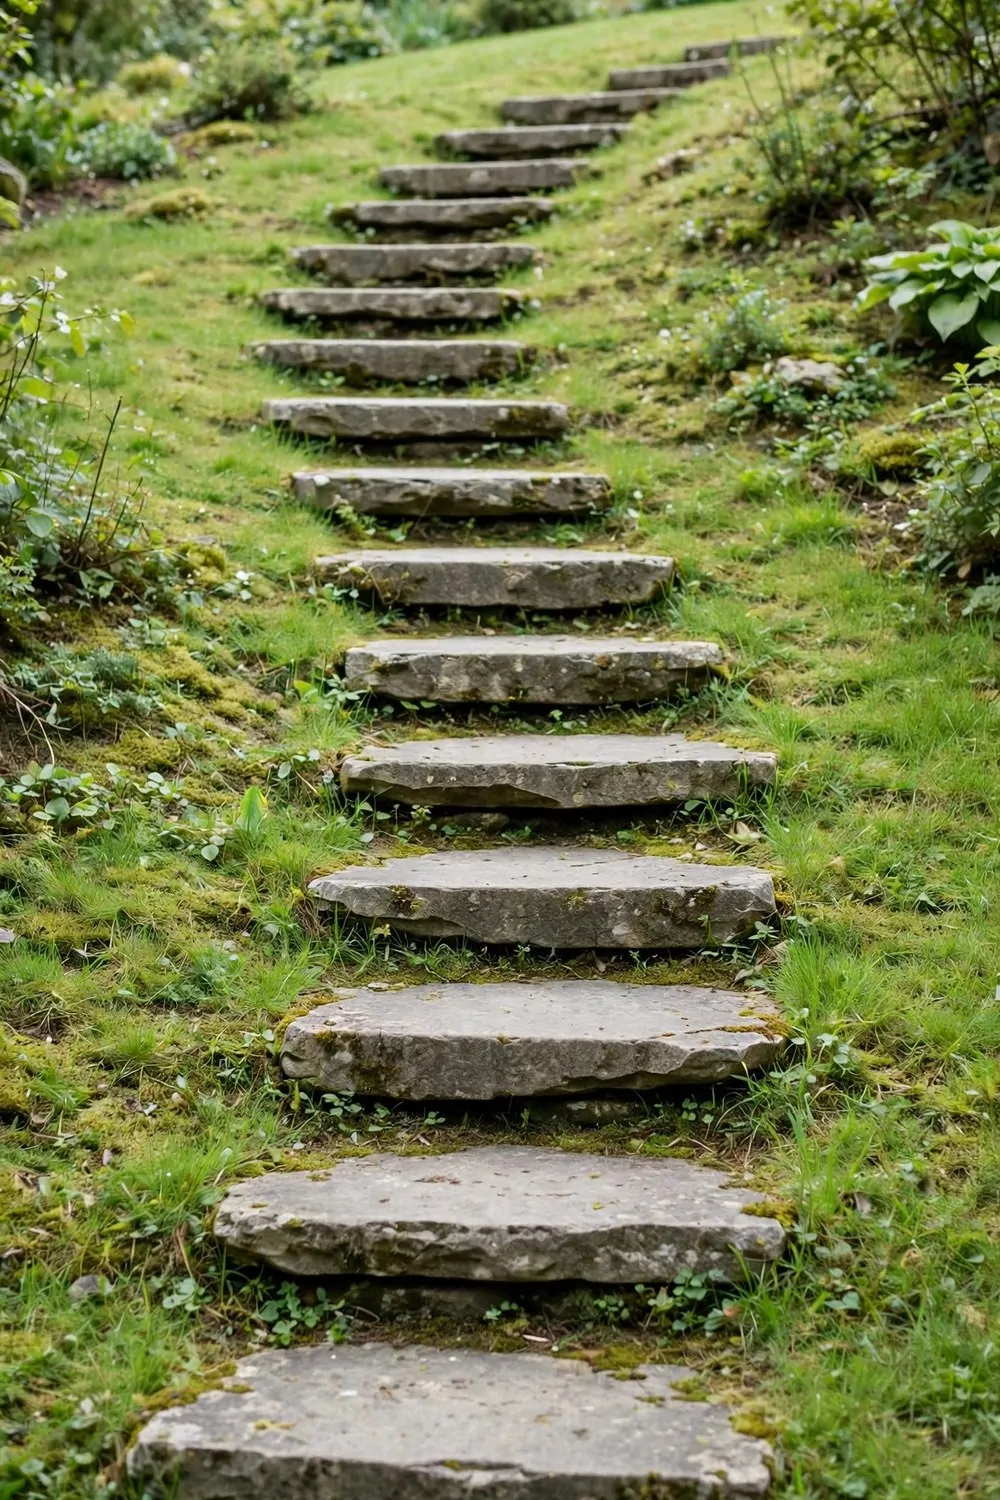
A slope can feel hard to climb, but wide flat steps make it easy.
I set each step into the earth, and I left a small rise between them.
You can use flat stone slabs, and each one makes a firm place to stand.
Keep the steps even, and your feet will find a steady rhythm on the climb.
Typical cost $60 to $140.
A handrail on one side helps on wet days, and it suits older guests too.
I pack soil round each slab, and the steps stop shifting after rain.
Plant low green tufts along the edges, and the steps blend into the slope.
Check the steps each spring, and reset any slab that has tipped a little.
24. Warm Lanterns That Light the Walkway at Night
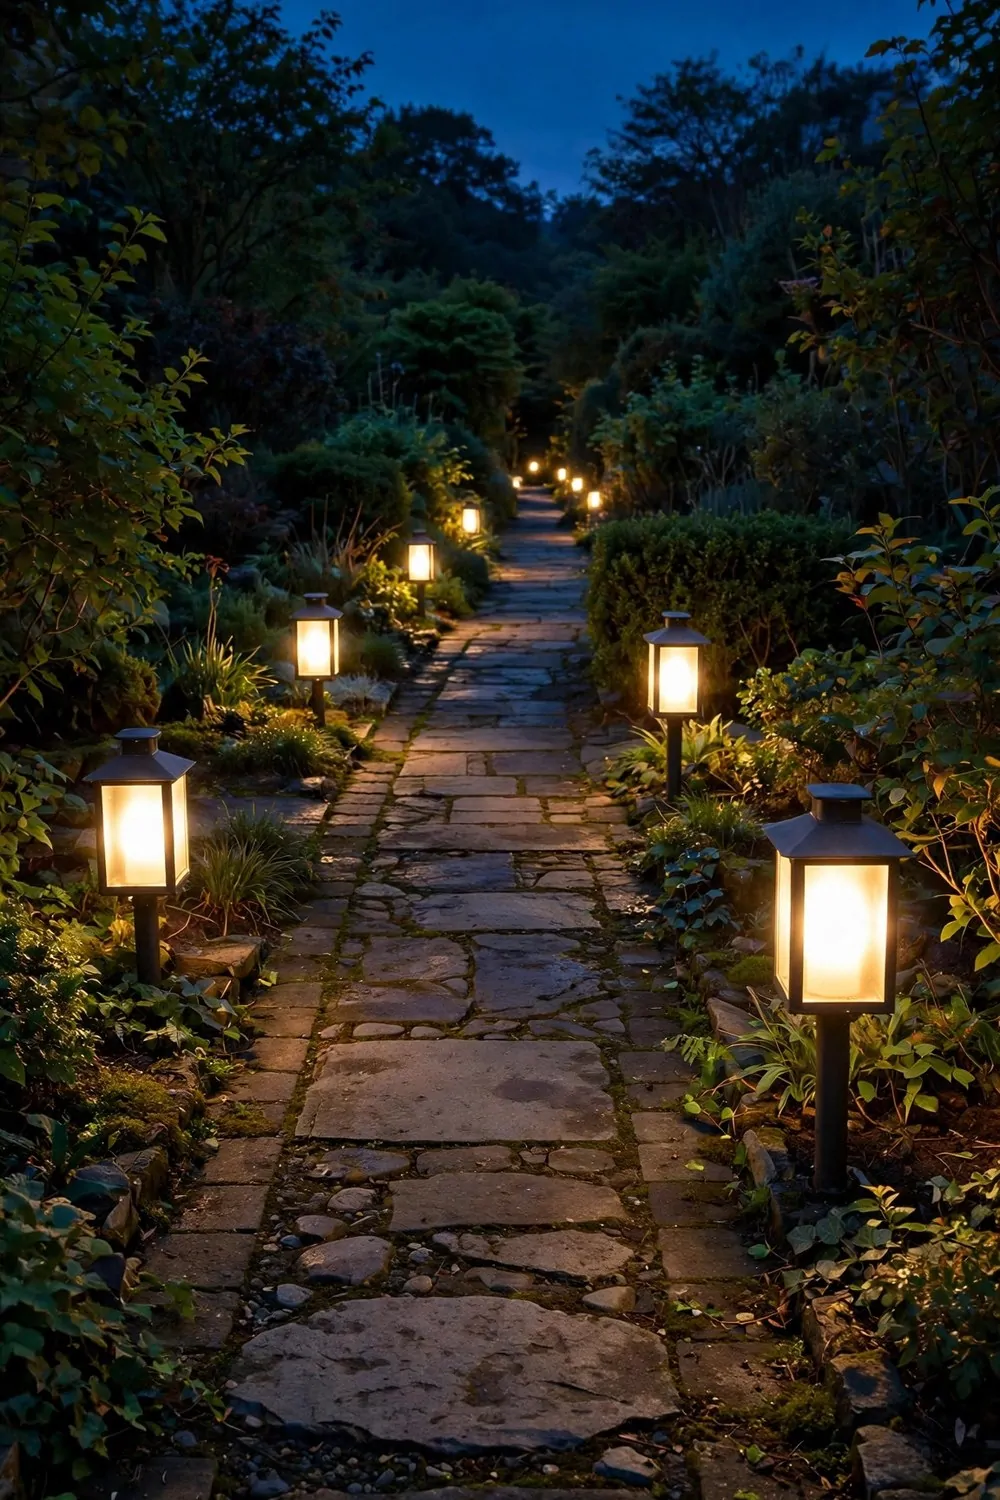
Warm light turns a dark path into a soft glow that guides you home.
I set small lanterns along both sides, and the walk feels safe after dusk.
You can pick solar lanterns, and they charge all day with no wires at all.
Keep the light low and warm, and it will not glare in your eyes.
Typical cost $30 to $75.
Space the lanterns a few feet apart, and the pools of light will join up.
I wipe the glass clean each month, and the glow stays bright and clear.
A lantern by the gate marks the start of the path, and one by the door marks the end.
Bring the lanterns in during a hard frost, and they will last for years.
25. A Walkway Starter Kit on a Budget
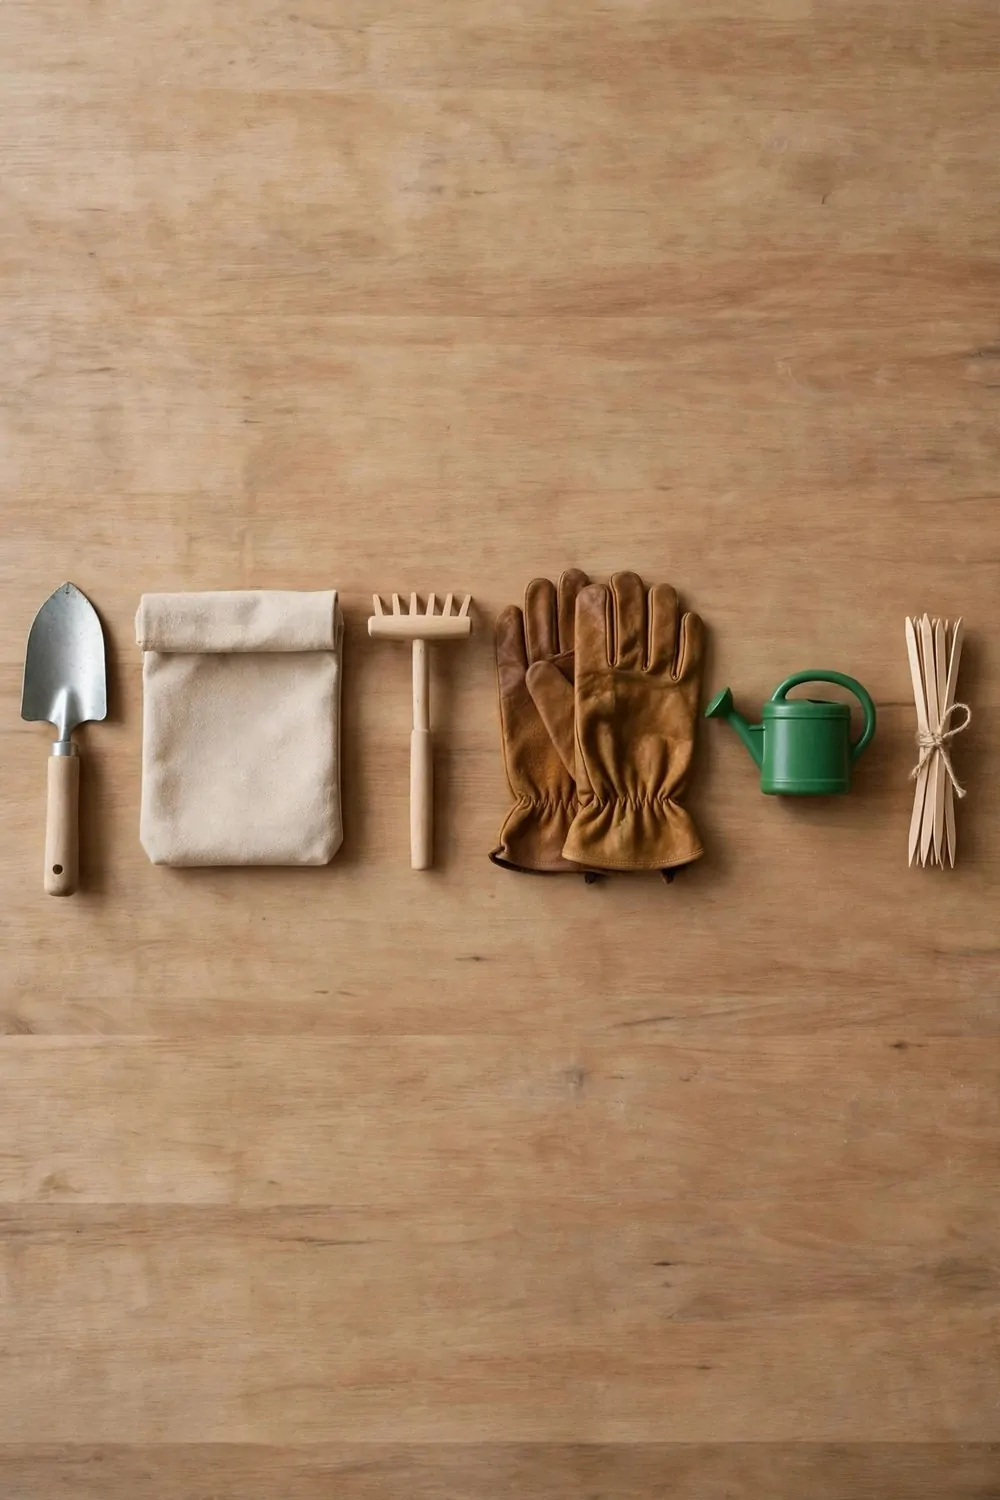
A small plain metal garden spade, a plain canvas tool bag, a small plain wooden garden rake, a pair of plain leather work gloves, a small plain plastic watering can, and a small plain wooden plant marker set make a simple starter kit for your walkway.
I keep all six pieces in one bag by the back door, and I grab it when I head out.
The spade cuts a neat edge along the path, and the rake clears leaves in minutes.
Gloves keep your hands clean while you pull weeds, and the can waters new plants by the path.
Plant markers help you recall what you set where, and they stop you from digging up new shoots by mistake.
You can build this kit a piece at a time, and each piece costs only a few dollars.
Store the bag in a dry spot, and the tools will stay in good shape for years.
Typical cost $6 to $10 for the garden spade, $8 to $12 for the tool bag, $7 to $11 for the garden rake, $5 to $8 for the work gloves, $6 to $9 for the watering can, and $4 to $6 for the plant marker set, for a total of $36 to $56.
Lay one stone this weekend, step back, and let a plain path make coming home feel a little warmer each day.
| Idea | Main change | Typical cost |
|---|---|---|
| a small plain metal garden spade | Dig a neat edge along the path with a small spade | $6 to $10 |
| a plain canvas tool bag | Carry small path tools in a plain canvas bag | $8 to $12 |
| a small plain wooden garden rake | Rake loose leaves off the path with a small rake | $7 to $11 |
| a pair of plain leather work gloves | Keep your hands clean with plain leather gloves | $5 to $8 |
| a small plain plastic watering can | Water new plants by the path with a small can | $6 to $9 |
| a small plain wooden plant marker set | Mark new plants by the path with plain markers | $4 to $6 |
| Total | $36 to $56 |
Keep Reading
If you liked these ideas, you will love these posts too
Each post has more simple ideas you can try at home this weekend.