34 Toy Storage Ideas That Make Clean-Up Fast and Fun

Last Tuesday I got up in the dark to get a glass of water and stepped on a toy brick with my bare foot. I hopped around the hallway on one leg and whispered words I will not repeat here.
The next morning I looked at my living room floor and saw the real problem. There were blocks by the sofa, a puzzle under the coffee table, and little figures lined up along the wall like tiny guards.
I had tried the big toy box before. Everything went in, nothing came back out, and my kids just tipped the whole thing over when they wanted one small thing.
So I started looking for a better way. Not a perfect showroom. Just a home where toys have a real home of their own and clean up does not take an hour.
What I found surprised me. The best toy storage is simple, low, and easy for little hands to reach. When kids can see their toys and put them back alone, they actually do it.
Some ideas cost almost nothing. Some take a small shelf or a few bins. All of them make the room calmer and the floor safer for bare feet at night.
In this post you will find all 34 toy storage ideas in one place, and every one of them makes clean up faster and more fun for the whole family.
1. Low Open Bins on a Shelf
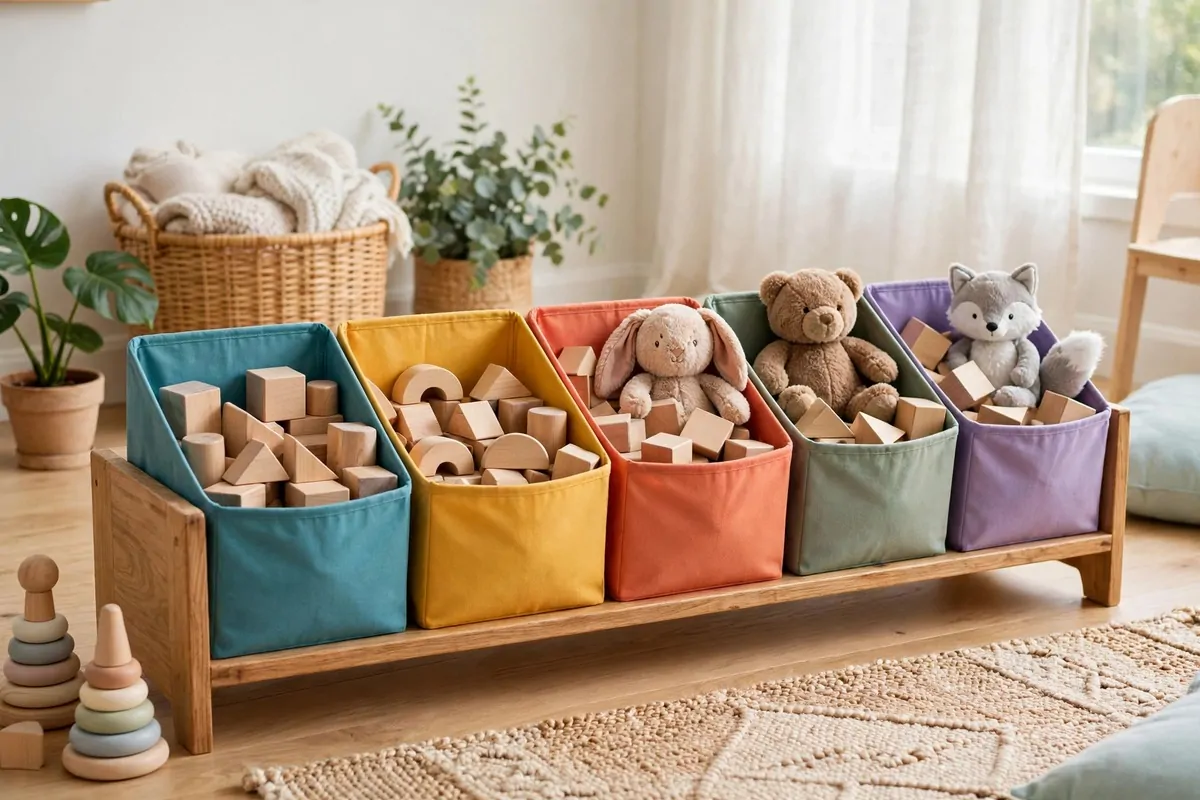
A low shelf with open bins is the easiest place to start. Kids can see what is inside and grab what they want without asking you.
Put the shelf at your child’s knee height. If they have to climb or stretch, the bins will not get used.
Choose bins that are wide and not too deep. A bin that is too deep becomes a black hole where small toys go to hide.
Keep one kind of toy in each bin. Blocks in one, cars in another, and dolls in a third.
Let your child help pick the bins. When they choose the color, they feel like the shelf belongs to them.
Clean up turns into a simple game. You call out the bin, and your child drops the toys in like they are scoring a goal.
Do not fill the bins to the top. A bin that is half full is much easier for small hands to dig through.
Wipe the bins once a week with a damp cloth. Sticky fingers leave marks fast, and a clean bin looks more inviting.
Start with three or four bins. You can always add more later when you see what your child actually plays with most.
2. A Toy Box with a Soft Lid
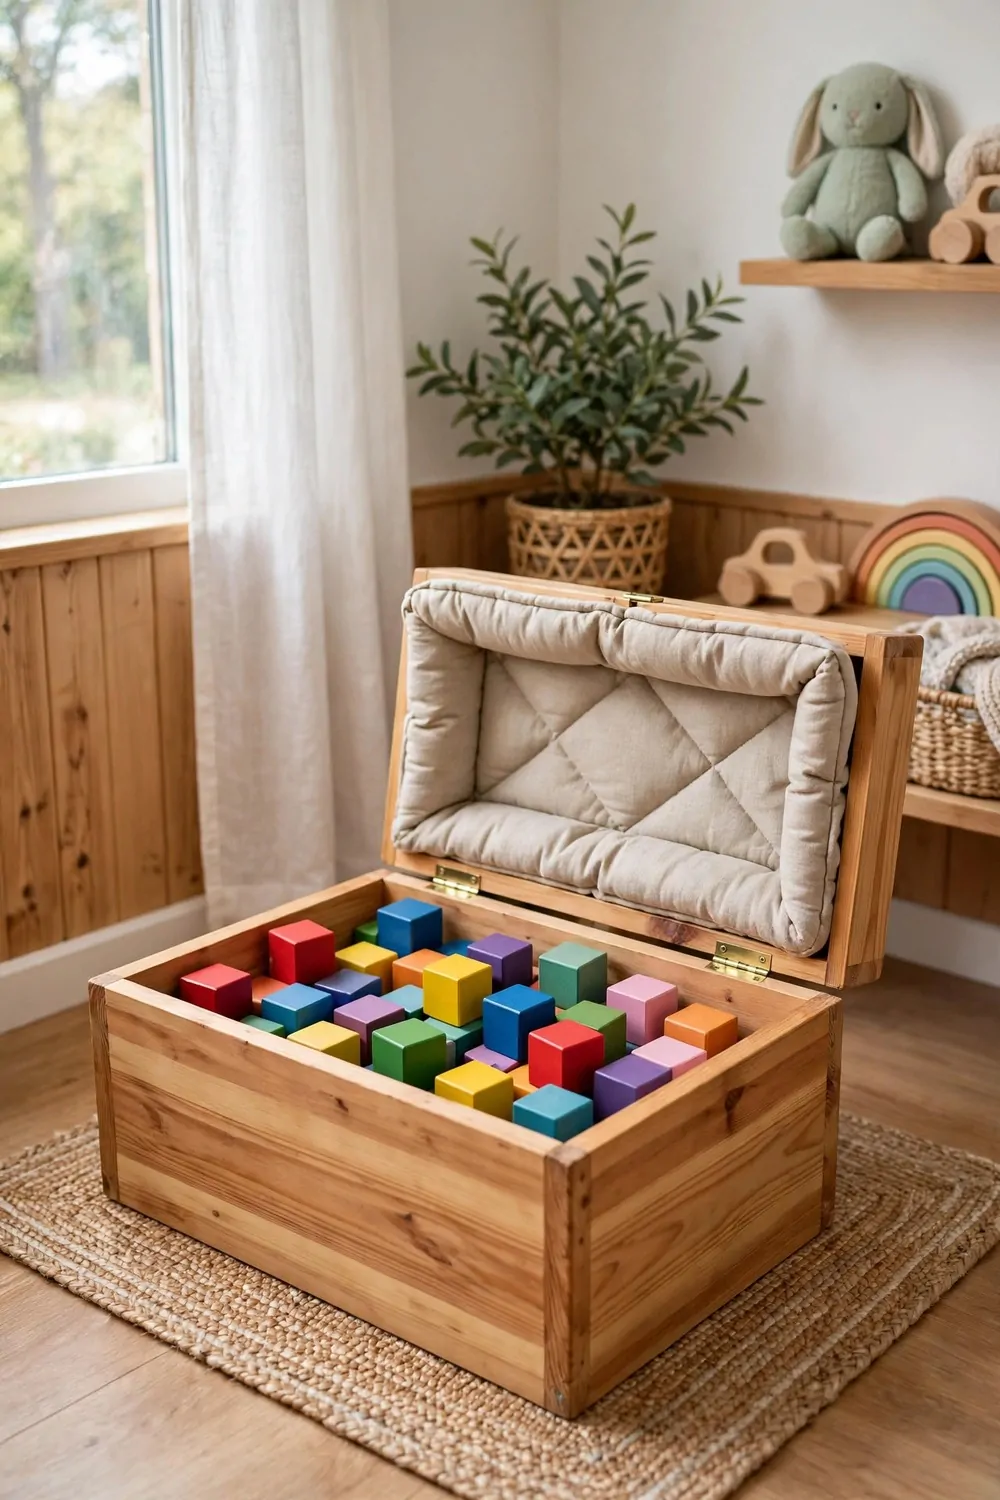
A toy box with a soft lid is a classic for a reason. It holds a lot, and it hides the mess in one quick move.
Pick a lid that closes slowly and gently. Little fingers get pinched by heavy lids, and nobody wants that.
Put the box in a corner where it does not block the walkway. A box in the middle of the room becomes a thing to trip over.
Use it for the big soft toys that do not fit in bins. Stuffed animals and big balls live happily in a toy box.
Teach your child the one rule. When the lid goes up, toys go in. When the lid goes down, play time is done.
I like to put a small cushion on top of the box. Then it doubles as a seat when friends come over.
Do not use the box as a junk drawer for broken toys. If a toy is broken, fix it or let it go.
Check the hinges every few months. A wobbly hinge makes the lid slam, and that scares little kids.
A toy box works best when it is not the only storage in the room. Pair it with a shelf or a few bins, and the room stays tidy all week.
3. Clear Bins So Kids See Inside
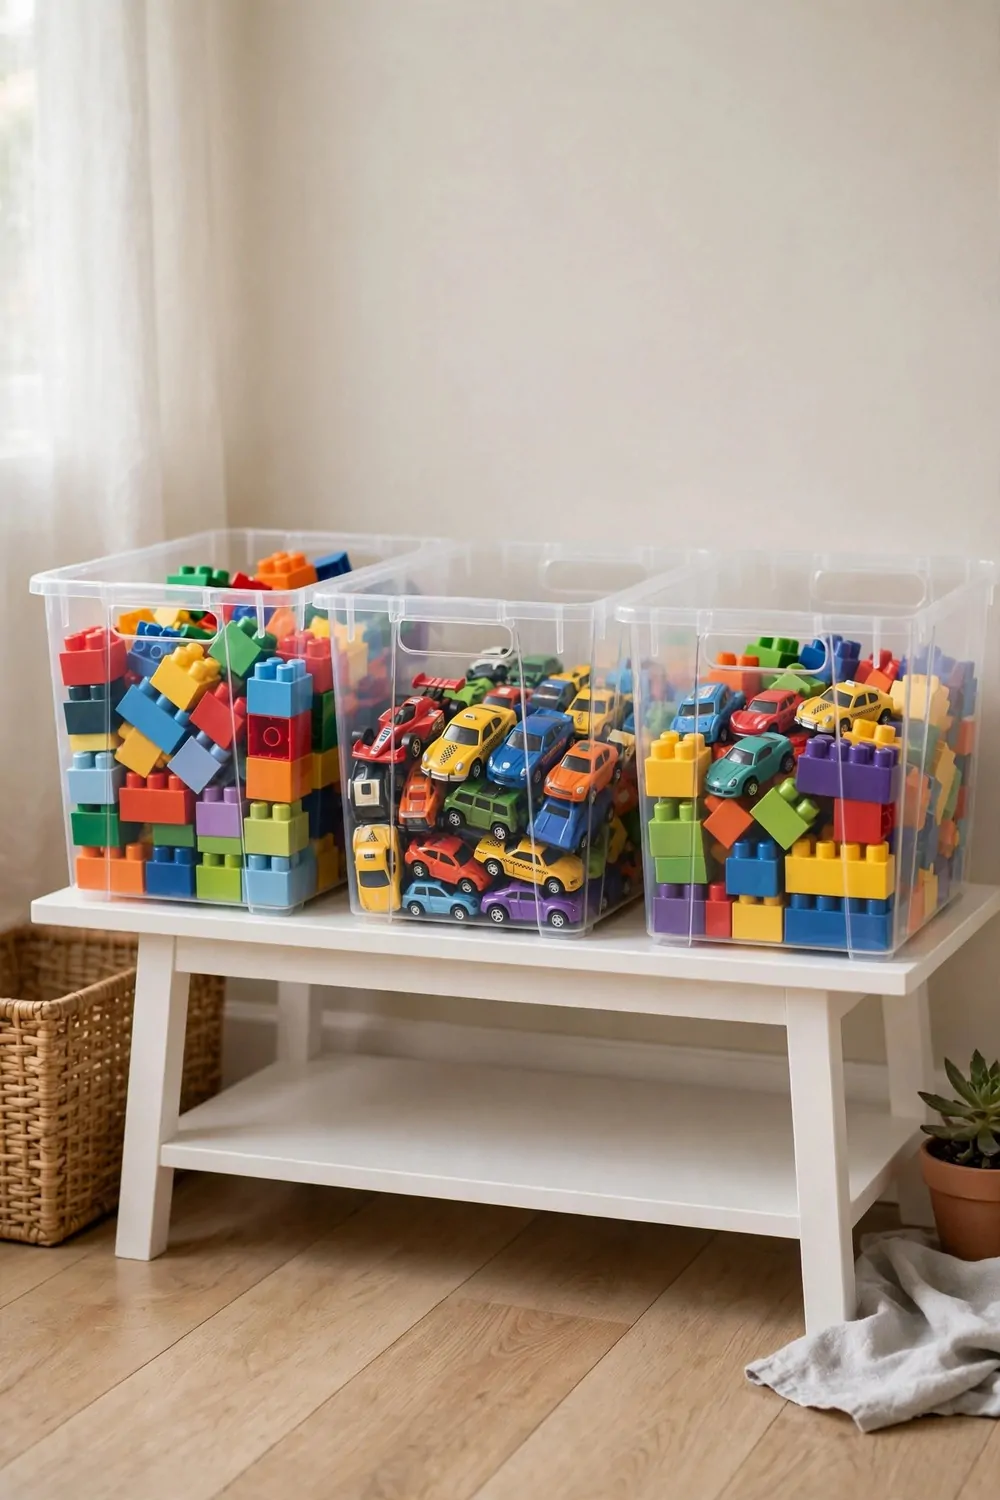
Clear bins take away the guessing game. Your child looks at the bin and knows right away what is inside.
This one trick cut our clean up time in half. No more opening five bins to find one lost puzzle piece.
A small open bin often costs $10 to $25. A clear bin set often costs $20 to $45. A woven basket often costs $15 to $35.
| Type | Typical cost |
|---|---|
| Small open bin | $10 to $25 |
| Clear bin set | $20 to $45 |
| Woven basket | $15 to $35 |
Stack the clear bins on a low shelf so the labels face out. Kids read pictures faster than words, so a photo on the front helps a lot.
Use clear bins for the small stuff that gets lost. Tiny figures, beads, and puzzle pieces stay visible and easy to find.
Keep the lids off the everyday bins. A lid is one more step, and kids will skip it and leave the toys on the floor instead.
Wash the bins with warm soapy water when they get cloudy. A clear bin only works when you can actually see through it.
Buy the same size bin for the whole shelf. Matching bins look calm, and they stack neatly when you need the space.
Keep one clear bin free for the toy of the week. Your child picks the favorite, and it gets the best spot on the shelf.
4. Labeled Baskets on Low Shelves
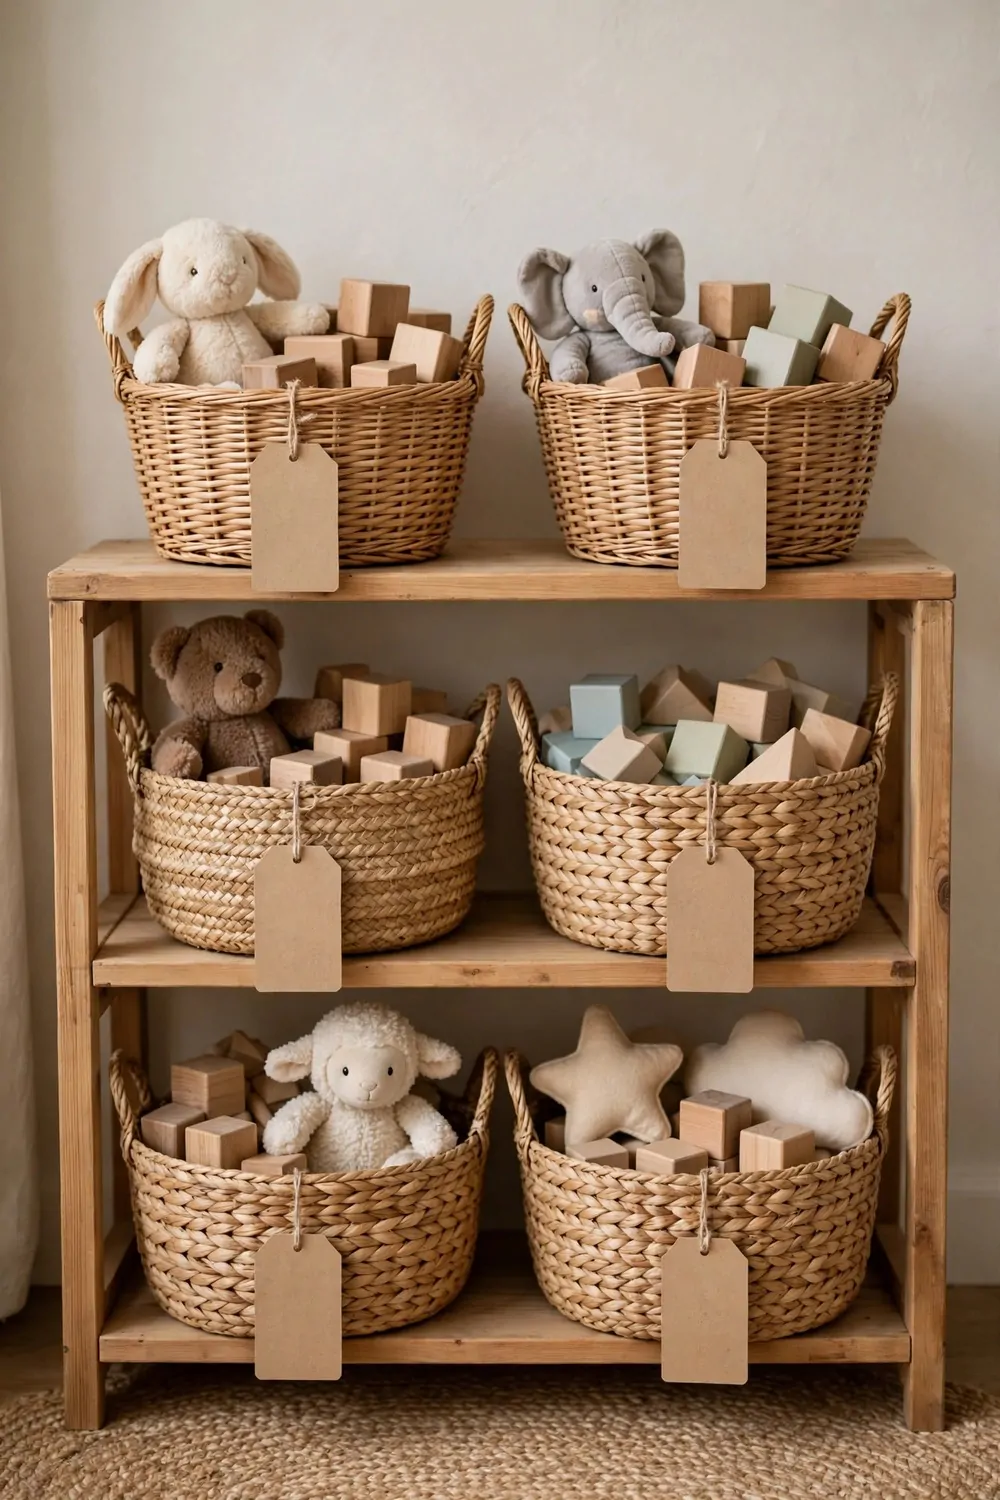
Labeled baskets make clean up feel like a matching game. Your child reads the label, or looks at the picture, and finds the right home for each toy.
Use big clear labels with simple words. Blocks, cars, and dolls are words even a small child can learn fast.
Add a little photo next to the word. A photo of a red car on the car basket works better than any fancy label.
Put the baskets on the lowest shelf. If the basket lives up high, your child will just pile toys on the floor instead.
Let your child help make the labels. They can draw the picture or pick the sticker, and then they remember where things go.
Keep the basket count low at first. Four baskets are easy to remember. Ten baskets are just confusing.
Rotate the baskets every few weeks. Move the art basket up and the puzzle basket down, and old toys feel new again.
Choose baskets with handles on the sides. Little hands need a good grip to carry a full basket back to the shelf.
When a basket breaks or frays, replace it right away. A broken basket sends the message that the toys inside do not matter either.
5. A Bookshelf Just for Toys
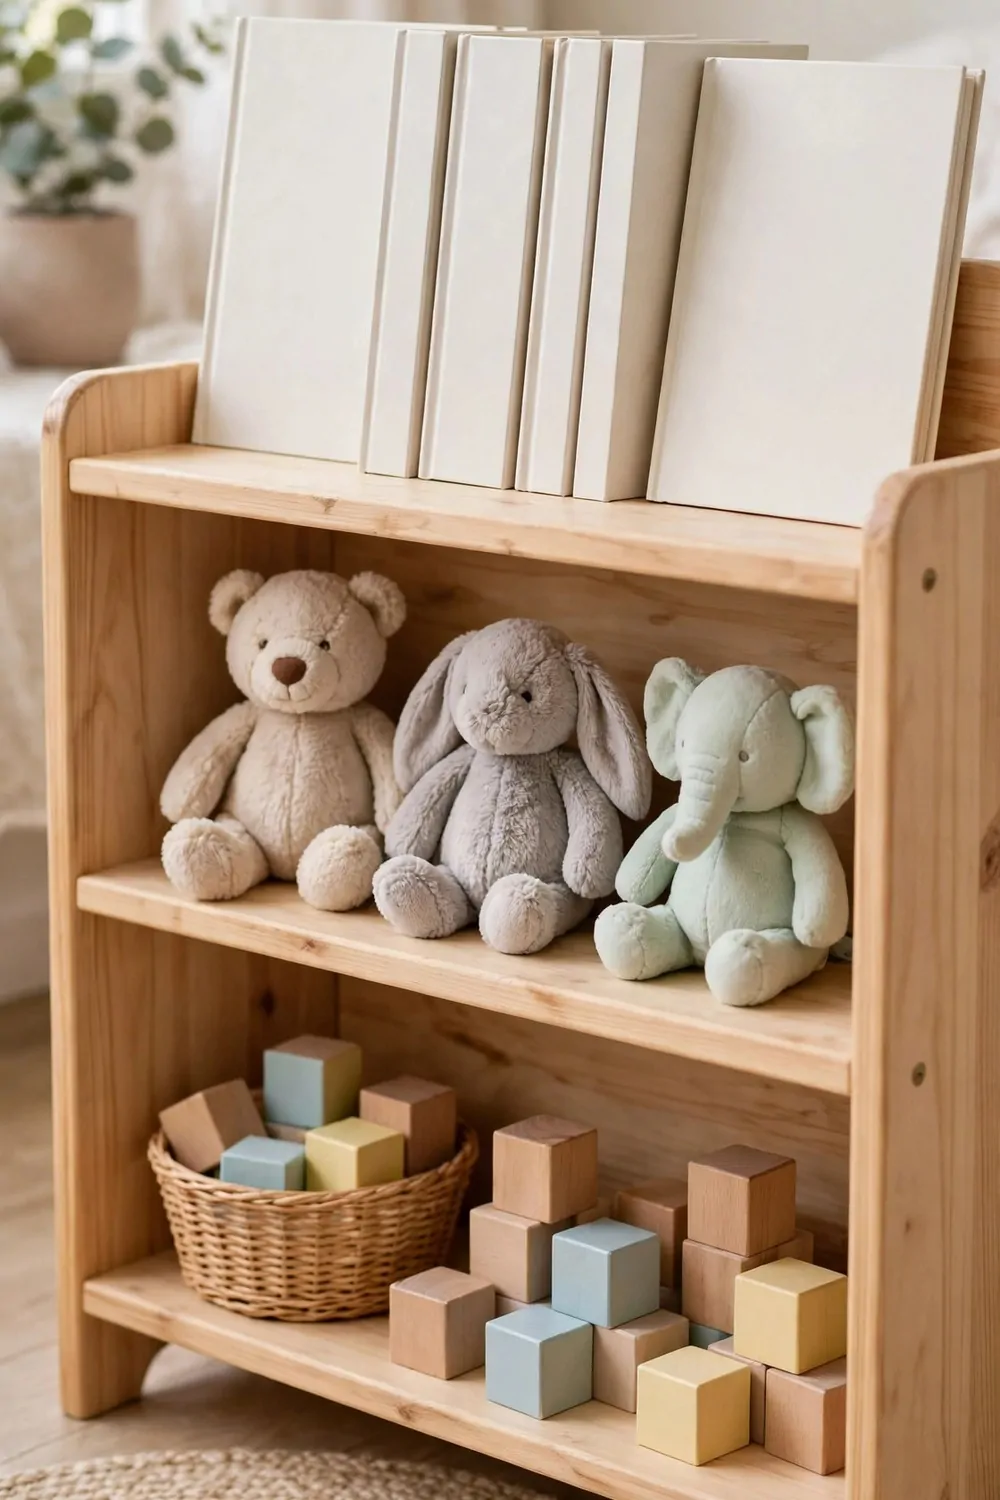
A low bookshelf works just as well for toys as it does for books. The shelves are the right size, and everything sits out in the open.
Put the toys your child plays with most on the middle shelf. That is the shelf little hands reach first.
Save the top shelf for the special toys. The ones that need your help, or the ones with many small parts.
Stand board books upright on one end of the shelf. Books and toys can share the same shelf and still look neat.
Leave one shelf half empty on purpose. Empty space gives your child room to pull a toy out without knocking five others down.
Anchor the bookshelf to the wall. Kids climb, and a shelf that tips over is a real danger.
Use small boxes on the shelves to group tiny toys. A box of farm animals sits nicely next to a row of picture books.
Let your child arrange the shelf their own way once a month. It feels like a fresh room, and they take more care of it.
A bookshelf just for toys teaches your child that toys are worth keeping tidy. It is a small habit that grows with them.
6. Rolling Carts for Toy Groups
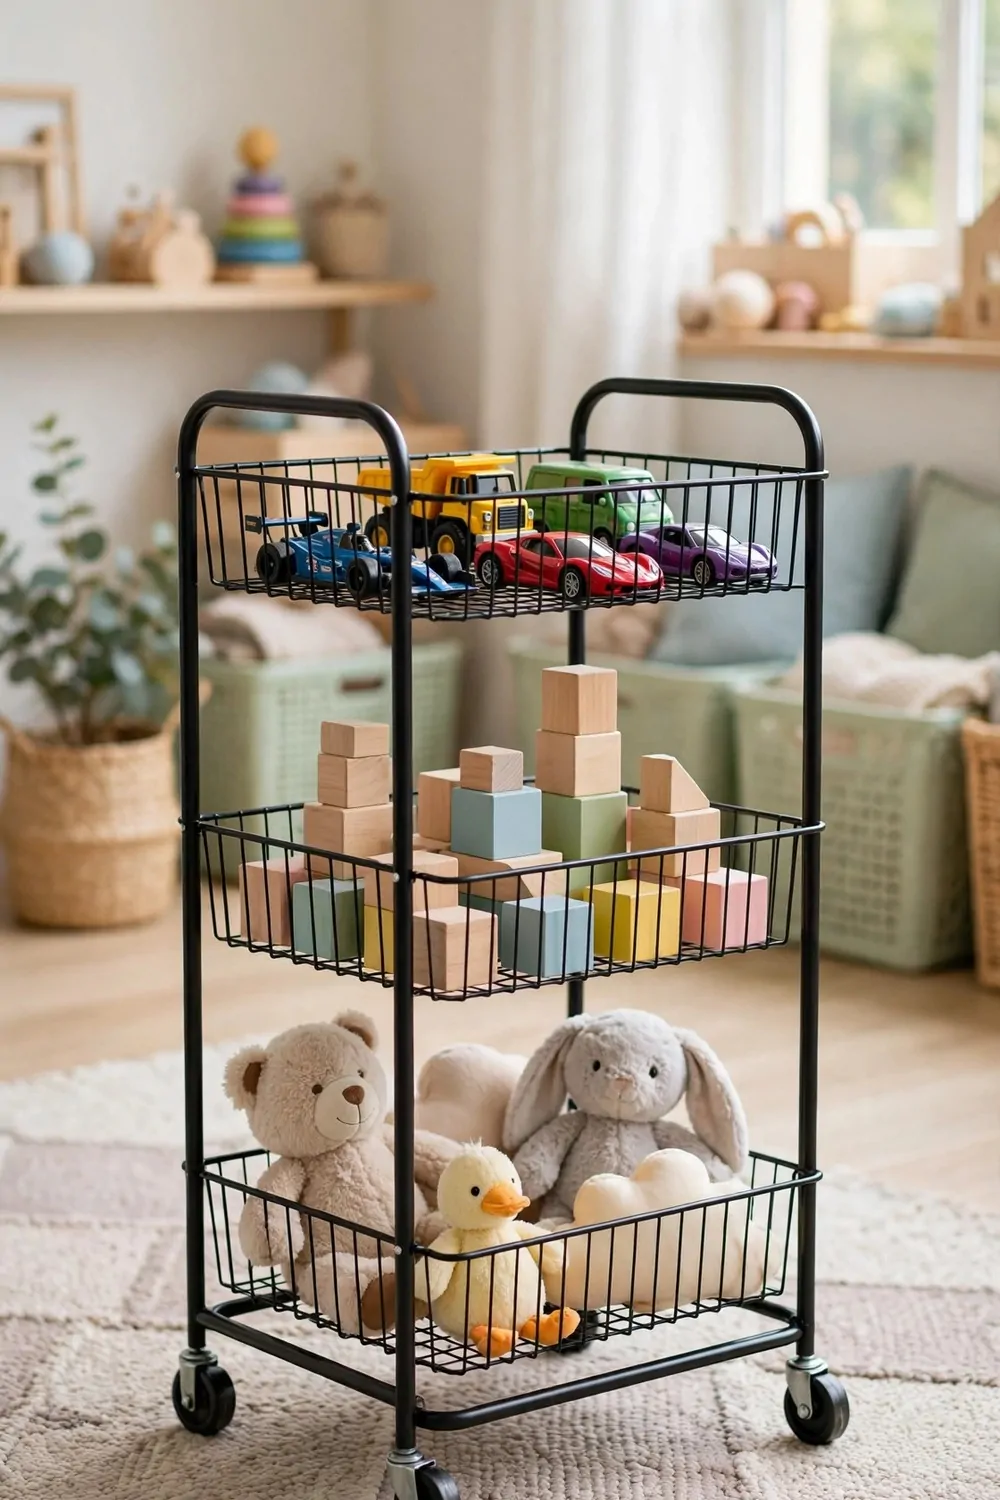
A rolling cart is my favorite trick for toys that travel around the house. You load it up, roll it to the kitchen, and roll it back when play time ends.
Give each cart one job. One cart for art supplies, one for building blocks, and one for dress up clothes.
The wheels make clean up feel like a game. Kids love to push the cart back to its parking spot.
Pick a cart with three tiers. The top holds the toys in use, the middle holds the extras, and the bottom holds the big stuff.
Park the cart in the same spot every night. When the cart has a home, your child knows where to return it.
Use the cart for messy play too. Roll it outside on a sunny day, and the paint stays off your carpet.
Lock the wheels when the cart is parked. A cart that rolls away on its own is no fun for anyone.
Keep the cart light enough for your child to push alone. If it is too heavy, you will be the one pushing it every night.
A rolling cart turns a pile of toys into a little shop on wheels. Kids tidy up just so they can roll it again.
7. Hanging Pockets on the Door
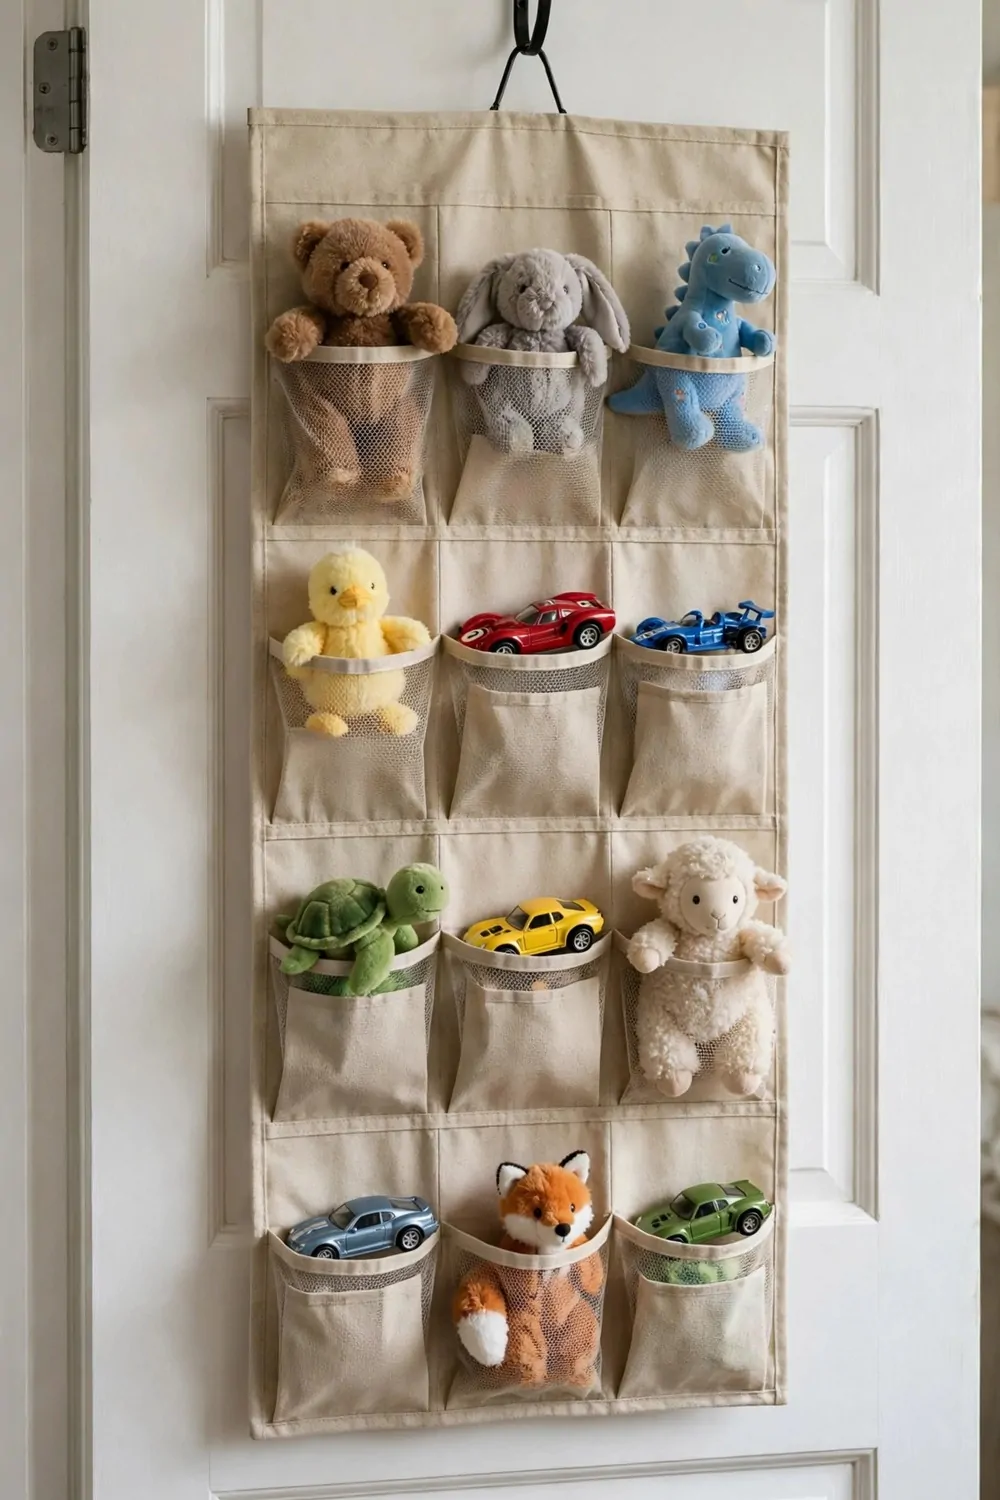
Hanging pockets on the back of a door use space you already have. The door was doing nothing, and now it holds a dozen small toys.
Clear pockets work best because your child can see what is in each one. No digging, no guessing, no dumping.
Put the pockets low enough for your child to reach. The top rows are for your stuff, like spare batteries and glue sticks.
- Small figures and dolls fit perfectly in the pockets.
- Craft supplies like crayons and stickers stay neat and visible.
- Action figures and little cars each get their own little home.
Sort the pockets by toy type. All the dolls in one row, all the cars in the next, and the craft things at the bottom.
Hang the pockets on the inside of a closet door. Then you can close the door and the whole collection disappears.
Check the hooks every week. A pocket full of toys is heavier than it looks, and a falling organizer makes a big mess.
Teach your child to put one toy back before taking a new one out. The pockets make this rule easy to follow.
When the pockets get dusty, wipe them with a damp cloth. Clear pockets only help when you can see through them.
Move the pockets to a new door when your child outgrows the old spot. The organizer moves with them, and the habit stays.
8. A Toy Net in the Corner
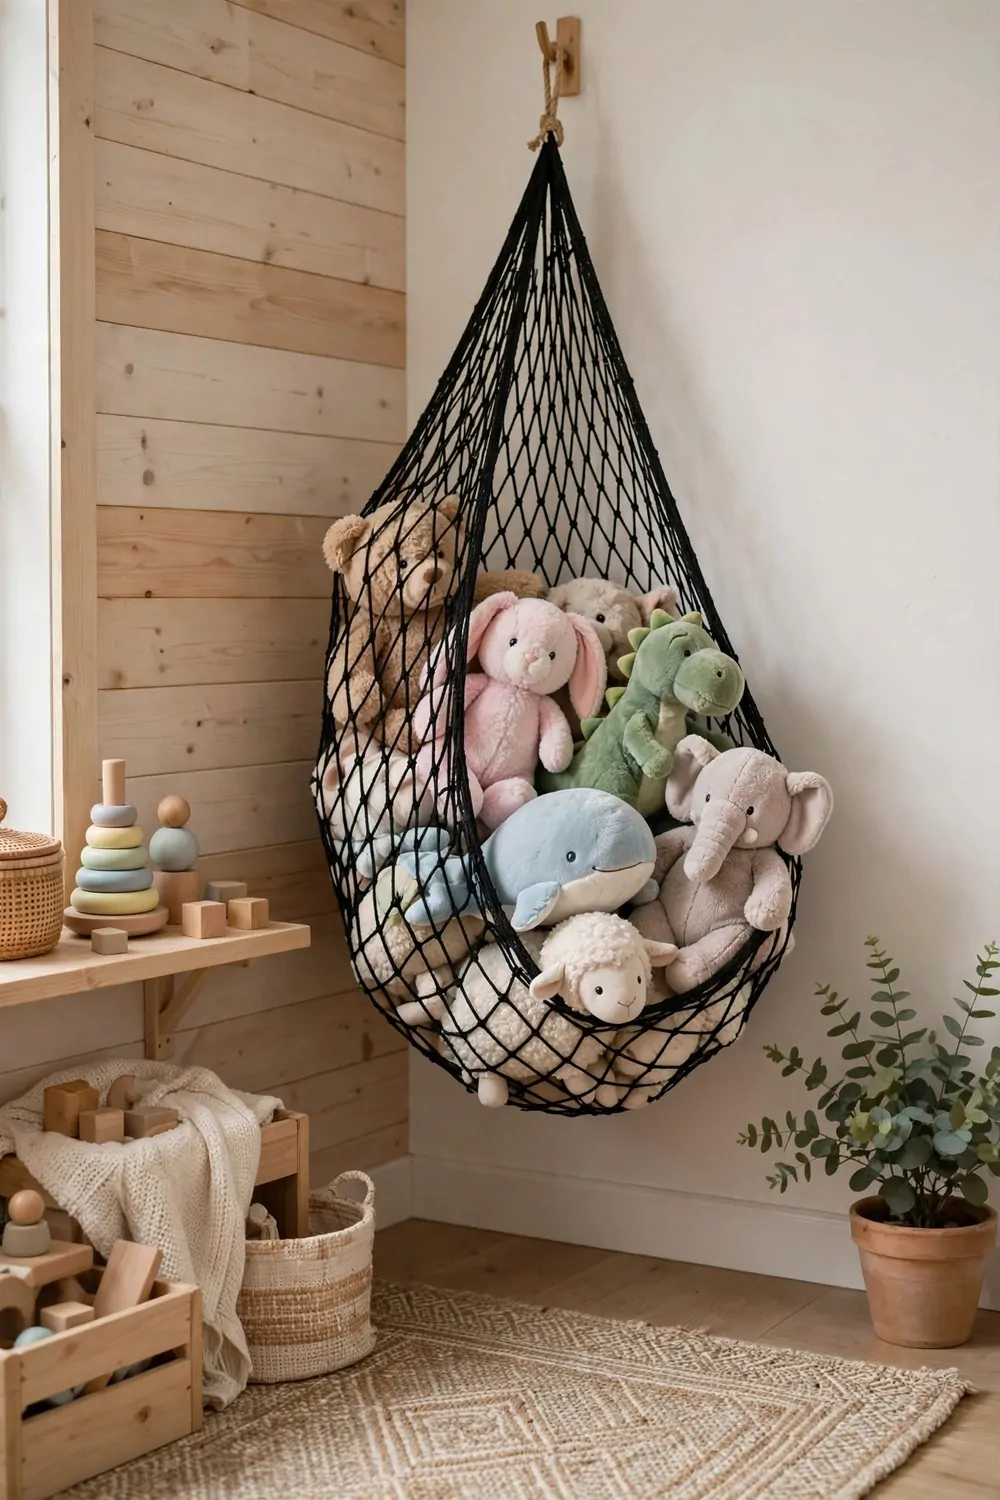
A toy net in the corner is the fastest clean up I know. You toss the soft toys in, and the corner looks tidy in seconds.
Hang the net high enough that it stays out of the walkway. A net at head height is a bump waiting to happen.
Use the net for light toys only. Stuffed animals and soft balls are perfect. Heavy toys will stretch the net out of shape.
Let your child toss toys into the net like a basketball hoop. Clean up stops feeling like a chore and starts feeling like a game.
Pick a net in a color that matches the room. A bright net draws the eye, and a soft color blends right in.
Keep the net in the same corner every day. When the spot never moves, your child learns the habit fast.
Do not overfill the net. When it sags to the floor, it stops looking tidy and starts looking like a pile again.
Wash the net in the machine once a month. Soft toys leave dust behind, and a clean net keeps the room fresh.
A corner net costs very little and takes five minutes to hang. It is one of the best small wins in this whole list.
9. Stackable Boxes with Lids
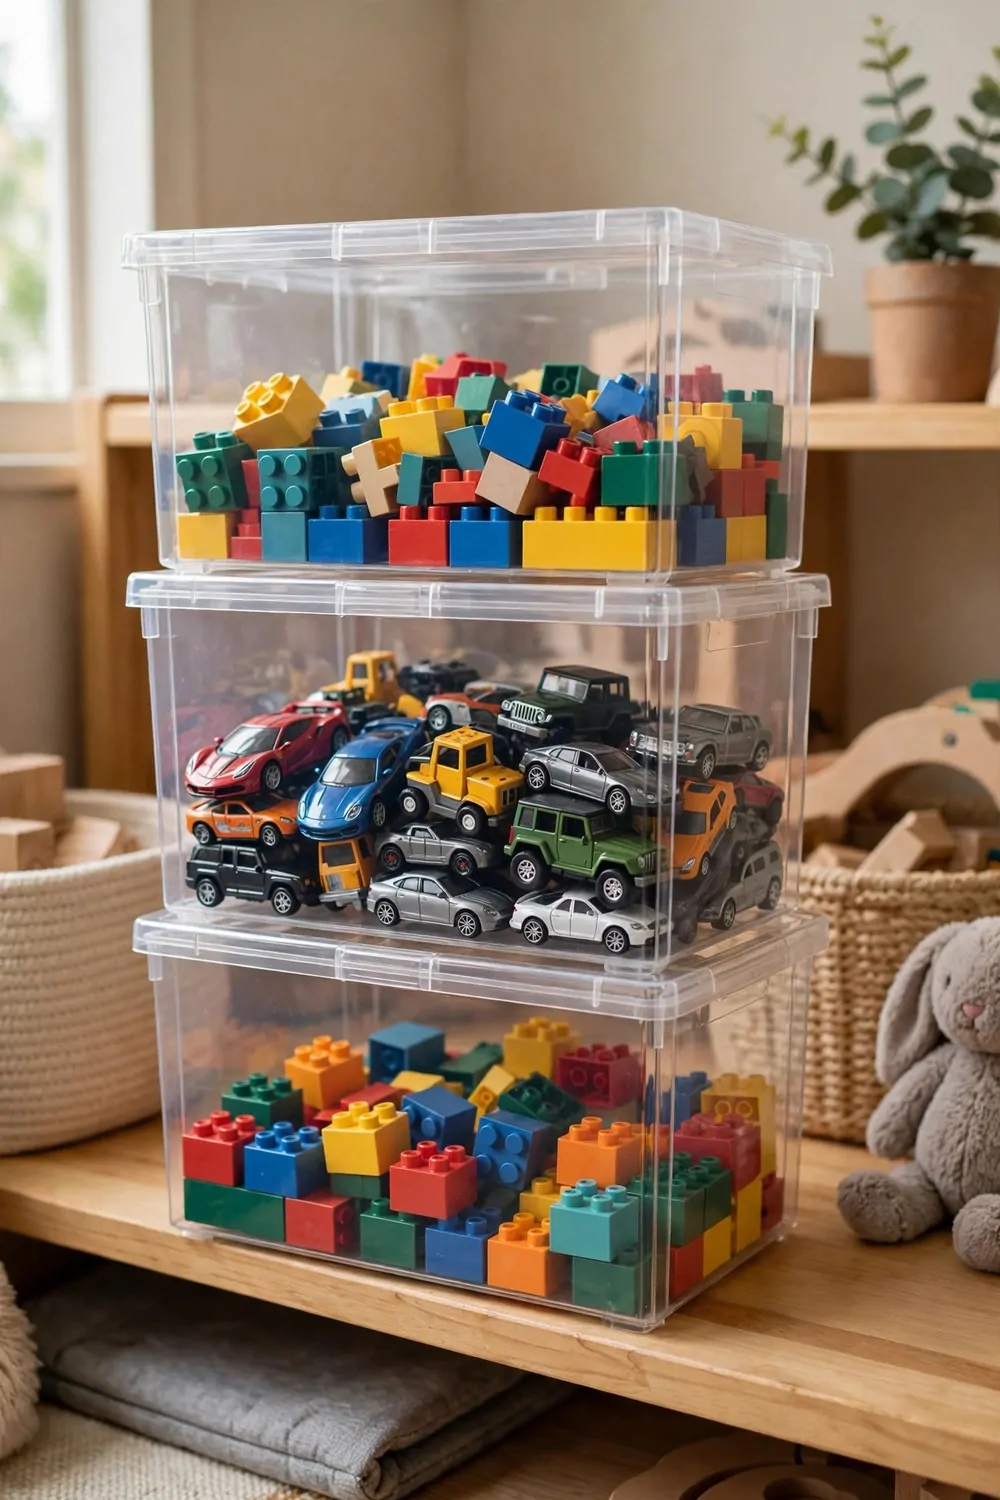
Stackable boxes with lids are perfect for toys that only come out sometimes. Board games, big puzzles, and craft kits all live well in a lidded box.
Stack them against one wall so they look like a neat little tower. A wobbly tower falls, so keep the heavy boxes at the bottom.
Label each lid with a picture or a word. Your child will not open four boxes to find one game.
Use the same size box for the whole stack. Matching boxes stack straight, and a straight stack looks calm.
Keep the everyday toys out of the lidded boxes. A lid is fine for a weekly game, but it slows down daily play.
Let your child pick one box to open each day. The limit keeps the mess small and the choice exciting.
Store the boxes where your child can reach the bottom one alone. If they need you every time, the boxes will sit untouched.
Check the lids for cracks every few months. A cracked lid does not stack well, and the whole tower leans.
Stackable boxes turn a messy closet into a tidy wall of games. Your child learns that some toys are special because they have a lid and a place.
10. A Dress-Up Rack with Hooks
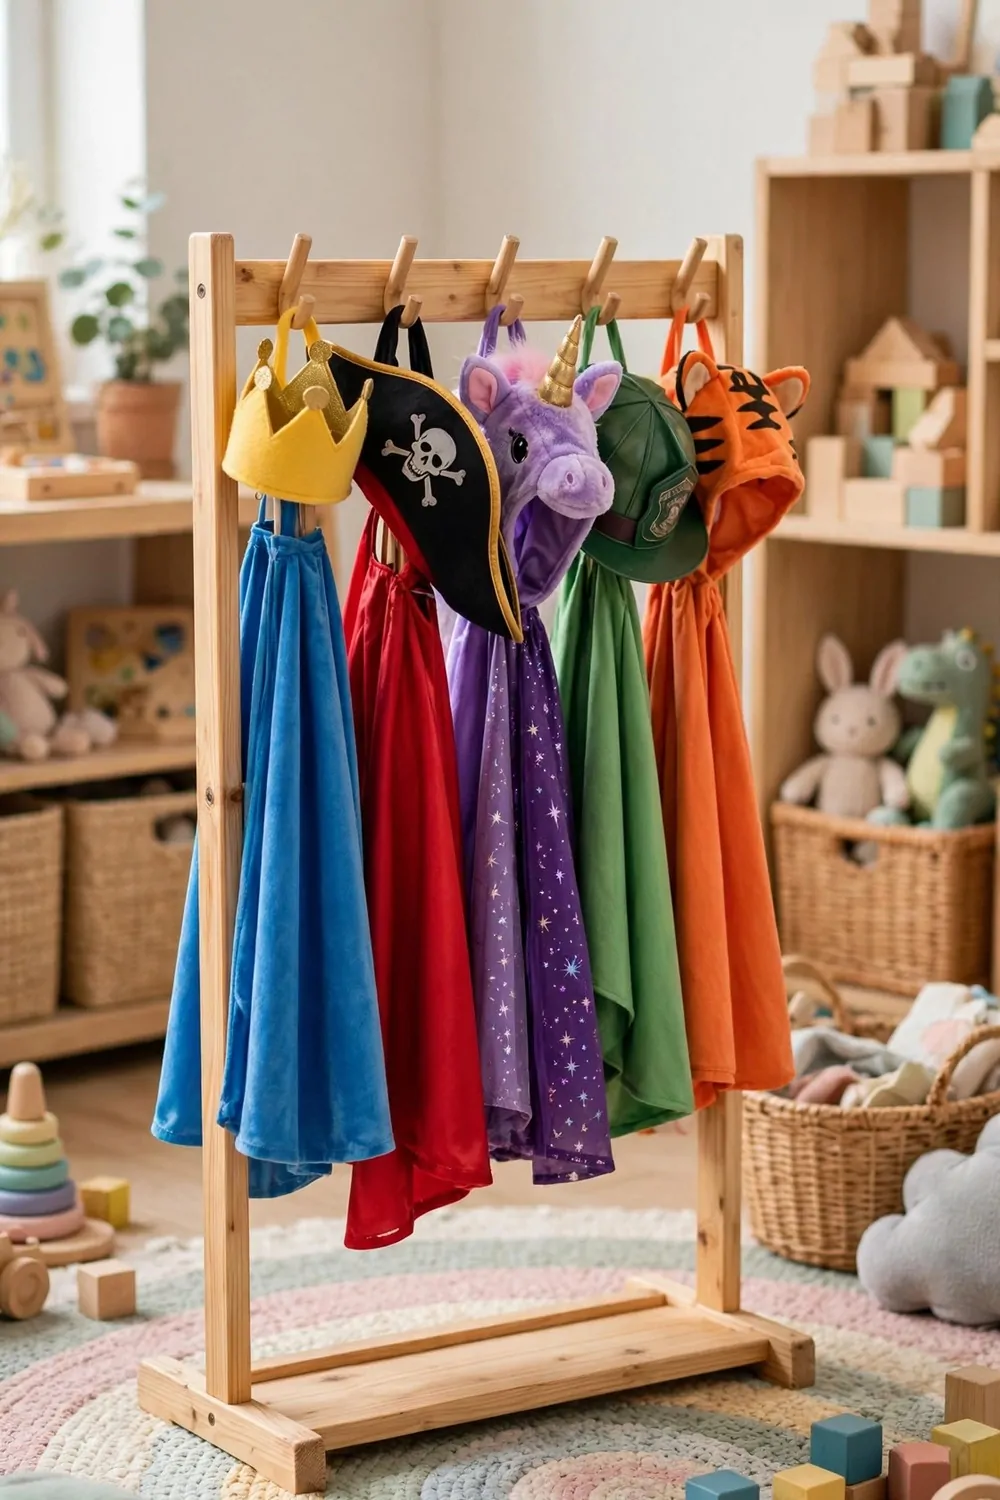
A dress up rack with hooks turns a pile of costumes into a little shop. Your child walks up, picks a cape, and the game begins.
Use a low rack that your child can reach without a chair. A rack at adult height just means you hang everything up yourself.
Put a hook for each costume. When every cape and hat has its own hook, nothing ends up in a heap on the floor.
Add a small mirror next to the rack. Kids love to check their look, and the mirror keeps them in one spot while they dress up.
Keep the rack near the play area, not hidden in a closet. Dress up is daily play, and the costumes should be easy to grab.
Use strong hooks that hold the weight of a heavy cape. A hook that bends drops everything to the floor.
Hang a little basket under the rack for the small bits. Crowns, wands, and masks need a home too.
Let your child choose which costumes stay on the rack. The ones they never wear can go into a box for a while.
A dress up rack makes clean up part of the game. The cape goes back on its hook, just like a real shop closing for the night.
11. Small Drawers for Tiny Toys
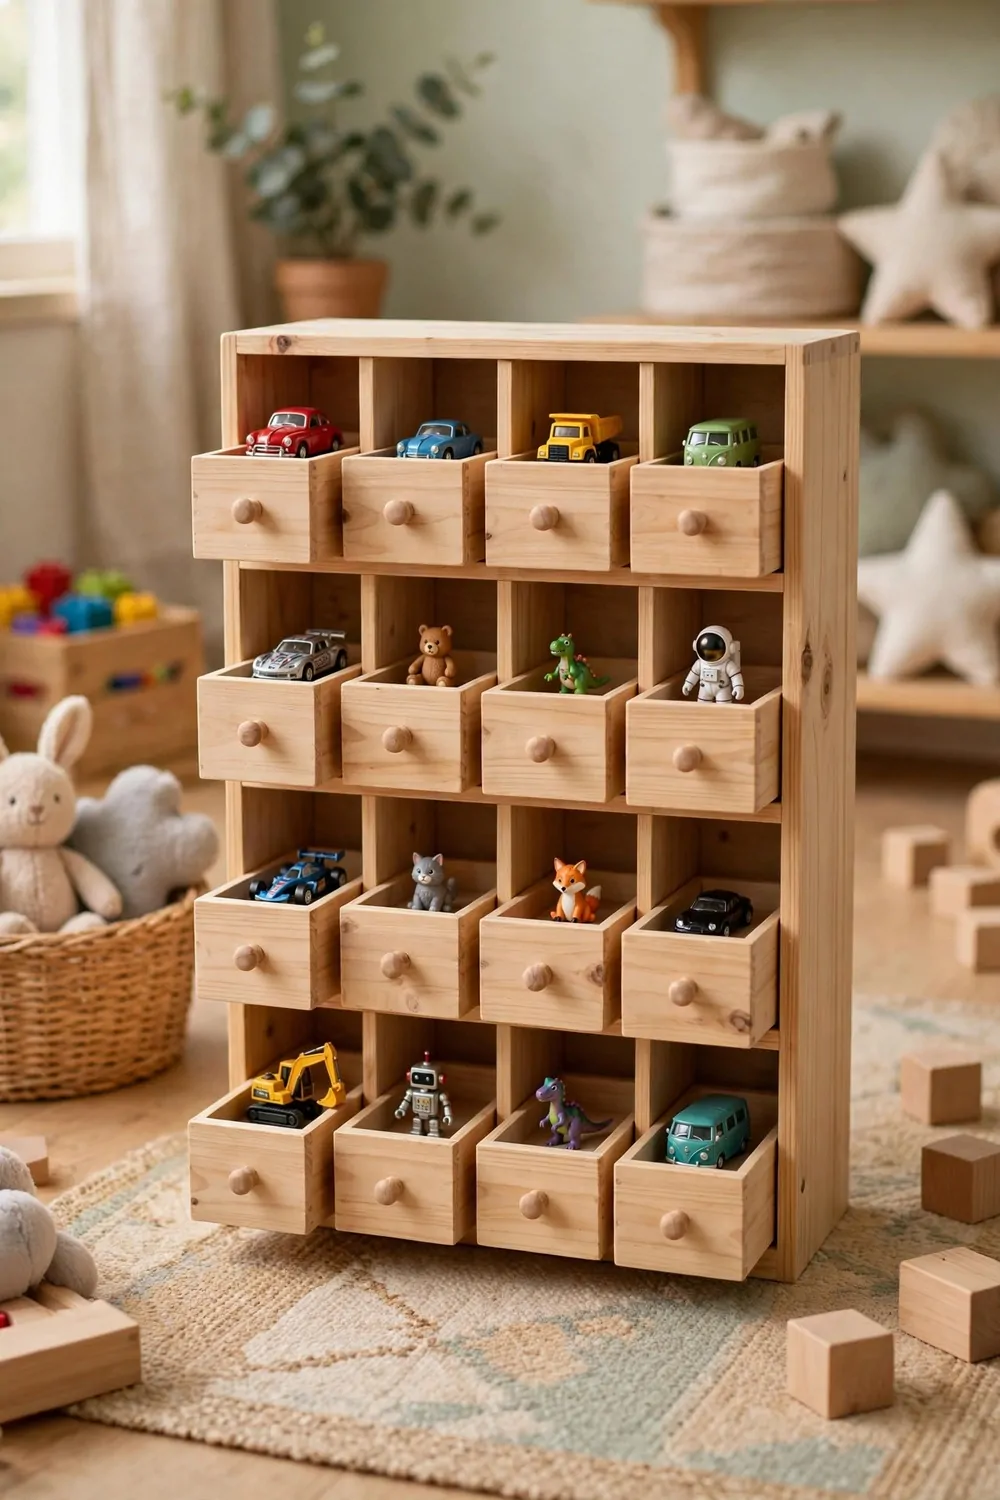
Small drawers are the answer to the tiny toy problem. Little figures, beads, and mini cars need small homes, not big bins.
Use a drawer unit with lots of little drawers. Each drawer holds one kind of tiny toy, and nothing gets mixed up.
Label each drawer with a picture. A tiny drawing of a car tells your child exactly where the cars live.
Keep the drawer unit on a table or a low shelf. If it sits on the floor, the bottom drawers fill with dust.
Teach your child to open one drawer at a time. Two open drawers mean twice the mess on the floor.
Sort the drawers together once a week. Tiny toys wander, and a quick sort puts them back where they belong.
Choose drawers that slide smoothly. A sticky drawer frustrates small hands, and frustrated hands just dump the drawer out.
Use the top drawers for the smallest toys. The ones that roll away and hide under the sofa need a safe spot.
Small drawers turn a jumble of tiny toys into a neat little shop. Your child will love opening the right drawer and finding exactly what they wanted.
12. A Building Table with Bins Below
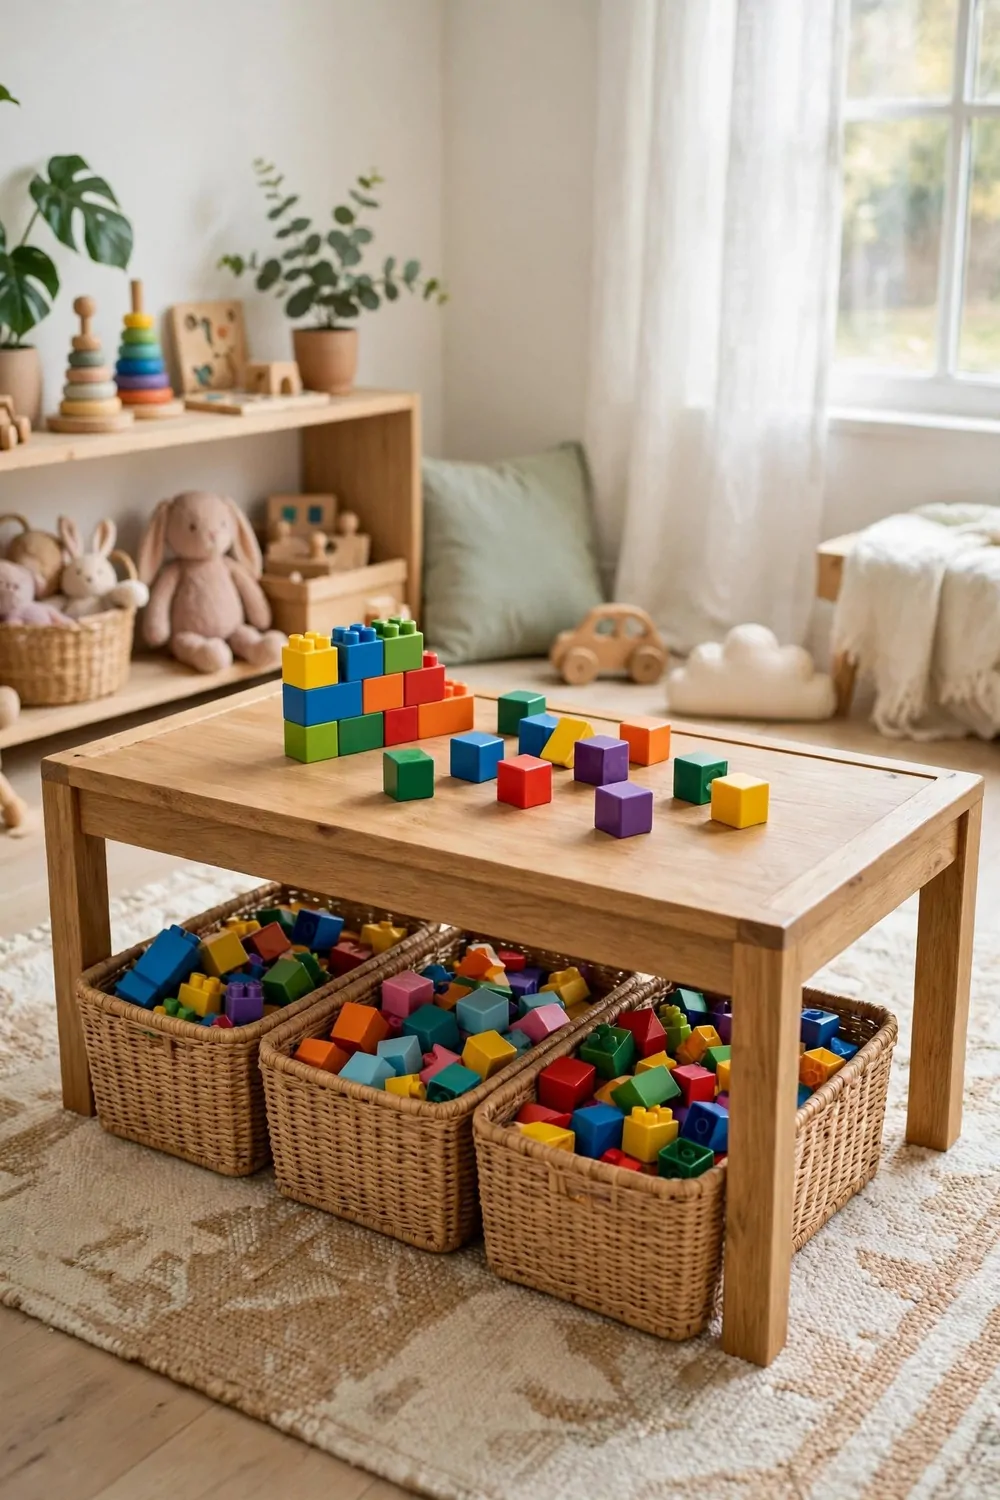
A building table with bins below keeps blocks in one place. Your child builds on top, and the pieces live right underneath.
The table top should be smooth and flat. Bumpy wood makes towers fall, and falling towers make kids give up.
A building table with bins often costs $60 to $120. A rolling cart often costs $25 to $50. A small drawer unit often costs $30 to $60.
| Type | Typical cost |
|---|---|
| Building table with bins | $60 to $120 |
| Rolling cart | $25 to $50 |
| Small drawer unit | $30 to $60 |
Sort the blocks by size in the bins below. Big blocks in one bin, small blocks in another, and the flat pieces in a third.
Keep the table in a spot with room to build. A table pushed against the wall only lets your child build from one side.
Leave the finished builds on the table overnight sometimes. A tower that stays up feels like a real achievement.
Clean up means sliding the loose blocks into the bins below. No carrying pieces across the room, no mess on the floor.
Pick a table with a rim around the edge. The rim stops rolling pieces from falling off the side.
Keep a small brush or cloth near the table. A quick wipe keeps the building surface smooth and ready for the next big idea.
13. Soft Baskets for Stuffed Animals
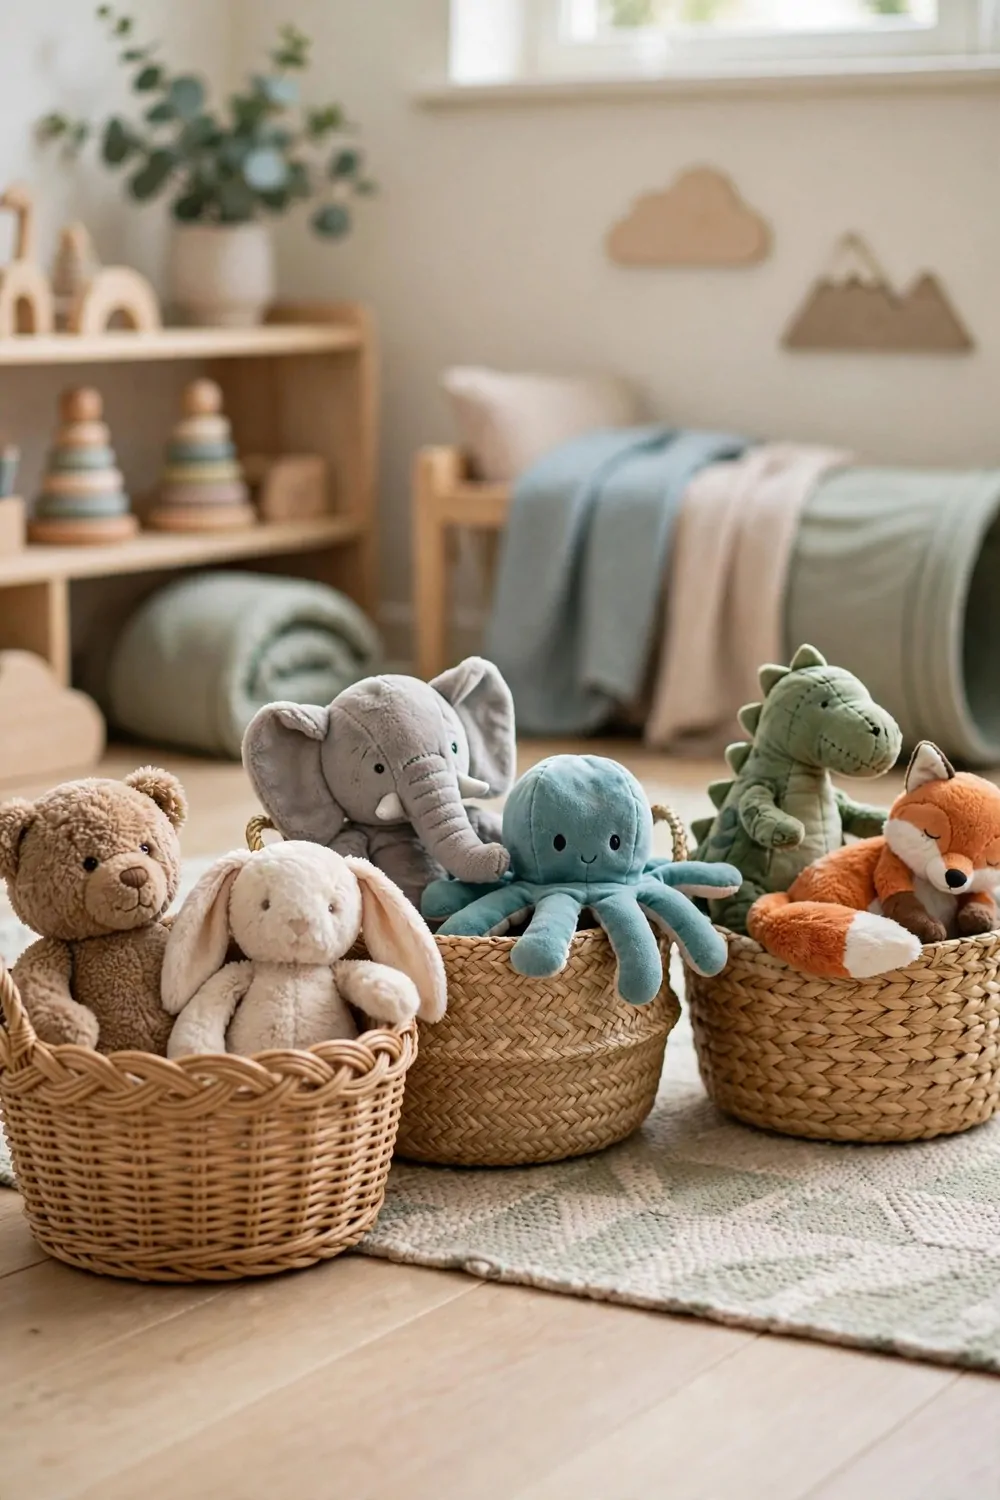
Soft baskets are the kindest home for stuffed animals. The basket is gentle, and the toys do not get squashed.
Put one big soft basket in the bedroom and one in the playroom. Stuffed animals seem to multiply, and two baskets hold the crowd.
Let your child pick their favorite five to keep out on the bed. The rest live in the basket until it is their turn.
Choose baskets with soft handles. A basket full of stuffed animals is light, and your child can carry it to any room.
Wash the baskets every month. Soft fabric collects dust fast, and a fresh basket smells much better.
Teach your child to say goodnight to the basket. It sounds silly, but the little ritual makes bedtime clean up easy.
Do not buy a basket that is too tall. A tall basket hides the toys at the bottom, and those toys never get played with.
Use a round basket for the bedroom and a square one for the playroom. The shapes help your child remember which basket goes where.
Soft baskets make a room look cozy instead of messy. A basket of stuffed animals feels like part of the room, not clutter.
14. A Puzzle Shelf with Flat Trays
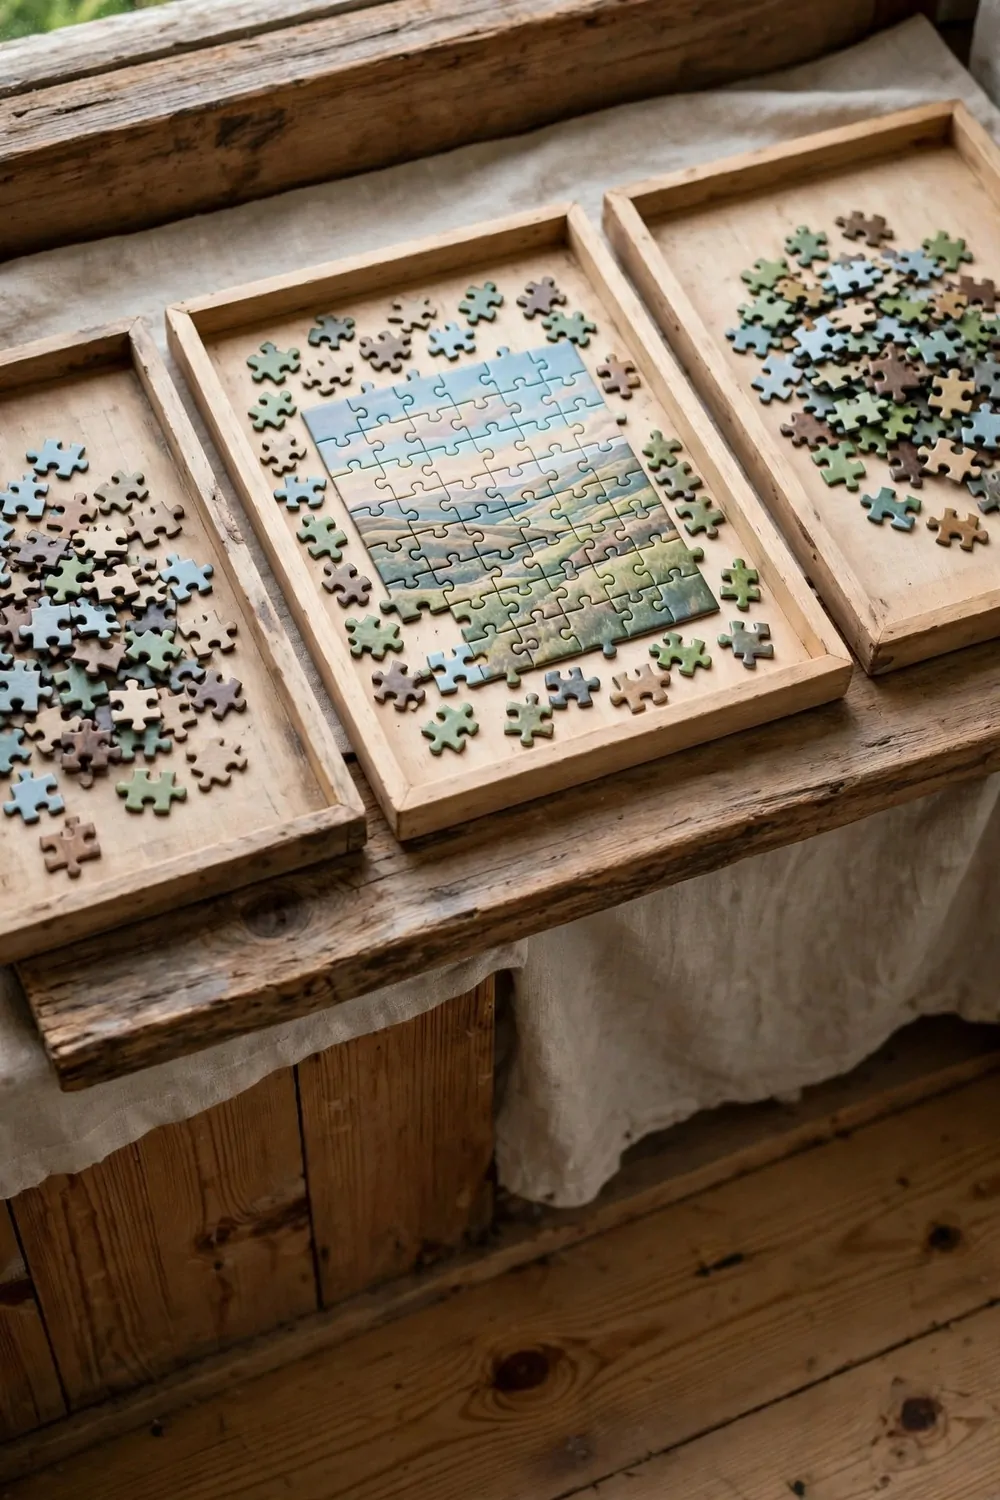
A puzzle shelf with flat trays keeps puzzles whole and flat. No more pieces under the sofa or stuck to the carpet.
Stack the trays like a pile of books on the shelf. Each tray holds one puzzle, and the picture on the lid shows which one it is.
Let your child work on a puzzle right on the tray. When dinner is ready, you just slide the tray back on the shelf.
Keep the trays shallow so the pieces stay in one layer. A deep tray lets pieces pile up and hide.
Count the pieces together when the puzzle is done. It is a quick game, and it teaches your child to care for their things.
Store the puzzle boxes on the top shelf. The boxes hold the picture, and the trays hold the pieces.
Rotate the puzzles every two weeks. A puzzle that sat on the shelf too long feels brand new when it comes back.
Use trays with a little lip around the edge. The lip stops pieces from sliding off when little hands carry the tray.
A puzzle shelf turns a fiddly hobby into an easy habit. Puzzles stay complete, pieces stay safe, and your child finishes more of them.
15. A Turntable Shelf for Small Toys
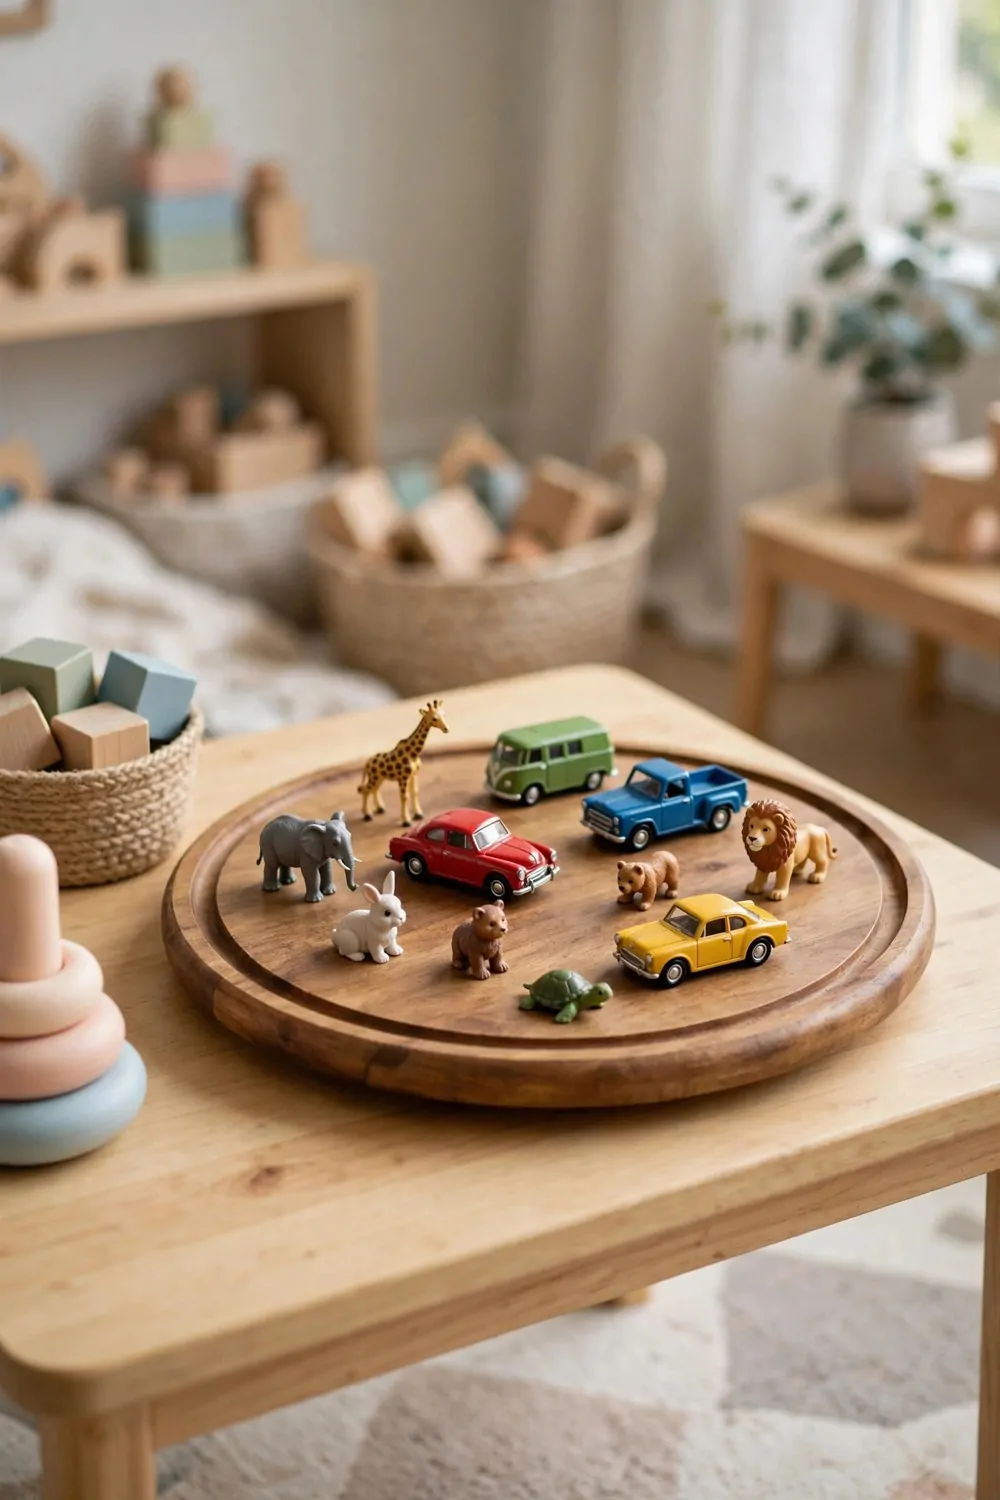
A turntable shelf is a lazy susan for toys, and kids love it. One spin, and the toy they want comes right to them.
Put the turntable on a low shelf or a table. It works best where your child can reach it and spin it alone.
Group small toys on the turntable by type. All the little figures on one side, all the tiny cars on the other.
Keep the turntable light. If it is loaded with heavy toys, it will not spin well, and the fun is gone.
Use the turntable for the toys that get lost most. Small things are easy to find when they spin to you.
Teach your child to spin it slowly. A fast spin sends toys flying, and then clean up starts all over again.
Clean the turntable with a damp cloth once a week. Sticky spots make the spin slow and jerky.
Pick a turntable with a low edge. A high edge hides the toys, and a low edge lets your child see everything at once.
A turntable shelf makes a small space feel bigger. One spin shows the whole collection, and nothing hides at the back of a shelf.
16. Under-Bed Rolling Boxes
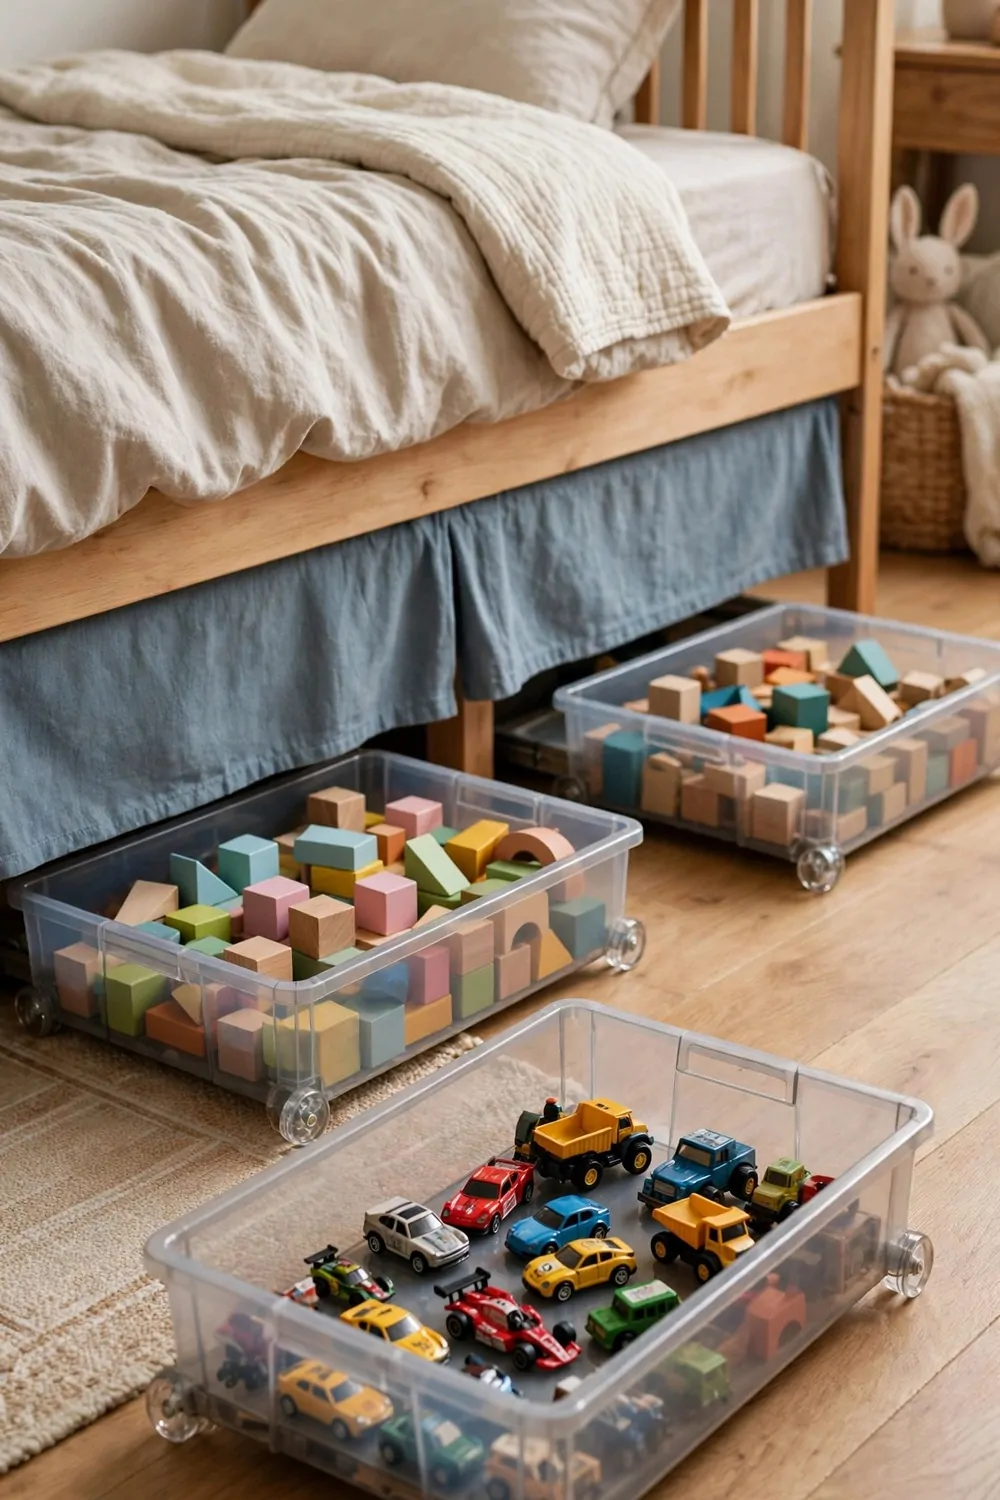
Under bed rolling boxes use space that was doing nothing at all. The floor under the bed becomes a secret toy garage.
Pick boxes with wheels that roll smoothly on your floor. Wheels that stick make your child give up and leave the box out.
Store the toys your child plays with less often under the bed. Seasonal toys and big sets fit perfectly down there.
Label the front of each box. Your child pulls out the right box the first time instead of dragging out all three.
Keep the boxes low and flat. A tall box will not slide under the bed, and a flat one glides right in.
Clean under the bed when you pull the boxes out. Dust gathers fast in that hidden spot.
Let your child roll the box out like a drawer. It feels like opening a secret compartment, and that makes clean up fun.
Do not store heavy toys in the under bed boxes. A heavy box is hard to push, and little legs cannot move it alone.
Under bed boxes give your child more floor to play on. The toys are close by but out of sight, and the room feels twice as big.
17. Wall Shelves Up High for Display Toys
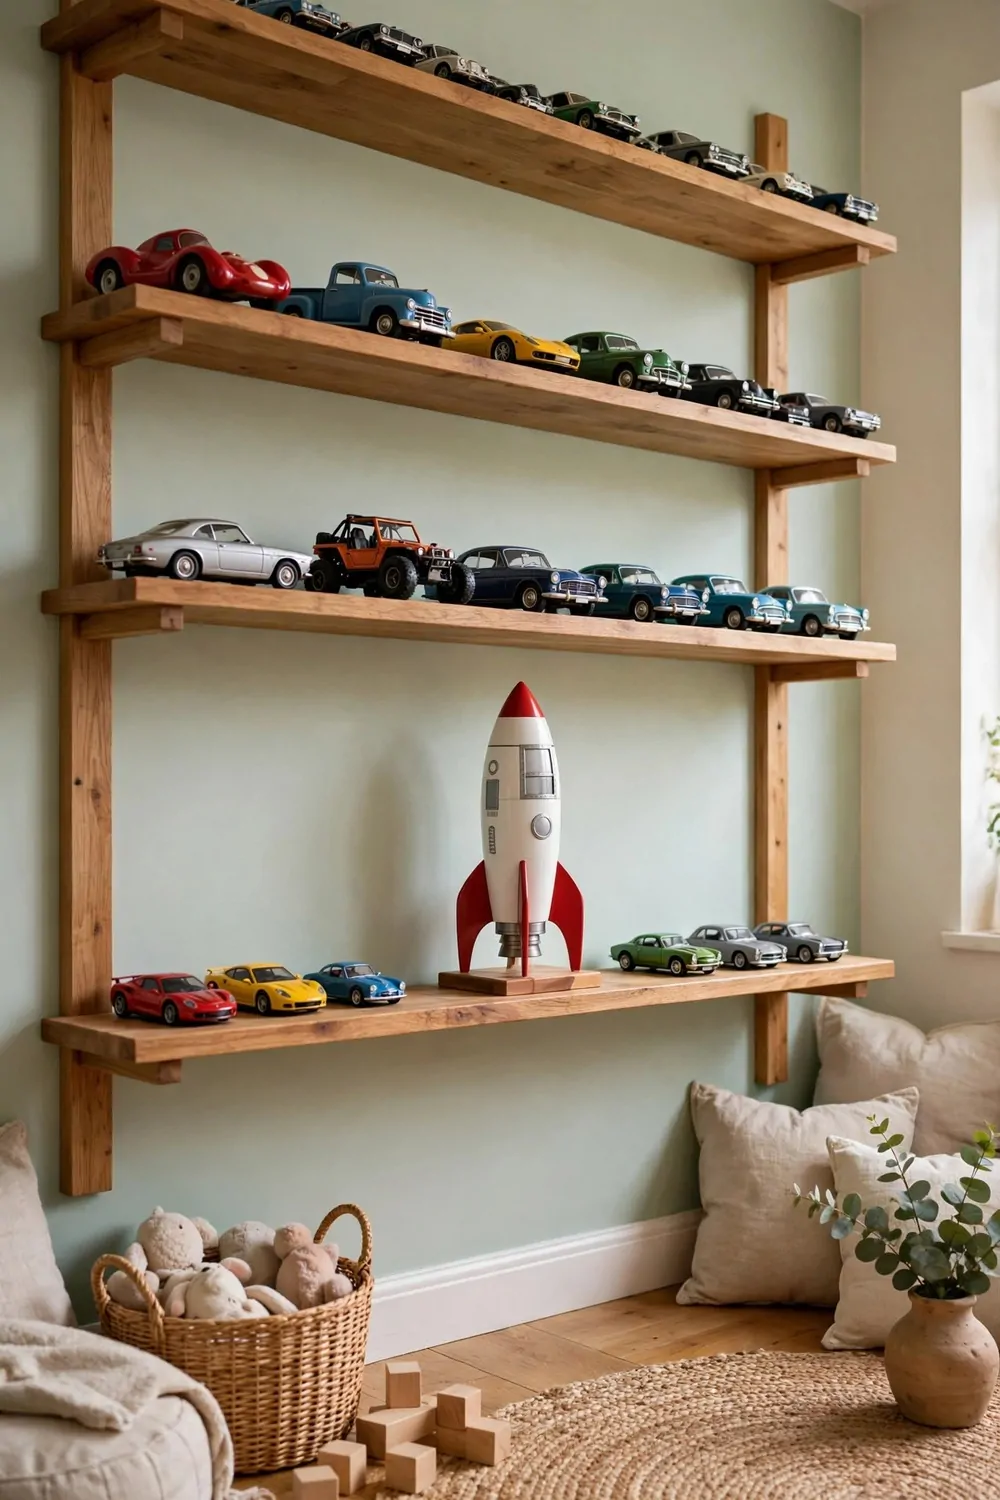
Wall shelves up high are for the toys that are for looking, not for playing. The special ones stay safe and the room looks pretty.
Put the shelves above your child’s reach. If little hands can grab the display toys, they will, and the special ones will break.
Choose a few favorite toys to display. A whole shelf of everything looks messy, but three special toys look like a little gallery.
Use strong brackets and wall plugs. A shelf full of toys is heavy, and it must stay firmly on the wall.
Let your child help pick which toys go on display. The shelf feels like theirs, even if they cannot touch the toys every day.
Dust the shelves once a week. High shelves collect dust fast, and dusty toys look sad.
Change the display every season. A new set of toys on the shelf makes the whole room feel fresh again.
Keep the display shelves in the playroom or bedroom, not the hallway. The toys belong in the room where your child plays.
High wall shelves teach your child that some things are special. They learn to care for their favorites, and the room stays beautiful.
18. A Toy Closet with Zones
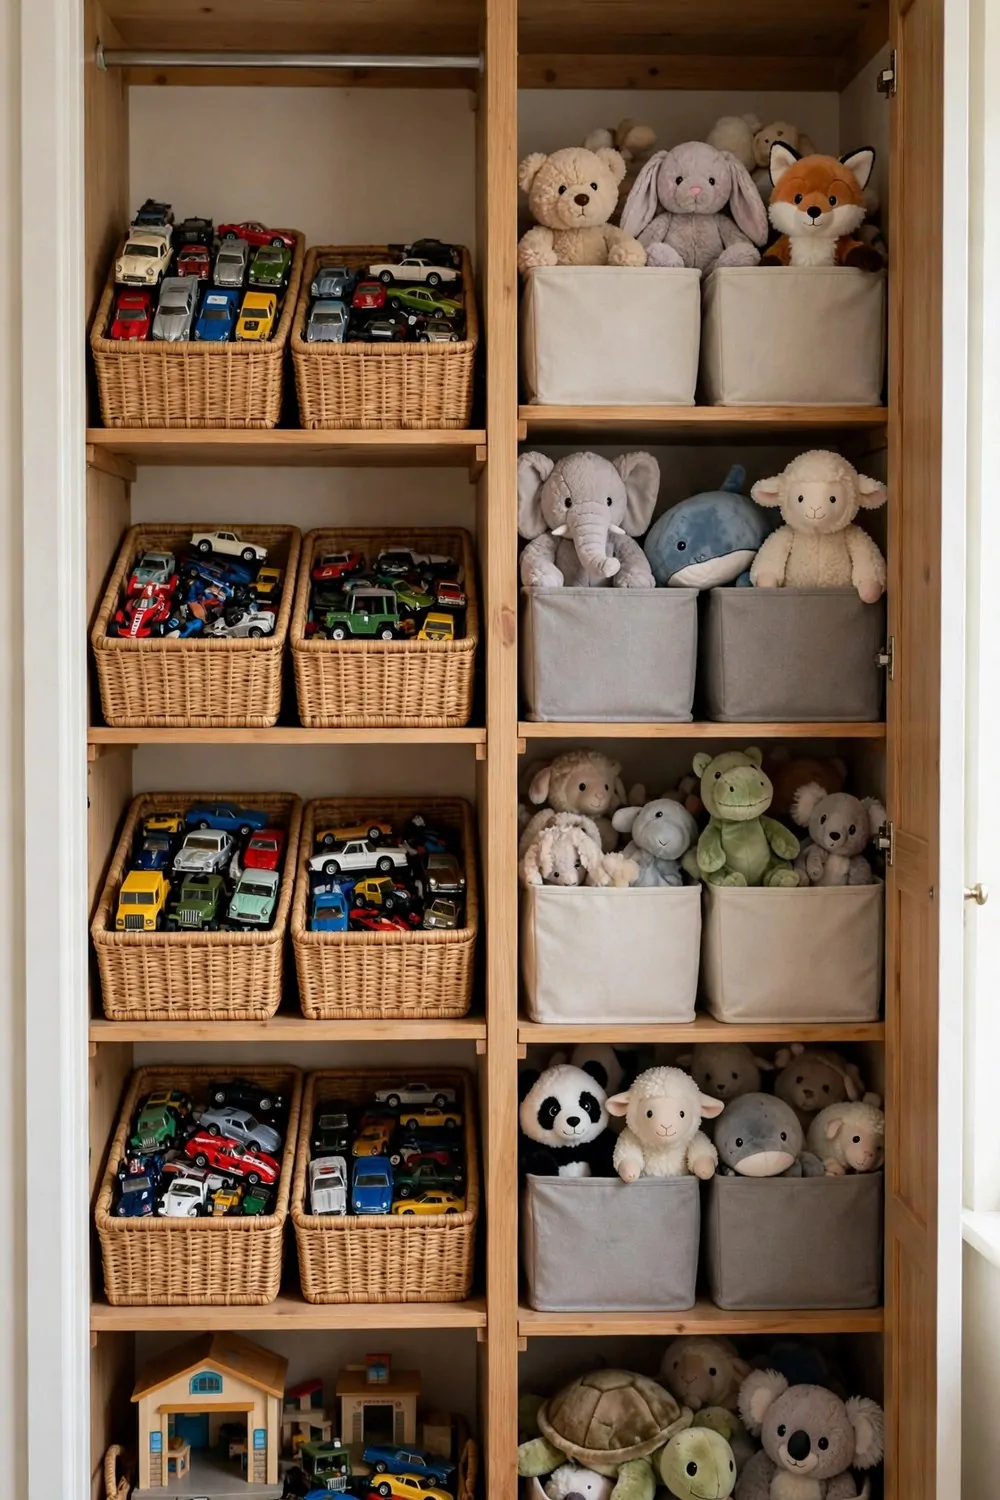
I love a toy closet with clear zones. It makes clean-up feel simple for you and your kids.
Pick one zone for blocks. Pick one zone for books. Pick one zone for dress-up clothes.
You can mark each zone with a small picture label. Kids who cannot read yet can still find the right spot.
I keep the most used toys at kid height. The toys we use less often go up high.
Try a low shelf for the daily favorites. It saves you from hearing “I cannot reach it” all day.
Keep a small basket in each zone for tiny pieces. Loose parts stay together that way.
We clean one zone at a time in my house. It feels fast and it never feels like a big job.
Check the closet once a week with your kids. Move things back to the right zone if they drifted.
A zoned closet turns a messy pile into a calm little shop. Your kids will know where everything lives.
19. Cubby Shelves with One Toy Type Each
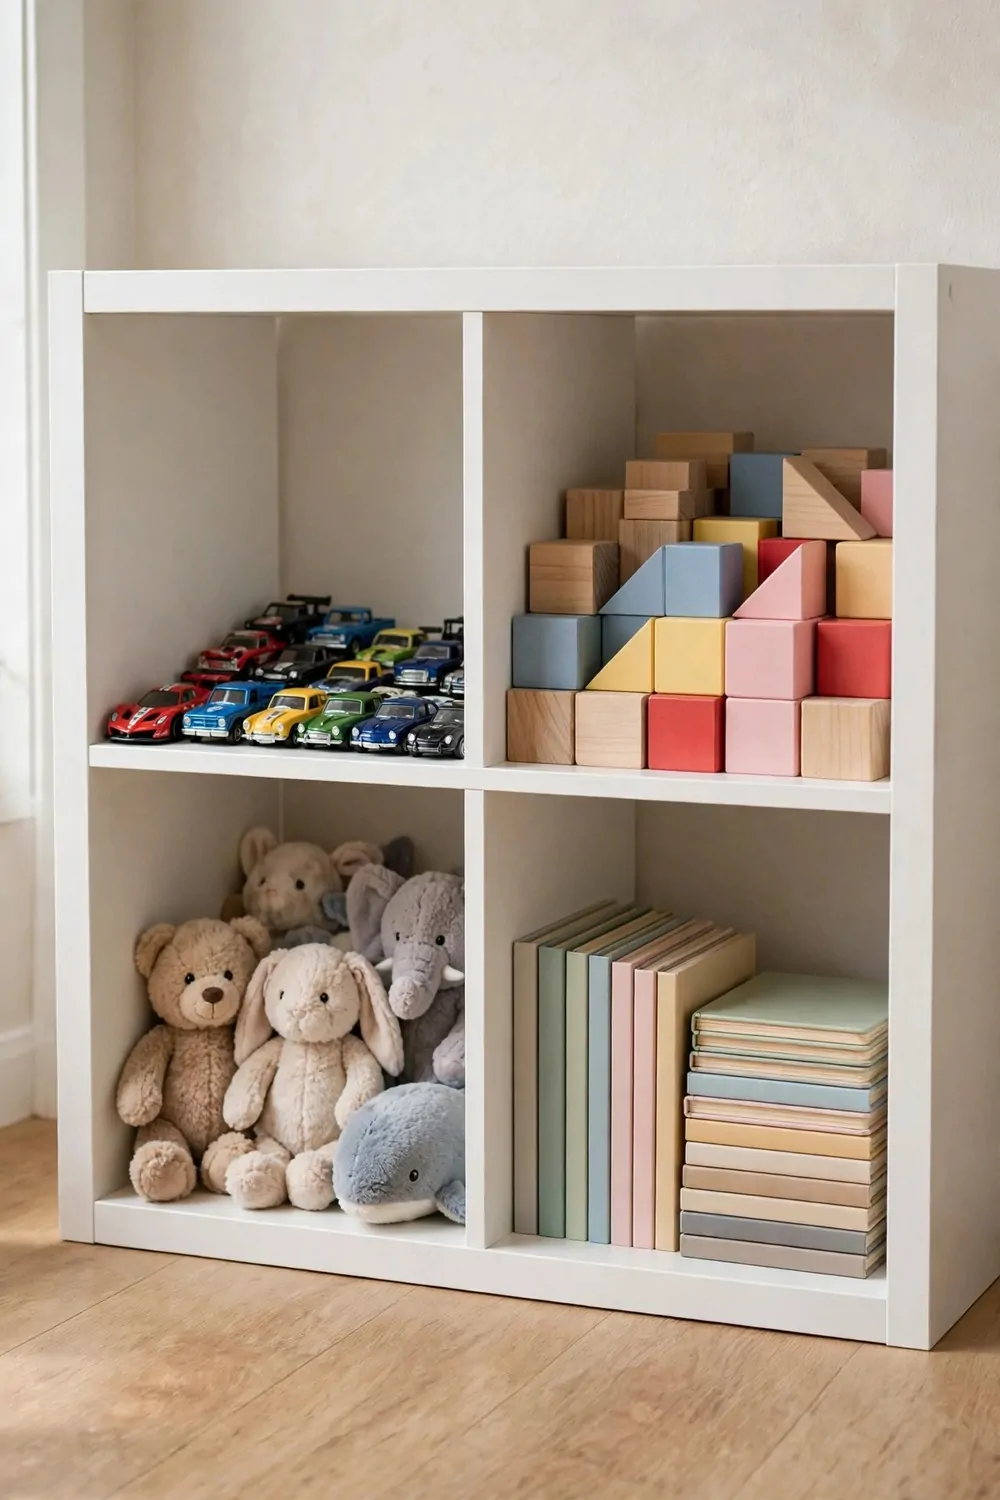
Cubby shelves work so well for toy storage. Each little square holds just one kind of toy.
I put cars in one cubby. I put dolls in the next cubby. Blocks get their own cubby too.
Your kids can see everything at a glance. They do not have to dig through a deep bin to find one toy.
Use a small bin inside a cubby if the toys are tiny. The bin slides out like a drawer.
Label each cubby with a word or a picture. It helps kids put things back on their own.
Keep the heavy toys low so the shelf stays steady. Light toys can live up top.
I like to leave one cubby empty on purpose. It gives us room for a new toy or a project in progress.
Clean-up is quick when each cubby has one job. You just match the toy to its little home.
Try this for a week and watch what happens. Your floor will stay clearer and your kids will feel proud.
20. A Reading Basket by the Book Nook
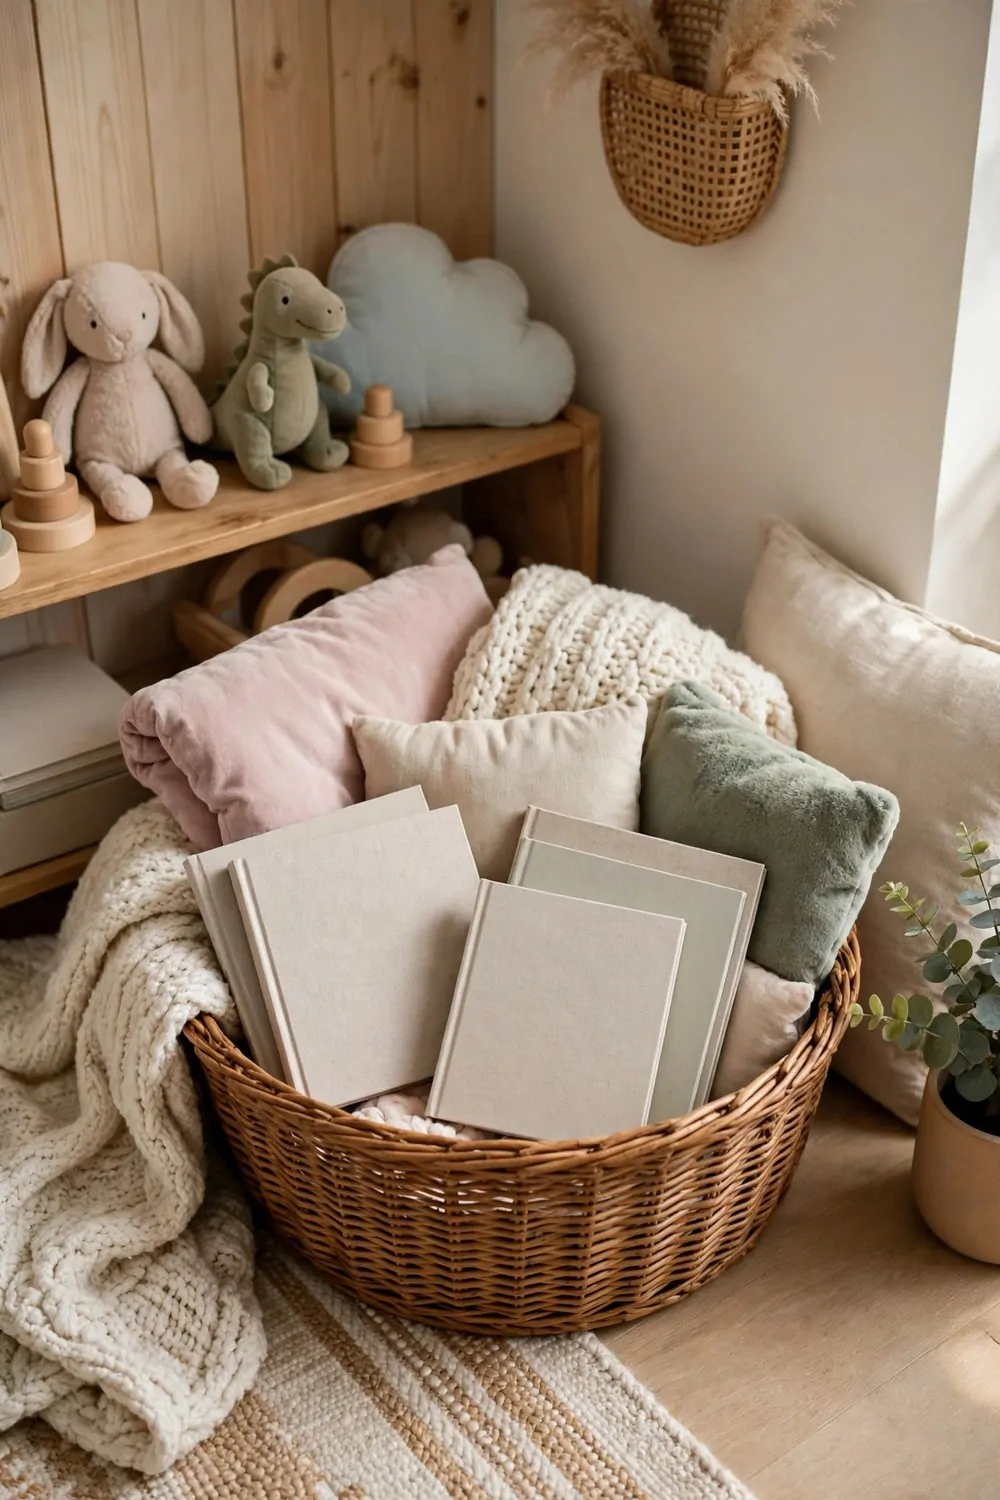
A reading basket by the book nook is such a sweet idea. It keeps books close to where kids actually read.
I use a soft basket with low sides. Little hands can grab a book without tipping it over.
Put just ten books in the basket at a time. Too many books make it hard to choose one.
Swap the books every week or two. Old favorites feel new again after a short break.
Add a small cushion next to the basket. It turns a plain corner into a cozy reading spot.
Your kids can carry the basket to the couch if they want. That is the fun of a basket that moves.
Keep torn books in a separate pile for fixing. I tape them on a quiet afternoon and put them back in.
Teach kids to slide books back in with the spine facing out. It keeps the basket neat and pretty.
A full basket by the nook invites kids to sit and read. That is a win for you and for them.
21. A Craft Cart That Rolls Away
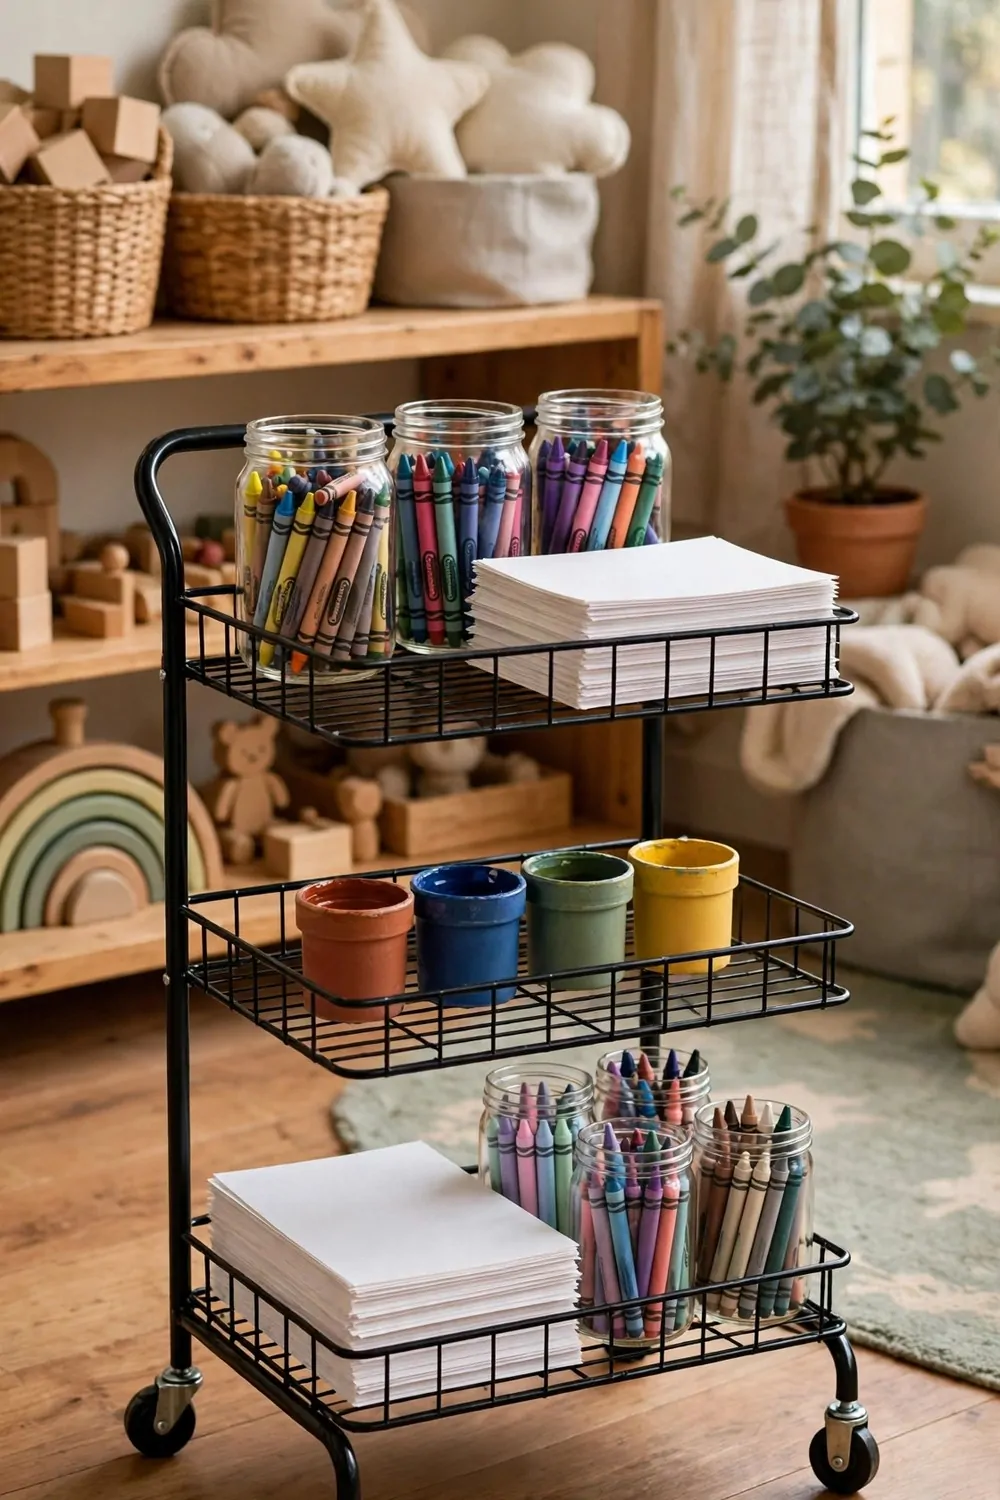
A craft cart that rolls away is my favorite trick for art supplies. You roll it out to create and roll it back when you are done.
Keep crayons on the top shelf where kids can reach them. Paper goes on the middle shelf. Glue and scissors live on the bottom shelf.
A two-tier craft cart often costs $25 to $50. It is a good pick if you have a small space.
A three-tier rolling cart often costs $35 to $70. I like this one because it holds more without taking up much floor space.
A wooden craft cart often costs $60 to $120. It looks lovely in a living room and it lasts for years.
Put a small tray on top for the project in progress. It stops little pieces from rolling off the edge.
Park the cart in a closet or beside a shelf after art time. Out of sight means out of mind until next time.
Let your kids help load the cart before they start. They learn where each supply lives.
Clean-up takes about two minutes with a rolling cart. You just push it home and you are done.
| Type | Typical cost |
|---|---|
| Two-tier craft cart | $25 to $50 |
| Three-tier rolling cart | $35 to $70 |
| Wooden craft cart | $60 to $120 |
22. A Peg Rail for Bags and Costumes
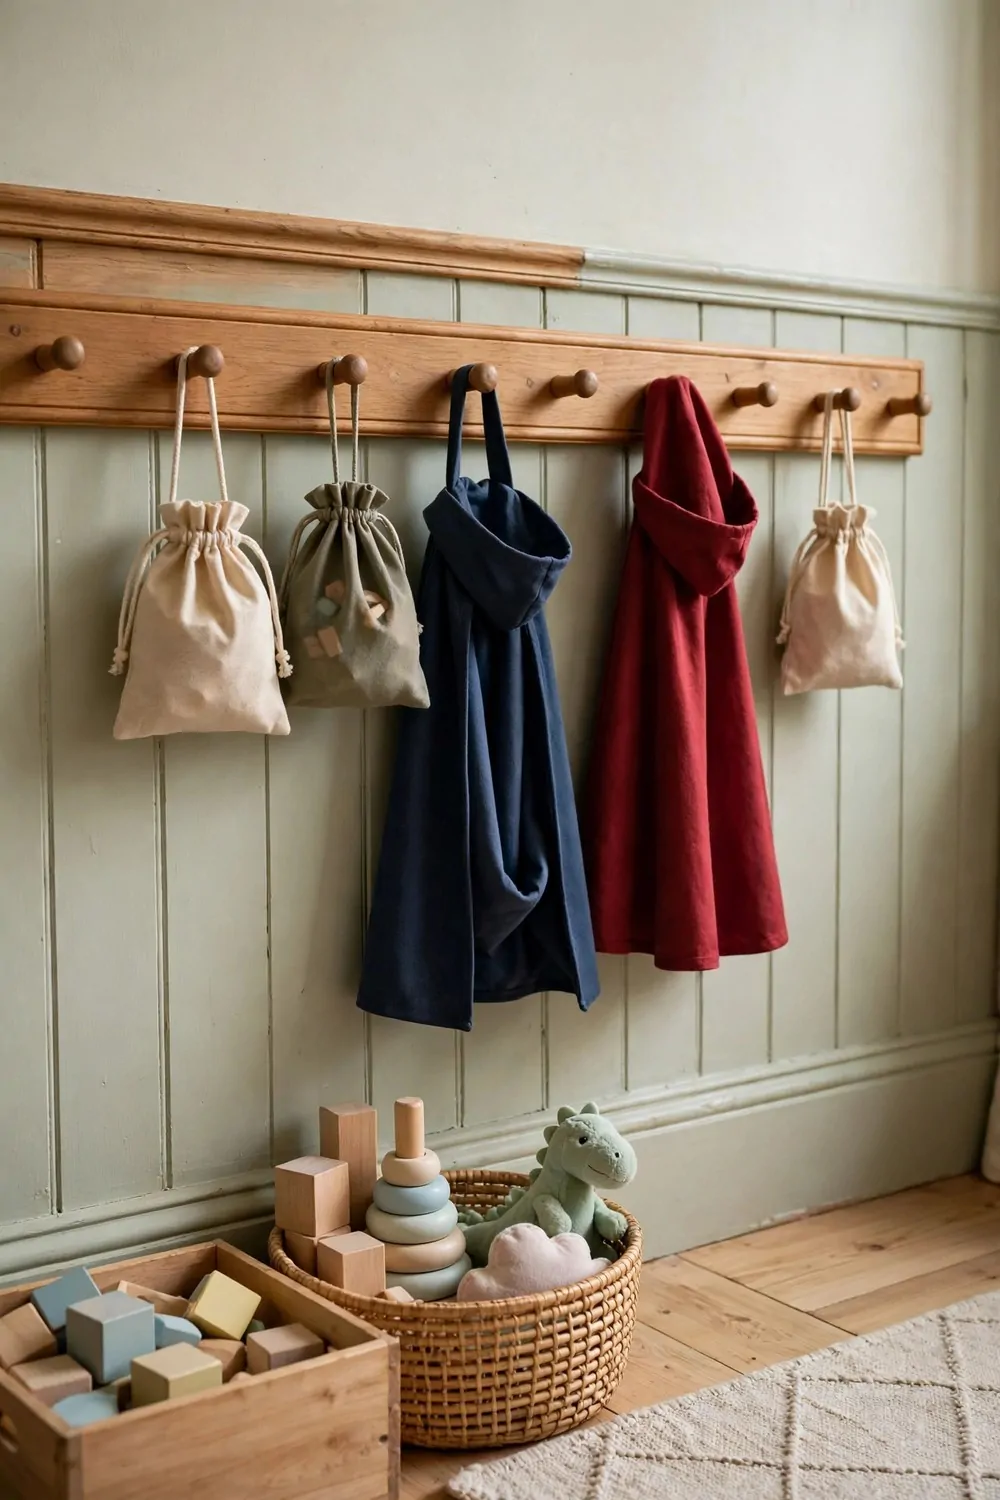
A peg rail on the wall is a simple fix for bags and costumes. Everything hangs up where you can see it.
I hang dress-up clothes on the pegs by theme. A cape goes on one peg and a crown goes on the next.
Small bags hang well on pegs too. Your kids can grab their bag and go play in seconds.
Put the rail low enough for your kids to reach. If they cannot reach it, they will not use it.
Keep just a few costumes on the rail at a time. Too many makes it look messy and hard to choose from.
Swap costumes with the closet box every month. The old ones feel fresh when they come back out.
A peg rail also works by the door for play bags. I keep one bag ready for trips to the park.
Teach kids to hang one thing up when they take one down. It is a small habit that keeps the rail tidy.
This little rail saves your floor from piles of fabric. It looks cute and it works hard every day.
23. A Toy Rotation Box in the Closet
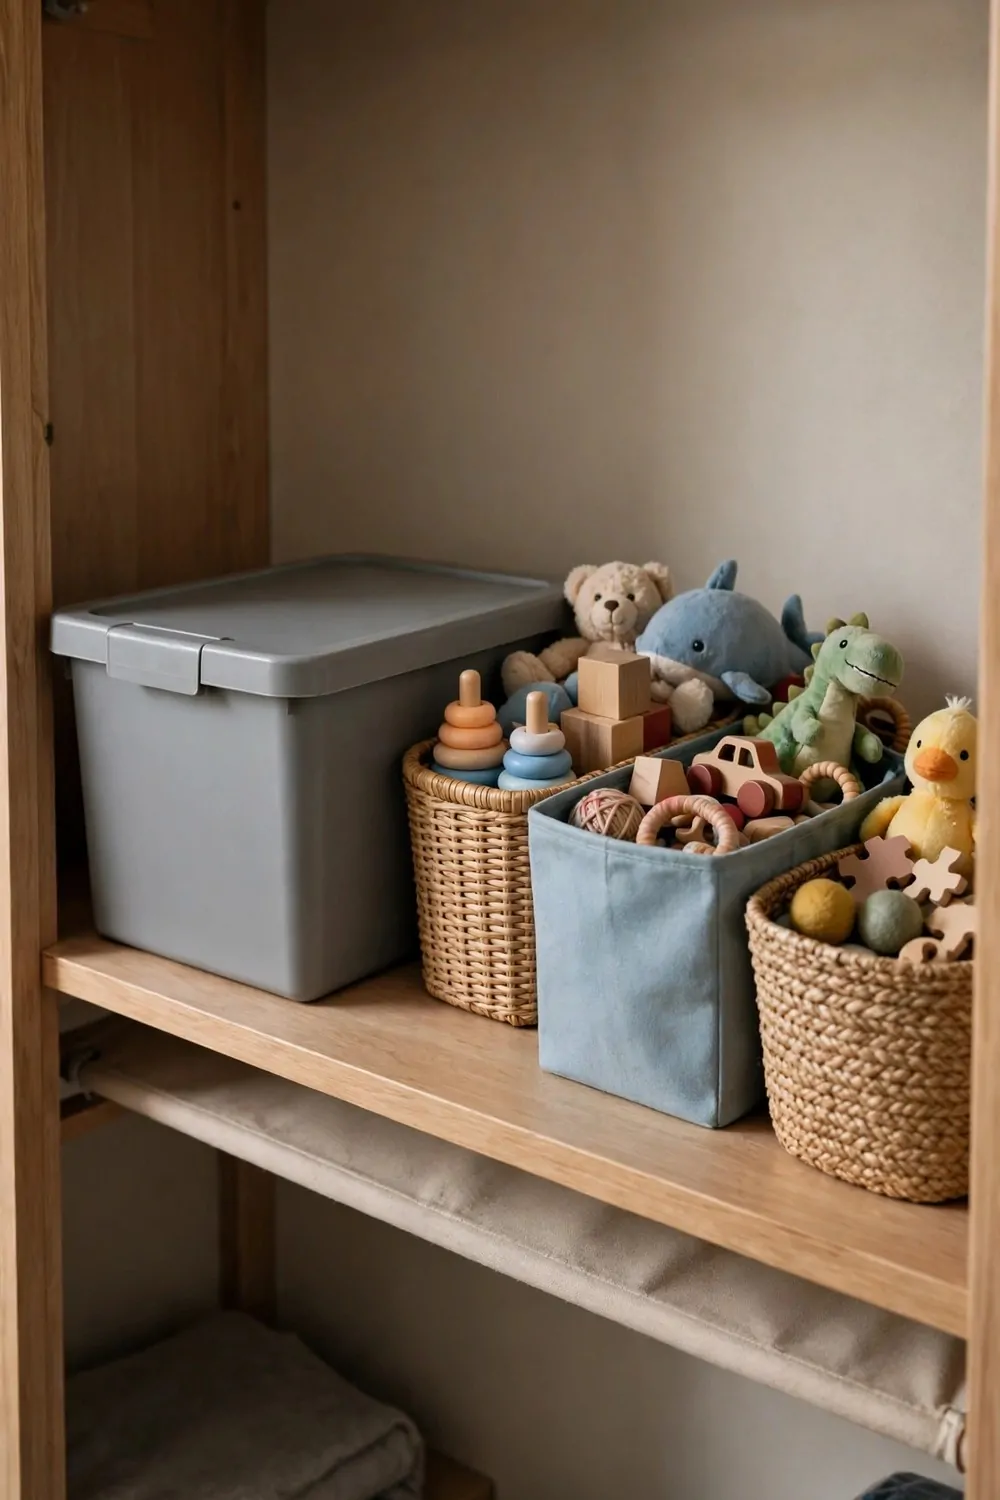
A toy rotation box in the closet is a smart way to keep play fresh. You store some toys away and bring them back later.
I pick a few toys to rest in the box each month. The toys left out get more love because there are fewer choices.
When the boxed toys come back, kids act like they are brand new. It feels like a gift without spending a cent.
Use a sturdy box with a lid for the rotation toys. Label it so you know what is inside.
Try rotating toys like these to keep it simple:
- Building blocks and stacking toys
- Puzzles and board games
- Cars, trucks, and play figures
Rotate on the first day of the month so you remember. It takes me about ten minutes.
Ask your kids which toys they miss the most. Those are the ones to bring back first.
Keep broken toys out of the rotation box. Fix them or let them go so they do not take up space.
This box is one of my best clean-up helpers. Fewer toys out means faster tidy time for you.
24. A Ball Bin by the Door
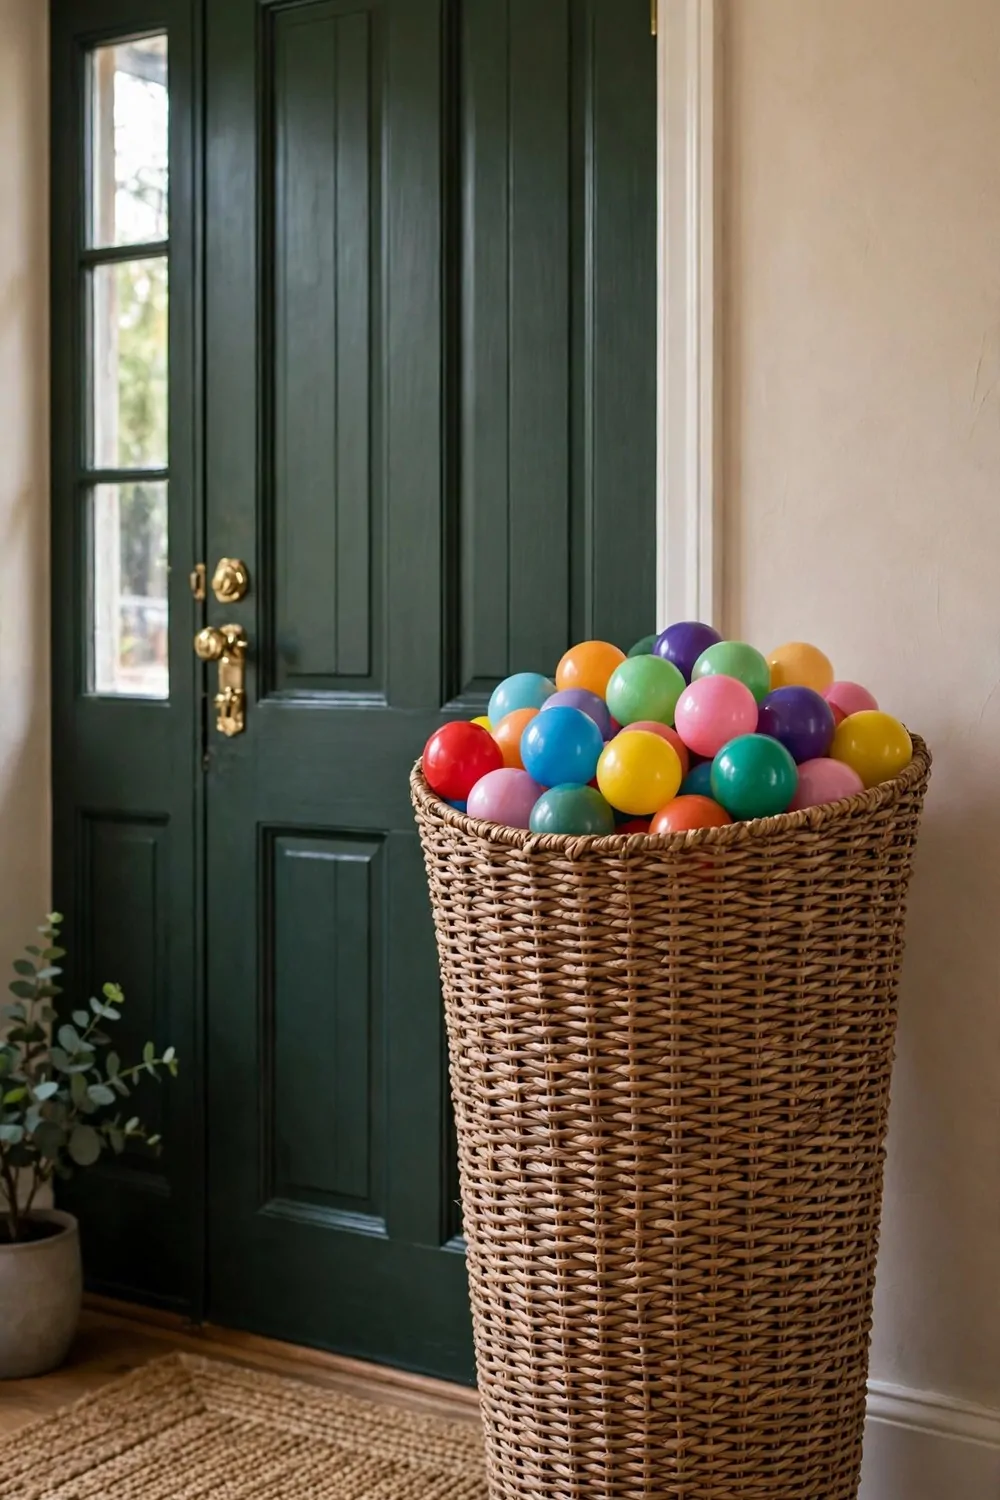
A ball bin by the door keeps bouncy toys in one place. No more balls rolling under the couch.
I use a tall bin with an open top. Kids can toss a ball in from across the room and it feels like a game.
Keep the bin near the door you use for outside play. Your kids can grab a ball on the way out.
Sort big balls on the bottom and small balls on top. It stops the little ones from getting lost.
A mesh bin works well because you can see what is inside. It also lets air move through after outdoor play.
Teach kids the one rule for the bin. If a ball comes inside, it goes in the bin before anything else.
I keep just five or six balls in our bin. More than that and they spill out every time the door opens.
Wipe the balls down once a week if they go outside a lot. It keeps dust and dirt out of your house.
This bin is cheap and it works every single day. Your hallway will thank you.
25. A Clear Shoe Organizer for Small Toys
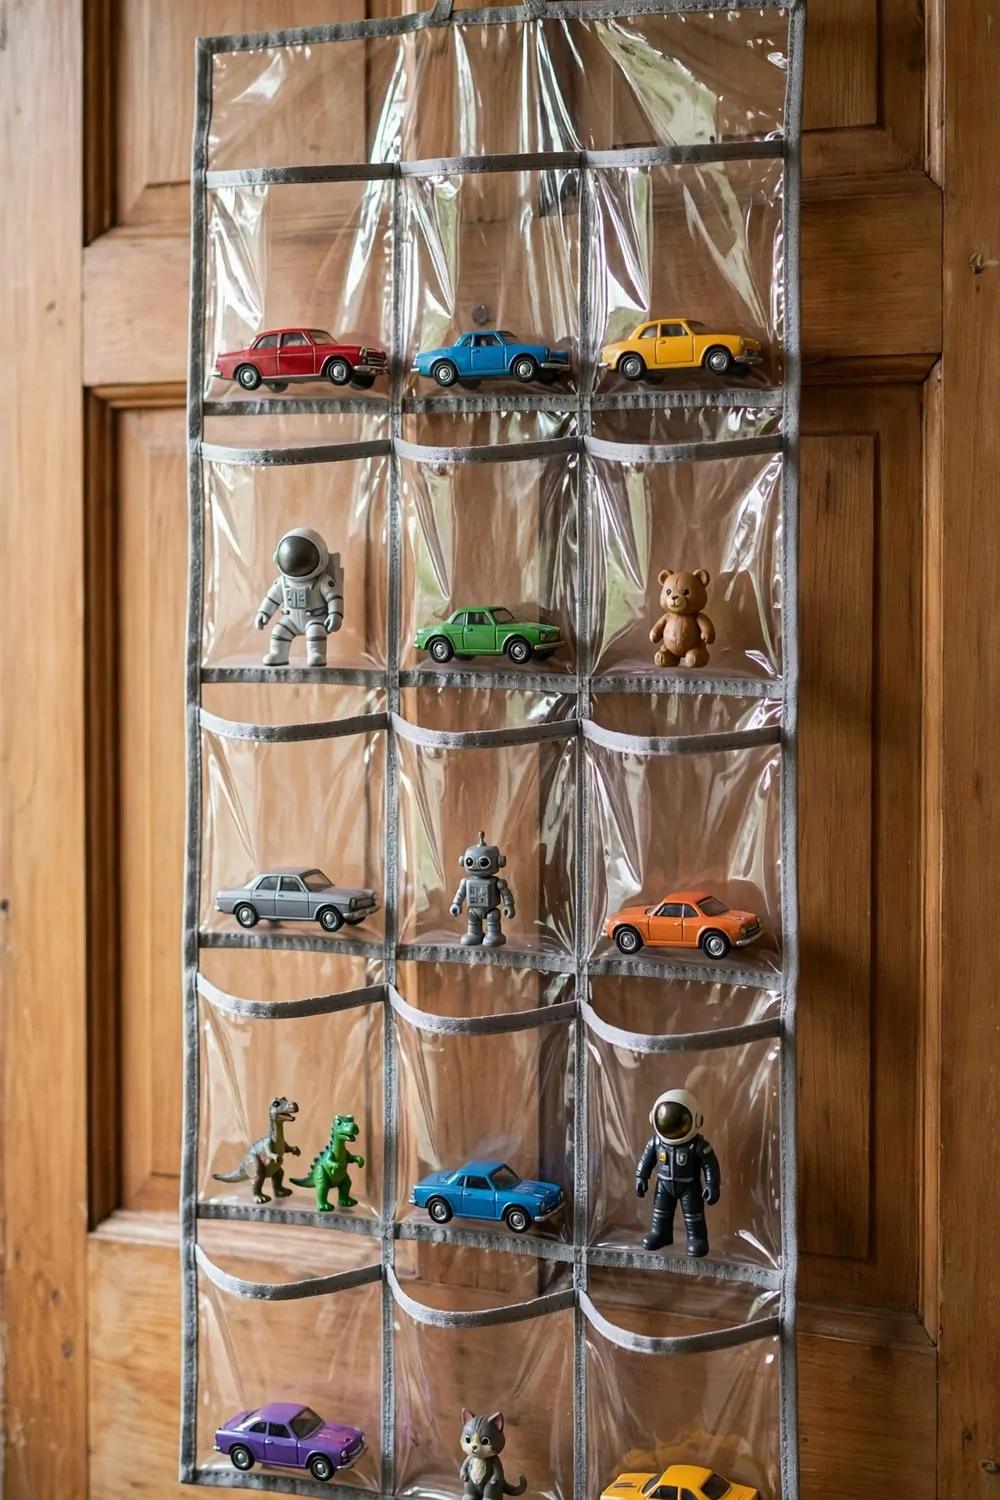
A clear shoe organizer is a clever home for small toys. Hang it on a door and each pocket holds a little treasure.
I use it for tiny figures and small cars. Kids can see each toy through the clear pocket.
Put one type of toy in each row. The top rows can hold the toys kids use less often.
This organizer saves shelf space in a small room. It uses the door, which is space you already have.
Your kids can pick a toy without dumping a whole bin. That alone makes clean-up so much faster.
Label the pockets with small stickers if you like. A star sticker can mark the row for favorite toys.
Keep the bottom pockets for the toys kids grab daily. They can reach them without a chair.
Check the pockets once a month and clear out broken bits. Small toys pile up fast if you do not check.
I love how tidy this looks from across the room. It is simple, cheap, and it really works.
26. Zipper Pouches for Game Pieces
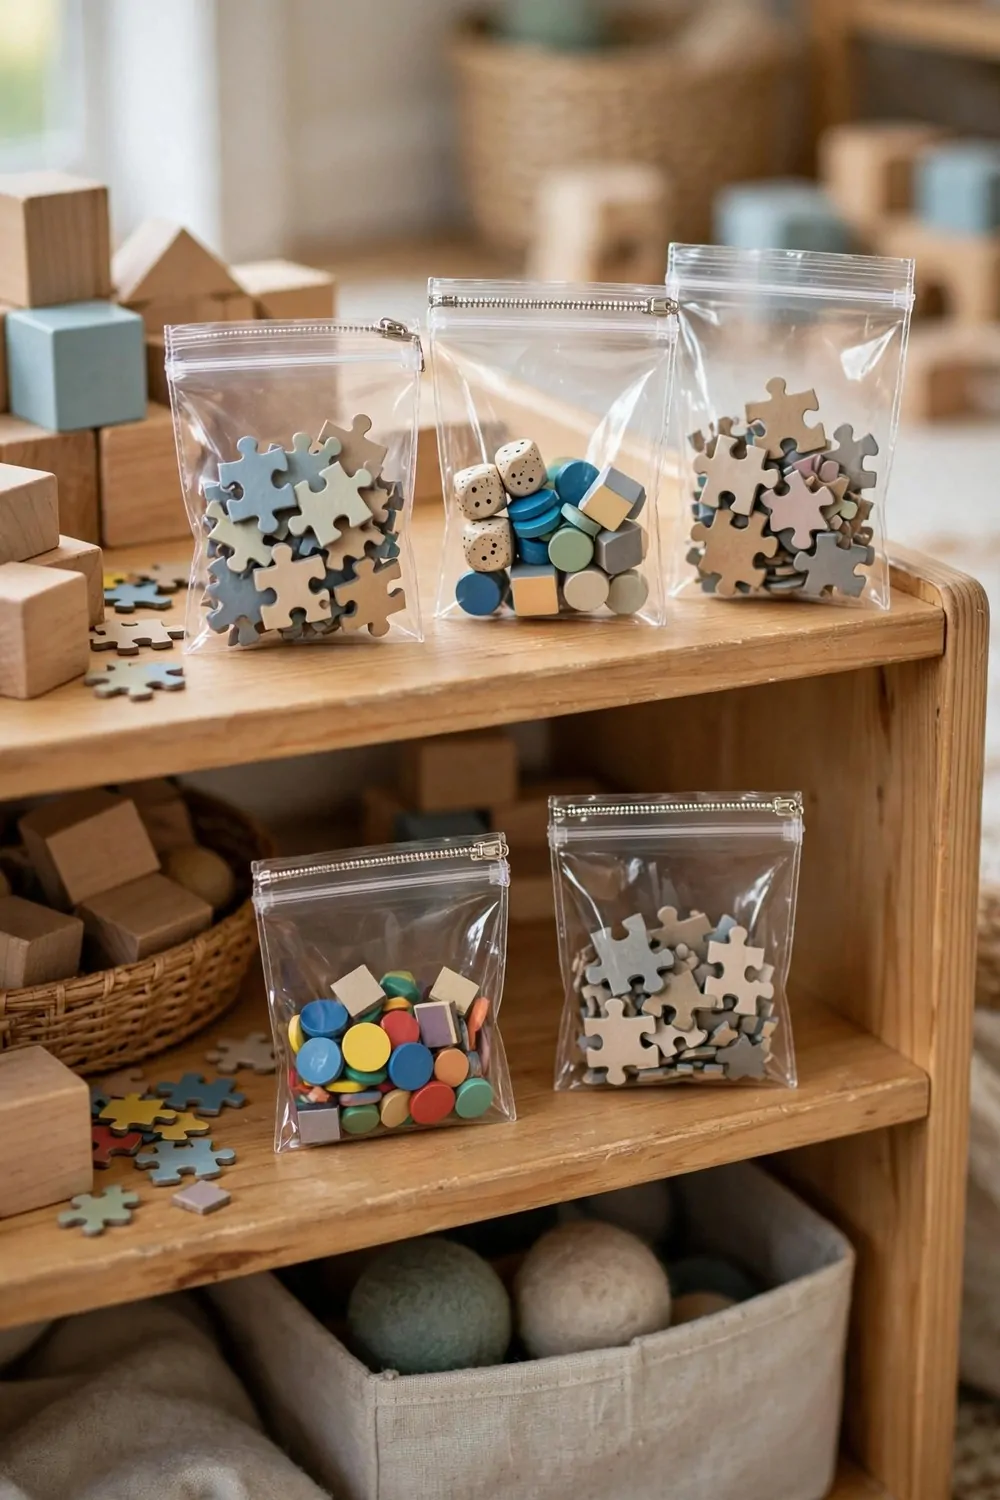
Zipper pouches are a lifesaver for game pieces. No more lost dice or missing cards.
I put each game in its own clear pouch. You can see the pieces inside without opening it.
Label each pouch with the game name. A small piece of tape and a marker is all you need.
Store the pouches upright in a small box or basket. They stand like little books on a shelf.
Your kids can carry one pouch to the table for game time. When the game ends, everything goes back in the pouch.
Keep a spare pouch for loose pieces you find around the house. I call it our lost and found pouch.
Check each pouch before you put the game away. Count the big pieces so you know nothing is missing.
This trick saves games from ending up in the trash. A game with all its pieces lasts for years.
Try it with puzzles too. Small puzzle pieces stay safe in a pouch until next time.
27. A Toy Donation Box Always Ready
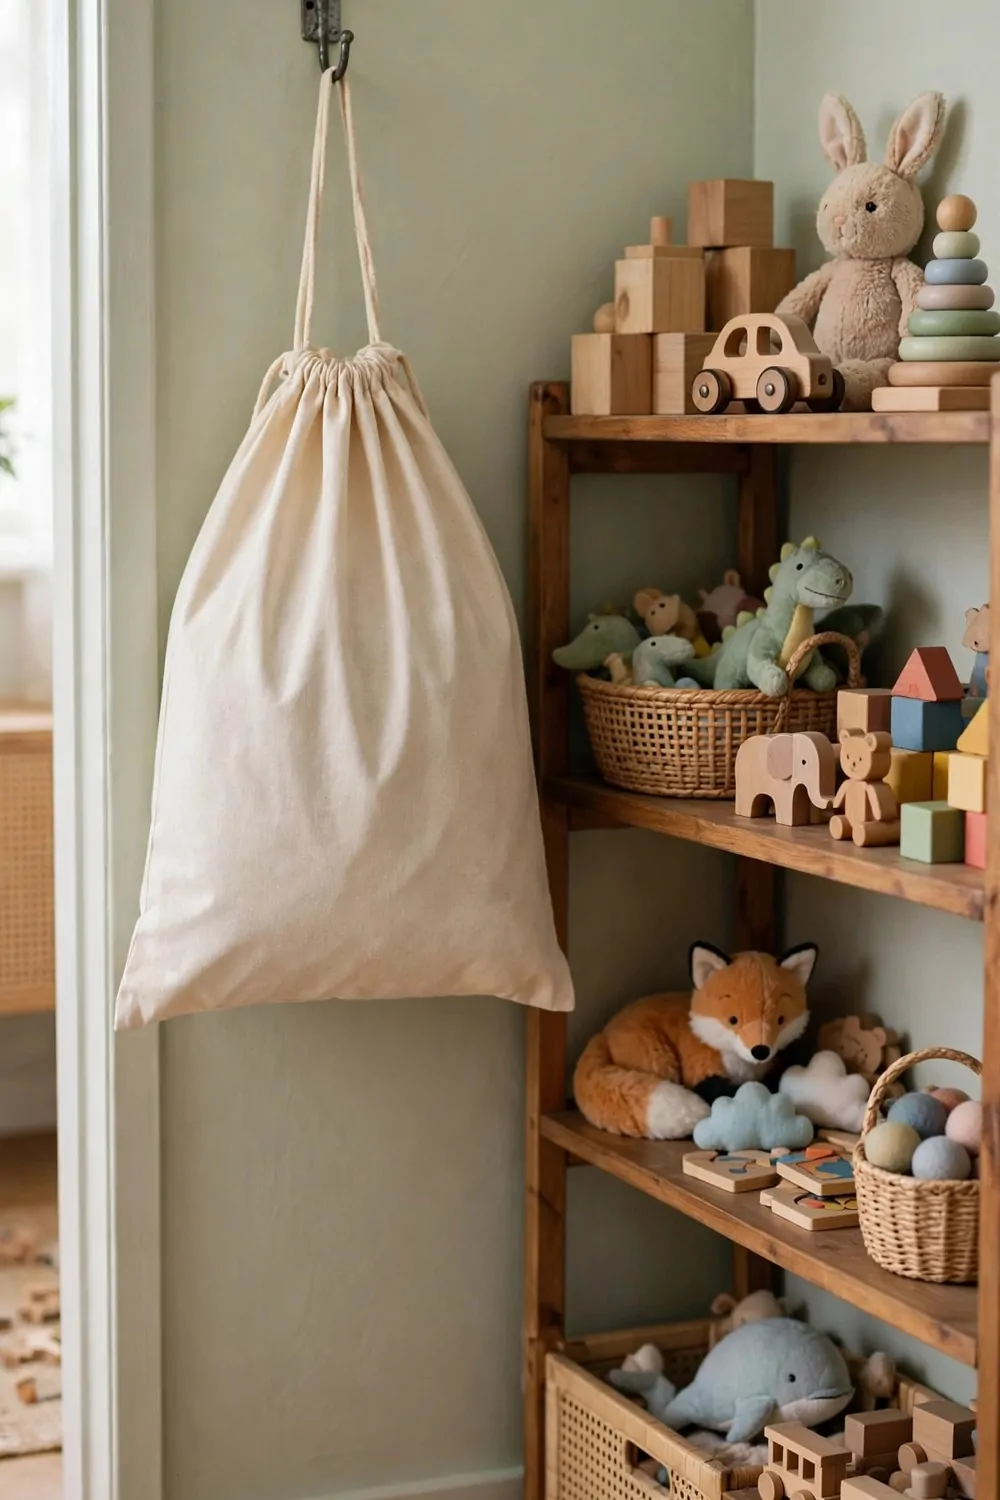
A toy donation box that is always ready makes letting go easy. When a toy is outgrown, it goes straight in the box.
I keep our box in the closet with a clear label. Kids know what the box is for.
Ask your kids to pick one toy to donate each month. It teaches them to share with other kids.
Only put clean toys in good shape in the box. A toy with missing parts is not a kind gift.
When the box is full, take it to a donation spot together. Your kids will feel proud of their kind choice.
Keep the box small so it fills up fast. A big box sits half full for months and takes up space.
I talk with my kids about who might enjoy the toy next. It helps them let go with a happy heart.
Do not force a child to give away a favorite toy. Let them choose and the habit will grow on its own.
This box keeps your home from bursting with toys. It also teaches a lesson that lasts a lifetime.
28. Color-Coded Bins for Each Child
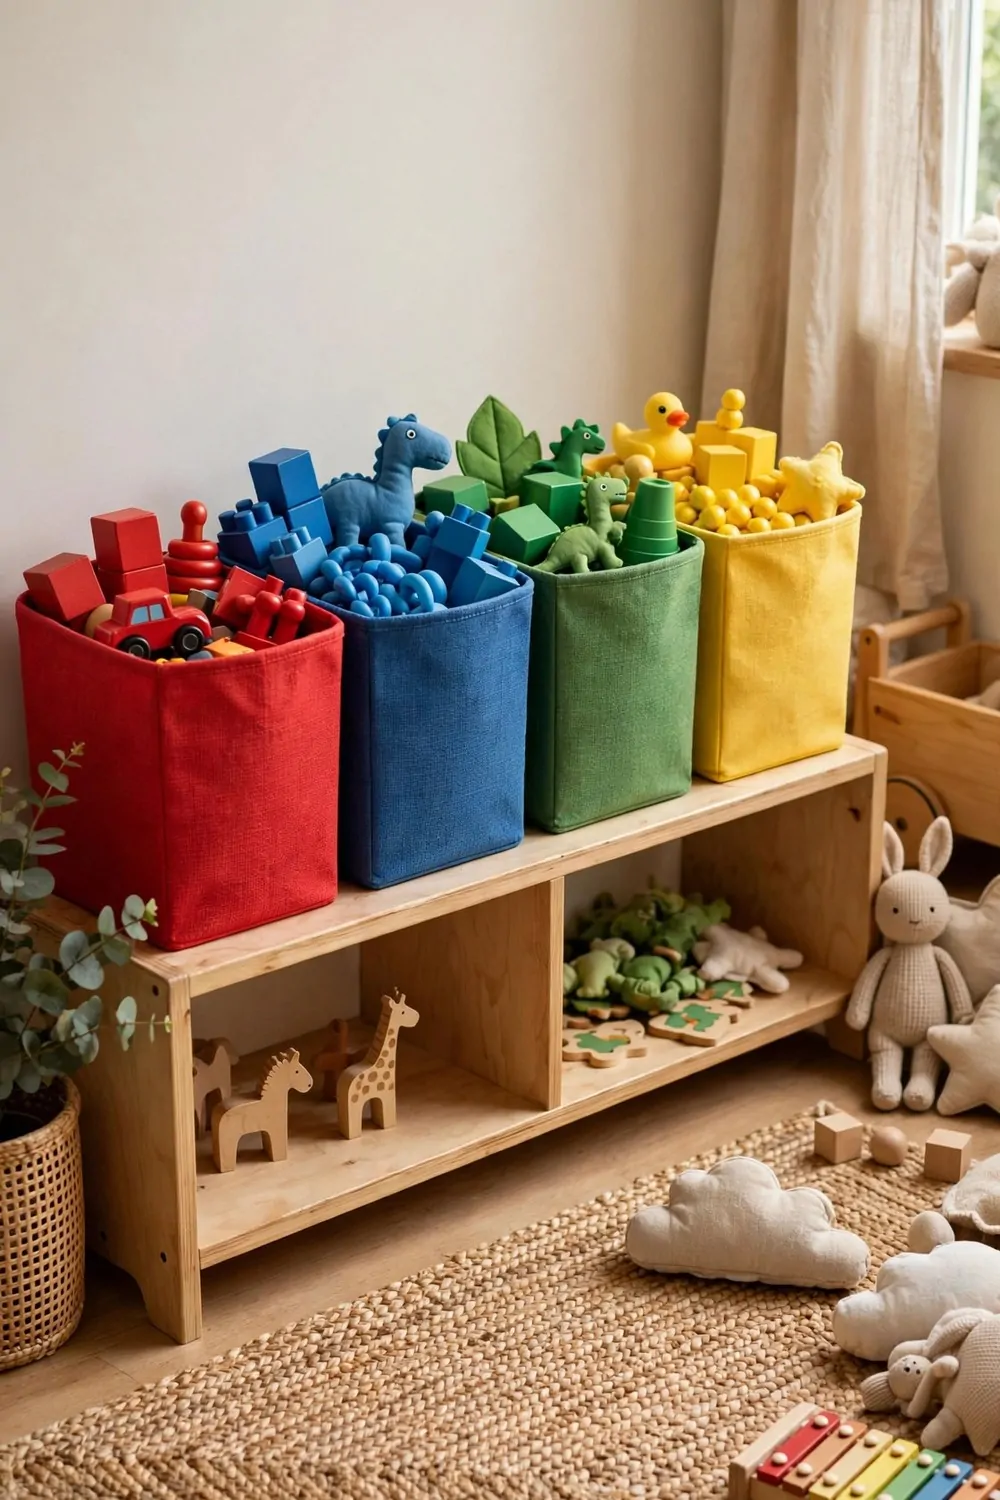
Color-coded bins for each child end a lot of toy fights. Each kid knows which color is theirs.
I let each child pick their own bin color. My son picked blue and my daughter picked yellow.
Put a matching colored sticker on the toys that belong in that bin. It makes sorting quick and fun.
Keep the bins side by side on a low shelf. Kids can find their bin without asking you for help.
Shared toys get a bin in a third color. That way nobody argues about who owns the shared blocks.
Clean-up time turns into a color game. You can say “find all the blue toys” and kids race to sort them.
Use the same colors for other storage too. A matching basket or bag in the same color ties it all together.
Check the bins each week for toys in the wrong color. A quick swap keeps the system working.
This simple color trick gives each child their own space. It keeps the peace and it keeps the room tidy.
29. A Toy Garage for Cars and Trucks
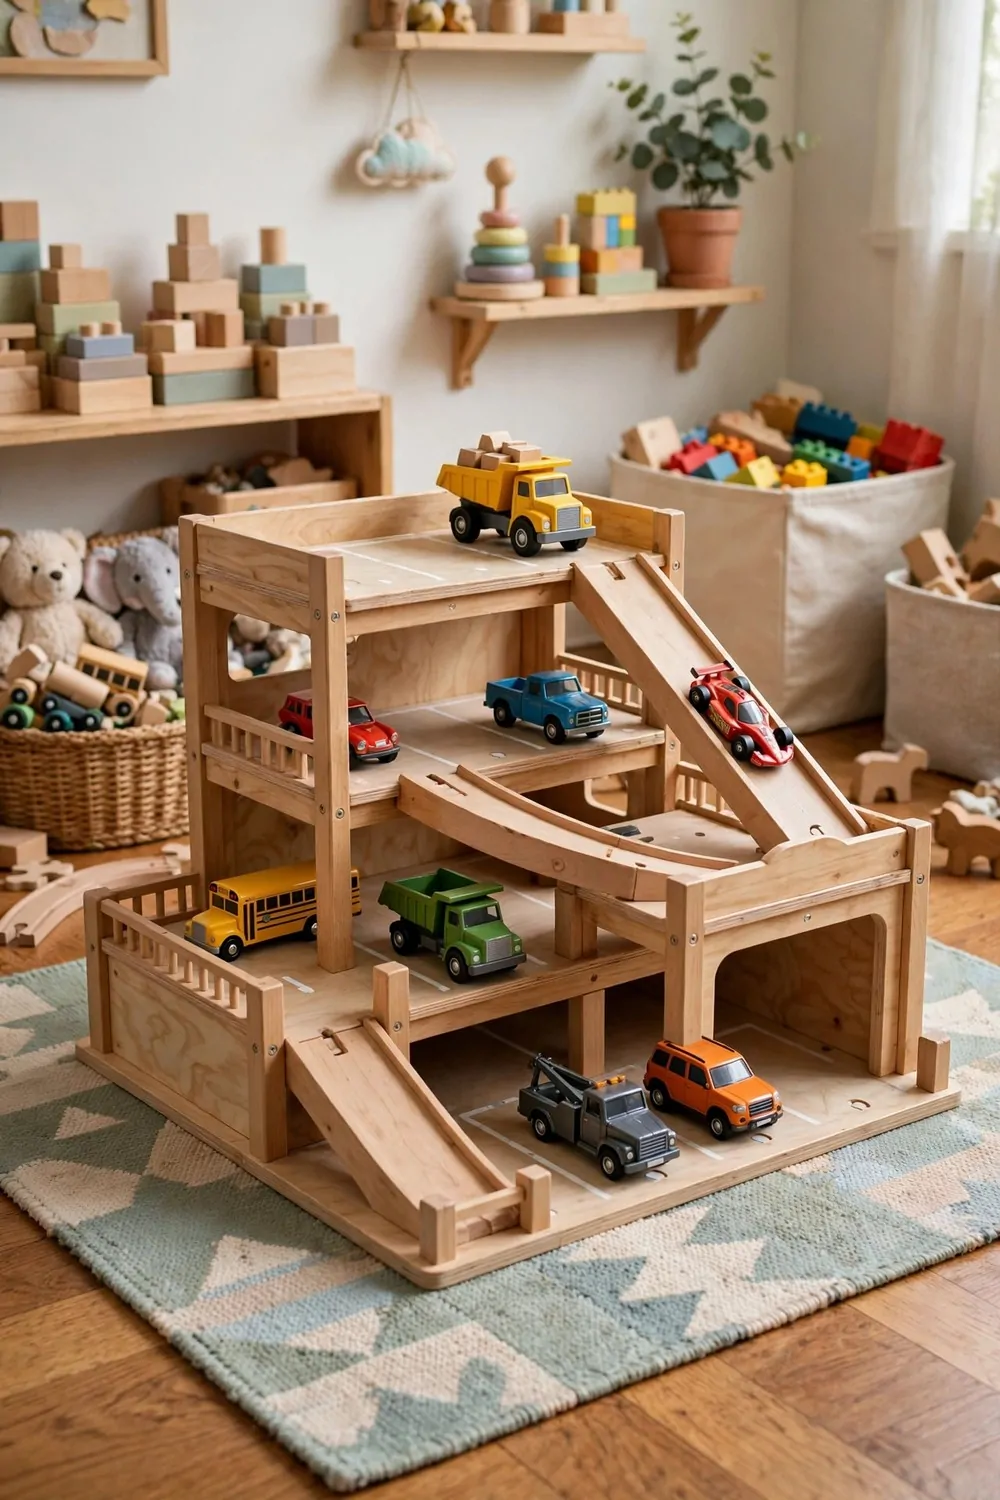
A toy garage for cars and trucks is a hit with little drivers. Each car gets its own little parking spot.
I use a small shelf with rows marked like parking bays. Kids love to park each car in its own bay.
Keep the big trucks on the bottom row. They are heavy and they stay steady down low.
Small cars fit well on the top rows. You can line up ten or more in a small space.
Your kids can see all their cars at once. They pick one to play with instead of dumping the whole box.
Add a little ramp if you have room for one. It turns clean-up into play time.
Label each bay with a number if your kids are learning to count. Parking car number five is a fun little lesson.
Keep broken wheels in a small fix-it box nearby. I check it once a month and toss the ones we cannot fix.
This garage keeps cars off the floor and out from under your feet. It looks cute and it works so well.
30. A Low Bench with Storage Inside
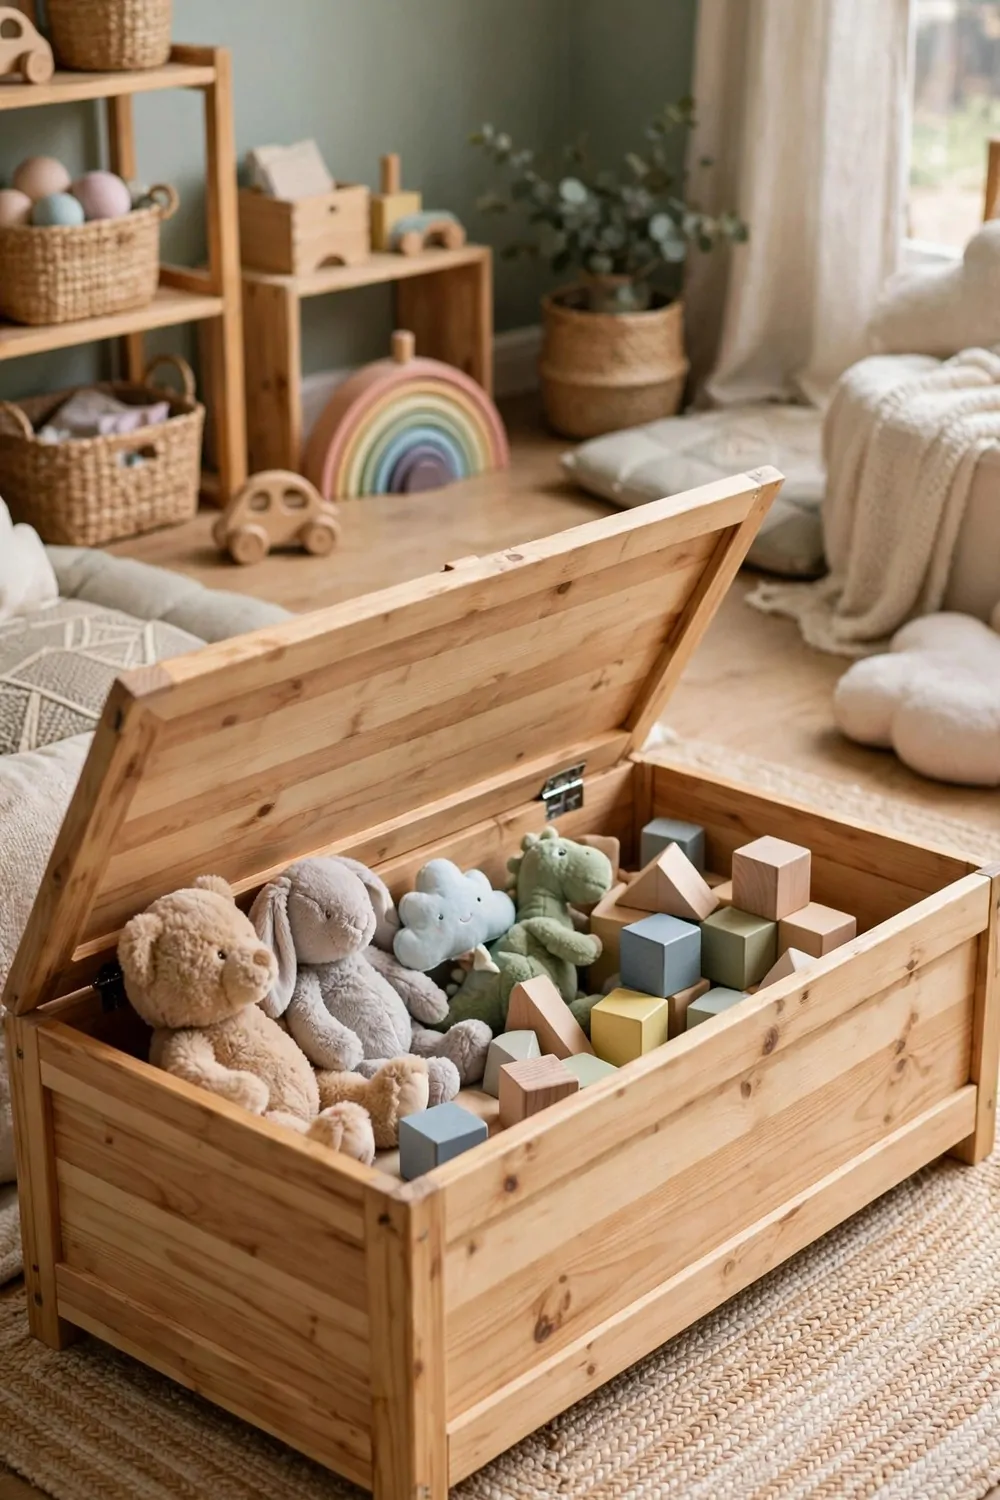
A low bench with storage inside does two jobs at once. Kids sit on it and toys hide inside it.
I keep ours by the window in the playroom. Kids sit there to read and the toys stay close by.
Use the bench for soft toys and dress-up clothes. They fit well and they do not rattle around.
Pick a bench with a lid that stays open on its own. It keeps little fingers safe while kids reach inside.
Keep the heavy toys out of the bench. Light toys are easier for kids to lift in and out.
Your kids can tidy up by tossing toys into the bench. It is fast and it feels like a game.
Add a cushion on top in a color you love. It turns a plain storage box into a cozy seat.
Check inside the bench once a week for stray bits. Small pieces love to hide under the soft toys.
This bench is one of my favorite pieces in the room. It saves space and it gives kids a place to sit.
31. A Small Table with Drawers for Art Supplies
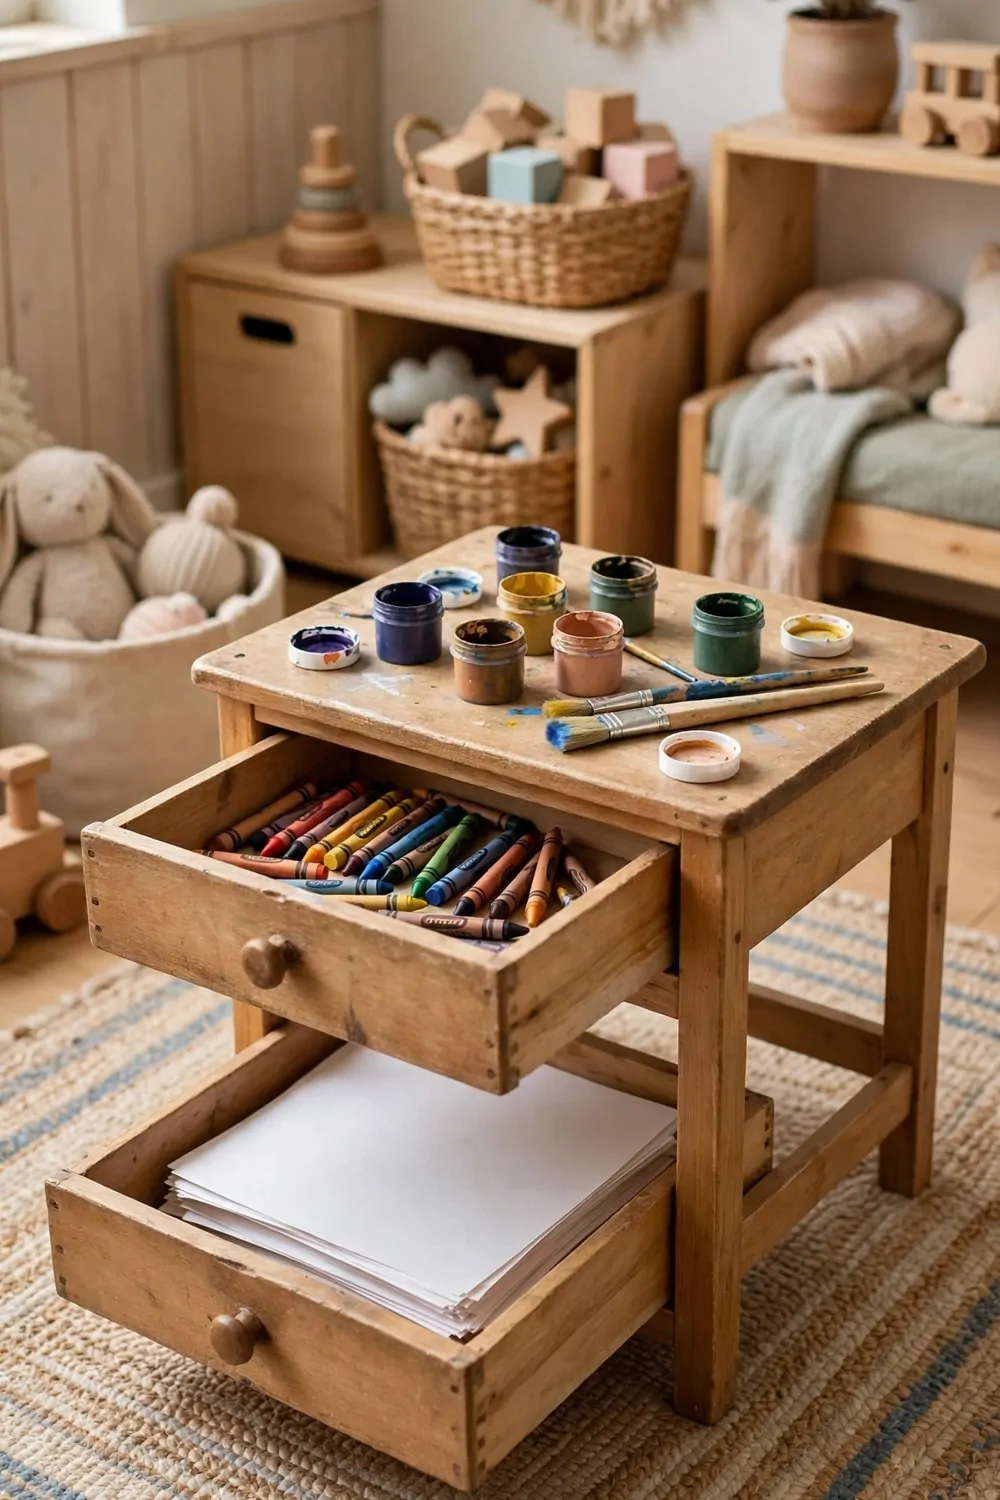
A small table with drawers is perfect for art supplies. Each drawer holds one kind of supply.
I put crayons in the top drawer. Markers go in the next drawer down.
Paper and coloring books fit in the bottom drawer. They stay flat and they do not get bent.
Keep the table low so kids can sit and draw with ease. A chair that fits the table makes art time comfier.
Your kids can open one drawer at a time for a project. It stops the whole table from turning into a mess.
Put a small tray on the table for the project in progress. It catches drips and keeps the table clean.
Teach kids to close each drawer when they are done with it. It is a tiny habit that keeps the table tidy.
I check the drawers once a month for dried out markers. We toss the dead ones and keep the good ones.
This little table turns a corner into an art station. Your kids will want to create there every day.
32. A Toy Clean-Up Basket by the Door
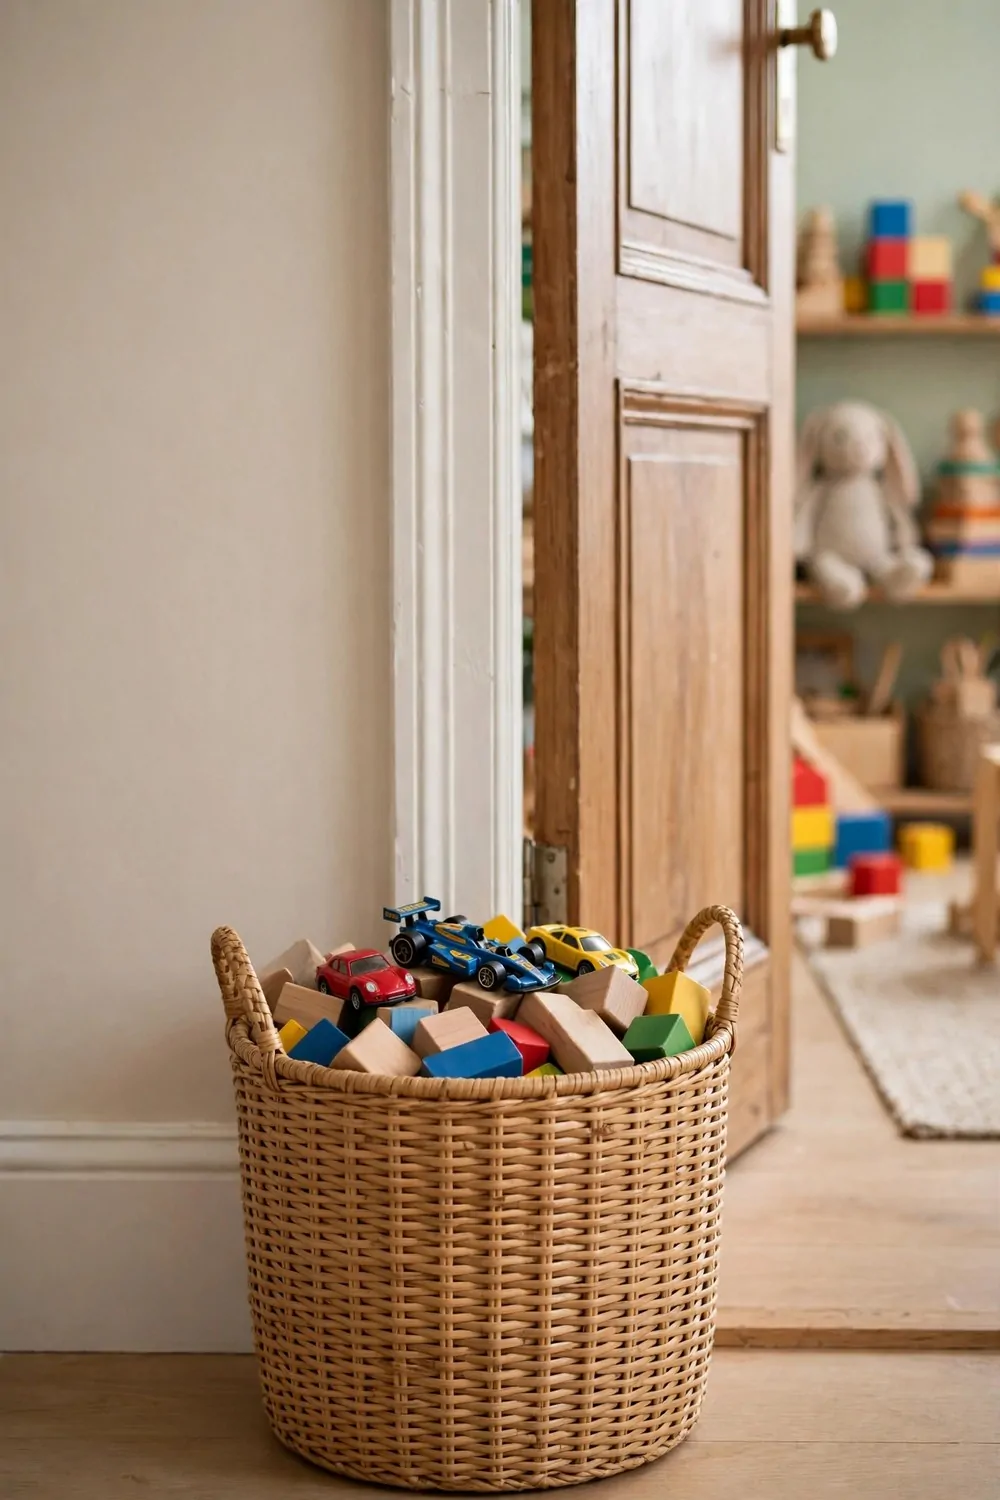
A toy clean-up basket by the door is a smart last stop. Toys found around the house go in it on the way out.
I keep a medium basket right by the front door. It catches the toys that wander out of the playroom.
At the end of the day, carry the basket back to the playroom. Put each toy in its real home.
Your kids can help carry the basket too. It is light when you empty it every day.
Keep the basket empty in the morning so it is ready. An empty basket invites a quick tidy.
Use a basket with handles so it is easy to carry. I like a soft basket that does not bump the walls.
This basket also works for toys from the yard. Shake off the dirt outside before they come in.
Teach kids the basket rule in one short sentence. If you see a toy out of place, pop it in the basket.
This small habit keeps toys from piling up by the door. Your entry stays clear and calm.
33. A Display Ledge for Favorite Toys
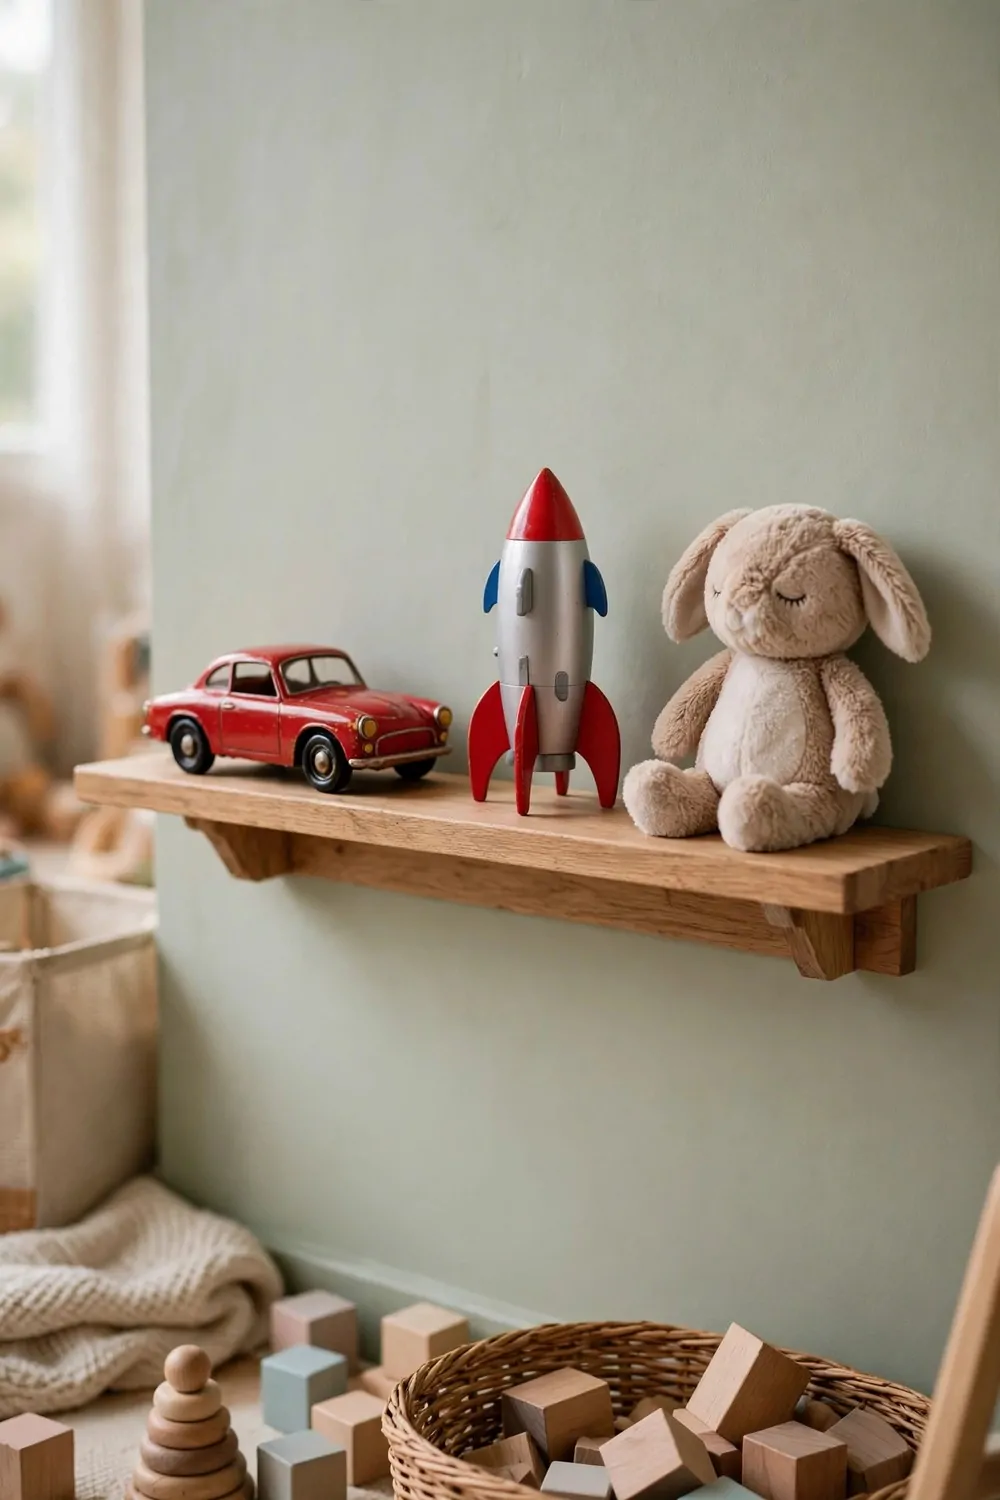
A display ledge for favorite toys makes kids feel proud. Their best toys get a special spot on the wall.
I put our ledge at kid eye height. Kids can see their favorites and reach them with ease.
Keep just five or six toys on the ledge at a time. Too many makes it look crowded and less special.
Rotate the toys on the ledge each month. A toy that was in a bin feels special again on the ledge.
Let your kids choose which toys earn a spot. It is their display and their choice matters.
Use a ledge with a small lip on the front edge. It stops toys from sliding off when the door closes.
Keep the ledge away from busy walkways. Toys stay safe when nobody bumps into them.
Dust the ledge once a week with a soft cloth. It keeps the display looking fresh and loved.
This ledge turns favorite toys into little treasures. Your kids will smile every time they walk past it.
34. One In, One Out Rule
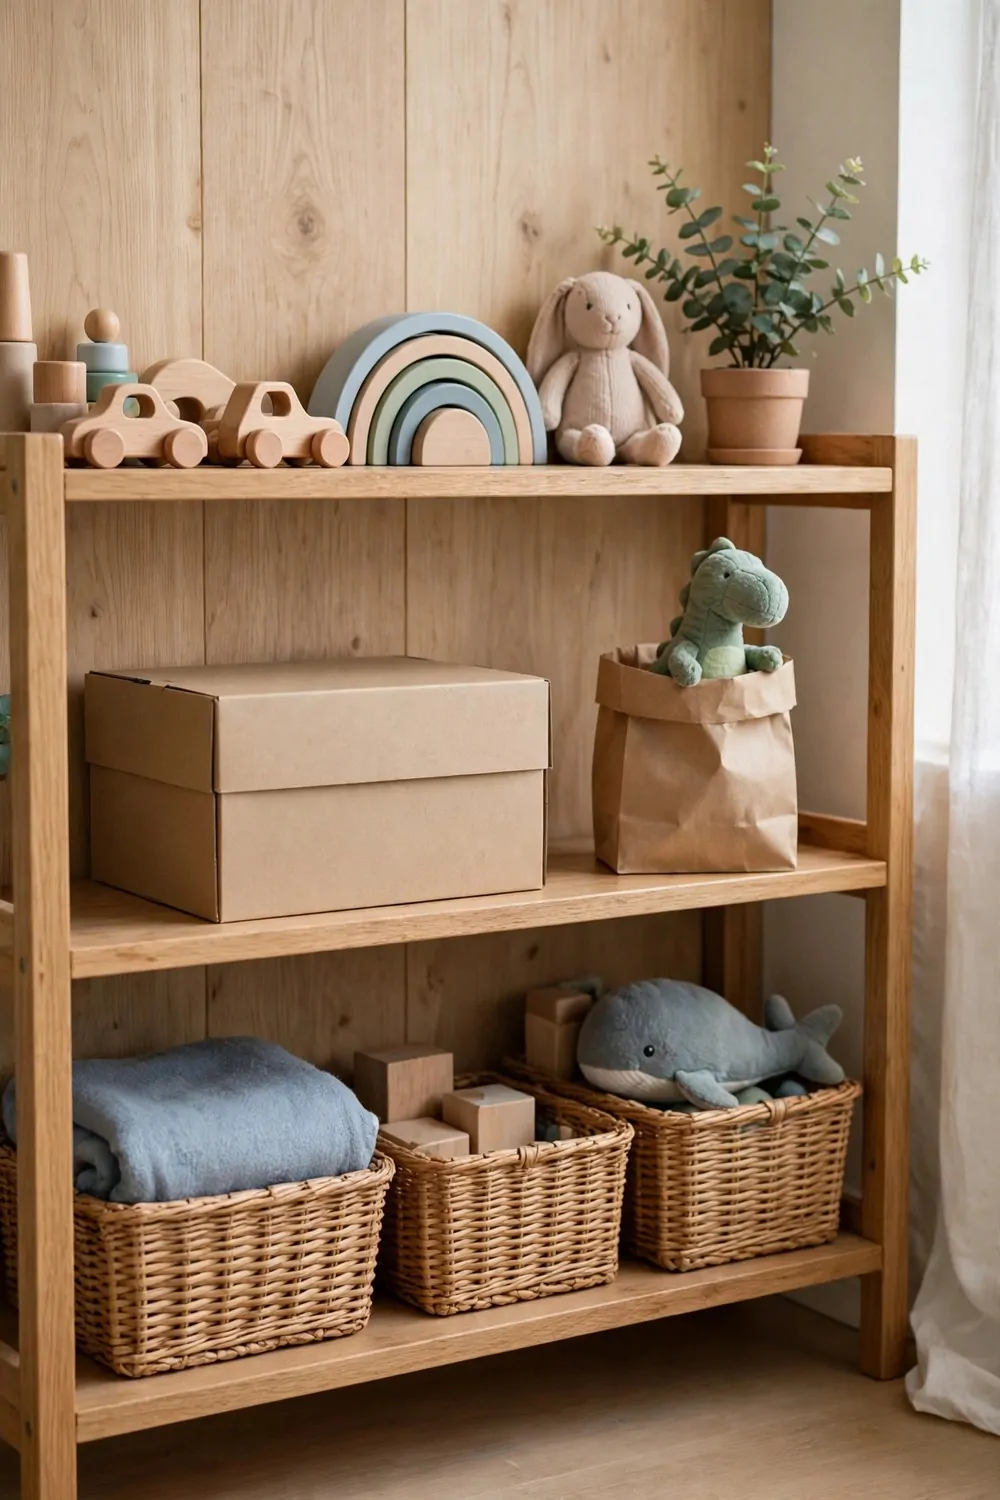
The one in, one out rule is the simplest toy rule I know. When a new toy comes in, one old toy goes out.
I explain it to my kids before birthdays and holidays. They know a new toy means a choice about an old one.
Let your kids pick which toy goes out. They feel in charge and the rule feels fair.
Put the outgoing toy in the donation box right away. It stops the old toy from creeping back onto the shelf.
This rule keeps the toy count steady all year. Your shelves never overflow again.
It also helps kids value what they already have. Fewer toys means each toy gets more play time.
Try the rule for one month and see how it feels. You will notice the room stays calmer.
Keep the rule gentle and kind, never strict. If a child is not ready to let go, wait and try again later.
One in, one out is a small rule with a big result. It keeps your home tidy and your kids happy.
Keep Reading
- 24 Entryway Rug Ideas That Handle Mud and Look Good
- 28 Coat Closet Organization Ideas That End the Pile
- 21 Hallway Storage Ideas That Use Narrow Walls Well
- 33 Entryway Table Decor Ideas That Welcome Guests
- 25 Entryway Mirror Ideas That Make Small Entries Feel Bigger
- 35 Dining Room Rug Ideas That Define the Space
Pick one idea from this list and try it with your toys this week. Start small, see how fast clean-up feels, and enjoy a calmer playroom every day.