19 Outdoor Photo Studio Ideas That Use Natural Light Beautifully

At noon the sun is bossy. It throws hard shadows under your eyes and makes everyone squint.
At six in the evening that same sun turns soft and golden. It glows on skin like warm honey.
I did not learn this from a class. I learned it by taking a hundred bad photos in my backyard and wondering why they all looked so harsh. Then one evening I tried again at sunset and everything changed. The light did all the work for me.
You do not need studio lamps or a rented room to get photos that look professional. The sky is the biggest softbox in the world, and it is free. These Outdoor Photo Studio Ideas will show you how to catch that light and shape it with simple setups, most of them made from things you already own.
1. Claim the Golden Hour as Your Studio Light
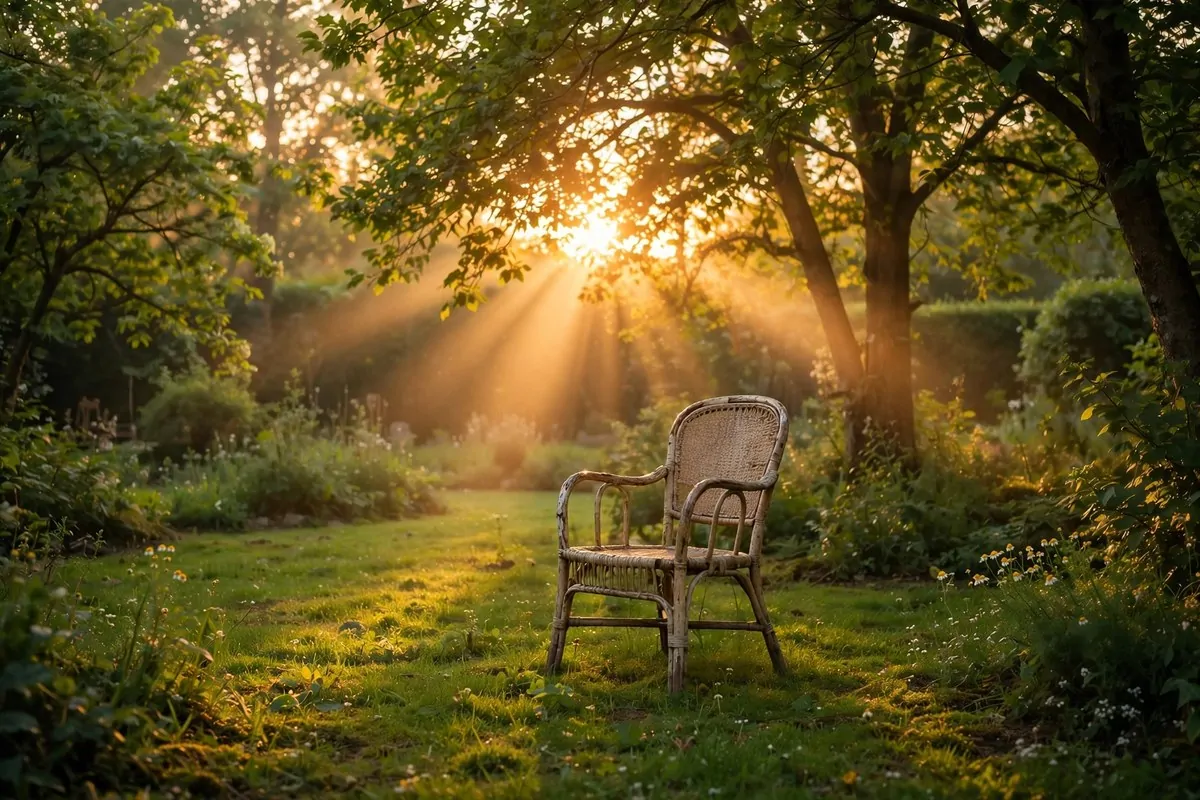
The golden hour is the hour after sunrise and the hour before sunset. The light is warm, low, and kind to every face.
I plan all my outdoor shoots around it now. My phone alarm goes off an hour before sunset and I grab my camera bag.
Stand your subject with the sun behind them. This is called backlighting. It makes the hair glow like a halo.
You will get a little flare in the lens sometimes. I like that. It looks dreamy.
If the face looks too dark, move a few steps to the side. Half the face in light and half in shade looks very artsy.
Do not shoot at noon if you can help it. The shadows under the nose and chin look harsh and tired.
Check your weather app for the exact sunset time. I write it on a sticky note on my fridge the night before.
Here is the simple plan I follow every time:
* Shoot 60 minutes before sunset for the softest light
* Put the sun behind the subject for a glow
* Move to the side for a half-lit look
* Keep shooting for 30 minutes, the light keeps changing
The light changes fast in that hour. Take lots of photos. You will be glad you did.
2. Hang a White Sheet Between Two Trees
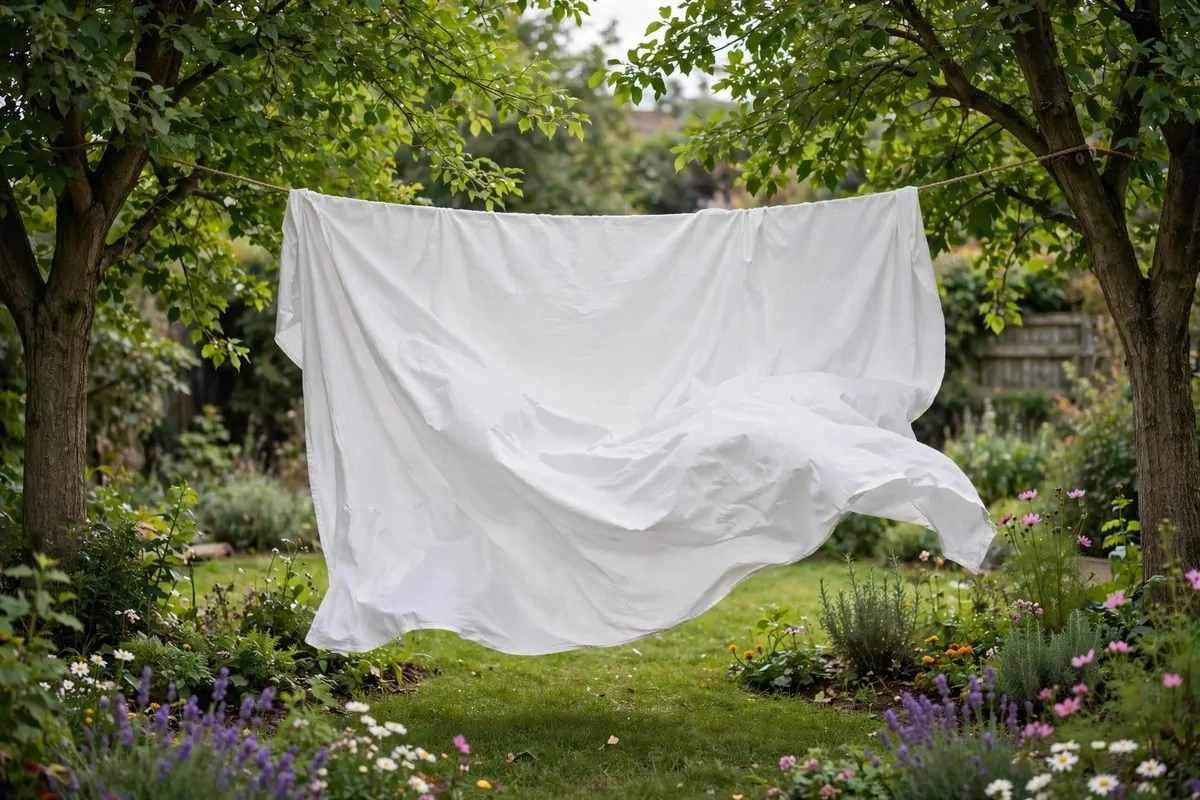
This is the oldest trick in outdoor photography. Two trees and a white bedsheet.
Pick two trees that stand about six to eight feet apart. The straighter the better.
Tie a rope between them at head height. Drape the sheet over the rope like a curtain.
Iron the sheet first if you can. Wrinkles show up in photos more than you think.
I used an old flat sheet from my linen closet. It worked perfectly. No need to buy anything fancy.
Stand your subject a few feet in front of the sheet. Not too close, or the sheet will cast shadows on them.
The white fabric bounces light back onto the face. It acts like a giant reflector.
If the wind moves the sheet, it looks alive and pretty in the photo. Do not fight the wind too much.
Clothespins hold the corners down if it gets wild. I keep a bag of them in my camera kit.
3. Build a DIY V-Flat From Two Foam Boards
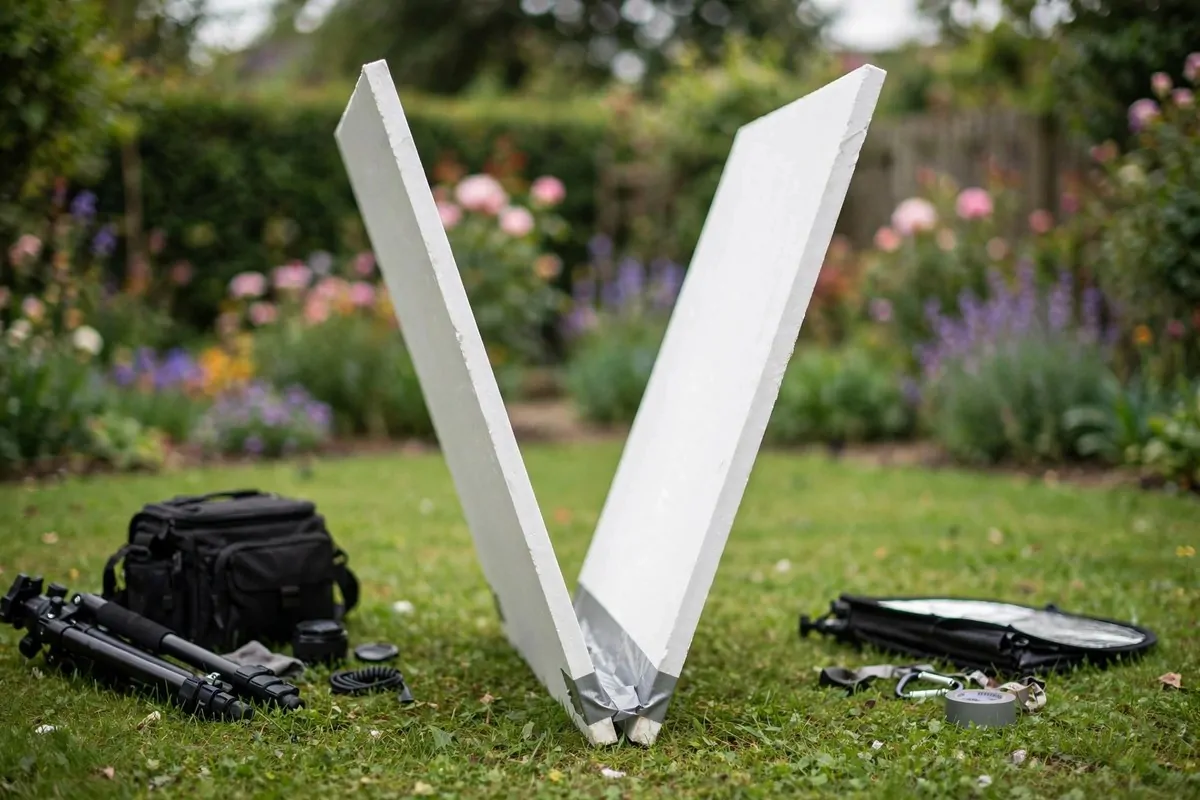
Professional photographers use a thing called a V-flat. It is just two big white boards hinged together in a V shape.
You can make one for almost nothing. Get two four by eight foot foam boards from a craft store.
Tape them together along one long edge with strong packing tape. Fold them into a V and they stand on their own.
Put the V behind your subject with the white sides facing in. It reflects light from every angle.
I painted one side of mine light gray. Now I have a white side and a gray side, two looks in one tool.
The V-flat also blocks ugly backgrounds. Put it between your subject and a messy fence. Gone.
Carry it to any spot in the yard. It is light enough for one person.
In wind, lean it against a chair or stake it down. Foam boards love to fly away.
Here is what you need for this build:
| Item | Details |
| Foam boards | Two, 4 by 8 feet, white |
| Tape | Wide packing tape for the hinge |
| Paint (optional) | Light gray for a second look |
| Stakes | Tent stakes for windy days |
Mine lives in the garage leaned against the wall. It takes two minutes to set up outside.
4. Shoot in Open Shade Under a Big Tree
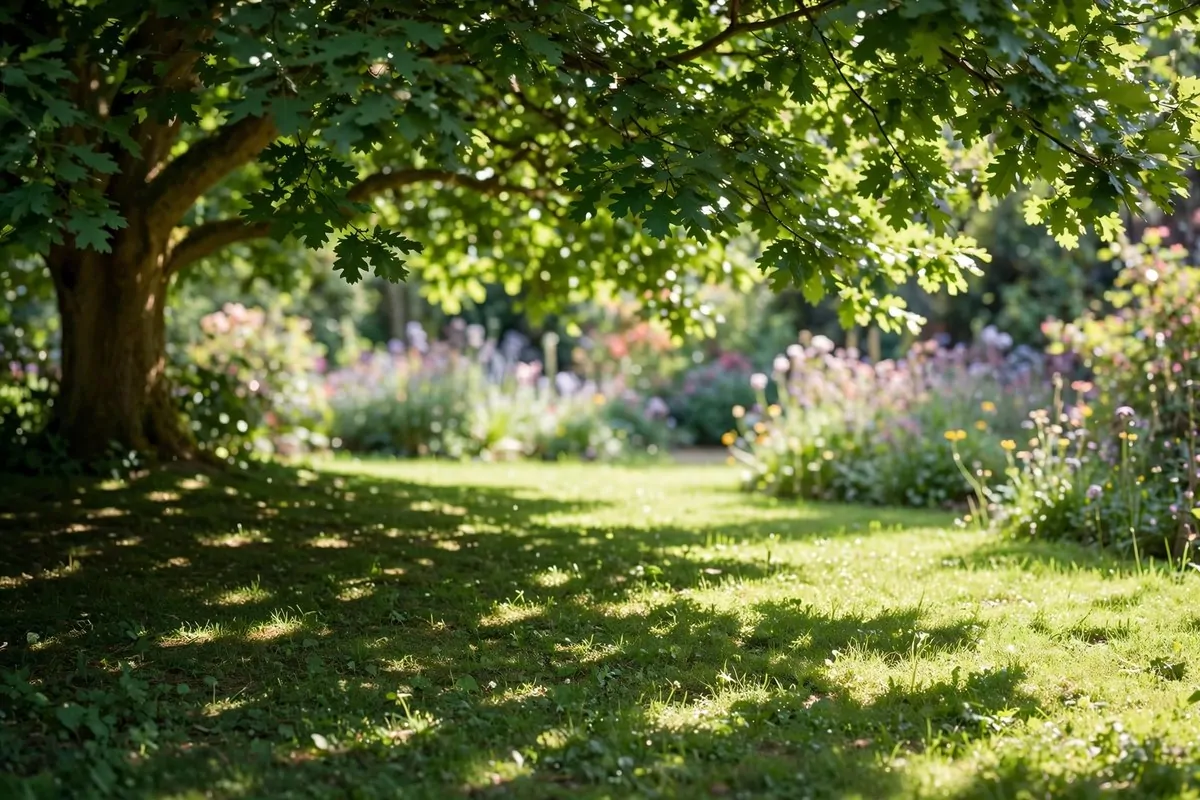
Open shade is the free gift of every backyard. Stand under a big tree and the light turns soft and even.
The leaves block the harsh sun. What falls on the face is gentle and smooth.
But do not stand in deep dark shade. Look for the edge of the shade, where bright light sits just outside it.
I call it the shade line. Put your subject one step inside the shade line. The background stays bright and pretty.
Their eyes will be open and relaxed. No squinting. This alone makes photos look twice as good.
Watch out for dappled light, those little spots of sun through the leaves. They make polka dots on faces.
If you see spots, move a few feet. Even shade is what you want.
Overcast days are open shade everywhere. The whole sky becomes your softbox.
Morning shade on the east side of the house is my favorite. It is cool, soft, and the grass still has dew on it.
5. Drape Sheer Fabric Over a Pergola
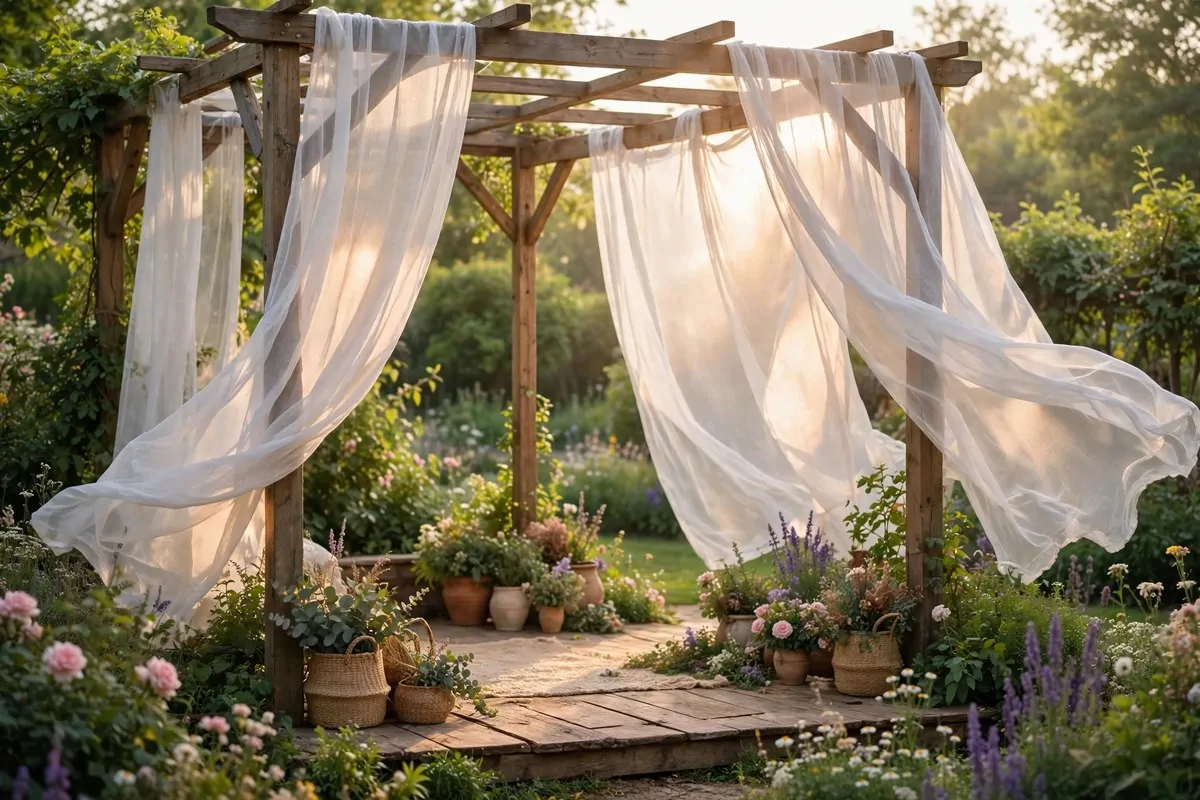
A pergola is a ready-made outdoor studio. The beams give you something to hang fabric from.
Buy sheer white curtains, the kind that let light through. They are cheap and light as air.
Drape them over the pergola beams. Let them hang down the sides like soft walls.
The fabric does two jobs. It softens the sun into a glow, and it makes a dreamy backdrop.
I use curtain clips with rings. They slide along the beams so I can open or close the fabric fast.
On a breezy day the curtains move. Ask your subject to stand still and let the fabric fly around them.
It looks like a wedding shoot. People will think you hired a stylist.
At golden hour, the light through the sheer fabric turns warm and peachy. It is my favorite ten minutes of the day.
Take the fabric down after the shoot or store it in a dry box. Sun and rain will wear it out fast.
6. Turn a Garden Arch Into a Flower Backdrop
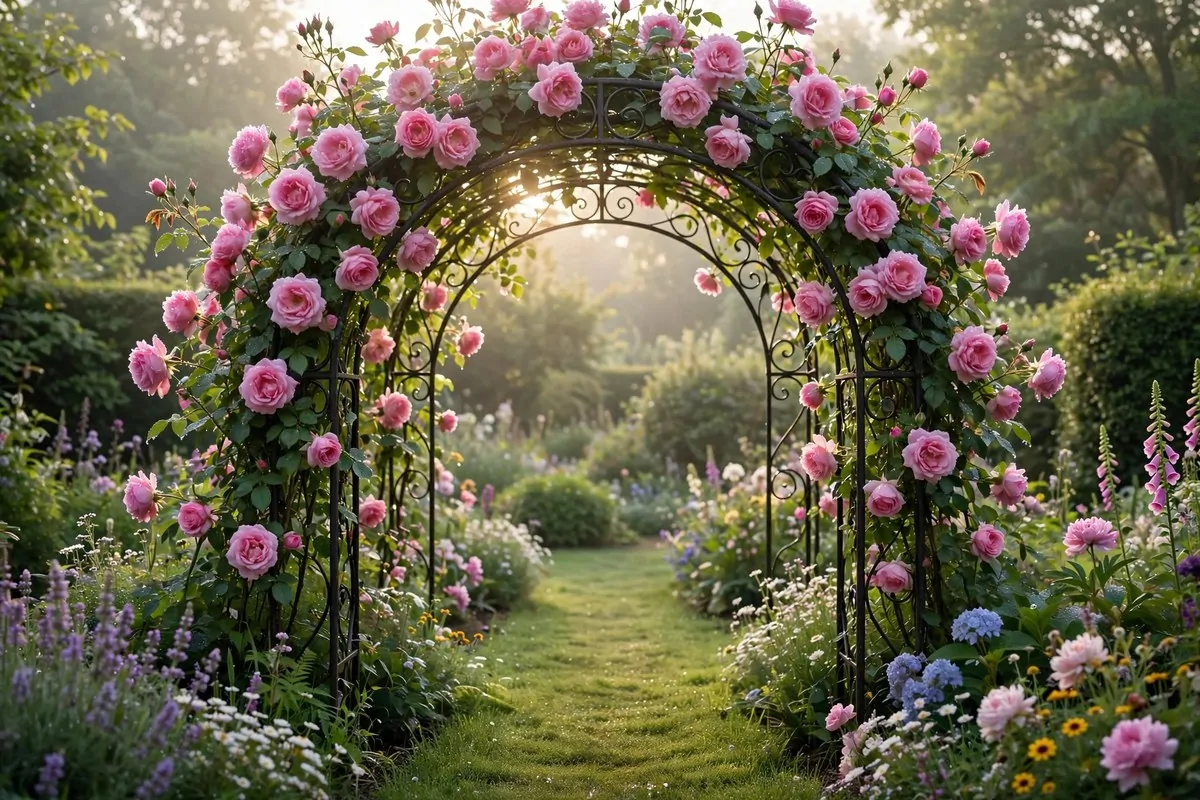
A garden arch covered in flowers is the prettiest backdrop nature can make. And you can grow your own.
Metal or wooden arches are sold at garden centers. A simple one costs less than a dinner out.
Plant climbing roses, jasmine, or clematis at the base. These three grow fast and bloom like crazy.
It takes a season or two to fill in. While you wait, fake flower garlands from a craft store work fine.
Place your subject right in the middle of the arch. The flowers frame the face perfectly.
Shoot through the flowers a little. Put a few blooms close to your lens and blur them. It adds magic.
Morning light through a flower arch is soft and sweet. The petals glow from behind.
Bees will visit. That is fine. They are busy and they ignore people.
If you have no arch yet, two tall shepherd hooks with hanging flower baskets make a mini version. Same idea, smaller scale.
7. Use a Greenhouse as a Glass Studio
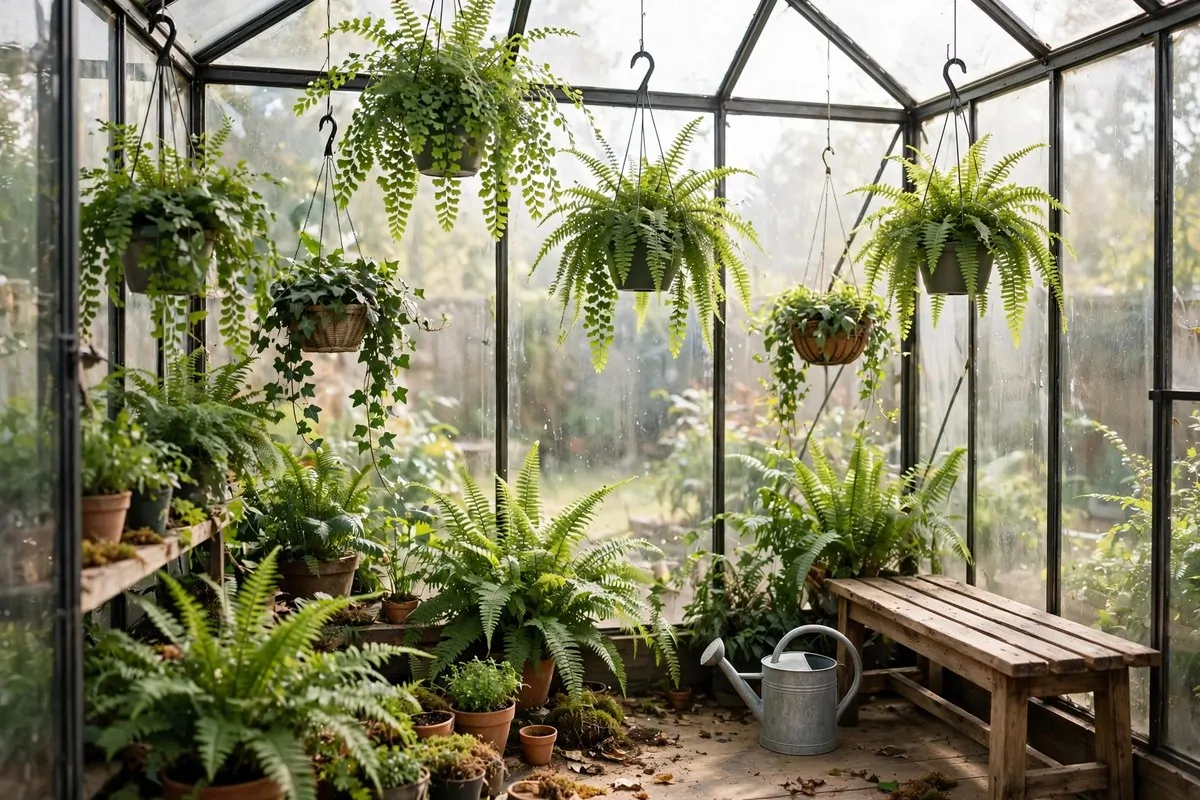
A greenhouse is a studio built by accident. The glass roof spreads light in every direction.
Even a tiny backyard greenhouse works. The plastic panels diffuse the sun like a softbox.
Shoot on bright days but not at noon. Mid morning light through the panels is perfect.
The plants around you become the set. Ferns, hanging baskets, little pots. Free styling.
I move a few plants around to make a clear spot. Then I put them back after. Nobody notices.
Watch for green color cast on skin. If faces look green, move closer to the door where the light is cleaner.
A small white board on the shady side bounces light back. It fixes dark eyes fast.
In winter the greenhouse is warm and bright. It is the best outdoor studio when it is cold outside.
Rainy days work too. Raindrops on the glass roof make a beautiful blurred background.
8. Pose Against a White Garden Wall
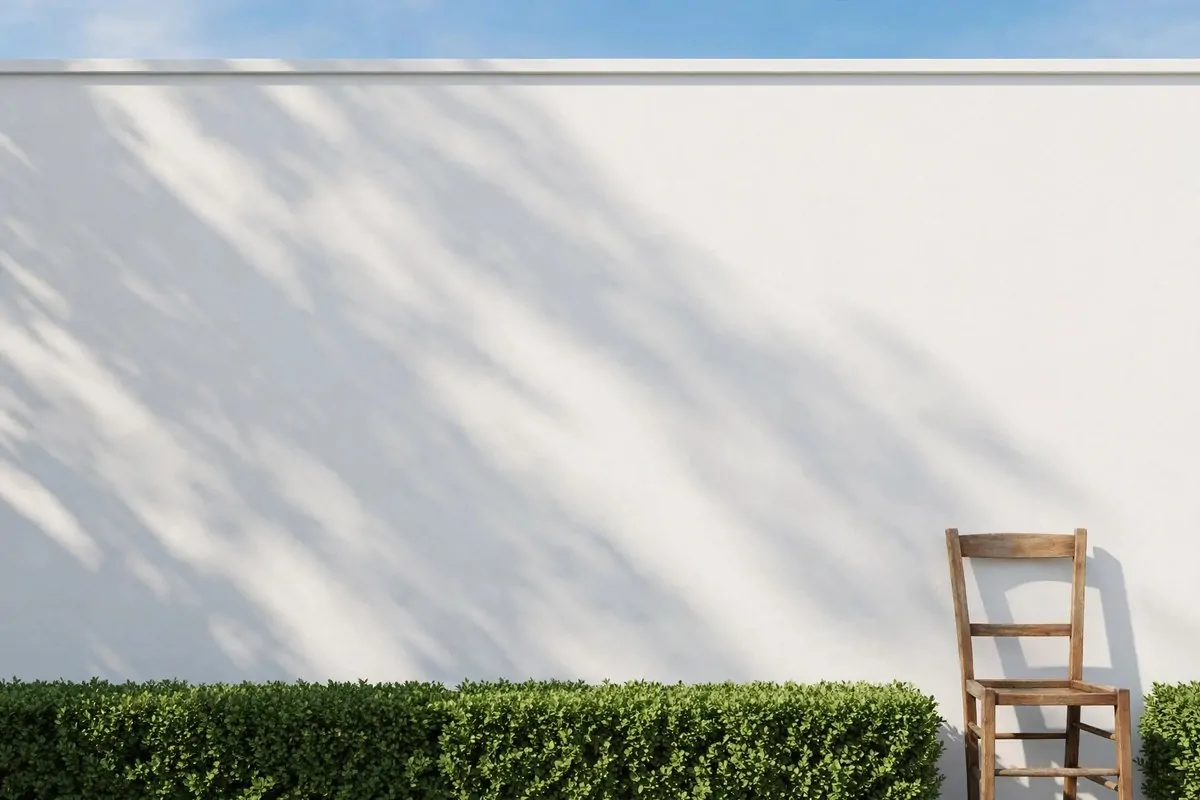
White walls are natural reflectors. Photographers love them because they bounce clean light onto the face.
Look around your yard. A white fence, a shed wall, the side of the house. Any of these work.
Put your subject a few feet in front of the wall. Not pressed against it. Space makes the photo look deeper.
The wall behind them stays bright and clean. It looks like a studio backdrop you paid for.
Shoot in the morning when the wall is in shade. The light is soft and the white does not blow out.
A white garage door works great too. Mine is the cleanest backdrop I own and I did not pay a cent for it.
If the wall is brick or wood, that is fine too. Texture adds character. But white is the easiest to start with.
Keep the wall in the frame but let some sky in. A little blue sky above a white wall looks fresh.
Wipe cobwebs off first. I learned that lesson the hard way. Spider webs show up big in close shots.
9. Shoot by Still Water for Soft Reflections
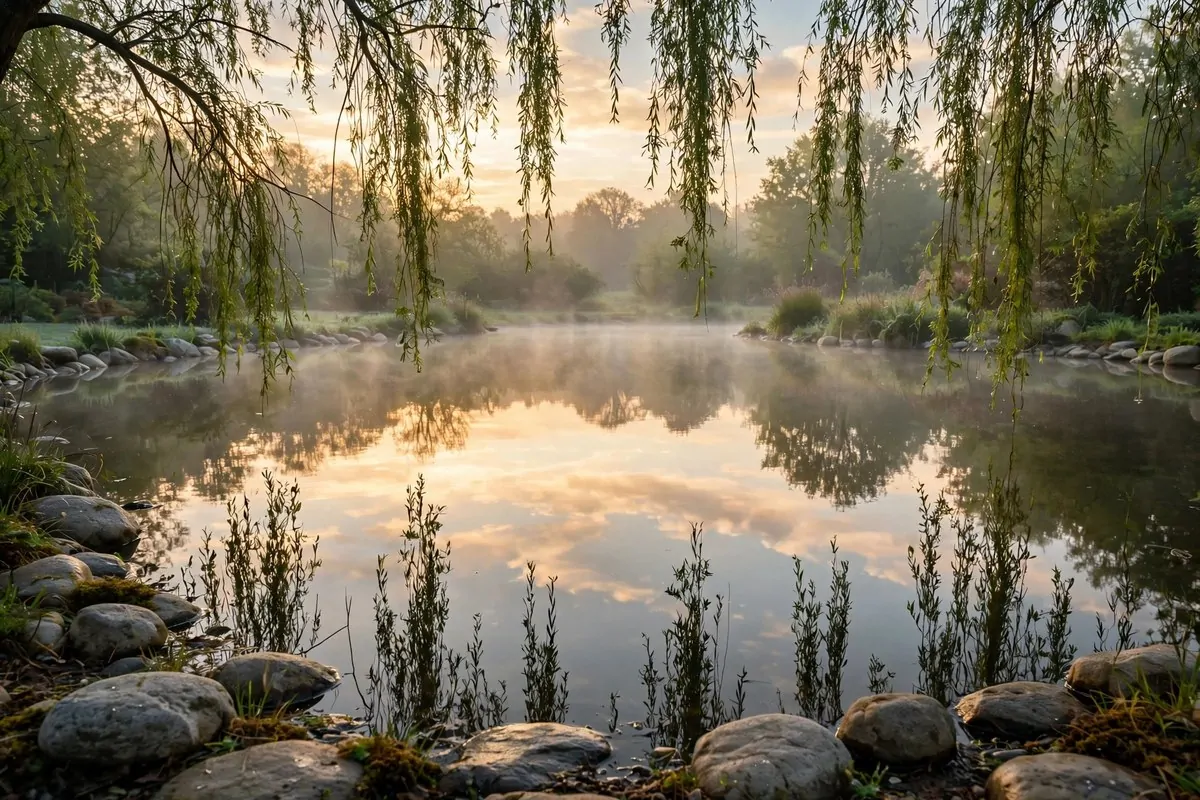
Water is a mirror that nature gives you for free. A pond, a pool, even a big puddle after rain.
Go early in the morning. The air is calm and the water surface is like glass.
Place your subject near the edge. Get low with your camera, close to the water.
You will catch their reflection under them. It doubles the beauty of the photo.
Ripples break the mirror. Wait for a still moment. Patience pays off here.
Sunset by the water is unreal. The sky turns orange and the water carries the color.
Do not let your subject wear white if the water is bright. It can blend together.
I bring a towel to wipe my knees. Low angles mean sitting on wet grass sometimes.
If you have no pond, a kiddie pool filled the night before works. Fill it early so the water settles flat.
10. Bounce Light With a 5-in-1 Reflector
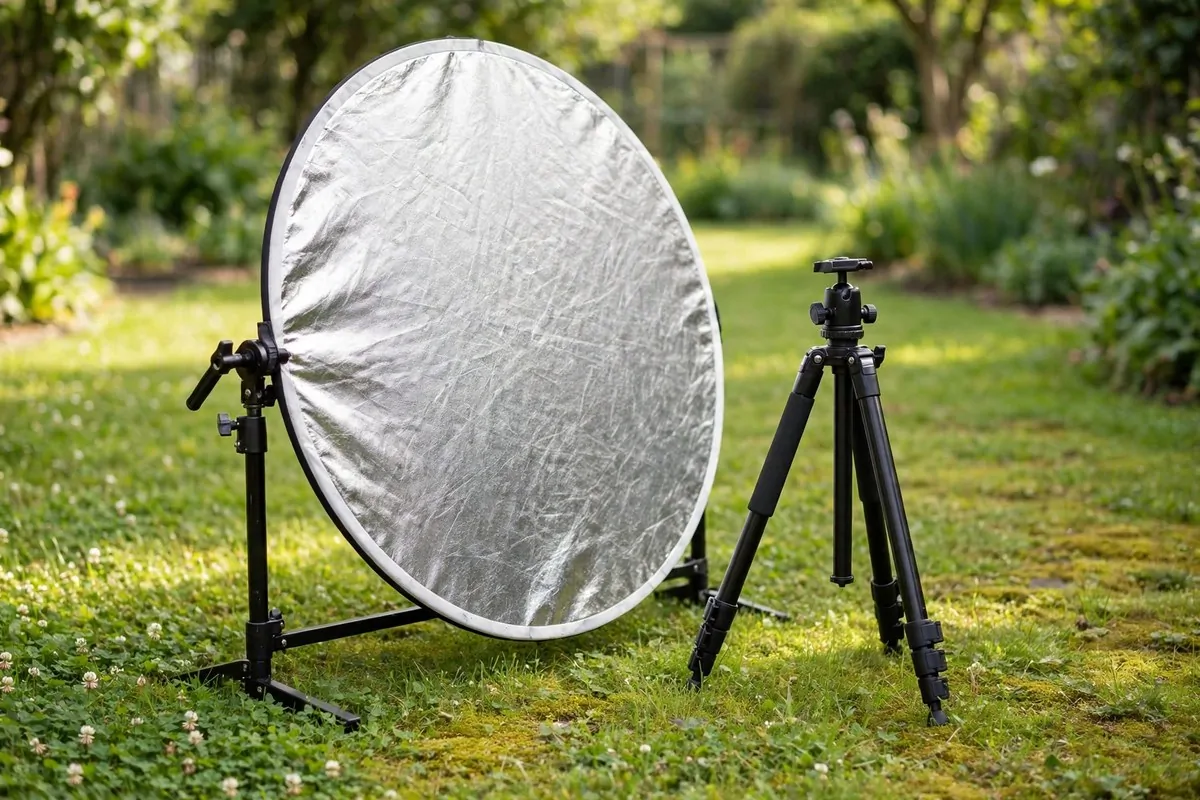
A reflector is the cheapest studio light you will ever buy. It is just a disc that bounces sunlight.
The 5-in-1 kind has five surfaces. White, silver, gold, black, and a see-through diffuser.
Hold the white side under your subject’s chin. It fills the shadows under the eyes and nose.
The gold side adds warmth. It is lovely at sunset but too orange at noon, so use it carefully.
The diffuser goes between the sun and the subject. It turns harsh light into soft light instantly.
I ask a friend to hold mine. One person shoots, one person holds. Teamwork makes it easy.
No friend around? Lean it against a chair or a bag. It still works.
You can even use a white bedsheet or a car sunshade as a reflector. I have done both.
Practice the angles before your shoot day. Bouncing light is a skill and it gets better fast.
11. Use Overcast Days as a Giant Softbox
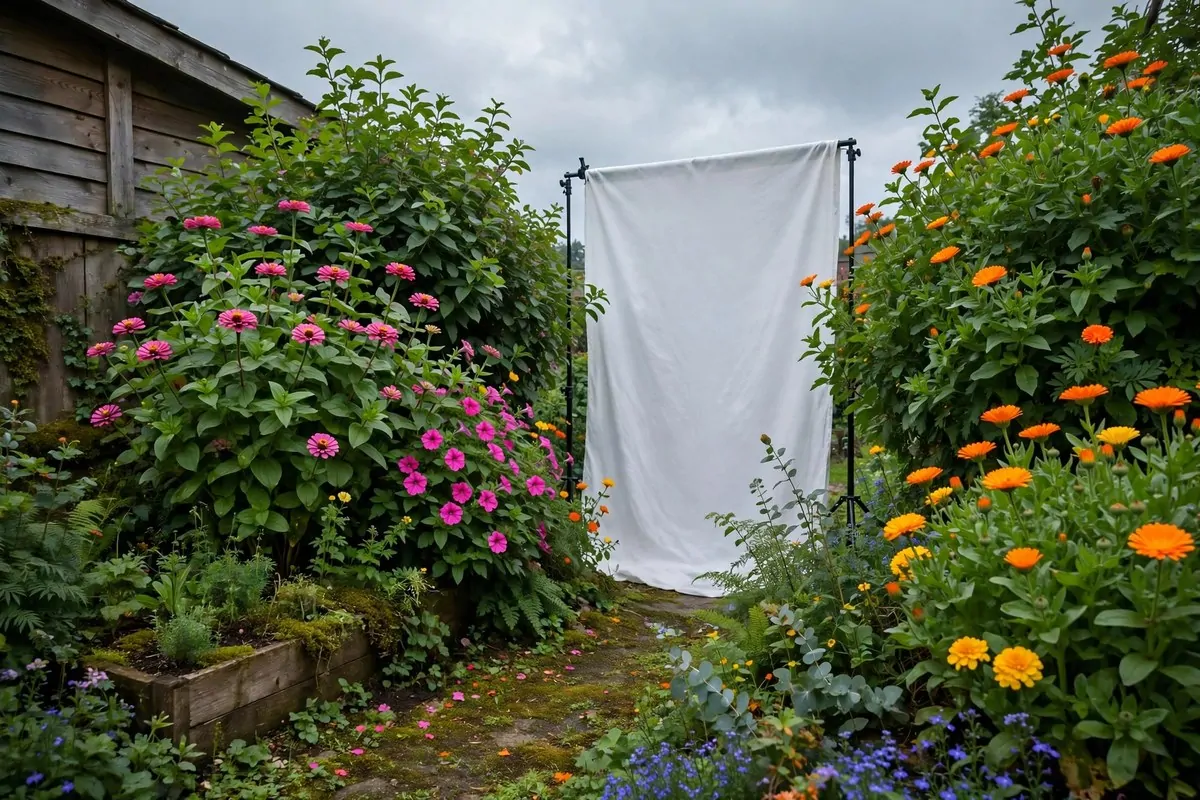
Most people cancel shoots when clouds roll in. Big mistake. Overcast light is a gift.
Clouds spread the sun across the whole sky. There are no hard shadows anywhere.
Faces look smooth and even. Skin tones come out clean and true.
Colors pop more on cloudy days. Greens look rich and flowers look bright.
You can shoot at any hour. Noon, two in the afternoon, it does not matter. The light stays soft.
I actually book my outdoor sessions on cloudy days now. The results are so steady.
Bring a reflector anyway. Flat light can look a little dull, and a white bounce adds life to the eyes.
Watch your white balance. Cloudy light runs cool and blue. Warm it up a touch when you edit.
If it starts to drizzle, keep going. Light rain on leaves and petals makes gorgeous detail shots.
12. Build a PVC Pipe Backdrop Frame
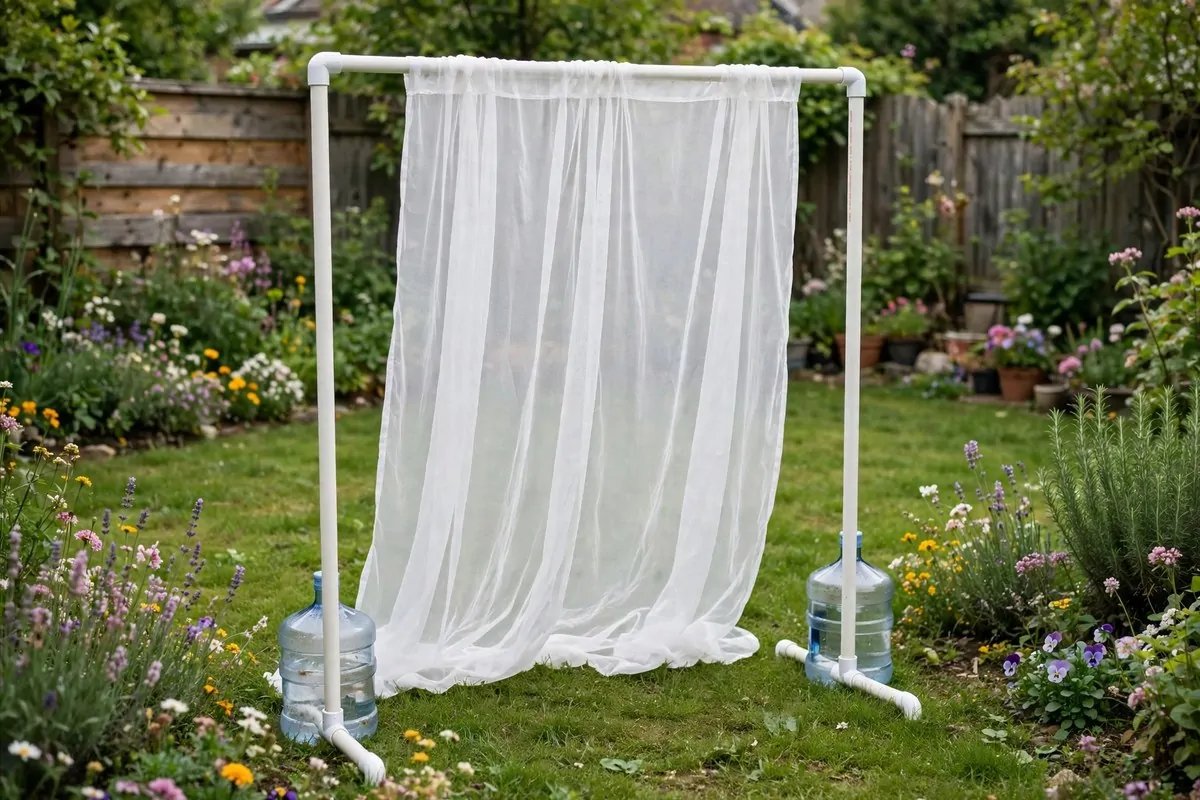
A backdrop frame holds your fabric so you do not need two trees. PVC pipe is the perfect material.
Buy one inch PVC pipe and corner joints from a hardware store. You need four uprights and two crossbars.
It goes together like toy blocks. No tools, no screws. It pulls apart for storage too.
Make it about seven feet wide and seven feet tall. That fits a full body shot.
Hang muslin, a sheet, or sheer curtains from the top bar with clips. Change fabric, change the whole look.
Sandbags or water jugs on the feet keep it steady. Wind is the enemy of every outdoor setup.
I painted my pipes matte black. They disappear in photos and look pro.
Two people can carry it anywhere in the yard. Chase the light, move the studio with you.
When the shoot is done it breaks down in five minutes. Mine fits behind the garage door.
13. Style a Vintage Chair Corner
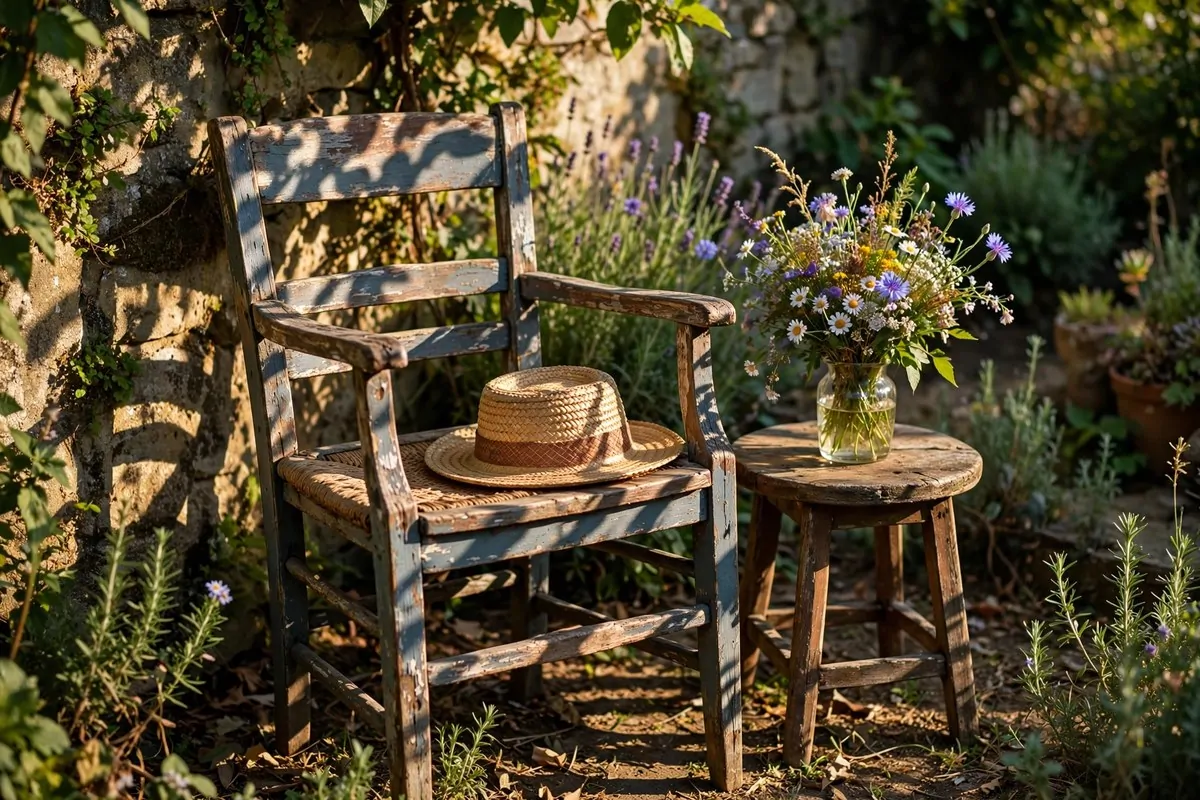
One good chair can carry a whole photoshoot. It gives the subject something to do with their body.
Thrift stores are full of wooden chairs with character. Look for worn paint and curvy legs.
Place the chair in a pretty spot. Under a tree, by the flowers, against the white wall.
Add a small side table with a vase. A book or a hat on the seat. Simple props tell a story.
Ask your subject to sit sideways, lean on the arm, or drape over the back. Chairs make posing easy.
Shoot from slightly above for a flattering angle. Then get low for a dramatic one.
Late afternoon light through leaves makes spots of gold on old wood. Beautiful.
I keep a little styling box in my car. A throw blanket, a straw hat, a fake book. It takes two minutes to dress a chair.
Wipe the seat before anyone sits. Outdoor chairs collect dust and bird surprises.
14. Backlight Tall Grass and Wildflowers
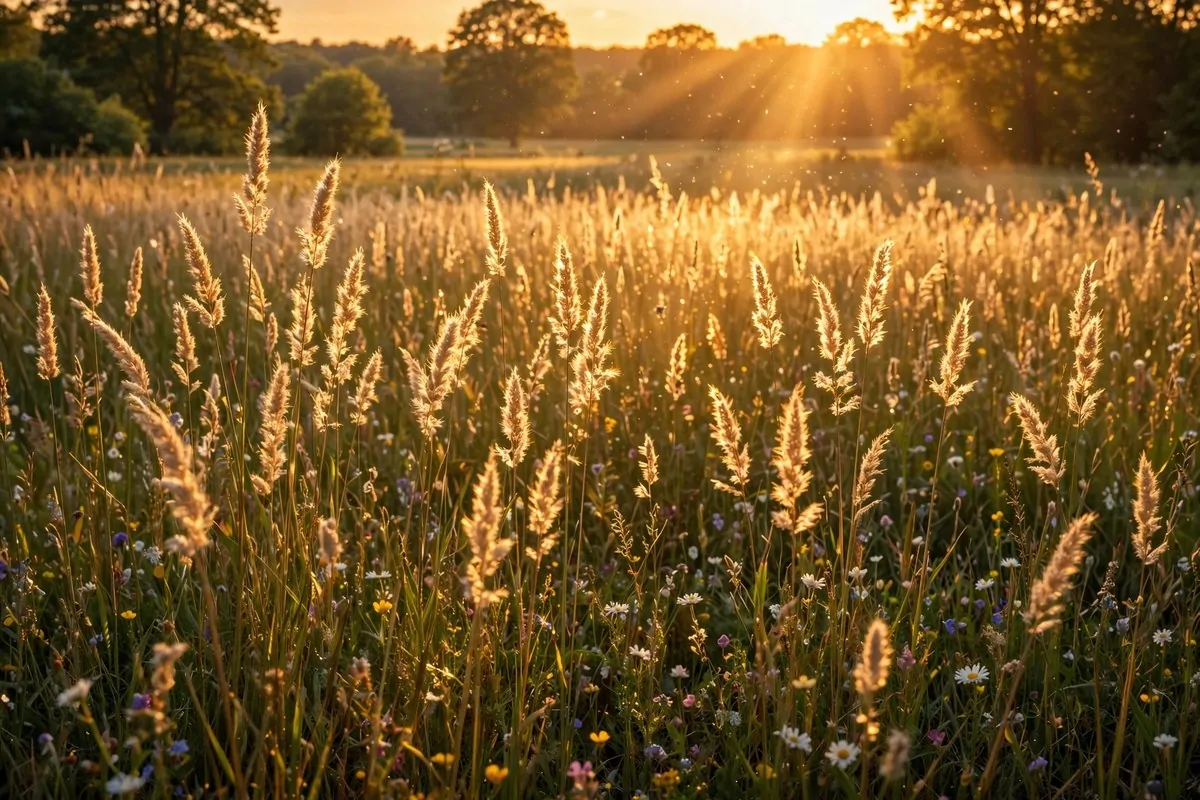
Tall grass at sunset is pure magic. The light shines through every blade and it glows.
Find a patch of unmowed grass or a wildflower corner. Meadows beat lawns for this look.
Put the sun low and directly behind your subject. You want the grass lit from behind.
The seed heads turn into little lanterns. The whole frame sparkles.
Shoot with the lens a little low. Grass in the foreground blurs into soft gold shapes.
I love wildflower patches best. The tiny blooms catch the light like fairy lights.
Wear boots. Tall grass hides mud, sticks, and sometimes surprises.
Check for ticks after. A quick check takes one minute and saves a headache later.
This is a late summer look mostly. Mark your calendar for August evenings and do not miss it.
15. Use a Garden Path as a Leading Line
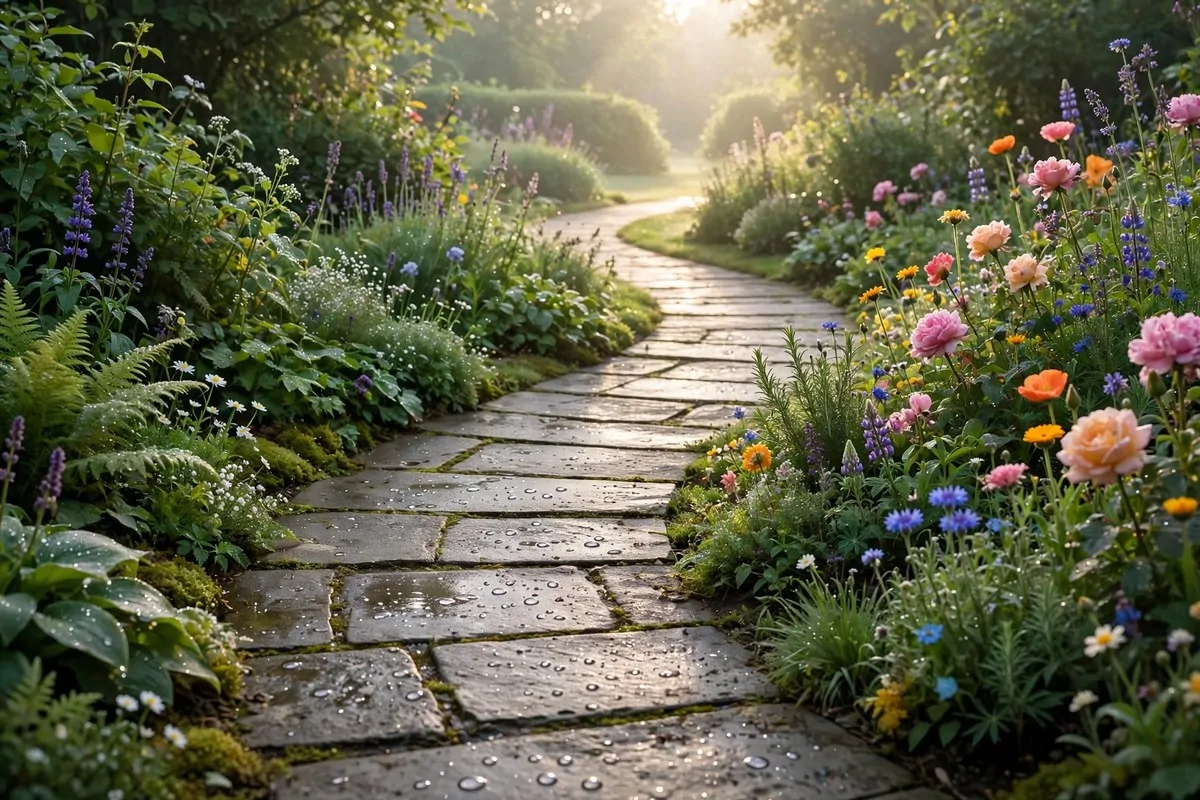
A path pulls the eye straight to your subject. It is the oldest composition trick there is.
Stone paths, gravel walks, wooden boardwalks. Any line in the ground works.
Stand your subject on the path, a good distance down it. Then step back and shoot along the line.
The path narrows toward them. It looks like the whole garden is pointing at your subject.
Early morning light rakes across a stone path. The shadows between the stones add texture.
I sweep my path first. Leaves and twigs look messy in a close shot.
Try shooting from very low. The path gets wide and dramatic in the foreground.
Curved paths are even better. The S curve leads the eye on a little journey.
If you have no path, mow a strip through tall grass. An instant leading line.
16. Hang String Lights for Evening Glow
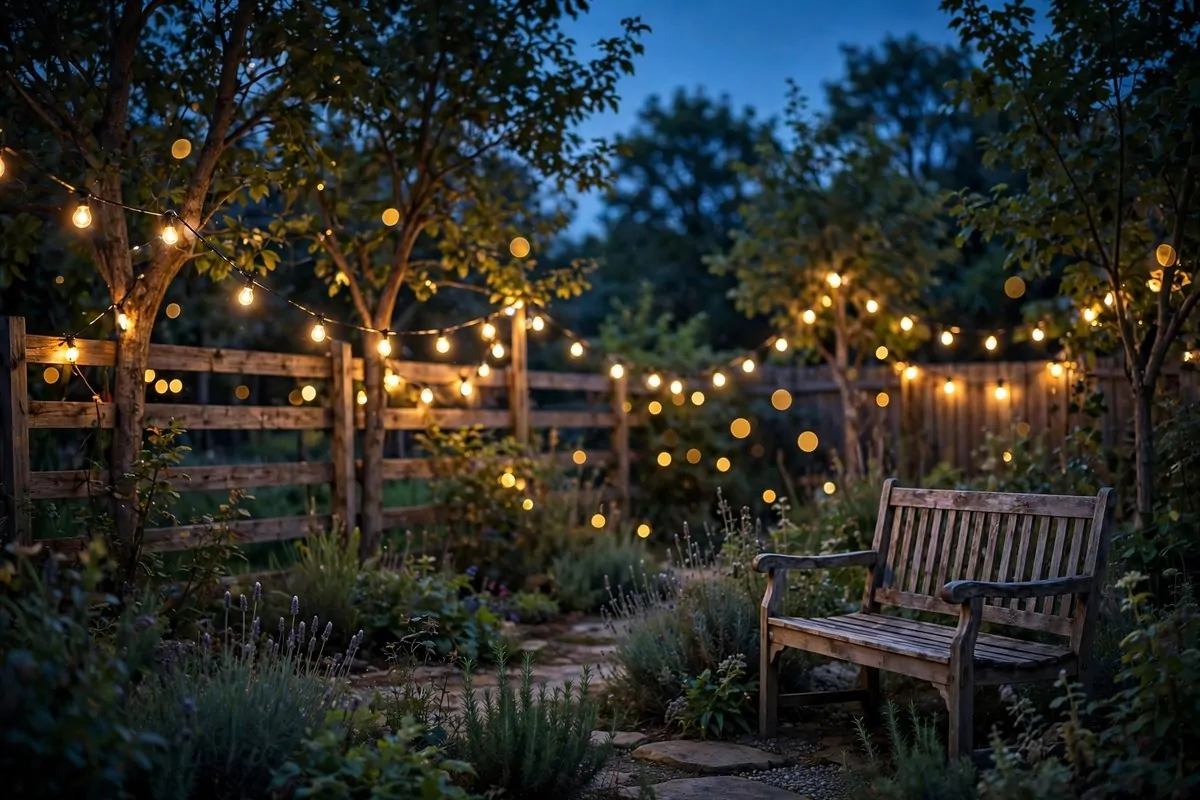
After sunset the show is not over. String lights turn your yard into an evening studio.
Drape warm white fairy lights between trees, along the fence, or over the pergola.
Shoot at dusk, that blue twenty minutes after the sun drops. The sky is deep blue and the lights are gold.
The bulbs blur into soft round glows. Photographers call it bokeh. It looks expensive.
Put your subject near the lights but not under them. You want the glow, not bright spots on the head.
A tripod helps a lot here. Evening light is dim and shaky hands blur the shot.
I use a remote shutter or the timer. Ten seconds, stand still, done.
Solar string lights charge all day and switch on alone. Set them up once and forget them.
Check the batteries in your fairy light strands. Half-lit strands look sad in photos.
17. Lean an Old Door as a Rustic Backdrop
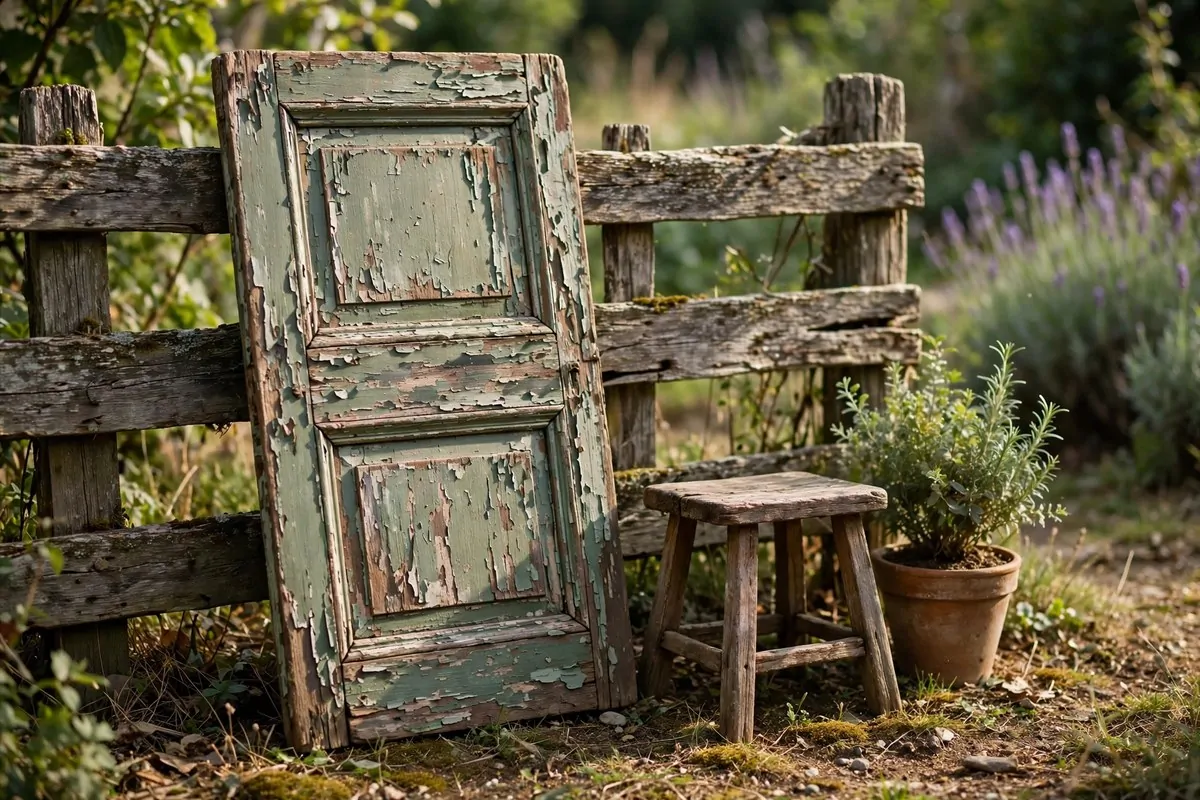
An old door is a backdrop with a past. Chipped paint and worn wood photograph beautifully.
Salvage yards and online marketplaces sell old doors cheap. Look for interesting colors.
Lean it against a wall, a fence, or two sturdy stakes. Make sure it cannot fall on anyone.
Blue doors, green doors, white doors with peeling paint. The color sets the mood of the photo.
Stand your subject in front of it with soft side light. Morning or late afternoon is best.
The texture does the work. You barely need props. Maybe a small stool or a potted plant beside it.
I found mine at a house being torn down. I asked the workers and they let me take it free.
Seal the back with outdoor varnish if you keep it outside. Rain will rot it fast otherwise.
Two doors hinged together make a corner. Now you have a little room with no roof.
18. Set Up a Hammock Between Two Trees
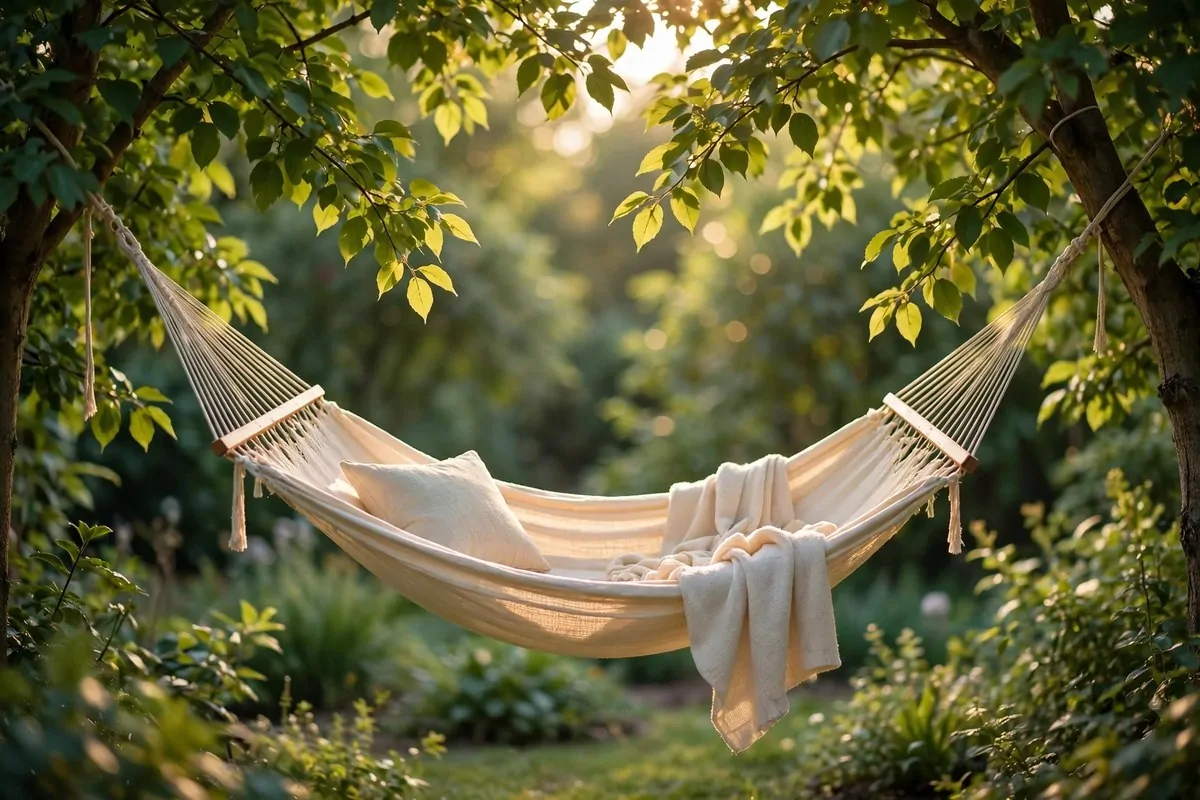
A hammock is a prop and a pose in one. It gives you relaxed, happy photos every time.
String it between two strong trees. Test it with your own weight first. Safety is not optional.
A white or cream hammock photographs best. Bright colors fight with the skin tones.
Ask your subject to lie back, swing gently, or sit sideways with feet on the ground. All three look great.
Shoot through the trees a little. Leaves near your lens blur into soft green frames.
Late afternoon light through a hammock net makes striped shadows. Sometimes they look amazing.
I keep a pillow and a light throw in the hammock. It looks styled instead of bare.
Check the ropes and knots every season. Sun and rain weaken them over time.
A hammock stand works if you have no trees. Same look, more freedom to place it.
19. Put Up a White Canopy as a Diffuser Roof
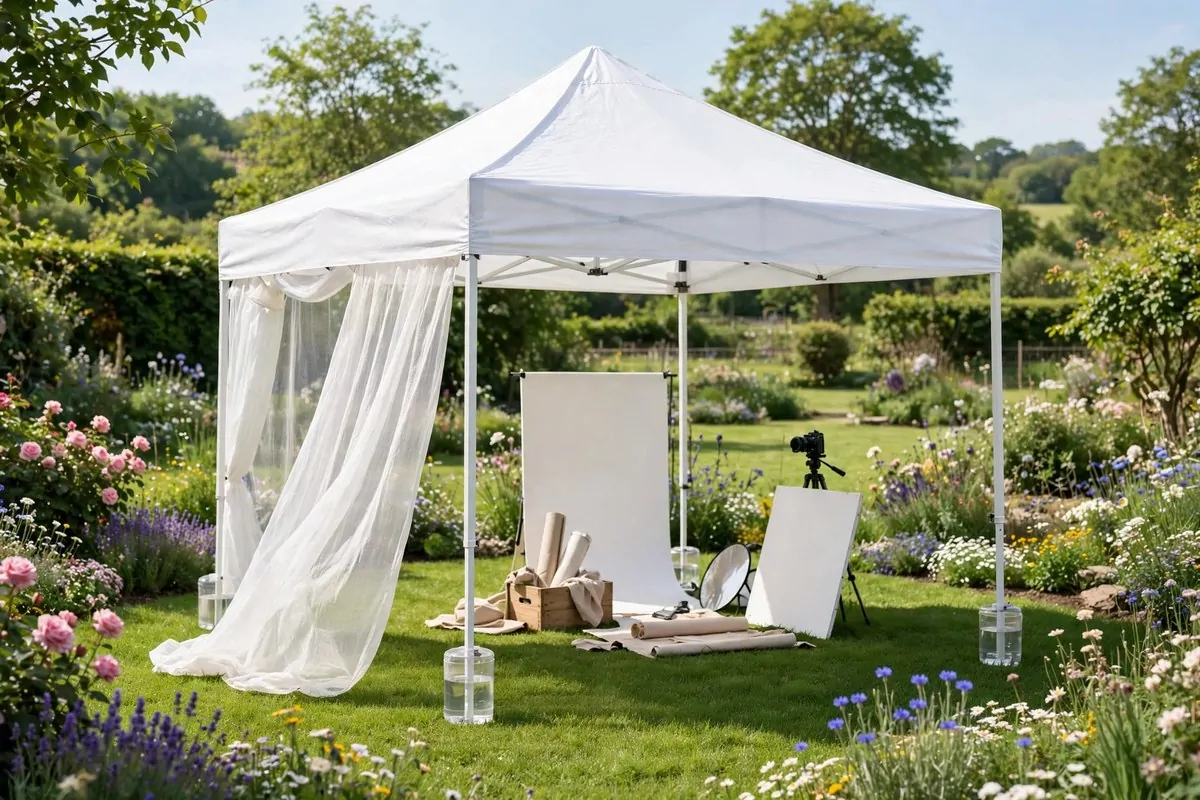
A white pop-up canopy is a studio roof you can buy in a box. It softens the sun over a whole area.
Set it up where you want to shoot. Ten by ten feet is the common size and it is plenty.
The white fabric spreads harsh noon sun into soft even light. Suddenly midday is shootable.
Your subject stands under it. The background outside stays bright and sunny. Lovely contrast.
I hang a sheer curtain on one side for a backdrop. Now it is a full little room.
Stake the legs down well. A canopy in wind is a sail. I use water weights on each leg.
At golden hour, move out from under it. You want that warm direct light then.
The canopy also saves you in light rain. Shoots do not have to stop for a drizzle.
Fold it dry. Packing it wet grows mildew and the smell never really leaves.
Keep Reading
If you liked these Outdoor Photo Studio Ideas, you will enjoy these posts too: